Credit: Mitesh aka nismomaxgtr18
Specs:
- RX AFS projectors with Gatling Gun Shrouds
- TRS Clear Lens Swap
- TRS HID Kit
- Custom Wired LED Switchback for Turn Signals and DRLs





Credit: Mitesh aka nismomaxgtr18
Specs:

Credits: Eddy
Order Link: https://www.amazon.com/dp/B07H852D49
Price: $33.99
Notes:


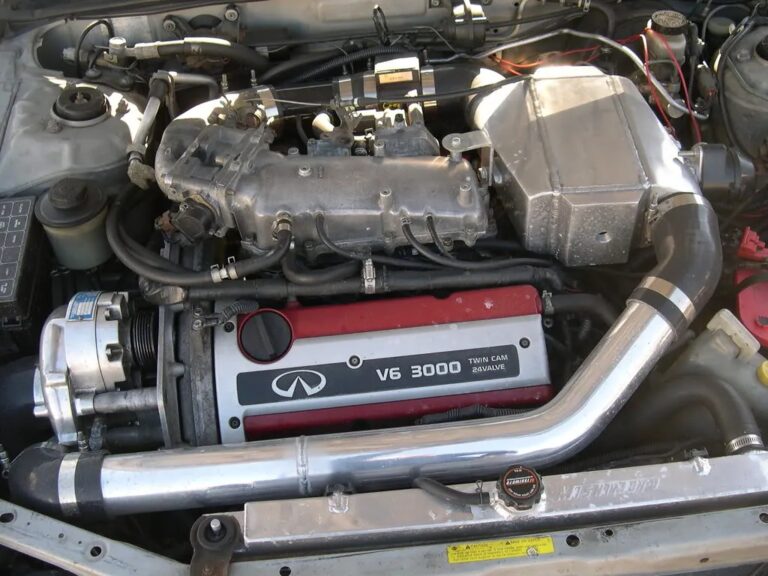
Credit: HomerMAC
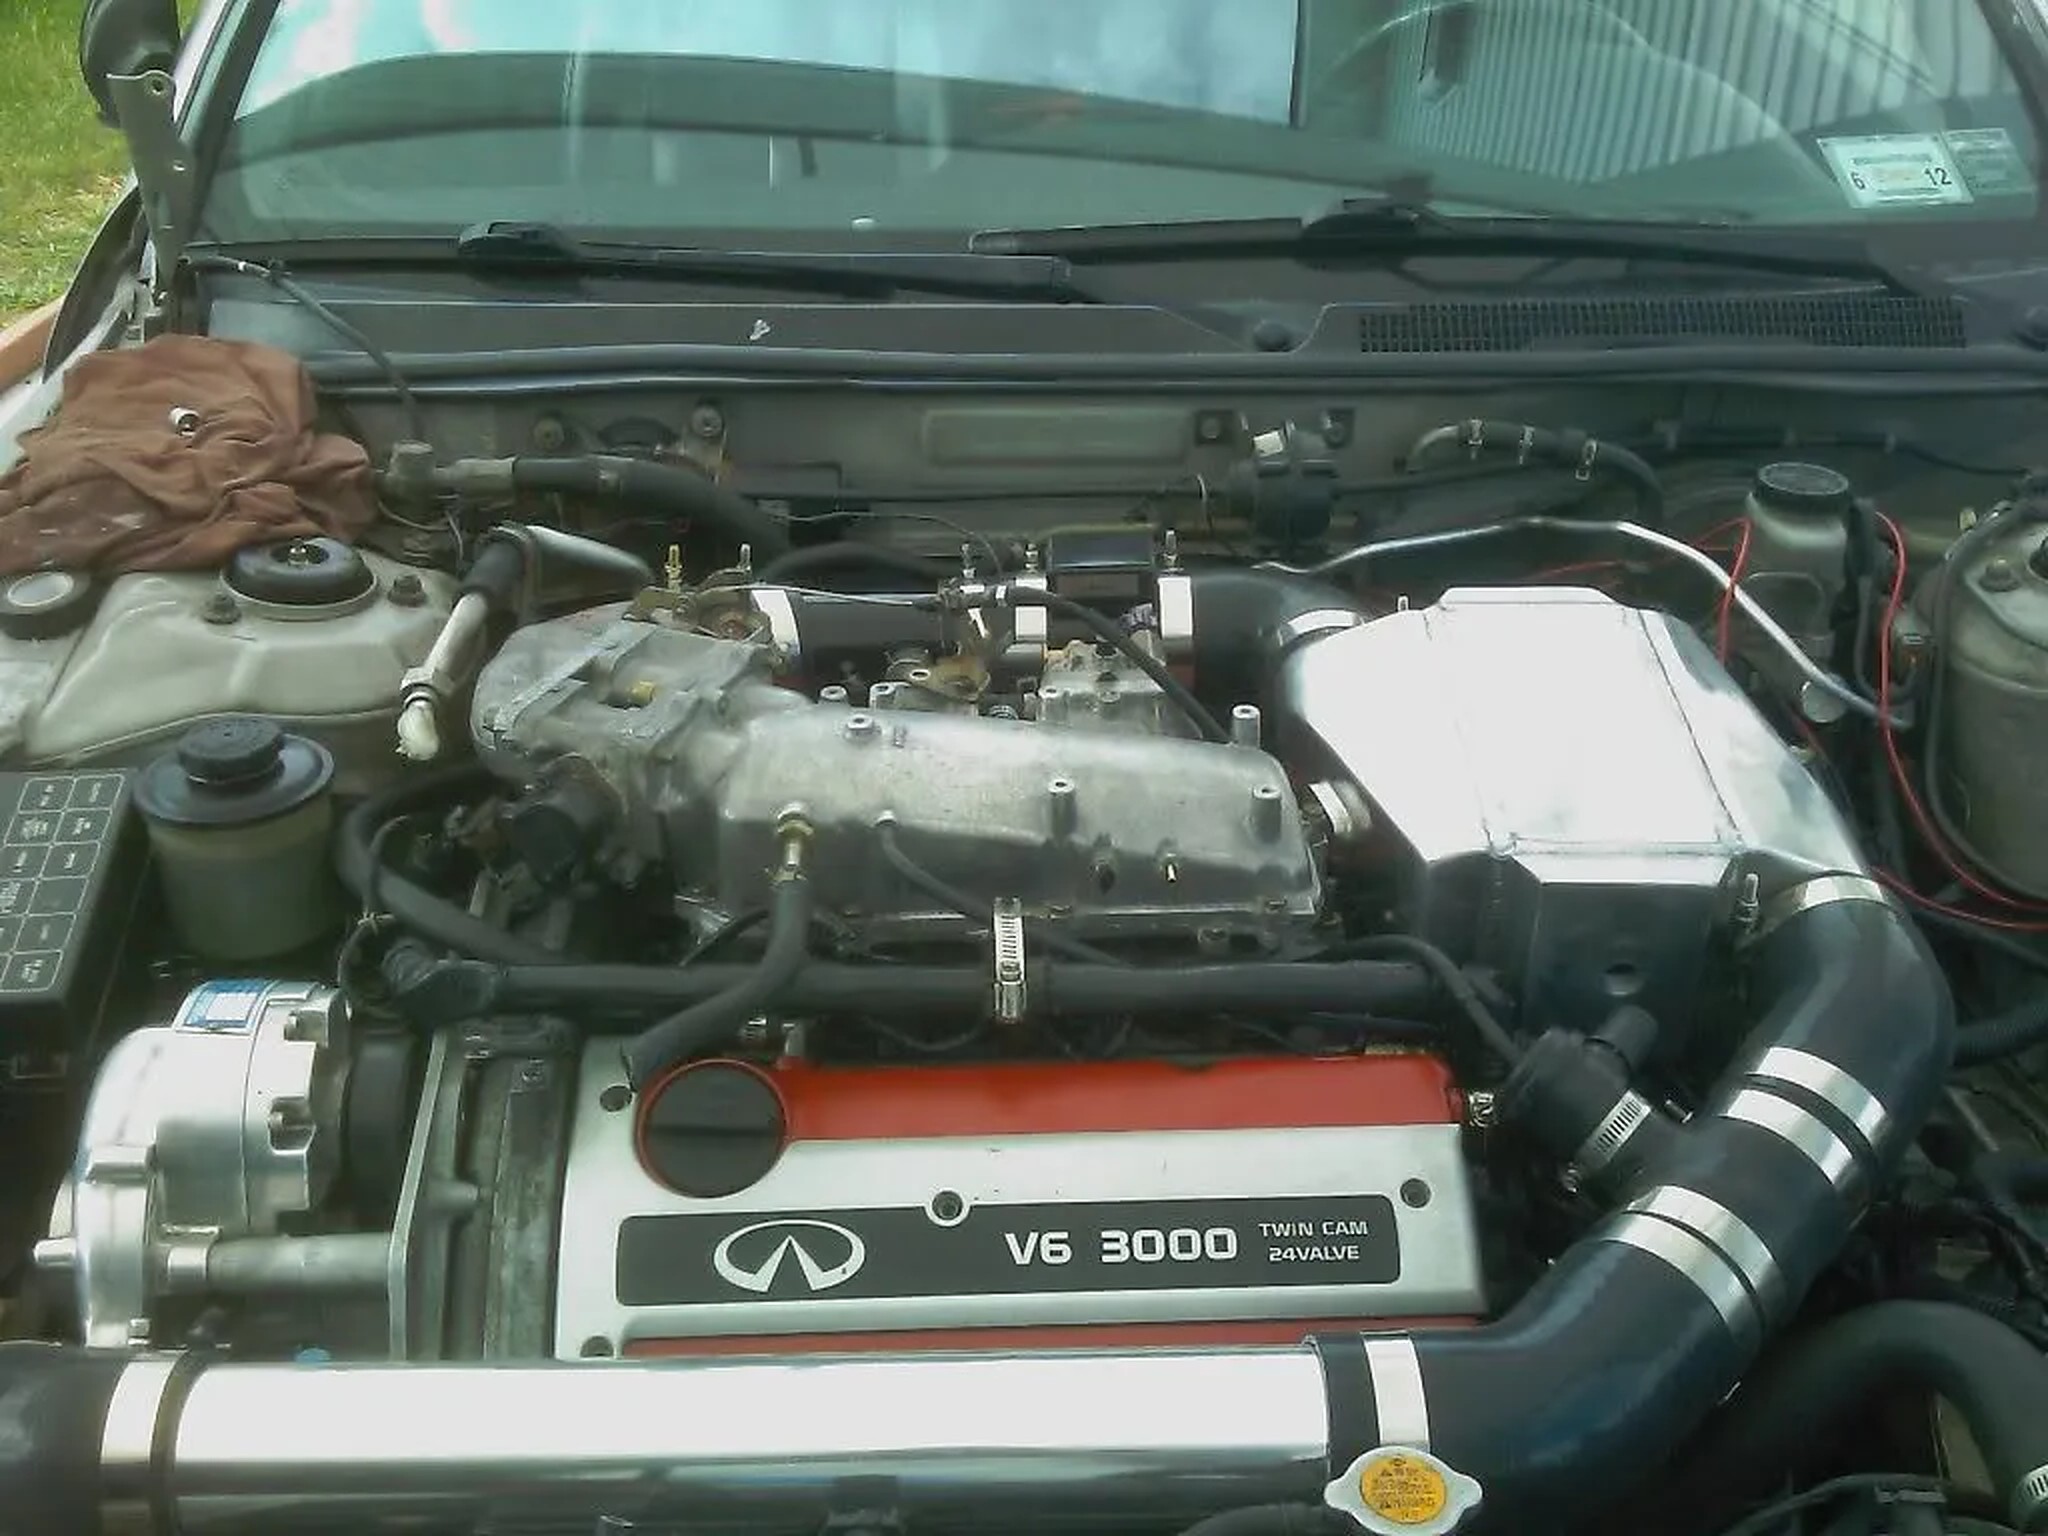


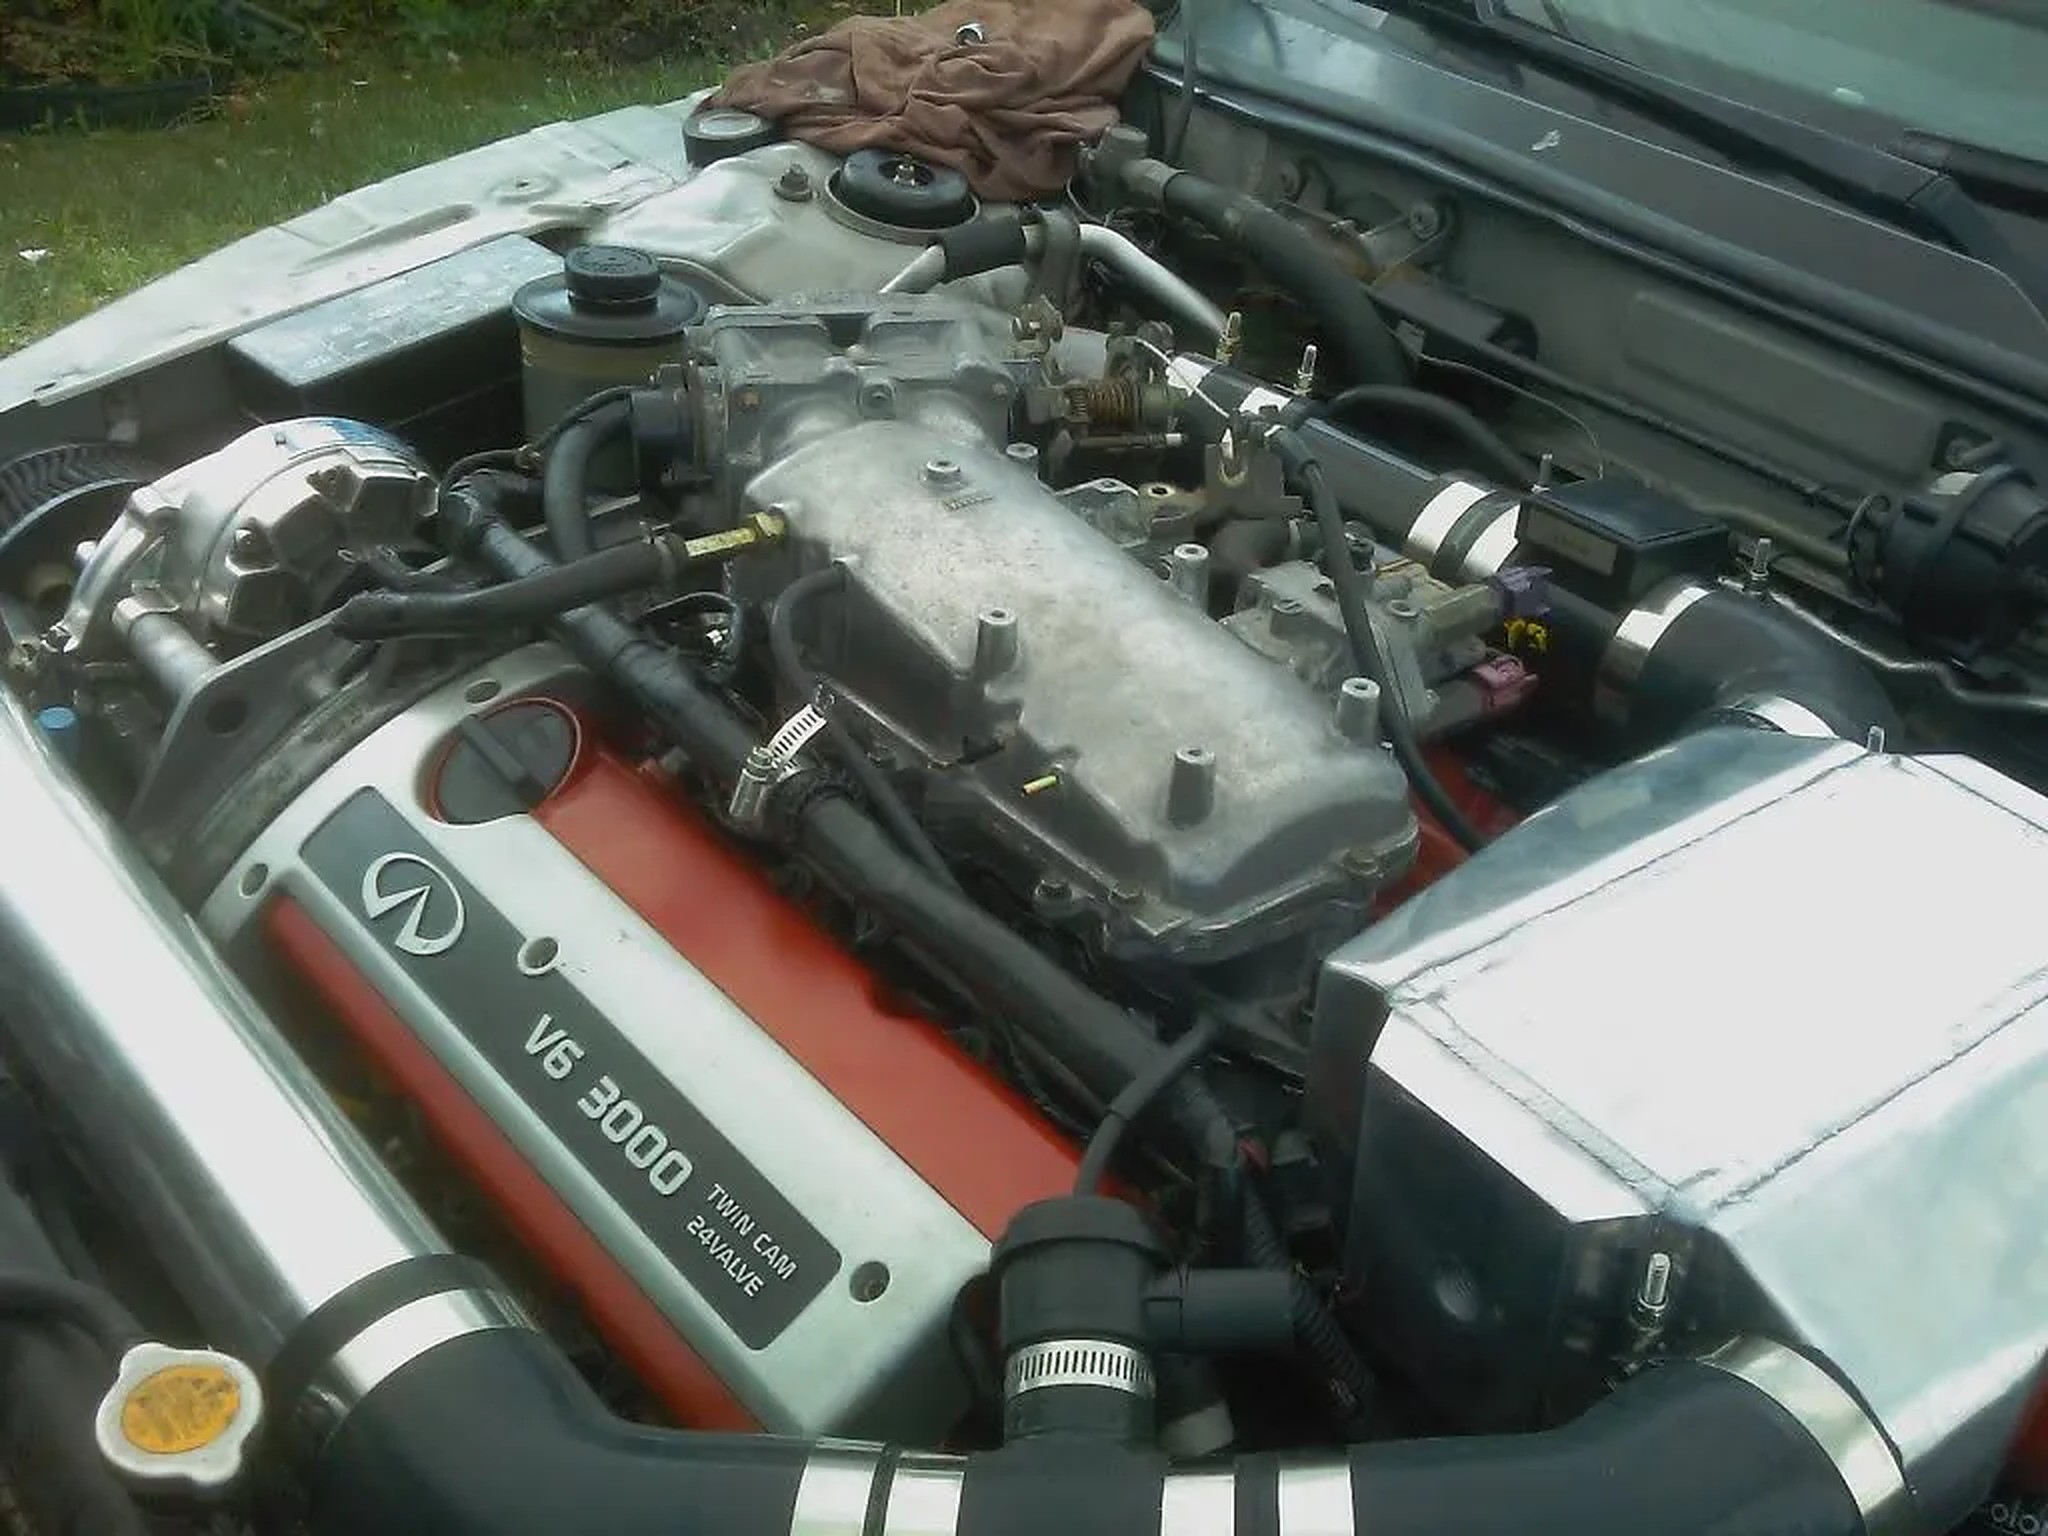

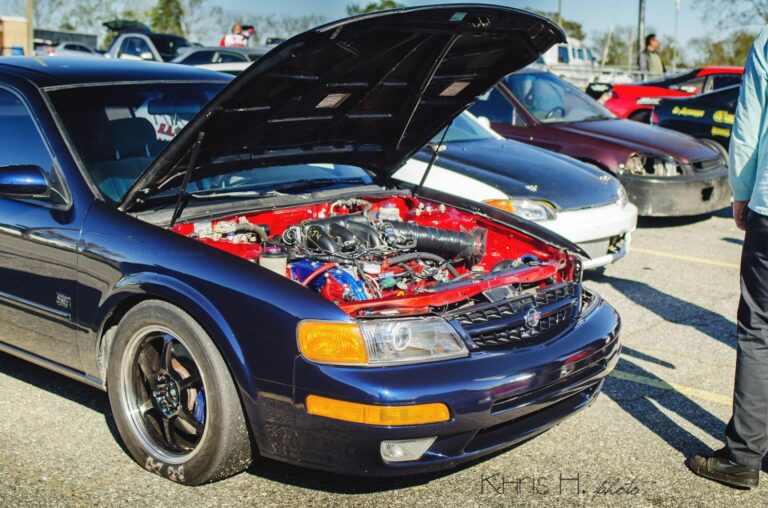
Owner: Trevon Walters
Year: 1998
Model: Maxima
Current Color: Blue
Transmission: 6-Speed Manual
Trim: SE


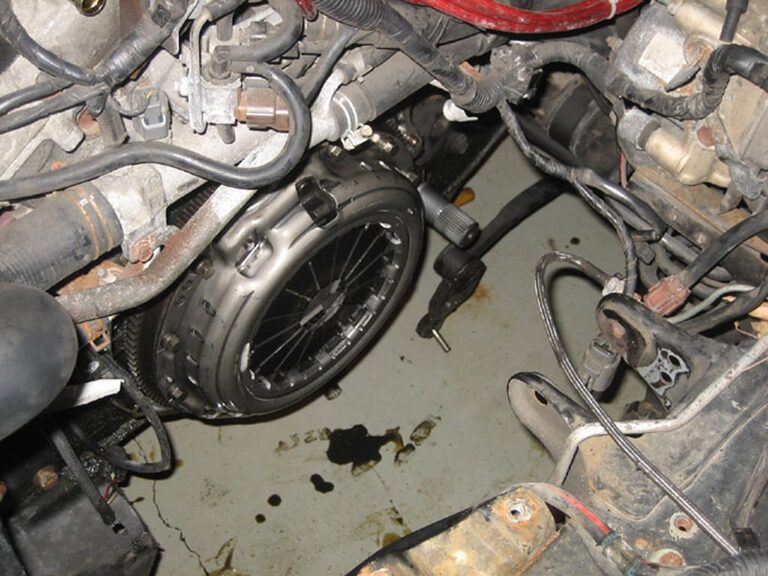
Credit: black_maxed95
Parts that I replaced:

Alright, step by step removal down to the tranny. First may I note that I think I did this with removing the least amount of stuff possible. I left the cross member on and y-pipe on. Removing these will obviously make removing the tranny easier but is optional. PS: if you remove the cross member you will need to support the engine.
Step One:
Start draining the fluid. Draining the tranny fluid takes a long time so start with this right away. I didn’t and I had to wait for while. This pic shows the bolt that is removed to do this.

Step Two:
Remove the driver side wheel.

Step Three:
Remove the caliper. My 300zx calipers were held on by 2 17mm bolts in the back. Use a wire or zip tie to hold them on the springs so they don’t hang by the brake line.

Step Four:
Remove the Rotors. Mine just slid right off.

Step Five:
Now remove the cotterpin and the washer behind it. Use a pliers.

Step Six:
Remove the 36mm axle nut. Impact gun is strongly recommended. There is also a washer behind it so keep track of that too.

Step Seven:
Disconnect the hub from the struts. It is a 19mm nut on a 17mm bolt.

Step Eight:
Now pull the hub off of the axle. I also used a hammer to help start push the axle out. I again used a ziptie to hang the hub from the strut so it would not pull the ABS line tight.

Now to attack from under the hood. Here is my engine compartment before doing anything. Mostly a mess, I know.

Step Nine:
Remove the intake. Disconnect the vac hoses, MAF and air temp plugs, and disconnect from the throttle body.

Step Ten:
Remove the battery and battery tray.

Step Eleven:
Remove the Starter. This involves disconnecting the big positive cable and the other connector. Then unbolt the 14mm and 17mm bolts.

Step Twelve:
Remove the slave cylinder. This was held on I think by two 14mm bolts. They are hard to get at so I had to use a wrench. Then also remove the ground wire that is bolted right next to where the slave cylinder is.

Step Thirteen:
Remove the tranny mount. First remove the long bolt that goes through it. Then the 4 bolts that hold it onto the tranny. Also notice the oil everywhere?…no wonder there is none in my tranny…it is instead all over everything else!


Step Fourteen:
In order to access a few tranny bolts, it is also necessary to remove the shifter linkages/rods from the tranny. It is ok to let them hang from where they connect to the shifter. Also 1 of these bolts is a pain to get at with out taking off the cross member but I did it with a wrench.
(sorry no pics of this)
Step Fourteen point five:
Also make sure the crank position sensor on the tranny is unplugged and the gear sensor is unplugged. I removed the crank position sensor completely.
Step Fifteen:
Now you should have everything off of the tranny. So now remove all the bolts holding the tranny onto the engine. There should be 8 since one was already taken off with the starter and one with the shifter rod. KEEP TRACK OF THE BOLTS! There are different sizes, what I did was I drew a picture of a circle and placed the bolts on the circle relative to each other on the tranny. 2 of the bolts on the bottom of the tranny I could not completely remove with the cross member still on, but I didn’t need to since they were completely unthreaded from the tranny. Once all the bolts are out its time to take off the tranny. What I did which isn’t recommended as the best, was place a jack under the tranny (but not pushing up on it) and then I used a screw driver to pry it from the engine. Then with the tranny sitting on the jack, I lowered it down. This isn’t recommended cause it is very hard to balance a tranny on the jack.

Step Fifteen point 5:
Remove the clutch. It is held on by I think 10 12mm bolts IIRC.

Step Sixteen:
Remove your flywheel. This is held on by 8 14mm bolts. I used an impact gun with a 14mm impact socket. These bolts are very tight and using a ratchet is difficult unless you can effectively stop the flywheel from rotating.
Step Seventeen:
Assemble lightened flywheel from stock ring gear, timing gear, and the stillen piece.

Step Eighteen:
Reassemble everything in reverse order, making sure to torque everything to spec and to replace the axle seals, and then refill with 4.8ish quarts of tranny fluid. DO NOT use an impact gun to install the flywheel and clutch onto the engine. These bolts are weak and can break…don’t ask me how I know.
Edit: Thanks to nismology for pointing this out, when refilling the tranny, do it with the car level on the ground and refill until oil comes out of the refill hole (It takes approximately 4.8 quarts)

Other notes…reinstalling the tranny was a major PITA since it’s so heavy. I recommend using a tranny jack. If you don’t have a tranny jack and if you aren’t super buff, you should remove the passenger side axle. It’s the same steps as the driver side with the addition of removing 3 bolts for the bracket that holds the axle to the engine.
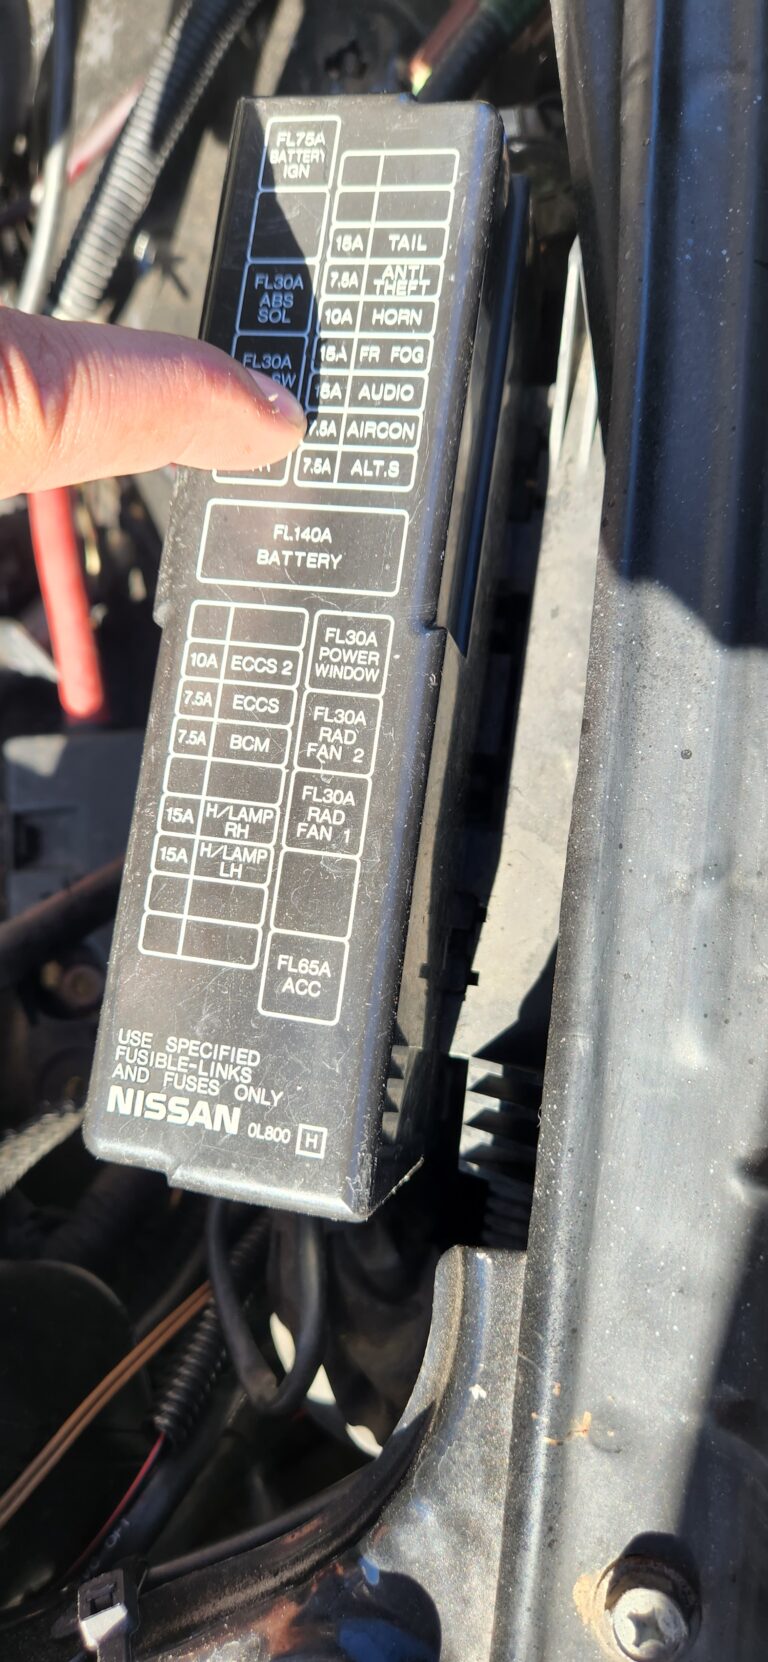
Credit: Eddy
My air conditioner had stopped working all of a sudden. I tried to add R134A refrigerant but the gauge was showing it was full. At first I was thinking I may need a new AC compressor. But before that I decided to do a few basic checks.
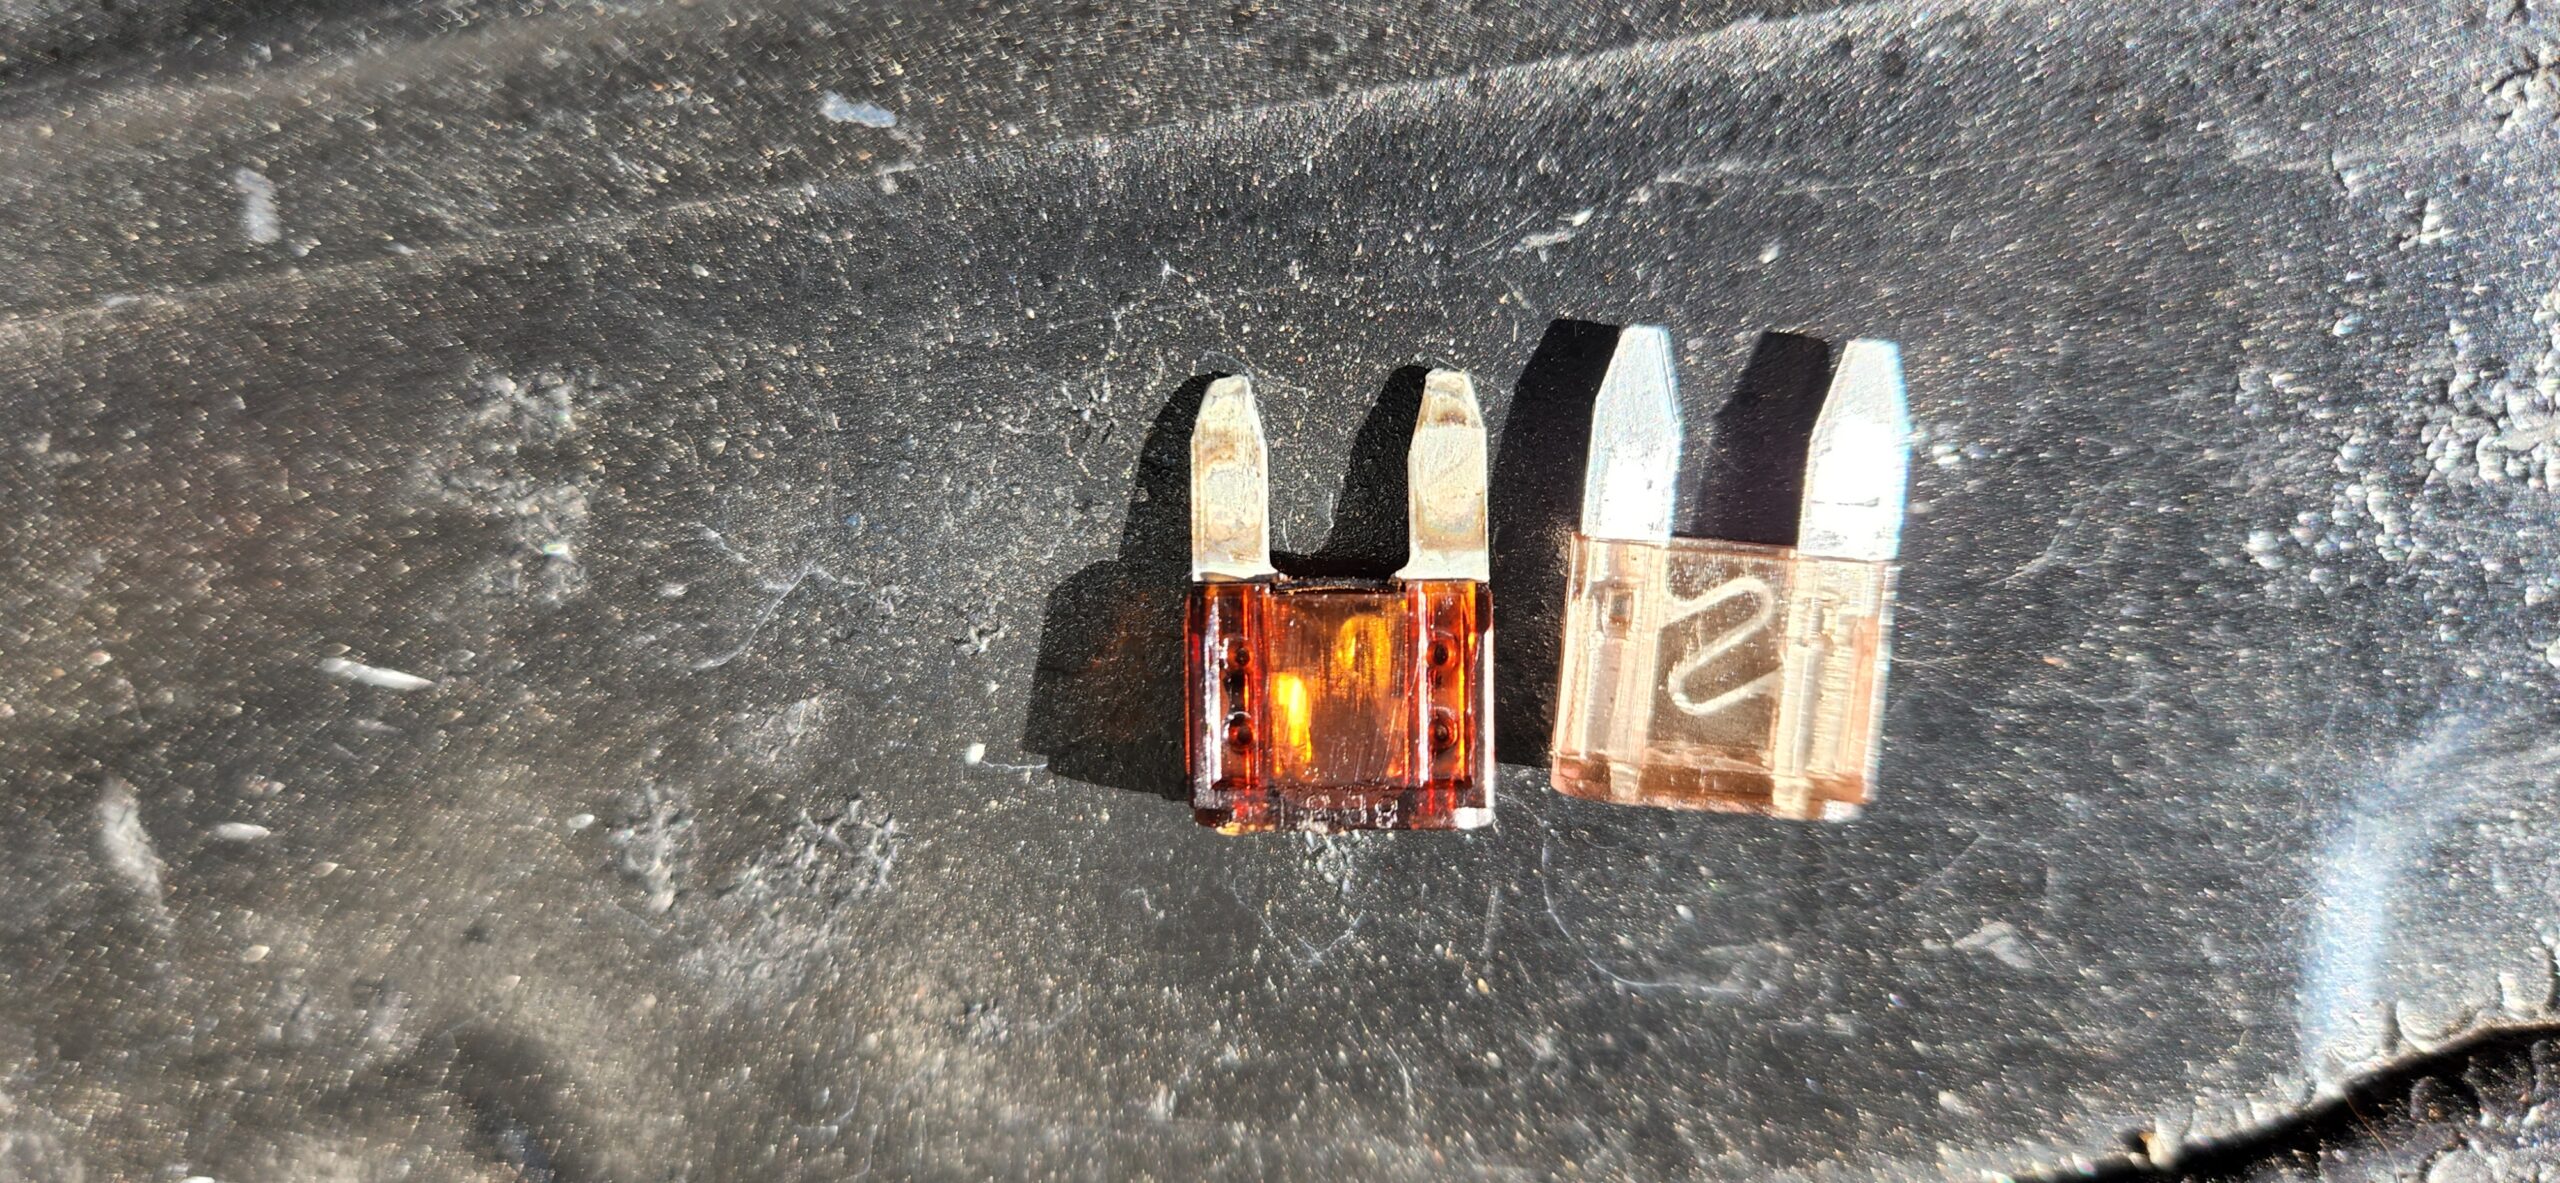
First I checked the sub-harness where you plug-in the compressor and alternator. I noticed the alternator pigtail was in very bad shape. I replaced the harness with a used OEM one and then I went to check the AC fuse. To my surprise it was blown. Soon as I replaced it, the AC compressor kicked right on.
The R134A refrigerant gauge now read low but a good sign since it just needed more. I refilled it with a full can of R134A refrigerant and now the AC is ice cold, super ice cold. I suspect it was the bad alternator pigtail that probably caused two wires to trough. This is what likely caused the 7.5 amp fuse to blow.

Now back to cruising with a nice COLD AC in this summer weather.

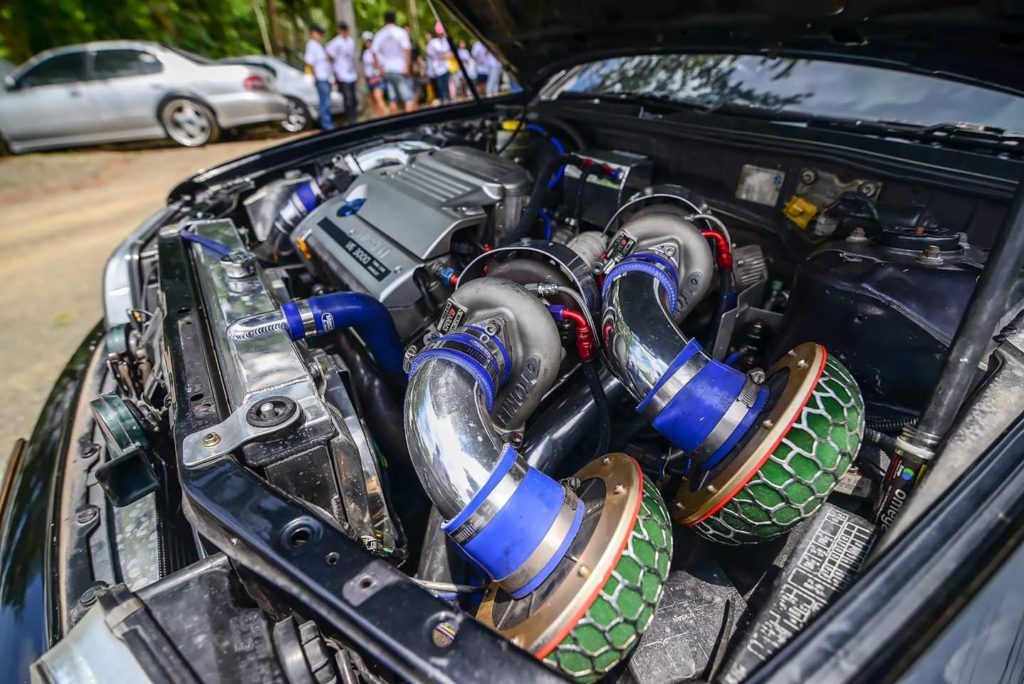
Credit: Daniel B Martin
Warning: This procedure is very dangerous, you can very easily screw up your wiring. The key to doing this is taking your time and looking everything over twice before doing it.
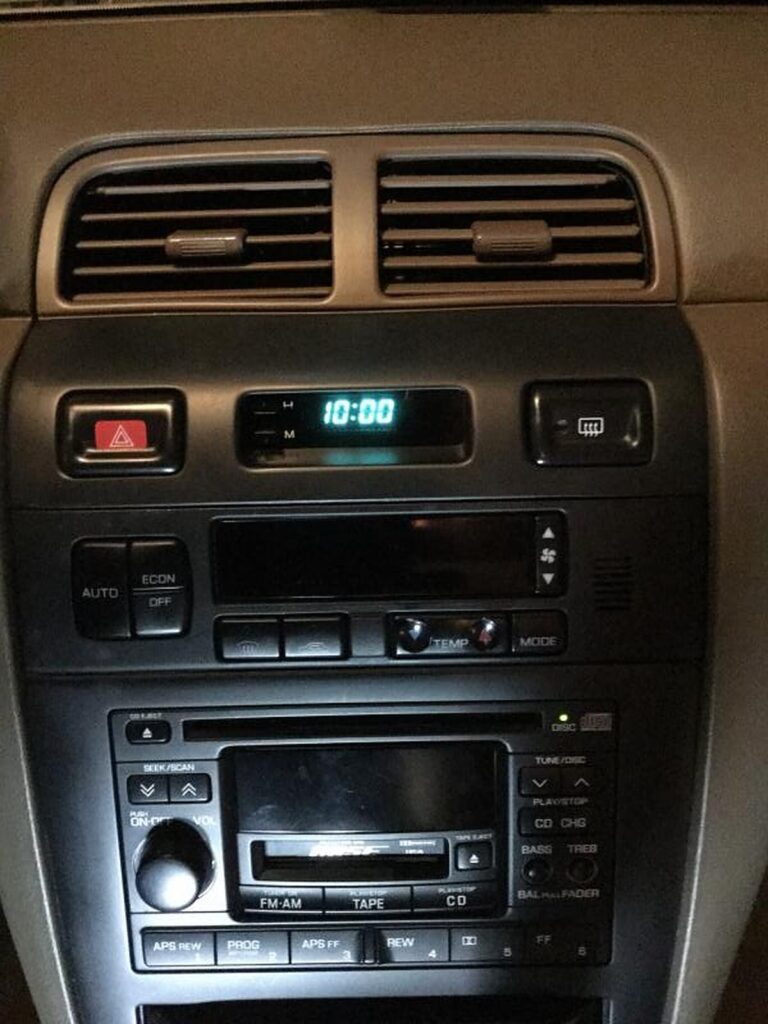
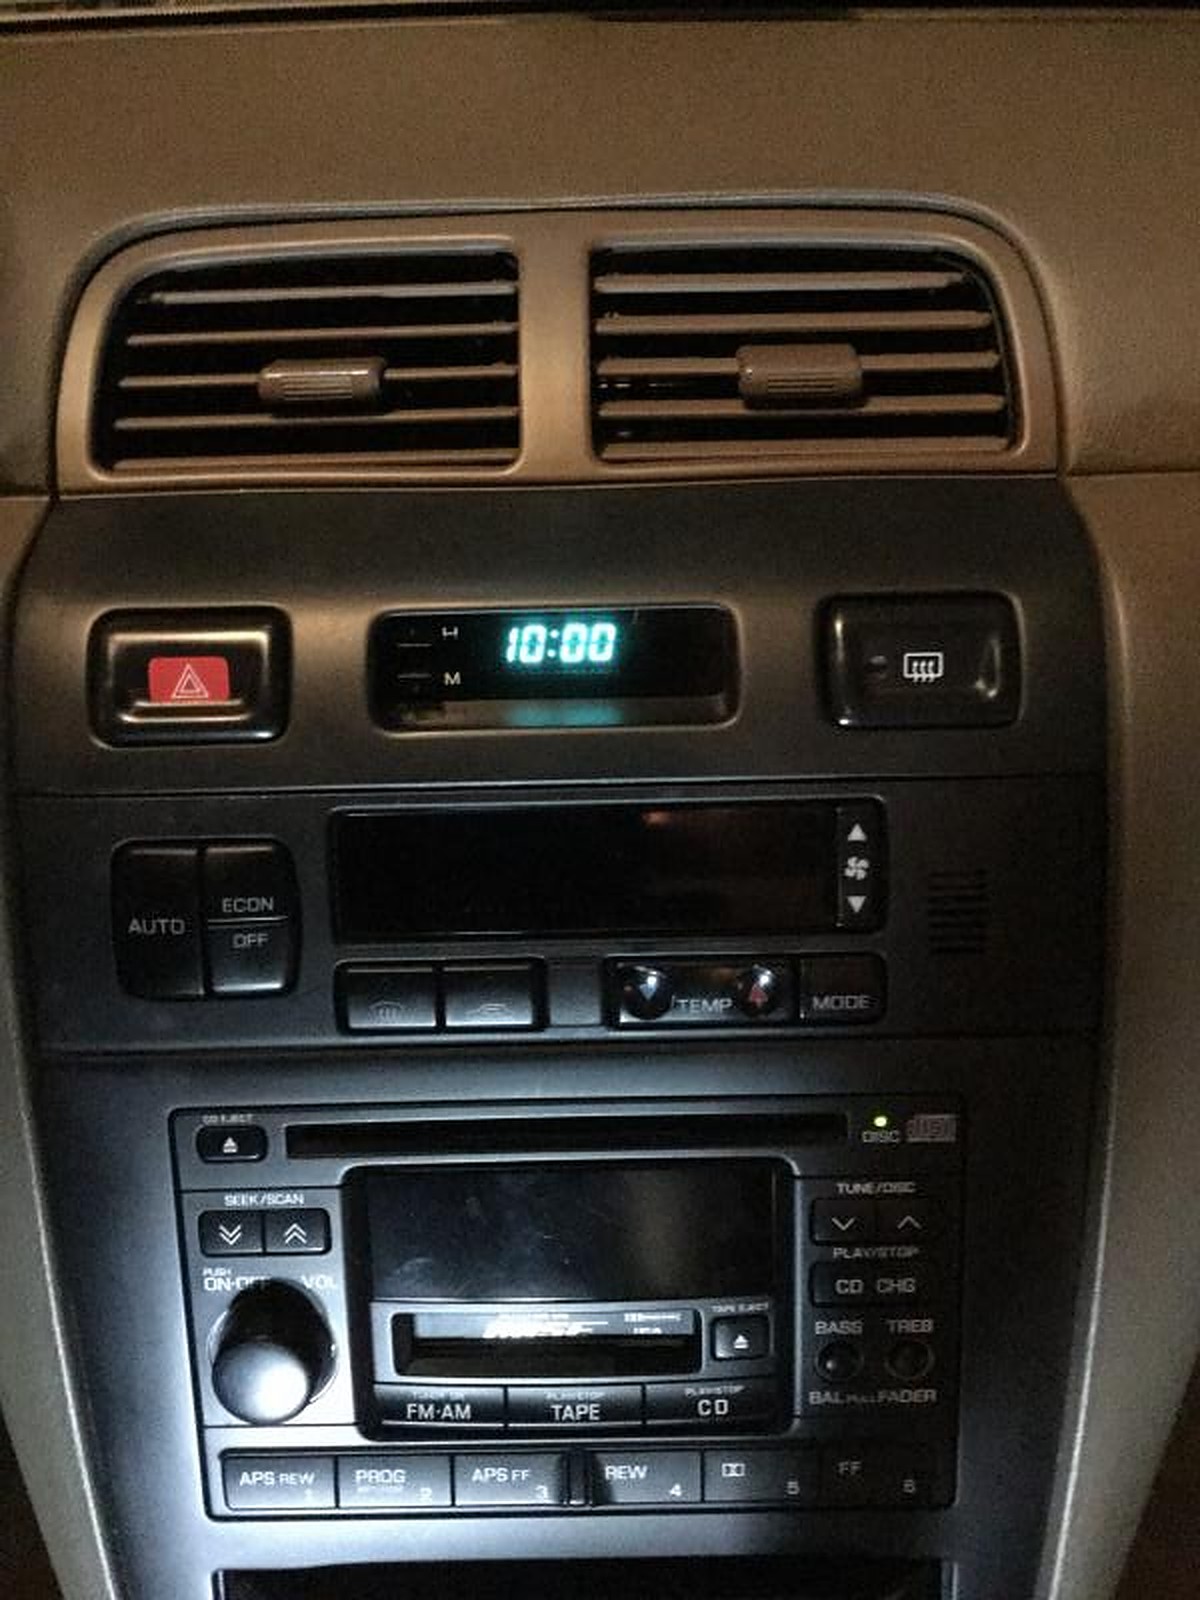
If you want the clock display to remain at high intensity when the lights are on…
1) Remove the clock. This may be done with a small flat-blade screwdriver. Insert the screwdriver blade between the lower right hand corner of the plastic dashboard clock panel and the adjacent softer dash board. Slowly pry the panel up. Continue this at all four corners of the contoured panel until the metal snaps which anchor the panel are loose. Remove the panel by pulling outward and downward.
2) Note that the clock’s electrical connector has four wires. Cut the wire which is red with a blue tracer.
3) Install the clock panel. It just snaps into place.
Credit: Will
NOTE: Use General Judgment (a.k.a Common Sense) when doing modifications like these. This is just what I did to install this spoiler on my car so I am not liable for you drilling a hole in your car or messing something up OK! If you cannot attempt to do this take it to a body shop where they have more experience with fitment issues and putting parts on cars!
Tools:
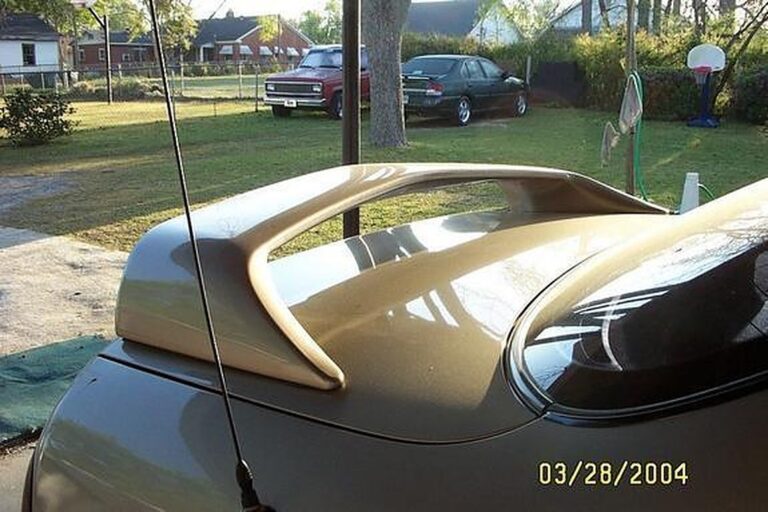
NOTE: This spoiler was made to fit a Mitsubishi Galant’s trunk it is flat all the way across and I put it on my 1997 Nissan Maxima and the Maxima’s trunk is rounded on the ends so it DOES NOT FIT EXACTLY flush on the ends but must bee seen up close to recognize it. I have had my spoiler on my car for 3 years w/no problems at all.
The GTZ spoiler will come w/some short bolts (because it was made for a Galant trunk and the Galant trunk is thinner than a Maxima trunk, also the Maxima’s’ trunk has two walls to drill through) about an 1″ long you will need to buy some bolts that are about 1 ?? long to go all the way through the trunk to tighten into the spoiler. The spoiler will come with a template and a rubber gasket center the gasket and template on the trunk lid and mark your drill points w/a marker. Drill a pilot hole in all the 5 places, two each side for the spoiler bolts and one on the left side for the L.E.D. brake wiring to go through. You will need to drill through both walls on the trunk. Please be patient will all this drilling your holes need to line up. Place the spoiler on the trunk lid and test fit your holes to see if they are straight if they are remove the spoiler and then apply some silicone in around the holes and on the bottom on the spoiler. Tighten down all your bolts to a good and snug hand tight fit. Then run your brake light wiring to the brake light wiring then tap into the ground and the power of the brake light and then splice into it.


Credit: Digital
This is a very cheap mod, as I did it with only $20 worth of supplies.

Supplies Used for modification:
Step 1:
Remove your headlights and corners, this took some time cause there is a good amount of screws to remove. Also, remove the 5 metal clips that hold the headlight on the housing.

Step 2:
Preheat your oven, set it to 250 degrees. Once the temperature has risen to 250, put ONE HEADLIGHT in at a time. Do not put it on the floor of the oven, put it on the metal grate that all ovens have (i.e where you would place a pan in the oven to cook).
Make sure the grate is in the middle of the oven and you place the headlight in the middle of it. Close the oven and set a timer, or microwave timer to 10 minutes. You should smell the glue heating up, and the smell, don’t worry it will go away, and your food will not taste like glue (just a lil FYI for those with wives or mothers who may bug out about it).
Step 3:
Get your gloves and carefully remove the headlight from the oven, be careful of the metal on the headlight, you will get burned if exposed skin touches this part. Place the headlight on a piece of newspaper, and use the thin flathead screwdriver to carefully pry apart the headlight. Do this carefully, cause if you rush, you may break something, and that would not be good.
Here is what it will look like after you completed that step.

Step 4:
Let the headlight cool down a bit, then with being careful about where you are touching, tape up the places where you do not want paint to go. I did one fully with tape, and one with tape and newspaper. I found that using newspaper and tape was quicker to achieve the goal of completion, rather than using all tape. It was also much easier to remove once finished.

This picture below is of how I taped the diamond cut clear corners used for this mod. Stock corners will
not achieve the same type of look that this corners will. Those who have done this mod with stock corners know what I mean.

Step 5:
This might be a little backwards, but it’s how I did it, so that’s how I’ll write it. After taping everything up, I took the 400 grit wet sand paper (the grey looking sand paper) wet it, and lightly sanded the chrome parts of the lights that I will be painting black. This helps the paint stick to the housing better. If you do this mod with out the sanding, it probably won’t come out as good. You don’t have to sand everything off, you just have to make sure the surface is all scratched up, so the reflective coating that was on there is removed, so the paint will adhere better.
After you sanded them down, lightly spray the simple green on the part you’ve sanded, to remove any excess dust or grease, etc. I used a dust sprayer also to make sure any lint from the towel I used wasn’t there.
Step 6:
You are now ready to paint. Make sure you shake your paint very well before you start painting. Shake for at least a minute in order to get the paint mixed well. Also, be sure to make a few test sprays before painting the actual headlight, since the paint in the first few sprays may look brownish, you don’t want that getting on your headlight. Not that it would make your headlights brownish, it’s just good to do a few test sprays on another surface to get accustom to how the aerosol paint will disperse from the can.
Paint with light layers of paint. Holding the can about 6-12 inches away from the surface. I must recommend many layers of light coats, so the paint holds better, and has a deeper color black from the many layers. With using many layers, it will also withstand the test of time better.
Be sure to look at the light from many different angles. Also, in different lights as well. I was almost ready to bake mine back together and I found a few spots that the paint remarkably did not hit, so I had to do a couple more shots from a different angle in order to achieve paint in that area of the headlamp.
After painting both the corners and the headlamps, I used up 1 entire can, and about 80% (estimated) of the second can. I also used up the entire worth of the clear coat as well. The clear coat I also used in layers, but I put it on a little thicker than the actual black paint. I made sure I had a good coating on there, so the clear coat could be used as a slightly reflective area.

Below are pictures of the corners painted.

Step 7
Now after you have painted, I know there is an urge to get the lenses on and get them back on your car. Resist that urge to complete, and let them dry over night. Cover them with some newspaper so dust or specks of dirt or lint to not fall on the paint itself while drying. Note: The paint SHOULD be dry in less than a couple hours, but I preferred to play it safe and let it dry over night.
Step 8
After letting the lights dry over night, go back and remove the newspaper from the lights, and in no time, throughout this modification should you “check to see” if the paint is dry. The paint will dry completely and perfectly over night. When handling the lights after, do not touch the paint, you don’t want to risk any fingerprints on your paint, especially once you turn them on at night and show someone your new lights, you don’t want to see your fingerprint there. I picked them up from the sides and brought them to the oven.
Press the plastic back onto the glue carefully but firmly. Be sure to have the edges of the plastic line up correctly so water will not get into the light housing. At this time, the oven should be heating to 250 degrees, and a timer should be set for 10 minutes. Now repeat the heating process, 10 minutes, one light at a time. Be wary though, the smell of the glue plus the paint getting hot, will burn your eyes and nose just a bit (just a fair warning for you) so when removing the lights be sure to get horizontal with the oven, to avoid having those putrid smelling gases hit you in the face when you open the oven to remove your lights. Also, please do remember to have your gloves ready for this process as well. I mean I would hope you’d have them seeing that you needed them in the first place, but some people do forget so this is a reminder, HAVE YOUR GLOVES READY! 🙂
Step 9
Put the 5 metal clips that you originally removed from the headlights back on the headlamps. If you prefer, you can silicone around the headlight housing lightly, in order to be sure they are water tight. I did not do this, cause I was lucky, and even thru heavy rain storm (12 hours straight) there was not a drop of condensation in the headlamps or corners. Now put the headlights back on the car, and look at the final product. Best 20$ you’ve probably spent in a while, and a good look for your ride. Custom lights. 🙂
Step 10
Now get a nice camera, preferably a SLR, and take some pics! If you have any questions, please feel free to contact me via e-mail.
Here’s a few more pics of the finished mod.


