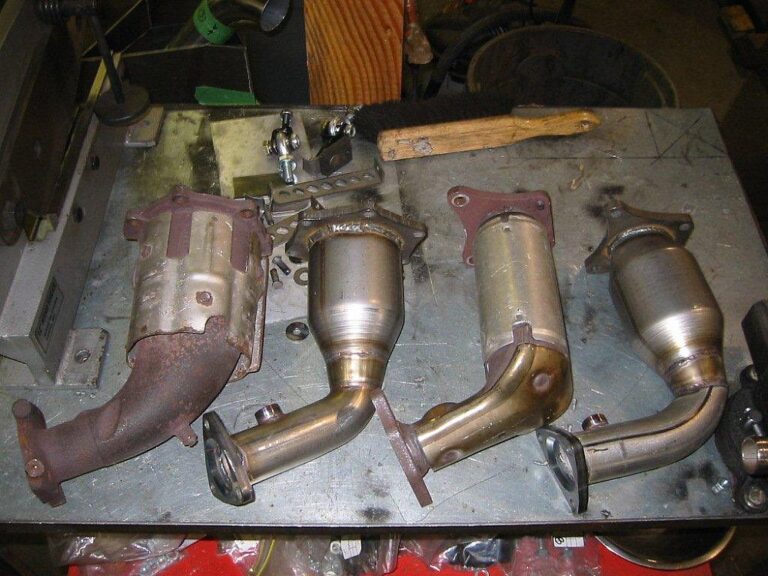
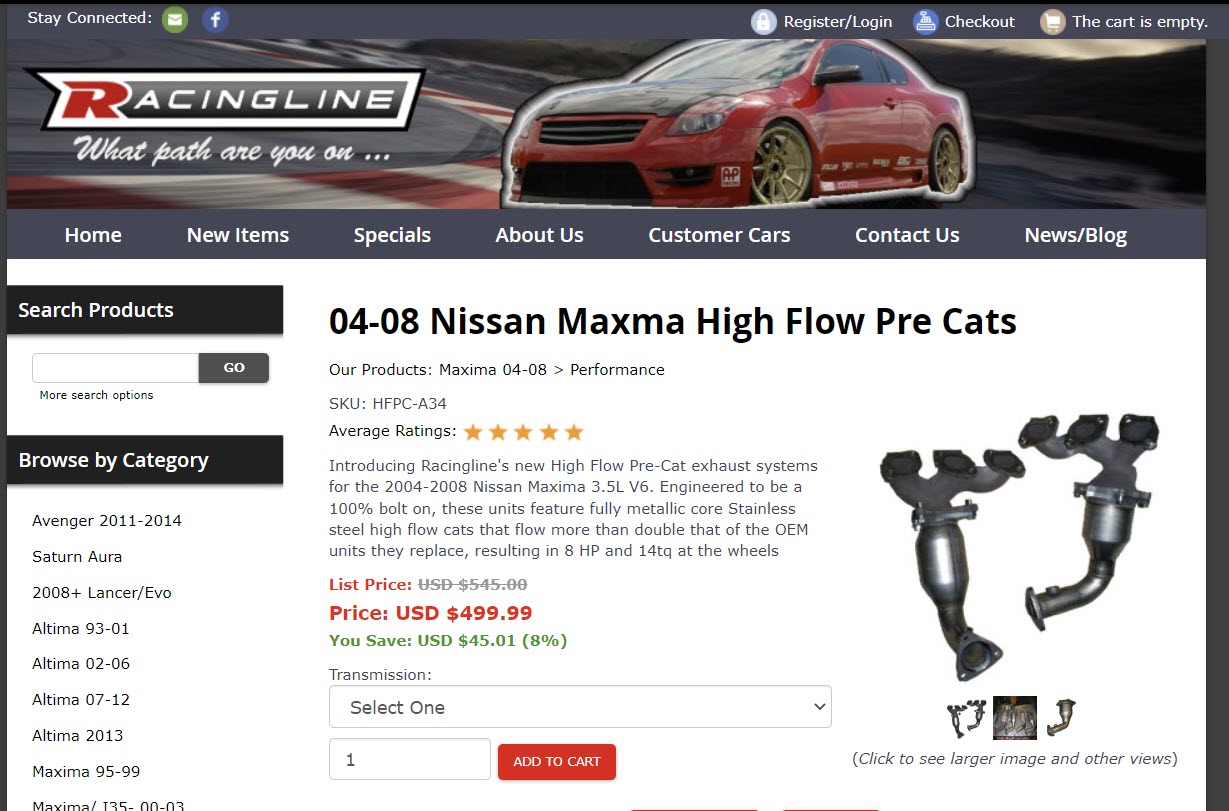
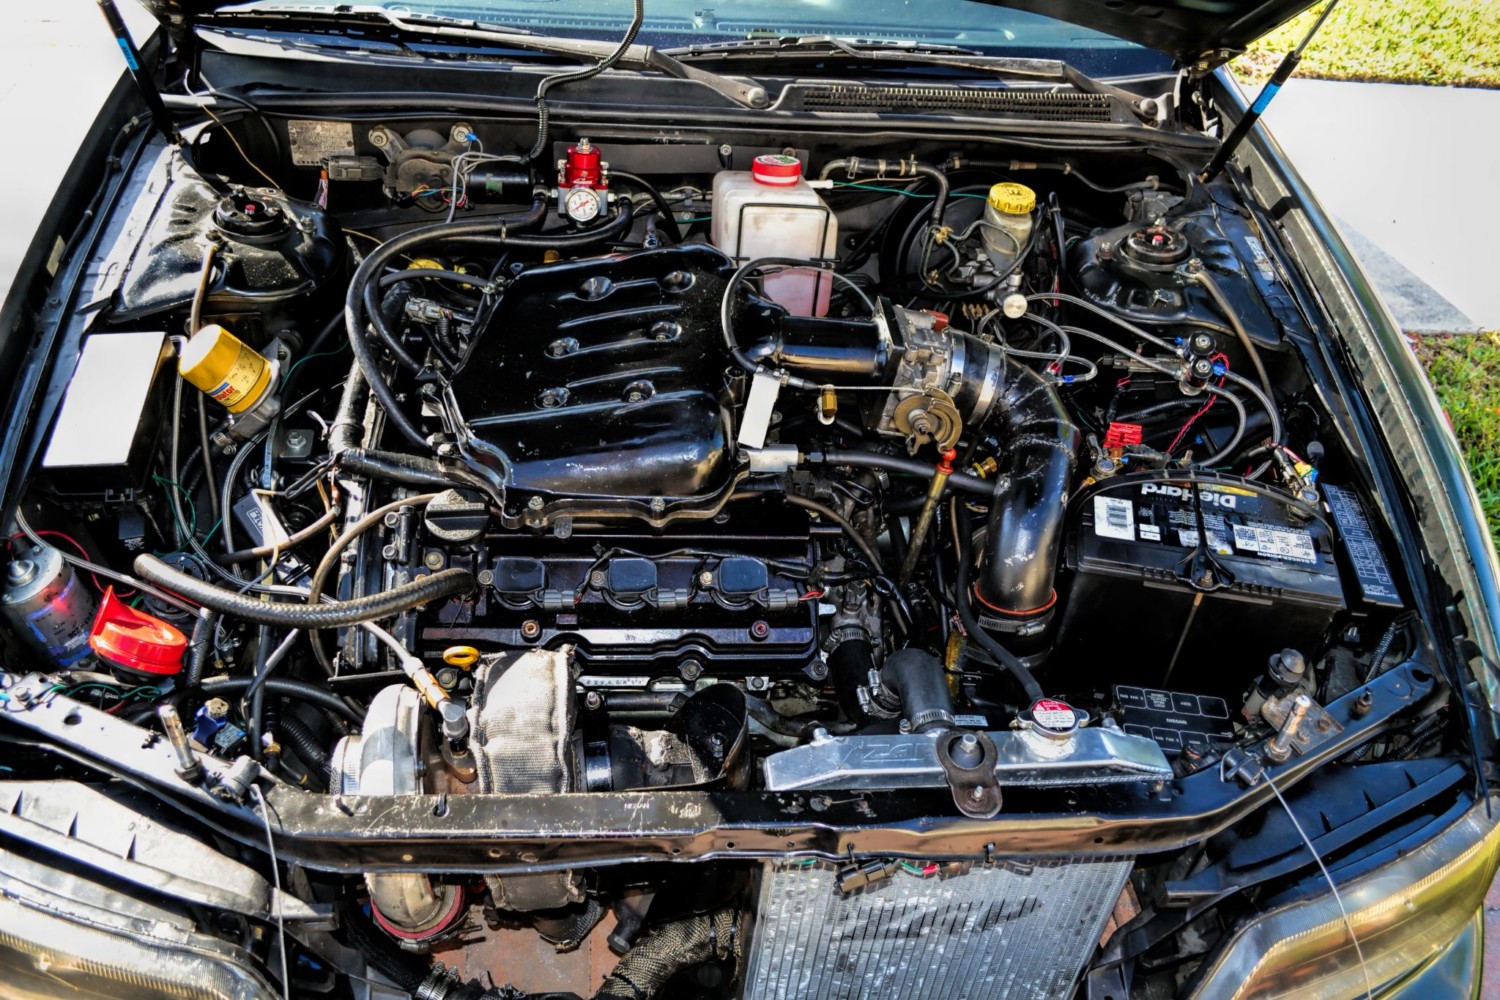
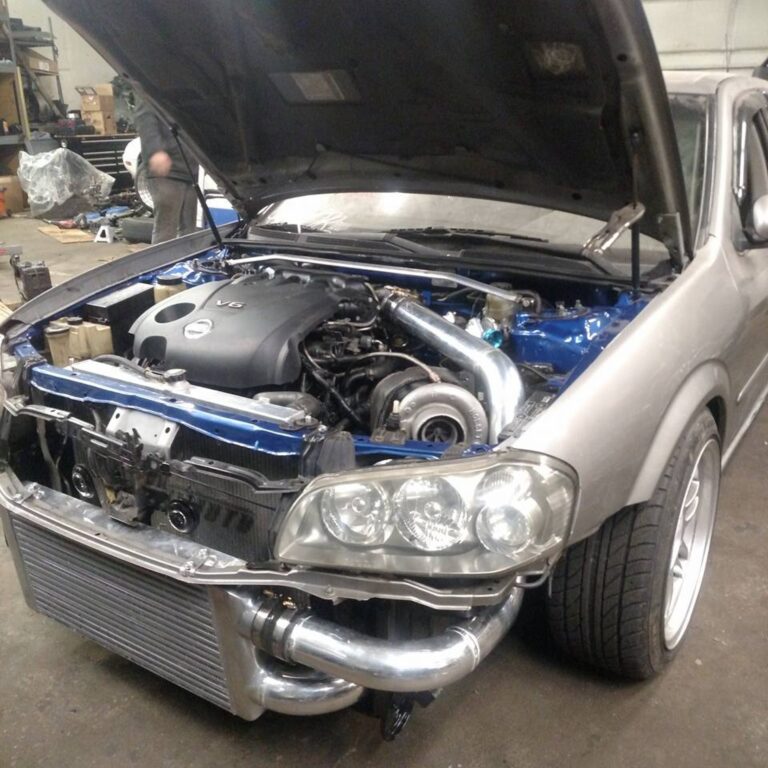
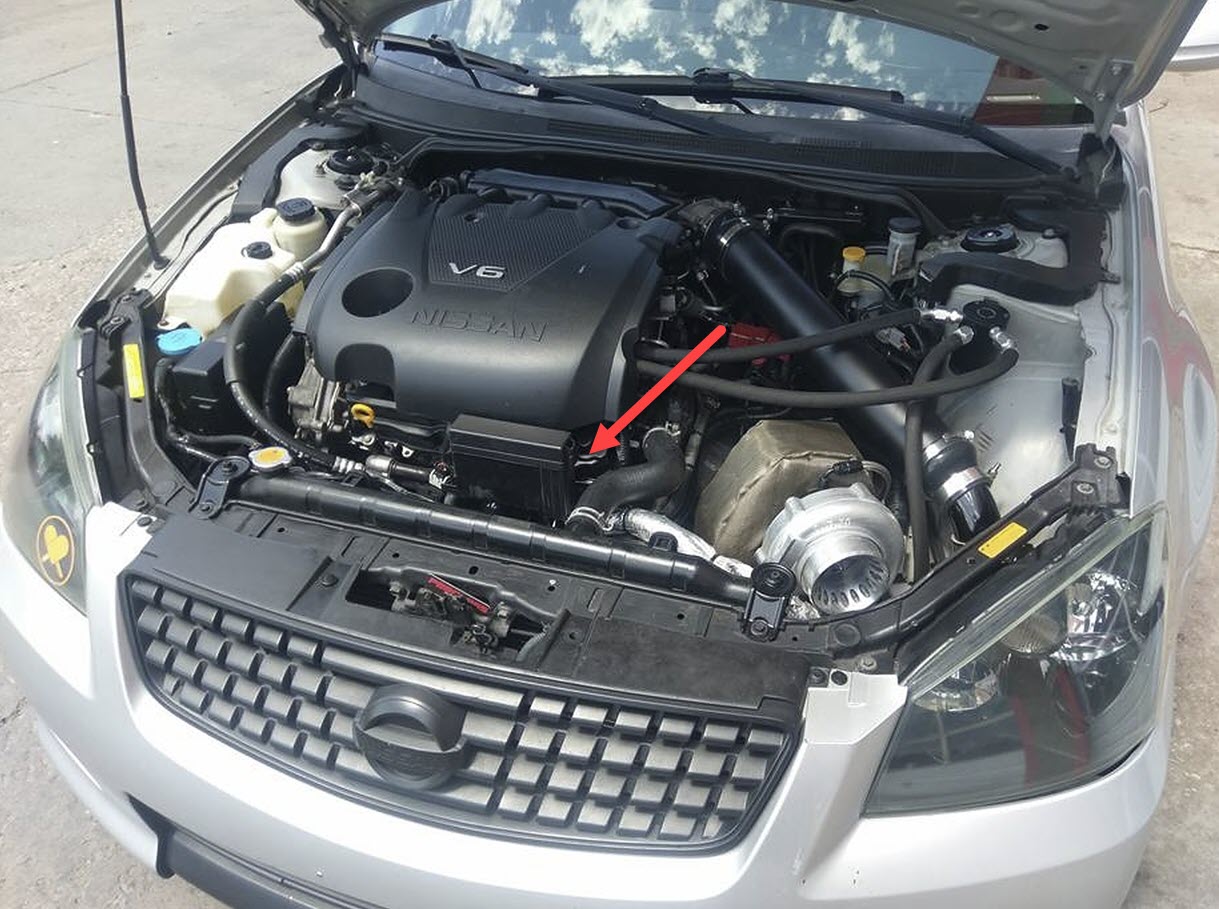
Introducing Racingline’s new High Flow Pre-Cat exhaust systems for the 2004-2008 Nissan Maxima. Engineered to be a 100% bolt on, these units feature fully metallic core Stainless steel high flow cats that flow more than double that of the OEM units they replace, resulting in 8 HP and 14tq at the wheels.
Price: $499.99 Part Number: HFPC-A34
Designed as a “header alternative” for cars that are experiencing failed pre-cat units. Until now, if a pre-cat failed your only options was customizing a header set (that takes upwards of 8-10 hours installation with no guarantee against SES/CEL lights) or going to the Nissan dealer and spending $700 each on the pre-cat units.
Racingline HFPC’s feature:
100% bolt on performance in under 4-hours
3-way ODBII compliant metallic core substrate units that flows more than double that of the OEM units
No CEL/SES lights.
No modifications
Tig welded 304 stainless steel body’s
8hp & 14l ft/lbs @ the wheels
weigh 10lbs less than the OEM units
Will work with Racingline, OEM and all other Ypipes designed to mimic the stock mounting setup
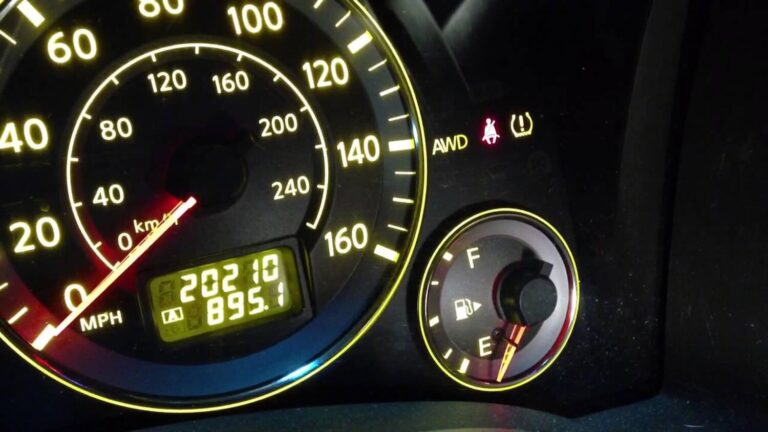
Perform this DIY at your own risk. Please DO NOT have open flames near the gas tank and work in a well ventilated area. As your FX age, the gas gauge gradually become less accurate to the amount of gas left in the tank. This DIY will fix the gas gauge problem.
I would recommend to do this fix when your tank is close to empty to avoid fuel continually spraying out of the fuel line as you disconnect it from pump.
Tools: Pencil with eraser top, pliers, screw drivers (philips and flat), 8 mm socket and ratchet.
To begin, remove the rear seat by pulling on the black ring at the bottom edge of the seat and
lift the seat. Remove the seat and the flimsy insulation sheet.
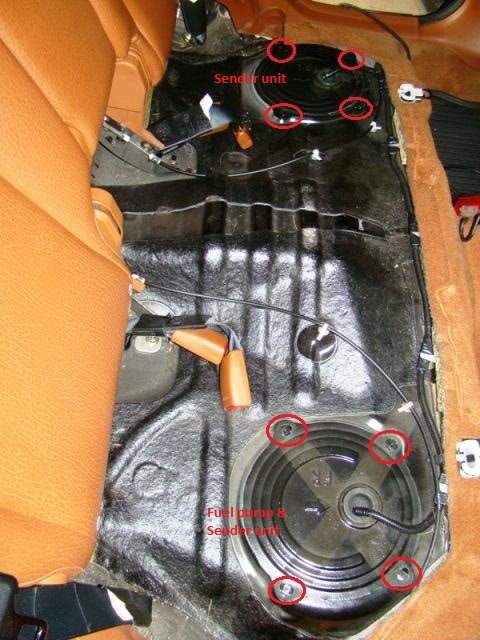
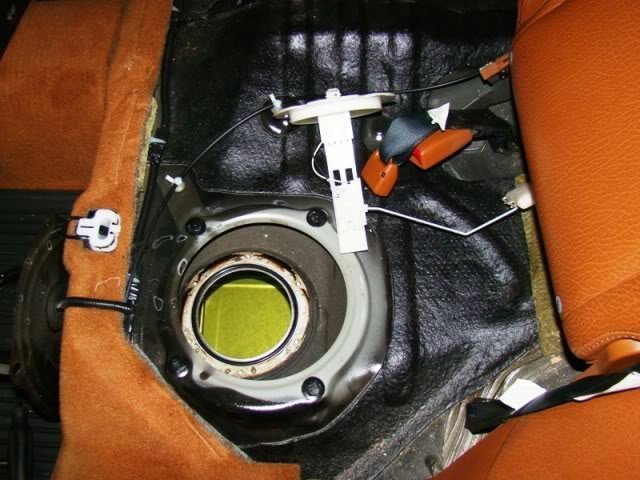
To remove the access door to the gas pump assembly and sender, use a philips screw driver and turn the black plastic locks in the direction imprinted on the lock. I find using a pliers is much easier than a screw driver
Start with the sender unit located on the driver side rear seat. Undo the six 8 mm bolts, unplug the electrical connector, remove the fuel sender retainer ring and lift the send unit out of the tank.
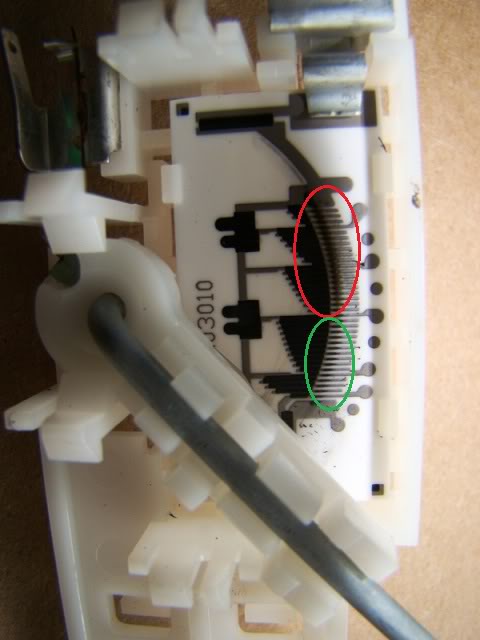
Use a flat head screw driver and gently pry on the hooks to expose the part that needs to be cleaned.
In this pic the part in the red circle is dirty. The part in the green circle has already been cleaned.
To clean, using the eraser, gently rub the black deposit off the silver leads.
All clean up. Move the floater arm to the center and pop the plastic cover back on. Insert the sender unit back into tank, bolt the sender retainer ring back, plug the electrical connector back and put the access door back.
Turn the locks in the opposite direction of the imprinted arrow to lock the access door in place. I find using a pliers is much easier to turn the locks back.
Now start to work on the send unit that is attached to the fuel pump. The fuel pump is located on the passenger side rear seat. To removing the fuel line, squeeze the white tab and pull on the fuel line to separate them. There will be a little squirt of fuel when they become apart. Have some rags handy!
If your tank is full, you may need a cup/pan to catch the fuel as it will continually dripping
from the disconnected fuel line.
Unplug the electrical connector. Undo the six 8 mm bolts to remove the fuel pump retainer ring. Note, when you undo the last couple of bolts, hold the retainer ring as the fuel pump will try to pop out of the tank.
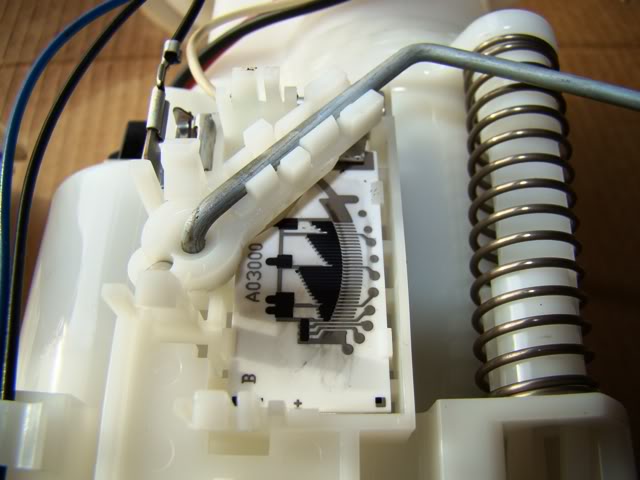
Carefully lift and work the pump assembly out of the tank. Use a flat head screw driver and gently pry on the hooks to expose the part that needs to be cleaned.
Dirty sender leads. Again using the eraser, gently rub the black deposit off the silver leads.
All clean up. Move the floater arm to the center and pop the plastic cover back on. Insert the sender unit back into tank, bolt the sender retainer ring back, plug the electrical connector back and put the access door back.
Turn the locks in the opposite direction of the imprinted arrow to lock the access door in place. I find using a pliers is much easier to turn the locks back.
Additional Photos:
The fuel pump listed at $258.
Fuel pump sender unit circuit board.
Stand alone (driver side) sender unit circuit board.
This adds more grounds to your car. Really useful if your ones from the factory are worn out. Lights brighter, audio better, and windows go up faster. I have an auto so my shifts are a little smoother too.
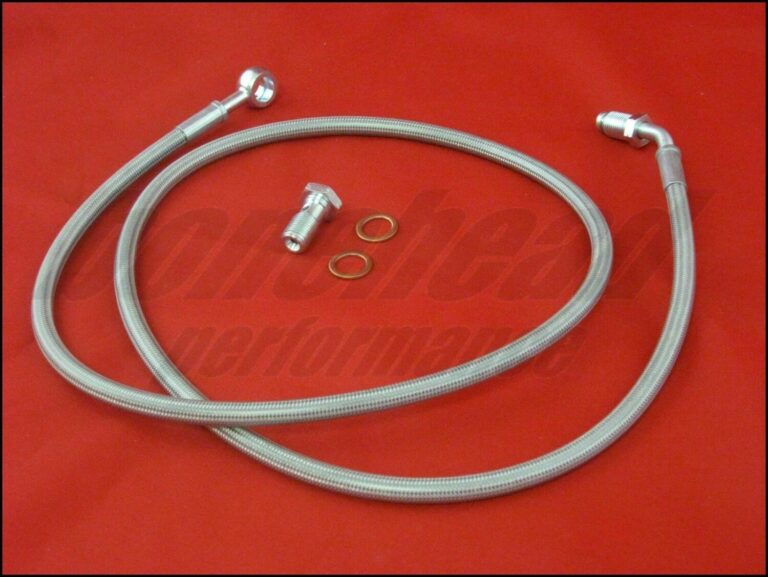
This is a complete kit from the slave cylinder to the master cylinder. This line will replace your factory metal & rubber lines with a stainless braided line. All clutch lines are single lines made of stainless steel braided hose with a protective PVC covering.
These parts work for the following manual transmission vehicles:
1995-1999 4thgen Nissan Maxima
2002-2003 5thgen Nissan Maxima
2004-2006 6thgen Nissan Maxima
2002-2006 Nissan Altima
2002-2006 Nissan Sentra
Bolts, washers & fittings are included if required (Shown in picture). All you do is remove the factory OEM line and replace it with our clutch line kit.
Description: Master to Slave Cylinder Complete Clutch Line Kit
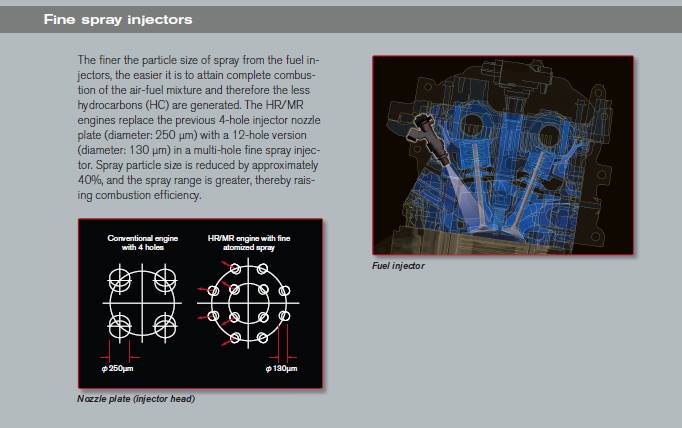
I was reading one of Nissan’s technical documents on the HR engine and its improvements HERE when I came across this:
Which then had me wondering if these improved injectors flowed less fuel in FWD applications compared to RWD applications as they did with the First generation VQ35DE. In addition to the flow rate, I was also interested in seeing how the injector spray patterns compared with the different hole configurations.
I had an ASNU Classic Injector Flow Bench at my disposal at school, so I finally took advantage of it, and cleaned & flow tested a handful of injectors to say the least.
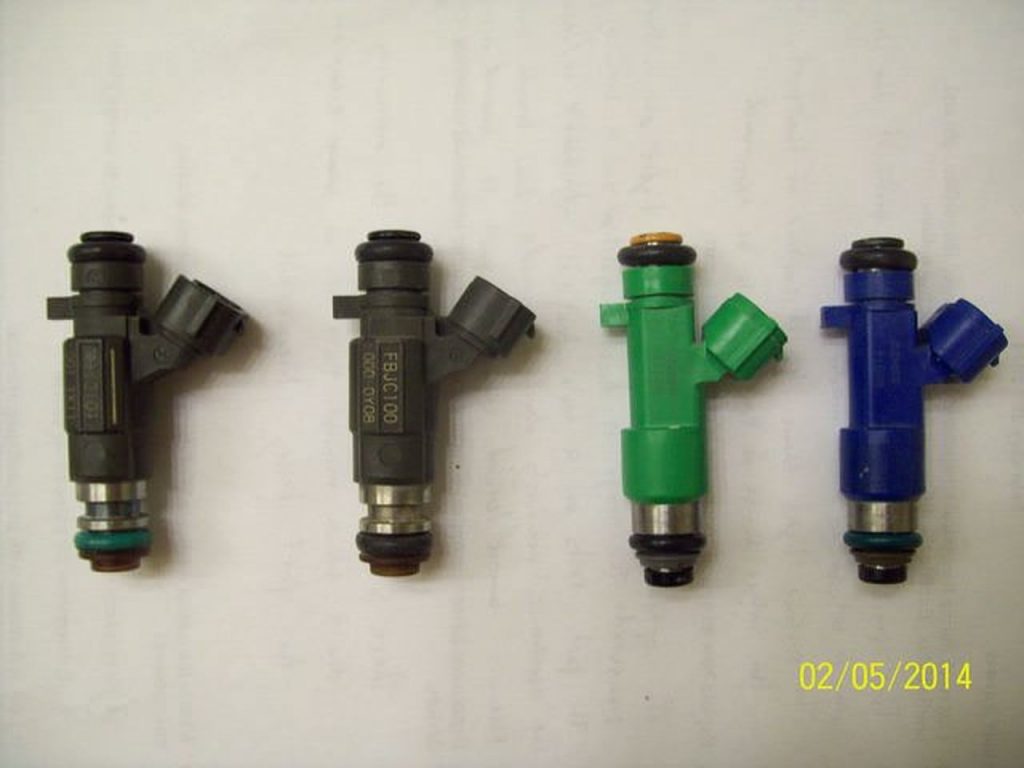
Injectors tested:
21 FBJC100 [VQ30DE-K] 5th Gen Maxima
7 FBJC101 [1st Gen FWD VQ35DE] 5.5 Gen Maxima
12 Green Denso [2nd Gen FWD VQ35DE] 7th Gen Maxima
6 Green Denso [VQ35HR] 350z
6 Blue Denso [VR38DETT] GT-R
Test Procedure:
Each Injector was run on a 10 minute automatic cleaning cycle before testing
A test run was then done to set fuel pressure at 3 bar while the injector is spraying
Each injector was tested three times and its results averaged
Each injector test was run for 20 seconds with the exception of the Blue Densos, which were run for 10 seconds
I wasn’t able to take clear pictures of the holes in the injector nozzle plate. So this description will have to do.
FBJC100 – 4 hole
FBJC101 – 18 hole
Green Denso – 12 hole
Blue Denso – 12 hole
Results
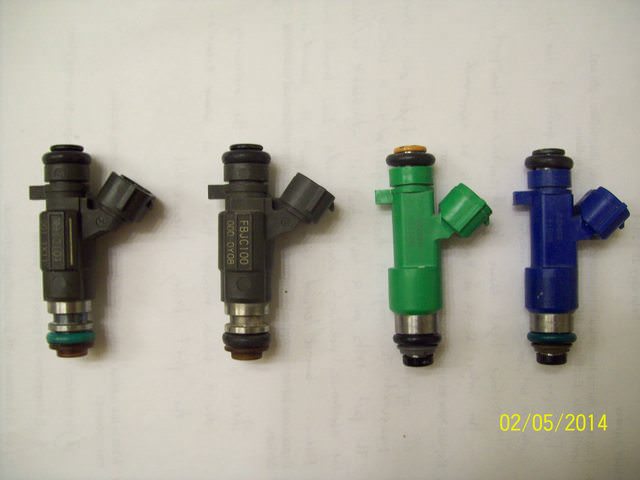
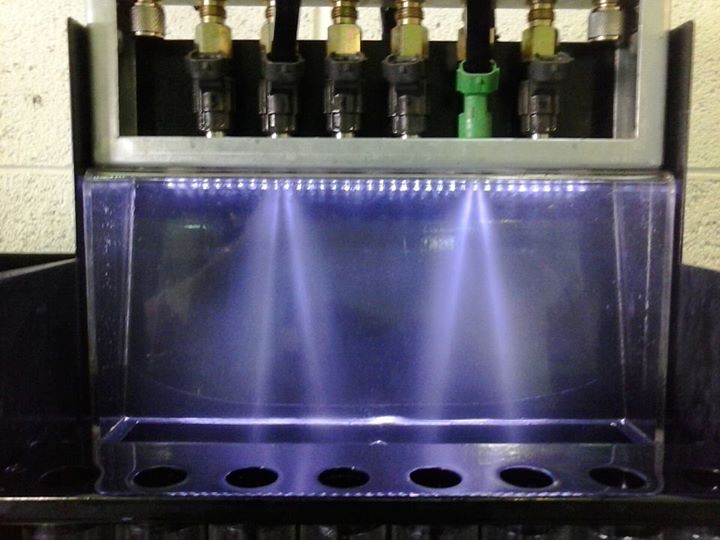
FBJC100 left, Green Denso right
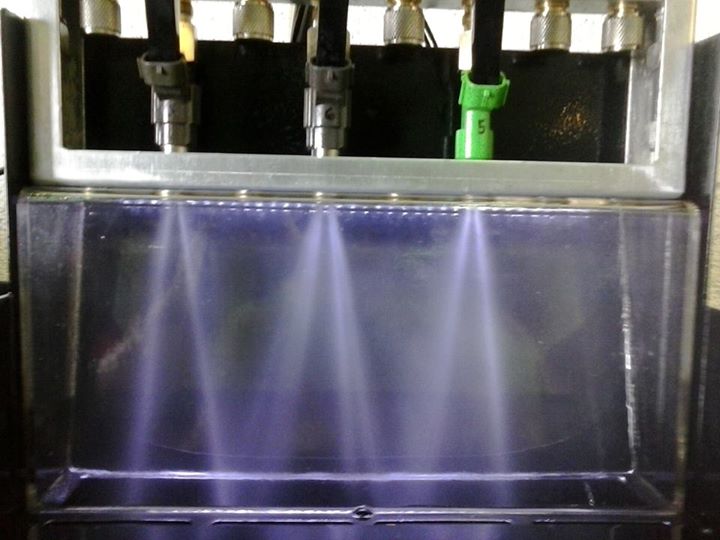
FBJC100 left, FBJC100 middle, Green Denso right
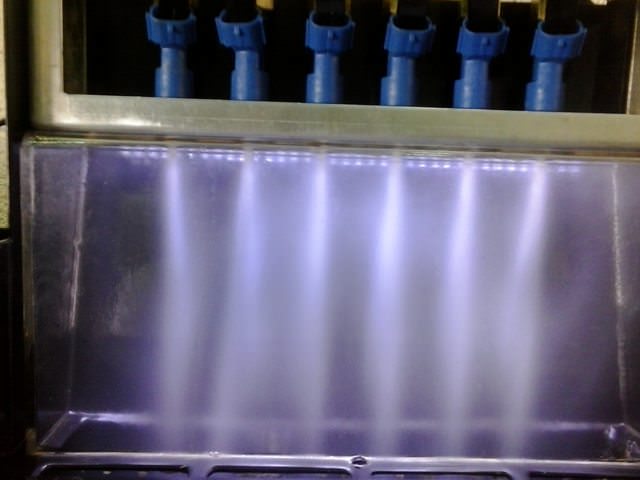
Blue Denso
I also recorded videos of pulse testing as well.
Static Flow Test Results at 3 bar:
FBJC100 – 306 cc/min
FBJC101 – 294.25 cc/min
Green Denso – 309.25 cc/min
Blue Denso – 546 cc/min
To sum it up, the Green Densos in the newer VQ35HR and HR styled 09+ VQ35DE have the same flow rate. At that, they only flow a tiny bit more fuel than the FBJC100, but have better atomization. The Green Denso injectors are also lighter in weight than the FBJC100 at 0.070lb each for the Green Denso, and 0.098lb each for the FBJC100.
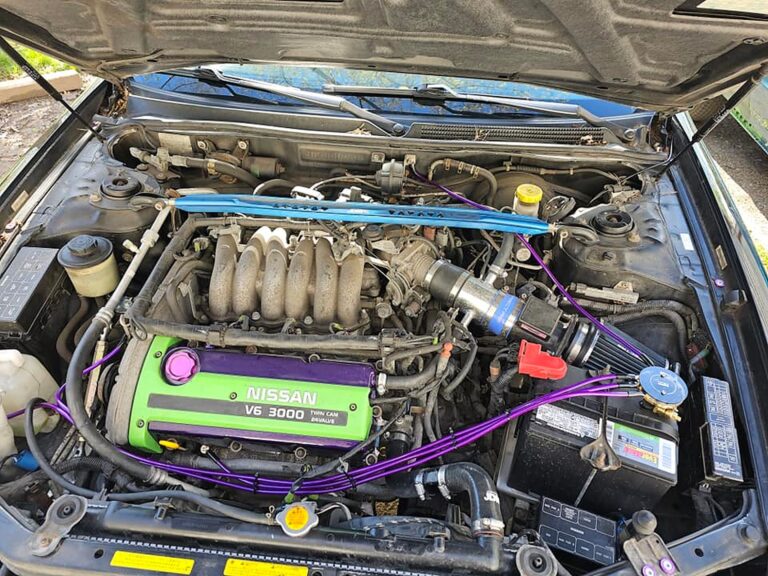
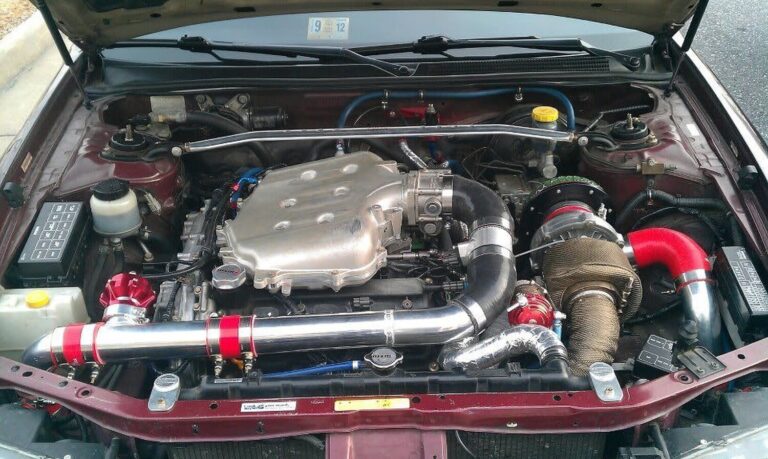
You will need the front valve cover from a 350z and modify the plenum to clear the hood. The FWD fwd valve cover on the driver’s side won’t work cause of the oil plug.
The Front Strut Bar does fit
You can use everything from your 2K2 including the ECU and Electronic TB
350z Lower Intake is 350z with 350z injectors (Direct Bolt-on)
The Rails are the same but the injectors are different.
Most people won’t do this mod because of the hood clearance issue. But you can easily use a Hood Scoop.
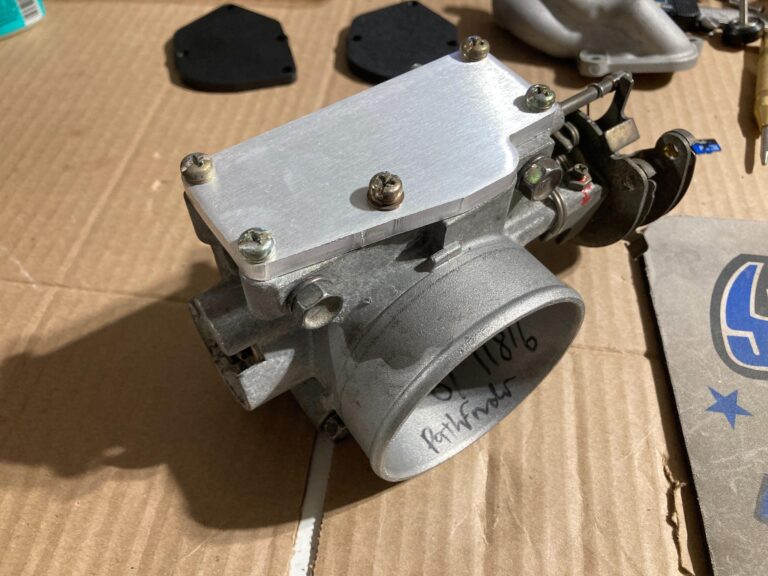
The powerband is much smoother. The TPS piece is made out of a piece of sheet metal and aluminum.
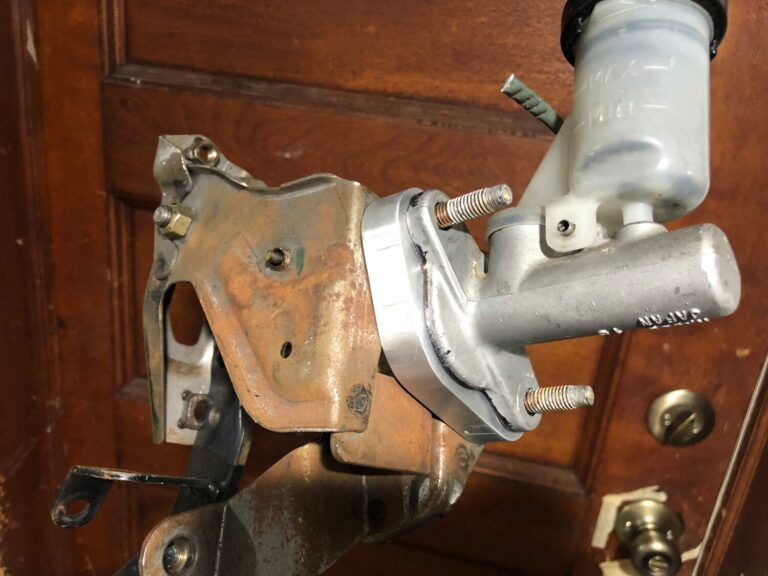
Kirill made a limited special run of clutch pedal spacers for 5-speed and 6-speed. This is a one piece 5/8 thick aluminum spacer, it gets installed on the inside of the firewall for auto to manual swapped Maxima’s.
$65.00 bucks shipped within the US. You can join my4thgen FB group for more details and ordering from Kirill (if there are more available). ALL SOLD!
Benefits:
If you’ve seen what’s spacing the clutch pedal in OEM form, anyone can benefit from this. The stock spacer is a tiny piece of bent steel, this provides a nice solid mounting point for the pedal, great for heady pressure plates. But keep in mind, if your car was manual when it was born, you’d need to drill out the stock spacer to use this. Auto to manual swapped cars, this is the best plug and play option. Great alternative to 5/8s worth of flat washers.