


Credit: Brian C.
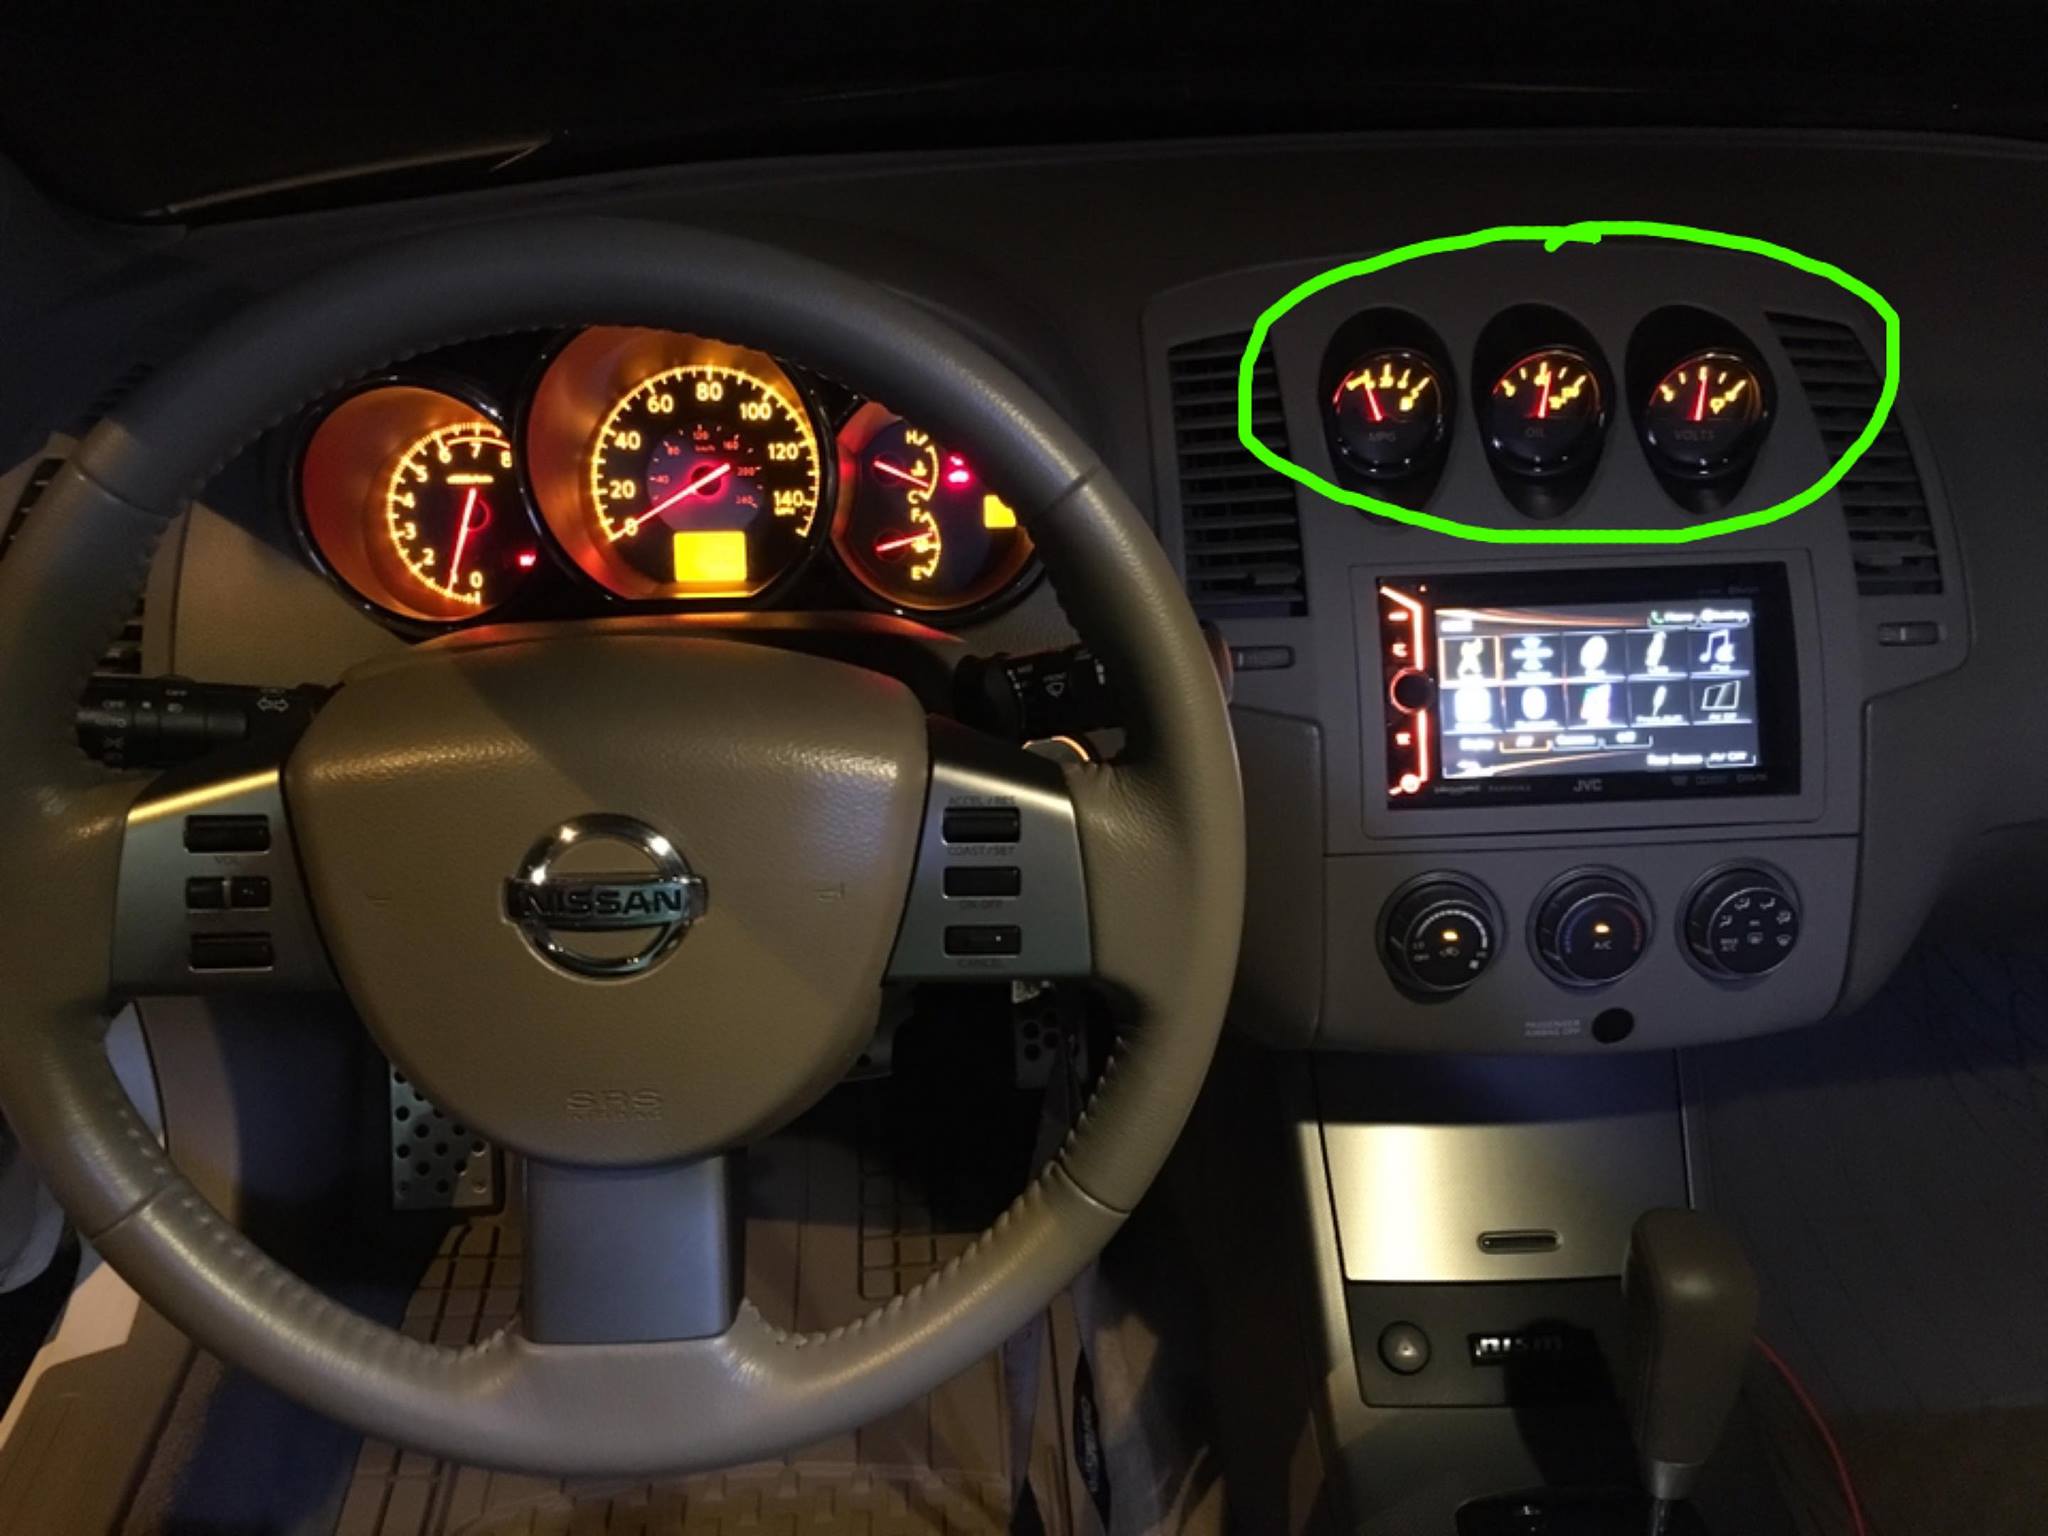
If you own a 2005–2006 Nissan Altima SE-R and your oil pressure gauge is reading incorrectly, there’s a good chance the problem isn’t mechanical at all. Nissan built a self-diagnosis mode directly into the combination meter, and it allows you to electrically test all gauges without removing a single part.
This feature is buried in the factory service manual, which explains why so many owners never hear about it.
What This Test Does
The self-diagnosis mode verifies:
-
Oil pressure gauge
-
Voltmeter
-
Fuel gauge
-
Temperature gauge
-
Warning lights and cluster segments
If the gauges sweep correctly, your issue is likely a sensor or wiring input, not the cluster itself.
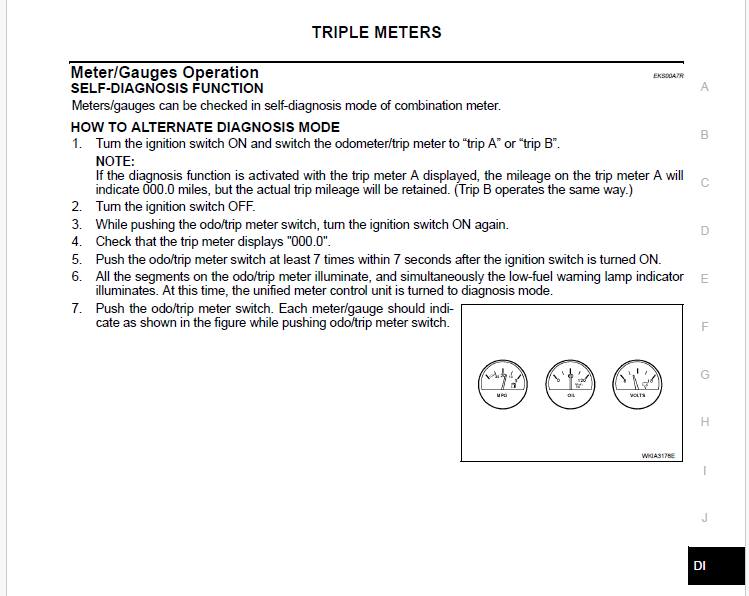
Official Nissan Gauge Self-Diagnosis Procedure
This procedure comes straight from the Meter/Gauges Operation – Self-Diagnosis Function section of the service manual.
-
Turn the ignition ON
-
Use the odometer/trip button to select Trip A or Trip B
-
Turn the ignition OFF
-
Press and hold the odometer/trip button
-
While holding the button, turn the ignition ON
-
Confirm the trip display shows “000.0”
-
Within 7 seconds, press the odometer/trip button at least 7 times
If done correctly:
-
All cluster segments illuminate
-
The low-fuel warning lamp turns on
-
The cluster enters diagnosis mode
Each press of the trip button will then cycle and indicate each meter/gauge individually, as shown in the factory illustration.
Why This Matters for Oil Pressure Issues
Many Altima SE-R owners assume a bad oil pump or engine issue when the oil pressure gauge acts up. This test lets you rule out the gauge and cluster instantly.
-
✅ Gauge sweeps correctly → check oil pressure sender or wiring
-
❌ Gauge does not respond → cluster or internal electronics issue
I spent far too long hunting down wiring diagrams before finding this page in the manual. Hopefully this saves someone else hours of unnecessary troubleshooting.
![]()


")


")


")


