Member Credit: HElShaer





Member Credit: Mikkellucci
I purchased the Akebono calipers, pads, etc. However, I just couldn’t go thru with adding that much unnecessary rotor weight to my car. And I’m talking about the Z1 “light weight” 2 piece ($1300) front and rear rotors. Even those add a ton of F/R weight because they are so large in diameter.
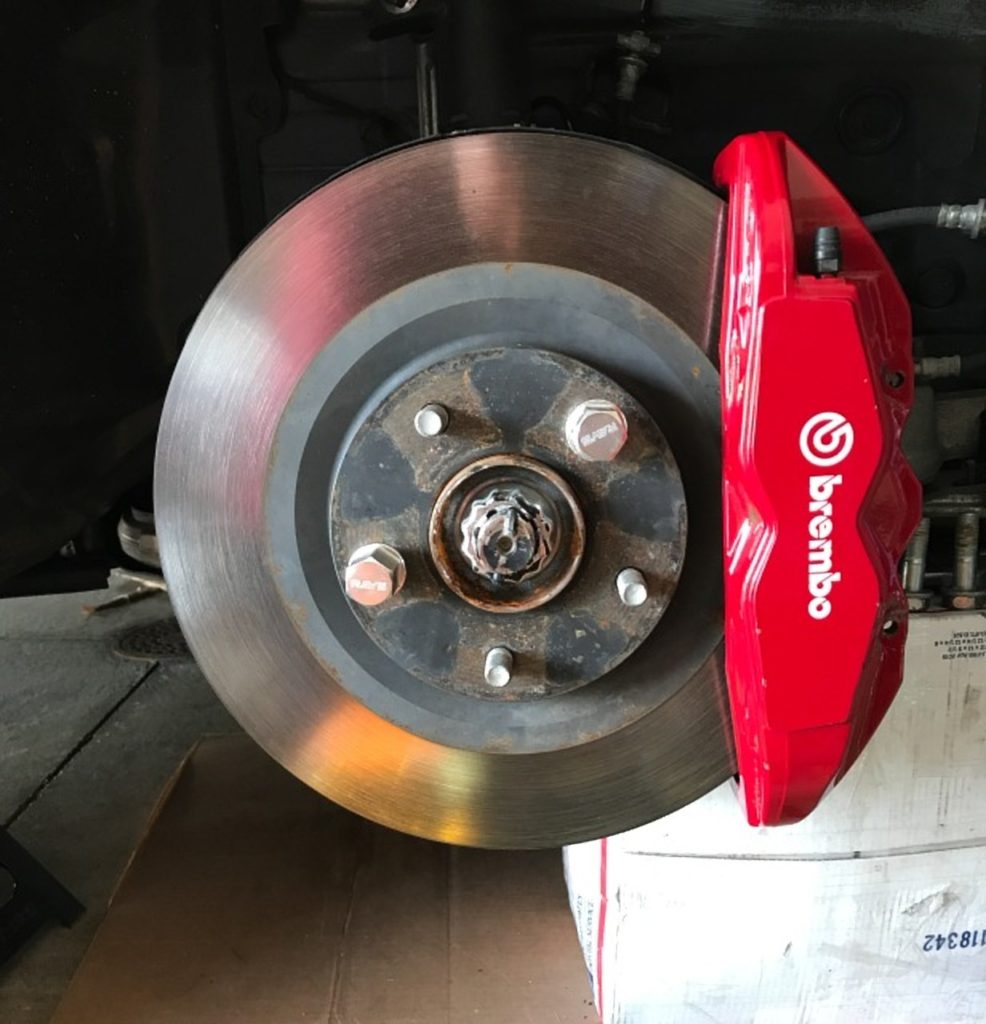
I decided to go my own route. I started working on a light weight solution using 350z rear Brembos and 2 piece rotors. The front will use 350z 2 piece rotors and a larger Brembo caliper from a genesis track spec.
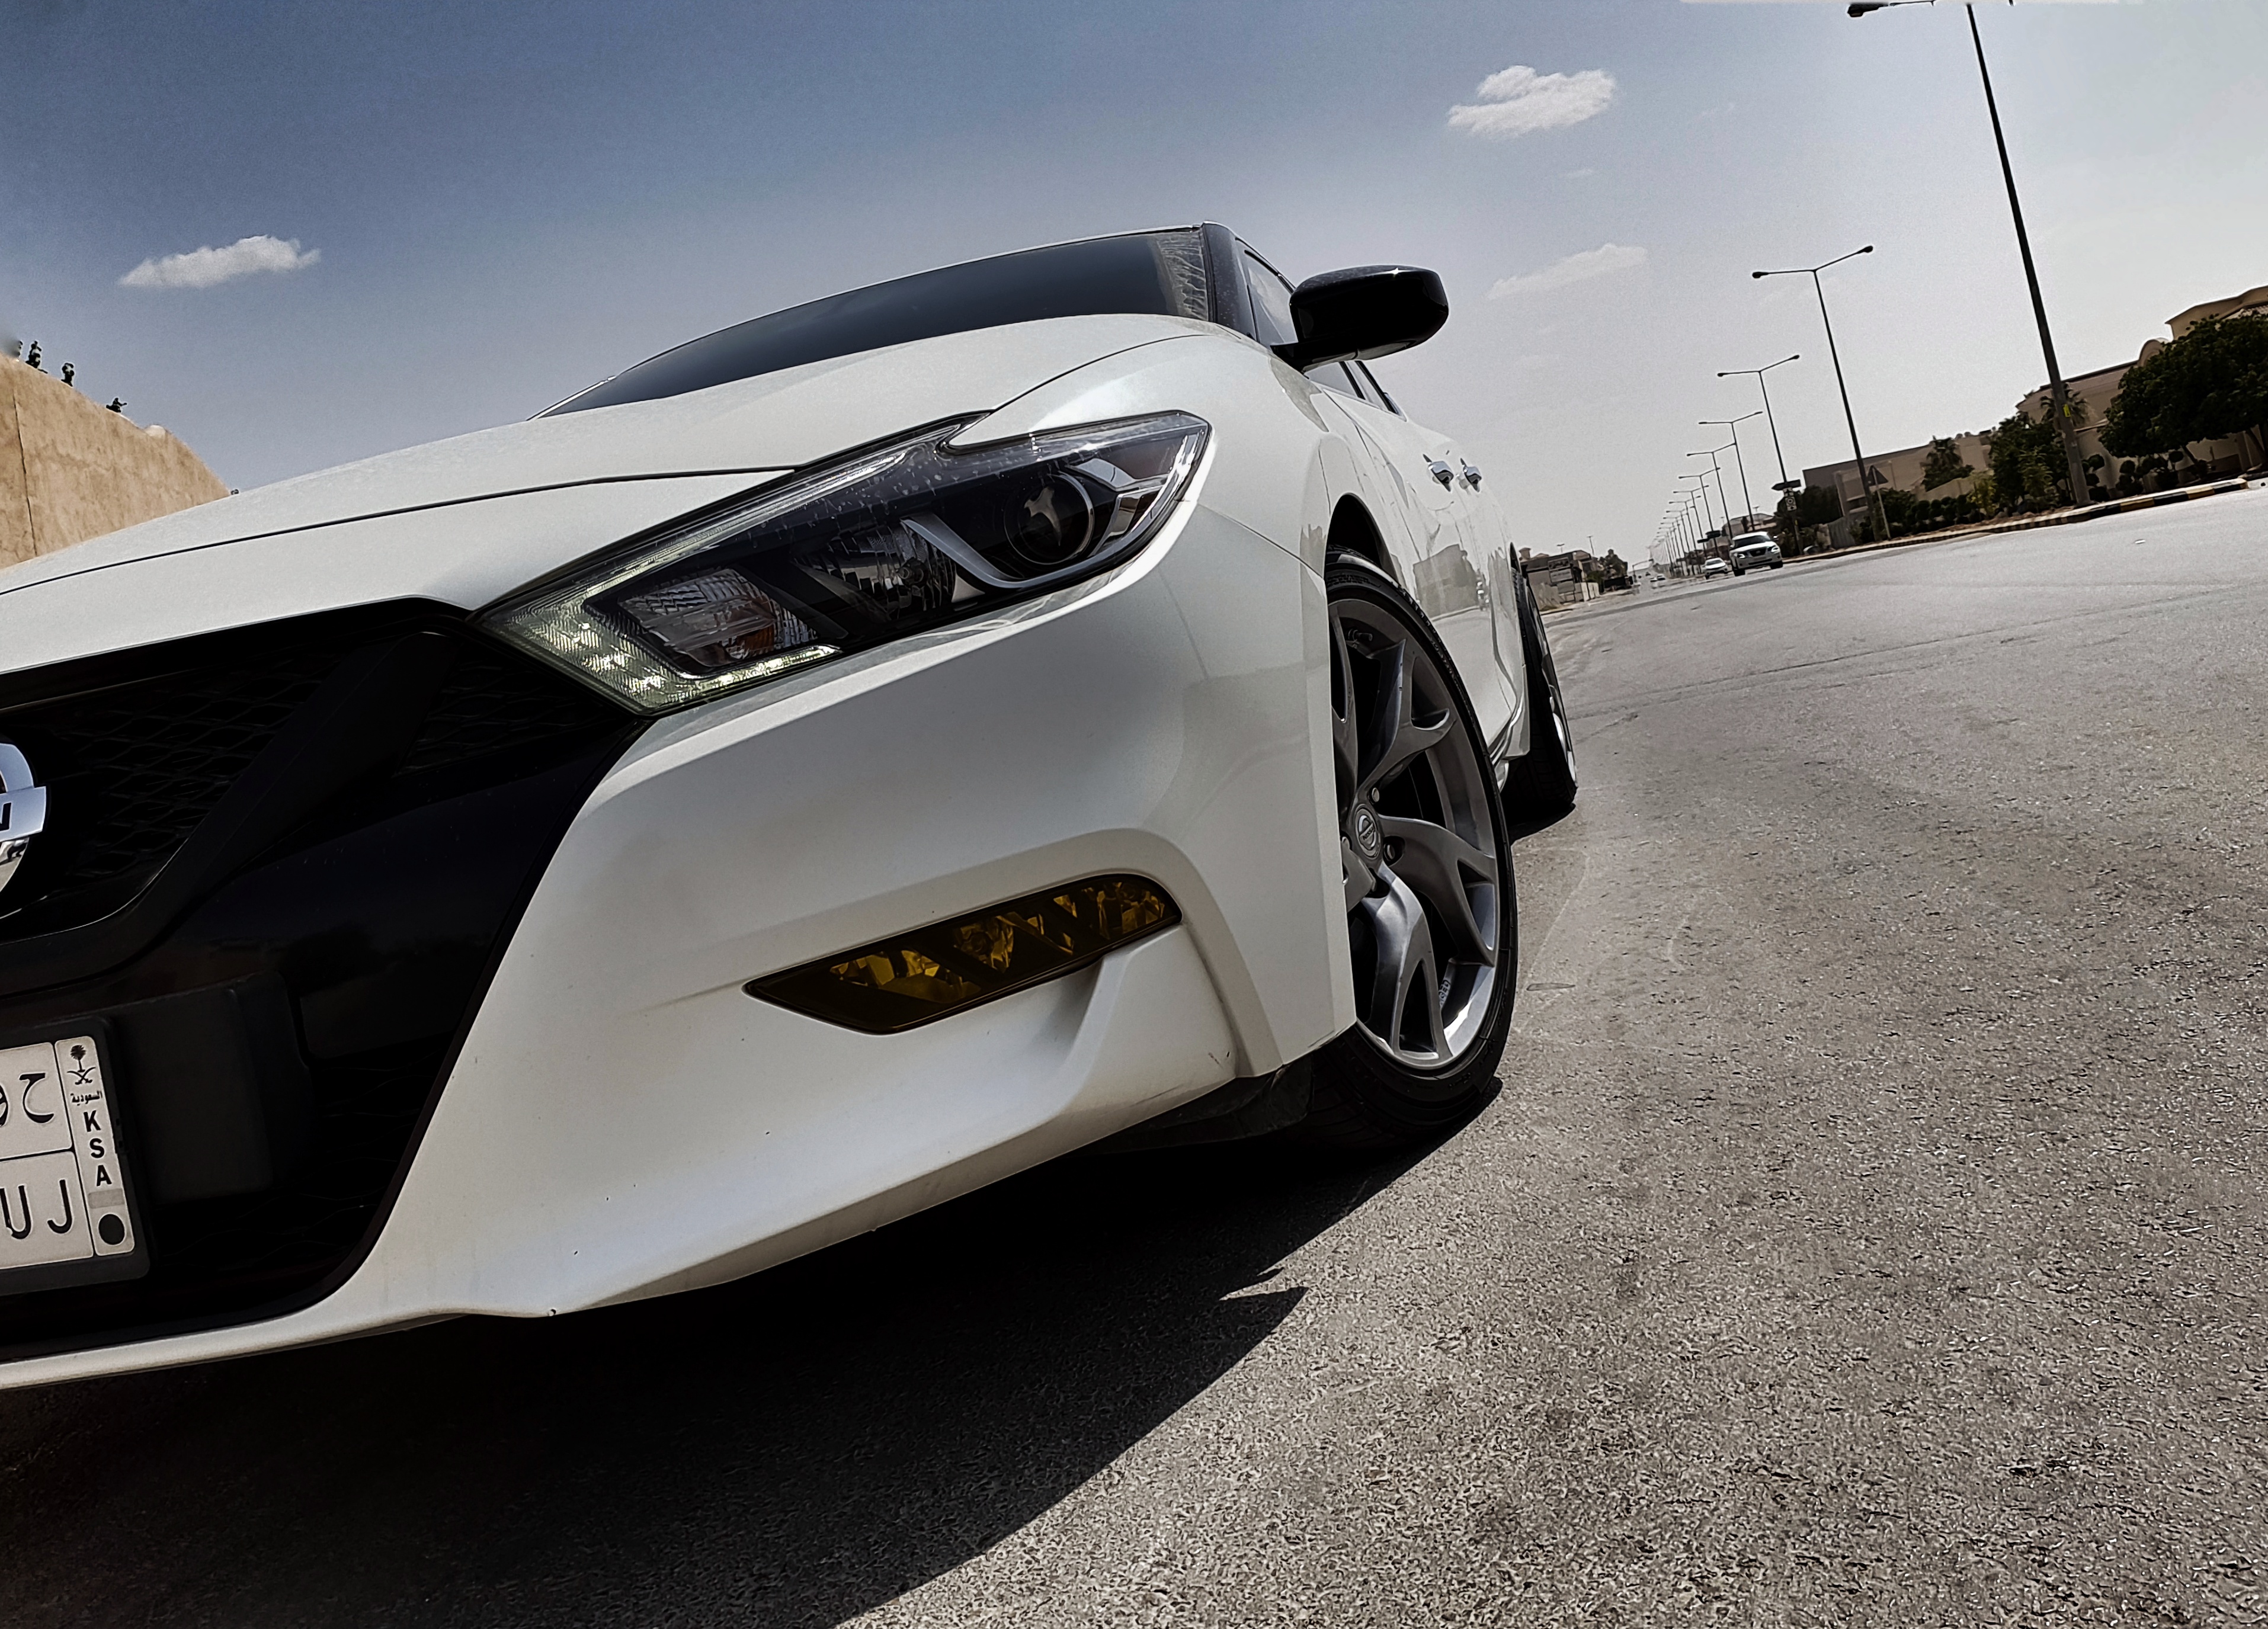
2016 Maxima OEM
Front – 320 x 28 (22.5 lbs)
Rear – 307 x 16 (12.8 lbs)
G37/370z w/ Akebonos
Front – 355mm x 32mm (30.60 lbs)
Rear – 350mm x 20mm (20.9 lbs”)
Rront 2 piece = 21 lbs
Rear 2 piece = 16 lbs
350z w/ Brembos
Front – 324mm x 30mm (20.5 lbs)
Rear – 322mm x 22mm (17 lbs)
Front 2 piece = 15 lbs
Rear 2 piece = 13 lbs


Member Credit: hotsprings1234
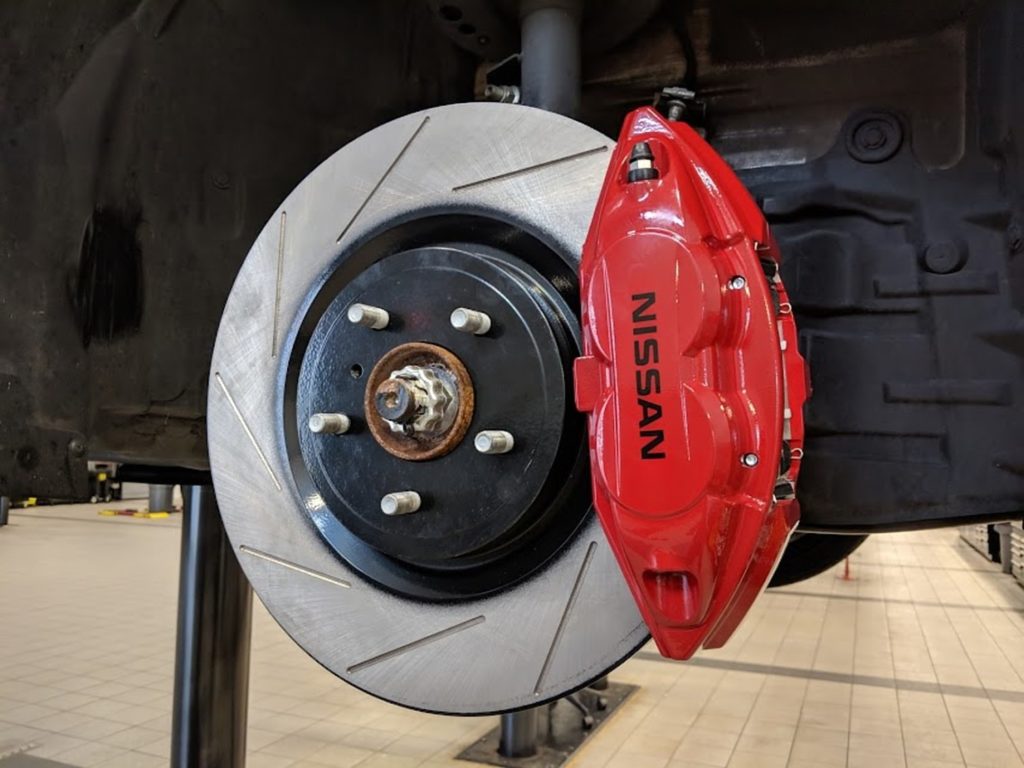
Wanted to share and confirm that the following brakes will work on a 2016 Maxima from Z1 Motorsports if you are looking to upgrade. The Nissan dealership installed with no issue.
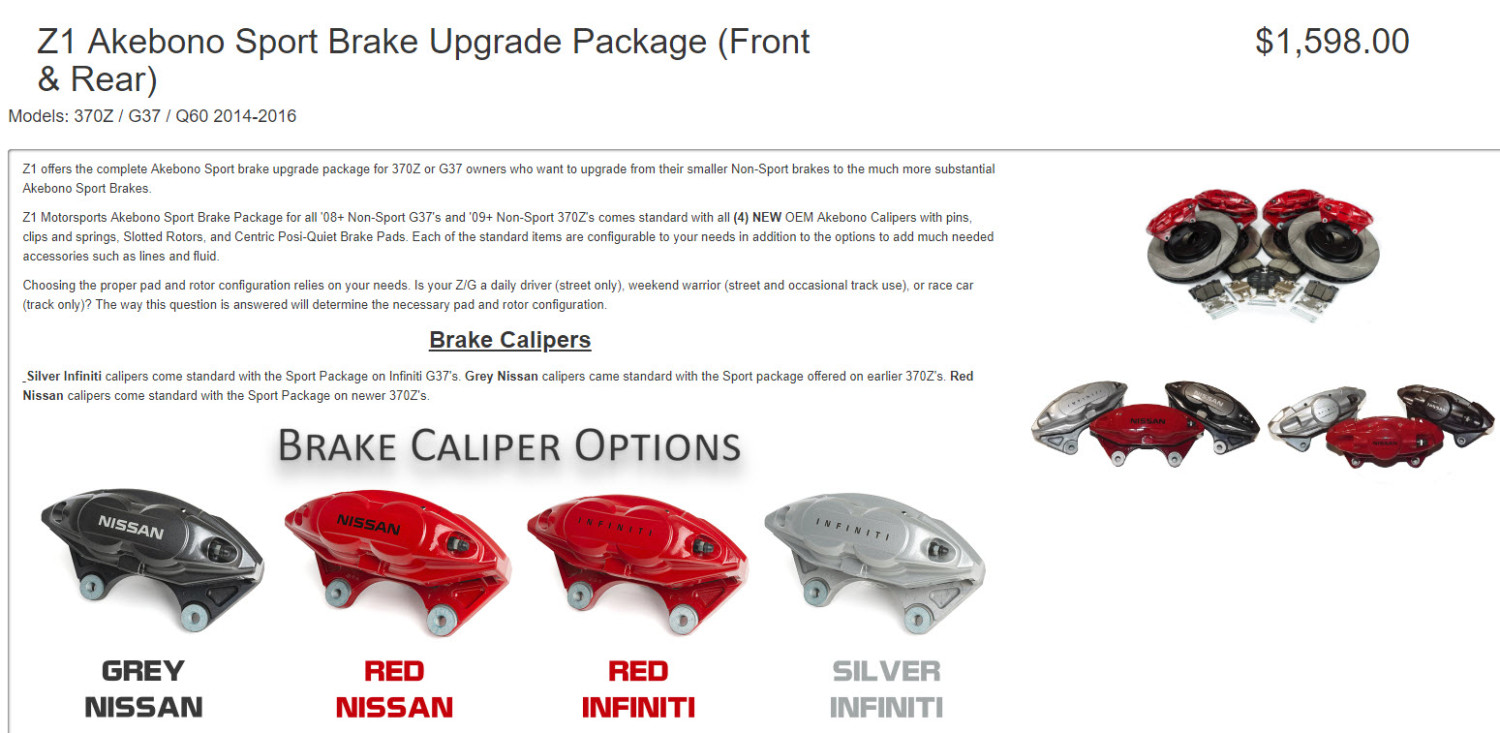
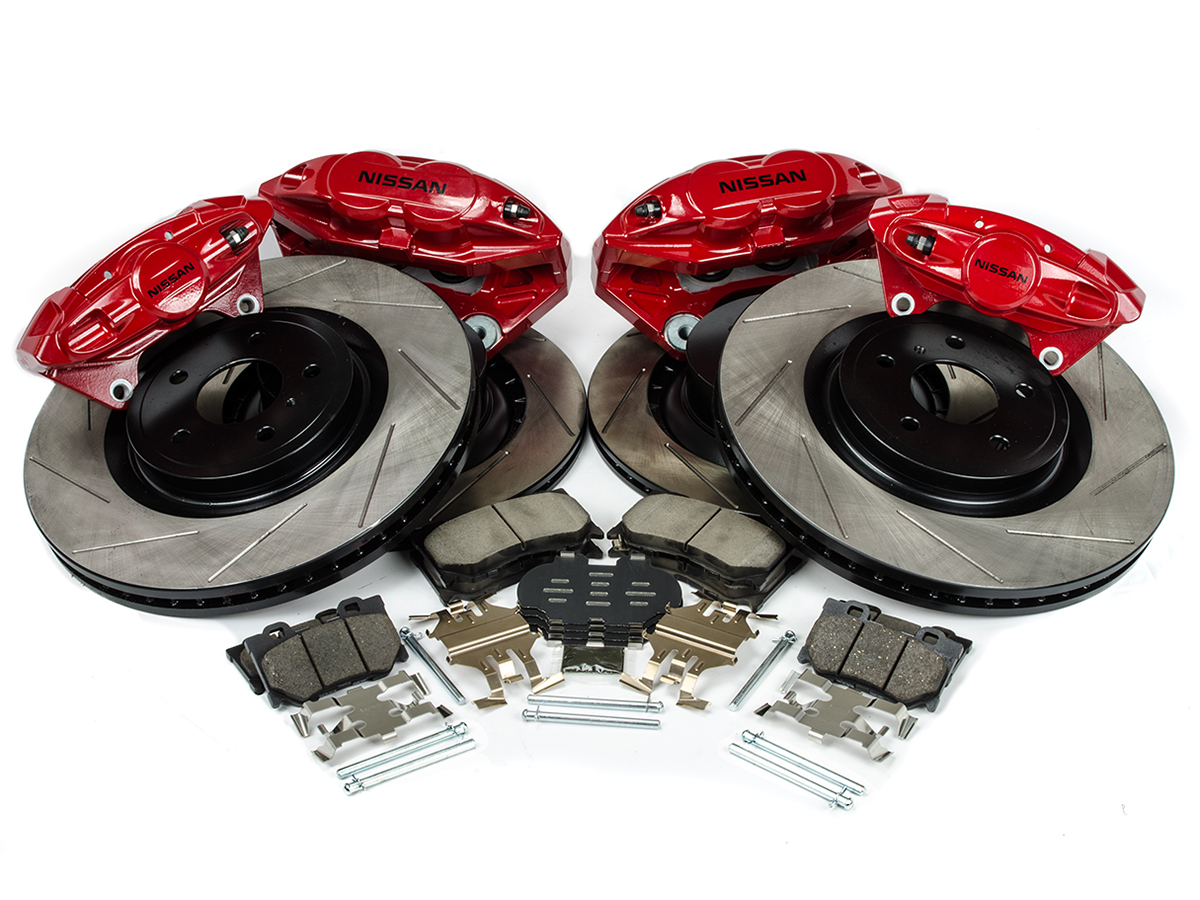
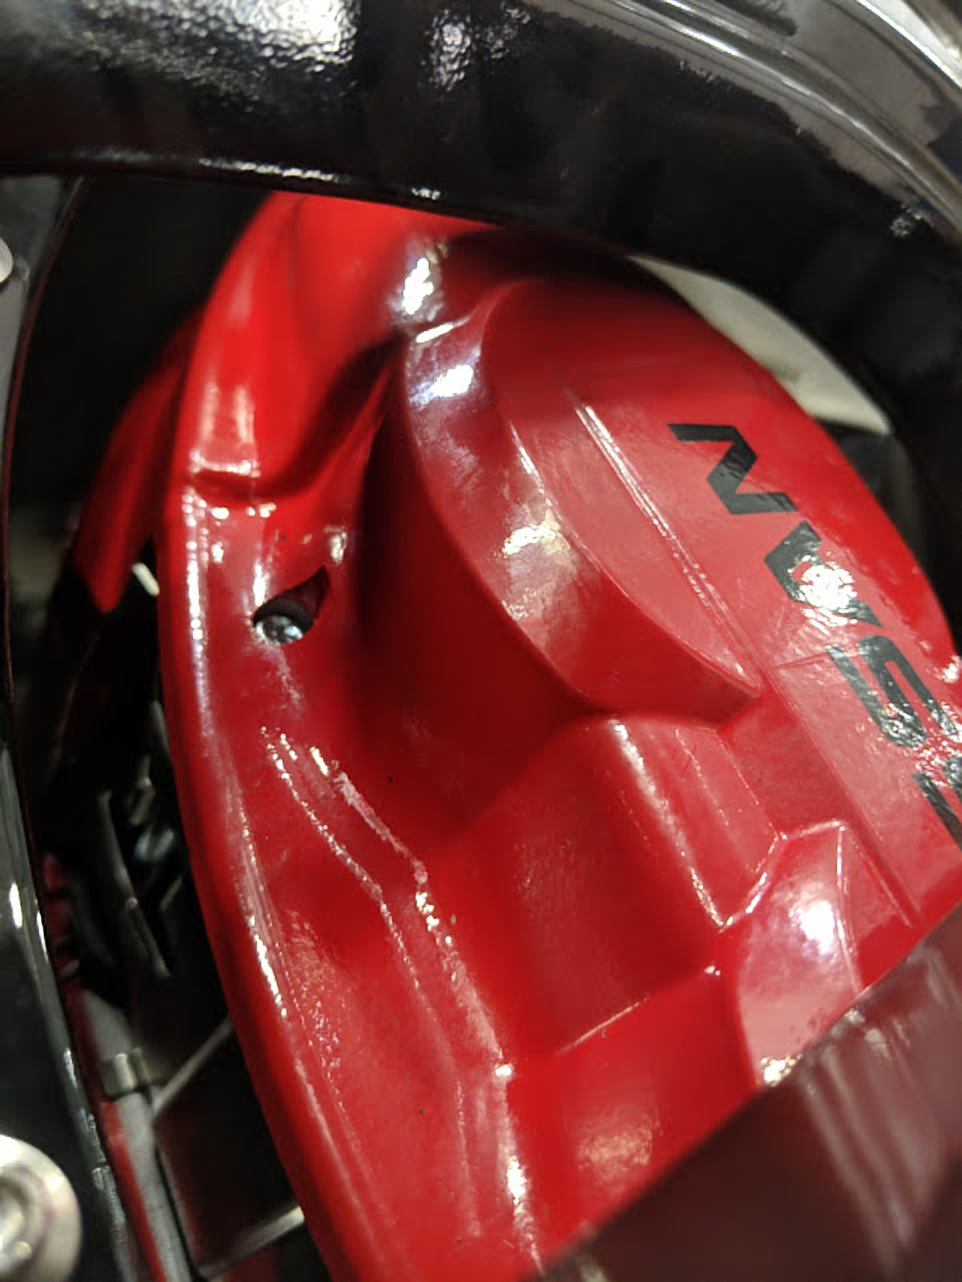


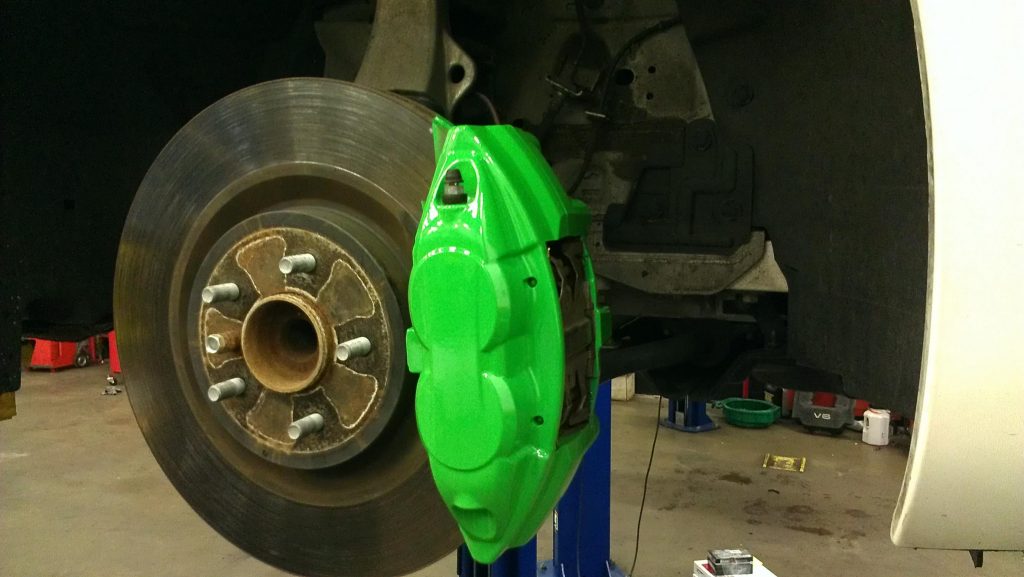
Member Credit: EddyMaxx & Michael Bird Tindal
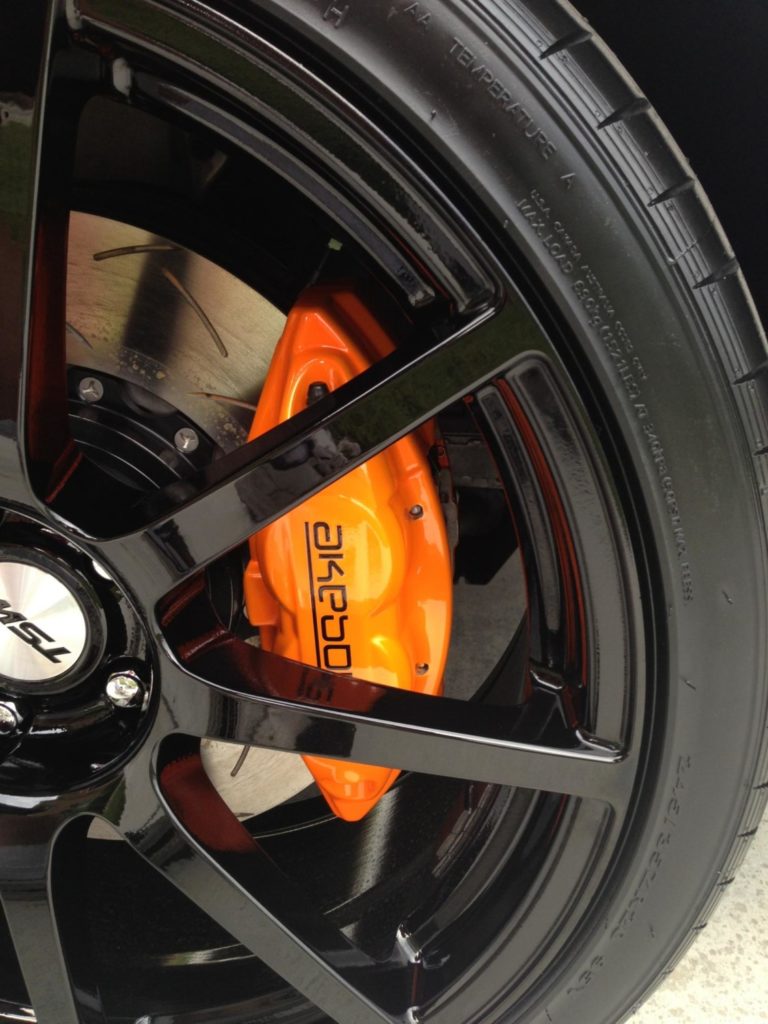
Thanks to Michael for posting this information. For approx. $300 bucks, you can have a front Akebono BBK on your 7thgen Maxima. This is for only the Front BBK ONLY. You can do the rear setup as well inexpensively.
This is applicable to other Maxima’s as long as you have the correct brackets. The 7thgen/8thgen Maxima DOES NOT require brackets. Also a direct fit for the newer Altima’s (2010 Model).
The initial price will be over $300 because of the core charges. Once you return your old calipers, you will get that credit back. The core charge for each caliper at Autozone is $65.00. Also, keep in mind that you can save even more money if you have Autozone rewards.
You also have the option to paint or powdercoat the calipers. Of course this will increase the pricing. However, many members just buy a can of high-temp caliper paint and call it a day.
Install Information:
Dust shield has to be trimmed, 2 shorter banjo bolts (w/crush washers), and larger 13.9 inch rotors is all you need. While you’re doing all that you can upgrade brake lines but the factory ones will work and you will see a difference in stopping power.
Everything you need for Install:
| Ordered From (Click Links) | Part Number | Description | Price (After Core Return) | Coupon Code |
| Autozone | D6233 | Duralast Reman Brake Caliper – Passenger Front | $76.99 | You might be able to save more if you have a rewards card. |
| Autozone | D6232 | Duralast Reman Brake Caliper – Driver Front | $76.99 | |
| O’Reilys | 980664RGS | 13.9″ Front Rotors Includes both Pass & Driver | $90.00 | 25More (Saves $5 bucks) |
| Autozone | DGC888 | Duralast Max Brake Pads (Creamic) Includes both Pass & Driver | $57.99 | |
| Z1 Motorsports | N/A | Brake Line Banjo Bolt | $7.76 | You need a total of 2 bolts and 4 crush washers. Two for each bolt. |
| eBay | 22136 | Goodridge G-Stop Stainless Steel Braided Brake Lines | $114.07 | Optional but recommended. Not included in price as it is not 100% required. |
| eBay | N/A | Akebono Decals | $6.85 | Optional. Not included in price as it is not 100% required. |
Total |
$309.73 |
So many of you are wondering, “can I return mystock OEM calipers in exchange for the BBK calipers”? The answer is YES.
Of course, you can’t exchange an alternator as a core for brakes. But brakes to brakes, the core is acceptable from a recycling perspective. Below is more clarity on the core charge.
A “Core Charge” is similar to the deposit you might pay for a can or bottle of soda. In many states, to promote recycling, you are charged a deposit when you purchase a can of soda and you receive your deposit back when you return the empty can. Many automotive parts have a Core Charge, or Core Price, that works the same way as a soda can deposit.
Here’s how the Core Charge works:
Returning the core allows parts to be remanufactured / recycled. Bringing back your core helps save our environment by keeping approximately 54,000 tons of cores out of landfills annually!



Member Credit: Nperez1986 / Jonthon Rubia
If you are looking to upgrade to the Akebono 4-Piston BBK from a Nissan 370z / Infiniti G37 Sport, you now have the option to use 300ZX (Z32) caliper adapter brackets on eBay. The bracket themselves are $70 bucks shipped. In order for this to work, you will need to use the Mitsubishi Evo X GSR 13.78″ (350 MM) rotors versus the Z34/V36 rotors (354 MM) rotors. The rotors themselves can be found for super cheap as well.
Brackets / Rotors work on the following:
Notes: For the 4thgen Nissan Maxima, you will need to enlarge the (4) holes in the knuckles to accommodate for bigger caliper bracket bolts. Aside from that it will work fine. Just keep in mind that this is ONLY for the front calipers. Rears will not fit on the 4thgens / 5thgens.
Link to Brackets: https://ebay.us/sCjKnm
eBay Actual Description: Front Akebono Big Brake Caliper Rotor Upgrade Adapter Bracket For 300ZX Z32


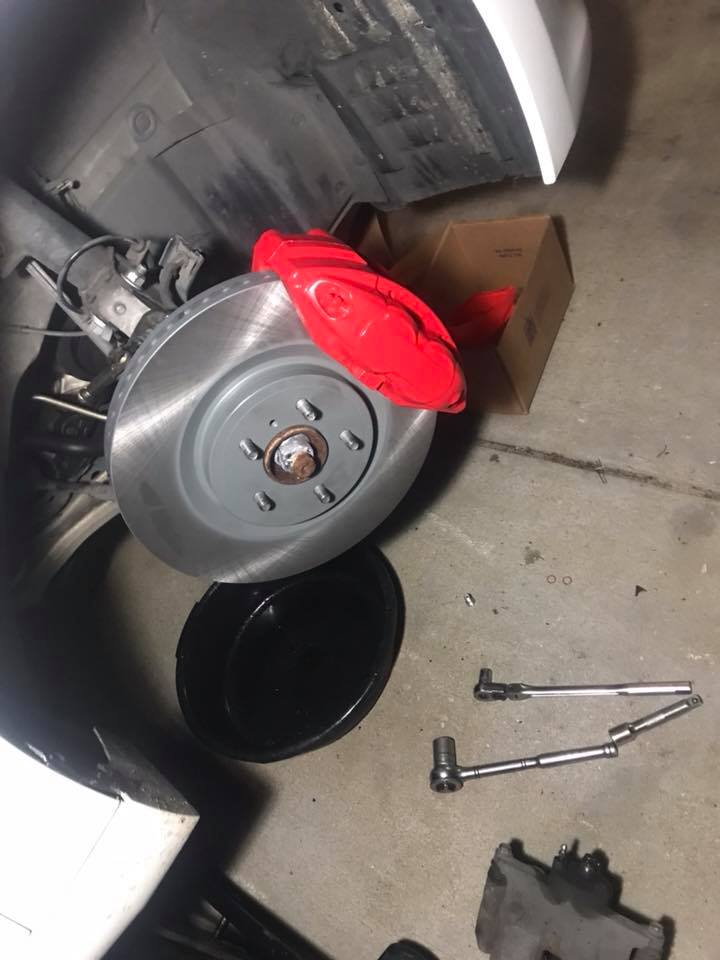
Once the calipers are on the car you only need to trim the dust shield in the lower mounting area. Photo’s below:


Nperez1986 below is demonstrating that the calipers and bracket will bolt on the front knuckles with no modifications.











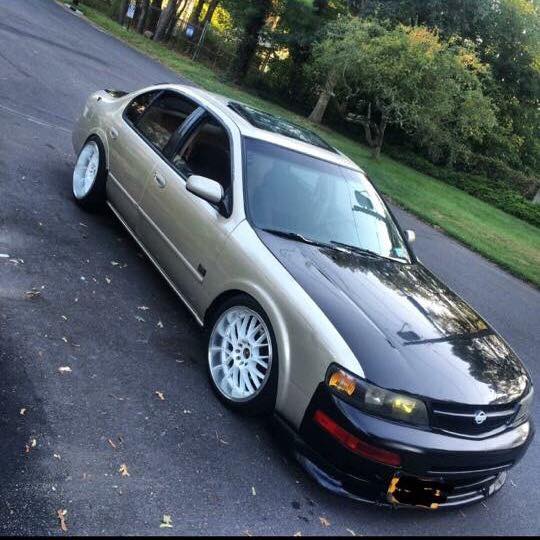


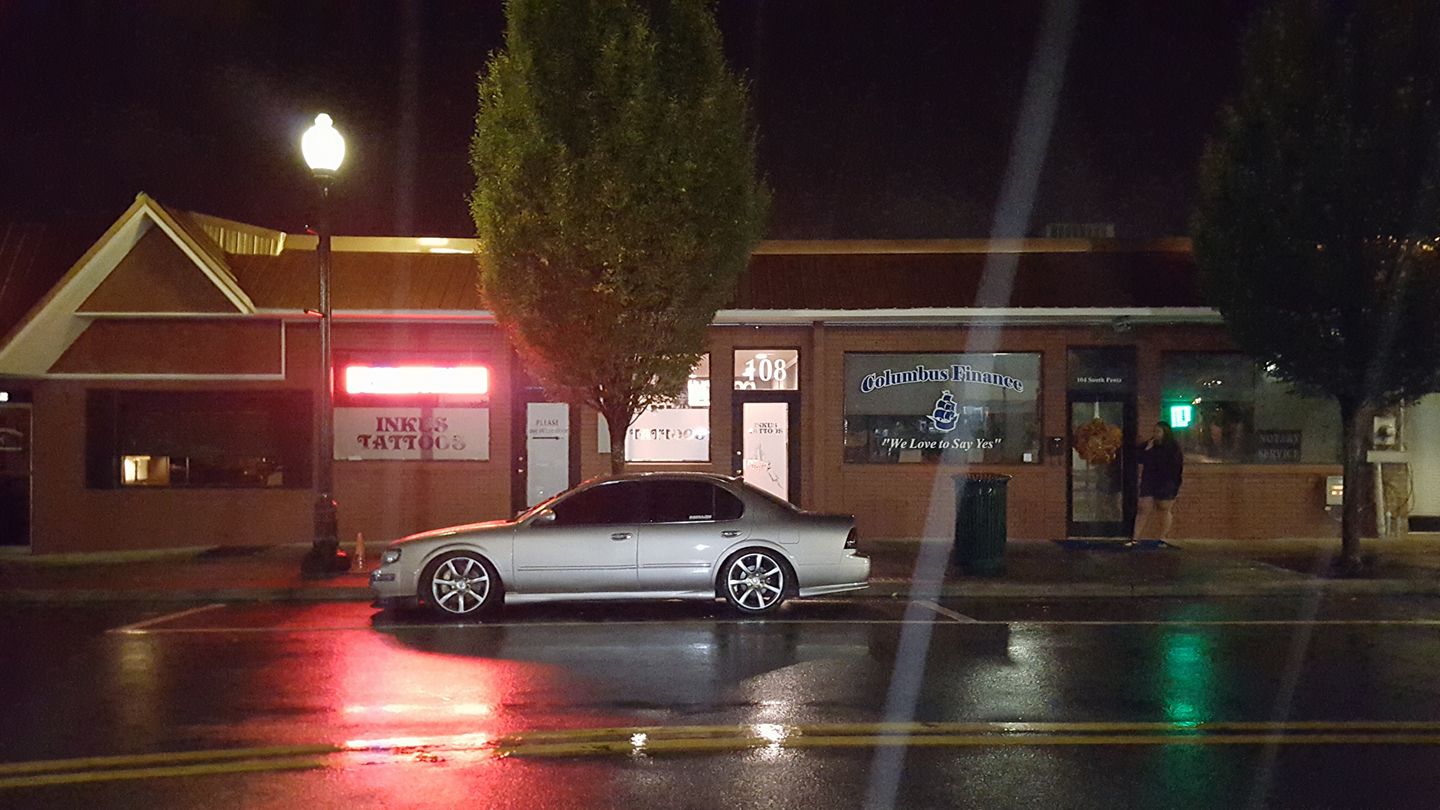


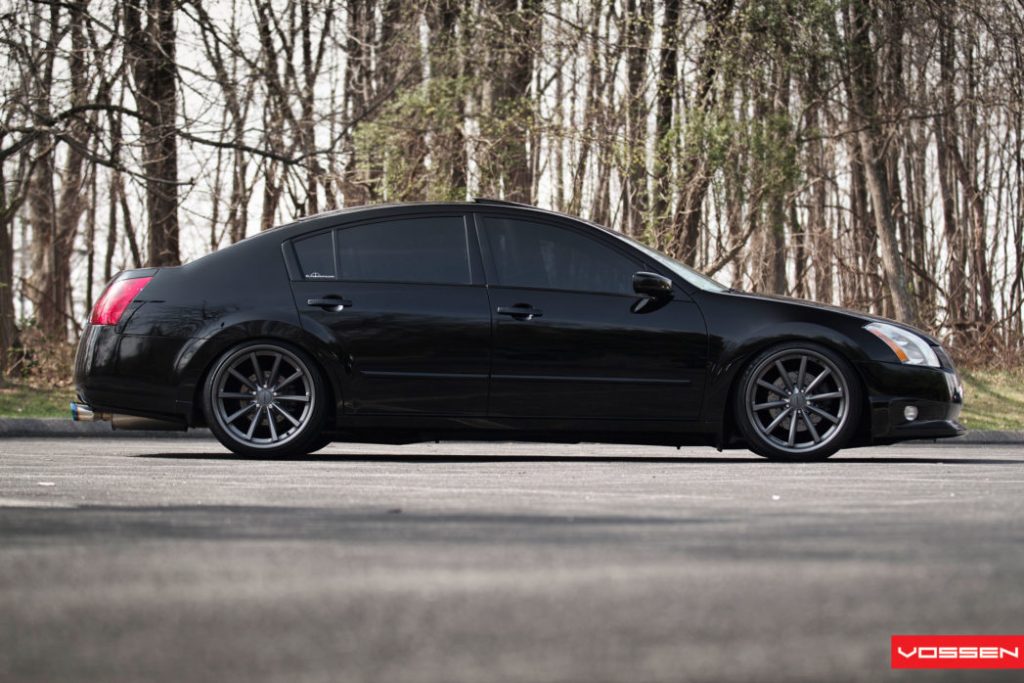
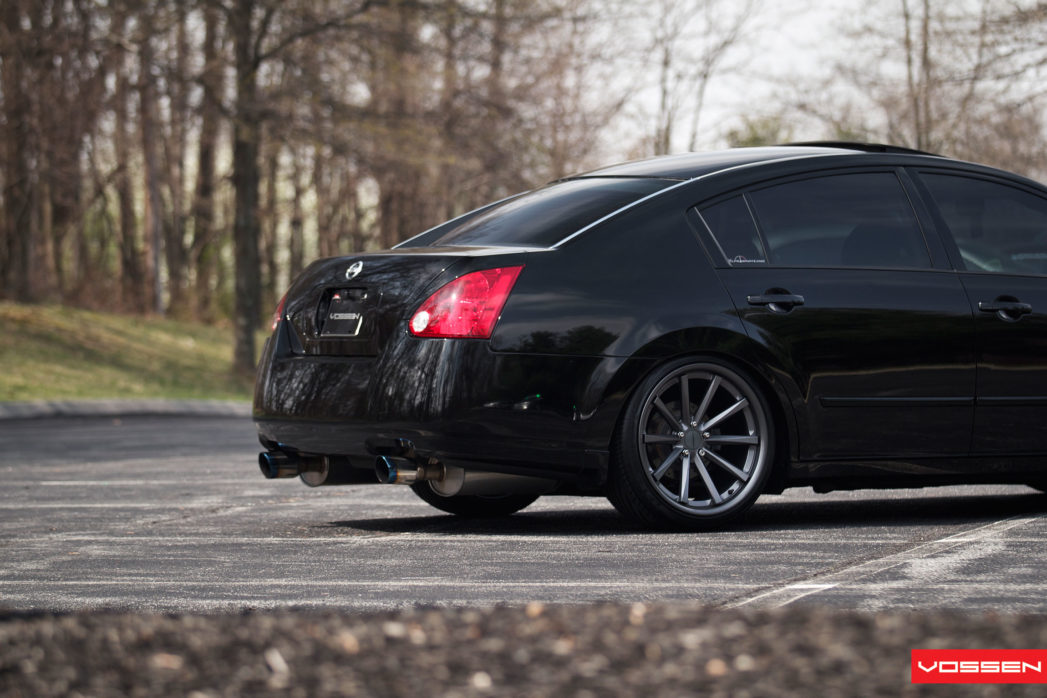
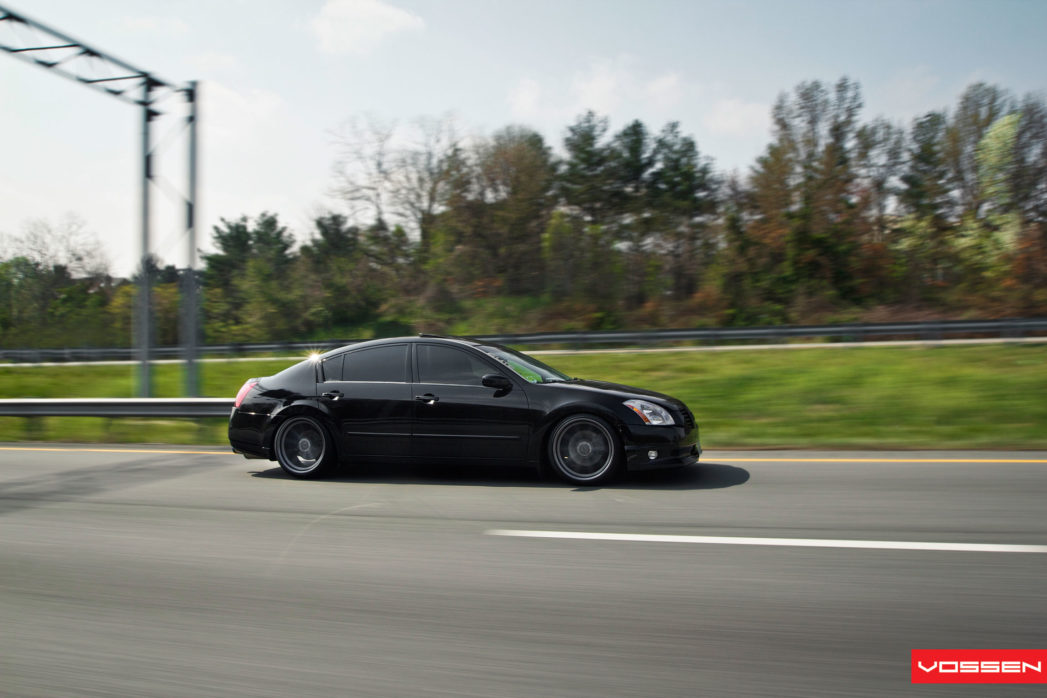
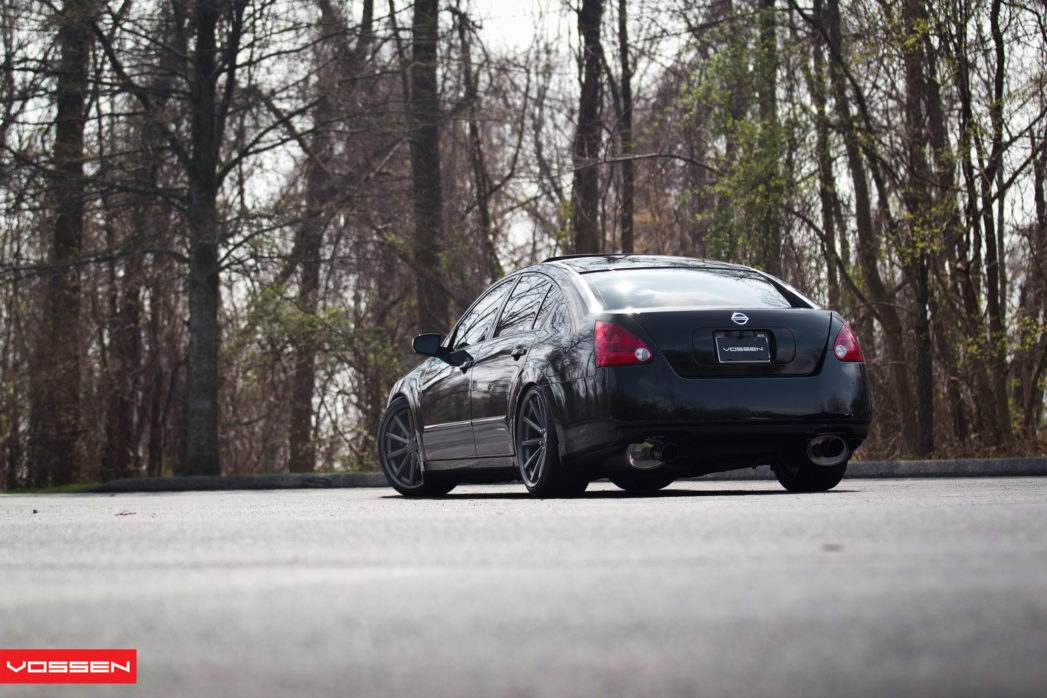
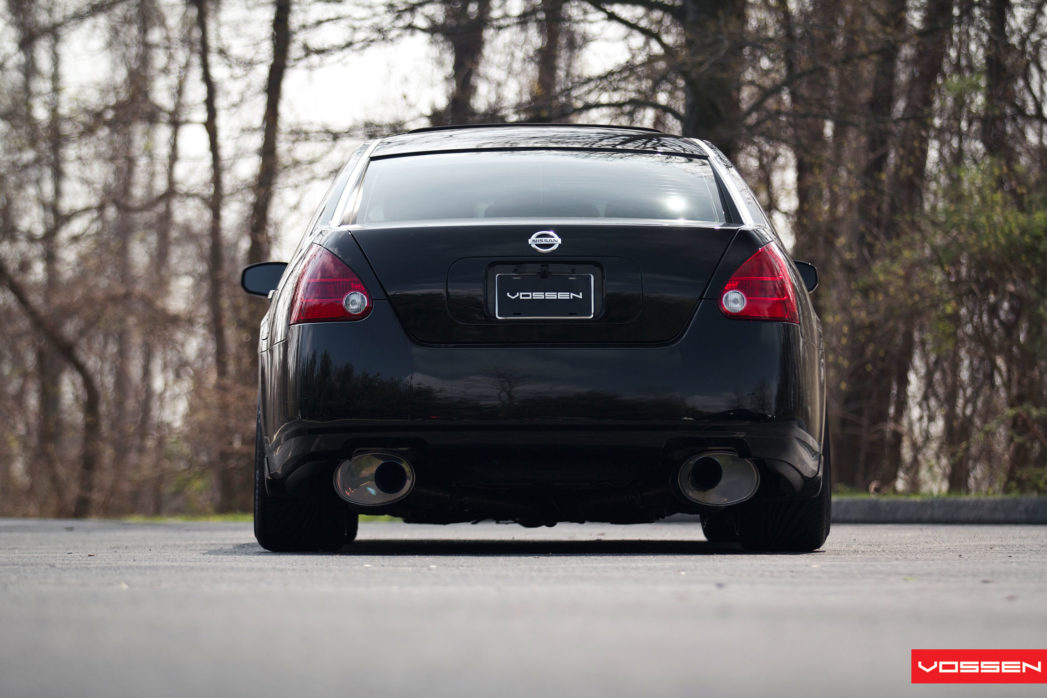
Member Credit: Vossen
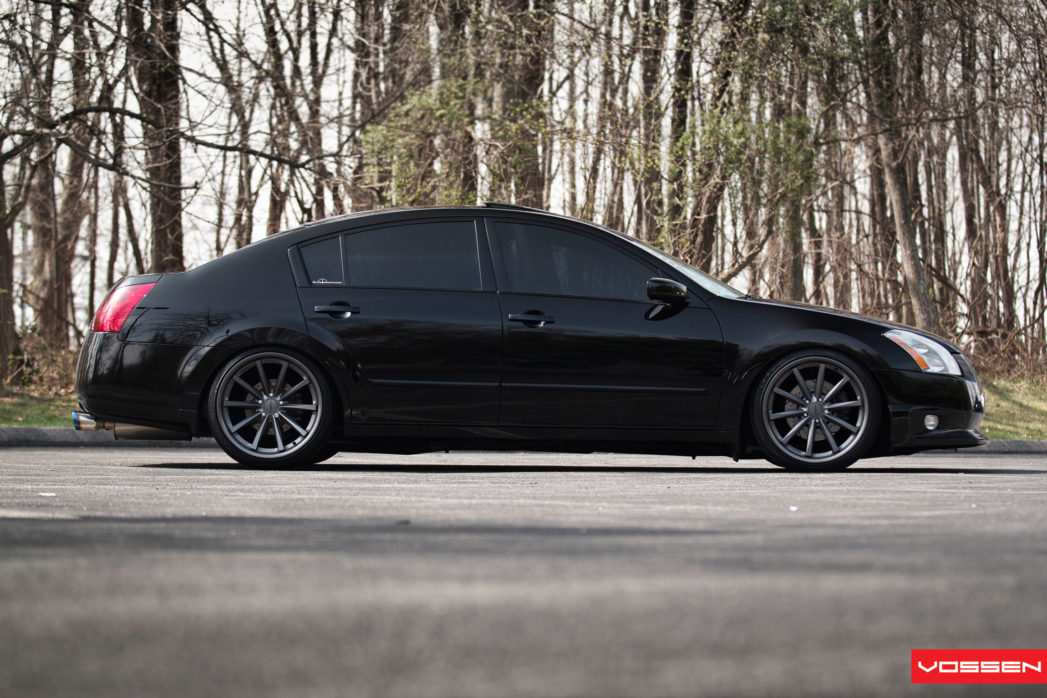
Wheels: VVS-CV1 – Matte Graphite / Gloss Graphite Lip
Specs: F: 20×9 R: 20×10.5








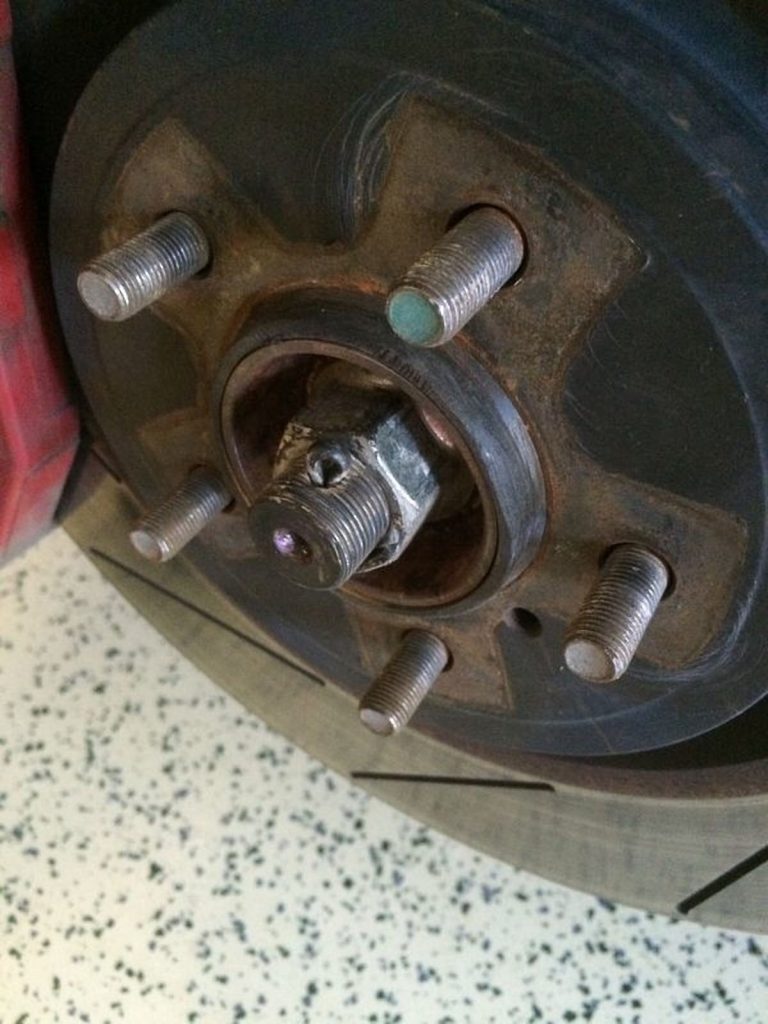
Member Credit: MaximaDrvr
I am completing this write up to help people save some money. You can probably buy all of the needed tools for what the dealership would charge. This was an over $400 quote for each side. Generally, you will replace these in pairs, but it is not absolutely required. I have 150k miles on my 09.
I purchased replacement assemblies from Rock Auto. The bearing assemblies were $154 shipped for the pair (TIMKEN HA590252). I would recommend new cotter pins as well, but you can make due with the old ones if necessary if you don’t break them on removal.
This is a fairly easy replacement as far as complexity, but it is a critical component to your car. I would recommend having some mechanical knowledge and plenty of time if you have not completed something like this before. This took me 3 hours with taking pictures, and an hour of letting penetrating oil soak in. I would say it could be done in as little as 1 hour, or as long as 6 hours if you have never done anything like it before, or need to let the penetrating oil soak in.
I was a mechanic in a previous life and had all of the tools required.
You will need:
First, you need to properly jack up your car and place it on stands. Then remove the wheel on the corner you will be working on.
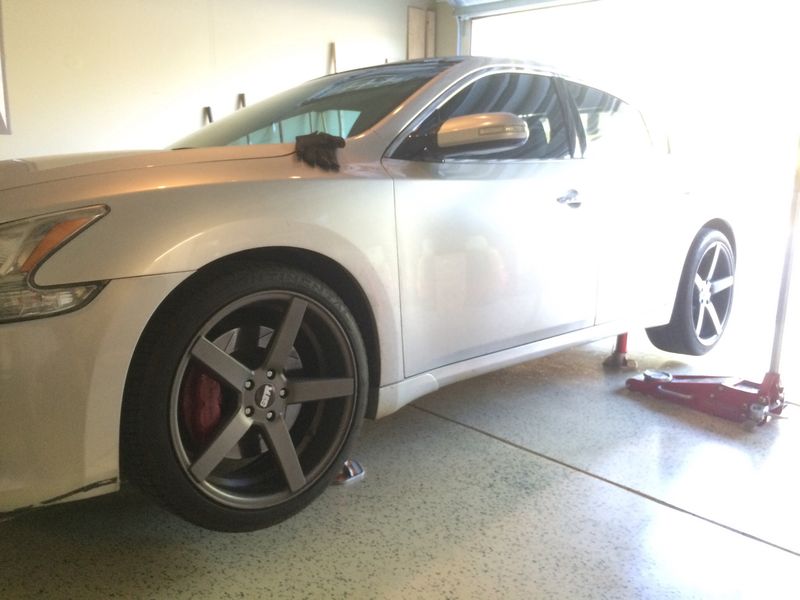
This is the 32mm nut and cotter pin

Remove the brakes. You need to remove the two bolts holding the caliper carrier to the knuckle. You do not need to separate the caliper and carrier.
Then you can take the rotor off and set it to the side. You can then use the short pry bar to remove the brake line clip off the strut to get more room. Set the caliper to the side, but do not hang it from the brake line. I set it on top of a small bucket.
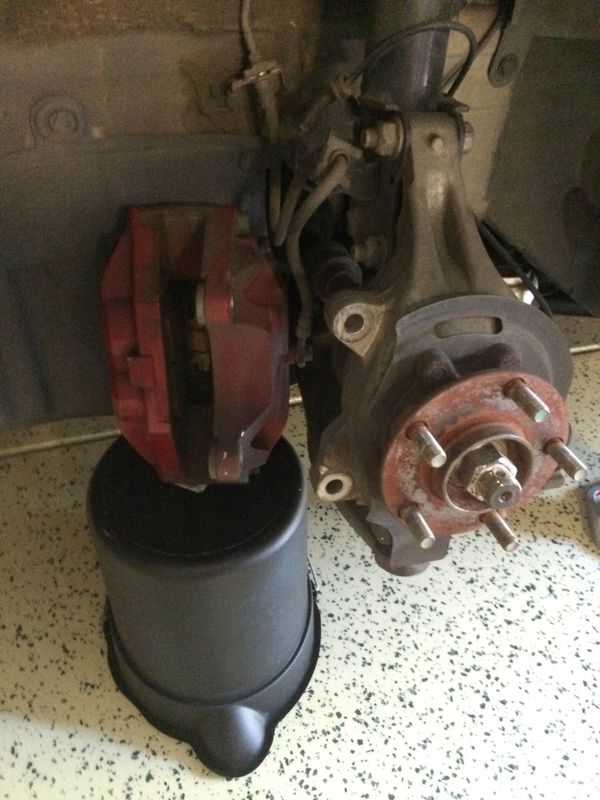
Once the brakes are off, I sprayed the axle nut with penetrating oil. I put an oil catch can underneath to not stain the floor. I also sprayed a bit of oil on the bolts between the knuckle and strut. I also removed the cotter pin at this point.
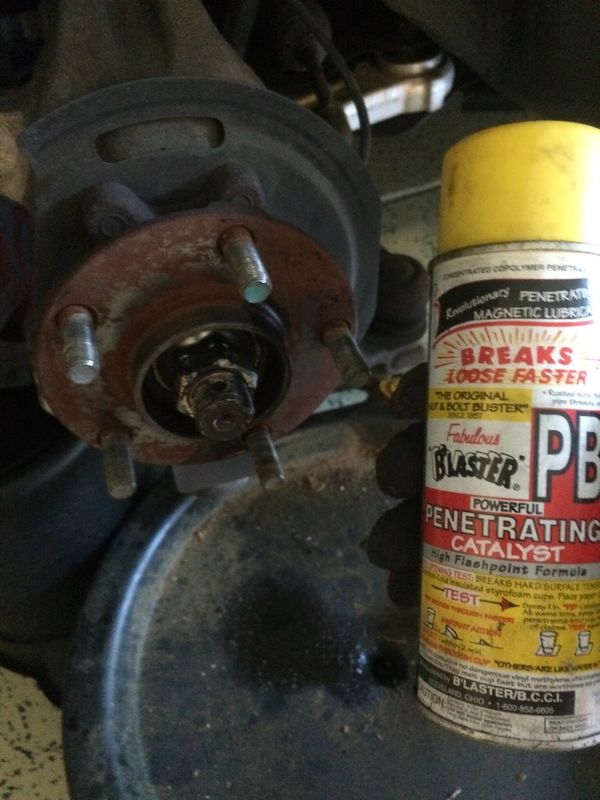
You then need to remove the axle nut. You can try a breaker bar, but you most likely won’t get far. An impact gun will be your friend. My electric gun wasn’t quite enough and I had to break out the air impact gun.
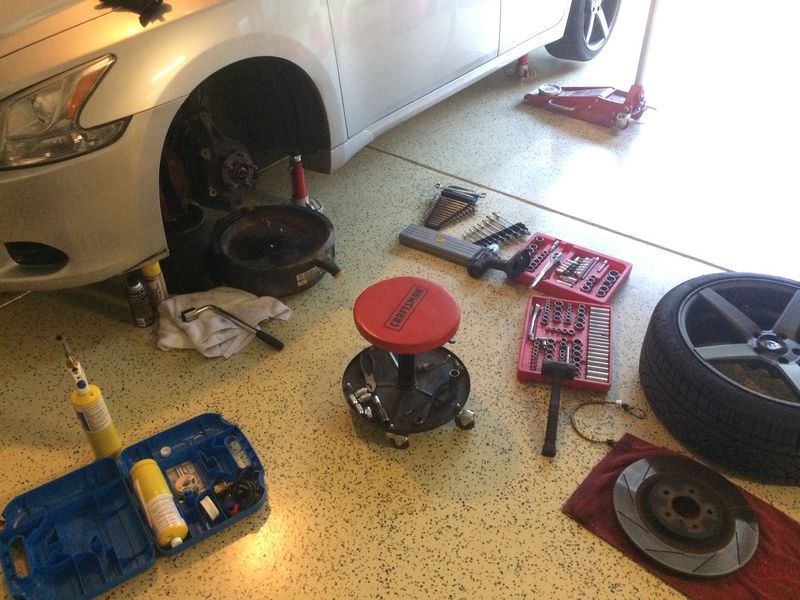
The axle nut removed. You can also see the tie rod end in the lower right. This also has a cotter pin that will need to be removed. You will remove the pin, nut and washer, the carefully tap the bolt up to remove the tie rod from the knuckle. You should also remove the abs/speed sensor at this point. It is the small bolt on the side of the knuckle. Just tuck this out of the way.
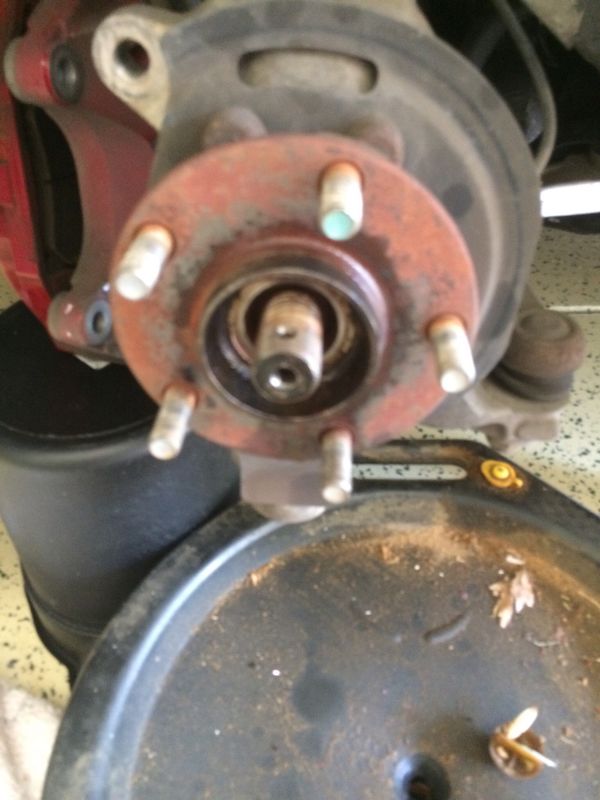
You will also remove the bolt for the lower ball joint. This must be fully removed for the shaft of the ball joint to be removed from the knuckle in the next step. You will also remove the two bolts holding the knuckle to the strut.
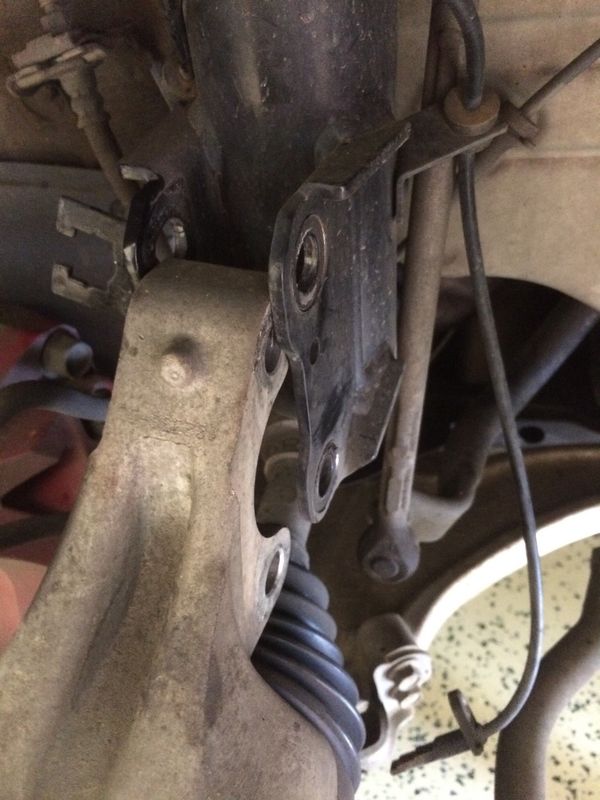
You then need to remove the axle from the hub. This should slide out fairly easily, just by wiggling and pulling the knuckle outward while pushing in on the axle. I then spun the knuckle 90 degrees, and hung the axle to the side with a bungee cord.
All that should be left holding the knuckle in place is the ball joint. Use the pry bar to spread the joint around the ball joint rod. This can be achieved by placing the pry bar in the notch, and tapping it in with the mallet. Then you should be able to lift the knuckle off the ball joint.
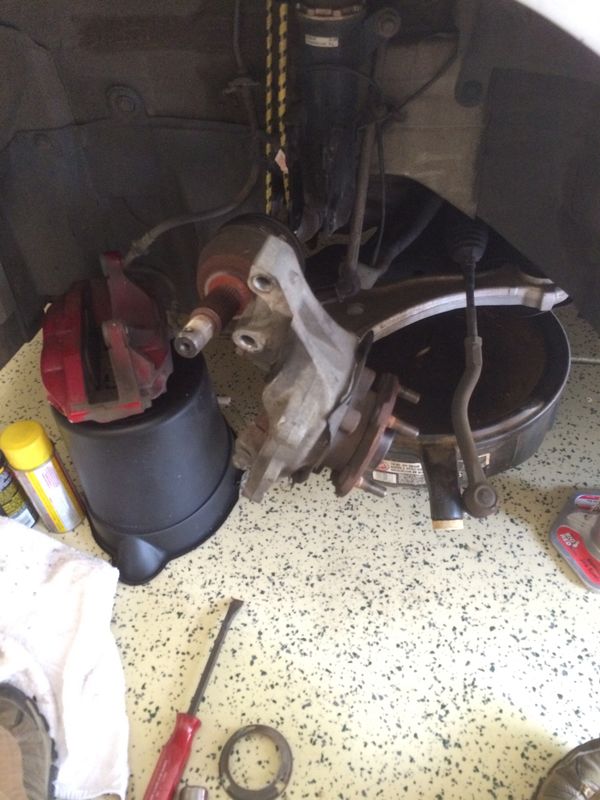
You then need to remove the 4 bolts holding the hub and bearing to the knuckle. You will also remove the dust sheild on the back of the bearing. This will just pop off with a screw driver. Take note that one of the notches in the dust cover lines up with the hole for the abs sensor.
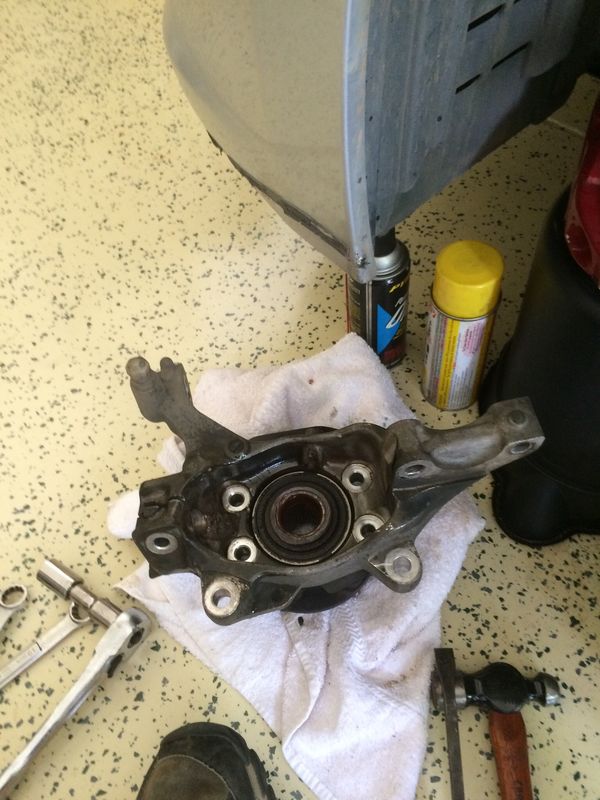
Now it is time to remove the hub assembly.
Place it on the wood blocks so that the hub can drop free of the knuckle. Then use the hammer to knock the assembly free. Take care to not hit the knuckle around where the bearing slides in.
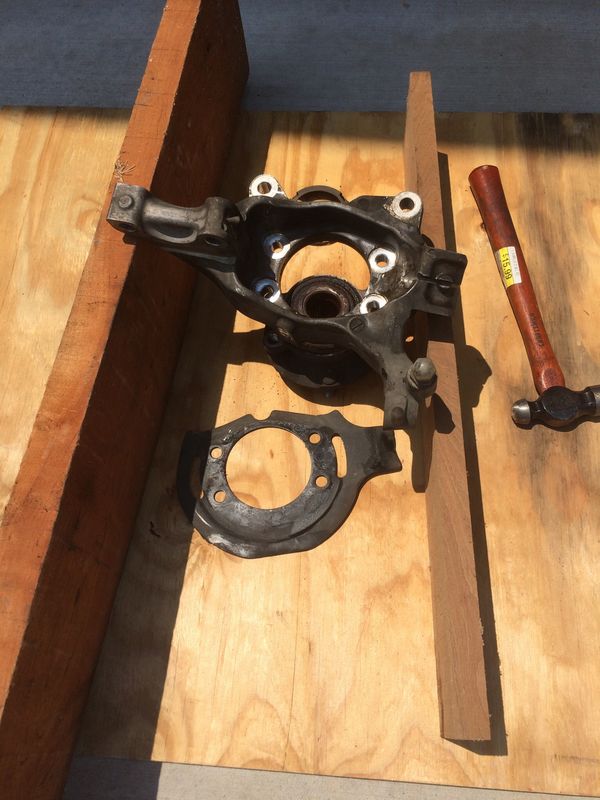
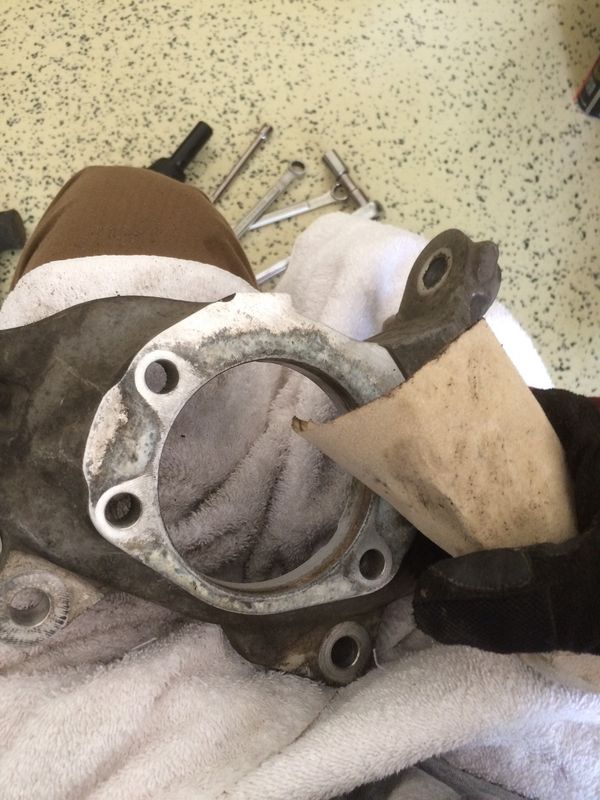
Now you need to clean up the bearing surface. Use you sand paper or scotchbrite to clean up the inside and any places with corrosion.
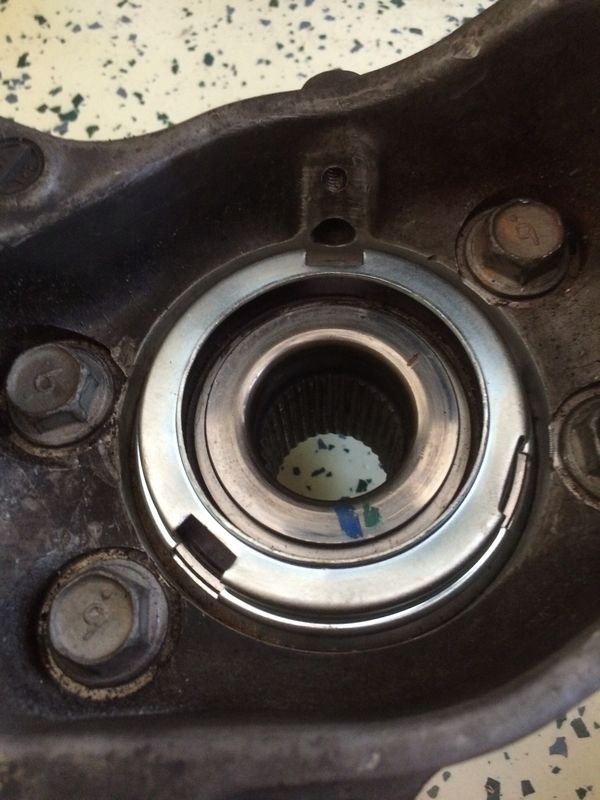
Now you can reassemble the knuckle and hub. Place the hub in the knuckle, lining up the bolt holes. You can use the 4 bolts to pull the hub into place. Tighten them by hand in a circular manner, not just one at a time. These should be torqued to 93ft.lbs, or really tight with a 3/4″ bar.
Then place the dust cover with one of the notches aligned with the abs sensor hole.
Now we put the knuckle back.
Slide the axle back into the hub, then slide the knuckle back onto the ball joint.
Then push the top of the knuckle back into the strut and put in the two bolts.
Then put the tie rod end back into the knuckle.
Put the abs sensor back in place and tighten the bolt.
Place the bolt back into the knuckle for the ball joint and tighten.
Place the washer and nut in place on the tie rod and tighten. Then replace the cotter pin.
Put the nuts back onto the strut bolts and tighten.
Place the axle nut onto the axle and tighten. This should be 136ft.lbs. or, really tight with a breaker bar. Then replace the cotter pin.
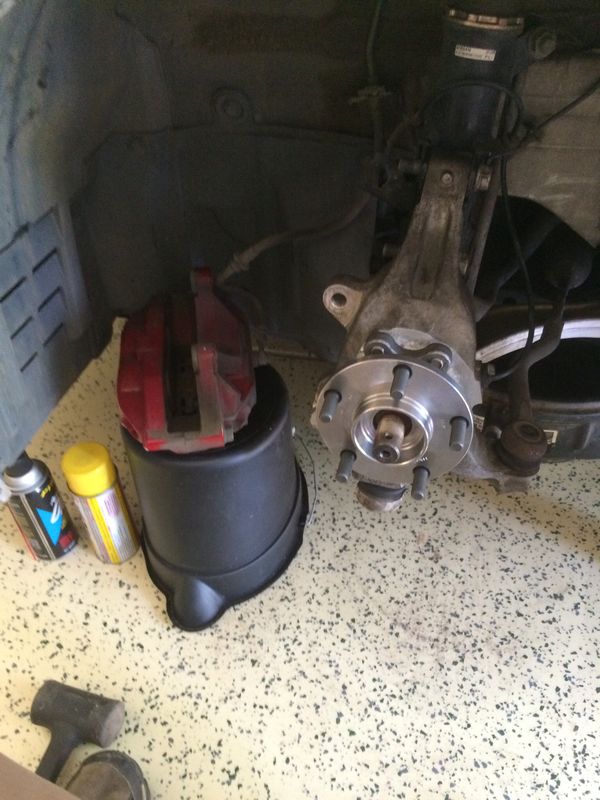
Next we put the brakes back together.
Put the brake line in place on the strut and replace the clip.
Put the rotor back on the hub, then put the caliper assembly back in place. Tighten the two bolts that hold it in place.
Now you put the wheel back on and you are finished.
(I made a conscious decision to not replace the dust shield. Most of you will want to make sure that the shield is back in place when you reassemble the hub and knuckle)
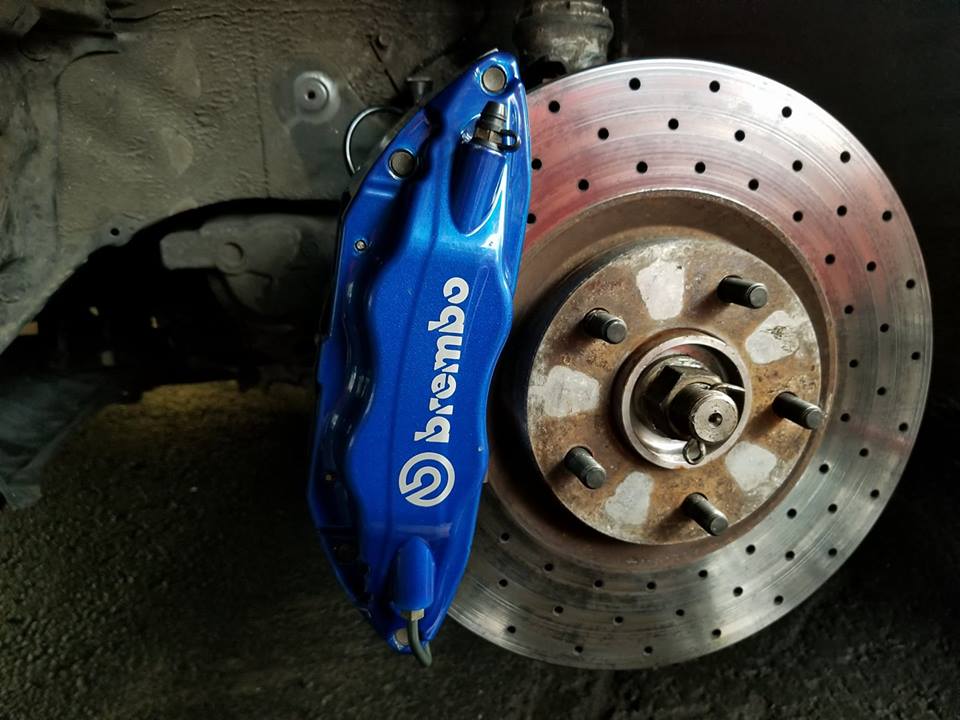
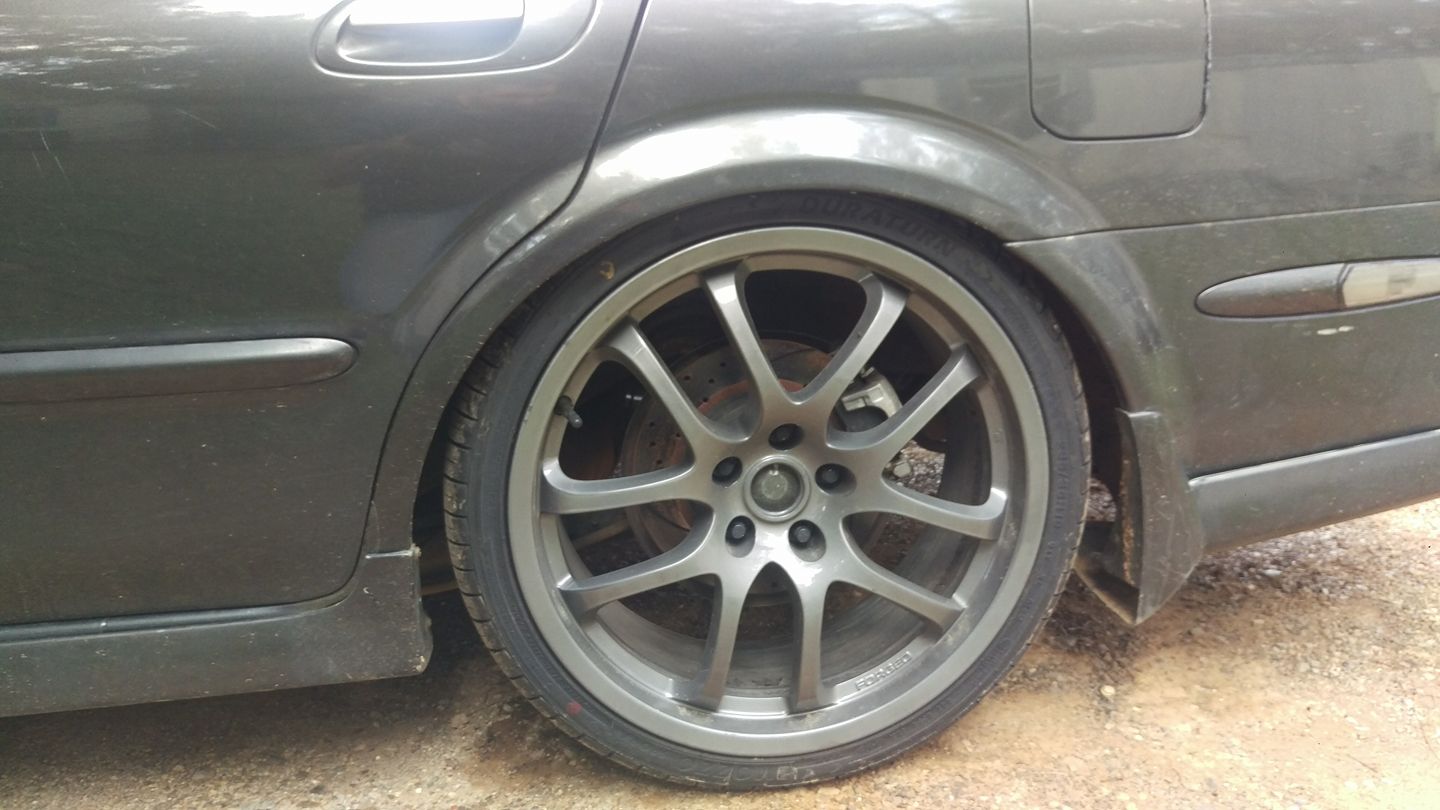
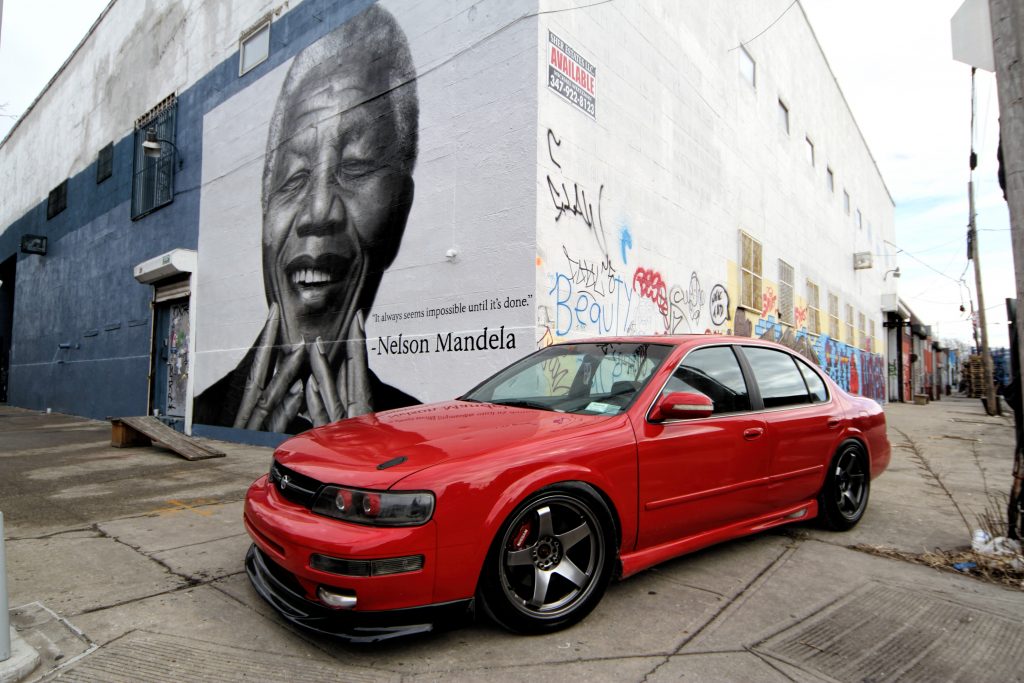
Gallery of Maxima’s with upgraded Big Brake Kits (BBK).


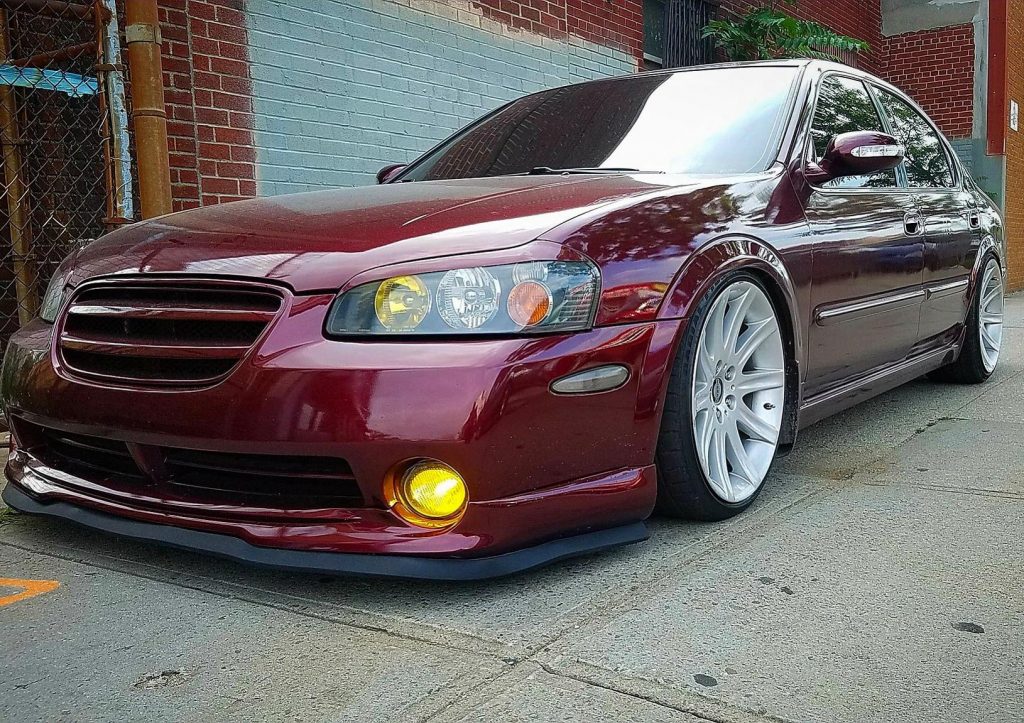
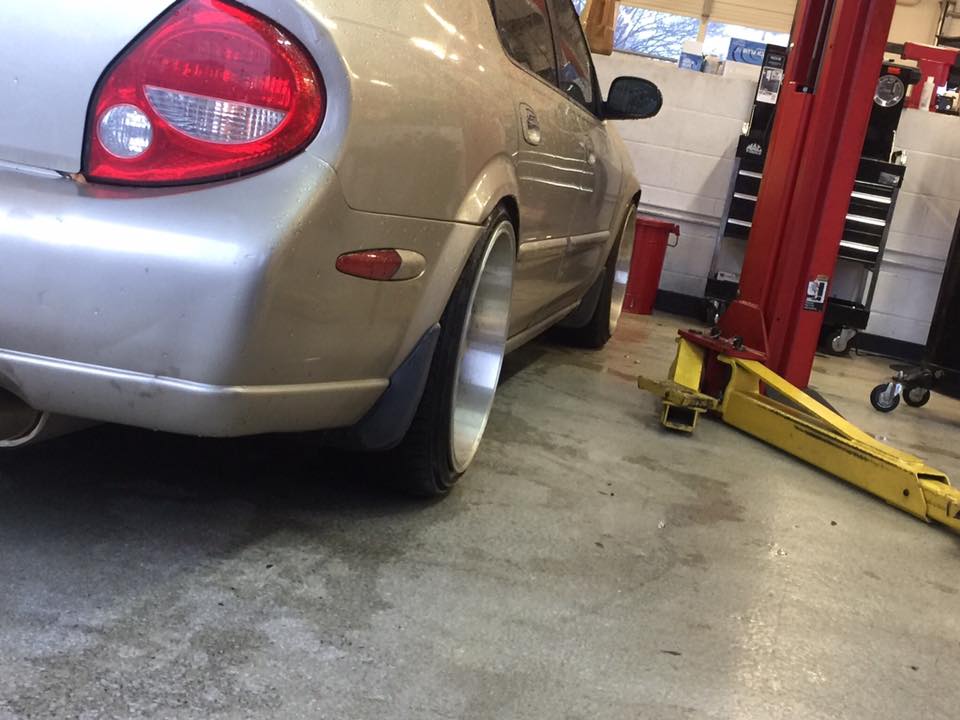
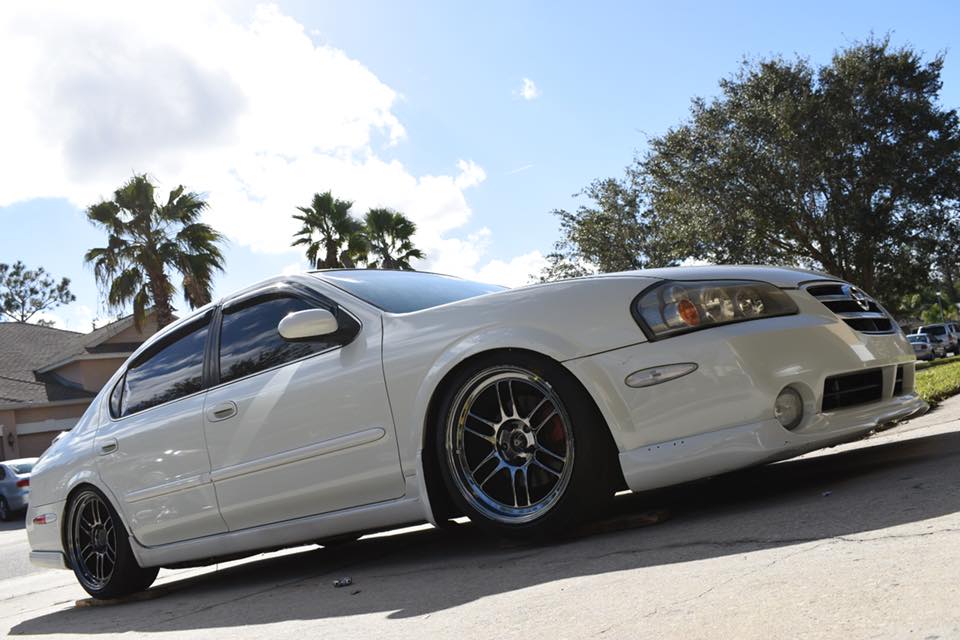
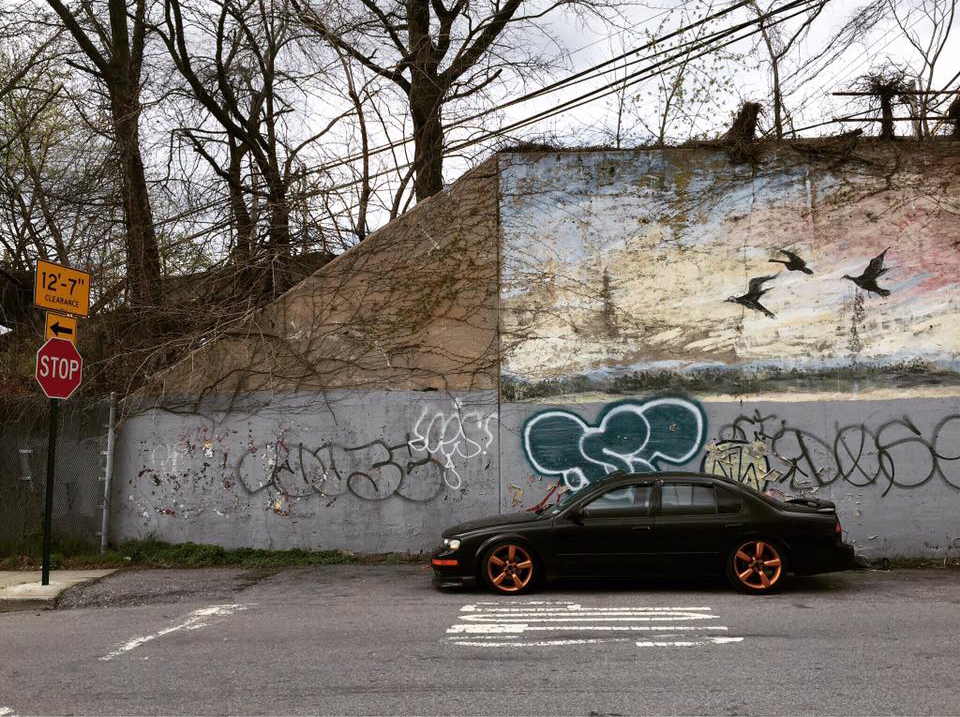
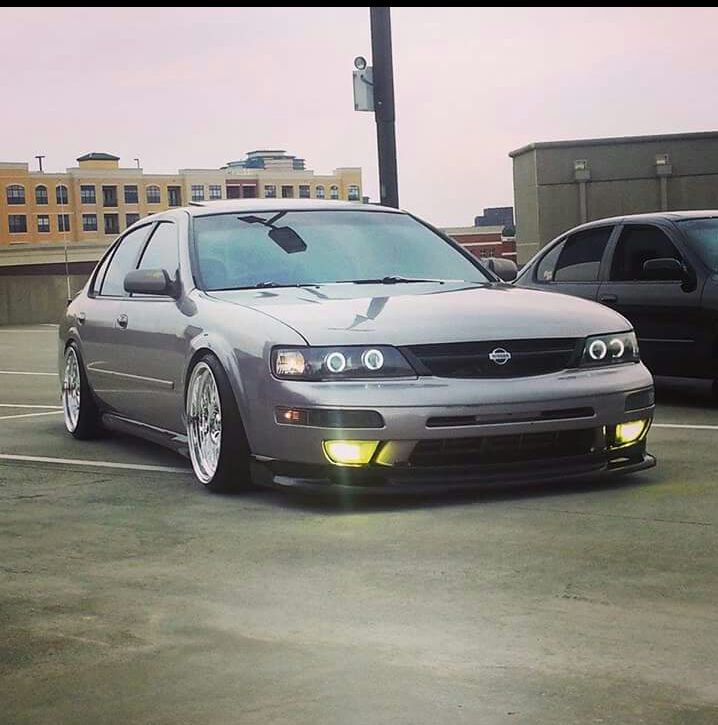
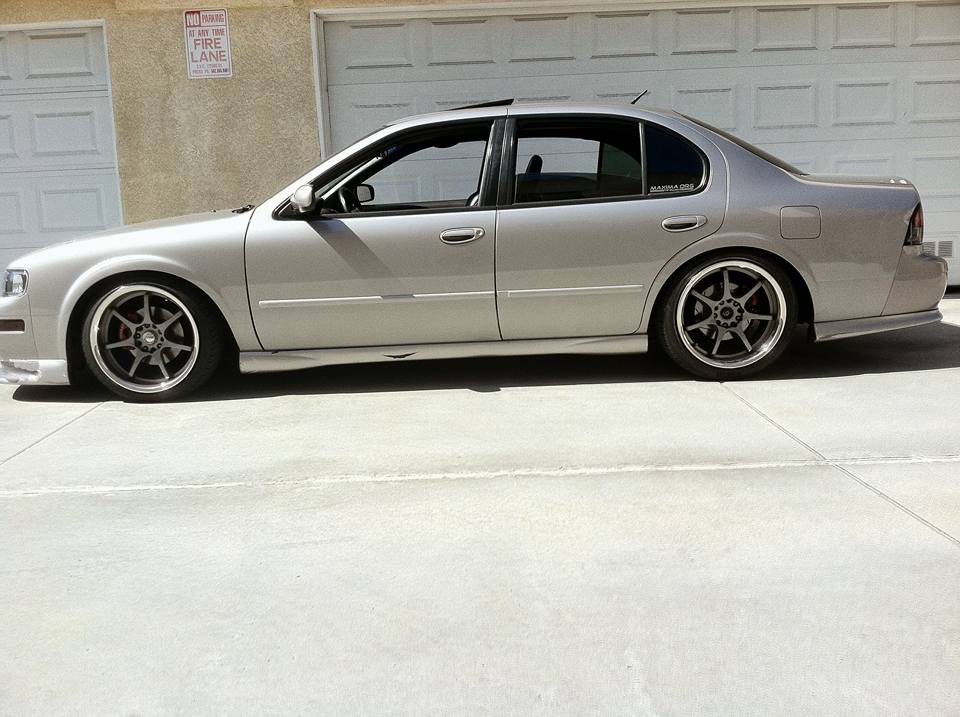
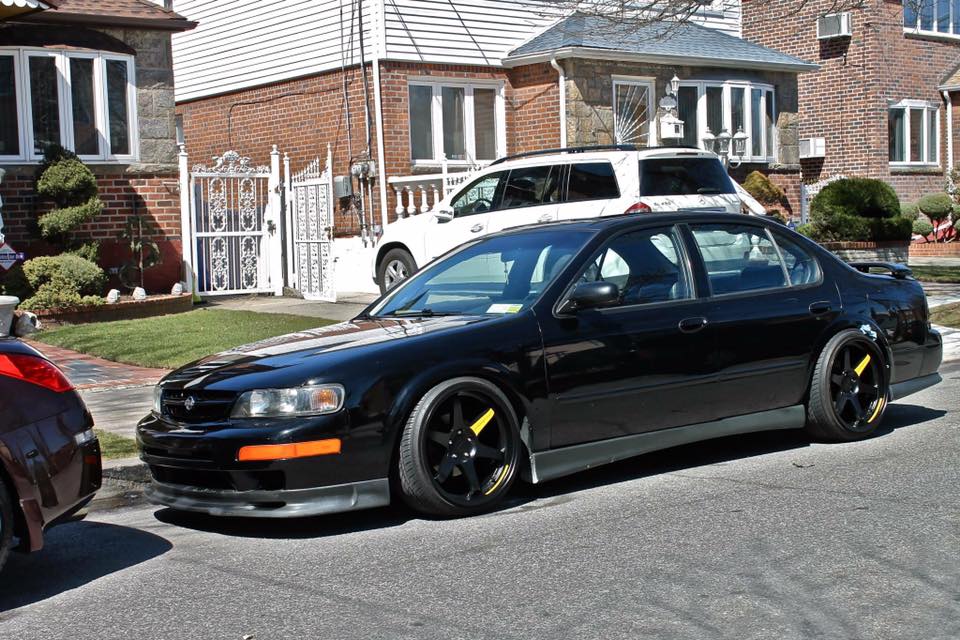
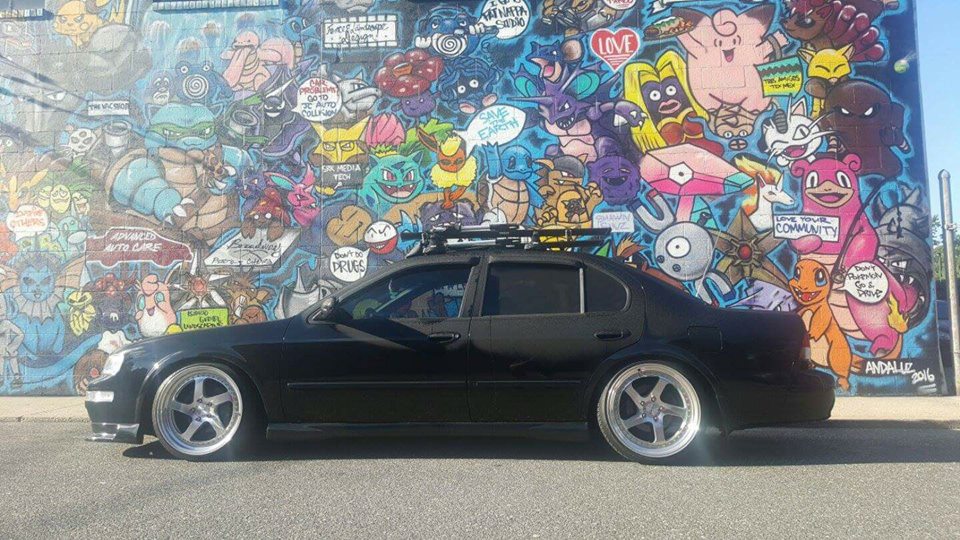
Gallery of 5thgen Maxima’s with different wheel and tire setups.