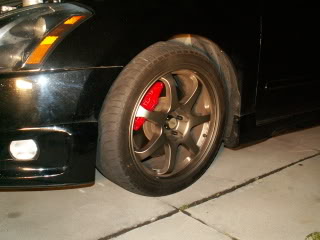
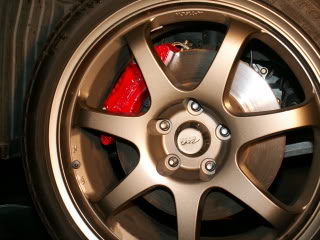
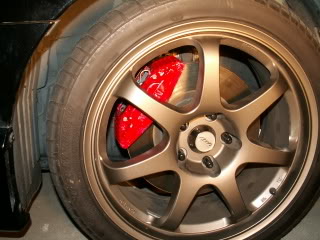
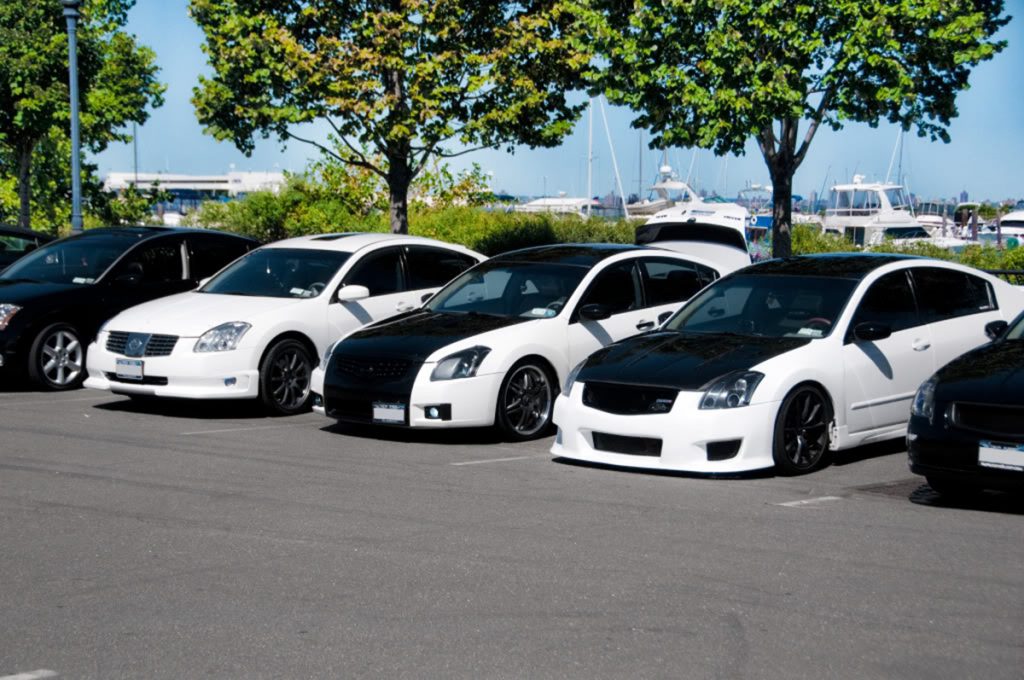
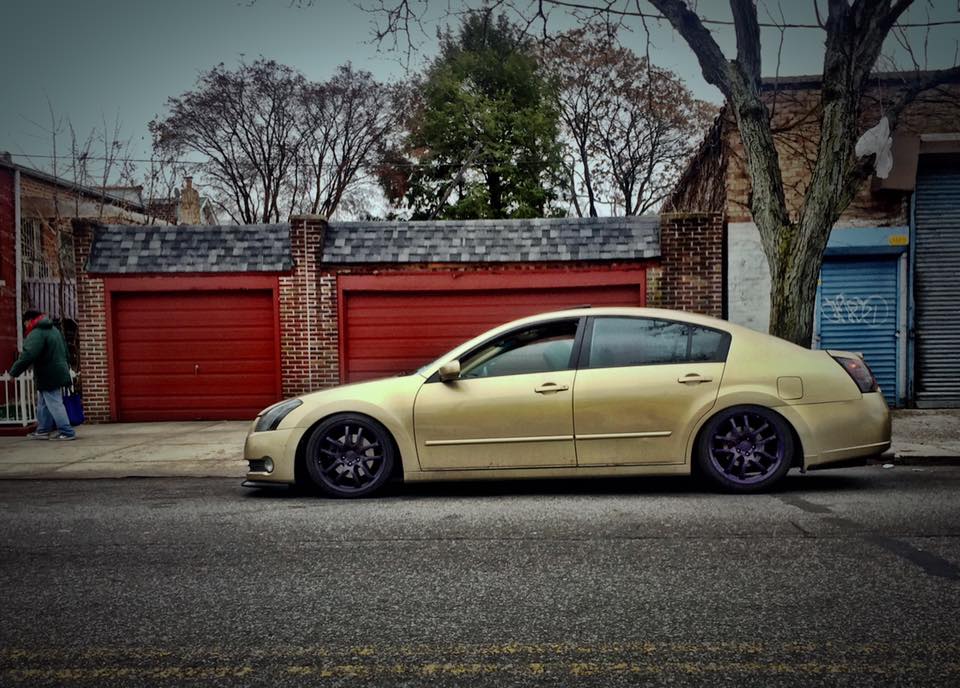
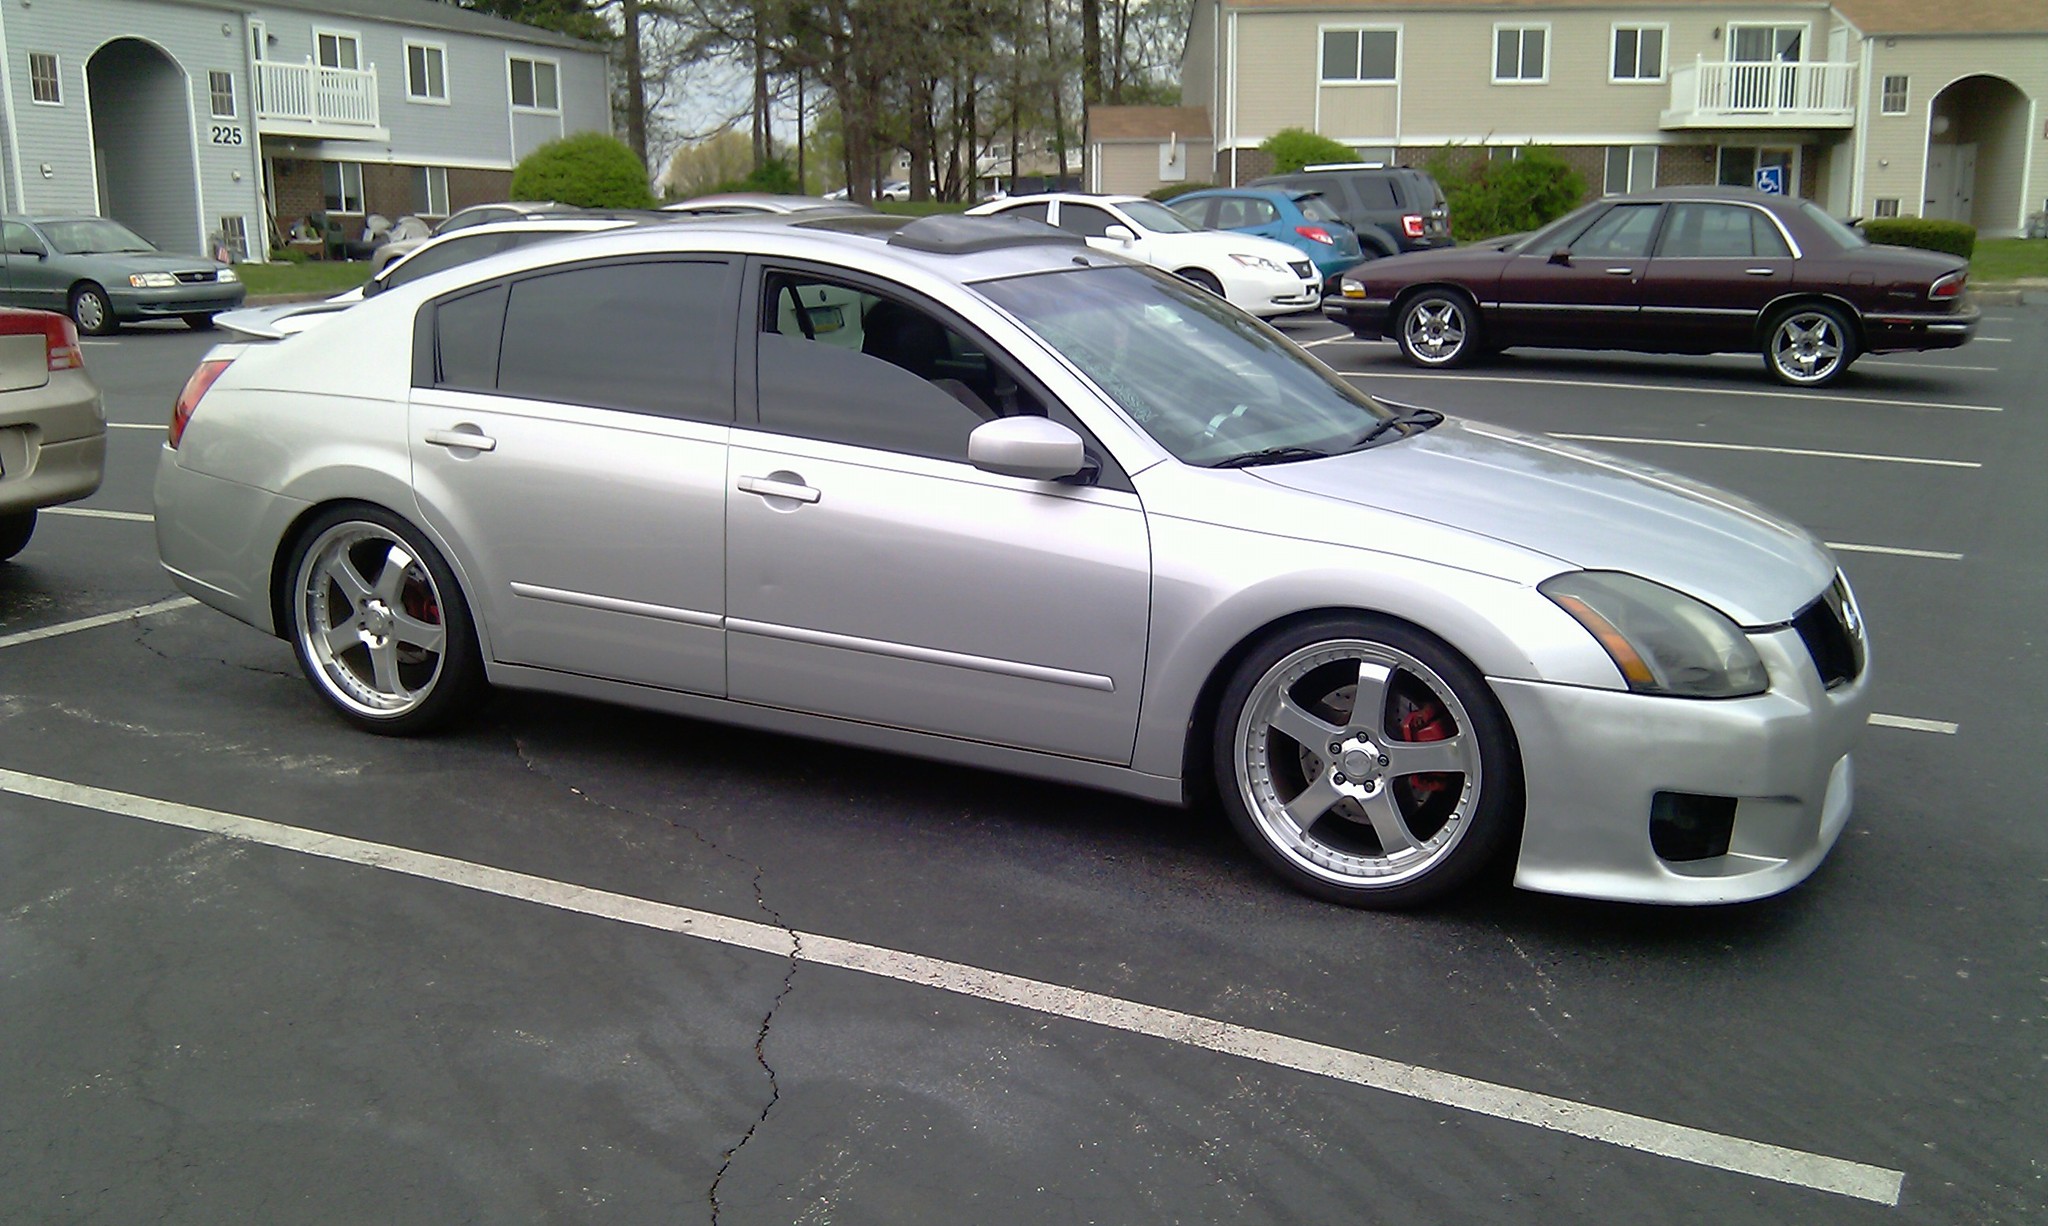
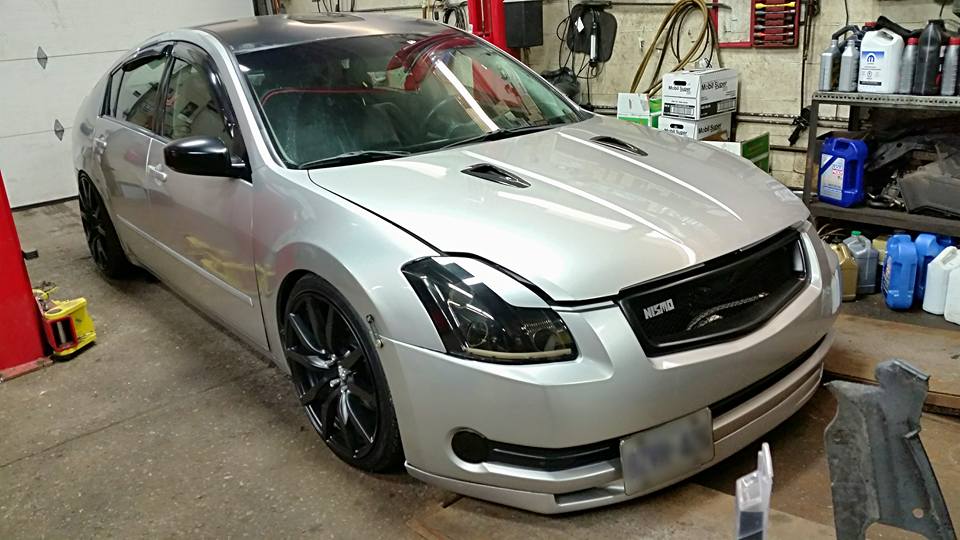
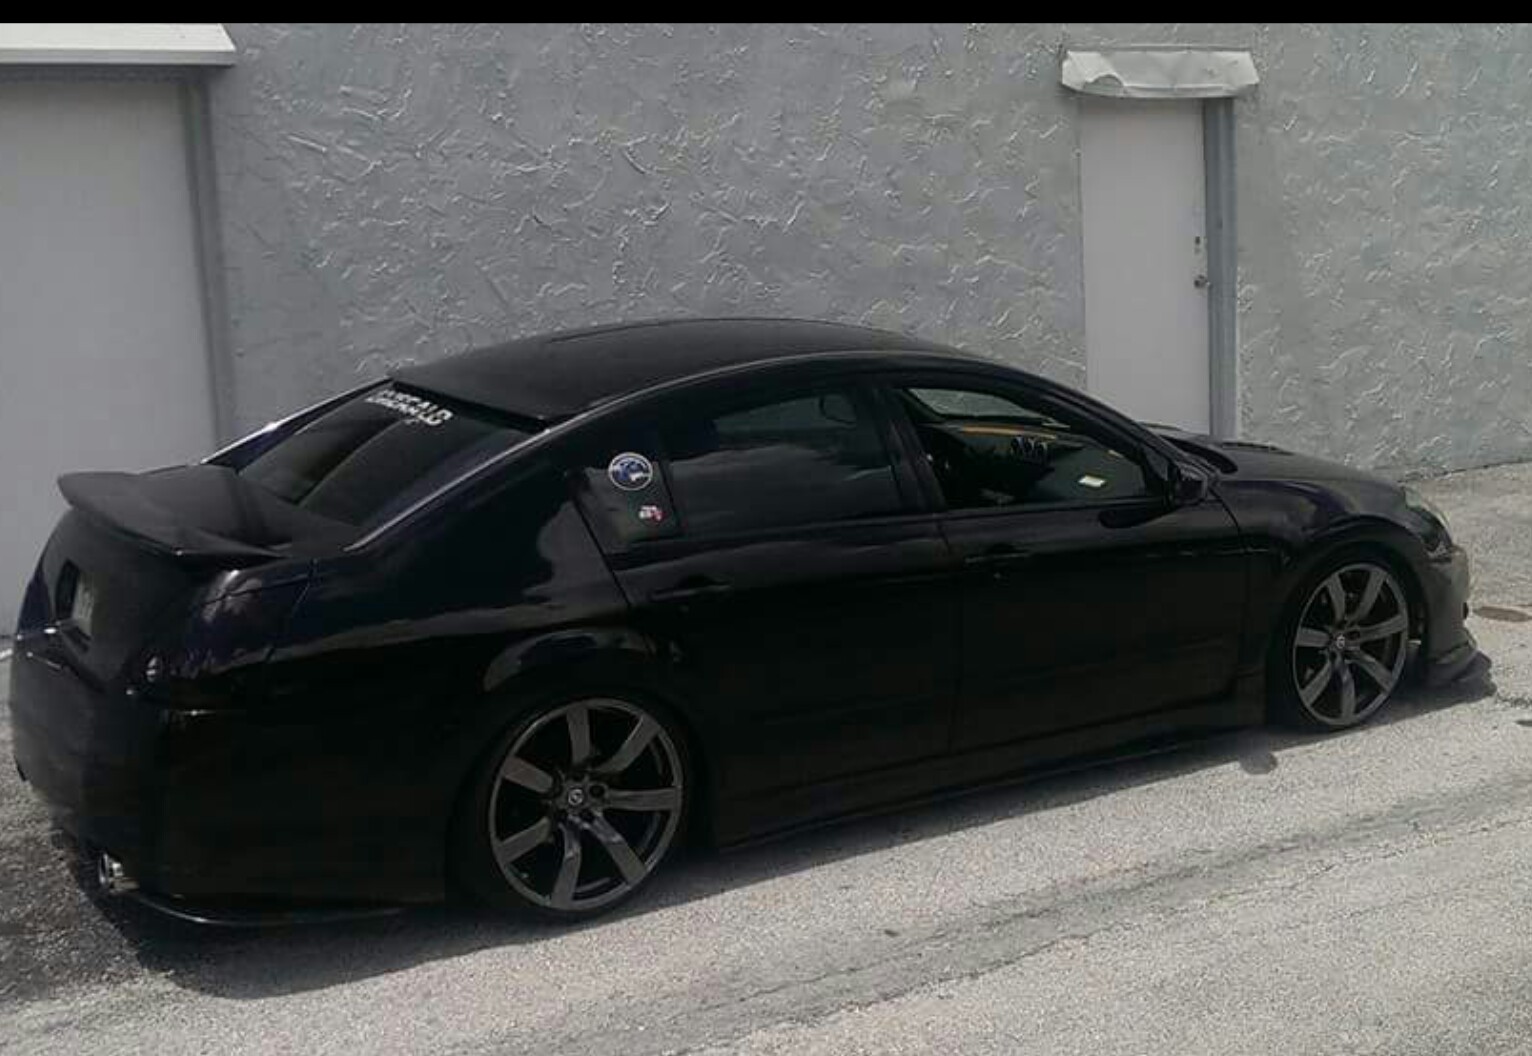
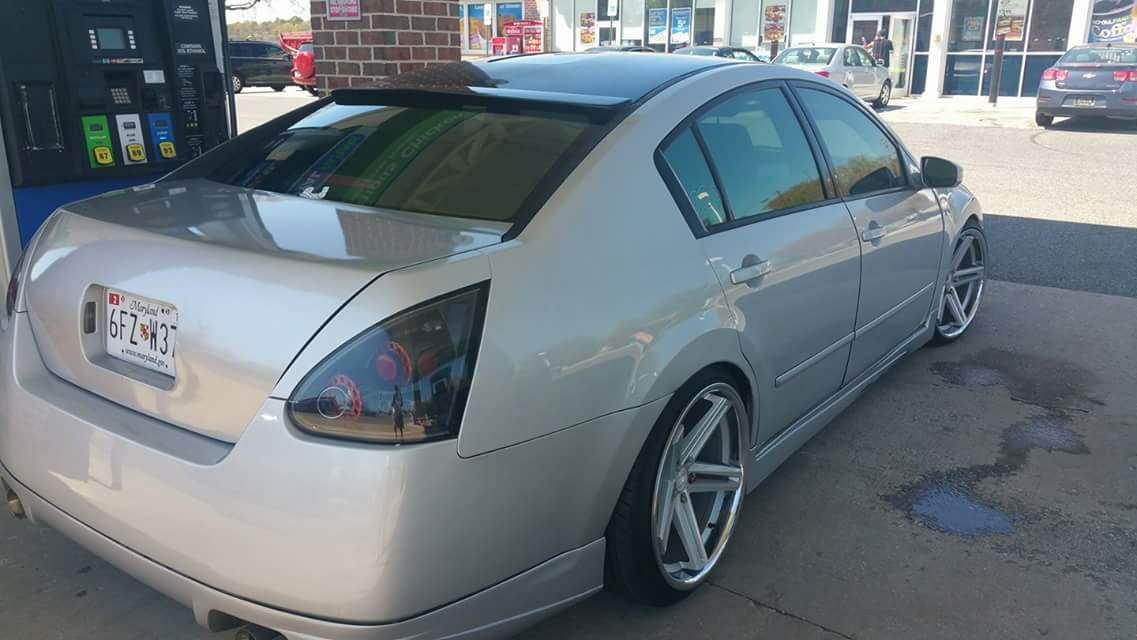
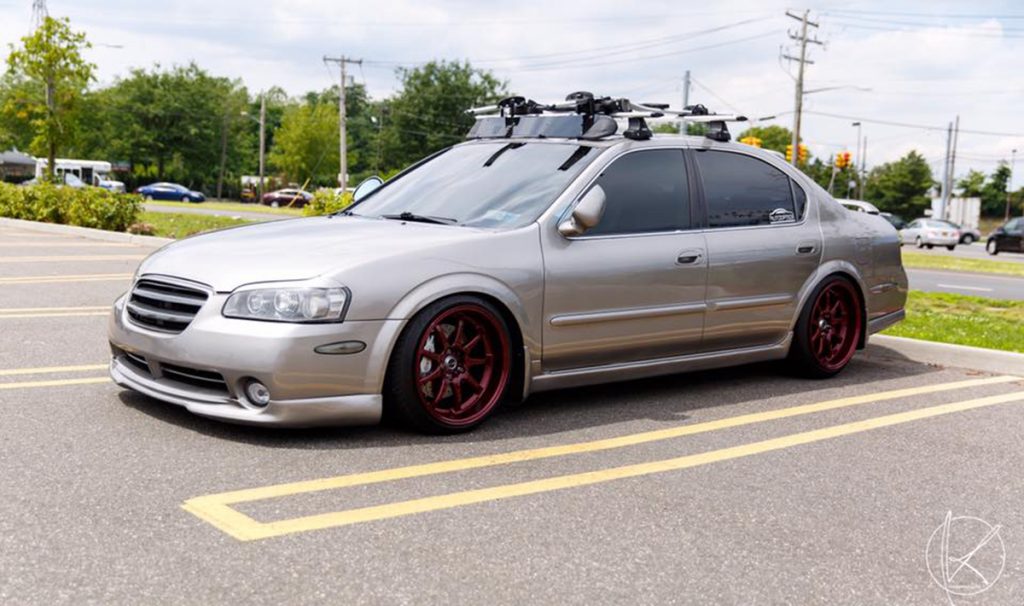
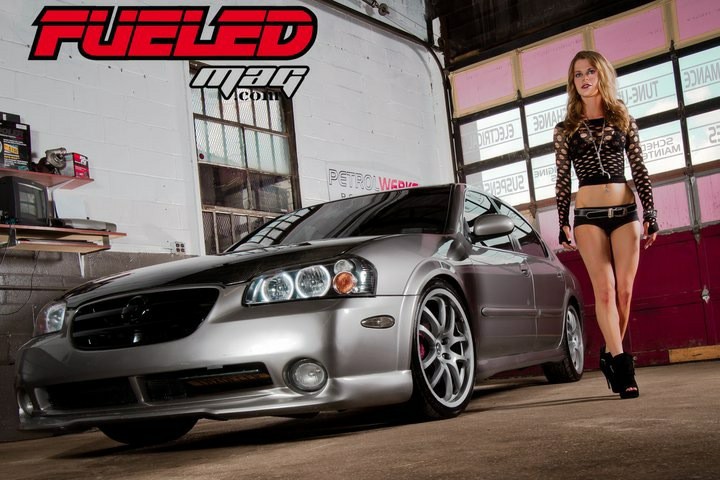
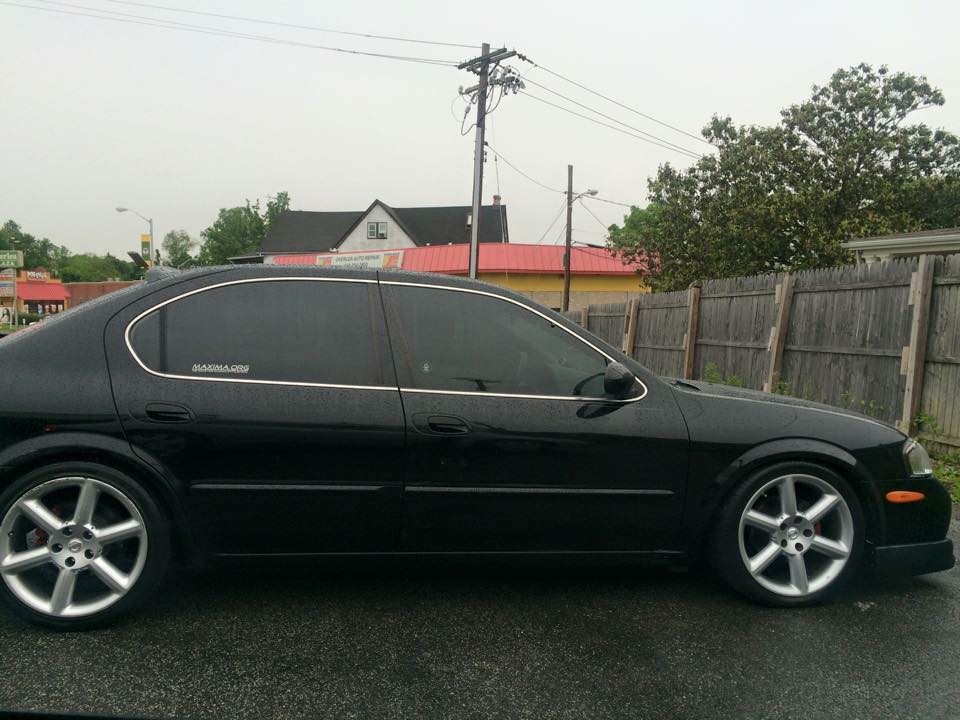
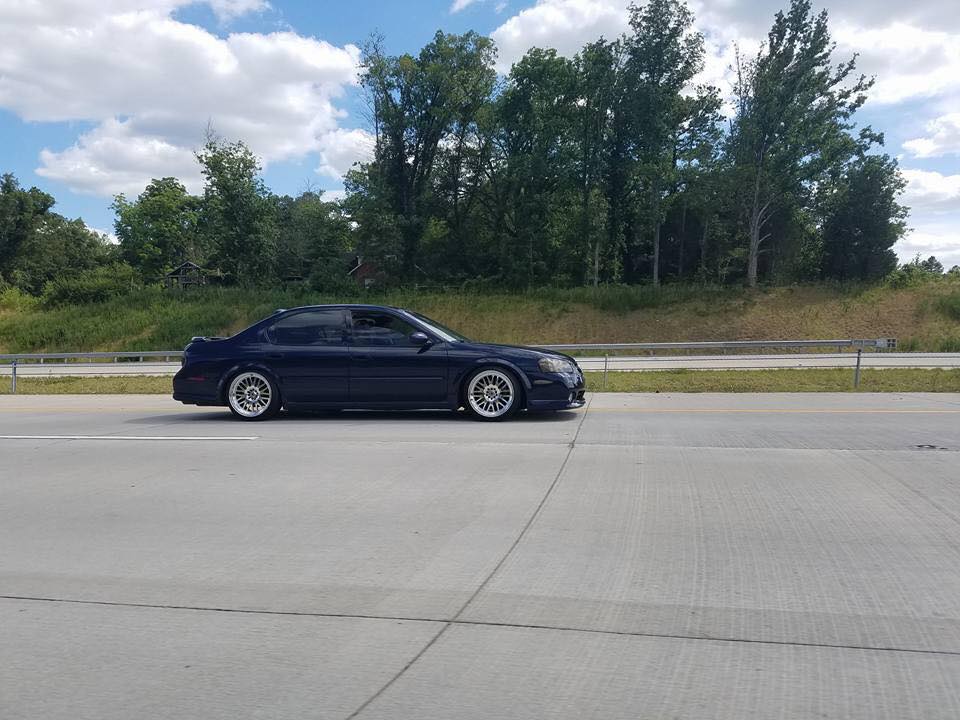
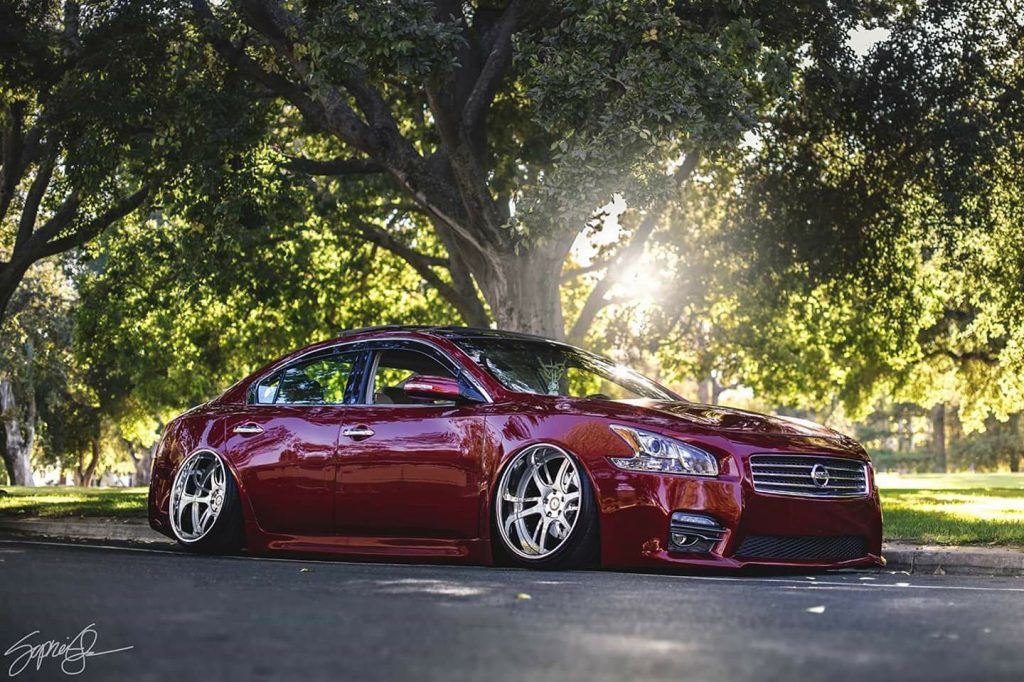
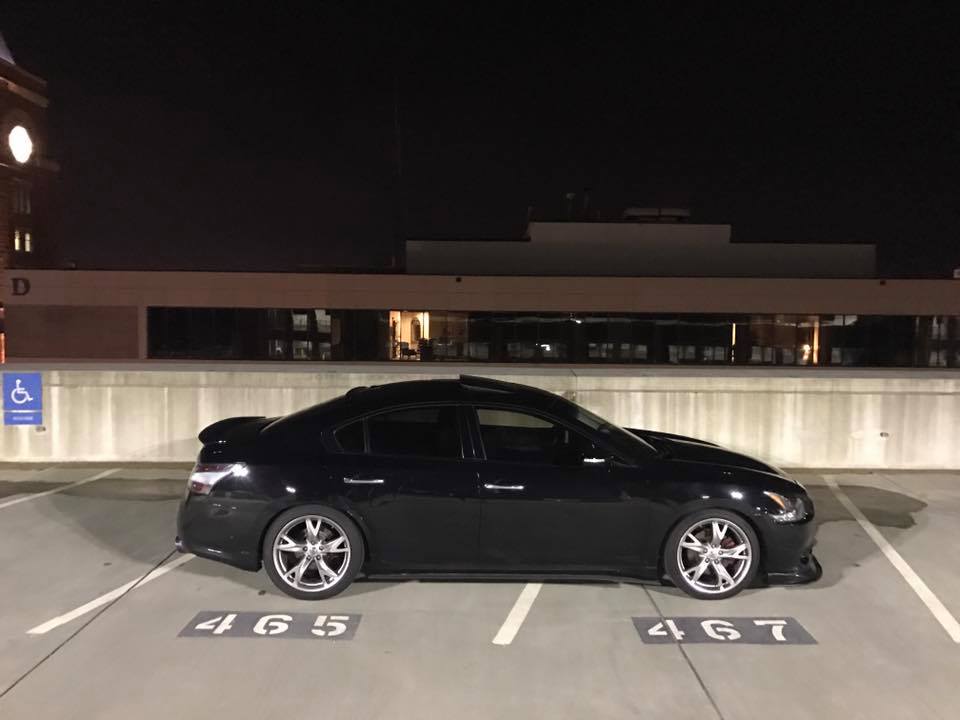
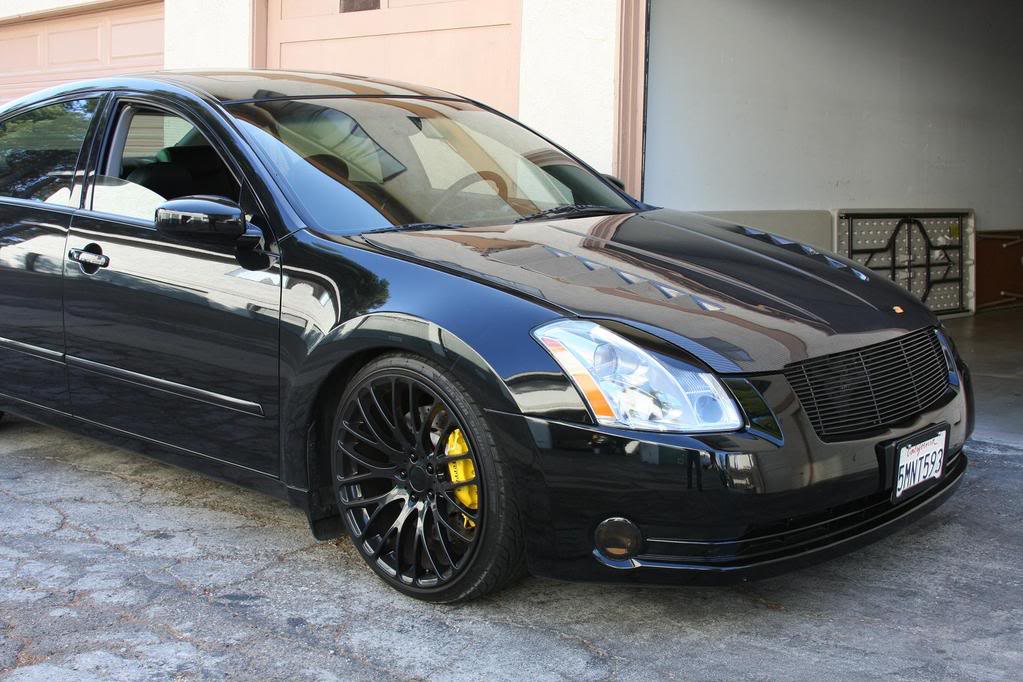
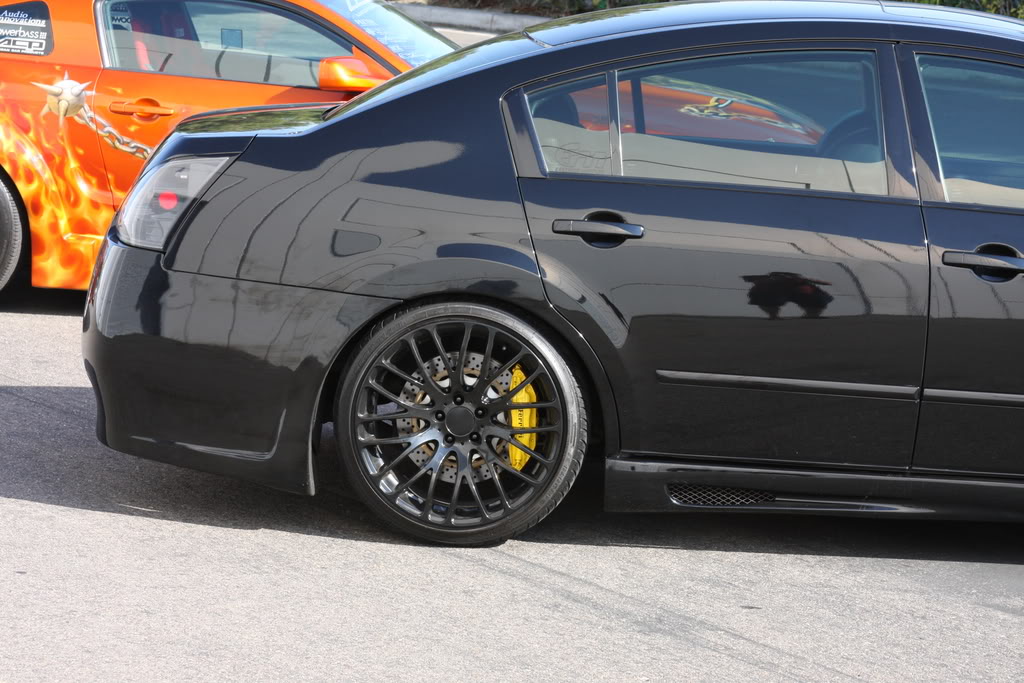
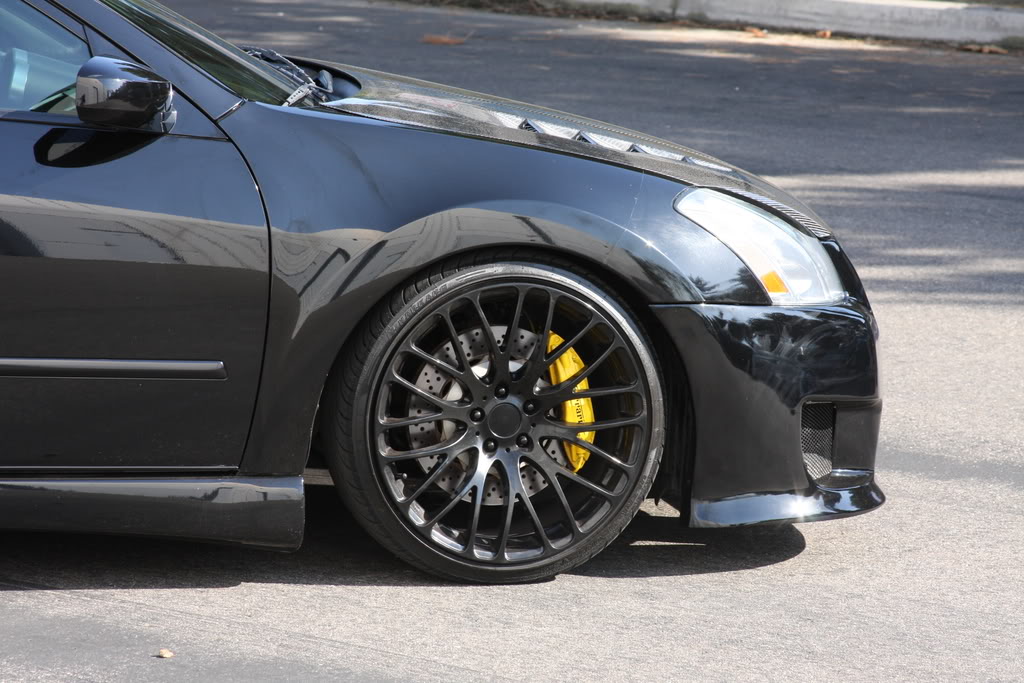
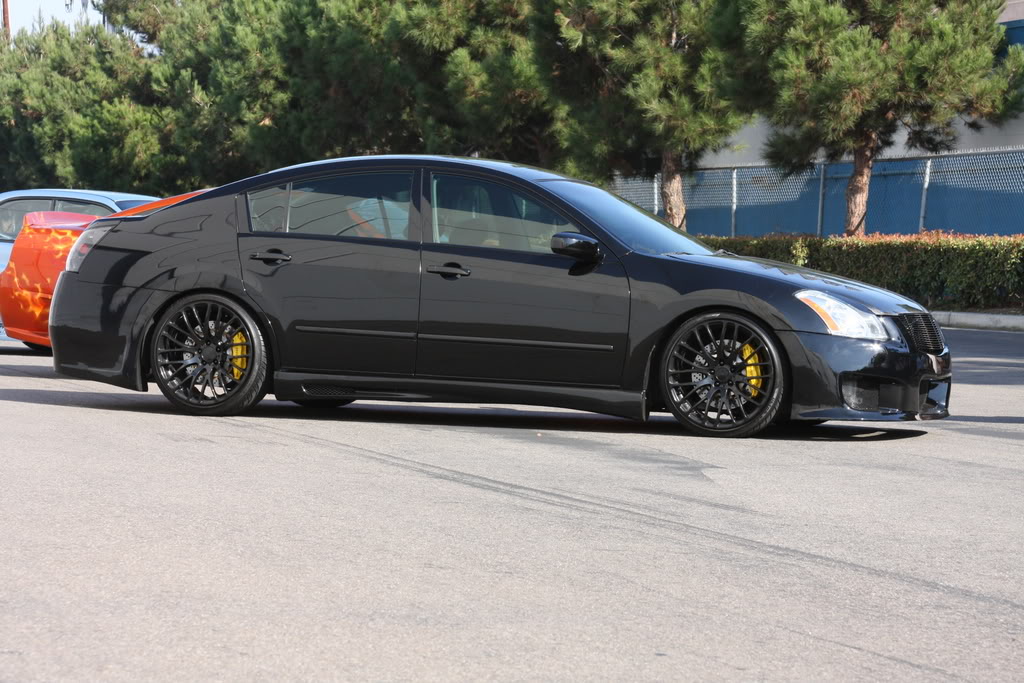
Gallery of 6thgen Maxima’s with different wheel and tire setups.

IMG 7538

IMG 7536

IMG 7533



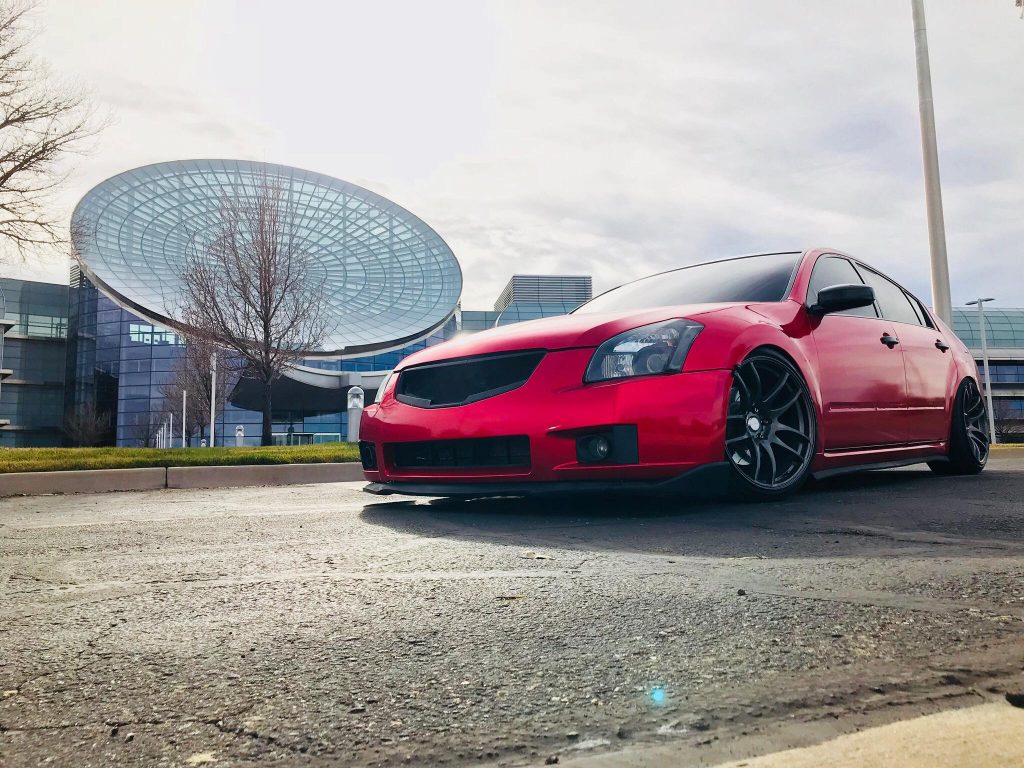
Gallery of 6thgen Maxima’s with different wheel and tire setups.
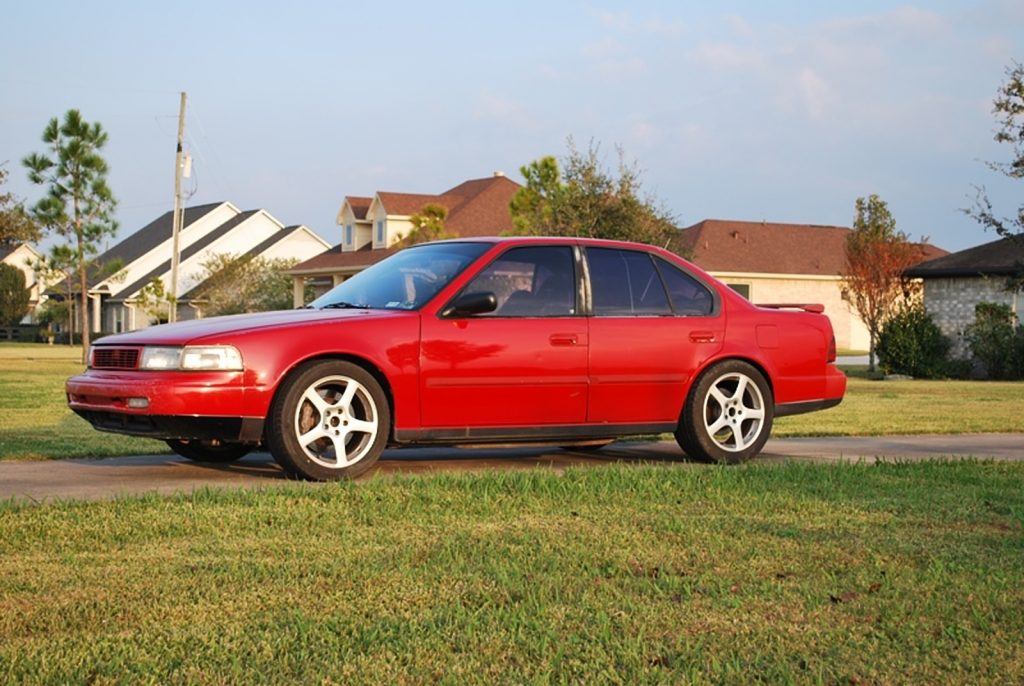
Member Credit: Matt Blehm
Please note that this post is for reference and documentation purposes ONLY. Matt Blehm no longer offers these products or services. Products were available from 2003 to around 2009.
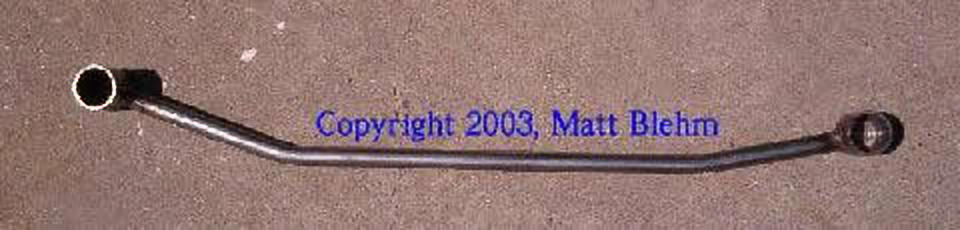
This part is designed to tie the front suspension together to provide sharper steering response and better handling overall.
These parts are powdercoated black. If you would like other colors, I can do it, but buyer will be responsible for additional charges.
Stage I
This is a bar that ties together the bolts on the front lower control arm gussets, providing sharper steering response and less chassis flex in corners. Handling improvements are very similar to installing a strut tower brace, which you can also add on the top of the suspension to tie the front end together really well!
The only drawback is that you lose a bit of ground clearance- but since it sits between the front wheels, the only time you might have a problem is when driving over extremely uneven surfaces. I have had the Stage II bar (see below) on my car for six months now and have only scraped it three times- all of which could have been prevented had I been paying more attention while going over extremely rough roads.
The price for the Stage I lower tie bar is $65, plus shipping- a VERY worthwhile and affordable mod!
Stage II
This one is a bit more complex. It bolts onto an additional frame mount behind the control arms to provide more strength and reduce chassis flex even more. You don’t lose any more ground clearance, but you do gain several more steps up the ladder in the handling department.
For 3rd gens, this requires a small amount of grinding on the left side gusset to fit, but does not alter or weaken the structure of the car at all–you simply have to enlarge one hole by about 2mm for one of the mounting points to fit properly. For 4th and 5th gens, this is a simple 15 minute install (assuming you have air tools and a jack).
Current fittments WILL Clear all aftermarket Y-pipes (Warpspeed Performance, Cattman, Stillen), but will NOT clear the Cattman headers on the 4th gen. I’m working with a customer in redesigning the 4th gen bar so that it will fit. If you have these headers or plan to purchase them, stay tuned and I’ll have a design that fits.
Price on the Stage II Lower Tie Bar is $175, plus shipping.
4th Gen Stage II Lower Tie Bar
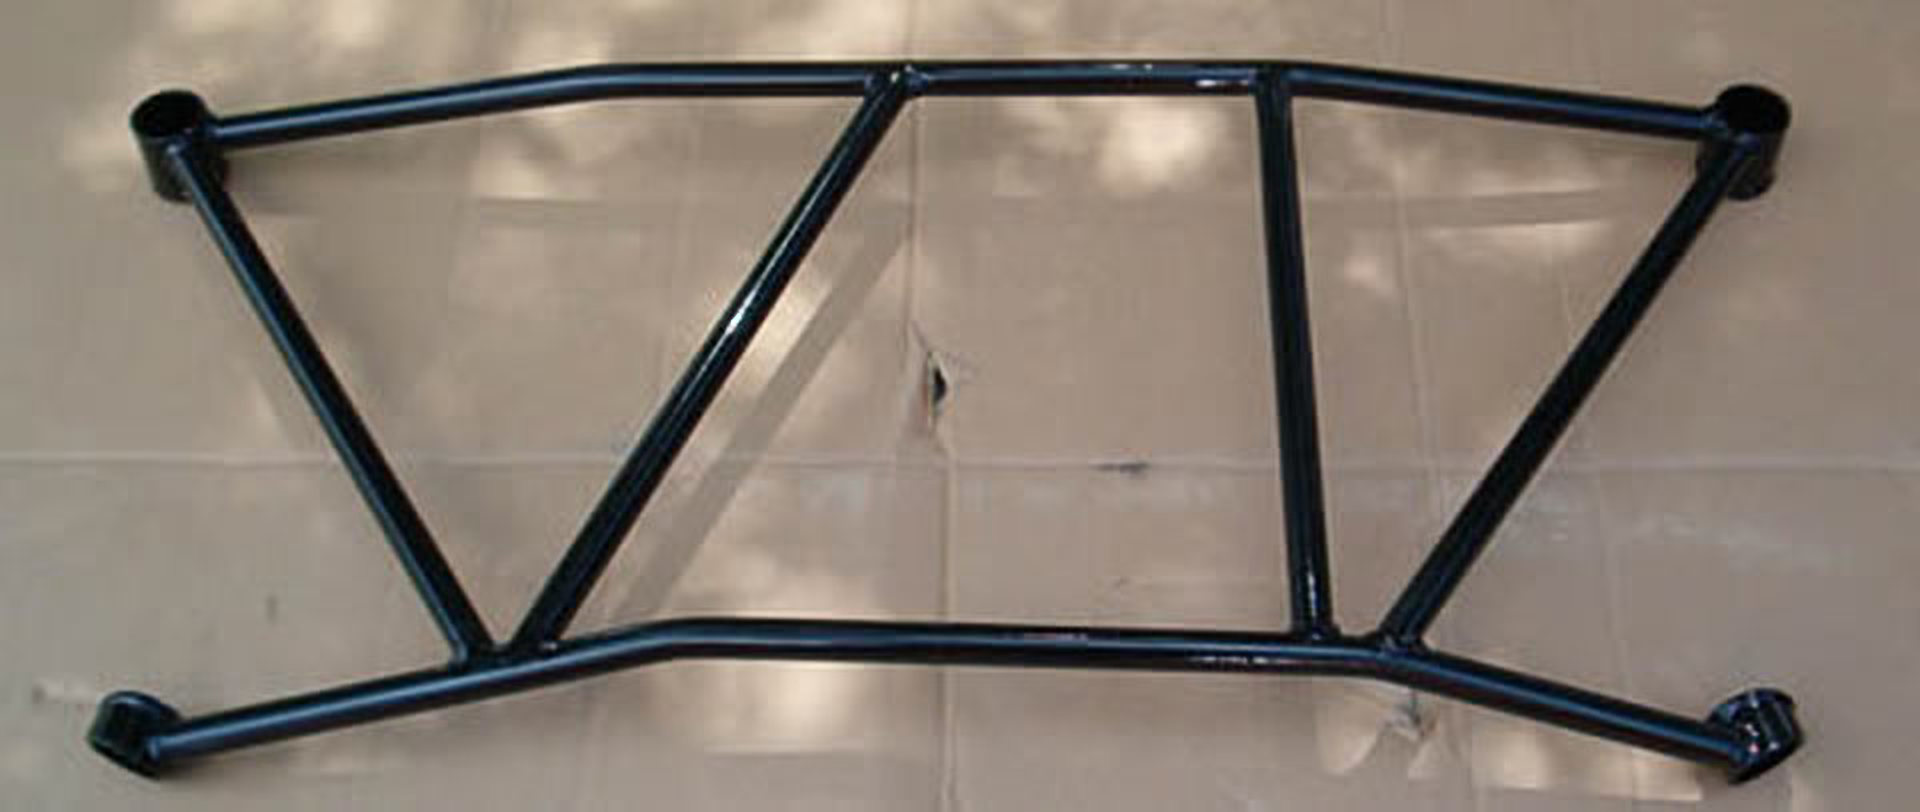
5th Gen Stage II Lower Tie Bar
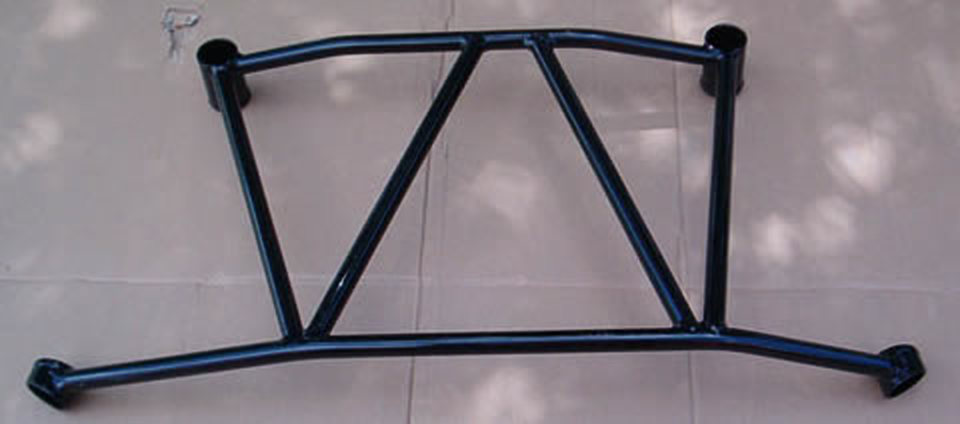
B14 Stage II Lower Tie Bar
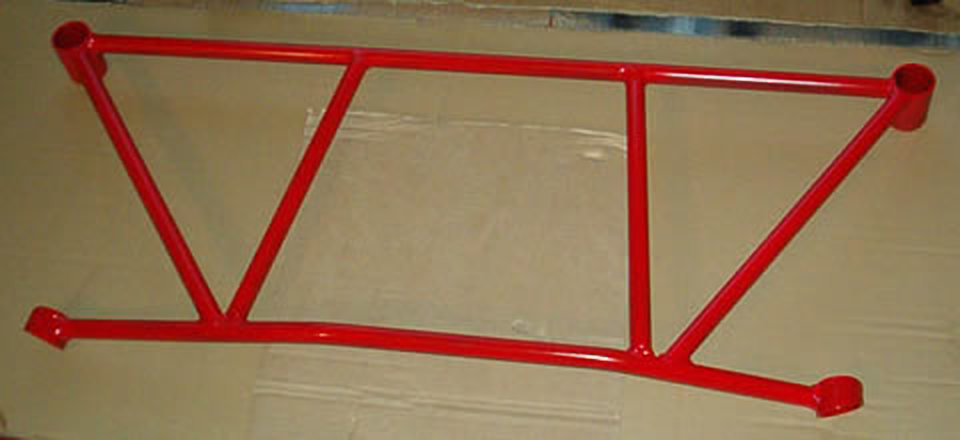
Rear Strut Tower Brace: For 89-94 Maxima
Exactly what it says it is!! You’ve seen them on 4th gens, you’ve seen them on Sentras, you’ve seen them on every car BUT a 3rd gen! I argued for years that they wouldn’t do anything, but I decided to build one not long ago, and boy was I wrong!!
Pricing: $100 each, plus shipping. (This isn’t your $29 ebay fstb!!)

Rear Parallel Link Replacement Kit: For 89-94 Maxima
Another crazy mod for your 3rd Gen!
This is a mod only for the hardcore guys out there. It’s rough and it’s tough, and it’ll (almost) hang with a Miata in the twisties!! These do add some road noise over gravel roads at low speeds, but the ride quality doesn’t change between these and stock bushings. I notice no additional highway noise, and the ride is MUCH smoother than with my worn bushings in the rear.
This kit also allows you to adjust Camber AND Caster in the back!
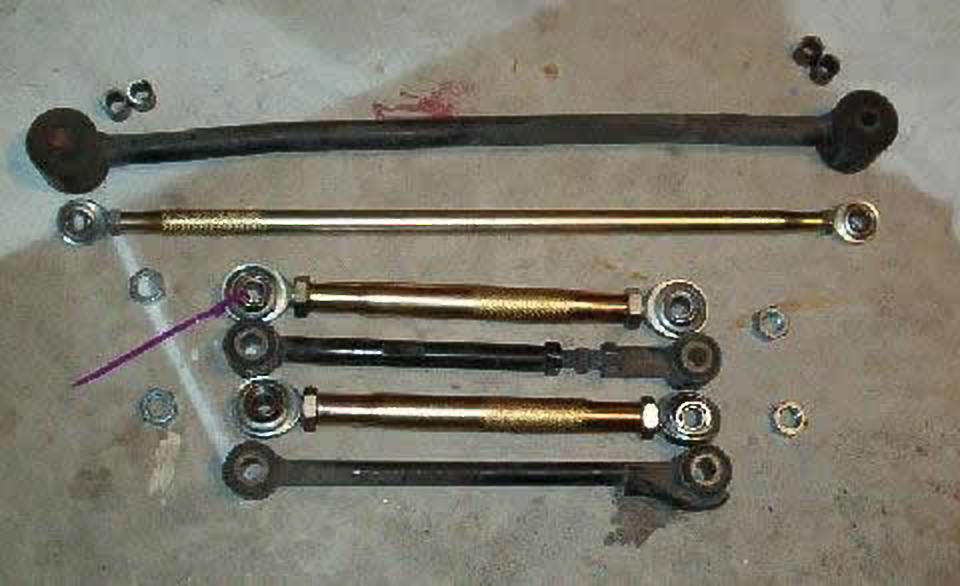
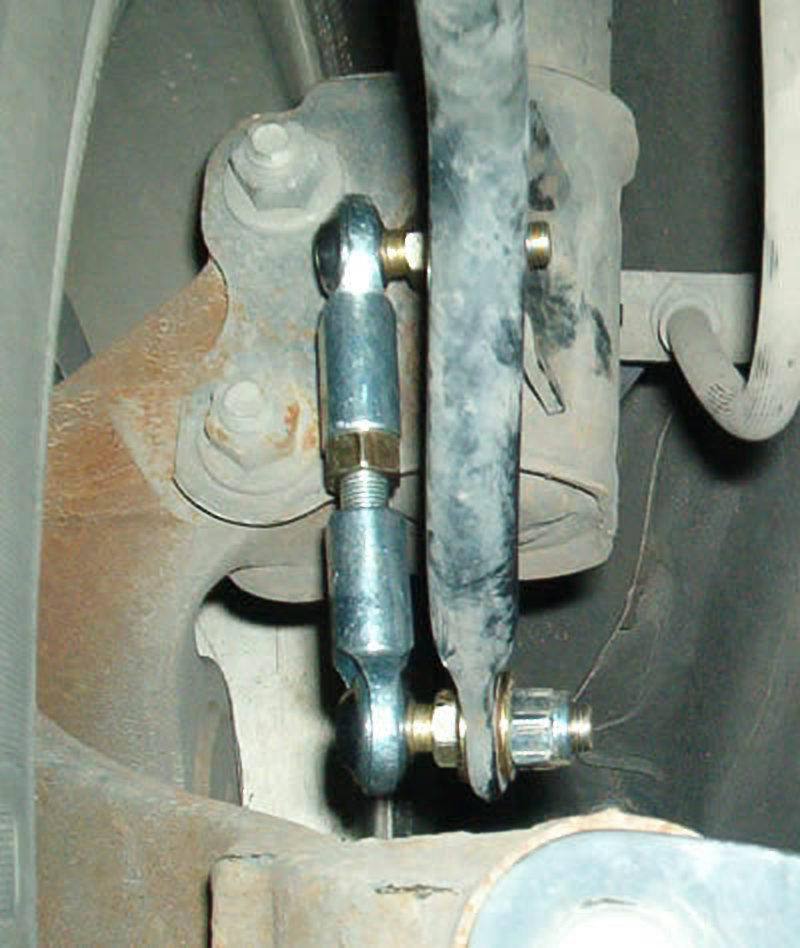
This kit replaces both rear parallel links and radius rods on both sides, for a total of 6 bars, 12 Heim joints, and all the bushings you’ll need to install them properly.
I can get the tubes in zinc plated (pictured), or black. I can powdercoat them just about any color you want as well, so contact me if you’d like some other colors.
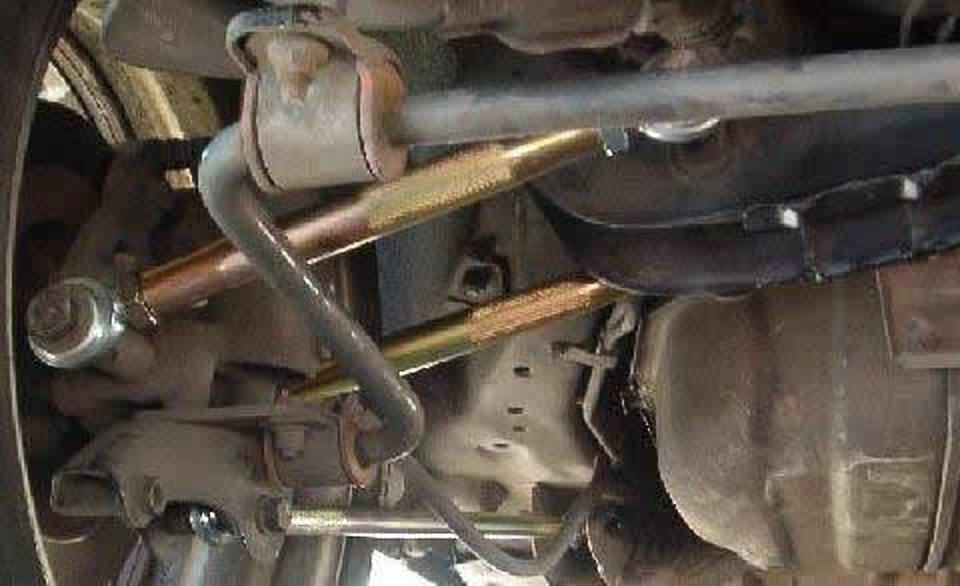
This kit is priced at a VERY reasonable $375 for the set. Again, the second picture shows just one side, but you do get both. The joints used in this kit are very high quality– they have teflon lining injected into them so they should never need lubricating and will never rattle like the cheap ones.
Okay, so what is it exactly? I’ll let the pictures speak for themselves:
Rear Sway Bar Links:
89-94 Maxima
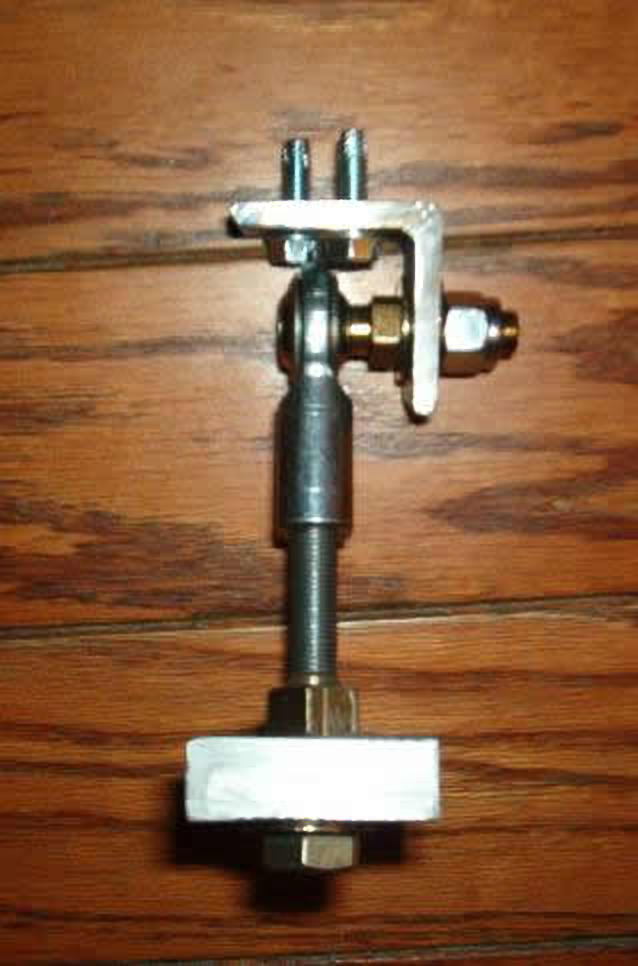
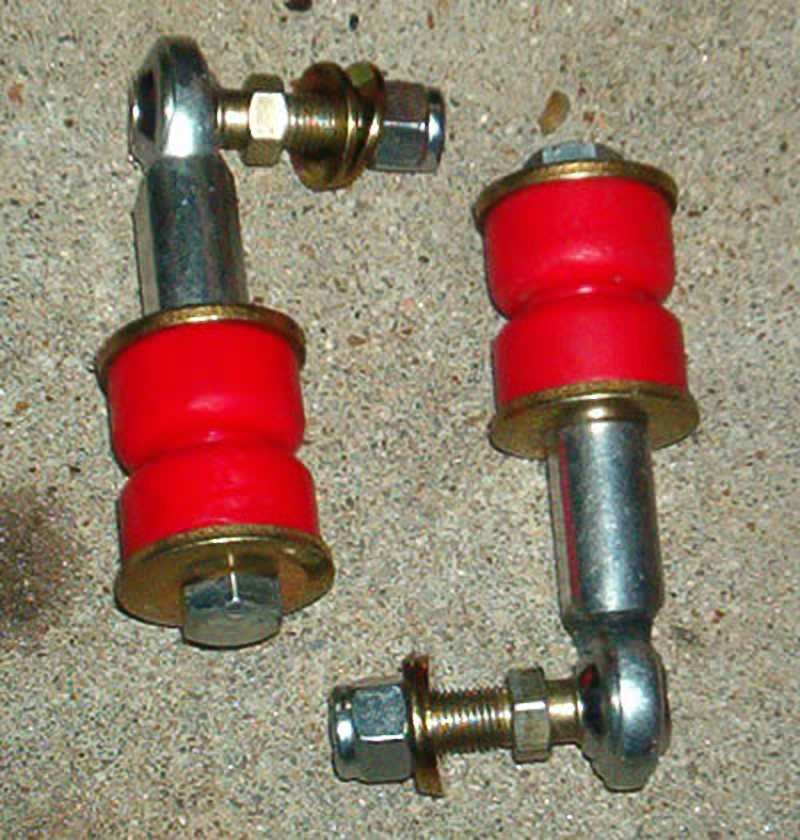
Tired of your rear sway bar links breaking, clanking, and rattling? Here’s the solution! These are made from all high-strength materials. 1/2″ aluminum bottom plate, grade 8 mounting hardware, and the heim joint on top is permanently lubed with kevlar/teflon injected into the joint. Guaranteed not to break! Overkill to say the least, but you don’t want these to break AGAIN, do you?
Price for the Maxima kit is $45 + shipping–includes all hardware pictured for both sides of the car.
1st Generation Altima
I have some Energy Suspension Sway Bar Bushings on the way as well and will be selling these as complete front and rear kit when they come in. Final pricing will be determined later.
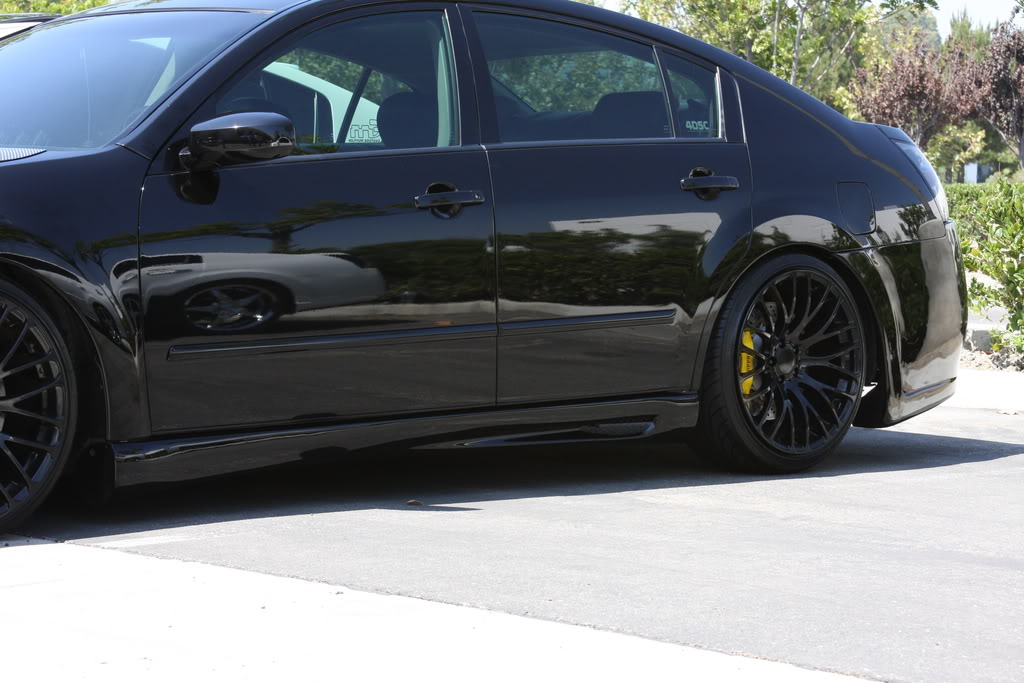
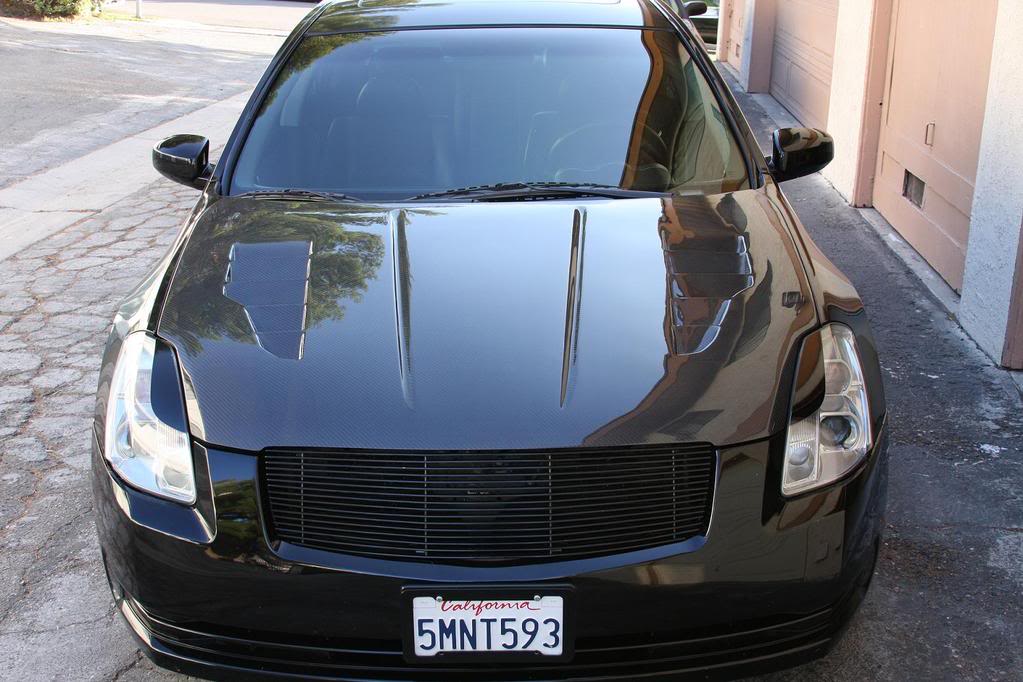
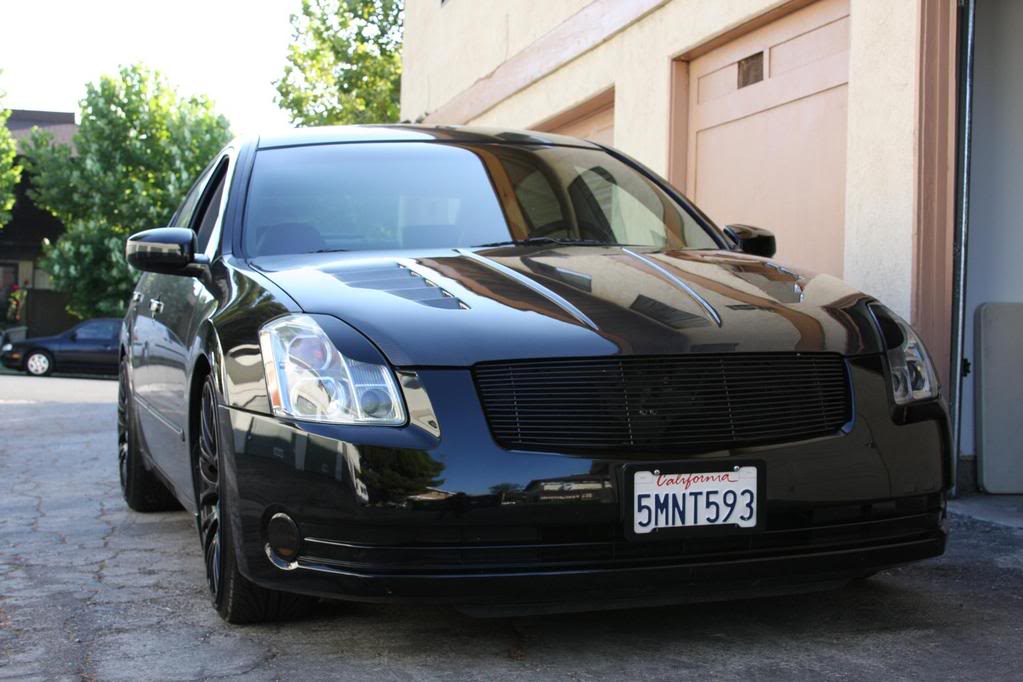
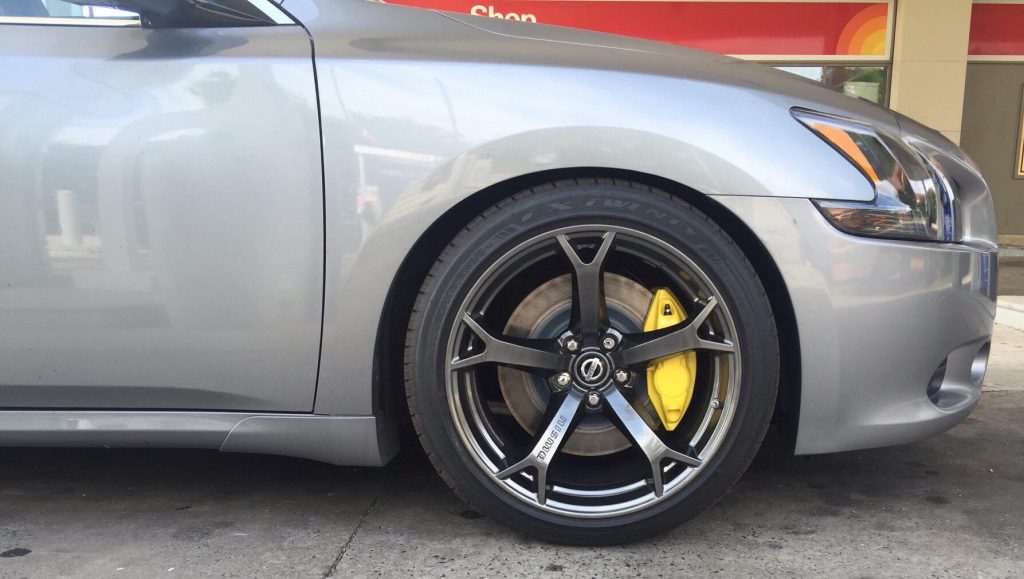
Member Credit: Shaun Guinn
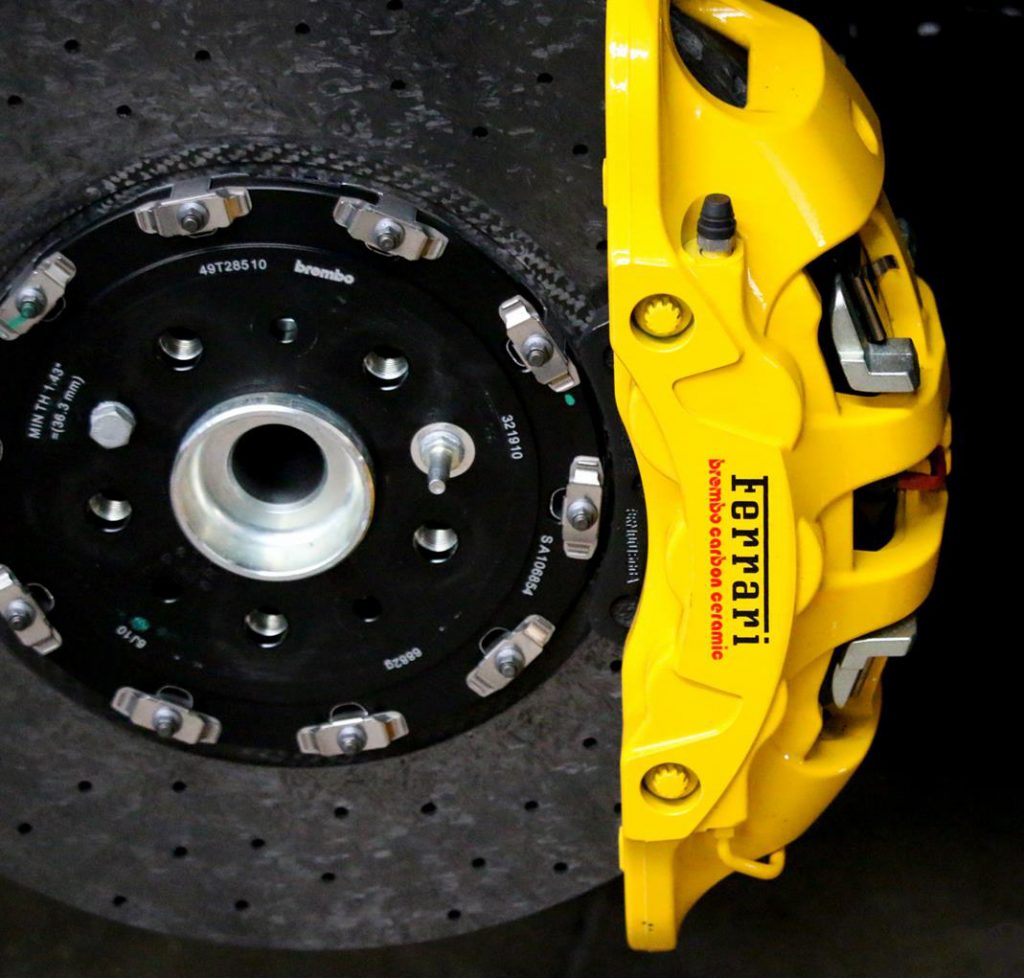
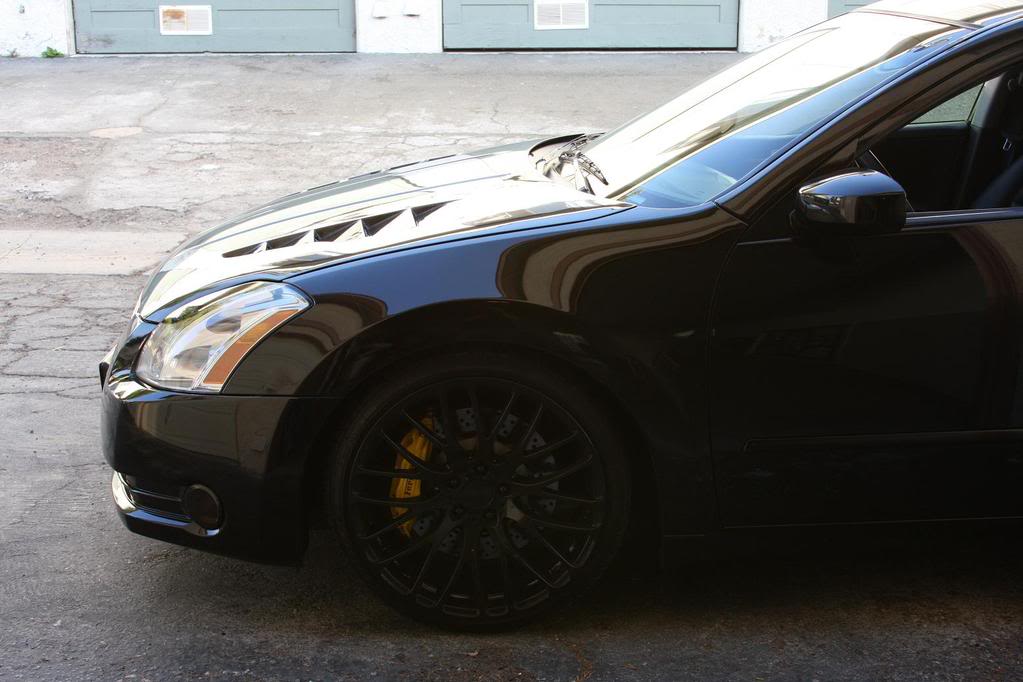
Full G37s Akebono BBK Rebuild on 7thgen Nissan Maxima.
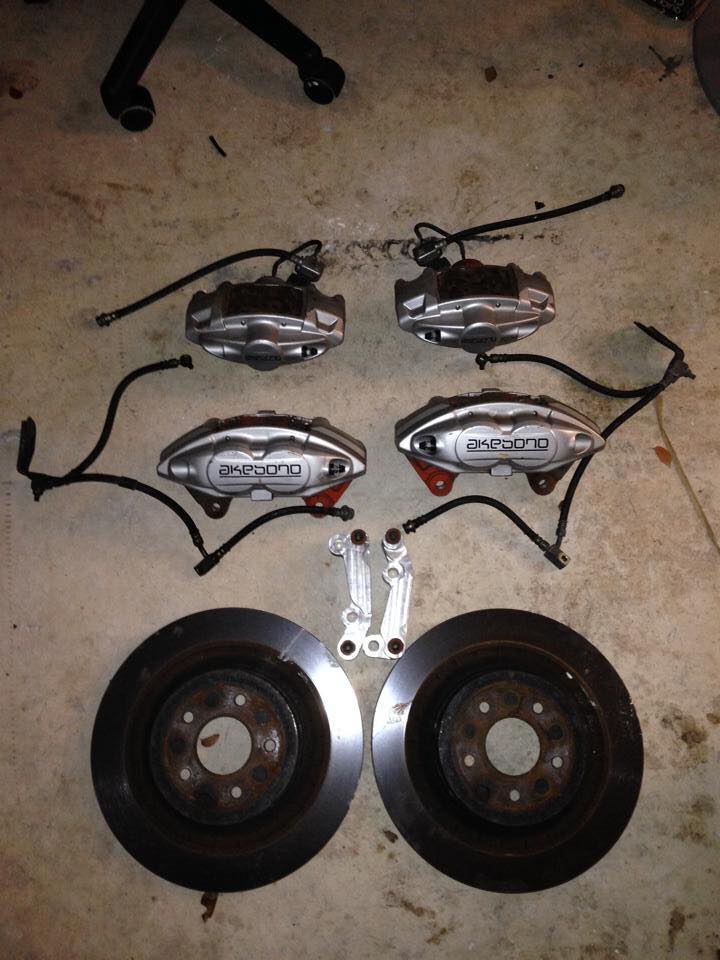
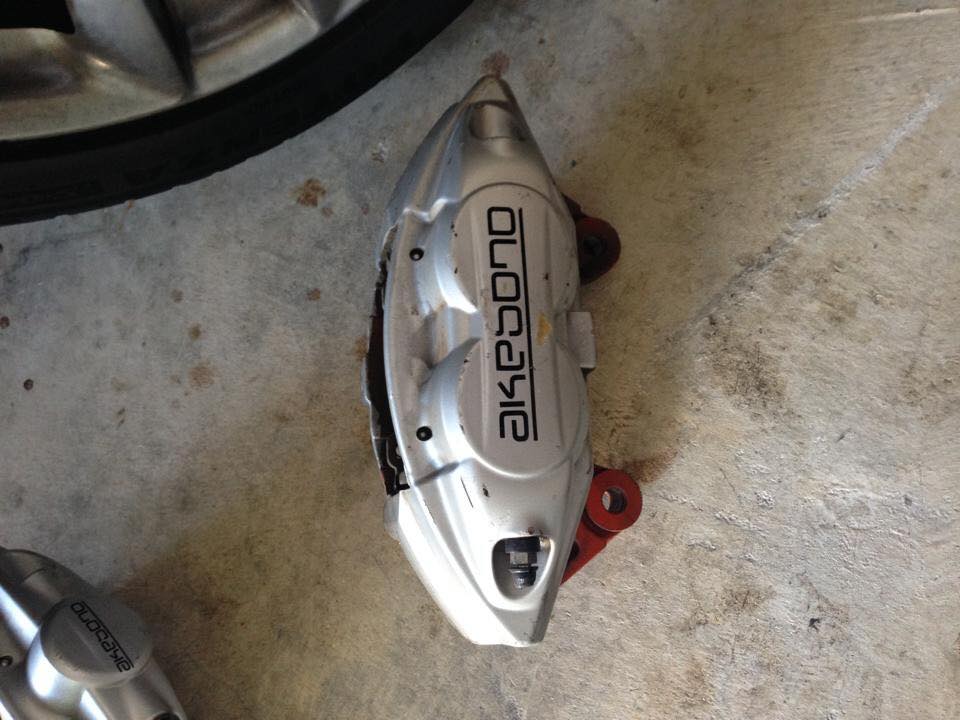
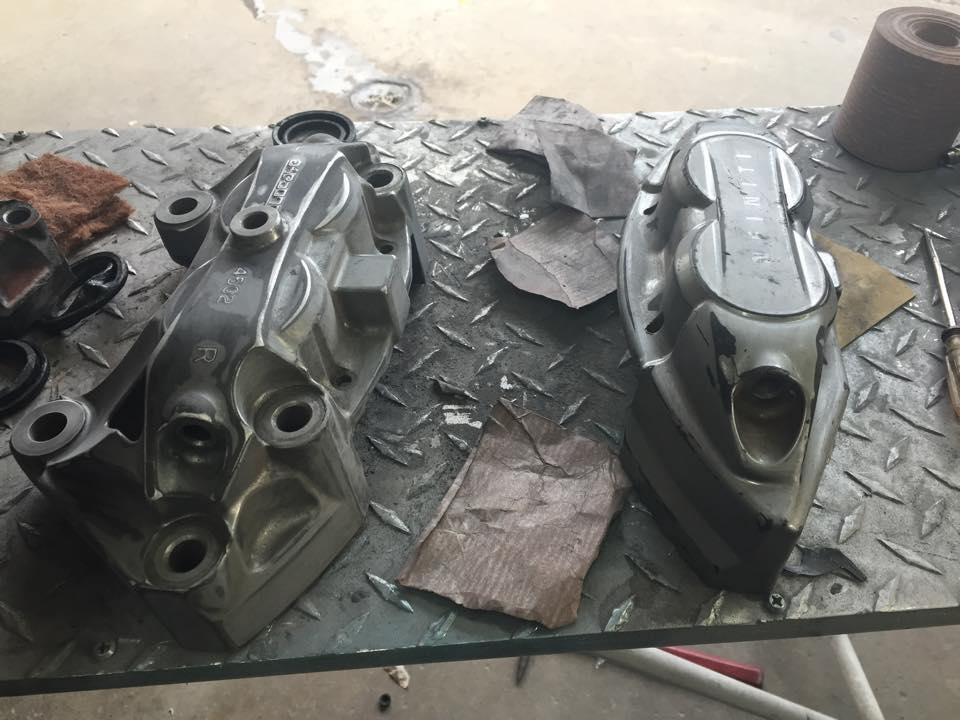
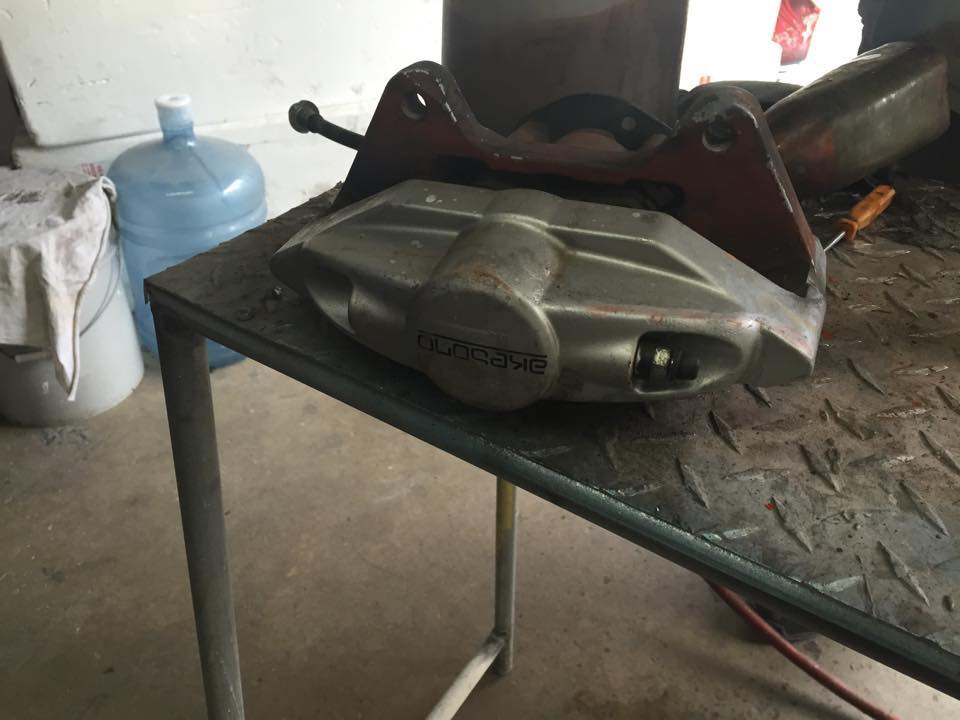
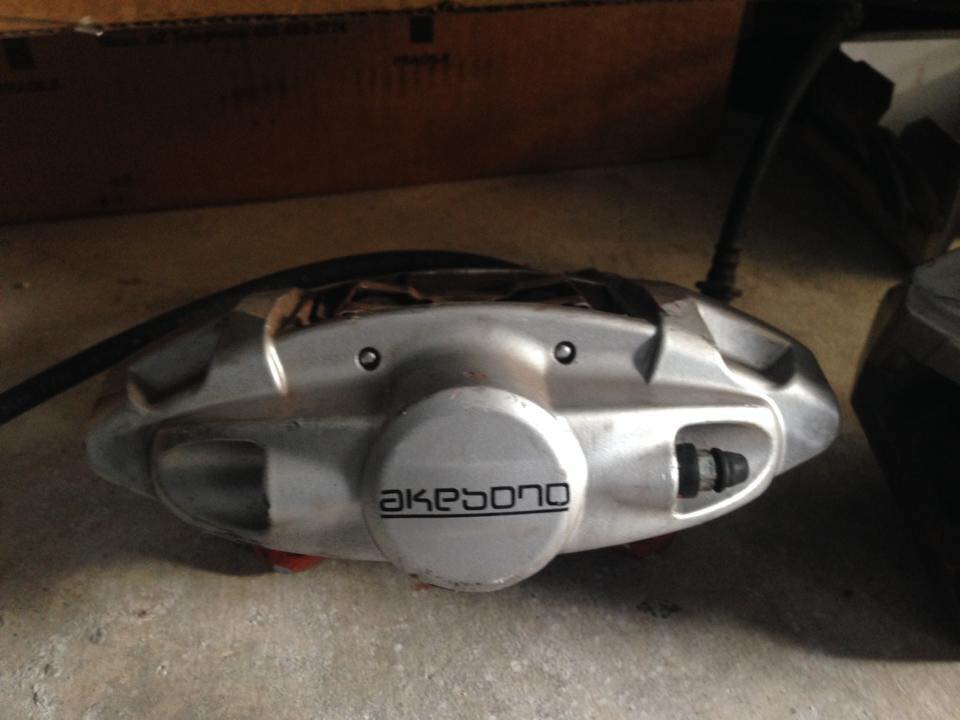
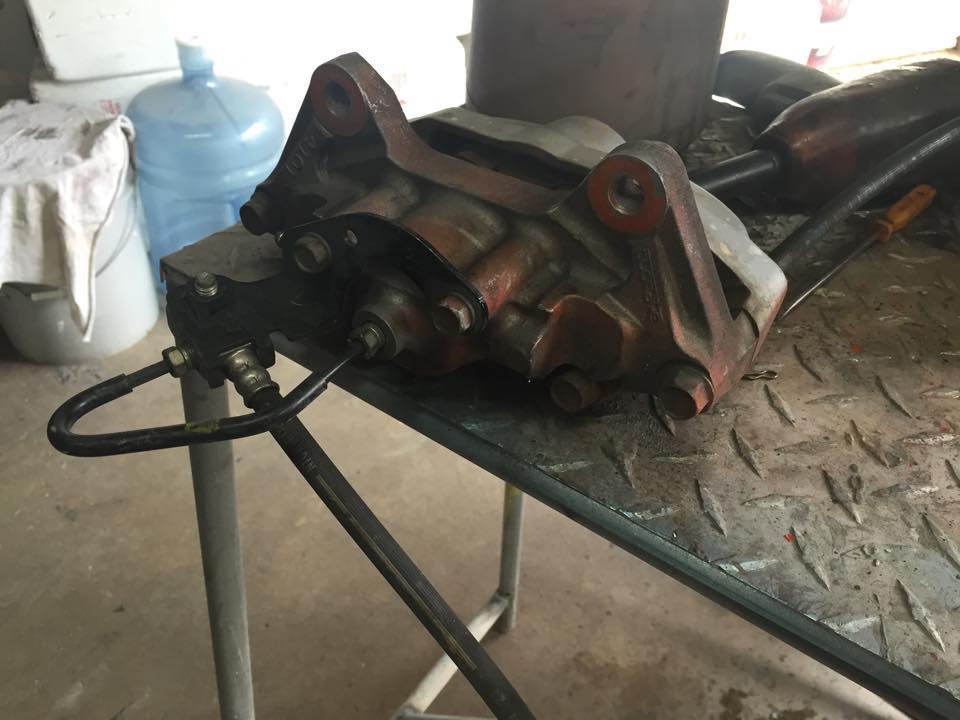
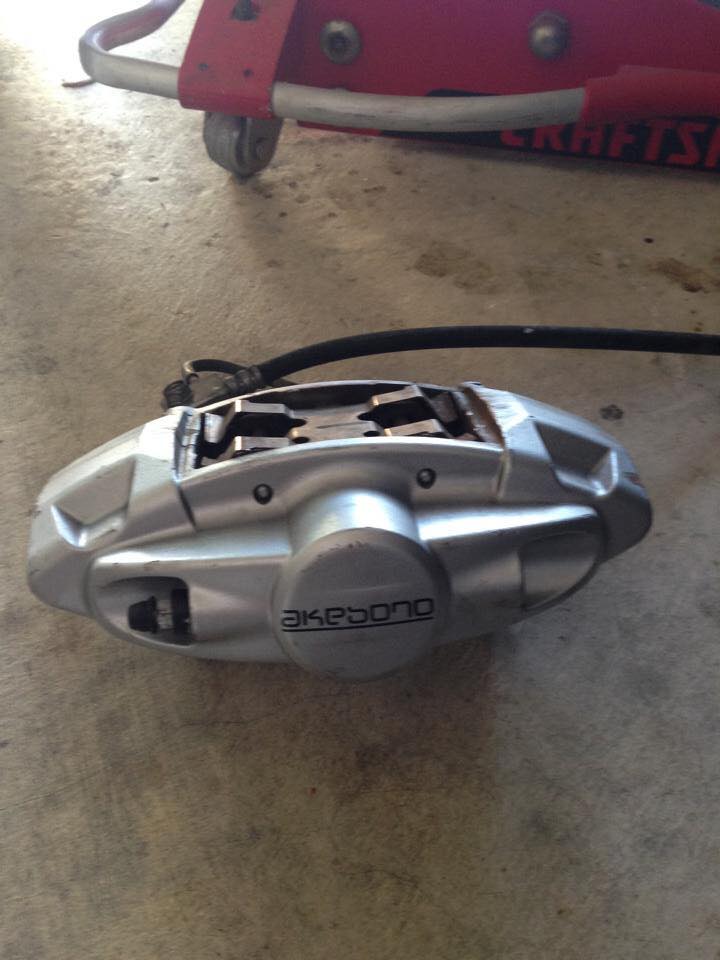
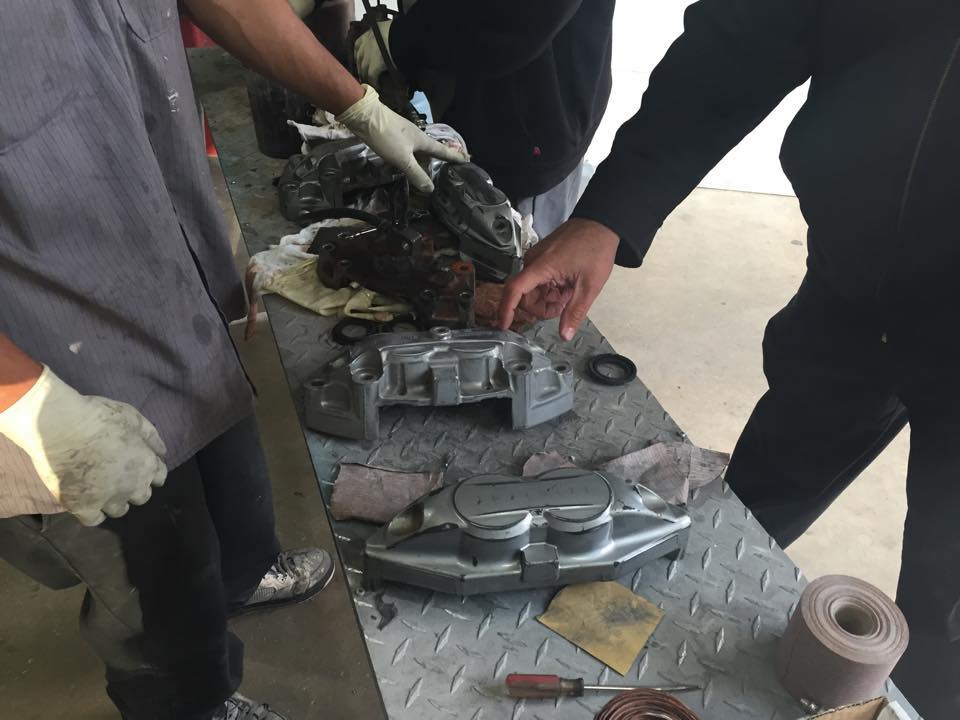
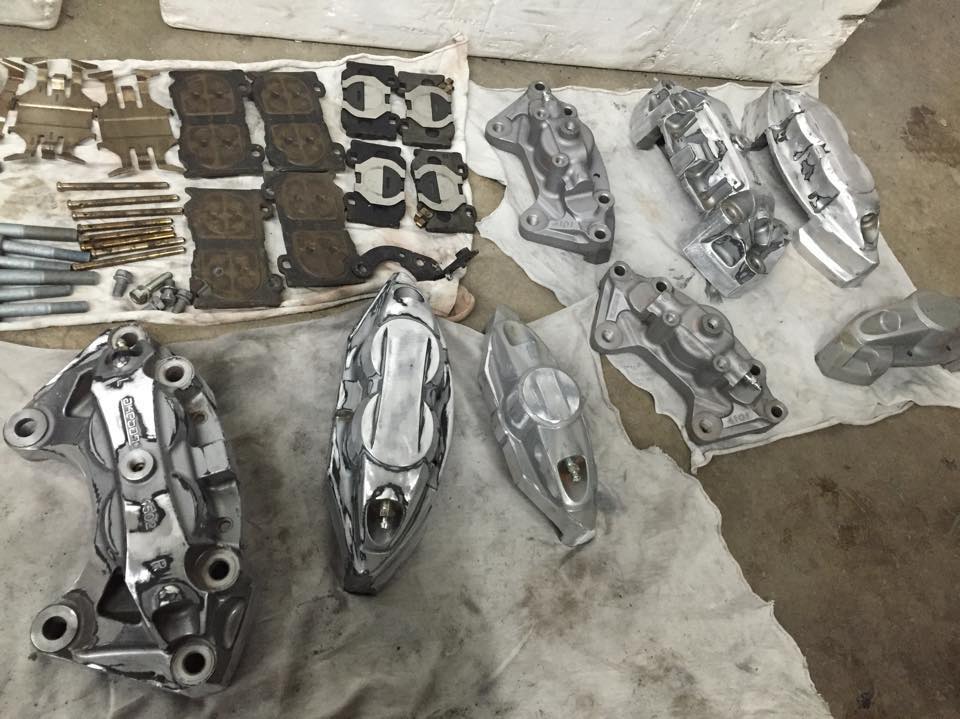
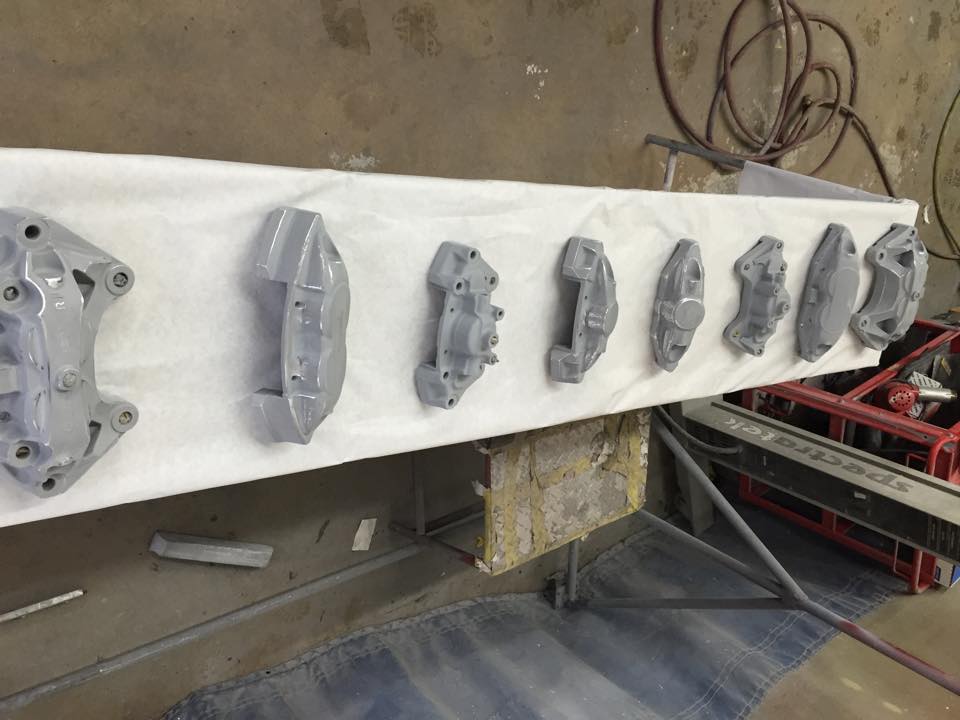
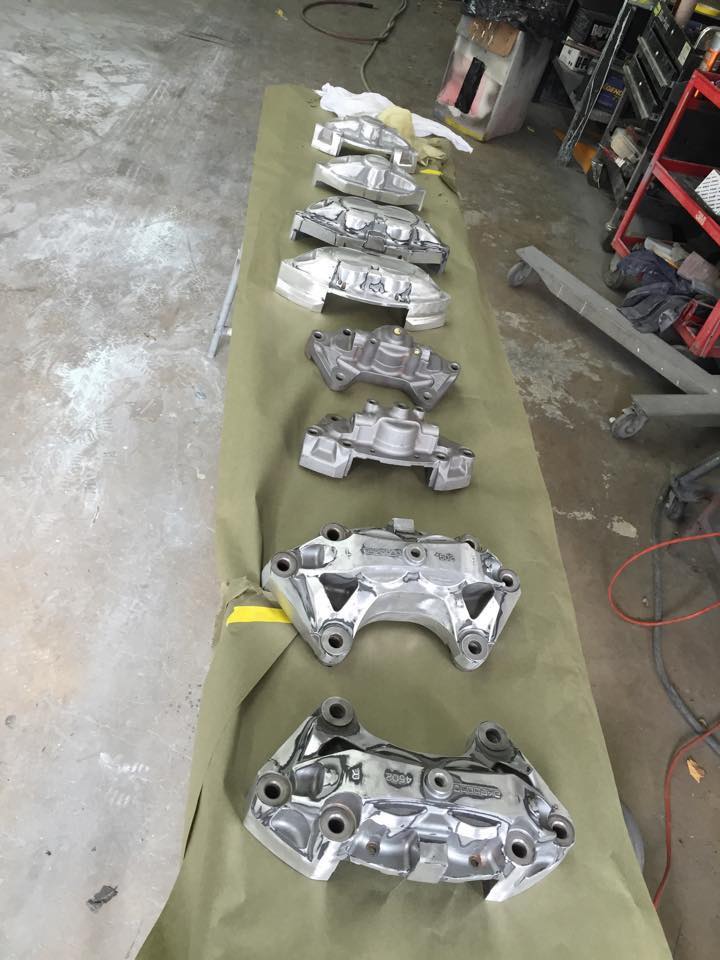
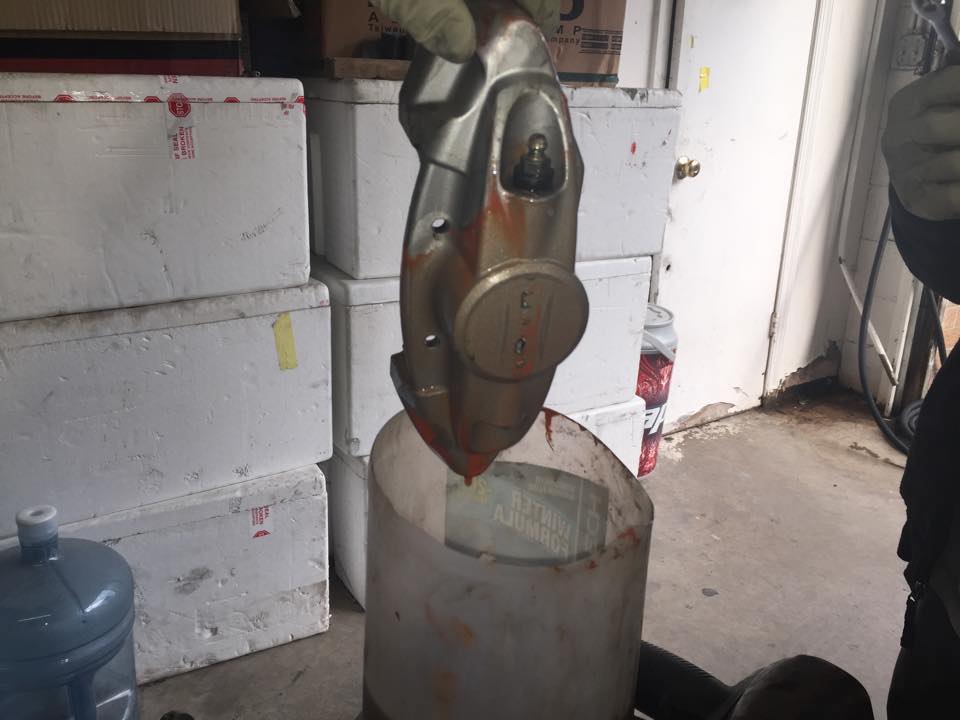
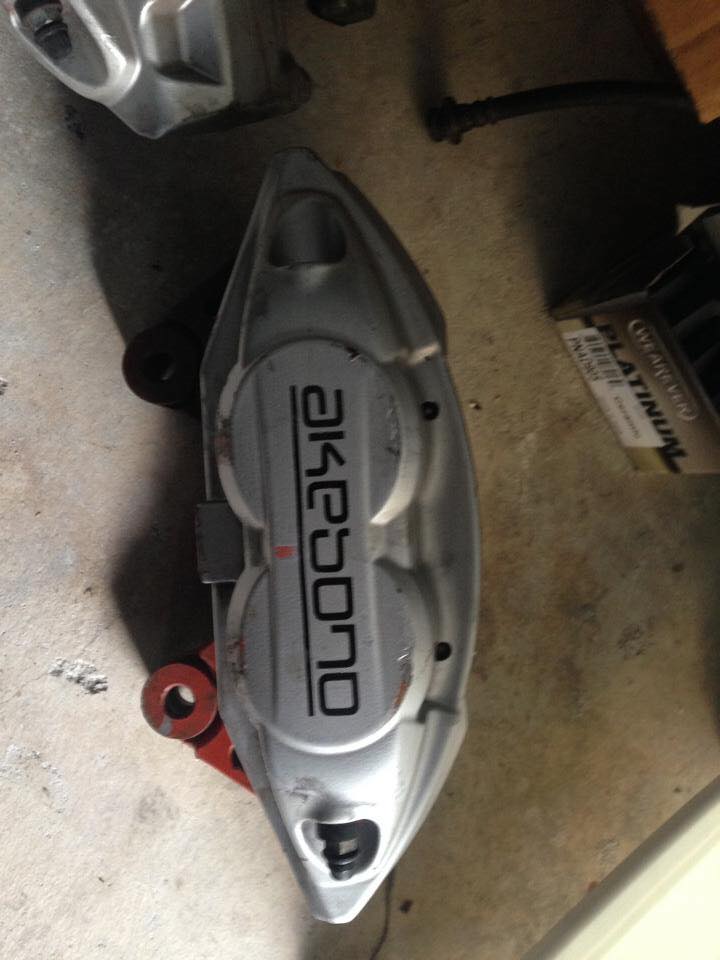
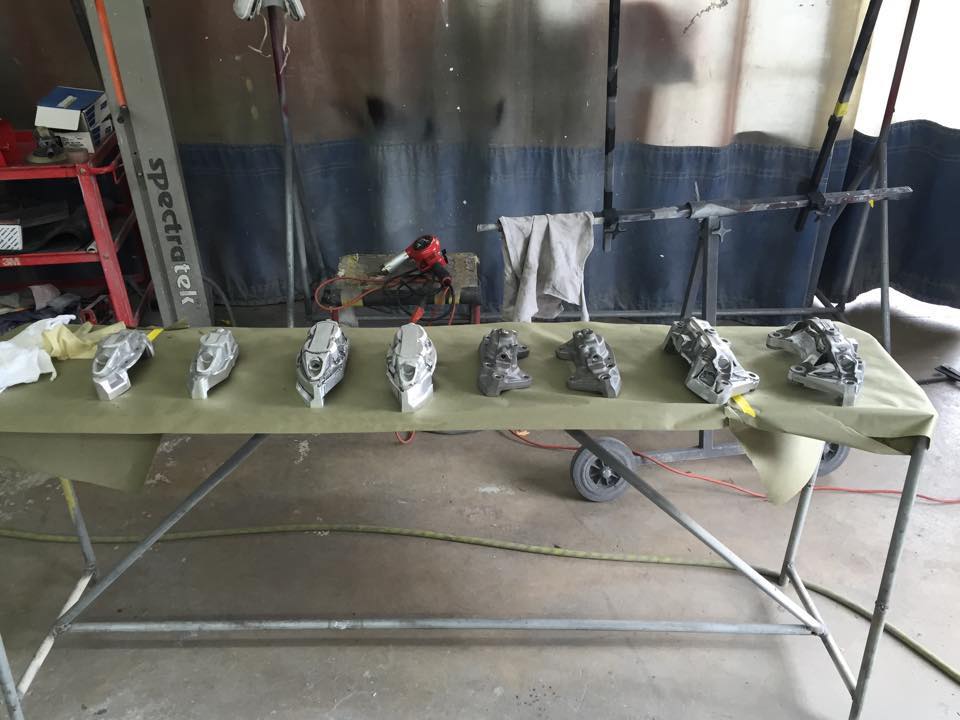
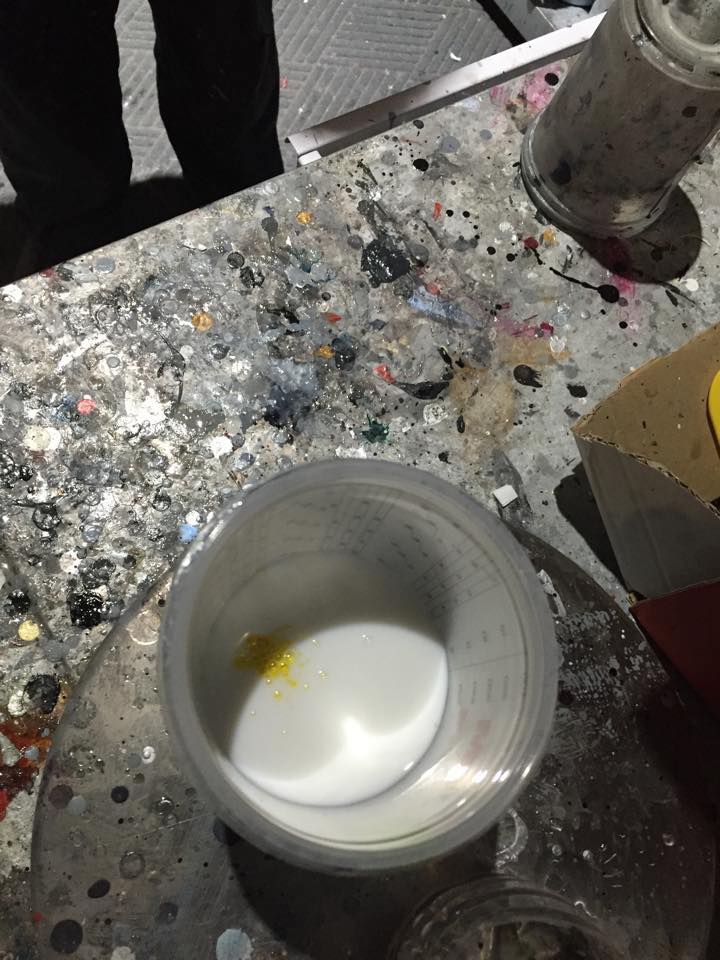
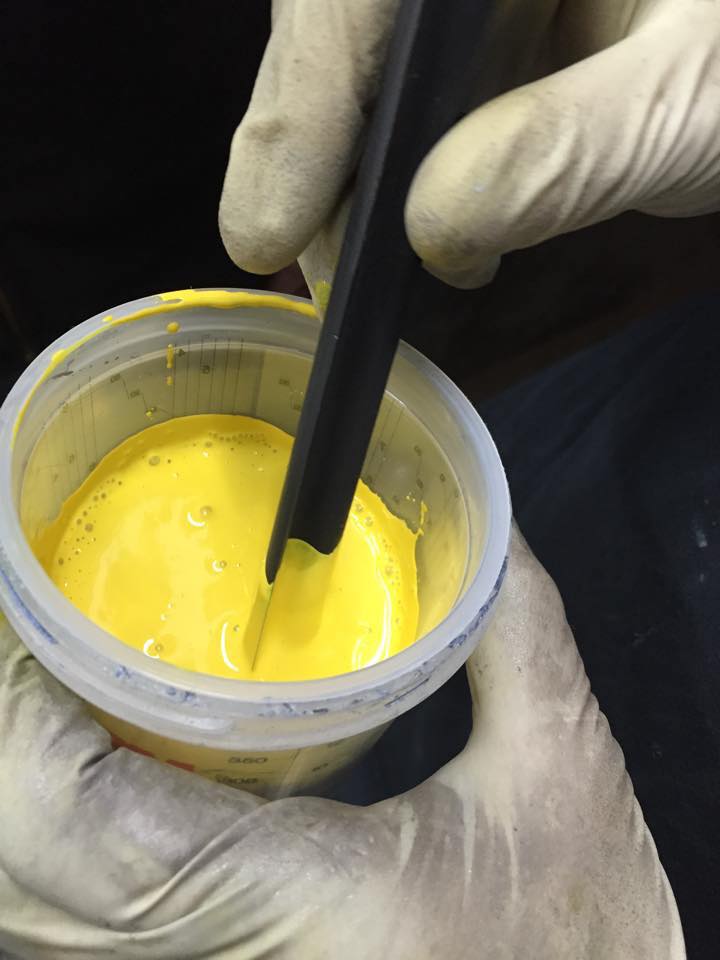
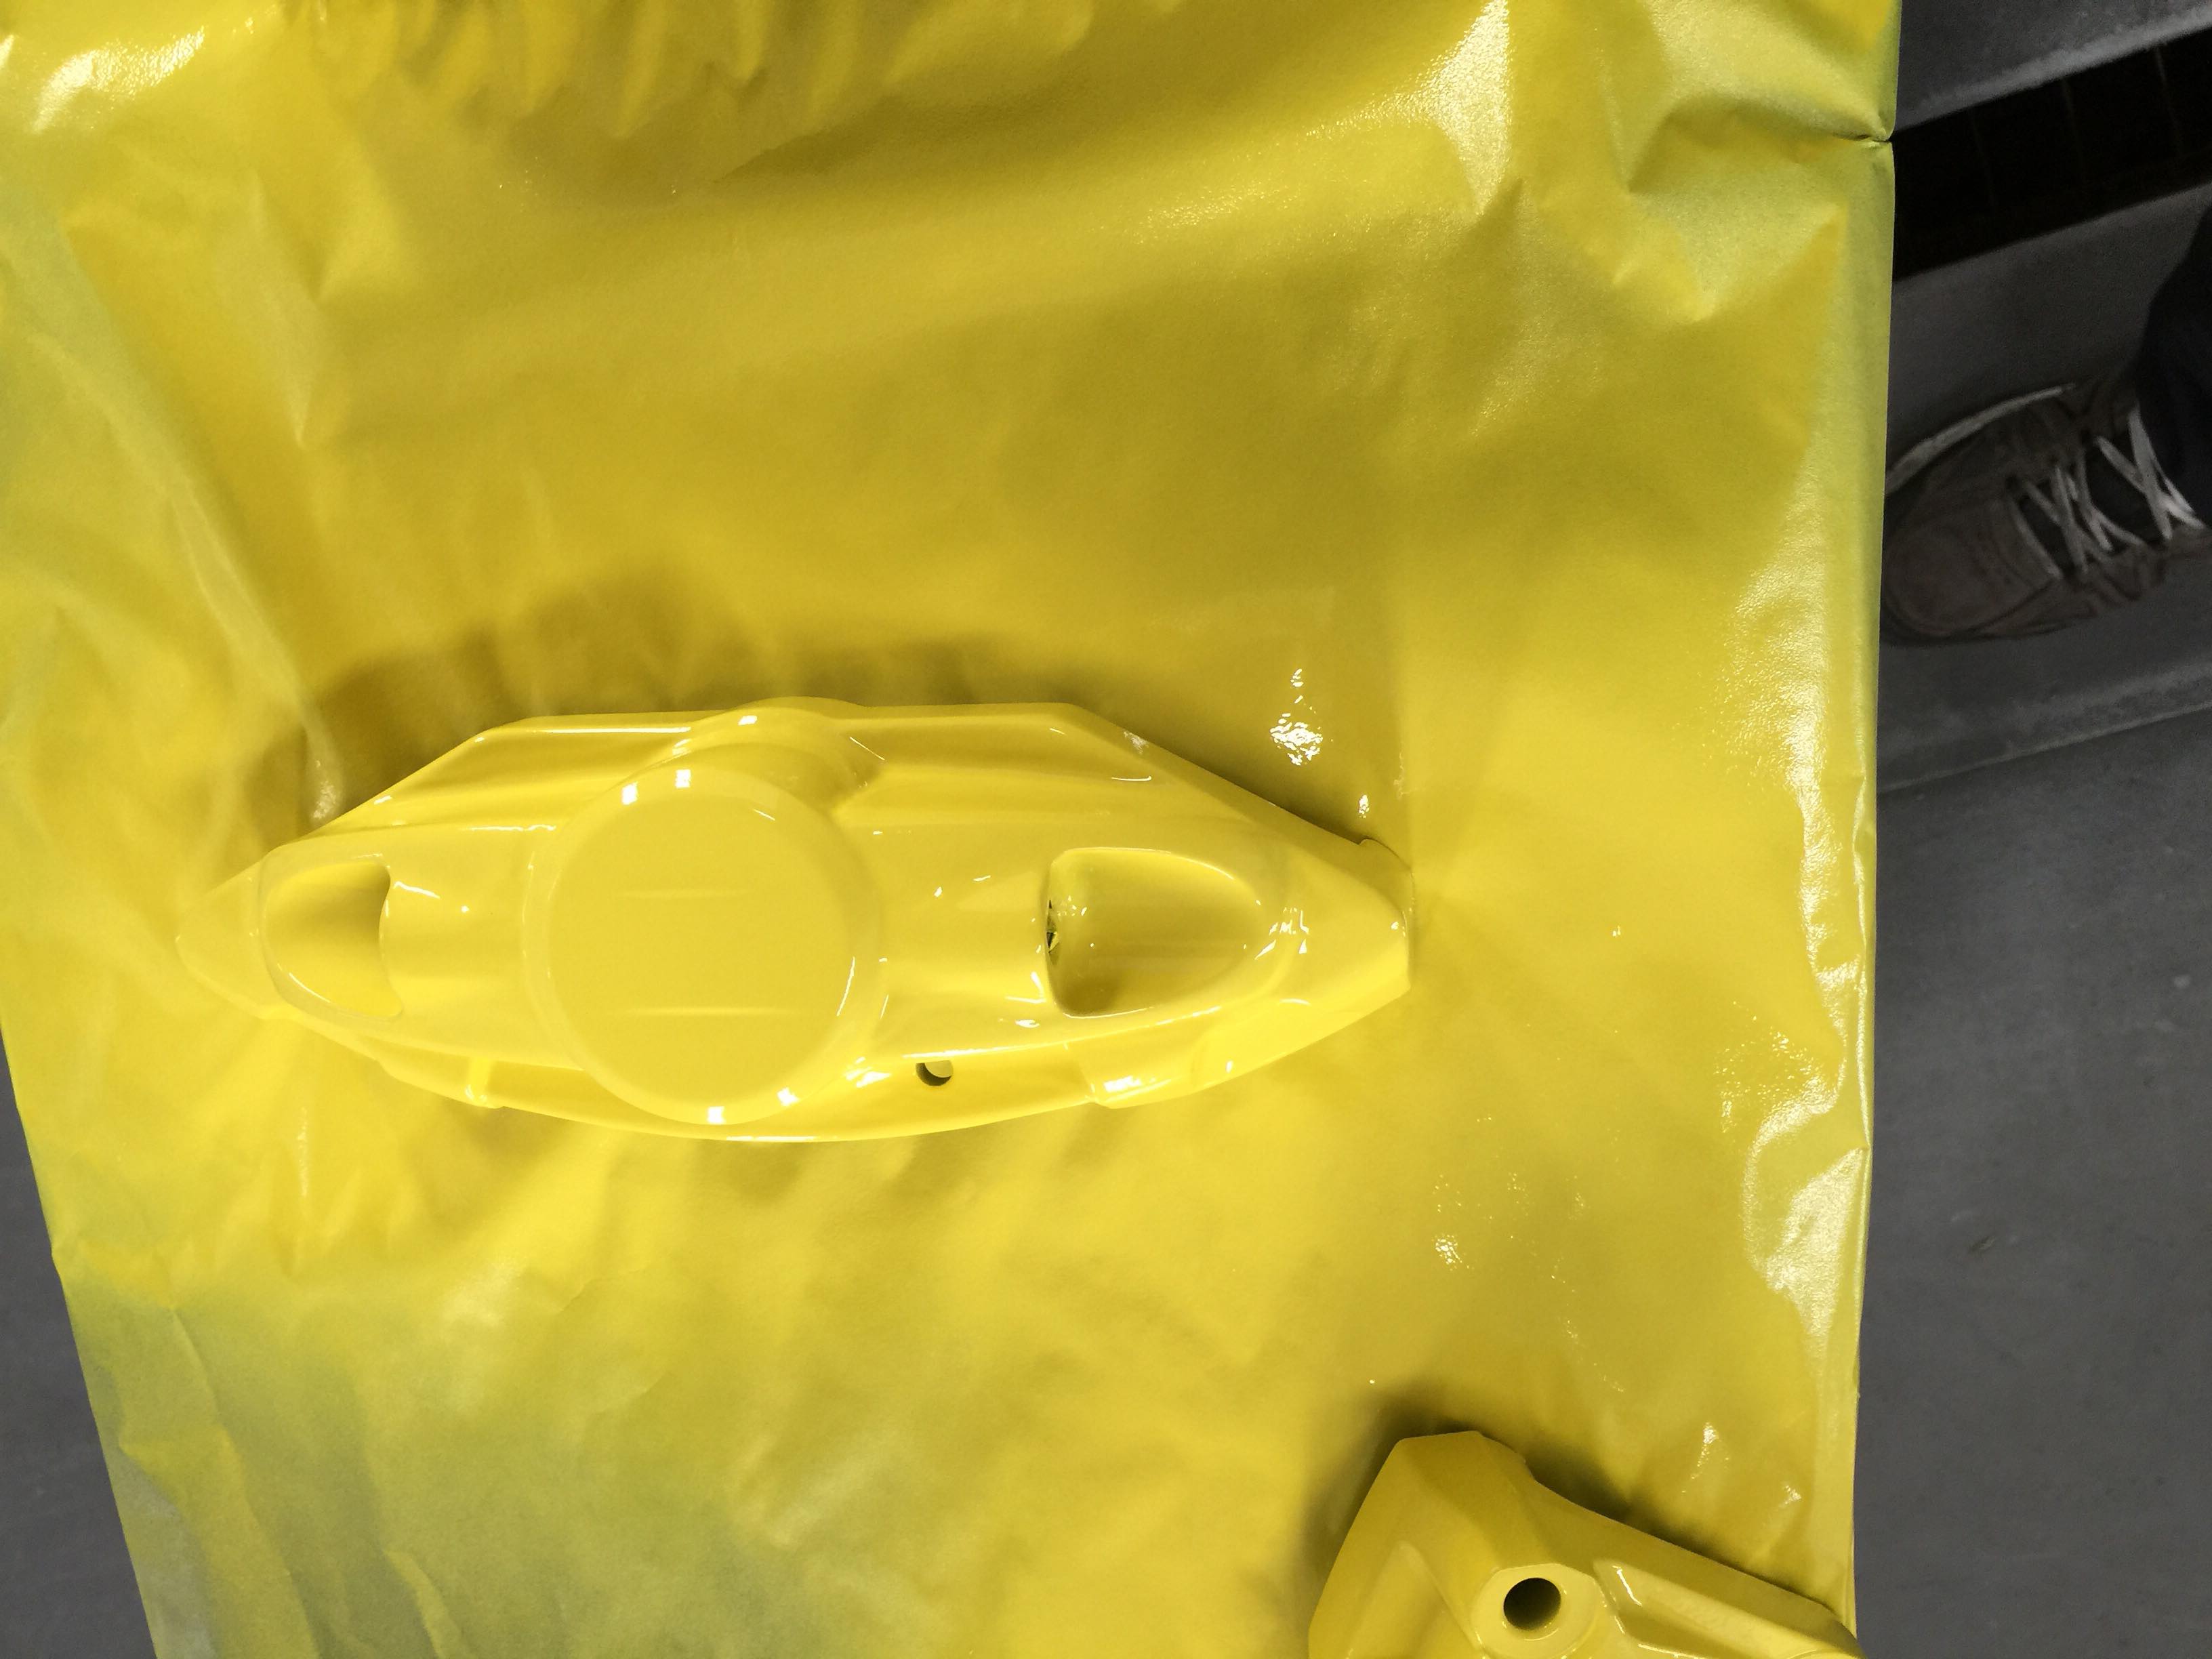
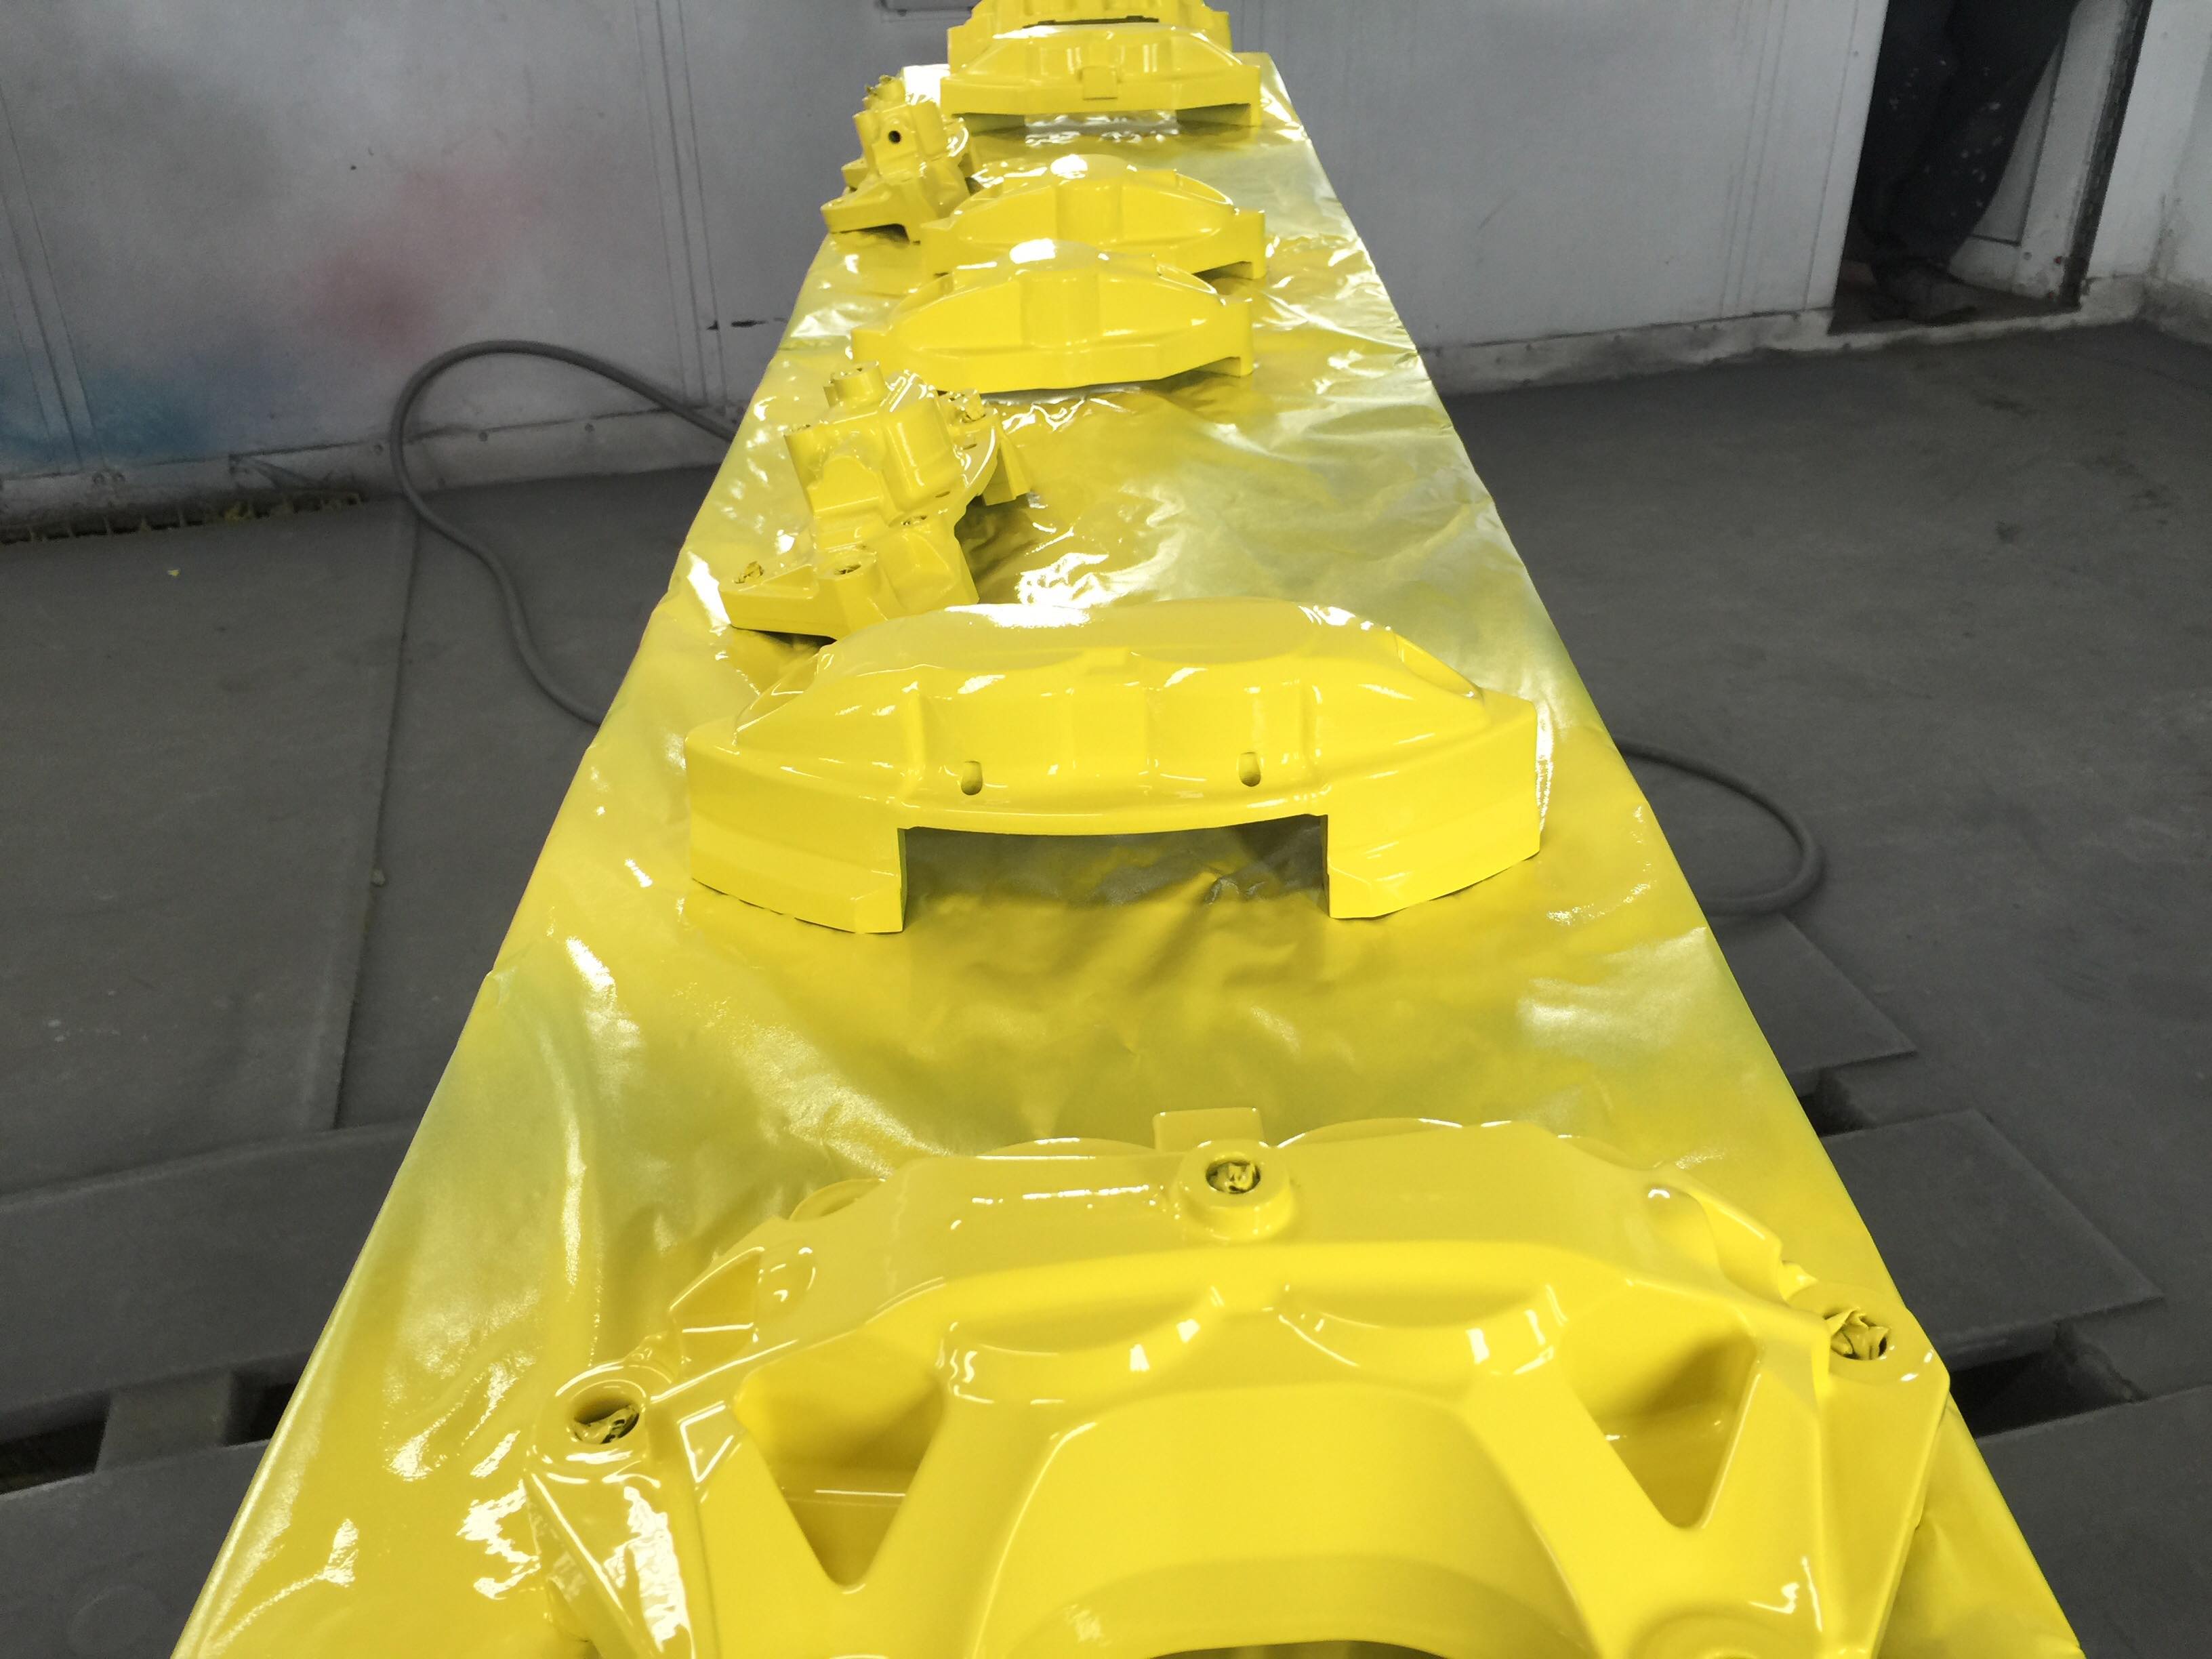
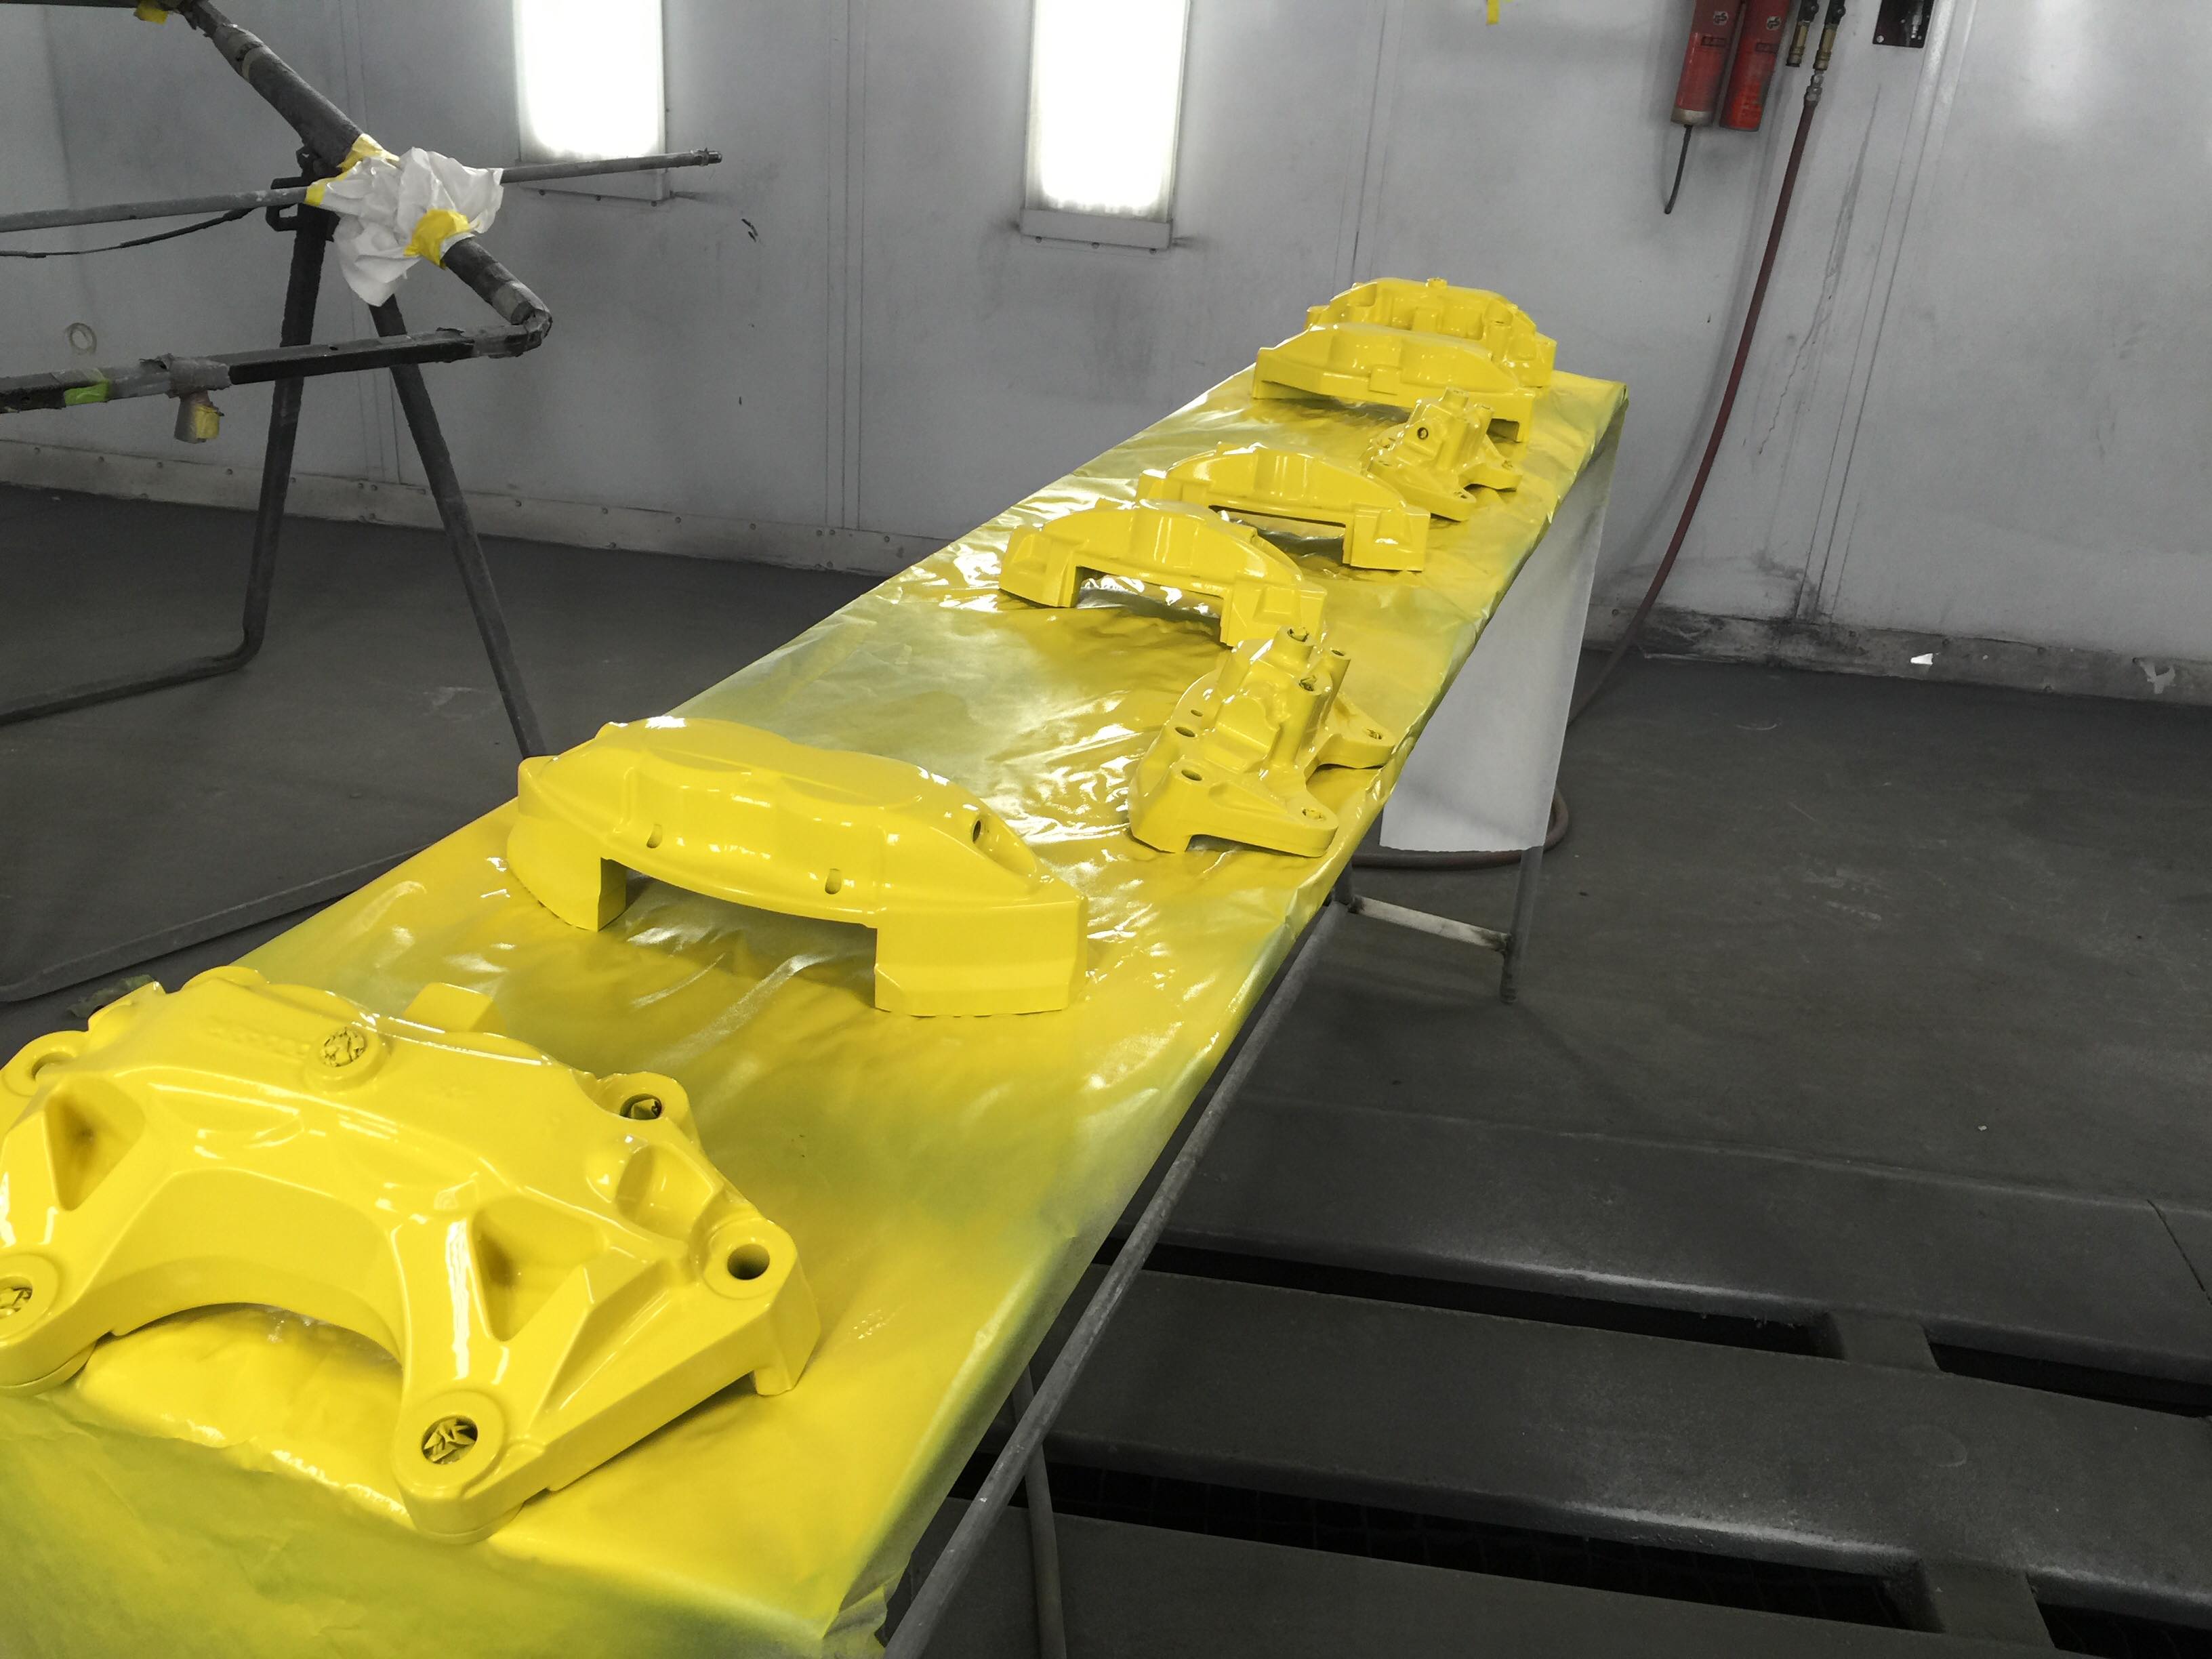
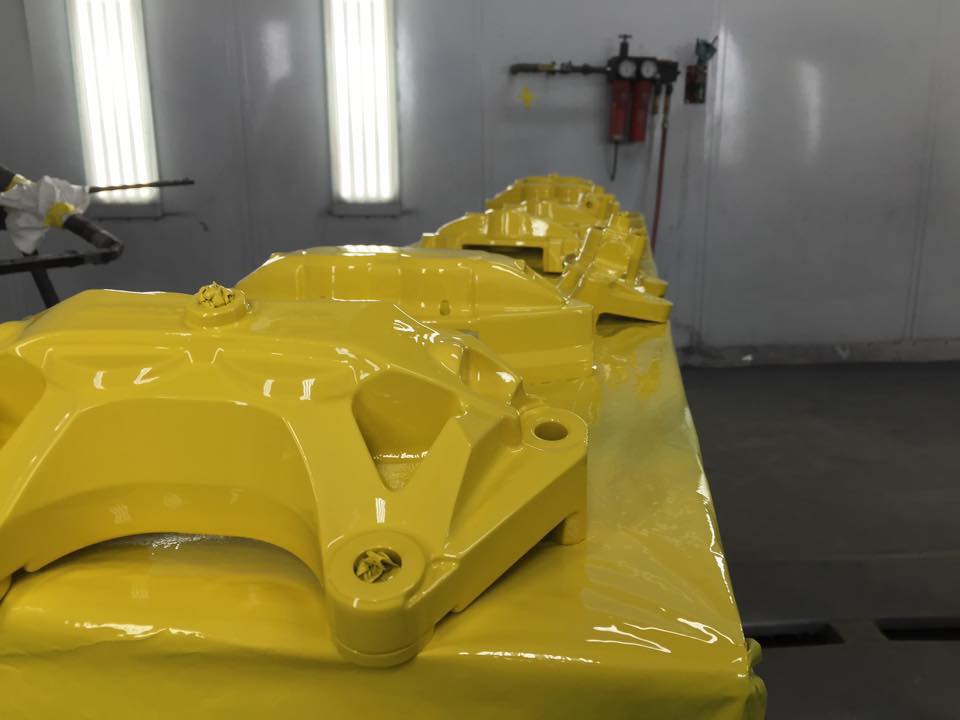
The wheels 370z Nismo 19×10.5 on 255/40 19’s square set up.

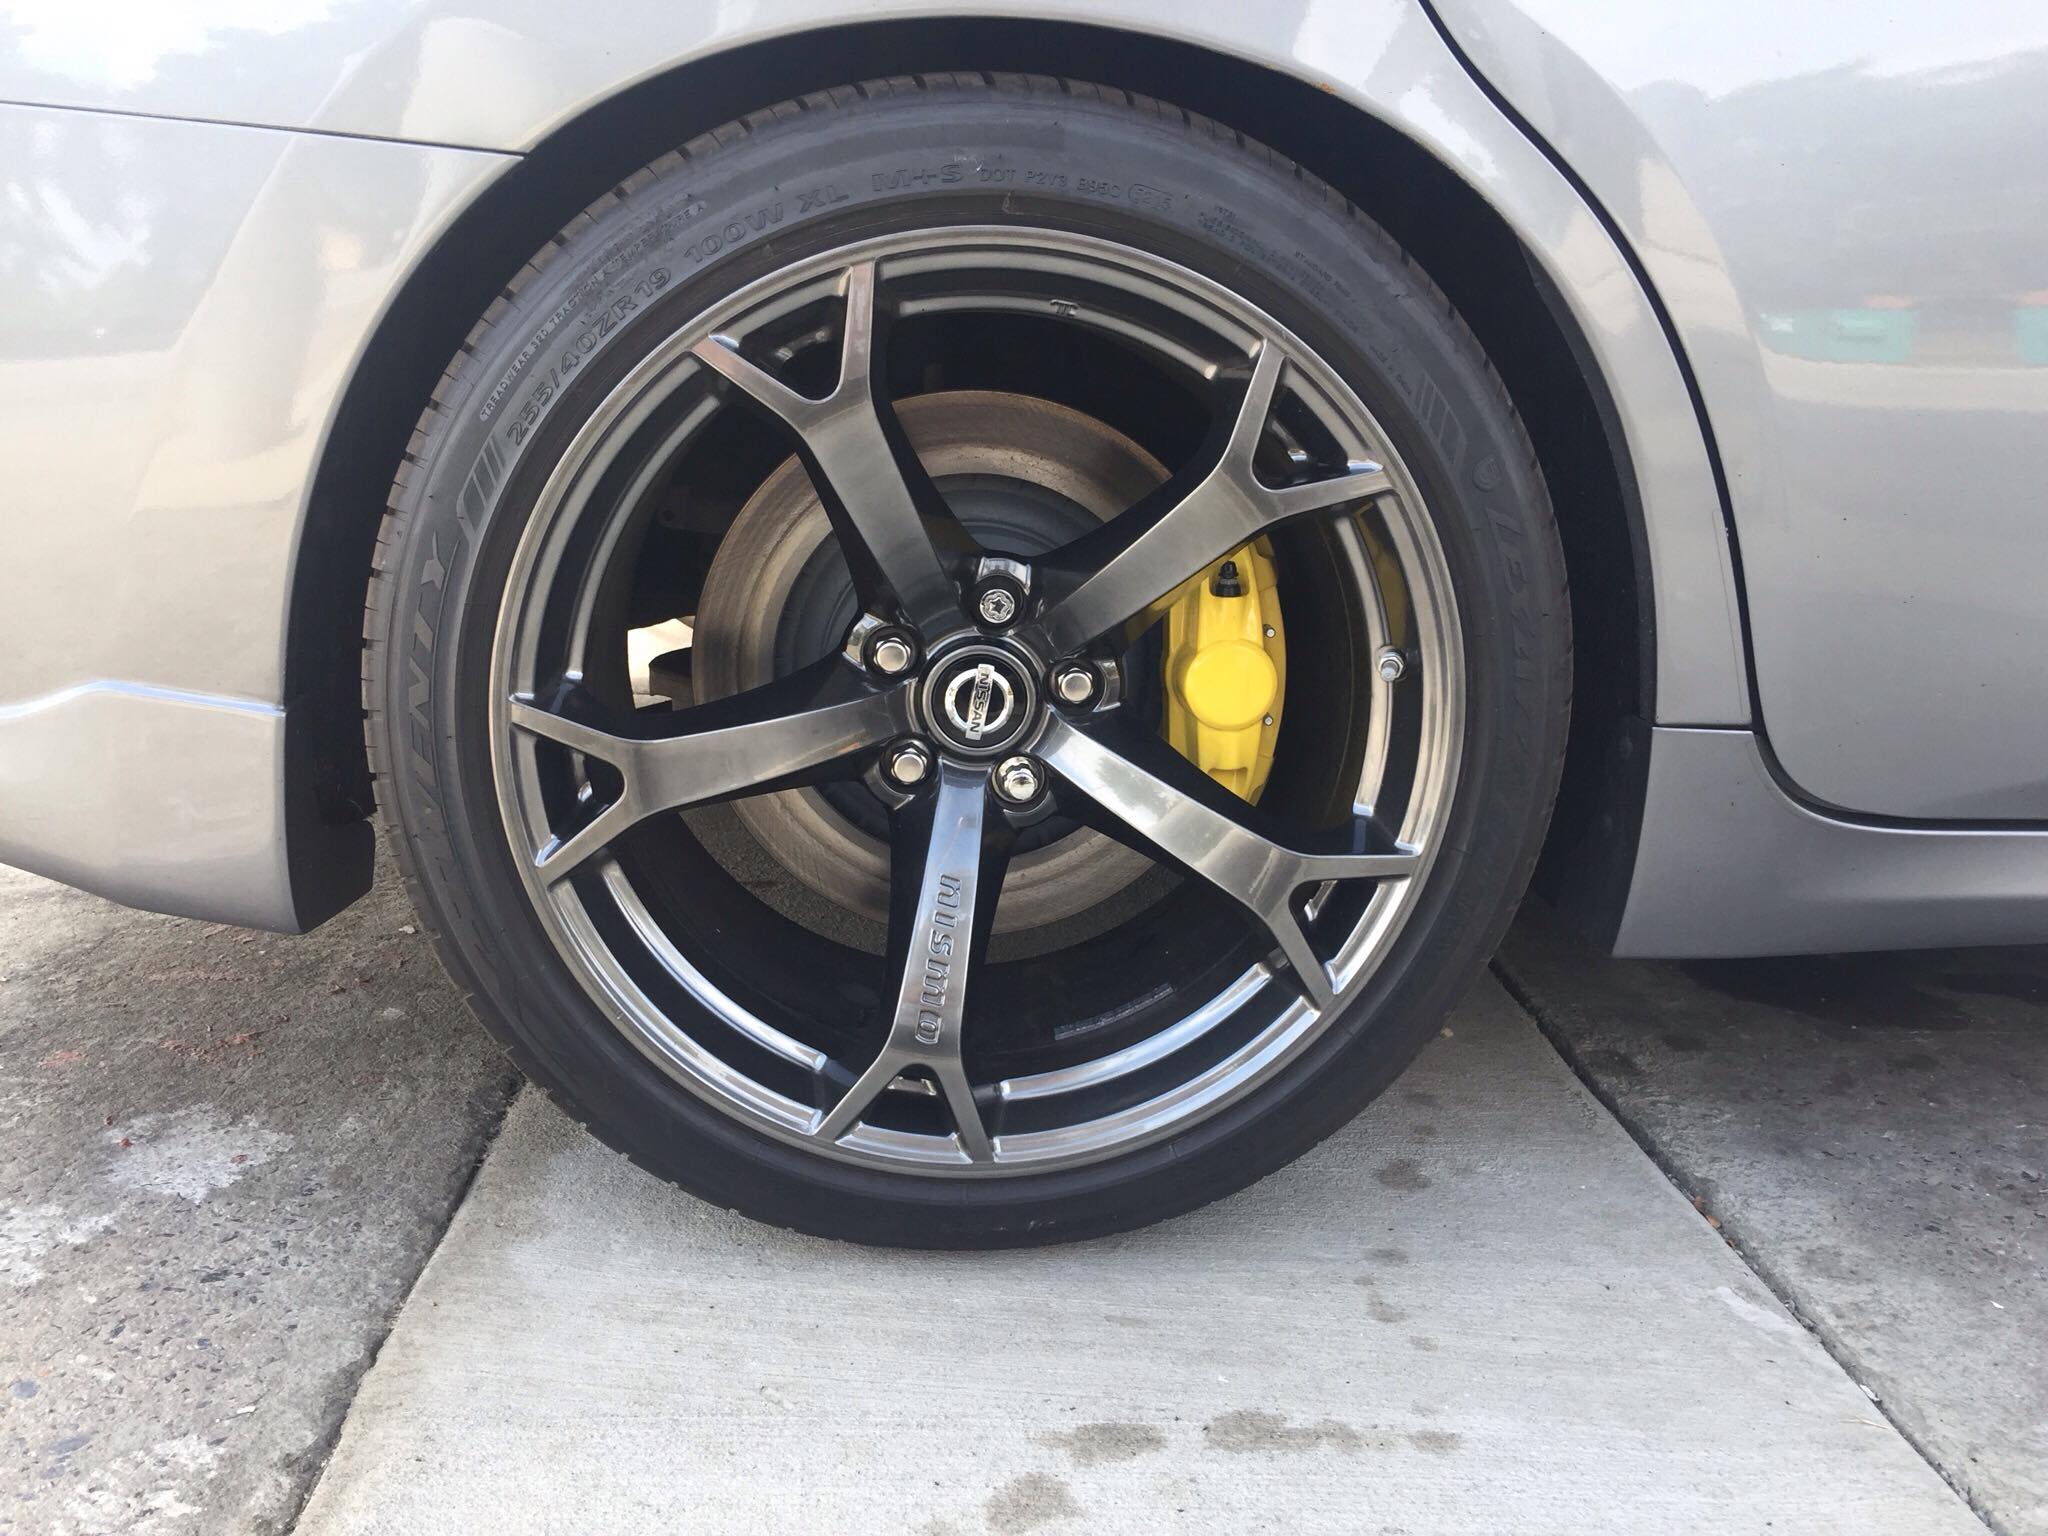

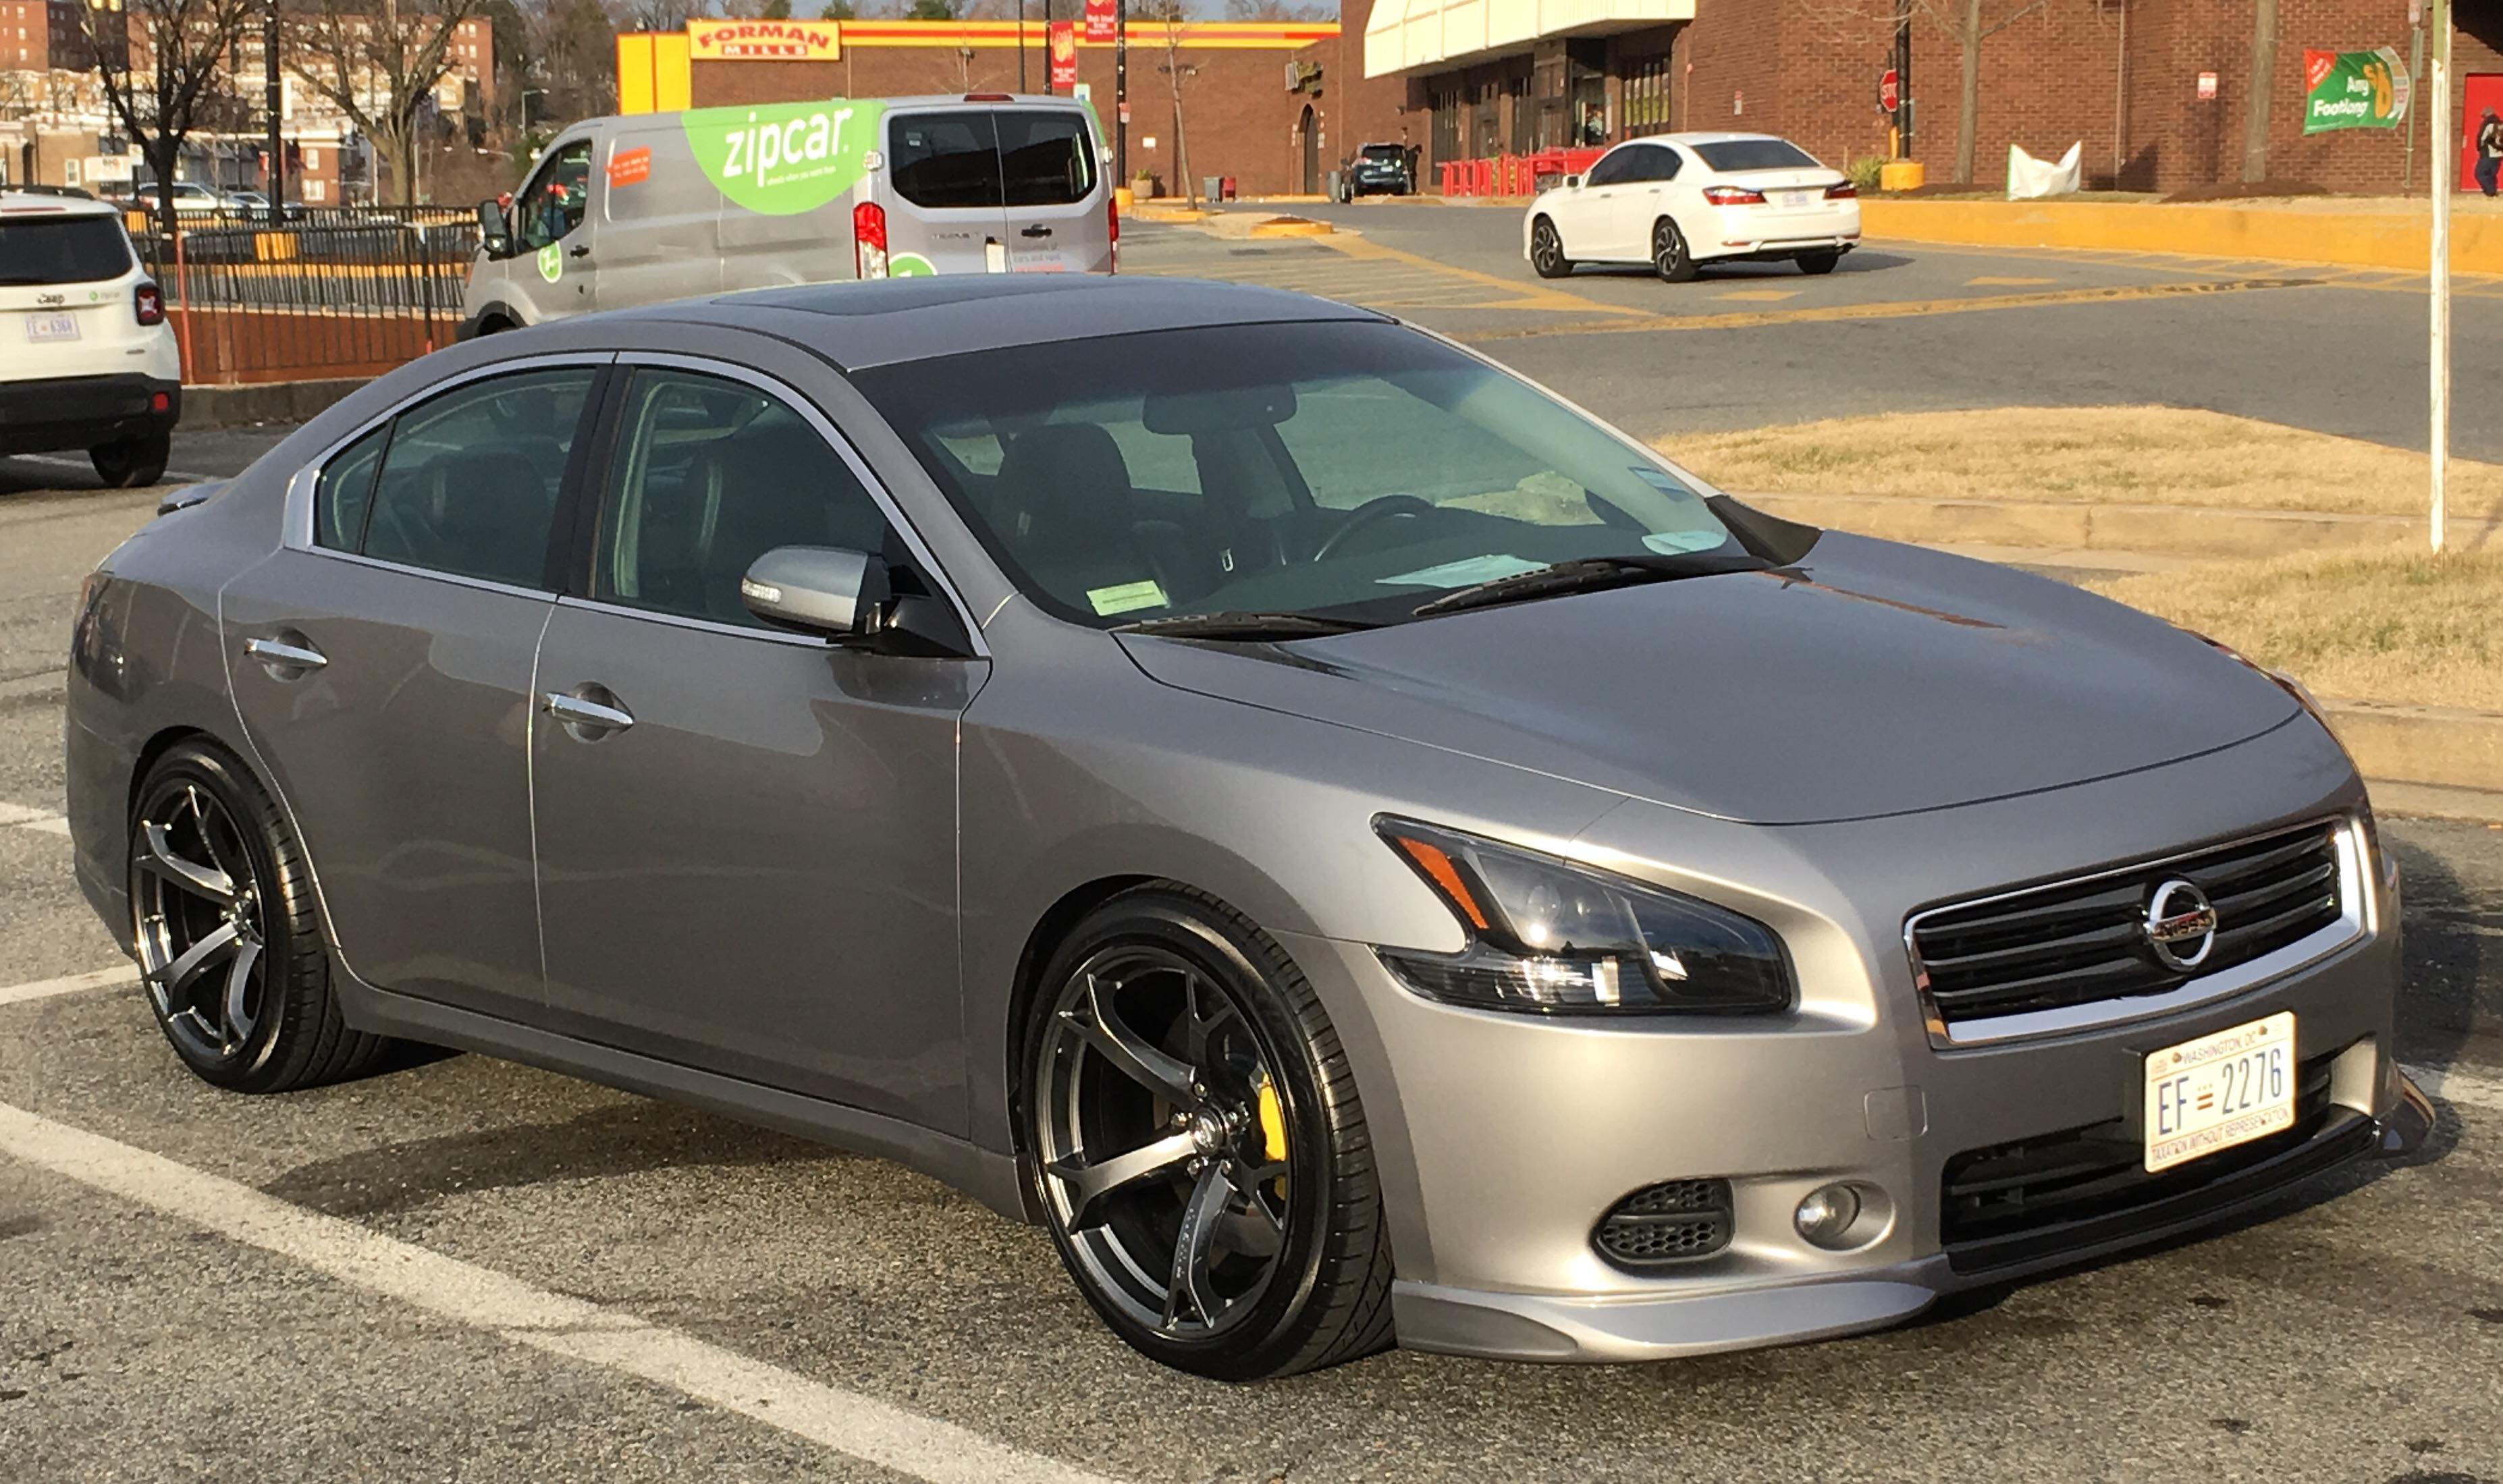
The wheels 370z LMZ5 Nismo 19×10 on 255/35 19 squared.


Member Credit: EddyMaxx
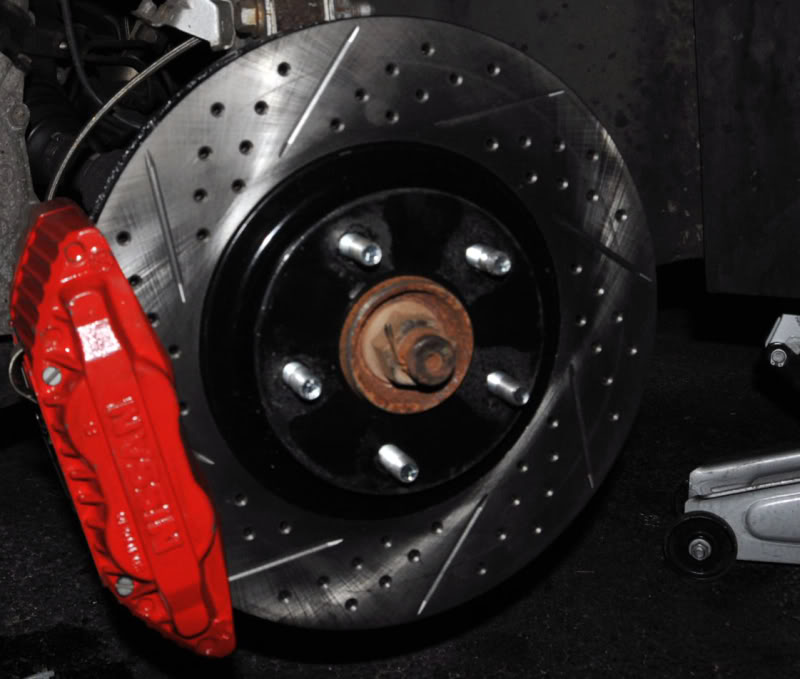
For your 6thgen’s you need either the 30MM Aluminum or 30MM Iron Z32 Calipers for proper fitment. They are 4-Piston calipers. You will also need the brackets for them. You can usually find the calipers on eBay for good pricing. I would say approx. $200-$250 for a good set of rebuilt calipers.
Weight Difference:
Stock: Approx. 15 LBS
300ZX: Approx. 6 LBS
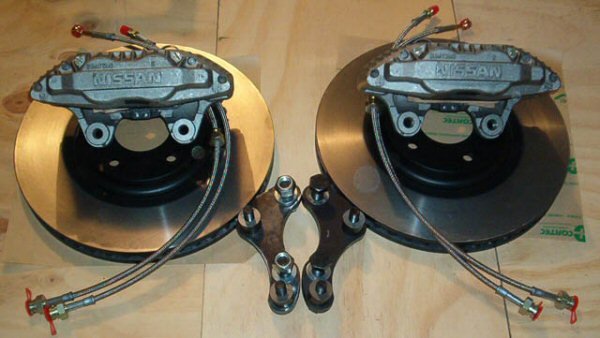
The brackets used to be made by a member Matt Blehm. They are no longer available. However, you can find them used on the forums or Facebook groups from time to time.
The following is a comparison of some different Z32 300ZX brake calipers.
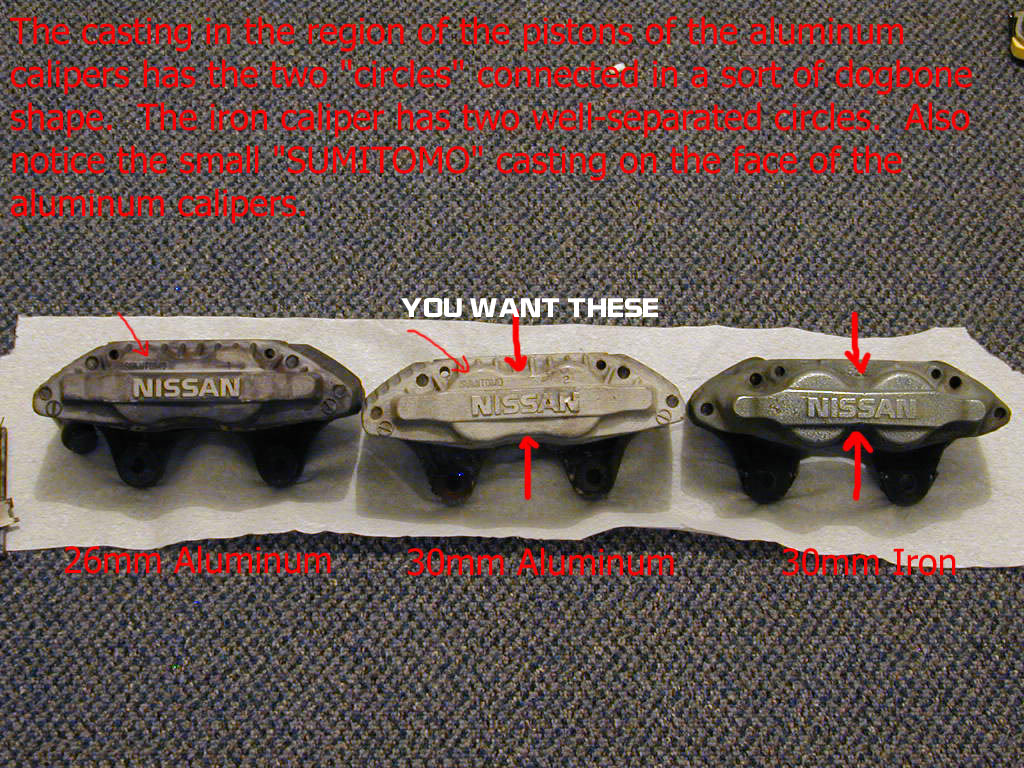
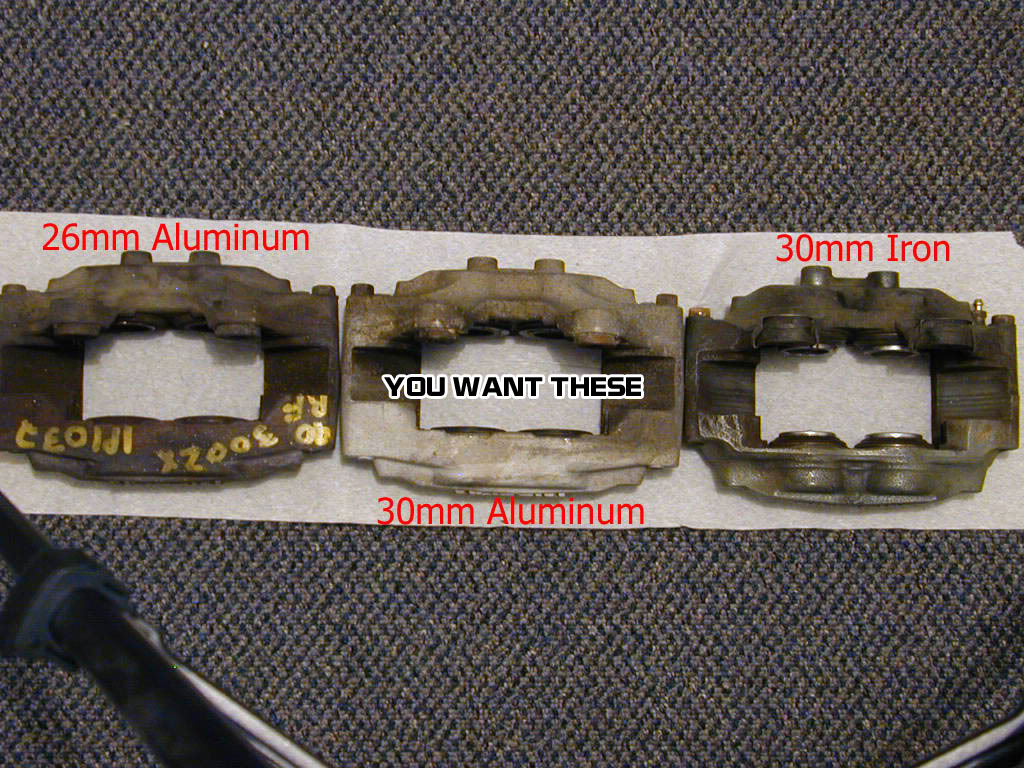
The “26mm Aluminum” calipers were used ONLY on 1990 non-turbos. They used a 280mm x 26mm rotor.
The “30mm Aluminum” calipers were used on 1990 Twin-turbos and ALL 1991-1992.5 300ZX’s (both turbo and non-turbo alike). They used a 280mm x 30mm rotor.
The “30mm Iron” calipers were used on ALL 1992.5-1996 300ZX’s (both turbo and non-turbo alike). They also used the 280mm x 30mm rotor.
Of course, the easiest way to tell aluminum from iron is to use a magnet, but I hope this helps some people trying to figure out what they’ve got/are getting if buying with just a picture for info.
My Setup :
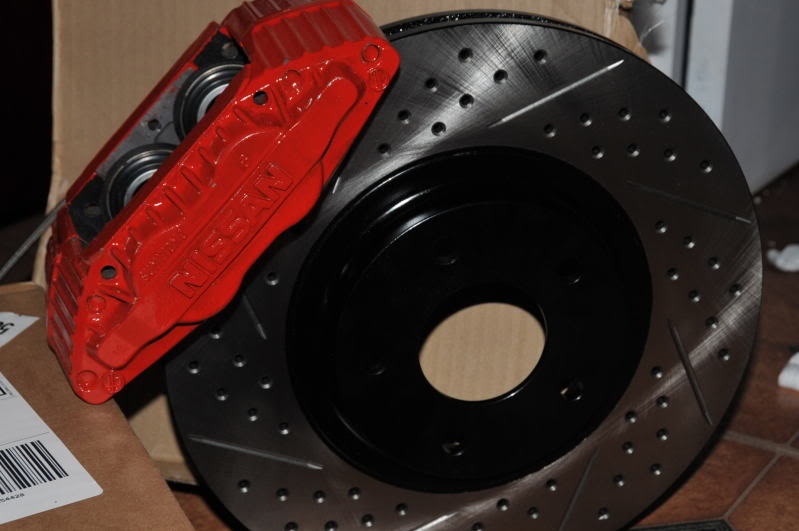
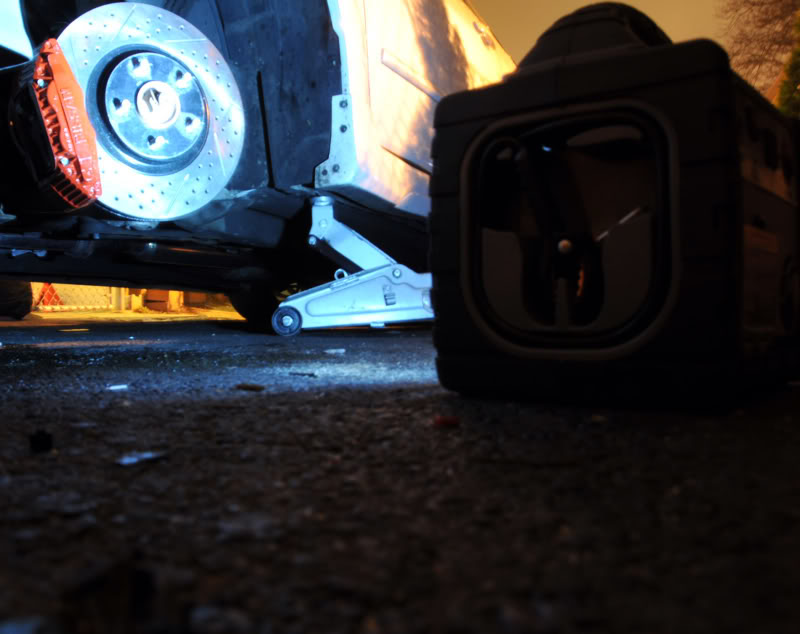
Other Pics by DeusExMaxima
BEFORE:
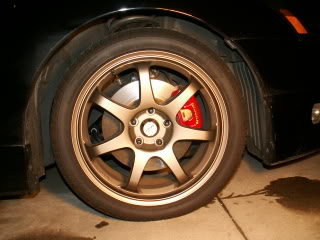
AFTER: