Credit: Voltaire Duran Cacal / @DMVOLT
Bracket Info: https://www.my4dsc.com/autosports-engineering-akebono-big-brake-kit-brackets-nissan-altima-02-06-maxima-95-08/




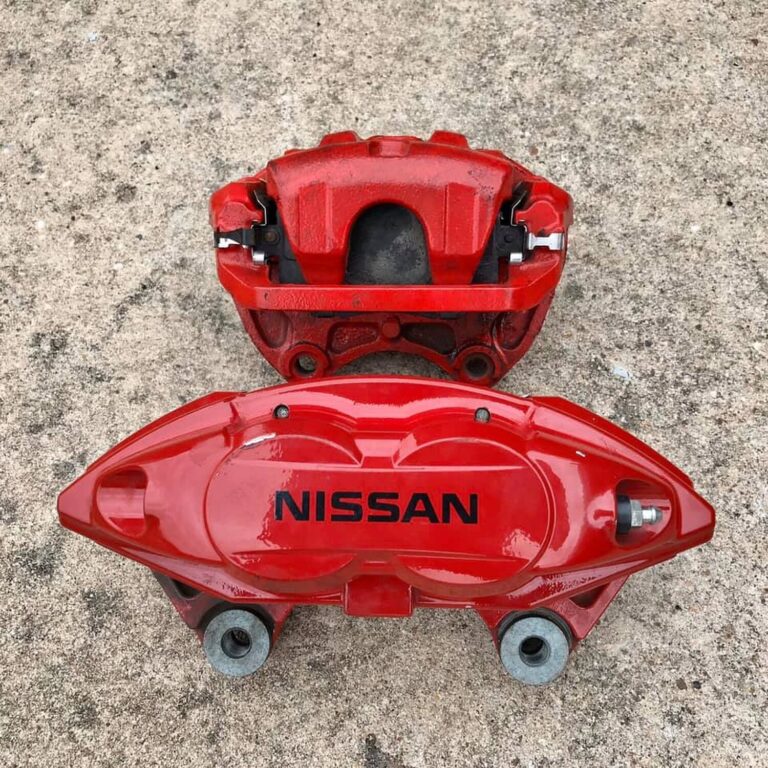
Credit: Voltaire Duran Cacal / @DMVOLT
Bracket Info: https://www.my4dsc.com/autosports-engineering-akebono-big-brake-kit-brackets-nissan-altima-02-06-maxima-95-08/

If you are looking to upgrade to Nissan 370z / Infiniti G37 Akebono Calipers, then below is the information you need to know when using the Autosports Engineering brackets. The brackets are decently priced and work fine. however, various members have reported some pad “overhang” which has varied (some worse than others). But other than that the brackets work fine and there have been no issues or functionality impacted with the overhang.
Important Note: These brackets for only for the front calipers. The rear Akebono calipers are plug-n-play but only for the 04+ Maximas/Altimas. All you need to do is trim the dust shield as it’s a much bigger rotor.
Description: Autosports Engineering Brake Brackets Fits: Nissan Altima 02-06 & Maxima 95-08
Price: $129.99 + Shipping (as of 6/14/2020)
Akebono Reference Specs/Size:


Member Credit: Aackshun
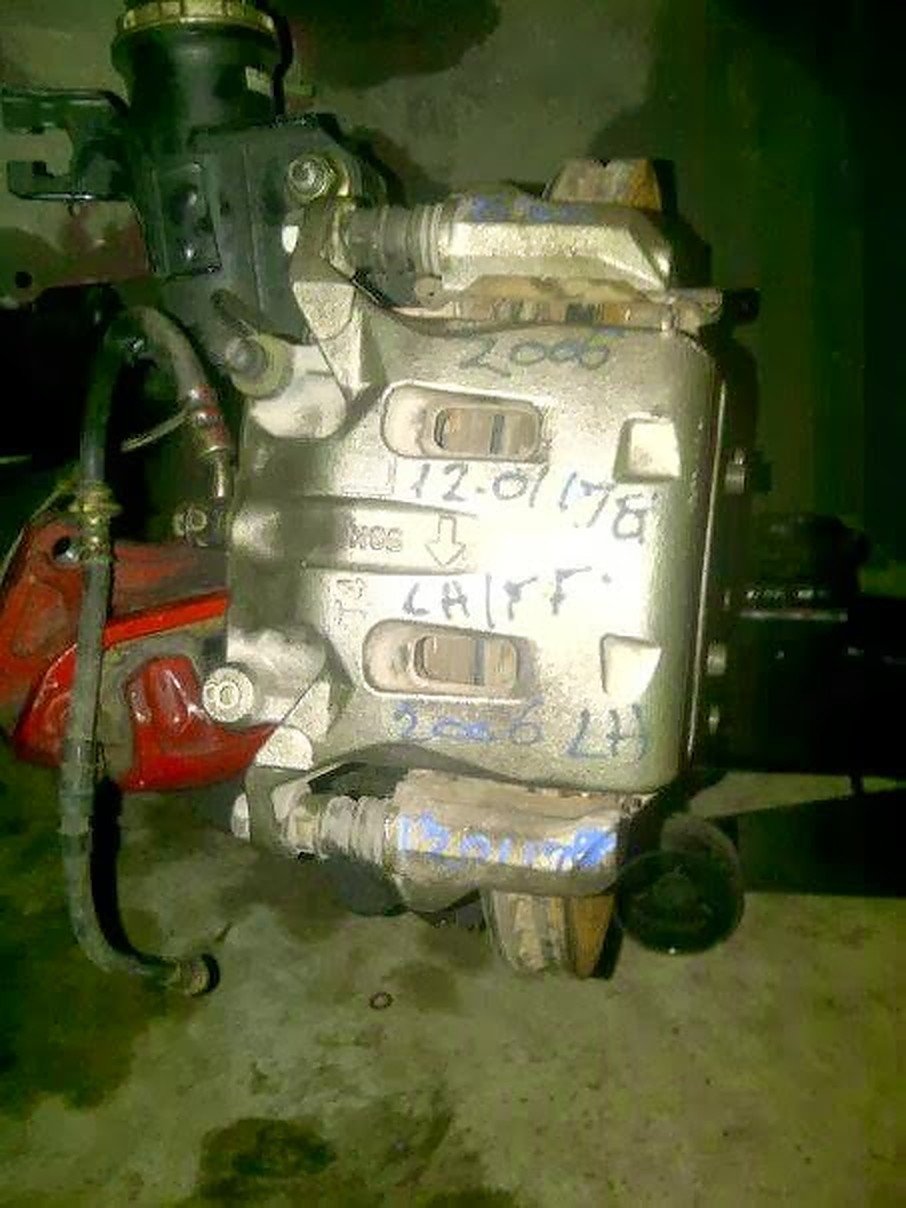
This will work easily for 89-08 Maximas. Not sure on any other years, I will find out on other years some other time. This is a work in progress, should be finalized soon.
If you have an 89-01 Maxima Please follow these directions first:
Then go to step 2.
Needed Equipment:
-05-06 350z / 05-06 G35 Sedan Dual Piston Brake Caliper, Bracket and Rotor (Rotor NOT needed on a 04-08 Maxima).
-02-08? Maxima Caliper Bolts
-Brake Fluid.
-Aviation Snips (Some type of sheers for cutting metal).
I’m not going to hold your hand through this one, just make it to the point where your car is safely on jack stands and you’re looking at this….

Step 1: Remove the unnecessary components. (If you’re a 89-01 skip to step 2)
-Disconnect your brake line
-Caliper
-Bracket
-Rotor (6th genners keep this on!!)
Keep track of your two caliper bracket to spindle bolts, YOU WILL NEED THIS! You can NOT use the bolts off of the G/Z they are tooooo long. If you’re swapping from a stock 4th gen setup, I suggest ordering these from Nissan. If not then goto your local hardware store and purchase replacement bolts (Will update with the correct size).
Step 2: Install Dual Piston Glory
-There has been confirmed fitment issues, I am working on a easy sure fire way around this. It looks like grinding down the calipers are needed to clear the rotors because of the bracket not moving it out far enough from the center of the hub. I will get around to putting this on a running car to see what is needed to get these on a Maxima, I really think not much is grinding is needed.
-Install rotor
This is where you need your handy dandy shears for 4th/5th gens… Start snippin away at what comes close to contact with the rotor or control arm (have both wheels in the air and the steering wheel unlocked so you can check the clearance while turning the wheels). I have yet to fully test on a 6th gen spindle and their dust shield, I will on Monday. 6th gens and L31 Altimas shouldn’t need to modify their dust shield because they accommodate larger 12.6″ rotors already.
-Install bracket
You may still need to continue to hack away at your dust shield. During this step it’d be wise to give the disc a good ol whirl around to check for any rubbing.
-Install Brake Pads
-Install the Dual Piston Caliper
-Re-install your brake lines
Make sure to check the rotation of the disc again. And you have to use the bolts for the 02-08 Maxima. The 3rd/4th Gen bolts will NOT work and the 350z/G35 bolts will NOT work.
After your done it should look like this:

Then proceed to step 3.
Step 3: Prepare for WAR!
-Bleed brakes
-Bed in pads (you should be using new pads and rotors :squint:)
-Troll Q45/Z32 front brake owners 😎
Quick Facts:
-350z/G35 brembo’s will go on following the same procedure it takes to install them on non brembo 350z/g35s (Just replace the bracket/caliper/rotor!). If you’re a real baller you can get the Akibono (spelling?) Brakes and relocation kit for the 350z and do the same thing….. Remember, this is a game for ballers and only ballers can participate.
-I have yet to test this mod on the street!
-The dual piston pads use more sweeping area than the 300zx pads.
-It BARELY! Clears AE wheels on my 4th gen if you’re running the stock wheels I suggest getting a 5mm
spacer for safety sake.
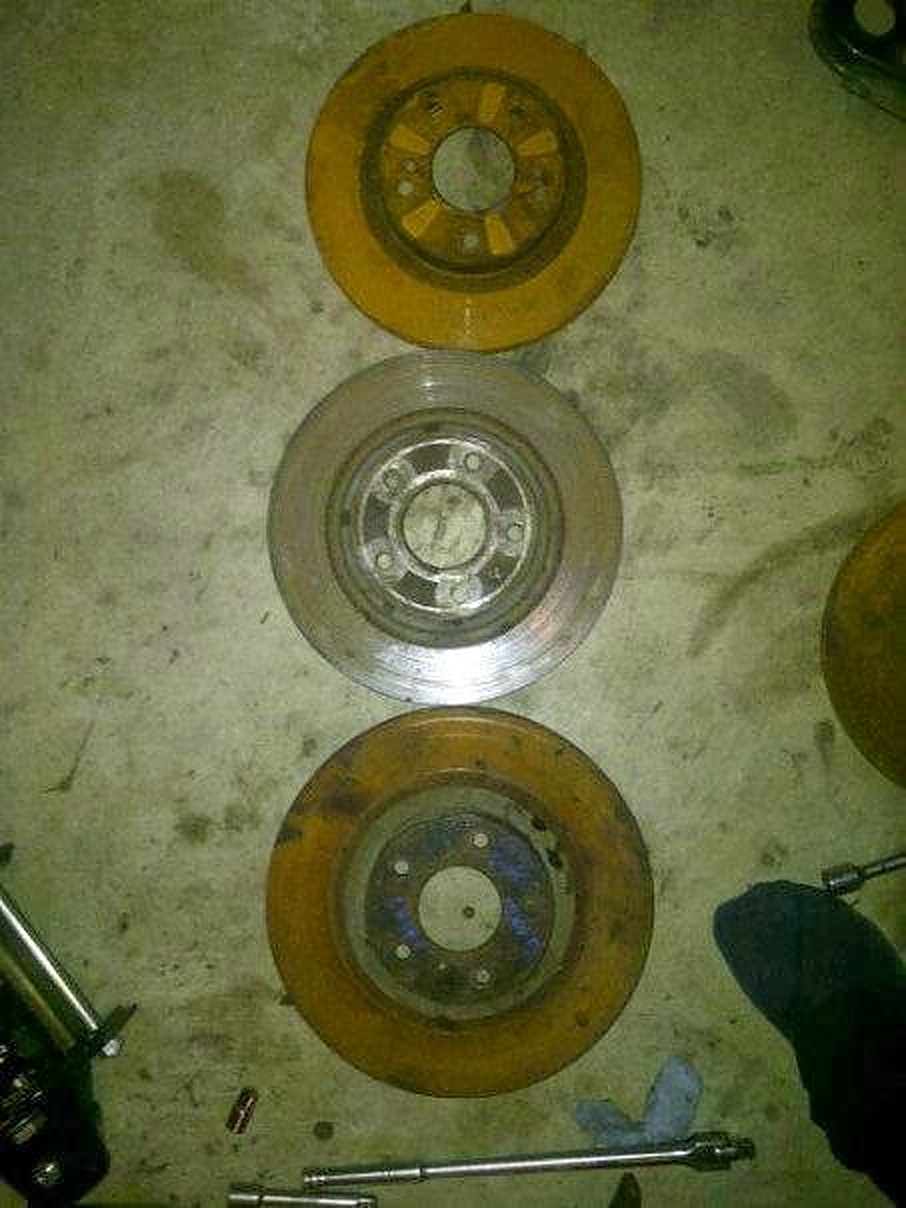
-Rotor Comparison:

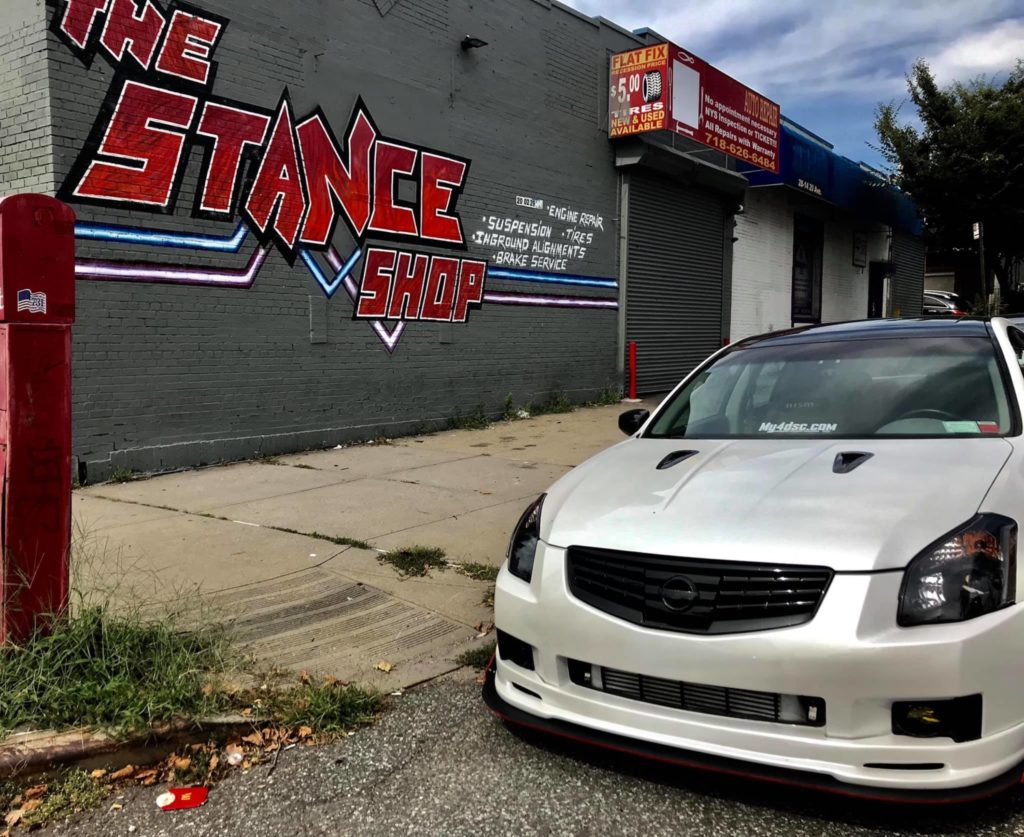
We wanted to post a review for The Stance Shop located in Queens, New York. They do Suspension, Brakes, Engine Repair, Tires and have an in-ground alignment machine. We’ve taken two of my Maxima’s there and have been very happy with the work. The owner Keith keeps in good communication with you and ensures you are happy with the work done before you leave. He is also a fellow VQ enthusiast and has a dog named Stance.
Solid pricing, reputable and it’s a nice clean shop. It’s become more and more difficult to find good shops in NYC that do great work and have reasonable pricing. This is one of them!
Instagram: the_stance_shop
20-02 29th Astoria
Queens, NY 11105
Phone: (917) 435-6372
Monday – 12:30 pm – 8:00 pm
Tuesday – 12:30 pm – 8:00 pm
Wednesday – 12:30 pm – 8:00 pm
Thursday – 12:30 pm – 8:00 pm
Friday – 12:30 pm – 8:00 pm
Saturday – 12:30 pm – 7:00 pm
Sun – Closed
Photos our cars that were worked on at The Stance Shop!


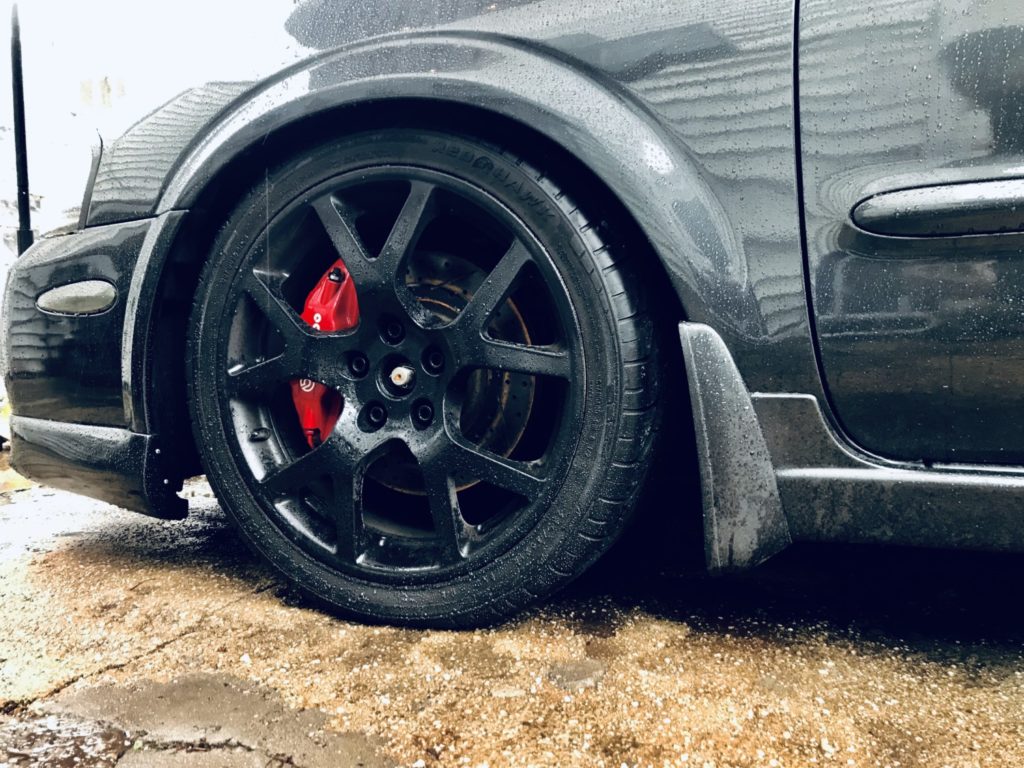
Member Credit: EddyMaxx
Decided to install my Evo 9 Brembo BBK today on my 2002 Nissan Maxima. It cost me around $500 bucks to do the full setup. The brackets fit great and have full rotor-to-pad coverage.
Part’s Used:
CGR Adapter Brackets


Brembo Calipers – 4 Piston BBK

Project Mu NS 400 Brake Pads


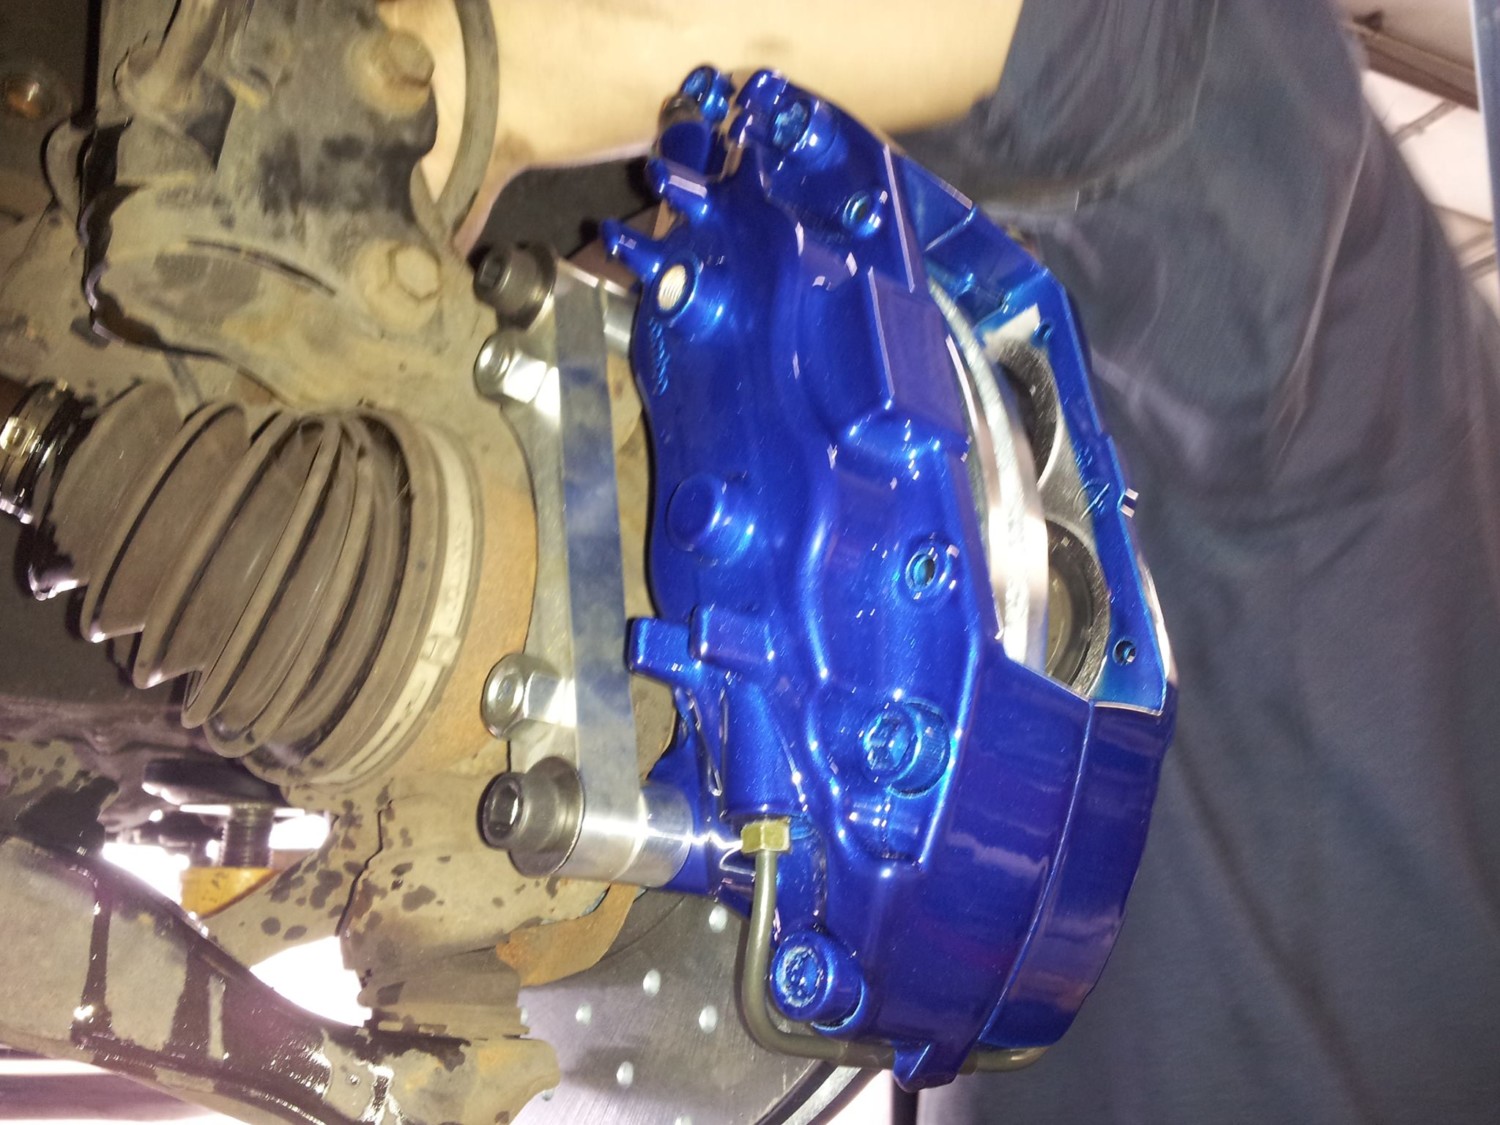
Showing how the brackets are supposed to be installed.


You need to ensure the bleeder valve sit upwards. Some people make the mistake of putting them on the wrong sides.


You can see the better rotor-to-pad coverage on the Brembo’s versus the 300ZX BBK. Much better fitment.




Article Credit: EddyMaxx
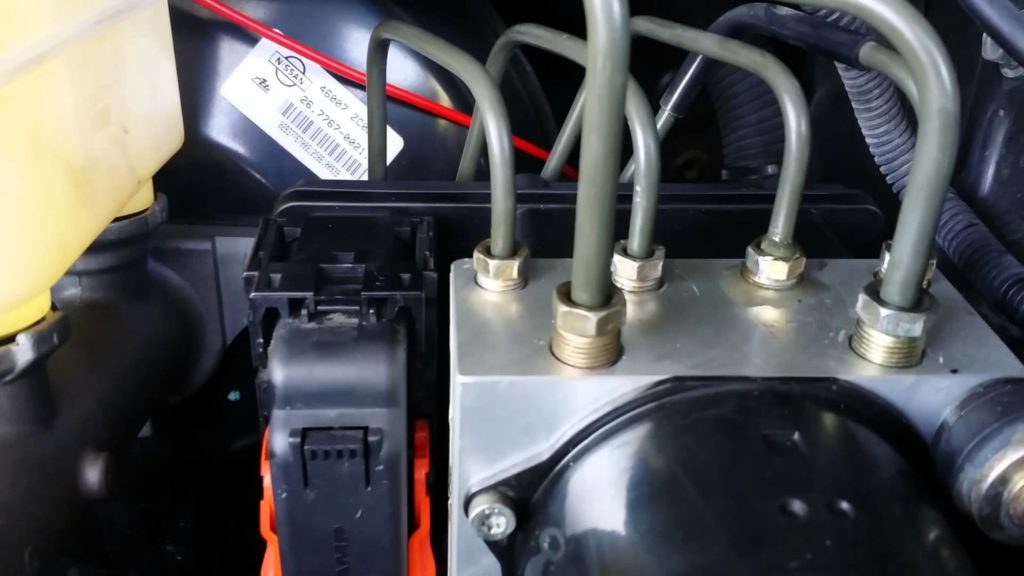
The videos below show you the best way to remove and replace your ABS actuator pump. It is very important that you use the SAME EXACT part number as your old one to avoid any issues. You can find them used on eBay or junkyard. I was getting code C1111 NISSAN – ABS Pump Motor. I used an ABS code reader to get the codes.
I picked up a working used ABS actuator from a friend for $100 bucks. It took me about 2 1/2 hours to get the job done. I removed the windshield wipers and the plastic/metal window cowl. This provided better access. Make sure you use a 10MM Flare Wrench to avoid stripping any of the lines. It not a very difficult job. In my opinion, the most time consuming part was having to re-bleed all the brakes again.
My Symptoms:
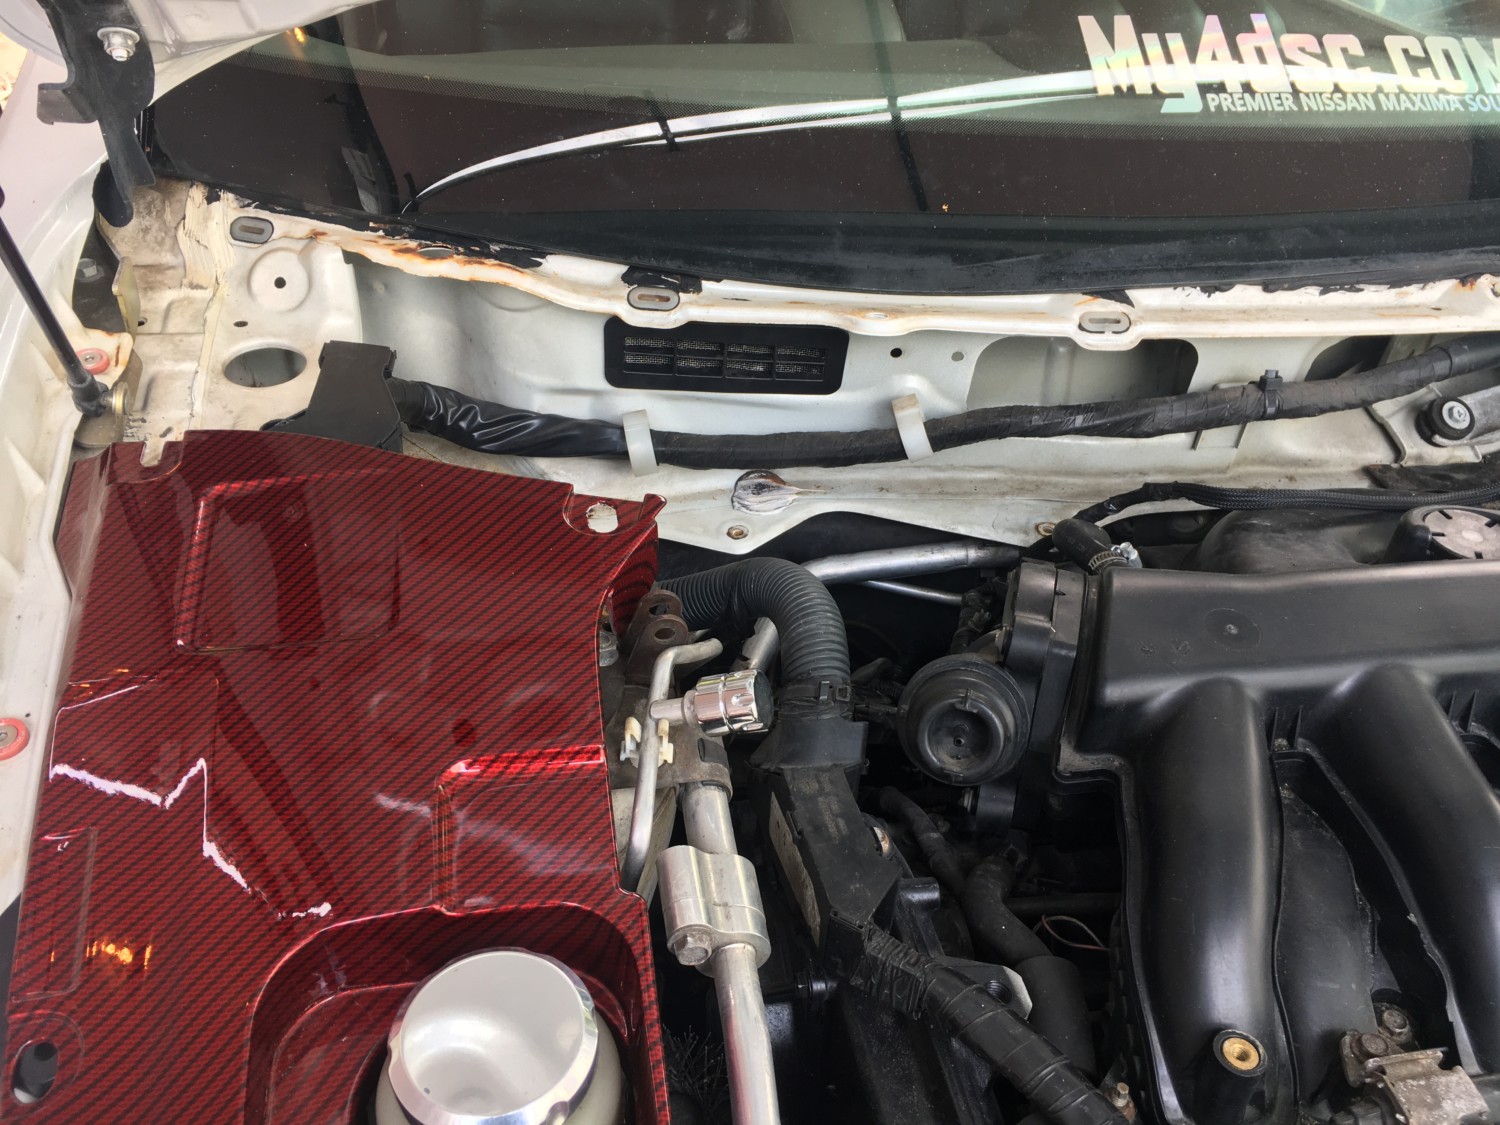
This is what it looks like when you remove the Window Cowl.
And there is goes. 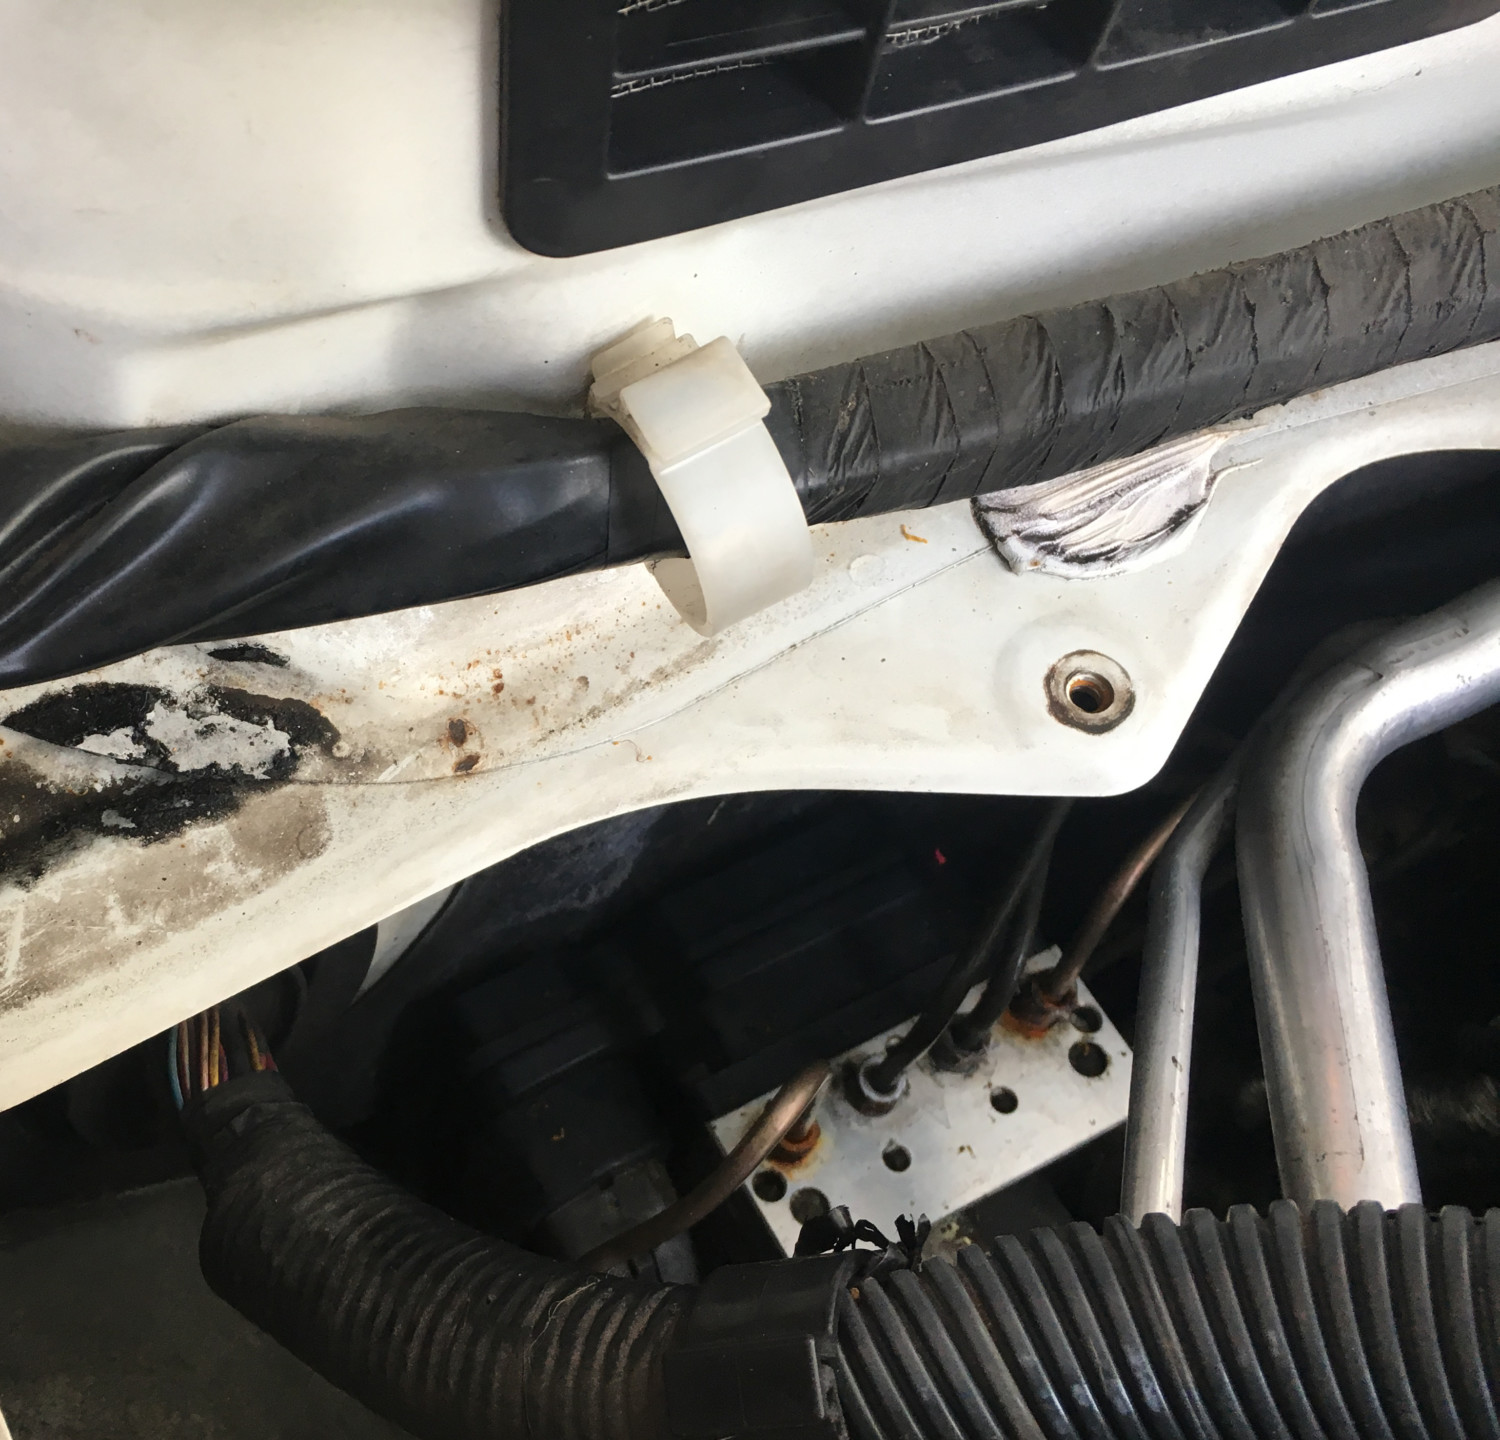
Old (Left) / Replacement (Right)

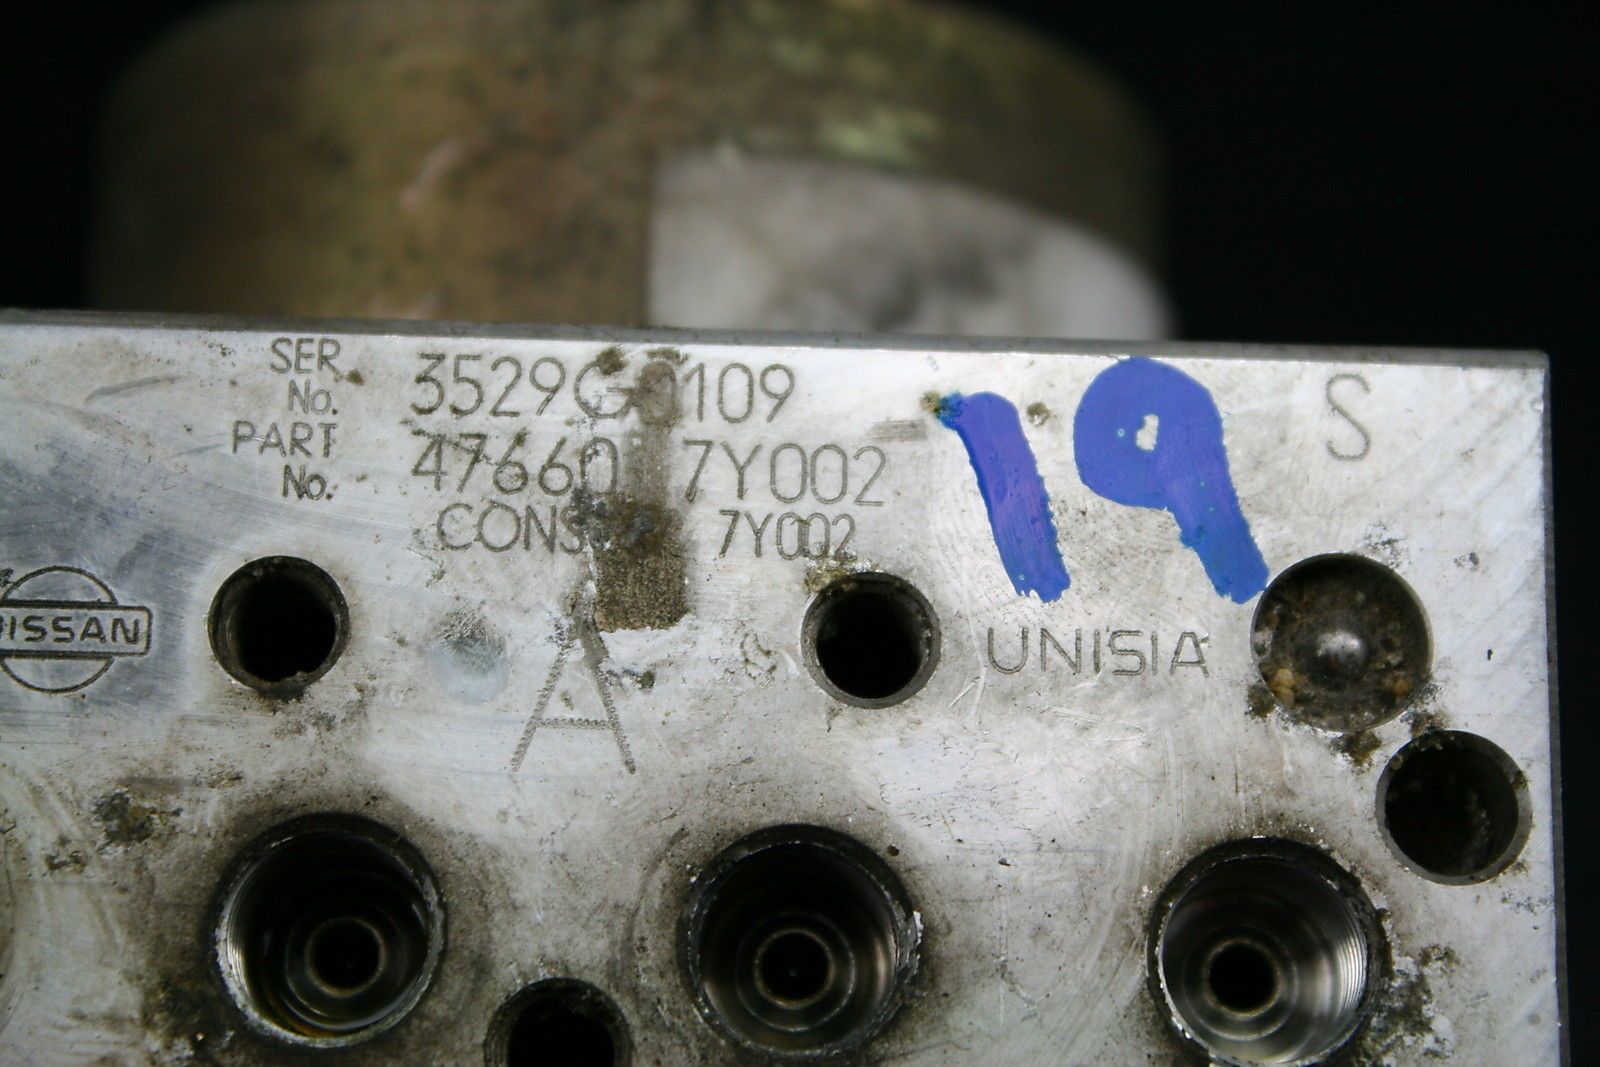
This is the part number for my car 47660 7Y002. It’s a 2004 Nissan Maxima with a 4-Speed Automatic Transmission. It needs to be the same exact for your car otherwise you may have issues.

Notes (From Member alchemist.zim):
ABS Pump/Relay

Part# (The part number is located on the metal part of the pump directly in the center, the 2nd line of numbers)
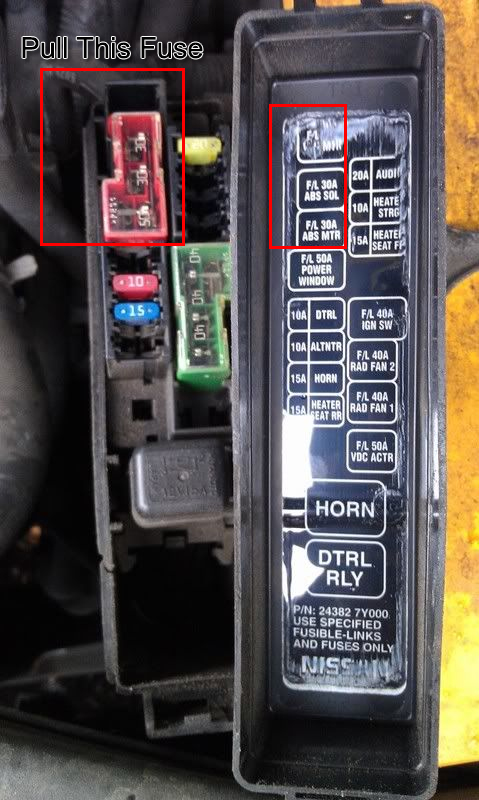
ABS Fuse (In the event the ABS Actuator is draining your battery and you cannot fix it right away, this is the fuse you need to remove)
As I’ve stated, before this my ABS pump would stay on as long as the fuse was in place. I removed the ABS fuse located next to the battery to prevent the pump from draining my battery.
!!!WARNING!!! This fuse also controls you power locks, windows, sunroof, trunk lock and turn signals from what I tell. It is a red combination fuse with 3 different fuses in it, with a clear plastic cover on top. You can try it up with a screw driver on the side. Don’t try to use pliers to lift it up or you’ll break a piece of the fuse cover like I did.
Member Credit: Mikkellucci
I purchased the Akebono calipers, pads, etc. However, I just couldn’t go thru with adding that much unnecessary rotor weight to my car. And I’m talking about the Z1 “light weight” 2 piece ($1300) front and rear rotors. Even those add a ton of F/R weight because they are so large in diameter.
I decided to go my own route. I started working on a light weight solution using 350z rear Brembos and 2 piece rotors. The front will use 350z 2 piece rotors and a larger Brembo caliper from a genesis track spec.
2016 Maxima OEM
Front – 320 x 28 (22.5 lbs)
Rear – 307 x 16 (12.8 lbs)
G37/370z w/ Akebonos
Front – 355mm x 32mm (30.60 lbs)
Rear – 350mm x 20mm (20.9 lbs”)
Rront 2 piece = 21 lbs
Rear 2 piece = 16 lbs
350z w/ Brembos
Front – 324mm x 30mm (20.5 lbs)
Rear – 322mm x 22mm (17 lbs)
Front 2 piece = 15 lbs
Rear 2 piece = 13 lbs


Member Credit: hotsprings1234
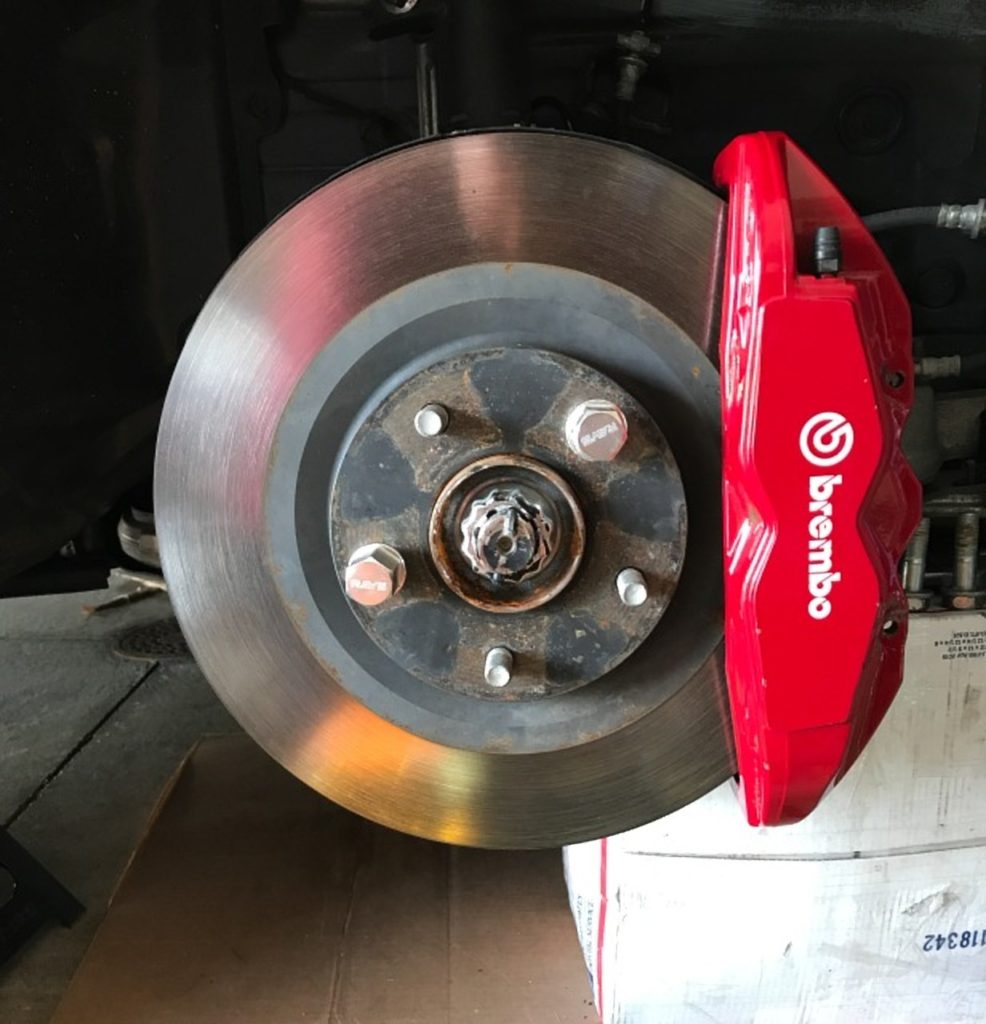
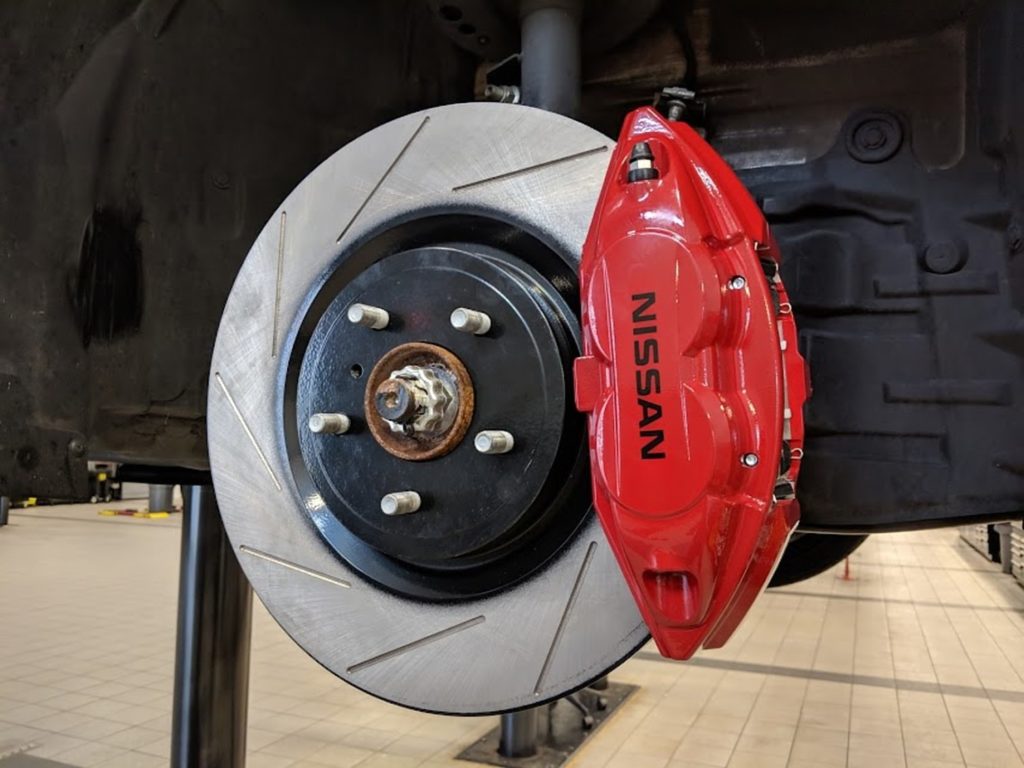
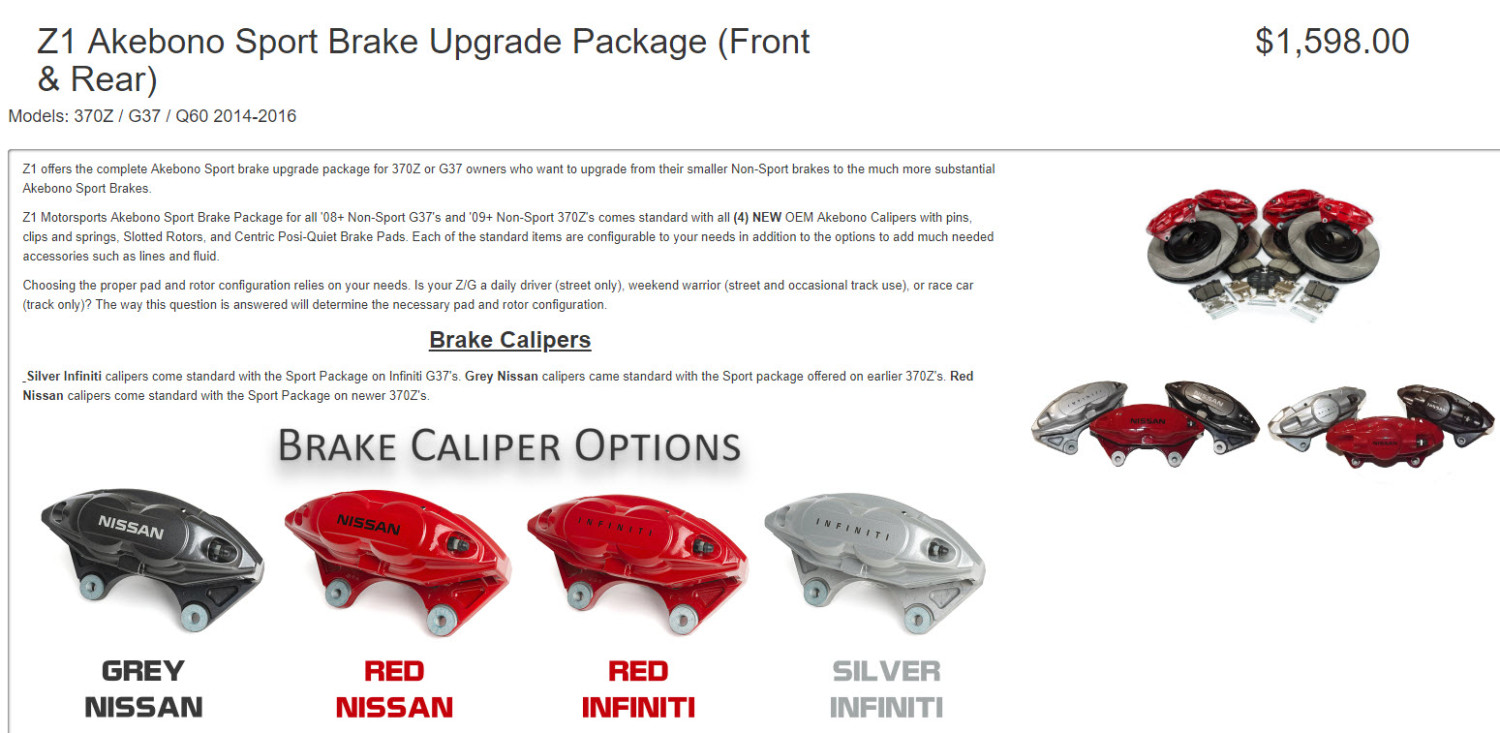
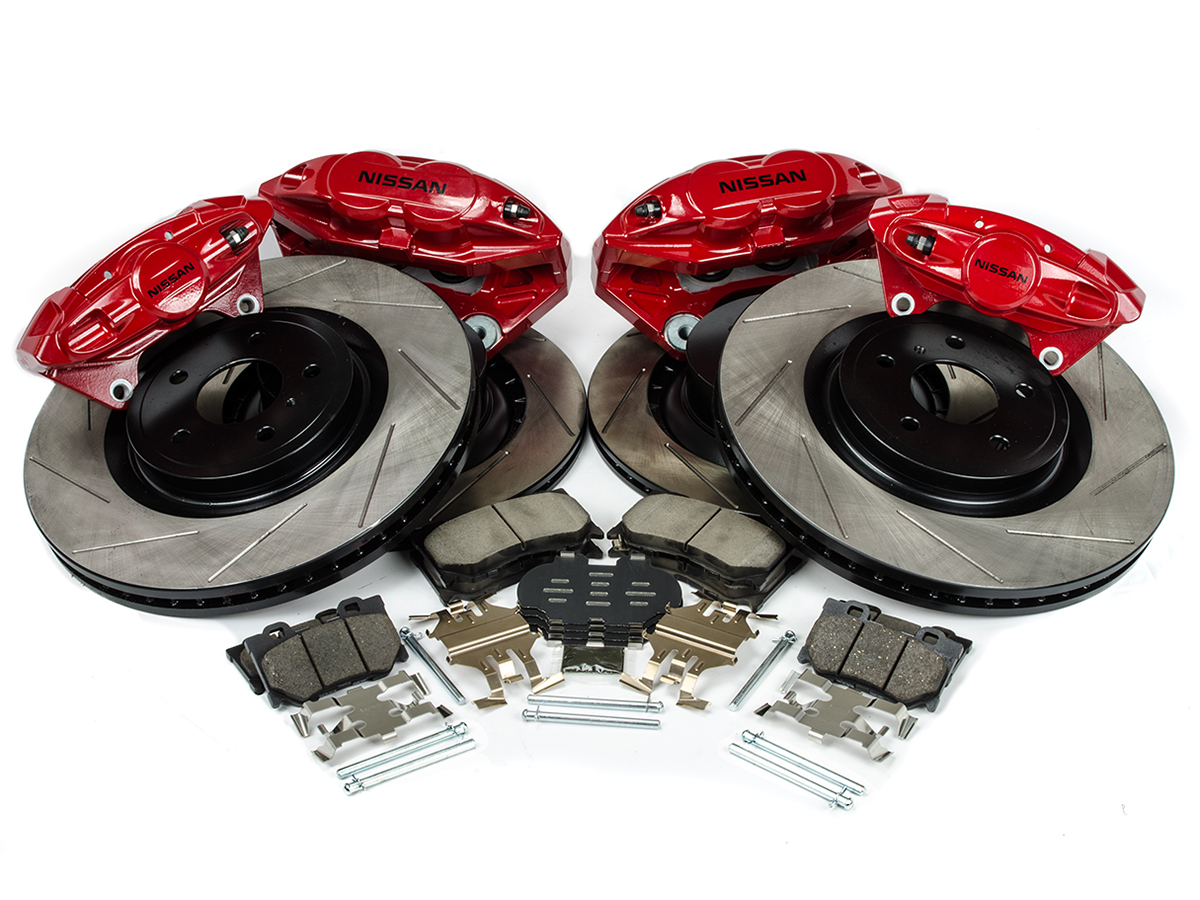
Wanted to share and confirm that the following brakes will work on a 2016 Maxima from Z1 Motorsports if you are looking to upgrade. The Nissan dealership installed with no issue.
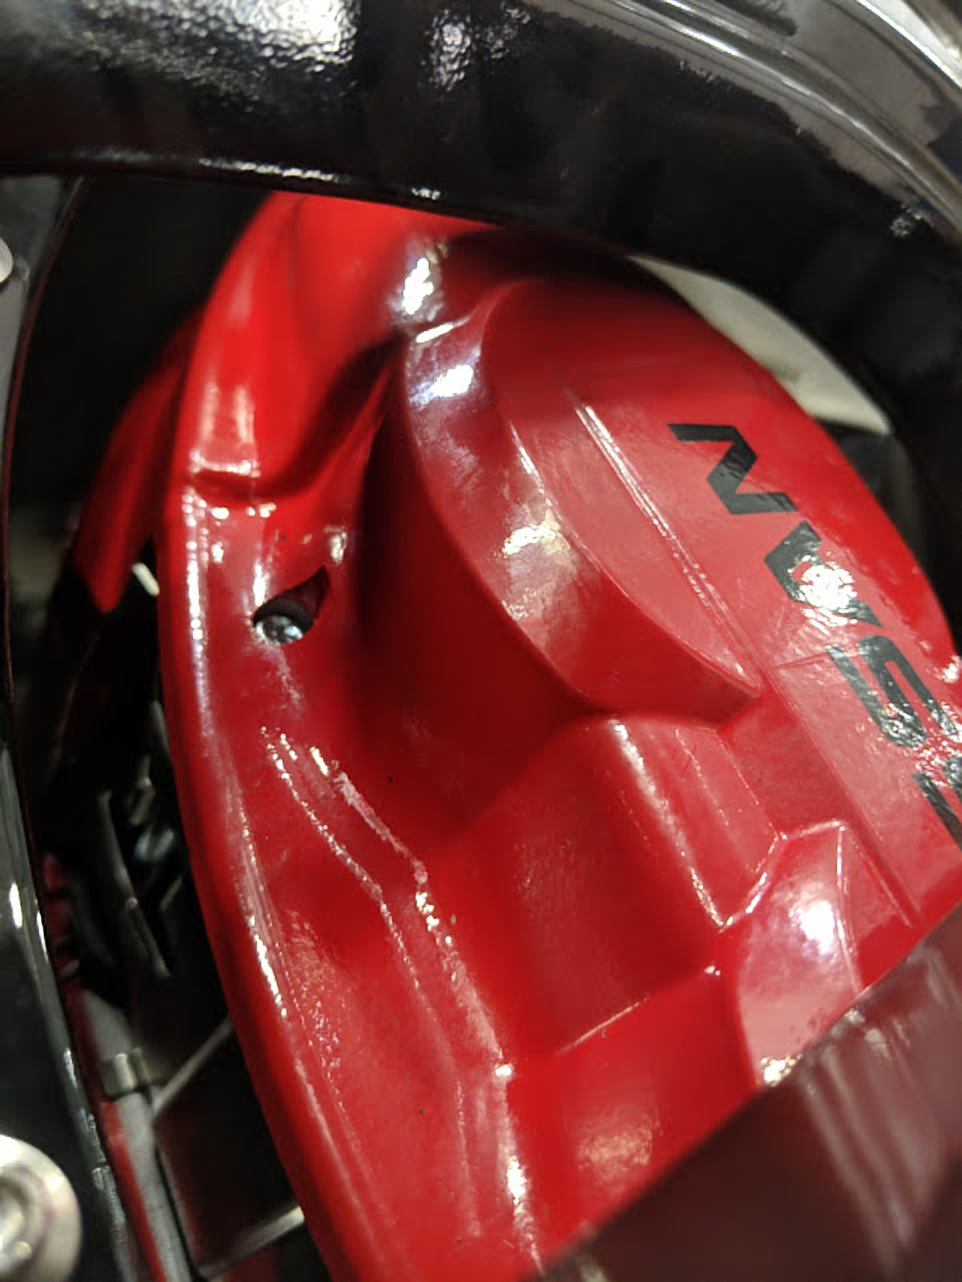


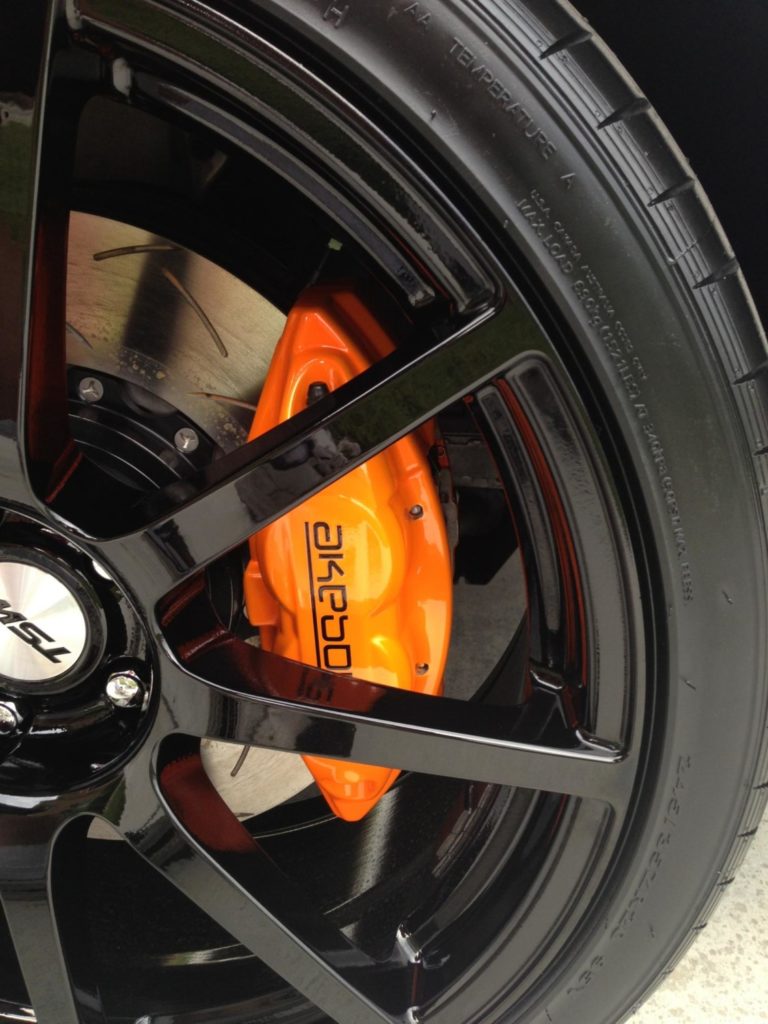
Member Credit: Nperez1986 / Jonthon Rubia
If you are looking to upgrade to the Akebono 4-Piston BBK from a Nissan 370z / Infiniti G37 Sport, you now have the option to use 300ZX (Z32) caliper adapter brackets on eBay. The bracket themselves are $70 bucks shipped. In order for this to work, you will need to use the Mitsubishi Evo X GSR 13.78″ (350 MM) rotors versus the Z34/V36 rotors (354 MM) rotors. The rotors themselves can be found for super cheap as well.
Brackets / Rotors work on the following:
Notes: For the 4thgen Nissan Maxima, you will need to enlarge the (4) holes in the knuckles to accommodate for bigger caliper bracket bolts. Aside from that it will work fine. Just keep in mind that this is ONLY for the front calipers. Rears will not fit on the 4thgens / 5thgens.
Link to Brackets: https://ebay.us/sCjKnm
eBay Actual Description: Front Akebono Big Brake Caliper Rotor Upgrade Adapter Bracket For 300ZX Z32


Once the calipers are on the car you only need to trim the dust shield in the lower mounting area. Photo’s below:


Nperez1986 below is demonstrating that the calipers and bracket will bolt on the front knuckles with no modifications.


