* Means that the track car has done part or all of the step. Other numbers have come from research and other maxima.org members that have kindly donated their numbers.
Specs/Weight from a 1996 Nissan Maxima (These weights are without fluids):
GLE 2982lb (extra weight items include the moonroof, climate control, automatic, dual power seats, BOSE, heavier wheels)
GXE 2886lb (bare bones 5 speed)
SE 2895lb (bare bones 5 speed)
Stage 1: (Still an everyday car.)
Aftermarket y-pipe (15lbs)*
UR or RVM UDP (3lbs)
Aftermarket Cat-back (5-10lbs)*
Remove Carpeting, cardboard, and everything else in trunk (6lbs)*
Remove Plate Under Steering Wheel. (2lbs)*
Remove support bar behind glove box. (2lbs)*
Remove plate behind back seat (6lbs)*
Remove Sound deadening under hood. (2lbs)*
Remove handles on ceiling (1lb)*
Miscellaneous bolts due to removing things. (2lbs)*
Aftermarket Cat (2lbs)*
Lighter rim/tire combo (I have not personally fulfilled this with my 18”s, but it really does help.) (Varies)
Aluminum Flywheel (12lbs)*
Swap stock seat for ultra light racing seat (32lbs each/64lbs total)
Swap out hood for CF hood (29lbs)
Change body to CF (Bumpers, fenders) (Fiberglass Bumper 5-10lbs , Fiberglass Fender 12-18lbs)
Ground Control Coilovers (34lbs)*
Floor mats (Can switch to diamond plated and still save (3lbs) or remove for (10lbs)
Switch from glass headlights to plastic (95/96-97-99) (4lbs)
Stock Fog lights (6lbs)*
Lighter Battery (Varies)
Replace Stock antenna with aftermarket(2lbs) (Get rid of antenna all together 4.5lbs)*
Fast Brakes Kit (Those with at least 16” rims) (32lbs)
Total Savings of Stage 1: 229lbs-+274.5lbs
Stage 2: (Even more, maybe for track use.)
Remove Visors (3lbs)*
Remove rear view mirror
Underbody Plastics (Total of 15lbs, to include under engine and in fender wells)*
All non-essential hoses air boxes and other things Removed from engine (Net weight of 10lbs)*
Trunk arms (Things that hold up trunk when open) (2lbs)*
Extra bar in front bumper (97-99)
Windshield wipers (2lbs w/out motor 7lbs w/ motor)
Side view mirrors (5lbs)
Owners Manual (1lb)
Headrests (3lbs)
Underbody hitches (4lbs)
Brake dust shields (3lbs)
Remove Jack (4lbs)*
Remove Metal piece that holds jack (2lbs)*
Remove Spare Tire (May be included in stage one, if not afraid of flat tires.) (28lbs)*
Remove Heat Shielding for exhaust system (8lbs)*
Remove Sound Deadening under carpet (aka tar) (So far removed 13lbs)*
Remove Back seat (30lbs)*
Remove Passenger Seat (48lbs)*
Remove interior panels (per panel 3-4lbs)*
Remove ceiling (7lbs)*
Remove Carpet (12lbs)*
Remove Unnecessary dash pieces (approx 2lbs but could be more)*
Remove AC (~33lbs)*
Remove Power steering (Papasmurf does not recommend doing this one)
Remove all seat belts accept for driver (10lbs)*
Swap out steering wheel for aftermarket (3lbs)*
Remove airbags (May be illegal.) (Just driver side total of 12lbs w/ passenger 26lbs)*
Remove e-brake and all components
Remove Stereo, speakers and all sound components. (approx. for factory 18lbs)
Remove power windows and locks.
Cruise Control System (1lb)*
Remove Rear Heating Ducts (3lbs)*
Replace Gas Tank with Aluminum Fuel Cell (Weight reduction will be different depending on size of tank)
Replace sunroof with solid plexiglass roof (Will weigh less than even cars without sunroofs)
Cutout unneeded metal
Cutout spare tire well and replace over with sheet metal
Total Savings of Stage 2: 294lbs-317+lbs *Will be much more once all the items’ weights are included.
Total Savings of both stages: 523lbs-591.5+lbs *Will be much more once all the items’ weights are included.
Things to Remember:
Gas in tank (6lbs/gallon)
Water in windshield reservoir (8.3lbs/gallon)
Special thanks to ptatohed,Papasmurf, Dave B, and Nealoc187.
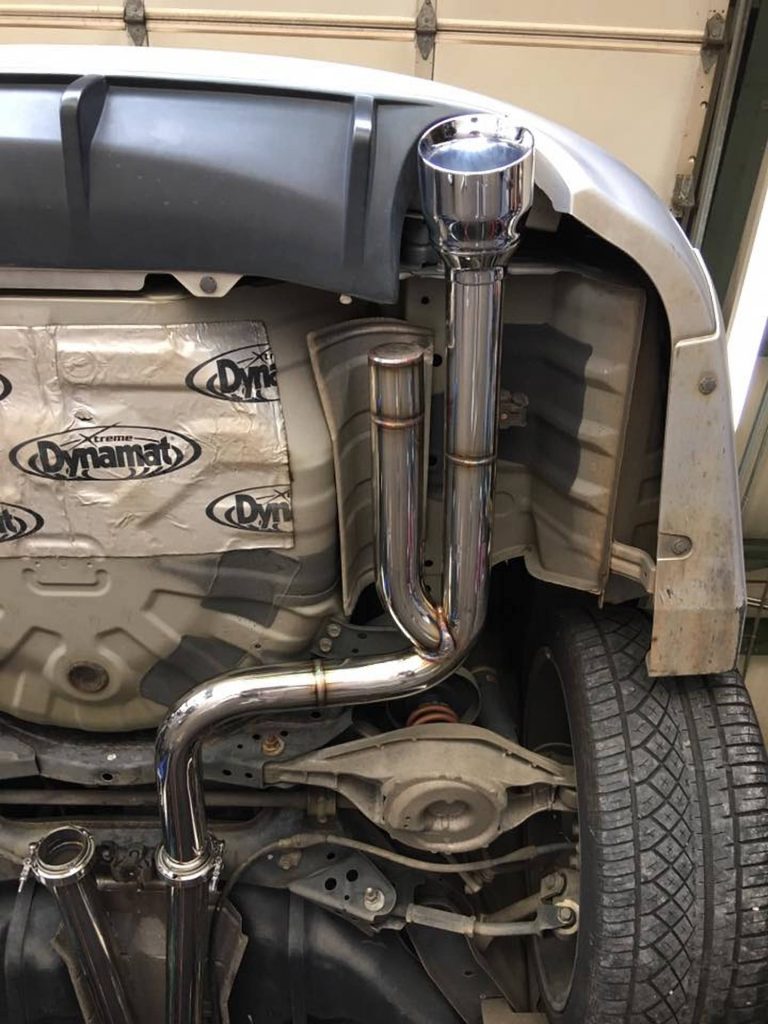
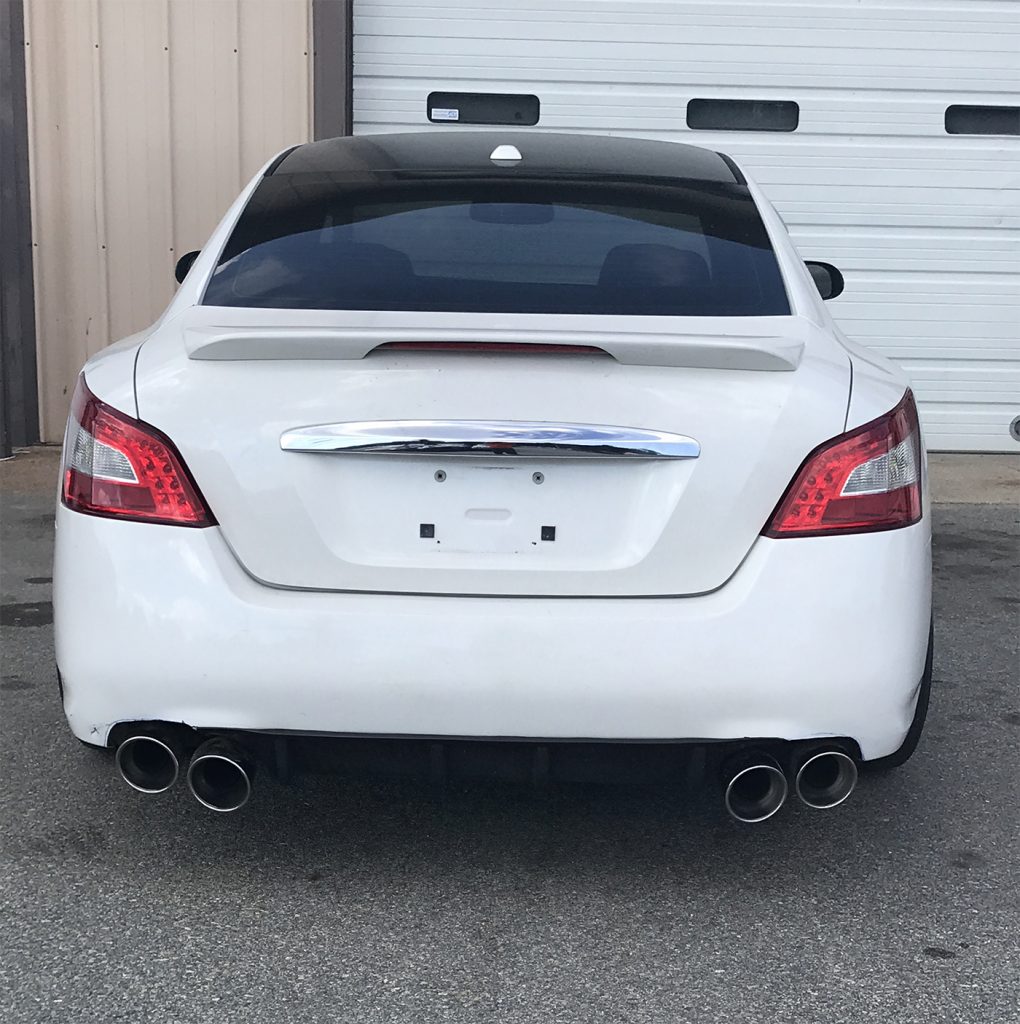
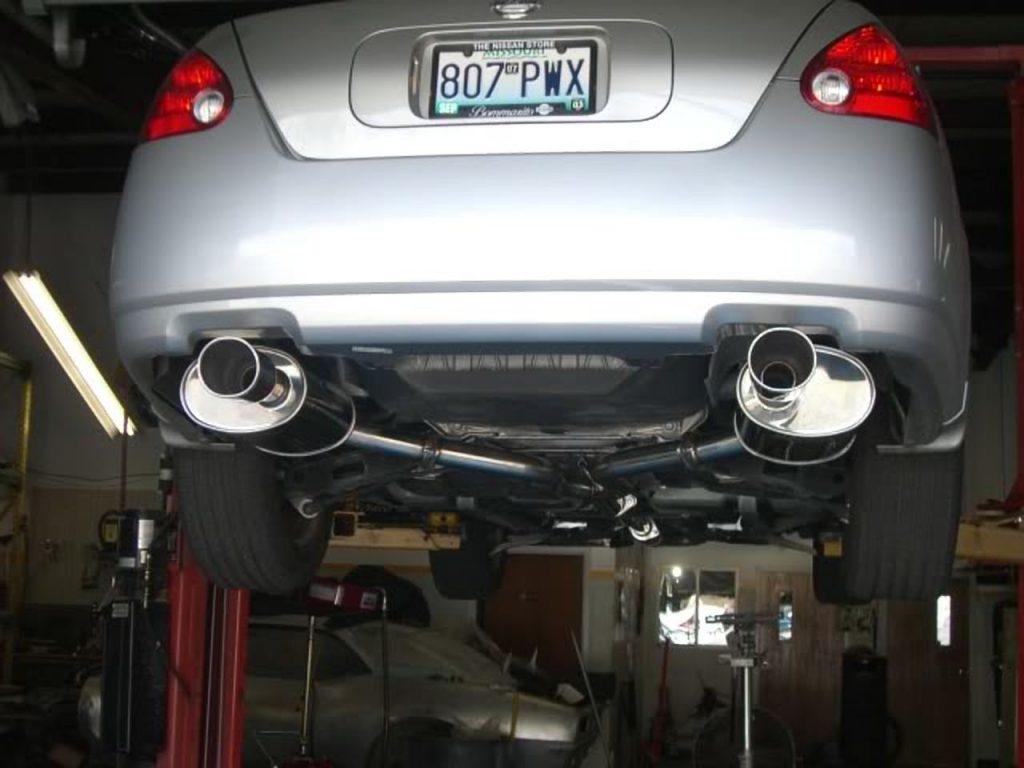
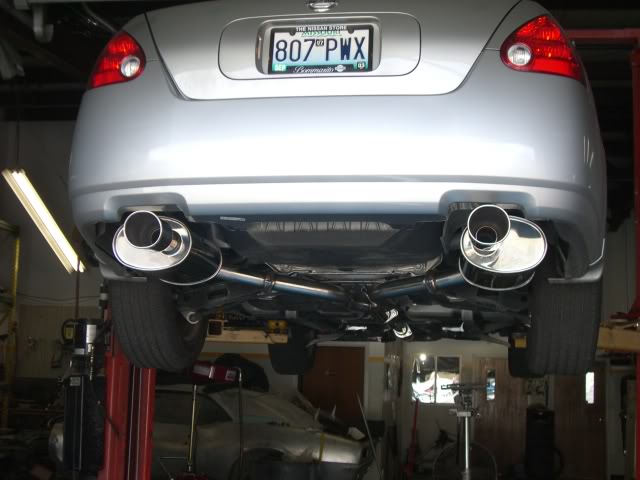
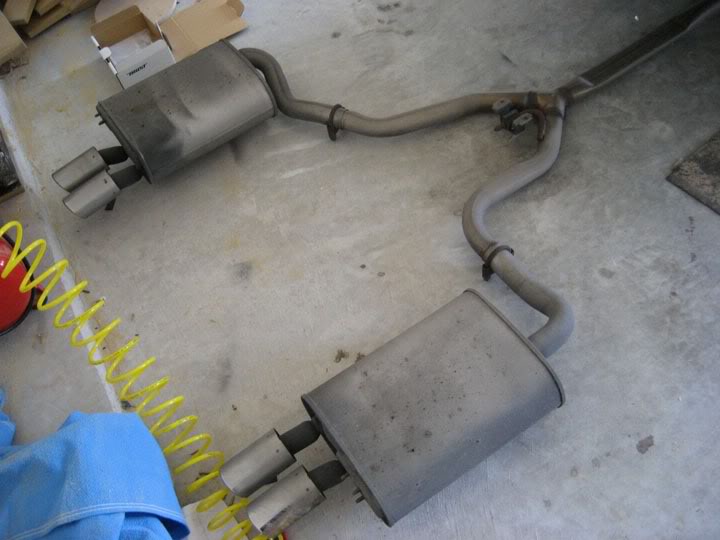
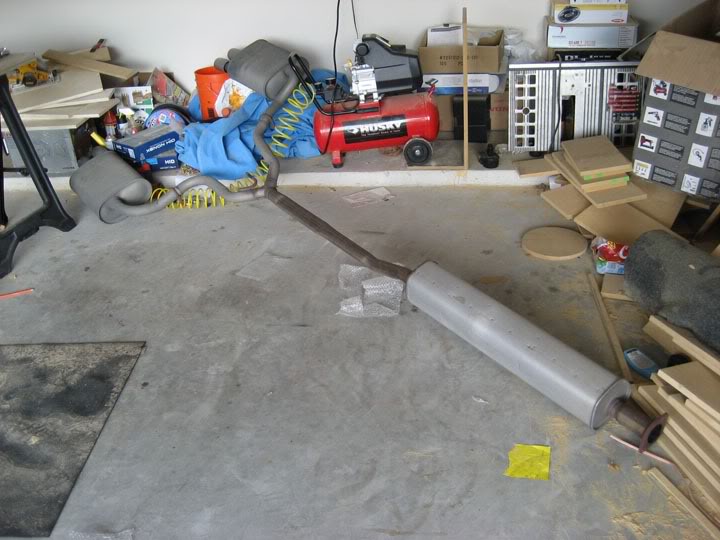
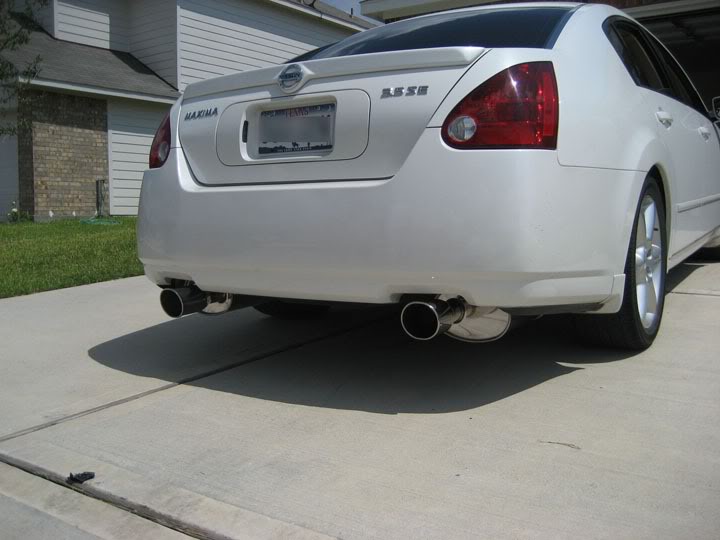
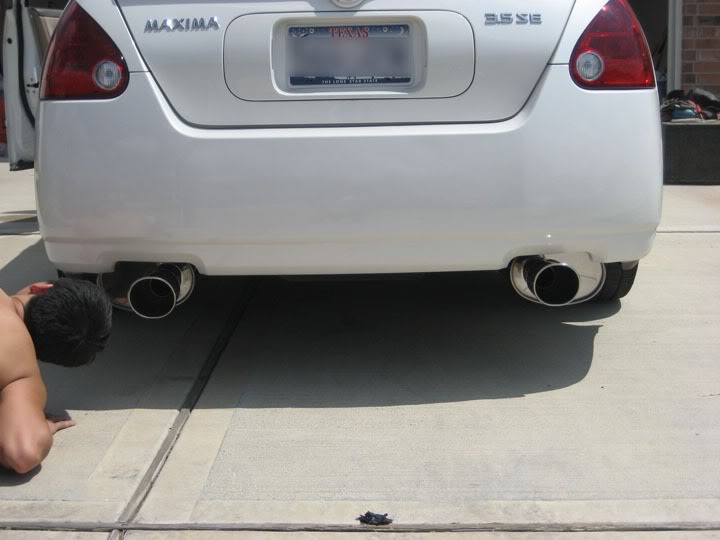
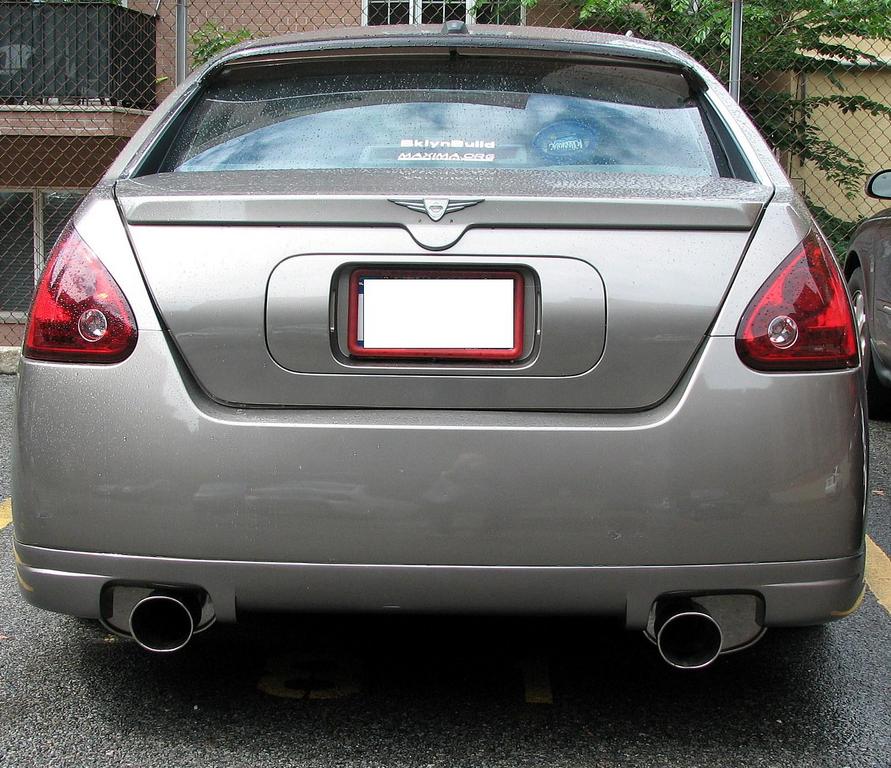
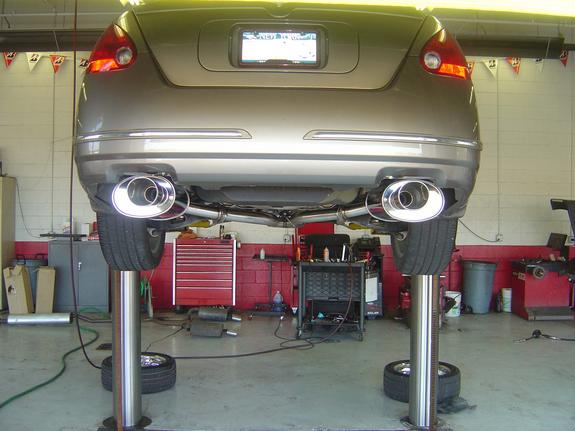
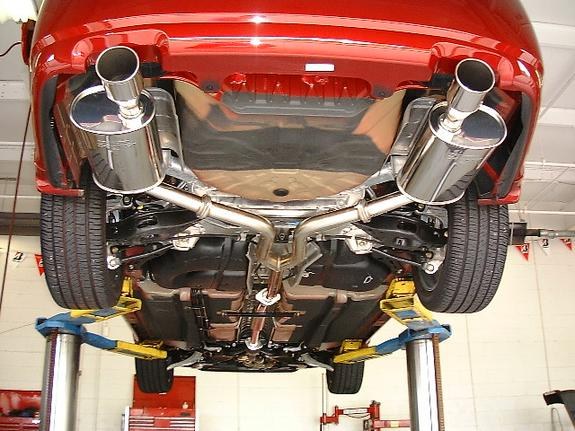
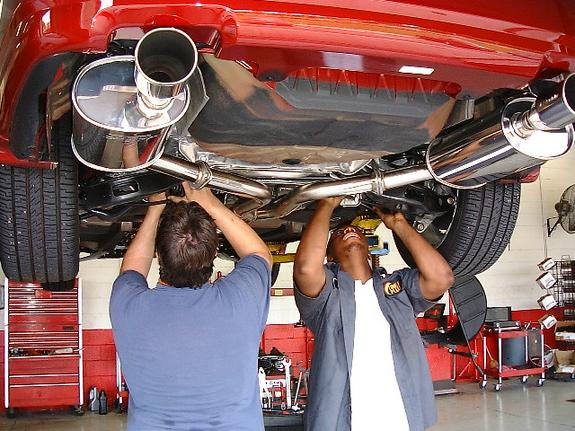
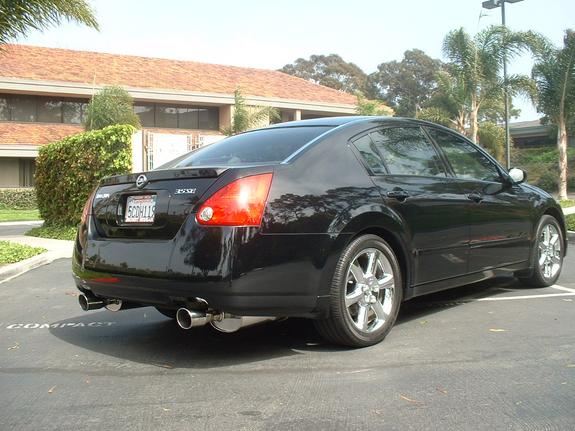
This is the first true dual Exhaust for the 7th Gen Maxima. The system is full stainless, tig welded, and remarkably quiet when cruising down the road. It is mean, deep, and loud at low RPMs, and more G like when in the higher RPM range.
Stock
Racingline
True Dual
Got some dyno pulls tonight. Very happy with the gains, but not as much with the CVT and the actual power put down. The baseline run (red) is just an intake and muffler delete on an otherwise stock car. The modded run (green) has 20×9 wheels, Akebono big brakes, intake, stillen under drive pulley, and the dual exhaust.
Base 179hp, 158tq Mod 218hp, 217tq 39 whp, 59 tq gained over the base.
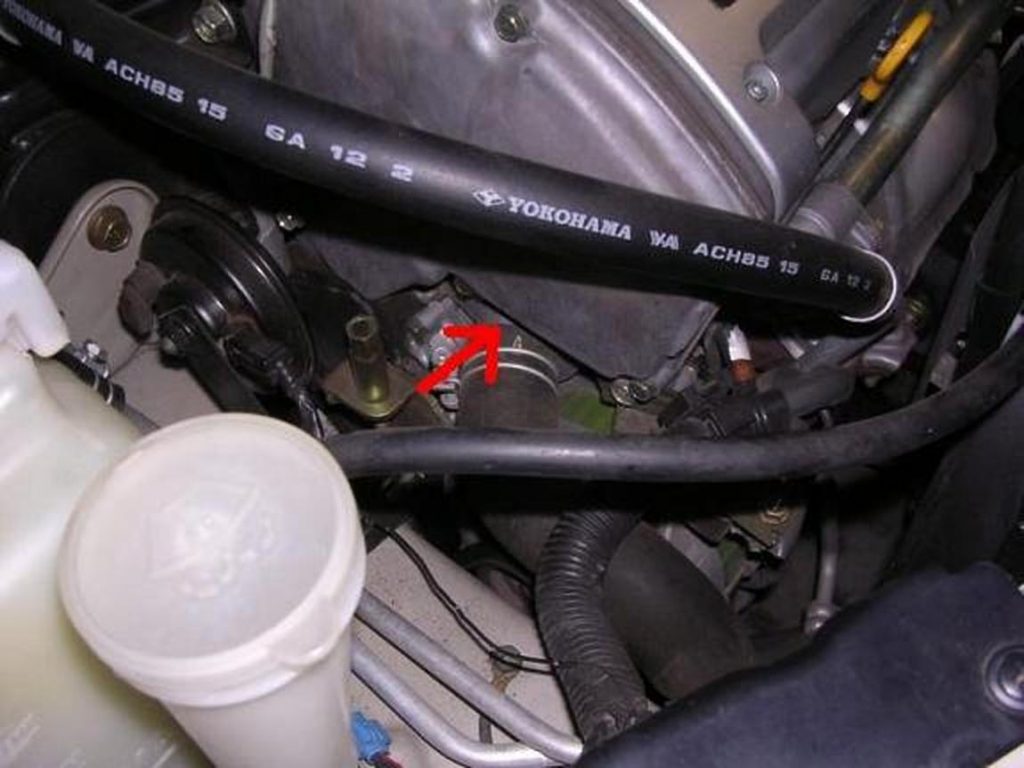
The thermostat regulates the flow of coolant within the engine. At low coolant temps, it stays closed. As the engine warms, it opens to allow coolant to flow through the radiator and cool the engine.
It’s located on the left side of the engine, here:
If it becomes clogged with deposits it can malfunction. If it sticks closed, coolant will never flow through the radiator and the engine will quickly overheat. If it sticks open, coolant will always flow through the radiator and the car will take a very long time to warm up fully.
The replacement part is $15.99 from AutoZone and includes a new stat mounted in a new housing and gasket.
To change the thermostat:
Drain the coolant
Remove the coolant recovery bottle
Remove the windshield washer fluid filler neck (it pops out)
Remove the hose clamp and radiator hose from the T-stat
Remove three 10mm nuts holding the T-stat and the old gasket
Typically, the water pump will need to be removed due to the water pump failing or the water pump O-ring seals (2) failing with age. You may get coolant leaking from the weep hole toward the front of the engine with the inner seal failing. Some will warn that the use of silicate-containing antifreeze will ultimately cause injury to the water pump impeller. If your seals are the only faulty items, it is possible to order the two seals separately and to re-install the old pump. However, the water pump replacement is technically difficult owing to the limited space with which you have to work, so for the sake of piece of mind, it may be just as well to replace the entire water pump. Some 4th generation Maxima’s also suffered from faulty timing chain tensioners and some would argue that the part can become “tired” over time (mainly the inner spring), so you can elect to replace the timing chain tensioner as well since it will have to be removed anyways.
Tools:
Metric box-and-open ended wrench set — I highly recommend a ratcheting wrench set (ie. GearWrench)
Metric socket wrench set — standard 3/8″ will suffice but the smaller profile 1/4″ set will be better.
Telescoping magnet — you do not want anything falling into the timing chain cover. When removing hardware, apply the magnet so nothing is dropped accidentally, or if it does, you can hopefully fish out the part.
Telescoping mirror (optional)
RTV sealant — needed to reseal the tensioner and water pump covers
Two M8 x 40mm bolts — for “jacking” out the water pump
Water Pump Removal
The water pump is driven by the timing chain, so removal requires removing the timing chain tensioner to create slack in the chain.
(1) Jack up the front end and place jack stands. Remove the passenger side wheel and plastic splash guard. Drain the coolant — save the coolant in a bucket for reuse if it is still relatively new.
(2) Identify and remove the timing chain tensioner access cover and water pump access cover attached to the (passenger side) timing chain cover. They are boxy, outwardly bulging, black metal covers, each attached by four 10mm screws, as seen the centers of the pics below. You will have to gently pry them off because of the gasket sealant applied around the edges. The timing chain tensioner access cover (below, left) is rearward of the motor mount whilst the water pump access cover (below, right) is in front of the motor mount. Note that the water pump access cover is obstructed by the alternator tensioner pulley (removed in pic)–this will need to be removed along with the belt by loosing the center nut of the pulley, loosing tension on the belt, and then the three bolts on the bracket. Because the pulley will be removed from the bracket, be sure to make note of re-install order of the nut and washers before and after the pulley. Removing the power steering belt is optional: it is more work but may make the job easier by creating more room around the timing chain tensioner area.
Here’s a pic of the alternator belt tensioner pulley removed:
(3) Remove the timing chain tensioner.
First, familiarize yourself with the position and components of the timing chain tensioner. You can see it from the acute angle you have looking down into the open access port but I used a telescopic mirror to get a better view of the tensioner as shown below. The second picture is of the timing chain tensioner removed. Pay particular attention to the spring-loaded piston. You first must remove the two long retaining bolts (10mm) and then keeping your thumb on the piston to keep it from springing out, carefully remove the tensioner as one unit. If you let the piston shoot out (as in the picture, right), you run the risk of having the spring or the piston fall down into the timing chain cover which you must avoid AT ALL COSTS. Also note that the long bolts have washers which have the potential to fall in as well so pay attention to remove the bolts horizontally until they are removed from the cover area. With the timing chain tensioner removed, you will now see the timing chain tensioner guide fall into view. Now turn the crank pulley counterclockwise roughly 20 degrees to create chain slack on the water pump. Note: some will say that removal of the tensioner is NOT required to create slack on the timing chain; that only compressing the piston and holding it back with a pin/paper clip is sufficient. However, this was no where near sufficient for me when I tried this. Also, some have suggested putting a mechanic’s towel or a sheet of aluminum foil down to block any possibility of anything falling into the timing chain cover.
(4) Remove the water pump.
There are three 10mm bolts with washers holding the water pump in place. Remove these, again being VERY careful not to drop these short bolts or their washers down into the timing chain cover. Then use the M8 x 40mm bolts to jack the water pump out (see pic below, left). The top and the bottom holes (that you just removed the retaining bolts from) are also threaded for the M8,1.25 bolt. Take successive turns tightening the screws, no more than one full revolution each. As the pump gradually starts to come out, be sure to lift the timing chain off the gear teeth on the water pump so that the timing chain does not become damaged. Once the water pump is far enough out that you can move the unit by hand, remove the two M8 bolts because there is not enough clearance to remove the pump with them still in place. The just turn and wiggle the pump at different angles up and out of the tight space. Do not be surprised to see a gush of coolant spill out from behind the water pump and down into the timing cover. Loosening the water pump coolant drain bolt minimizes the spillage but it is still pretty significant. You will need to drain and refill the oil at this point because of this.
(4) Drain and replace engine oil/filter.
Water Pump Installation
(5) Install the water pump.
Place the new inner and outer O-ring seals on your new or reused water pump. Coat the seals with coolant. Once again, turn and rotate the water pump into position–paying particular attention NOT to let the new seals come into accidental contact with any metal surface or they can be easily damaged–and very gently push into place. While doing this, you will have to push the limp timing chain up and out of the way. Reinstall the 4 short retaining bolts with washers, again being careful not to drop anything into the timing chain cover. Make sure the timing chain falls clearly over the teeth of the water pump gear and turn the crank pulley 20 degrees clockwise to tighten up the timing chain Again, verify that the gear teeth are firmly engaged with the timing chain.
(6) Install the timing chain tensioner.
To reinstall the timing chain tensioner, you must “cock” the piston all the way into the tensioner body and prevent it from “unloading” by inserting a pin or a small paper clip end into the small pin-sized side hole near the front opening. I would recommend attaching a string to the pin or paper clip in the event that it should fall out and accidentally fall into the timing chain cover. Next, you must position the cocked tensioner back into position by pulling back on the timing chain guide which has since fallen in the way. Then reinstall the two long retaining bolts. This can be frustrating because of the limited space and because this is mainly done by feel. Again (I can’t say this enough), do not let the bolts or their washers to fall into the timing chain cover and be careful not to accidentally pull the pin/paper clip out, unloading the tensioner. Once successfully bolted up, you can then remove the pin/paper clip. The piston should pop out and contact it’s similarly cylindrical counterpart on the chain tensioner guide.
(7) Replace covers.
First clean both timing chain tensioner and water pump access covers and mating surfaces on the timing chain cover of any old gasket material. Use a degreaser (I used brake cleaner) to make sure no oil residues have fouled the surfaces. Apply high-temp RTV gasket sealant (ie. Permatex) to the cover borders and reattach and bolt securely. Note: this can be quite difficult and messy because of the limited space–have paper towels or cleaning wipes handy! Allow the sealant sufficient time to cure.
(8) Final steps.
Replace alternator belt and tensioner pulley. Replace coolant. I would recommend filling the coolant reservoir a little ABOVE the “max” line in anticipation that a significant amount will be drawn into the cooling system to replenish the coolant that was lost to spillage when the pump was removed.
Start up the car. Do NOT be alarmed to hear a horrific chain rattling noise. The noise will eventually quiet but may not go away even when idling for a while. Rest assured that the noise will go completely away after a short drive around the block. You may also hear a gurgling/bubbling sound as the water pump is pumping coolant AND some air in the system. After a long drive to get the engine nice and warm (consider turning the heater on to speed the flow of coolant), recheck the level of the coolant reservoir and add coolant if necessary. NEVER remove the radiator cap when the engine is still warm.
NOTES:
To create more working room, it is also optional to remove the passenger side motor mount. You can also remove the power steering reservoir to move the hose out of the way. As was previously mentioned, you can also remove the power steering belt. Lastly, it is also possible that removing the crank pulley will also create more working room. All these require a little more time but may be worth it if you need the extra room ie. big hands, etc.
I used the rear section of the GTR exhaust. I made my own mid pipe and got rid of the resonator in the rear pipe. Also, had to cut out where the spare tire sits in order to fit the mufflers up inside the bumper. Then finally had to shorten the width of the tips to the muffler.
The GTR exhaust was cheaper than a Stillen Catback exhaust. You can make anything work on any car. It’s about how much it is worth to you….money and time wise.
Decided to take pictures as I changed the ATF in my 2005 Nissan Altima SE-R (Should be similar for 6th gen Maximas) since I couldn’t really find any how to’s prior to attempting my first ATF change using the Drain and Refill method. Usually people do 3 drain and refills with a short drive inbetween each making sure to engage in every gear. Some signs that an ATF Drain and refill is needed: harsh shifts, black ATF on dipstick, ATF smells burnt, metal shavings on drain plug, 30k miles.
First off, Nissan recommends Matic K automatic transmission fluid from Nissan. Cost me $10.82 a quart. Ranged up to $20.xx around my area. Anyone worried about attempting this themselves, with little or no mechanical experience, if you can change your own engine oil, you’ll be fine. I actually think its easier then changing engine oil. I would rate it at a 2/10 with 10 being the hardest. Lets begin.
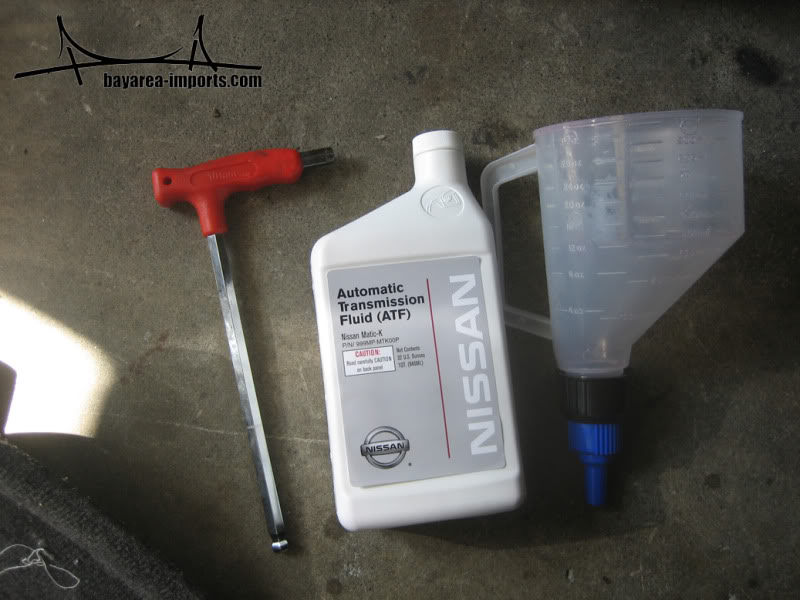
Tools I used: 10mm Hex, Funnel (the one I used has open/close option) and ATF Matic K for 5AT:
Drain plug is located right next to the front electric motor mount. Drivers side, facing the front of the car:
Jack up the car safely and locate the drain plug:
Take off the drain plug and let the fluid drain until it stops. Anything from 2-5 quarts can come out at one time. The rest stays in the torque converter (My old ATF wasn’t that black, it was actually still pretty red, I had left over engine oil in the tub):
Put the drain plug back on and locate the dipstick. Take dipstick out and put funnel in the opening. This is where the ATF will be poured in:
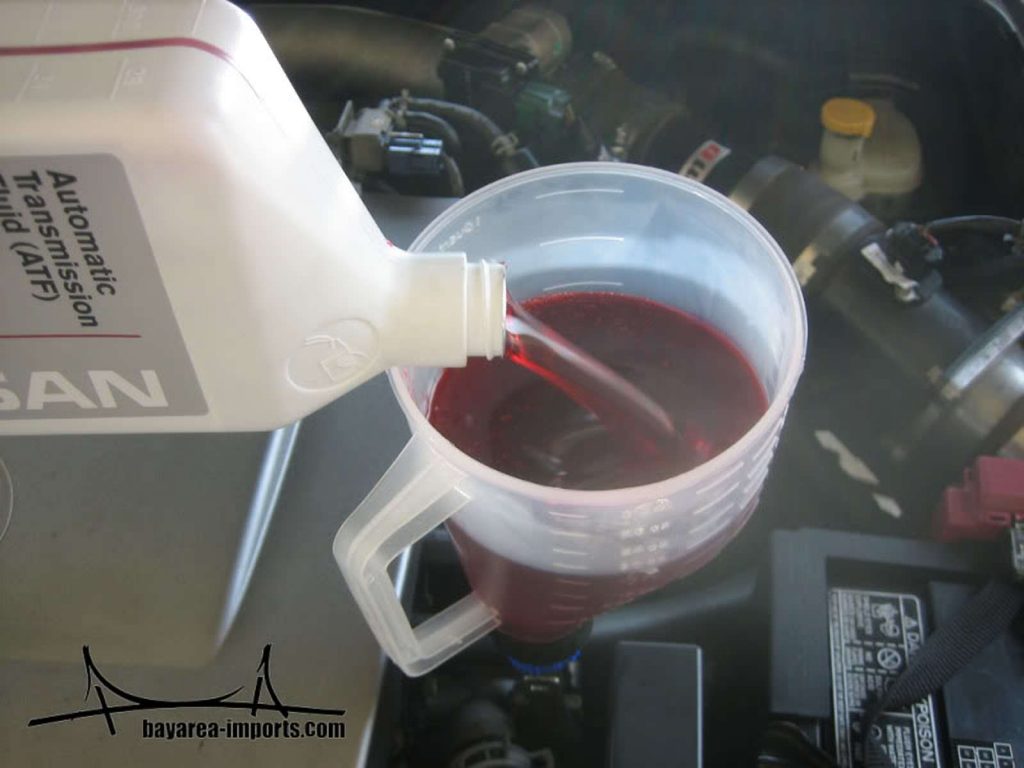
Pour new Matic K ATF fluid into funnel (Looks almost like syrup for Italian Icees but smells nothing like it ):
Pour the same amount of ATF in as you took out. I poured the old ATF into empty quart size bottles to make sure its correct.
Now you’re done with your first ATF Drain and Refill. Go for a short drive making sure to engage in every gear :shift:. I noticed smoother and crisp shifts. My brother said he couldn’t even feel 1st-2nd which was the worst before.
It is common practice to drain and refill 3 times to get majority of the old fluid out. I only did it 2 times as my old fluid didn’t seem that bad, and I didn’t find any metal shavings on the drain plug.
Enjoy smooth shifts from now on…
I want to add that this is my FIRST time doing ATF drain and refill. The above may not be the best or fastest way, but it was the way that I did it. If there are any tips or advance that can be added to this, please feel free.
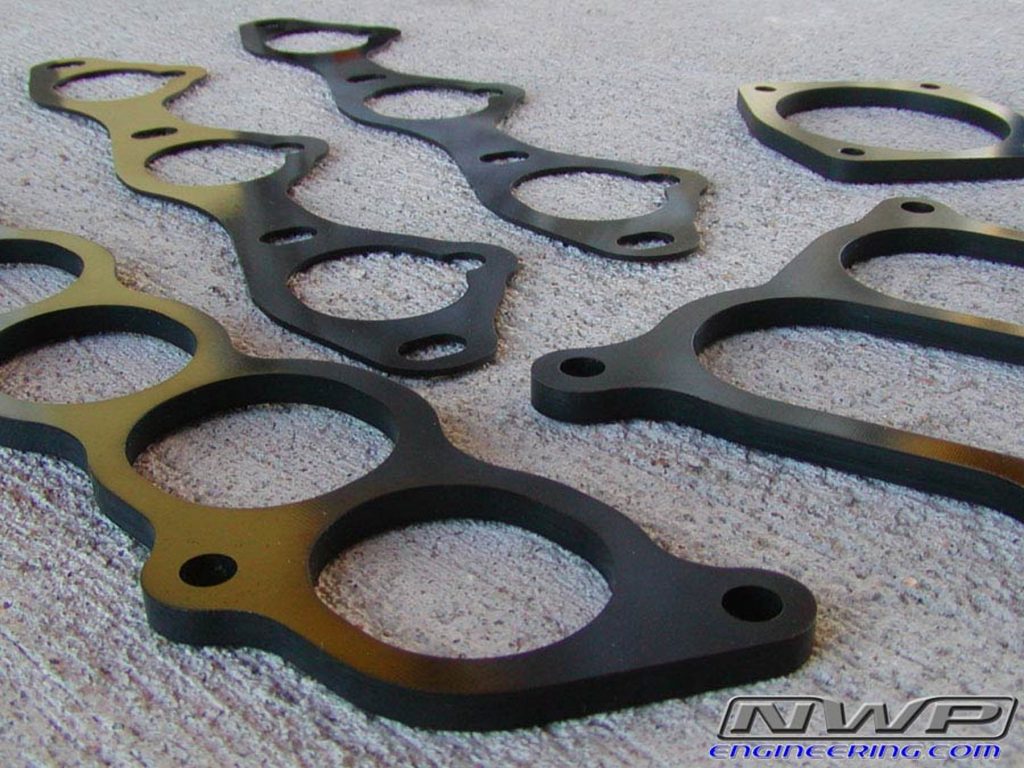
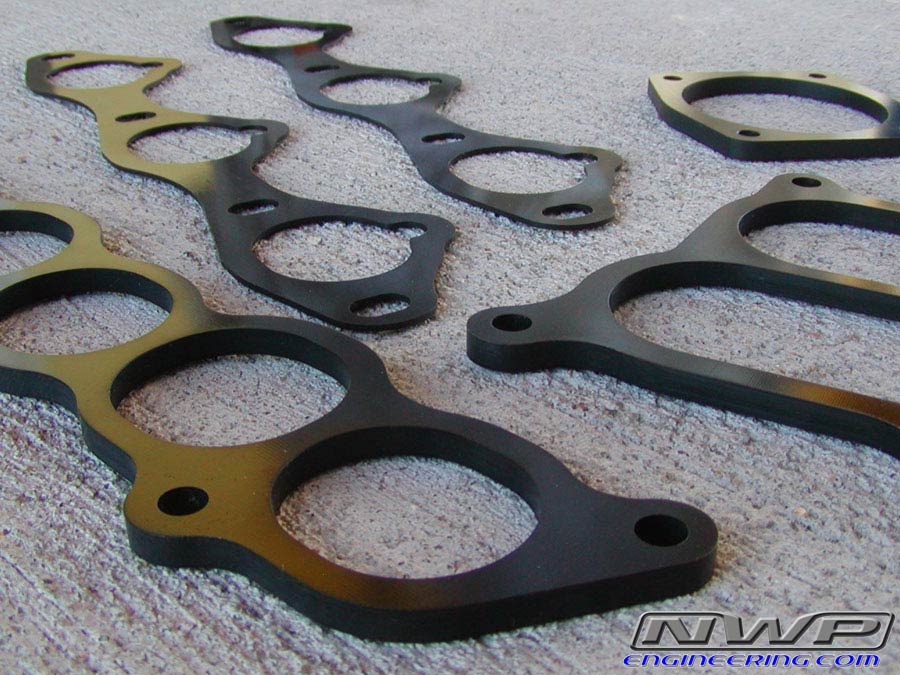
Prevent heat from transferring from your heads to intake manifold and throttle body! Improve Airflow by eliminating the need for intake gaskets. Each spacer is CNC Machined to the highest tolerances to ensure the best airflow possible. All NWP spacers are port matched to your stock intake ports. A smooth transition from one manifold to another is very important for optimal airflow.
Don’t be fooled by other spacers and thermal gaskets that aren’t properly matched to your intake ports! Never have to replace your intake gaskets again! These intake spacers will last for life and do not require improperly sized OEM intake gaskets! Experience an intake manifold that’s cool to the touch! Experience a better quality product with NWP!
All of our performance parts are made in the USA!
Price: $225
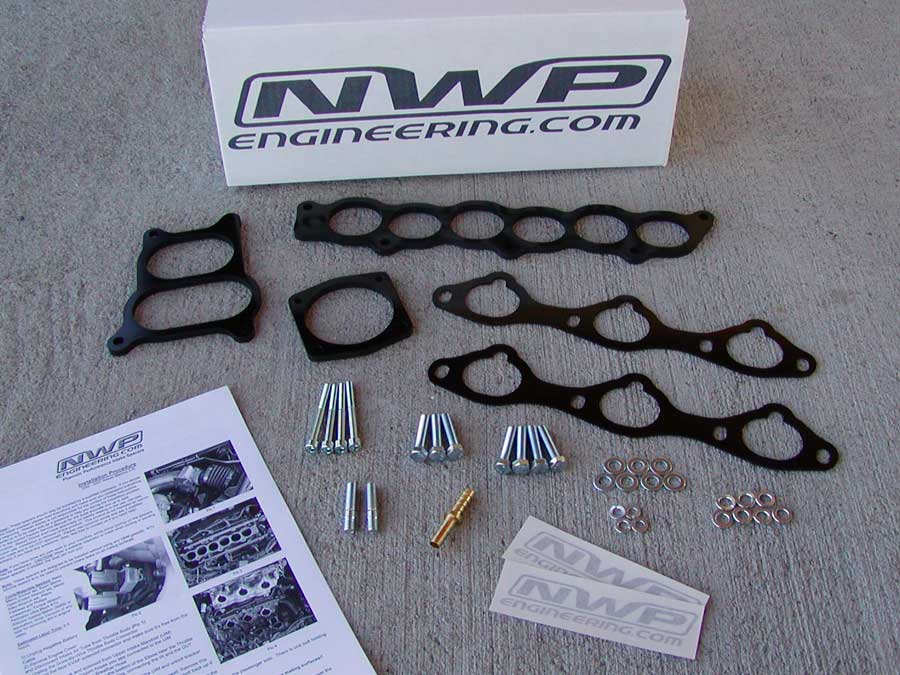
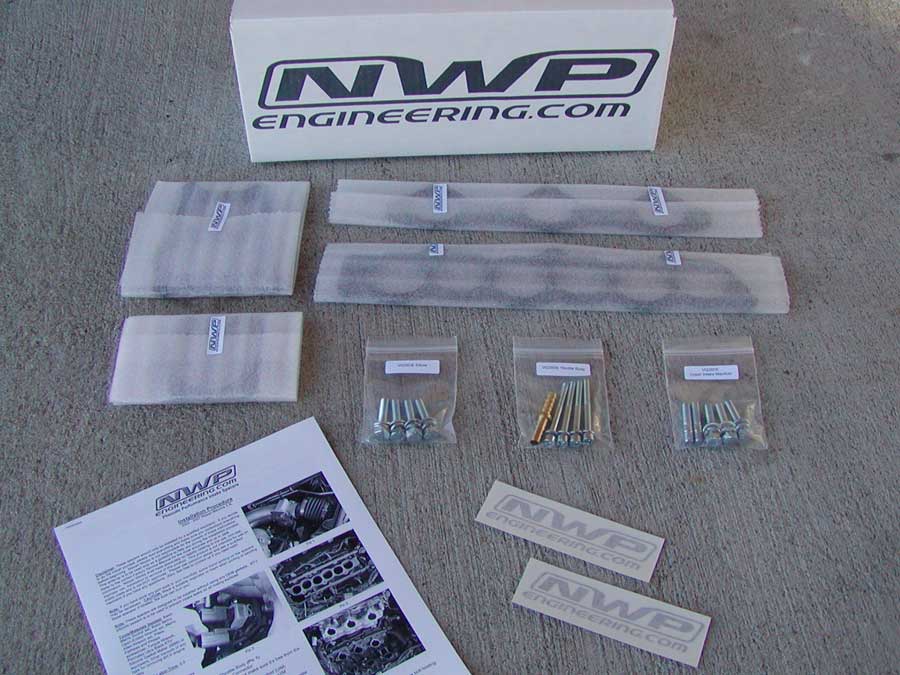
Includes:
– Two 1/16″ High Quality CNC Machined Phenolic Intake Manifold Spacers (Lower Intake Manifold)
– 1/4″ High Quality CNC Machined Phenolic Intake Manifold Lower Collector Spacer (Upper Intake Manifold)
– 1/4″ High Quality CNC Machined Phenolic Intake Manifold Upper Collector Spacer (Elbow)
– 1/4″ High Quality CNC Machined Phenolic Throttle Actuator Spacer (Throttle Body)
– Intake Manifold Upper Collector Coolant Bypass Fitting
– 4 Lengthened Zinc Plated Grade 8 Throttle Body bolts and washers
– 4 Lengthened Zinc Plated Grade 8 Elbow bolts and washers
– 3 Lengthened Zinc Plated Grade 8 Upper Intake Manifold bolts and washers
– 2 Lengthened Zinc Plated Grade 8 Upper Intake Manifold offset studs
– Printed Detailed Installation Instructions with Photos(Click link to download .PDF)
– Two Die Cut Silver Vinyl NWP Engineering Decals
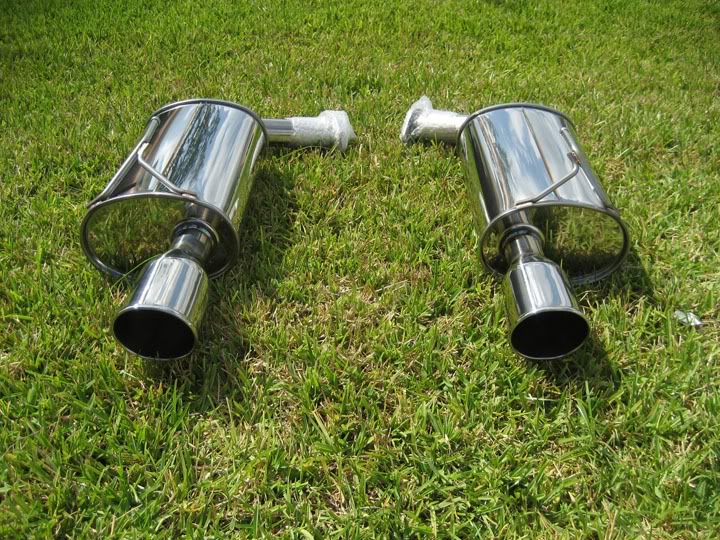
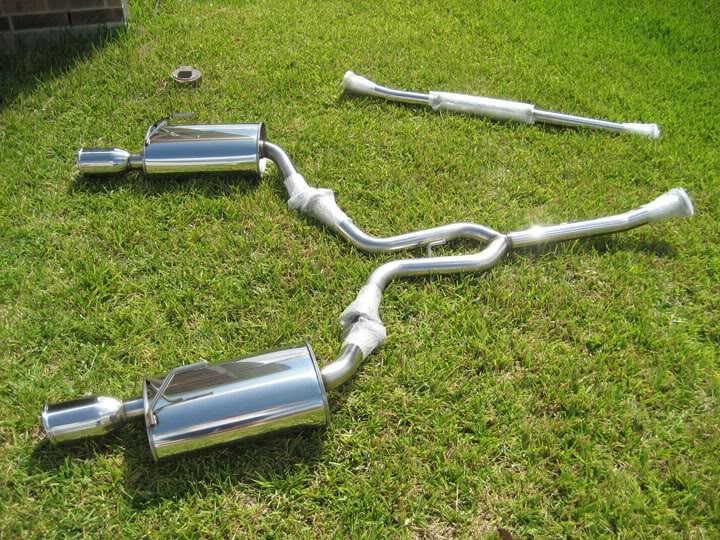
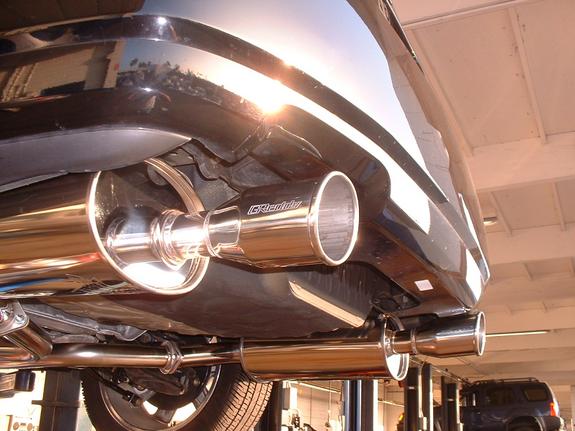
This exhaust is no longer available for sale. This is only for reference and documentation purposes. It cost approx. $900.00-$1,000 when it was available for sale. The part number was 10127021.
GReddy’s SE exhaust systems deliver the full spectrum of features desired in a street performance system. SE exhausts increase flow via tuned piping and larger, free-flowing mufflers for improved power, but provide discreet sound levels that won’t attract the wrong kind of attention. The exhaust note is comfortable and sporty, not loud.
All SE Exhaust are test to be well below the 95dBA standard. The new smaller Spectrum exhaust tip(s) help disguise the system from the rear of the vehicle, but reveal show-quality appearance from the side and underneath. Whether you are cruising down the road or at wide-open throttle down the track, the Spectrum Elite is ready.
This exhaust is no longer available for sale. This is only for reference and documentation purposes. It cost approx. $900.00-$1,000 when it was available for sale.
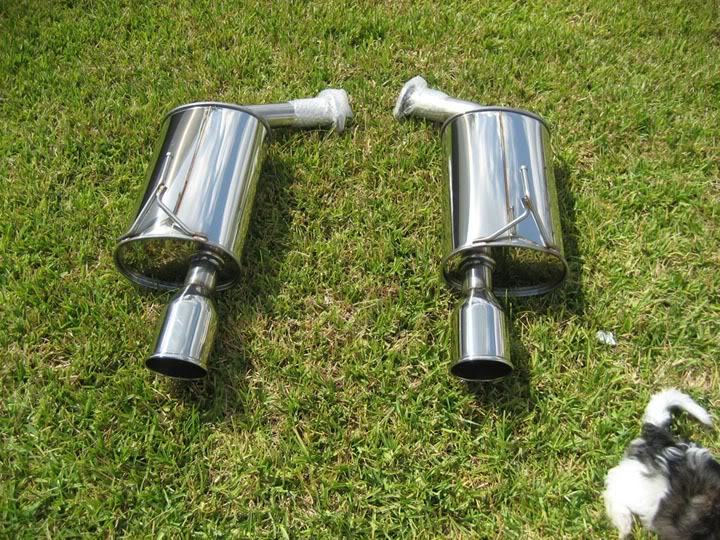
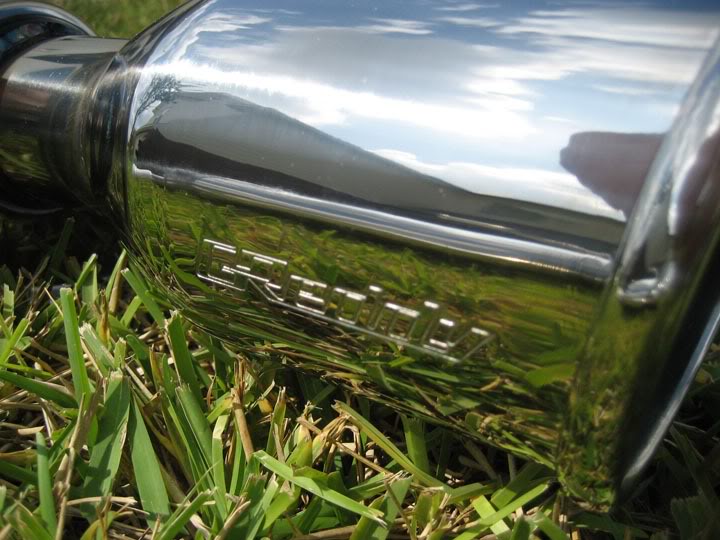
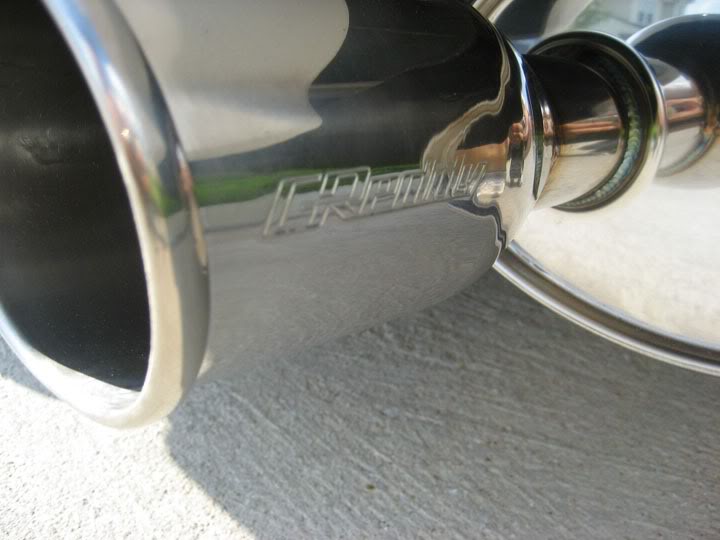
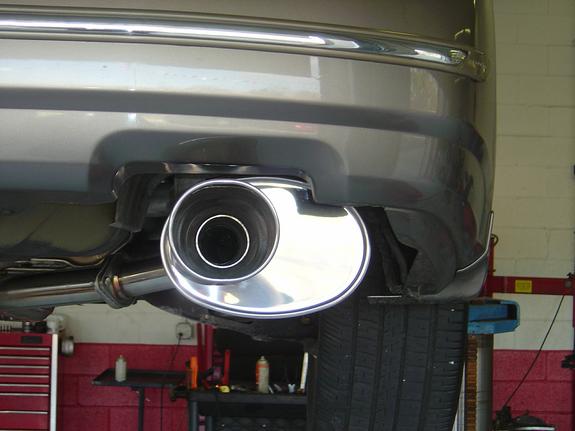
The SP2 features a 304 stainless steel muffler canister with extra strong 430 SS end caps that feature a deep, high polish. Large, high volume mufflers provide maximum flow with a deep, pleasing tone and are especially effective when used on vehicles with aftermarket turbocharger systems. The unique outer curled oval tip (115 x 110mm dia.) is embossed with the famous GReddy logo.
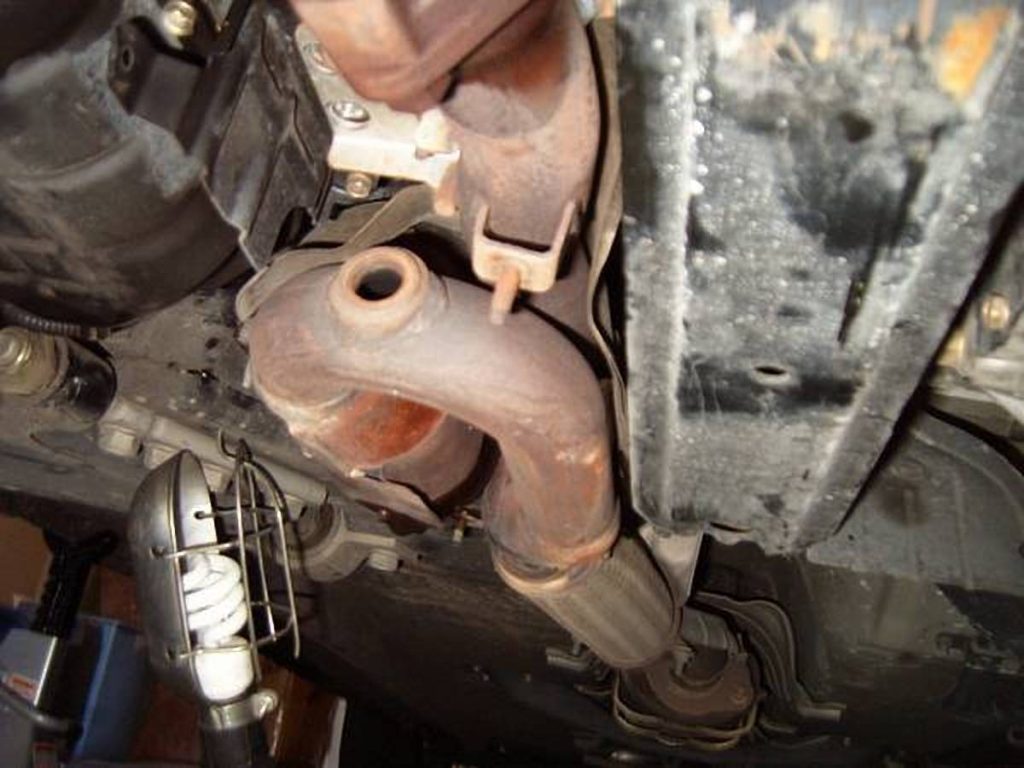
3.Spray penetrating oil on all bolts to be taken out. YOU WILL NEED A PIVOTING ADAPTER FOR YOUR SOCKET WRENCH. Remove 3 bolts on front bank, 3 bolts on rear bank and 2 bolts on cat. 14mm wrench Remove hanger 12mm wrench.
4. When all bolts are removed, take a 2×4 block and hold it to the body of car directly beside stock y-pipe at the rear bank. Take a 2 foot pry bar and put bar on top of stock y-pipe and under 2×4 block. Lift up on pry bar (with a lot of force) and stock y-pipe will pop out.
5.Put crush gaskets on new Y-pipe. Put rear bank up and use 1 bolt to hold rear in place. Front will need some convincing to go in. The flange will rest against the front bank down pipe. Tap (convince) with a hammer until protruding flange pops into down tube.
6. Replace 3 front bolts and 3 rear bolts.
NOTE. There is a shield between the oil pan and the new location of the front O2 sensor. Remove this shield (it won’t be used) and put bolts back in holes.
7. Replace O2 sensors.
See how California emissions have a lot of O2 sensors:
8. Put new cat in place and put gaskets where they should go. Bolt tight. Put new hanger in place.
9. Start car and check for exhaust leaks. If God graces you, as He did me, you’ll have none. Shut off car and remove from jackstands.
10. Pull car outside and start. Let run for about 10 minutes and listen for leaks. (swelling and shrinking of fresh pipes can cause a leak if everything’s not perfect. If you have leaks, fix them.
11. ENJOY!!!
Summary.
The horsepower gains are totally worth it. I don’t butt dyno any mods, but there are noticable gains. The gains are from 2500RPM and up. I think I lost a little power off the line.
I used a Warpspeed Y-pipe and Magnaflow cat. The Warpspeed Y-pipe is only 60% the cost of a Cattman Y-pipe and are exactly the same. I compared it with a Cattman at a local shop.
If you’ve already replaced your muffler (like me) you’re screwed. There are no “bees in a can” sound, but with a Magnaflow performer XL muffler the throaty V-8 sound goes away. I’m embarrassed/humiliated/ashamed to say, but my poor Max sounds like a Civic with a fart can. It’s loud as hell and has that annoying pop to the sound. However it is faster and that’s what I wanted, so I guess I can deal with it for now.
NOTE:The rear bank precat can be replaced with a straight pipe and you’re fine. If you replace the front bank precat with a straight pipe you’ll throw a code. If you “rod out” the catalyst in the front bank precat, you’ll throw a code. The good news, the precats flow at 450 CFM. The high flow cat I put on the car only flows at 700 CFM so unequal backpressure should not be an issue. Most of the backpressure encountered will be at rear cat, and at 700 CFM, I’ll probably have to do a few more mods to push that much exhaust.