Thanks to Kirill, we just ordered a set of “Street” Selector Springs for our 2002 6-Speed Supercharged 5thgen Maxima. Will post a review afterward. The owner Peter will get back to you quickly. This is only for the manual FWD RS6 6-Speed and RS5 5-Speed Transmissions. Also, if you are having issues with reverse just make sure the spring cup on the larger spring is not upside down.
Overview & Purpose from Vision1Racing
From the factory, Nissan utilizes two springs within the transmission to “center” the shifter in the 3/4 gate. These OEM springs are very weak and often cause 3rd gear lockout issues when attempting to quickly shift. This is simply due to the driver overpowering the spring’s ability to line up the shift mechanism in the 3rd gear fork. VisionOneRacing offers two kits to fit the driver’s needs.
Our Street Kit is 200% stiffer than the factory and provides a nice, crisp feel. This is truly how it should have come from the factory. Our Race Kit utilizes a higher grade spring steel and is over 300% stiffer than the factory. This will provide the necessary “kick” to the shifter when slamming them gears down the track.
Both kits have received excellent feedback and have propelled the V1R Sentra into the 9’s, being the first QR to do so. They have also helped send the all-motor Maxima into the 10’s with many other success stories along the way!
It’s also worth noting that I highly recommend aftermarket shifter bushings when using our Race Kit. These can be had from 2J Racing among others.
Price Options: Street Kit $45.00 / Race Kit $60.00
Brand new to the market is our HD Detent Kit for the Nissan RS6F51 transmission! Add confidence and enjoyment to your driving experience with these affordable and easy to install springs. Over 70% stiffer than OEM, the V1R HD Detent Kit provides the driver with the positive feedback desired with every gear change.
We have custom tailored each spring to not only increase the performance of your transmission, but also to combat the sloppy reverse feel that is far too common. This kit is suitable for any vehicle – from the daily driver to weekend warrior. Be sure to couple these with Vision One Racing Shift Selector Springs for the ultimate transmission experience!
The Diamond Claw® Crank Lock utilizes precisely sized CBN particles with a hardness of 10,000 Vickers that effectively LOCK your flywheel and harmonic damper in place. With a thickness of only .008″ – Driveline alignment remains unaffected.
Previously only available for the most common platforms – including the Nissan GTR, Vision One Racing remains focused on bringing these solutions to the entire Nissan family. Protect your most expensive and crucial components with this small yet powerful addition! At an affordable cost, the Diamond Claw will be reusable for virtually the entire life of your engine.
When modifying engines and pushing them beyond their designed capabilities, harmonic vibrations are your worst enemy. Long strokes, balance shaft removal, increased RPM, single mass flywheels, turbocharged applications, and even higher compression all are capable of contributing to increased harmonics. These micro-vibrations often times cause surface welding (also known as “fretting”) on the crankshaft, flywheel and other expensive components.
The V1R Diamond Lock® helps to prevent flywheel bolts from backing out with increased RPM and power output. In the event that the flywheel does become loose and begin to vibrate against the crank, the Diamond Claw® can help protect the crankshaft and prevent further damage.
We’ve seen firsthand the detrimental effects that fretting can pose – sometimes even destroying a crankshaft beyond use. While mitigation techniques have been around for ages, nothing has proven to fully prevent this anomaly… UNTIL NOW!
Nabco is a Nissan OEM part manufacturer. Most dealers have this rebranded as Nissan but it’s the same original part number. We purchased these for our 6-Speed Maxima and match exactly the OEM part within the car. This will save you a bunch of $$$$$$$$$$$. For all clutch master, clutch slave, and 1-piece SS line, it comes out to less than $130 shipped.
If you replaced your clutch fluid and it still looks like the photo below then you most likely need to get a new Master Cylinder. Might as well replace both while you are it.
These parts work for the following manual transmission vehicles:
2002-2003 5thgen Nissan Maxima
2004-2006 6thgen Nissan Maxima
2002-2006 Nissan Altima
2002-2006 Nissan Sentra
Master Clutch Cylinder
Nissan OEM Part #: 30610-3Y010
Nabco Part #: 555 38027 330
Nissan Branded Price: Approx. $90.00
Nabco Branded Price: Approx. $43.00
Slave Clutch Cylinder
Nissan OEM Part #: 30620-AU400
Nabco Part #: 556 38001 330
Nissan Branded Price: Approx. $80.00-90.00
Nabco Branded Price: Approx. $26.00
1-Piece Stainless Steel Clutch Line (Highly Recommended)
This is a complete kit from the slave cylinder to the master cylinder. This line will replace your factory metal & rubber lines with a stainless braided line. All clutch lines are single lines made of stainless steel braided hose with a protective PVC covering.
Bolts, washers & fittings are included if required (Shown in picture). All you do is remove the factory OEM line and replace it with our clutch line kit.
Description: Master to Slave Cylinder Complete Clutch Line Kit for 2002-2006 Nissan Maxima
On the firewall, there should be a VIN plate, with the engine and transmission codes. If the transmission code ends with a “V” you have the LSD version. “A” is non-LSD.
This fixed the infamous gear slamming issue after upgrading to the upgrade Level 10 valve body.
Reference Info:
The Nissan Maxima-Quest has become well known as a fine automobile. Unfortunately, the transmission continues to be a problem.
Even when overhauled, the same factory parts are installed resulting in the same problems. LEVEL 10 has developed a series of valve body components and modifications that will correct the hard shifts, gear slams, erratic shift points, and transmission failures. The best part of our modifications is there is no need for a complete transmission overhaul saving thousands of dollars.
I took my time and saved a bunch of cash for a host goodies. Best ball park guess (includes shipping) $3500…
This included a lot of new stuff:
Just about the only thing that were used are the shift and control rods, the clutch and brake pedals, and a couple of the hard clutch lines. With the rods and pedals, I took them to my grinder and removed all the rust and them repainted them with rust proof stuff.
Parts List:
Lsd Manual Tranny- 320B0-40U77
Clutch Slave Cylinder- Cant Find Invoice
Clutch Master Cylinder- Cant Find Invoice
Manual Tranny Motor Mount- 11220-40U12
5th Gen Clutch Disk- 30100-2Y904
5th Gen Clutch Cover- 30210-89F00
Manual Flywheel Bolts- 12315-77A00
Clutch Cover Bolts- 30223-07S00
Shift Support Rod Bolt- 08121-0252F
Clutch Cover Bolt Washers- 30240-07S00
Slave Cylinder Bolts- 08121-02528
Manual Motor Mount Bolts- 01125-03291
Breather Tube for Manual Tranny- Cant Find Invoice
Shift Rod Support Bushing- 34560-70N00
Transaxle Hole Cover Plate Bolt- 74965-0E510
Return Spring- 34573-40U00
Manual Shifter Trim (Wood W/ Black Boot)-96935-40U10
Ae Shift Knob- 32865-4Y910
Ae Pedal Covers (Clutch and Brake Are the Same)- 46431-AB000
First, I removed the seat (only 4 bolts and a couple of connectors), the steering wheel trim, lower dash panel and the metal bracket behind it, the trim around the gauge cluster and pulled the cluster out (but left it connected), and the 4 nuts that support the steering wheel up. I used a jsck stand to support the wheel so that way it would not be just hanging there bottoming out and possibly causing some damge.
Now with all this stuff out of the way I now had enough room to remove the auto brake pedal/bracket. In order to do this I also had to remove the left steering wheel support bracket which is held in place by 3 nuts, and 2 of them require access through the cluster area which is why I removed it. With that out of the way, the brake pedal was only 4 nuts and a couple of connectors (but the 4 nuts can be a b!tch to get at).
I now had enough room to drill through the fire wall for the clutch master cylinder. I bought a right angle adapter for $35 from home depot (drilling in this tight of an area would have been IMPOSSIBLE with out it and I dont know how the other guys could have done it).
I also bought a STEP bit for $10 from home depot (I dont know why the hal write up called it a ‘tree’ bit). If you are thinking about just using a 3/8 bit (the size of the two holes for the studs that come from the clutch pedal bracket through the fire wall), forget it!! I tried to do this but the bit is too long, even with the right angle adapter. You need the step bit which gets progressively bigger as you go down the bit.
For the hole for the mater cylinder I used a 1-1/2 hole saw bit (once again, I dont know why the hal called a cylinder bit). This is the exact size for the master cylinder.
With all this, I drilled my holes (sorry I for got to take pics), and mounted the cluch pedal and the master cylinder. I know the master looks off center, but the holes lined up perfectly from the inside and the pedal bracket mounted up to the other factory bolt holes (that were previously unused) perfectly as well. This makes me think that the insulation in the engine bay is what is off (for some reason or another). It is moot point regardless.
Finally, I put the brake pedal in a long with the left steering wheel support bracket (I dont know why the hal threw his away, with out it your steering wheel is only half way supported), and put everything back together. The clutch pedal is NOT attached to the master cylinder in these pics (I have a new one on order), and this is why the clutch pedal sticks out more than it should.
Fidanza flywheel, 5th gen clutch, clutch master cylinder, clutch slave cylinder, ss clutch line from the GD, Raxles axles, AE clutch/brake/gas pedals, B&M short throw shifter, AE shift knob, shift support rod mount, manual tranny mount, plate bolt with transaxle hole cover, shift console trim piece with boot, a lot of misc. bolts and nuts, and of course a brand new LSD 5spd tranny.
Here is all the auto junk I ripped outta there. This includes all the little bullsh!t cables and brackets. I even removed the key interlock cable completely instead of just taping it into position like Hal did in his write up.
This was the only connector I ended up having to cut. It is the connector that went to the auto shift lever. I couldnt get it undone because the prvious owner had spilt soda down in there and it solidified the connector into one sh!t mess. I had to cut it.
While I was in there, I decided to replace the rear main… As you can see I had the slightest seep.
I rvt’d the hell outta the thing so it should not be a problem for a really long time…
Here is the signal plate on the auto drive plate. As you can see, the signal plate is not even shaped right to work with a manual flywheel. Not to mention it is riveted on. This delayed my project as I had to buy a used flywheel, so I could get the signal plate off of it for my Fidanza.
Here is the Fidanza with the signal plate on it.
Gotta love how there is already a factory hole… Only if Nissan would have done this for the firewall.
Here are the shift rods… Sorry this was the best pic I could get, because there is not a lot of room under the car.
Here is the car with everything ripped out.
Here are pics of the pedal install. I did this back in May while I collected more parts. I just continued to drive around auto with manual pedals.
Here is the tranny adaptor for my 3 ton jack. This thing is great. It gives plenty of room to rest the tranny on and it has slots so you can strap it down. It also can pivot and turn so you can mount the tranny with ease… Best $40 Ive spent.
Here is the Fidanza flywheel mounted.
Here is the 5th gen clutch.
Here are the Raxles axles. These things are top notch… The best looking axles I have ever seen. There even filled with amsoil grease.
Here is the B&M STS topped of with an AE shift knob. The look is proper… The way the shifter should have come from the fatory, instead of the ugly @ss flagpole.
Here is a shot of the ss clutch line.
WOW… Look at all the extra room now that the auto is gone.
About 6 months ago I received the death code P1778 (stepper motor) in my 2008 Altima. I searched far and wide, low and high, only to be told 2 things… you need a new transmission, or you need a new valve body. Since I didn’t have $2500 for a new trans, let alone $800 for the valve body I decided to look into this a little further. watched a YouTube video the only one I could find was a Nissan armada, but thought what the hell. I drained the fluid, dropped the pan, yanked out the valve body, and found that little bastard that gave me such trouble.
Now with part in hand I went to my local parts store, and told we don’t sell that part, its not even in our system… went to the dealership, told the same thing and was told I needed to buy a new transmission as they are not “serviceable” funny but I had the part in hand, how can it be not serviceable?
Lastly I took a gamble, I went to eBay, ordered a stepper motor. 20k miles later, still no code, no whine, and no lock up.
Part Number: 203452A Description: JF011E RE0F10E F1CJA Transmission CVT Stepper Motor For SENTRAN Nissan Dodge Refurbished Price: $30-$40
Here is how I saved thousands and bought a $35 part.
Drain fluid.
Drop pan (clean with brake cleaner)
Remove the 3 bolts holding filter. (clean with brake cleaner while your at it)
Remove the valve body about 11 bolts
Remove the stepper motor from the top of the valve body (the side you can’t see with the pan off) 2 bolts
Take a piece of dental floss about a foot long and hold the spring loaded arm back against the stepper motor and return the valve body back to the transmission.
After you have a few bolts in place remove the floss before you tighten all the way.
Reconnect trans filter and bolt back into place.
Rejoin the fluid pan to the transmission and replace with quality CVT fluid. Amsoil makes a great product.
I hope this helps and if you have questions please feel free to ask.
Video How-to (Many thanks to Budget Drift for this)
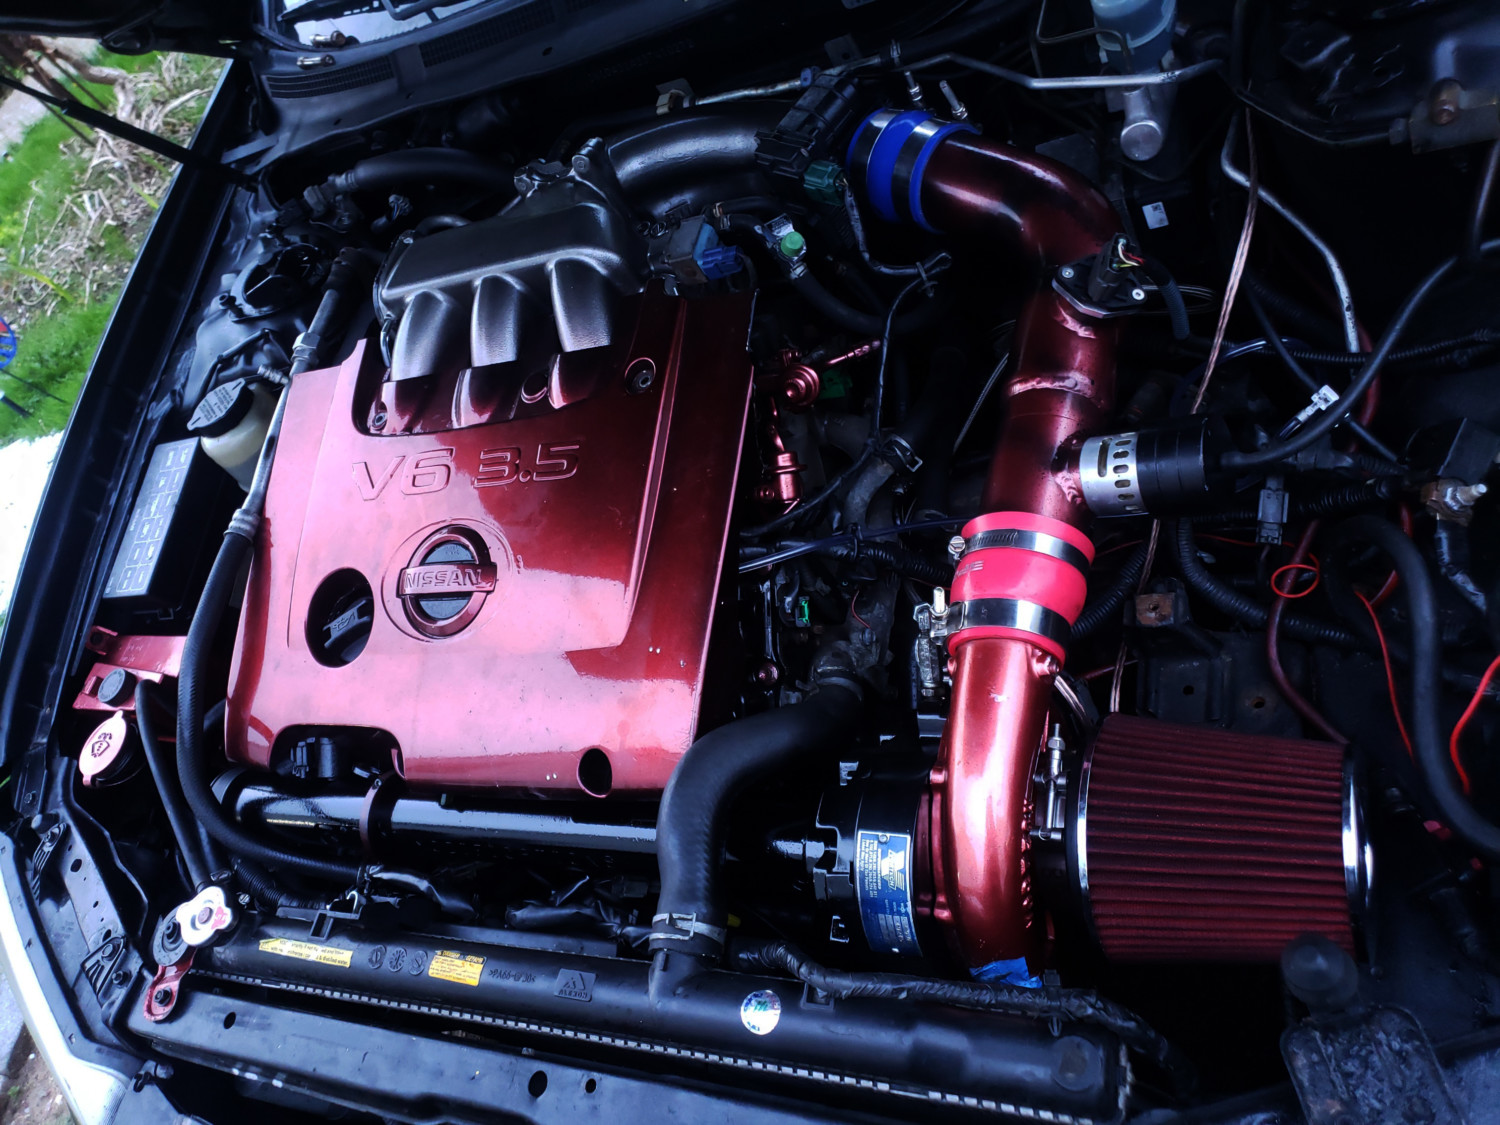
This is just for reference and comparison. The RIPP Supercharged Kit usually comes with the V-5 G Supercharger. Most upgrade to the V-2 Si Supercharger Trim. You will need to ensure the impeller is also in the right rotation for your setup.


")


 OEM Replacement | SAVE $$$$$")


")