PDF Version: V2REL


![]()


")

Credit: tooslow_4_u
Thanks Taz, for the nice surprise!
This will be a basic DIY install instructions. there was one spot I messed up on, but Taz told me what to do after I already made my own adjustment. Oh well, didn’t hurt the kit at all. I’ll point out what I did later in this.
Firstly, I got this nice box sent to me today

Took everything out of the packaging, and a smile came to my face when I saw it was the new Traction Rods for the 4th gens.

I did a quick assembly to determine how everything went together. In this pic, it’s not all assembled correctly, but with Taz’s help via emails, and a link he sent to the 3rd gen installation instructions, I got it put together correctly. (BTW, this isn’t the mistake I was referring to)

First, you get the car up off the ground. If you have a ramp, or a lift that will keep a load on the front tires, this will be ideal. I didn’t have access to either, so I used a regular floor jack, took the wheels off to get better access, left the locking nut on the rods loose until I put the car back on the ground.
Start by loosening the four bolts on the sub frame bracket. You will completely remove the two closest to you if you (closest to the outside of the car)

This is where I messed up!
I noticed the bolt couldn’t slide all the way through without hitting the brace. So I used a grinder and gut out the small notch in the brace so the bolt would fit. Turns out, if you assemble the entire TR Brace to the rod, you can put it all on as a whole unit, and not have to do what I did. You will slide the bracket under the subframe brace. Once in, reinstall the two bolts, but don’t fully tighten them down until you have the entire unit together as one piece.


Now, to work on the front end by the control arm.
Install the hardware in this order.
Bolt, washer, special washer, heim joint, special washer, aluminum adapter. Then install through the bottom of the control arm, then washer, and two nuts!

Topview before bolt is pushed all the way through.


Notch I made


Now, since I still have a bad axle, I haven’t been able to really get on this thing. My new axle should be here wednesday. But just the little bit of acceleration and cornering I’ve taken so far, it’s like night and day from normal. You can literally feel the wheels staying put to the pavement.
So far, on a scale of 1-10 on this mod, I’m giving it an 8. It’s not higher just because i can’t put full pressure on them yet. But by next week, that will be a different story!!!
It reduces the TQ Steer a lot. It isn’t completely gone, but if you were to put it on a scale, and normal torque steer was 10, with these rods, the TS would now be about a 2. Very minimal.
Update:
Taz made a revision on the kit to upgrade the bushings. I was having some issues with the bolt on the control arm would loosen up. I will have them installed tonight and new pics updated as well.
Taz has made the adjustment, and removed the aluminum adapter that goes on the Control arm, and now uses some thicker bushings. I reinstalled it, and I no longer have the issue with the nut coming loose. Also, make sure you follow the instructions on how to adjust the tension correctly and don’t over tighten the bars. Once everything is installed, keep the bar slacked. once the car is on the ground completely, turn the bar by hand until it gets snug. Once you get that hand tight, turn it maybe another half turn, and then tighten the locking nuts at each end.


![]()
")
")
Introducing new Racingline Traction Rods for the 04-08 Nissan Maxima
Price: $133.99
Part Number: TR-A34
Description:
Traction Rods are used to absorb unwanted deflection in the OEM control arm. Largely do to the OEM’s rubber bushings, under hard acceleration the control arms natural motion of up and down can be compromised by the forces created as the axles try to turn the front wheels. This deflection is then translated in to things like wheel hop and under some circumstances, torque steer.
Traction Rods help to ensure the correct suspension geometry under acceleration and stop the “toe-in/toe-out” condition created when the car is under load. This assists in power transmission to the ground and therefore faster acceleration in straight lines and coming out of corners in both wet and dry conditions. Some additional toe adjustment for front alignment may also be obtained.
Easily mounts to the car in less than one hour. Almost no ground clearance is lost during the installation of these Traction Rods. As measured on a vehicle lowered 2″, the lowest point of the kit is 1/4″ higher than the subframe and directly in line with the wheels center line so there is no risk of scraping the rod on a speed bump.
Perfect for any car that sees track duty, whether it be drag or autoX, the difference in feel and power transmission is felt immediately!


PDF Version: T31_install


![]()


Credit: Steve Garrard
Notes:


![]()

Member Credit: Joshua Wright
Here I will outline everything you will need to purchase to successfully install the Akebono brakes/calipers on our 7thgen Maxima.
Obviously, you will need to get you a set of Akebono calipers. You can get any of them from the following vehicles since they are all interchangeable:
You can find these on eBay used or new from anywhere between $600-$825 including shipping. You can also get them brand new starting around the $950 range on eBay. You can also check forums and Facebook groups.
They are also available on Z1 Motorsports and a couple other websites new, and you can even purchase everything needed for this setup all in one spot. They currently go for $1,598.00 as of December 2017.

*NOTE*
When purchasing them new, the red or grey Akebono (Nissan branded) will cost more than the silver (Infiniti branded) set. It is an extra $250, when purchasing new. They are the exact same calipers except for the color and which company is actually on the calipers. If you are painting or powder coating them, this really makes no difference, and you might as well get the “cheaper” option since it will be covered up.
You will need to upgrade to a larger rotor. You will now need to get 14″ size rotors for these calipers. I would recommend Stoptech, EBC, or another reputable brand like that going with this upgrade. You can also go with the OEM blanks and pads for this setup as well. The stopping power will still be greatly noticeable from our stock setups and they will last just as well. You don’t want to cheap out on something so important to the safety of you and your passengers.

You will need to get brake pads for your new brake setup. Many here go with and recommend Hawk pads for their setup and I have used them and liked them as well.

*NOTE*
For both the brake pads and rotors, make sure that you are ordering them for a 370z/G37S and NOT the Maxima OEM specs! They will no longer fit for you!
(Optional but recommended)
The Goodrich SS lines for the MAXIMA. Most opt to get the upgraded brake lines since they are upgrading everything else brake related.

*NOTE*
The banjo bolts needed for this setup, that come with this kit, will be too long, and you will have to order the short banjo bolts. You can get these from Z1 Motorsports.
If you go with the SS lines for a 370z for instance, the banjo bolts will be the right size, but the lines will be too long and you will have to tuck them or zip tie them out of the way some.
On the Z1 website, you cannot purchase them directly on there unless you are buying the full setup from them, and you select the “Short Banjo Bolt” option.
However, you can email/call them and ask for 4 SHORT BANJO BOLTS and they will email you an invoice and pay through PayPal. They run $6/ea x 4 = $24 + $7.95 shipping = $31.95 shipped
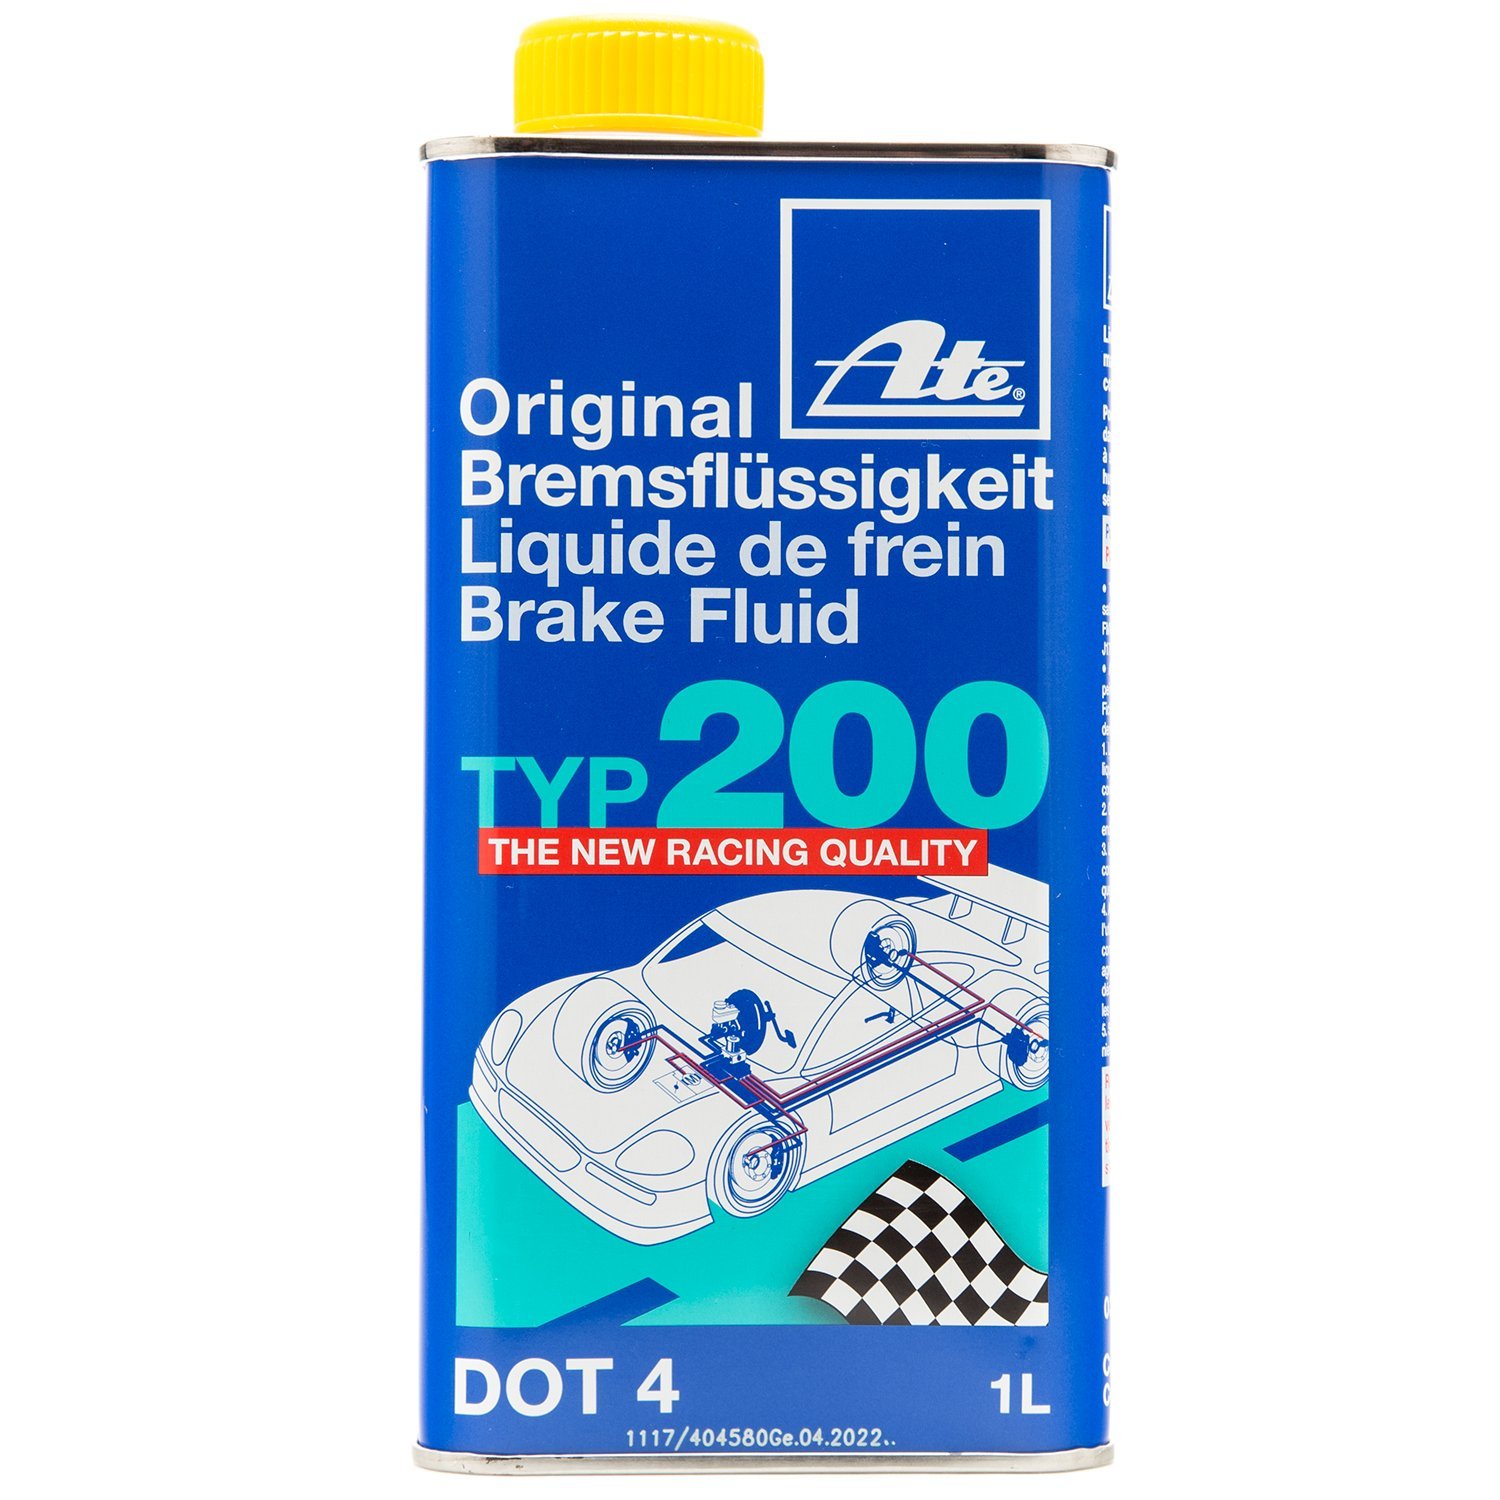
You will need to get some brake fluid for your car.
You will have to bleed your brake lines when changing them, so you will have to put more into the car once you get everything back together.
I went with this brake fluid for my setup:
Everything is a direct swap/bolt on to our cars. The only thing that is needed, is to either remove the dust shield, or trim the edge of it so that they can fit.
*NOTE*
If you are purchasing used calipers, it might be a good idea to buy a rebuild kit and change out the seals and clamps on them to make sure everything is new for you.
If you are going to get them powder coated, you will have to remove everything from them anyways, so you might as well replace them with new parts while you are at it.
You can also get the rebuild kits on Z1 Motorsports as well:
https://www.z1motorsports.com/g37_370z/product_info.php?products_id=6891


![]()

Credit: 99BlackMaxMS
Well I finally got around to installing my new suspension…used Intrax Springs with new KYB AGX struts. New front mounts and dust boots were also installed. The car rides stiffer compared to stock, however its not as harsh as I expected. I have the AGX set to 2/4. Enough talk, here are the pics…


![]()

Credit: Isaac Desk
Setup:


![]()


![]()

Credit: Cole Leming
Tools needed:
![]()


