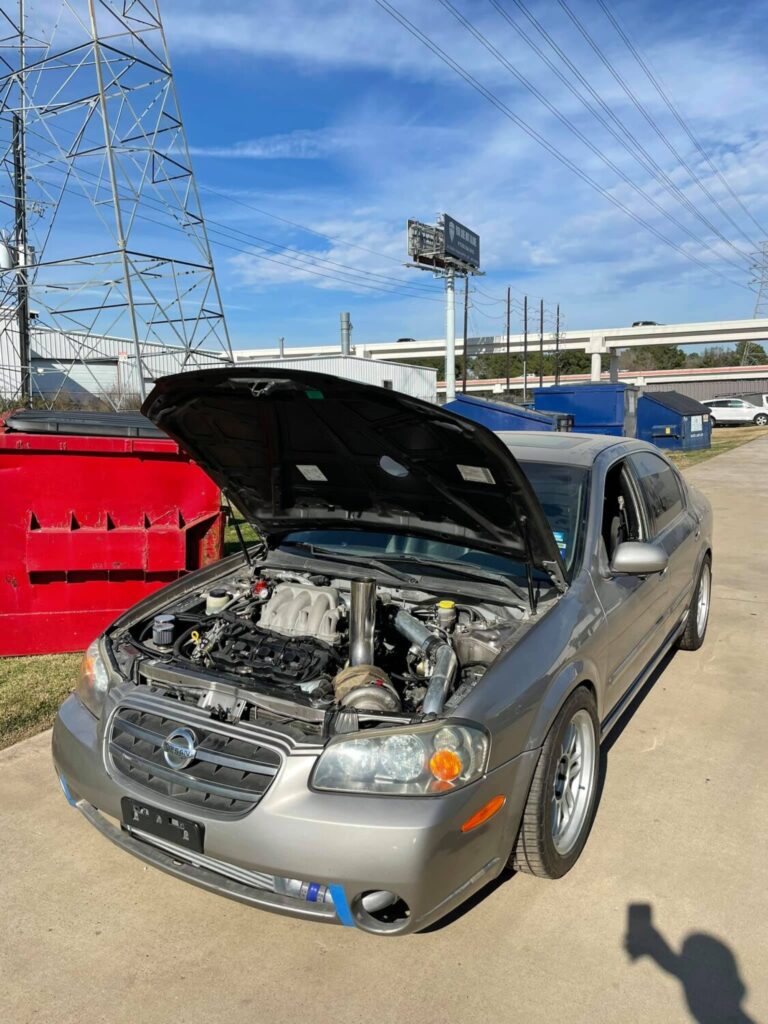
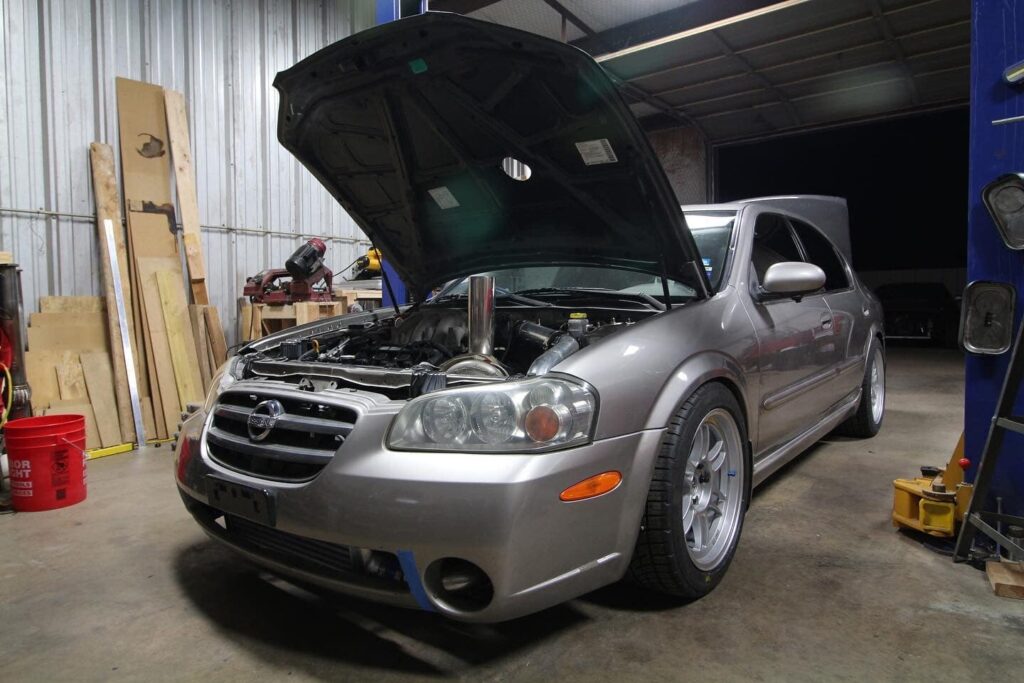
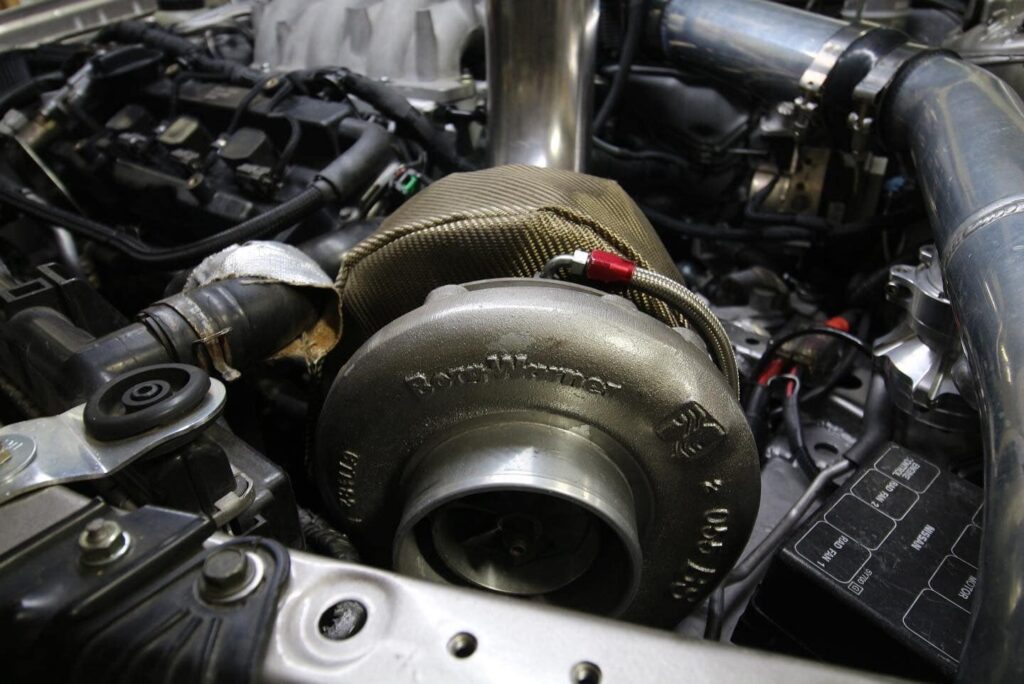
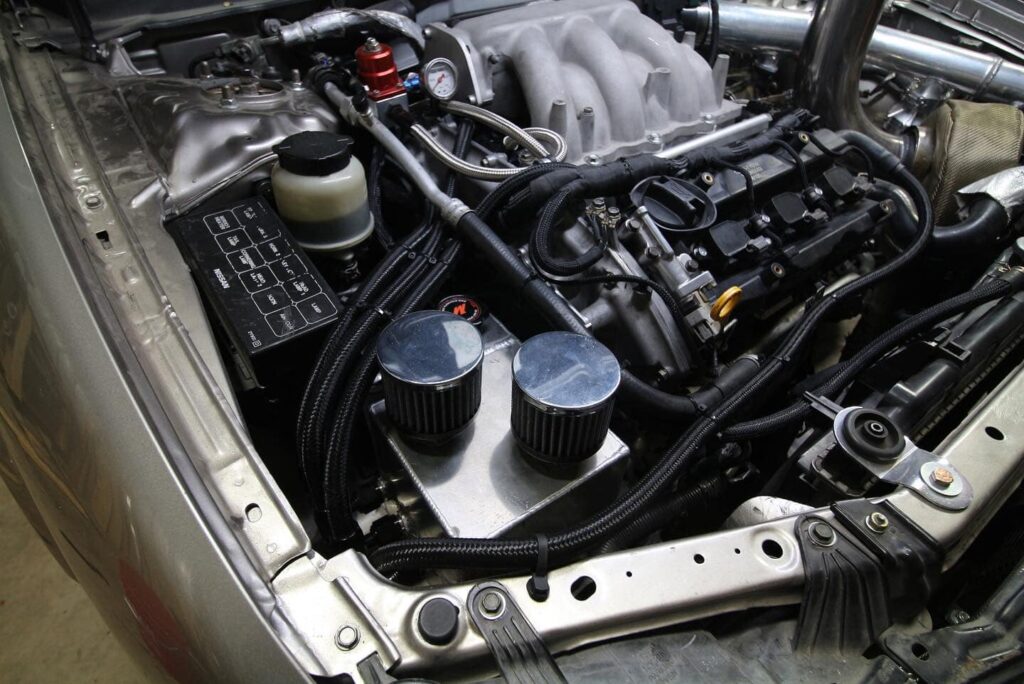
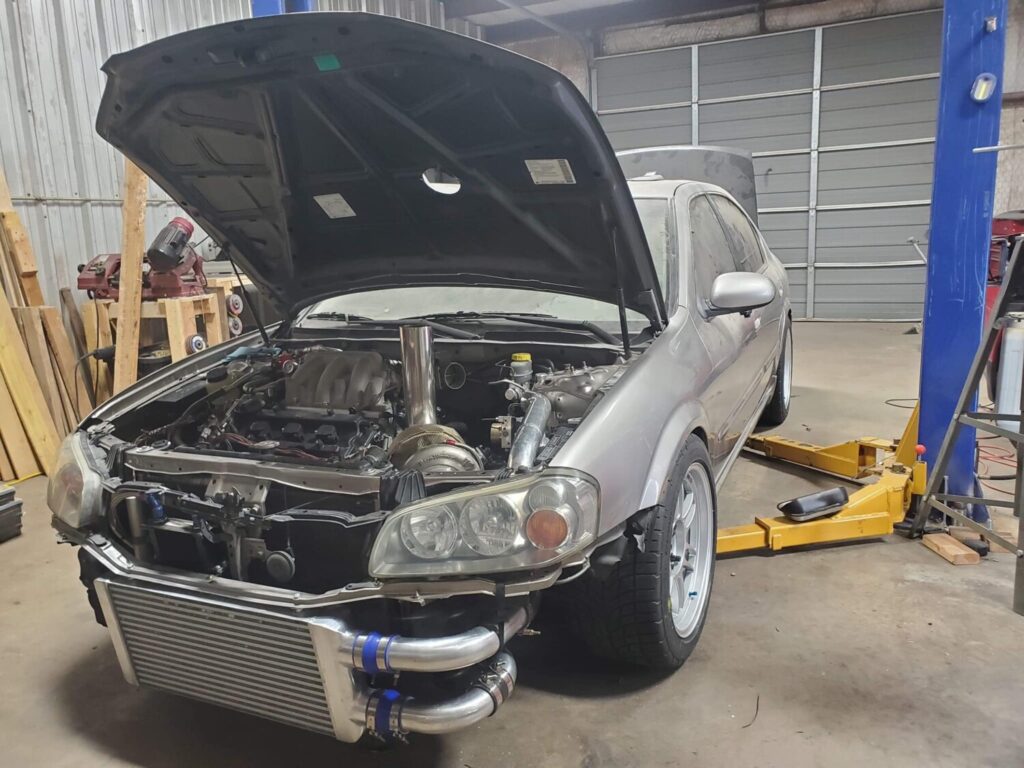
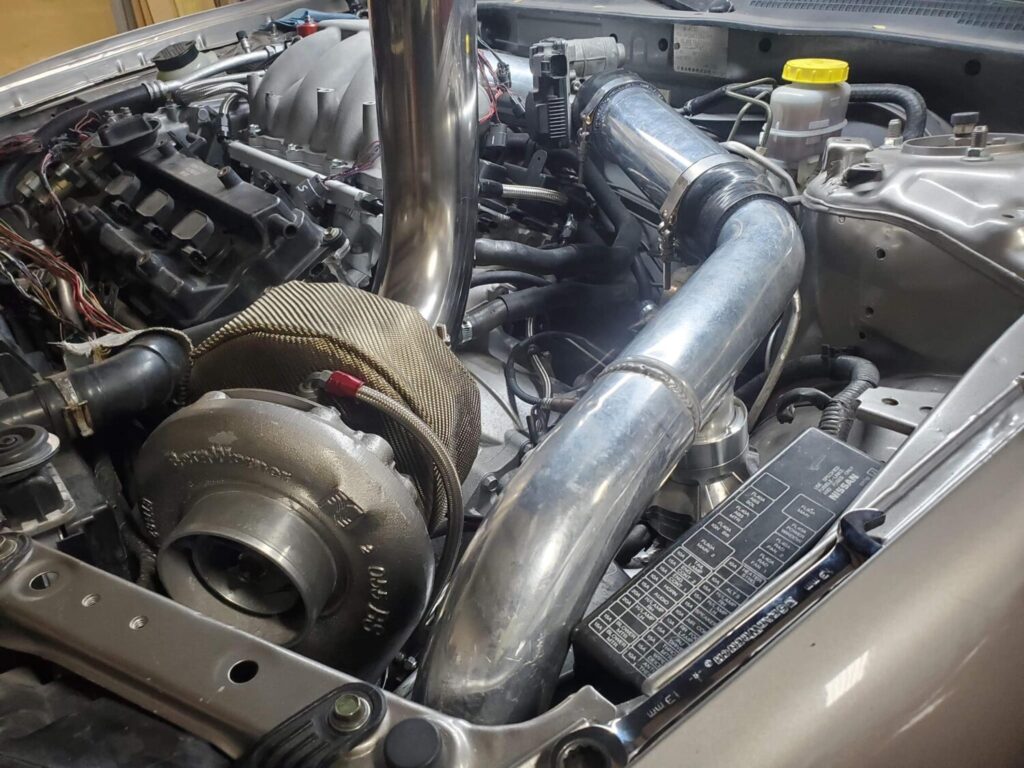
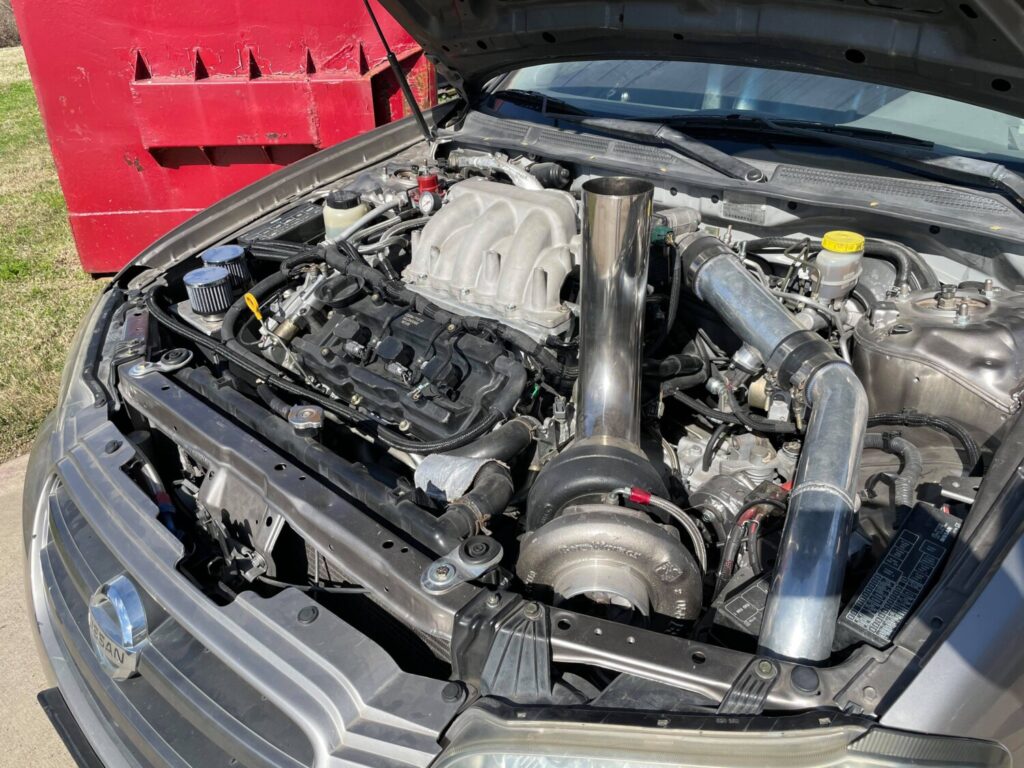
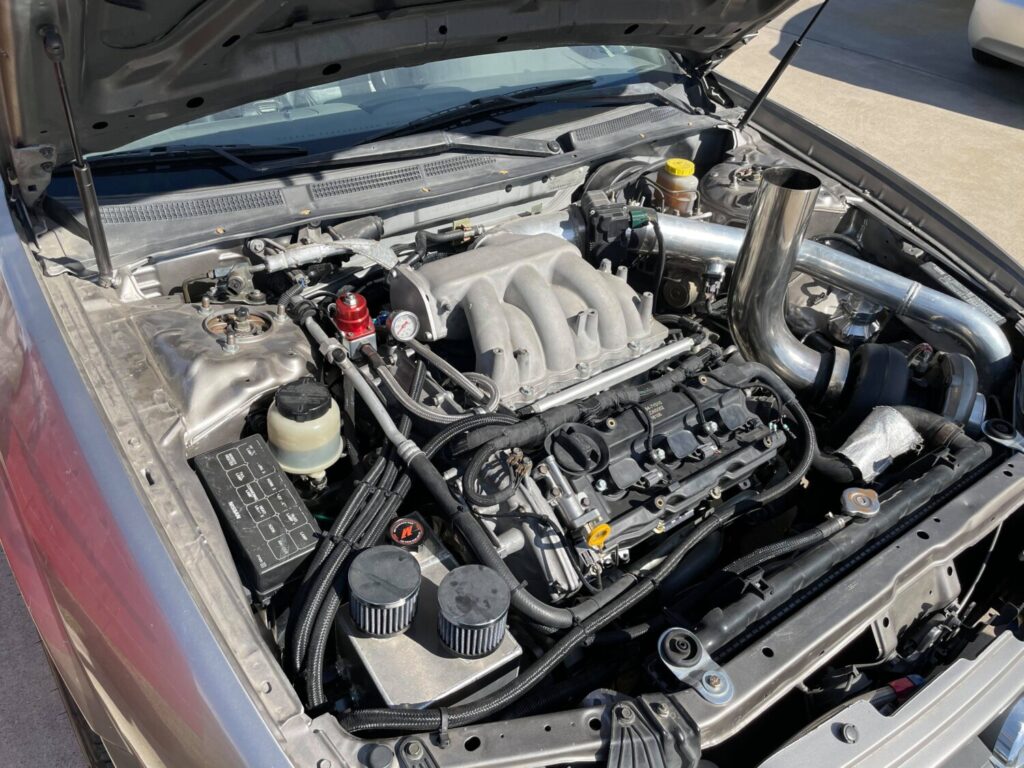
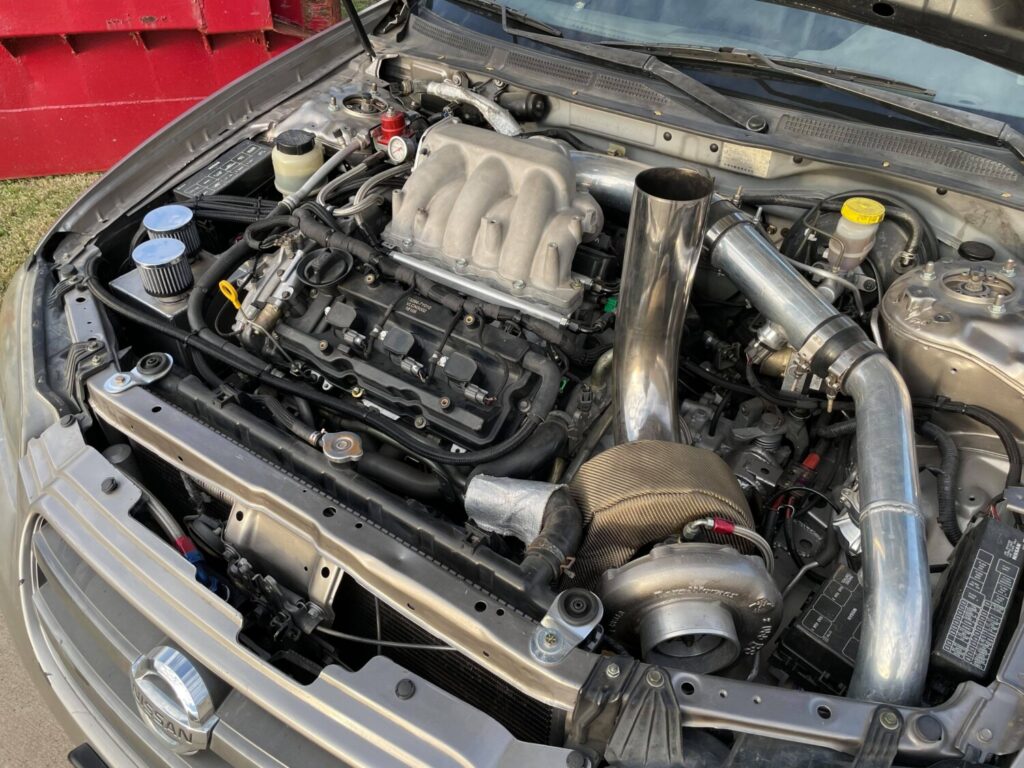
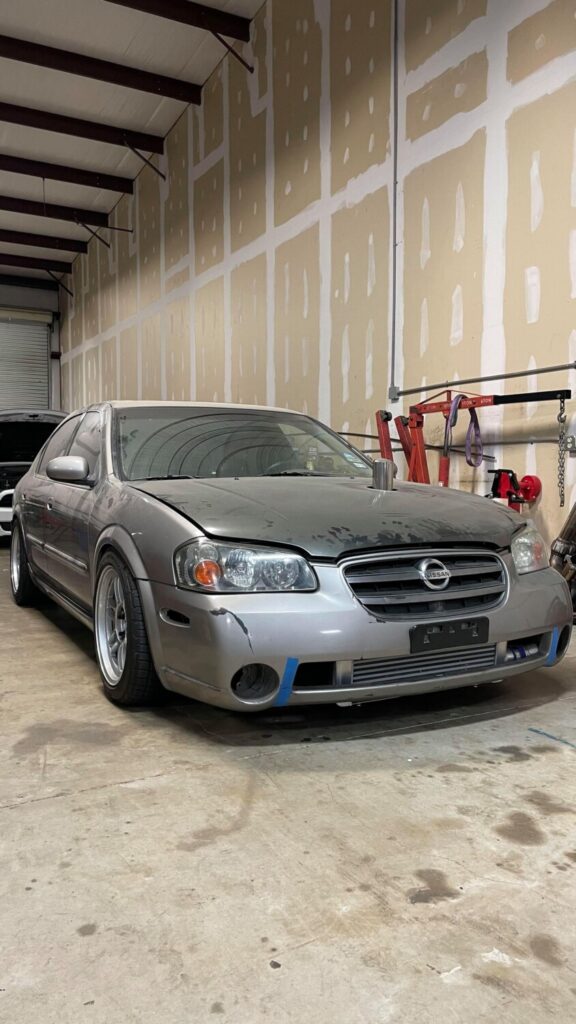
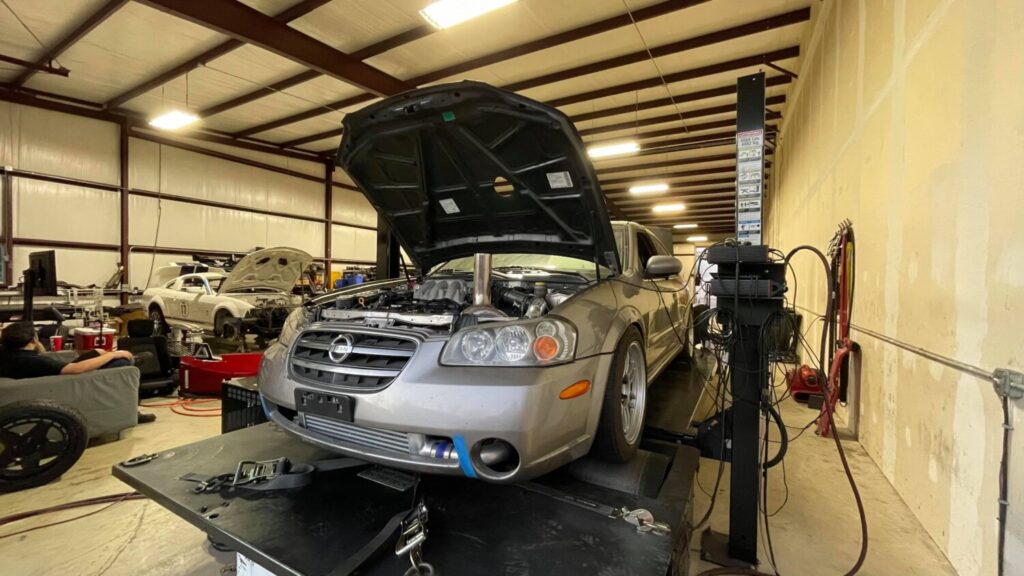
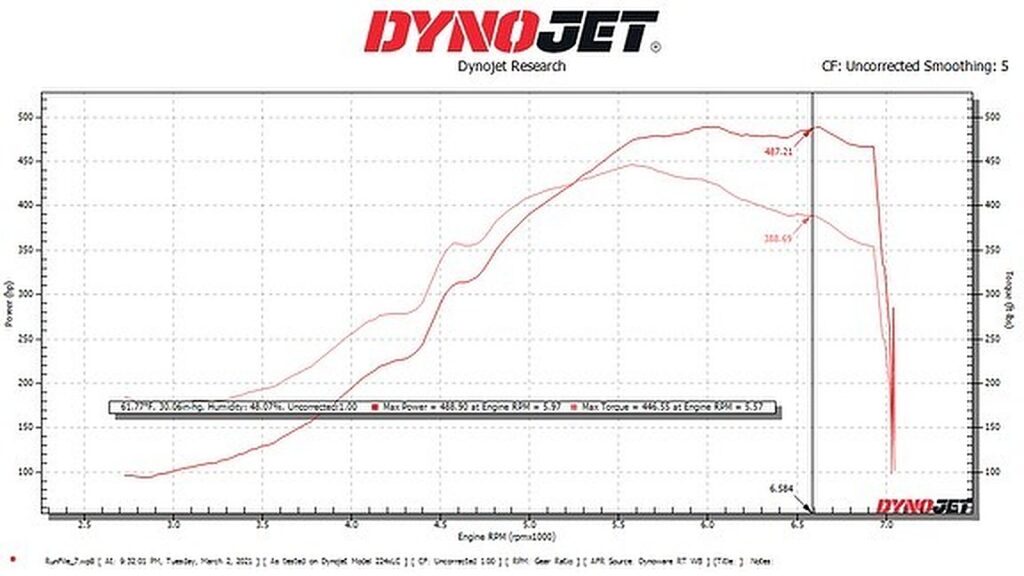
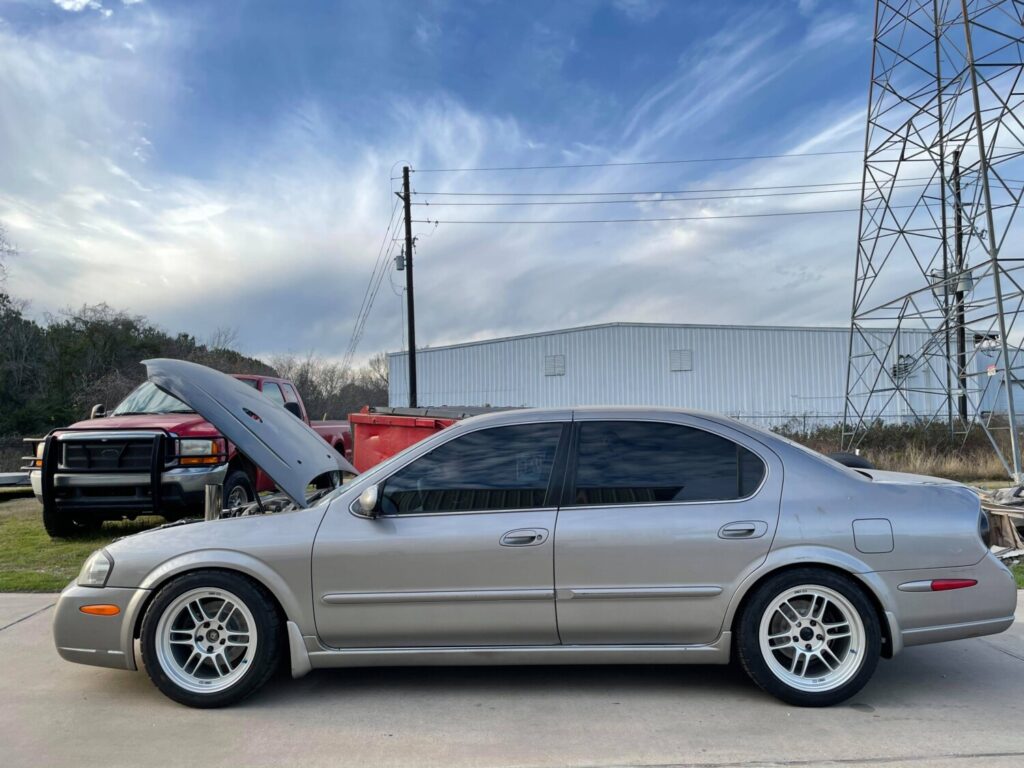
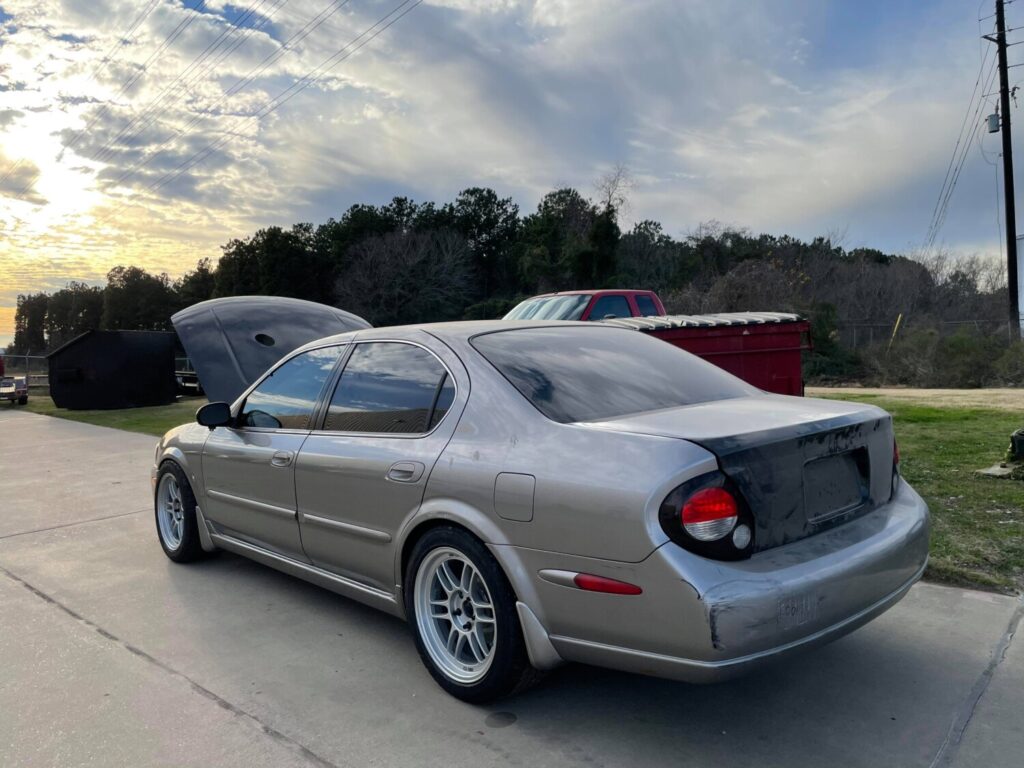
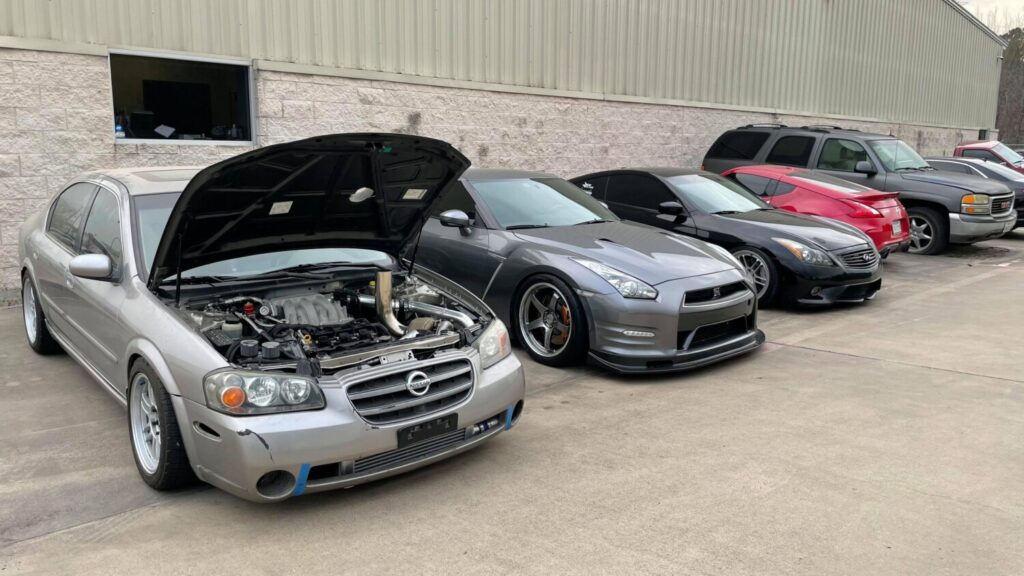
Not sure if this has been visited before but my Son recently brought it to my attention when we were discussing running a 200 shot of spray. He suggested that I use his nitrous test kit to ensure the fuel pressure remained constant when running a 200 fuel jet. So after a few minutes I soon found out that my 190 Walbro dropped to 30 psi, not good. He then mentioned that a lot pf VW and DSM guys rewired their fuel pump with a higher gauge wire to maintain a higher voltage. I measured the voltage at the pump with the engine running and found it to be just over 12v. I then ran a heavy gauge wire from the battery and conected it to the pump wire at the pump, the voltage went up to almost 14 and the fuel pressure went up by almost 10 psi.
So it was off to the store to buy some heavier wire. I decided on 10 gauge rather than something heavier because of the difficulty soldering heavier wire as well as routing. The stock wire at the pump is 14 gauge but if you strip the wire back a couple of feet you will find it increases to 12 gauge.
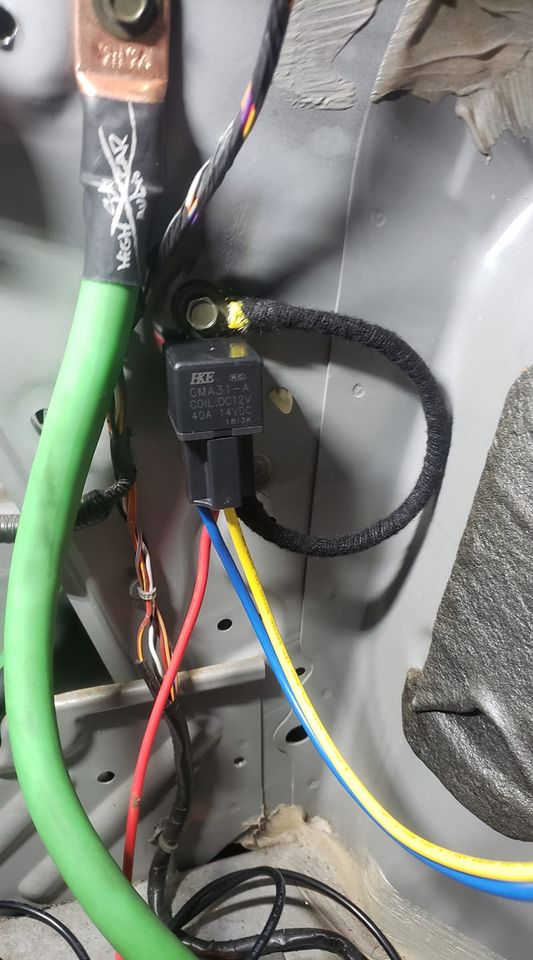
The easiest way is to run the heavier gauge wire directly from the battery with a fuse and use a relay to connect to the pump. Use the original pump supply wire to fire the relay and use the larger wire on the N.O contacts to run the pump.
Auto Performance has a couple of charts comparing 12v vs 13.8v and their corresponding flow rates and current draw.. Pretty impressive comparison. eg For my pump at 50 psi the flow rate increases from 36 to 46 gal/hr while the current draw remains the same.
I would suggest an adjustable FPR to compensate for the increased pressure.
A 255 pump was installed because even with the increased voltage the 190 pump would not handle a 200 shot. After installing the new pump my pressure increased to over 80 psi and took a lot of adjustment to bring it back into the 50 psi range.
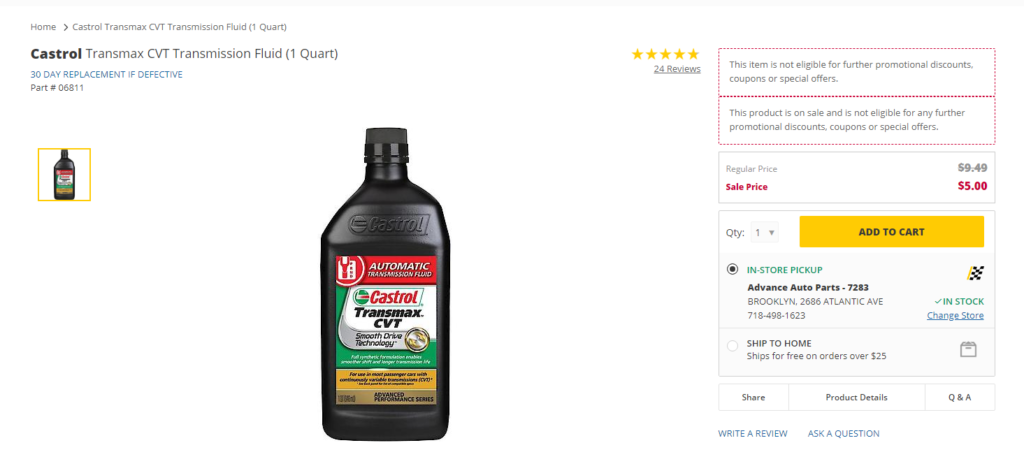
I was up for a CVT fluid drain and refill on my 2009 Nissan Maxima. The car has 200K miles on the original CVT (yeap original CVT). Upon checking the fluid, it was really dark and needed to be replaced. Typically, I use Nissan OEM CVT Fluid. The non-OEM fluid is usually not recommended given the sensitivity around the CVT transmissions. But given my car is way out of warranty and I might need a CVT replacement anyway, figured I’d give the Castrol Transmax CVT a try.
Castrol Transmax CVT has good reviews and hasn’t seen any reports of damaged transmissions. Also, most of the people who have had transmission issues used Nissan OEM Fluid (so not so much of a fluid issue). Not to mention that the Castrol fluid was on sale for only $5 bucks a quart and available locally.
Update 11/19/2019: After driving approx. 20K miles, the car is still driving smoothly and perfectly. The car has 212,806 miles on the original CVT.
Update 2/15/2020: 215,522 miles and still running smoothly.
Update 4/3/2021: 222,893 miles and still running smoothly (not many miles as we have a newer family car)
Important Note:If your vehicle is still under Nissan’s warranty, and you don’t want any hassles should you have a transmission issue, don’t use this product. Not because it’s not a good product, but because it is RED just like regular transmission fluid. You’ll have a heck of a time proving that you actually used an OEM Nissan fluid.
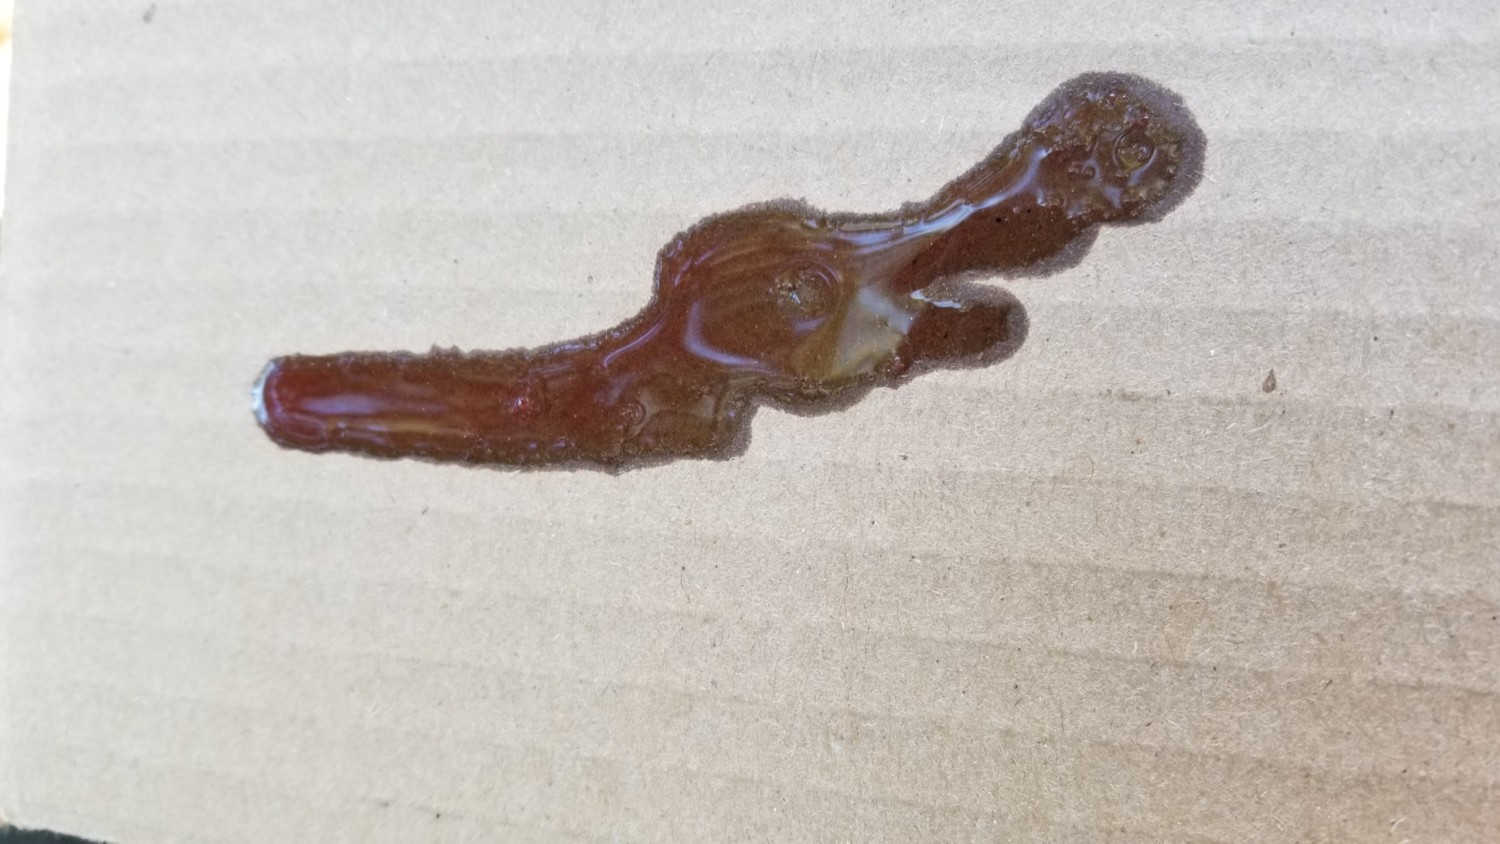
Old CVT Fluid
Castrol CVT Fluid (As you can see it’s RED)
Product Details:
Part Number: 06811 / Castrol Transmax CVT Transmission Fluid
Price: $5.00 (on sale, typically it’s $9.00 or so)
Formulated with Smooth Drive Technology and premium full-synthetic base oil, is designed for most continuously variable transmissions. It is suitable for use in most passenger cars fitted with push belt transmissions, assuring peace of mind across a wide range of vehicles.
Product Features:
Enhanced friction durability for a smoother drive for longer transmission life
Enhanced wear protection for longer transmission life
Superior high-temperature protection to effectively resist oxidation
Superior variator torque capacity that can prevent belt or chain slippage.
This is a project that has been on my slate for a while, and I’m finally getting around to it. I have seen several people ask what the advantages of stiffer motor mounts are. The answer it simple, the more you reduce the amount the motor moves by rotational force, the more power you put to the pavement, and reduce wheel hop. They do not increase power but allow you to harness the power you already have. The downside is that engine vibration is greatly increased inside the cabin. There are trade-off in every project you take on.
Step 1
Jack up the car and support with jack stands. Remove the lower engine cradle. This can be done by supporting the weight of the motor with your floor jack to slowly lower it down. The tranny and timing cover mounts will support the motor while the lower support is out of the car. I’ve been turbo’d for 5 years, and I cannot recall if removal of the Y pipe is necessary. Use your own judgment.
Step 2
Once the mounts are out of the car, evaluate the condition of your mounts. You will want to remove a lot of the factory material; however, you do not want to change the location of the center bushing. Make sure you have a way to keep it in its factory location. I made sure I had plenty of rubber on both ends to keep it in place during curing.
Step 3
Remove as much factory material as you feel comfortable with. The more Poly you have in there the stronger it will be. To do so, I used an electric drill and several sized drill bits, and a set of needle-nosed pliers. There is considerable metal reinforcement on the inside of the mount, so don’t be too afraid to explore. Just remember to keep the center bushing centered.
Step 4
Cleanliness is next to Godliness! Get a bucket of hot soapy water and scrub away. The cleaner the inside of the mounts are the better the poly will stick to it. Depending on the funkiness, you might want to hit them with some degreaser first. Dawn dishwashing detergent works wonders. If your mom won’t get too upset, put them in the toaster oven at 200 degrees to for an hour or so, to make sure they are good and dry.
Step 5
Seal one side of the motor mount. Trace out the outer boundary of the mount on cardboard and cut it out. Lay the mount on its side and center the circle cardboard piece on the center bushing. Lightly tap the center of the cardboard to make an impression of the center bushing. Cut out the center impression a little small, and then force it onto the center bushing. This will stop the resin from pouring out the bottom. Cover the cardboard piece with aluminum foil, and pull it tight without tearing. Spray some sort of release agent (PAM, Olive oil, WD-40) only on the side that will make contact with the motor mount. Tape it into place using masking tape. Masking tape will not leave a residue like duct tape, but this is your project. Tape the ring securely to the mount. The more tape the better. There will be leaks that show up; this will just keep them at a minimum. Don’t forget to tape around the center hole really well. The resin pours in like warm molasses, and if it has a place to go, it WILL LEAK OUT. Then you have to start over.
Step 6
The Pour. The polyresin I used was Devcon, Flexane 94. It dries the hardest of their line; however, they do have Flexane 60 that is more flexable. It can be picked up at any industrial supply store, like Granger, for around $36. The kit comes with the resin, curing agent, plastic cup to mix it in, and a stir stick. One “kit” will build two mounts with some leftover if you remove a considerable amount of material from the factory mount. Place the mounts on their sides, and make them level. Rolls of duct tape or masking tape work. Combine the resin and activator according to the enclosed directions and stir for a good 7 to 10 minutes. The mixture has a work time of a good ten to fifteen minutes depending on temp and humidity. The warmer it is the faster it cures. You only have one shot at this, so make sure the mounts are ready to be filled. Pour slowly and try to keep from developing bubbles in the mount. Fill one-half full; fill the next one-half full, and then top off the first.
This gives the resin a chance to seep into all the nooks and crannies and allowing the air to escape. If small leaks appear, don’t freak out. The resin will thicken up and stop leaking. If a big leak shows up, get creative, you didn’t follow the directions.
Step 7
The Cure. The mixture will harden so that it can be handled within 30 to 45 minutes. To speed up this time, place them under a heat lamp. I have a torch lamp in my living room that has 3 adjustable lights that work perfectly. Remove the cardboard end and foil. They are hard in 24 hours and reach full stiffness within 7 days. If this is a two-day project then you can put them in the oven again at 200 degrees for 24 hours to speed up the cure.
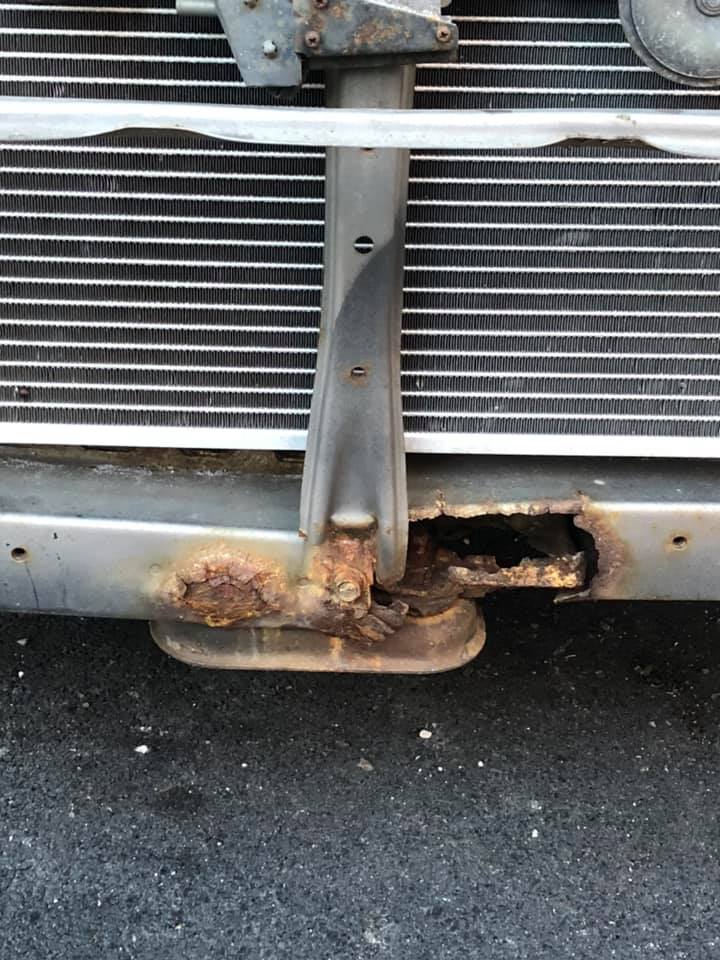
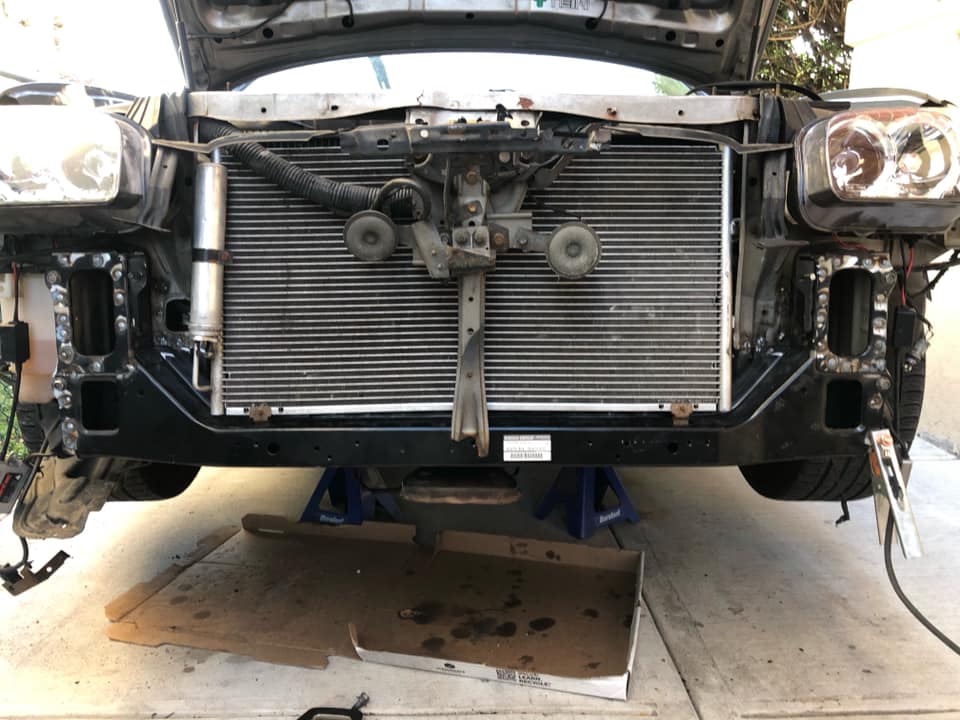
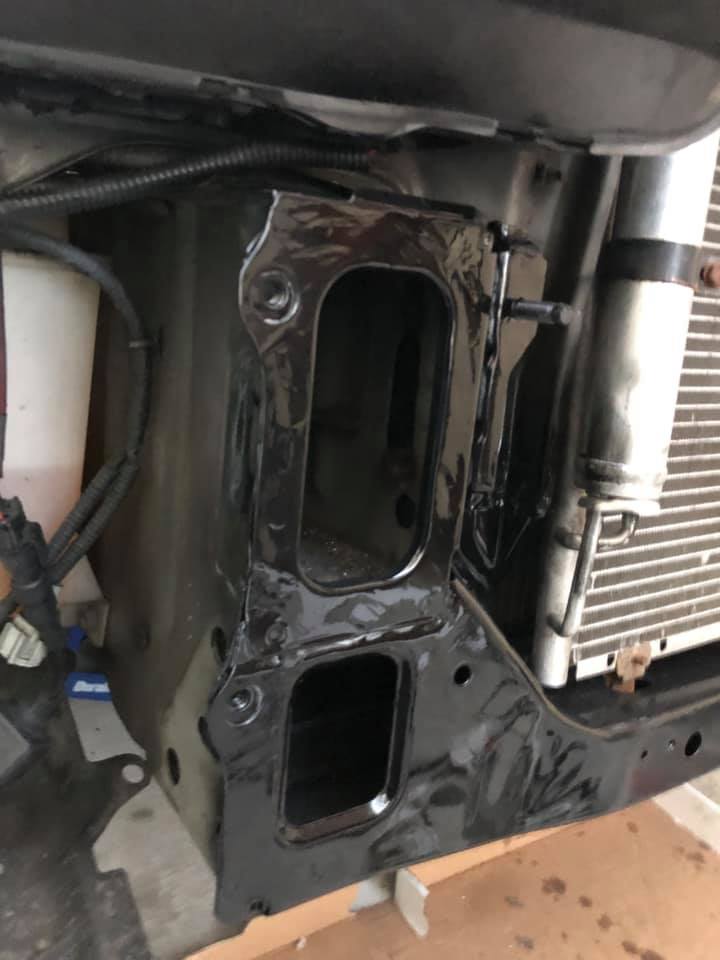
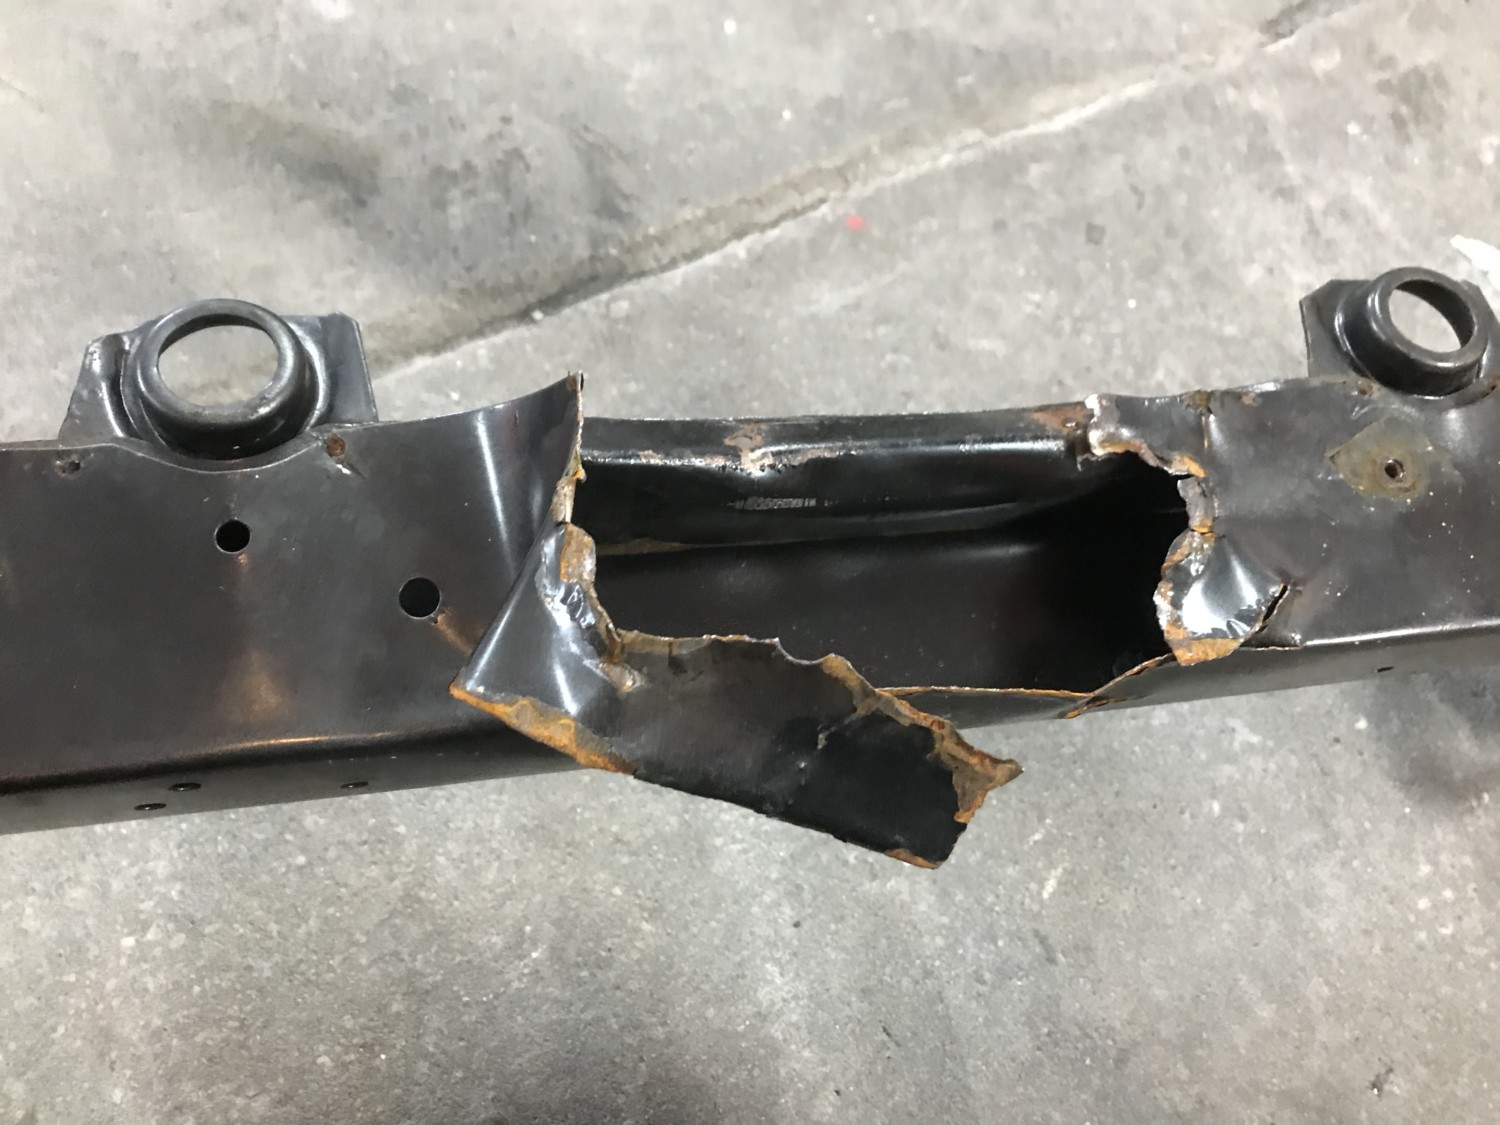
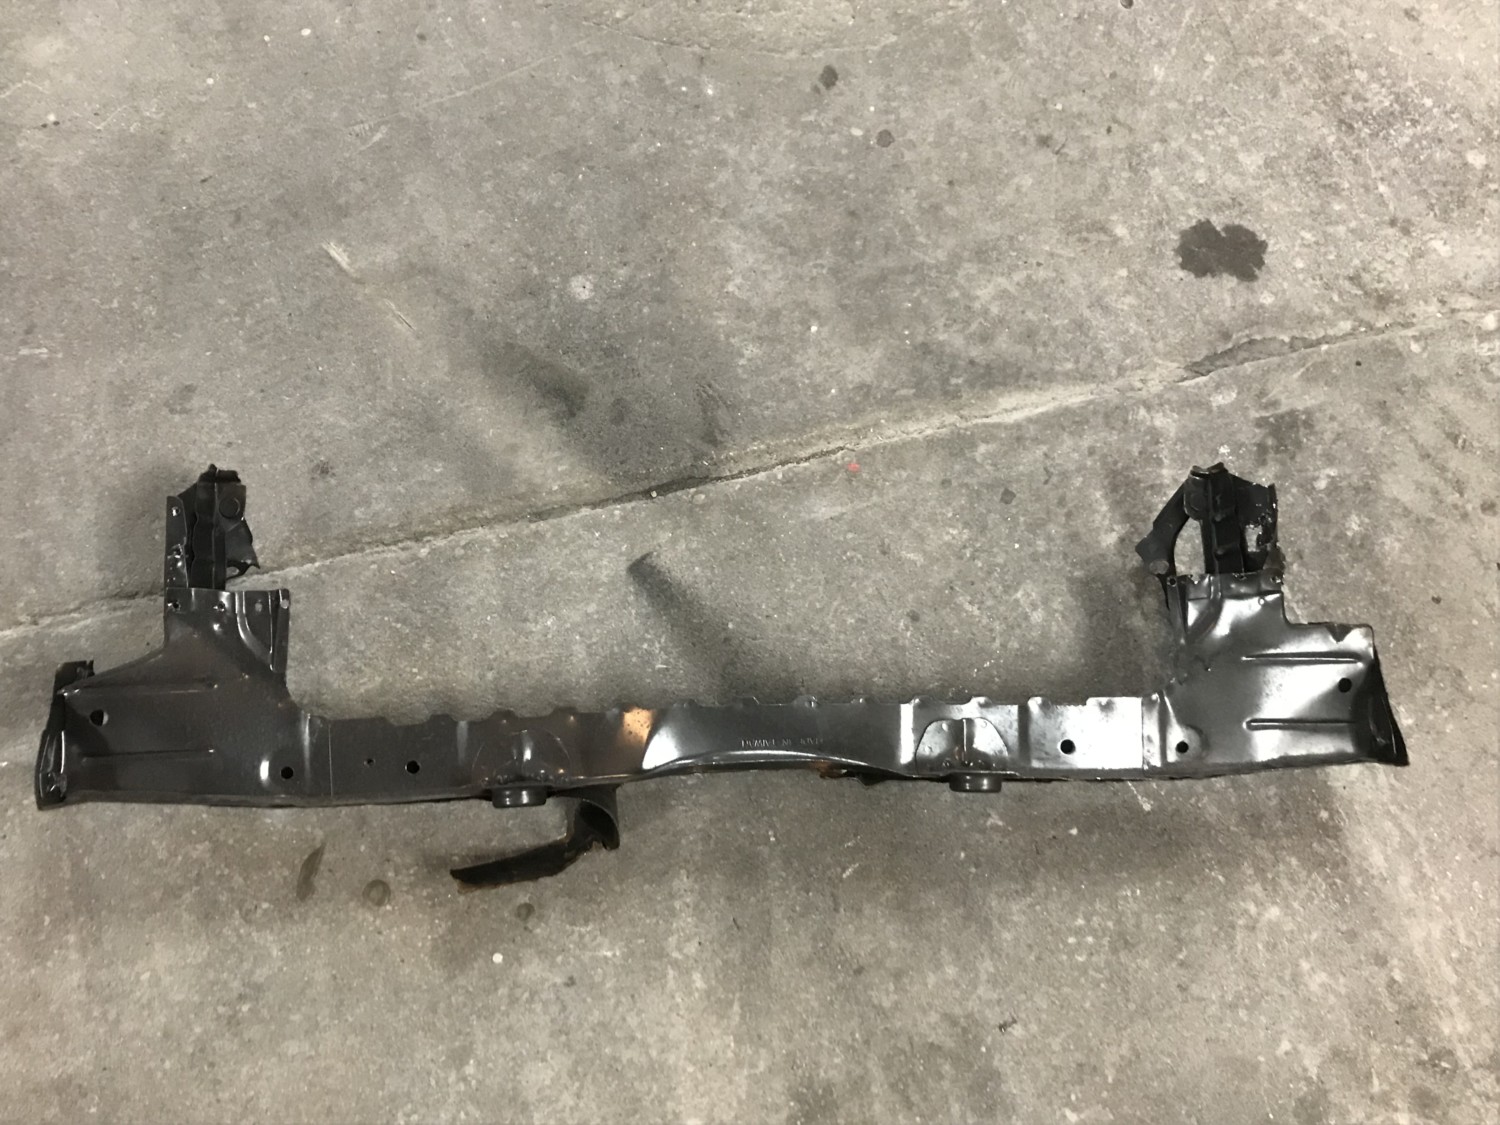
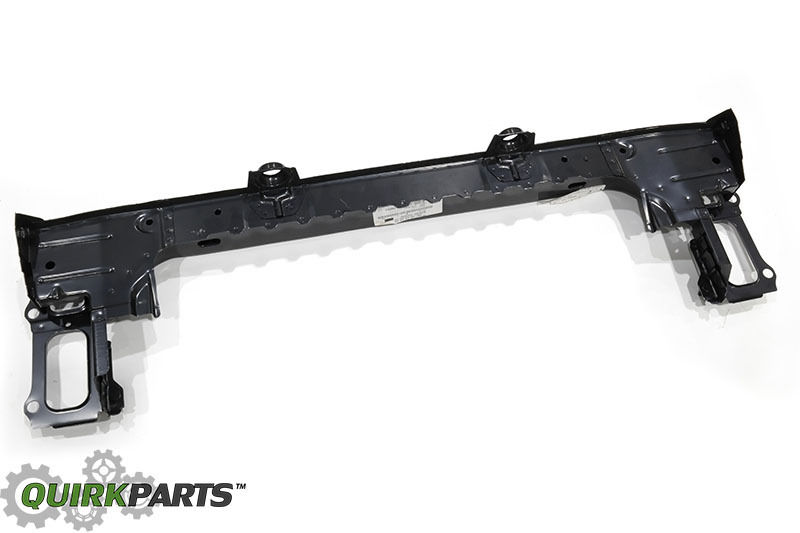
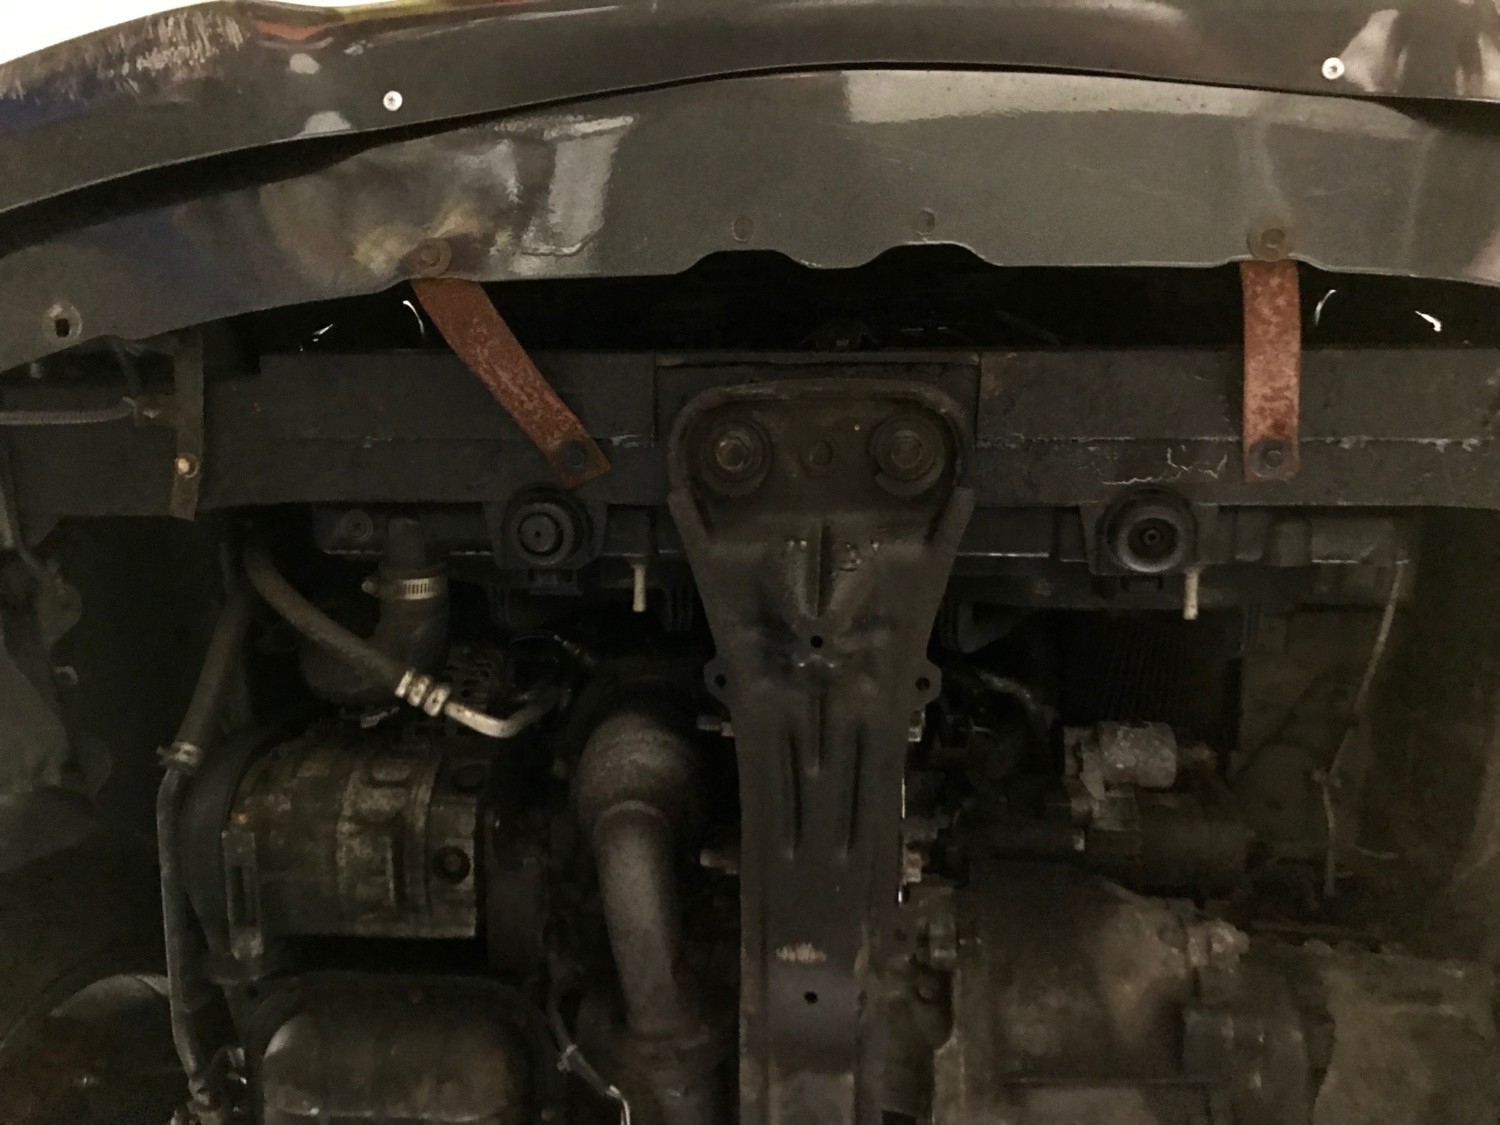
Before continuing to mod, I decided to replace the lower radiator support. The previous owners used the cheap flimsy one. I do not recommend this one. In fact, I felt unsafe driving around like that because upon hitting a bump the whole front would shake. It’s very thin. I decided to replace it with an OEM radiator support. I also reinforced it with a piece of steel from home depot. This increases its durability 4x. I don’t plan on ever having to replace it again!
OEM Radiator Info
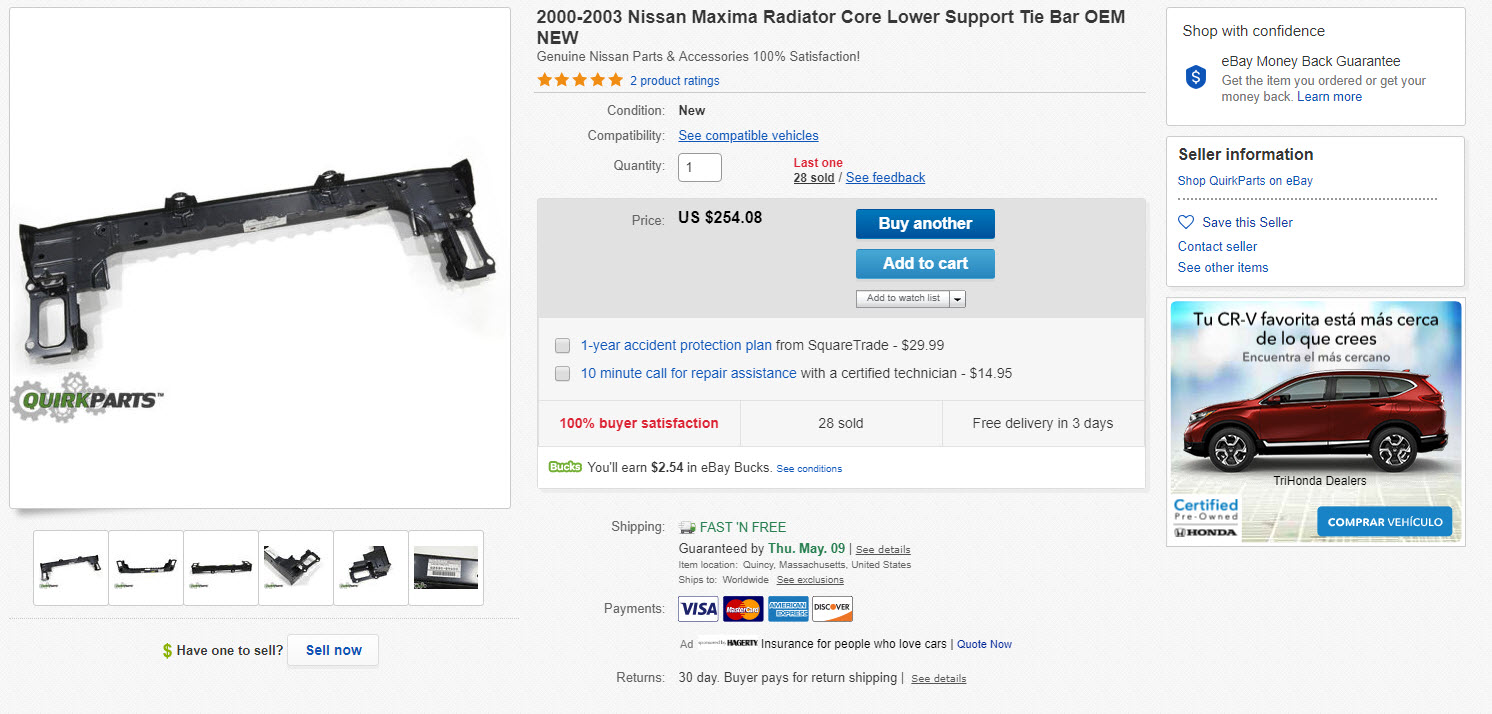
OEM Part Number: 62530-5Y000 Part Description: Support-Radiator Core, Lower Price: $293.48 (Shipped)
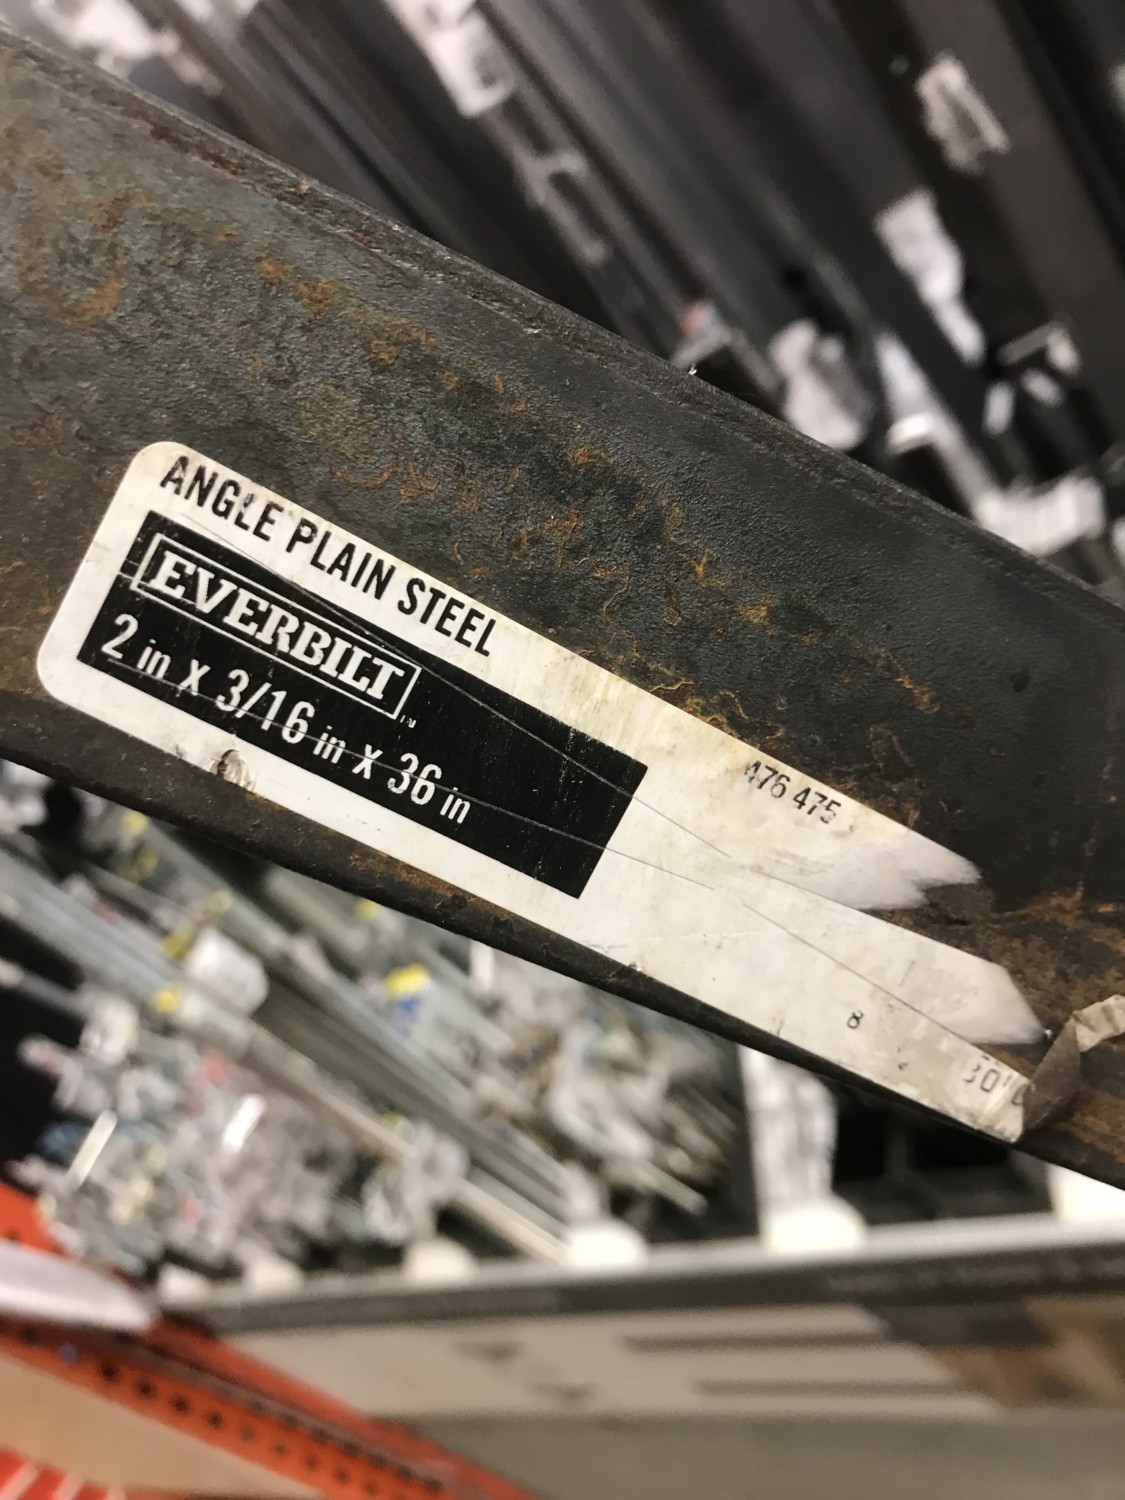
Home Depot Steel Part Number: Model # 803007 Store SKU #476475 Part Description: Everbilt 2 in. x 3/16 in. x 36 in. Plain Angle Price: $16.47
This is what happens to the aftermarket flimsy radiator support. It’s cheap and if you do it… you will have to do this job all over again at some point.
This is the reinforcement steel bar. It will strengthen the radiator support. Don’t forget to spray some Rustoleum on it to prevent any rust.
I got my OEM radiator support on eBay with quick shipping.
The first thing u wanna do is remove your intake to get some room
Then u need to hook a rubber hose to the bleeder valve on the slave and put the other end in a bottle to catch brake fluid.
Go ahead and open that bleeder 10mm take the cap of the master cylinder reservoir and let it drain out crack the upper bleeder open 12mm to speed up the process.
Then you wanna remove the slave cylinder (2 14mm bolts). You could probably leave it on to remove the old hose from it but it seems easier to remove the whole slave if you have a strut bar remove the driver side (3 14mm nuts) for room.
Once you get that out of the way go ahead and remove the 12mm bolt on the slave to remove the old hose then move up to the master cylinder.
Remove the old hard-line from the master cylinder 10mm. It’s tight right there but I managed it then you can hook the new ss line to the master cylinder mine was an 11mm nut yours may differ.
Then route the line where u want it and install the other end to the slave cylinder.
Once u do that you can do one of two things leave the old clutch lines on the car or remove them. I took mine out looks cleaner. I took some pics but remove them from the car is pretty easy here are the pics disconnect this
Remove the 2 10mm bolts here
There is a junction box right under the brake master cylinder where all this junk meets just unbolt and remove.
Now you need to bleed the line once that’s done enjoy a clutch line u shouldn’t need to replace.
Now let me say this I can deff feel a difference. wife drove it and says that the clutch pedal feels a lot tighter and more responsive best 25 bucks I spent. I recommend this mod to anyone with a 5 speed.
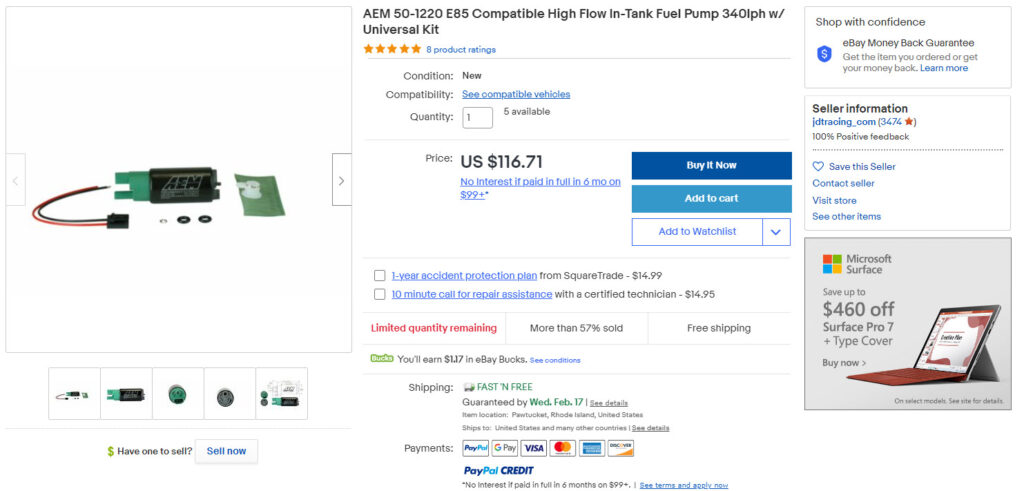
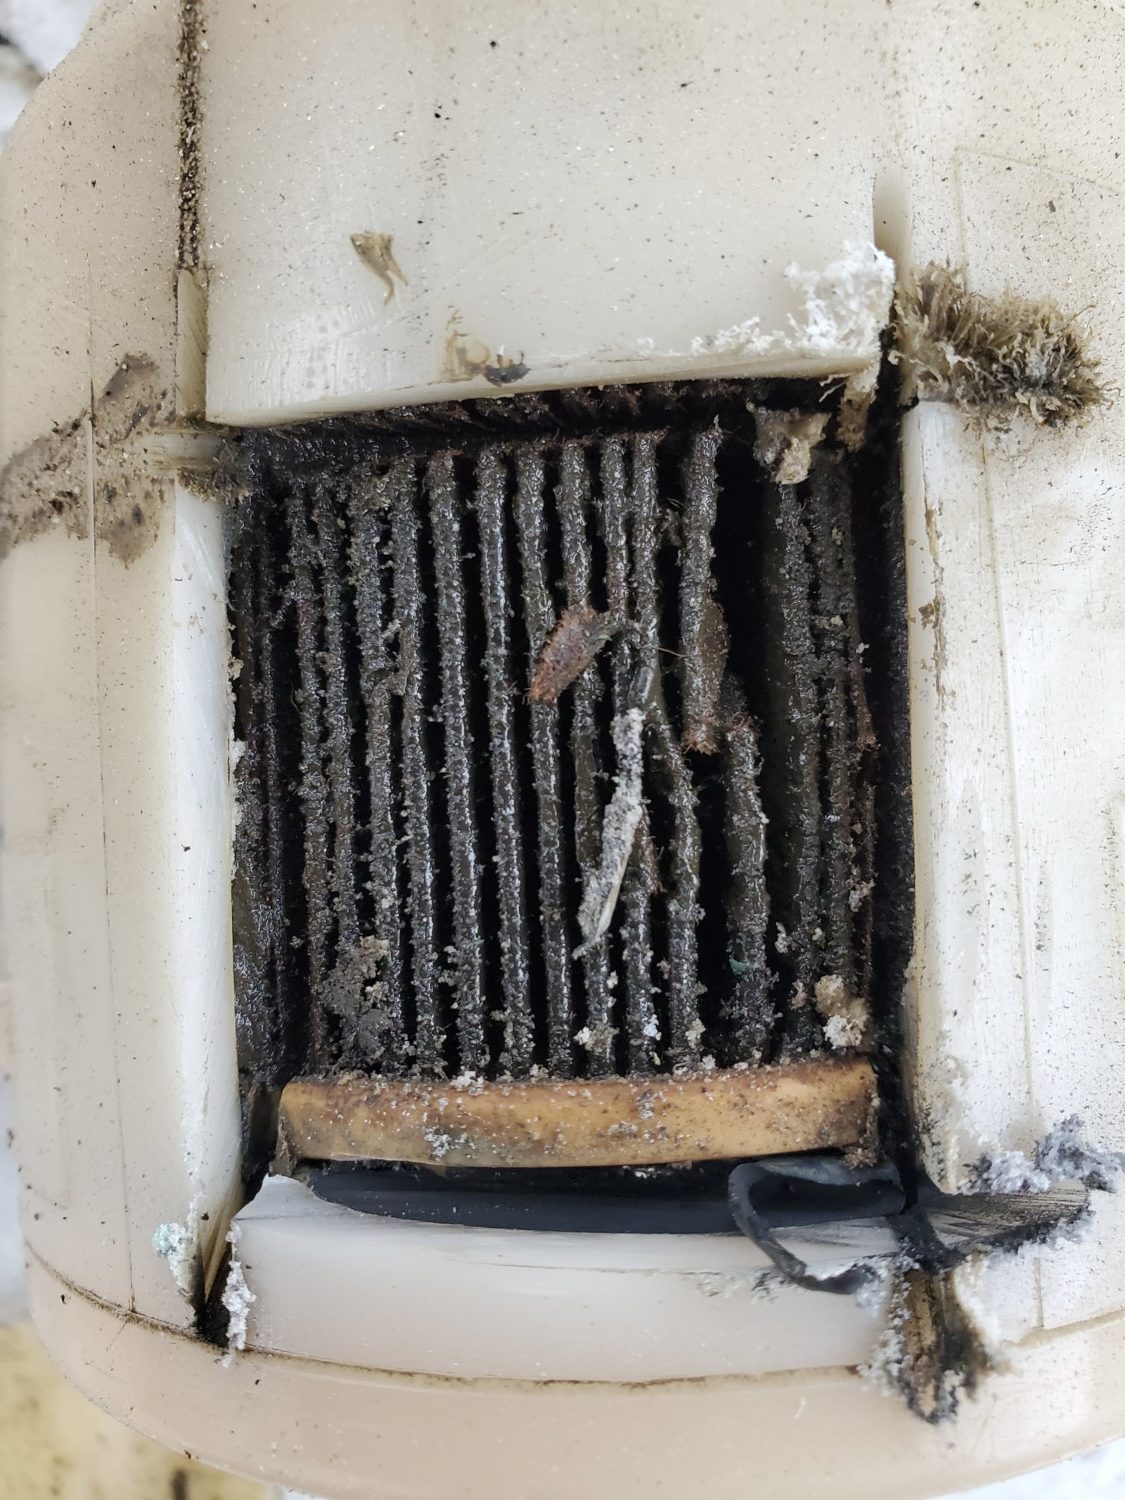
I just swapped my Walbro 255 Fuel Pump to an AEM 340LPH because I wanted something better suited for E85. I also did not like the “whine” noise on the Walbro. The AEM 340 does not have the whining noise and works great. I also replaced my fuel filter. Nissan says that it is a “lifetime” part and never needs to be replaced. I disagree with that especially seeing how dirty and filthy my fuel filter looked. It’s very simple to change and the filter costs less than $30 bucks. This is just a reference post and not really a how-to on the AEM pump. I also added links to reputable AEM dealers where you can get it from on eBay. We recommend ordering from them as their pumps are 100% authentic (lots of fakes out there).
Fuel Pump Part Numbers:
50-1200 (Price – $116.00 Shipped)
This is the one used in this write-up. Works 100% perfectly fine with no issues. There is some minor trimming needed at the bottom of the sender. This is the same exact process for the folks that have ever installed a Walbro 255. So the trimming is not specific to this pump at all.Order Link: https://www.ebay.com/itm/330950170782
50-1220 (Price – $116.00 Shipped) This one is a newer design from AEM that fits directly with no trimming. It is smaller in size but appears to work just the same. This was highlighted by a fellow EVO member who has a Maxima. While you will see the 50-1220 is specifically for 02-07 WRX STI / EVO X / GTR, it will work fine in the Maxima. We personally have not used it as the 50-1200 worked perfectly fine.Order Link:https://www.ebay.com/itm/274522031531
Recommend OEM Replacement Part Numbers:
Fuel Filter Part Number: 16400-2Y505 (Price – $25.00)
Fuel Pump Sending Unit O-Ring: 17342-01A00 (Price – 16.00)
New OEM Filter vs Old Filter (Likely never been changed)
I cut the old filter so you can see how dirty and filthy it is.
Fuel Pump Differences (#50-1200 Used for This Write-up)
P0403 is a very common trouble code. It is a generic code, which means that it has the same meaning for the Nissan Maxima as it would any other vehicle. It affects the EGR (Exhaust Gas Recirculation System and technically means:
P0403: EGR→ Circuit Malfunction
A circuit malfunction implies that there is a wiring problem coming to or from the EGR system. That does not rule out the EGR solenoid itself. We’ll go into the most common symptoms and causes of P403 directly below.
As far as the average do it yourselfer being able to diagnose the cause of this code, it can be tricky since a good vehicle scanner and Ohm-meter can make the job a heck of a lot easier.
P0403 Symptoms: Nissan Maxima
Most of the time, there will be no noticeable symptoms accompanied with P0403, with the exception of the service engine soon light itself.
While not typical for any other symptoms to show with the P0403, it is possible that the Maxima will misfire if the EGR system is stuck open.
P0403 Causes
The issues that are going to cause P0403 are going to have to do with the EGR solenoid, or the wiring going to or from it. While it is possible for something else to cause P0403, these are far and away the most likely reasons for the code to populate
Bad EGR Solenoid
There’s going to be two issues that would cause the EGR solenoid not to operate, the solenoid itself, and the wiring going to it.
The EGR solenoid itself is often the cause of P0403. It can be checked with a good OBDII scanner and Ohm meter.
With the scanner, you’d want to command the EGR solenoid to operate. With the ohm meter hooked up, you should see movement on the gauge. If it’s not getting a signal, move on to the section directly below.
This video below is a great resource that’ll help you through the process of testing different EGR types.