Credit: Rob Tilley
Need oil galley gaskets asap? Cut them yourself with a rotozip and .082 aluminum sheet.





Credit: Rob Tilley
Need oil galley gaskets asap? Cut them yourself with a rotozip and .082 aluminum sheet.

Credit: SouthFlMaxTech
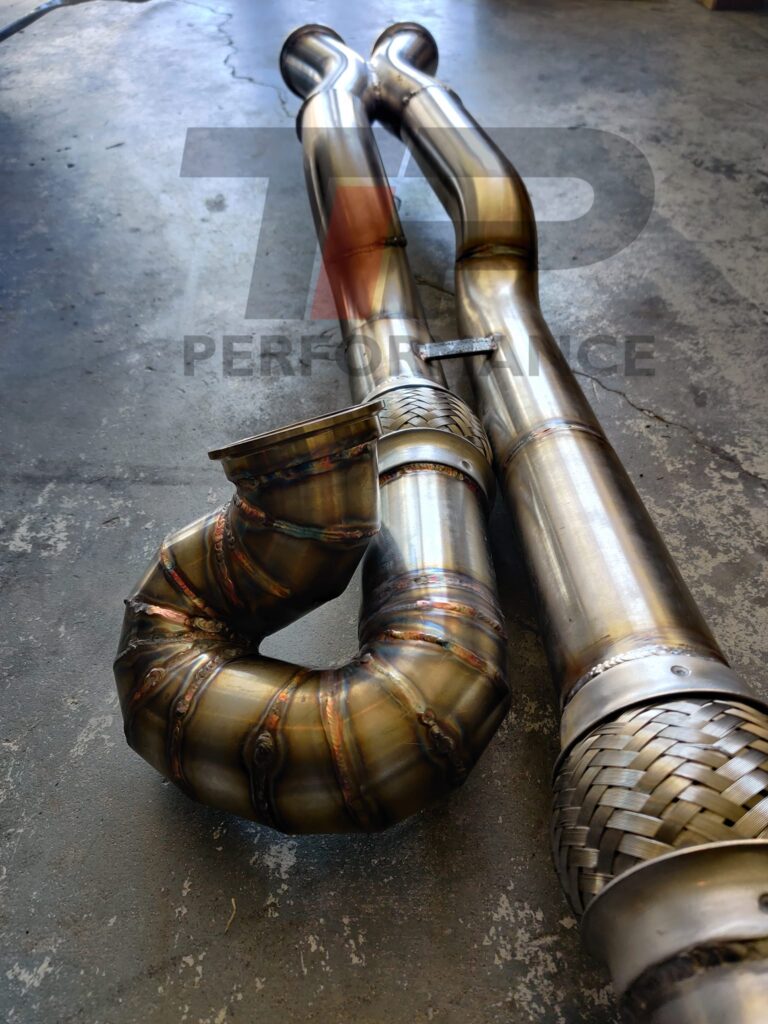
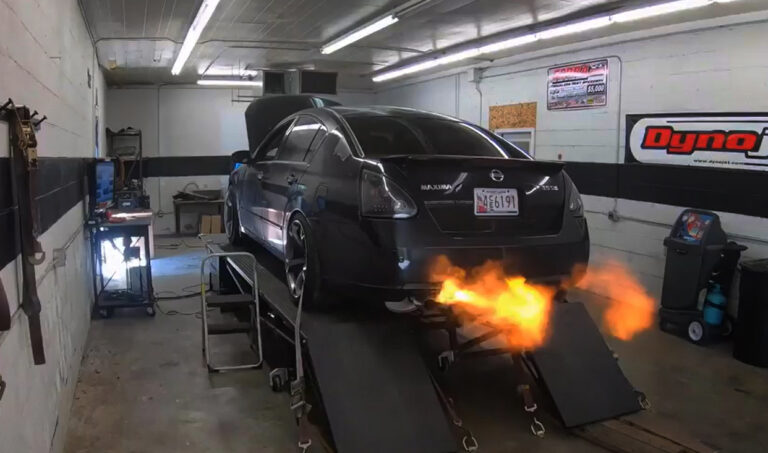
Well I got my AEM FIC running finally after a week of messing with it, and it does run a 4gen maxima and the timing works on it too. Neat little set-up and a good option vs eManage.
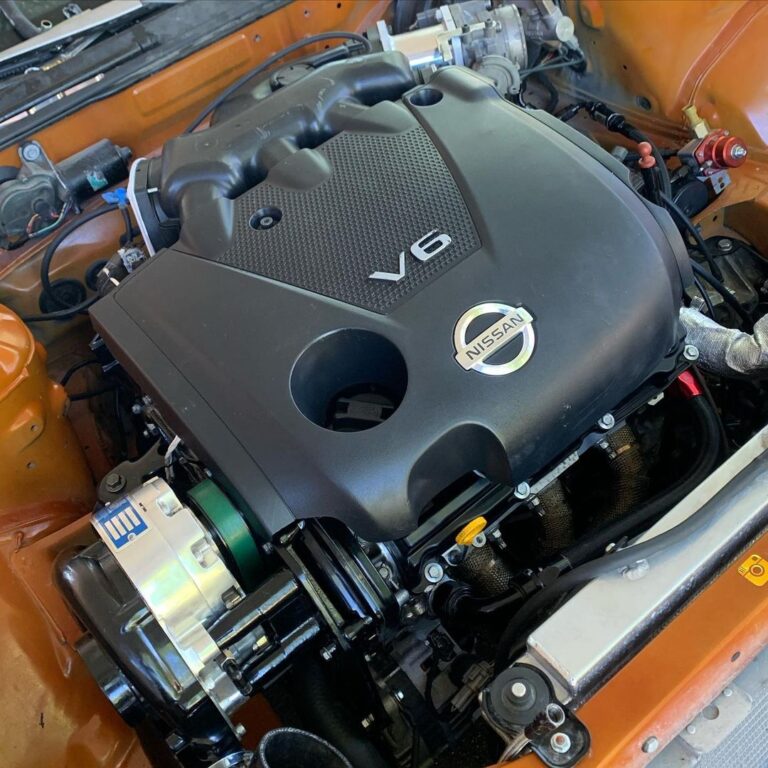
I’m running it on my 1996 maxima with a z32 MAF, 410cc injectors and a t3/t4 custom turbo setup.. and I have a 2008 3.5l in there out of a 2008 maxima.. with a pathfinder tb.


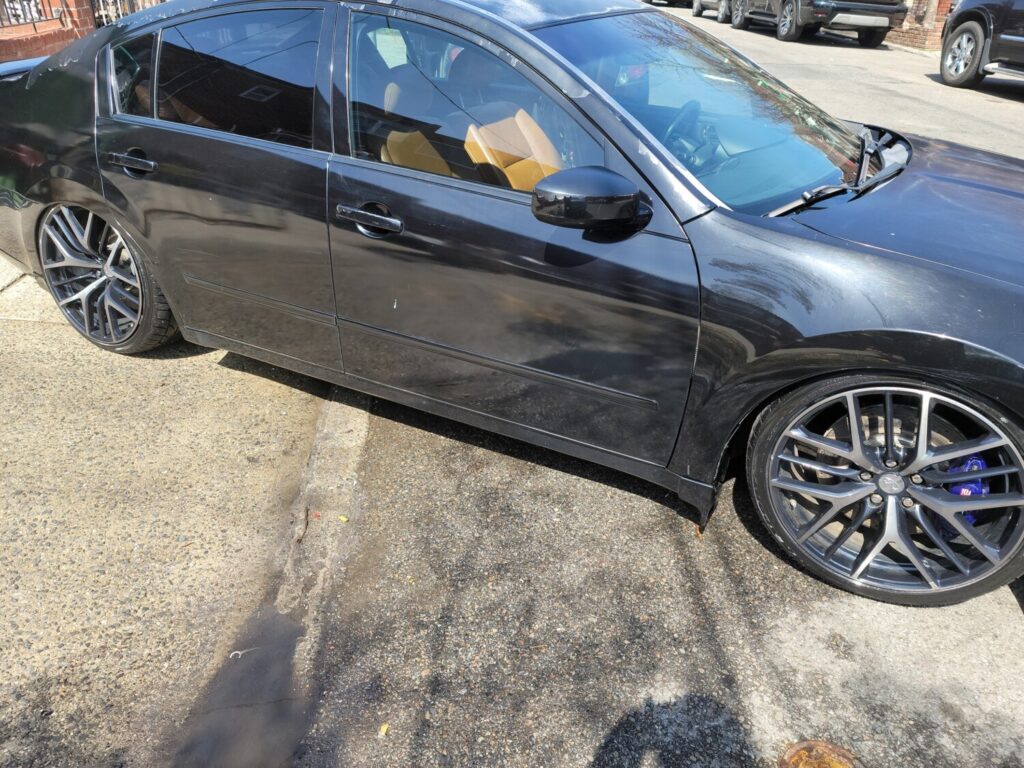
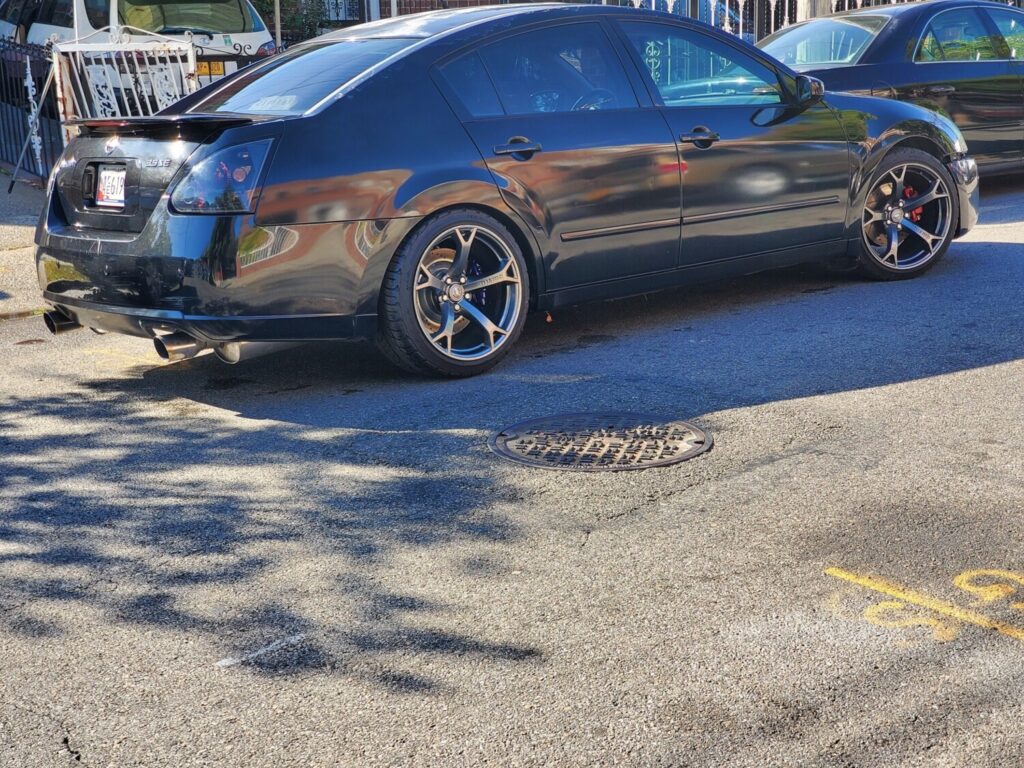
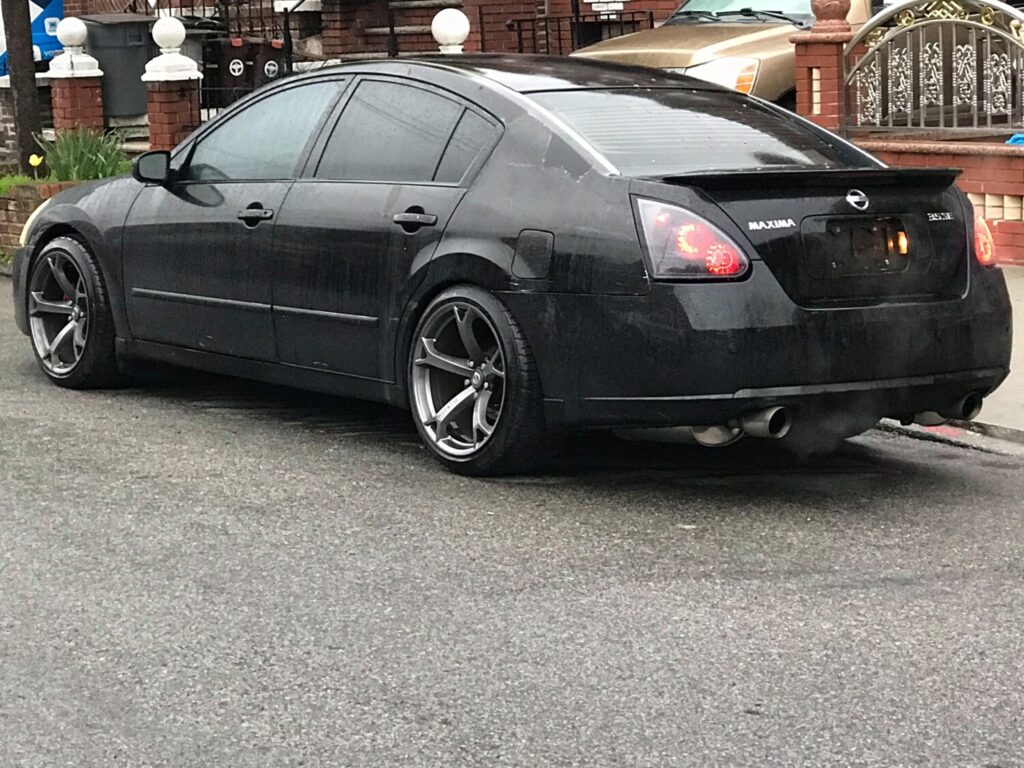
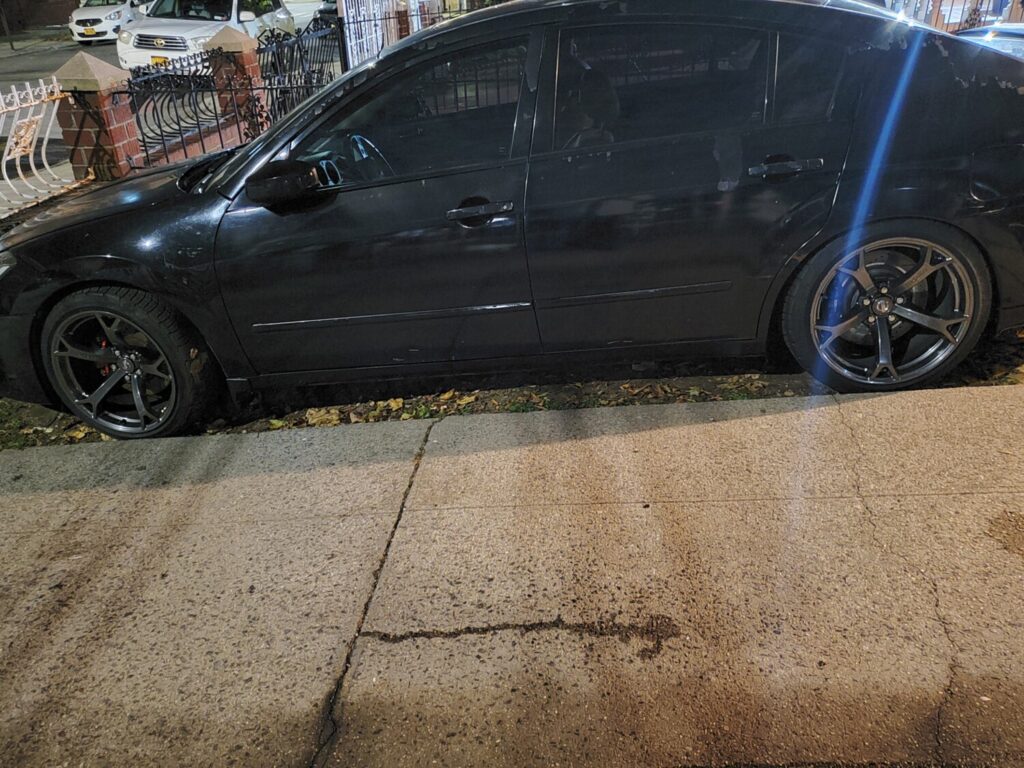
Owner: Harold Smith
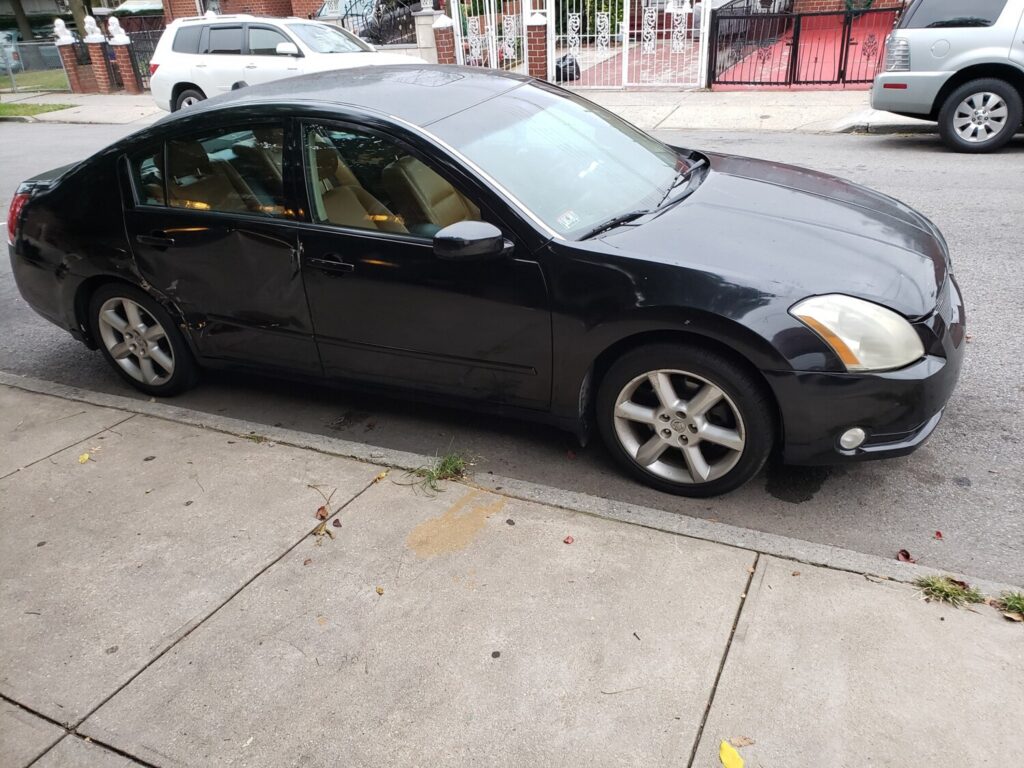
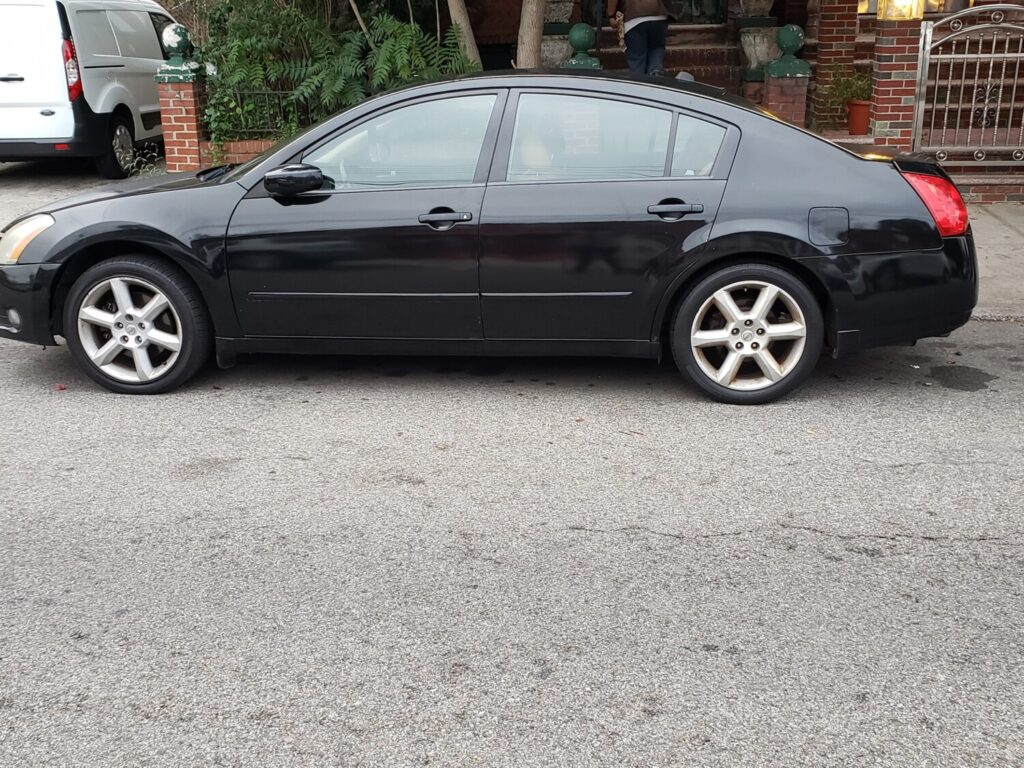
Year: 2006
Model: Maxima
Color: Black
Transmission: 6-Speed Manual
Trim: Elite Edition
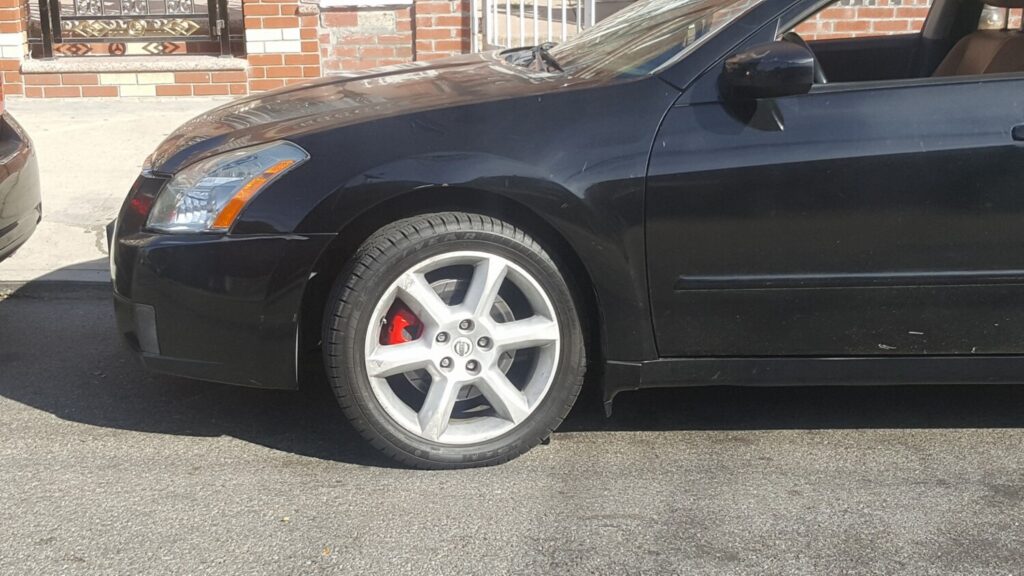
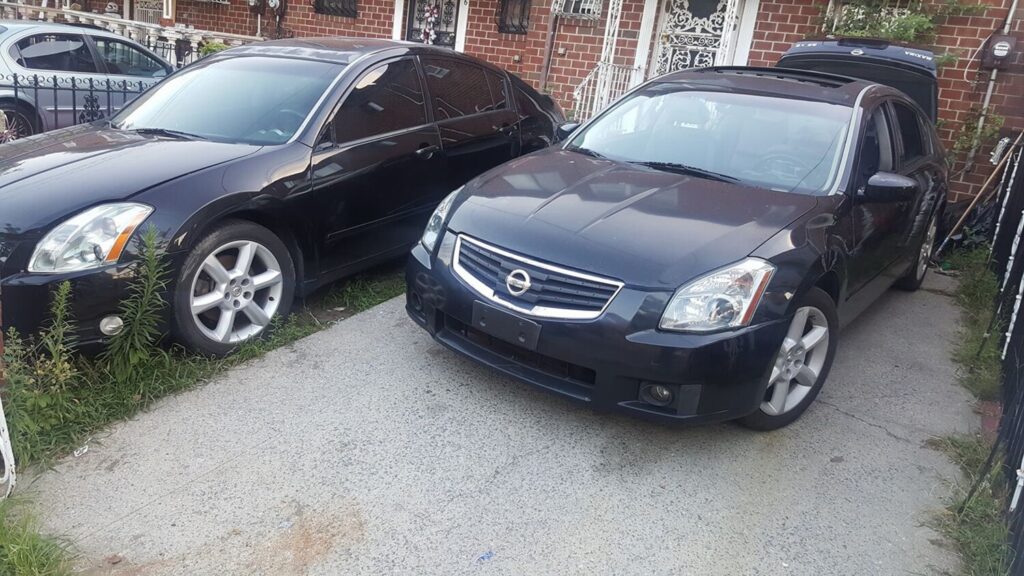
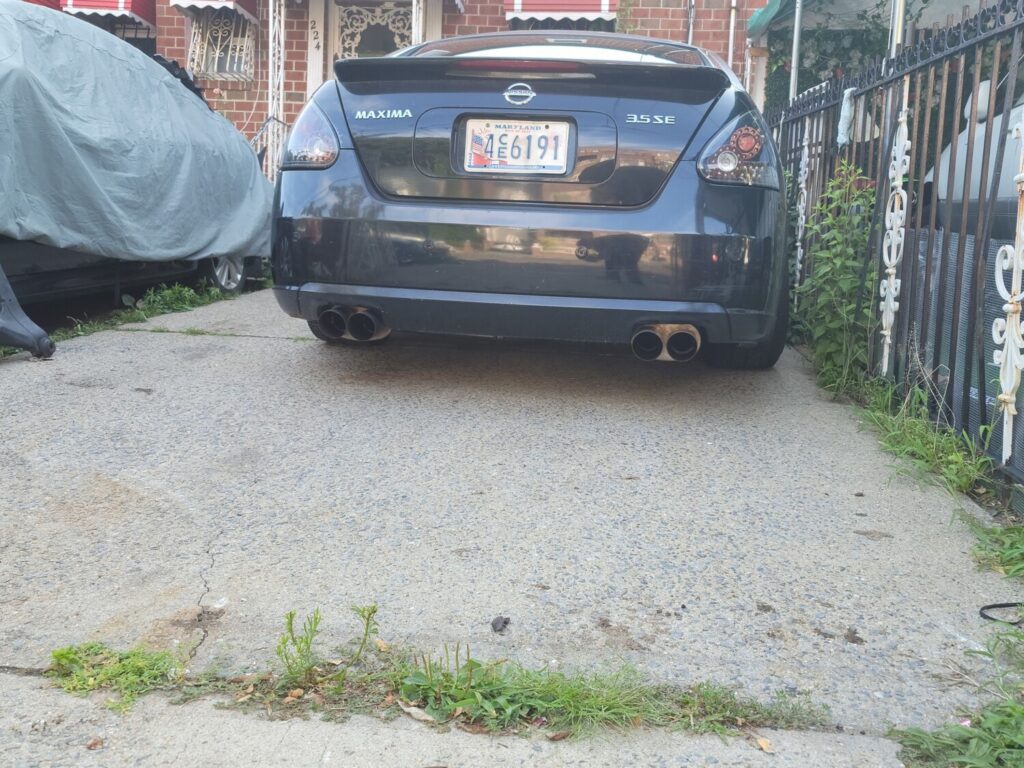
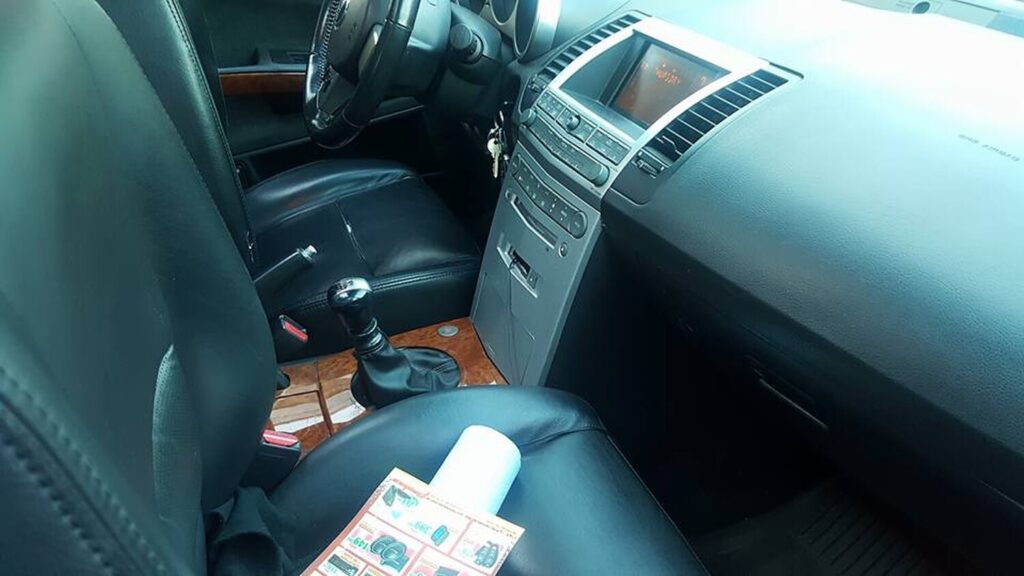
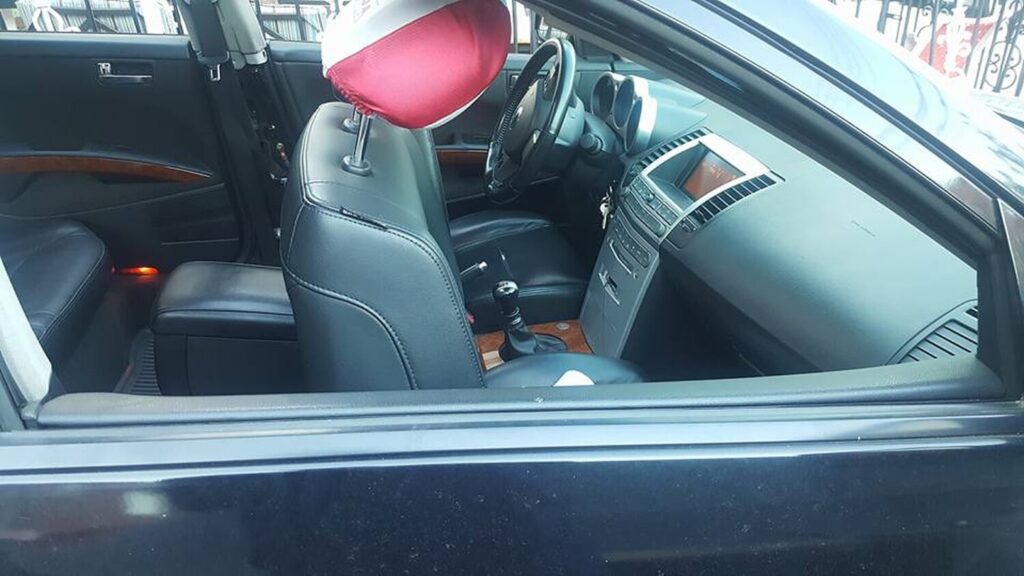
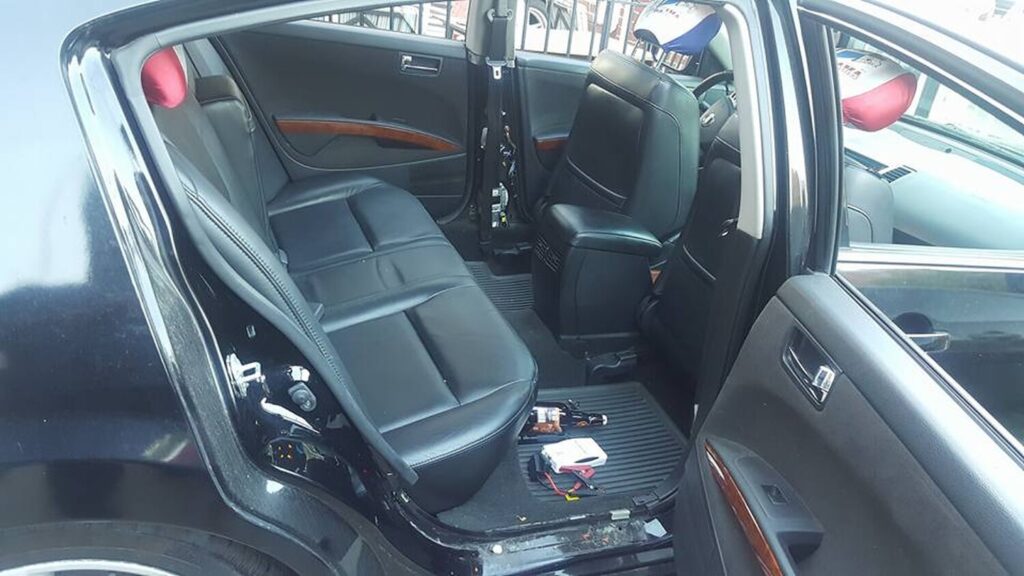
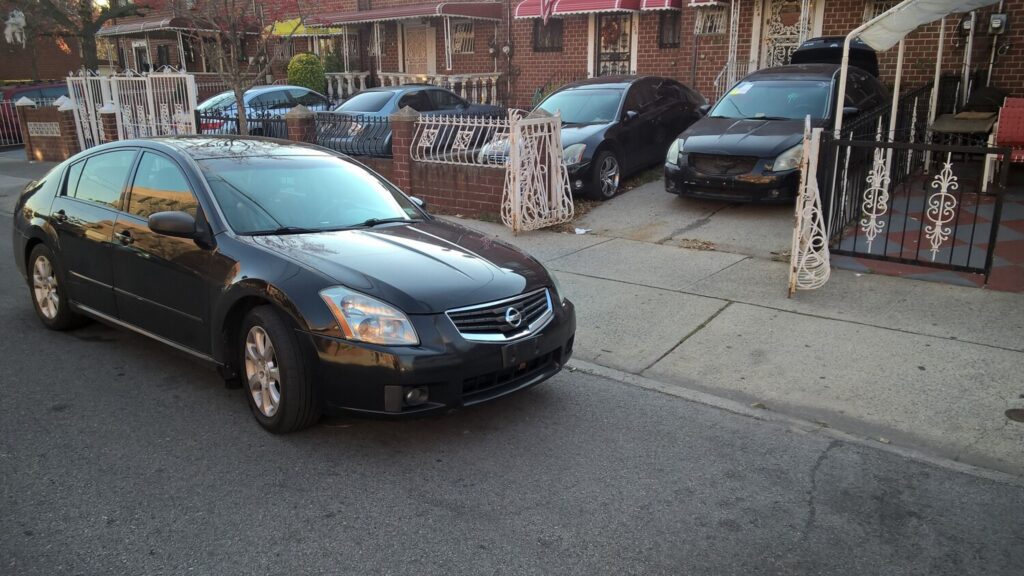
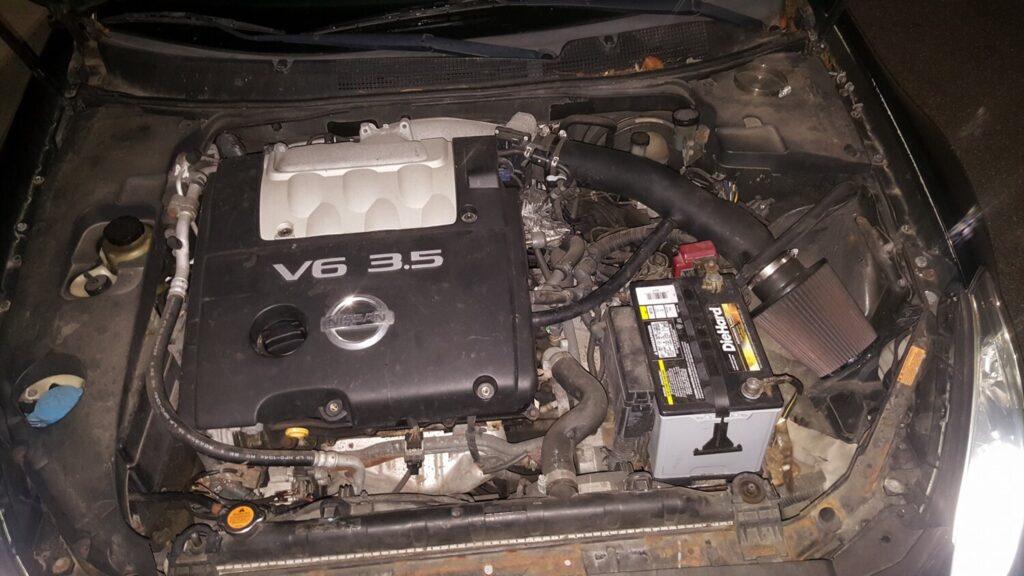
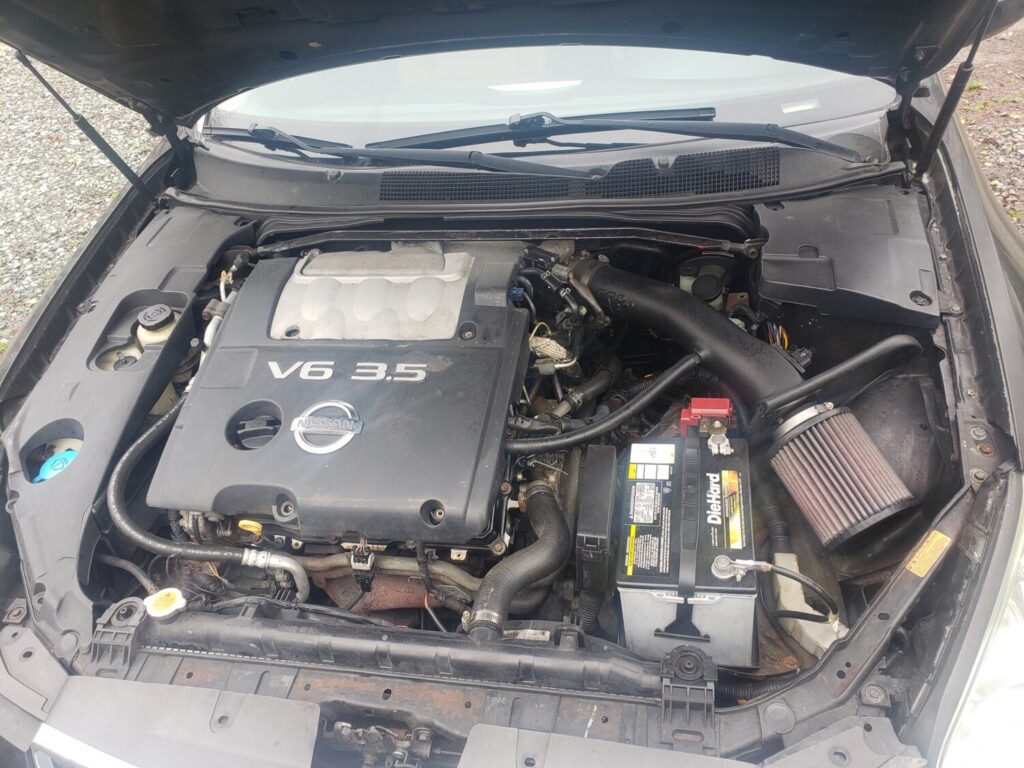
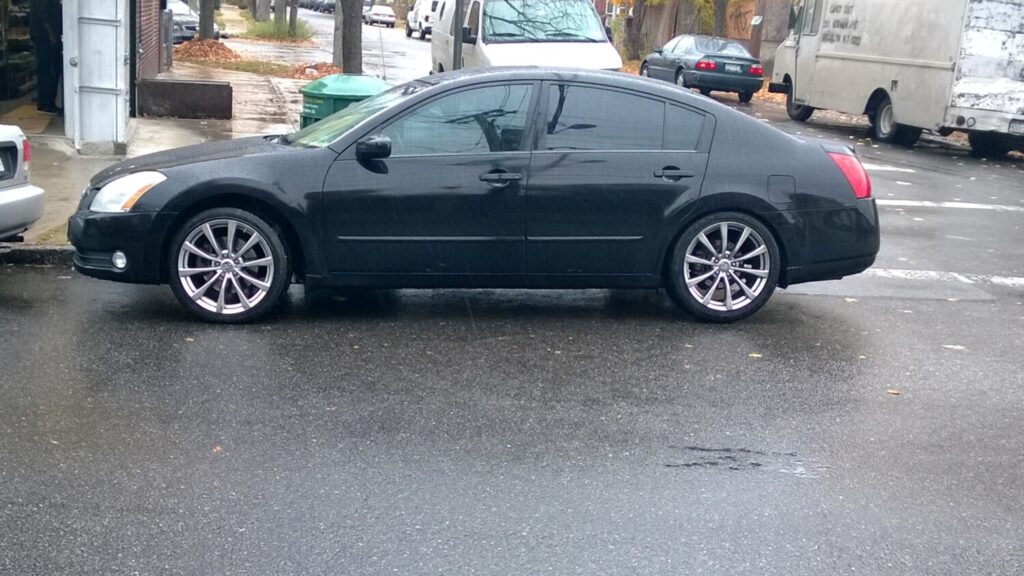
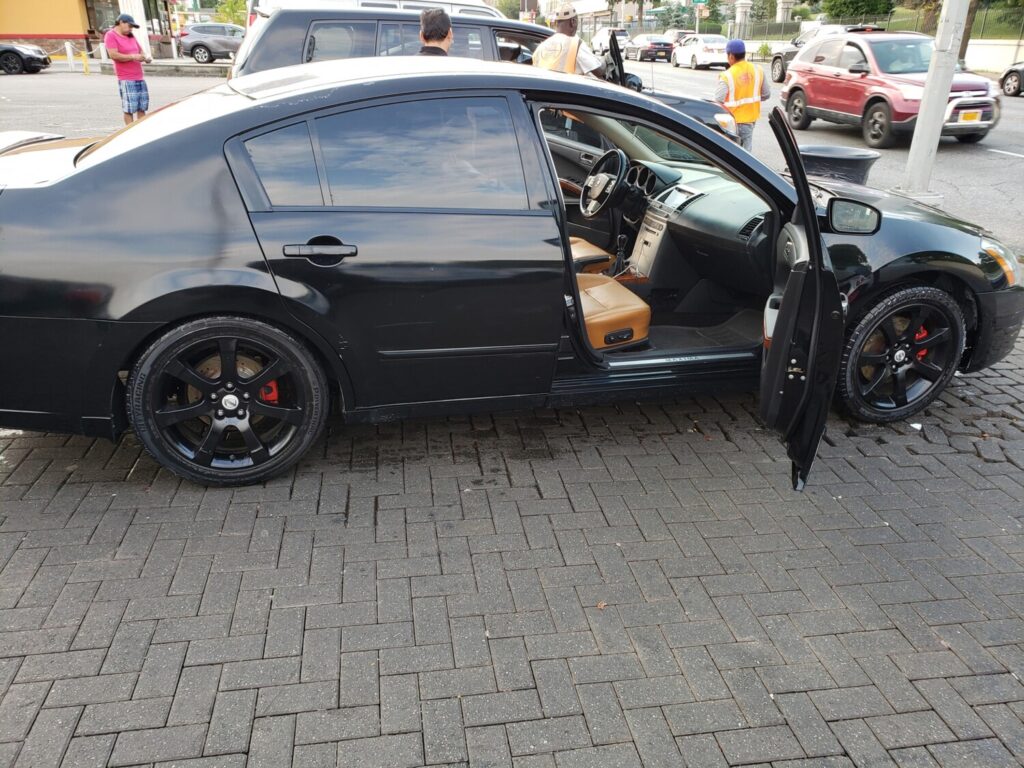
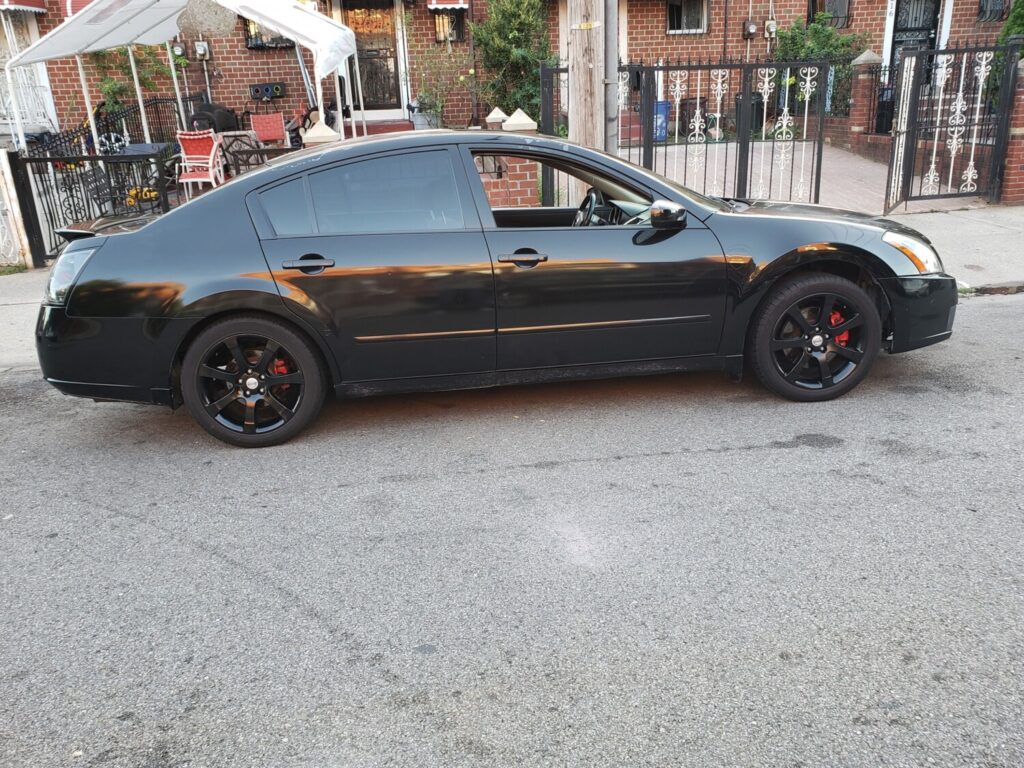
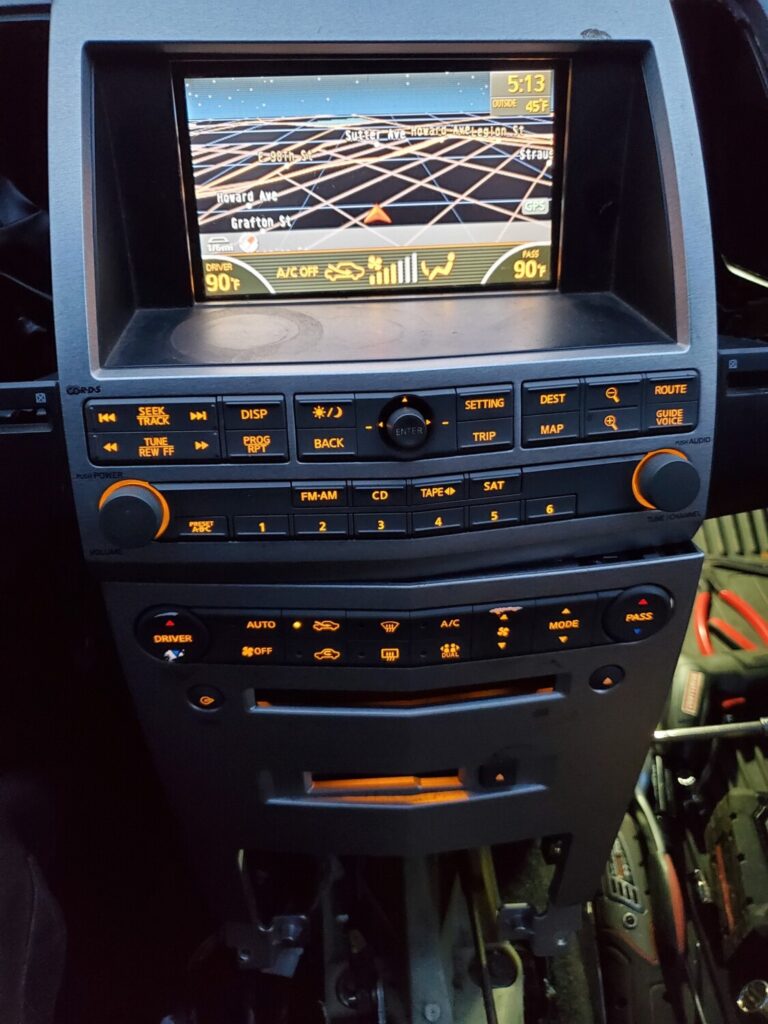
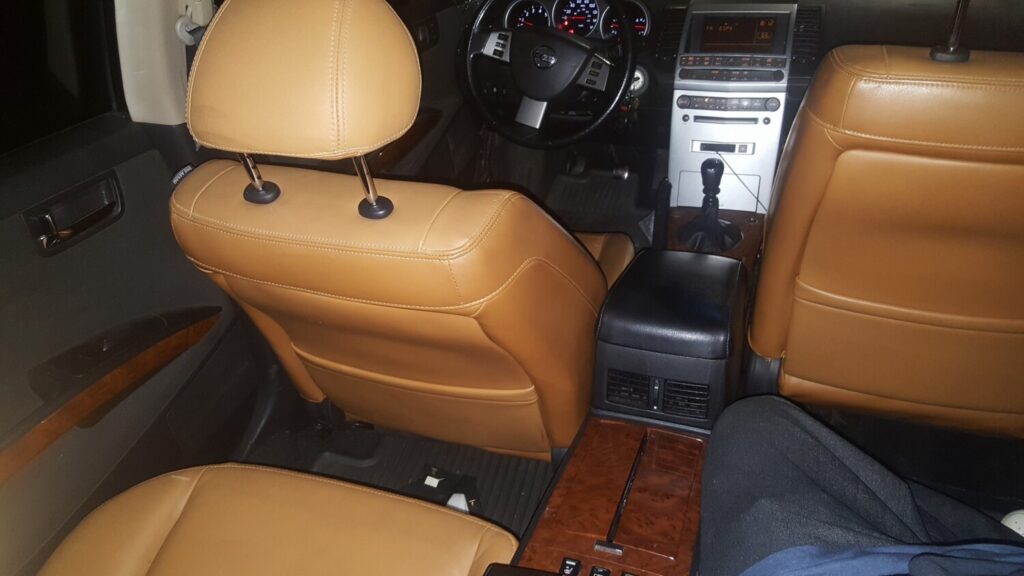
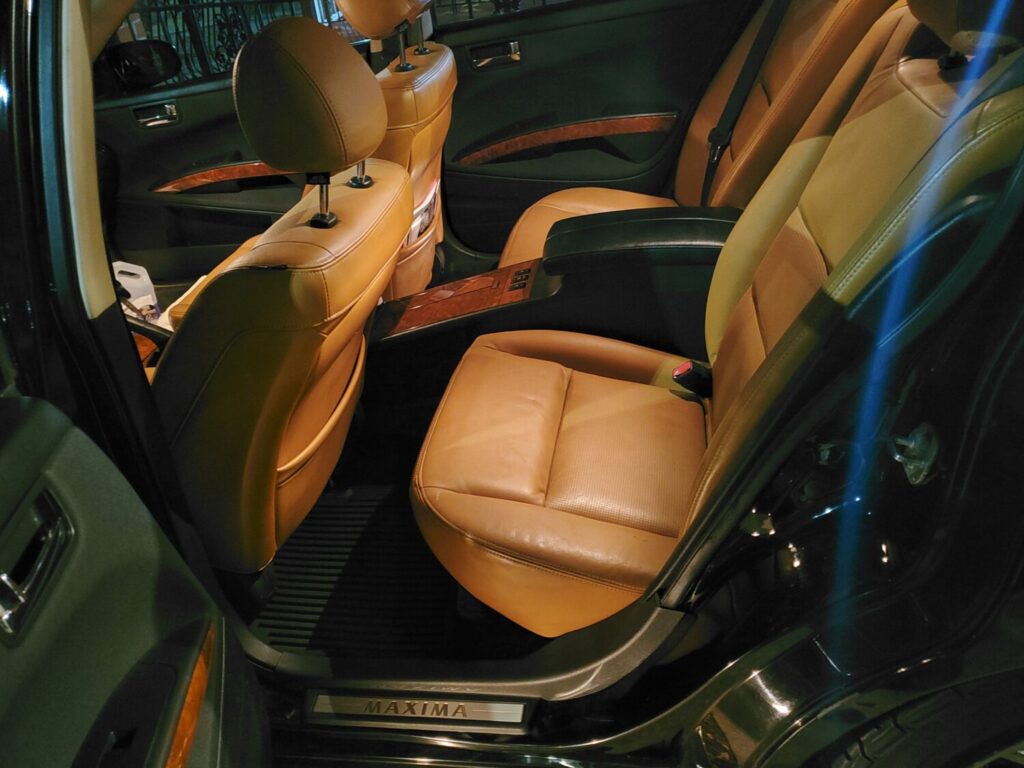
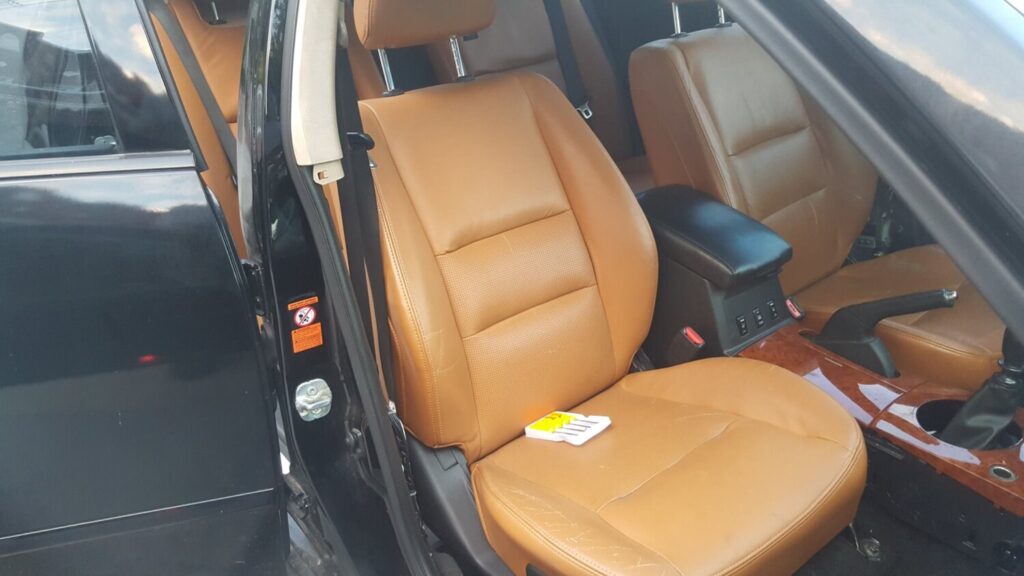
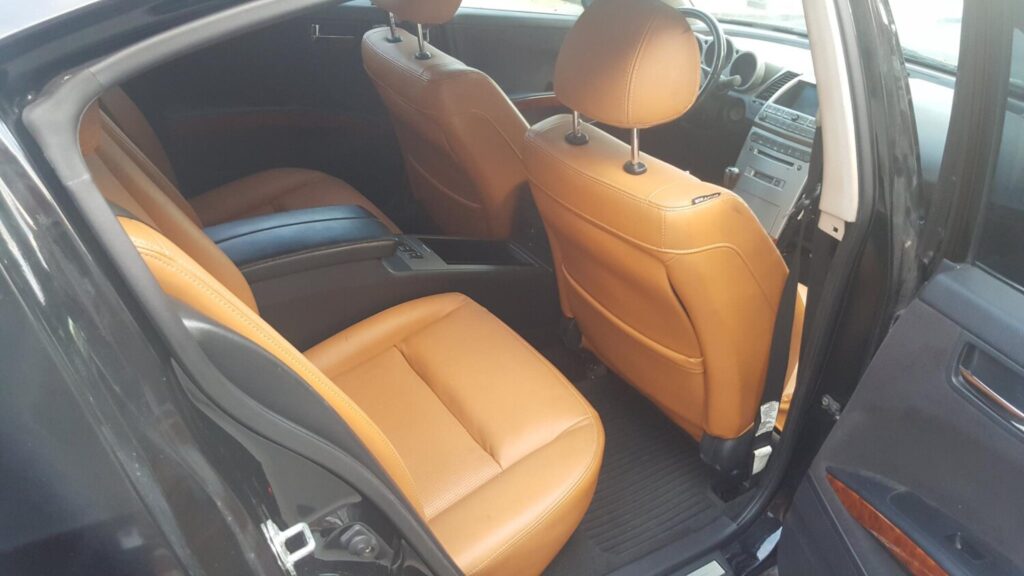
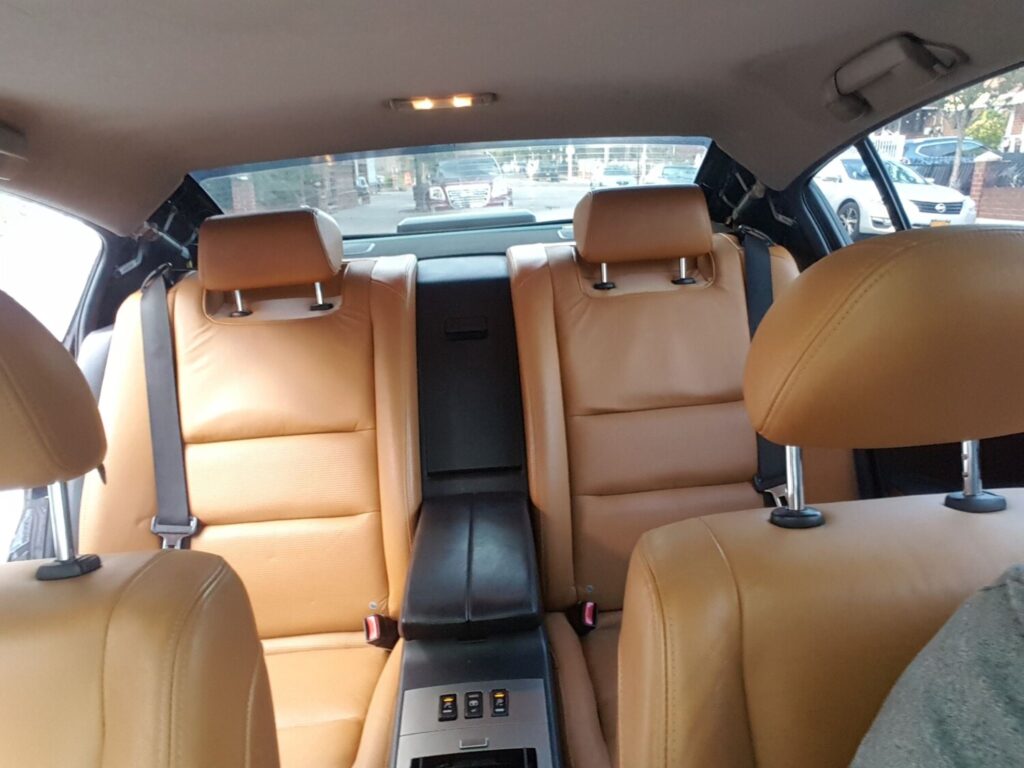
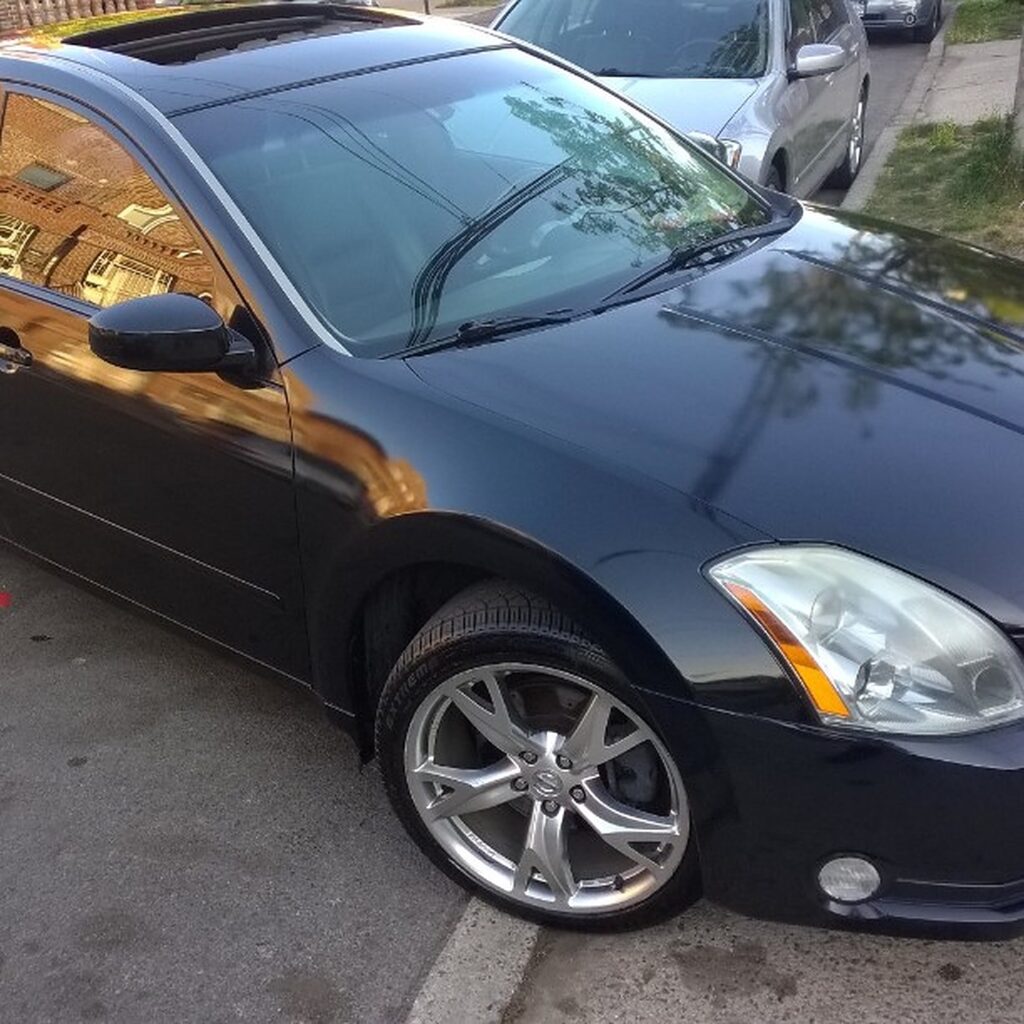
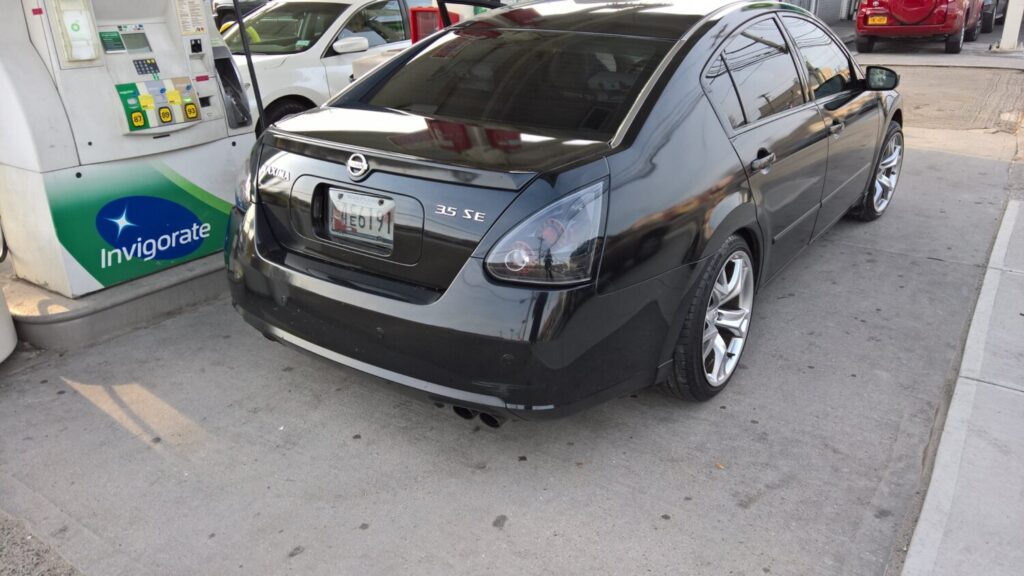
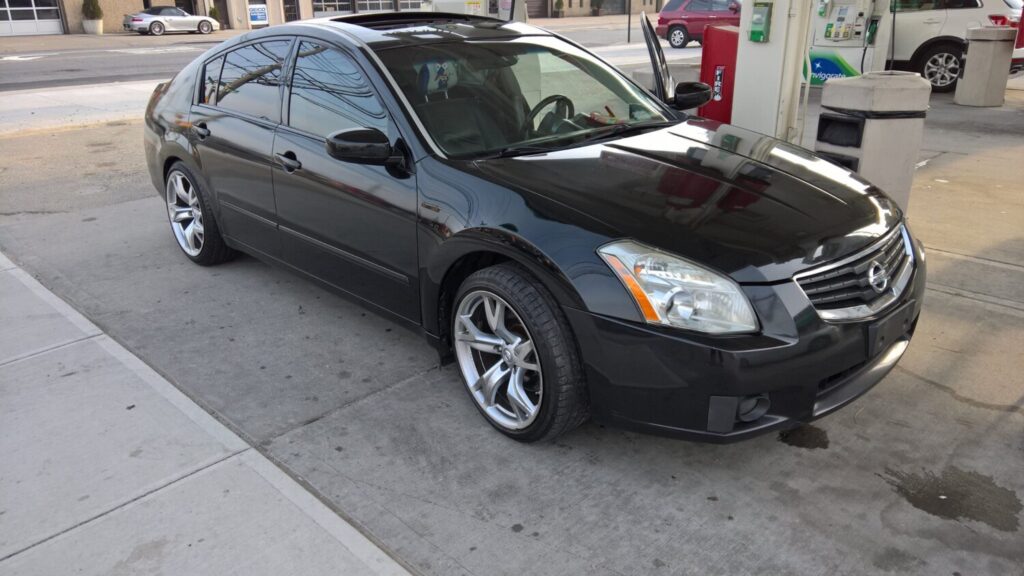
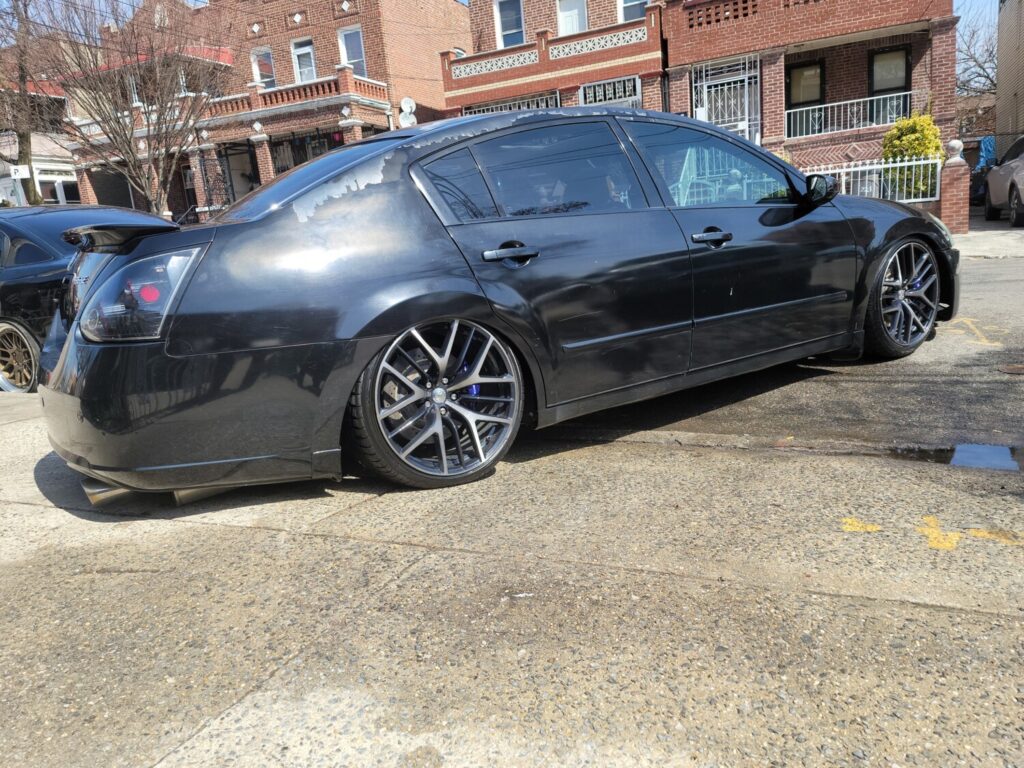
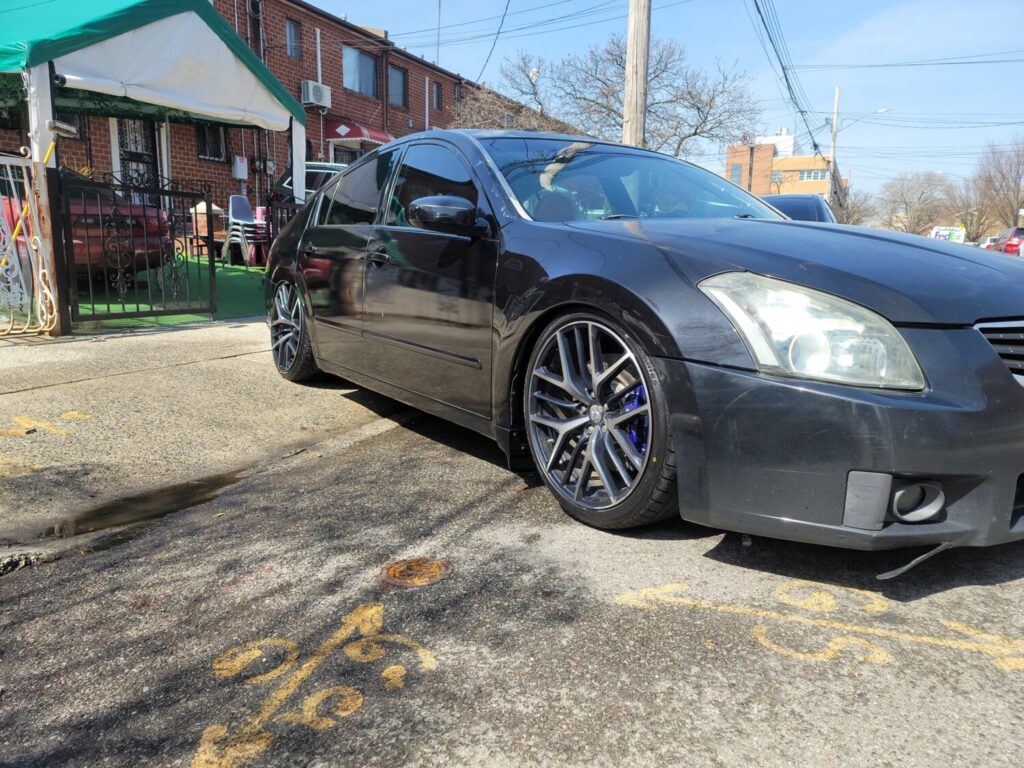
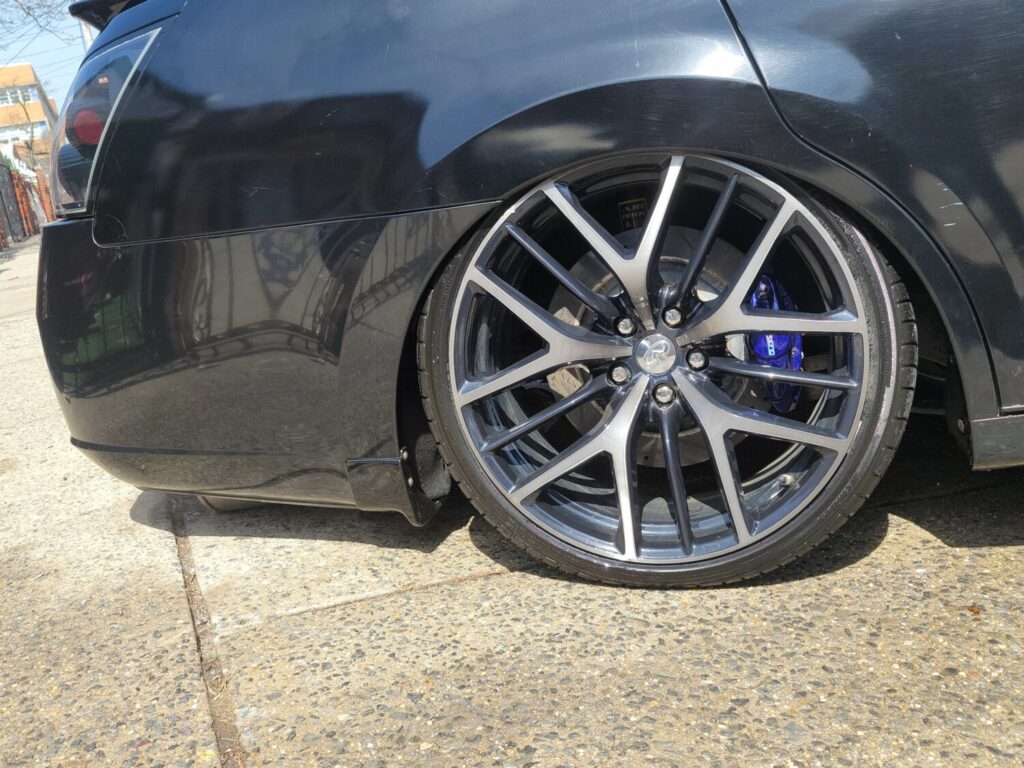
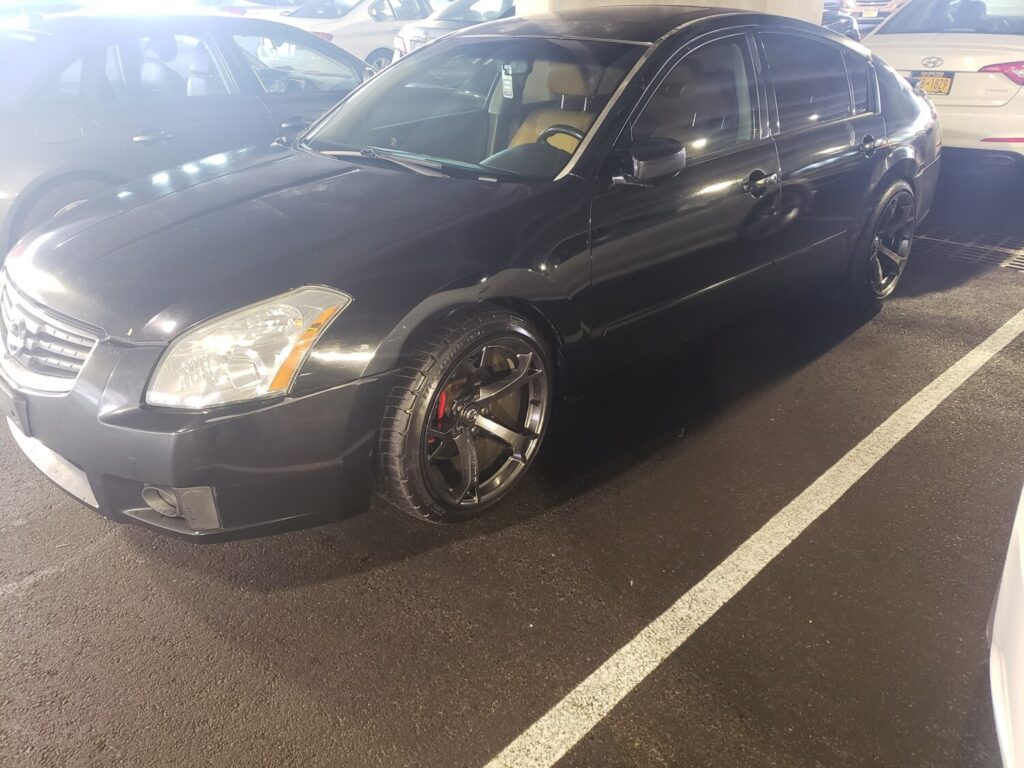
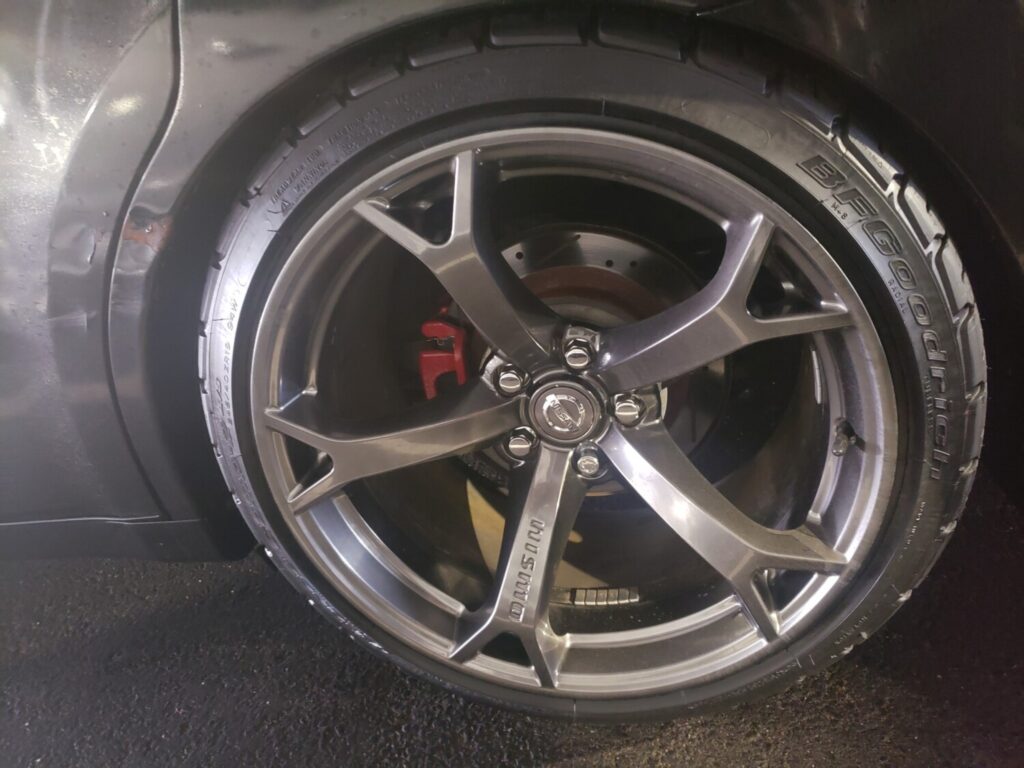
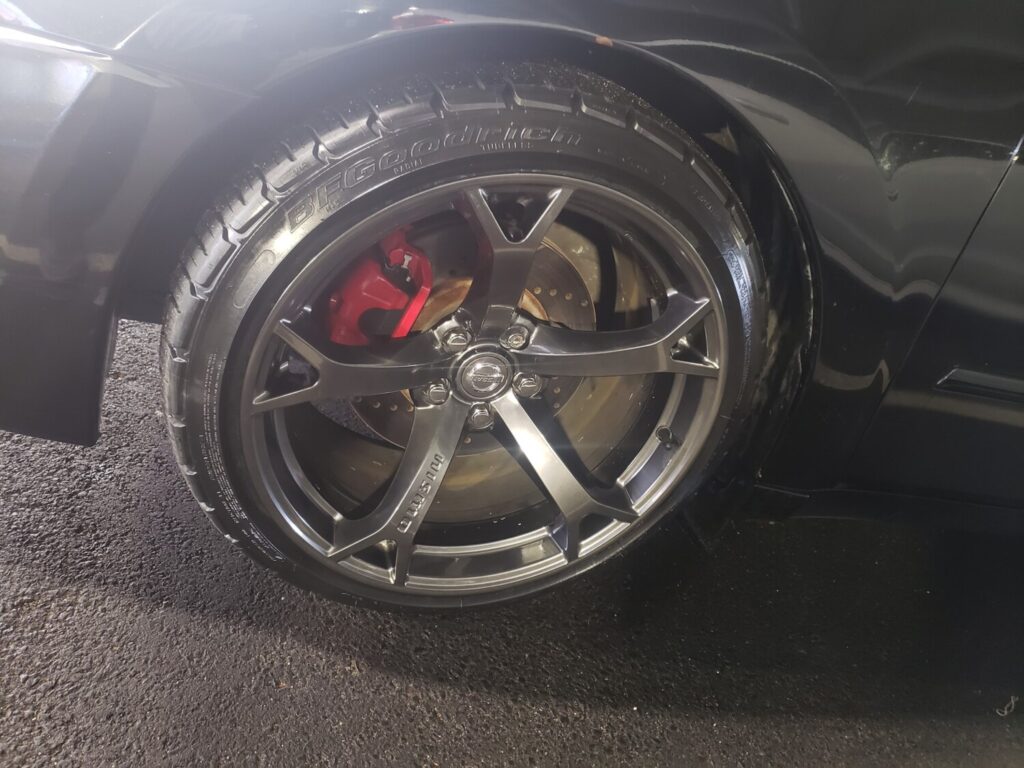
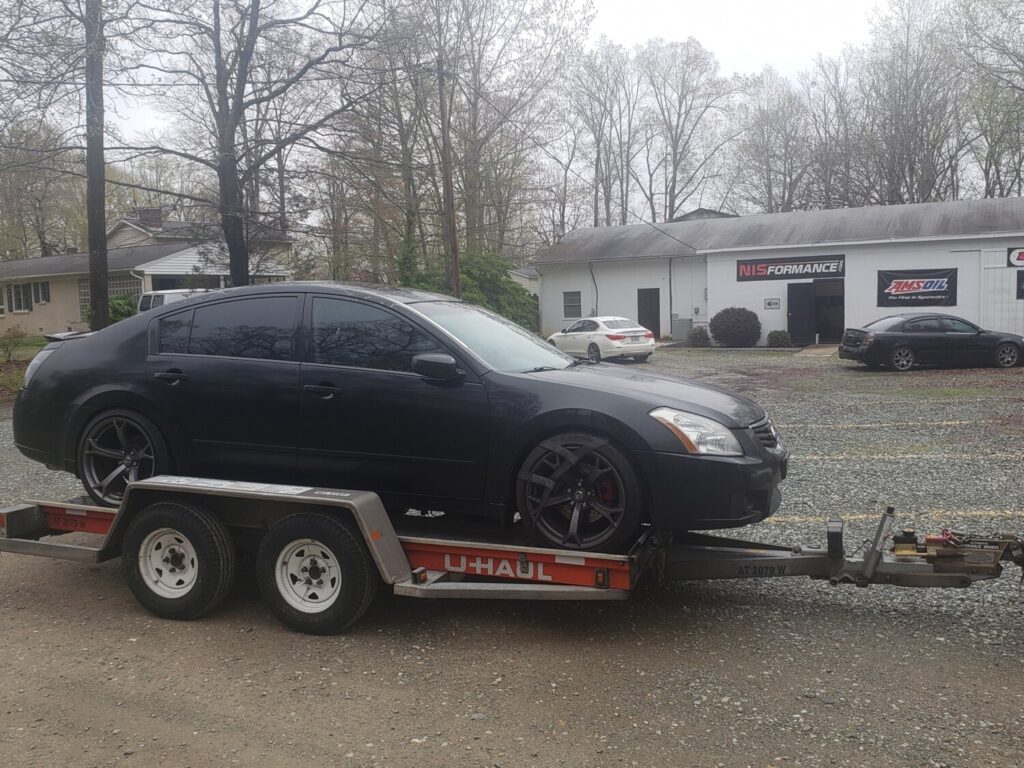
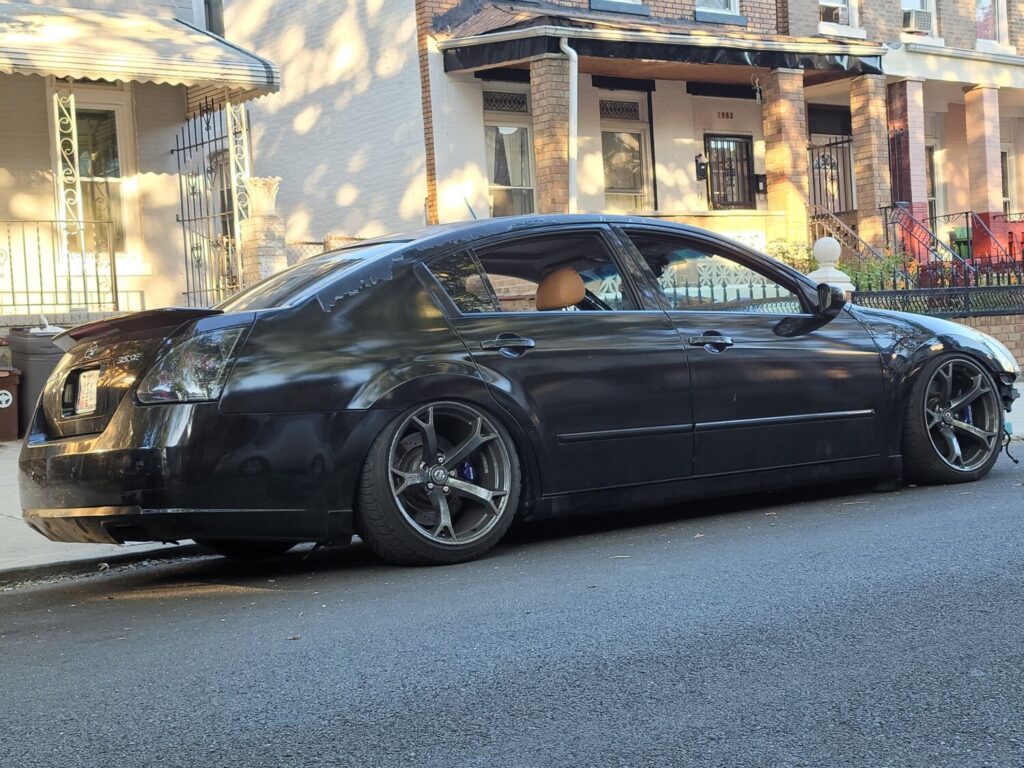
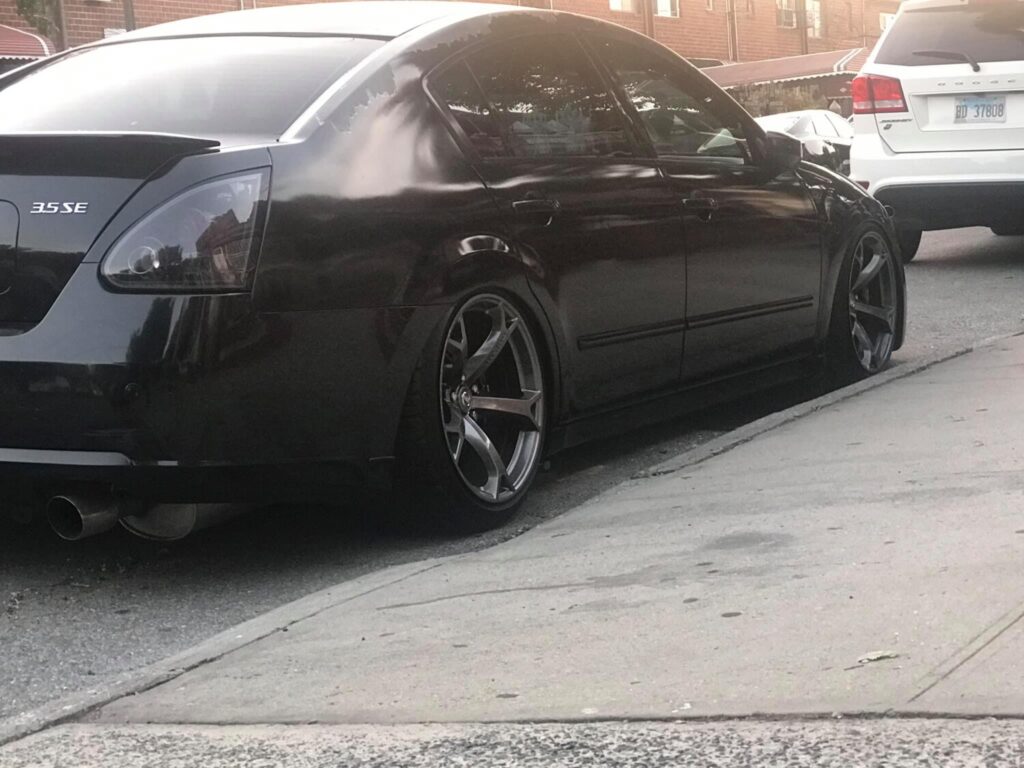


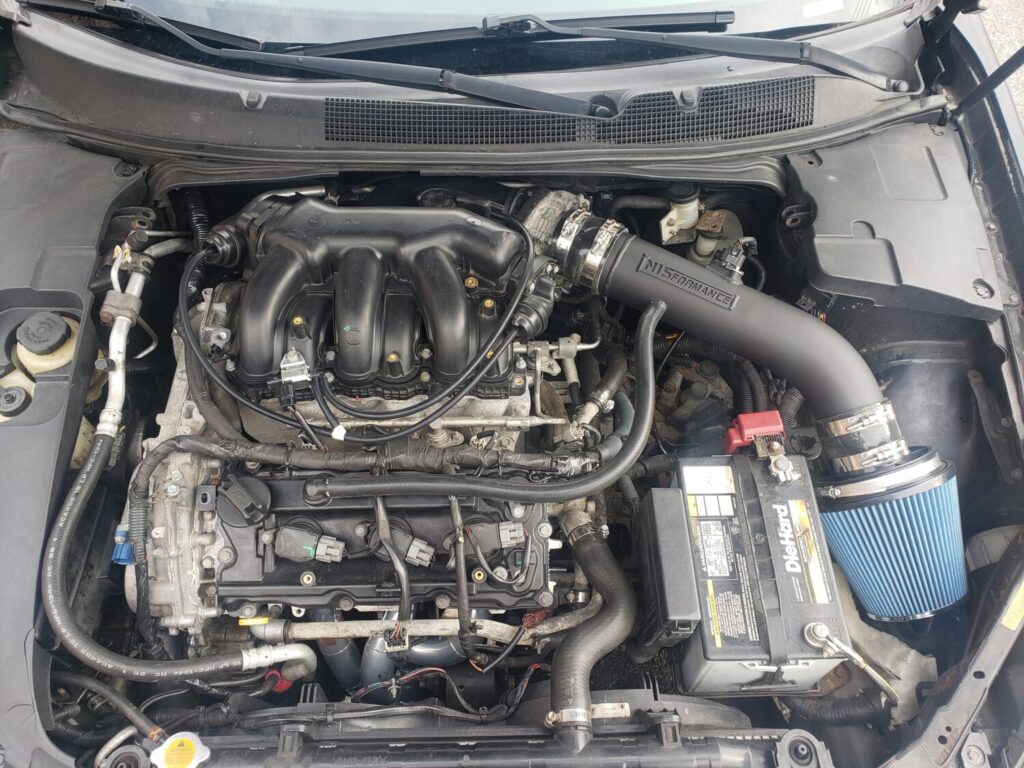

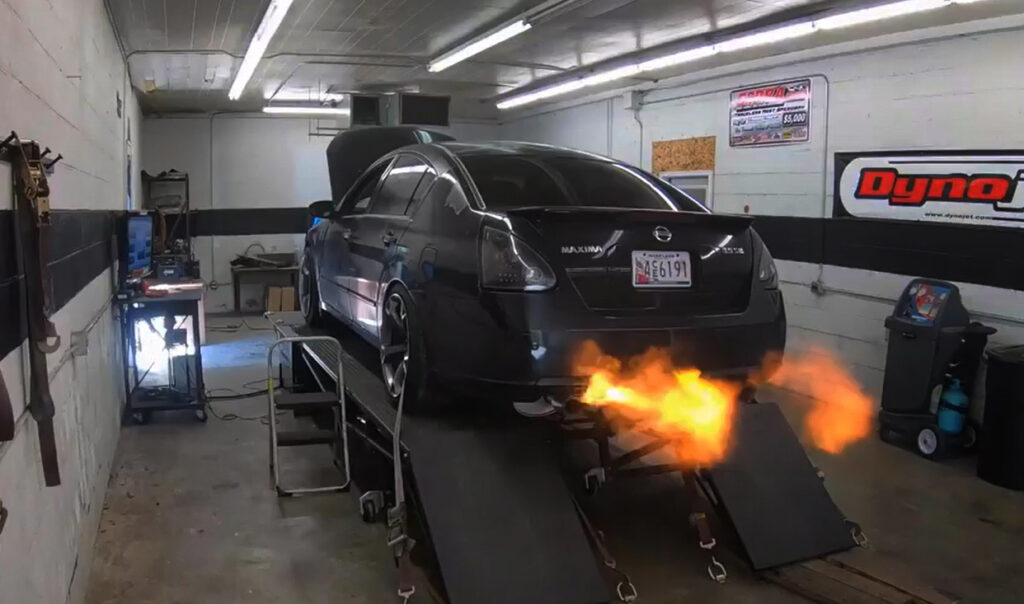

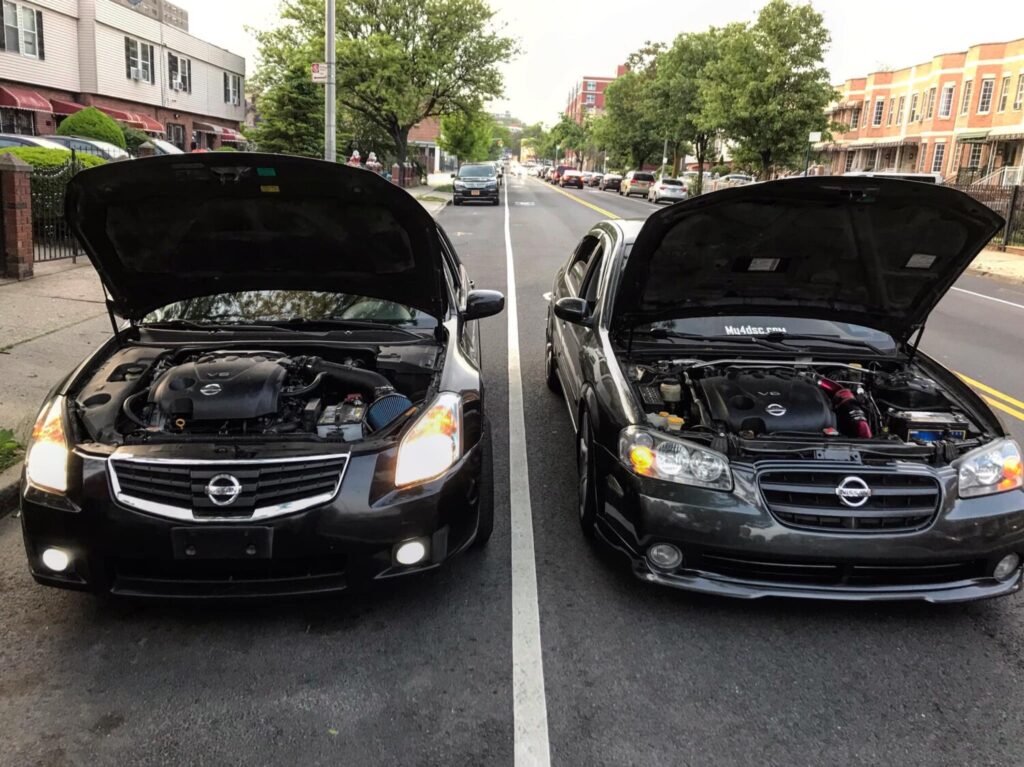


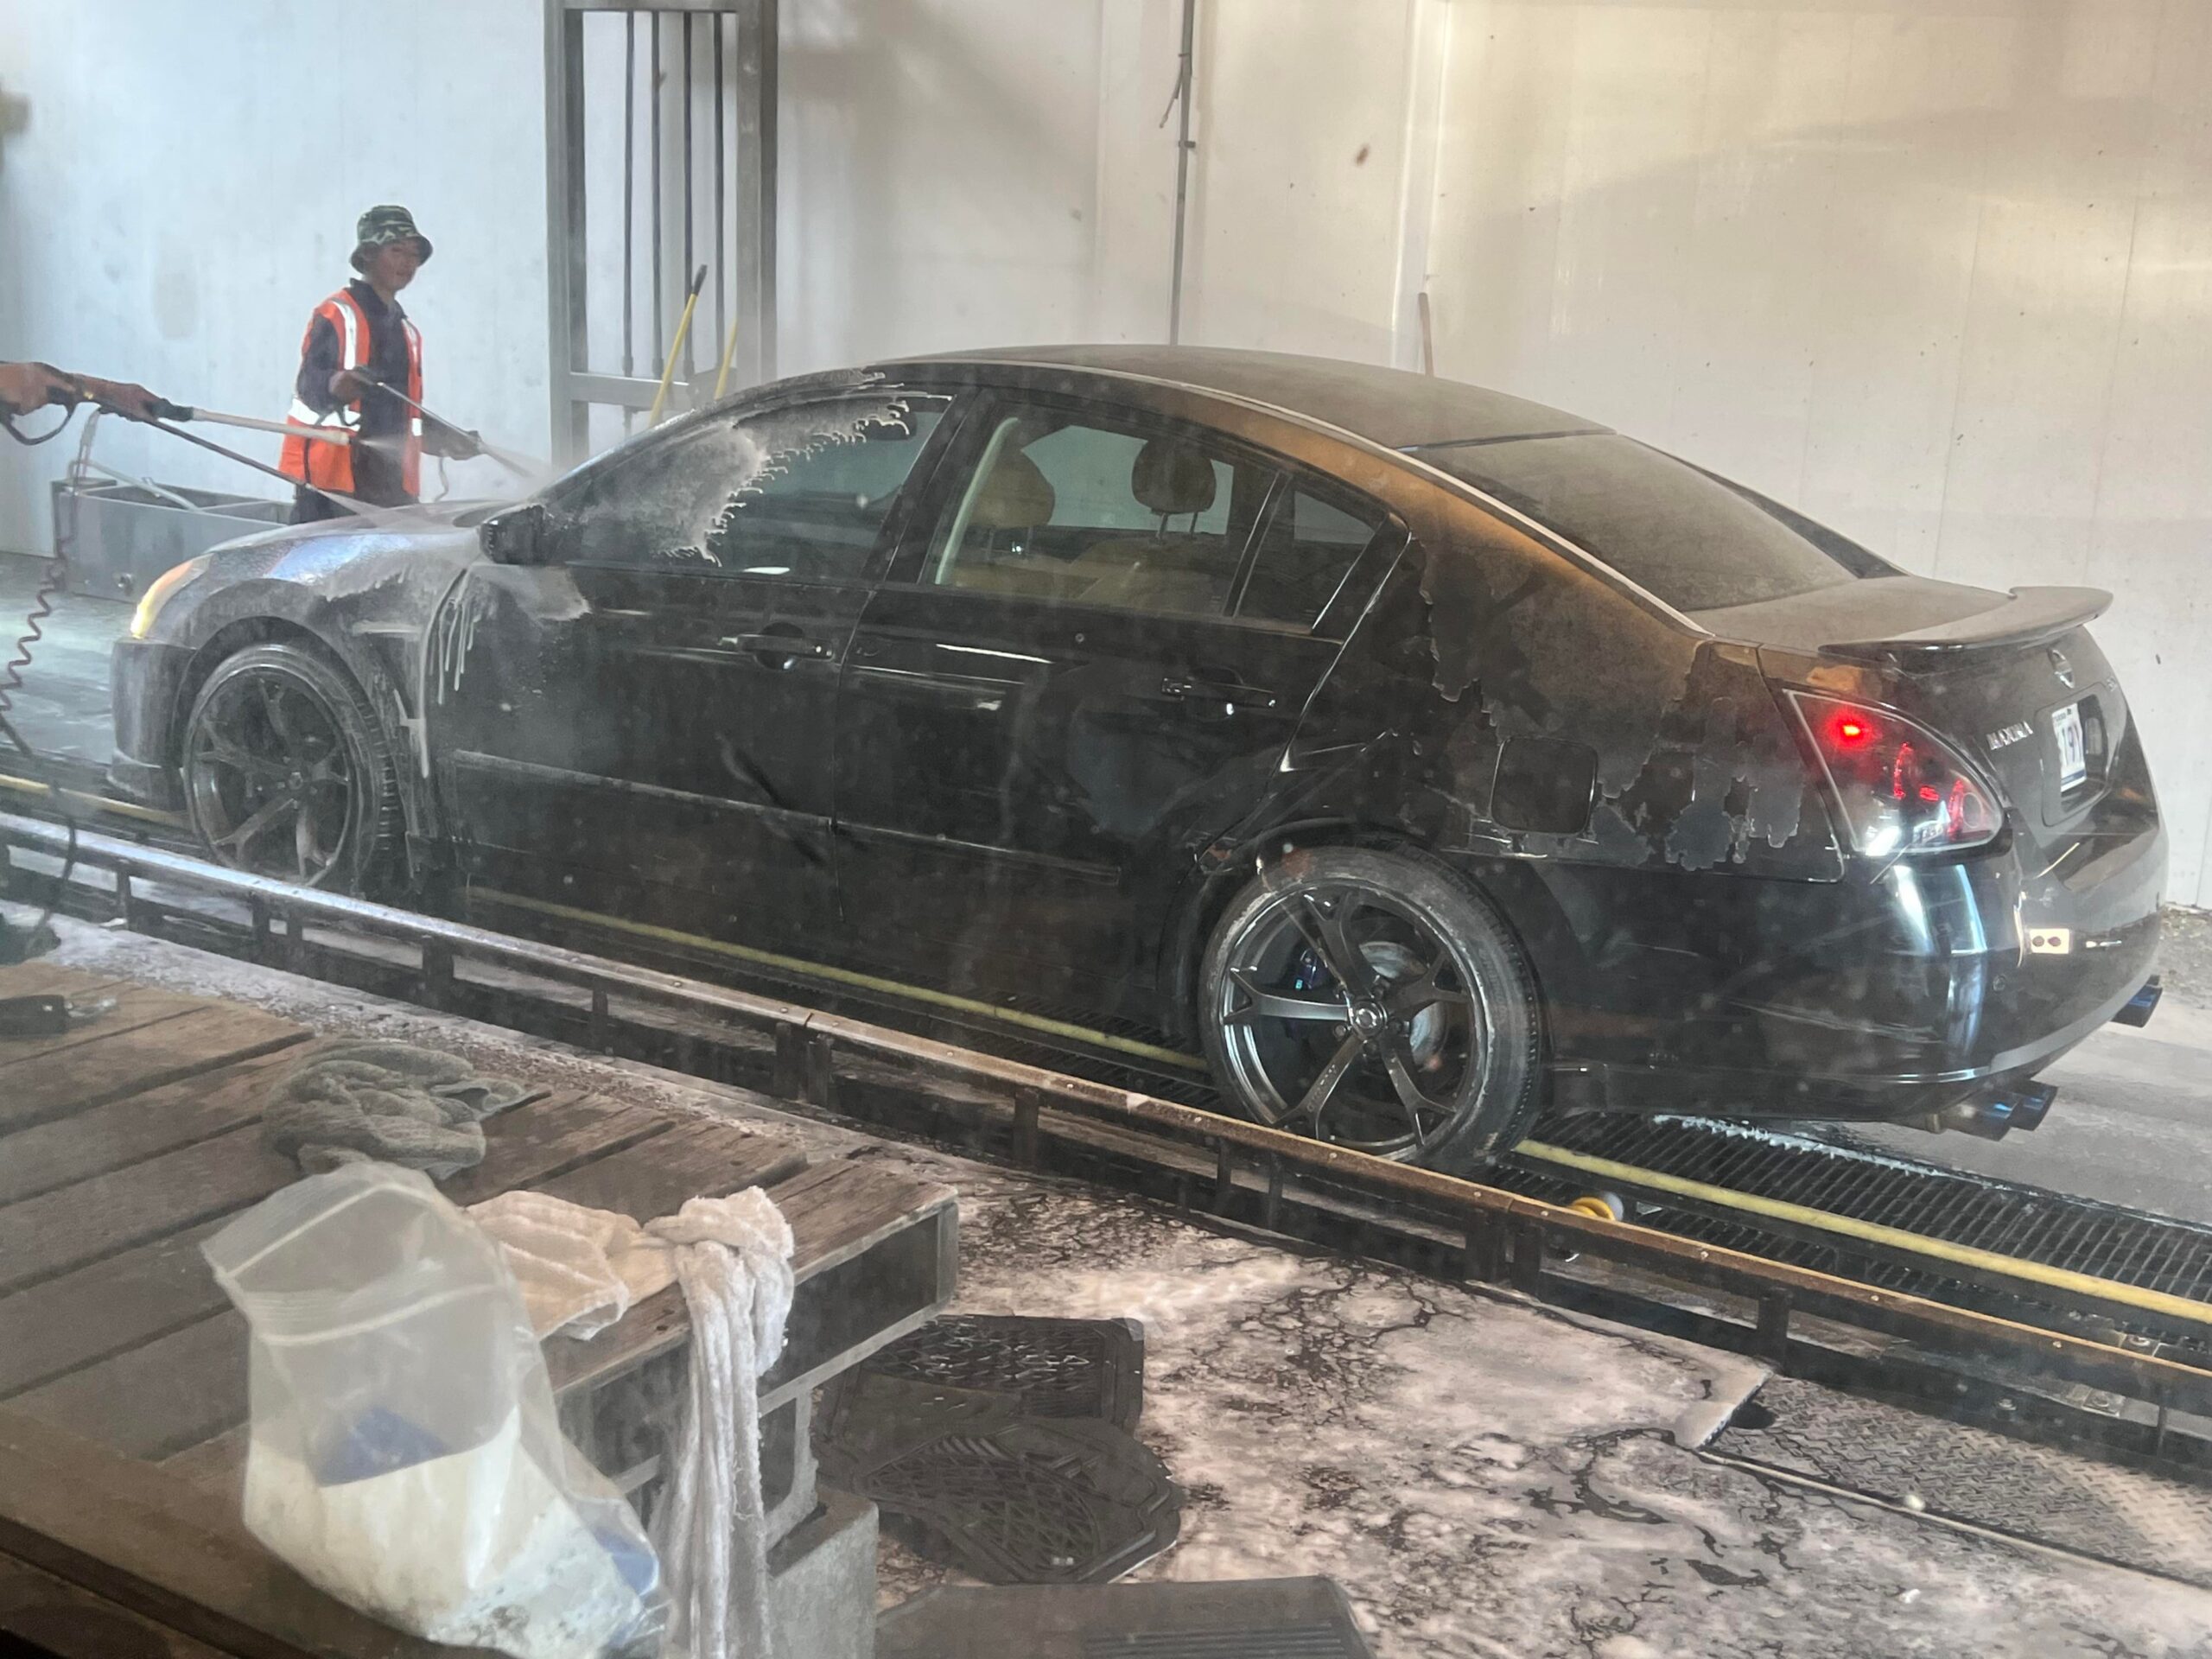
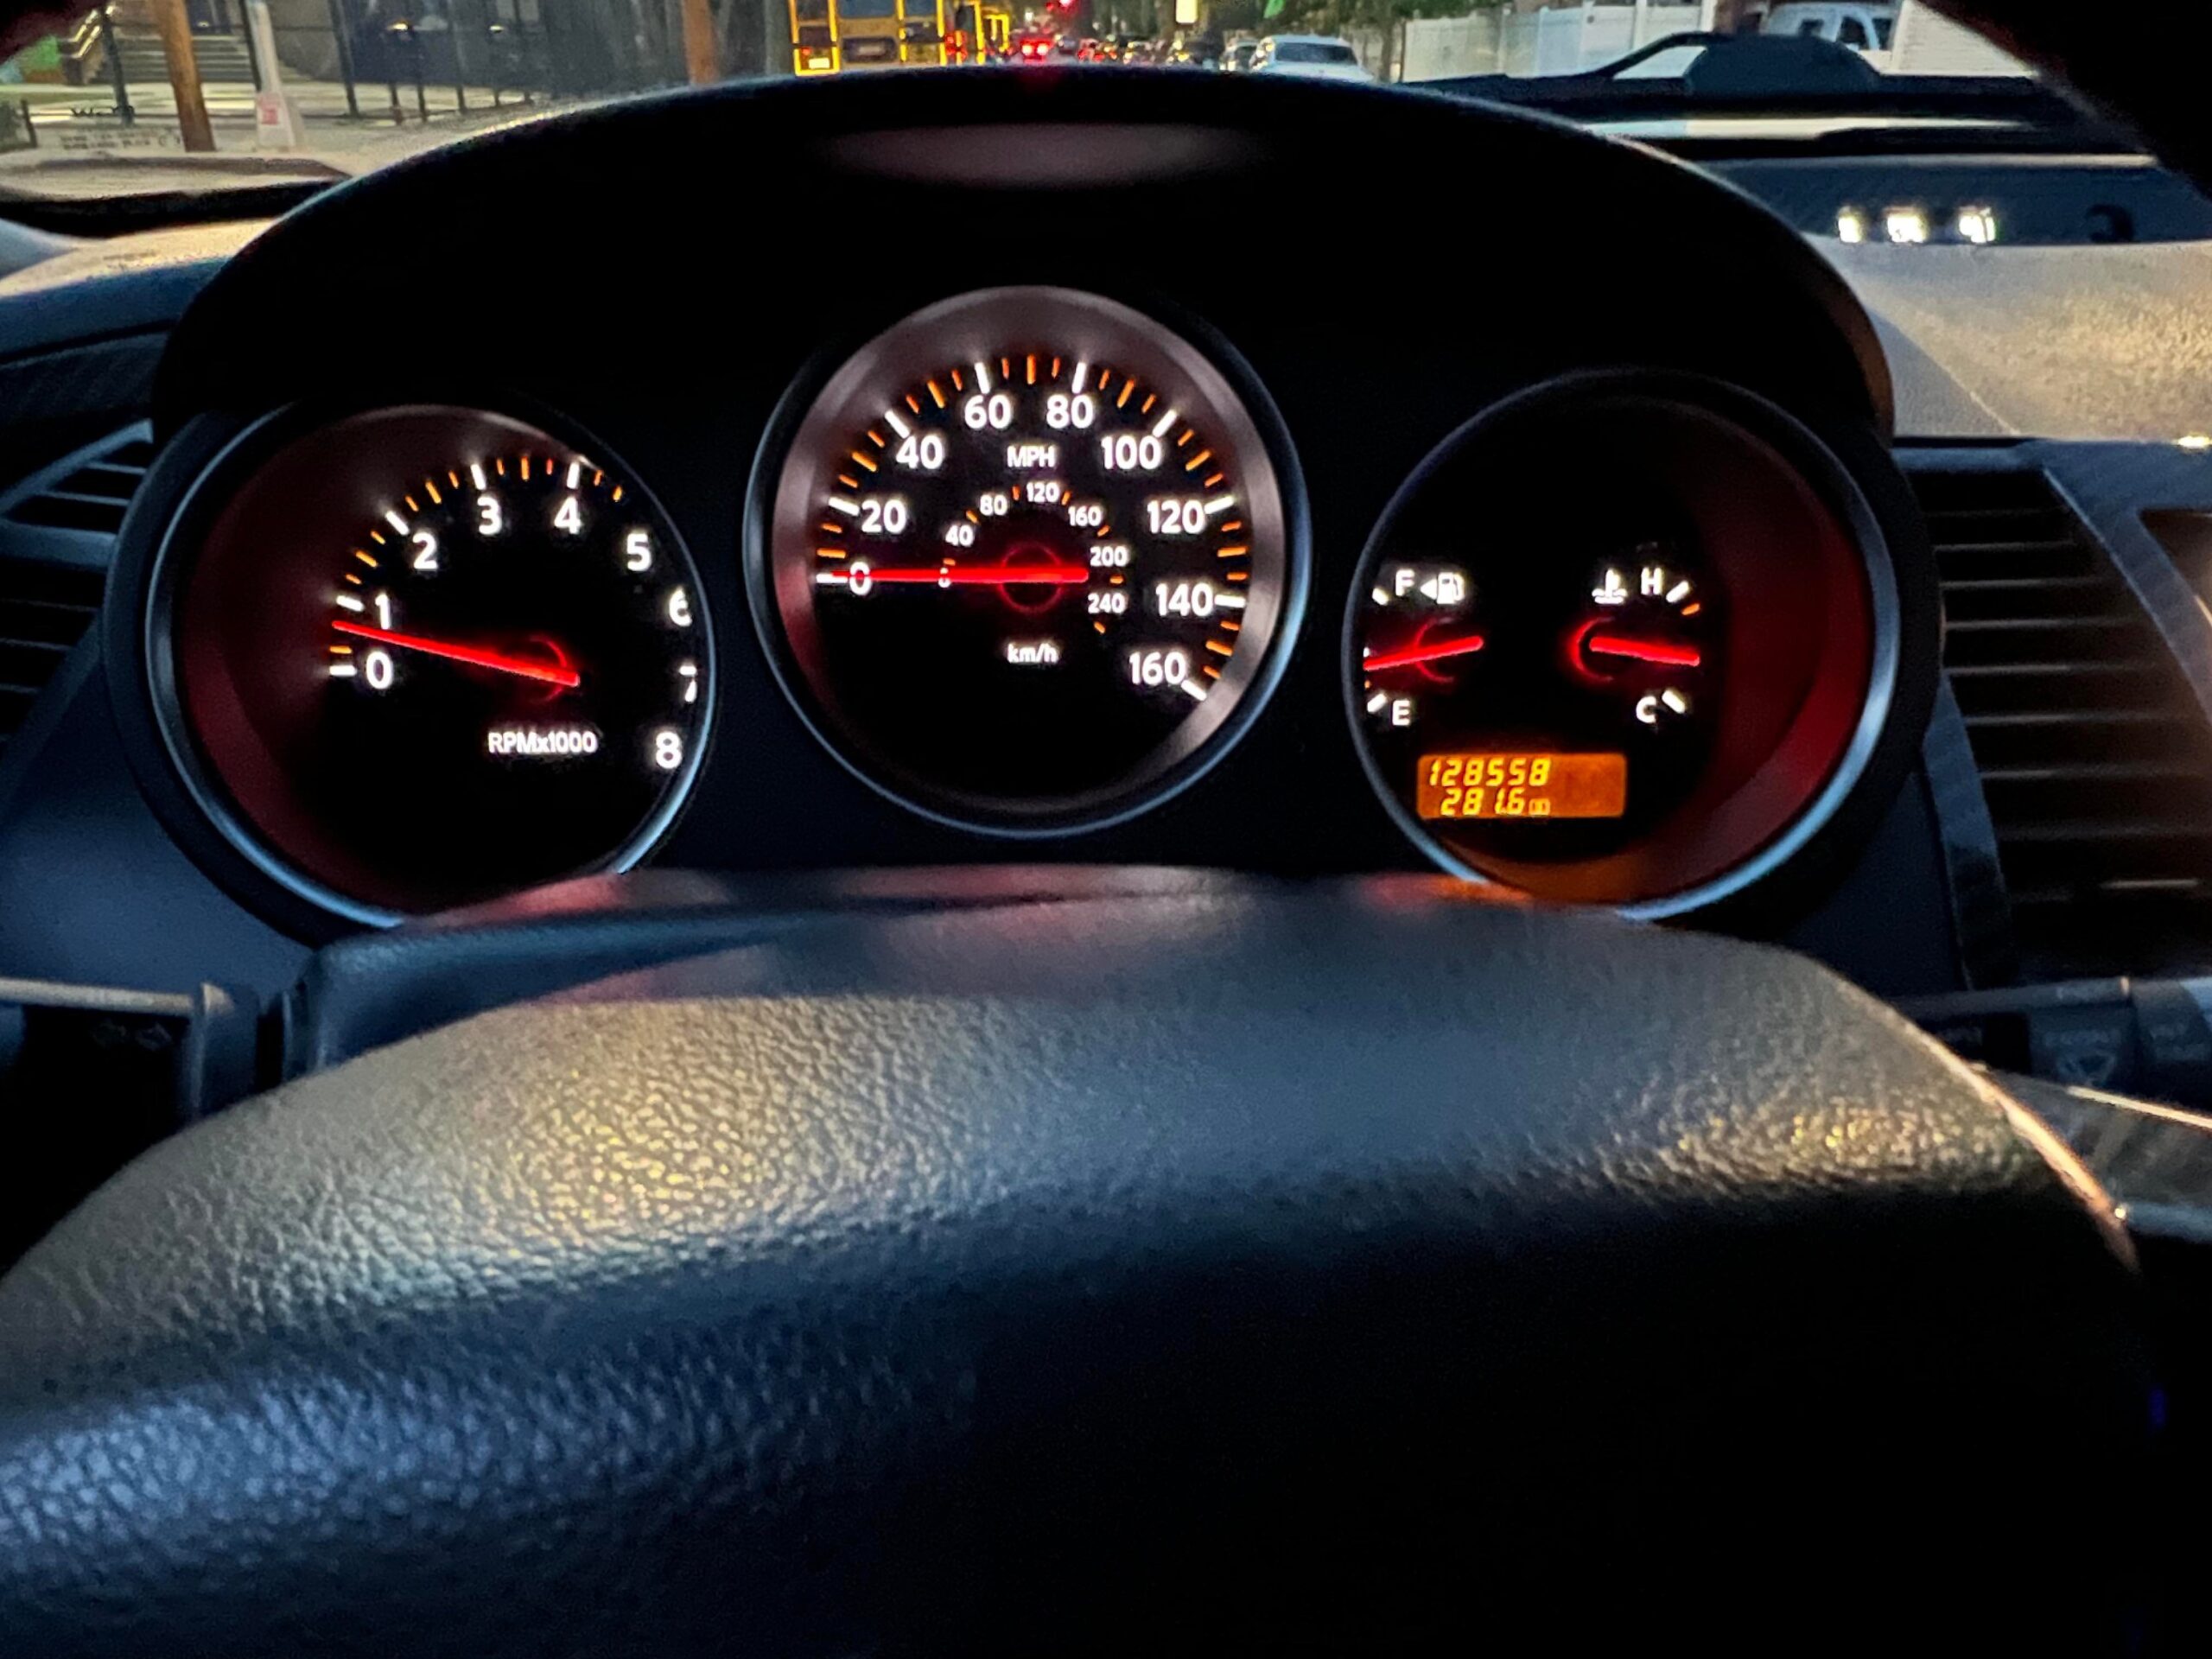
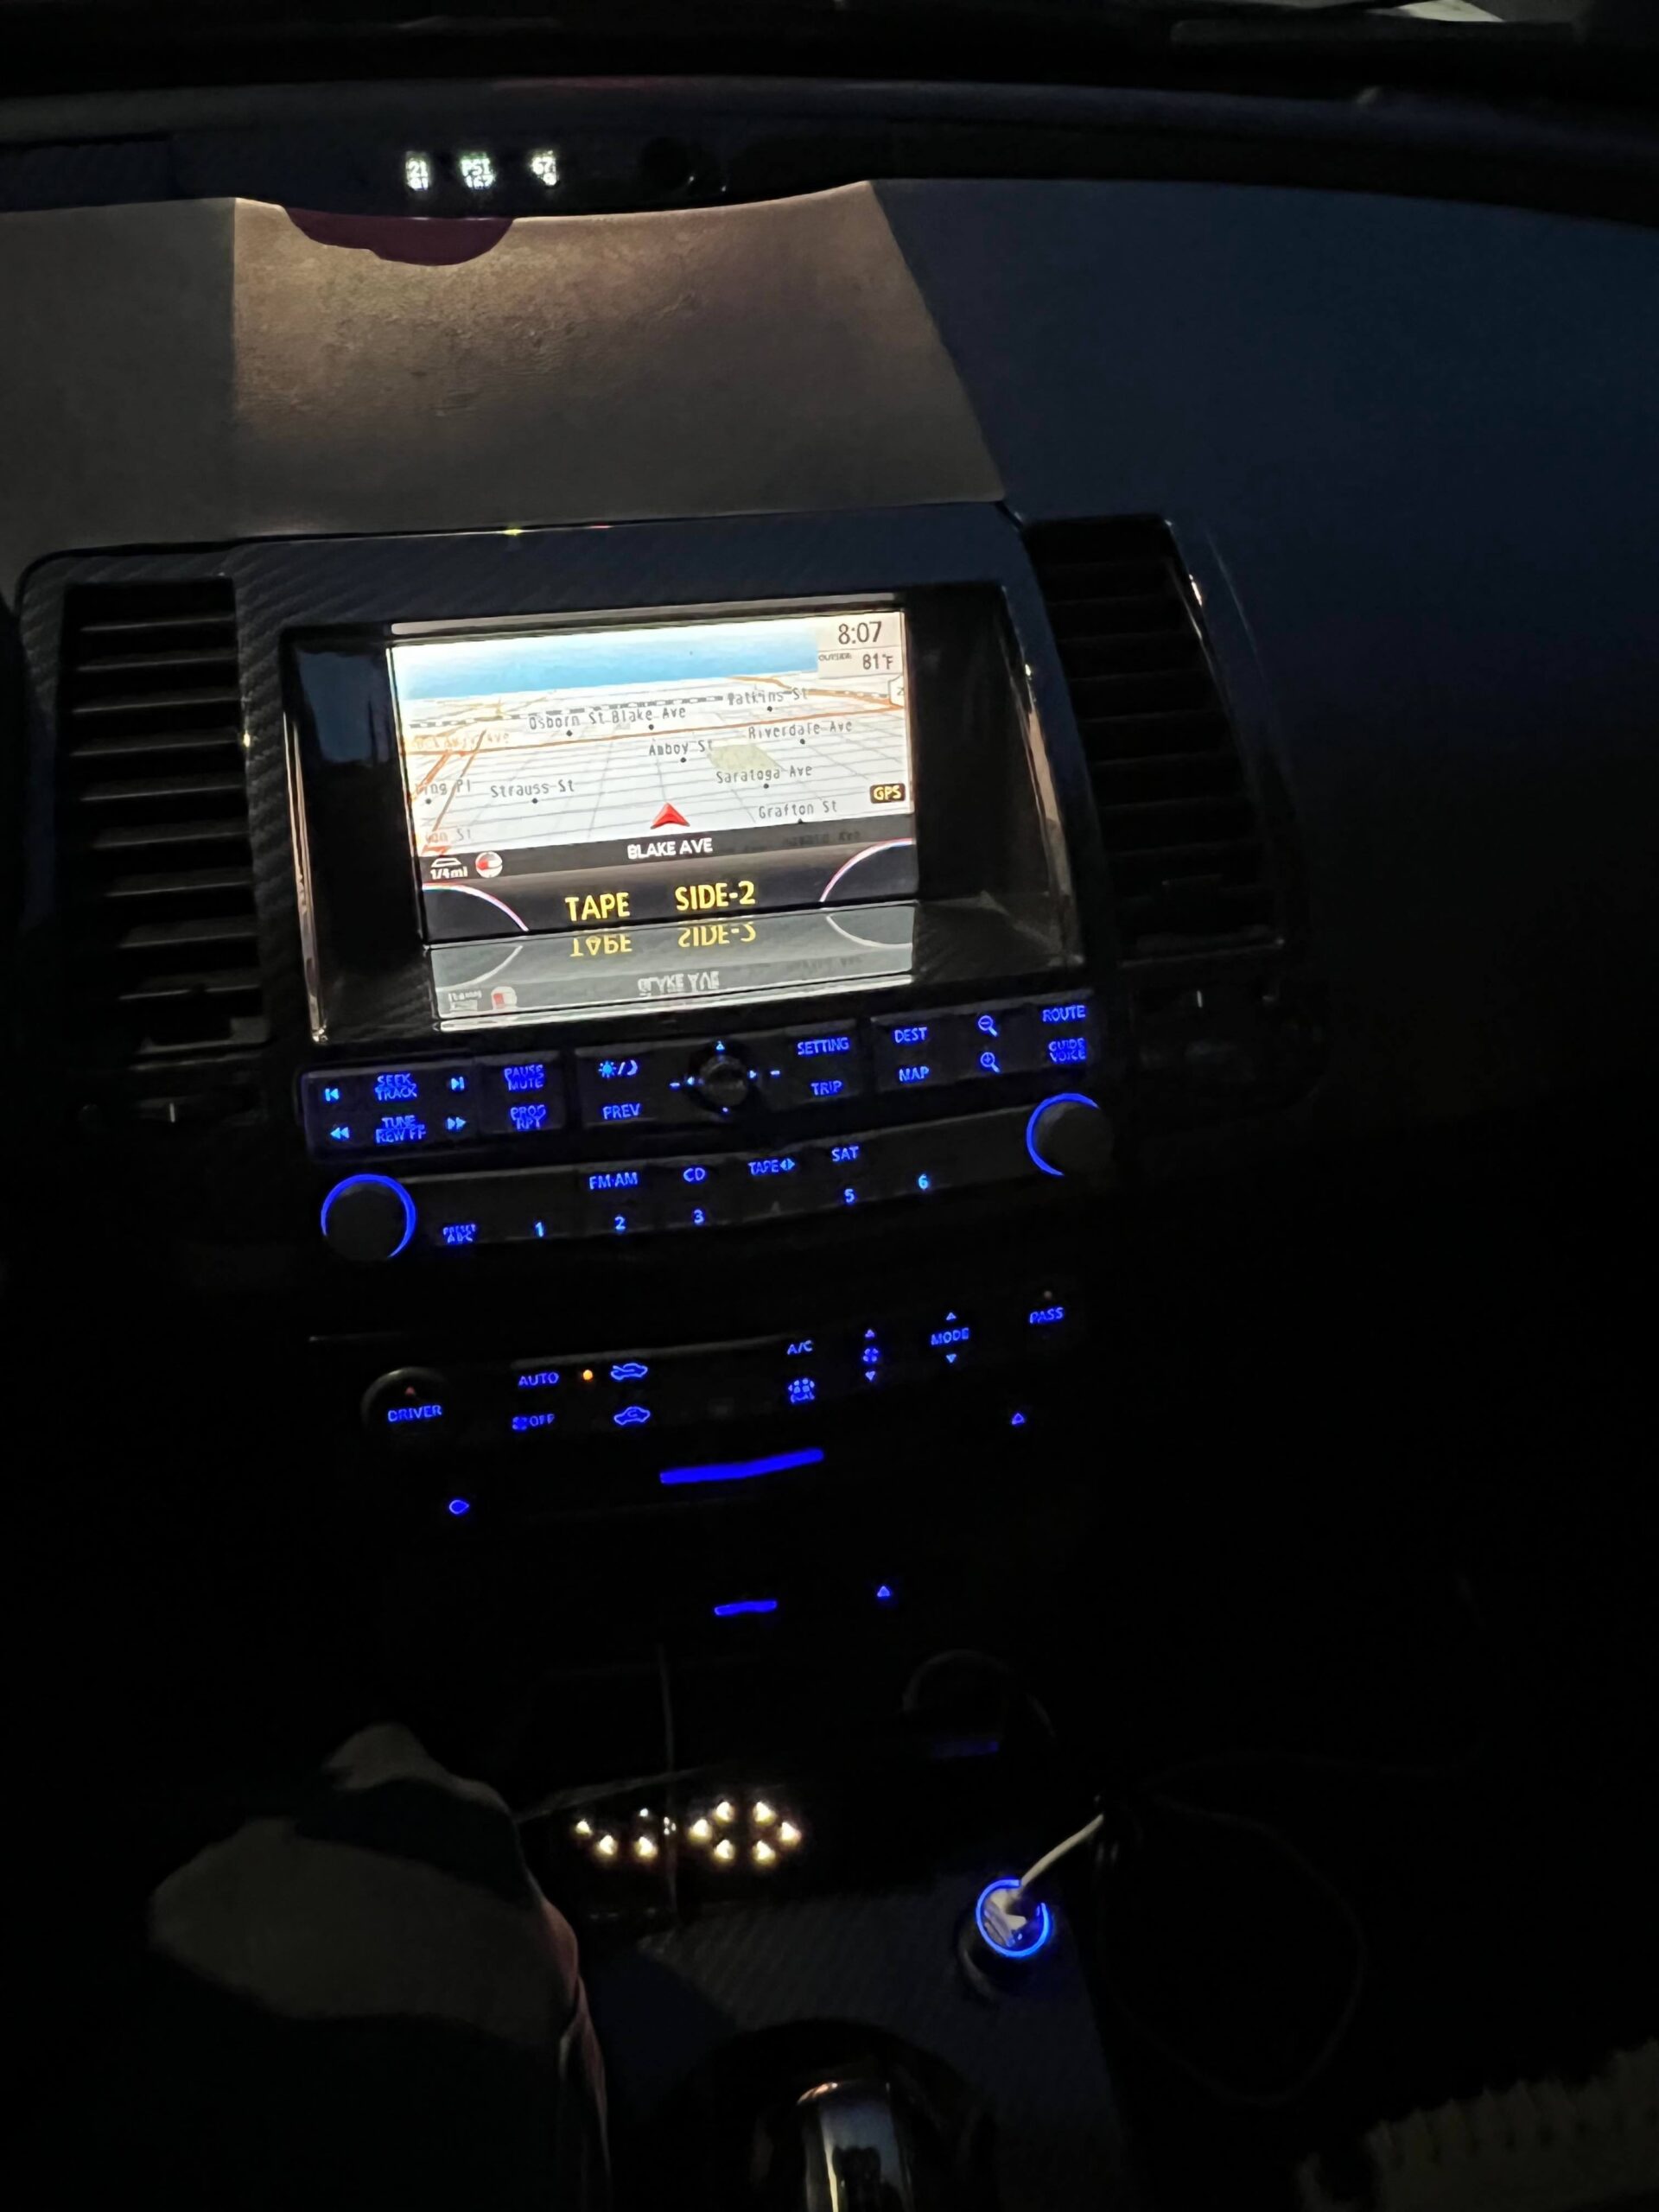
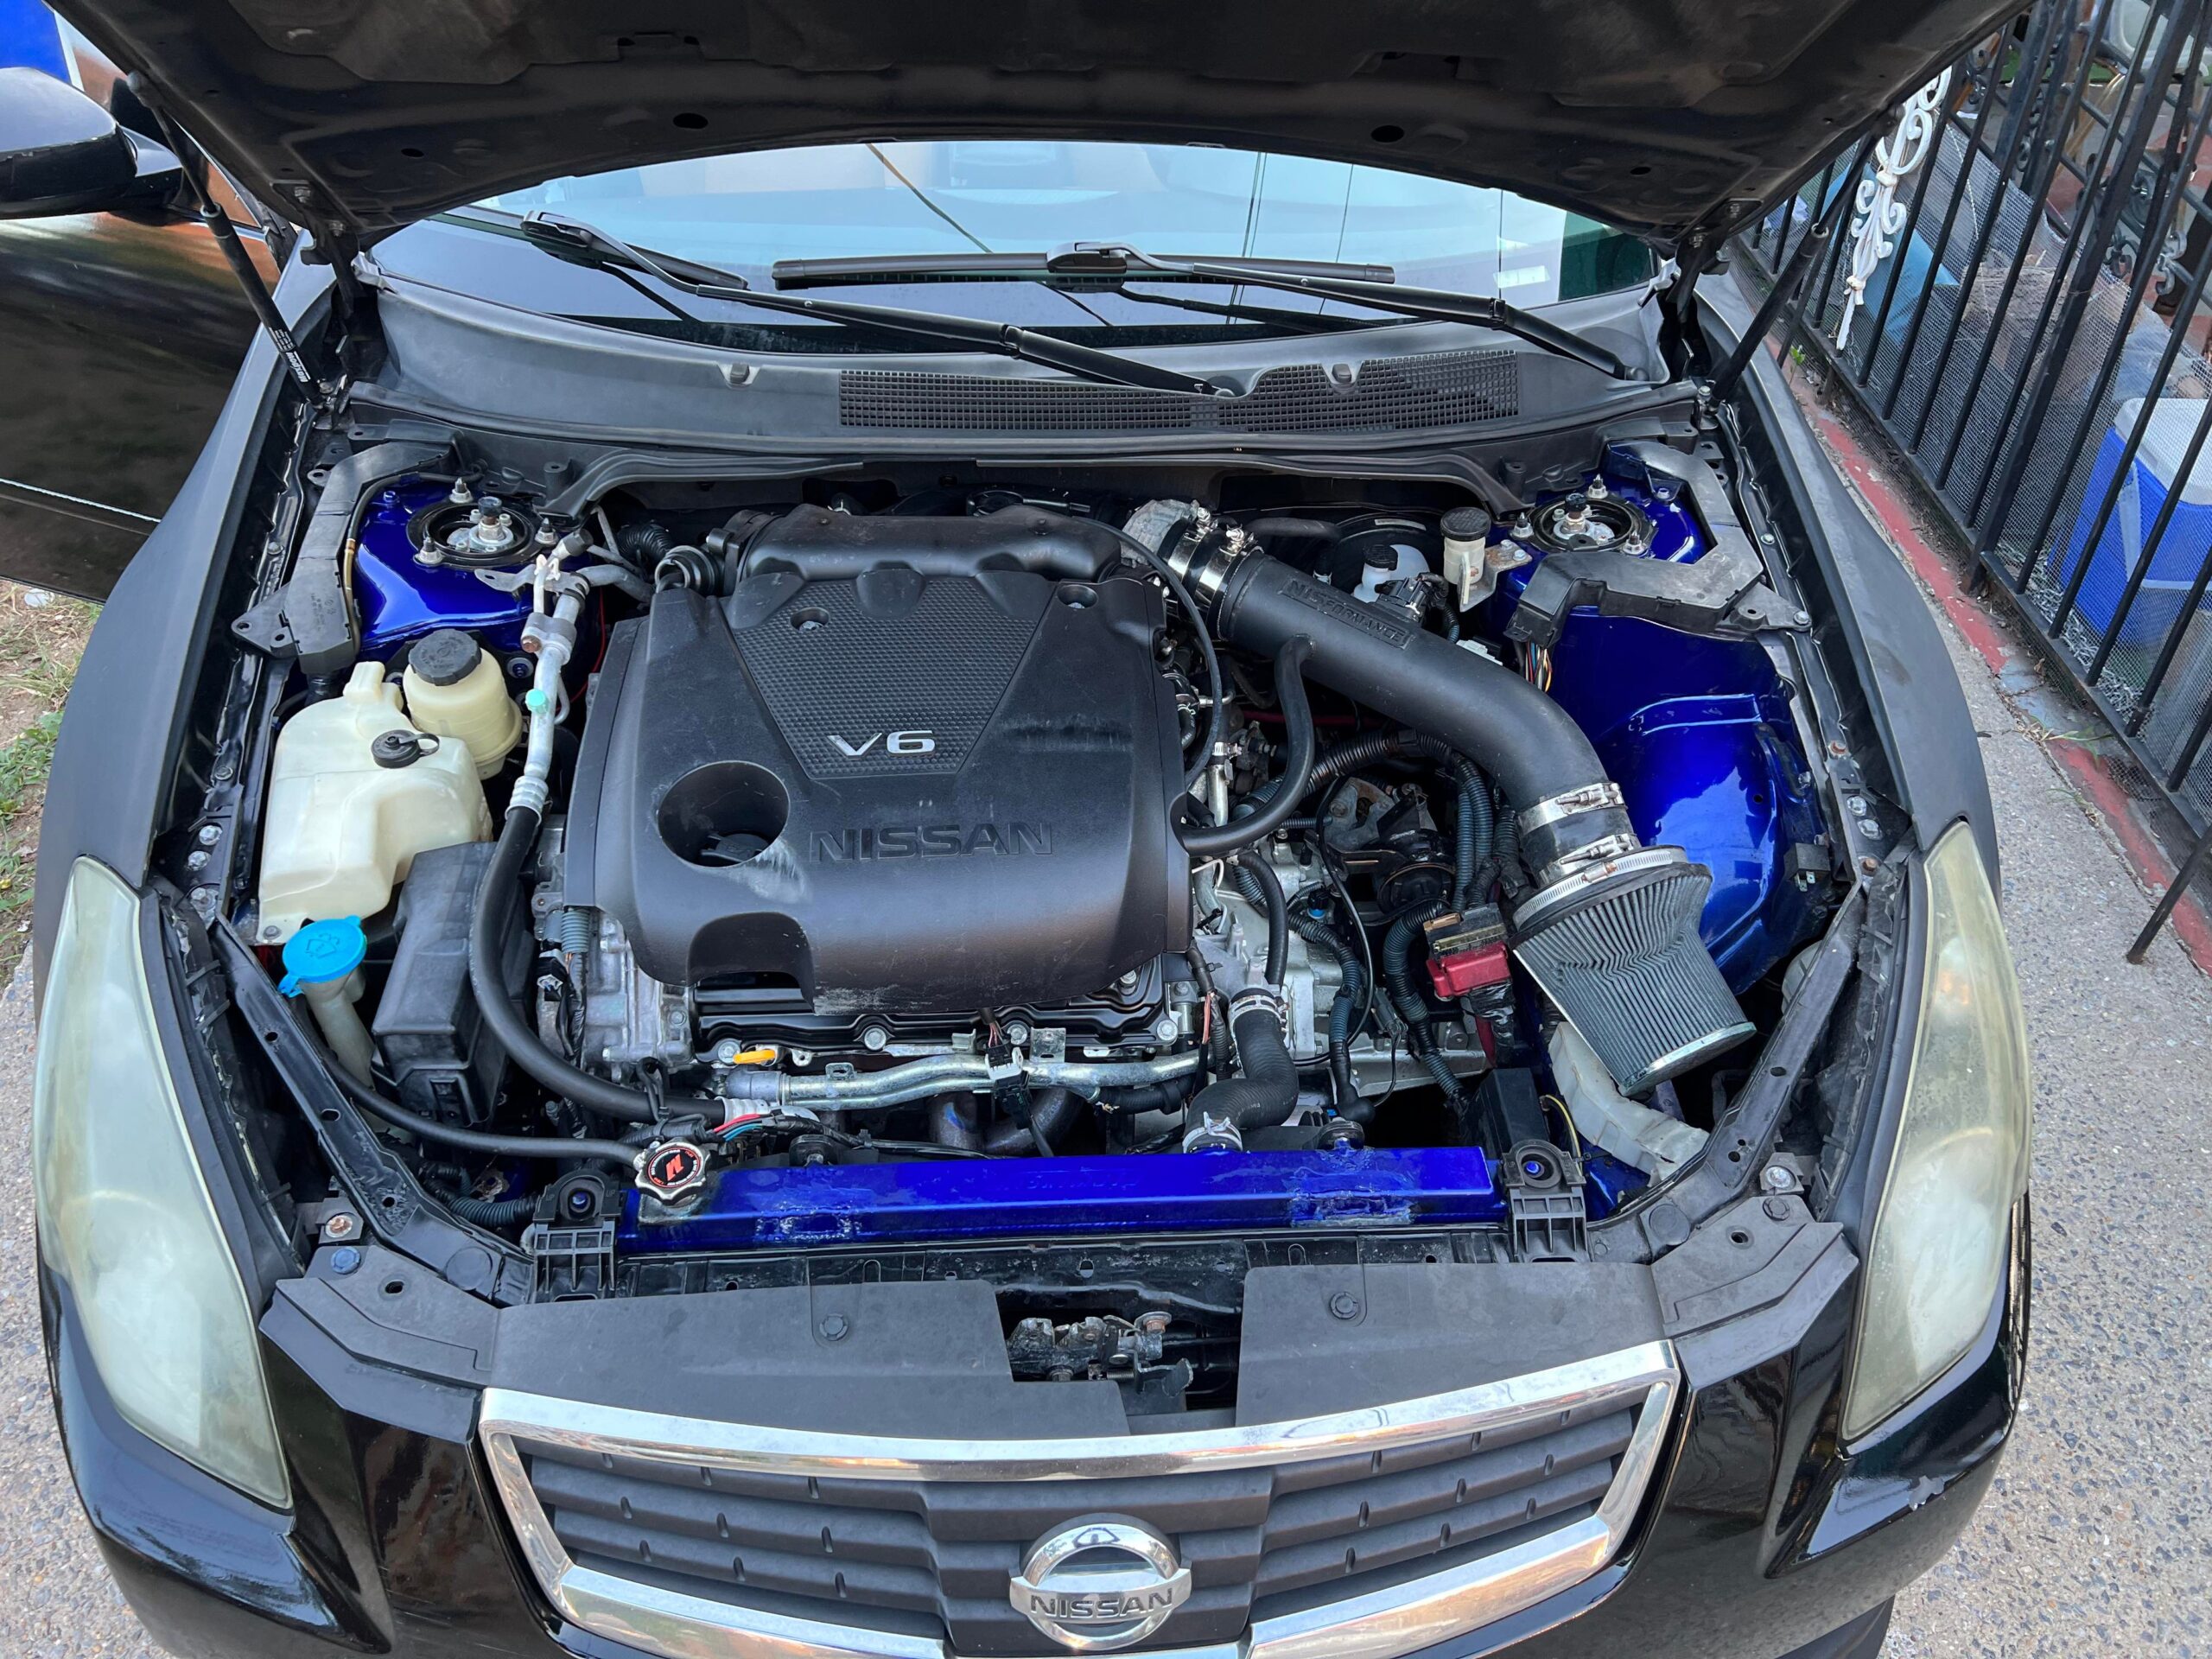
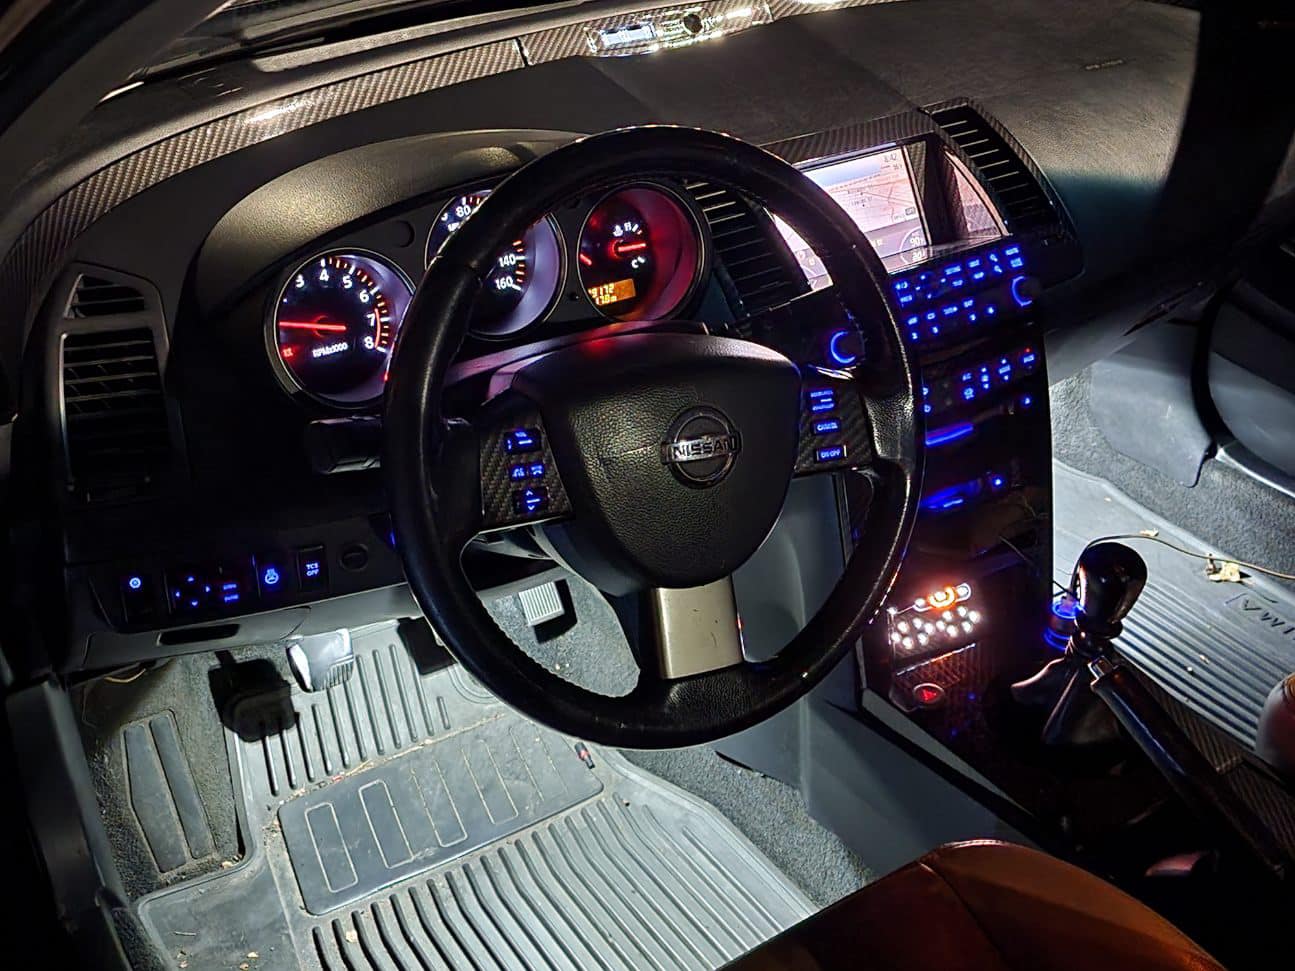
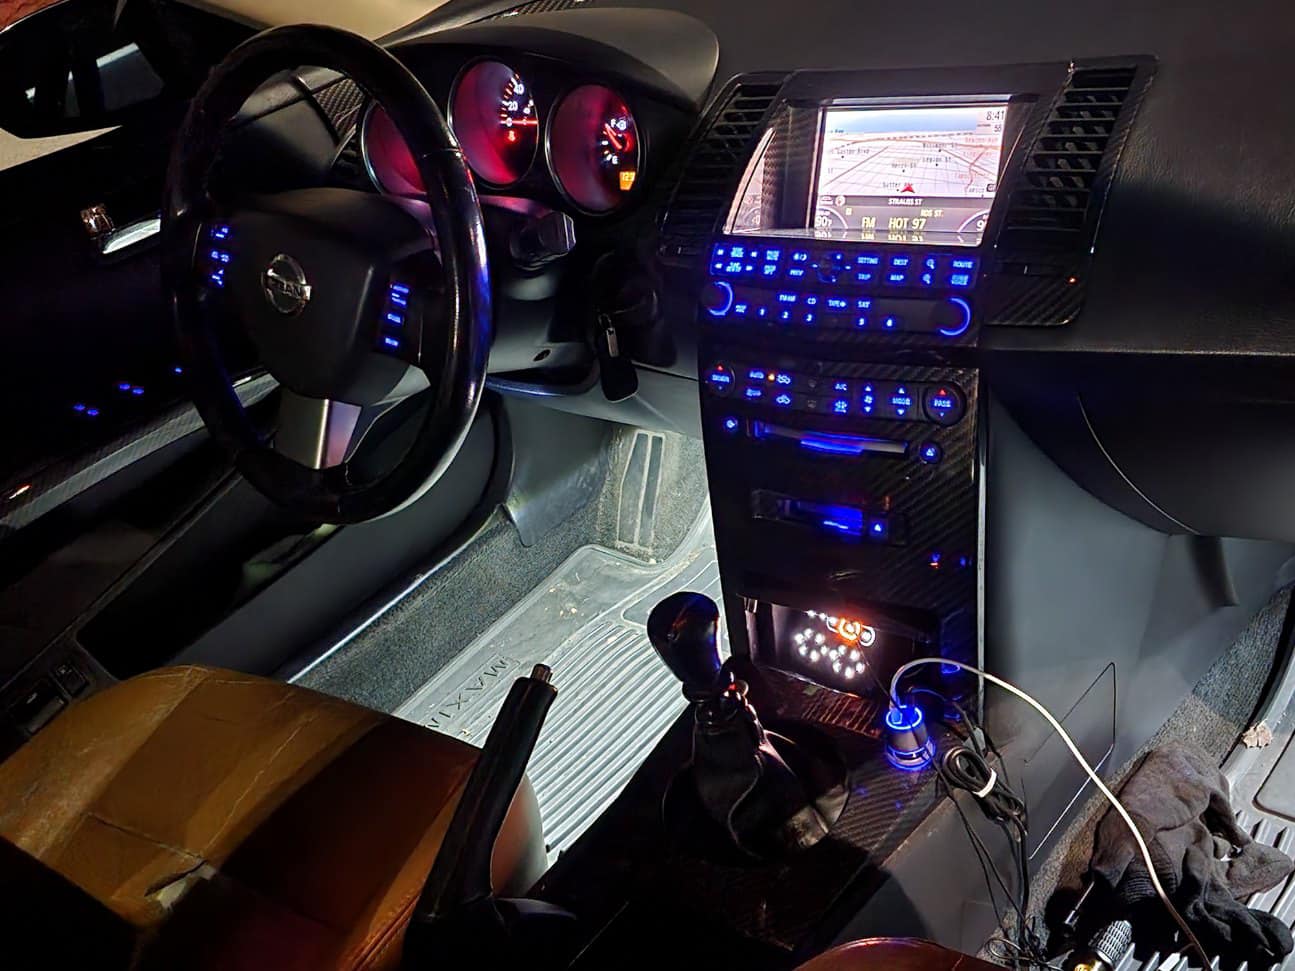
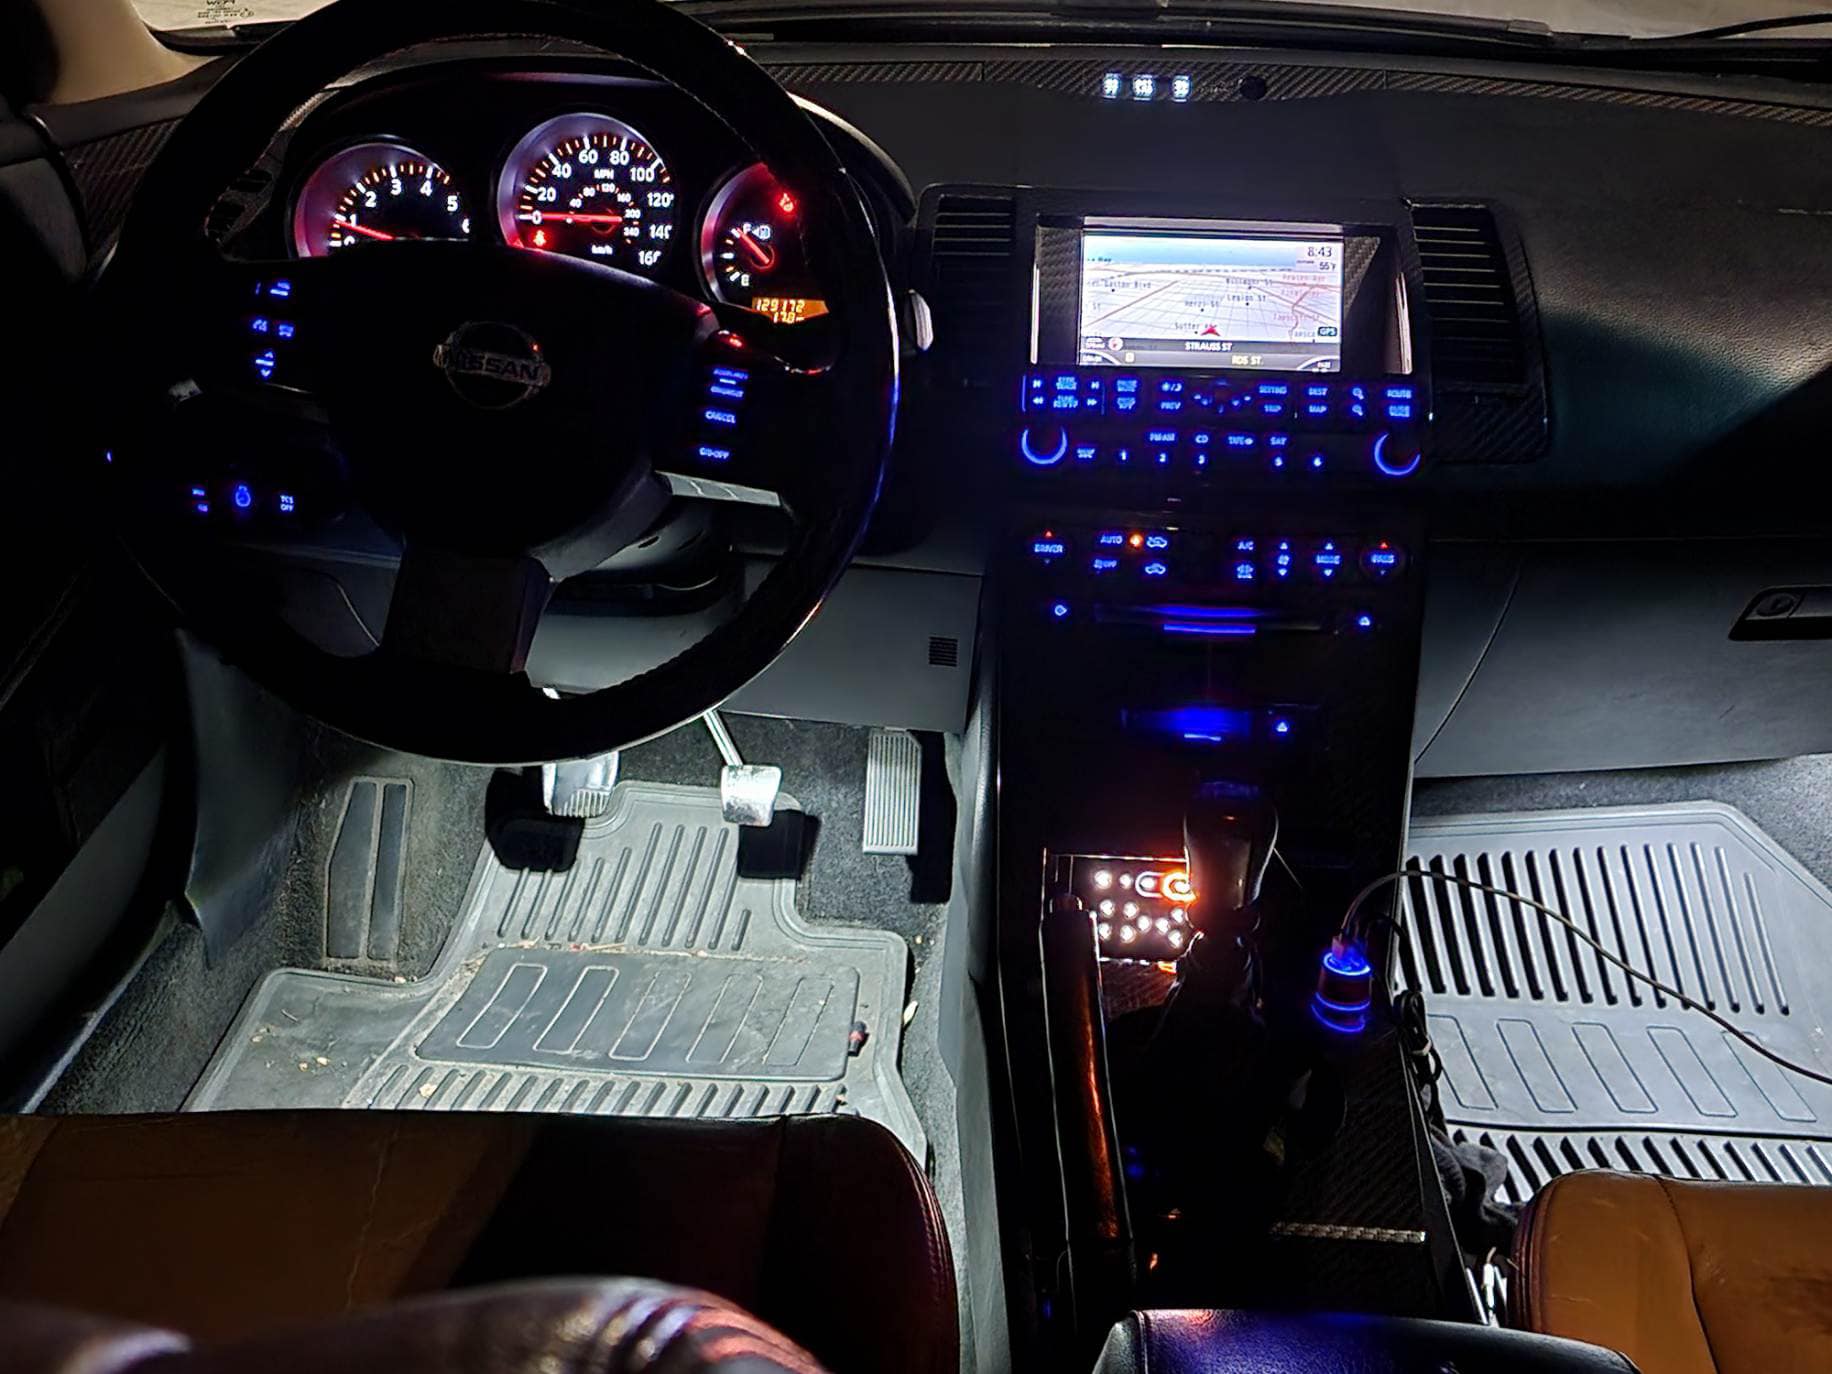
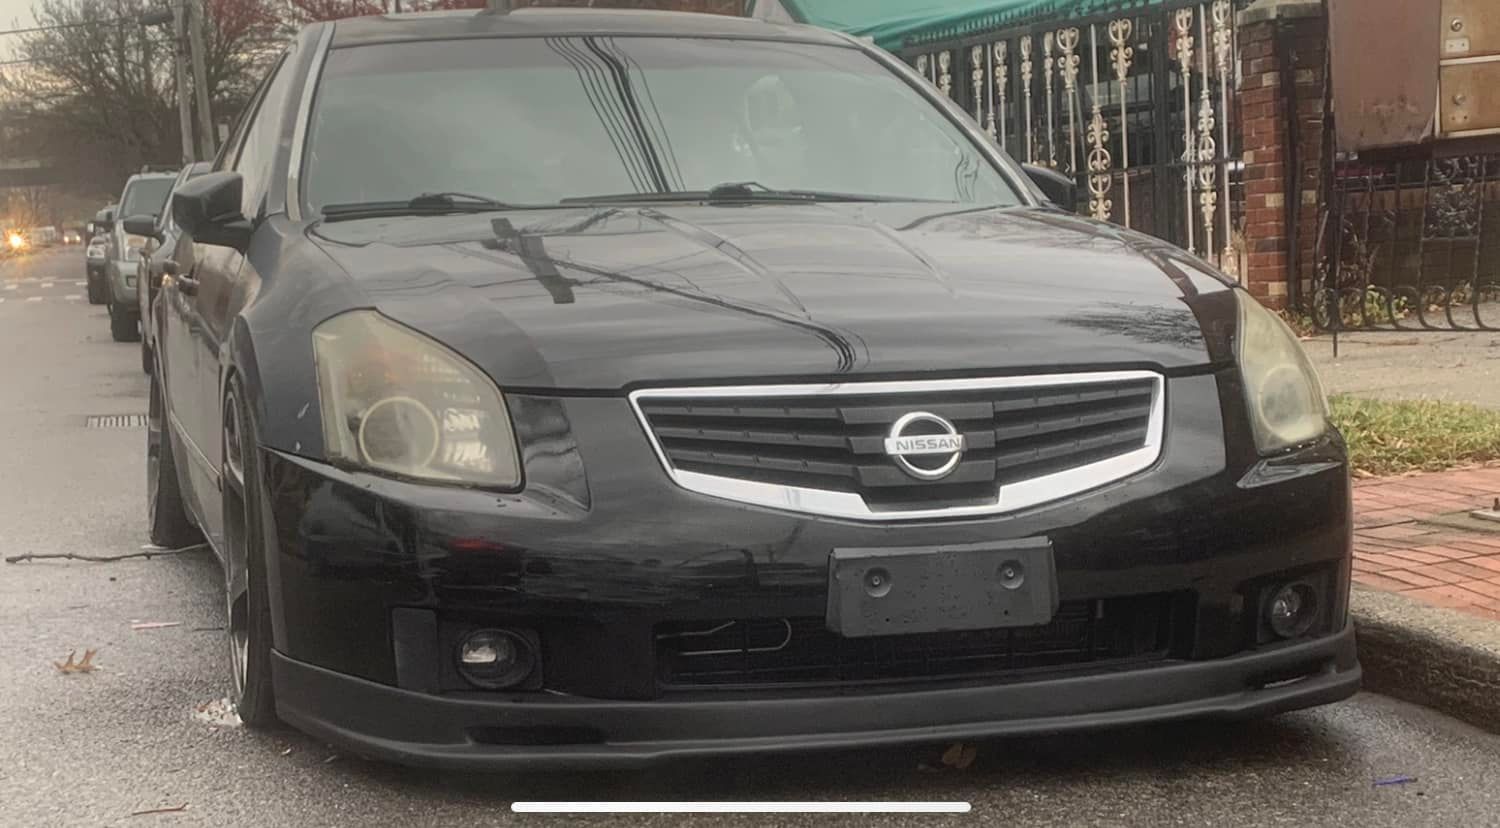
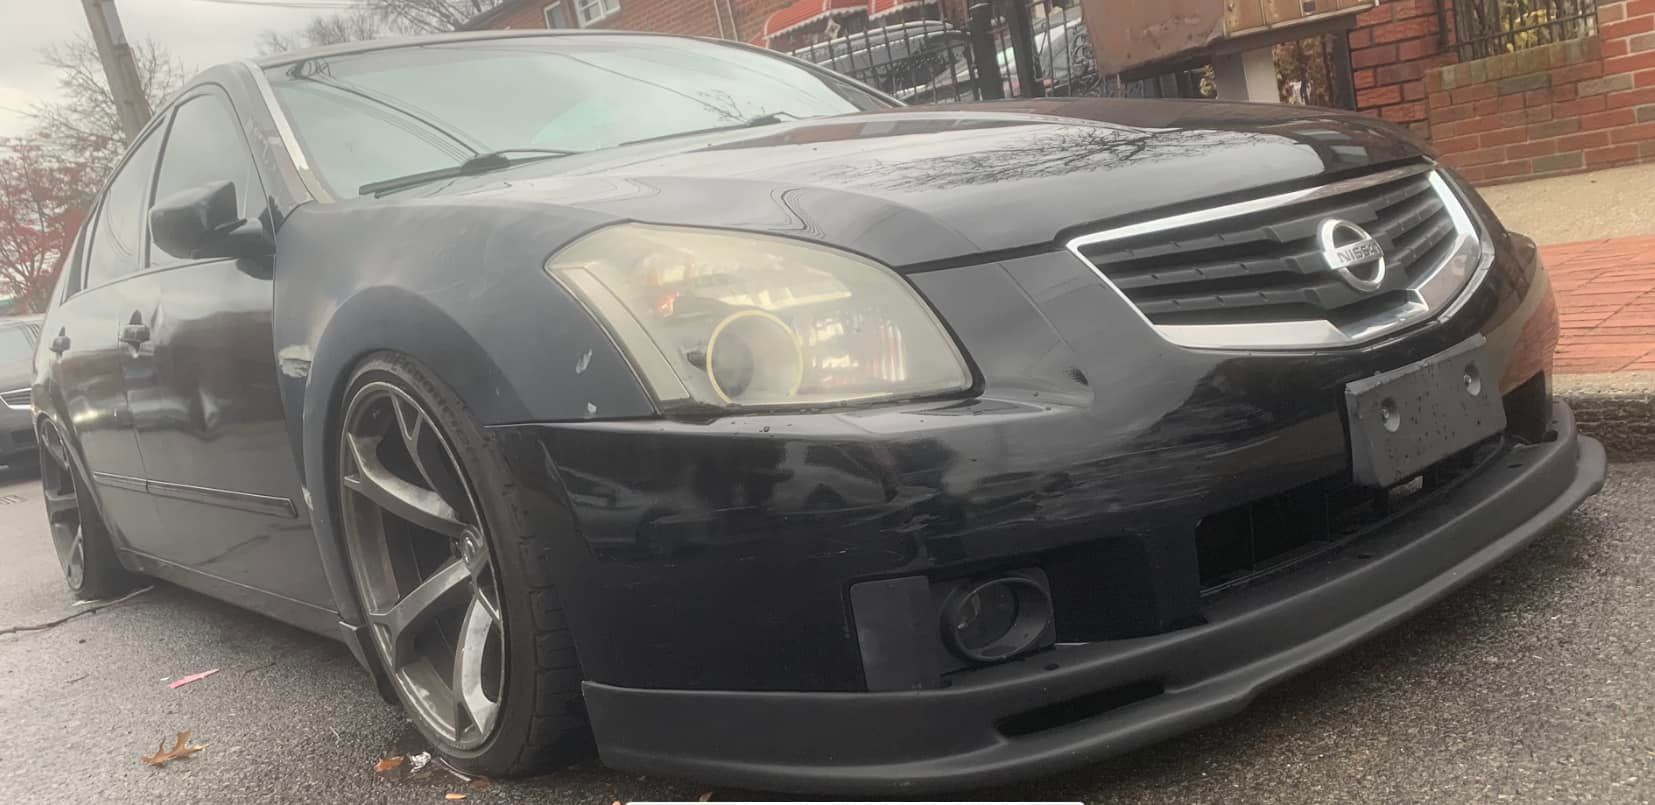
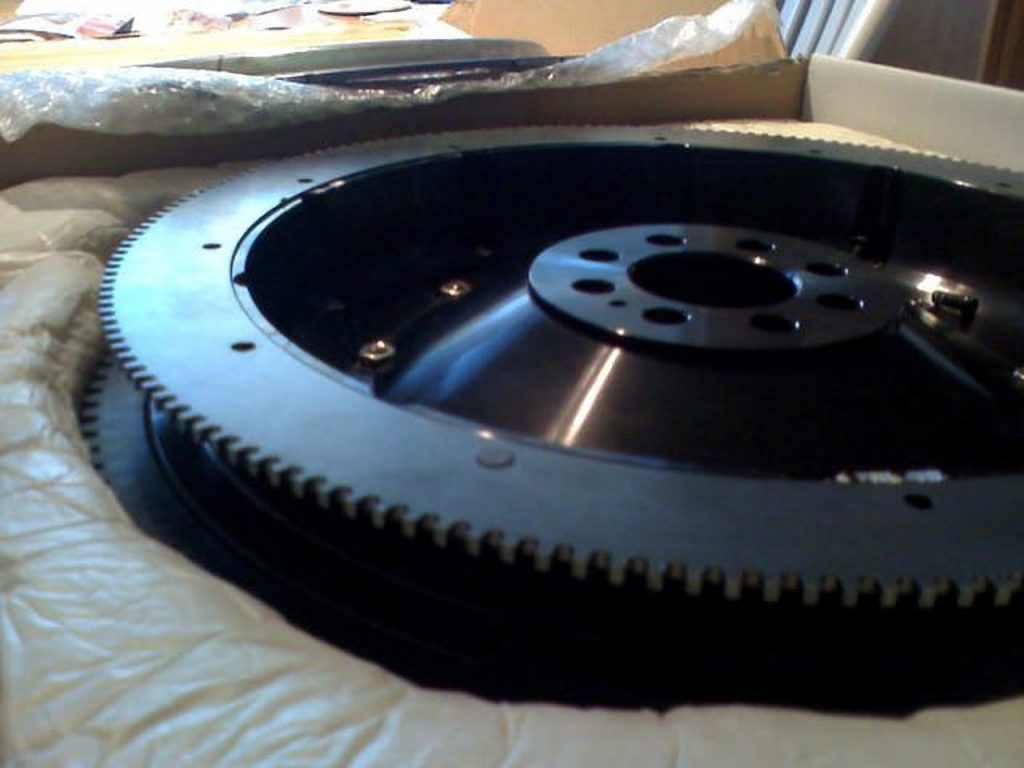
Member Credit: schmellyfart
I’m happy to say that I finally have a 6 speed swap under my belt now. This one was done on a buddies ’99 (deloa84), so I thought I’d show what I did differently than the procedure in the write ups. In my opinion my changes are cheaper and easier than the alternatives.
The main hurdles I’ve identified with the swap are the timing ring and the transmission mount.
For the timing ring, I drafted it up in my favorite CAD software and had it cut at a local machine shop. It is just a matter of unbolting the old ring off of a 6MT JWT Flywheel and bolting the new one on.
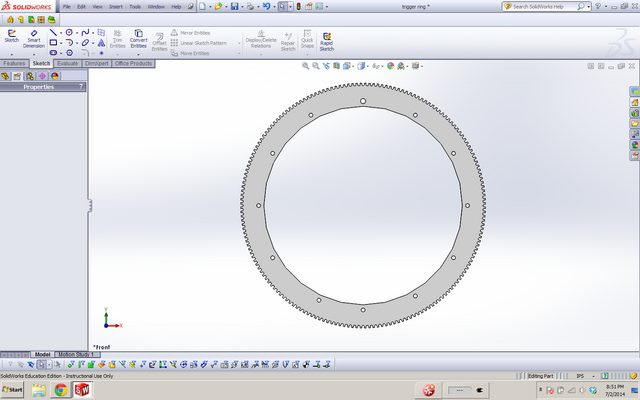
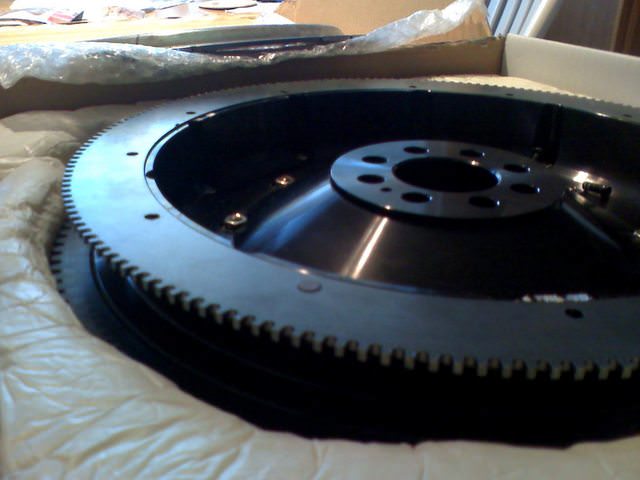
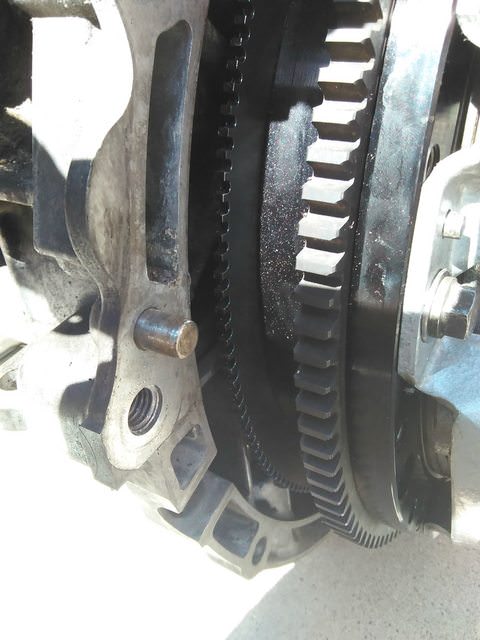
Everything else in the swap was completed as usual.
Parts used for this swap:
Last but not least, a short vid of it back on the road.
Community Member Credit: gtrrider / VQPower
Brief Details: What can the device be used for:
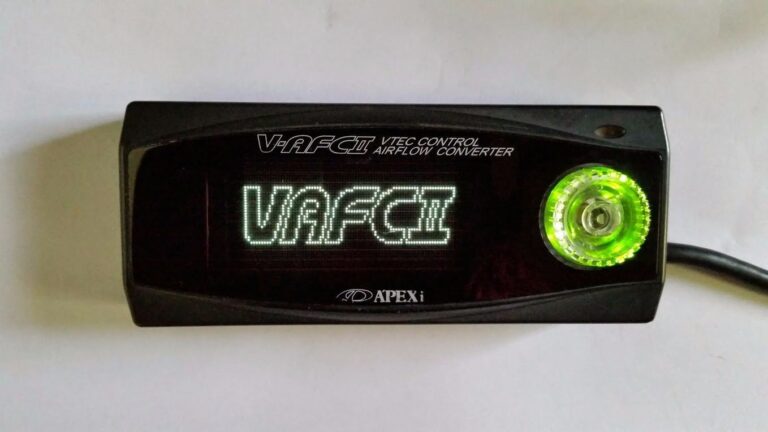
In the VTEC AFC II, the VTEC changeover point of a vehicle with a VTEC engine (in our case 00VI/MEVI) can be adjusted at an optional engine RPM. This fuel adjustment controller can increase and decrease fuel in a wide range of +50% to -50% by 1-point increments for the specified engine rpm. RPM points can be set in 100 rpm increments and make fuel correction according to the throttle position.
The second-generation SAFC is a fuel computer that adjusts fuel/air ratio by modifying the air-flow meter/MAP sensor signal. The SAFC features a user-definable, eight-point, adjustable fuel curve that can be set in 500 RPM increments. The range of fuel adjustment is +/- 50% at each of the user-defined setting points. On hot-wire vehicles, the Deceleration Air Flow Correction function is capable of curing the erratic idle and stall problems associated with open-atmosphere blow-off valves on hot-wire air-flow meter systems. The SAFC is capable of monitoring and replaying the following data channels in Numerical, Analog Meter and Graph displays: Intake Manifold Vacuum/Boost Pressure, Air Flow Capacity, Intake Manifold Pressure, Karmann Frequency, Engine RPM, Throttle Position, and Air Flow Correction %.
Tools Required: Necessary components used to install the VAFC to an A32:
Warning: I am not responsible if you fry your electrical system or damage your engine. Use caution when working with electricity and please disconnect the battery before proceeding!
Installation: Installing into your 1995-99 Maxima
You will need to access the passenger side of the ECU so from the passenger side of the car remove the kick plate to reveal the sealed harness to the ECU. Undo the 10mm socket from the center of the harness plug and separate the harness from the ECU. Pull off the clear plastic shielding which encases the wiring and we will begin the taping of wires for your new S/V-AFC II.


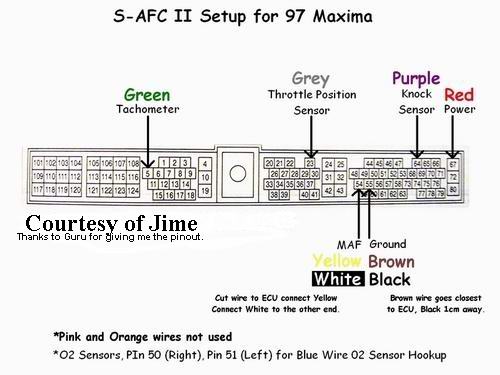
From here you will need to match up accordingly the wiring from the V-AFC II Harness to the wire location (NOT COLORS) on the ECU harness. Please note that you will not be using the Light Blue, Purple, or Orange wires from the V-AFC harness, tuck them away. Take note of subscript on ECU harness image for the location of Blue(O2 sensor hookup wire). Solder all wires securely and cover with electrical tape. Below are an V-AFC wiring diagram, an S-AFCII wiring diagram, and also the pin-outs on an A32 ECU harness, please use them properly to match up the wires. Failure to do so will result in damaged electronics or engine.


Initial V-AFC II Setup: Before you can start the engine you will need to setup the V-AFC.
Now that you have securely solder all the necessary wires to the ECU you may now begin the setup to make sure you do not damage the engine on startup. Turn ignition to the ON position but DO NOT start the engine and your newly installed V-AFC will come alive. Navigate through the menu’s, be sure to take it slow as not to incorrectly configure a vital setting. Move to the ETC menu; hit right on your joystick, scroll down and continue into Initialize, and toggle over to Yes. Accept the choice, after doing so wait 5 seconds and turn the ignition to the OFF position. Doing so will clear any unwanted information stored in the device if you happened to purchase the device used.
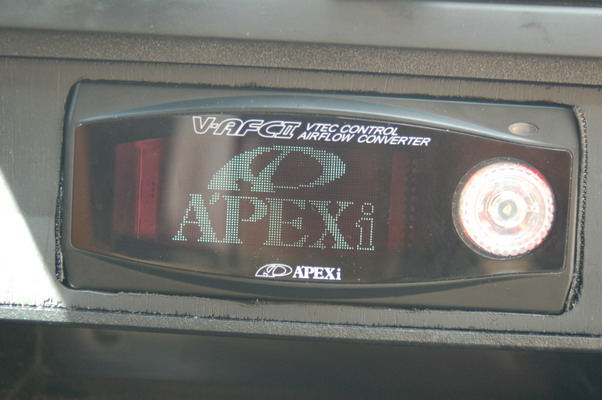


Return the ignition back to the ON position but DO NOT start the engine. Your V-AFC will activate again for more information to be stored. Navigate into the ETC menu again, and proceed to enter the following:
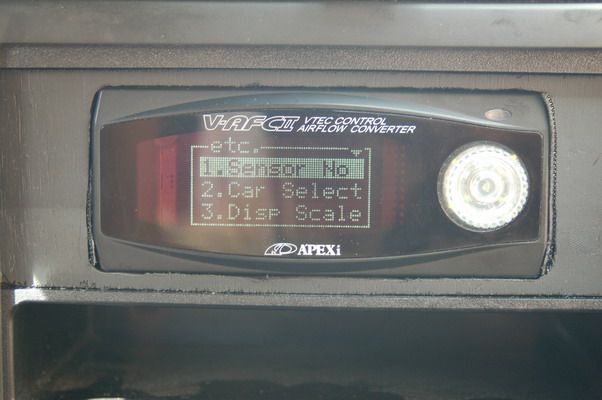


Sensor NO: 4 IN, 4 OUT (Assuming you are running a A32 MAF) –Otherwise*1*
Car Select: 6 Cyl, Arrow UP and RIGHT, V/T 1
Sensor CHK: Ensure sensors are giving readings
Further tuning settings will need to be fine tuned while on a dynamometer. Once all settings have been checked over, turn the ignition to OFF wait 5 seconds and return the ignition to ON one last time. While your V-AFC is booting let the throttle rest at 0% for 10 seconds, and depress the throttle to 100% for 10 seconds and release. You have now completed the learning sequence for throttle positions and you can proceed to start the car.
Credit: KRRZ350
Well it’s not much of a how-to really, and it’s not much of an upgrade either.
But nonetheless, a Reman from AZ done by the same company is $160 for a ’96 I30 (125 amp stock w/125 and 110 amp options, 110 = $130’ish IIRC) vs $210 for a ’04 I35 (110amp stock w/no 125 amp aftmrkt option listed)
I30/GLE = $160 125amp
5.5 Gen = $210 110amp
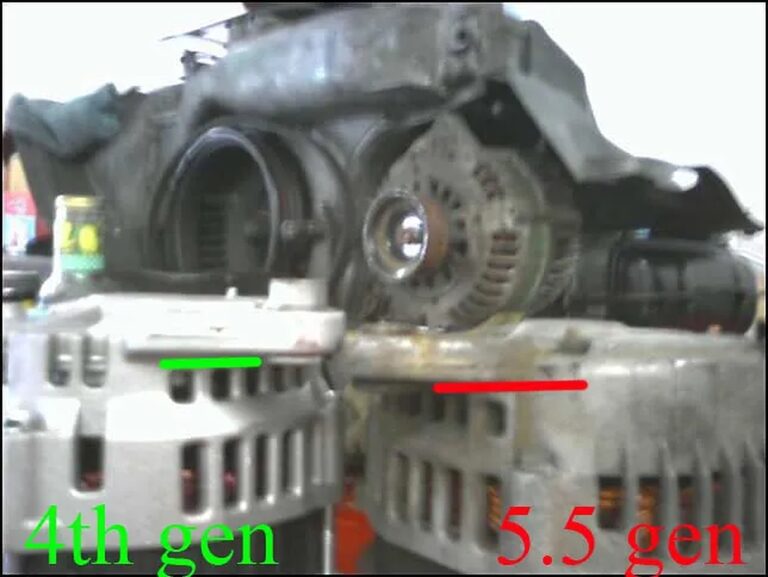
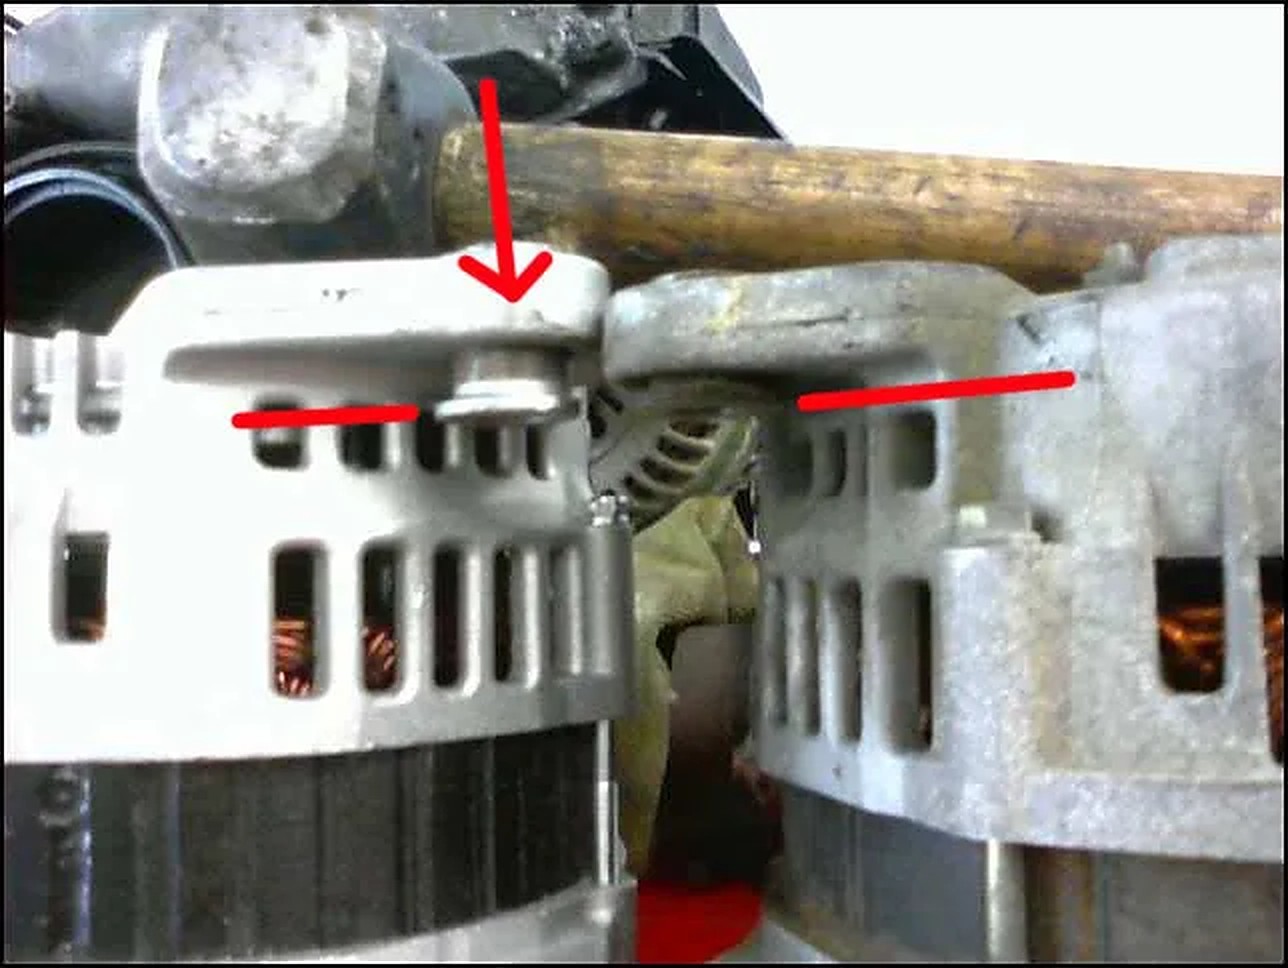
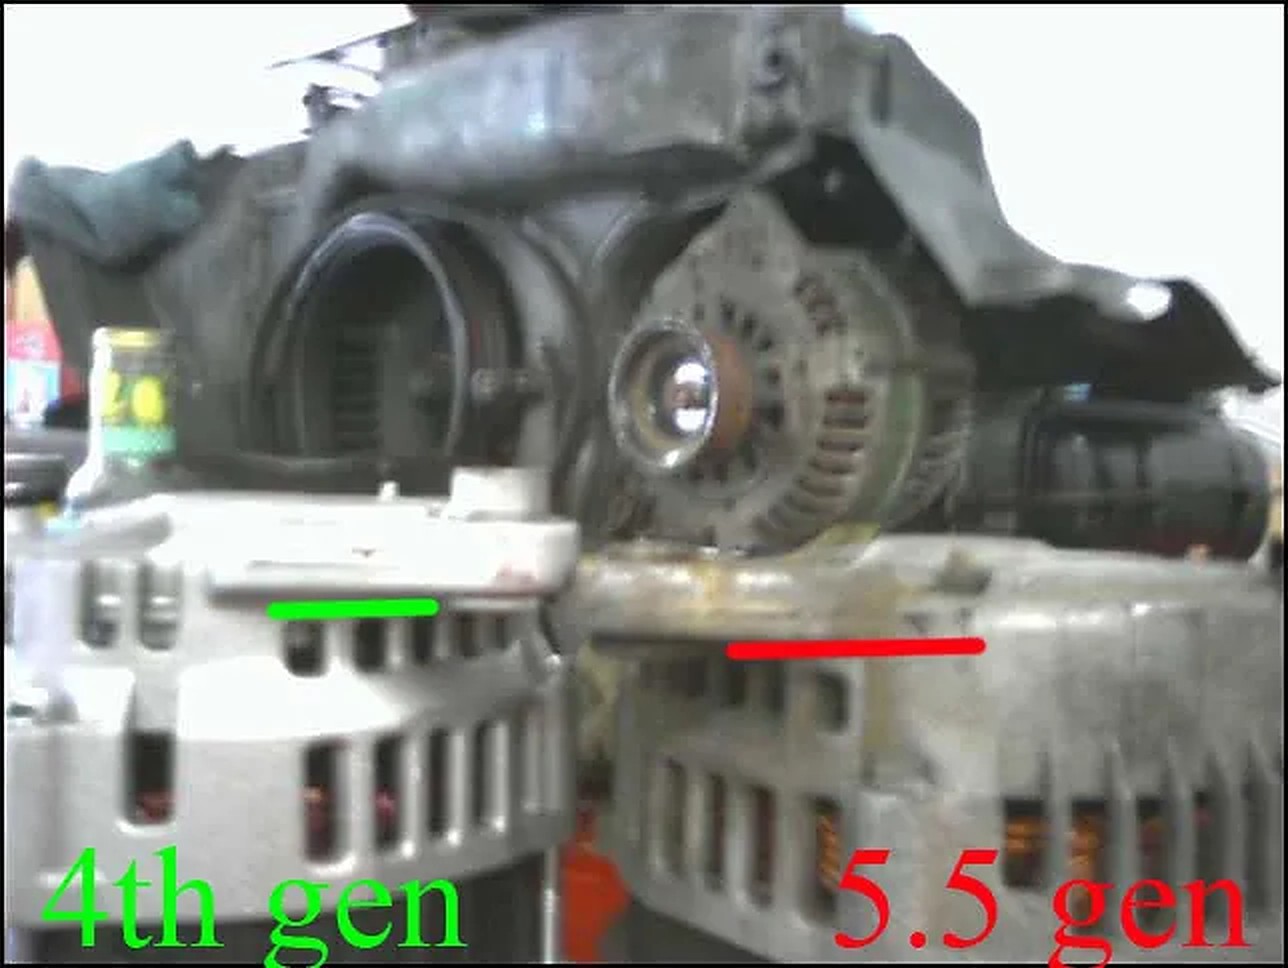
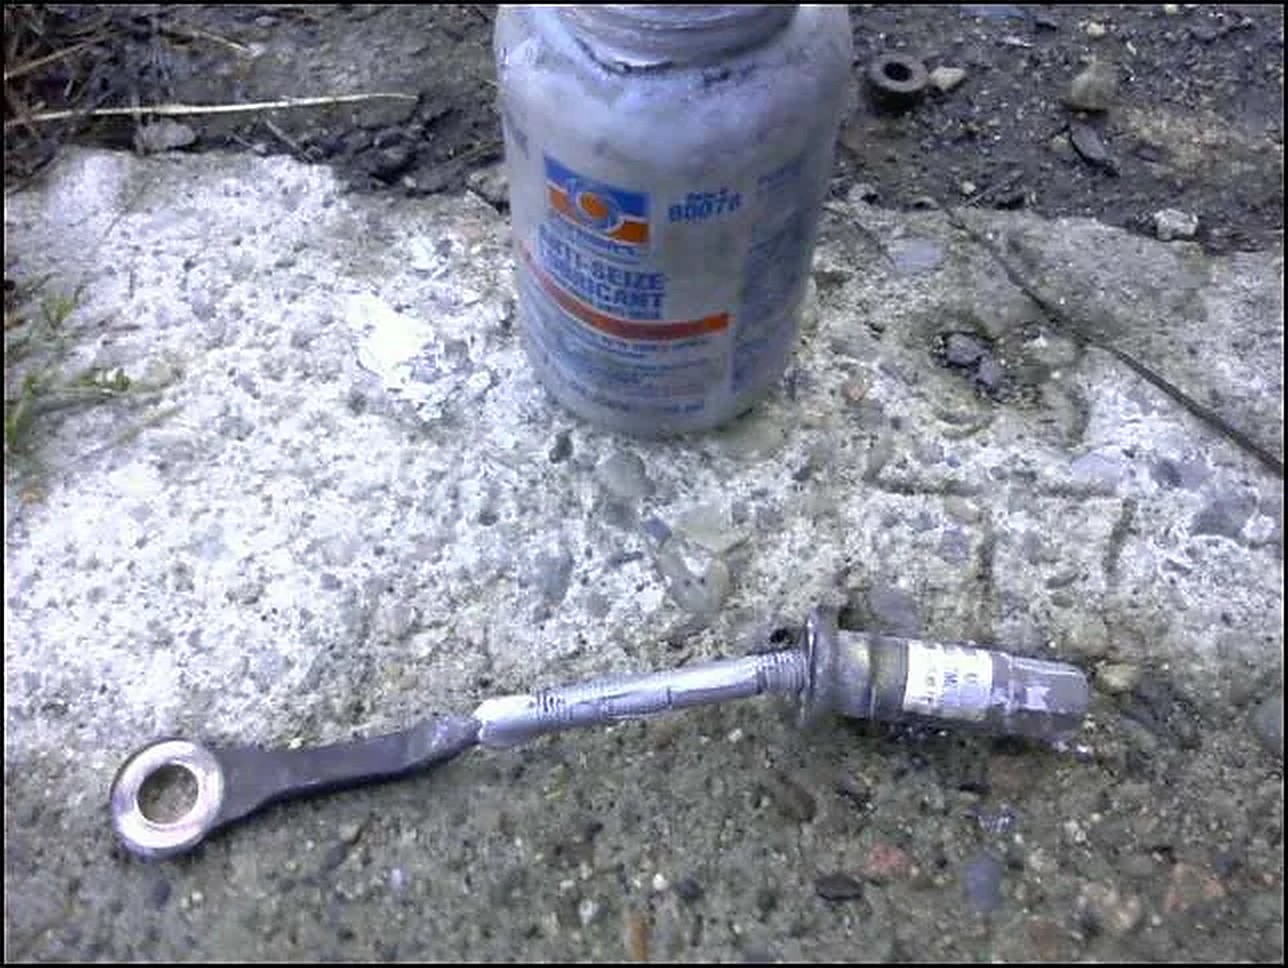
There’s really nothing to it. the pulleys all line up the same and everything, you just need to use a hammer to tap the bushing until it lines up with the location of the 5.5 gen one. If you lay them both on the table with the pulley facing down, you will see that they are nearly identical and what needs to be changed.
Hold the aluminum casing nearest the bushing between the edge of the table and your stomach, than tap, you don’t want to be tapping the bushing on that mount while resting the alternator on the pulley, you could snap the case or do damage to the alty, this will all become apparent and if you can handle replacing your alternator you are smart enough that this will be common-sense to you.
Credit: Tristan Friedman
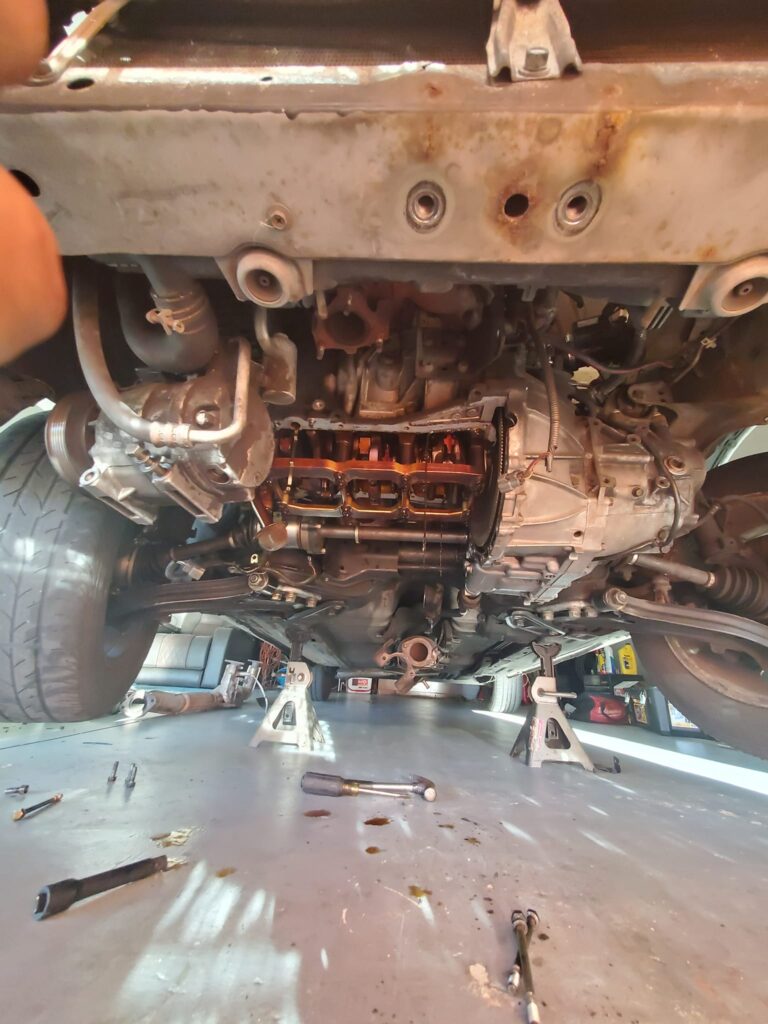
Doing my upper oil pan gasket. For anyone that needs to do theirs, there’s only one pain in the ass that’s in your way. After taking the ac compressor off, the ac compressor bracket, center support, y pipe and lower oil pan, the only thing left holding the upper one on after removing all the bolts is the fkin dust cover for the axle. In the last picture you can see i had to knock it back away from the axle seal because the corner of the upper oil pan was sitting above it and ha.


Credit: Danblueheron / Troubl3iii
So for anyone else that falls in this position you will need a 7-rib serpentine belt at no less than 53 inches no more than 53 3/4 routing the belt the same way just instead of going around the AC pully from the idler pulley go straight from the idler pulley to alternator pully and so on.
I used a Duralast 535kk7 and I still had a tension pully from when I replaced all pulleys a year ago and I used it in the place of the OEM idler pulley it is just a little smaller than the idler pulley and everything fit perfectly no problems at all. So hopefully this helps someone as much as it would have helped me.
Just completed this project. I used a 540K6 belt. It’d 6 rib not 7, but works fine. I also replaced the upper idler pulley with a factory tensioner pulley because it is a little smaller. You need a little extra clearance if the belt isn’t going around the ac. Hope this helps someone!
Owner: Ronny Parra
Year: 1999
Model: Maxima
Color: Black
Transmission: Built Automatic
Trim: SE
Previous VQ30DE Setup

New Gen2 VQ35DE Setup


