Tag

Engine, Trans, F/I & Tuning

Browsing

Member Credit: Stormzusmc

’02 Nissan Maxima installation of a Transgo “Reprogramming Kit” and an Edge Racing torque converter. First, I’m working on the replacement trans, which I have mounted to an engine stand. This “kit” can be installed with the trans still in the vehicle, but it’ll be quite a challenge.

If you can’t remember where nuts & bolts go or if you’re not a detail oriented person, don’t attempt this job yourself. When dealing with automatic transmissions, expect an intricate install. Nothing is as easy as it looks.

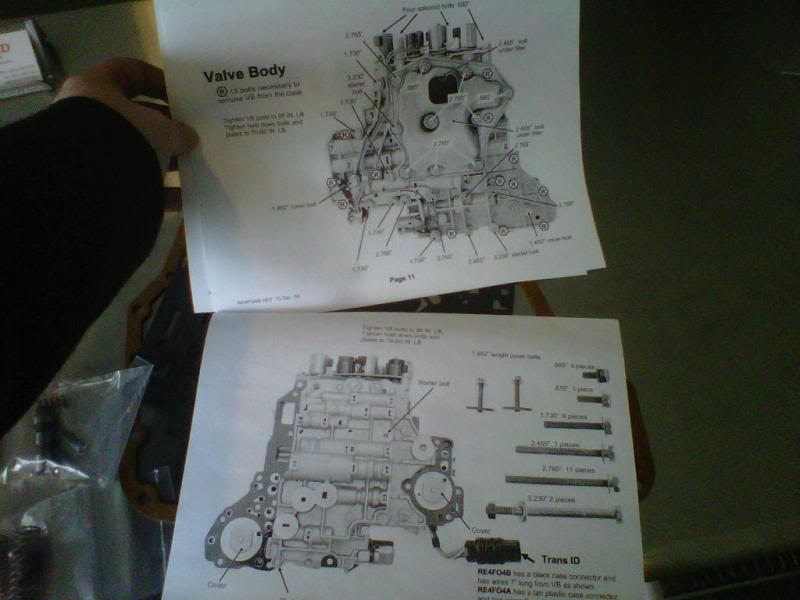
Here’s what I’m installing – Transgo Reprogramming Kit:
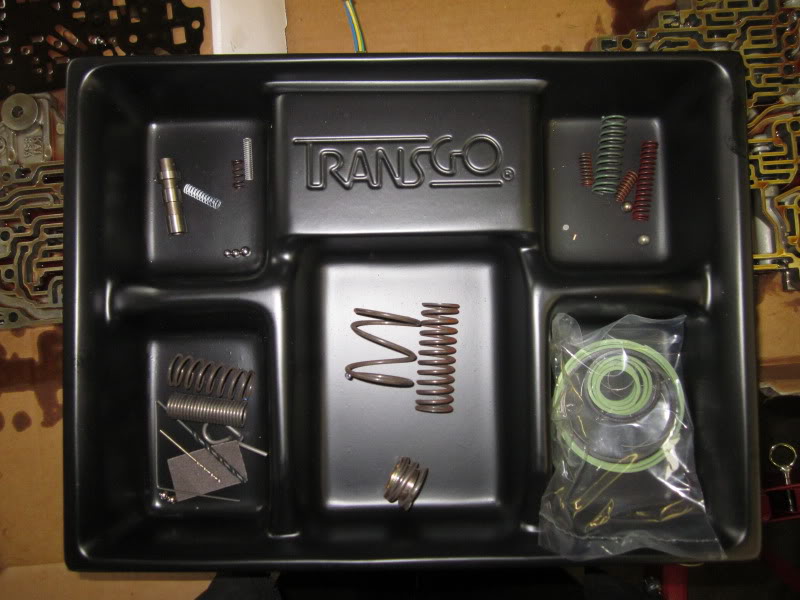
Click the image to open in full size.

Remove the trans oil pan & trans oil filter. If you notice, the magnets are fairly clean, not bad for a used trans.

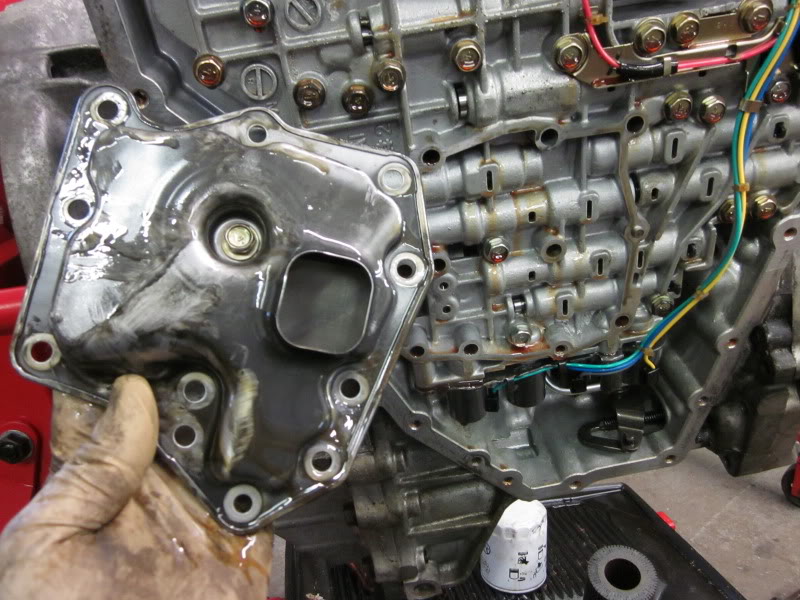
Click the image to open in full size.

Click the image to open in full size.

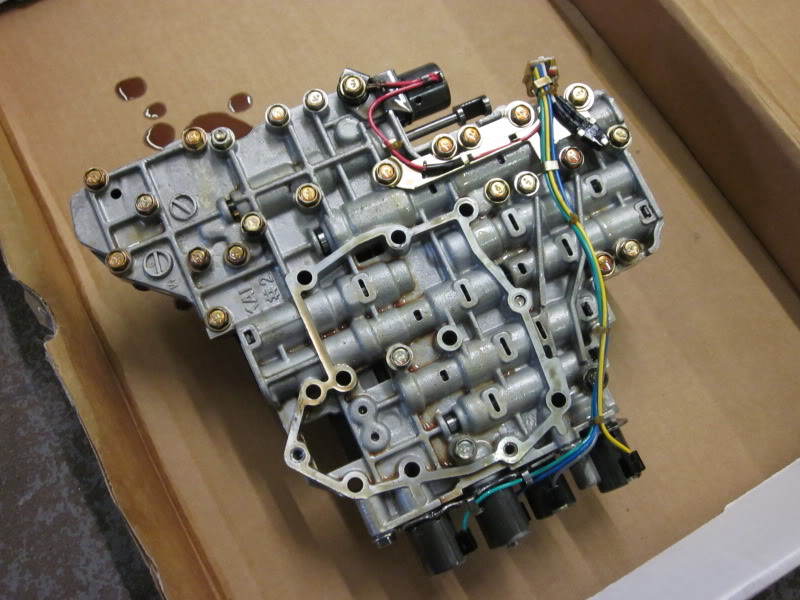
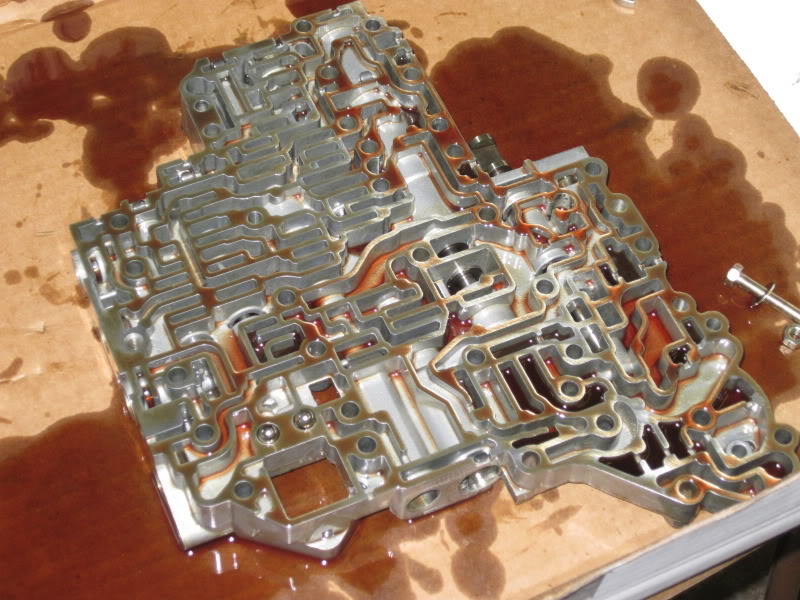
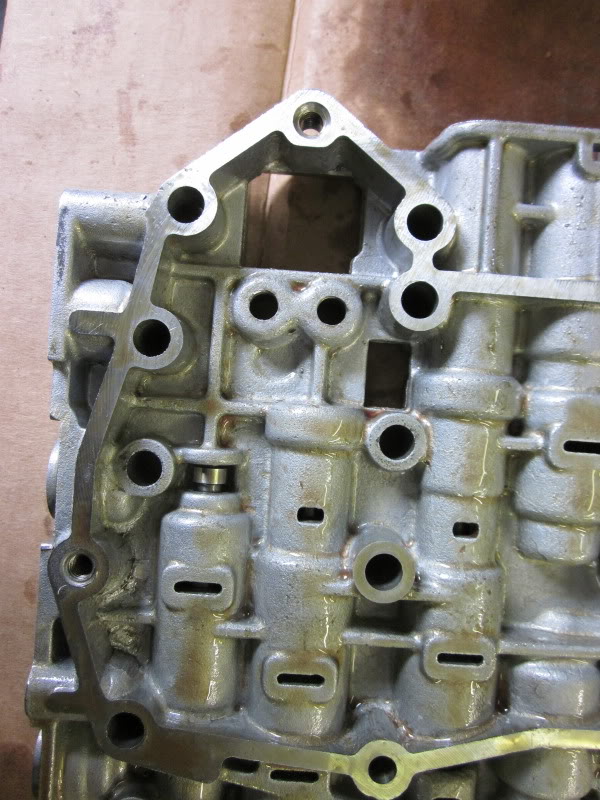
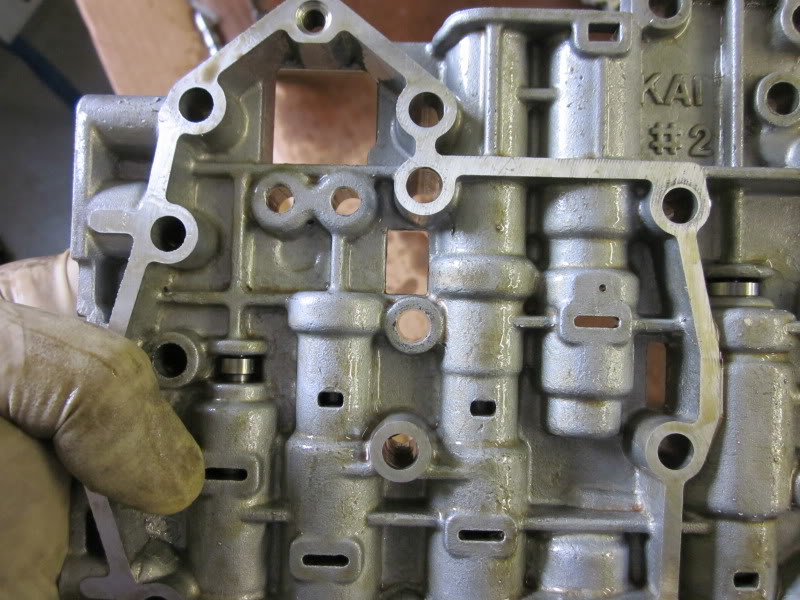
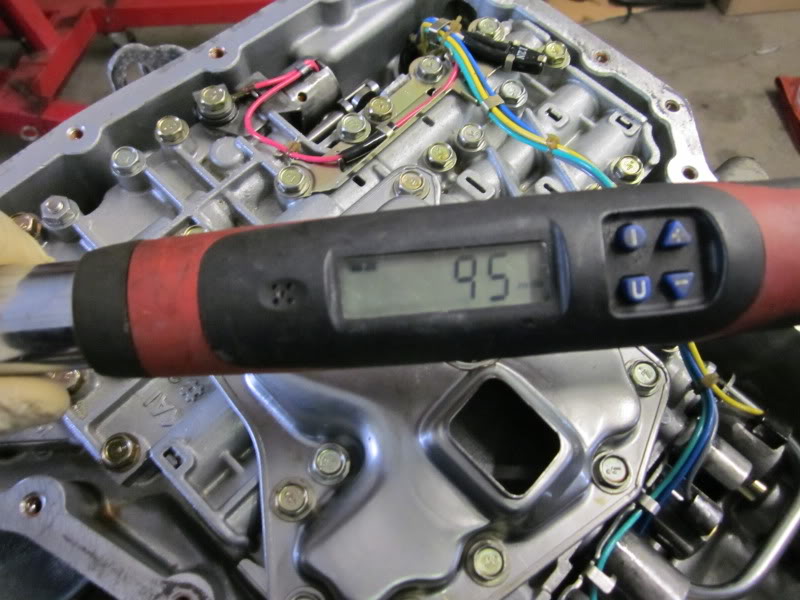
Remove trans valve body.

Click the image to open in full size.

As you can see, the transmission is flipped upside down for ease of working on the internals. If you’re working with this installed in the vehicle, there’s a spring that will fall out. Not only this, there are 4 rubber o-rings that could possible fall out too.

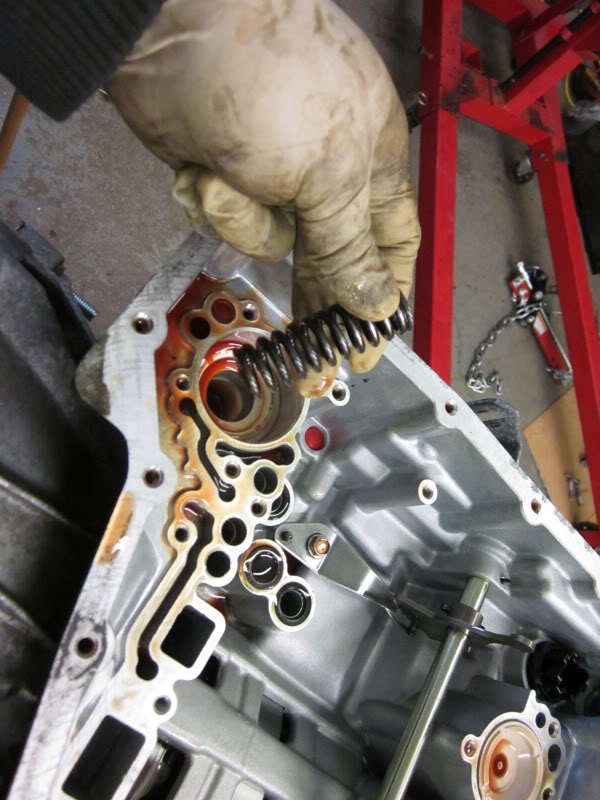
Click the image to open in full size.

Click the image to open in full size.

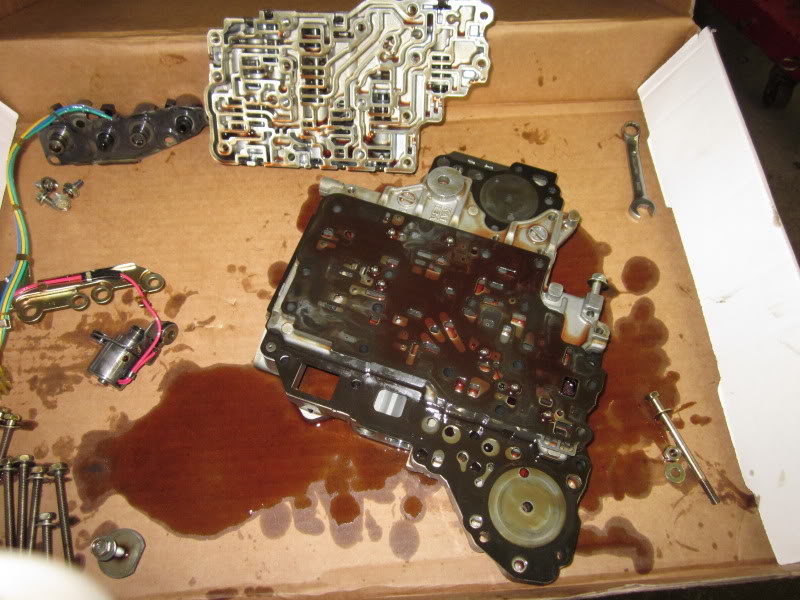
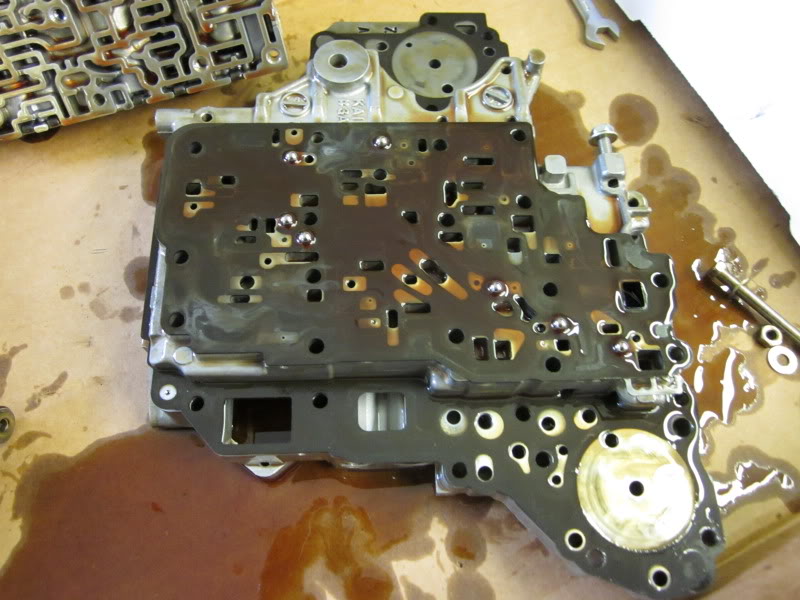
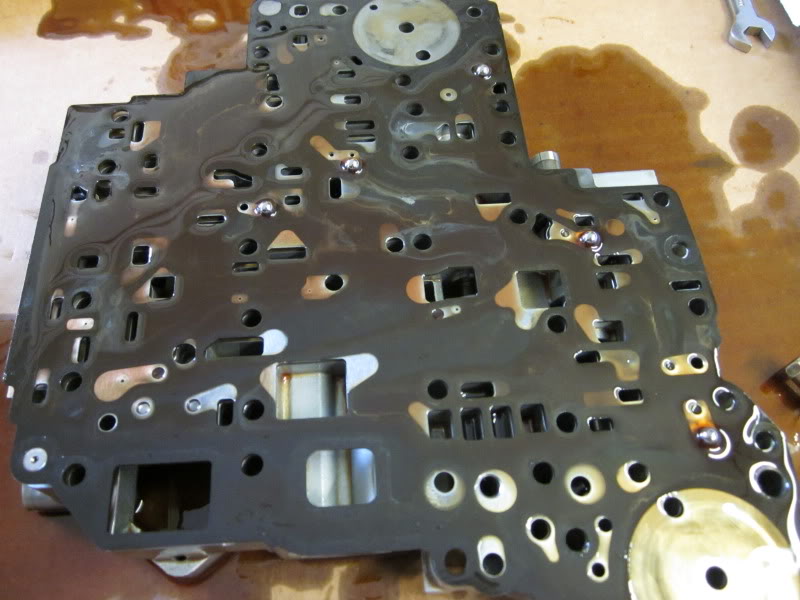
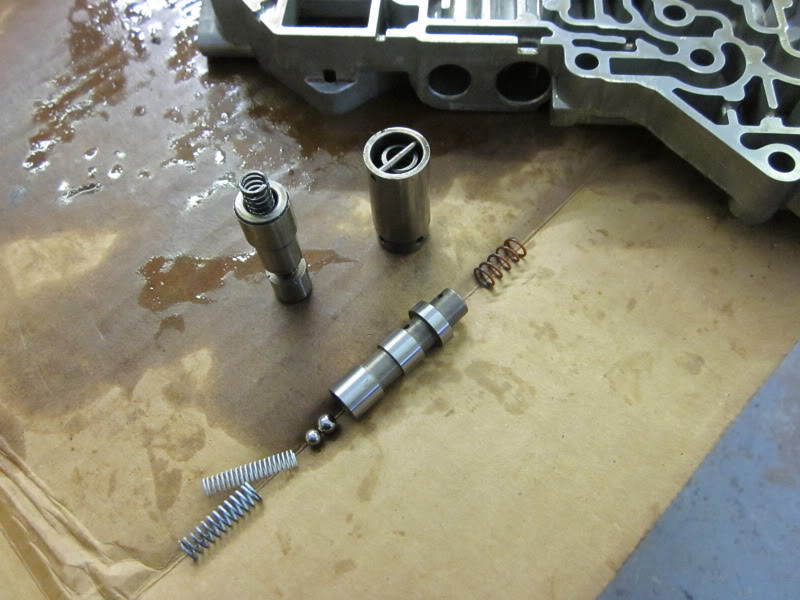
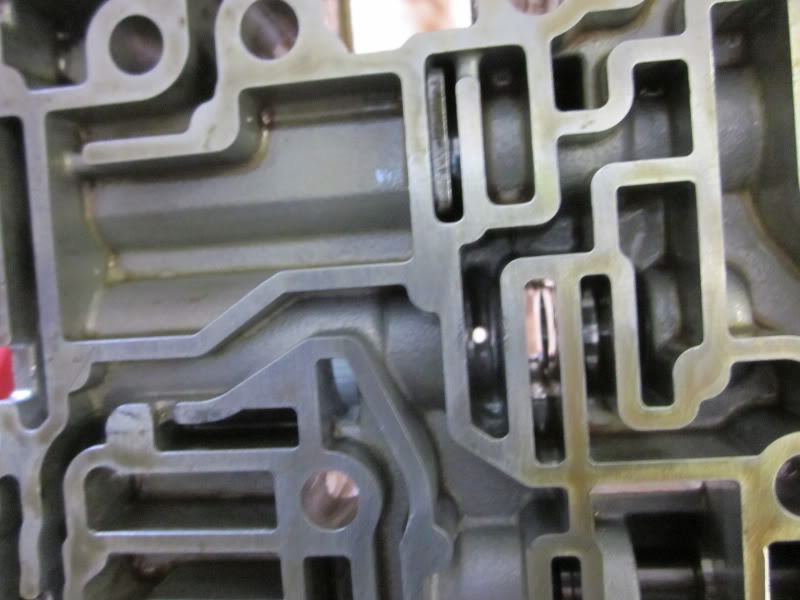
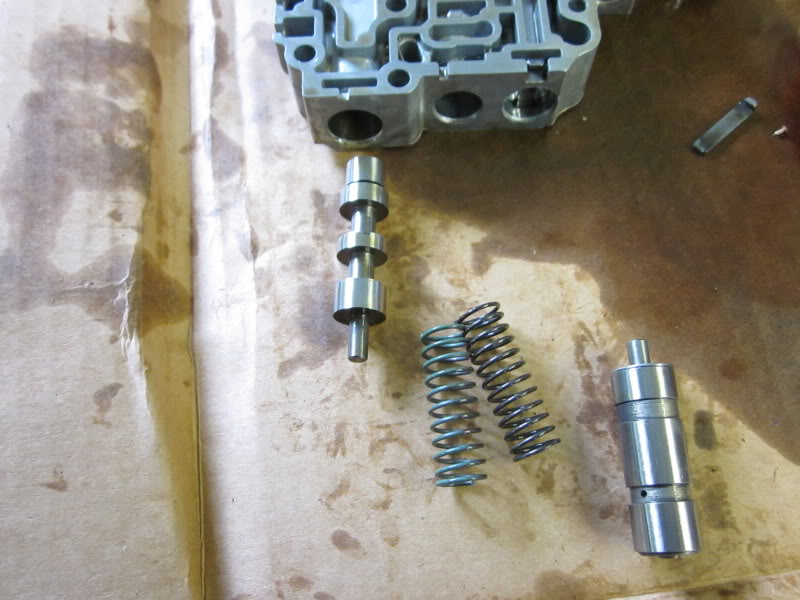
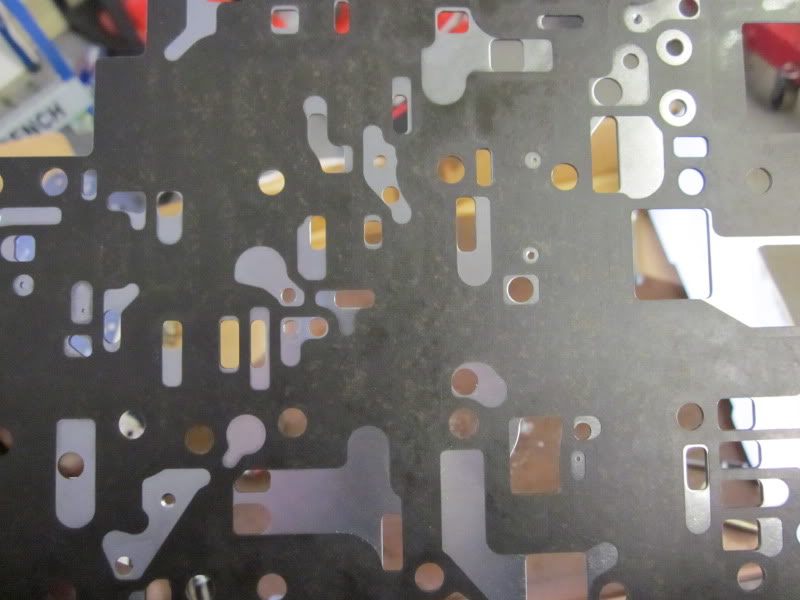
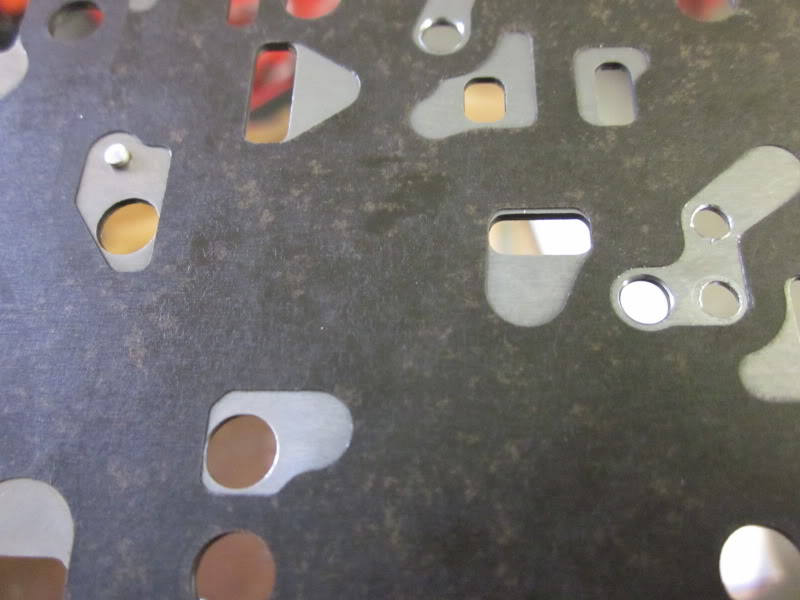
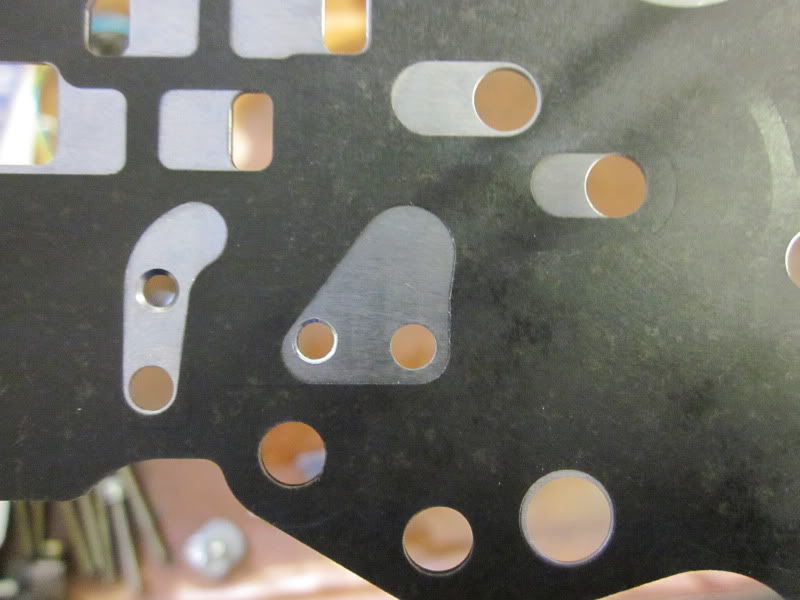
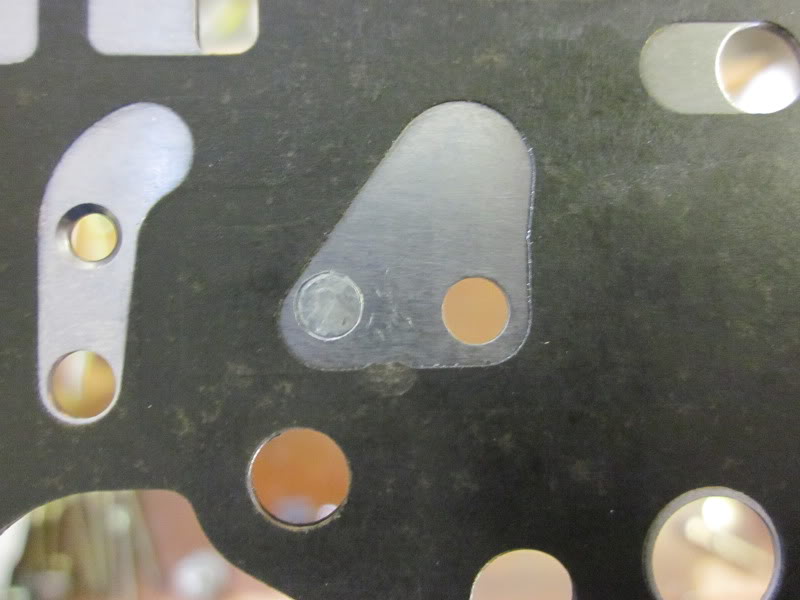
Disassembly of the valve body, don’t lose those ball-bearings!
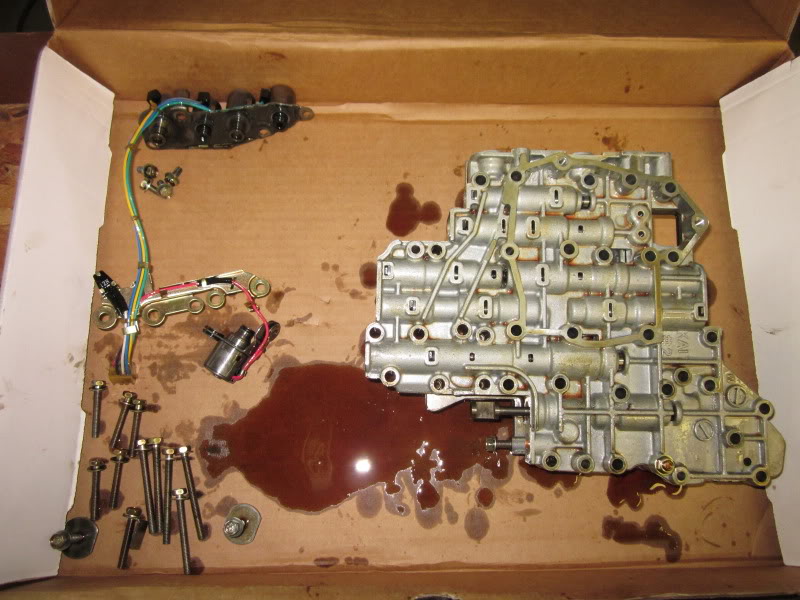
Click the image to open in full size.

Click the image to open in full size.

Click the image to open in full size.

Click the image to open in full size.

Click the image to open in full size.

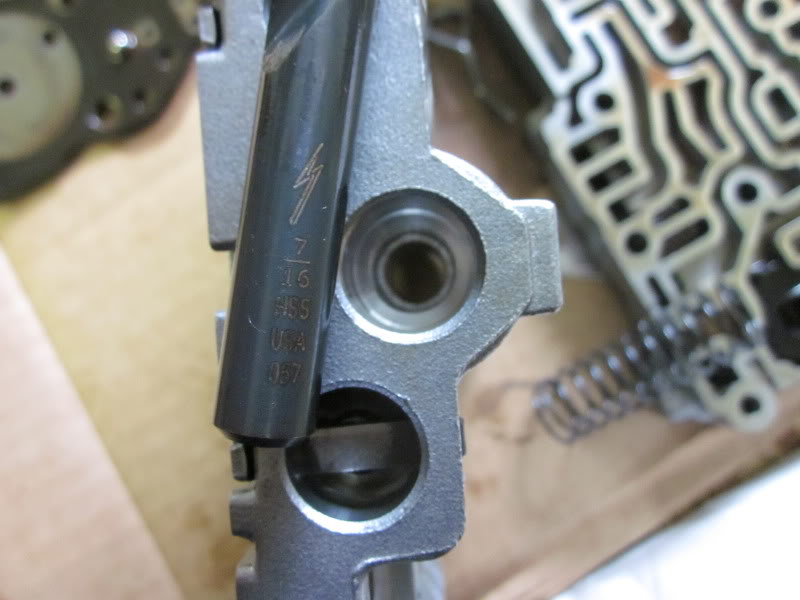
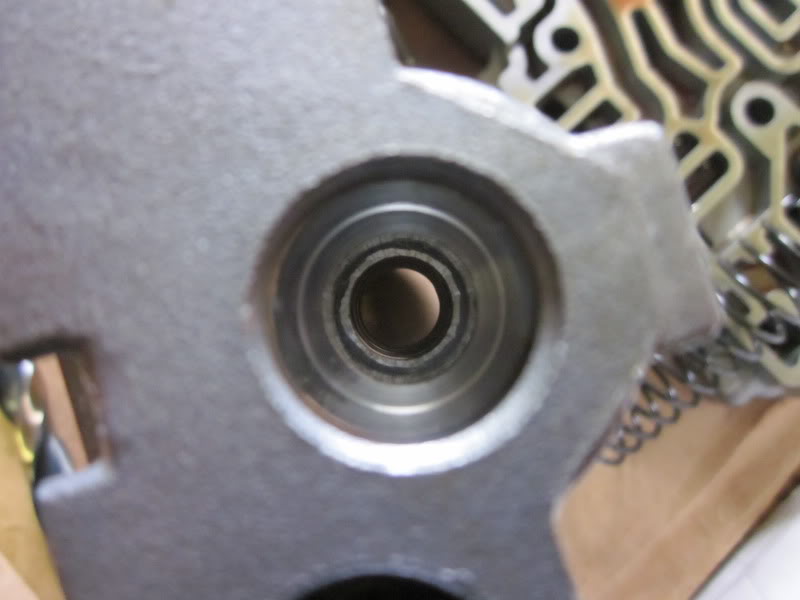
Modifications:

Click the image to open in full size.

Click the image to open in full size.

Click the image to open in full size.

Click the image to open in full size.

Click the image to open in full size.

Click the image to open in full size.

Click the image to open in full size.

Click the image to open in full size.

Click the image to open in full size.

Click the image to open in full size.

Click the image to open in full size.

Click the image to open in full size.

Click the image to open in full size.

Click the image to open in full size.

Click the image to open in full size.

Click the image to open in full size.

Click the image to open in full size.

Click the image to open in full size.

Click the image to open in full size.

Click the image to open in full size.

Click the image to open in full size.

Click the image to open in full size.

Click the image to open in full size.

Click the image to open in full size.

Click the image to open in full size.

Replacing external oil seals:

Click the image to open in full size.

Click the image to open in full size.

Click the image to open in full size.

Click the image to open in full size.

Click the image to open in full size.

Edge Racing Torque Converter Installed:
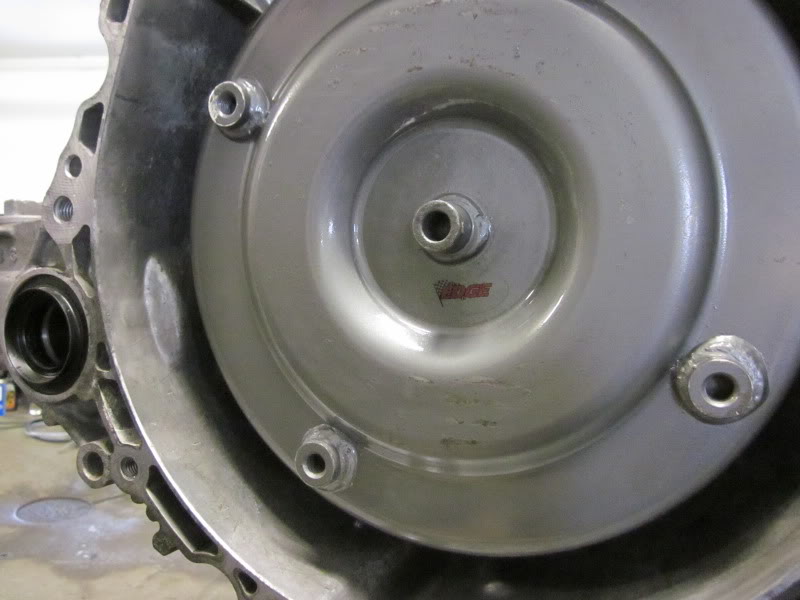
Click the image to open in full size.

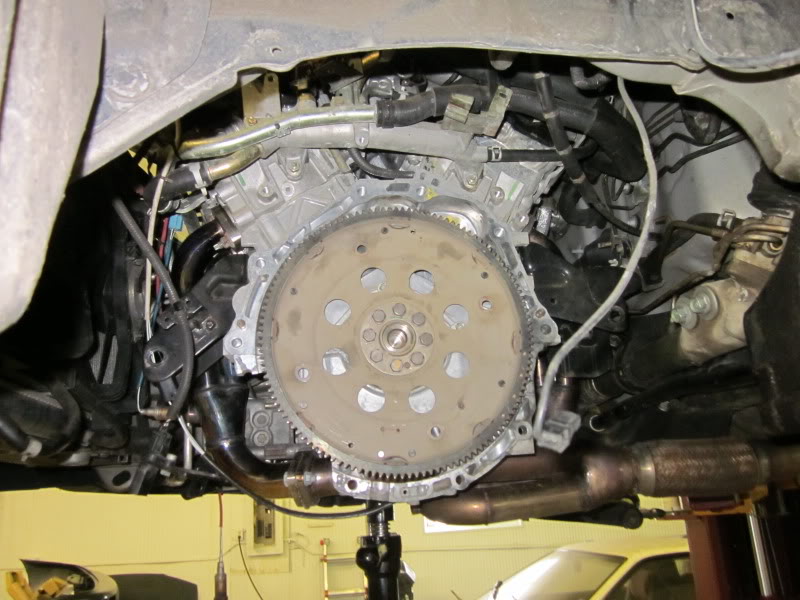
Removal of transaxle:

Remove air box, battery, starter, and unplug trans harness:
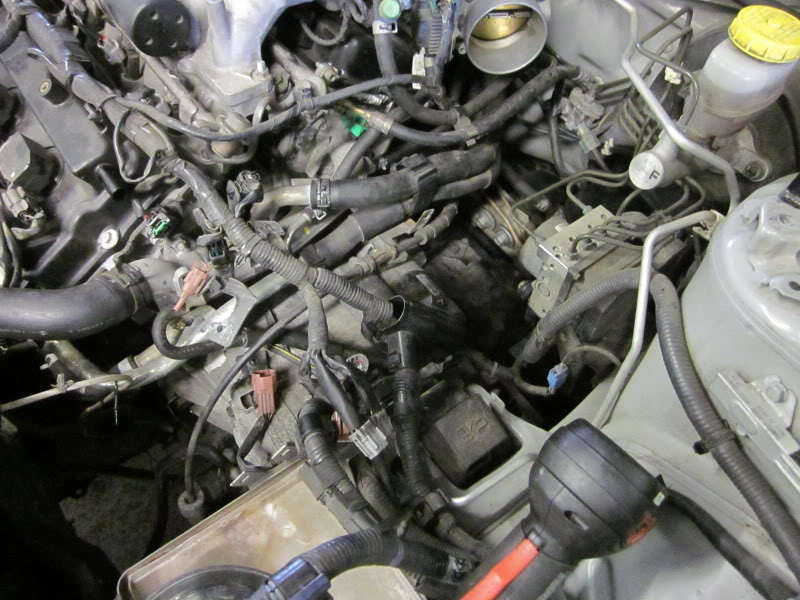
Click the image to open in full size.

Remove lower cross member, support trans & engine, remove torque converter bolts:
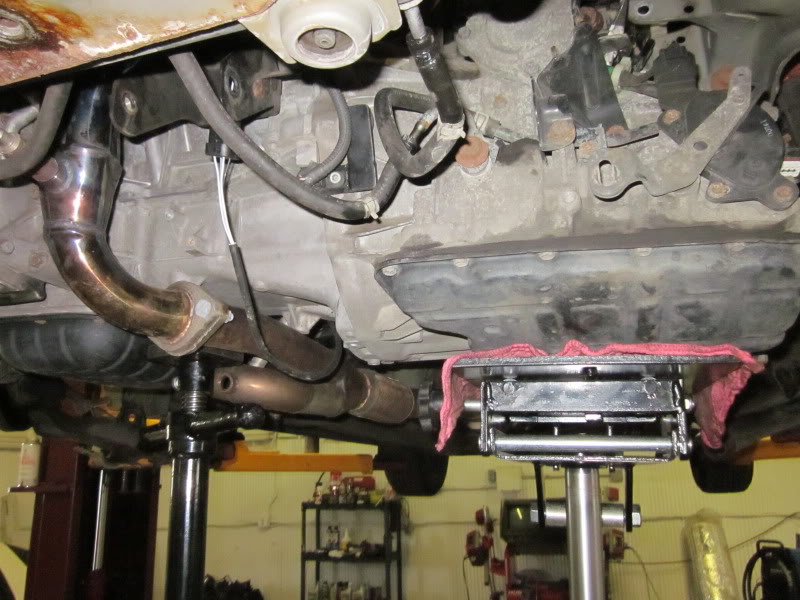
Click the image to open in full size.

Click the image to open in full size.

Click the image to open in full size.

Click the image to open in full size.

Click the image to open in full size.

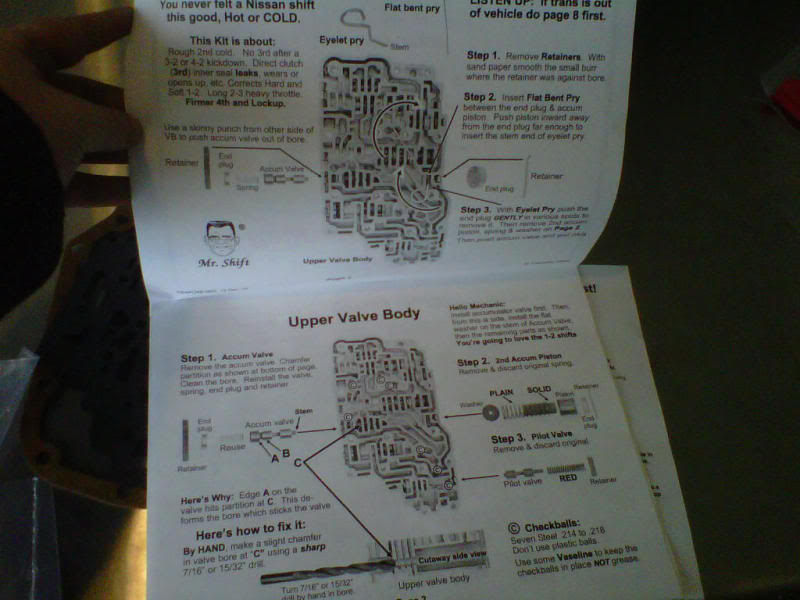
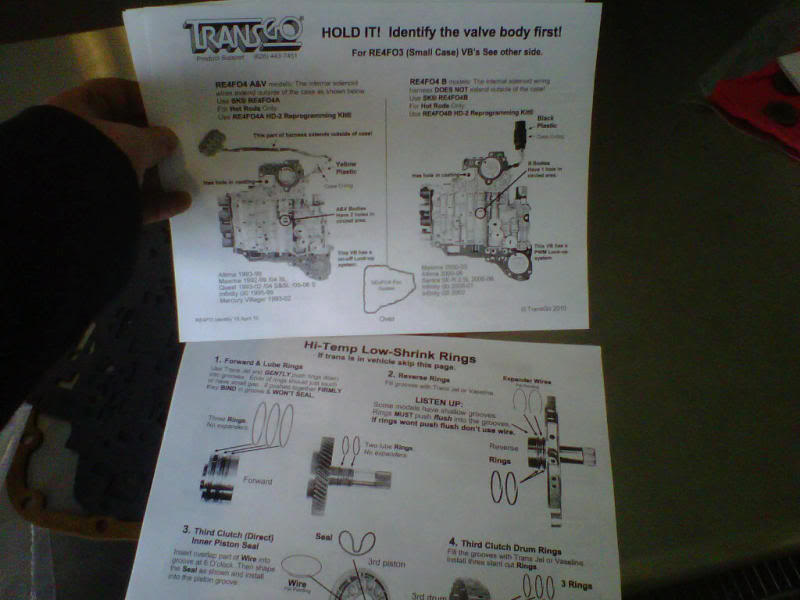
Transgo Manual

Click the image to open in full size.

Click the image to open in full size.

Click the image to open in full size.

Click the image to open in full size.

Click the image to open in full size.

Click the image to open in full size.

Click the image to open in full size.
Additional Information (Credit to: Max King)

Considering before the install I was a complete newb to transmissions, never ever went further then removing the pan and doing a drain/fill, the install went great!It took me 2 days working on and off about a total of 8 hrs if you count everything. I really took my time since I have never touched the internals of the trans before, I removed section by section slowly and took pics before removing and put the bolts in labeled zip locks so putting back together was a breeze. I should have made a write up but wasn’t thinking about it since the directions with the kit cover 90% of it. The only tough part about it, since the trans was installed in the car, was the last part. Removing/installing the cover on the cylinder looking thingy that sits on top of trans was a PITA, I ended up bending the trans dipstick housing back and using several different wrenches to get off/on the bolts. Other then that putting the valve body back in under the car on your back is also a bit of a pain.

Tips for anyone doing the install. If you’re like me and this is all new to you TAKE YOUR TIME. I worked on the valve body in a large box that a lawnmower was purchased in. Once I would remove a set of bolts I would take a pic, place them in a labeled bag, and keep notes for myself so there wouldn’t be any guessing later. There is one or two steps in the instructions that get confusing since they don’t mention if they want you to reuse something or use a new one they supplied but if you reread it enough and put two and two together its easily figured out. Try to use everything supplied. You will end up with a few extra little balls but I came to the conclusion they were replacements in case you lost a checkball since they are the exact same size as them. I don’t think their were any extra springs but there may have been one since there is one part of the steps that you either do or don’t based on the plates separating the different parts of the vb. I recommend reading the instructions fully first since some things don’t become clear at first until later, also there is some useful information stated towards the back of the instructions so reading it fully you get a better understanding.

Now for the review! At first my car was doing a stall around 1200 rpm then shooting off roasting all of first and half of second :gotme: it went away after a few minutes of driving, I don’t have any idea if that’s normal at first or not but if you install the kit and it happens I guess don’t be alarmed since it happened to me as well. The shifts are very harsh and precise. I have no more flare at all at WOT or even just regularly driving for that matter. Depending on how fast you accelerate first to second can be harsh it isn’t all that bad since its easy to get used to (at least for me) but it is noticeable. The shifts do depend on the throttle position, so I would say anything under 50% throttle and it doesn’t shift as hard but this may not be entirely true. Transgo does claim that the kit is designed to shift harder at open throttle. I love how it shifts I feel like I’m not losing power since its shifting right away with no flare or lag at all. I can roast pretty much all of first and even at WOT when I don’t roast first, coming off of a nice smooth acceleration instead of punching it I can still chirp in second. The torque feels amazing I think with some ES mounts and a torque link those harsh shifts won’t be felt as much. When I say harsh its not a slam into gear harsh, its more of a thud from movement harsh. Its like high rpm shifts with bad motor mounts. Like stormz had mentioned in his review someone else would think your trans is going bad.

Do I recommend this kit? Well in my case this isn’t my daily anymore and I have another car to drive with the wife and son so I’m not too concerned with the harshness and it doesn’t bother me so yes. But if you can’t deal with the harshness then I guess this is not for you. But I will tell you one thing the benefits from this kit, the shifts>>>the harshness. I’ll take the harshness just to have the wonderful shifts. I will update later when I’m able to drive it some more.

BTW I would like to add if you do install this kit to get lots of ATF since I put in 5 qts after the install and after driving for a short period checked it and I was basically dry and had to go back and buy some more. In total I added 8 qts and it doesn’t surprise me since tons of fluid came out of the vb while taking it apart.

Loading

Credit: Dylan Behr

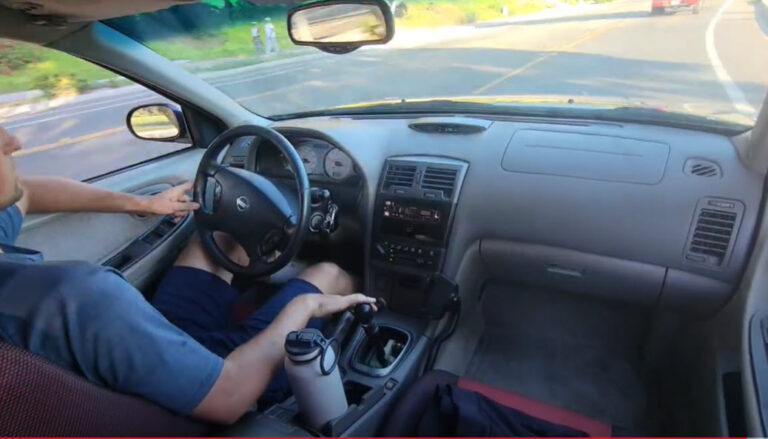
My shifter always felt pretty good but there was always a little something missing. Doing HD detent springs and race shift selector springs from vision one racing solves those issues. The shifter now feels more purpose built but is easily used for daily commuting. The feeling of rowing thorough the gears smoothly and easily is sure a nice feeling but the feeling of each gear clicking into the gates solid and when intended is way nicer.

This is an easy install and relatively cheap, if you’re looking to take your Nissan FWD 6 speed shifting to the next level, this is sure something to look into.

Loading

Credit: Eddy

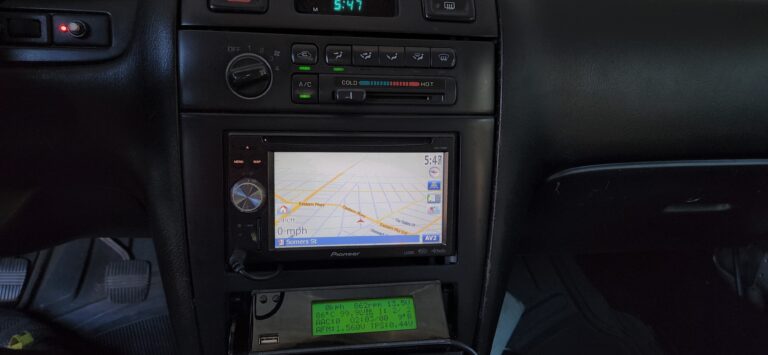
Received my ECUTalk V2 LCD from Peter and ECUTALK. It’s an awesome device and gives me all the info I need when driving my Gen3 VQ35DE supercharged 4thgen Nissan Maxima.

Features

  • Sensor display, showing speed, rpm, battery voltage, fuel economy (on petrol vehicles only), injector duty cycle (both banks if available), ignition timing, AAC, O2 voltage (both banks if available), water temp, AFM voltage (both banks if available), TPS voltage/%. Note: Diesel vehicles may have alternative-diesel-specific sensors displayed in place of the petrol-specific sensors: injector duty cycle, ignition timing, and AAC.
  • Trip meter display, showing current speed, fuel economy, and trip average speed, average fuel economy, fuel used, fuel usage rate, distance traveled, and time elapsed, for both the current trip and all trips since last cleared. Note: Fuel readings are only supported on petrol vehicles.
  • Fault code reading and clearing
  • Integrated USB consult interface pass-thru (the same as using a normal USB consult interface)
  • Maximum/peak sensor values recorded for the current trip
  • Time trials (0-60, 0-100, 0-160, 400m)
  • User-Definable Alerts, for Temperature, Injectors, Speed, Air Flow, RPM, and Voltage – buzzes/flashes when alert triggered
  • Adjustments Ability to adjust fuel/ignition timing across the board on petrol vehicles only.
  • Options (KPH/MPH, C/F, and TPS V/% settings, injector/cylinder setup for economy readings for petrol vehicles)

Loading

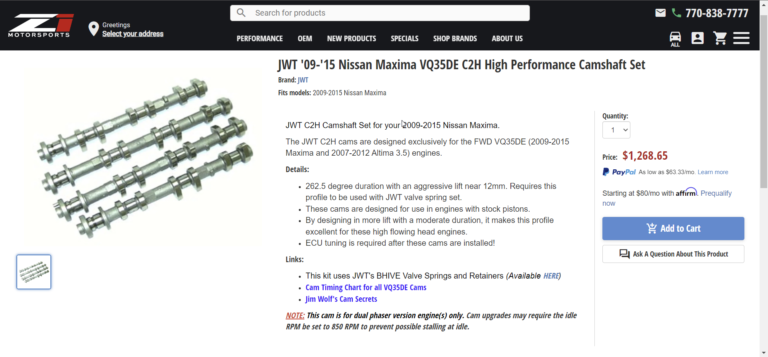
The JWT C2H cams are designed exclusively for the FWD VQ35DE (2009-2015 Maxima and 2007-2012 Altima 3.5) engines.

Order Link: https://www.z1motorsports.com/camshafts-and-valvetrain/jwt/jwt-09-15-nissan-maxima-vq35de-c2h-high-performance-camshaft-set-p-29425.html

Details:

  • 262.5 degree duration with an aggressive lift near 12mm. Requires this profile to be used with JWT valve spring set.
  • These cams are designed for use in engines with stock pistons.
  • By designing in more lift with a moderate duration, it makes this profile excellent for these high flowing head engines.
  • ECU tuning is required after these cams are installed!

Links:

NOTE: This cam is for dual phaser version engine(s) only. Cam upgrades may require the idle RPM be set to 850 RPM to prevent possible stalling at idle. 

Loading

Credit: Eddy

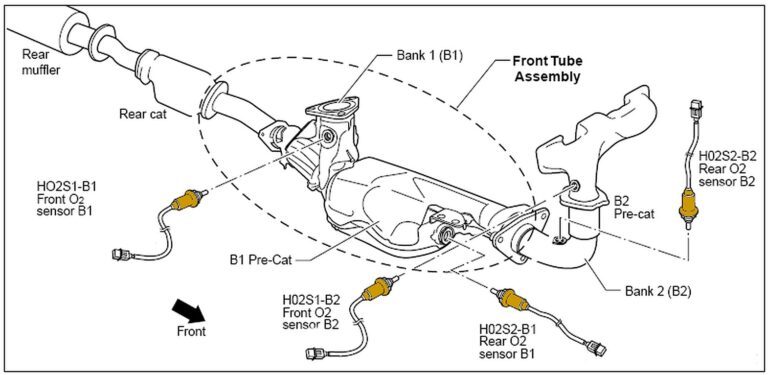
The Nissan Maxima was made in FEDERAL and CALIFORNIA specs all the way through 2001. However all Maxima’s starting in 2001 were built to California specs. This was to align to the latest National Low Emission Vehicle (NLEV) EPA regulations.

This just basically means that all 2001 Maxima’s has 4 O2 sensors.  Two upstream that monitor A/F ratio and two downstream that sit behind the pre-cats to monitor them.

Loading

Credit: eng92

This may be common knowledge but I did not see it in the stickies. There are three basic steps involved:

1) On the ECU connector, move the wire from pin 107 to pin 105.
2) Change out your 4-wire zirconia type rear O2 sensor for a 3-wire titania type.
3) Also must add rear O2 sensor signal ground from ecu pin 112 to engine grounds F18 and F19 on intake manifold collector.

Please be aware that you cannot sub a 3-wire zirconia type sensor in place of the 3-wire titania. The two types work completely differently. The zirconia type generates a voltage depending upon O2 levels. The ECU expects to see a fluctuating voltage from 0-1.0 V.

The titania type sensor changes in resistance depending on O2 levels. The ECU measures the voltage drop across this resistance. It expects a voltage fluctuating between 0-2.2V. If the ECU does not see the specified voltage fluctuation after a given time period, it will throw the P0136 code and give you a CEL.

Some of you may have discovered that the rear O2 sensor bung on a 98 is an 18mm thread while the one on a 96 is 12mm.

There are three options for sensor replacement:

  1. Buy a 12mm, 3-wire titania type for a 96 and machine an adapter for it to fit the 18mm threaded bung.
  2. Weld a 12 mm bung on your exhaust and use the 96 sensor.
  3. Buy an 18mm, 3-wire titania type sensor. Easier said than done. Not used on any North American production cars that I am aware of. NTK Europe makes them but NTK North America does not. All of the 3 wire titania ones over here are 12mm.

I believe I found one through Oxygensensors.com. It is Walker p/n: 250-23881. It is a universal type, so you will have to cut the connector off of your factory sensor.

I know someone is going to ask the question: Will this work on a 99???

Short answer: I do not know.
Long Answer: I know the 99 uses a four-wire 18 mm zirconia type like the 98. The nissan p/ns may be different but that just means the connector or length of wire attached to the sensor is different. You would be replacing it with a universal so that does not matter.

I have FSMs for 96 and 98, not 99. The pin-out on the ECU may be different. If someone wants to supply me with the schematic for the rear O2 sensor circuit, I can let you know.

I apologize for the long post, but since there is a GD for JWT ecus going on right now, I figured this would be useful info for some of us 98s.

*********UPDATE*********
New O2 sensor finally arrived on Friday – installed it Sunday night

Problem – I am not picking up any voltage output from it on my OBD2 scanner.

A quick check of the 96 ECU schematic reveals the problem. The ECU requires a separate signal ground for the rear O2 sensor to be on pin 112.

Damn 3 wire sensors – the four wire types have a built in signal ground so no separate wire is necessary.
Time to hit the wrecking yard again. Probably the best place to get some of those “fancy” female terminals that go inside the ECU harness connector.

*********UPDATE*********

CODE P1220 GONE AS WELL

CODE FREE AND READY FOR EMISSIONS TESTING

Wired the FPCM and dropping resistor in on Saturday. Had to tun two new wires from the ECU to the left rear quarter where the modules are located. Some minor re-wiring of the body grounds and fuel pump were also required.

For all you 98s, this step should only be necessary if you have a 95/96 ECU out of a cali-spec or Canadian maxima and are getting the P1220 code.

Spare ’96 ecu will arrive at Technosquare today.

For any of you 98 cali-spec owners looking to convert to a 95/96 ecu, I have a whole harness full of ecu pins available. I can pop a couple in an envelope with ~24″ of wire attached and mail them out.

*********UPDATE*********

Just an update that may save some people some money.

Before going out and buying the titania 02 sensor:

1) On the ECU connector, move the wire from pin 107 to pin 105. There should be no existing wire in 105.

2) Ground ecu pin 112 (this is the rear 02 sensor ground)

I believe Dandymax just carried out the above two steps and it got rid of the P0136 for him. If it doesn’t work for you, then you will have to buy the sensor.

Loading