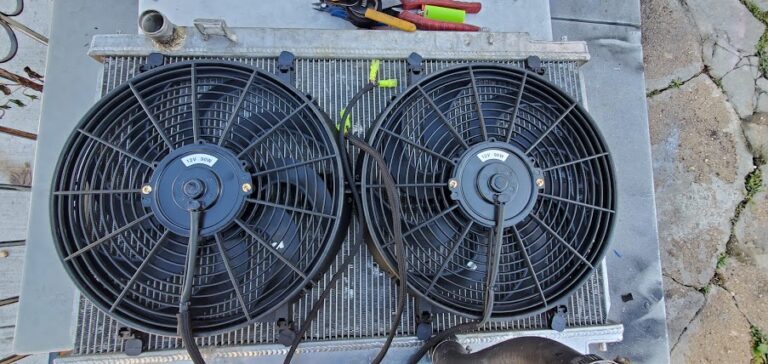
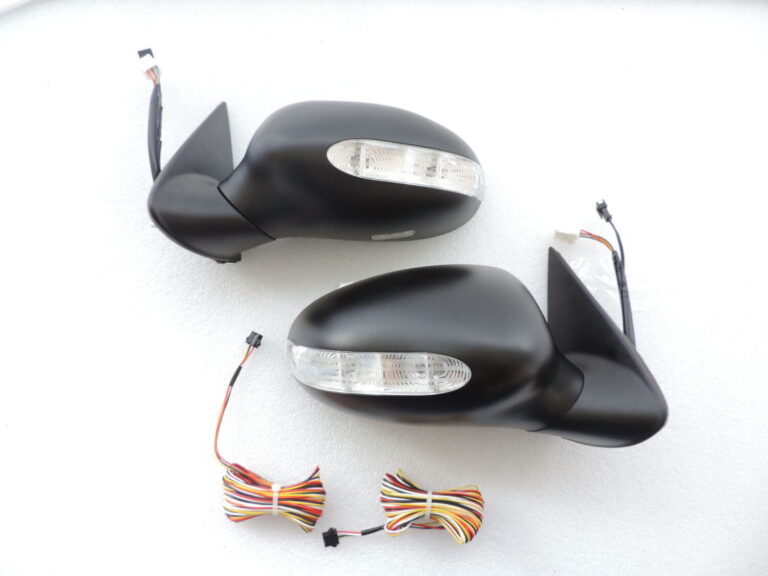
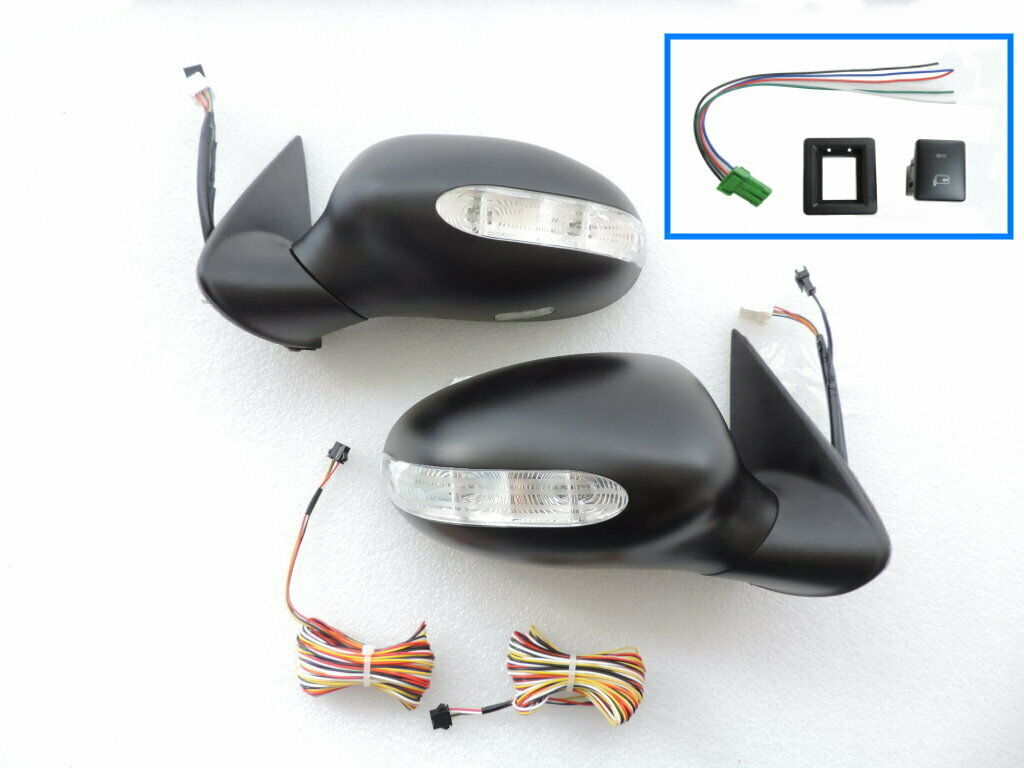
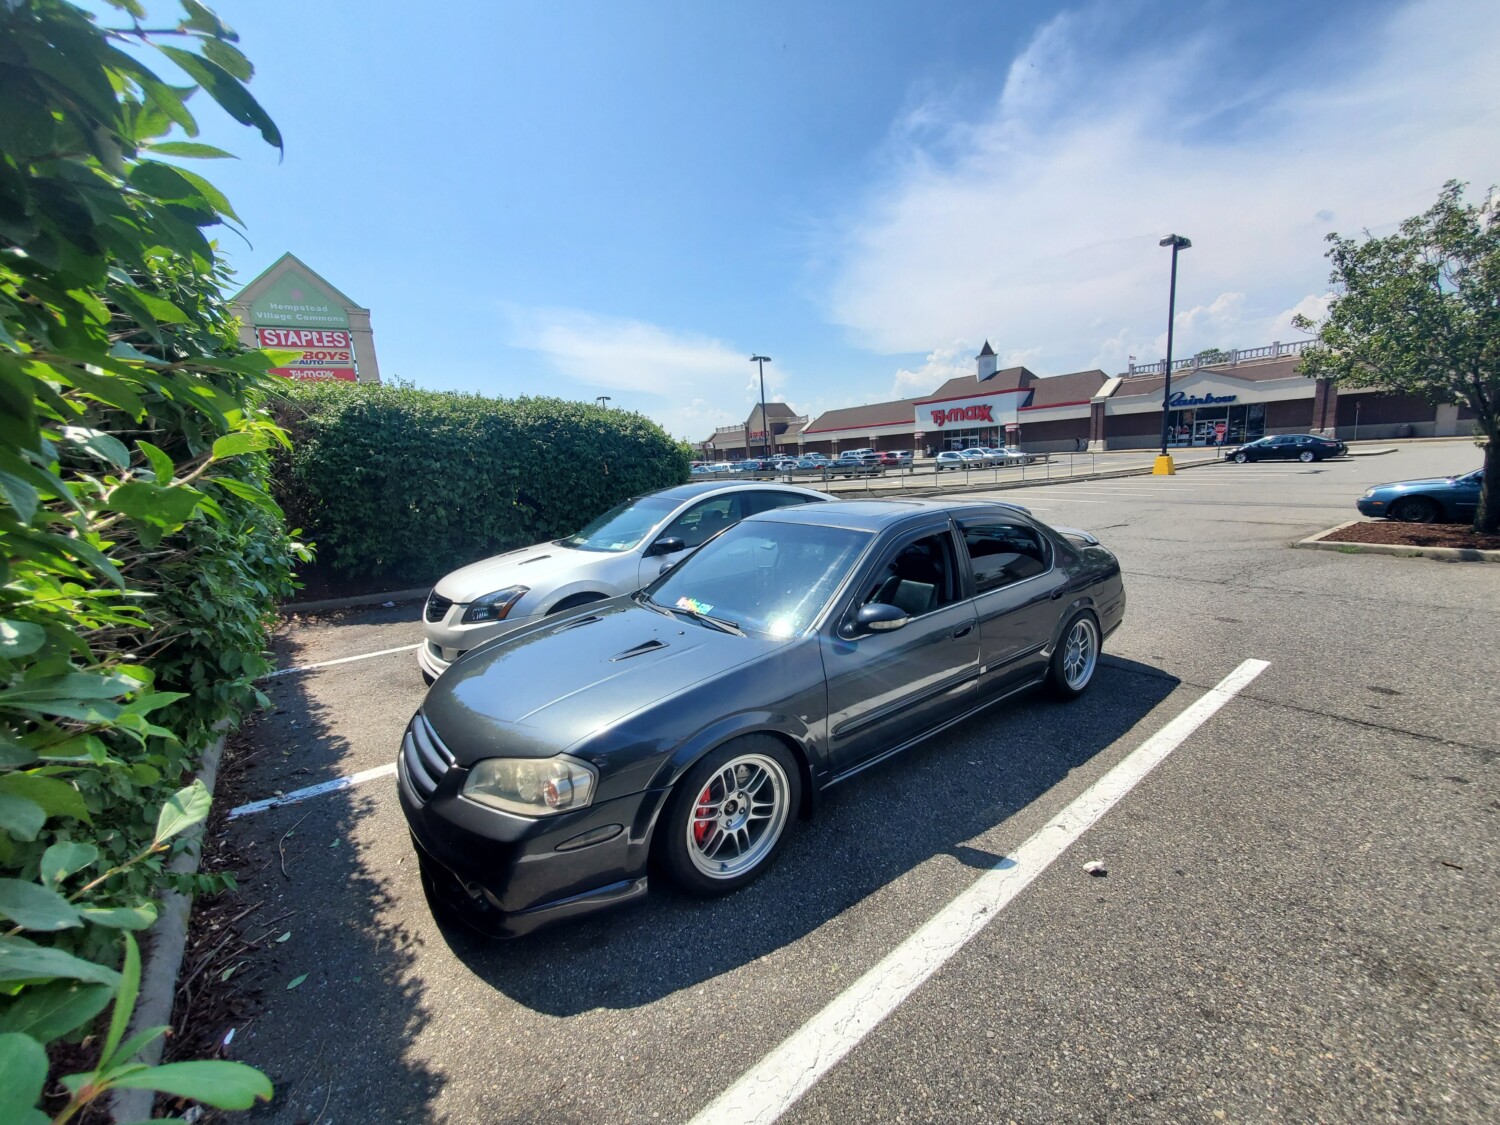
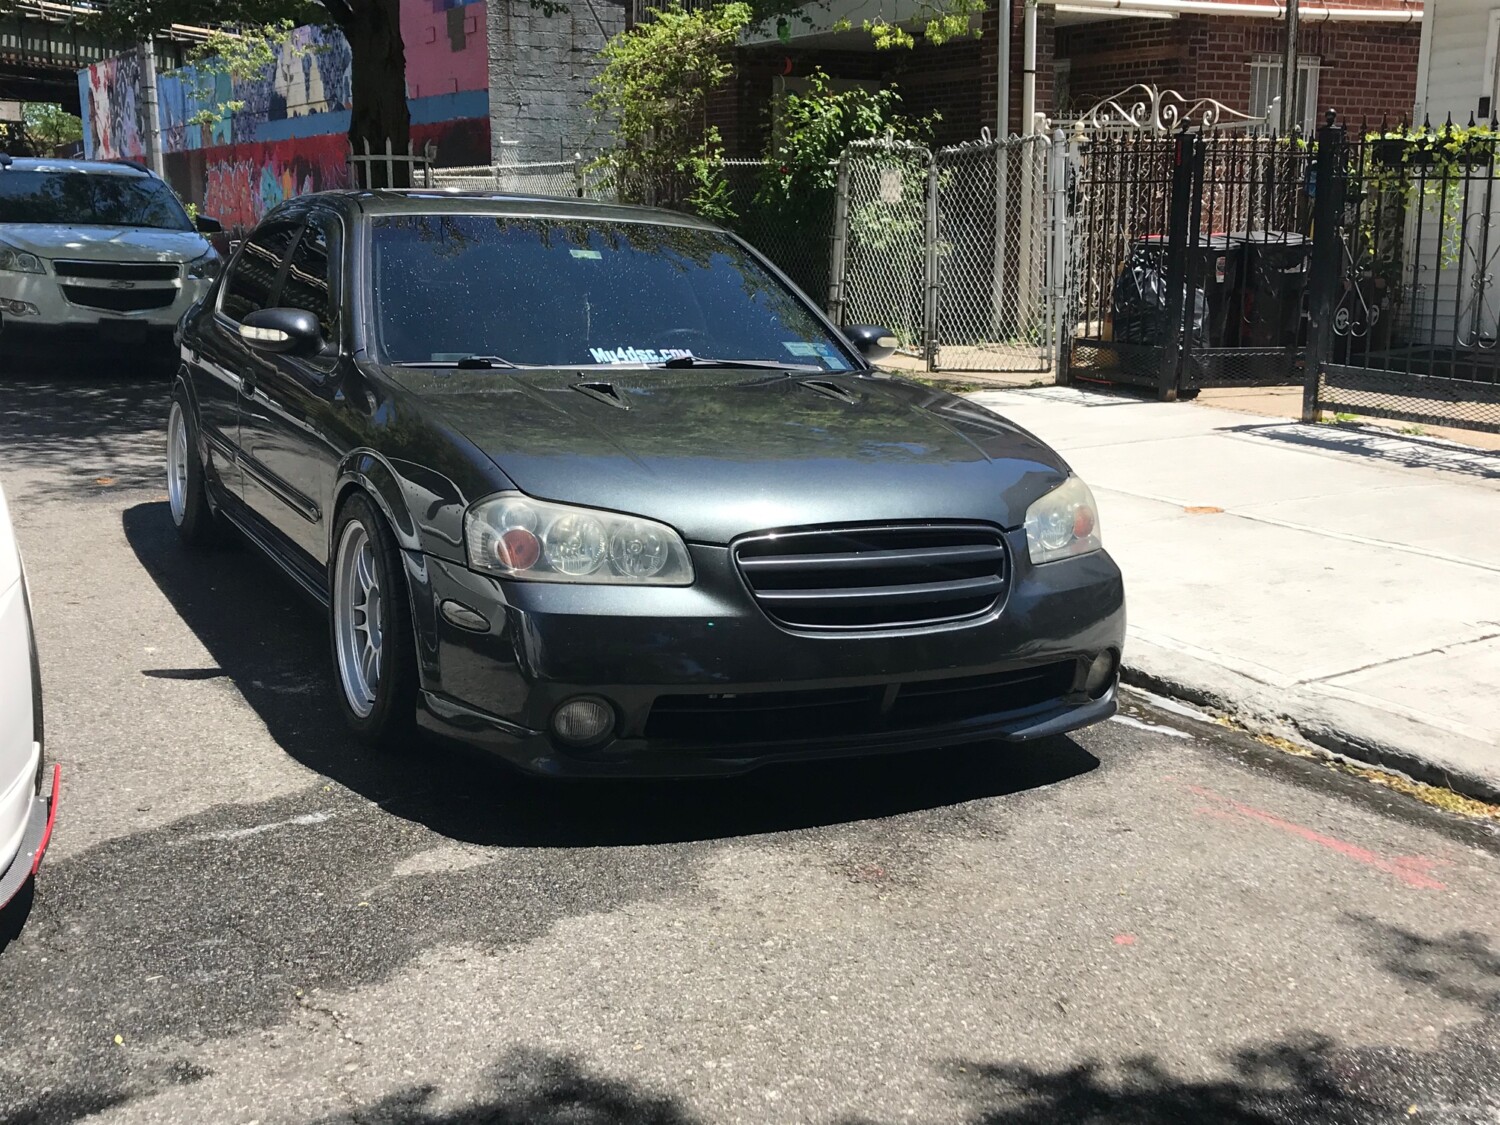
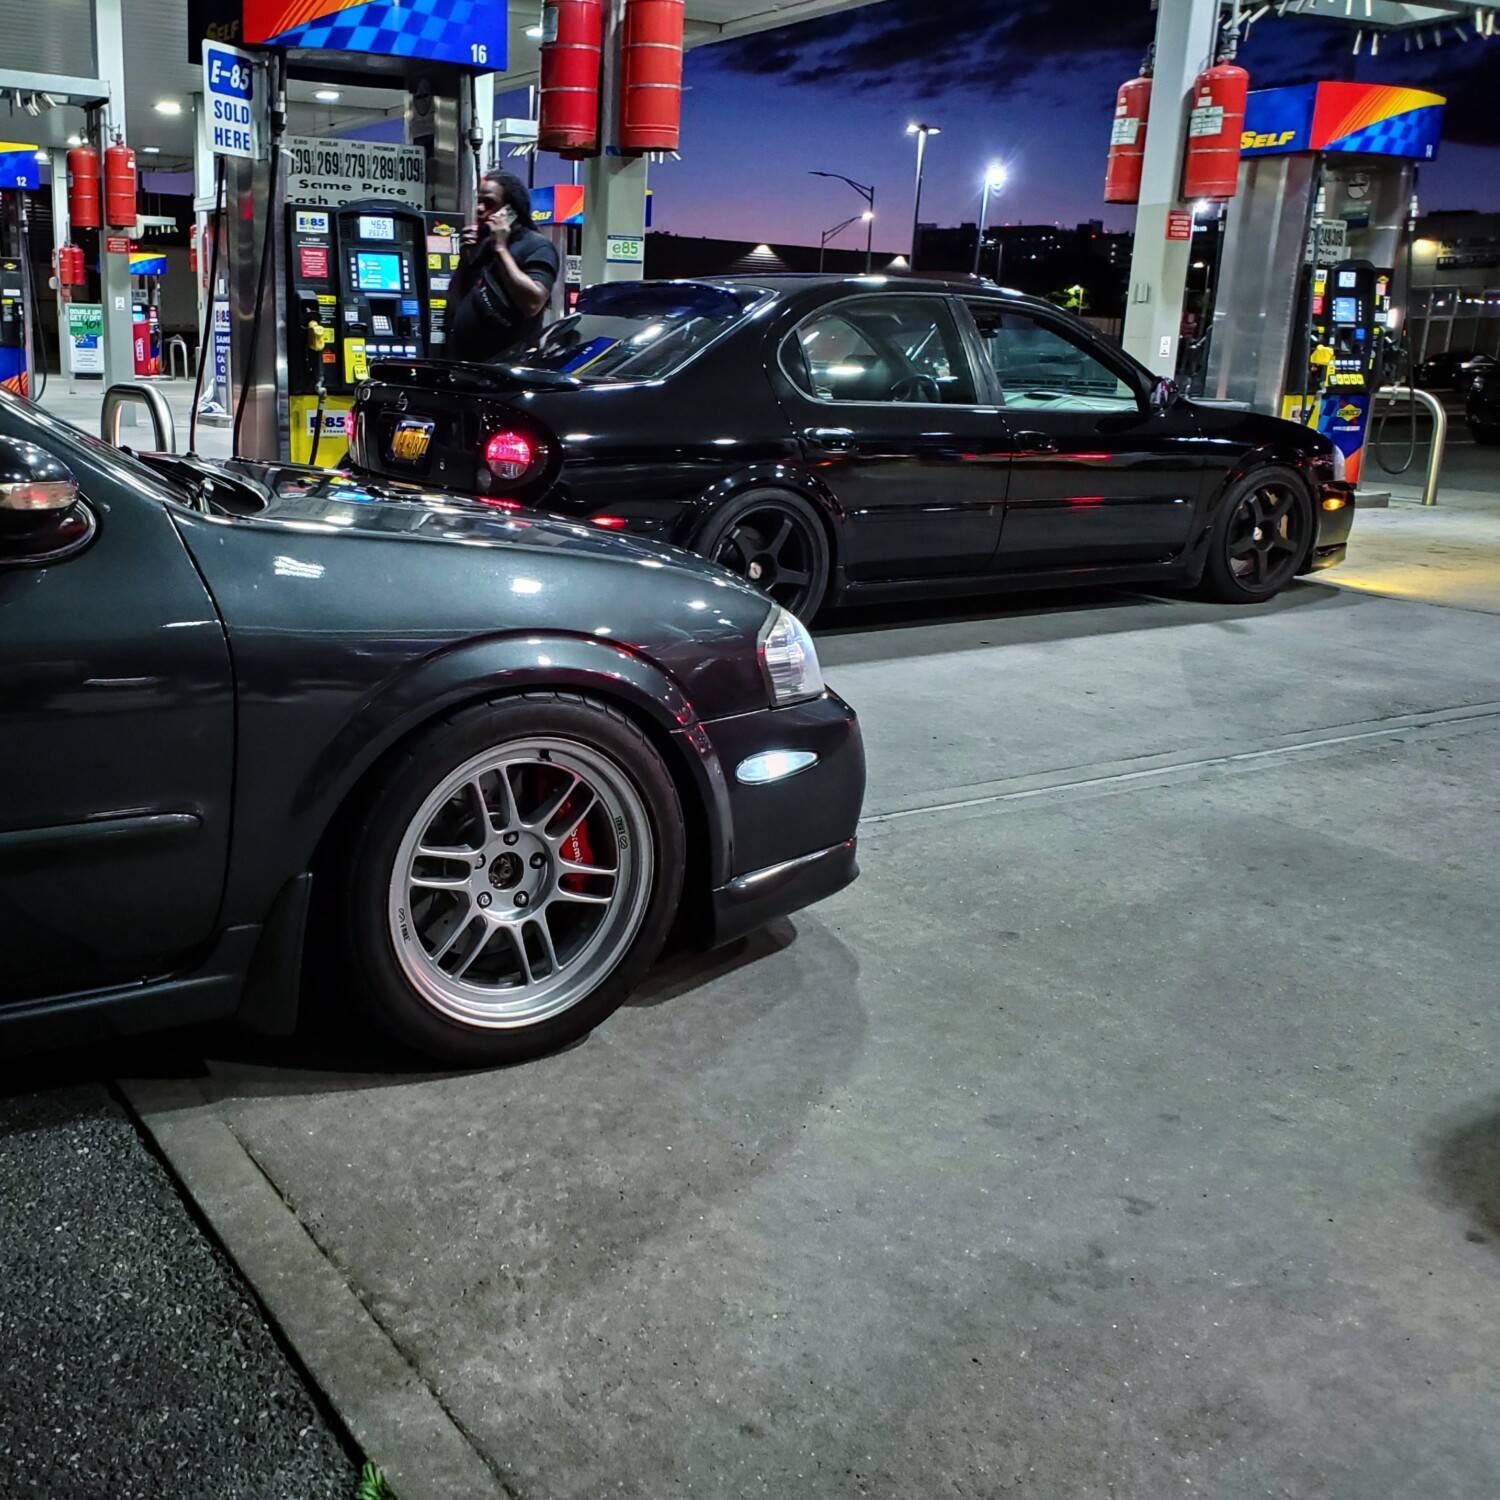
The fans on my 6thgen Maxima went bad, so I decided to try out these eBay ones before buying a more expensive brand again. At this price, I figured I could repurpose them for something else in the event my car was not cooling properly. I previously had a SPAL fan where the motor seized. To my surprise, these actually ended up working great with no issues. While a shroud is recommended, I don’t have one and my car didn’t have any issues with cooling during the summer. I have an external water temp gauge and temps are as they normally should be.
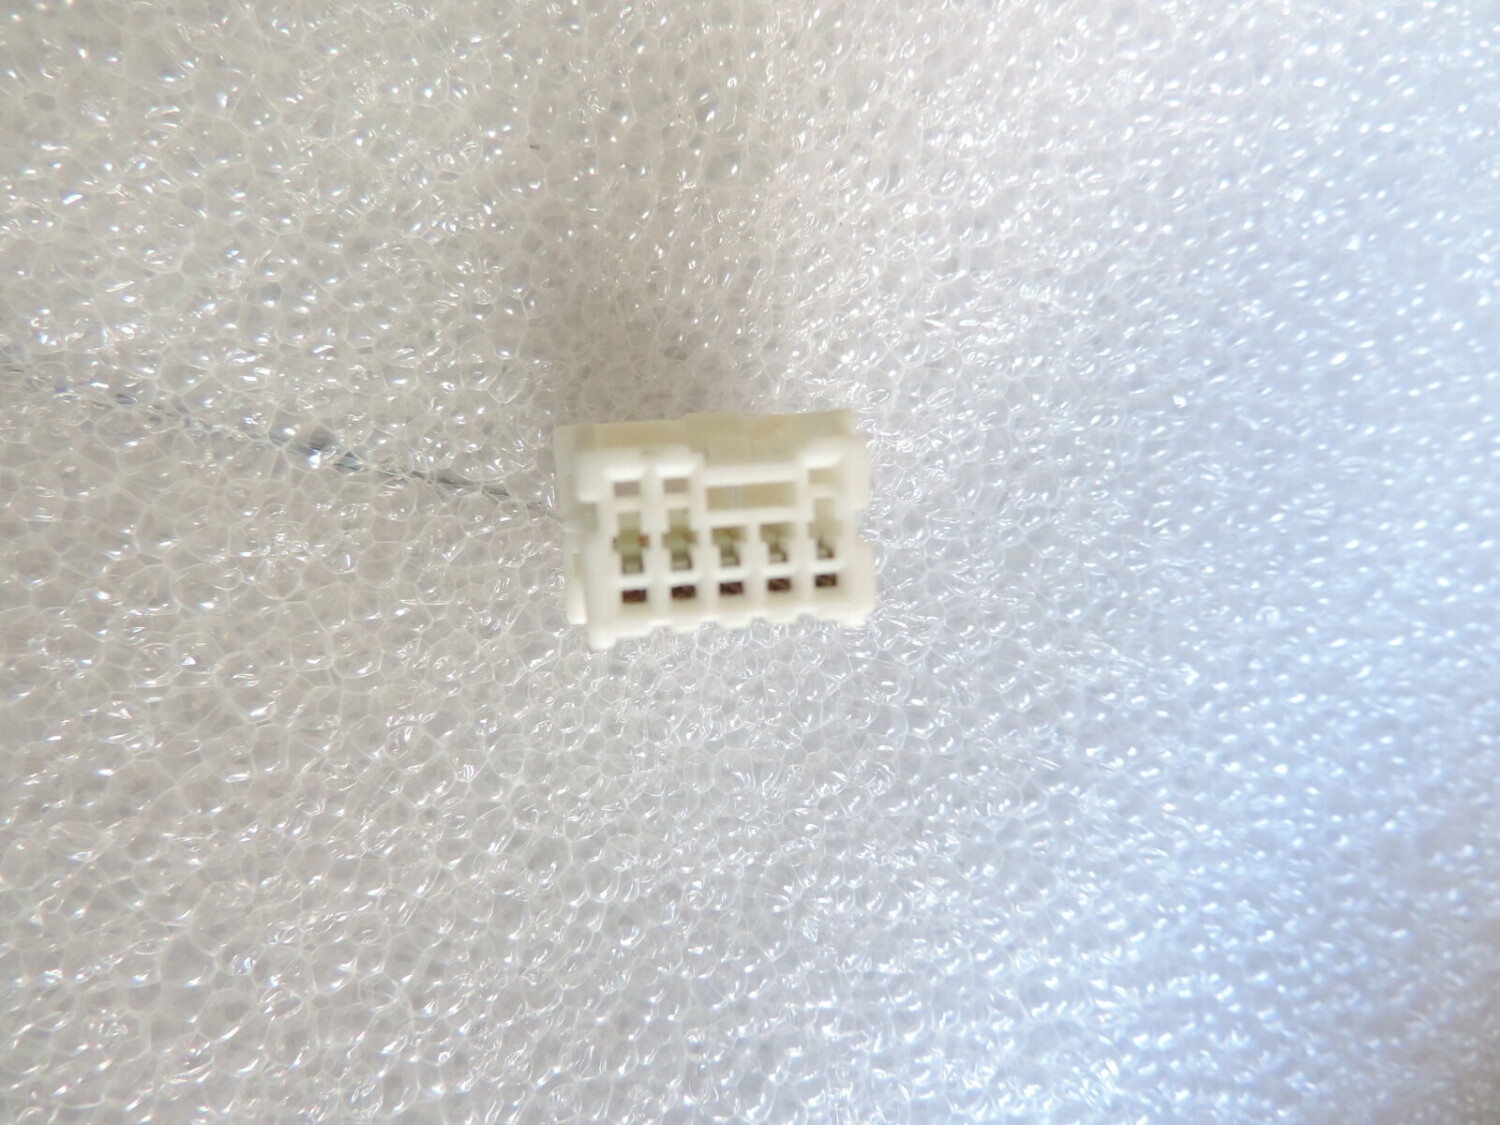
So if you’re looking for a Mishimoto alternative or OEM stock fan replacement, you can give these a try. And quite honestly, I saw no difference between these and a set a Mishimoto fans that I have on another car. I have these wired up directly to stock harness used a 4thgen Maxima pigtail. No external relay was required for these.
Description: 2×14”inch Slim Fan Push Pull Engine Radiator Cooling 90W Mount Kit Universal Price: $32 Shipped (for both fans) Order Link:https://www.ebay.com/itm/192031451879
Details:
Diameter: 14 inches (Blade to Blade)
Thickness: 2.56 inches
Watts: 90W
CFM (Cubic Feet per Minute): 2550 cfm
RPM (Maximum Fan Revolution(s) Per Minute ): 2250 rpm
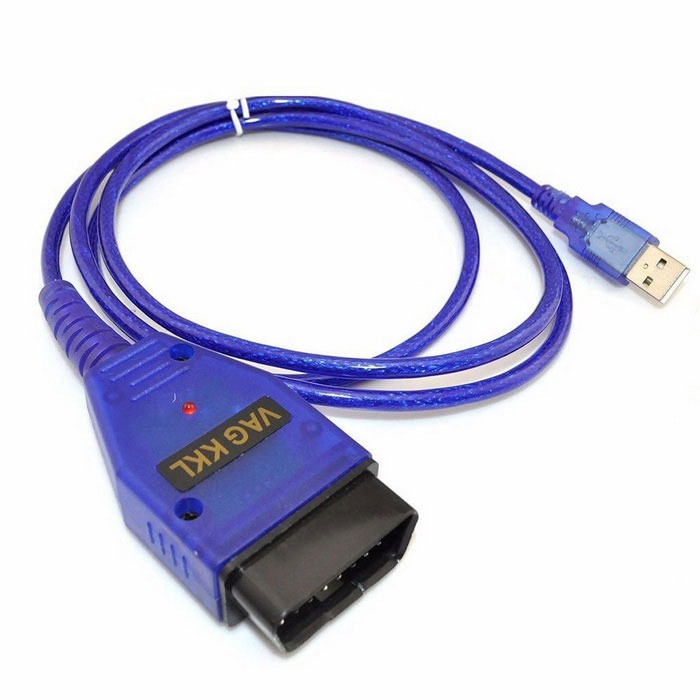
If you are DIY person and love working on your Nissan Maxima, then this tool is a MUST HAVE! When you go to the Nissan dealer, the person working on your car typically uses a tool called a Nissan Consult. The Nissan Consult that the dealer uses costs thousand of dollars and is only available to dealers. By using the Nissan DataScan software, a laptop and a generic VAG COM OBDII adapter you can achieve just about the same level of on-board diagnosis that $5,000 Nissan Consult provides.This software allows you to:
Check CEL codes
Check/Reset ABS and SRS-Airbag Faults
Check/Reset TCM Codes
Adjust timing
Perform Idle Air Relearn
Reset ECU learned settings
Data-log
Program keys
Check Emissions Readiness Monitors
Active Test temporary modify some of the engine parameters for testing purposes
And Much much more….
The software itself costs $55.00 and generic cable costs around $7.00-$8.00.
You can find the cables on eBay between $12.00-$20.00 shipped. It ranges based on location and shipping. Search for the following keywords on eBay and you will find it: “KKL 409.1 VAG-COM OBD2 USB Cable”
Below are all the functions it provides:
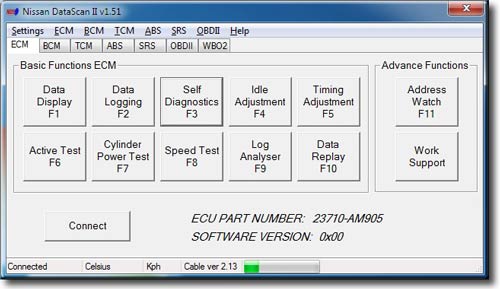
ECU Part Number
This is the main window of the NDSII software which shows the ECM Nissan Identification part number. Basic and Advance Functions can be selected by clicking on the buttons, using the shortcut keys (F1 – F11) or using the Menu bar. Most functions except Data Replay and Log Analyser are disabled until communication with the ECU is successfully established.
Progress bar at the bottom indicates communication between the ECU and PC. If the bar is not moving there is no data being received from the ECU.
Data Display Settings
This window is used to assign parameters to be displayed by the Data Display function. Only parameters that are supported by the currently connected ECU are available for selection. Gauges are counted from left to right, top to bottom. Multiple gauges can monitor the same parameter.
Data Logging ECM
Selected parameters can be logged to a file. This function can also be accessed from the Data Display window. The data log file can be analysed using the Data Replay or Log Analyser functions.
Self Diagnostics ECM
Self Diagnostics function allows users to read and reset engine ECU error codes.
Idle Adjustment
Idle Adjustment function allows users to adjust the base idle RPM. The setting is saved to the ECU and it does not reset with engine restart.
Timing Adjustment
Timing Adjustment function allows users to adjust the base ignition timing. The setting is saved to the ECU and it does not reset with engine restart.
Active Test ECM
Active Test allows users to temporary modify some of the engine parameters for testing purposes. They return to their original values when a function is stopped, PC disconnected or engine restarted.
Note: It is possible to damage the engine if the A/F Base % functions is used to excessively modify fuel delivery. Likewise the engine may overheat if the Engine Temperature is set to low for a long period of time. Do not use those functions if you are not sure how they will effect your engine.
Work Support
Work Support functions allow users to perform some of the advance service procedures. Those procedures may need to be performed after replacement parts are installed.
Clear Self Learn – clears the A/F Base SL map learned by the ECU.
Idle Air Volume Learn – is an operation to learn the fully closed position of the throttle valve.
Program Immobiliser Key – allows to register the Nissan transponder keys with the Immobiliser Note: The immobiliser security PIN CODE needs to be known. Initially all registered keys will be erased and all keys will need to be reregistered.
Cylinder Power Test
Cylinder Power Test function can be used to identify cylinder that is under performing. This function allows shutting down individual cylinders. If all of the cylinders are producing the same amount of power the engine RPMs will drop exactly the same amount on each cylinder that is cancelled.
Log Analyser is used to review log files previously generated by with Data Logging function. Graphs are drawn by selecting boxes next to parameter value. Graph colours match the parameter value colours.
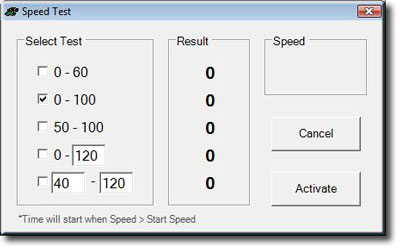
Speed Test
Speed Test is a unique function for measuring car’s acceleration performance. Predefined or user specific tests can be used. Due to the low resolution of Nissan speed sensors, measurements should only be used as a guide and not a true reflection of car’s performance.
Note: This function should not be used while driving on public roads.
Address Watch
Address Watch function is used for monitor specific ECU memory addresses. By monitoring a memory address extra information can be retrieved that is not normally available using Consult II protocol. A knock sensor reading can be obtain using this method if knock sensor memory address is known.
Wideband O2 sensor
Nissan DataScan II also supports wideband Air/Fuel ratio meters from Innovate Motorsports. A second serial port is used to connect to the controller and collect data.
The data from the wideband meter can be displayed or logged in conjunction with other engine parameters using the Data Logging function.
ECU Part Number BCM
The BCM tab shows the BCM Nissan Identification part number. Basic Functions can be selected by clicking on the buttons or using the Menu bar. All functions are disabled until communication with the ECU is successfully established.
Progress bar at the bottom indicates data being send between the ECU and PC. If the bar is not moving there is no data being received from the ECU.
Note: Some vehicles may use K line for diagnostics of engine ECU (ECM) but still use DDL1 line for diagnostics of other control modules. This software does not support diagnostics over the DDL1 line. Some of those models are: X-trail, Maxima, Patrol.
Self Diagnostics BCM
Self Diagnostics function allows users to read and reset BCM error codes.
Active Test BCM
Active Test allows users to temporally activate some of the functions of the BCM. This is usually used to manually test the functionality of the systems controlled by the BCM.
Note: Functions not supported by the BCM are disabled (grayed out).
ECU Part Number TCM
The TCM tab shows the TCM Nissan Identification part number. Basic Functions can be selected by clicking on the buttons or using the Menu bar. Most functions except Data Replay and Log Analyser are disabled until communication with the ECU is successfully established.
Progress bar at the bottom indicates data being send between the ECU and PC. If the bar is not moving there is no data being received from the ECU.
Note: Some vehicles may use K line for diagnostics of engine ECU (ECM) but still use DDL1 line for diagnostics of other control modules. This software does not support diagnostics over the DDL1 line. Some of those models are: X-trail, Maxima, Patrol.
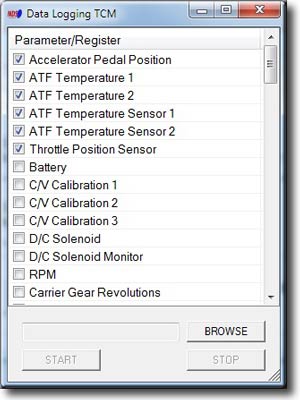
Data Logging TCM
Selected parameters can be logged to a file. This function can also be accessed from the Data Display window so the data can be logged while it is displayed. The data log file can be analysed using the Data Replay or Data Analyser functions.
Self Diagnostics TCM
Self Diagnostics function allows users to read and reset TCM error codes.
ECU Part Number ABS
The ABS tab shows the ABS Nissan Identification part number. Basic Functions can be selected by clicking on the buttons or using the Menu bar. Most functions except Data Replay and Log Analyser are disabled until communication with the ECU is successfully established.
Progress bar at the bottom indicates data being send between the ECU and PC. If the bar is not moving there is no data being received from the ECU.
Note: Some vehicles may use K line for diagnostics of engine ECU (ECM) but still use DDL1 line for diagnostics of other control modules. This software does not support diagnostics over the DDL1 line. Some of those models are: X-trail, Maxima, Patrol.
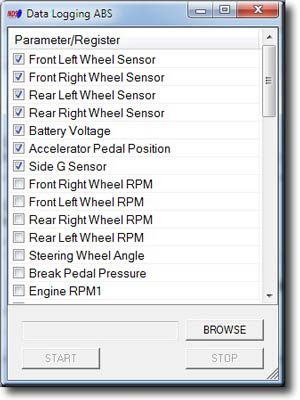
Data Logging ABS
Selected parameters can be logged to a file. This function can also be accessed from the Data Display window so the data can be logged while it is displayed. The data log file can be analysed using the Data Replay or Data Analyser functions.
Self Diagnostics ABS
Self Diagnostics function allows users to read and reset ABS error codes.
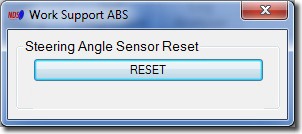
Work Support ABS
Work Support functions allow users to perform advance service procedures. Those procedures may need to be performed after replacing parts.
Steering Angle Sensor Reset – After removing/installing or replacing VDC/TCS/ABS control unit, steering angle sensor, steering components, suspension components, and tires, or after adjusting wheel alignment, make sure to adjust neutral position of steering angle sensor before running vehicle.
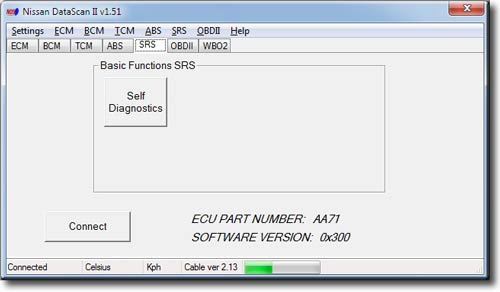
ECU Part Number SRS
The SRS tab shows the SRS Nissan Identification part number. Basic Functions can be selected by clicking on the buttons or using the Menu bar. All functions are disabled until communication with the ECU is successfully established.
Progress bar at the bottom indicates data being send between the ECU and PC. If the bar is not moving there is no data being received from the ECU.
Note: Some vehicles may use K line for diagnostics of engine ECU (ECM) but still use DDL1 line for diagnostics of other control modules. This software does not support diagnostics over the DDL1 line. Some of those models are: X-trail, Maxima, Patrol.
Self Diagnostics SRS
Self Diagnostics function allows users to read and reset SRS error codes.
Note: Recorded faults are historical and can not be cleared.
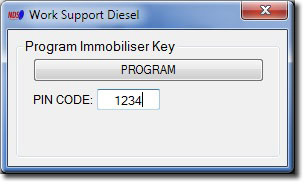
Work Support
Work Support functions allow users to perform the advance service procedures. Those procedures may need to be performed after replacement parts are installed.
Program Immobiliser Key – allows to register the Nissan transponder keys with the Immobiliser Note: The immobiliser security PIN CODE needs to be known. Initially all registered keys will be erased and all keys will need to be reregistered.
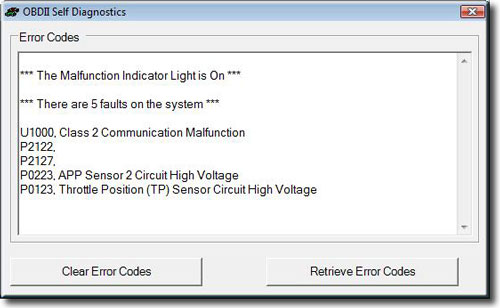
OBDII Self Diagnostics
OBDII Self Diagnostics function allows users to read and reset ECU error codes.
OBDII Monitor Status
OBDII Monitor Status shows the current status of various monitoring systems used by the car’s engine management system.
OBDII Log Analyser
Log Analyser is used to review log files previously generated by with Data Logging function. Graphs are drawn by selecting boxes next to parameter value. Graph colours match the parameter value colours.
OBDII Fuel System Satus
OBDII Fuel System Status can be used to check if the car’s fuel system is running in Closed Loop mode.
Fuel systems do not normally refer to injector banks. They are intended to represent completely different fuel systems that can independently enter and exit closed loop fuel. Banks of injectors on a V-engine are generally not independent and share the same closed-loop enablement criteria.
OBDII Data Logging
Selected OBDII parameters can be logged to a file. The data log file can then be analysed using the Log Analyser function.
Due to the slow nature of OBDII protocol it’s recommended to log only the required parameters.
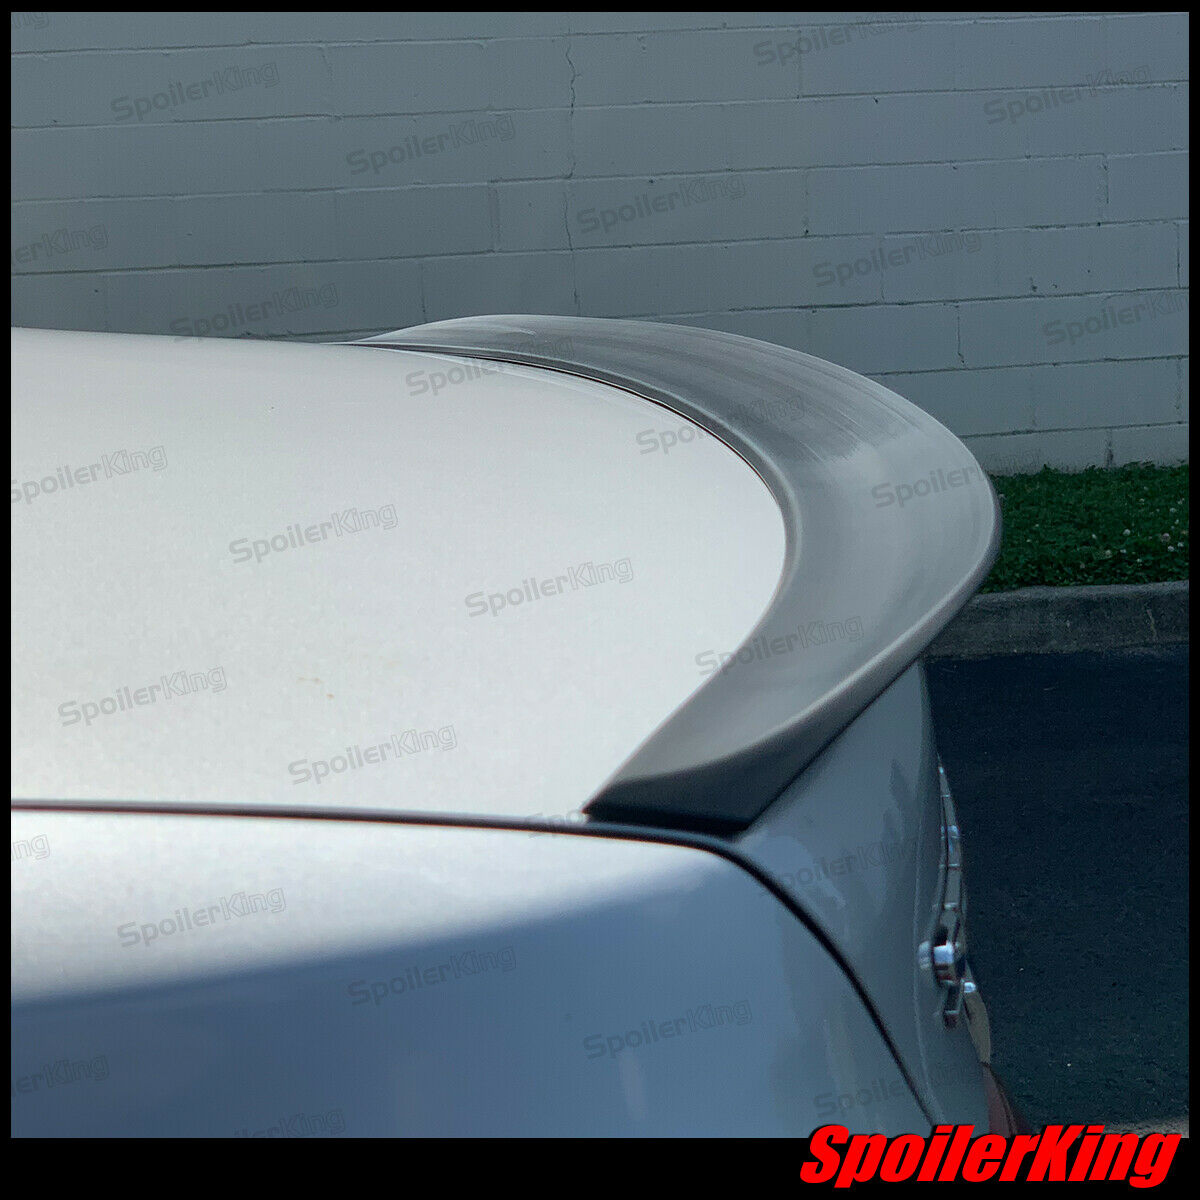
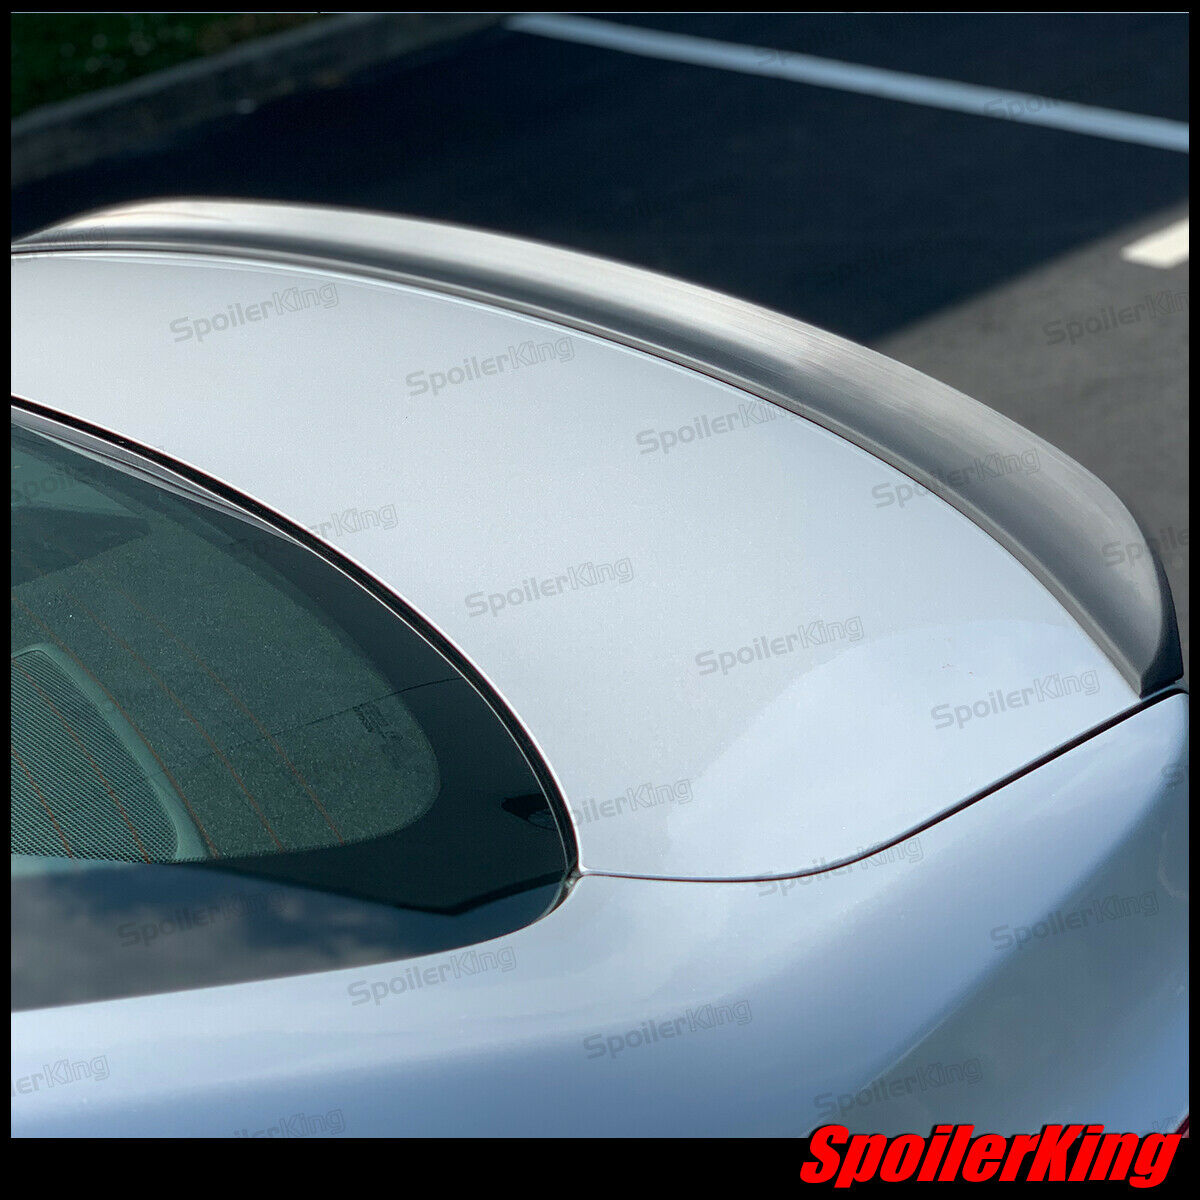
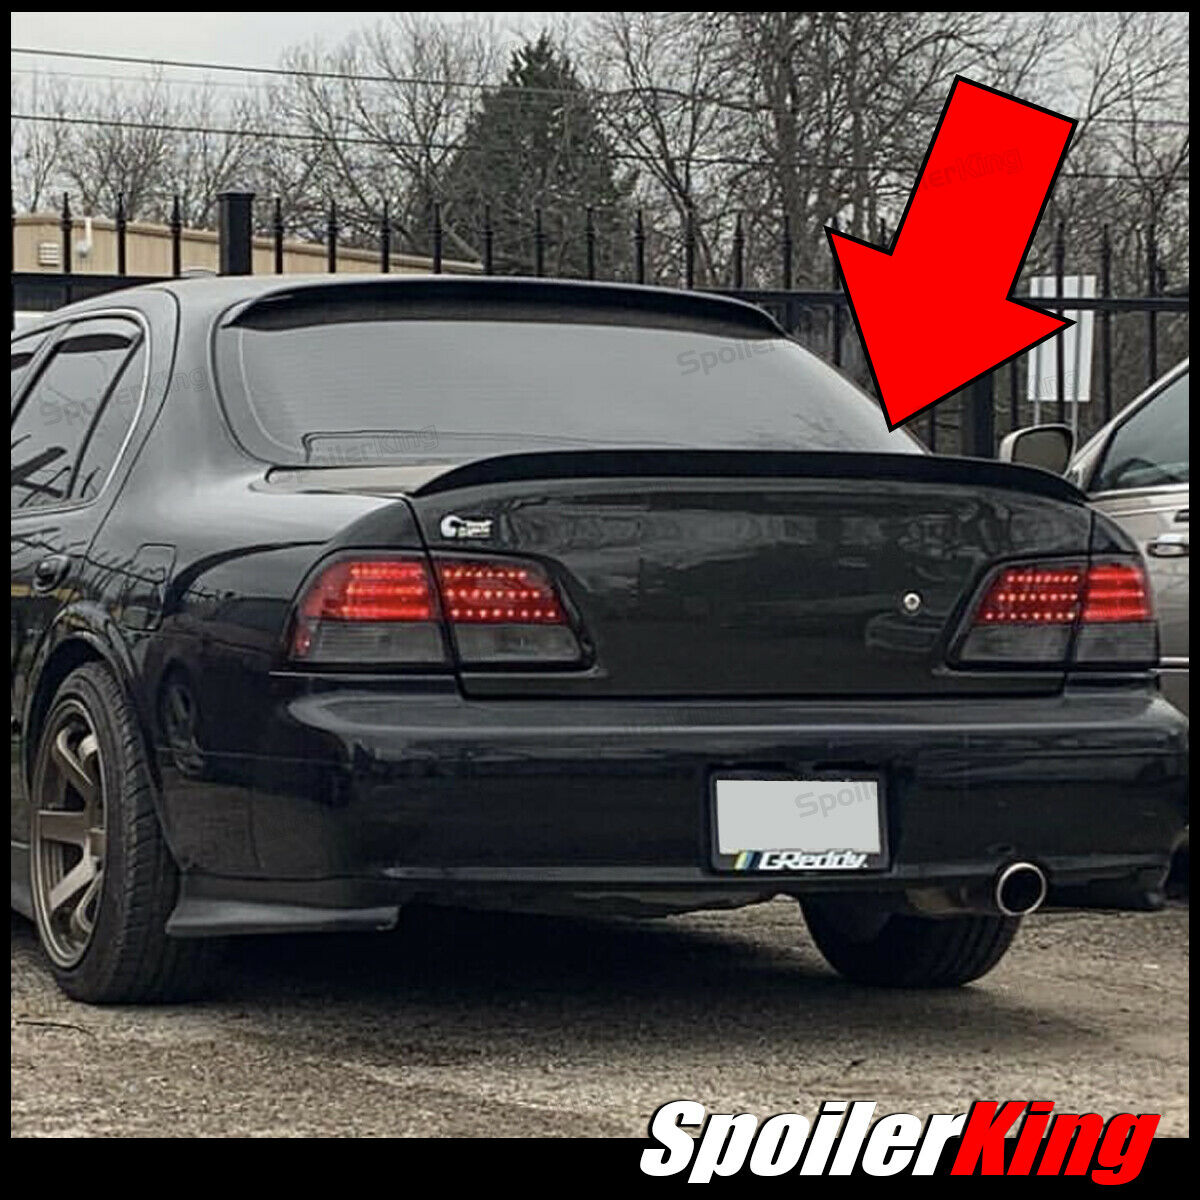
This is a very nice looking spoiler for the 4thgen Nissan Maxima.
From Manufacturer:
Our Spoilers are manufactured and shipped out of Amityville, NY. When you buy from our eBay store rest assure that you are buying an authentic SpoilerKing product. Our products are NOT made in China or Taiwan. We take pride in the quality of our products so there will not be any uneven cuts, gaps and angles. Just recently it has come to our attention that our competition started calling their product similar names as our company name and paying more attention to details of their own products. We’ve been perfecting and making sure you get the best quality product from the beginning. Don’t be fooled by imitators!
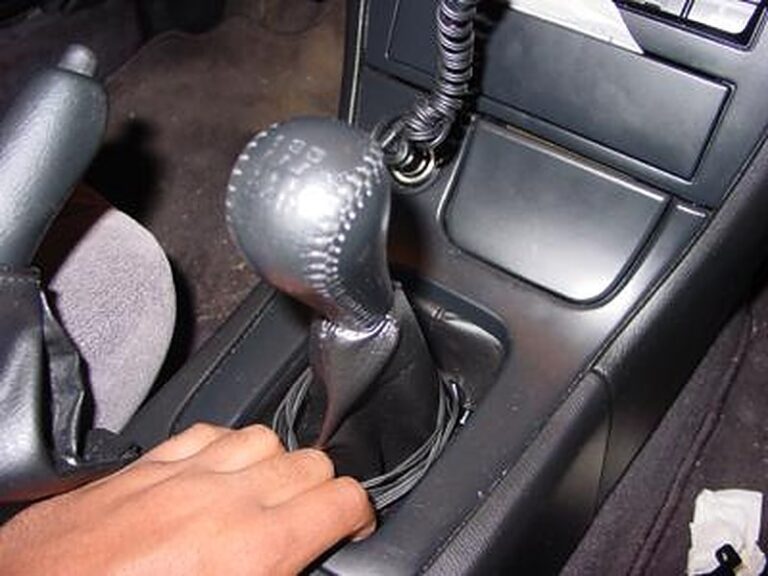
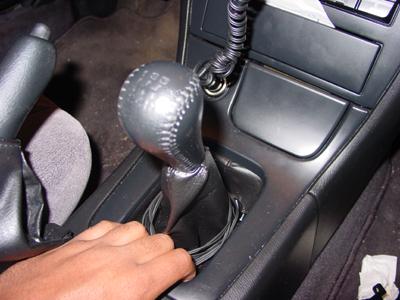
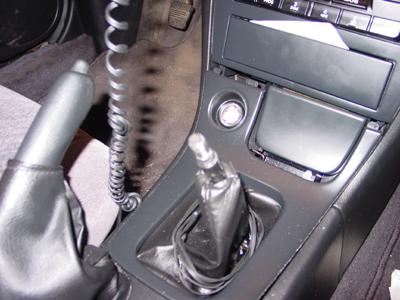
2. Pull the the rear of the shift console towards you and slightly lift.
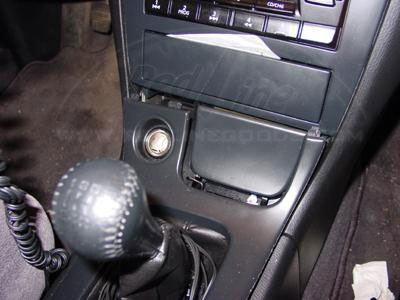
3. Pull the console slowly until it separates from the lower portion of the radio.
4. Turn the shift knob counter clockwise to remove it. You will need to remove the shift knob before you can remove the console. If it’s never been removed before, it’s going to be very tight. Use vise-grips to remove it but make sure to protect the surface of the shift knob with a towel.
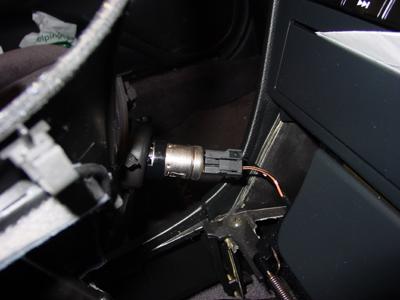
5. Also remember to remove the attachment for the Cigarette lighter.
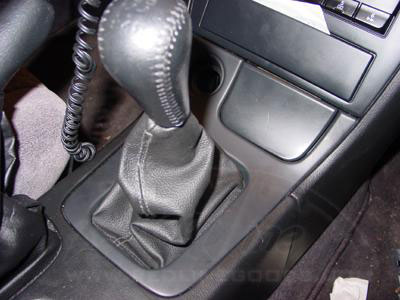
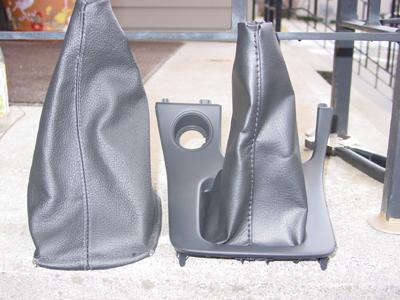
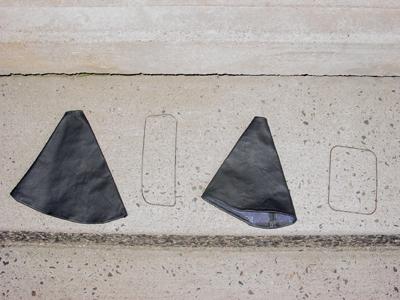
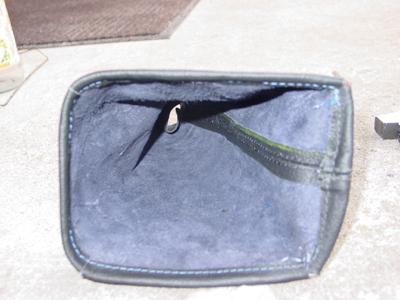
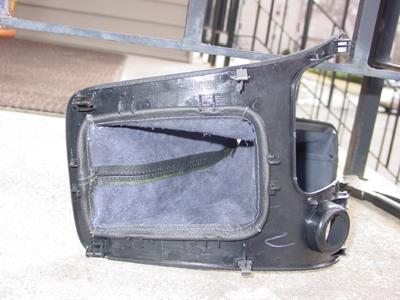
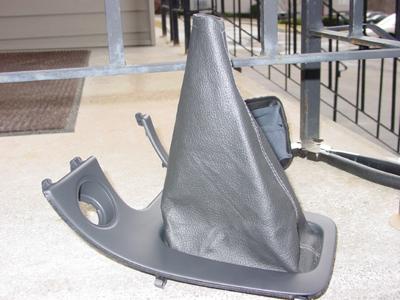
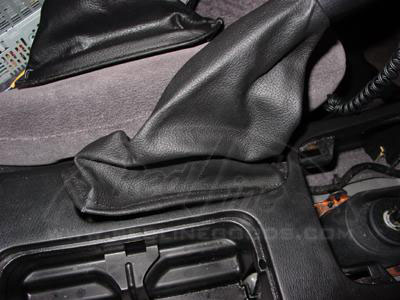
6. Here is a picture of the new boot next to the console and old boot.
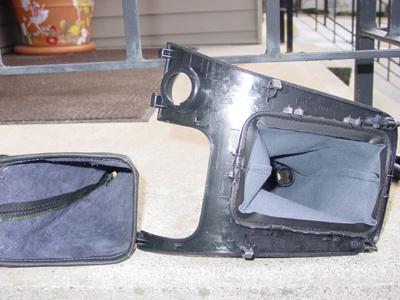
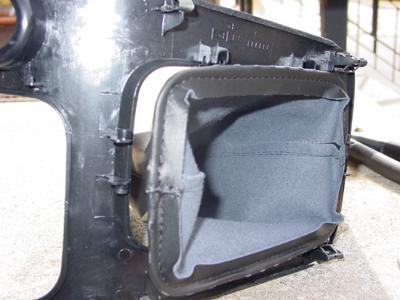
7. Turning the console upside down you will see grooves where the old boot is secured into the console.
8. Pry the old boot out of the grooves under the bottom of the console.
9. Remove the metal rods in the bottom of each boot.
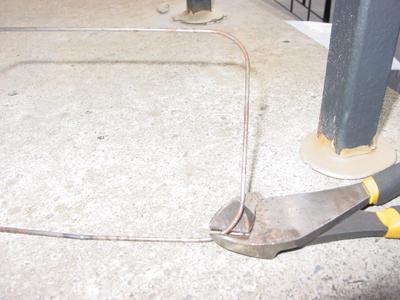
10. To install the metal rods for securement, you will have to cut the rod to insert it into the new boot.
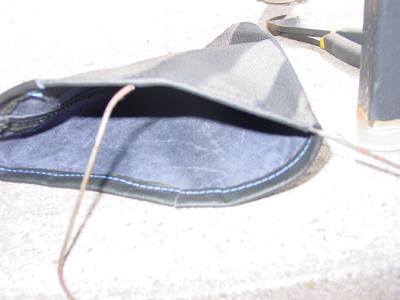
11. Here is shot of the Rod going in the new boot.
12. Here is a shot of the metal rod inserted in the boot. You maybe have to use JB Weld to keep the Rod perfectly in place.
13. Once you have the metal Rod inserted in the boot, turn the console upside down and install the new boot into the grooves of the bottom of the console.
14. Here is a shot of the new boot in the console.
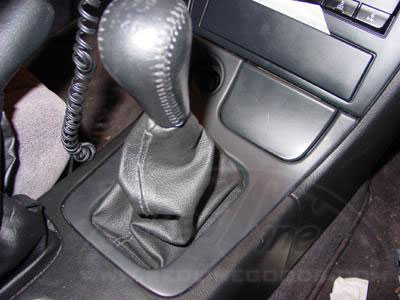
15. Repeat in reverse order the instructions on Removing the Shift Console and slowly slide the boot and console over the shifter and slide the console its place.
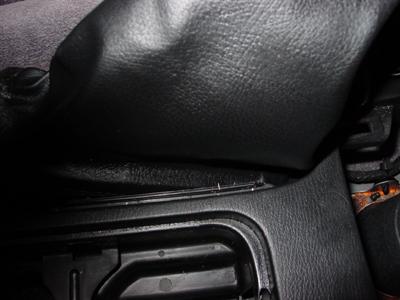
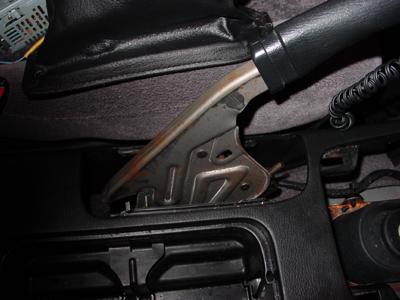
16. To remove the E Brake boot you will have to press down on the front of the boot by the opening of the shift console.
17. Once you have lifted the E Brake boot out of its grooves you can slide it over the top of the brake lever.
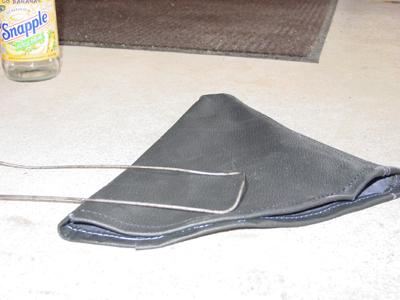
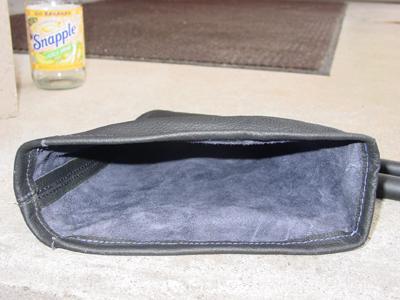
18. Now its time to install the metal rod in the E-Brake Boot. With the boot facing towards the car, the thread stitch goes on the bottom of the brake. We would advise you to line it up in the car before cutting and inserting the rod. Try to get a very good idea of how you are going to mount the boot.
19. Here is a picture of the rod installed in the boot.
20. Re-insert the E Brake Boot and rod as before.
ENJOY YOUR NEW LEATHER BOOTS!
Useful tip
You have installed a product made out of genuine leather. As you know, to maintain a leather product in good condition, you should take care of it. We suggest occasionally (every 4-6 week for example) applying some leather conditioner/UV protector to keep your leather from drying up in the sun and cracking.
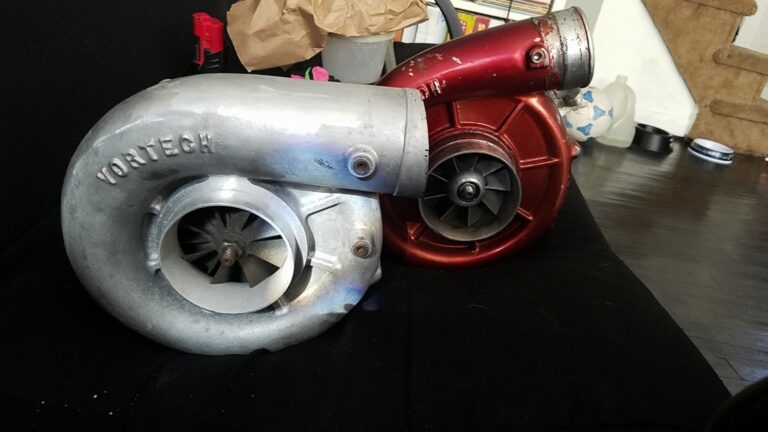
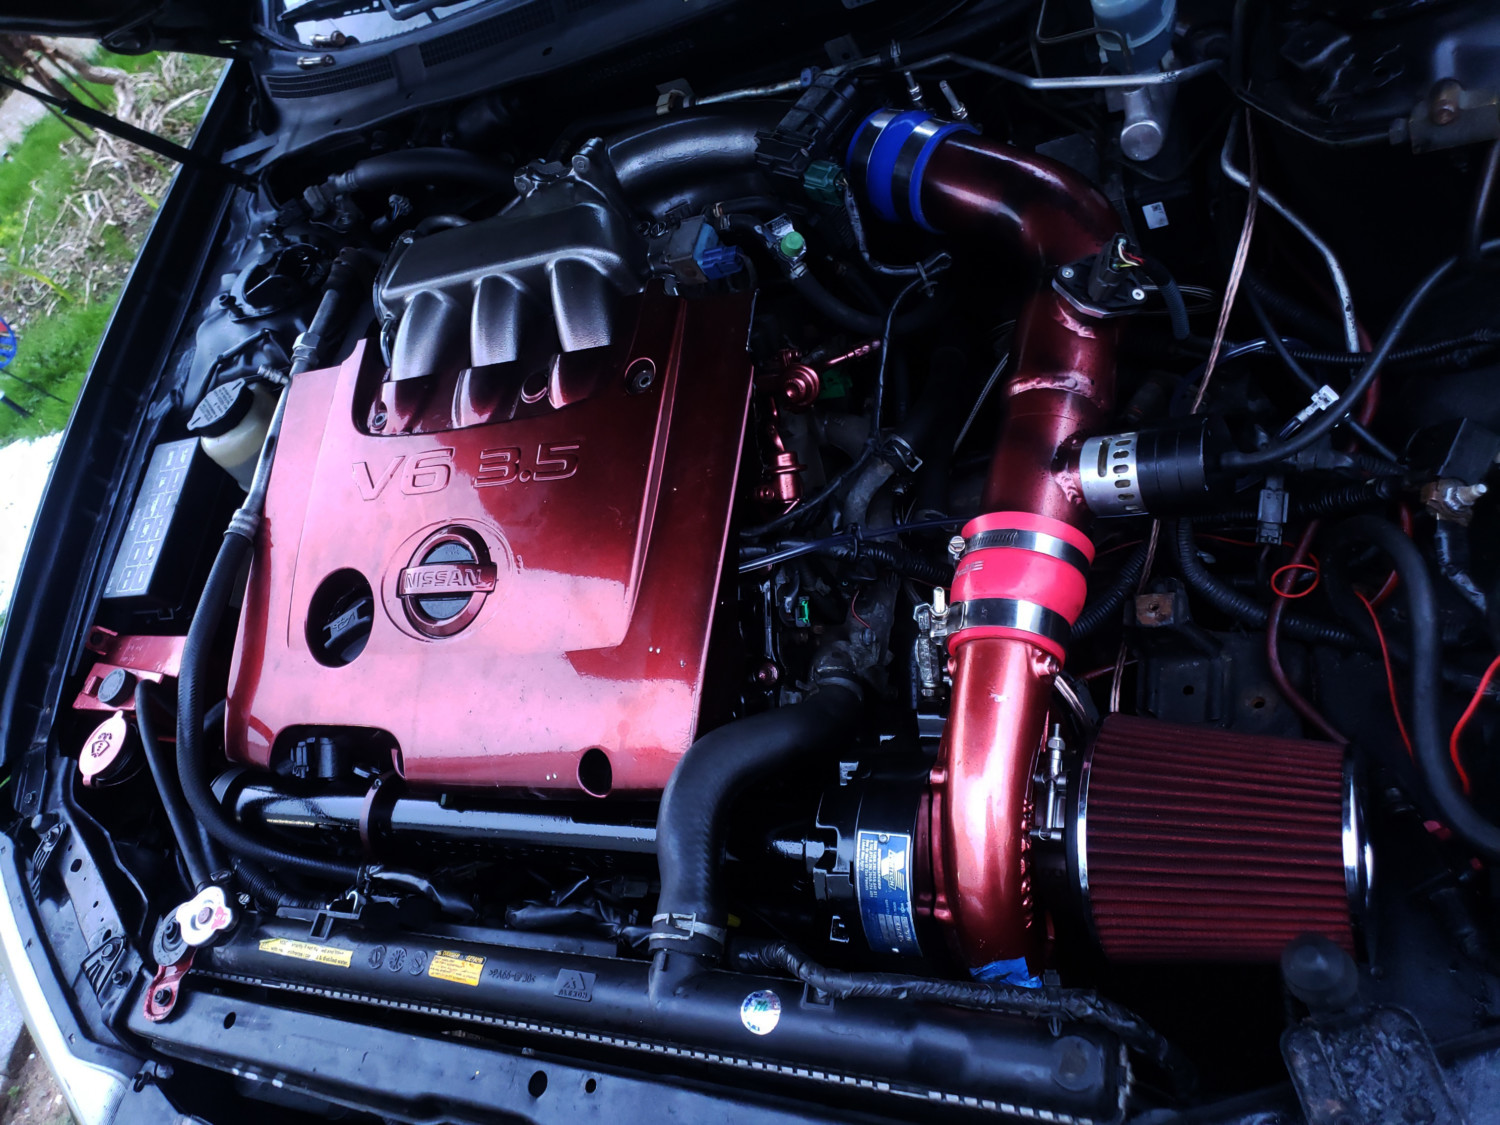
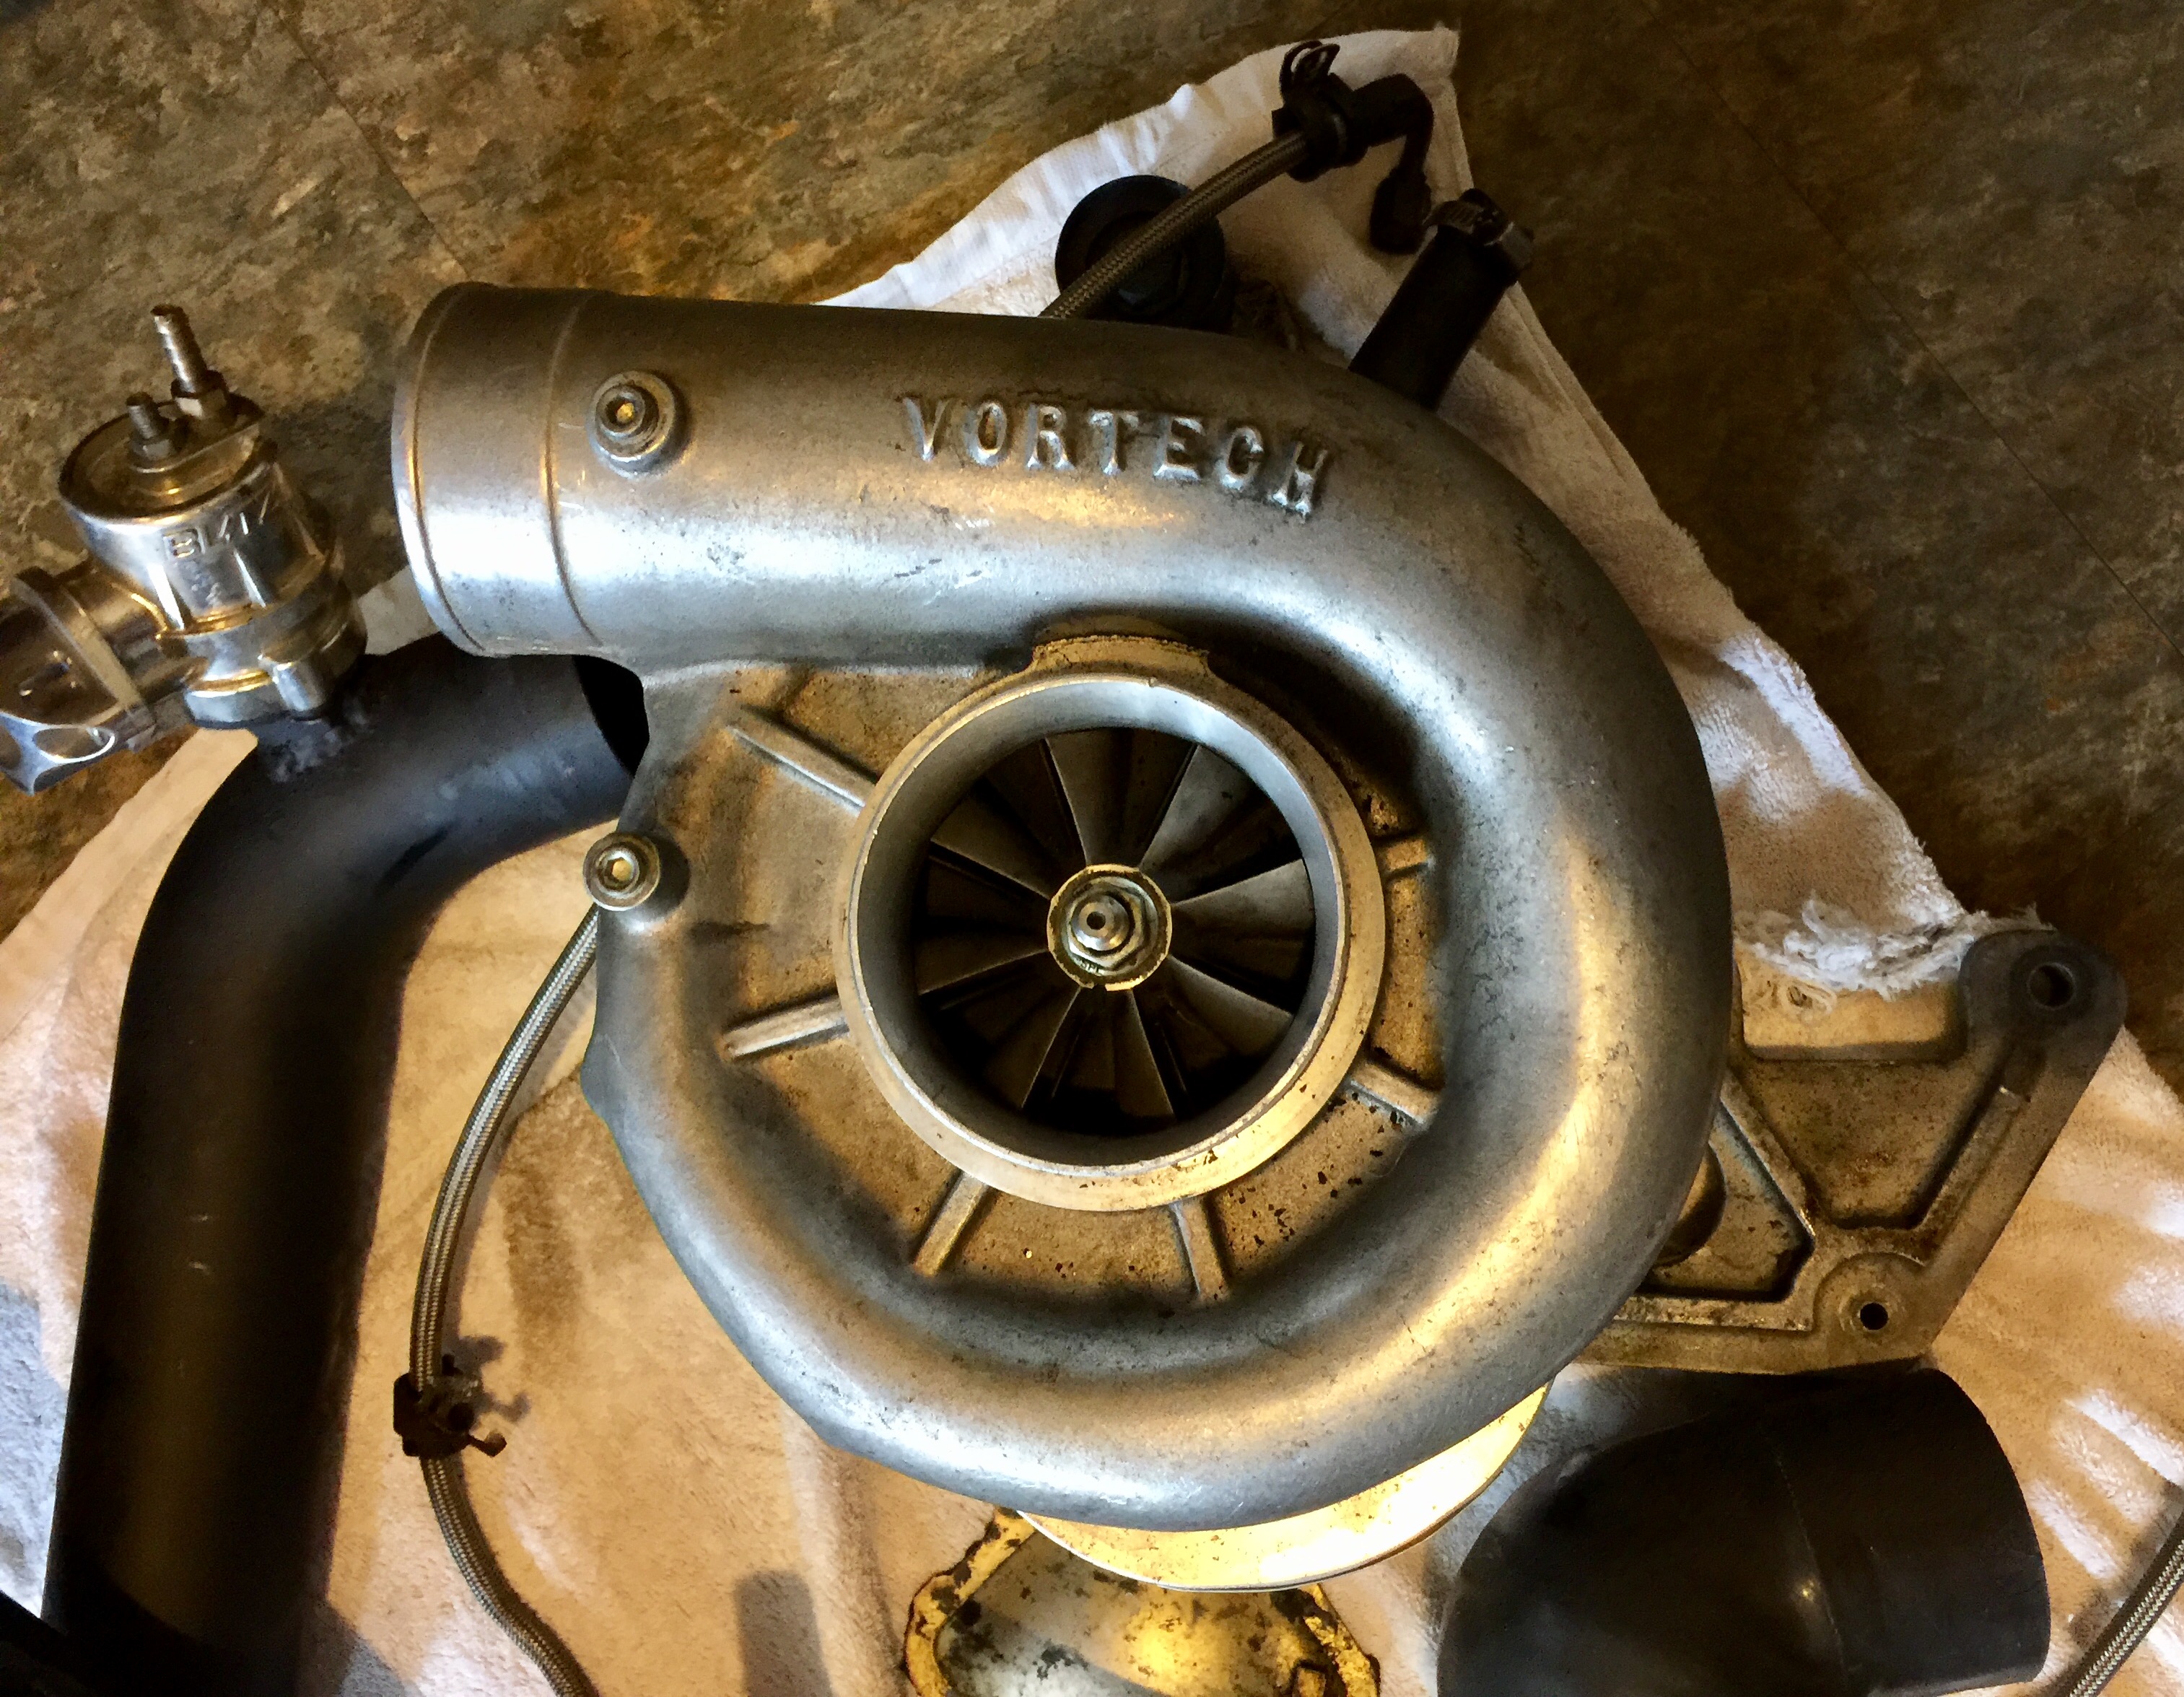
This is just for reference and comparison. The RIPP Supercharged Kit usually comes with the V-5 G Supercharger. Most upgrade to the V-2 Si Supercharger Trim. You will need to ensure the impeller is also in the right rotation for your setup.