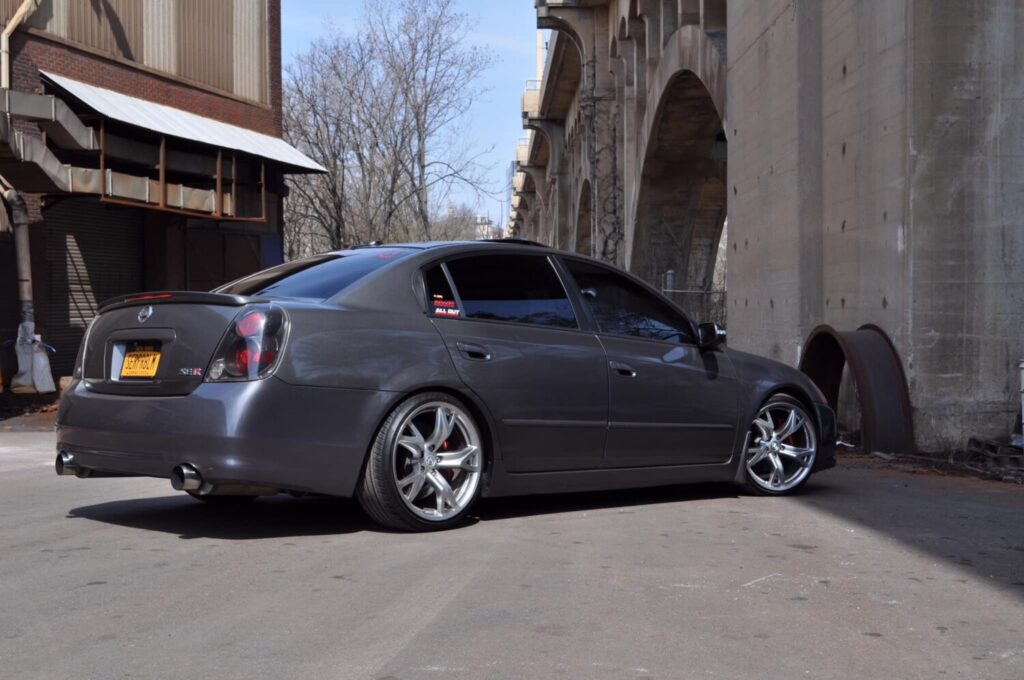
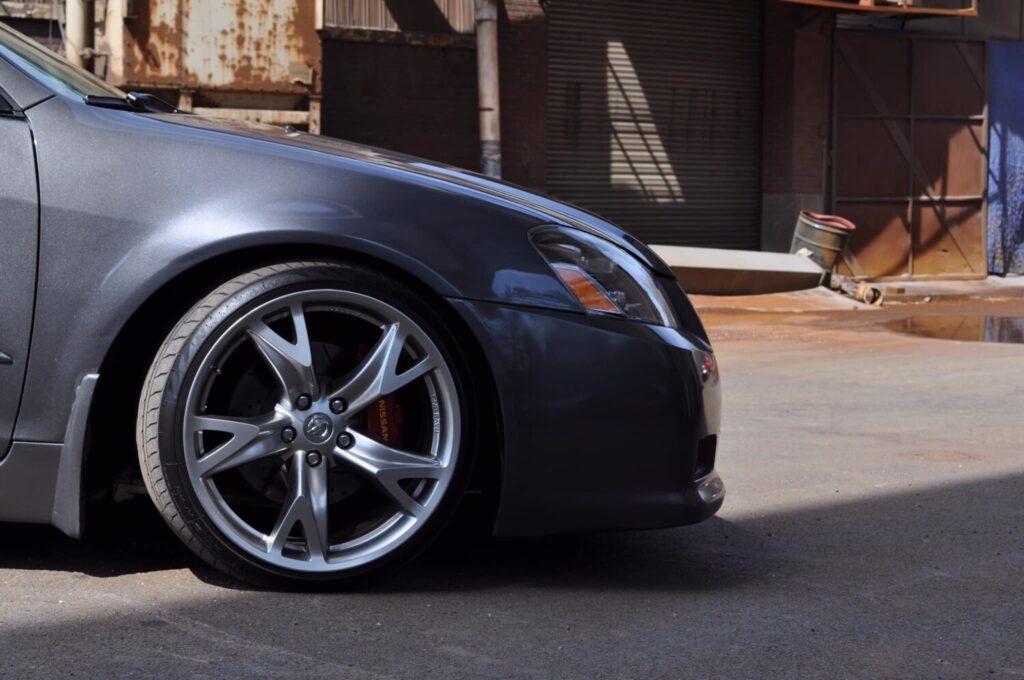
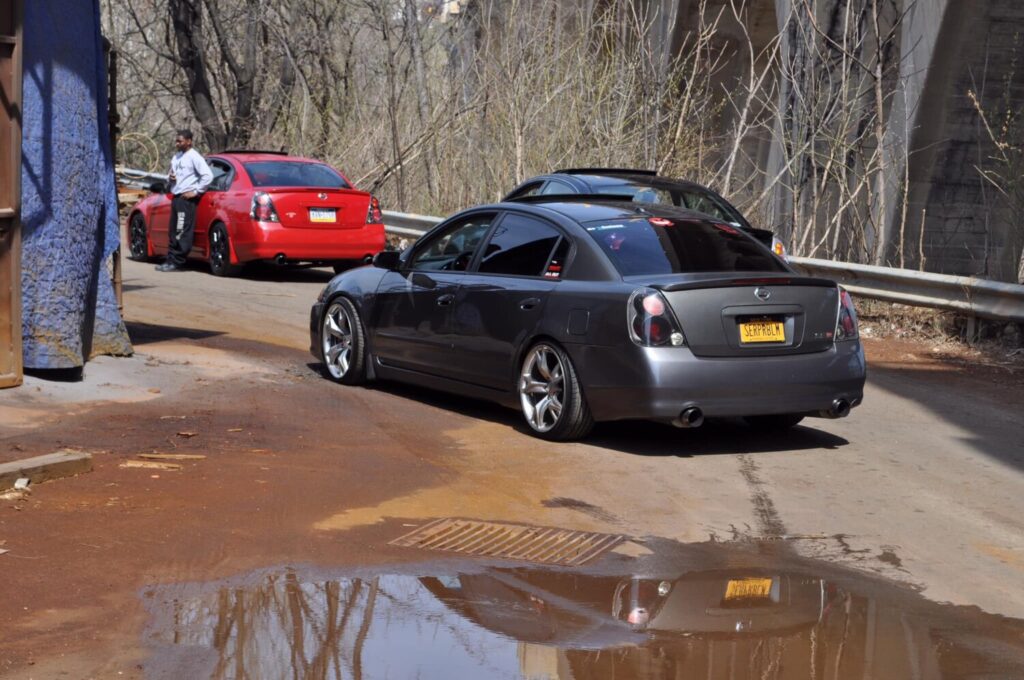
Size:
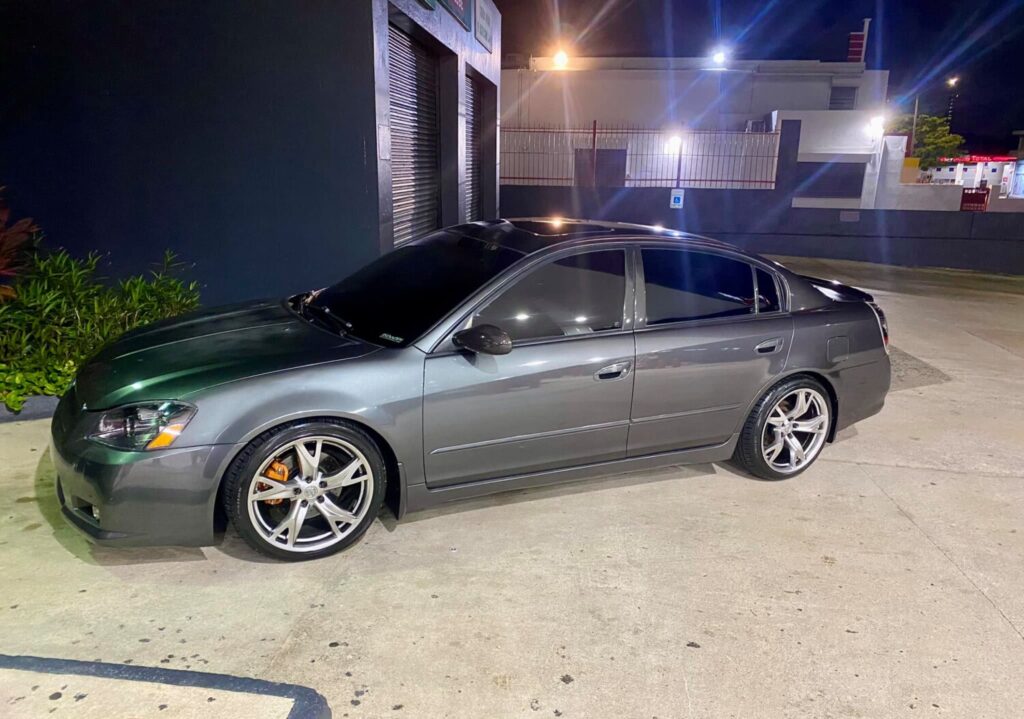
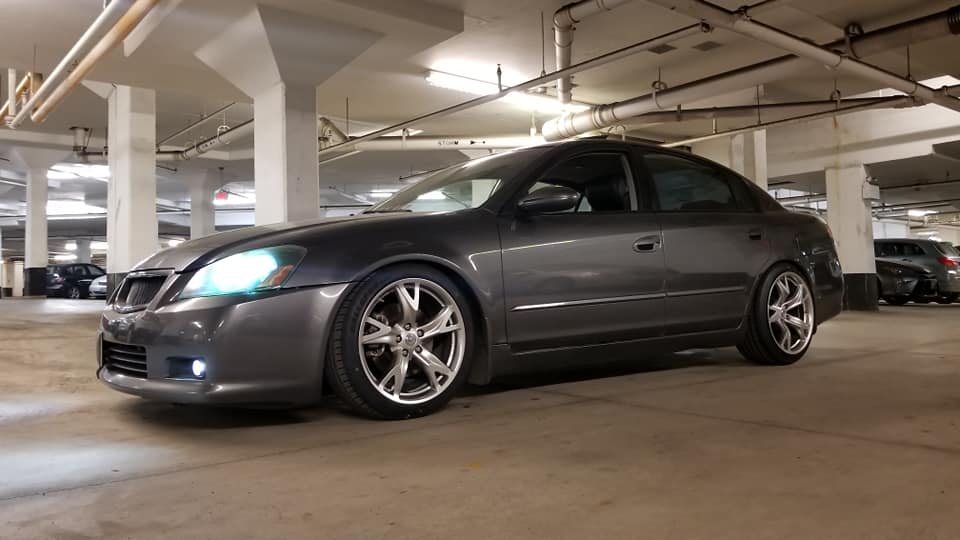
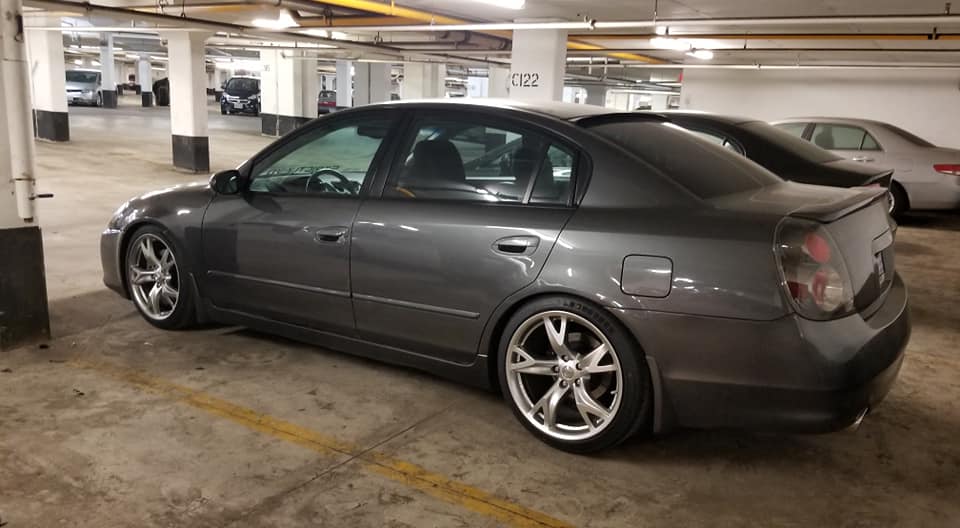
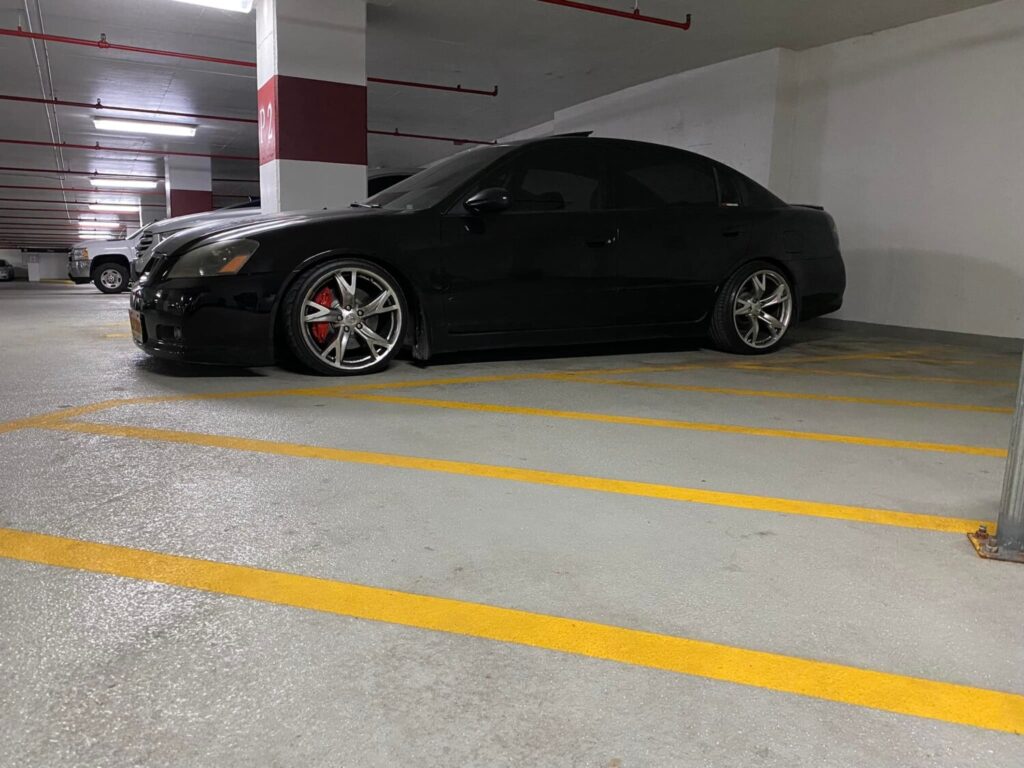
- Front – 19 x 9 +47mm Offset
- Rear – 19 x 10 +30mm Offset
Part #:
- D0300-1EC4A – Front – 19×9
- D0300-1EC4B – Rear – 19×10




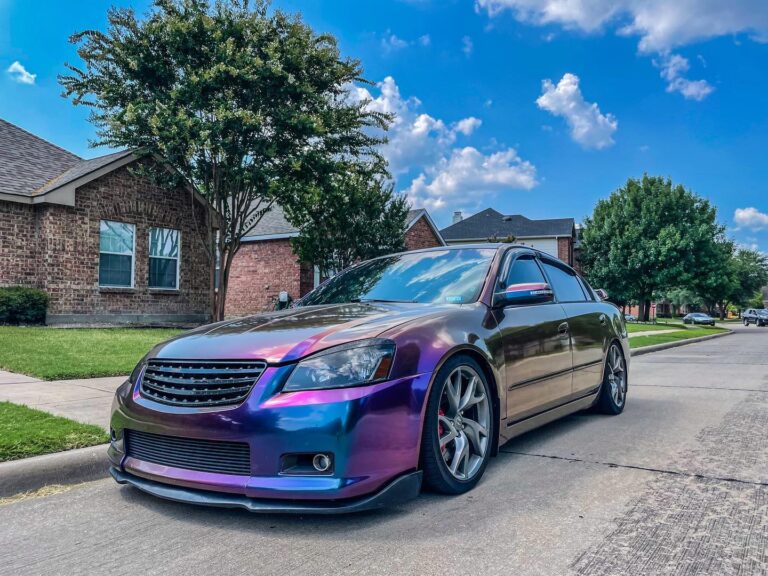
Size:
Part #:

Community Member Credit: Kevlo911
I bet over 75% of 4th gen owners have a leaking steering rack and/or worn tie rods…
I bought the rack from: https://www.carsteering.com/buynow/1999/Nissan/Maxima/Rack_and_Pinion/80-00386_R


I bought the 99se rack because it is stiffer. It comes with new inner tie rods and new o-rings. You should replace the outer tie rods and sway bar bushings at the same time.
As for the how-to.
Remove the y-pipe (rent the o2 removal tool)

As you can see, I forgot to rent the tool
Now the fun part. Crossmember. Remove the engine mount bolts, in the rear I used a long 10in extension to get to the bolt from the engine bay(intake removed). Front engine mounts you need an open-end wrench on one side and a socket on the other(or two sockets…) I supported the engine with a jack and a 2×4. If you have a tranny jack it would be better. Remove the 2 bolts in the front and rear(4total bolts) on the cross member and it will dropdown. You can replace the mounts right now if you want to.
See a plate covering this mount on the rack. It is behind the rear header and is held on by three 10mm screws. Remove it.

Now remove the fluid lines, have something to catch the fluid(I had a trash can lid). Remove these from the engine bay, it is much easier that way.

Use a 14mm open-end wrench to get the bottom one. On the top one, remove the hose and swap the nipple on the new rack once it is out of the car.

Remove those nuts. Now you will see the spindle, there is a 12mm nut holding it on the spindle of the rack. Make sure the steering wheel is straight before you remove it.
Remove the bolts holding on the rack now. One mount is pictured above, the other you will see when you are down there. USE THIS ALONG WITH MY TIPS TO CHANGE THE RACK
FSM is basically the same write up too. As you can tell I didn’t do everything they did.
You will remove the rack from the middle, it will NOT slide out from the sides(I found out the hard way). You will move it towards the pass side and then drop it down in the middle. You will install it the same way. I also installed new bushing on the rack, I got MOOG bushings from rockauto.com
You will soon find out the spindle does not want to go into the joint. You will have to bang on top of the joint to get it on the spindle. I used my tq wrench and breaker bar to bang it in. I didn’t have a rubber mallet(I did this with the rack mounts partially in, only the lower nuts were in). Rest is the reversal. Next, you get it aligned… I still have to do this, my wheel is cocked to the right.
This will take all day and would be much easier with air tools. But I saved about 800-1200bucks labor by doing it myself and I now have a stiffer and better feeling steering system.

Community Member Credit: EddyMaxx
My Racing Line End Links finally have up again for the second time. So I decided to switch over to the Moog. I got the fronts for about $50 from Advanced Auto Part using an online coupon code. Don’t get me wrong, the racing line ones were good for the time they lasted. I just didn’t expect them to break off like which is very dangerous on the highway and can cause you to lose control.
Parts Info from RockAuto.com:


Community Member Credit: Claude St-Pierre
Notes:


Community Member Credit: Eddy
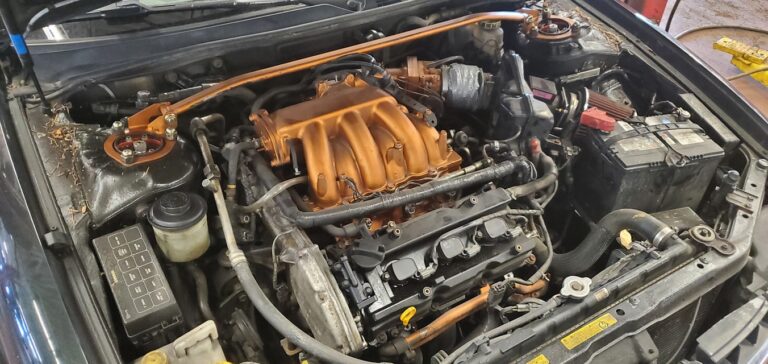
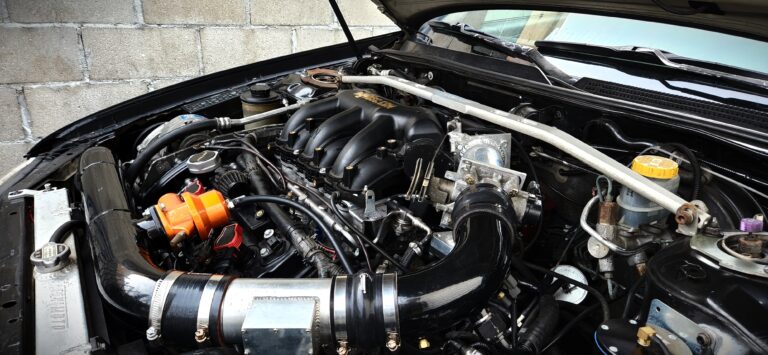
After swapping my 1998 4thgen Nissan Maxima with a 2020 Gen3 VQ35DE engine, I was not able to use a strut bar. But thanks to some information from Josh and Blandon, I was able to try a 6thgen Maxima Stillen strut bar and to my surprise, it fits 100%. Fits perfect and has no hood clearance issues. This strut bar should work with any VQ35DE swapped 4thgen. No modifications are needed.
Below are the ones I tried that did not fit:


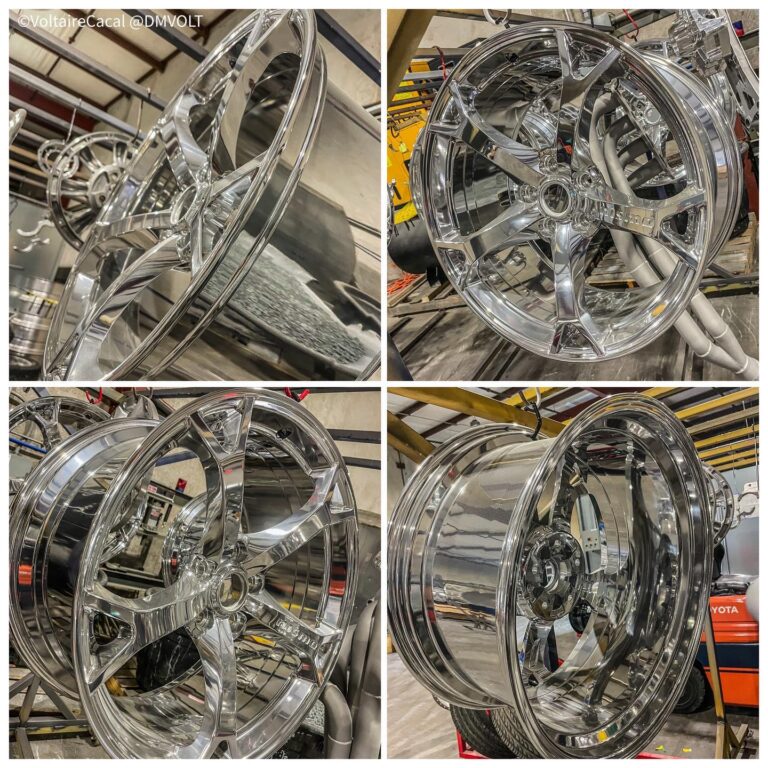
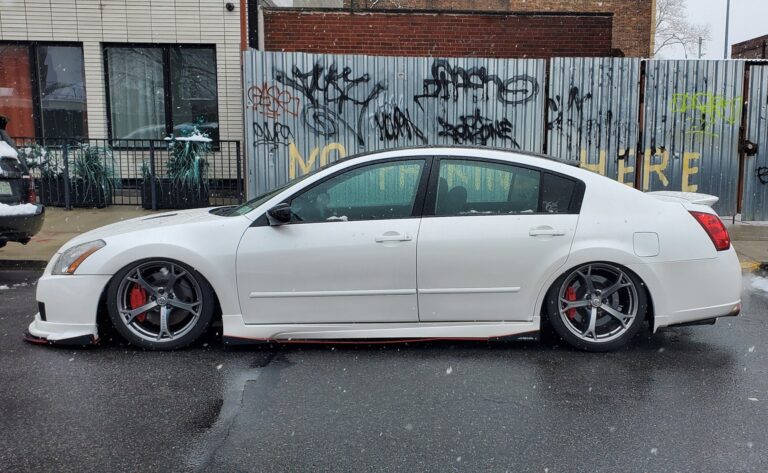
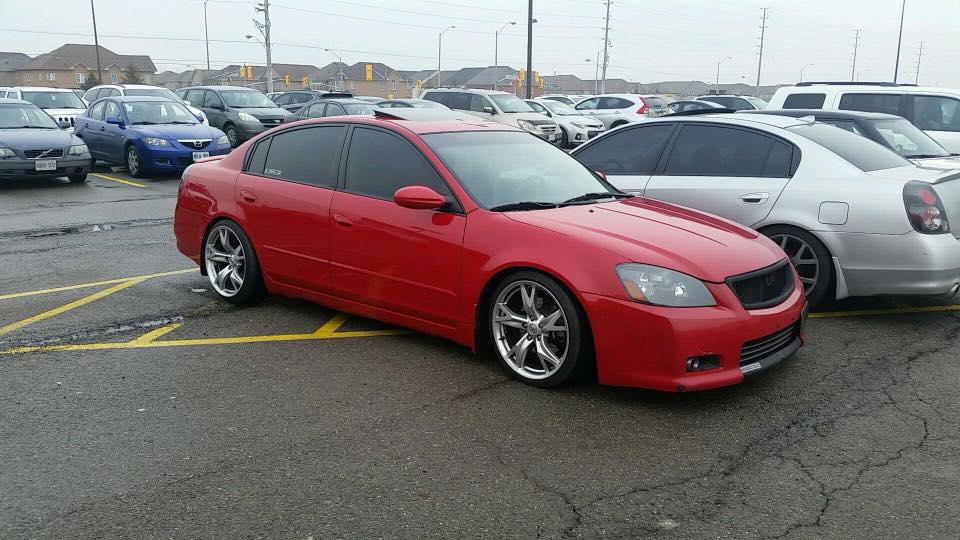
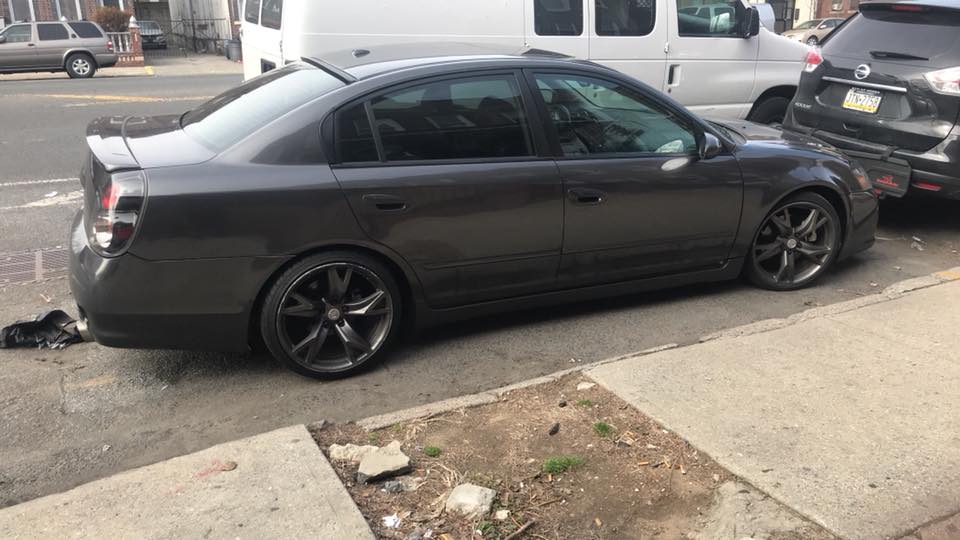
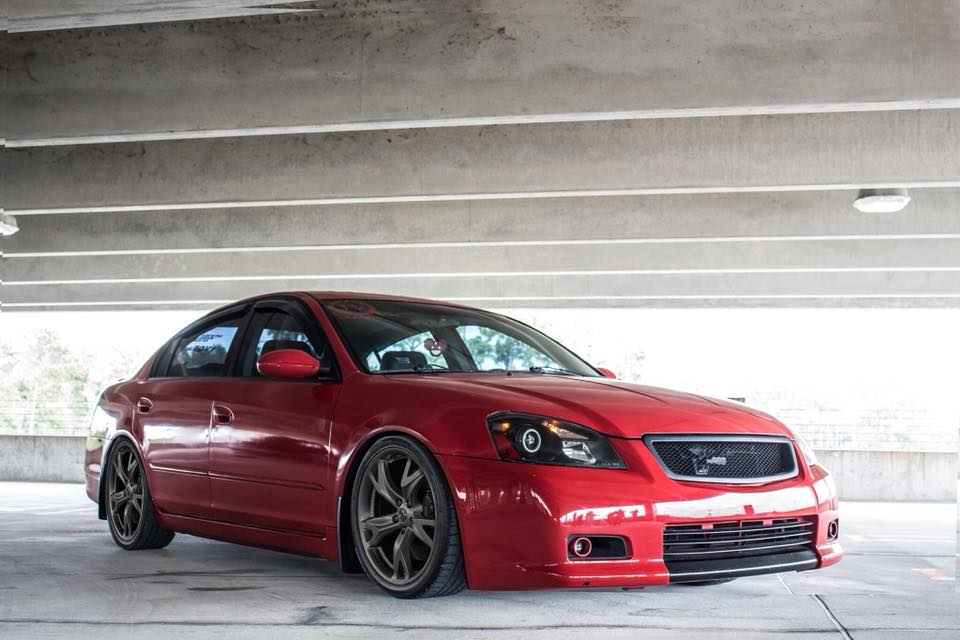
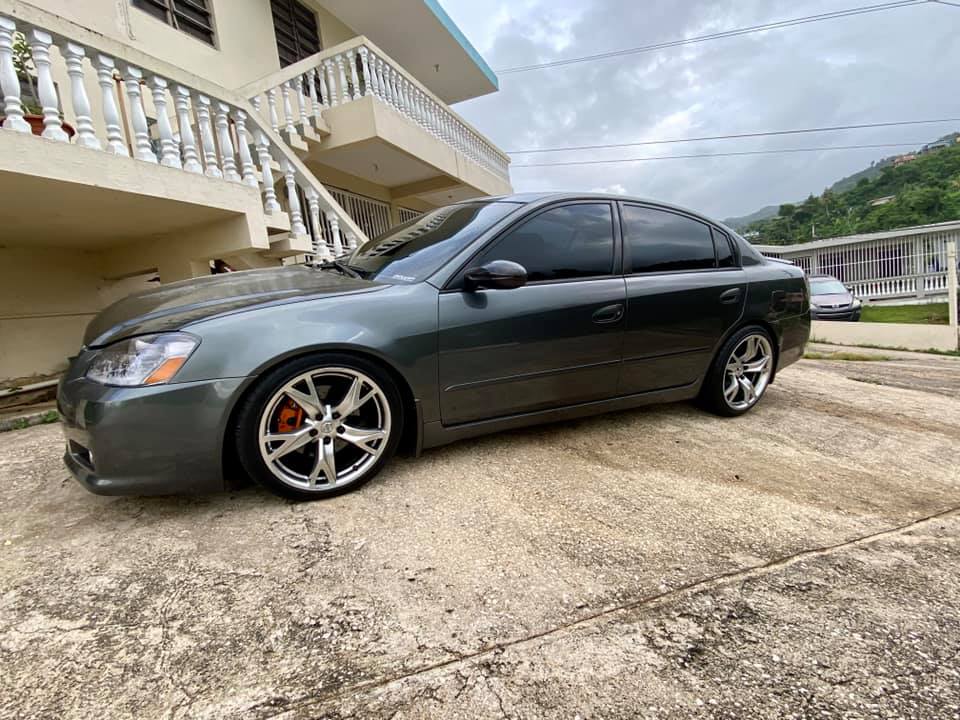
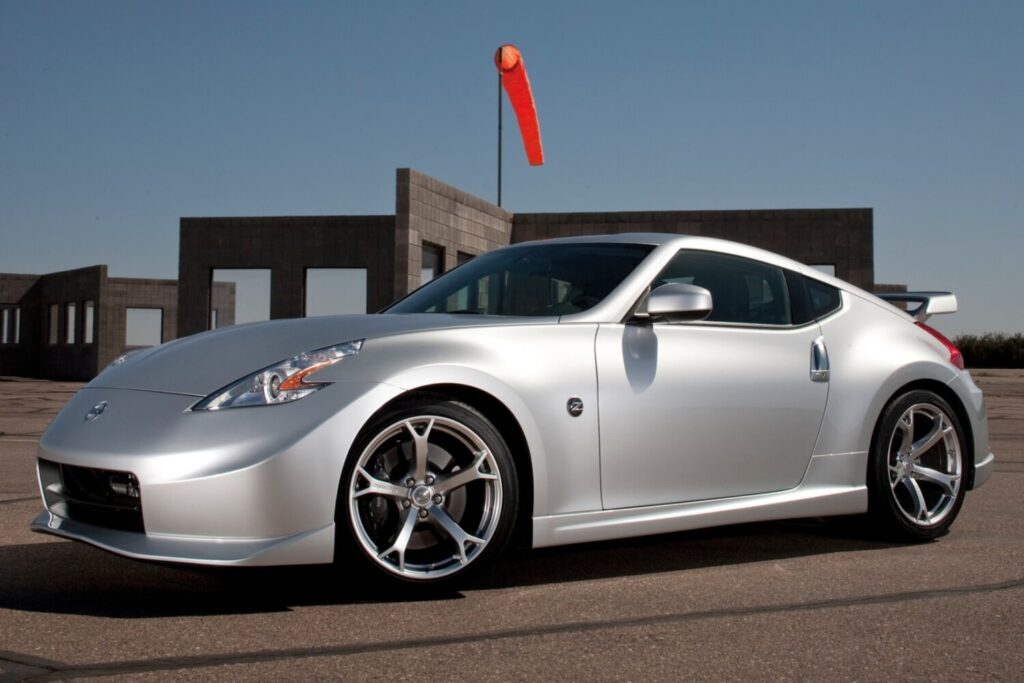
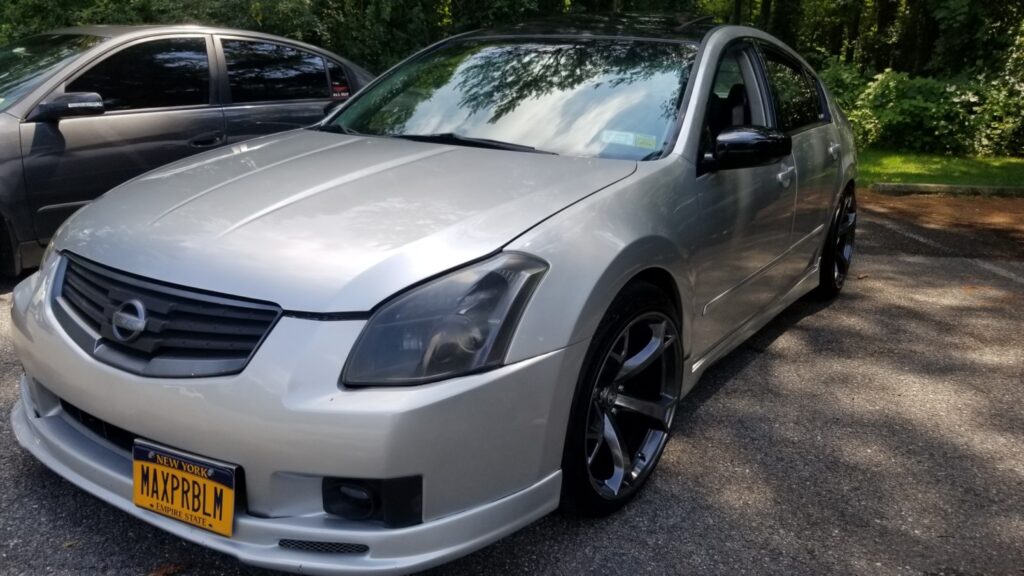
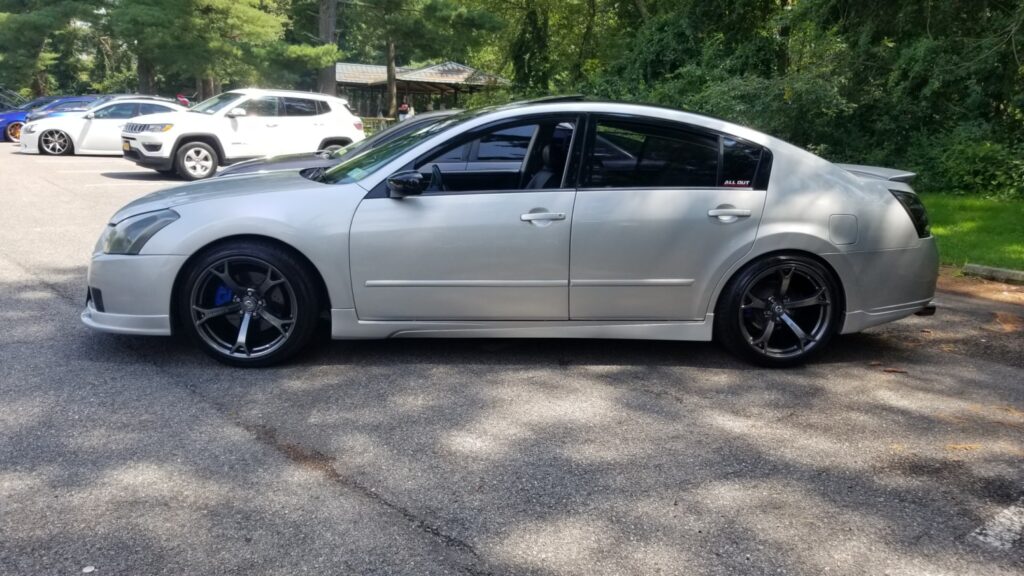
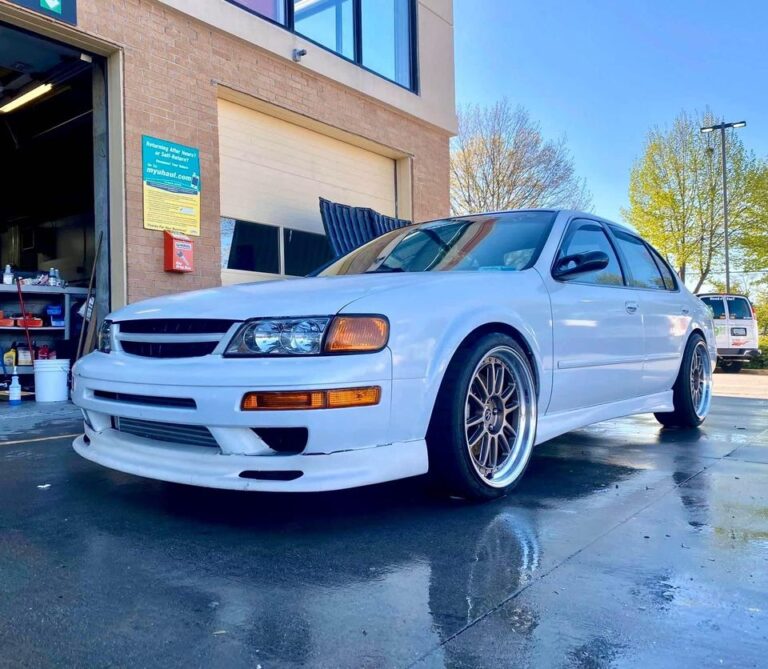
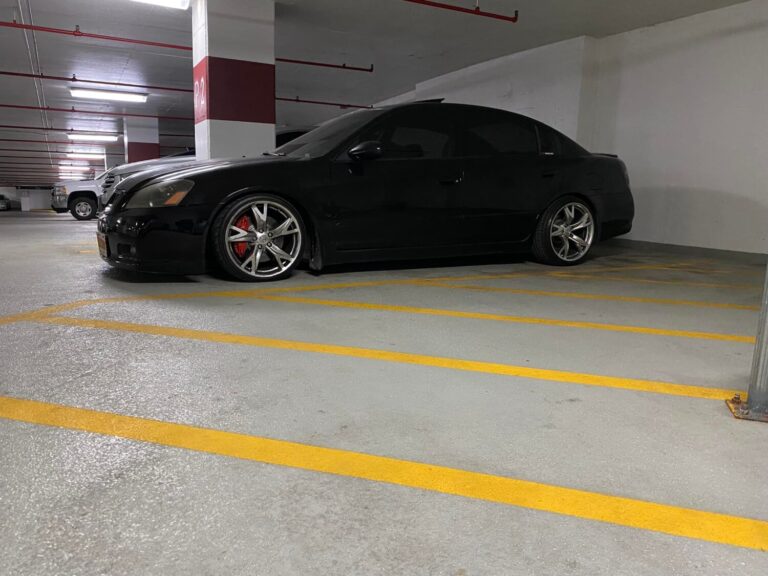
These are factory 2013-2014 370z Nismo Edition 19″ forged aluminum-alloy wheels. Produced by Rays Japan for NISMO and Autech.
Size:
Part #:

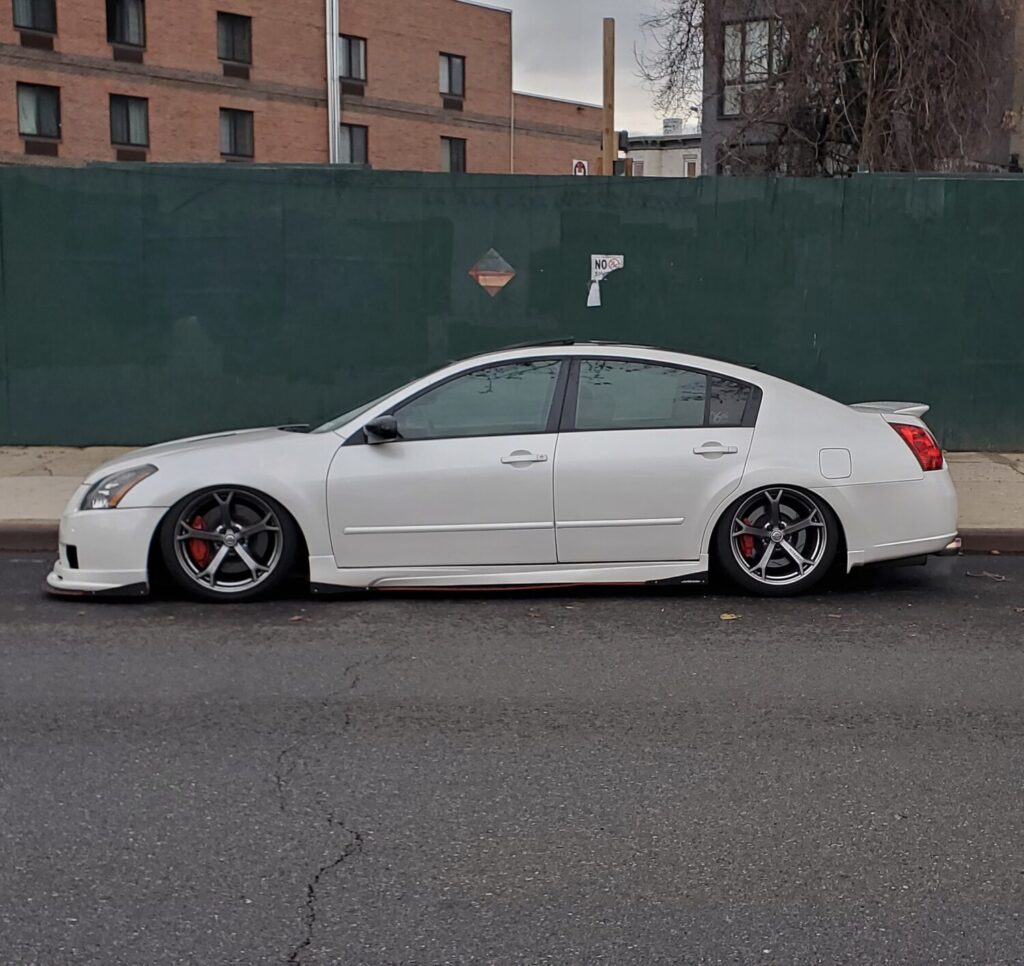
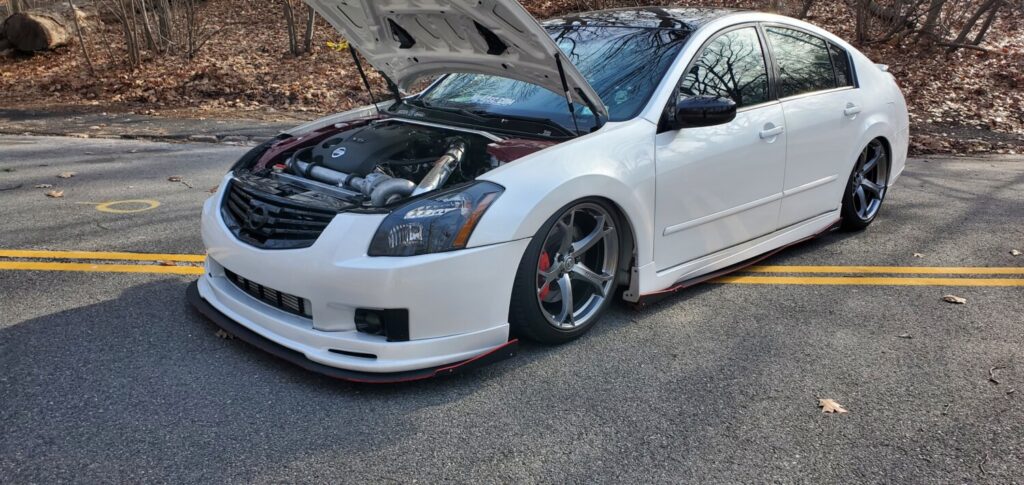
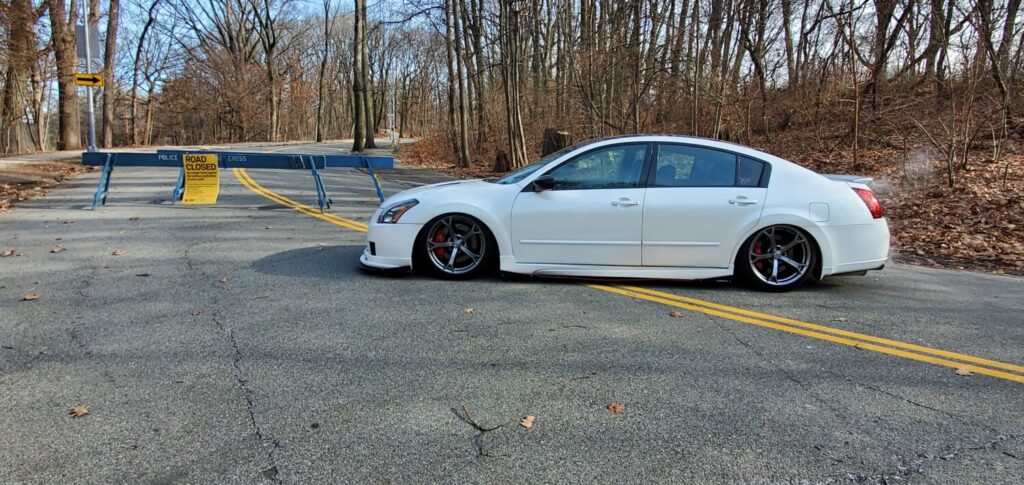
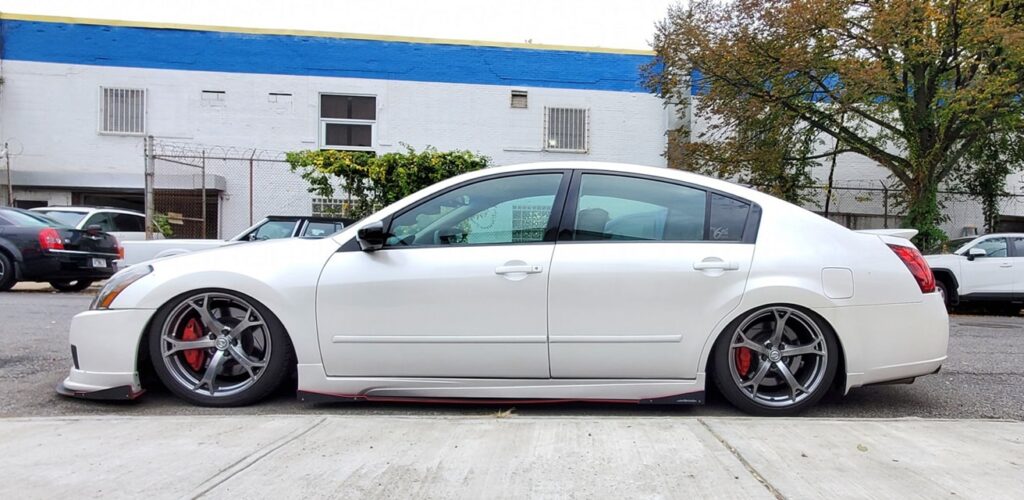


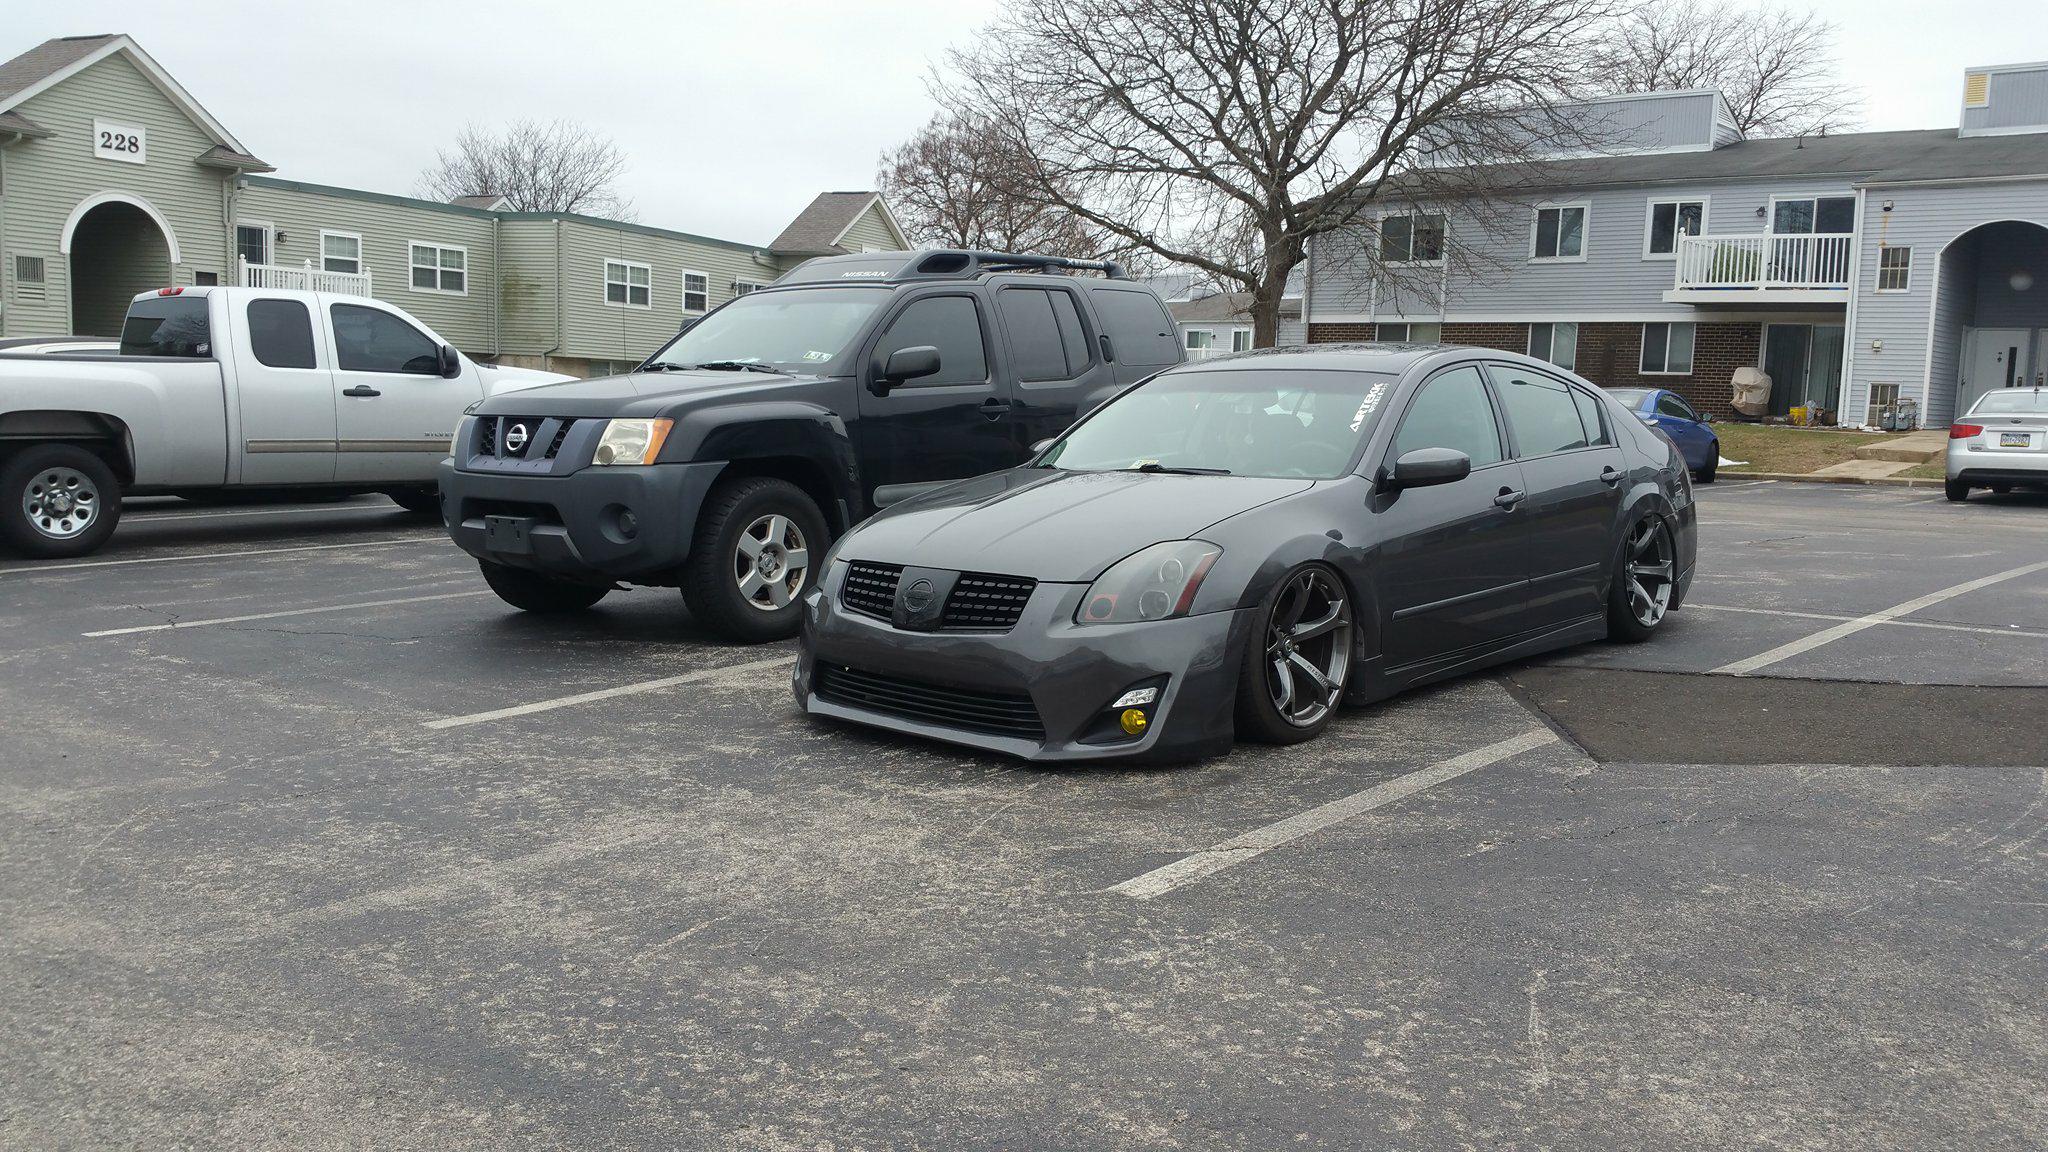
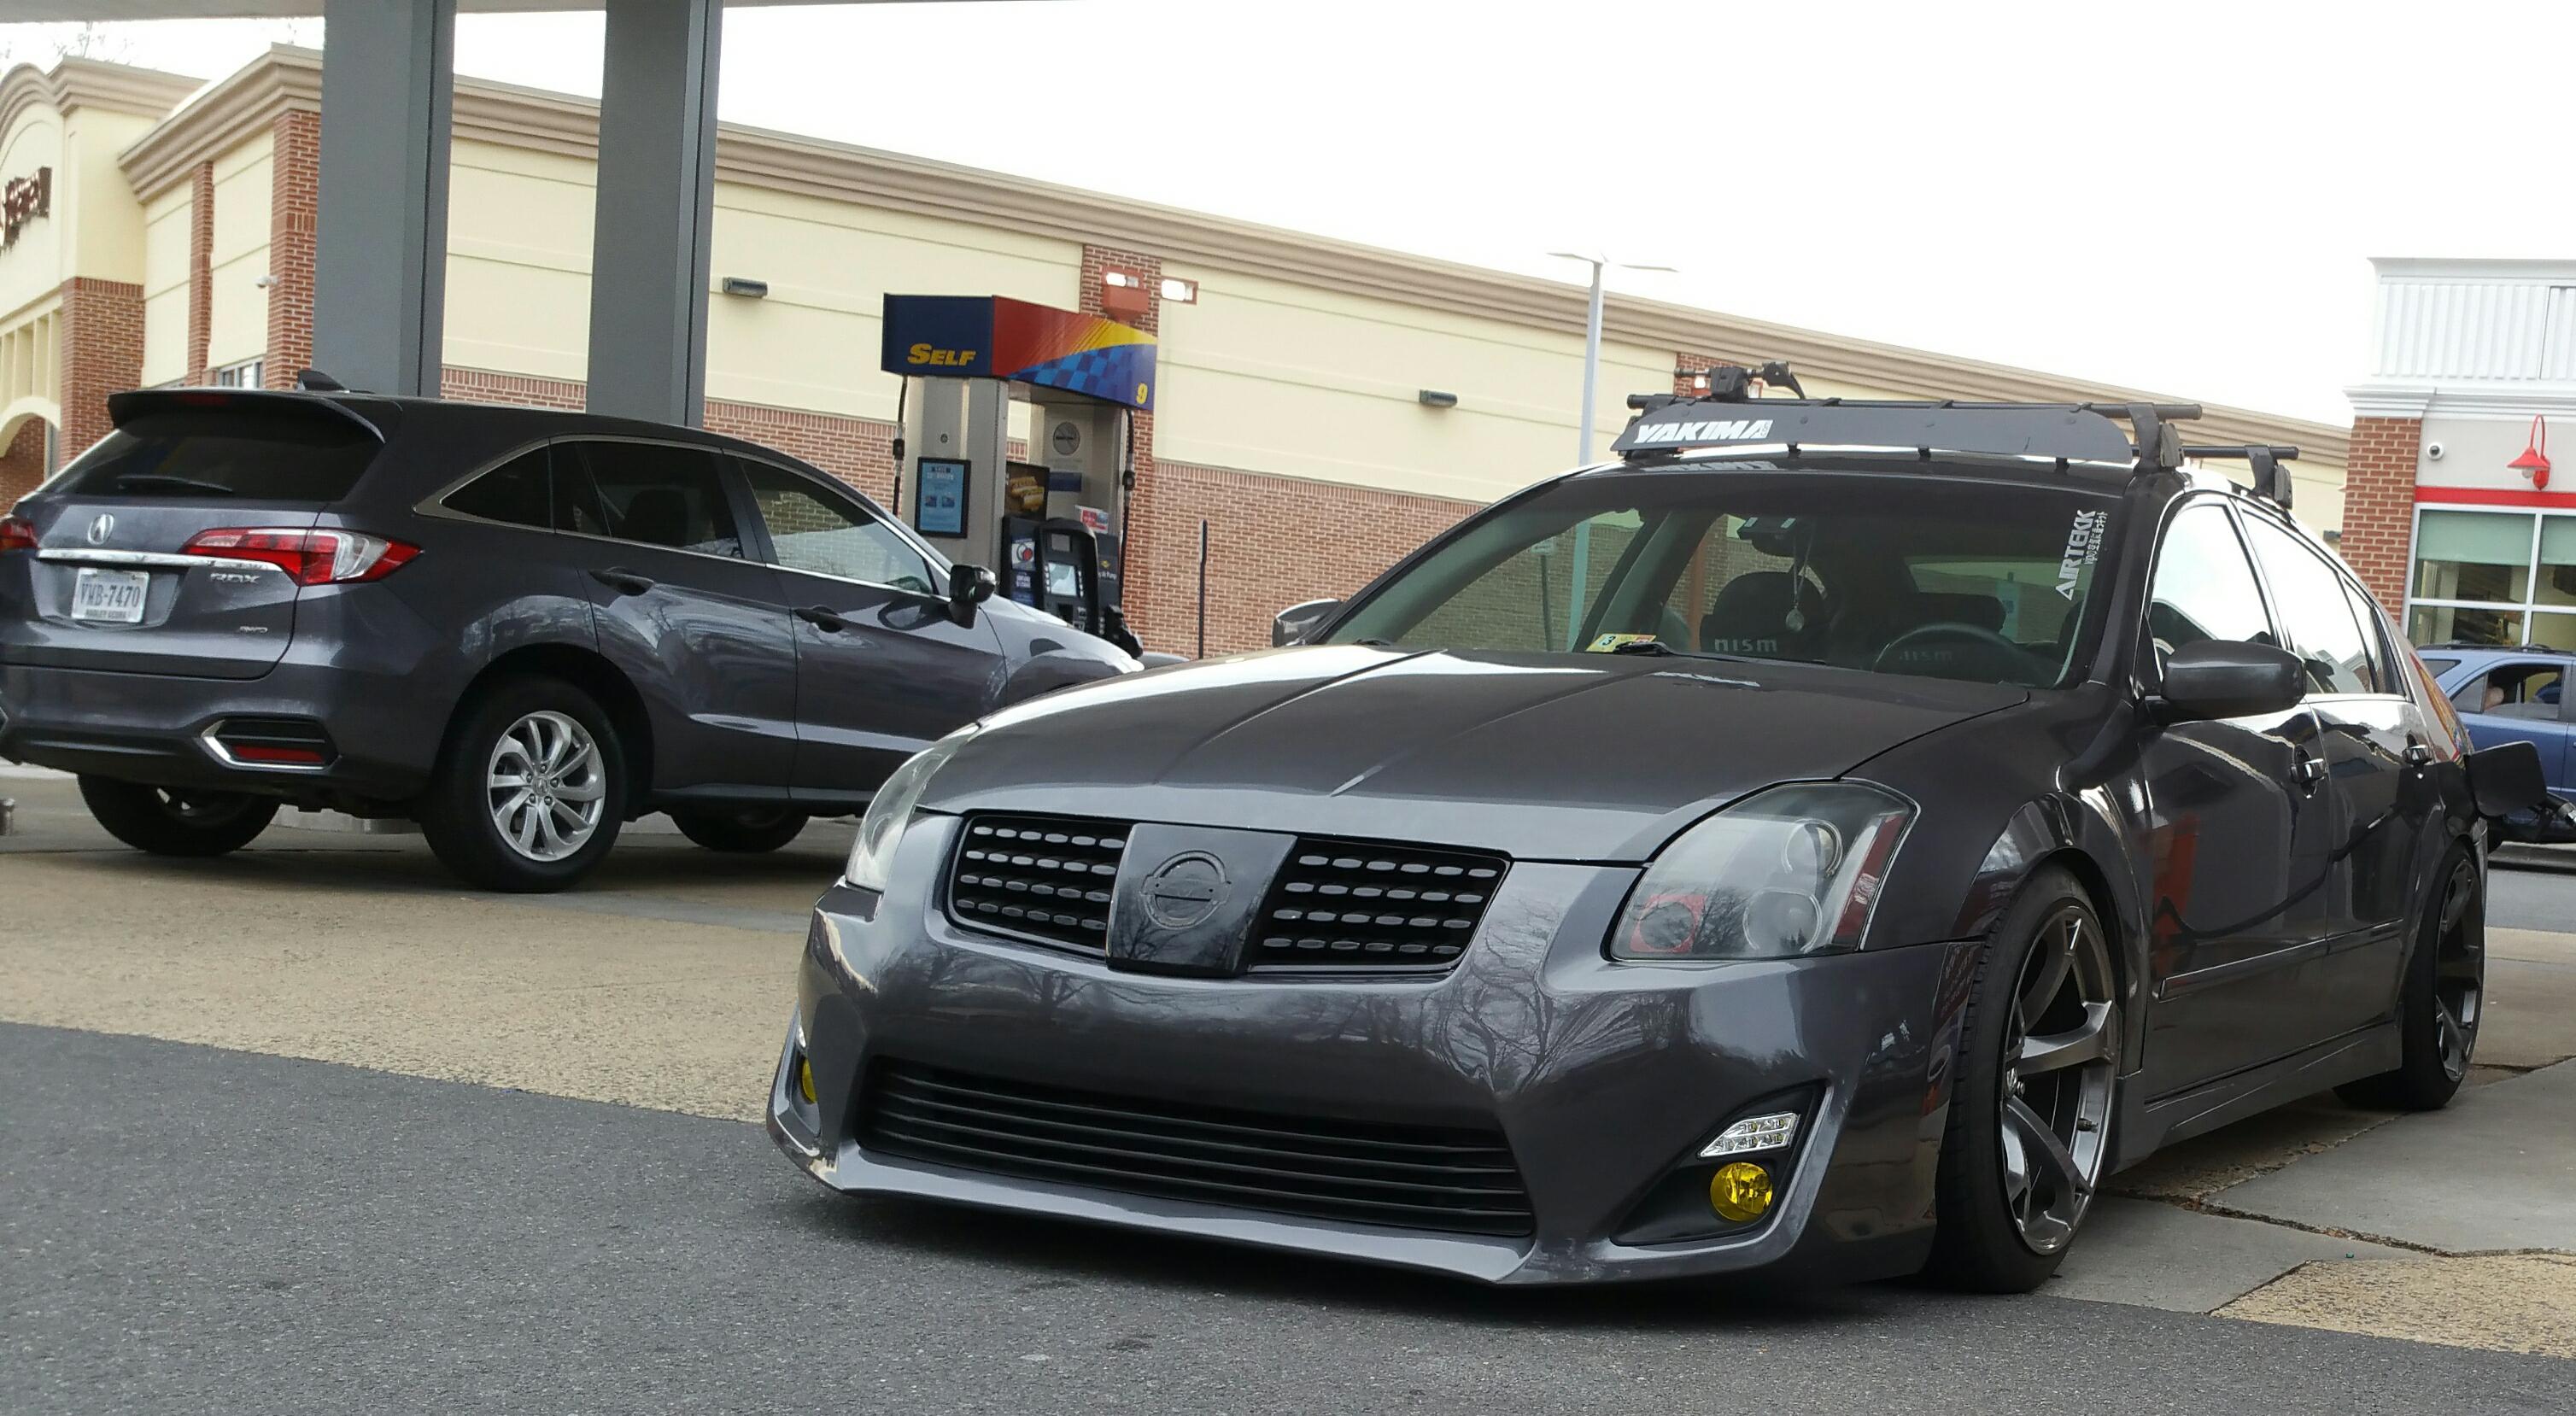
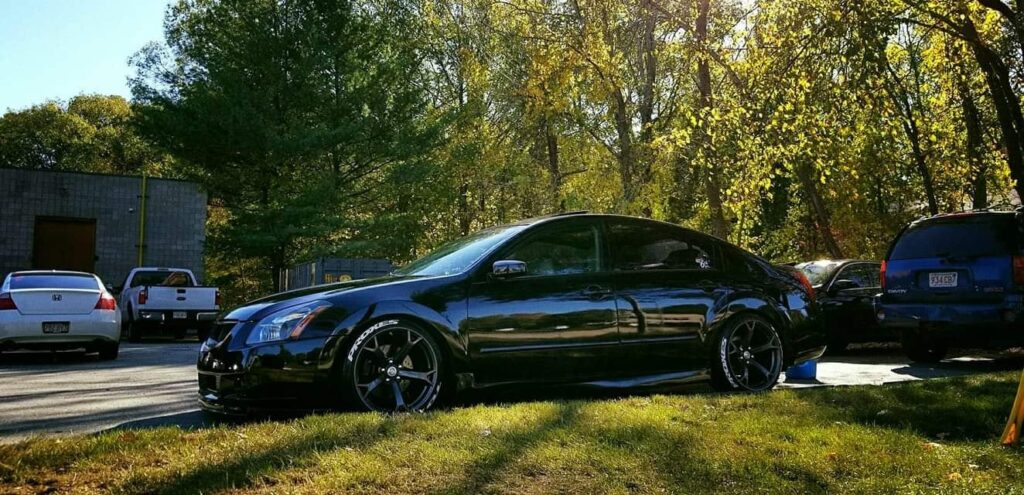
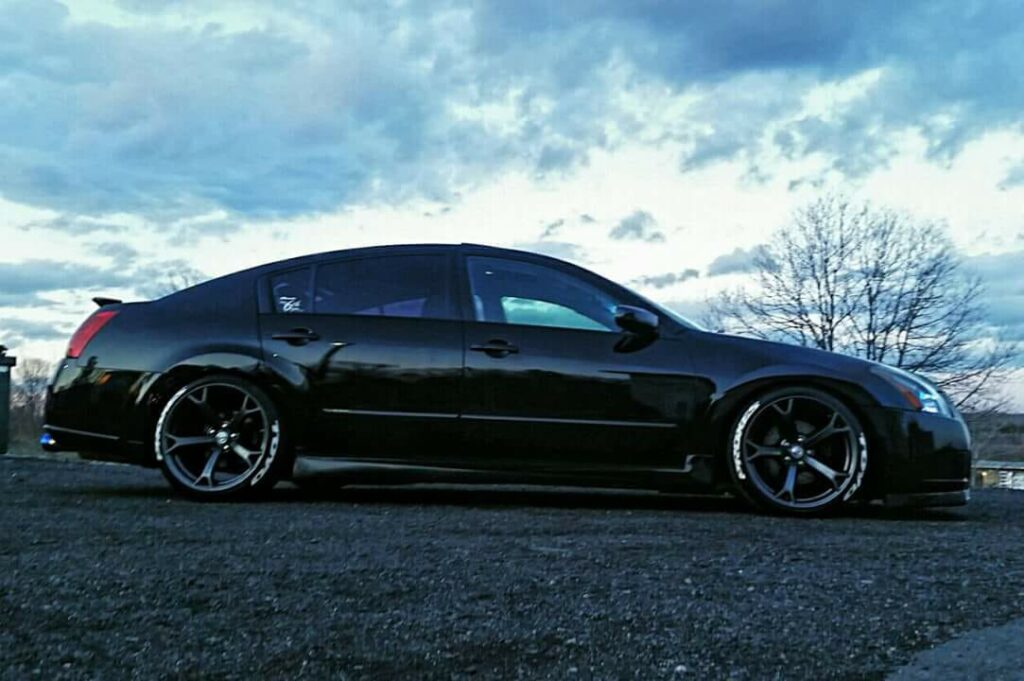
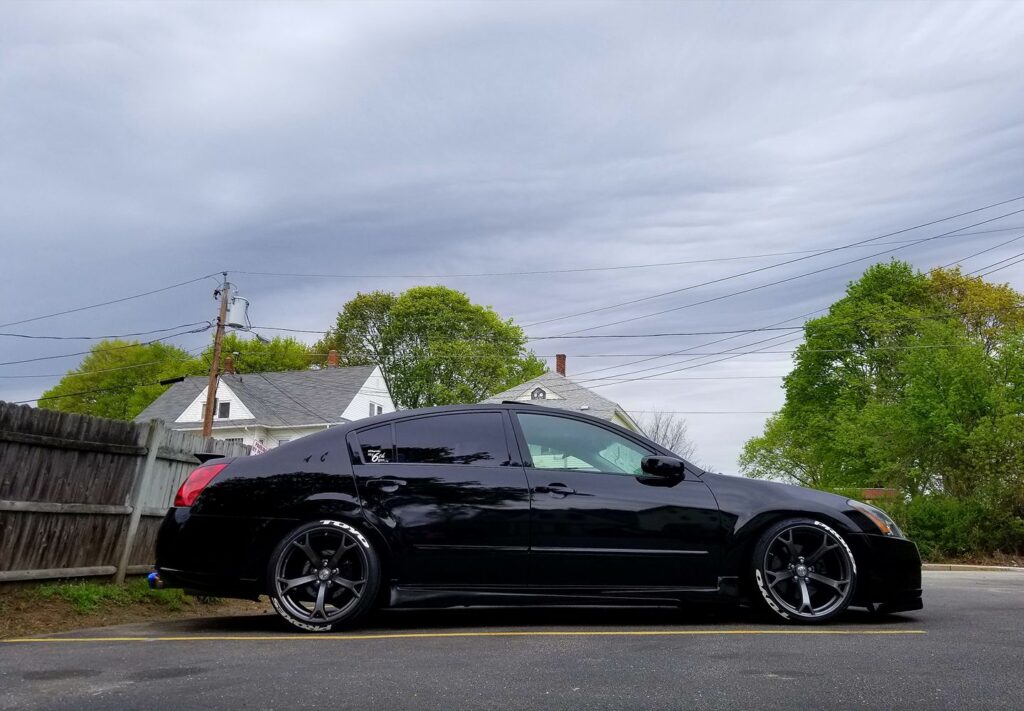
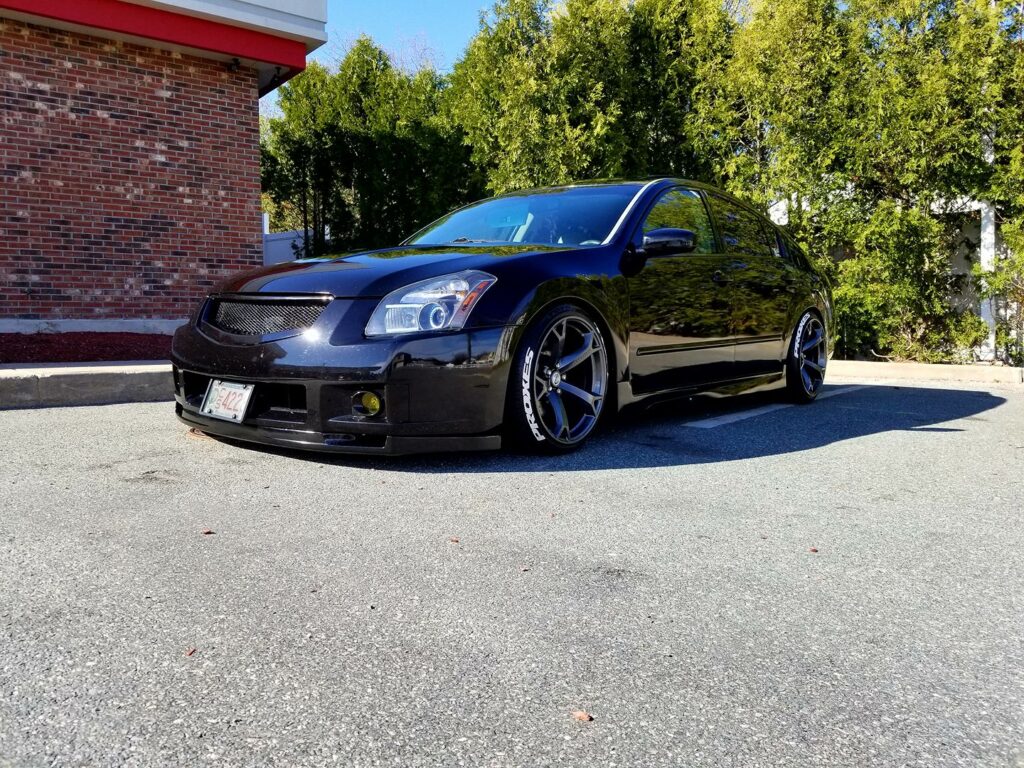
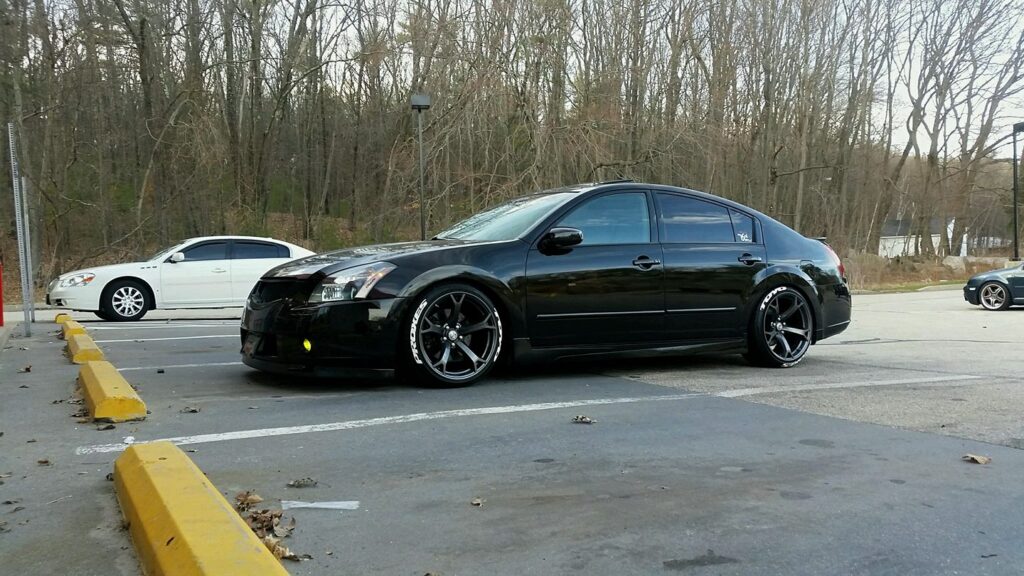
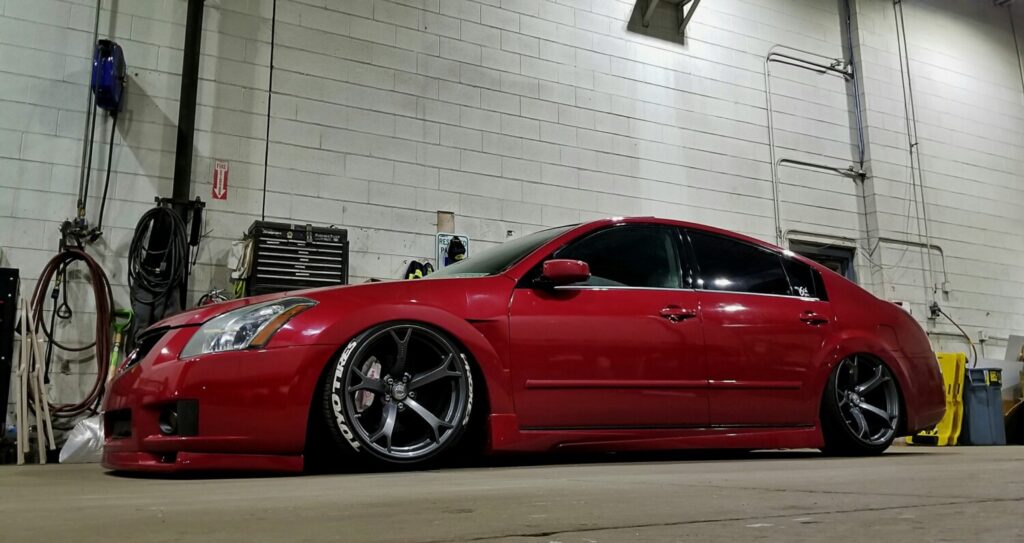
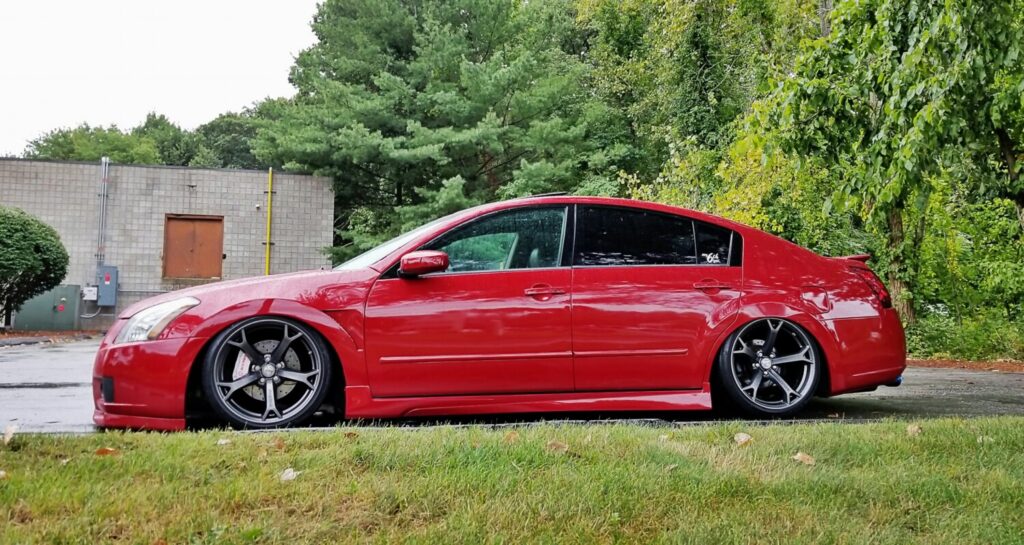
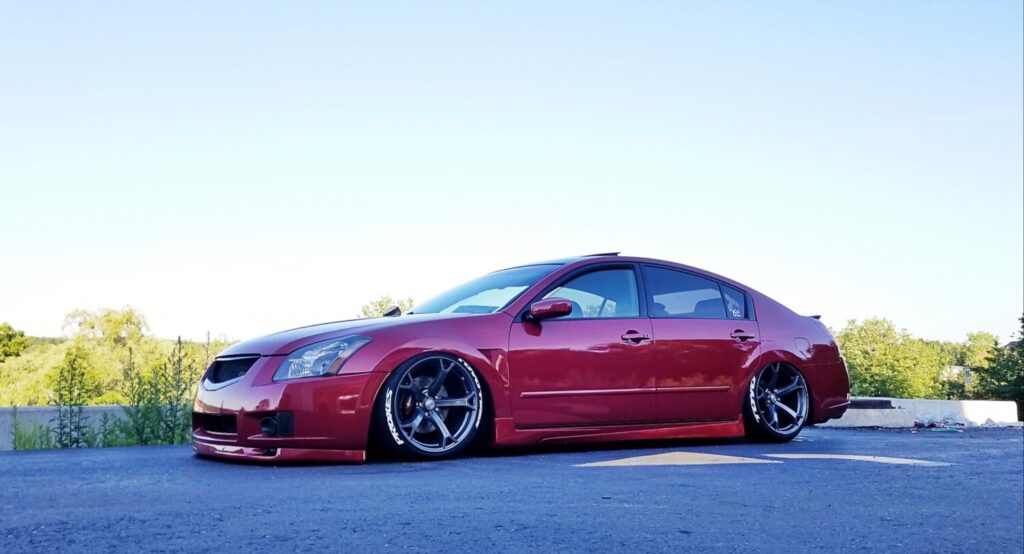
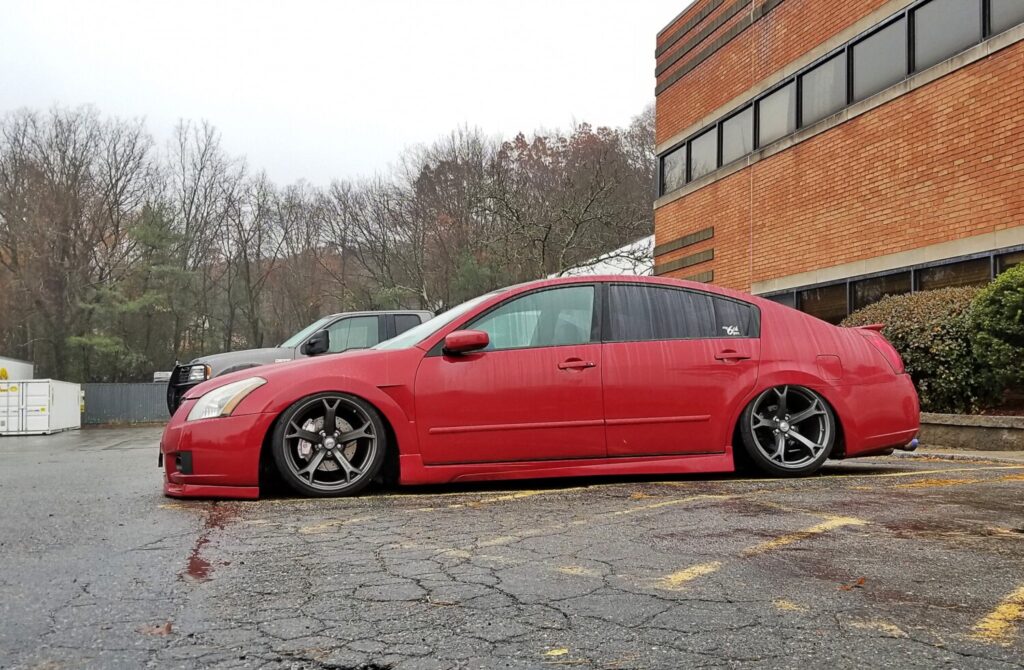
Community Member Credit: Christopher Cruz
Specs:


Community Member Credit: Matt Blum / Eddie James Gomez
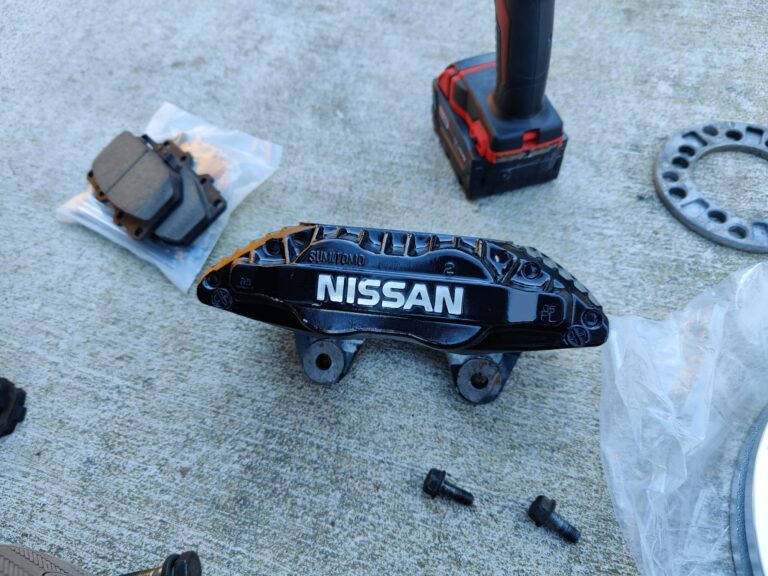
Did my z32 brake conversion. I have a 1996 gloria, with the vq30det. I only needed to add one tiny washer for spacing, I’m pleased. My heat Shields were already gone, and I used the 240 conversion lines. I did not have to trim bolts, or sleeves, or anything. I used the 30mm aluminum calipers. The factory calipers are so much smaller! I’ll do the rears eventually, the rotors back there are new from the PO in Japan.
Additional Notes:


Size:
Part #: