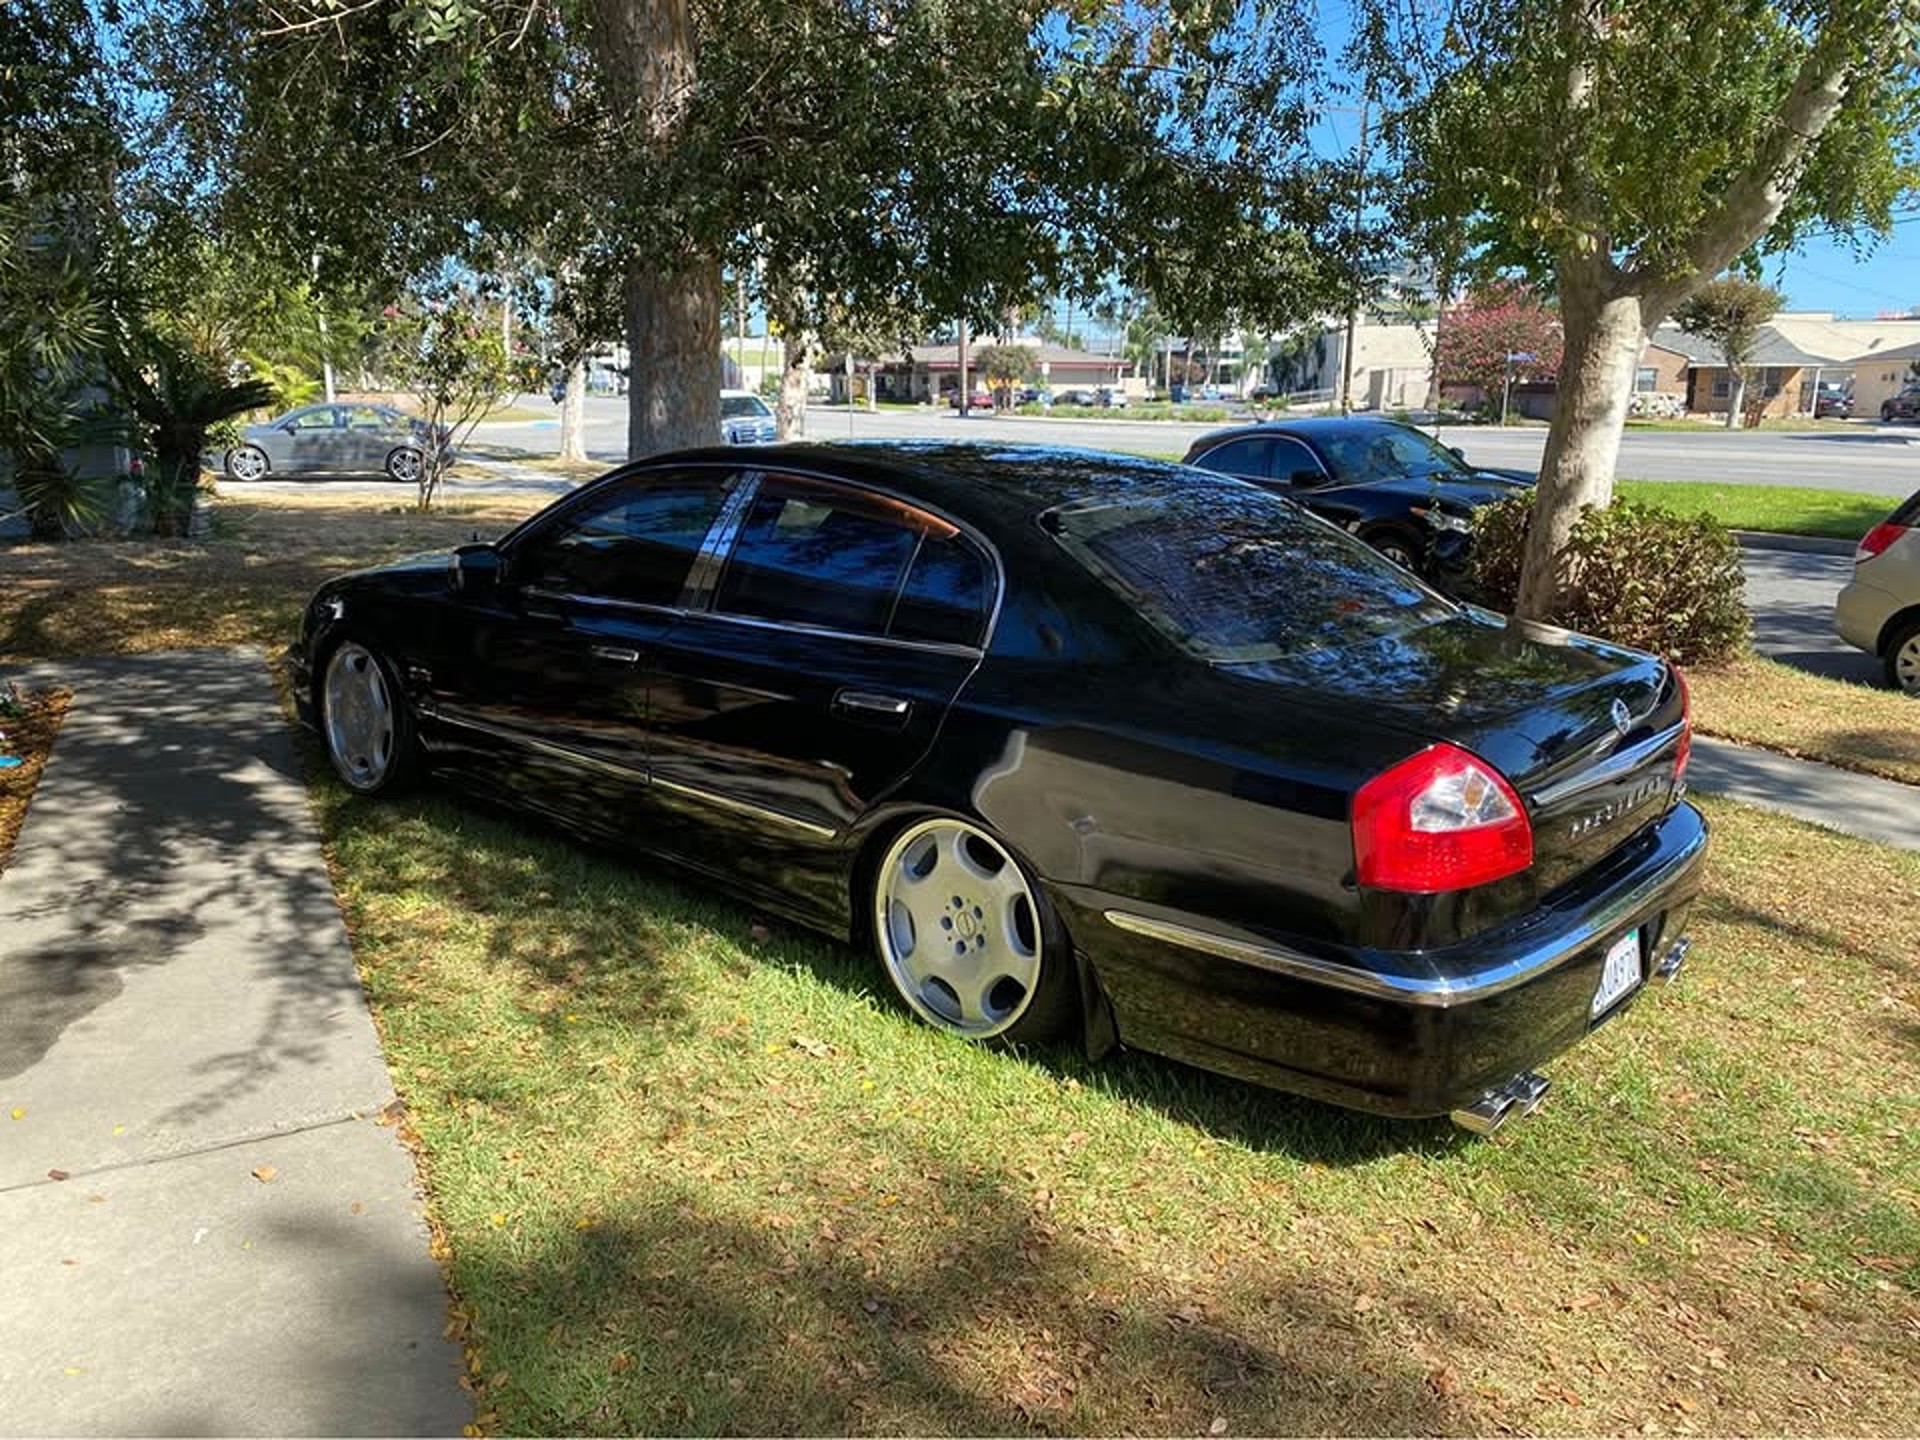
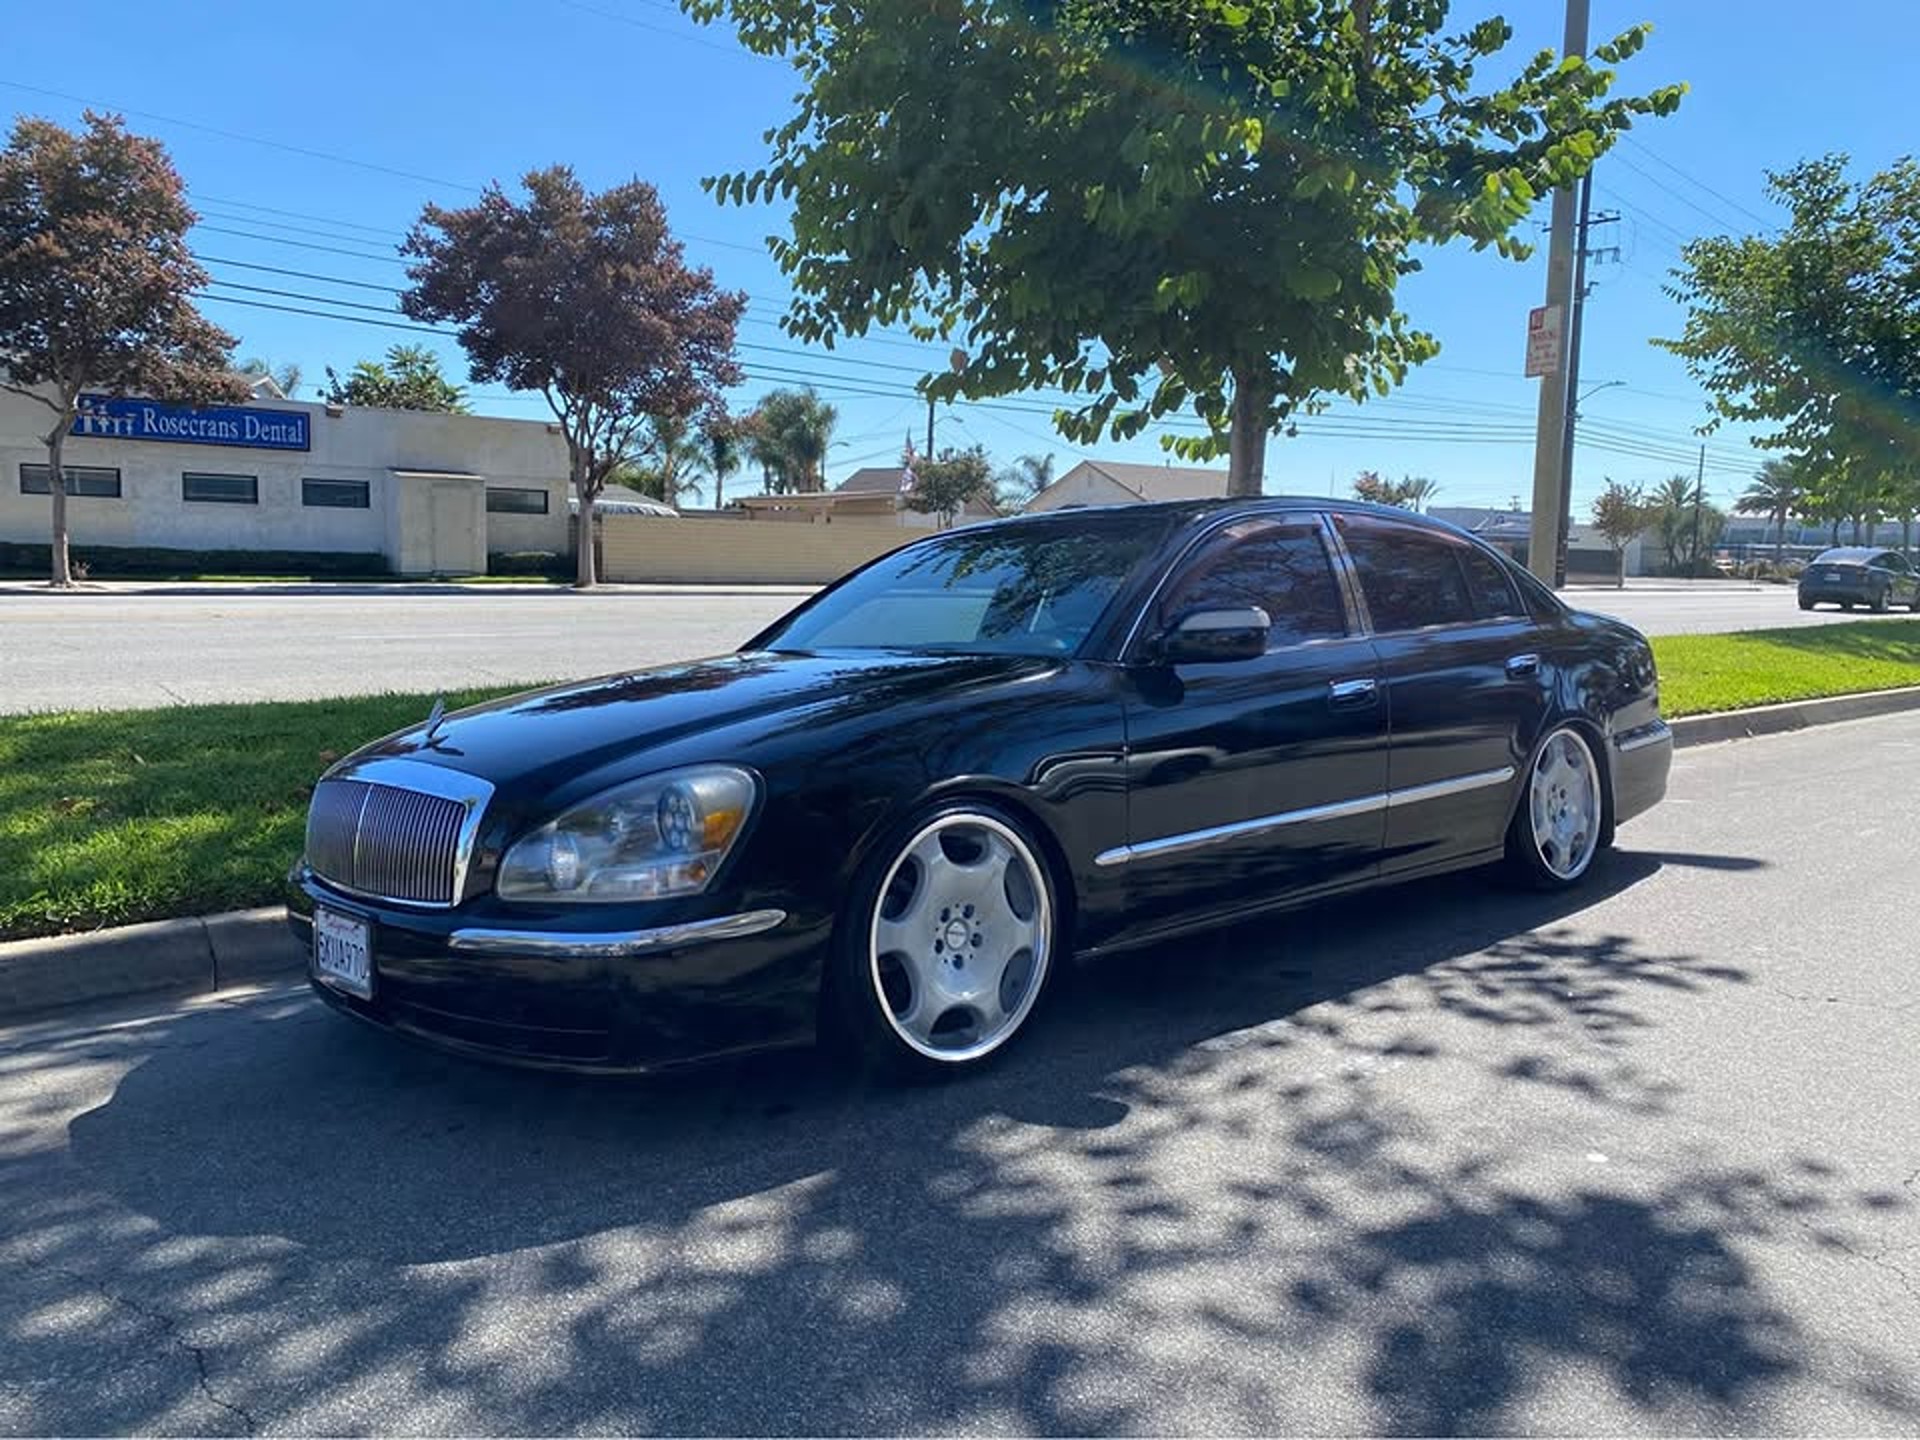
Category

my-Y32-Y33-Y34

Category

Credit: Ricky L.

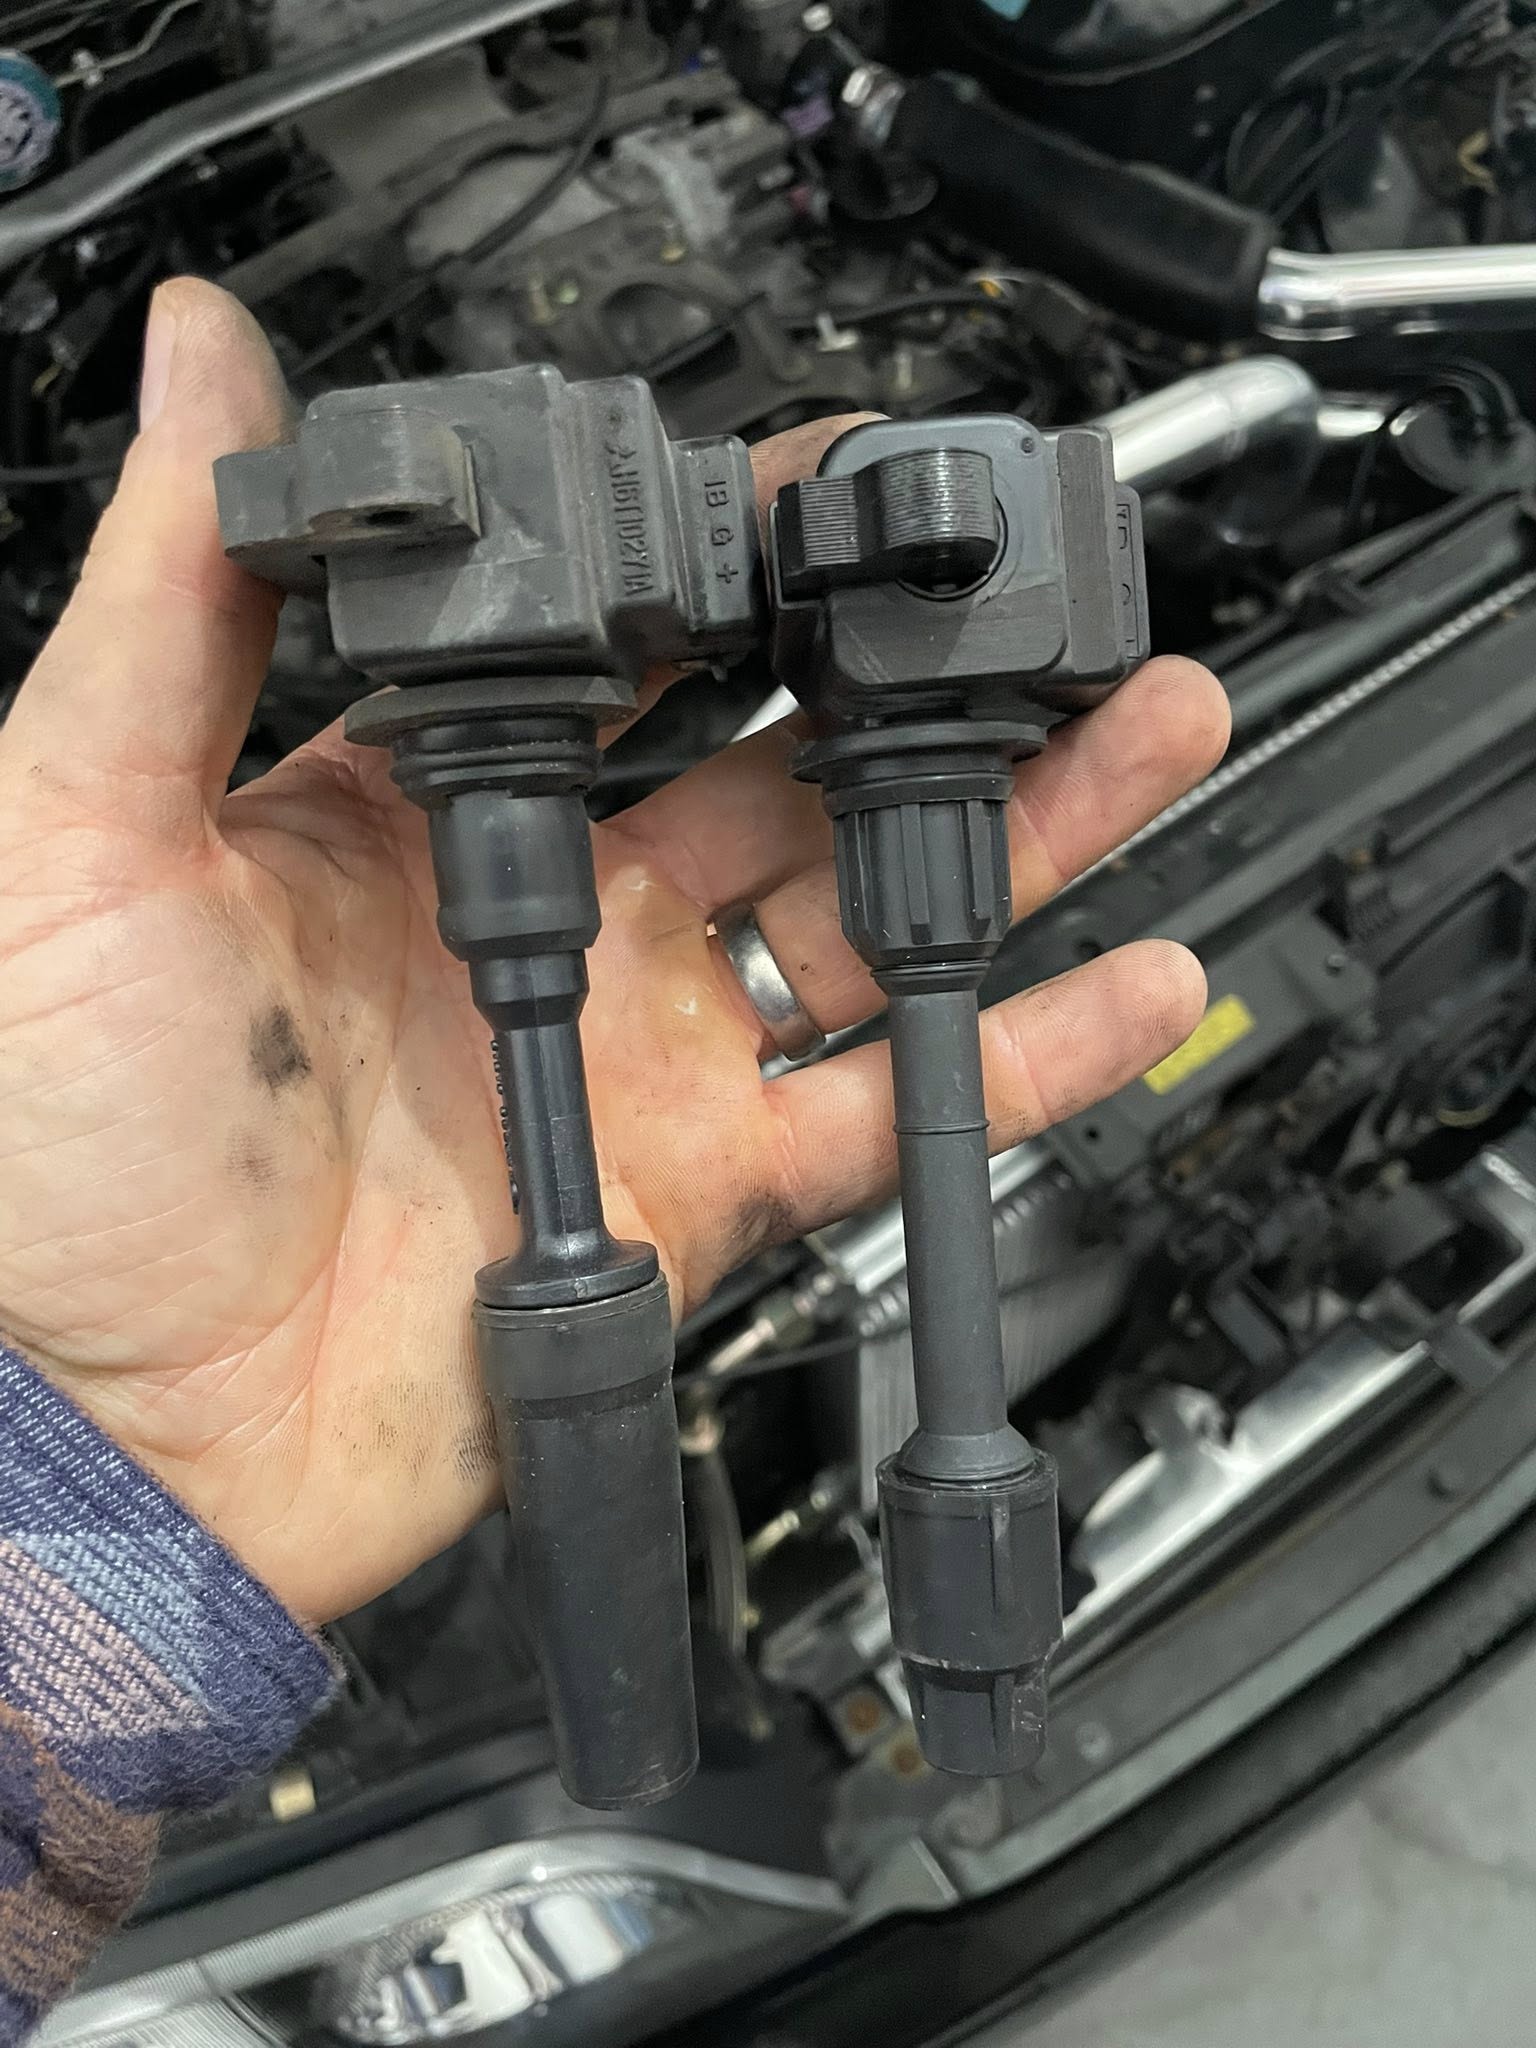
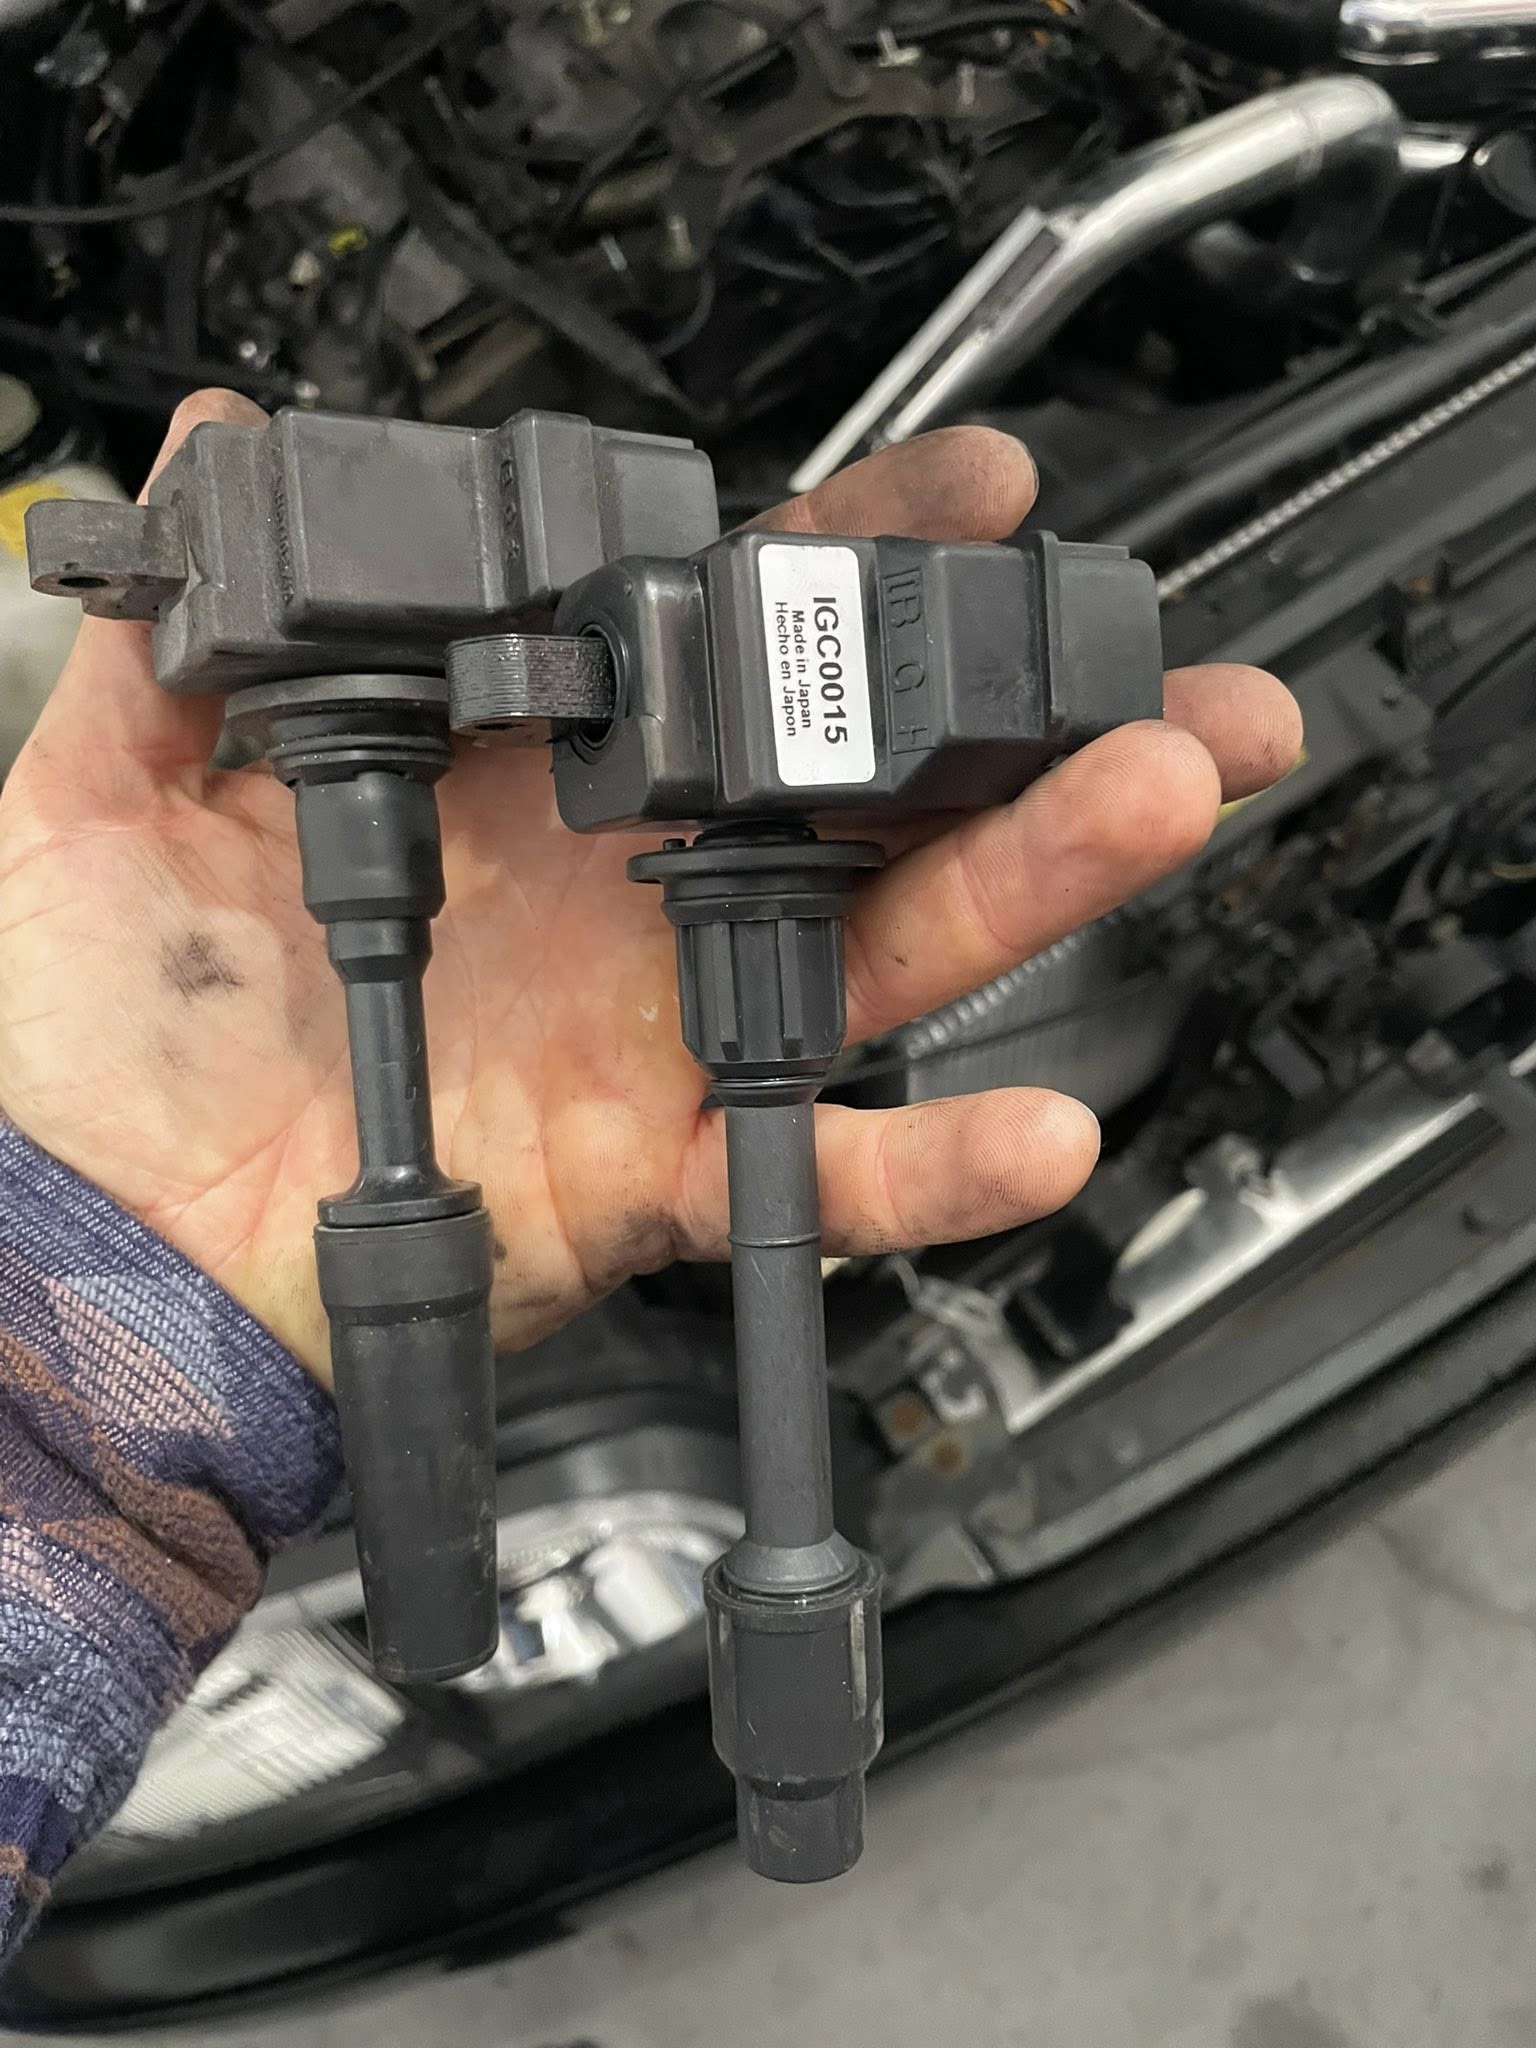
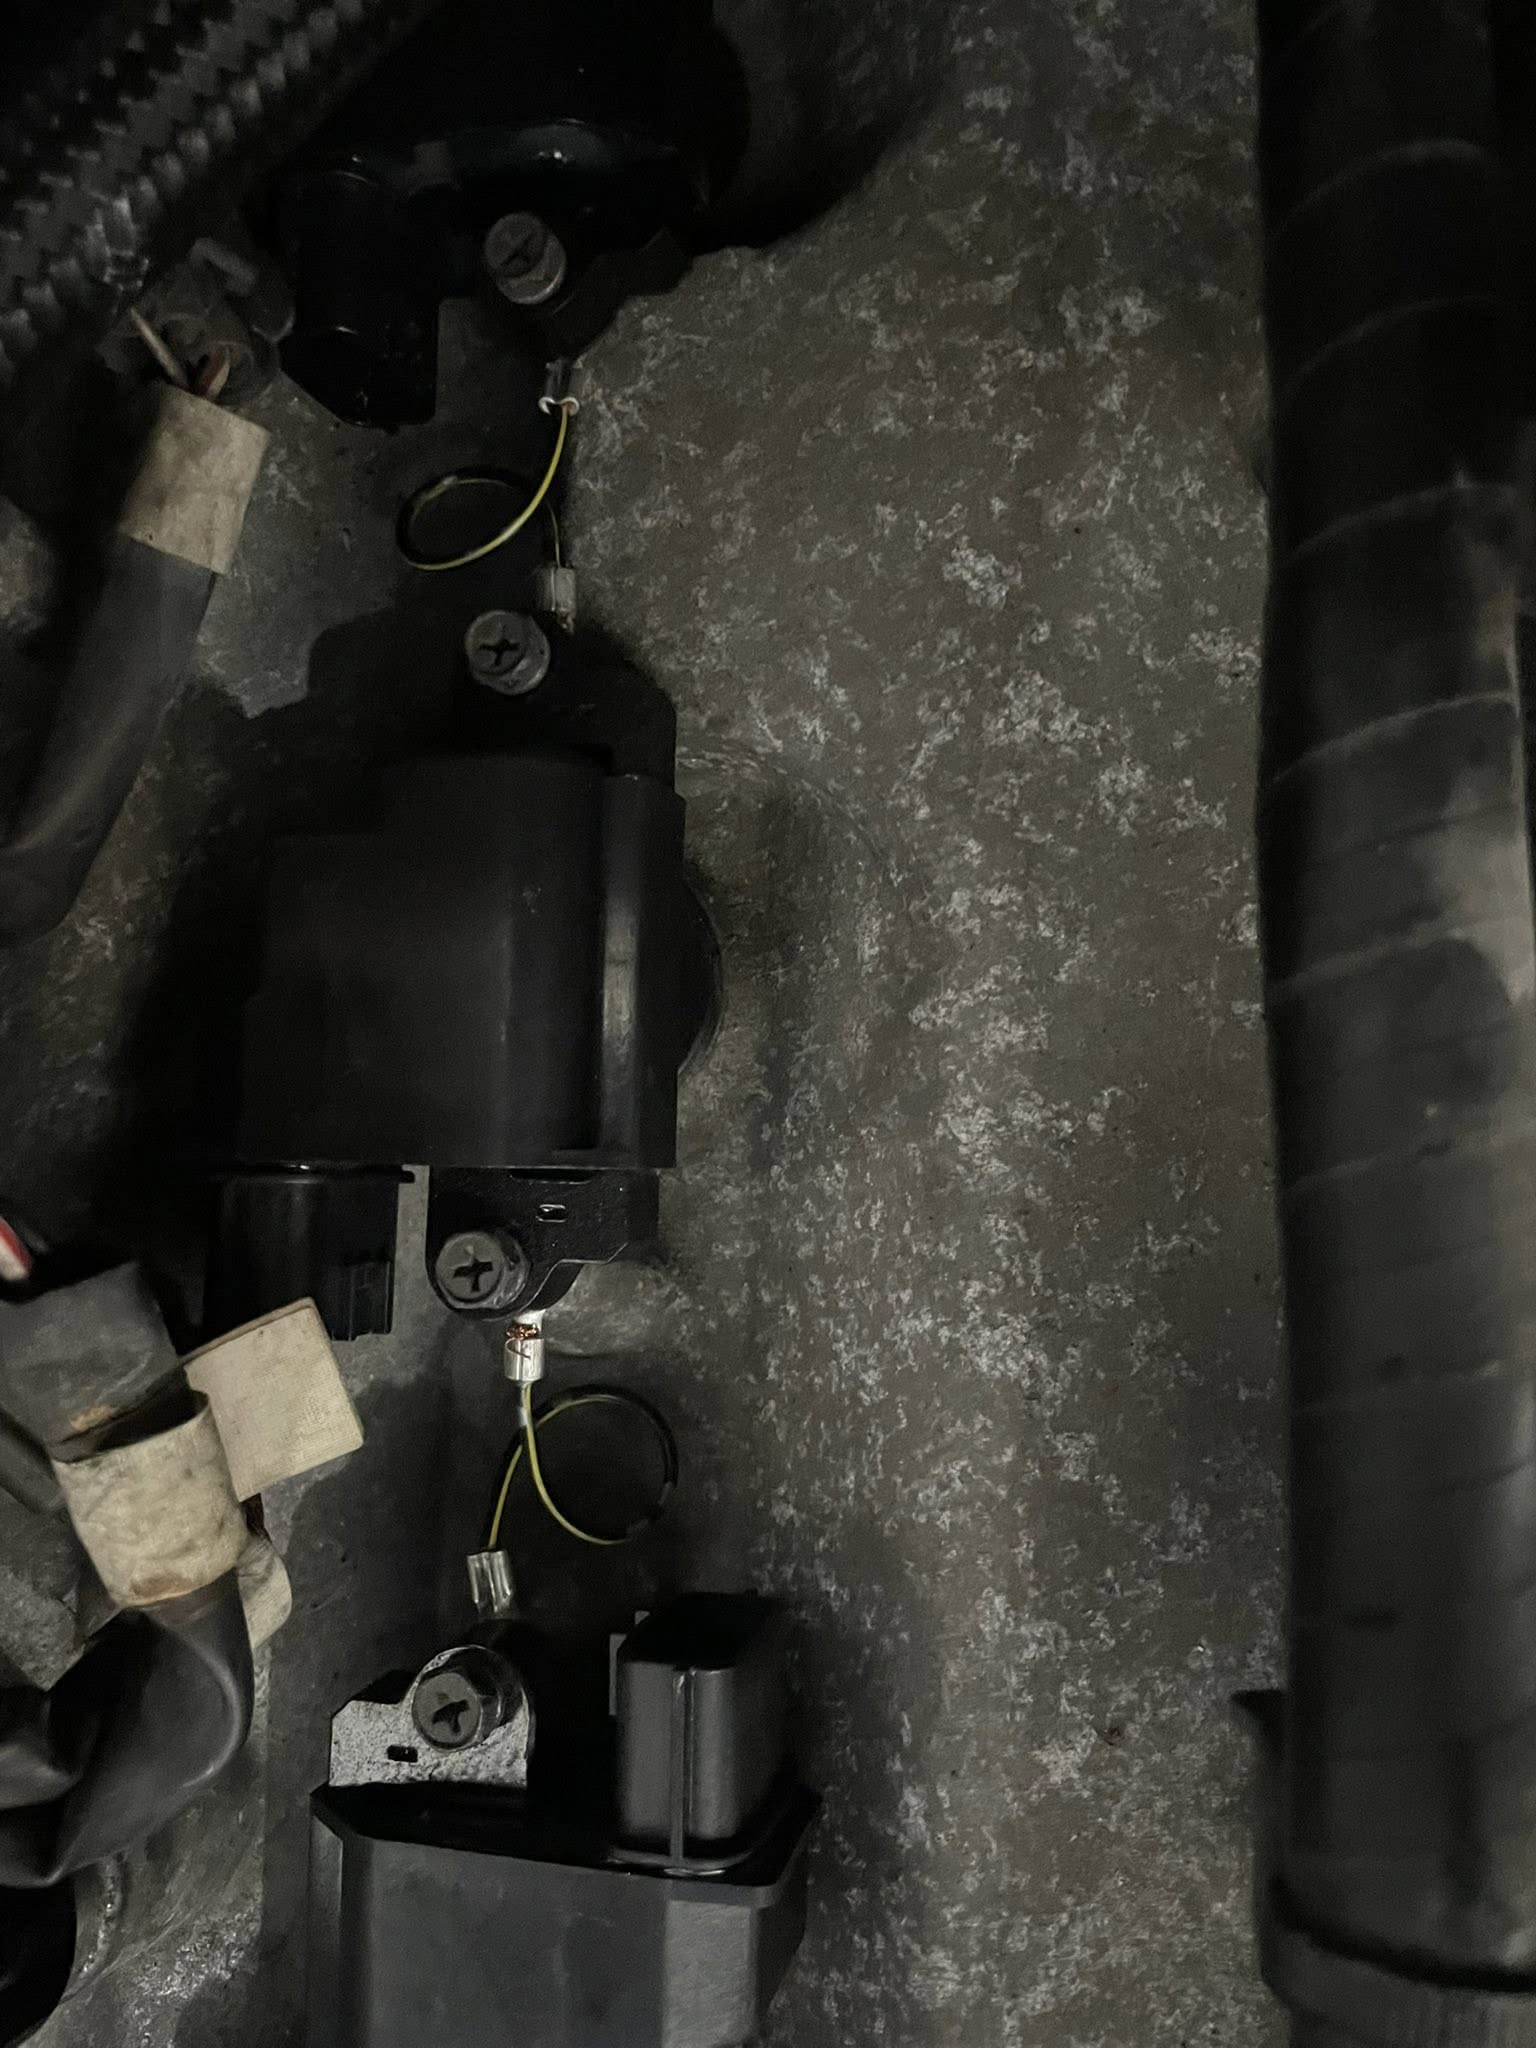
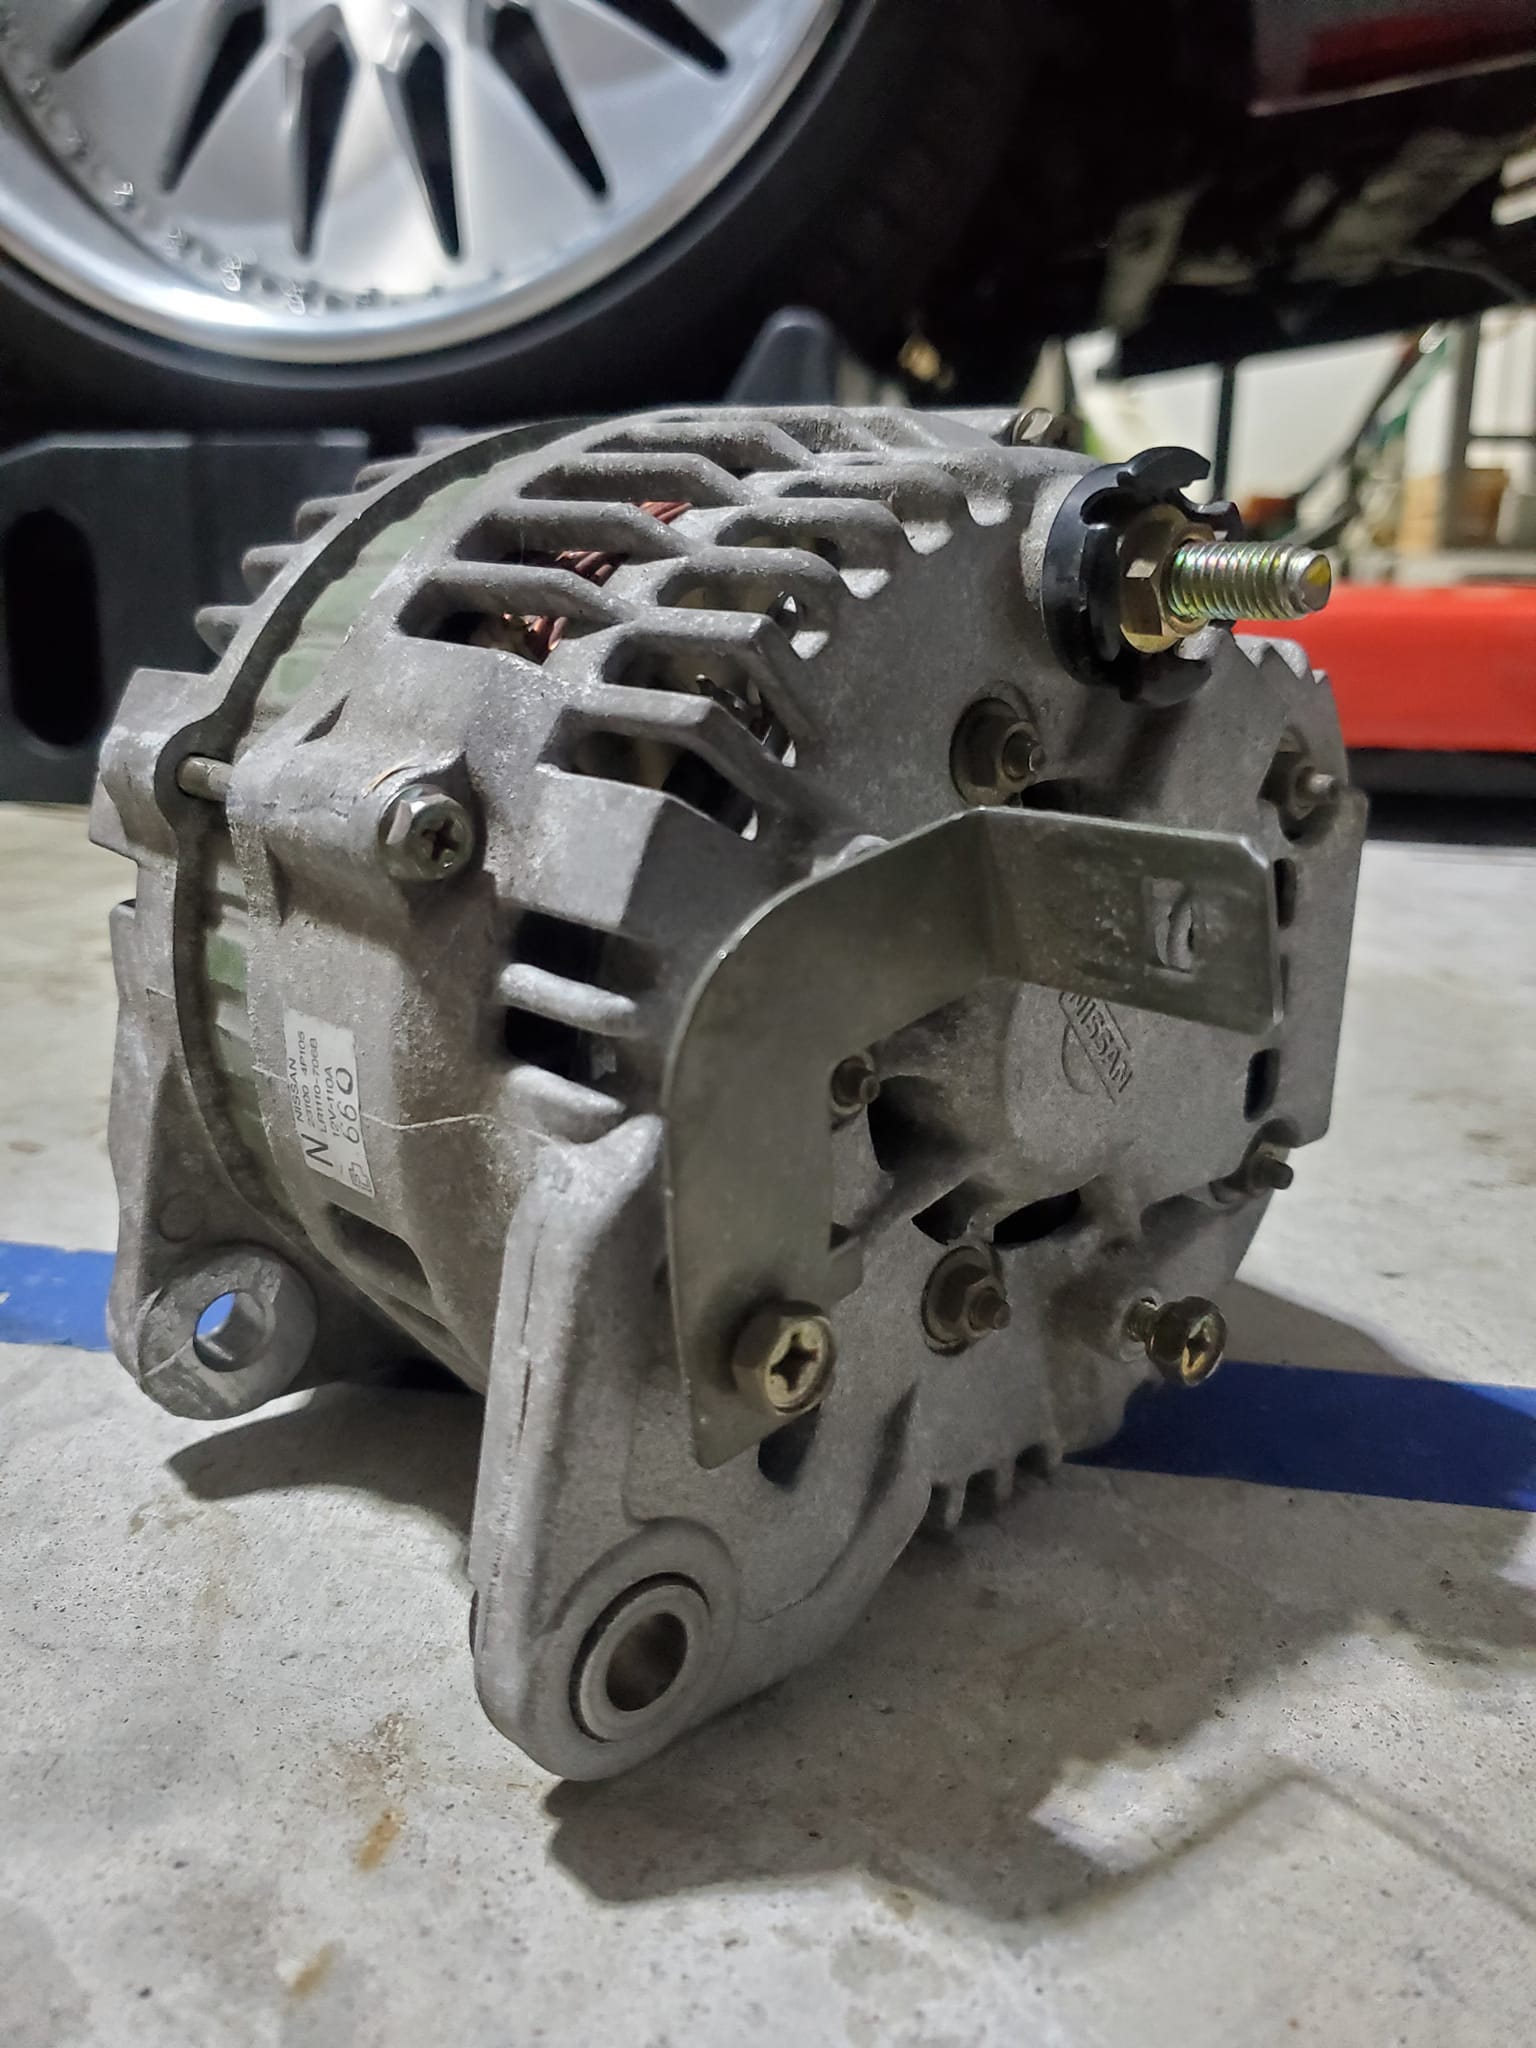
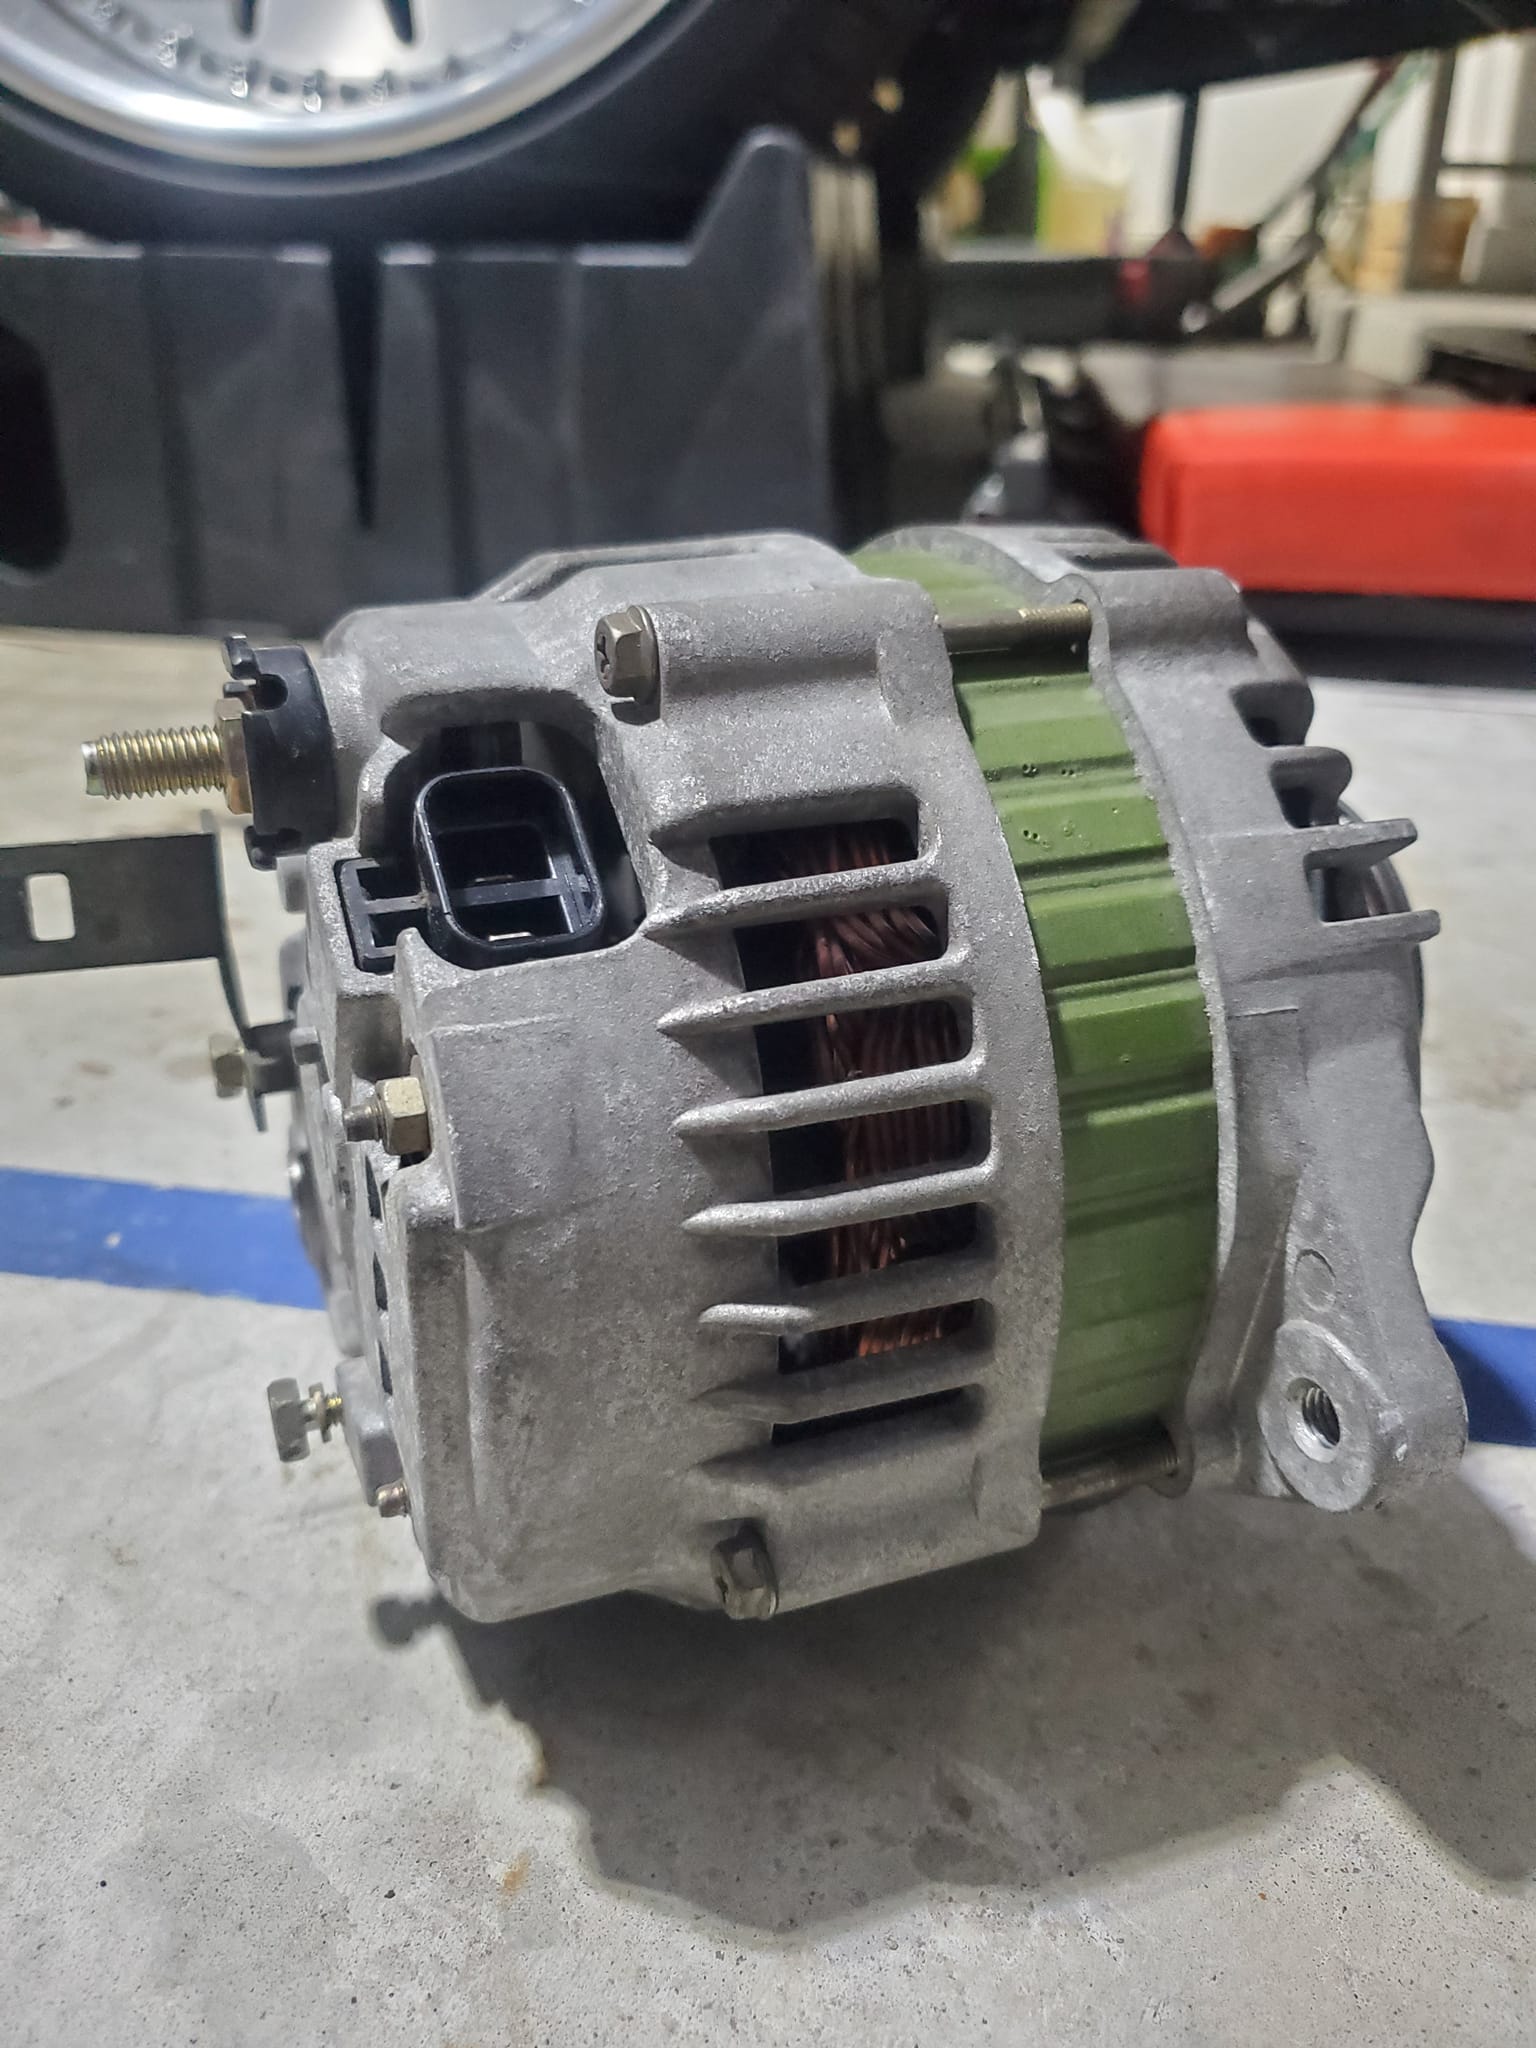
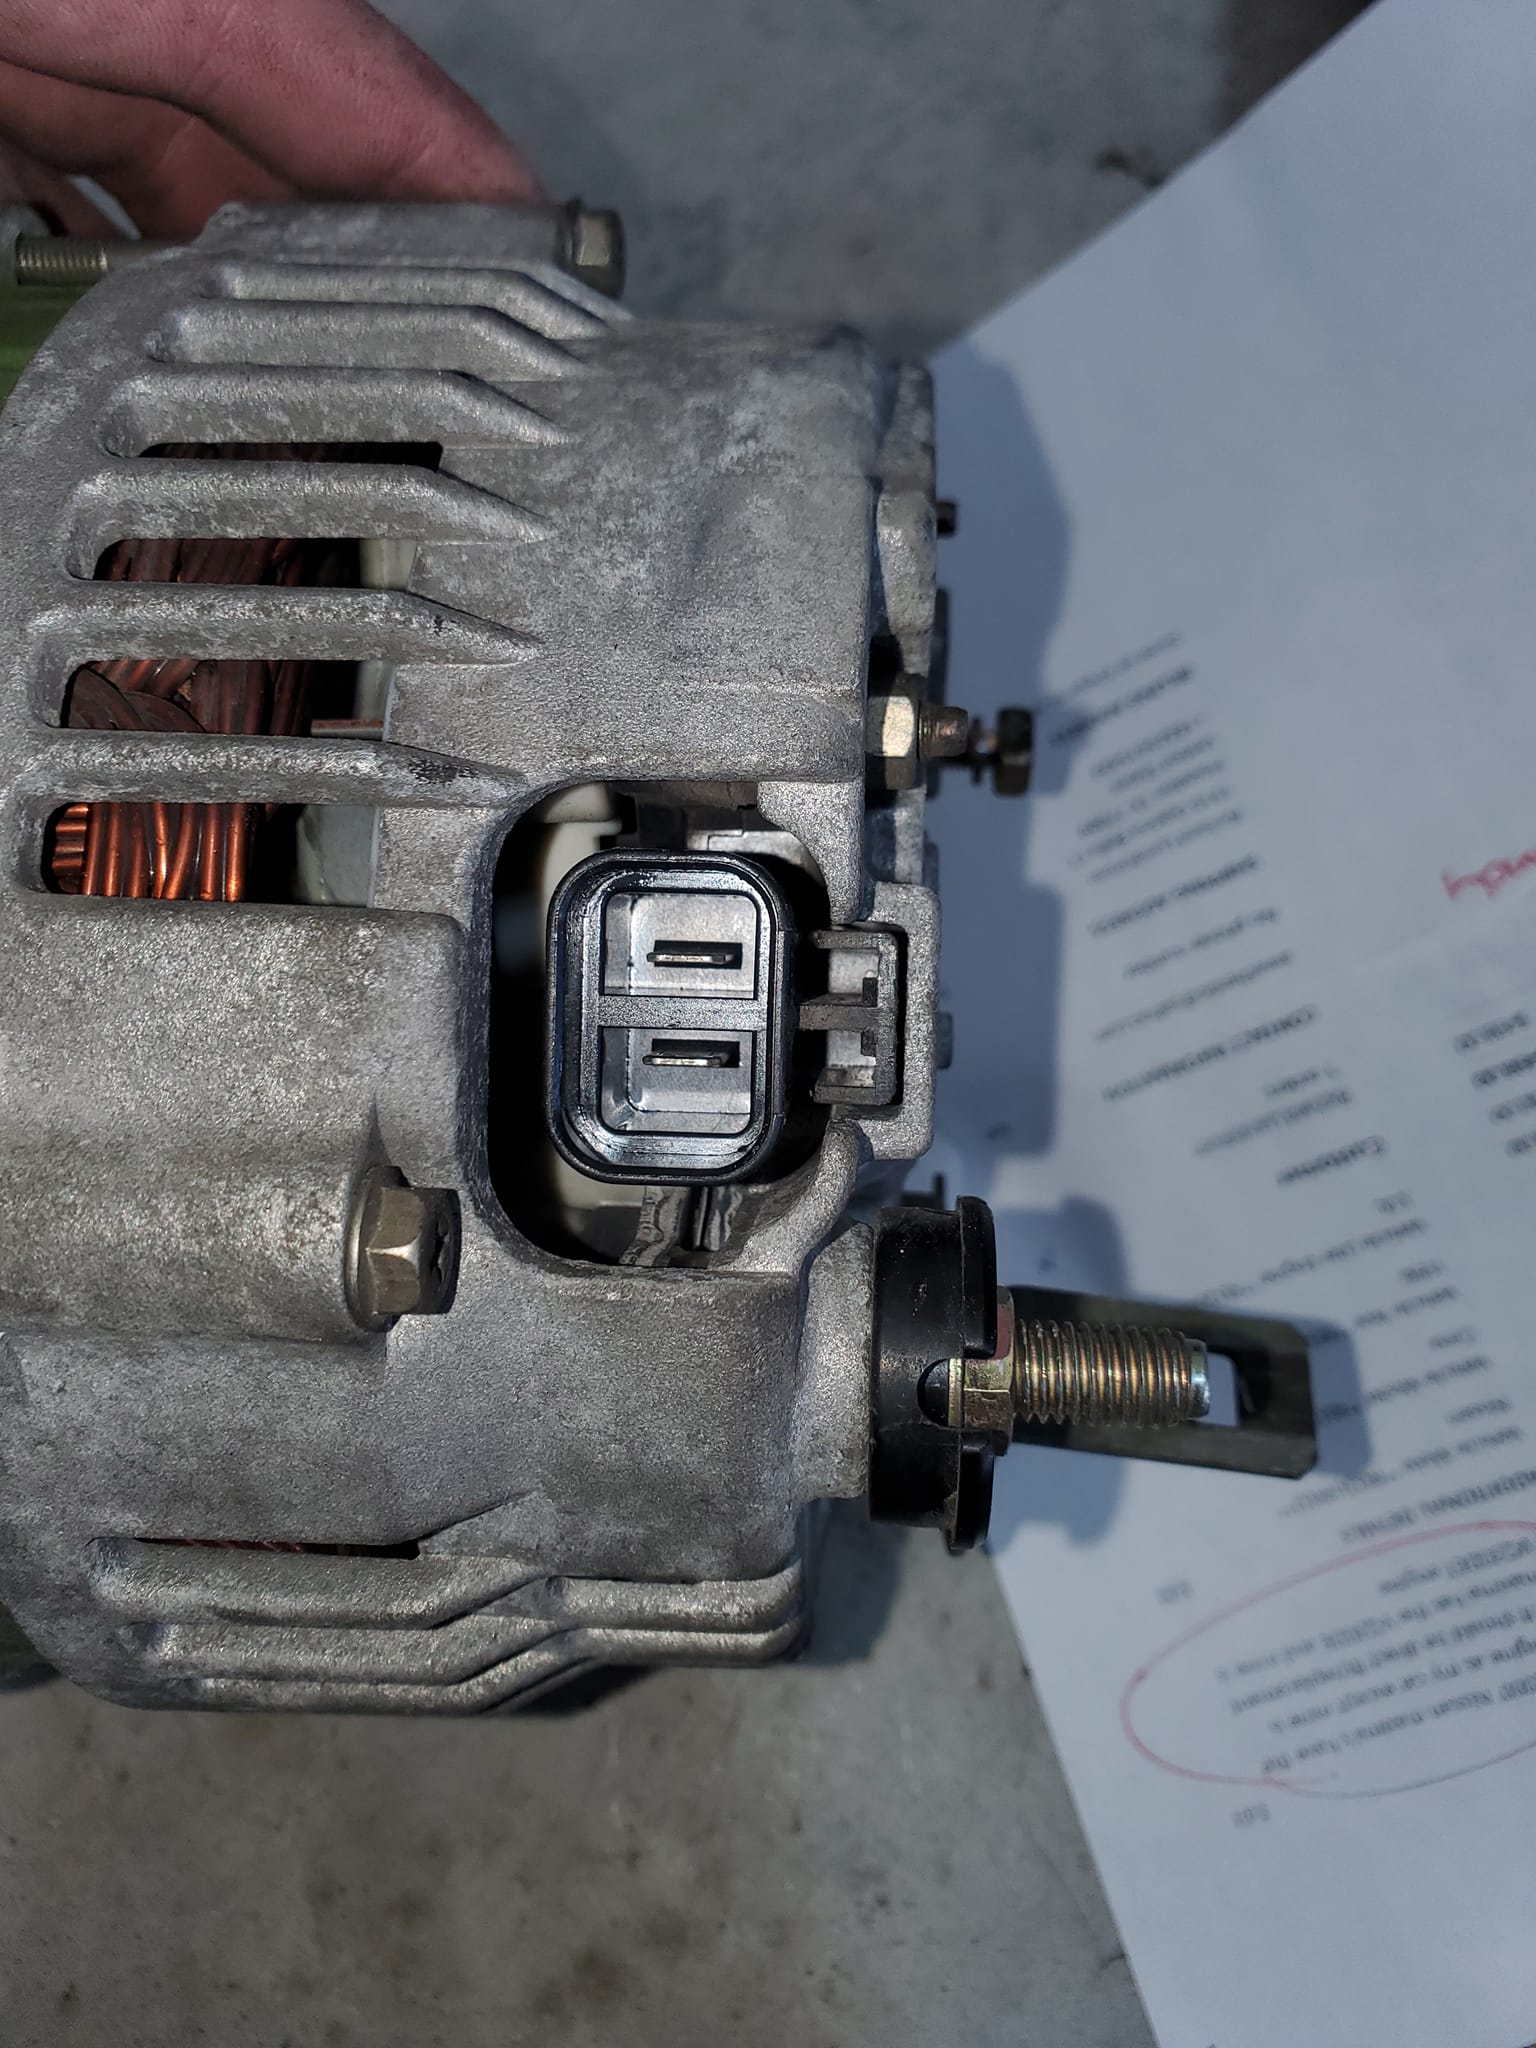
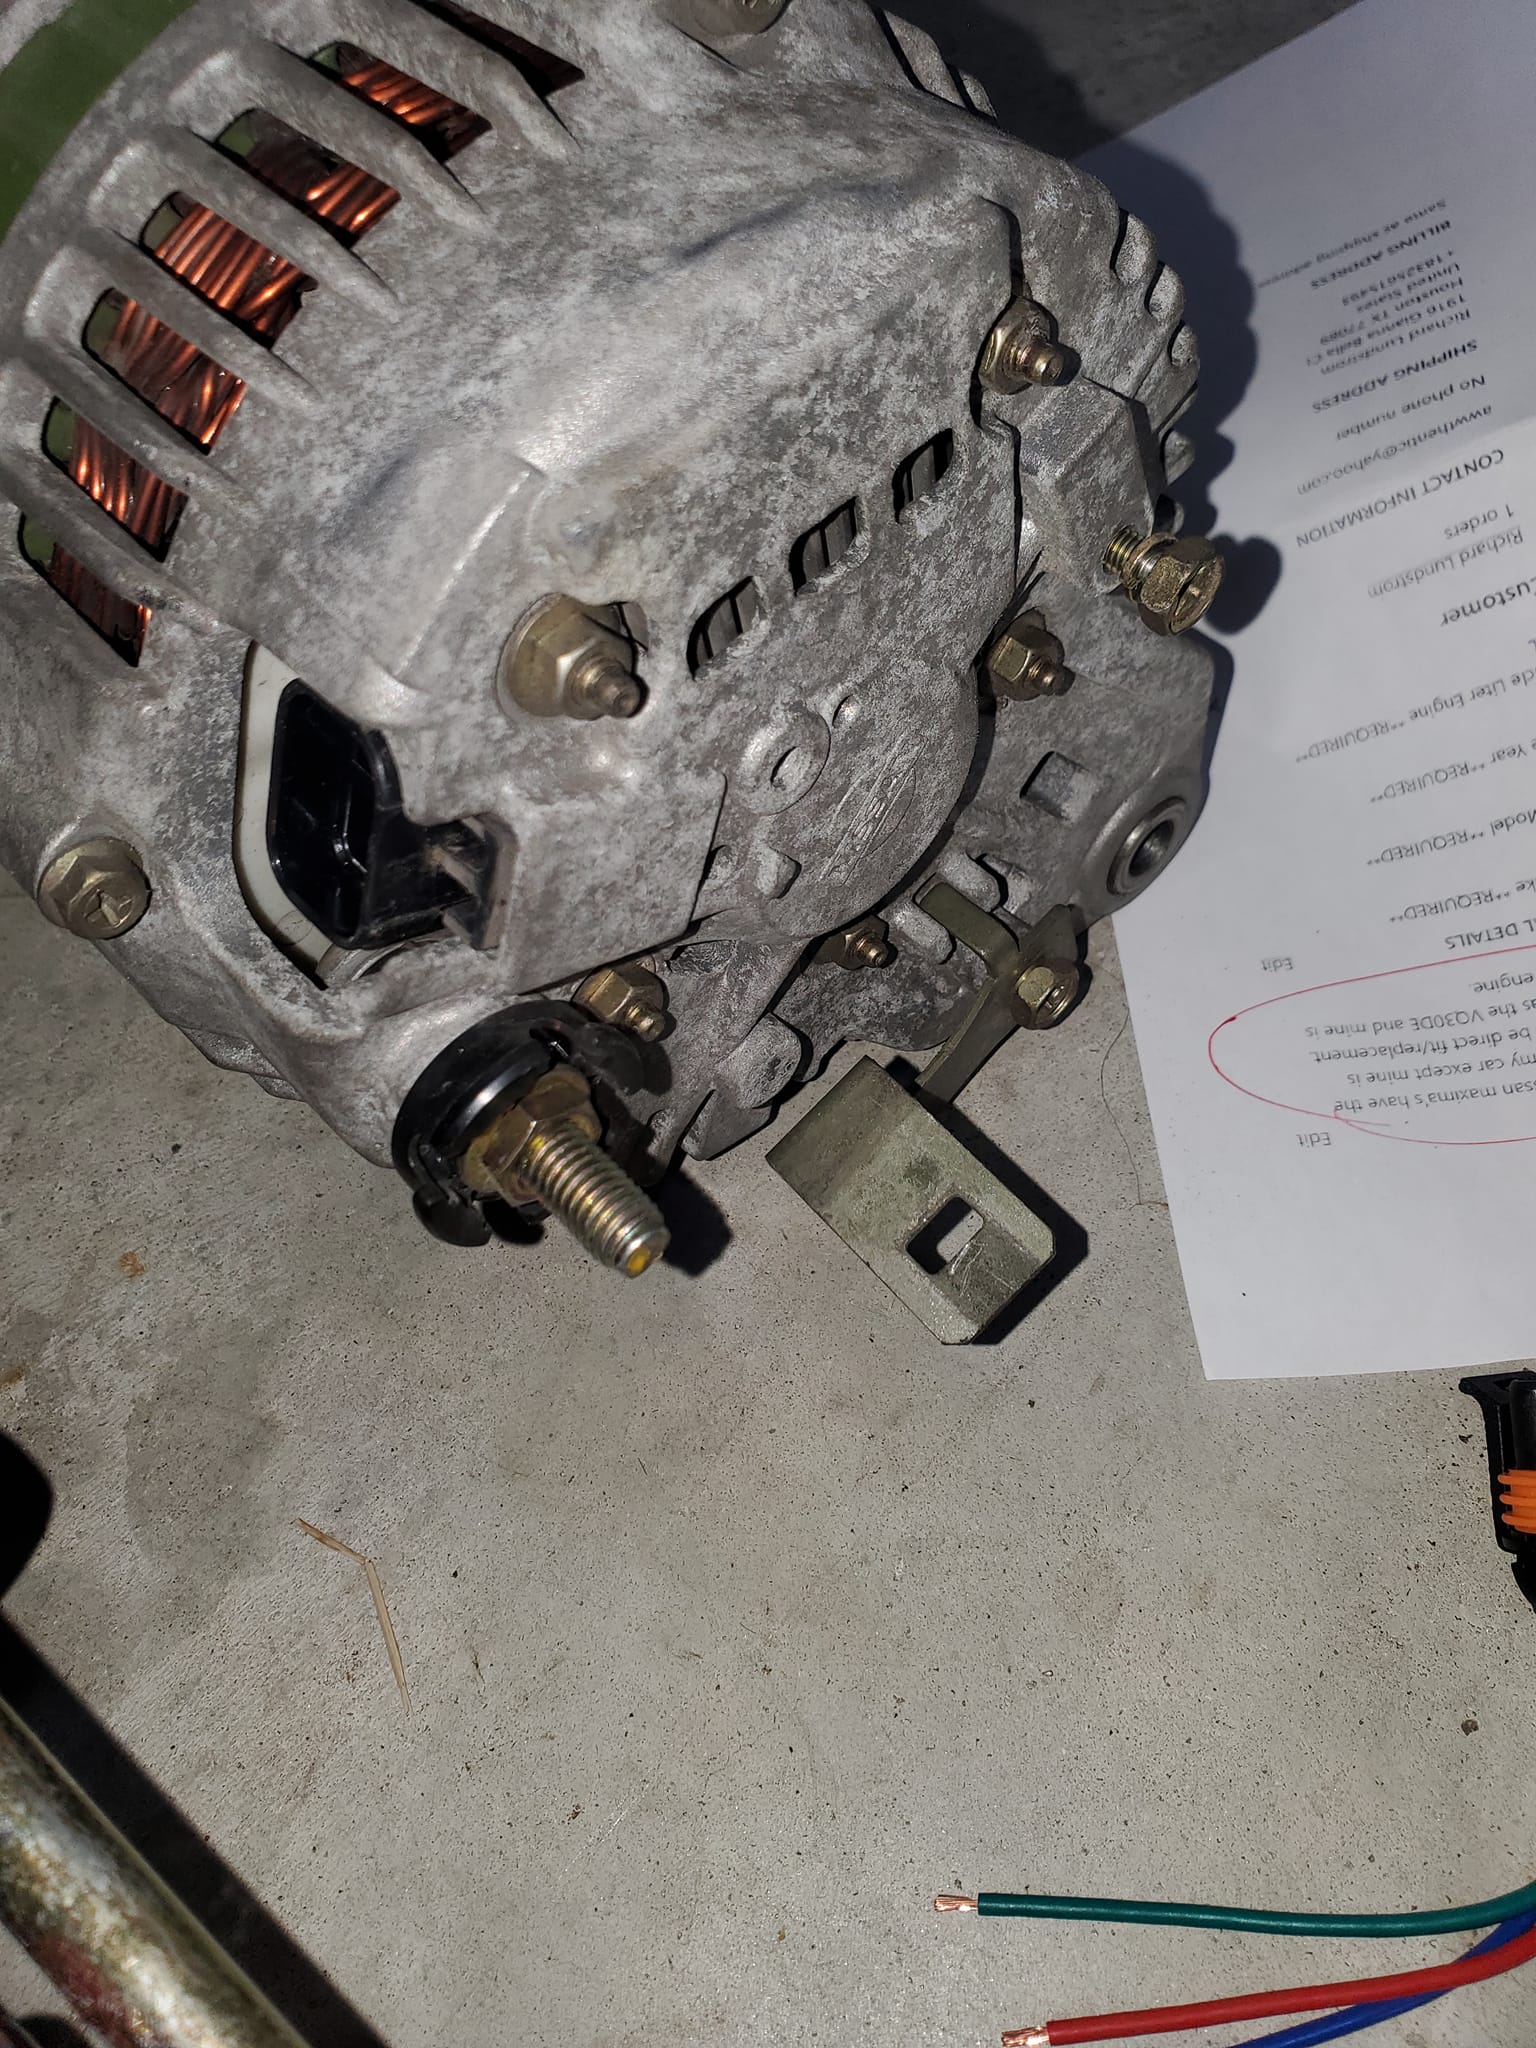
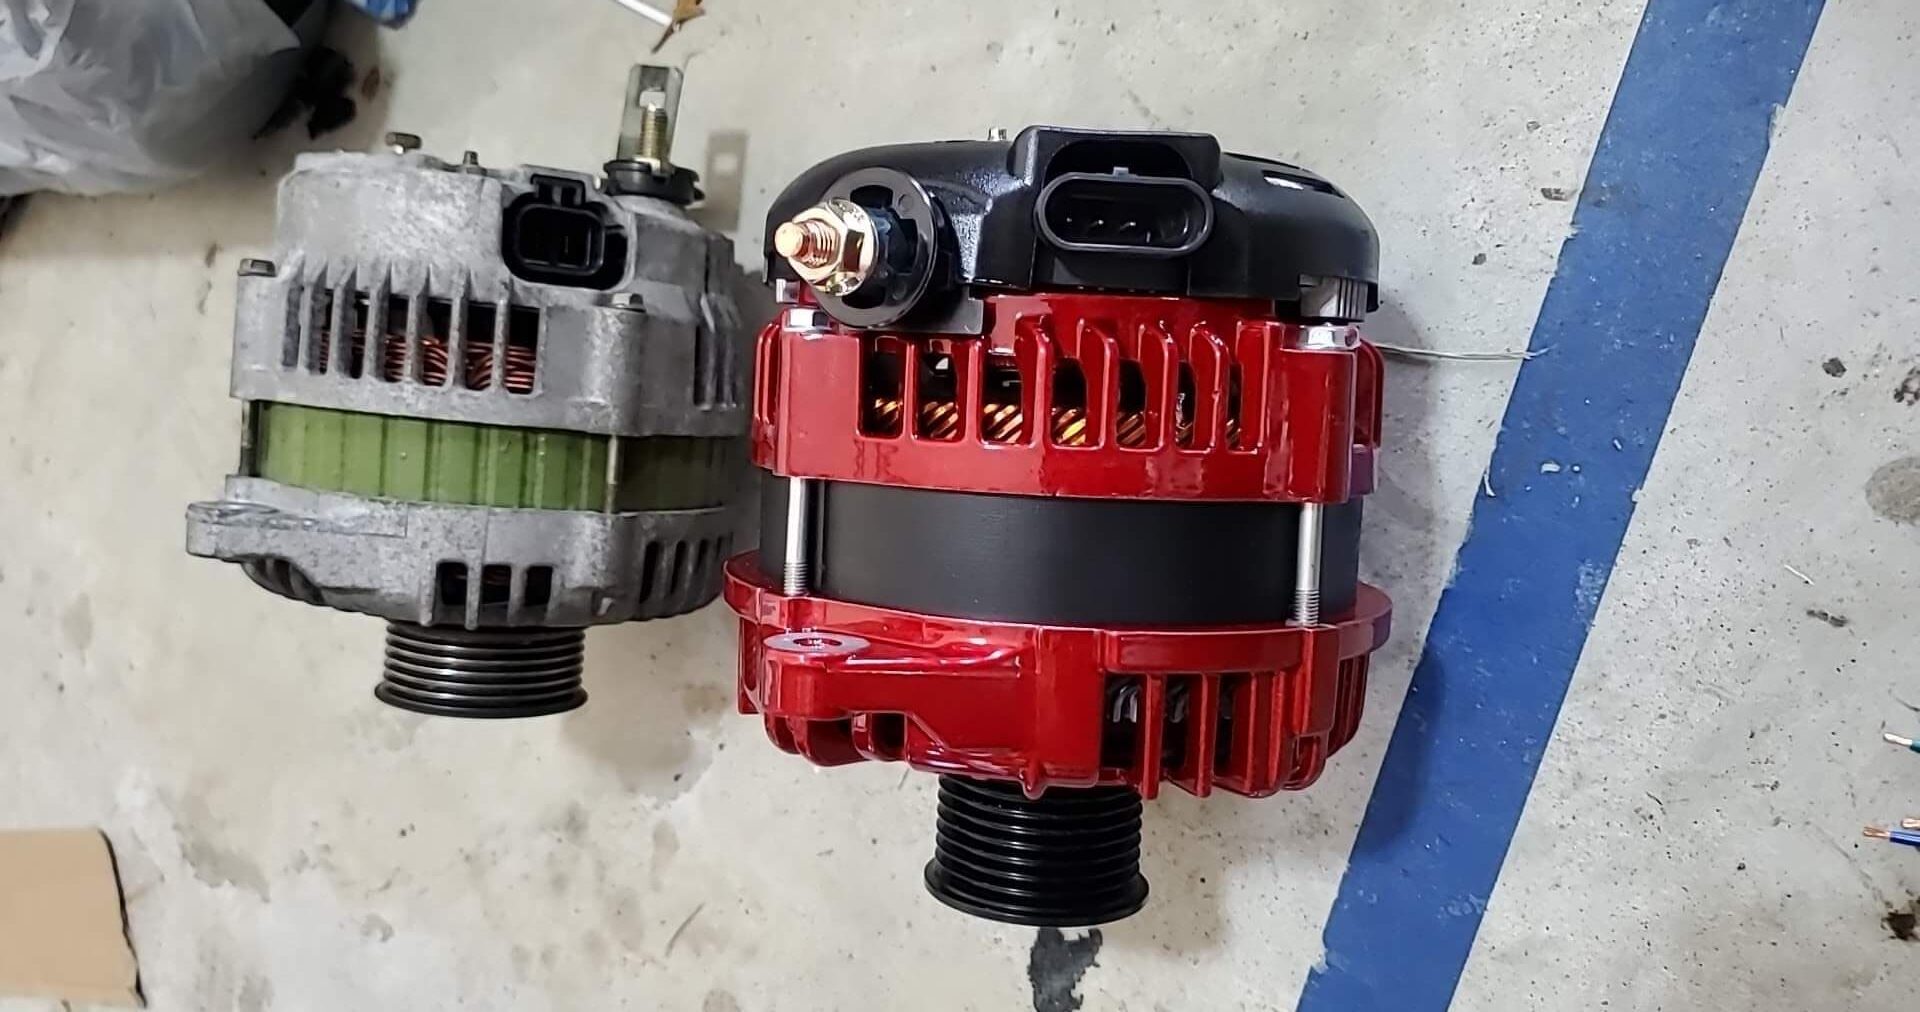
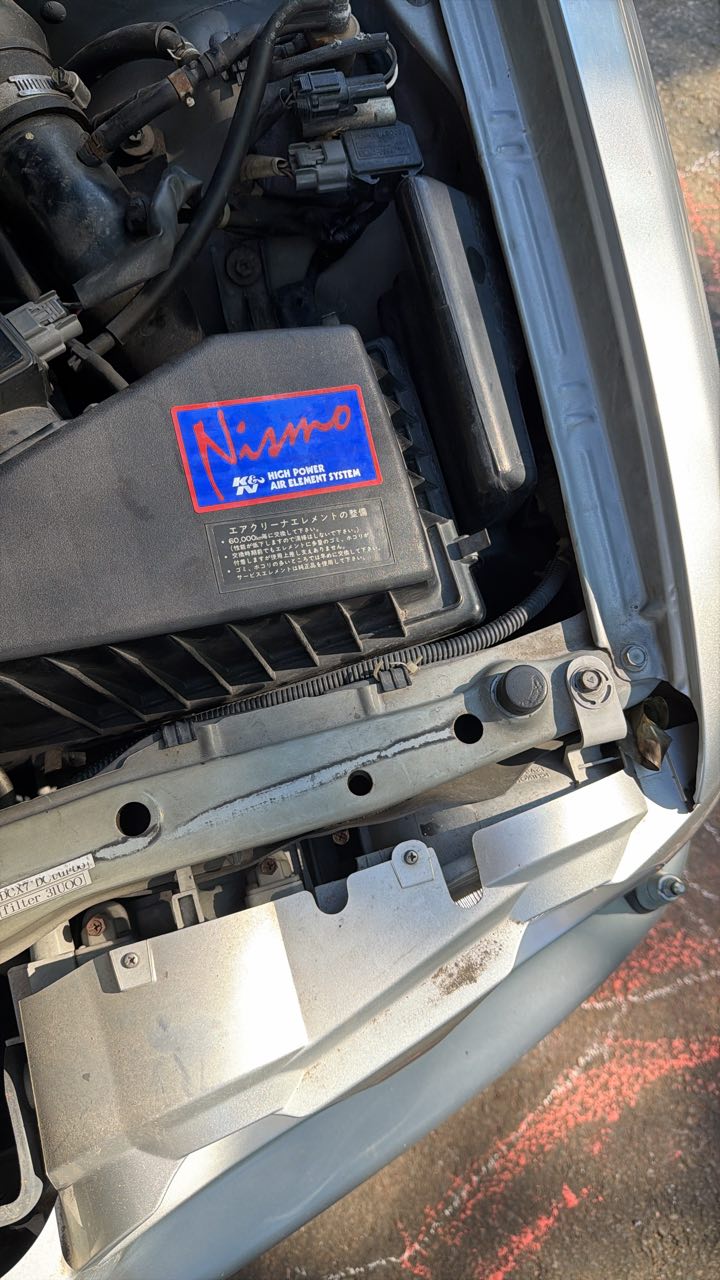
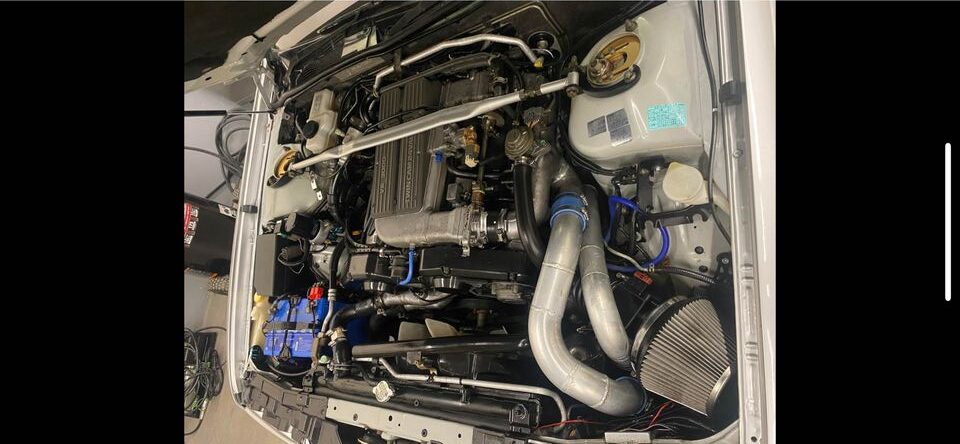
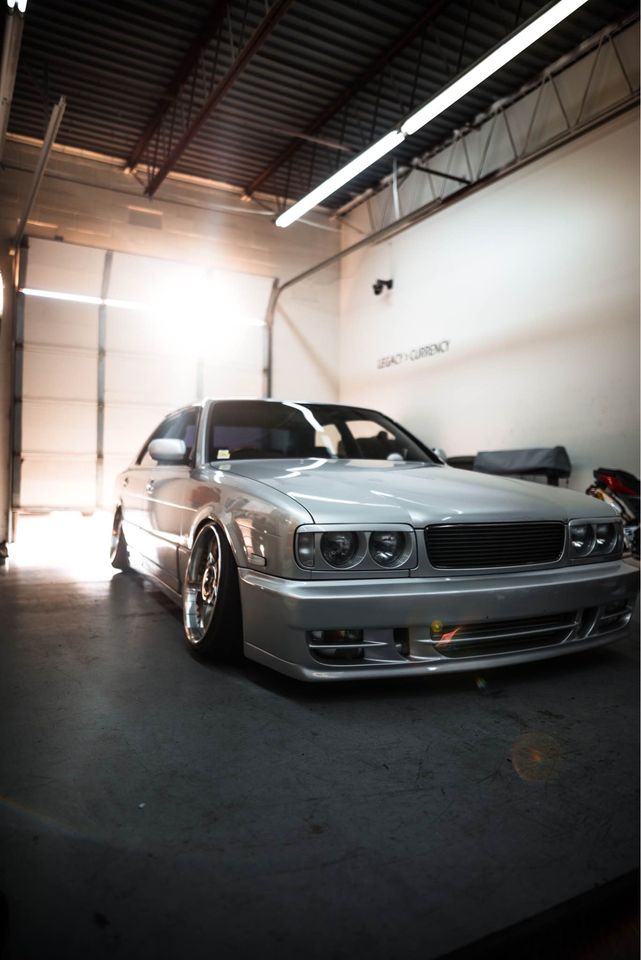
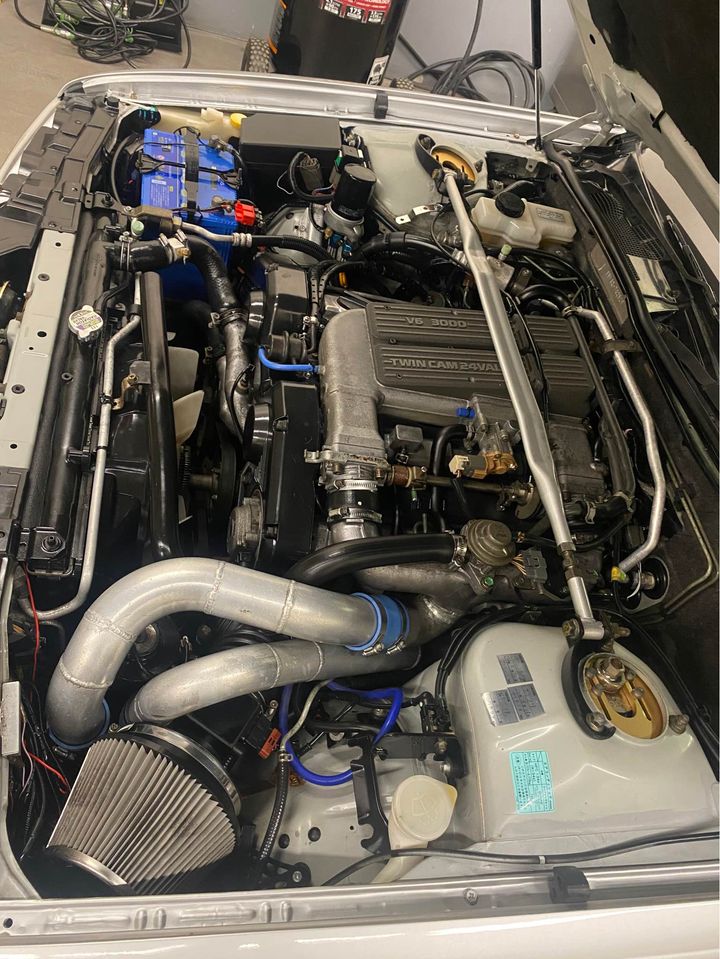
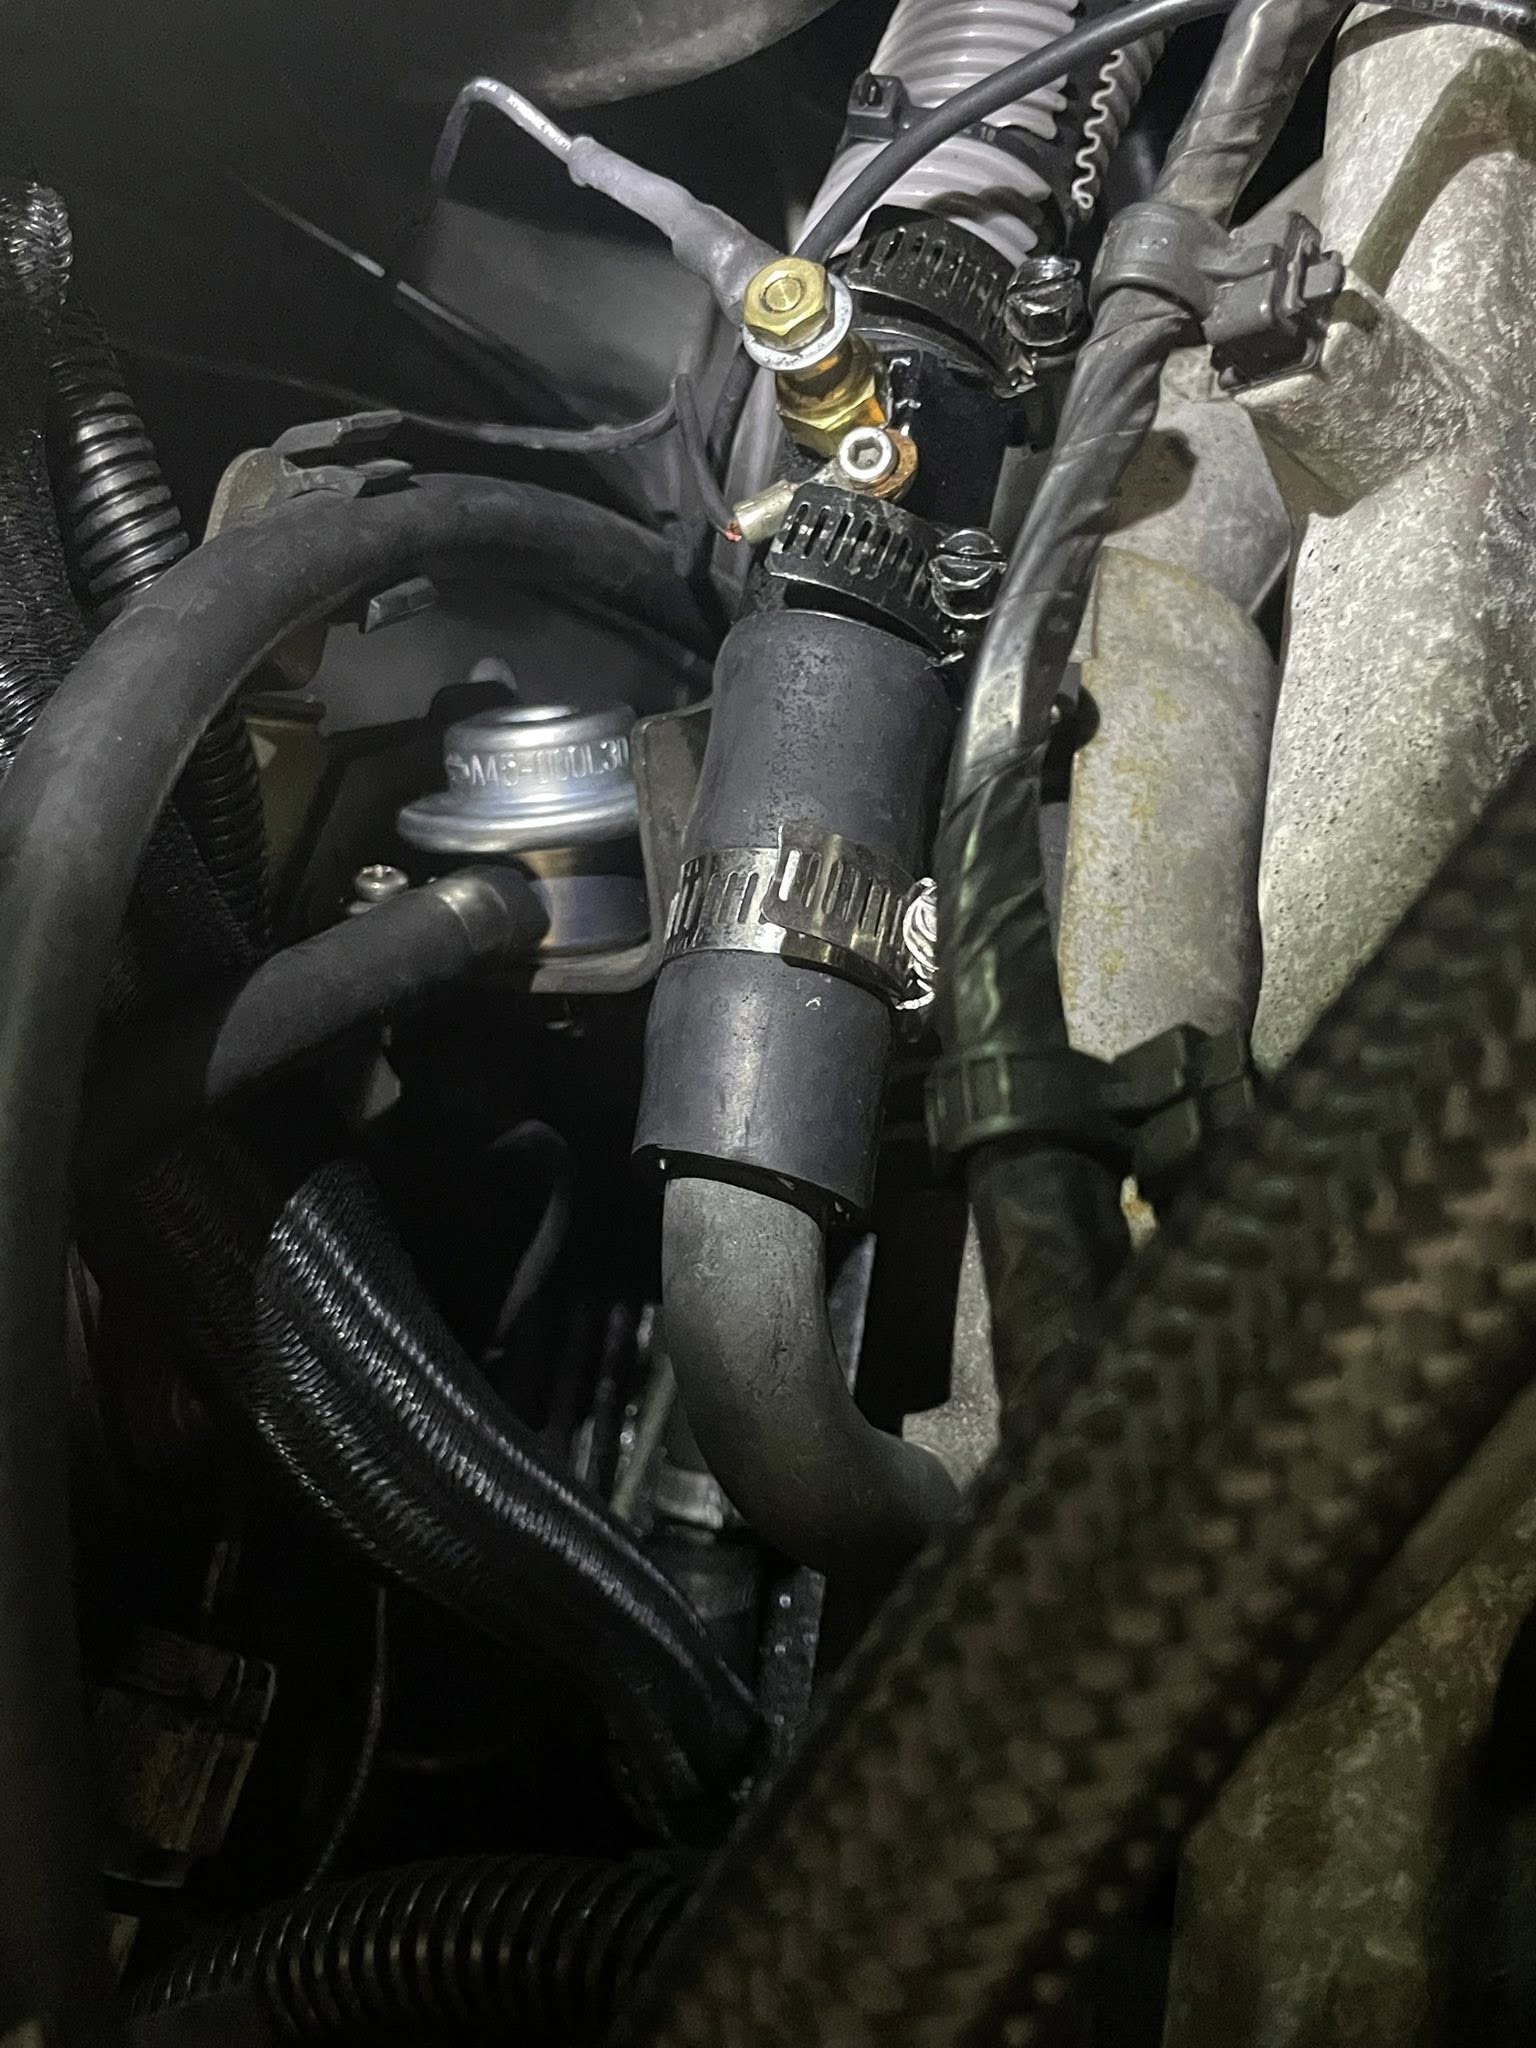
I used a high-output alternator from JS Alternators for my setup. Since I’m running a VQ30DET, I used one from a ’96 Nissan Maxima.

Important: Make sure to tell them that the power post needs to be on the backside of the alternator—not on the side. They originally sent mine with the post on the side, and I had to ship it back for modification. Once they moved it to the rear, it fit perfectly.

Also, make sure they send you the 2-pin plug connector, not the 3-pin version they initially sent me.

Loading

Credit: Nick Z.

The Radium Engineering VQ35DE top-feed fuel rail setup fits perfectly under the stock VQ30DET intake manifold when using 33mm top-feed injectors of your choice.

You can route the fuel lines either direction — out the front (like factory) or out the back. I’m going with -8 lines for feed and return and a -10 crossover at the rear.

The only modification needed is to trim a small bump-out section on the lower intake manifold (pictured).

I’ve already done a test fit, and everything lines up nicely.

Loading

Credit: Christopher H.

Did a rear camber adjustment on the Y33 Cima (VQ30DET). I’m not into paying over the top for name-brand hardware on certain parts, so I picked up a more affordable set instead.

Installed them — fitment is spot-on, looks good, and the quality feels solid. I honestly don’t see how these would perform significantly worse than the high-end options.

Before installing, I disassembled and inspected everything — no issues found. Reassembled using anti-seize on the threads for easier future adjustments.

Overall, pretty happy with how it turned out.

Loading

Credit: Mike G.

Just brought in a 1996 Cedric GT Ultima, and to my surprise it came fitted with an old-logo MFD Nismo cluster. I’ve been into old-logo Nismo parts since around 2004, and I never knew they made a Y33 version!

Over the years I’ve had a few of the white-face old-logo clusters, and I’ve seen the R33 MFD GTR versions pop up occasionally for ridiculous prices. At first, I thought this was one of those — until I pulled it out and saw the back clearly stamped “Y33.”

The screens are the same type used in the R34 MFD, so I’ve already ordered a replacement screen and plan to repair it. Not sure what I’ll end up doing with the unit yet — for now, it’ll go back into my Cedric as part of its small build before the car eventually gets sold.

To top it off, the car also came with an old-logo Nismo carbon exhaust and a Nismo panel filter — a nice bonus for any old-logo enthusiast.

Loading

Credit: Christopher H.

CV axle had a torn boot, so I decided to try out a universal replacement instead of pulling the whole axle. The quality was actually surprisingly good — durable material and a solid fit.

After gluing the two halves together, I gave it a few hard pulls to test it and it didn’t budge. While I was at it, I also cleaned and coated the other boots with some goop to help prevent future tears.

I’ve gone this route before and never had any issues, so we’ll see how this one holds up — but so far, I’m impressed.

Loading

Owner: Joshua R.

Year: 1994
Model: Gloria
Current Color:  White
Engine: VG30DET
Transmission: Automatic
Trim: Grand Turismo

Mod List:

  • Oil filter relocation
  • Greddy front mount Intercooler
  • Custom Intercooler piping
  • SSR Gartmaier 18×9.5 +20
  • JIC Magic Coilovers
  • Fully adjustable front and rear suspension
  • Custom exhaust
  • Leather front seats and rear seats reupholstered leather in Japan.
  • Door Extensions are Junction Produce
  • Side Skirts, Front Bumper, and Rear Bumper (I have been told are a rare one-off evolution kit fitted from a Y33 kit. It is no longer made)

Loading

Credit: Christopher H.

This is the spark plug and coil pack setup for the Y33 Cima VQ30DET.

  • Spark Plugs: NGK 6282
  • Coil Packs: Hitachi IGC0015

Notes on install:

  • Easy swap — only need to move the BOV out of the way.
  • Apply a bit of anti-seize to the plug threads. Hand-tighten, then give it a half-moon turn to snug.
  • Add a dab of dielectric grease inside each coil boot.
  • Run a short ground wire jumper between coils, with the end tied to the chassis, for confirmed grounding.

Loading