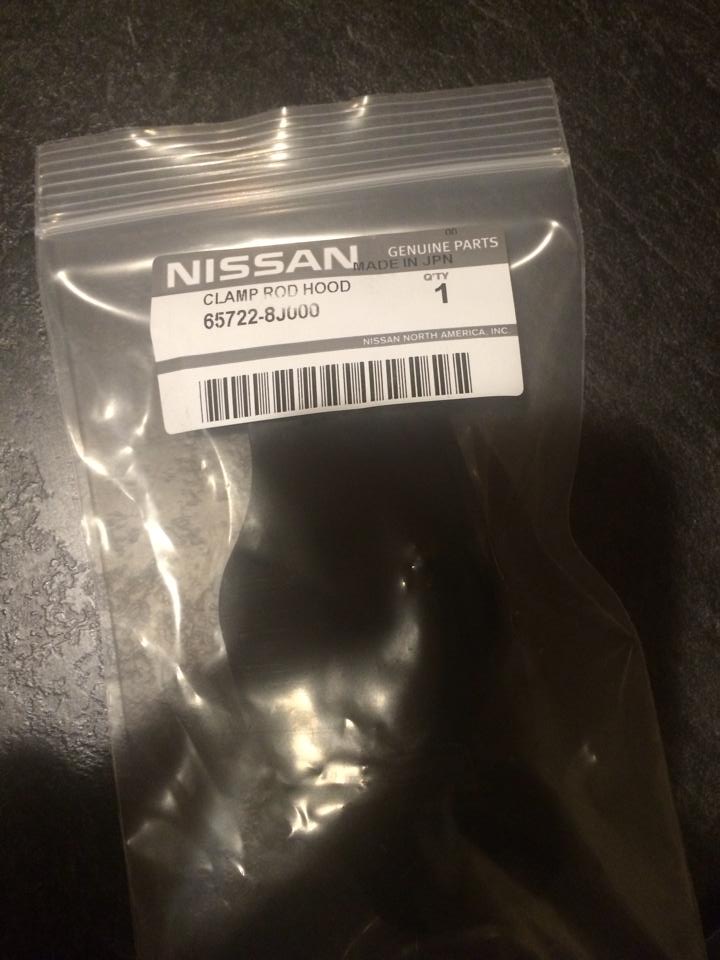
OEM Part Number: 65722-8J000
Price: $4.00-6.00

![]()


")
")
Community Member Credit: Rafael Rojas
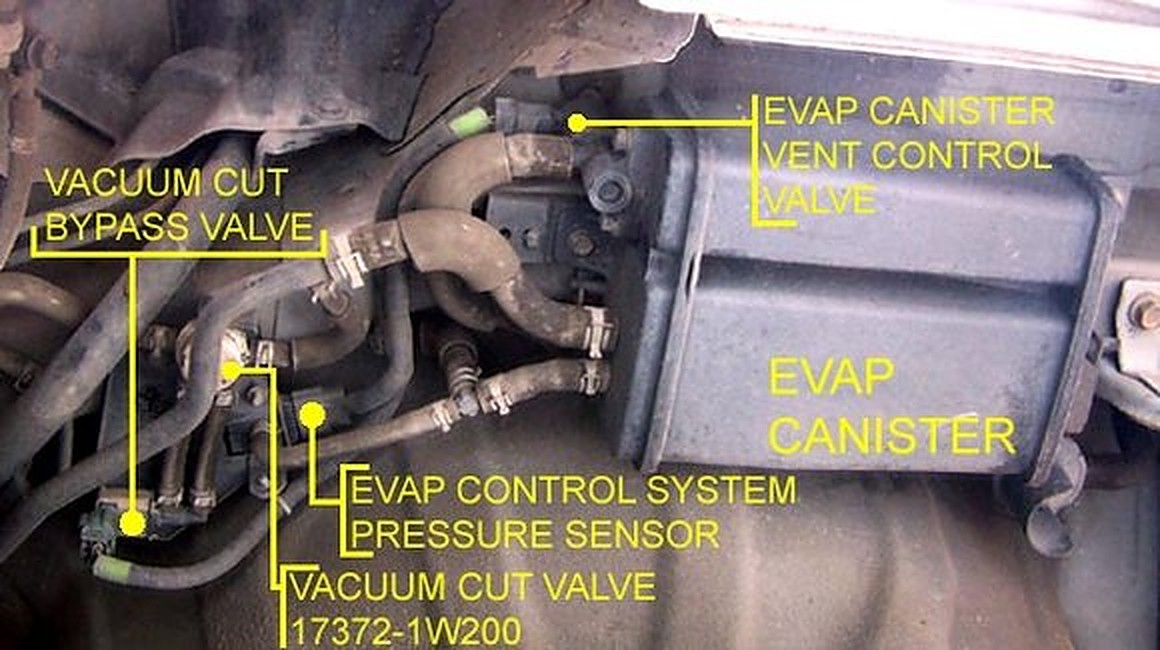
Symptoms:
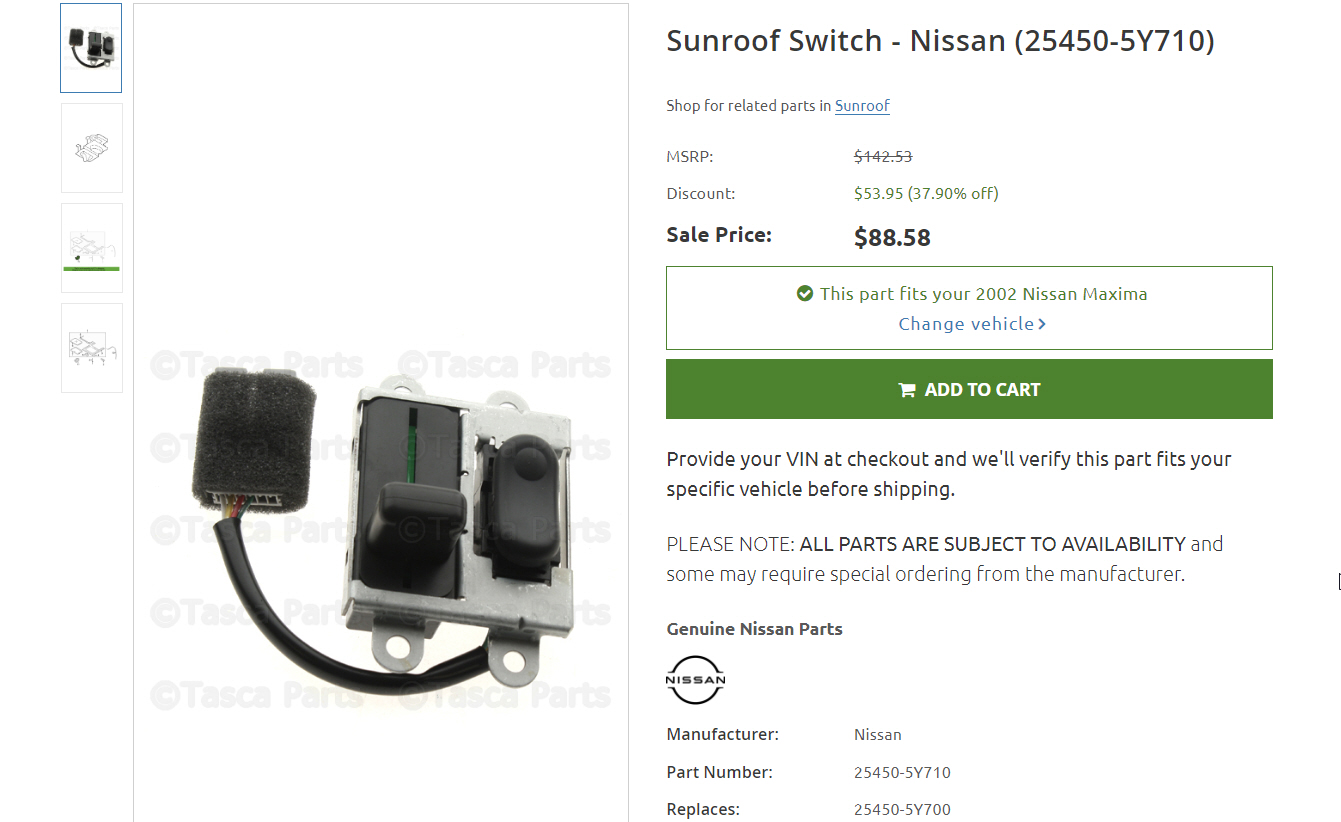
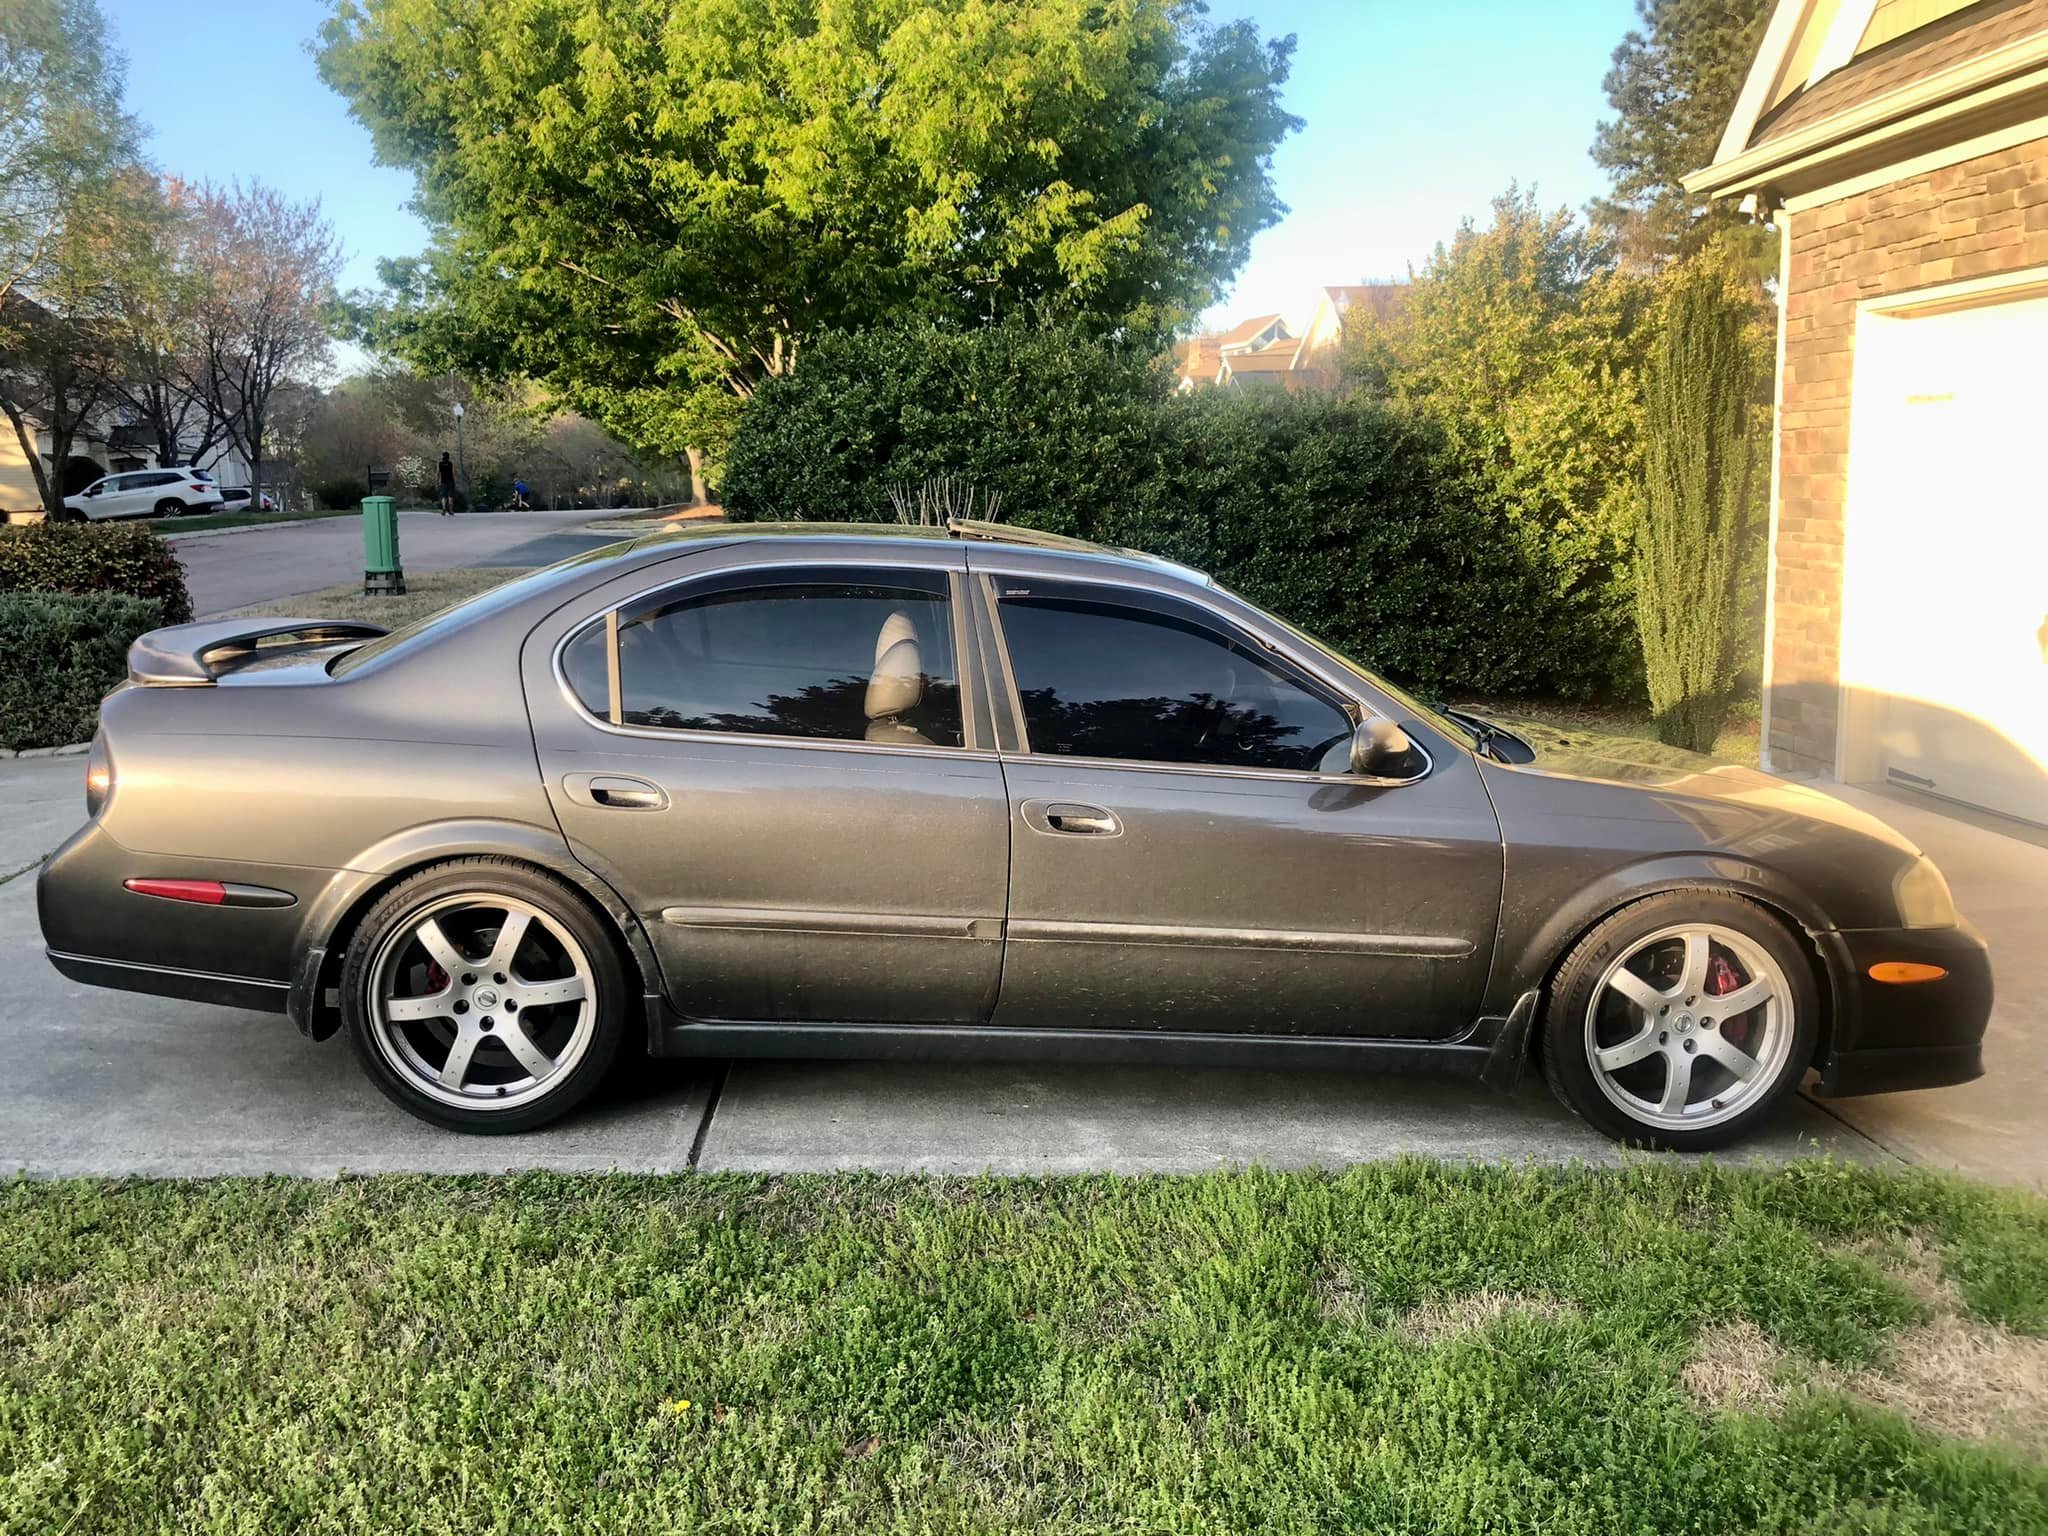
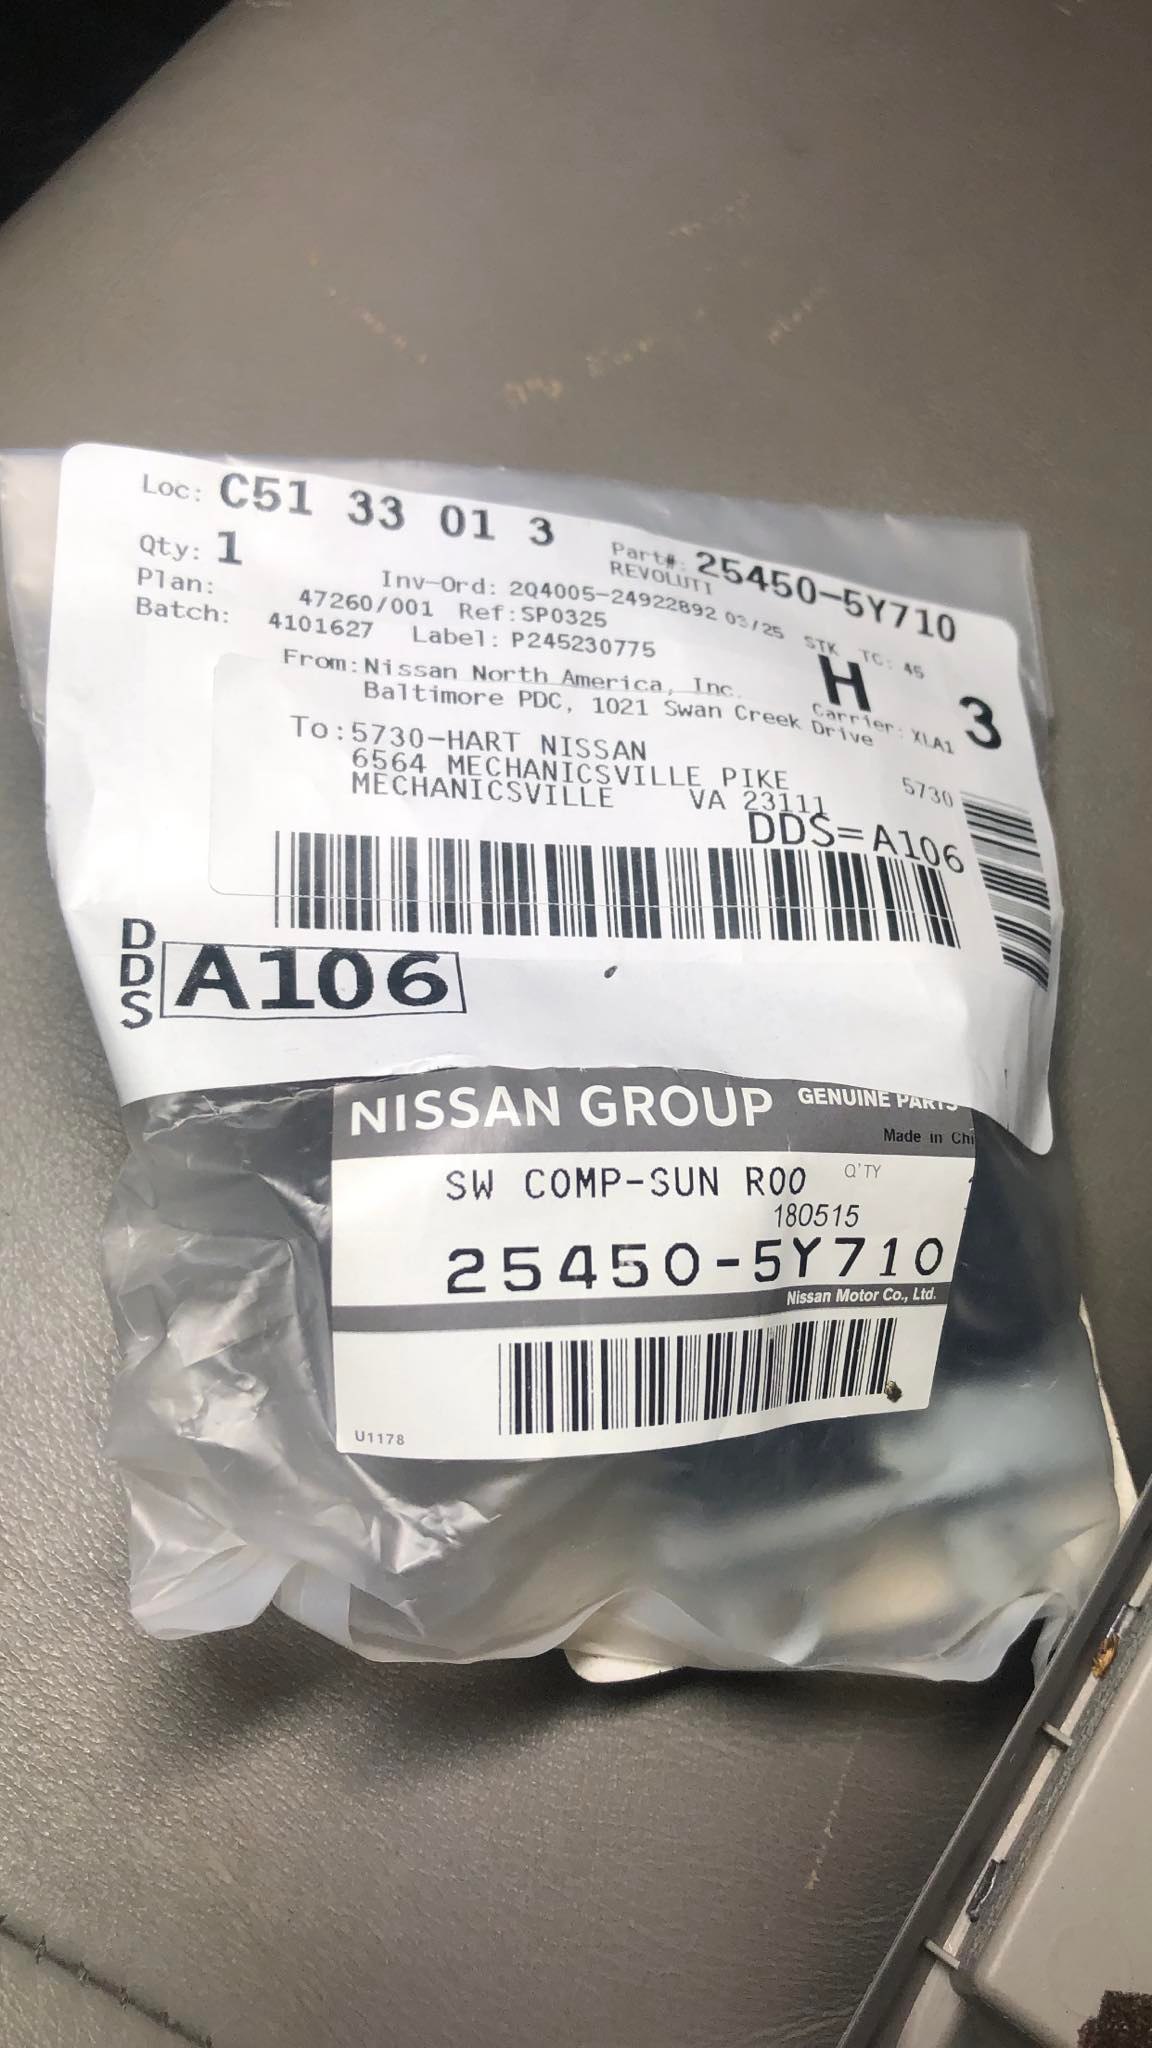
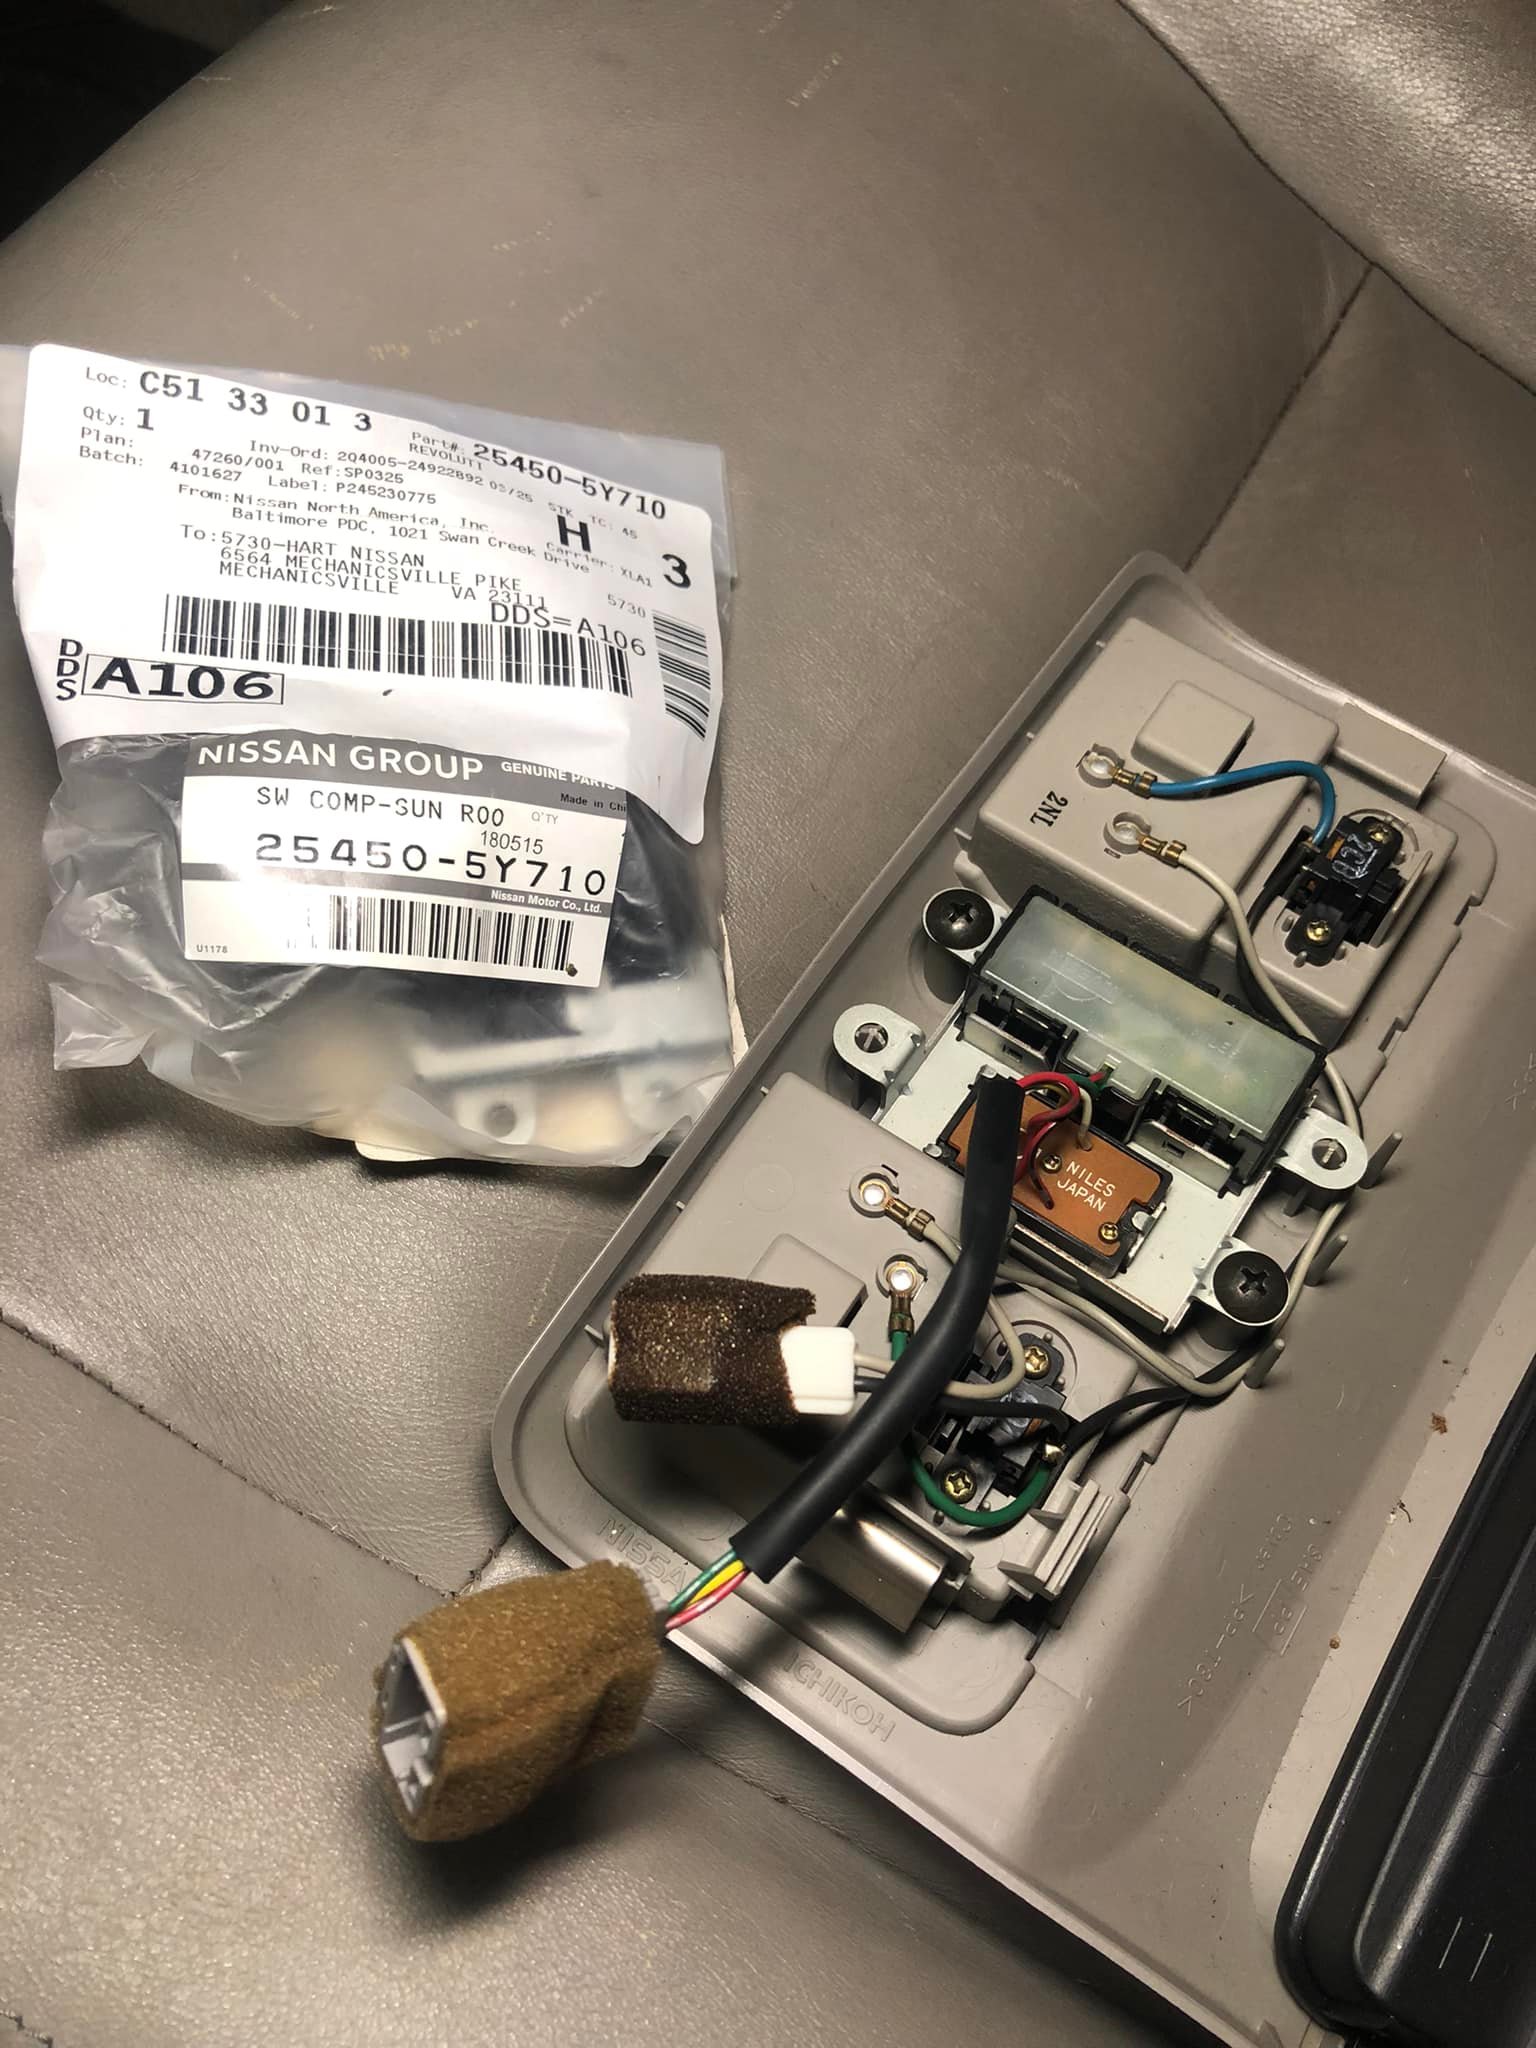
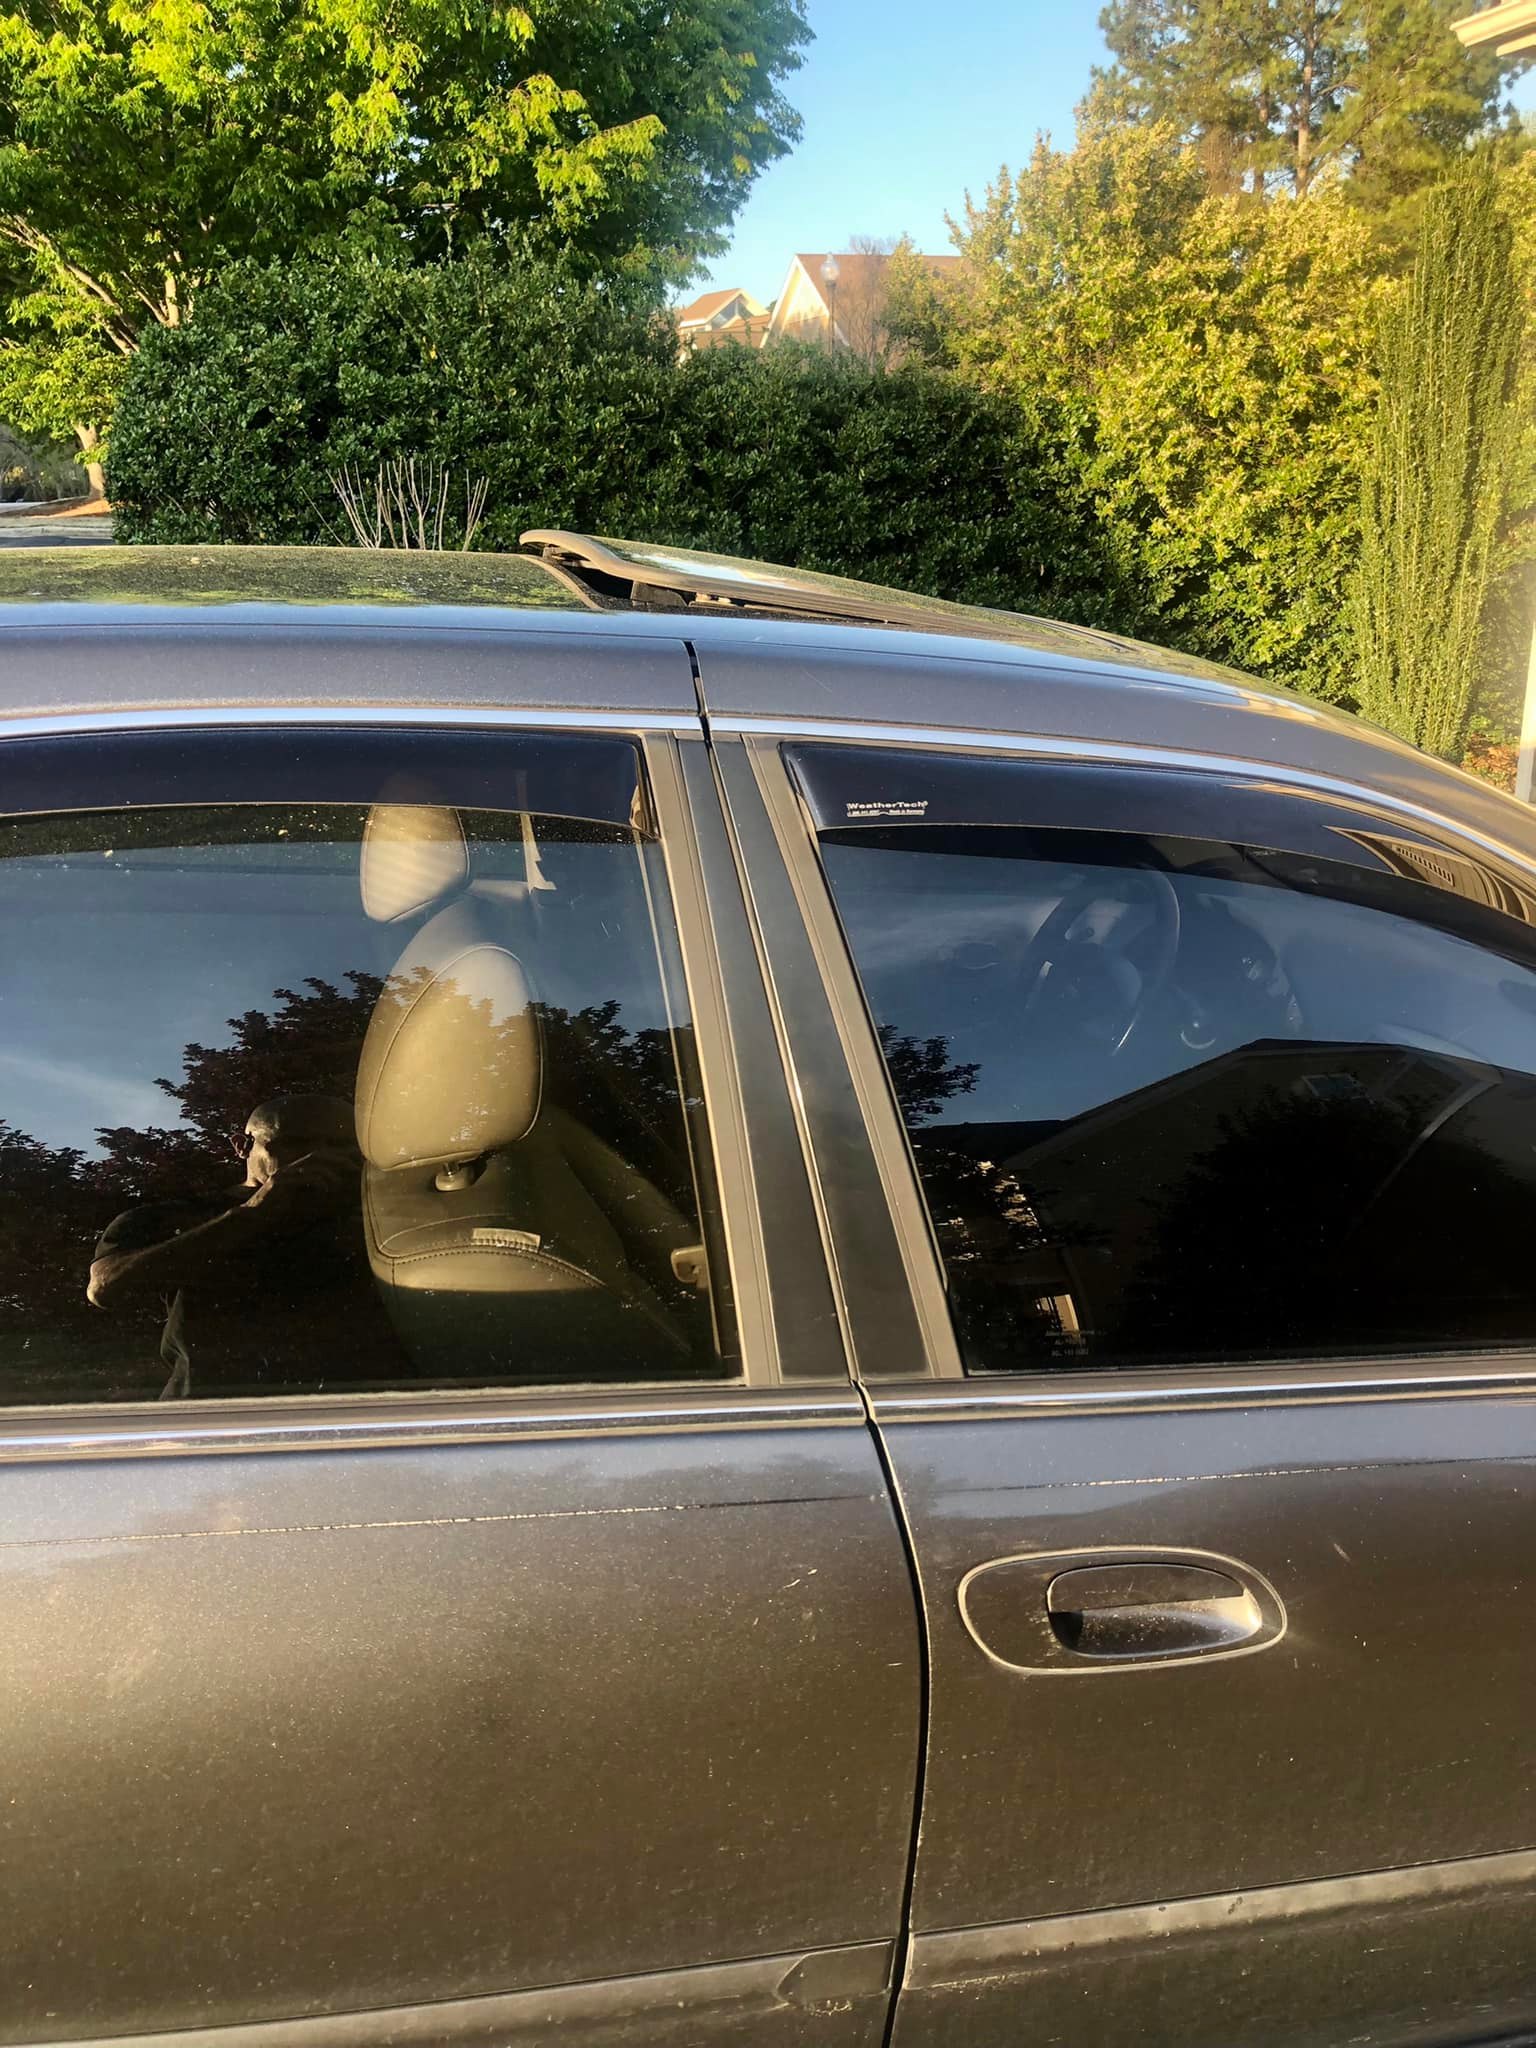
Part Number: 25450-5Y710
Price: $70.00 – $80.00

![]()


Community Member Credit: Kevlo911
I bet over 75% of 4th gen owners have a leaking steering rack and/or worn tie rods…
I bought the rack from: https://www.carsteering.com/buynow/1999/Nissan/Maxima/Rack_and_Pinion/80-00386_R


I bought the 99se rack because it is stiffer. It comes with new inner tie rods and new o-rings. You should replace the outer tie rods and sway bar bushings at the same time.
As for the how-to.
Remove the y-pipe (rent the o2 removal tool)

As you can see, I forgot to rent the tool
Now the fun part. Crossmember. Remove the engine mount bolts, in the rear I used a long 10in extension to get to the bolt from the engine bay(intake removed). Front engine mounts you need an open-end wrench on one side and a socket on the other(or two sockets…) I supported the engine with a jack and a 2×4. If you have a tranny jack it would be better. Remove the 2 bolts in the front and rear(4total bolts) on the cross member and it will dropdown. You can replace the mounts right now if you want to.
See a plate covering this mount on the rack. It is behind the rear header and is held on by three 10mm screws. Remove it.

Now remove the fluid lines, have something to catch the fluid(I had a trash can lid). Remove these from the engine bay, it is much easier that way.

Use a 14mm open-end wrench to get the bottom one. On the top one, remove the hose and swap the nipple on the new rack once it is out of the car.

Remove those nuts. Now you will see the spindle, there is a 12mm nut holding it on the spindle of the rack. Make sure the steering wheel is straight before you remove it.
Remove the bolts holding on the rack now. One mount is pictured above, the other you will see when you are down there. USE THIS ALONG WITH MY TIPS TO CHANGE THE RACK
FSM is basically the same write up too. As you can tell I didn’t do everything they did.
You will remove the rack from the middle, it will NOT slide out from the sides(I found out the hard way). You will move it towards the pass side and then drop it down in the middle. You will install it the same way. I also installed new bushing on the rack, I got MOOG bushings from rockauto.com
You will soon find out the spindle does not want to go into the joint. You will have to bang on top of the joint to get it on the spindle. I used my tq wrench and breaker bar to bang it in. I didn’t have a rubber mallet(I did this with the rack mounts partially in, only the lower nuts were in). Rest is the reversal. Next, you get it aligned… I still have to do this, my wheel is cocked to the right.
This will take all day and would be much easier with air tools. But I saved about 800-1200bucks labor by doing it myself and I now have a stiffer and better feeling steering system.
![]()

Community Member Credit: Eddy
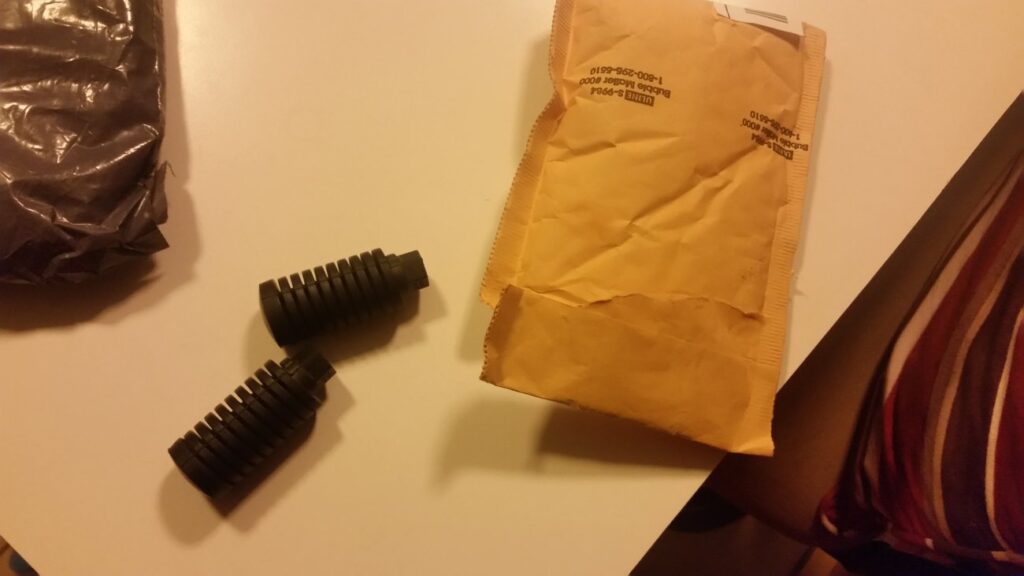
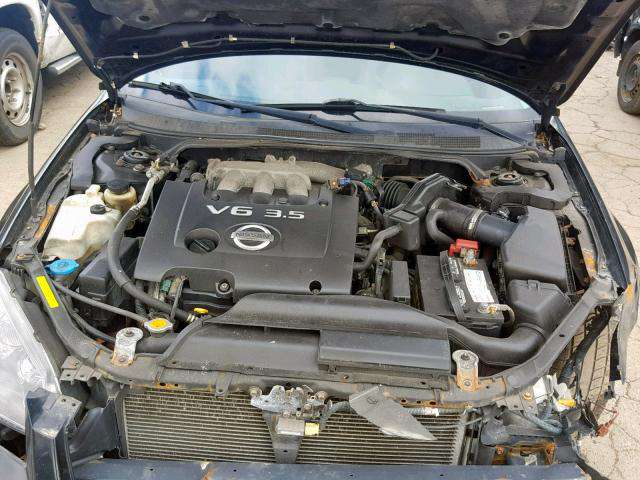
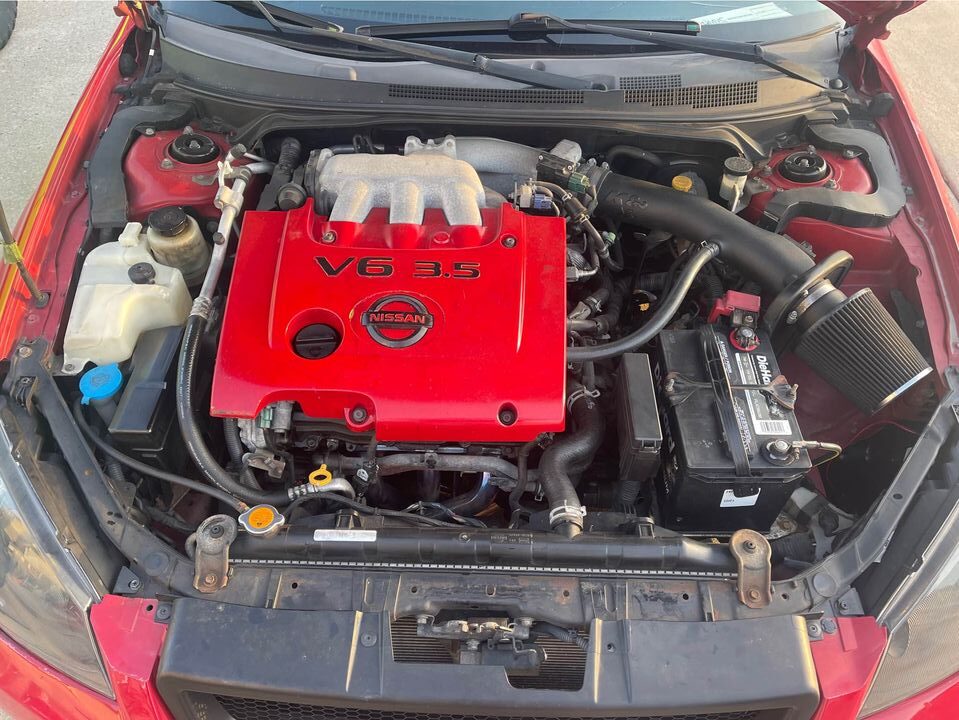
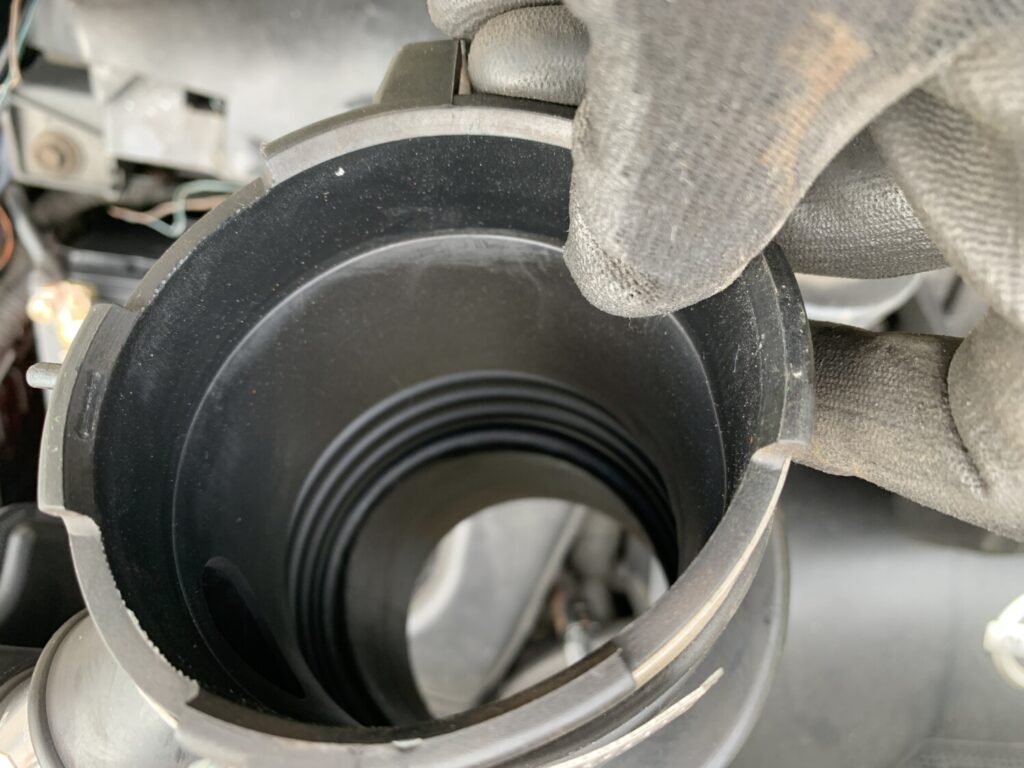
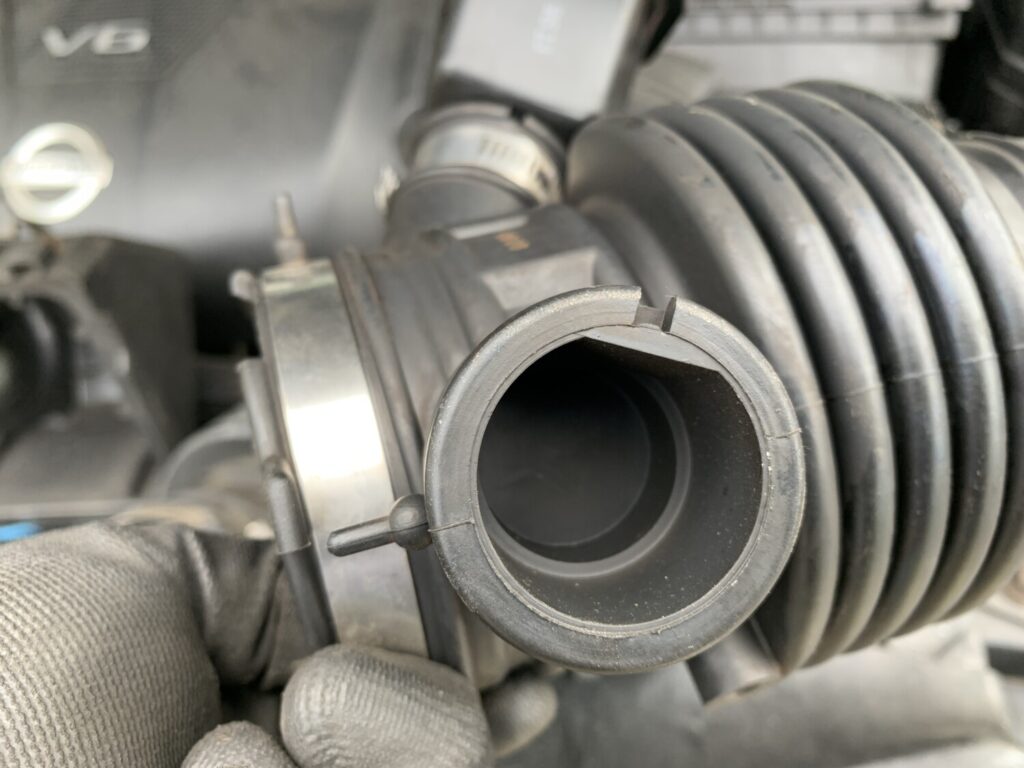
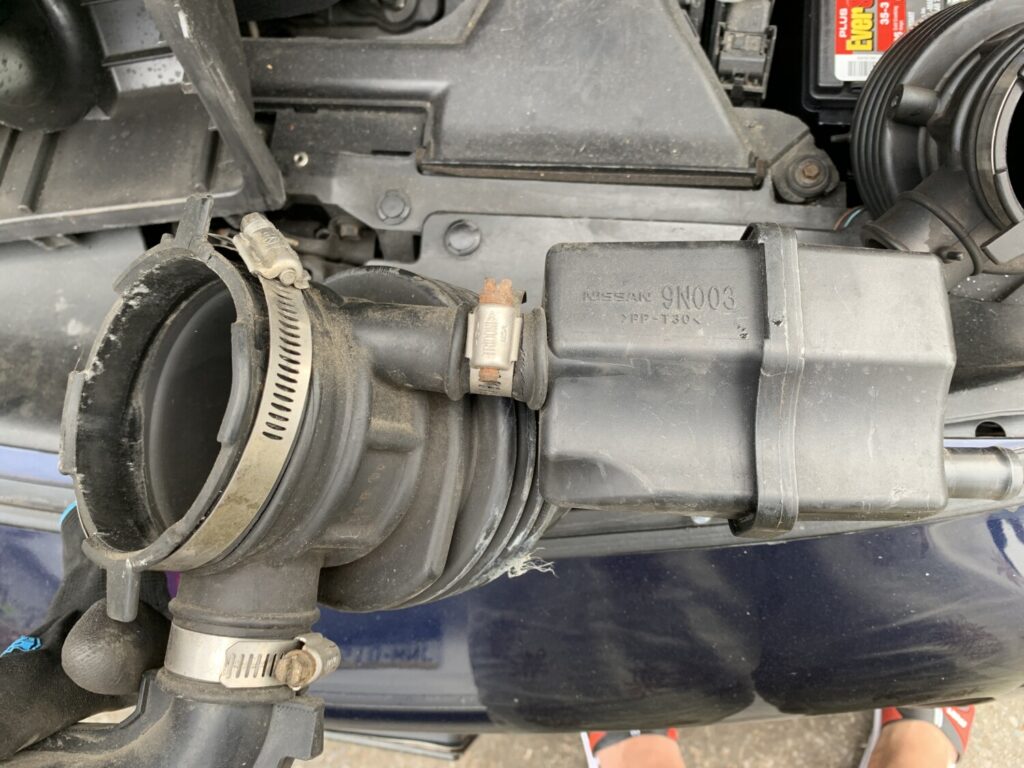
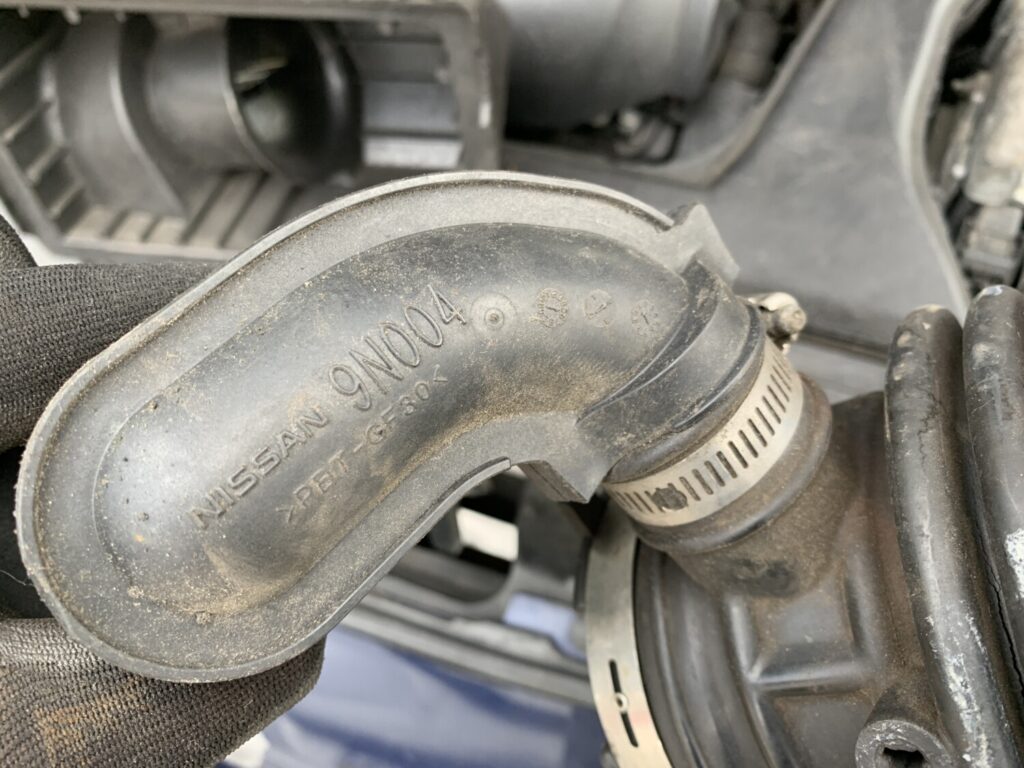
The air intake rubber boot cracked on my 2009 7thgen Nissan Maxima. I recently bought a 2020 engine for my 1998 Maxima and it just happens to come with an air intake. I installed it on my 7thgen and it fit worked. Didn’t need to buy a new one or try to hack my existing one.

![]()
")
Community Member Credit: Turbobink
Matic-D may not be a technical requirement but it is certainly and unquestionably the safest choice … if one cares what the FSM says, that is.
In having owned my 1999 since MAR of that year and in having personally completed the vast majority of services and repairs since the expiration of the manufacturer’s warranty, I feel comfortable in letting those interested know what I’ve found works. Nonetheless, if others hold differing perspectives, based on their notable experience and long-term trials and errors, with regard to a specific topic (this case being the 4th generation Nissan Maxima) those individuals should feel free to espouse those perspectives in an effort to contribute to assisting those who’ve asked for assistance.


![]()


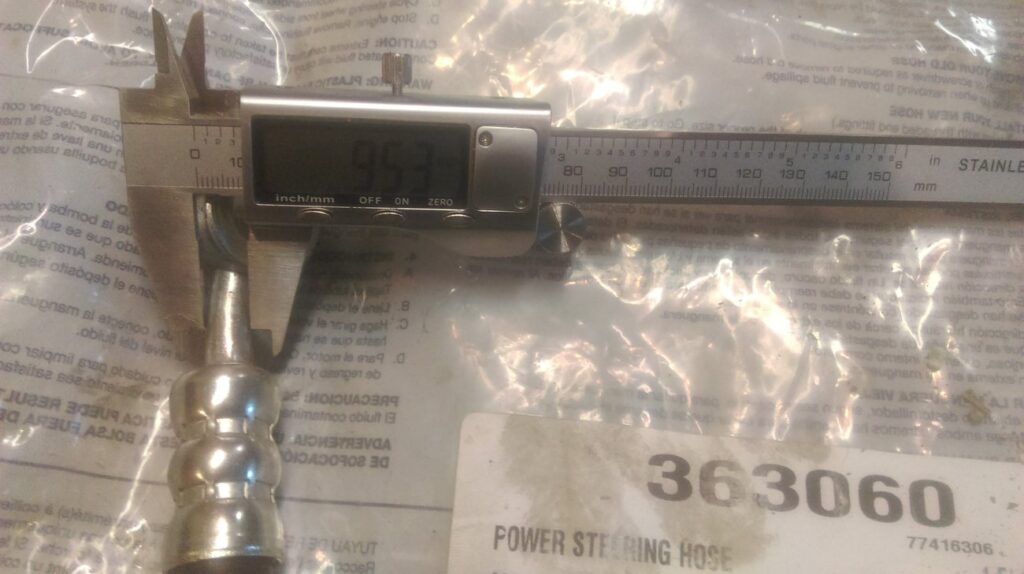
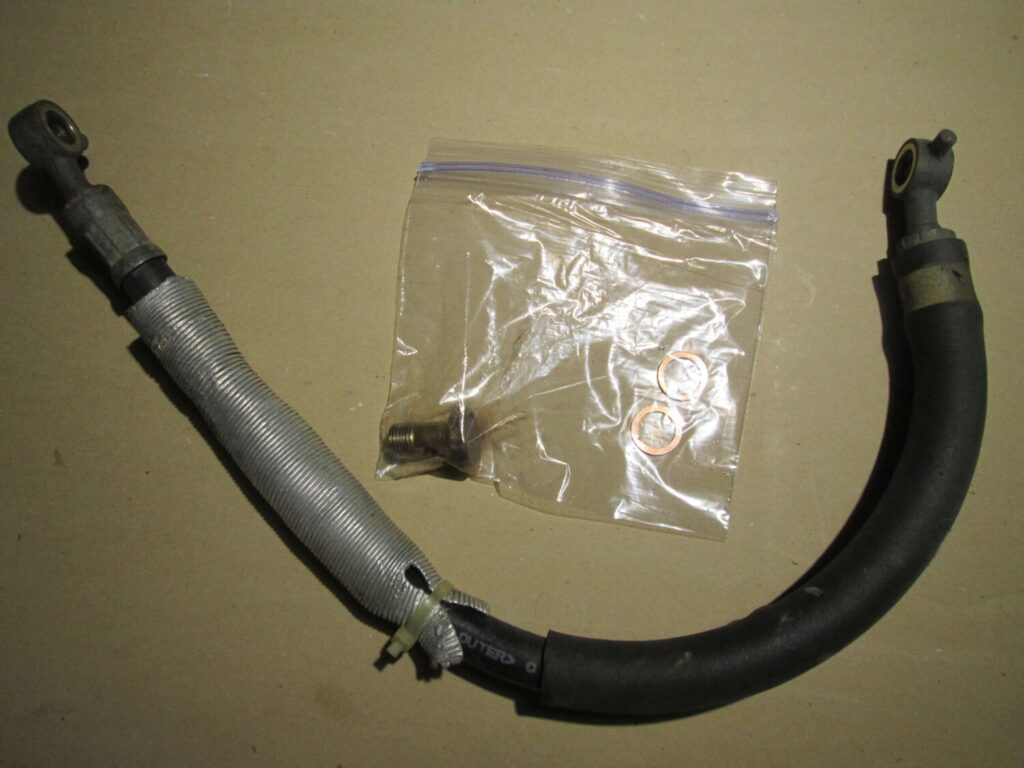
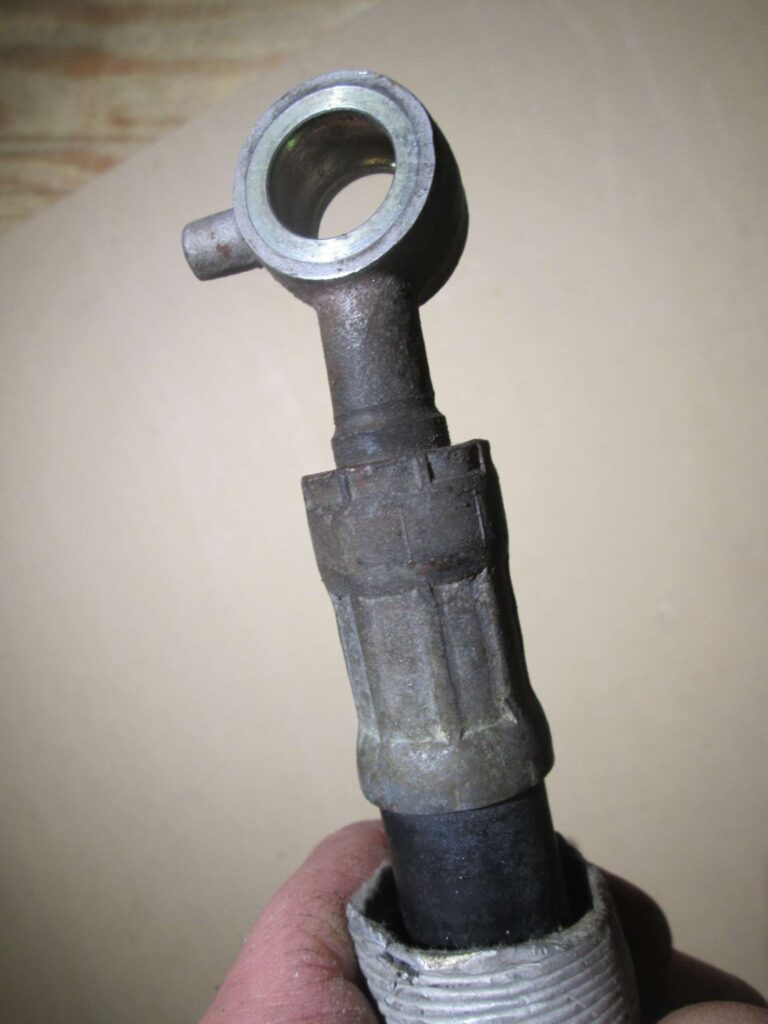
Community Member Credit: allmazda
I ordered the GATES 363060 and if you noticed the picture is the same. The gates hose whined like crazy. The problem I believe is the aftermarket hose is smaller in diameter in the metal ends. I ended up putting my OEM hose back on and the whine went away. It was not leaking but I swapped motors and thought it would be wise to put a new hose on when the motor was out…
The other thing besides the noise was the PS hoses were very hot with the Gates hose. Cool to the touch with the OEM hose.


![]()

Community Member Credit: Justin Gorton
This is what was making all that noise. Secondary tensioners are toast and water pump leaking. Chain stretched and all gears worn. Was not a difficult job as some say. Just tedious.
![]()
![]()

![]()

Community Member Credit: C-Young
Before I start… I understand that this procedure is not a tough one and is pretty straightforward to most. But for others like me who have never even thought about changing out a radiator, this may come in handy. Plus… pics are always a good thing. Also, I am no mech guru of any sort so all comments and tips that may help this thread are very welcome.
I was quoted by Nissan $792 for radiator replacement. Trust me… spend $140 on the radiator and install it yourself!!!
The Leak:

Items Needed:
Directions:
1. Remove splash shields (right and left) from underneath the front of the car.
(four 10mm bolts each)
2. With the splash shields removed the lower radiator will be visible.
3. With your drip pan below the radiator, unscrew the drain found here using a flat head screwdriver:

It may take a while for the radiator to completely drain. In fact, mine never stopped dripping completely.
4. After the radiator is drained you can begin to undo hoses.
Top:

Bottom:

AT Lines: (2 if you drive an AT)


Also, don’t forget to undo the line from the Reservoir Tank.
I used a pair of rubber bands to keep the AT lines folded closed. Otherwise, you’ll lose AT fluid.
5. Also at this time, unplug the radiator fans from their power source:

6. Unbolt the two radiator holding brackets:

7. With everything unhooked, etc. you can now slide the entire radiator assembly (fan shroud included) up and out of the engine compartment.
8. Unbolt the fan shroud from the old radiator here:

9. Remove fan shroud and place it on your new radiator:

10. Bolt on fan shroud to your new radiator:

11. With the new radiator assembly complete, you can now slide it into its slot in the engine compartment. There are 2 brackets that the bottom of the radiator will fit into. There will be some wiggle.
12. Connect all of your hoses back to the radiator.
13. Connect your fan power lines to their connectors.
14. Bolt your radiator brackets back on so that the radiator prongs go through the bracket holes.
15. Using a funnel and coolant of your choice (I used Prestone 50/50) and begin filling your radiator.
16. Fill until you see the fluid come up to the top.
17. With the radiator cap off, start your car and leave it running for 10-15 minutes all the while checking the fluid level, your temp gauge, and leaks.
18. Let your fans come on to make sure they are working properly.
19. Also check your top radiator hose to make sure it is very warm to the touch so you know your thermostat is not stuck.
20. Once you are satisfied that everything is in order, turn your car off and let it cool down.
21. Pour more coolant in as needed. The level should drop a decent ways after cooling off.
22. Drive your car around and make sure your temp gauge is reading right below half.
23. Also check under your car for any resemblance of leaks.
That’s it! You should be good to go now. Overall it’s a breeze. Just be ready for some mess and trouble getting those damn plastic clips on and off your splash shields.
![]()