Tag

Interior, Exterior & Lighting

Browsing

Member Credit: chriscummings83

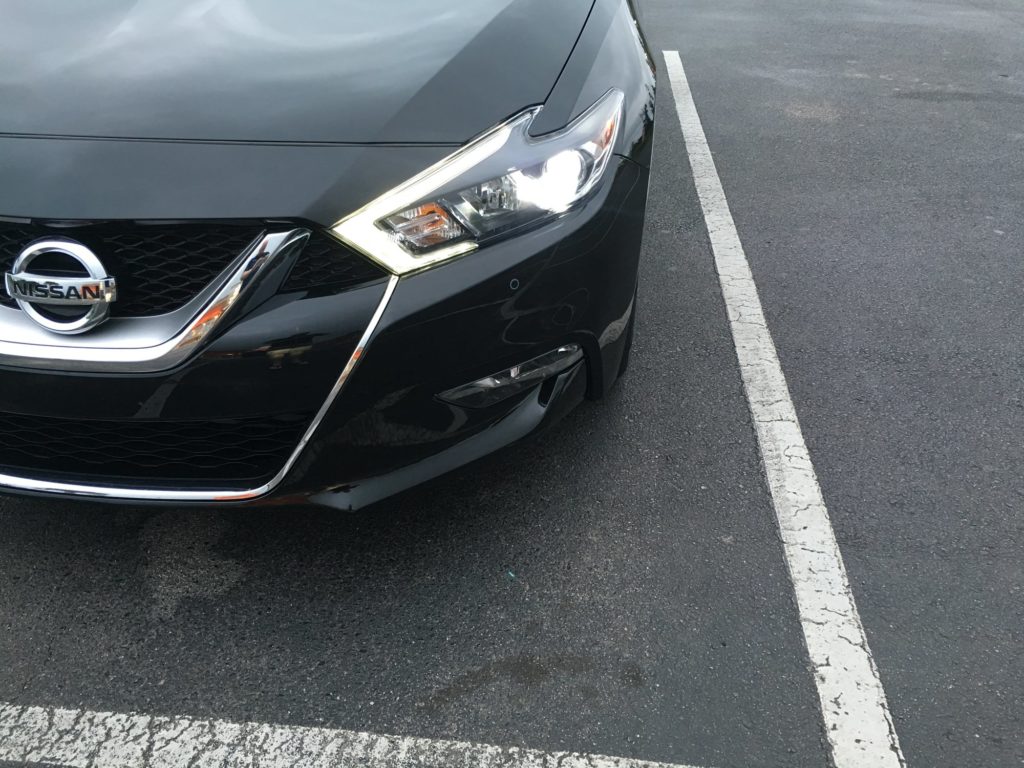
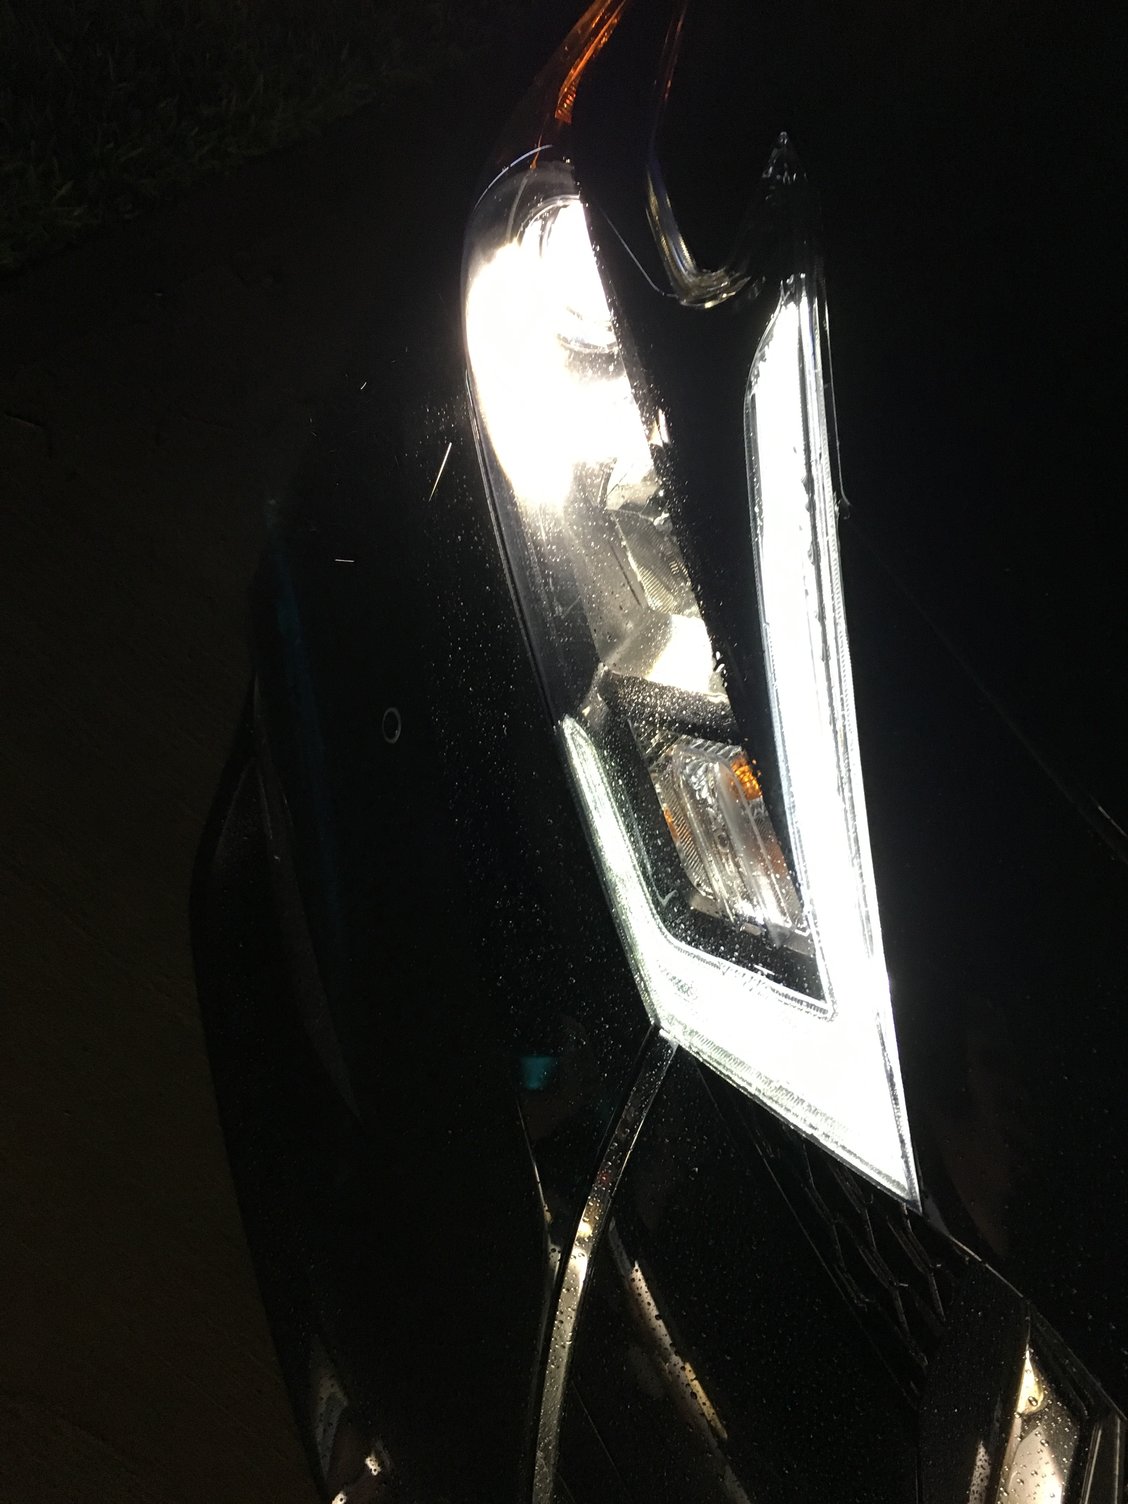
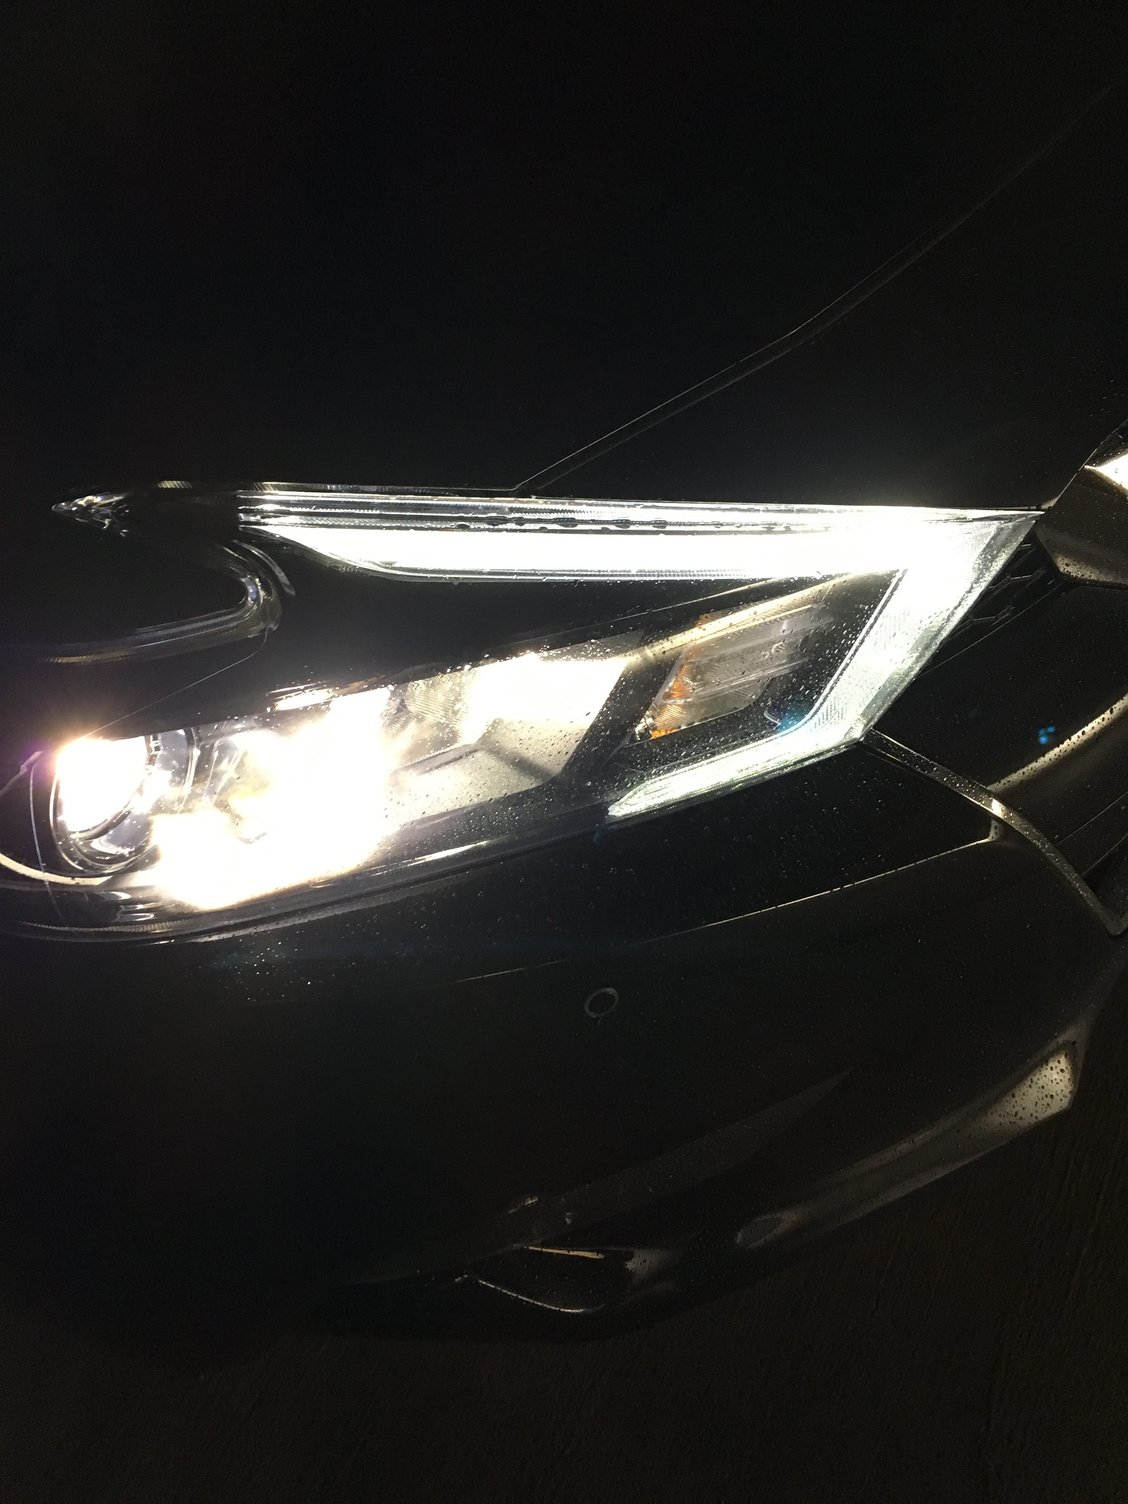
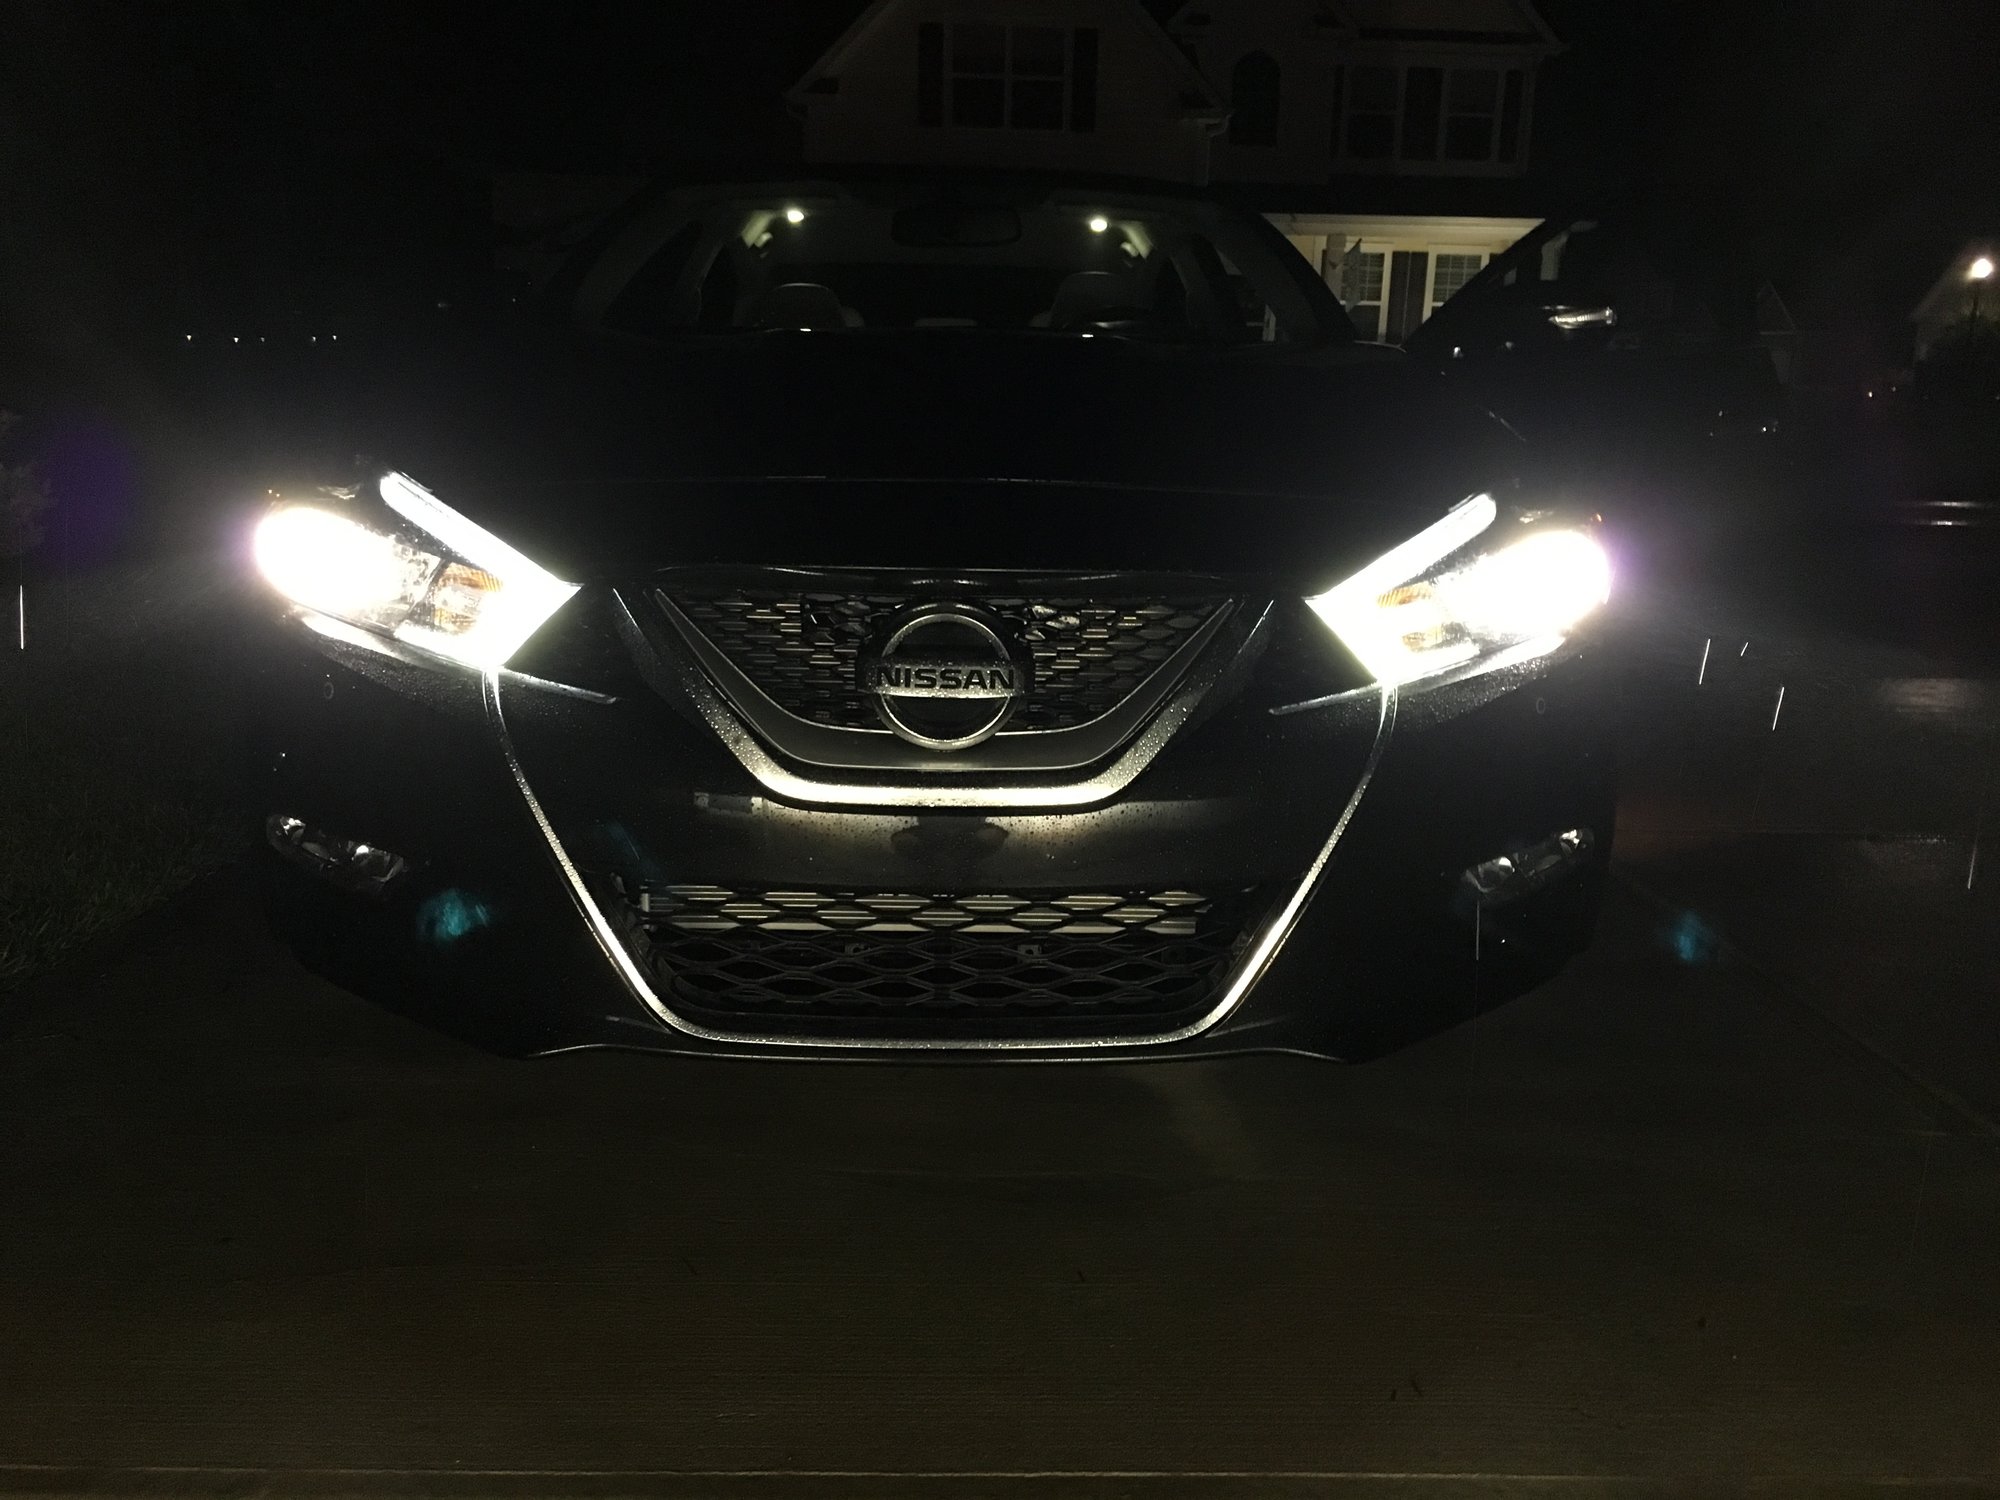
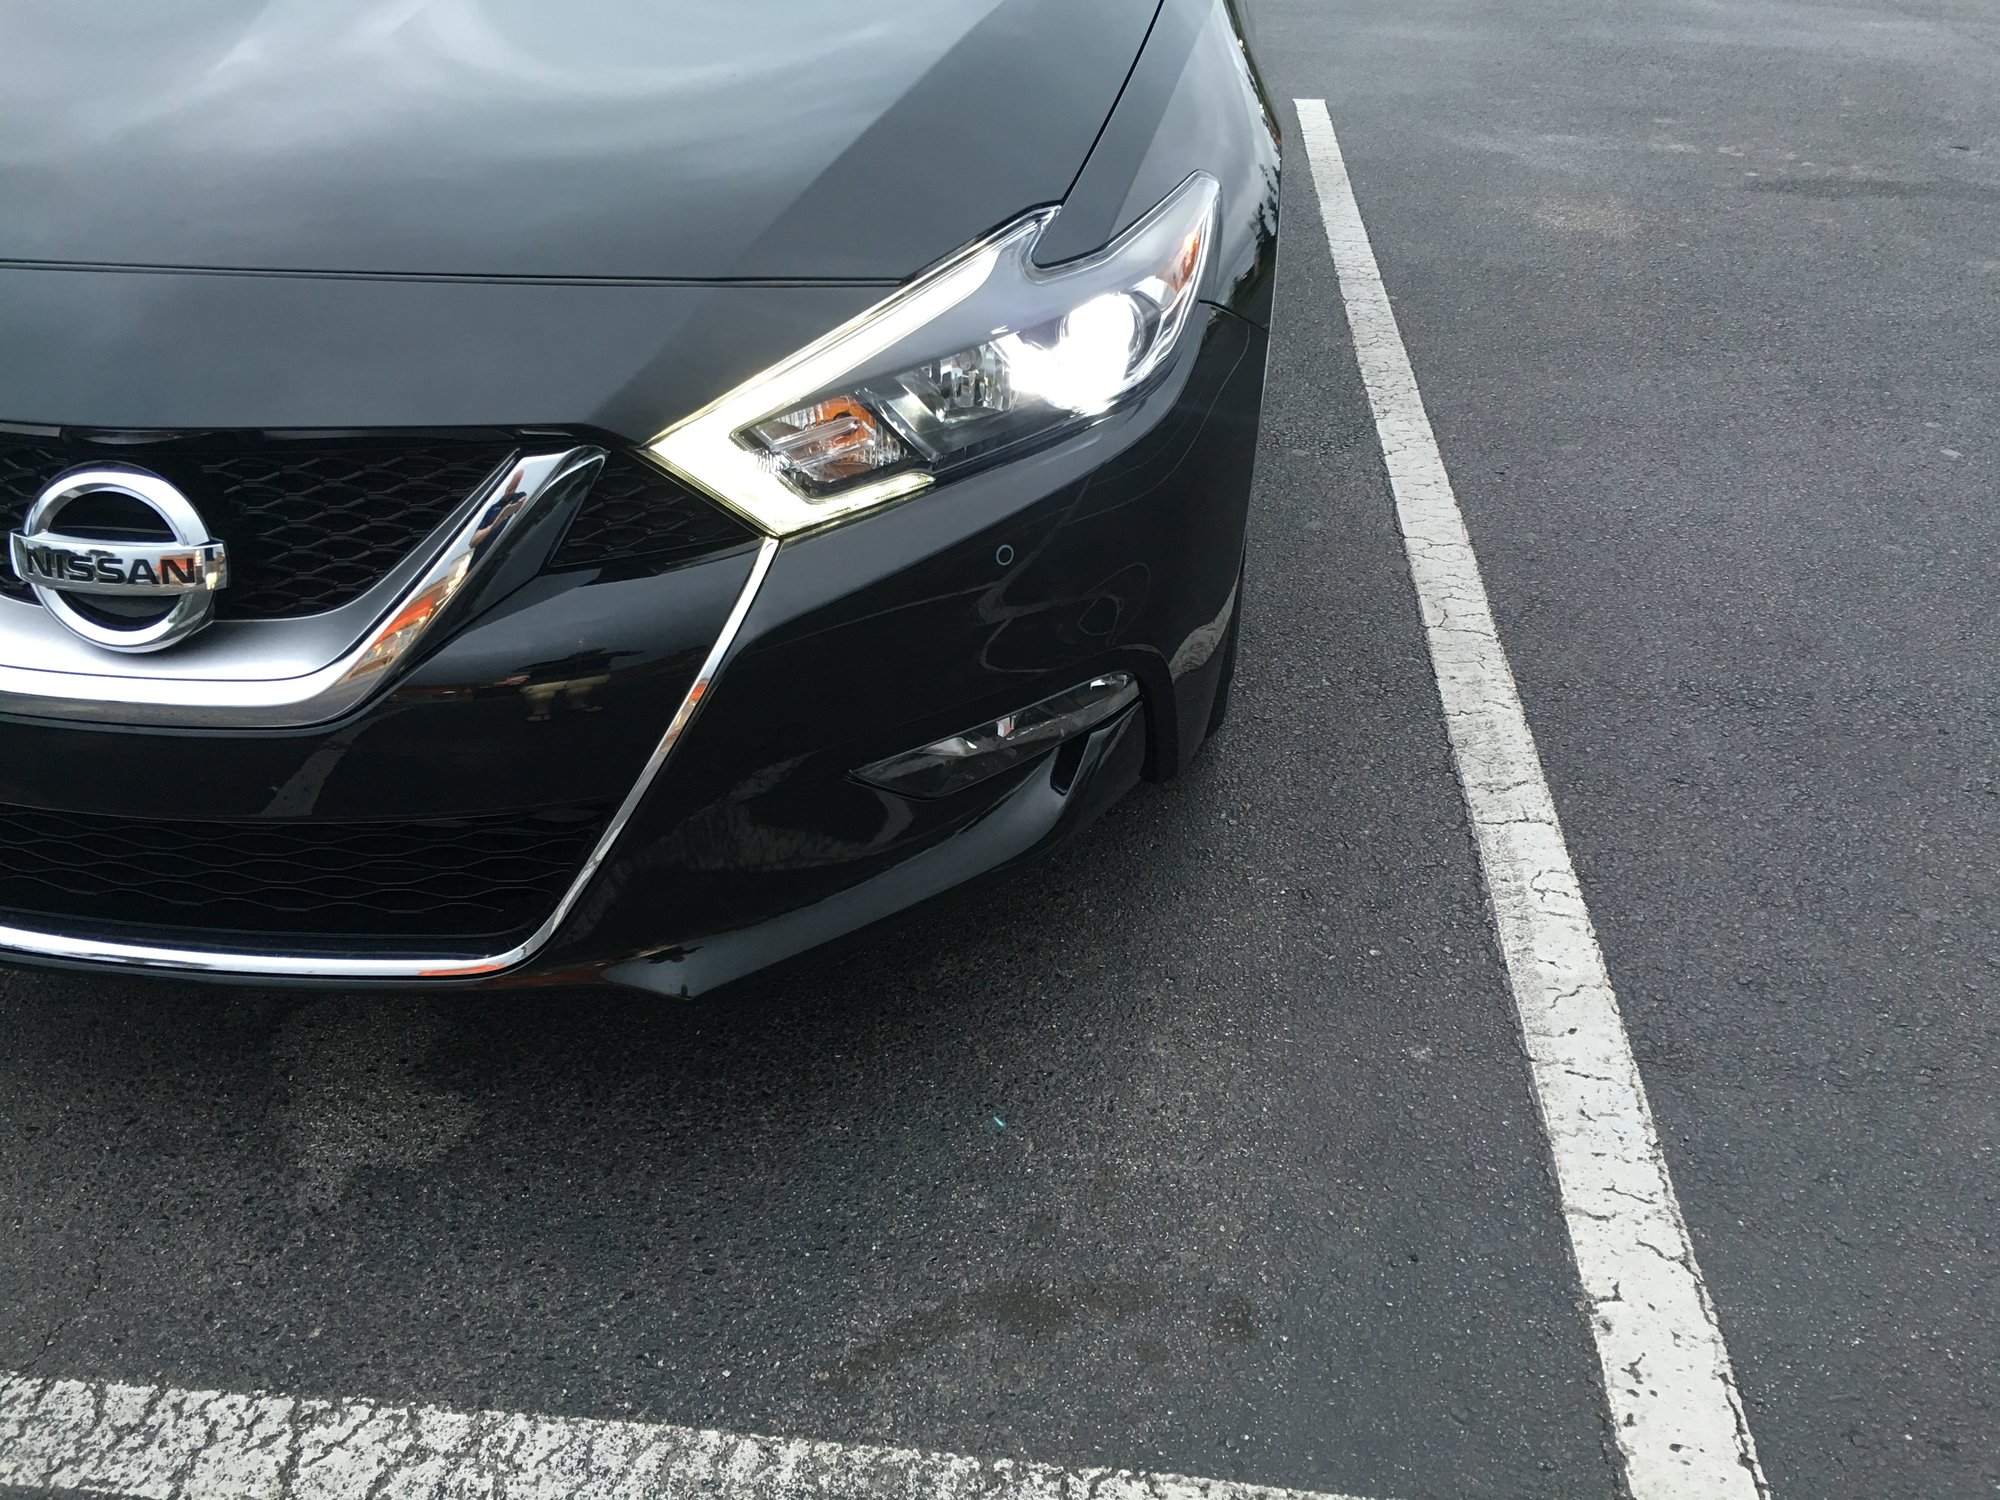
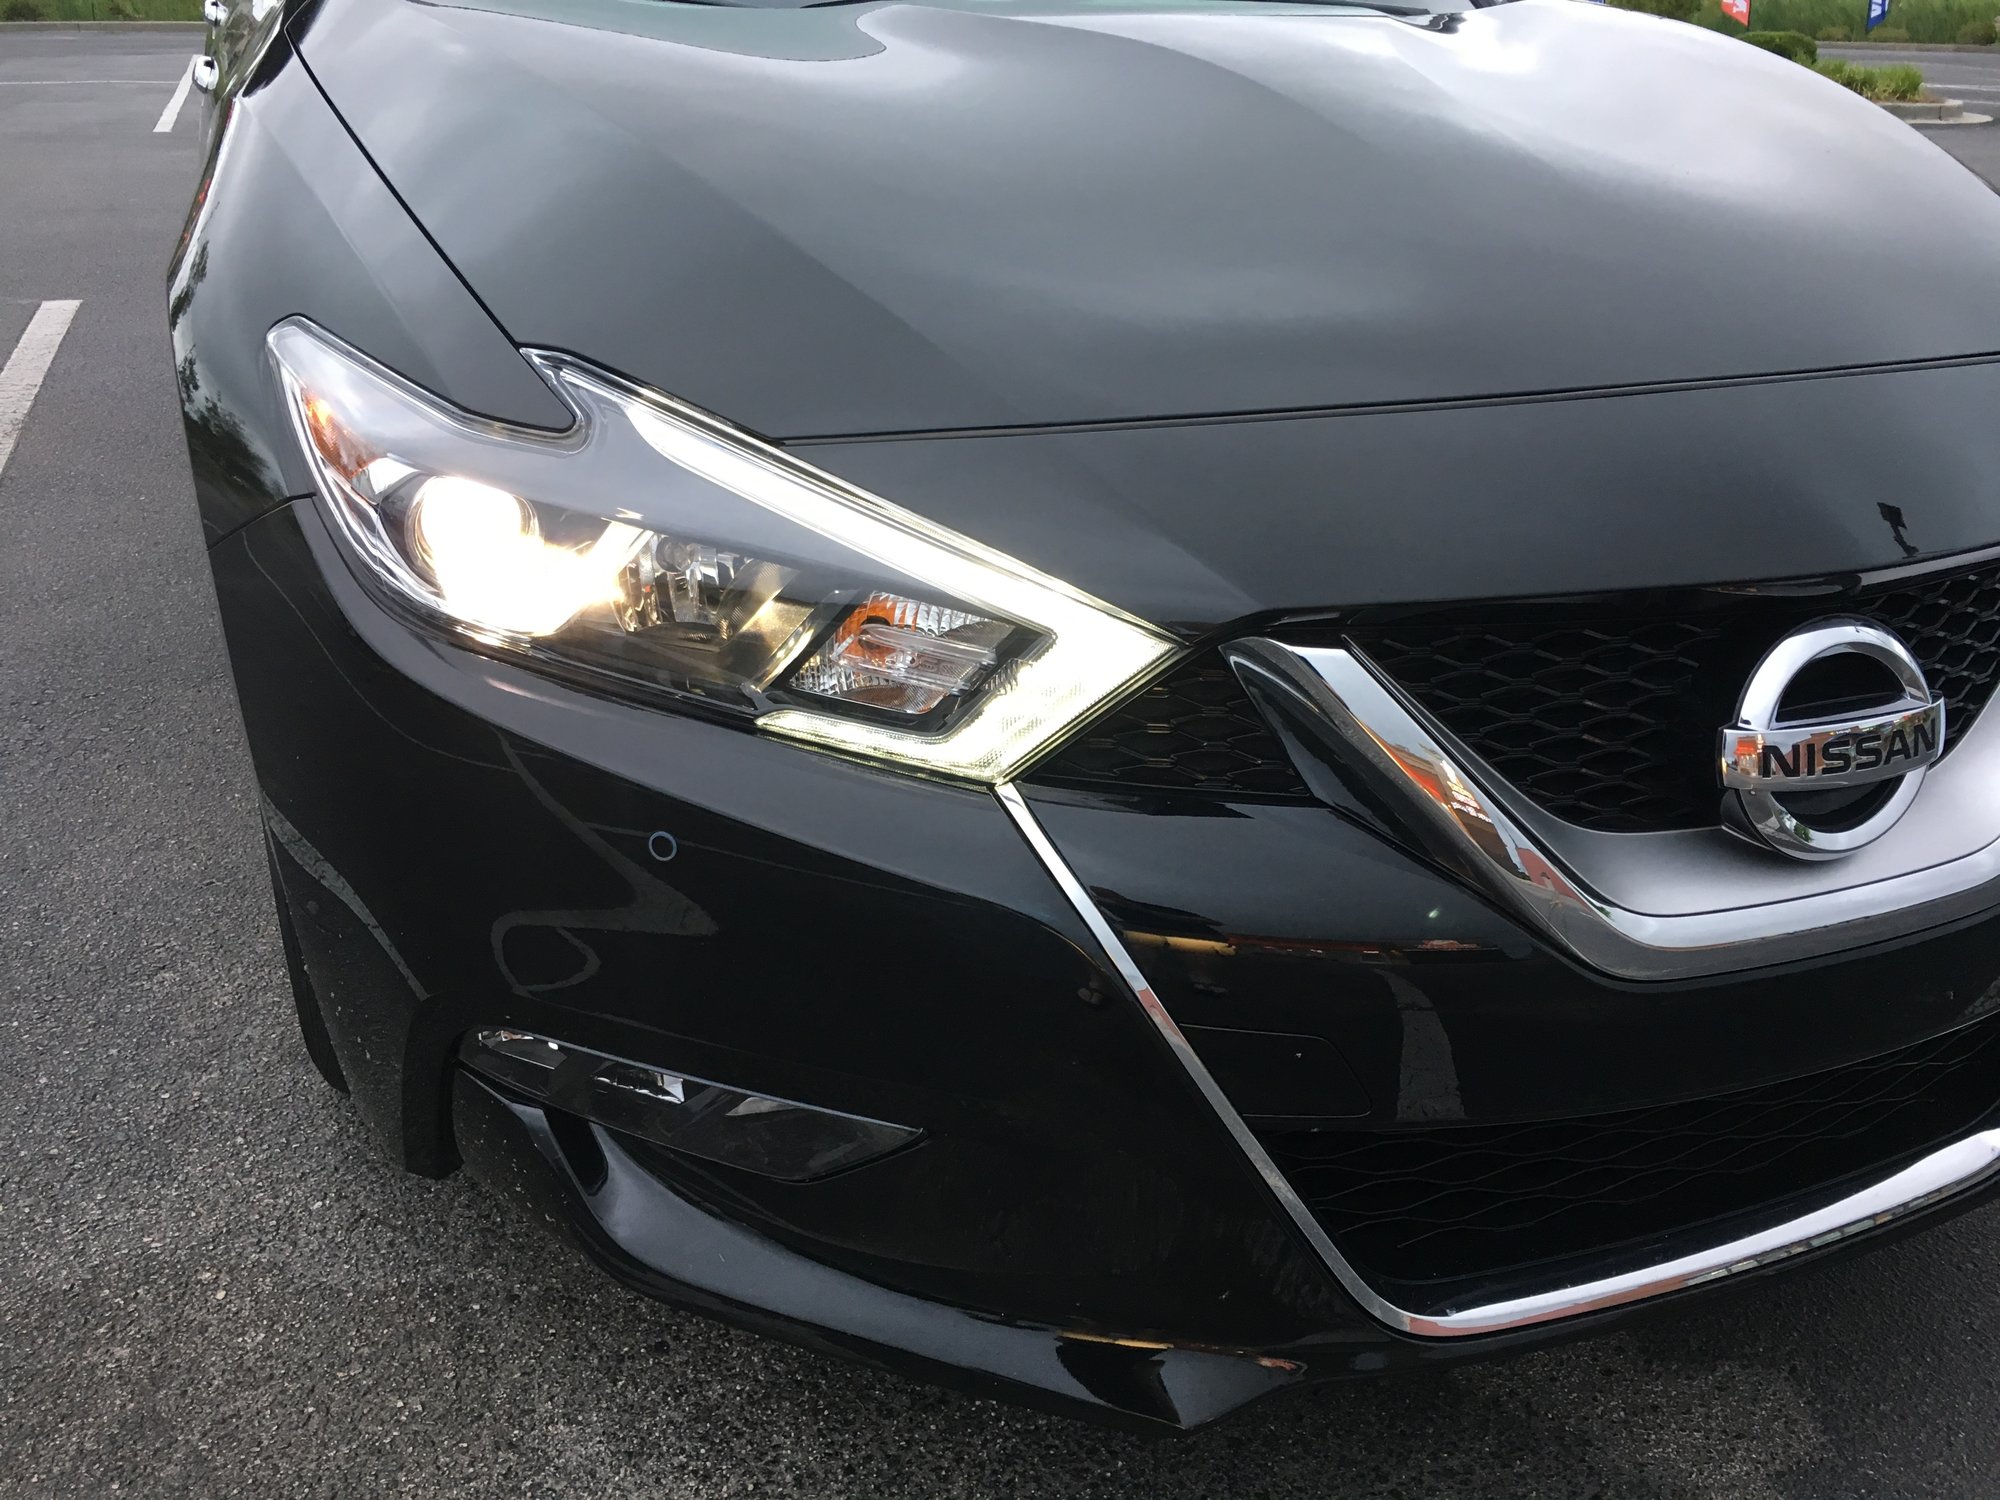
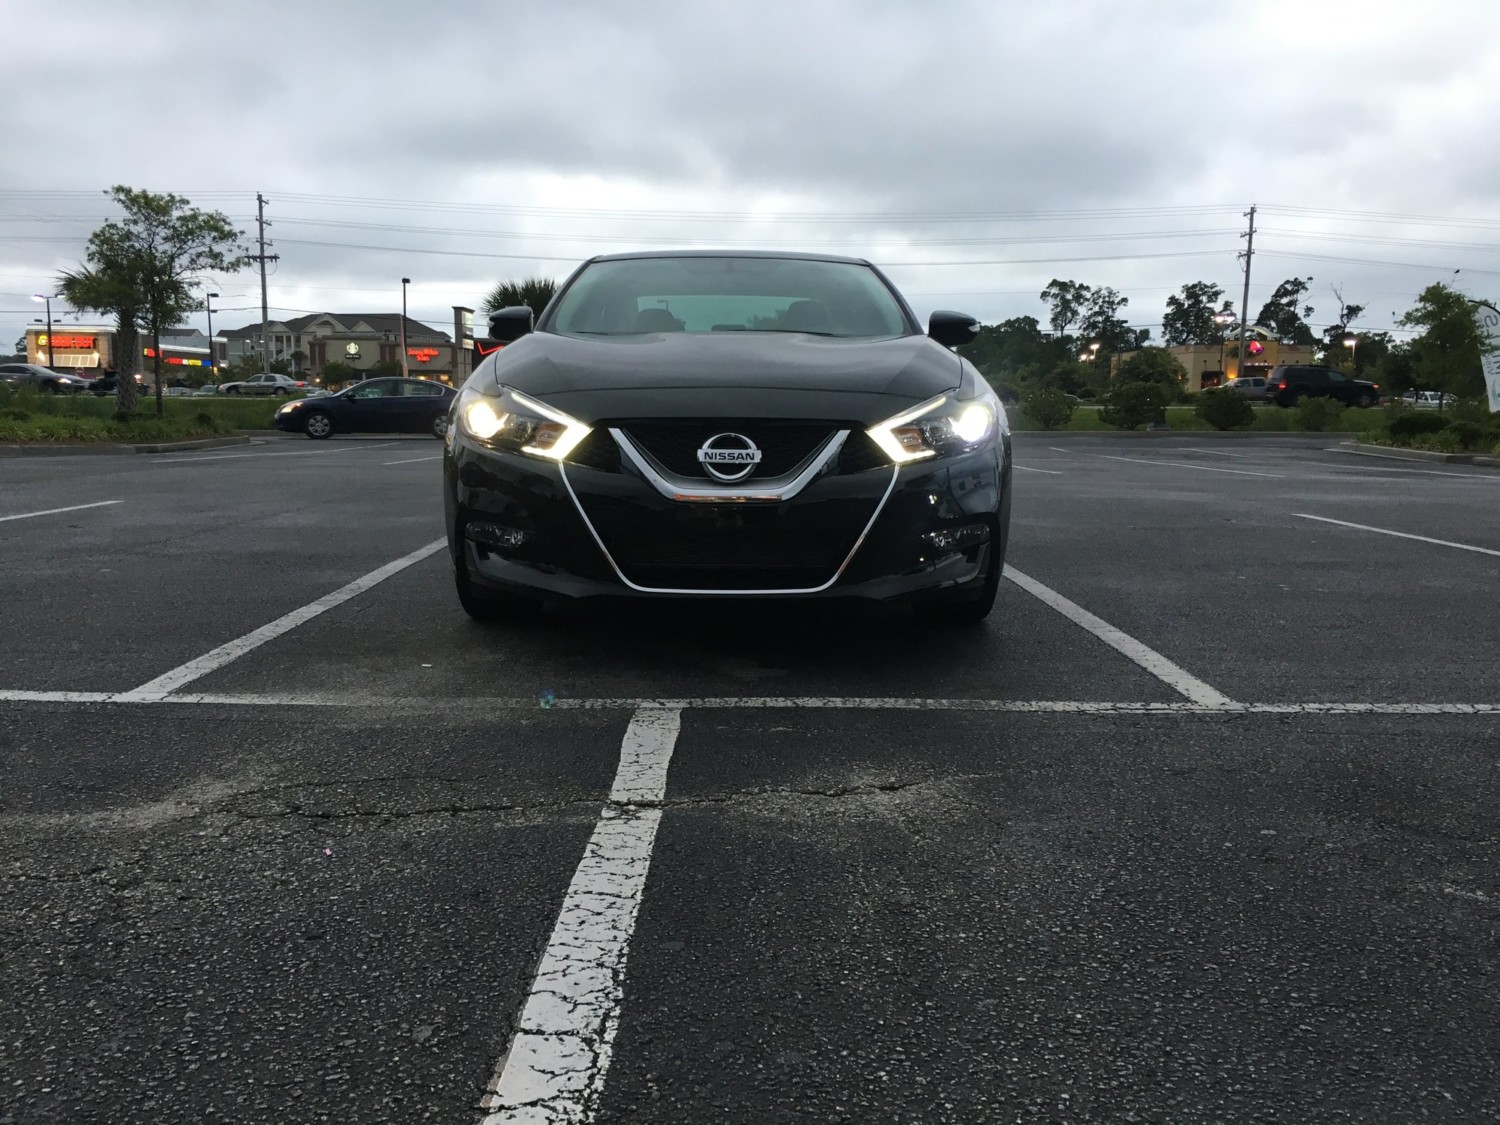
I didn’t see an install guide for the 2016 Maxima. It’s pretty simple but there are a few tricks.

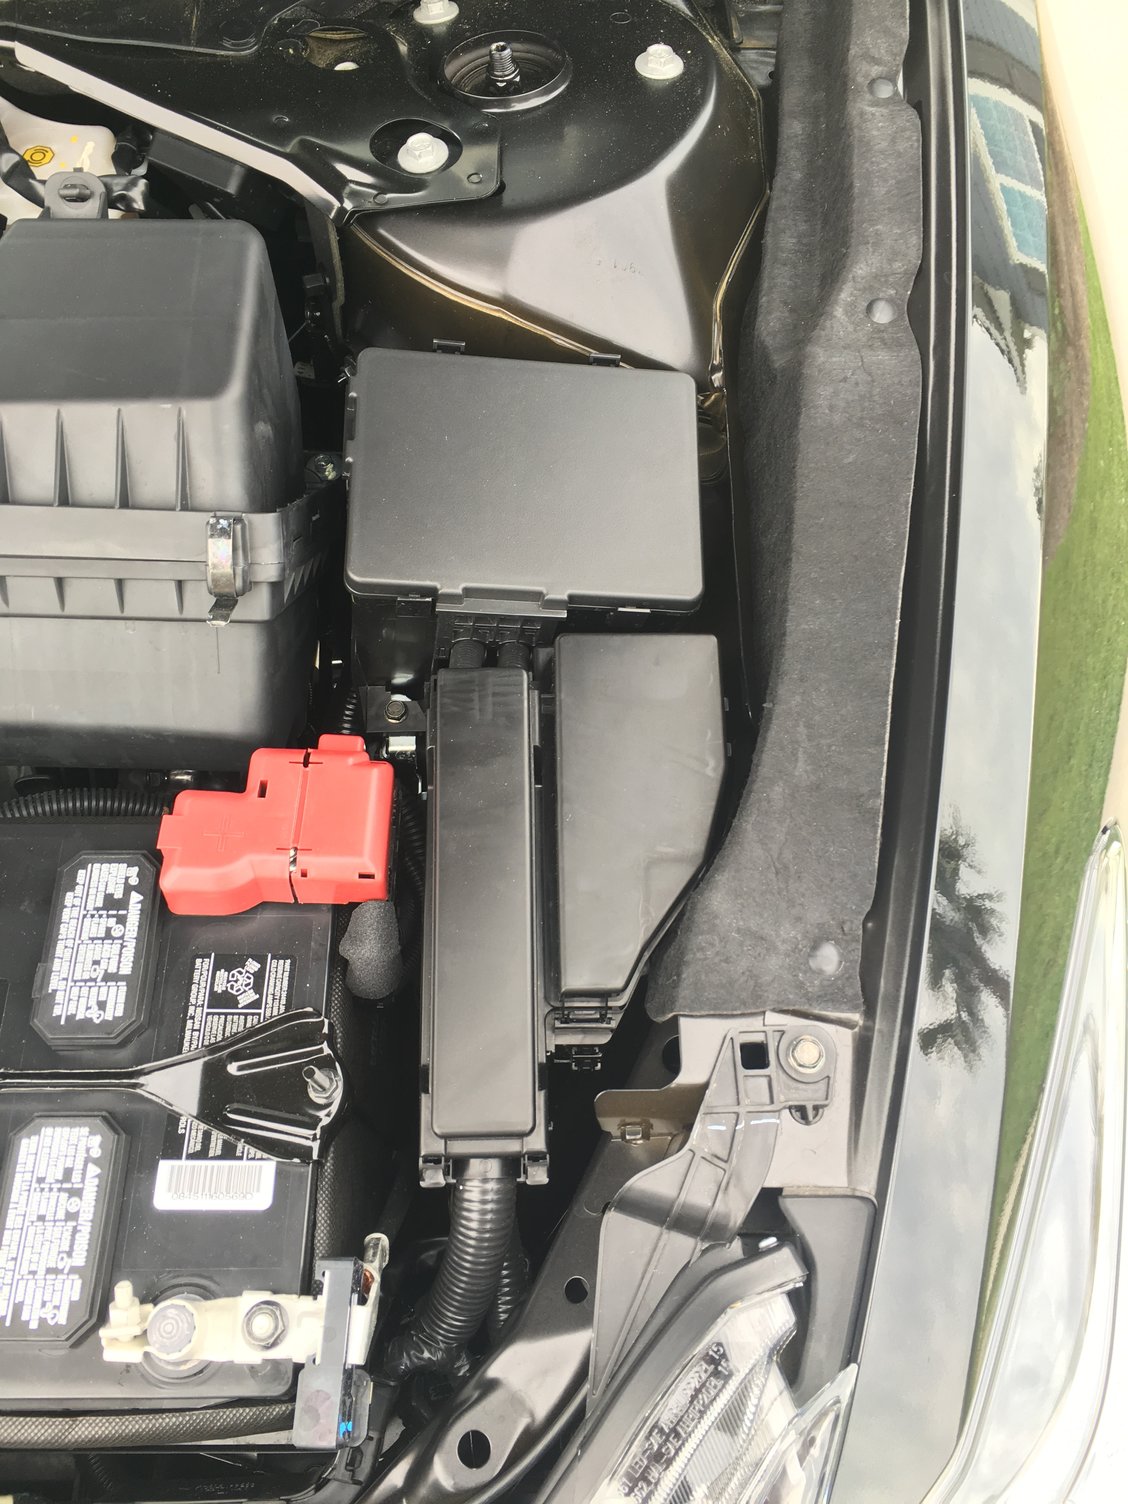
1. Open the hood and on the right and left fender there is a fabric gasket that has 4 push tabs. Remove them and move the mesh out of the way. Now when you go through the wheel area you can see where to route your wires.

2. Move the wheel inward depending on which side your installing. Remove the 3 plastic clips and there will be a little tab on the plastic near the bumper you can insert a flat head and pull back the plastic to gain access.

3. Acknowledge the bulb position and the way you twisted to remove it. Then have the HID ready to do the same in reverse. Make sure it goes in and doesn’t wiggle.

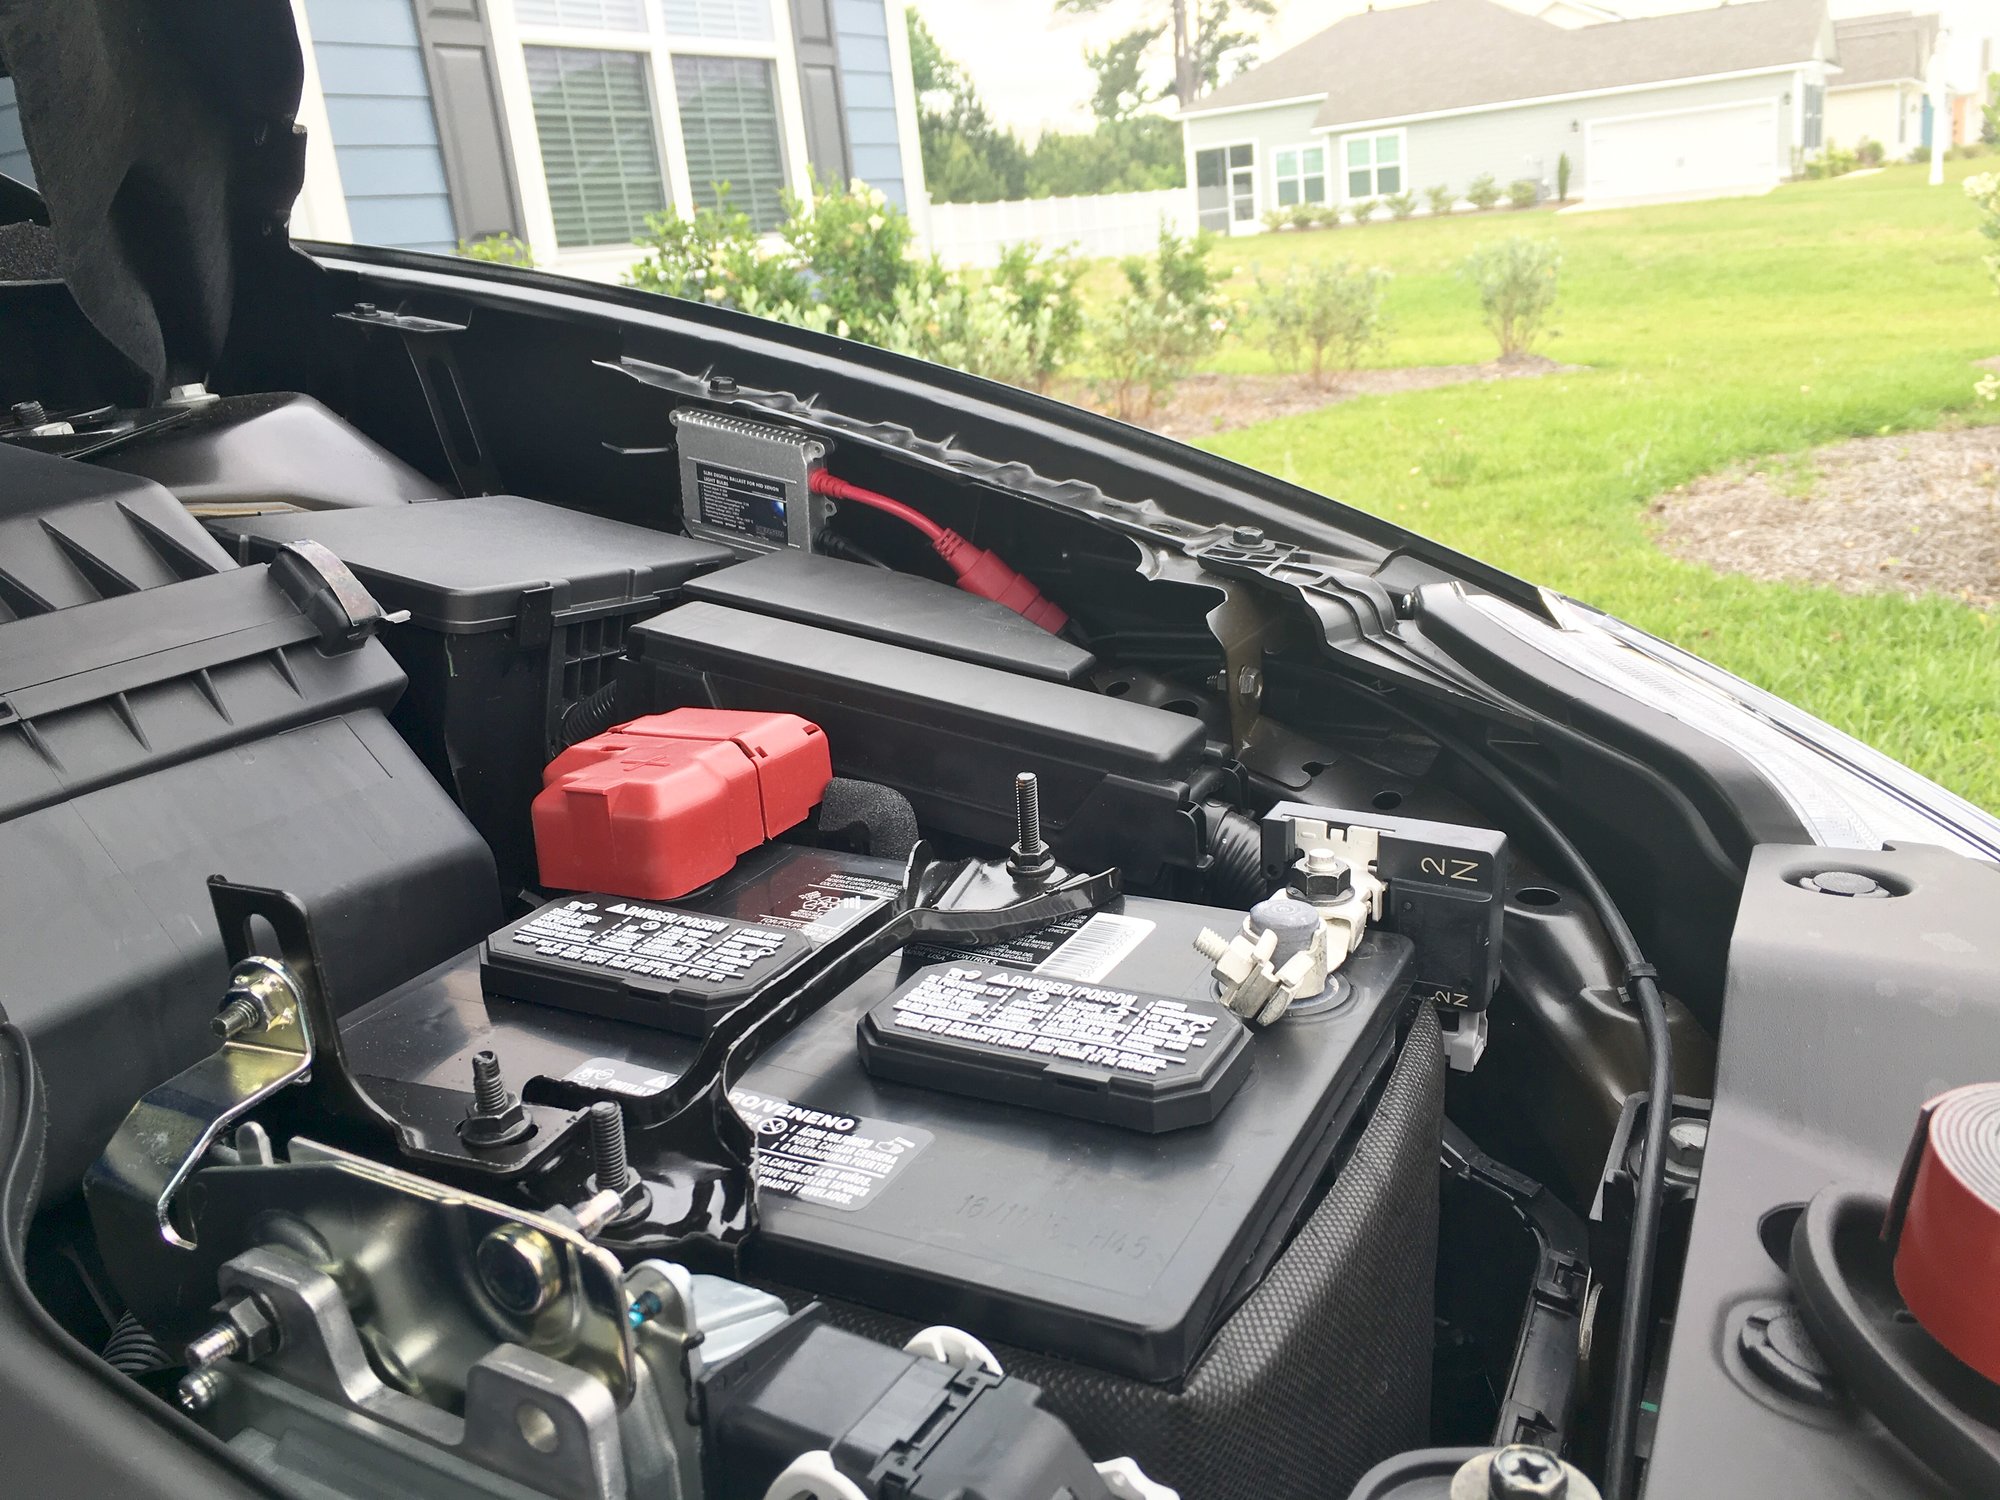
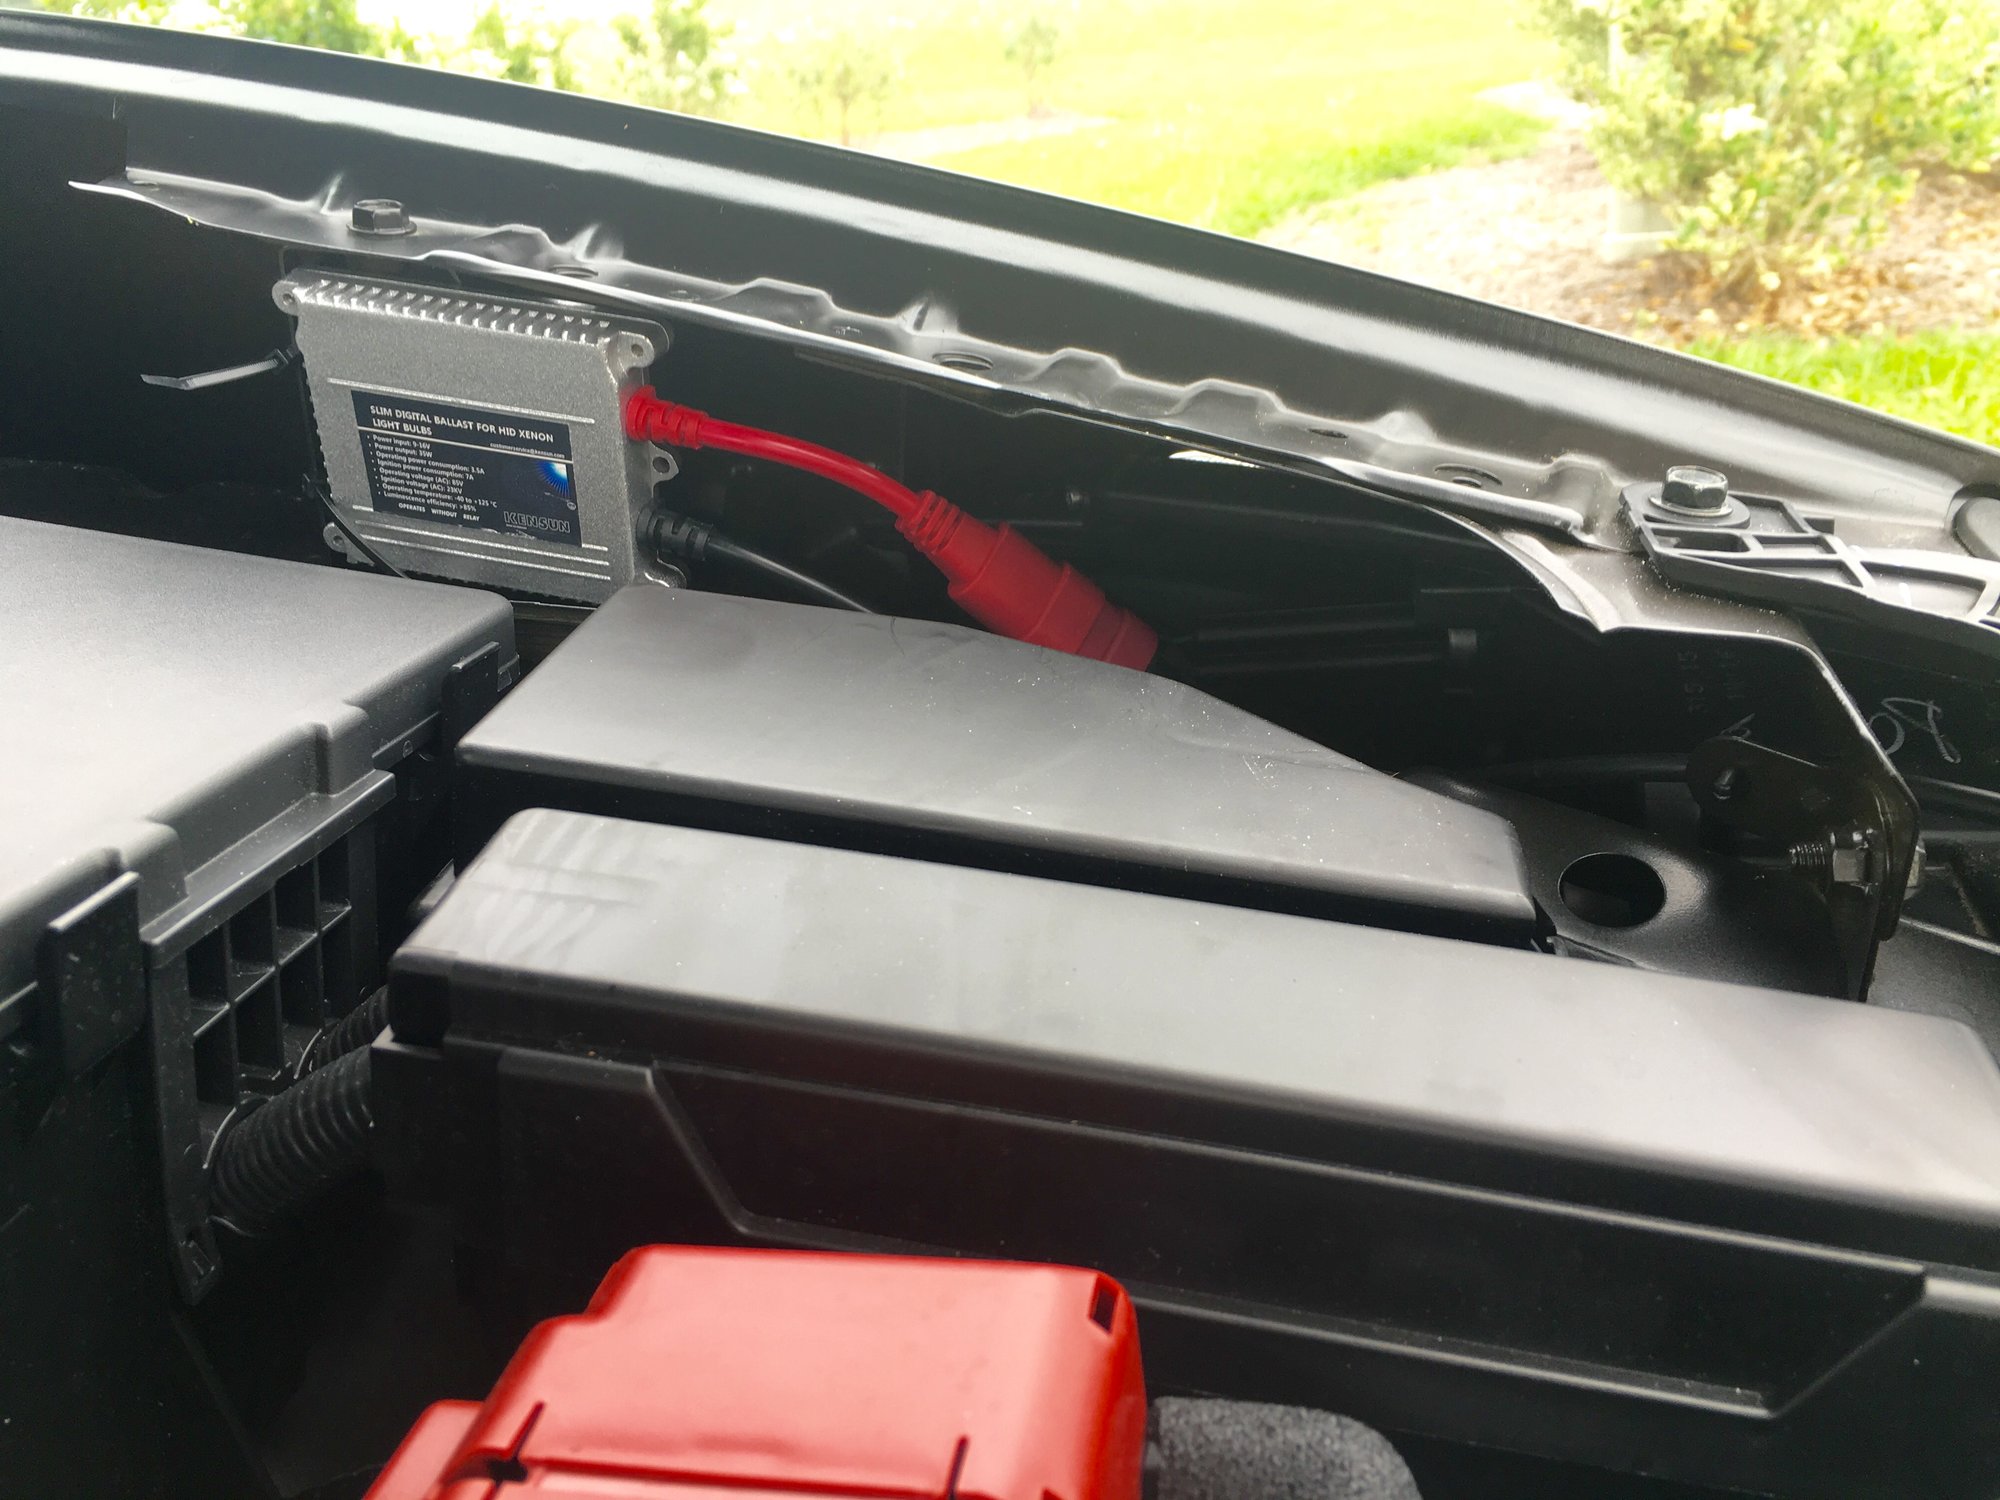
4. Get up and stand over the side you are installing. Put the ballast and the igniter on the side channel and run the wires down to the wheel from the top.

5. Sit back down and plug it all in. Easy Red wire to red from the factory harness.

6. I zip tied the ballast or you can double side tape.

7. Reinstall the mesh fabric gasket and boom. You cannot see it and beautiful.

Mesh Gasket on the right

You can see where I zip tied and the wires running down into the wheel area

Loading

Member Credit: R1talin

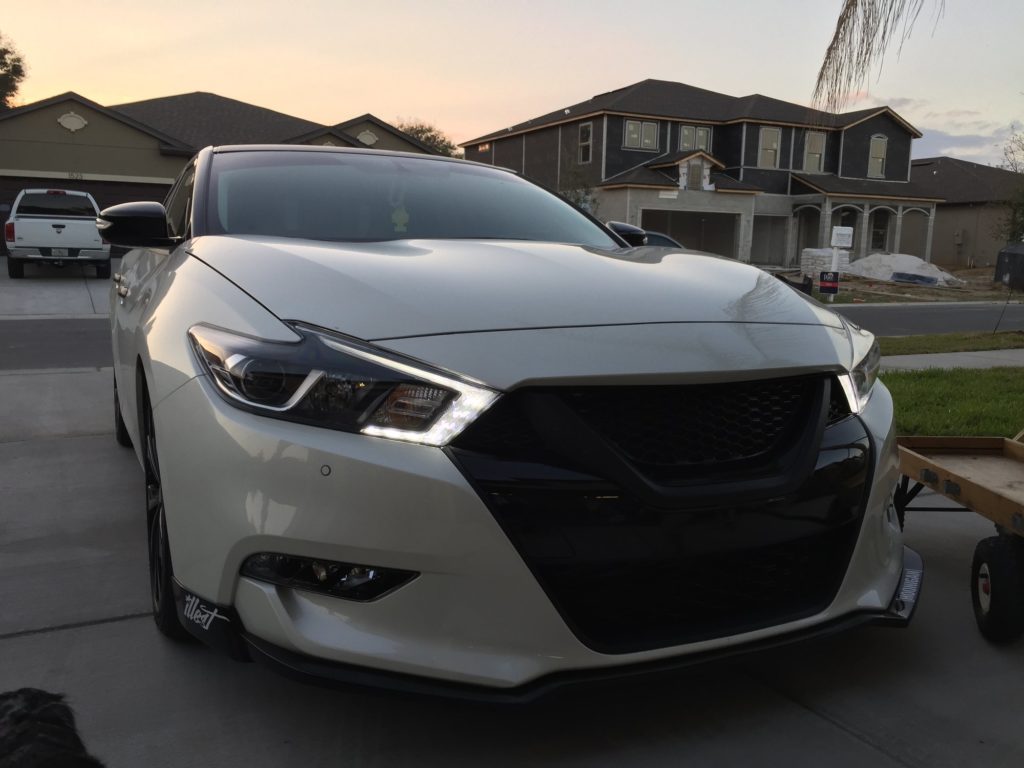
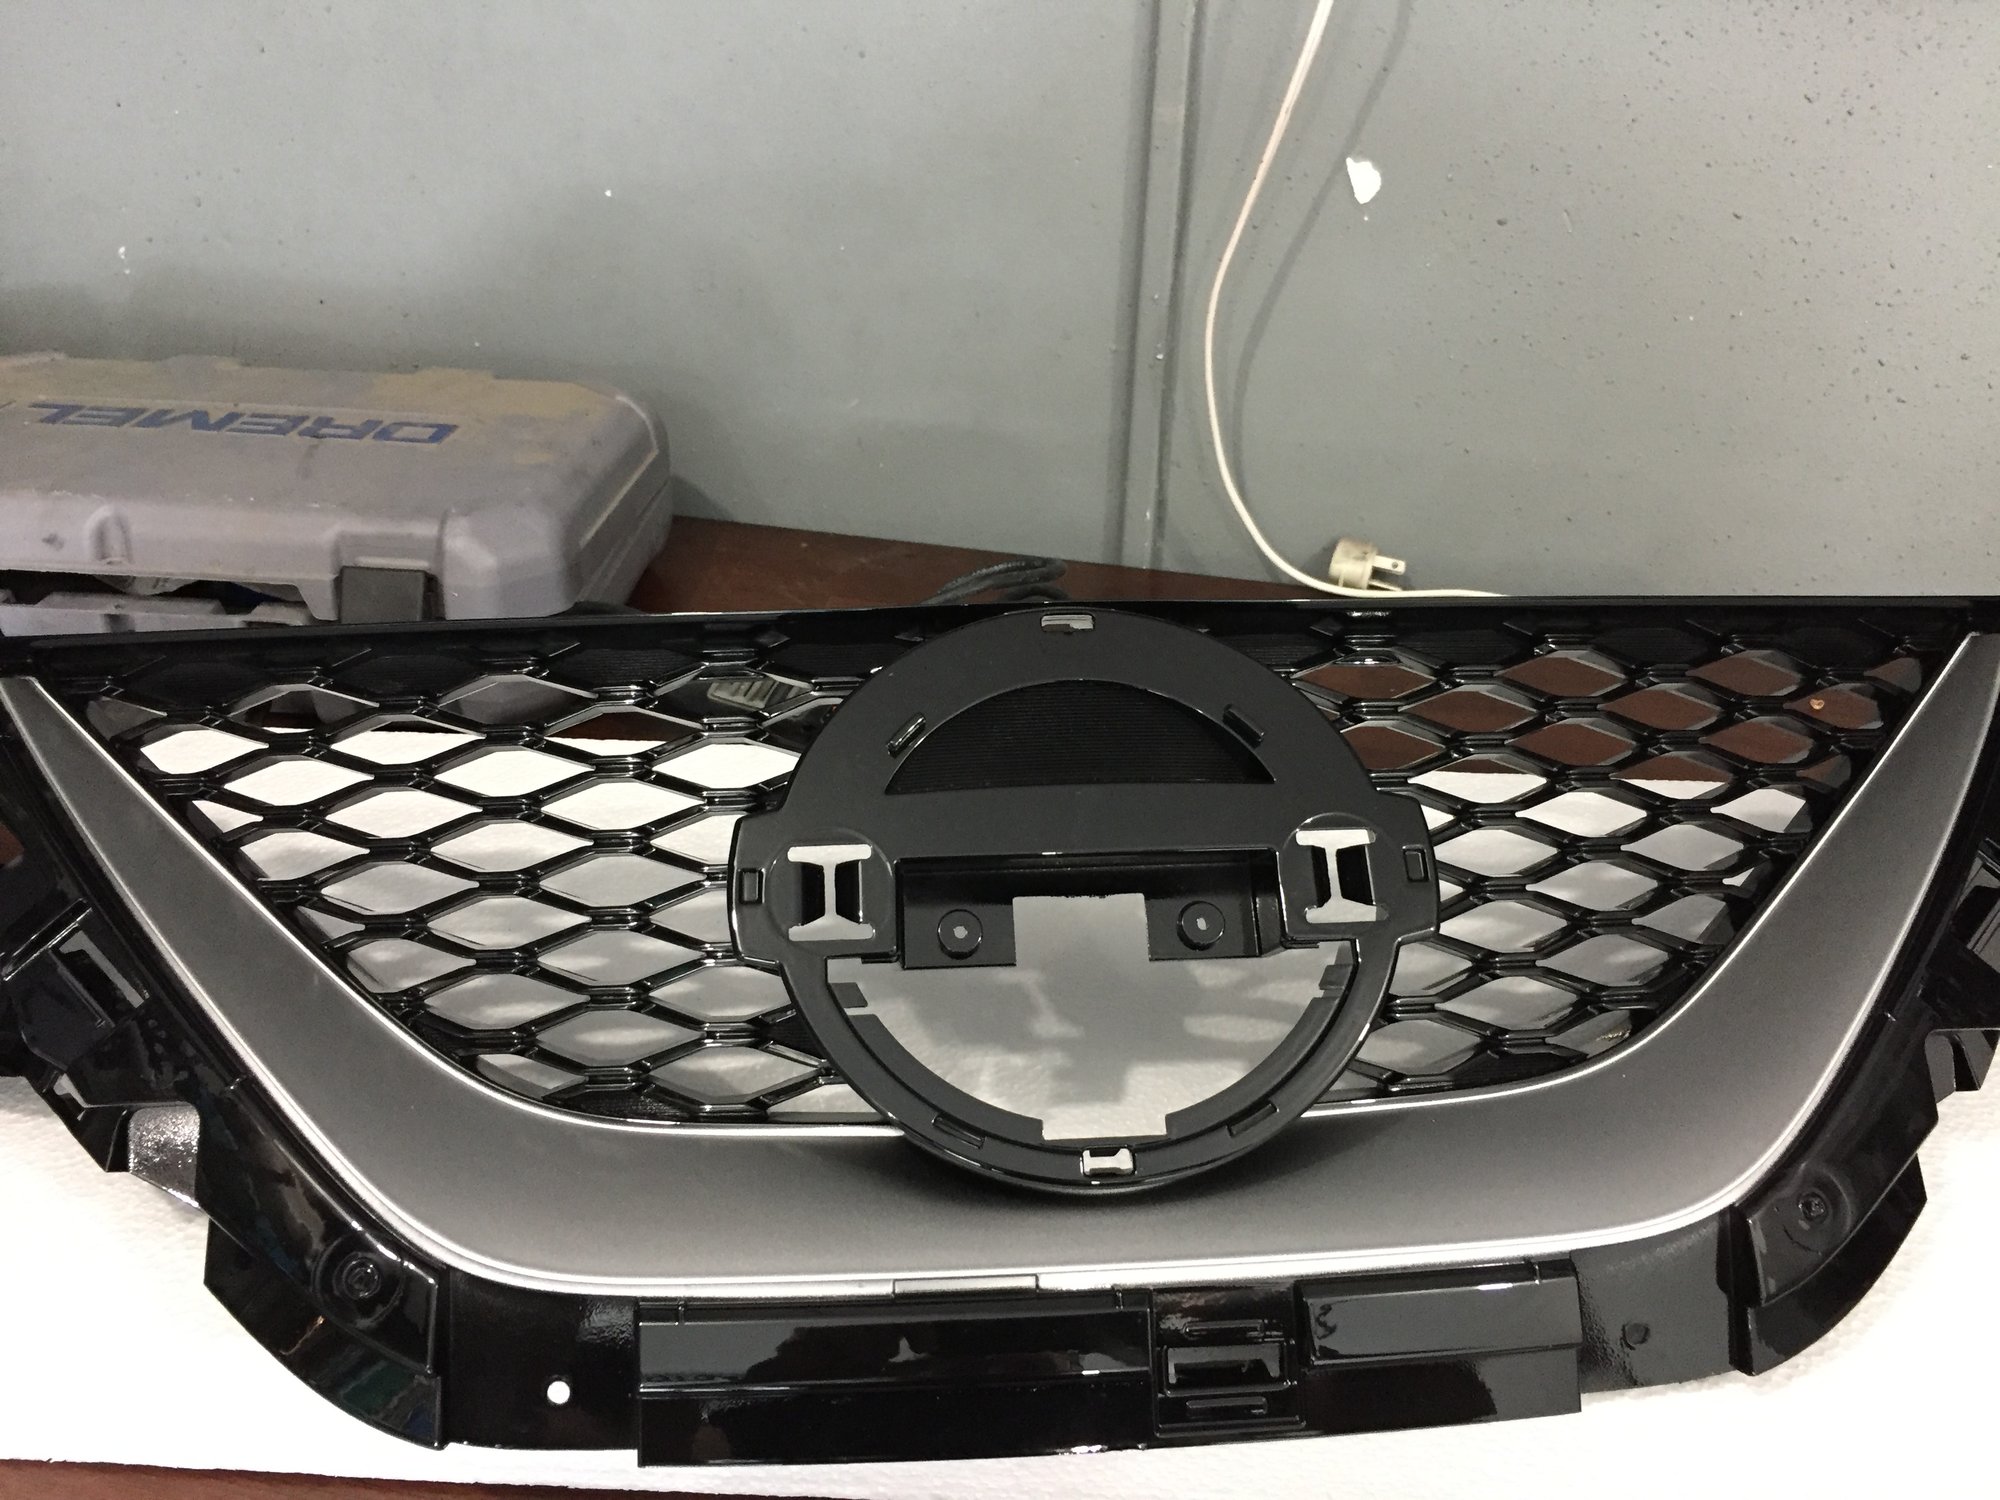
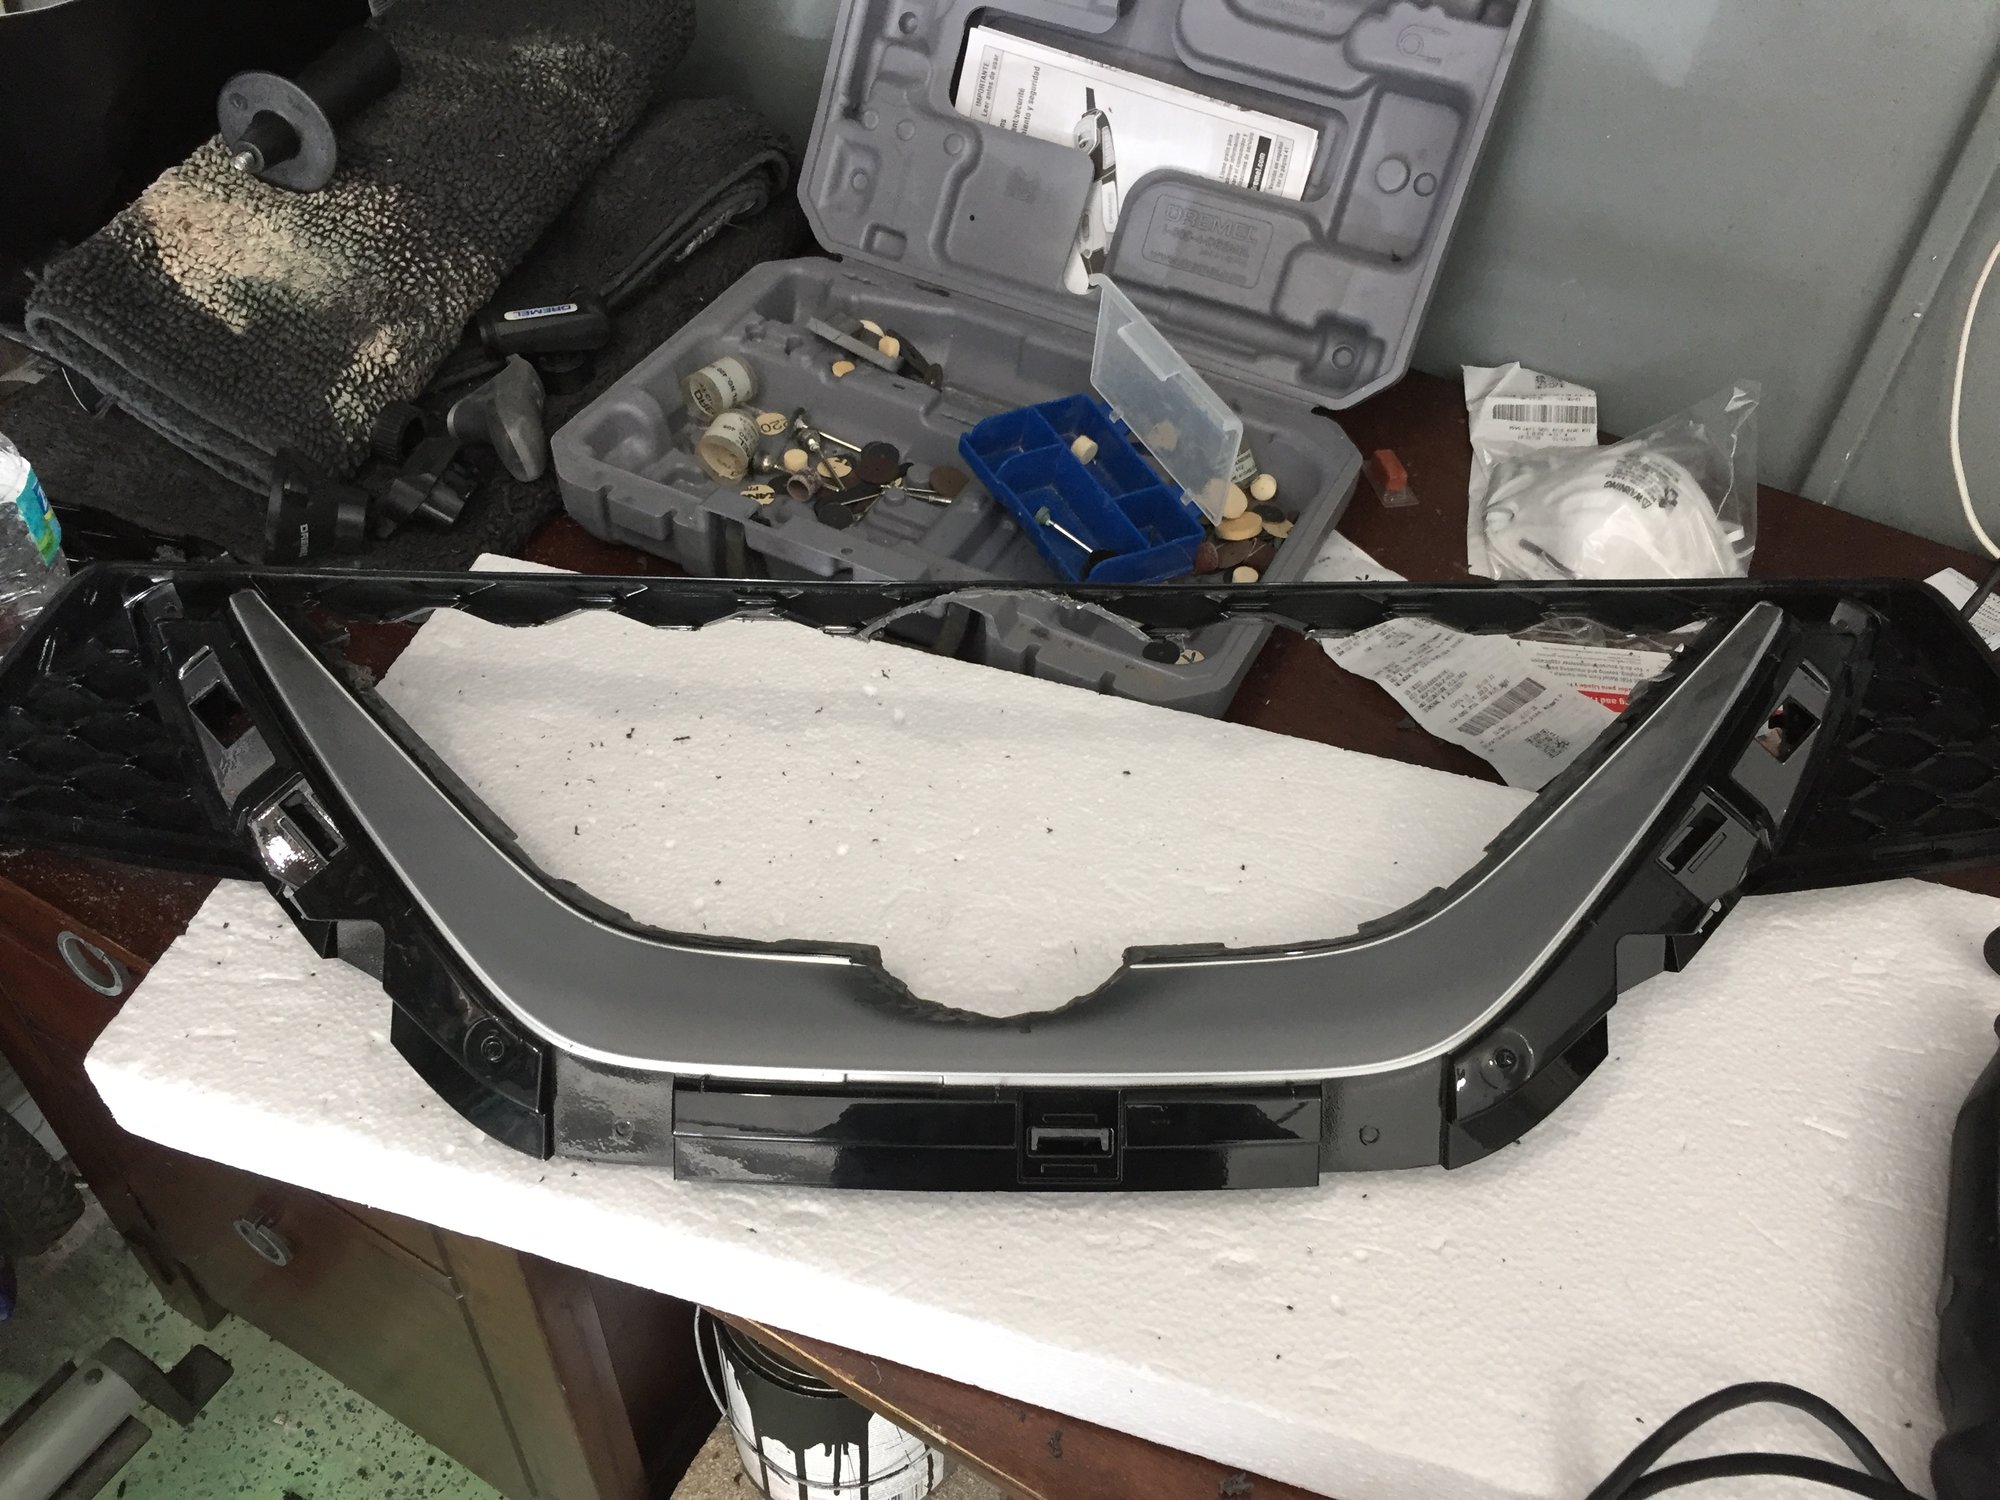
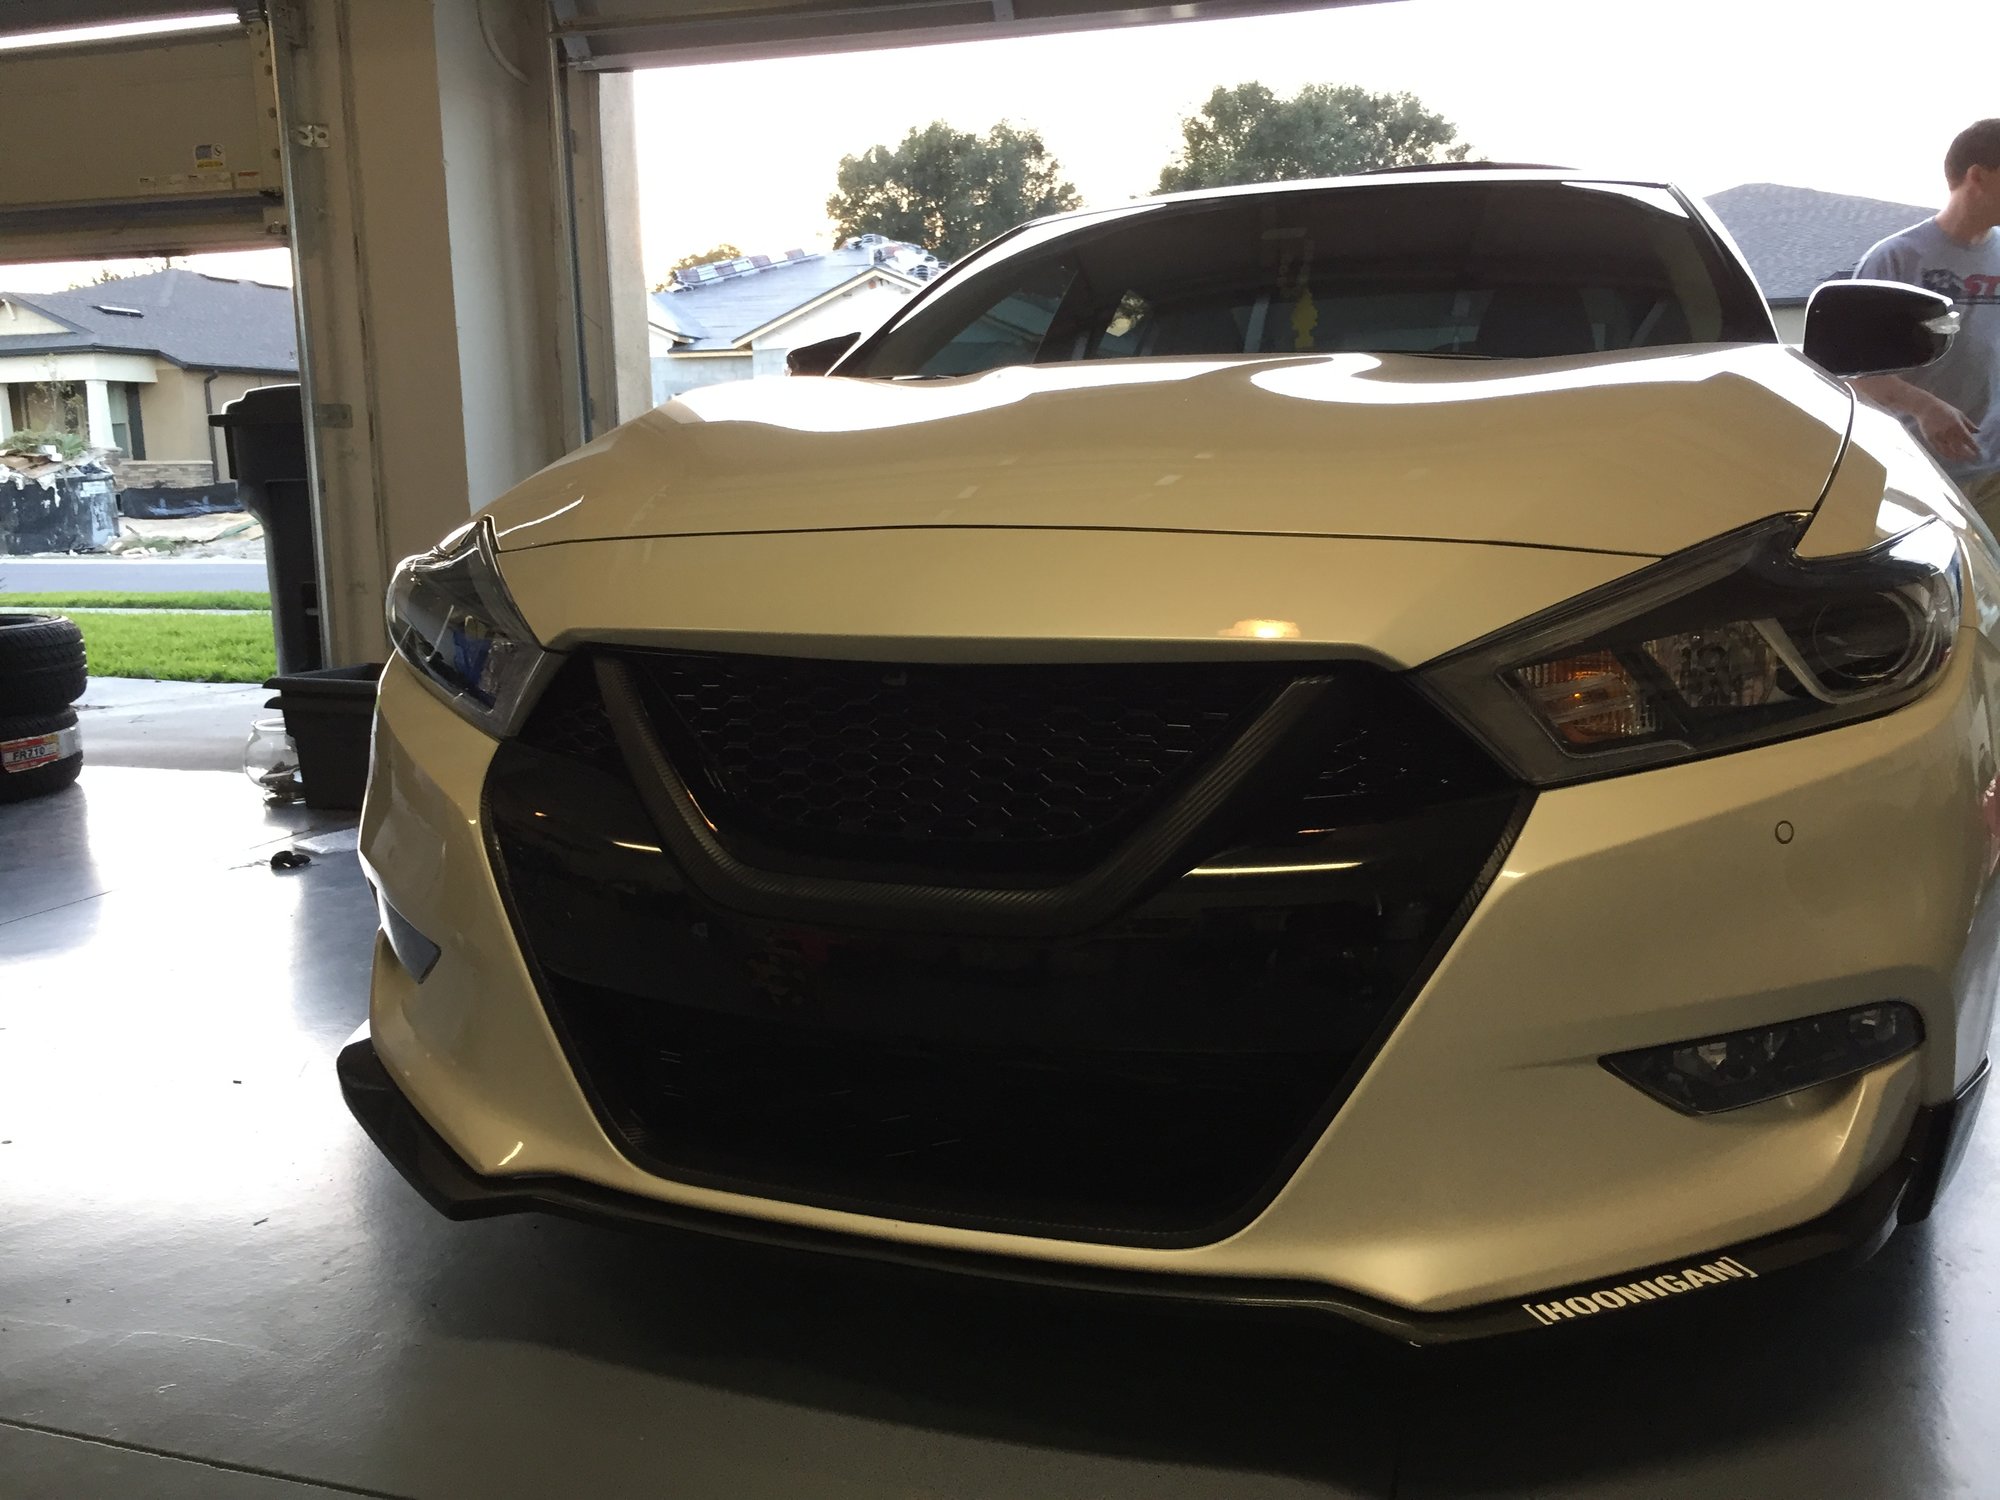
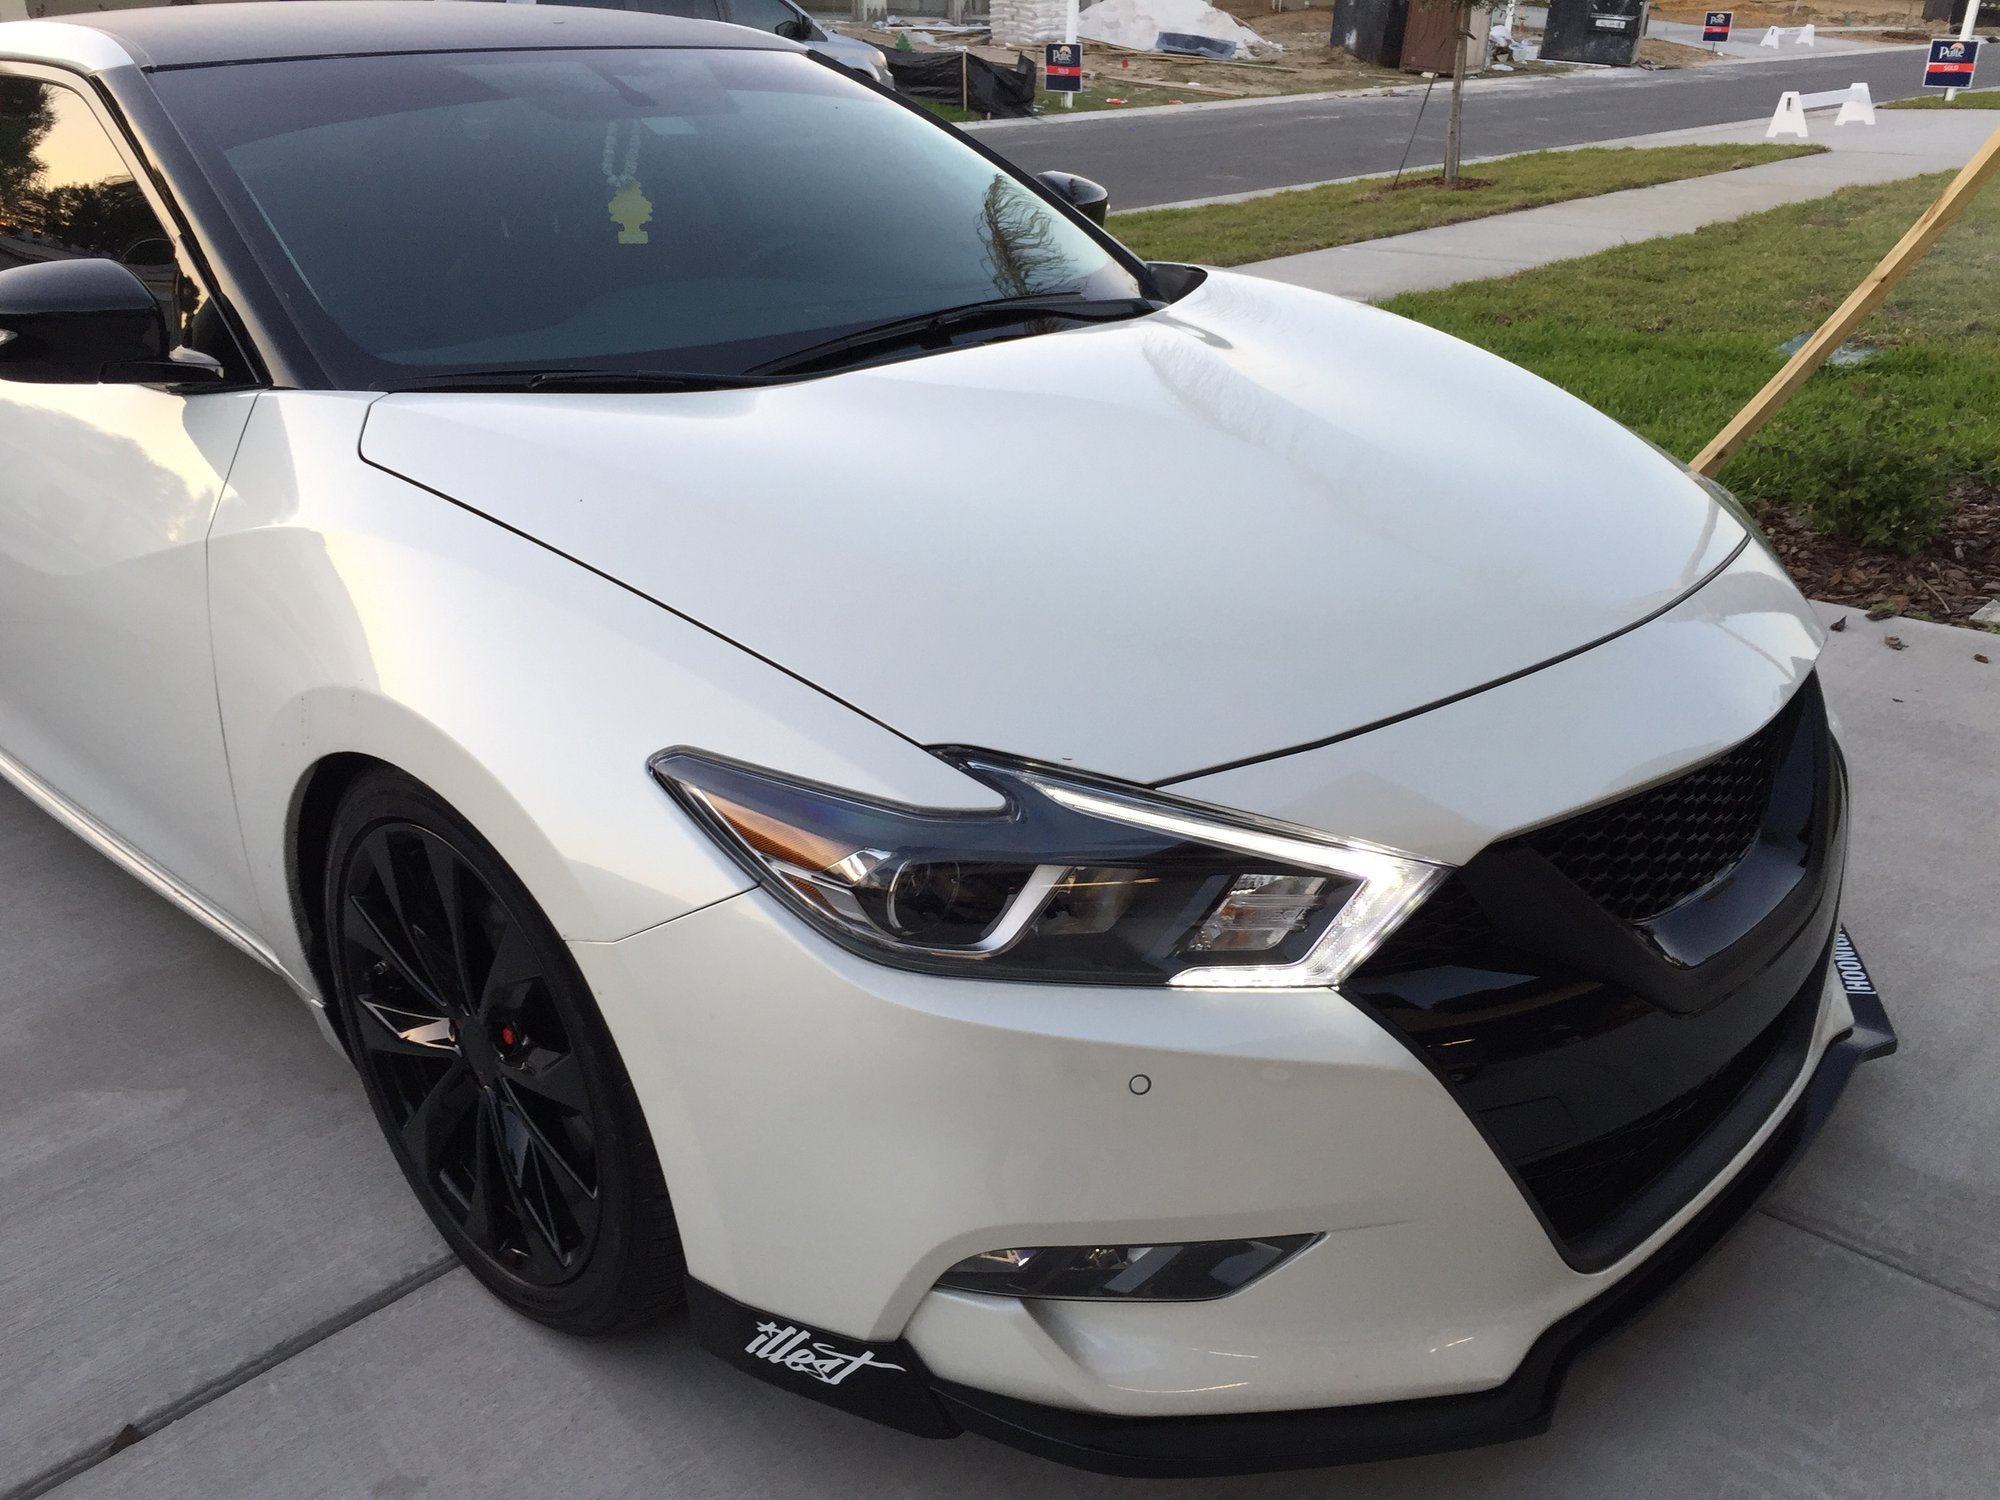
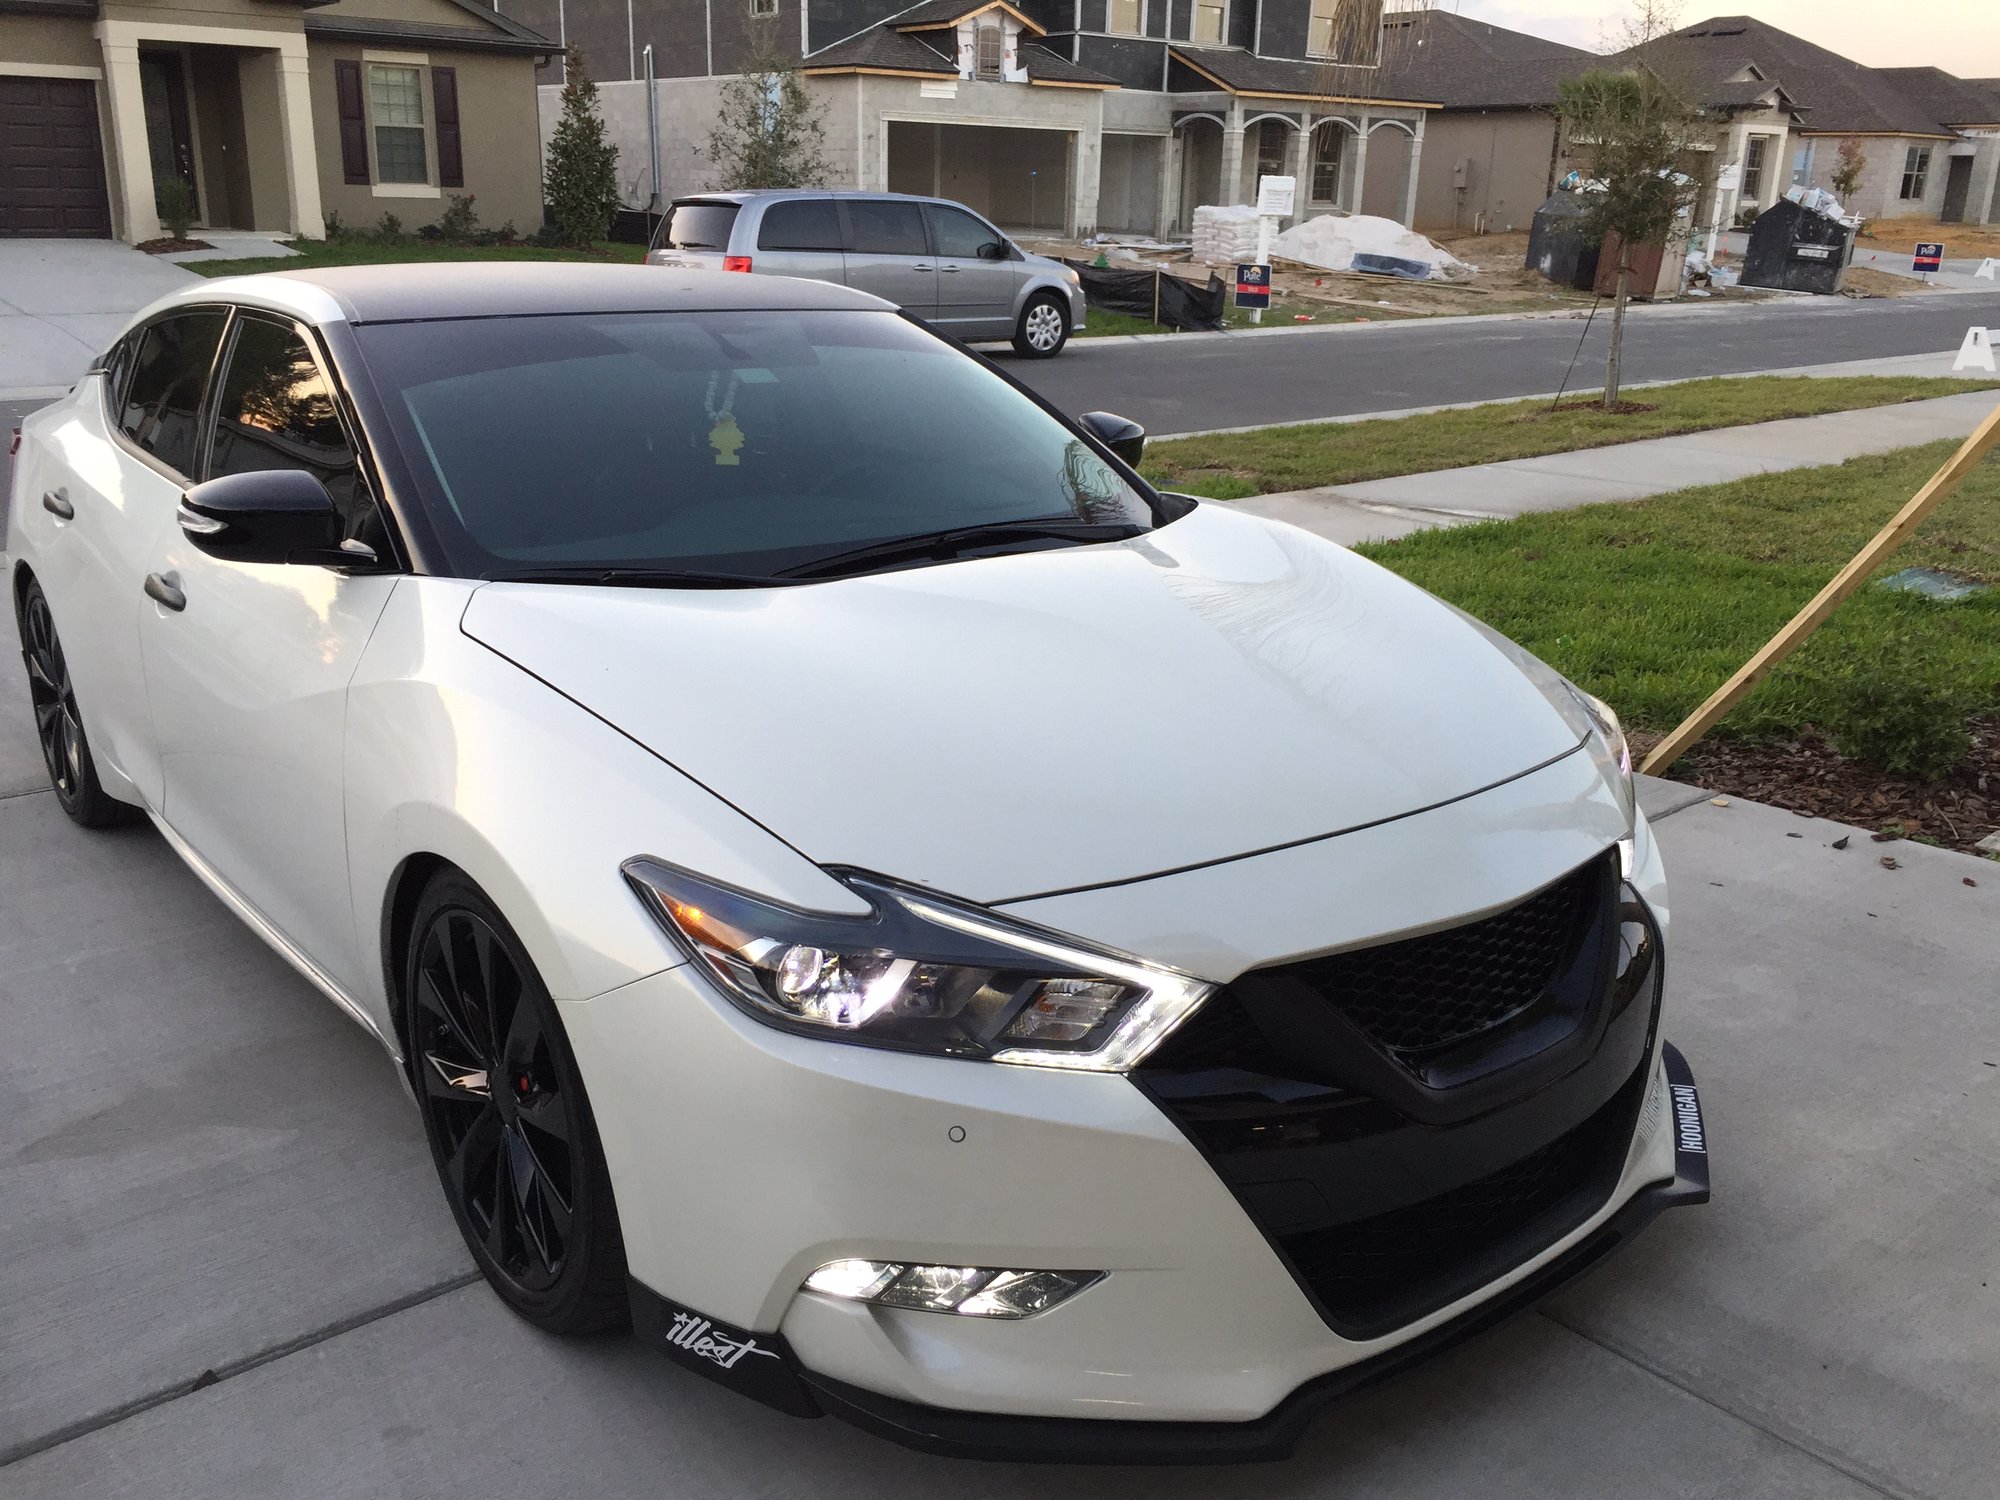
Decided to make a new from grill, the emblem is just way too big (IMHO) and detracts from the lines on the front end of this car. Bought a new grill to start working on, got a nice deal on it from a black friday dealership sale.

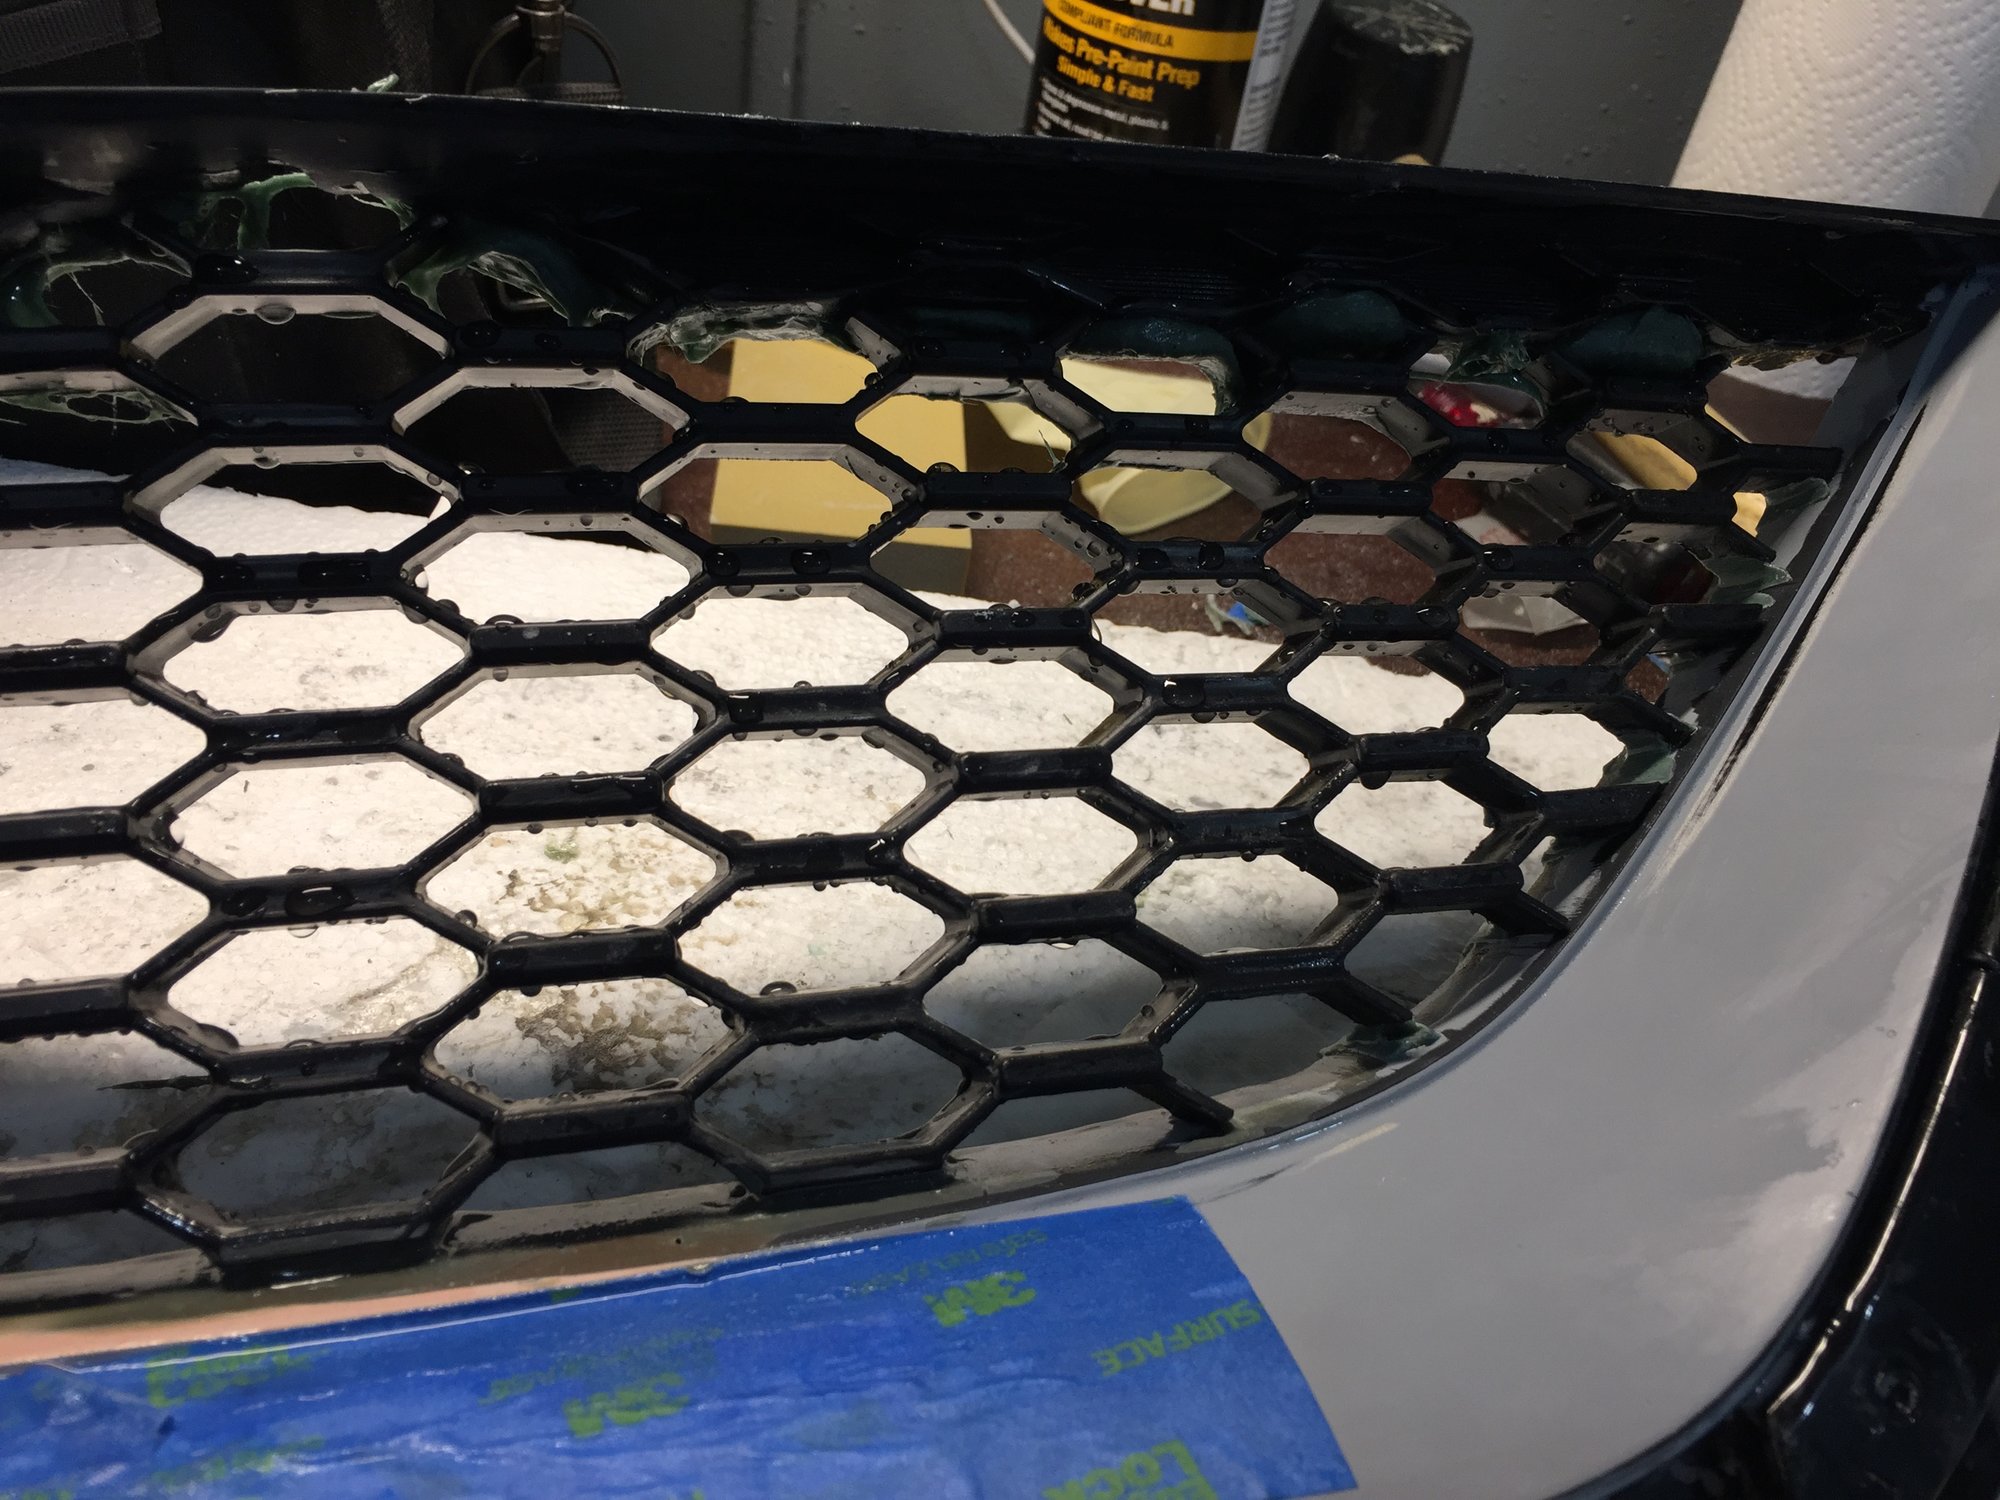
Dremeled and filed everything out

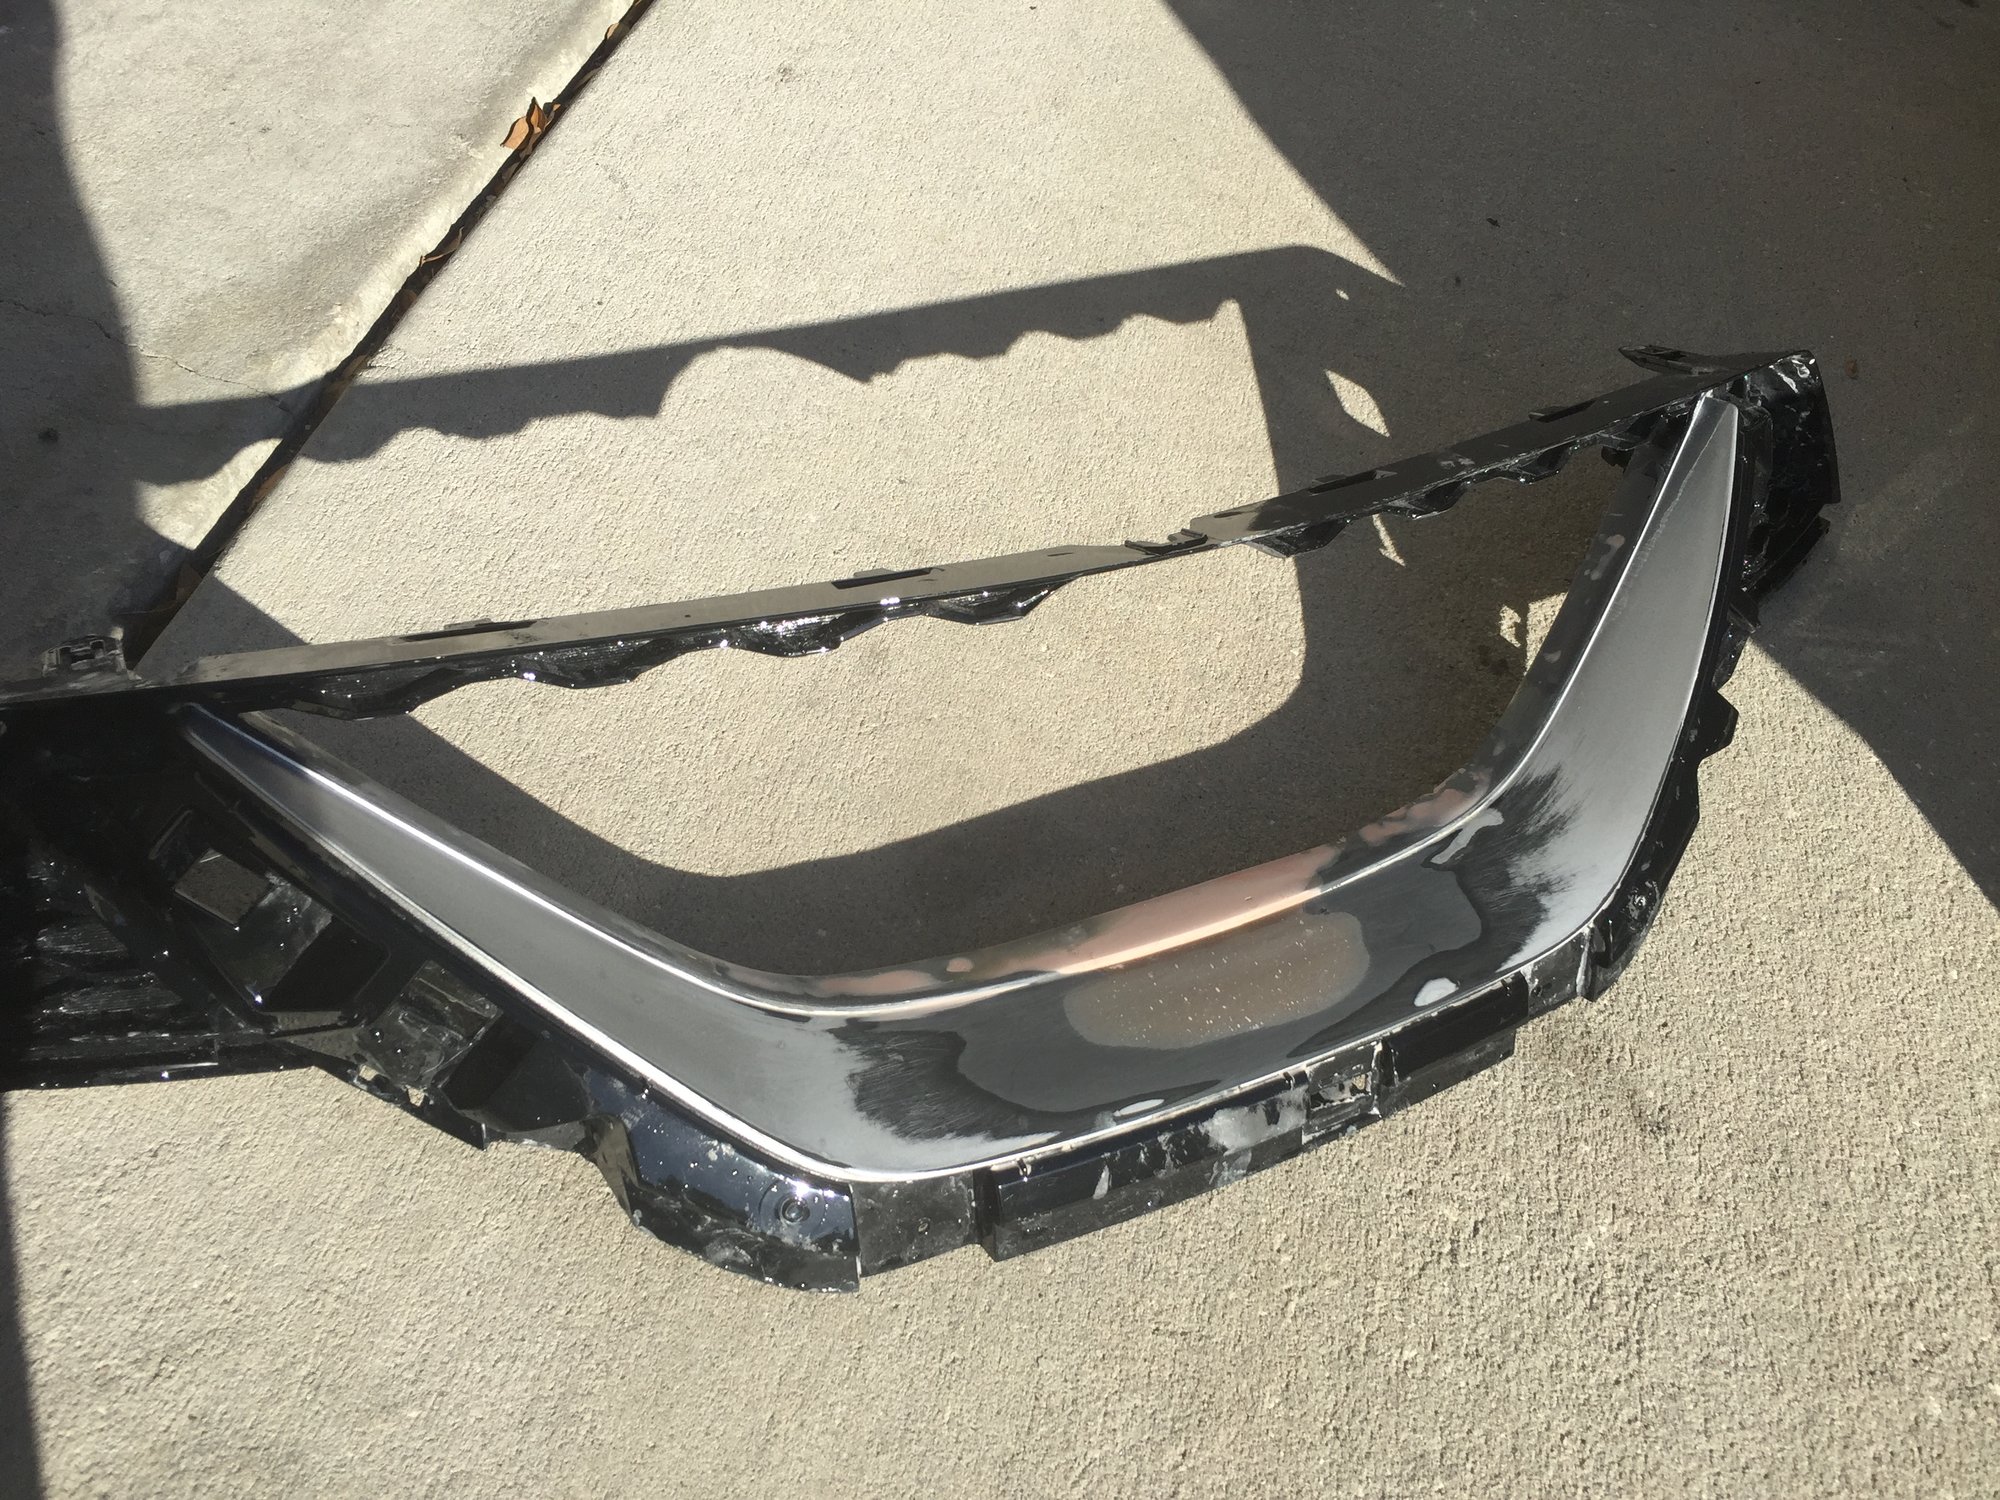
Fiber-glassed and compounded the base from where the emblem was removed

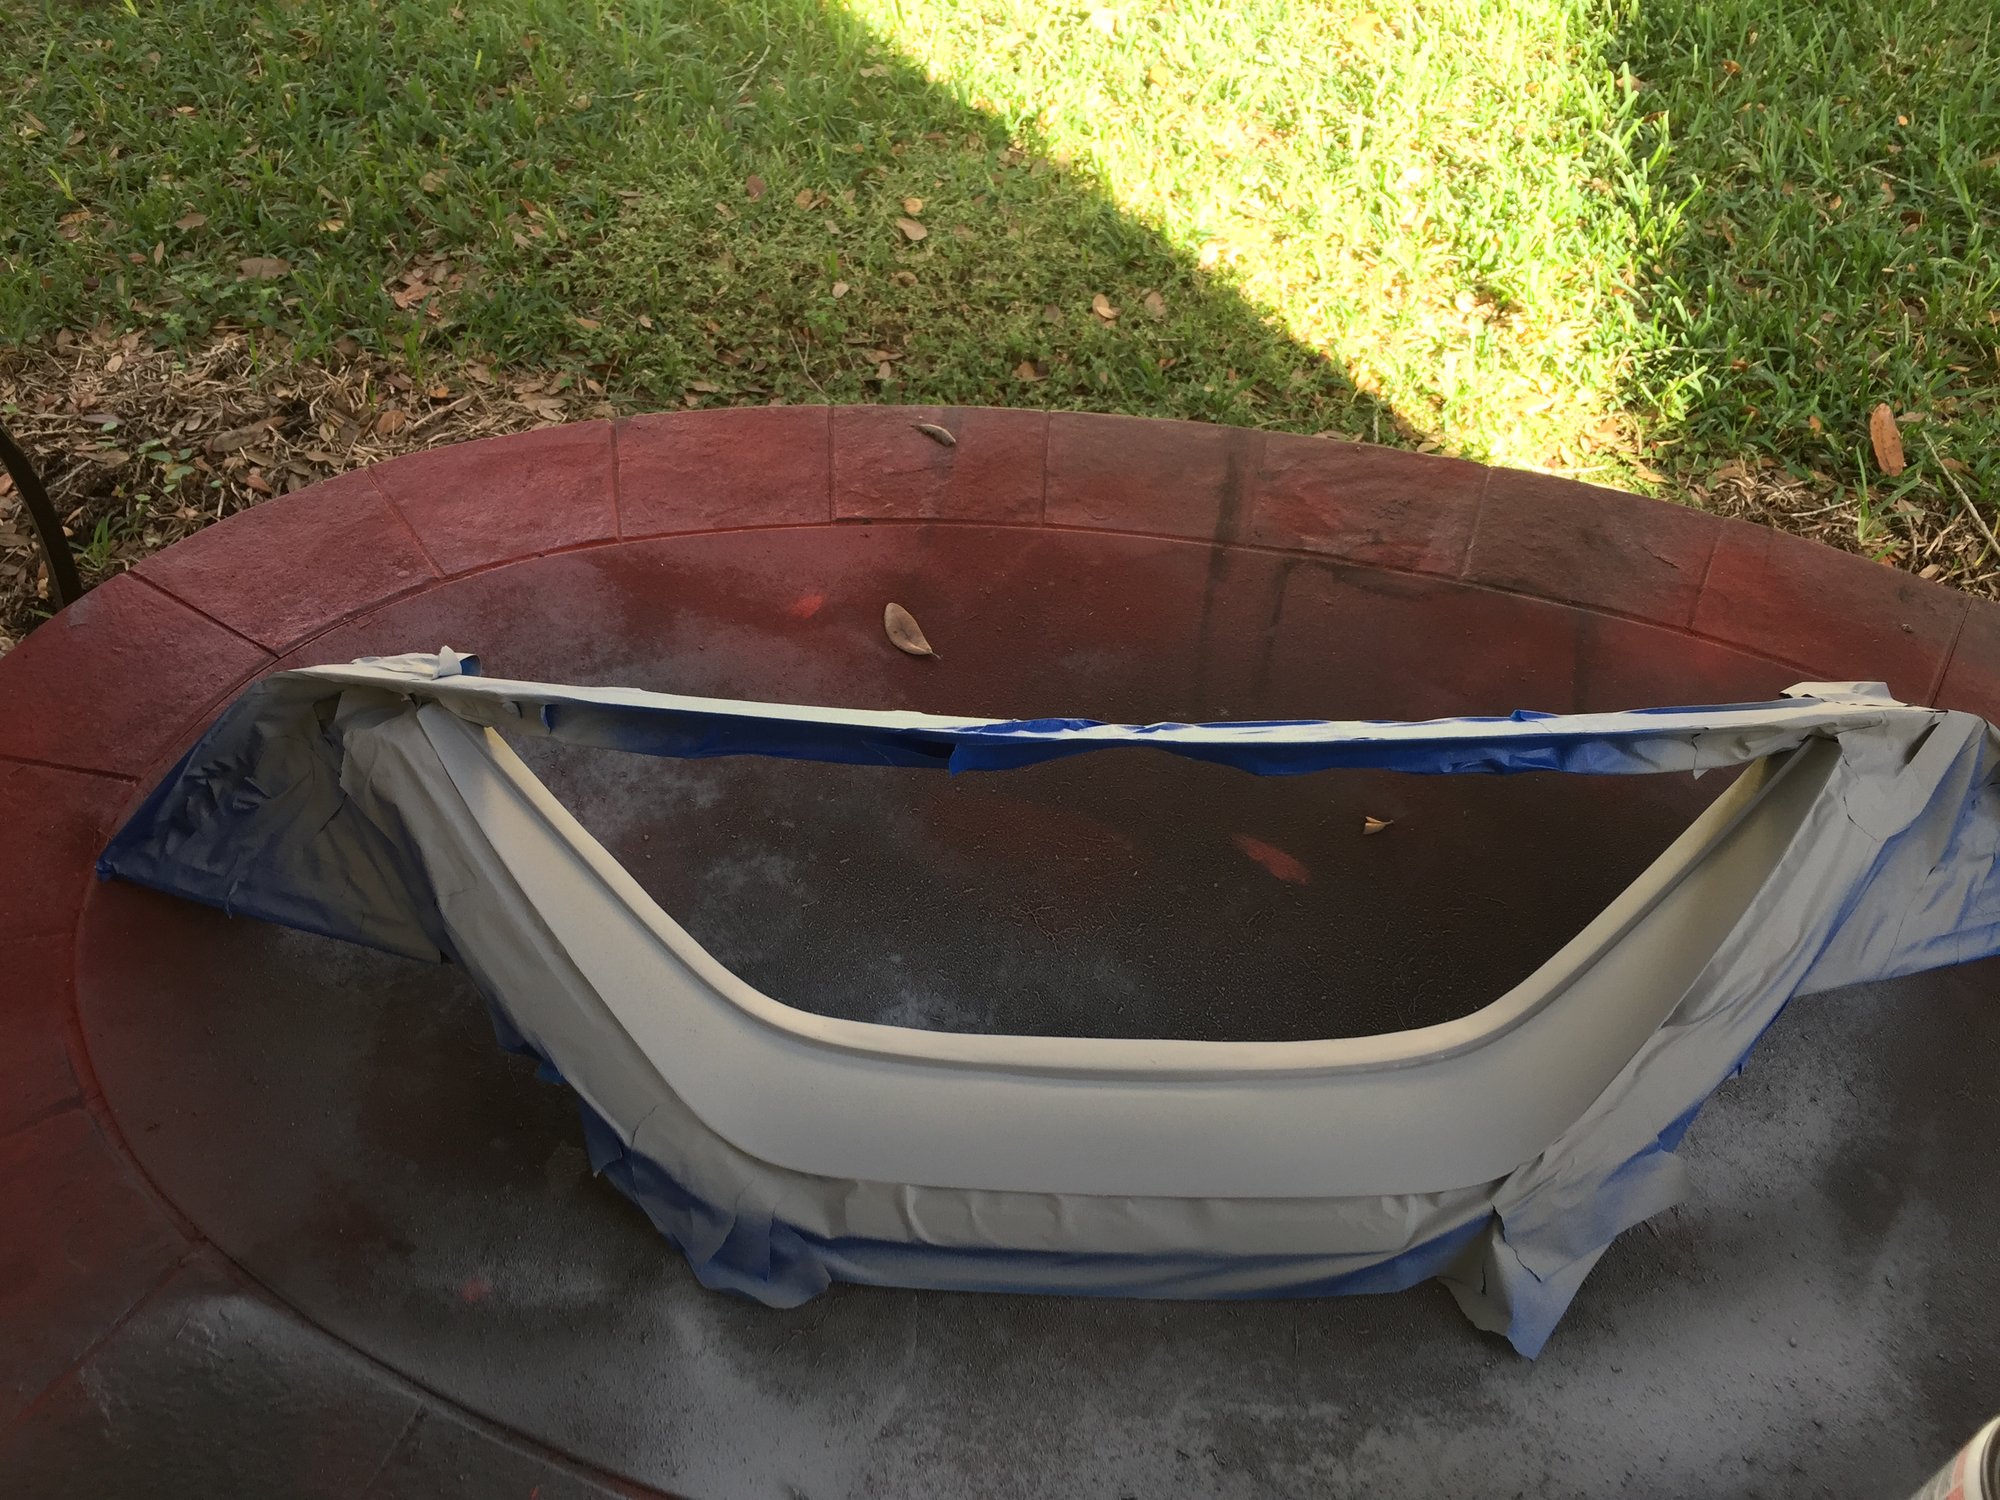
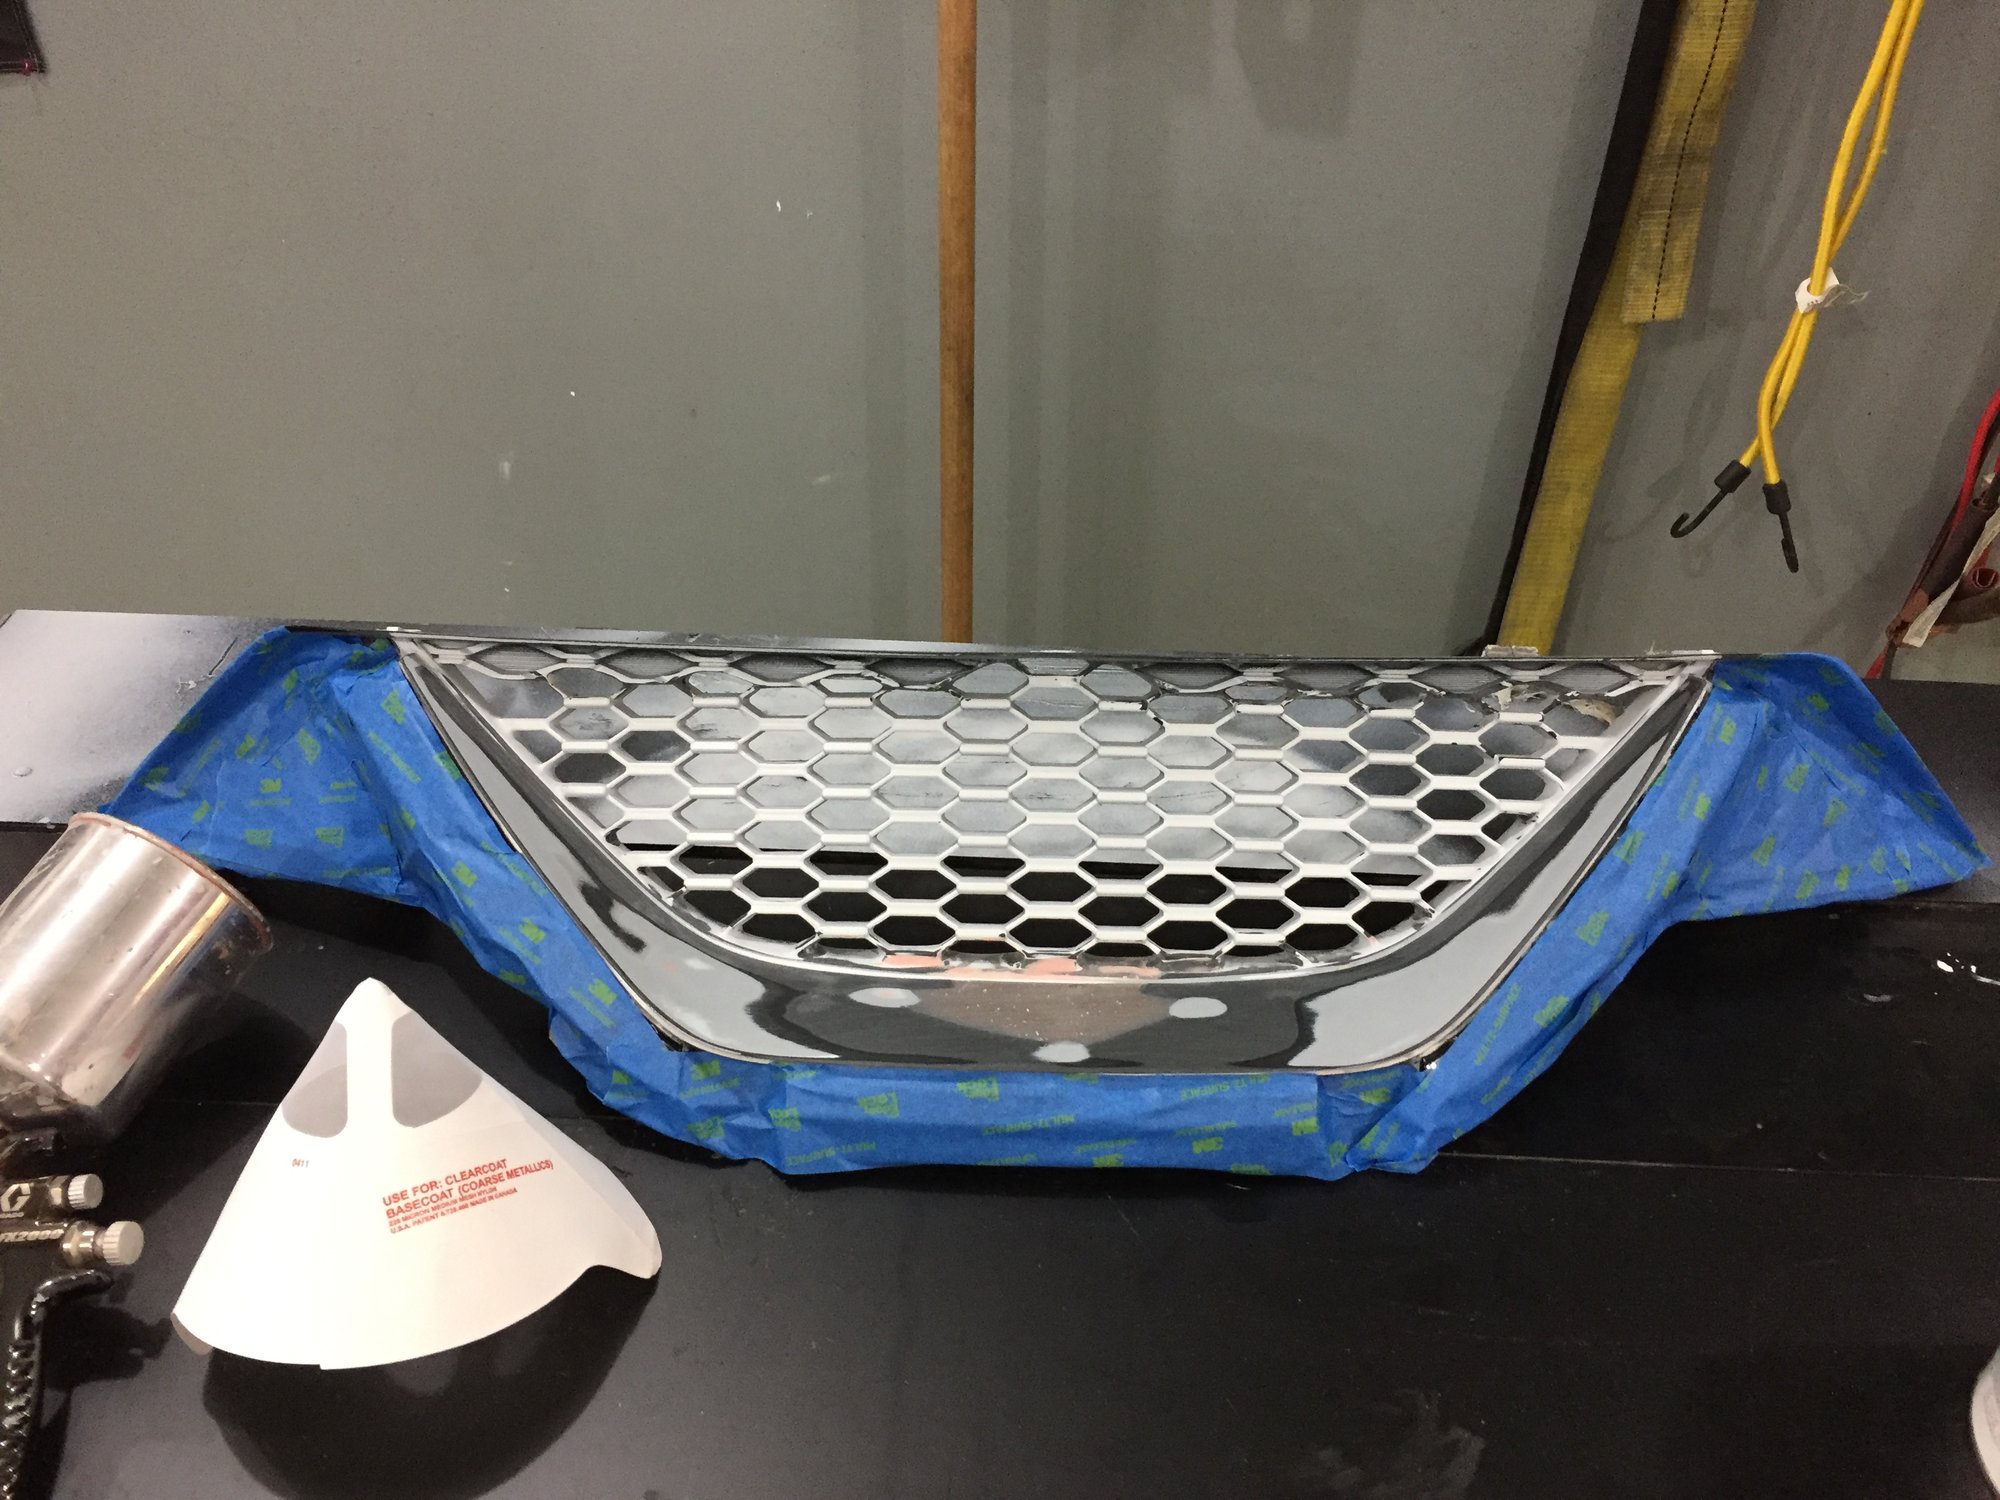
Primed the frame

I ordered the grill material from customcargrills.com i wanted something thick and as close to the factory look as possible

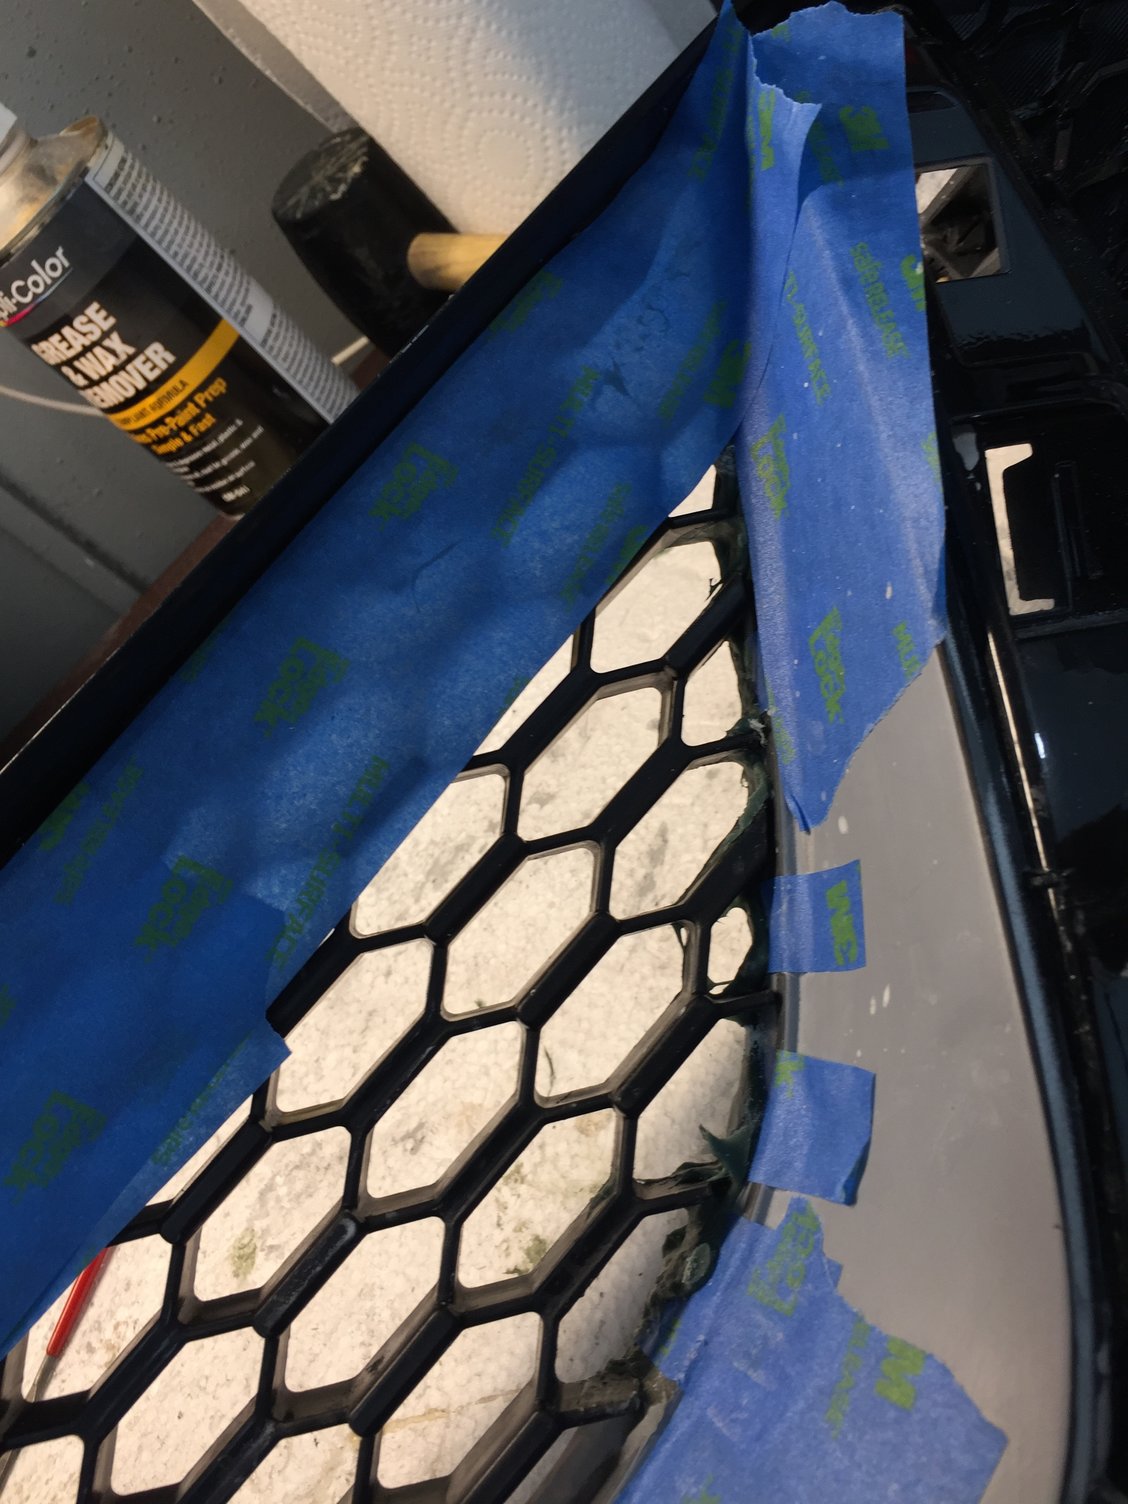
This next part was a lot of trial and error, fiberglass didn’t want to stick to the abs plastic, tried tiger hair stranded fiber and results were not good…third times a charm….ended up testing some JB quik and this stuff was money! really bonded well to the plastic. lot of time spent cutting/forming and sanding to get the grill to where i was happy with it

Final sanding before paint

Primed

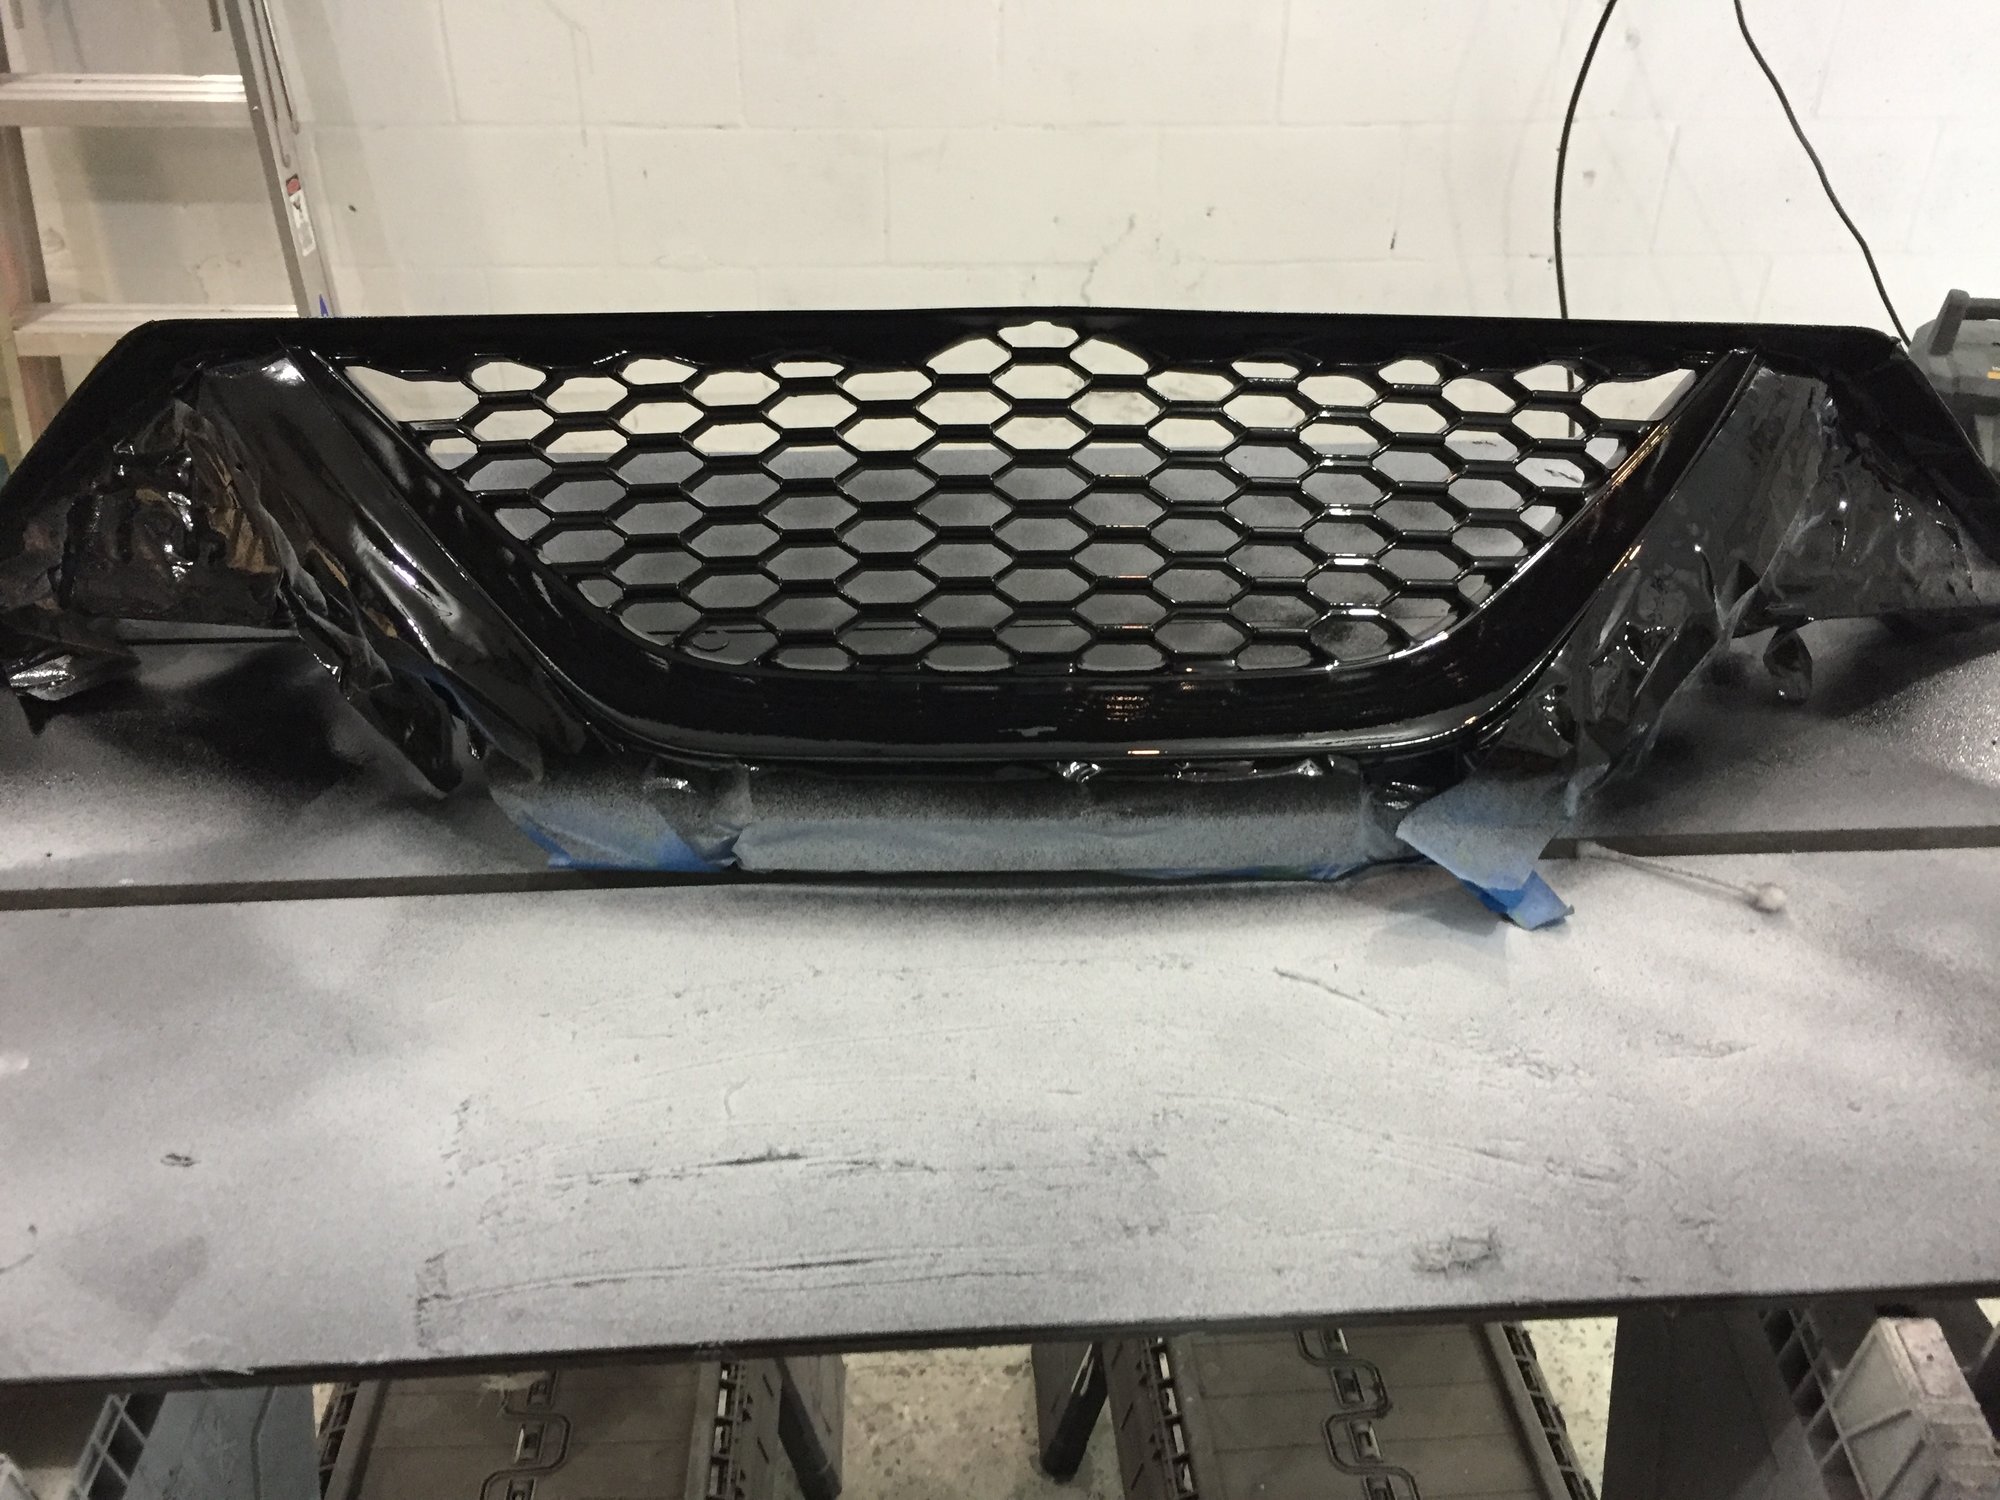
Painted gloss black

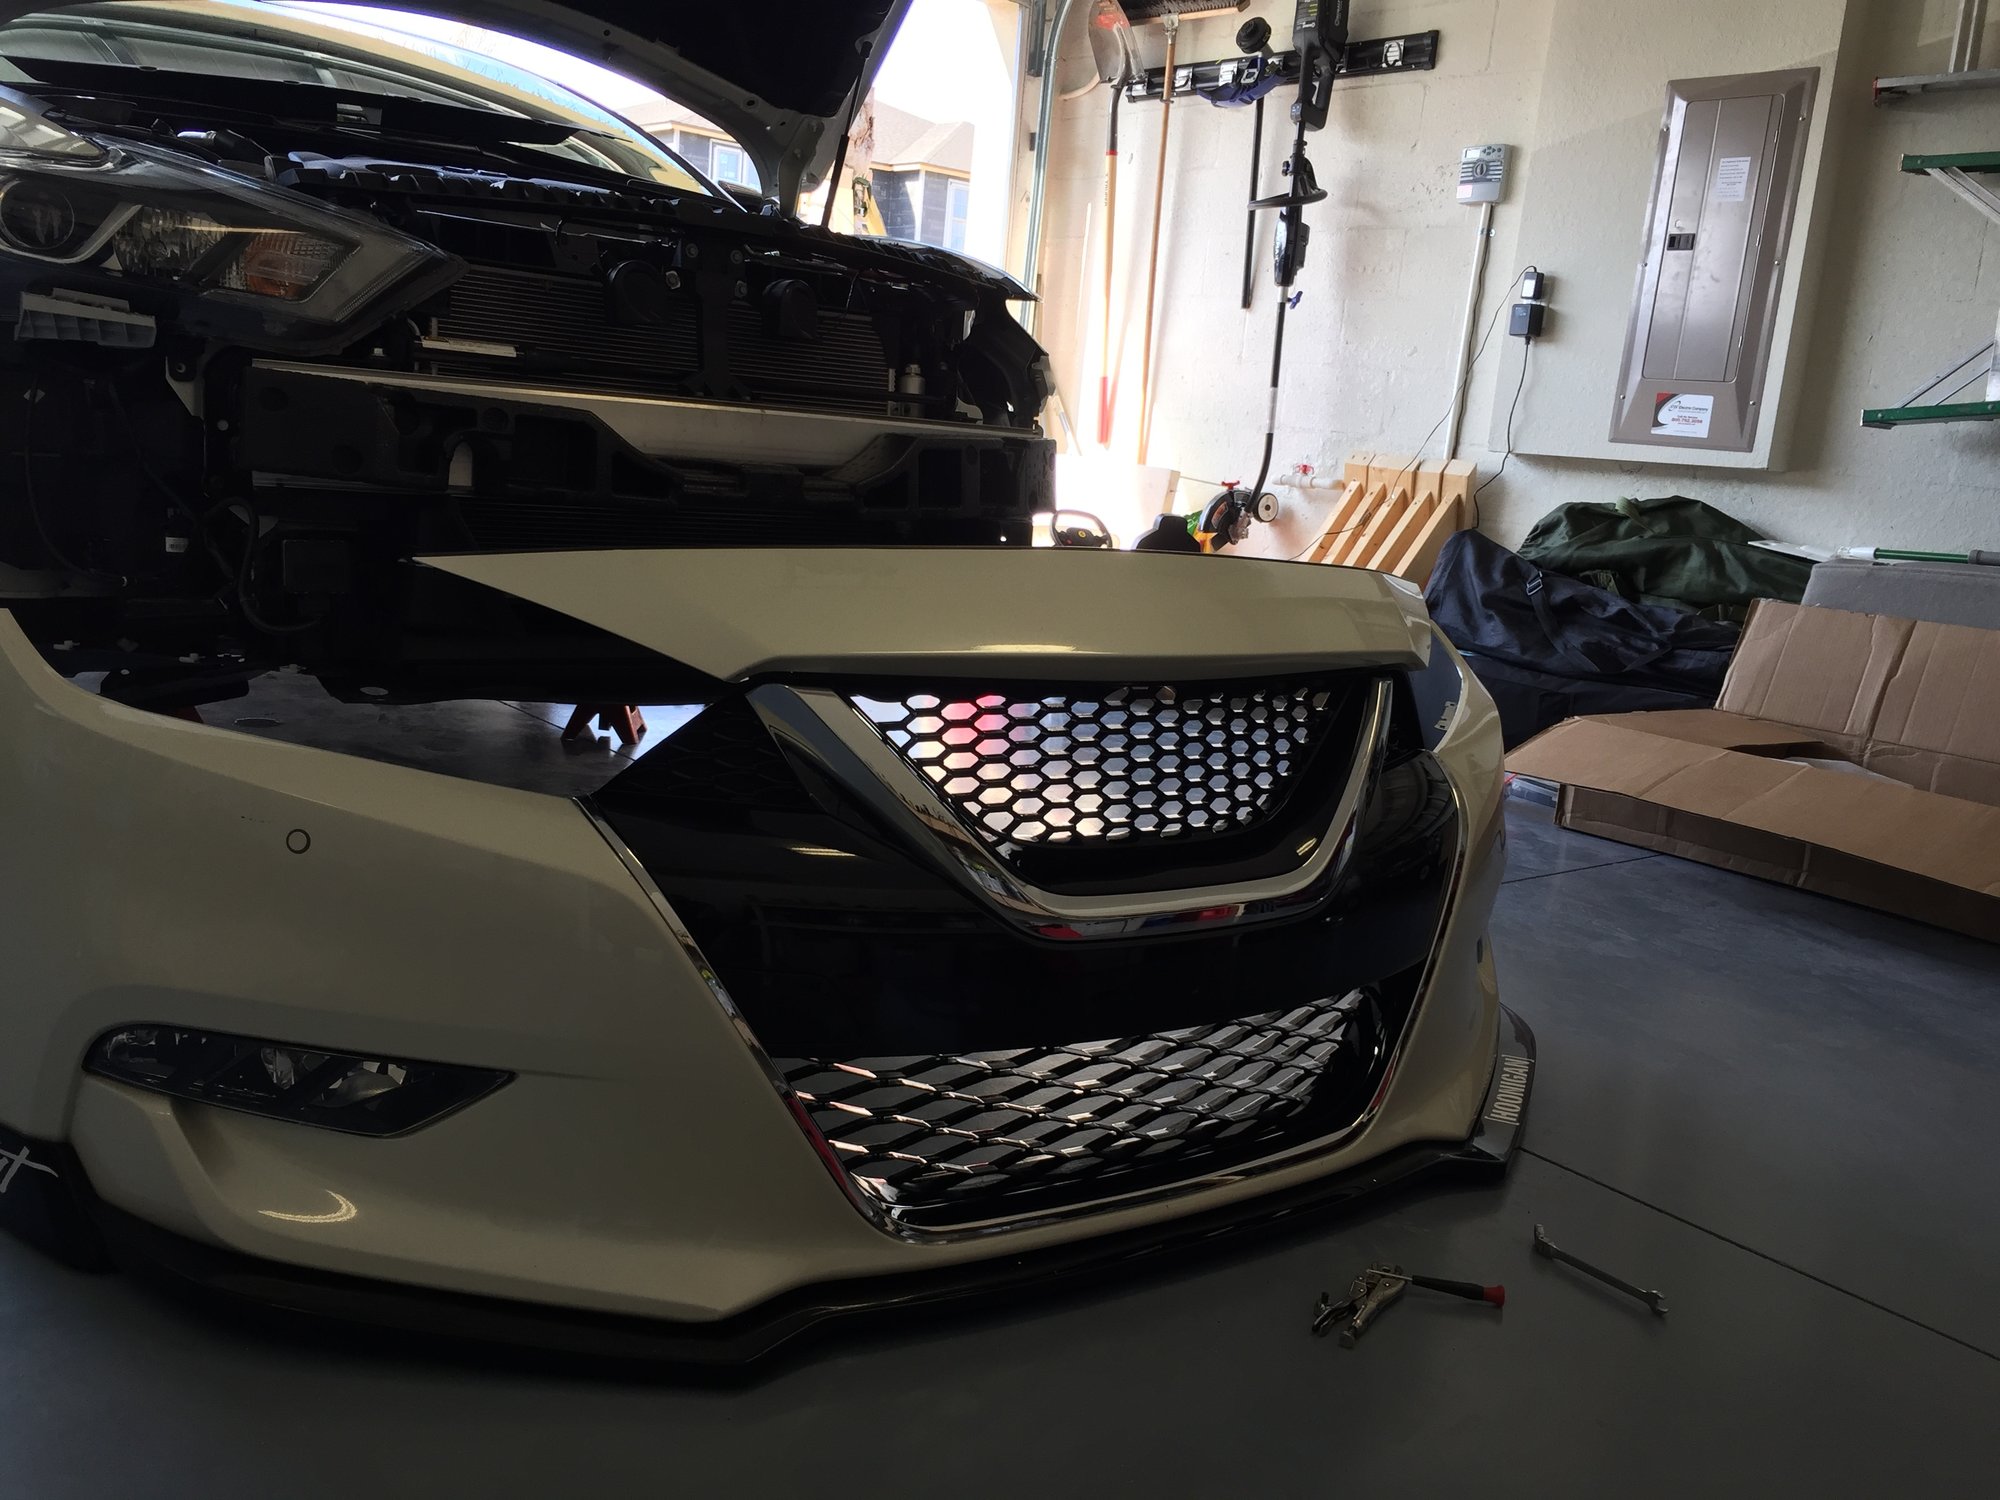
Out with the old and in with the new:

Bumper back in place

Wrapped chrome trim in carbon fiber to match the rest of the car

Finished product….. I absolutely love it!

Loading

High & Low Beam Headlamp Light Bulb Size: 9004 or 9004 HID Upgrade Kit or 9004 LED Upgrade Kit
Parking Light Bulb Size: 1157
Front Turn Signal Light Bulb Size: 1156
Rear Turn Signal Light Bulb Size: 1156
Tail Light Bulb Size: 1157
Stop Light Bulb Size: 1157
High Mount Stop Light Bulb Size: 921
Fog/Driving Light Bulb Size: H3 or H3 HID Upgrade Kit
License Plate Light Bulb Size: 168
Back Up Light Bulb Size: 1156 or 1157
Corner Light Bulb Size: 1157
Front Side Marker Light Bulb Size: 194
Rear Sidemarker Light Bulb Size: 194
Dome Light Bulb Size: DE3175
Step/Courtesy Light Bulb Size: 161
Trunk/Cargo Area Light Bulb Size: 158

Loading

Low Beam Headlight Bulb Size: HID-D2R or HID-D2R HID Upgrade Kit
High Beam Headlamp Bulb Size: 9005 or 9005 HID Upgrade Kit or 9005 LED Upgrade Kit
Parking Light Bulb Size: 168
Front Turn Signal Light Bulb Size: 7440
Rear Turn Signal Light Bulb Size: 7440
Tail Light Bulb Size: 7443
Stop Light Bulb Size: 7443
High Mount Stop Light Bulb Size: 7440
License Plate Light Bulb Size: 168
Back Up Light Bulb Size: 921
Front Side Marker Light Bulb Size: 194
Rear Side Marker Light Bulb Size: 194
Dome Light Bulb Size: DE3175
Step/Courtesy Light Bulb Size: 161
Trunk/Cargo Area Light Bulb Size: 158

Loading

The following directions can be utilized in the replacement of HID bulbs in the 2002-2003 Maxima. These instructions cannot be utilized with other years of the Nissan Maxima. One person can accomplish this task with no no problems. Please view pictures with steps for additional detailed information.

Tools needed: 10mm deep socket or wrench

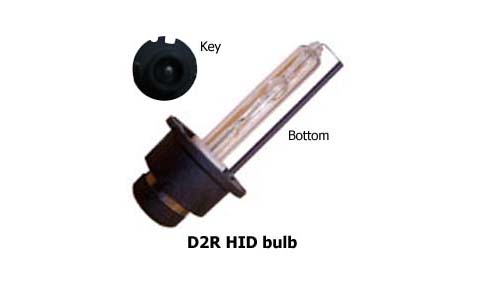
The 2002 and 2003 Maxima utilize D2R HID bulbs. These bulbs fit into the headlight housings in a certain direction based off the key as seen in the picture. Bulb orientation has the bulbs power wire in the “down” position, thus this “bar” will be on the bottom when installed.

When handling the bulbs, DO NOT touch the bulb as oil from your fingers will shorten their life.
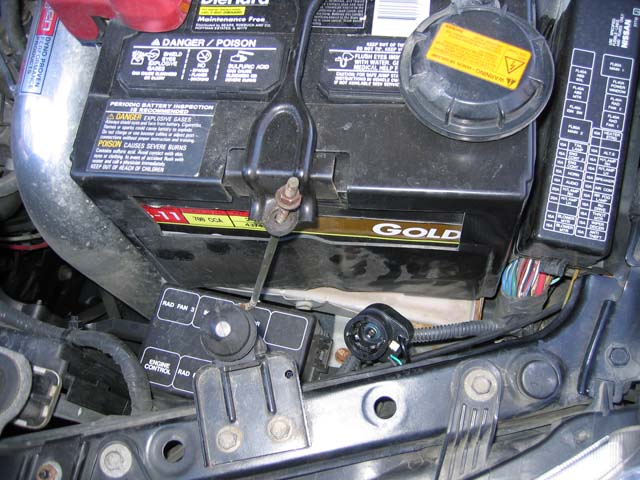
Step 1. Disconnect the battery. I chose to disconnect the negative battery terminal. Due to the tight confines within the engine bay, the drivers side is tight and will require the battery to be moved unless you have hands the size of a child. Using the 10mm socket or wrench, loosen the two nuts from the battery tie-down. One loose enough, you can disconnect the hooks and move the battery out of the way. This will give enough space to work. On the passenger side, there is nothing to move. You simply have to work around the windshield washer tube.
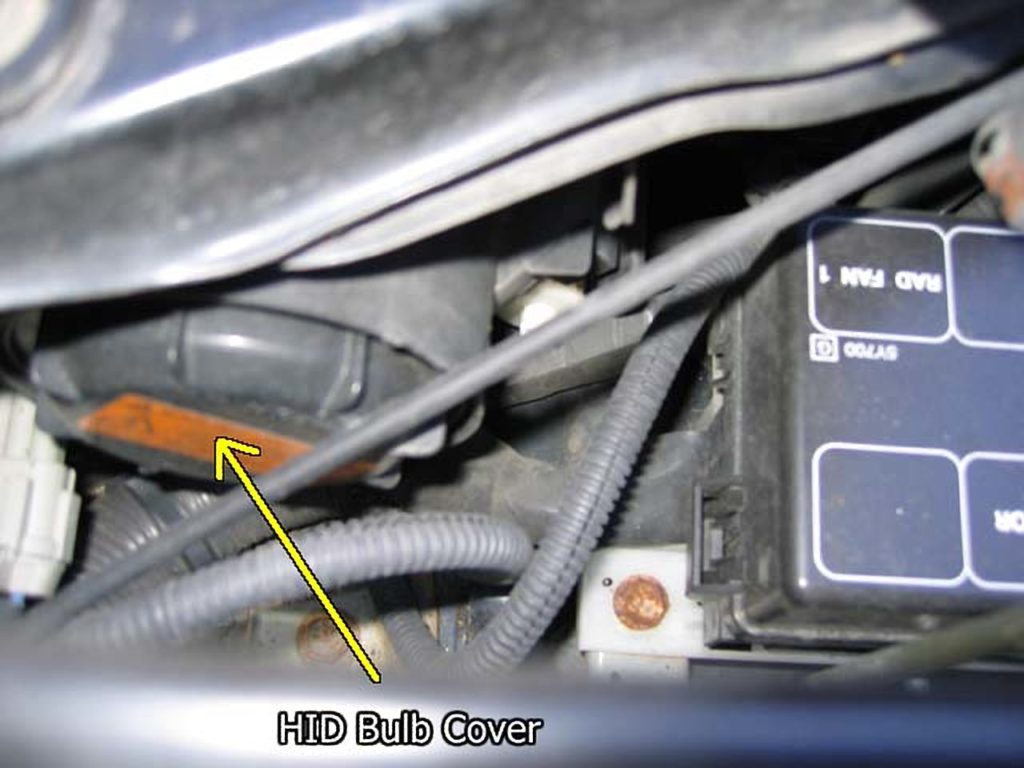
Step 2. The HID bulb has a sealed cover (utilizing a rubber O-ring). To remove this cover, twist counter clockwise to release and you will be able to remove it. Cover Removed
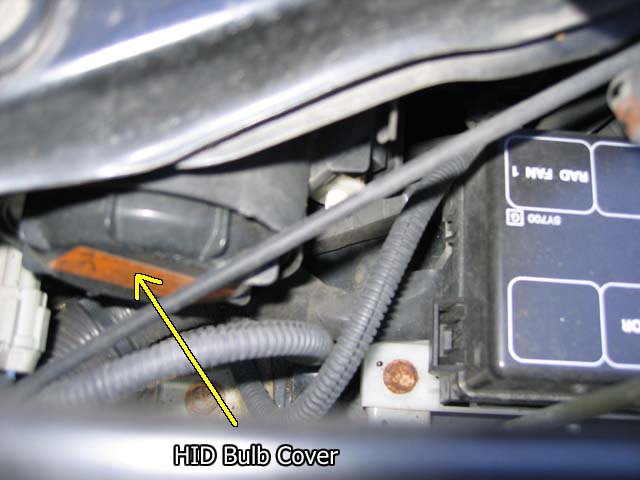
Step 3. Once the HID cover is removed, you will have access to the socket. To remove the socket from the HID bulb, twist counter clockwise and pull backward. You may need to wiggle it somewhat but it will disengage.
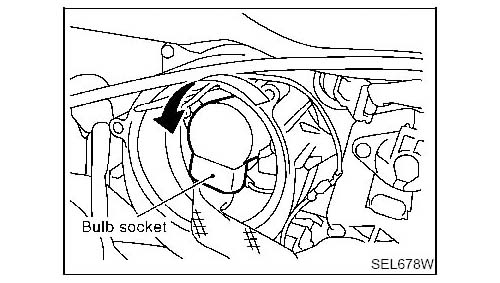
Step 4. The most difficult part of the installation seems to be figuring out how to disengage the retaining ring from the HID bulbs. Per the diagram, you will need to depress each “hooked” end of the ring inward (toward the front) and slide inward to toward the bulb. Once each side is done, the bulb will loosen up and you will be able to remove it. Do not touch the bulbs. Picture of retaining clips

Step 5. Time to install the new bulbs. Remove the bulbs from their packaging without touching the glass section. To install the bulbs, use one hand to hold the retaining clip out of the way (it is hinged from the top) and slide the bulb in. It is easiest to insert the bulb with the “power wire” on the bottom as this should align the bulbs key. Once inserted, twist the bulb slightly left and right to ensure it is in. Move the retaining clip over the bulb and re-engage each end of the clip.

Step 6. Reinstall the socket but leave the cover off. Once both new bulbs are installed, temporarily reconnect the negative battery post and turn on the headlights to make sure both bulbs are functioning appropriately. If all is well, reinstall the HID covers and Remount the battery (remember to tighten down the negative battery post).


Loading

High and Low Beam Headlamp Light Bulb Size: 9003 or 9003 HID Upgrade Kit
Parking Light Bulb Size: 1157A
Front Turn Signal Light Bulb Size: 1157A
Rear Turn Signal Light Bulb Size: 1156A or 7507
Tail Light Bulb Size: 7443
Stop Light Bulb Size: 7443
High mount stop Light Bulb Size: 7440
Fog/Driving Light Bulb Size: H3 or H3 HID Upgrade Kit
License Plate Light Bulb Size: 168
Back Up Light Bulb Size: 921
Front Sidemarker Light Bulb Size: 194
Rear Sidemarker Light Bulb Size: 194
Dome Light Bulb Size: DE3175
Step/Courtesy Light Bulb Size: 161
Trunk/Cargo Area Light Bulb Size: 158

Loading

Low Beam Headlamp Light Bulb Size: 9012 or 9012 HID Upgrade Kit or 9012 LED Upgrade Kit
High Beam Headlamp Light Bulb Size: 9012 or 9012 HID Upgrade Kit or 9012 LED Upgrade Kit
Parking Light Bulb Size: 1157A
Front Turn Signal Light Bulb Size: 1157A
Rear Turn Signal Light Bulb Size: 3057
Tail Light Bulb Size: 3057
Stop Light Bulb Size: 3057
High Mount Stop Light Bulb Size: 2825
Fog/Driving Light Bulb Size: H3 or H3 HID Upgrade Kit
License Plate Light Bulb Size: 168
Back Up Light Bulb Size: 3156 or 912
Cornering Light Bulb Size: 3156
Rear Side Marker Light Bulb Size: 168
Glove Box Light Bulb Size: 158
Map Light Bulb Size: DE3021
Dome Light Bulb Size: DE3175
Step/Courtesy Light Bulb Size: 194 or 2825
Trunk/Cargo Area Light Bulb Size: 158
Daytime Running Light Bulb Size: 1156

Loading

Low Beam Headlamp Light Bulb Size: 9012 or 9012 HID Upgrade Kit or 9012 LED Upgrade Kit
High Beam Headlamp Light Bulb Size: 9012 or 9012 HID Upgrade Kit or 9012 LED Upgrade Kit
Parking Light Bulb Size: 4157NA
Front Turn Signal Light Bulb Size: 4157NA
Rear Turn Signal Light Bulb Size: 3057
Tail Light Bulb Size: 3057
Stop Light Bulb Size: 3057
High Mount Stop Light Bulb Size: 2825
Fog/Driving Light Bulb Size: H1 or H11 HID Upgrade Kit
License Plate Light Bulb Size: 168
Back Up Light Bulb Size: 3156 or 912
Cornering Light Bulb Size: 3156
Rear Side Marker Light Bulb Size: 2825
Glove Box Light Bulb Size: 158
Map Light Bulb Size: DE3021
Dome Light Bulb Size: DE3175
Step/Courtesy Light Bulb Size: 194
Trunk/Cargo Area Light Bulb Size: 158
Daytime Running Light Bulb Size: 3156

Loading

Low Beam Headlight Bulb Size: H11
High Beam Headlight Bulb Size: 9005
Parking Light Bulb Size: 3457A
Front Turn Signal Light Bulb Size: 3457A
Rear Turn Signal Light Bulb Size: 992 (7440A)
Tail Light Bulb Size: LED
Stop Light Bulb Size: LED
High Mount Stop Light Bulb Size: LED
Fog/Driving Light Bulb Size: H11
License Plate Light Bulb Size: 168
Back Up Light Bulb Size: 921
Front Side Marker Light Bulb Size: 2827
Rear Side Marker Light Bulb Size: 2825
Glove Box Light Bulb Size: 158
Map Light Bulb Size: 175
Dome Light Bulb Size: 175
Step/Courtesy Light Bulb Size: 158 or 194
Trunk/Cargo Area Light Bulb Size: 158

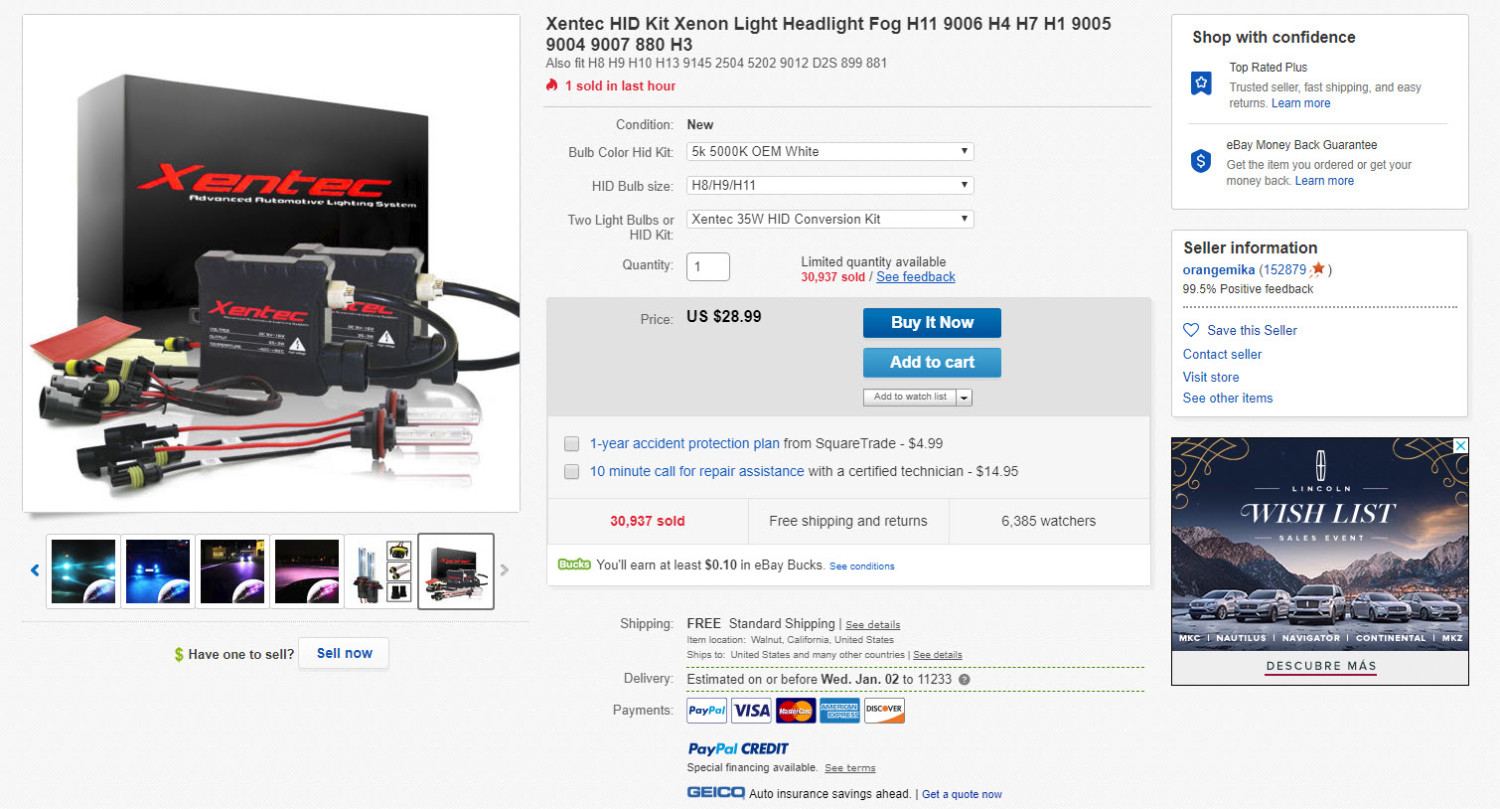
We’ve tried the H11 HID kits below with success. Not bad for under $30 bucks. 
 

Loading

Member Credit: Hamchan (hmax)

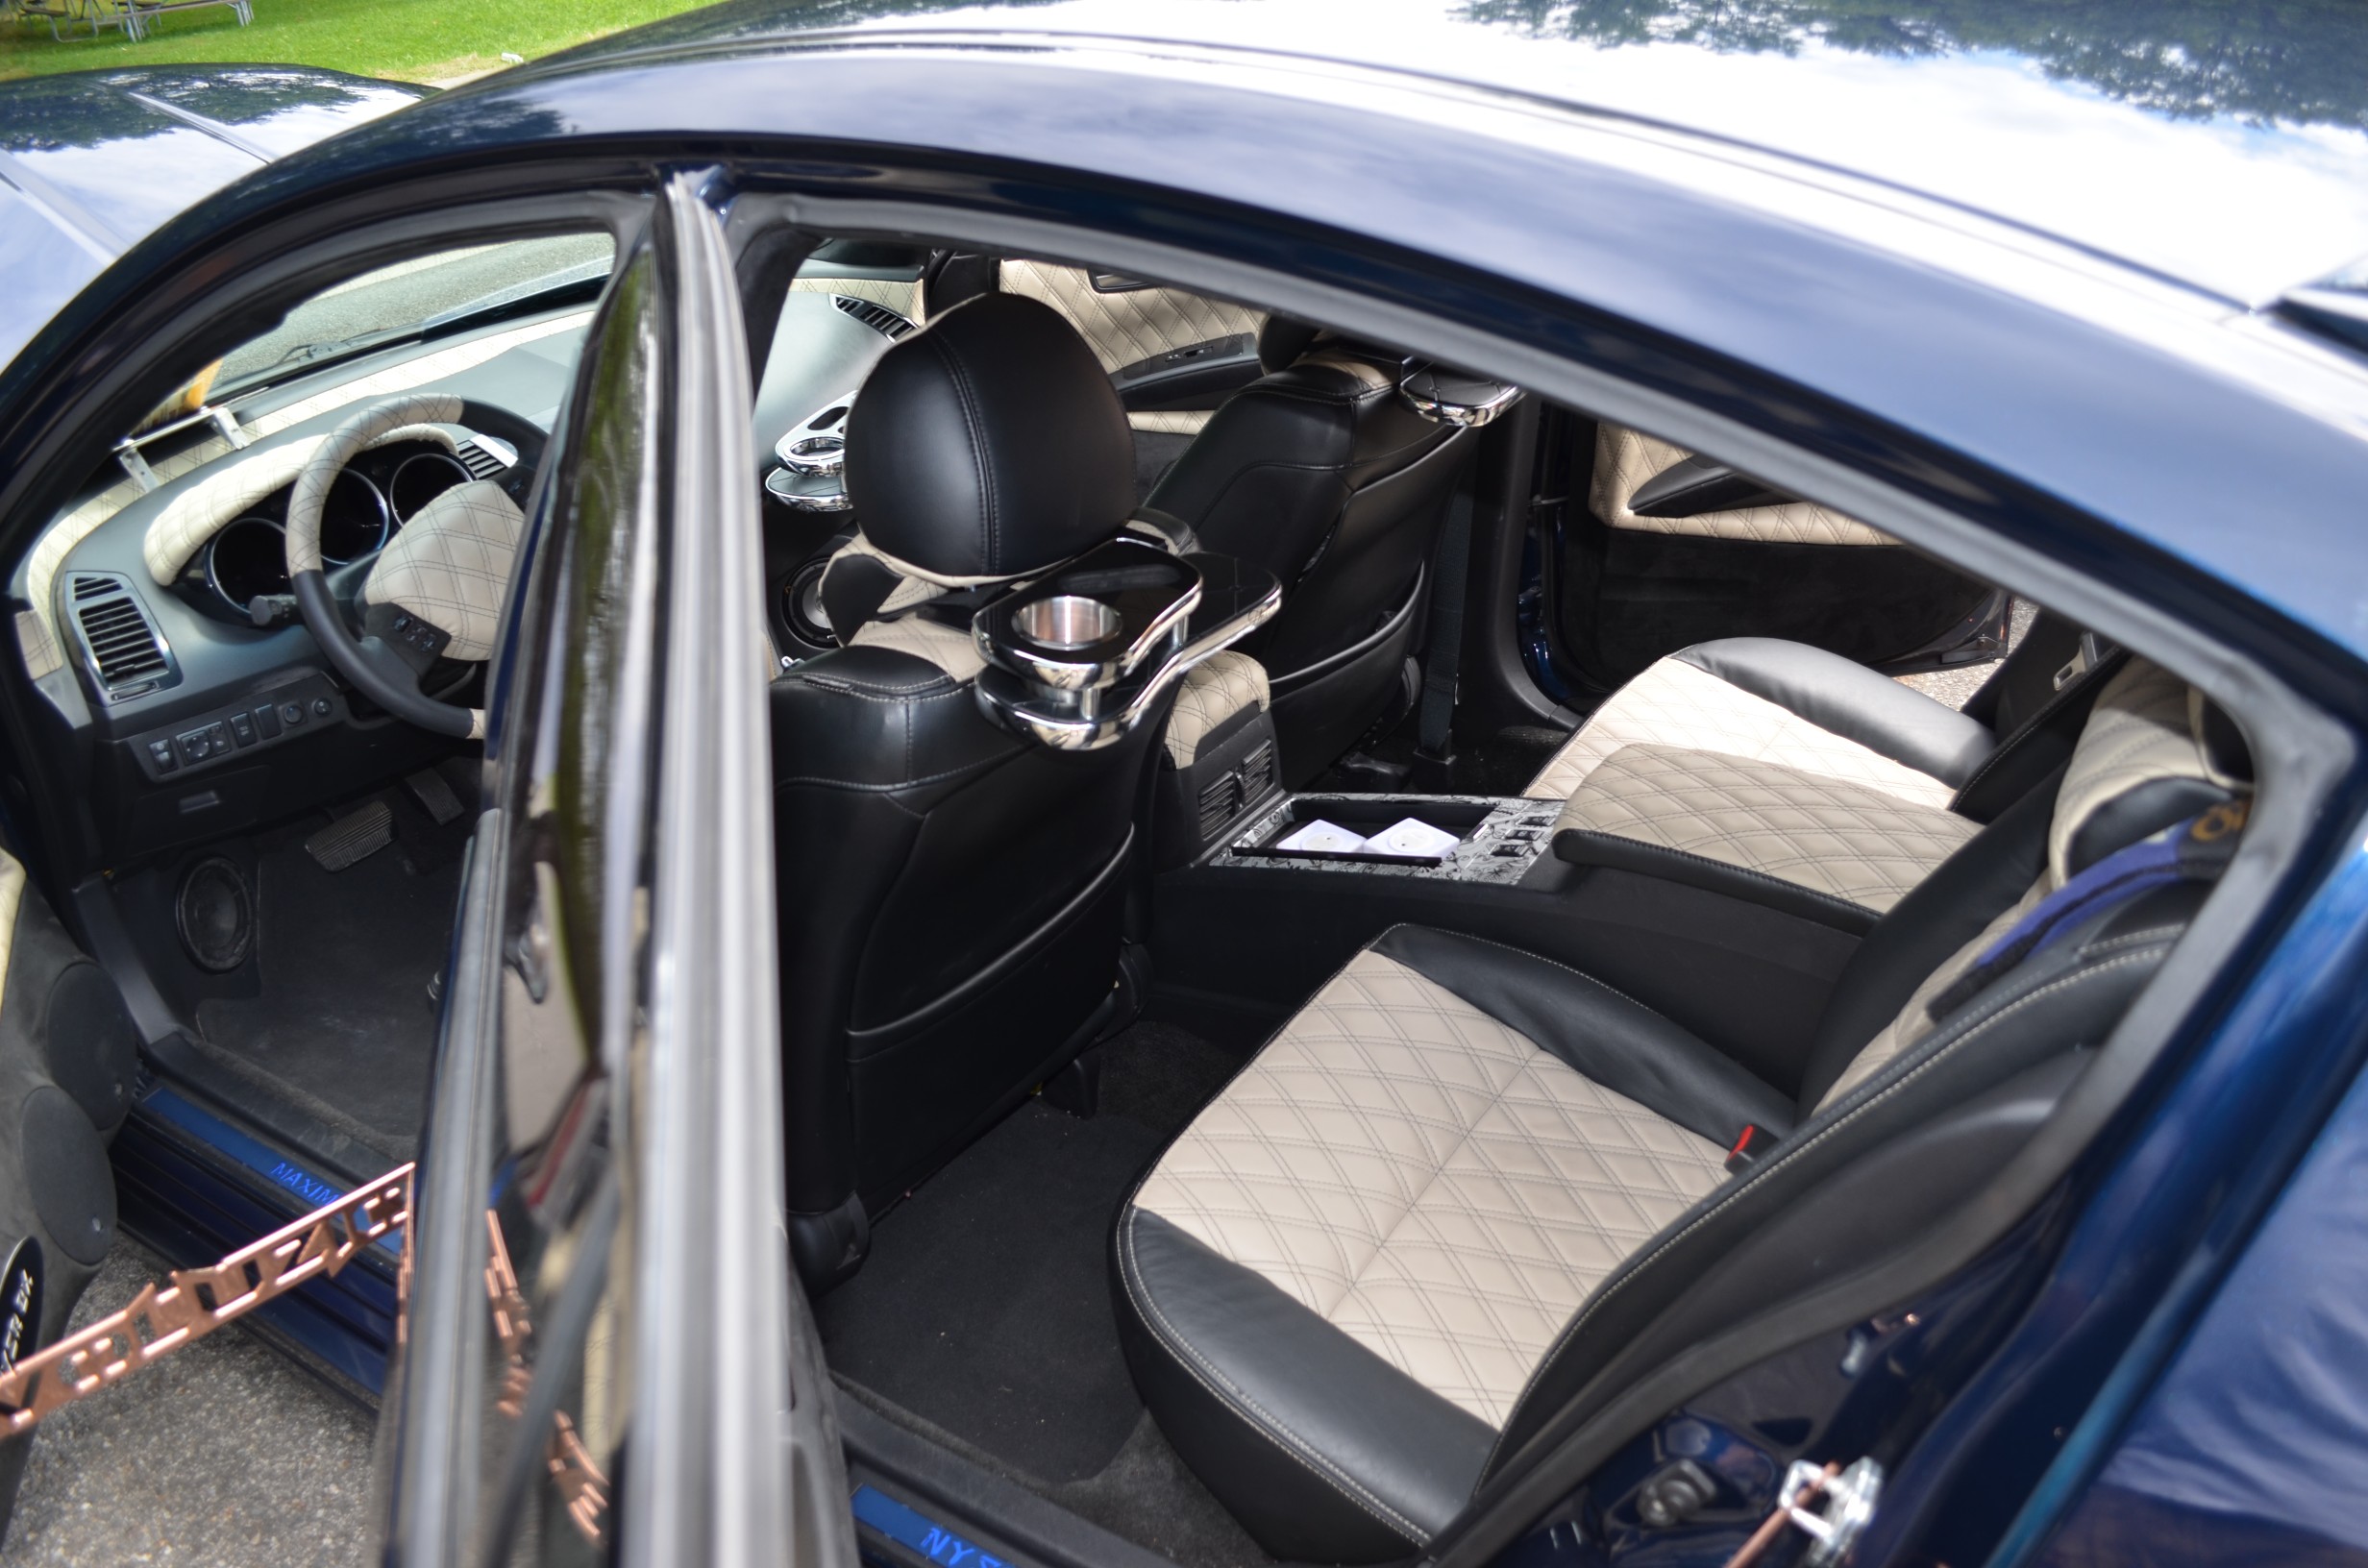
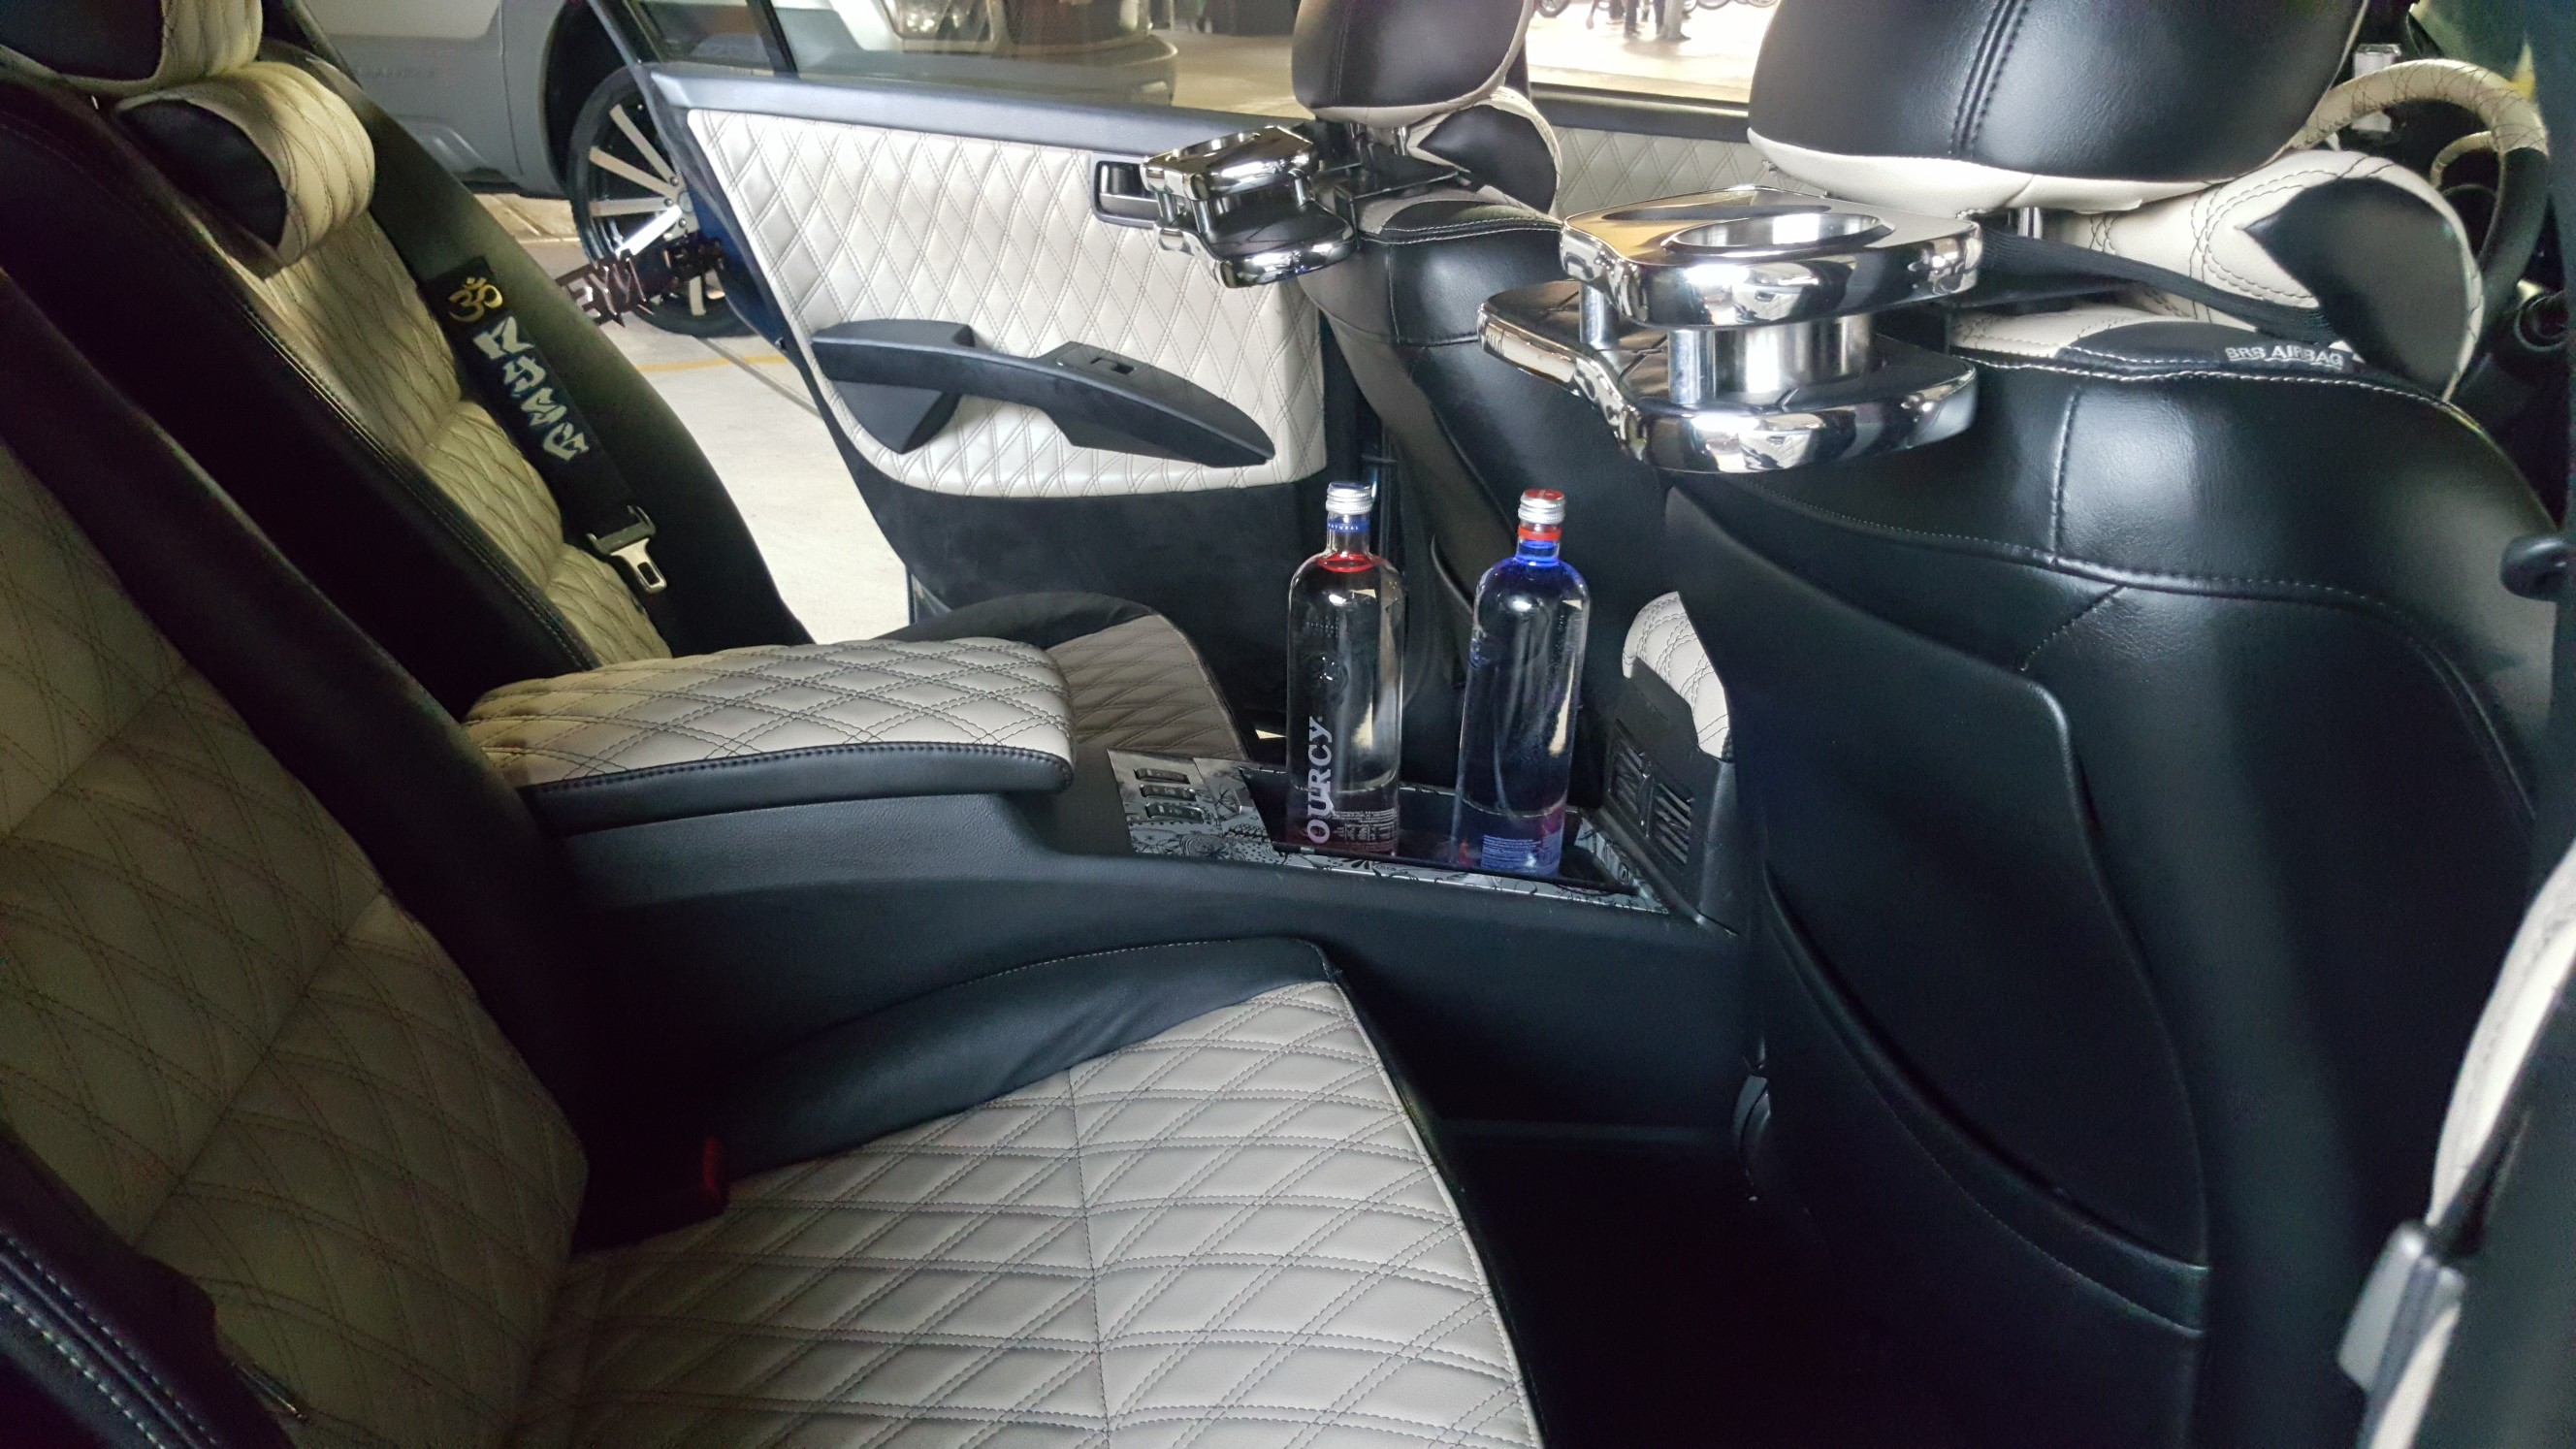
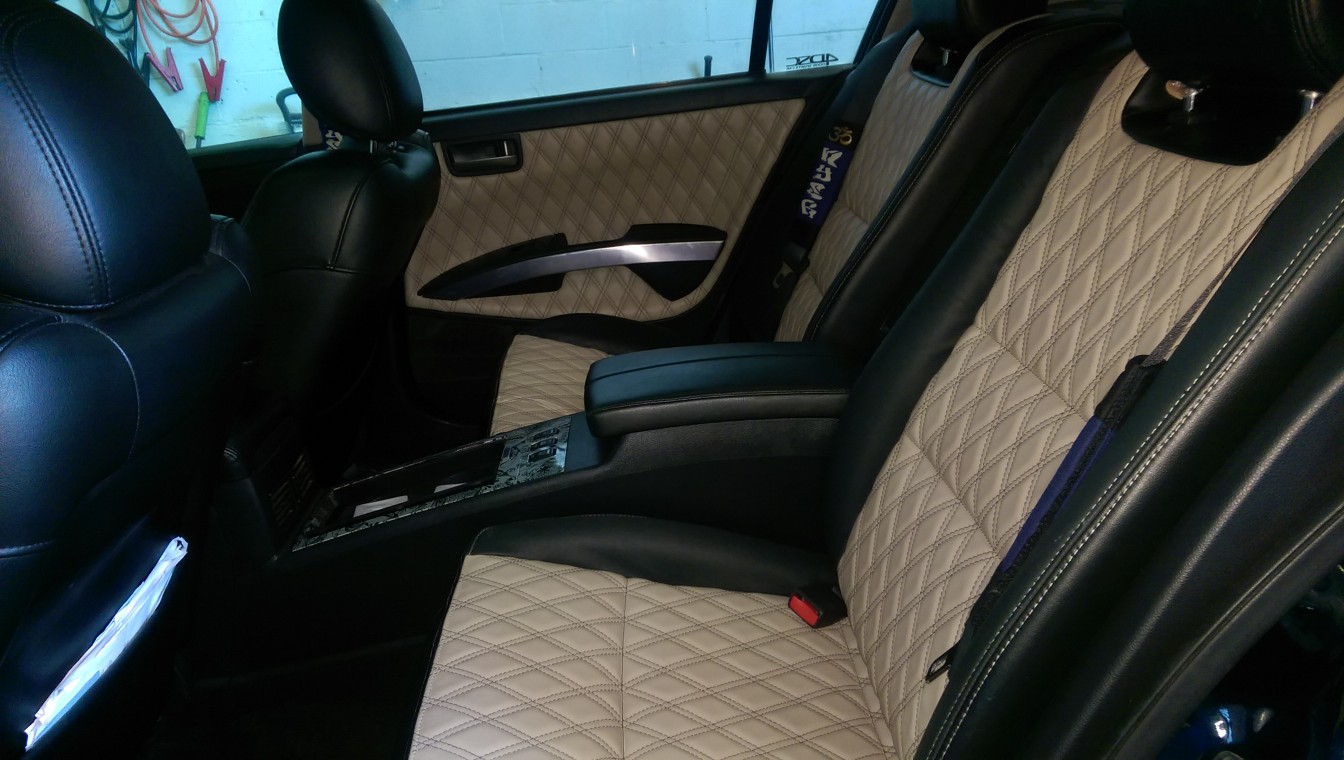
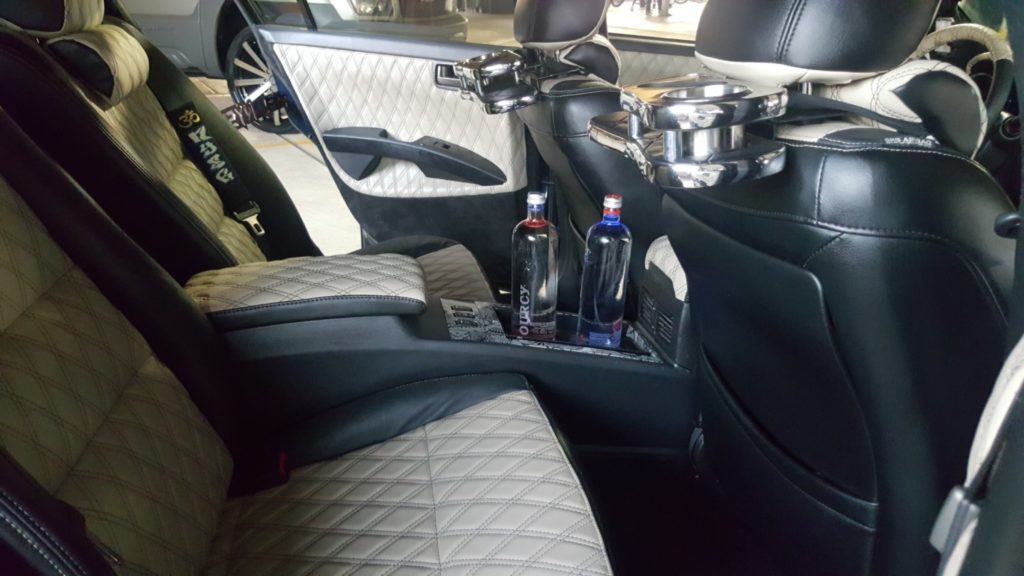
This is the story of my 2008 Maxima conversion using an Elite Package from a 04-06 Maxima. Hopefully this will help some of you. As you may know the Elite option was offered from 2004-2006 (6thgen) and some 2007-2008 (6.5gen) Maxima’s. Not too many 2007-2008 Maxima’s were ordered and build with Elite package. I have physically only seen two 07-08 Elite package Maxima’s.

You can pickup a used Elite Package anywhere between $150-450. All depends on who you get it from. Also, the “Peanut Butter” edition will go for slightly more.

“Peanut Butter Edition”

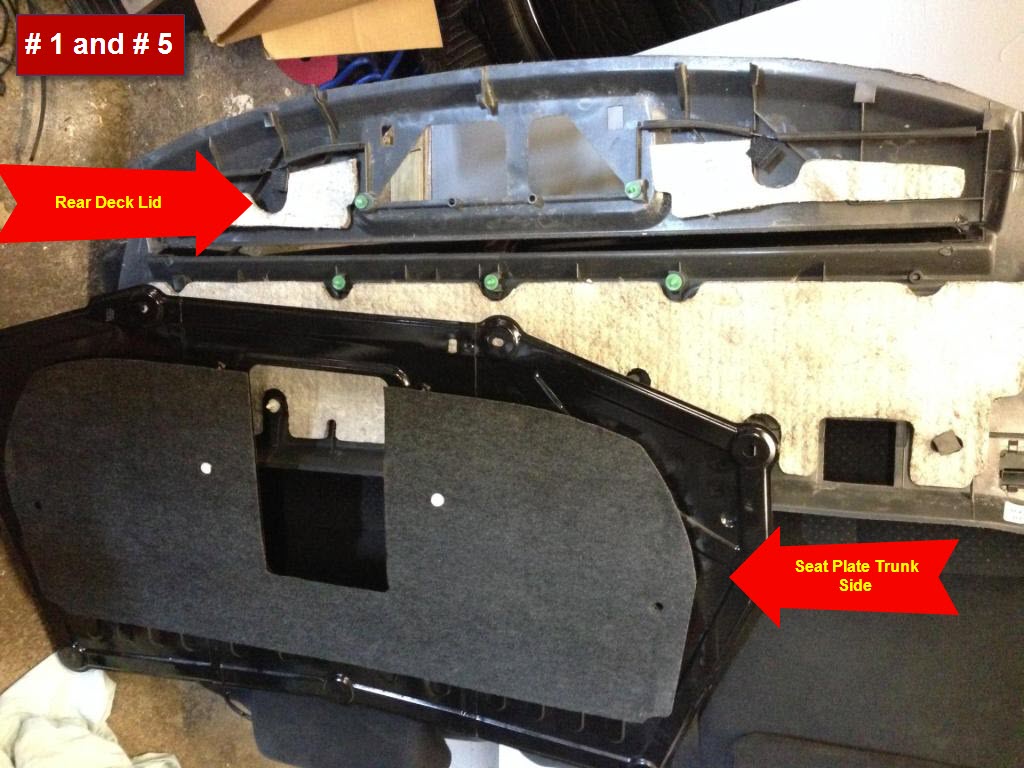
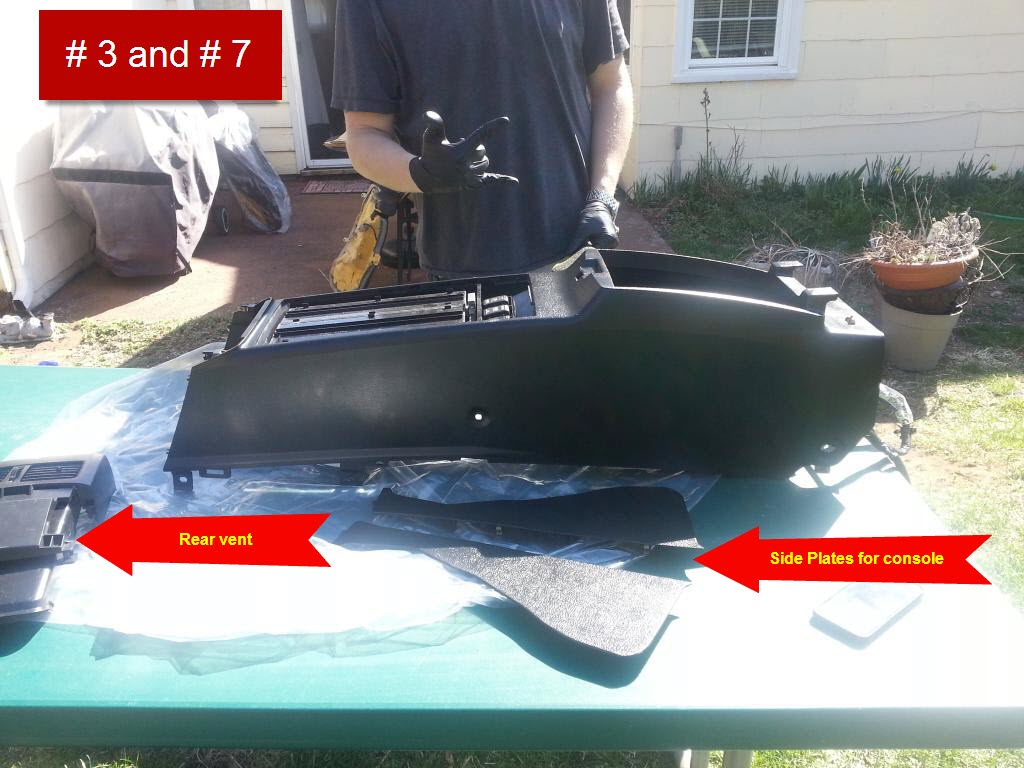
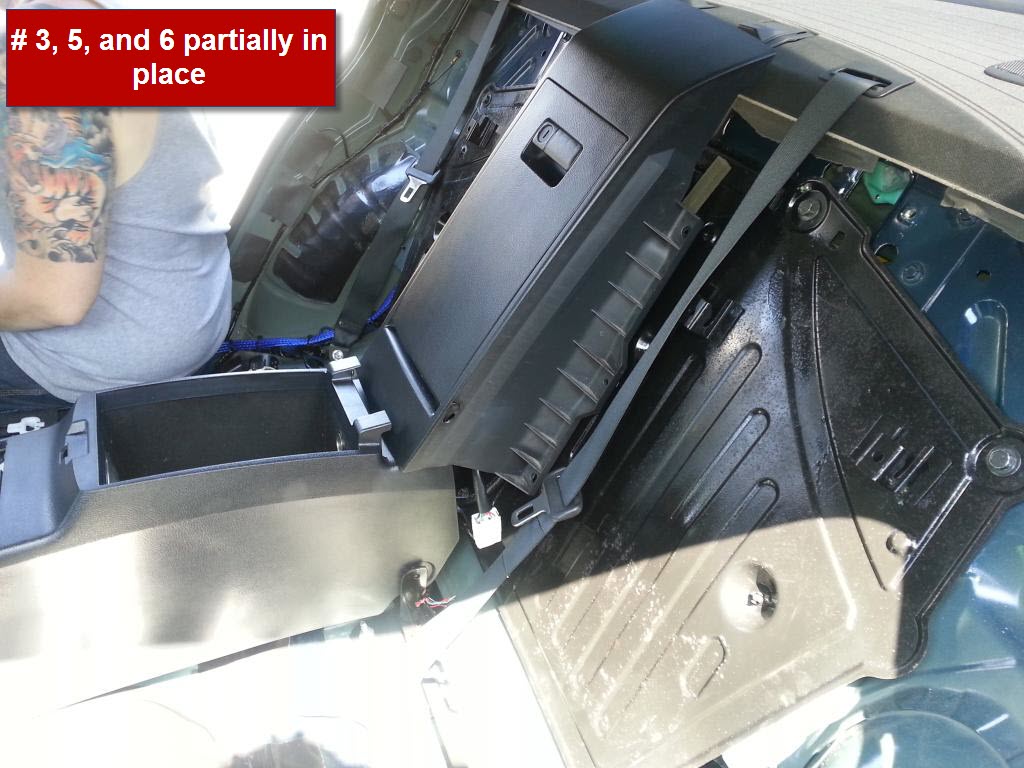
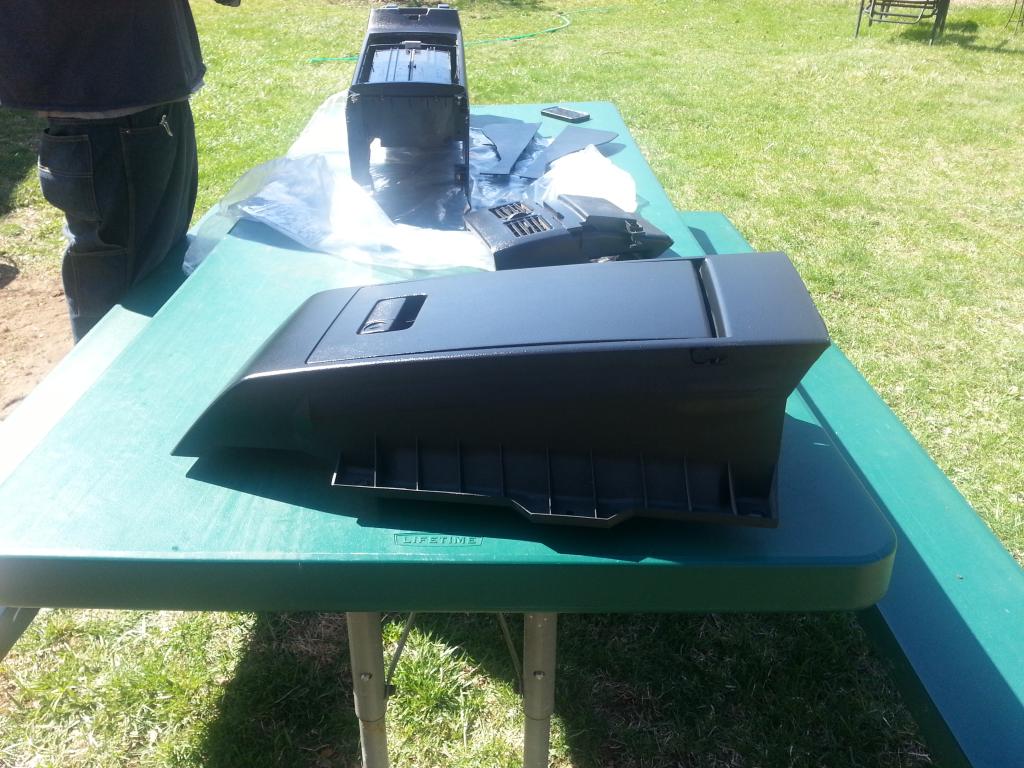
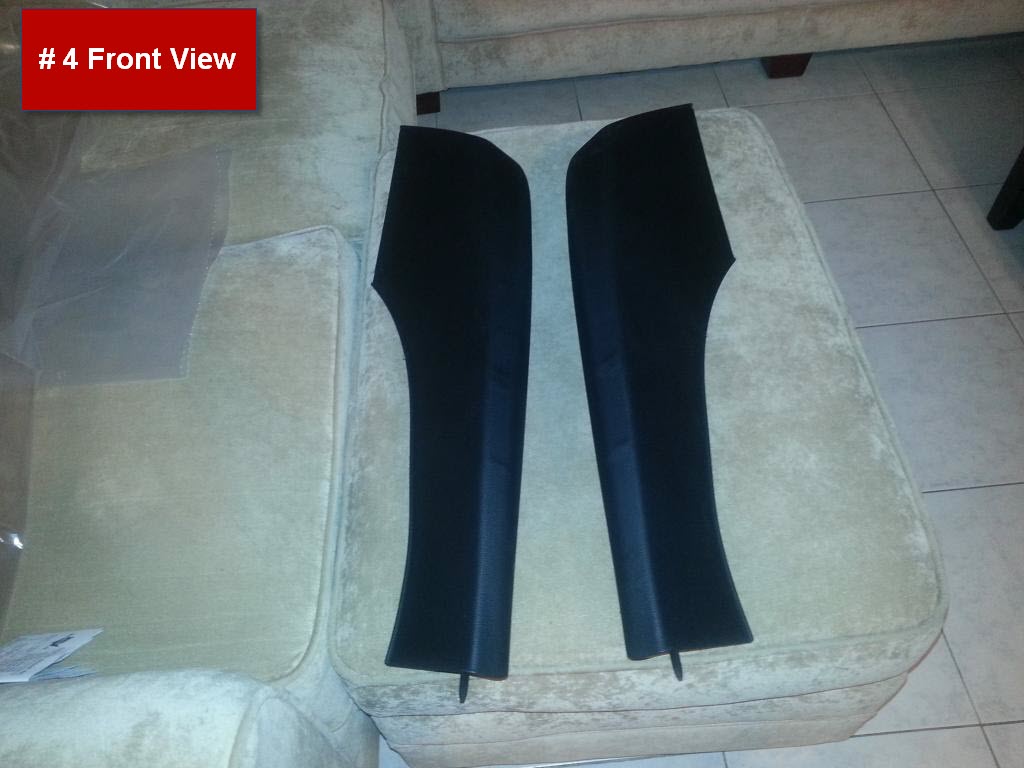
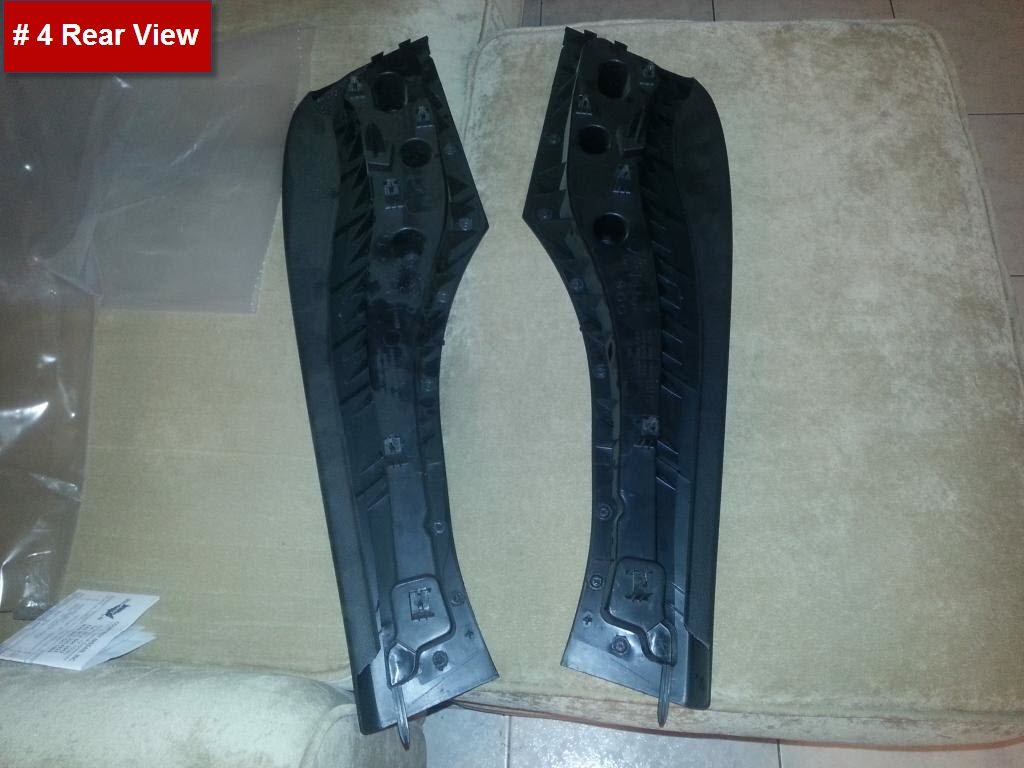
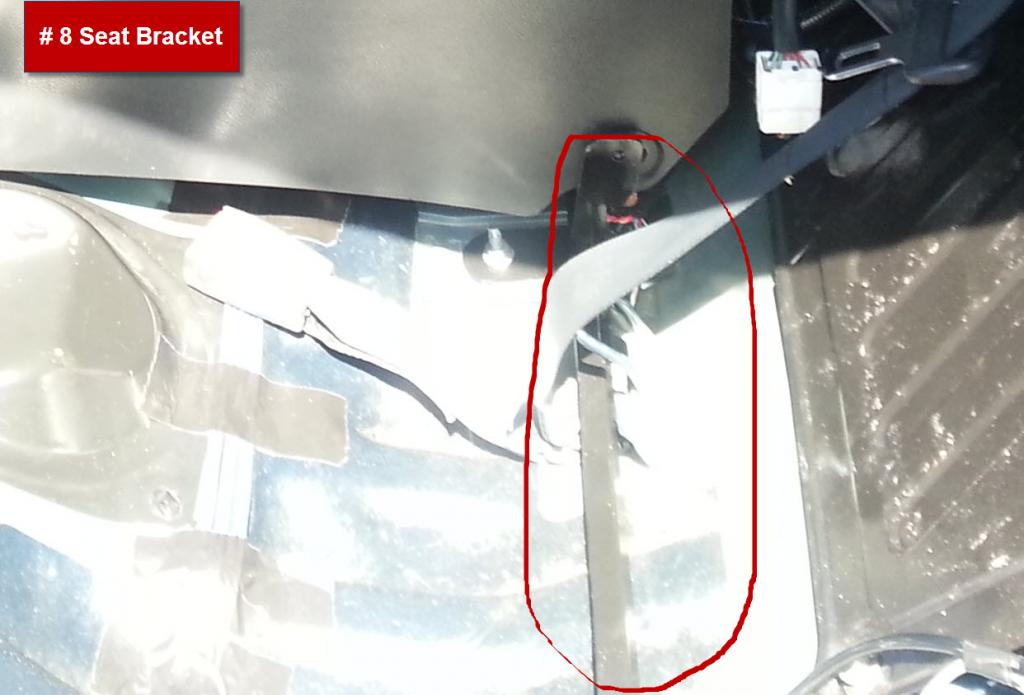
Pictures and Corresponding Numbers:

  1. Rear Deck Lid
  2. Rear Sun Shade
  3. Rear seats (4 pieces) Two Bottom and Two Top Pieces
  4. Side Bolster Plates
  5. Seat Plate
  6. Center console (6 total pieces)
    • Top Cubby
    • Rear Bottom Console
    • Rear Bottom Side Plates for Console
    • MAKE sure to get the assorted wires and switches behind/under the console. These wires control heated seats and sunshade.
  7. Air Vent for Front Console
  8. Seat bracket #8

Loading