Credit: redlinegoods
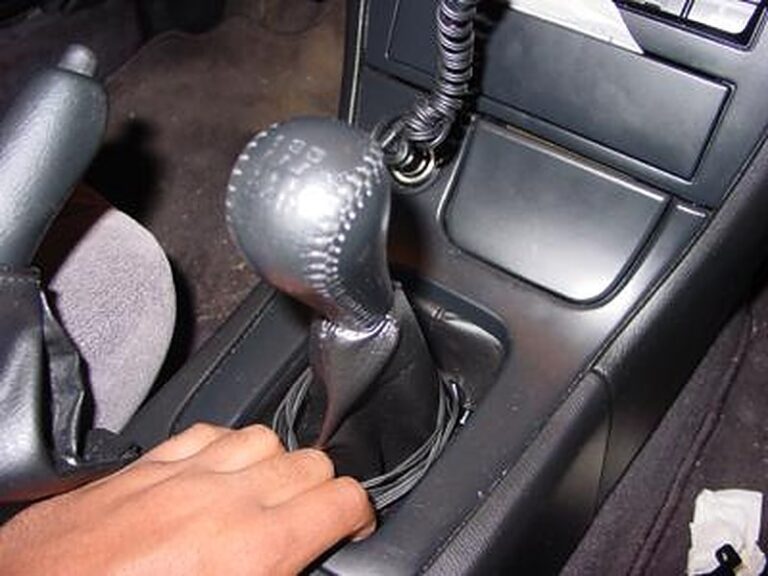
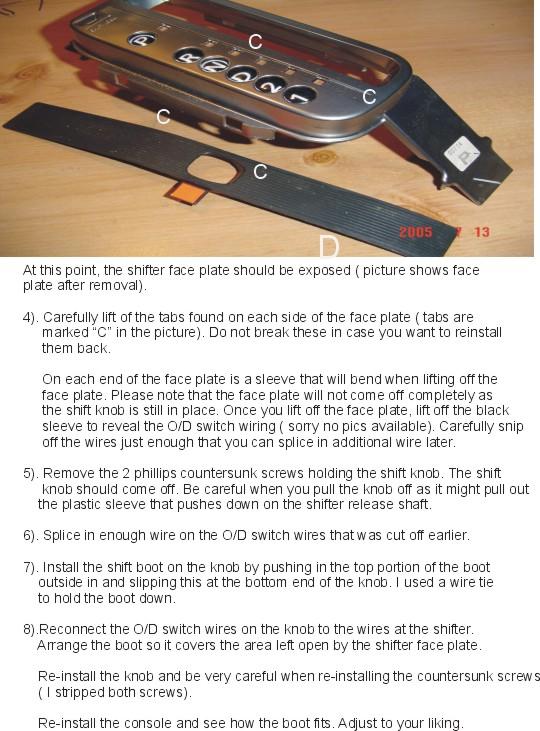
1. Start by removing your Shift Console.
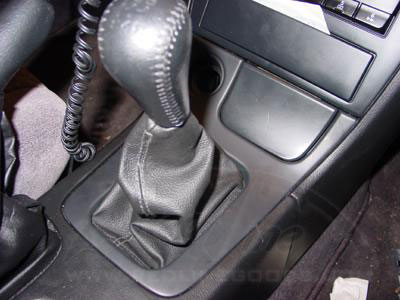
2. Pull the the rear of the shift console towards you and slightly lift.
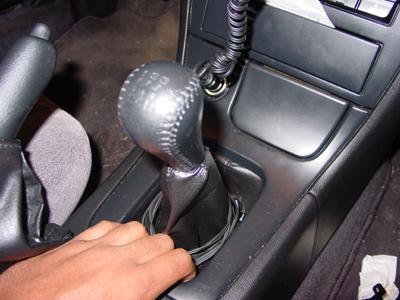
3. Pull the console slowly until it separates from the lower portion of the radio.
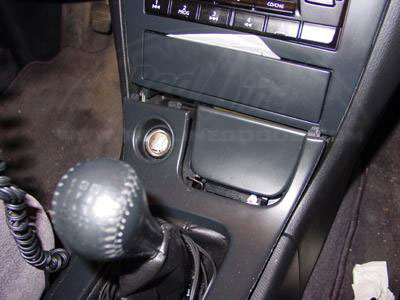
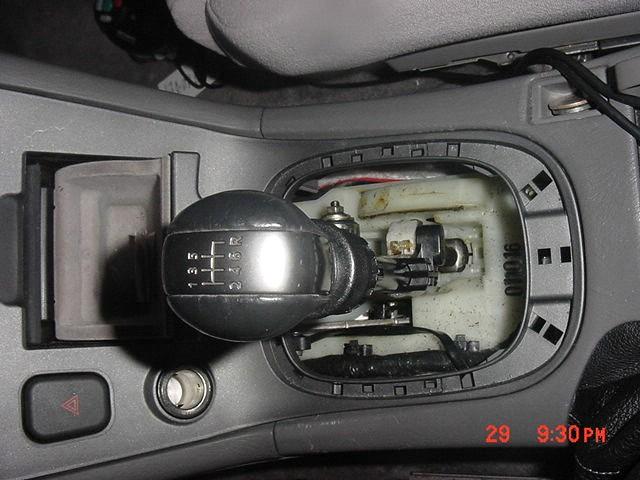
4. Turn the shift knob counter clockwise to remove it. You will need to remove the shift knob before you can remove the console. If it’s never been removed before, it’s going to be very tight. Use vise-grips to remove it but make sure to protect the surface of the shift knob with a towel.
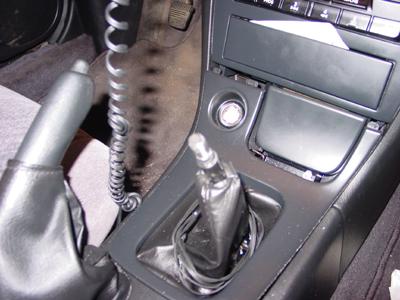
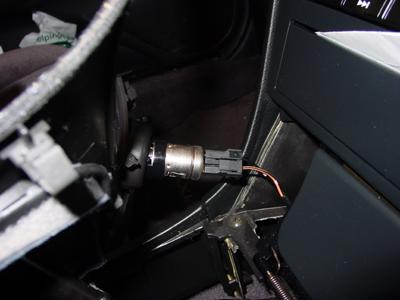
5. Also remember to remove the attachment for the Cigarette lighter.
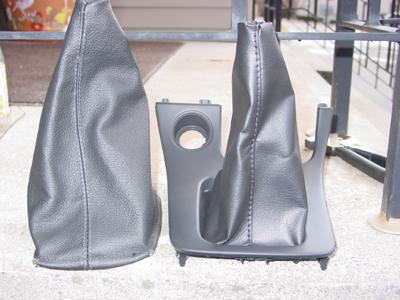
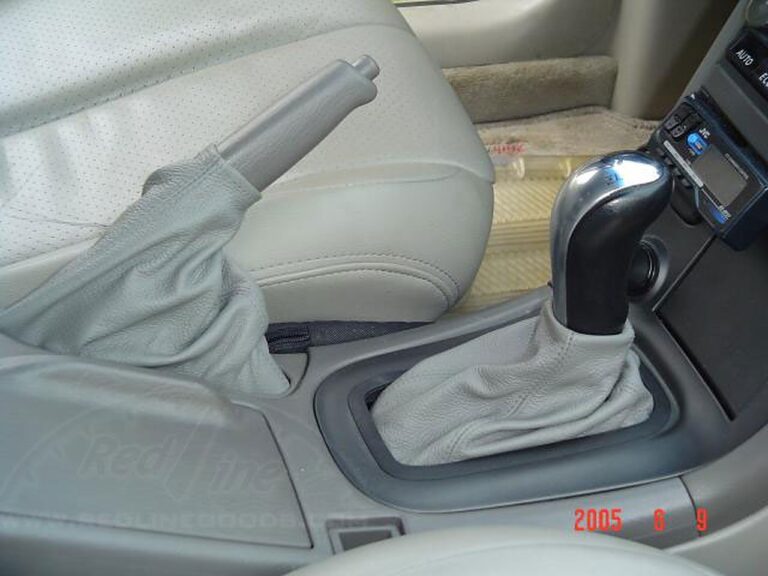
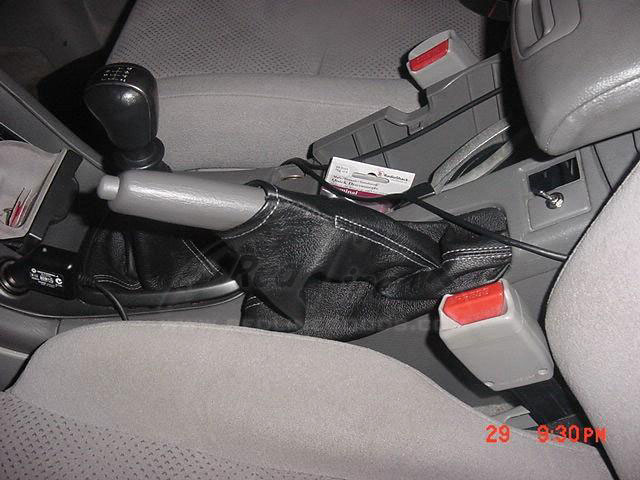
6. Here is a picture of the new boot next to the console and old boot.
7. Turning the console upside down you will see grooves where the old boot is secured into the console.
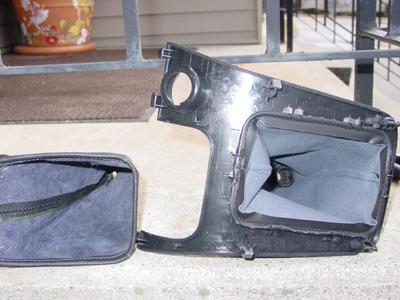
8. Pry the old boot out of the grooves under the bottom of the console.
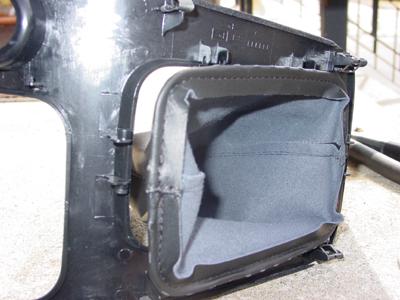
9. Remove the metal rods in the bottom of each boot.
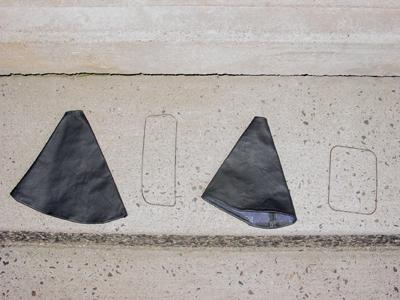
10. To install the metal rods for securement, you will have to cut the rod to insert it into the new boot.
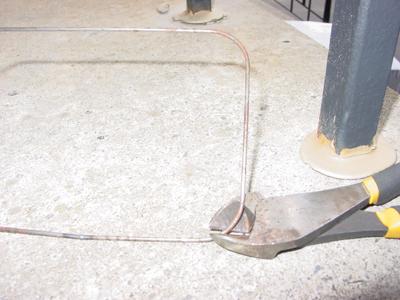
11. Here is shot of the Rod going in the new boot.
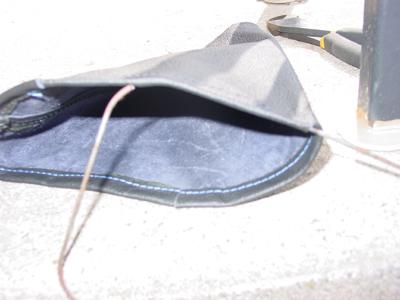
12. Here is a shot of the metal rod inserted in the boot. You maybe have to use JB Weld to keep the Rod perfectly in place.
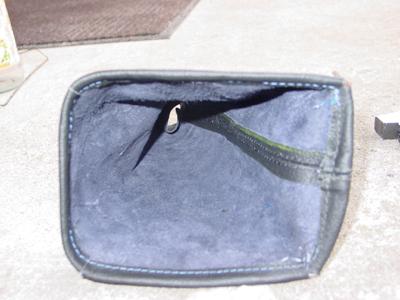
13. Once you have the metal Rod inserted in the boot, turn the console upside down and install the new boot into the grooves of the bottom of the console.
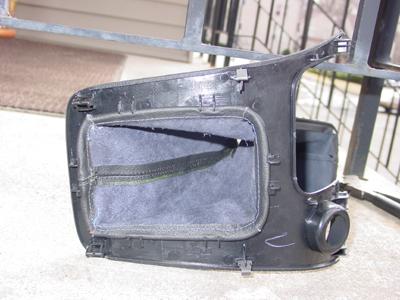
14. Here is a shot of the new boot in the console.
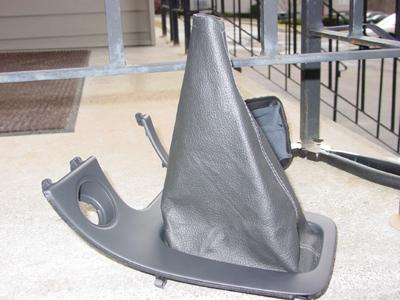
15. Repeat in reverse order the instructions on Removing the Shift Console and slowly slide the boot and console over the shifter and slide the console its place.
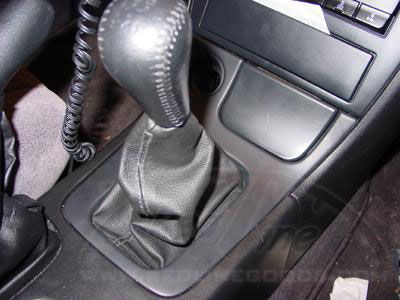
16. To remove the E Brake boot you will have to press down on the front of the boot by the opening of the shift console.
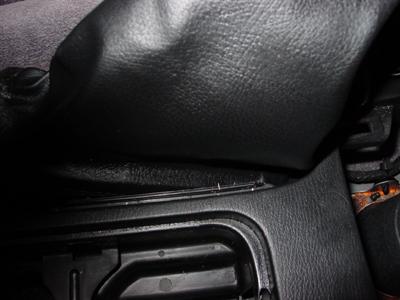
17. Once you have lifted the E Brake boot out of its grooves you can slide it over the top of the brake lever.
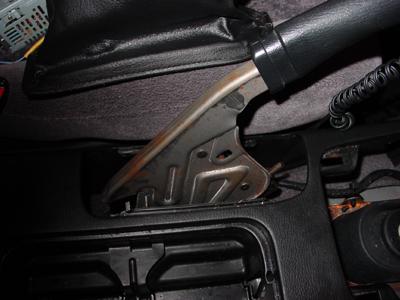
18. Now its time to install the metal rod in the E-Brake Boot. With the boot facing towards the car, the thread stitch goes on the bottom of the brake. We would advise you to line it up in the car before cutting and inserting the rod. Try to get a very good idea of how you are going to mount the boot.
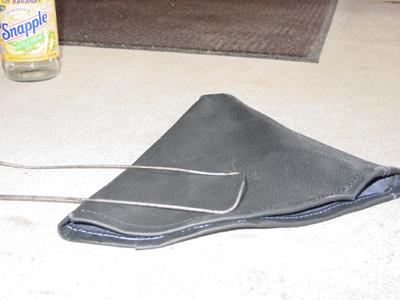
19. Here is a picture of the rod installed in the boot.
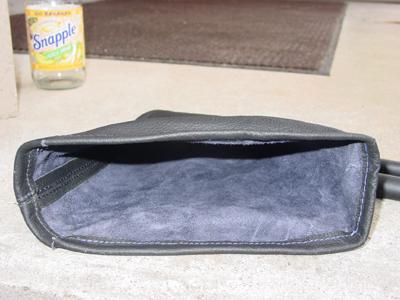
20. Re-insert the E Brake Boot and rod as before.
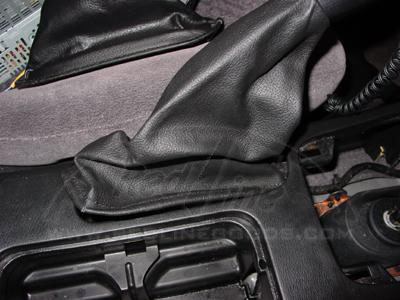
ENJOY YOUR NEW LEATHER BOOTS!
Useful tip
You have installed a product made out of genuine leather. As you know, to maintain a leather product in good condition, you should take care of it. We suggest occasionally (every 4-6 week for example) applying some leather conditioner/UV protector to keep your leather from drying up in the sun and cracking.


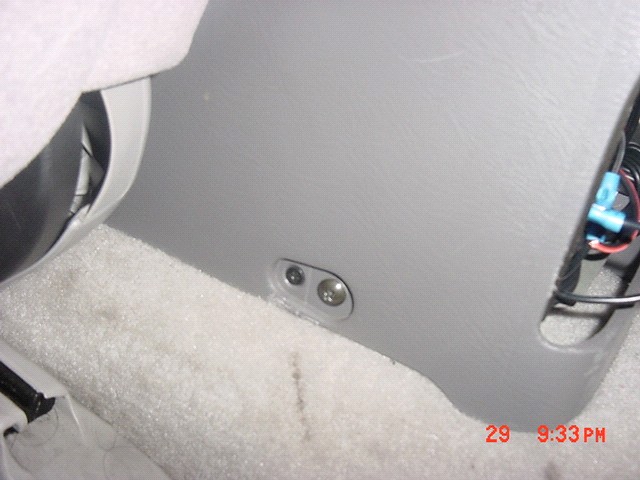
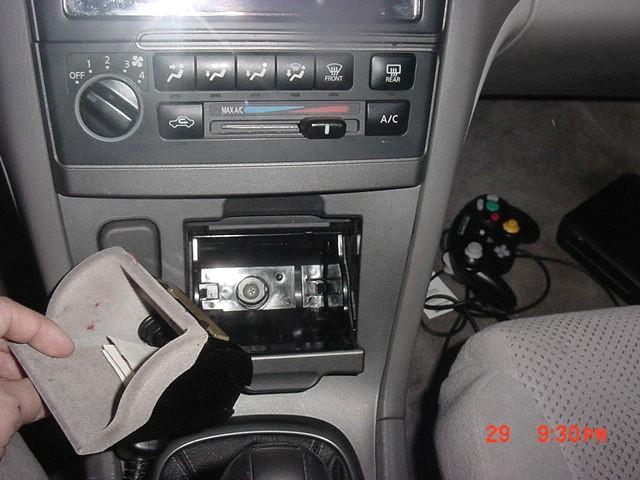
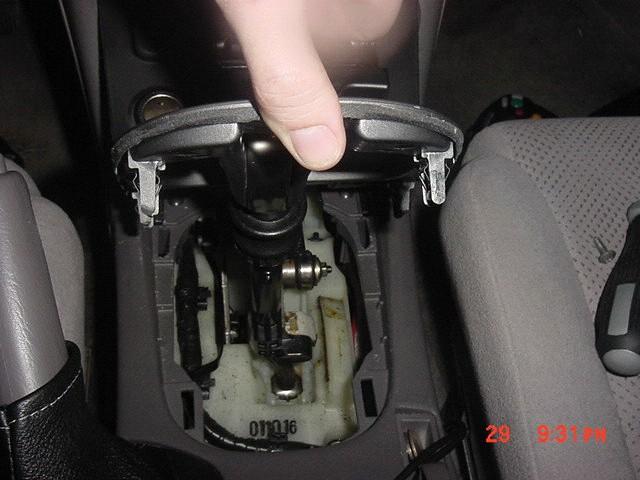
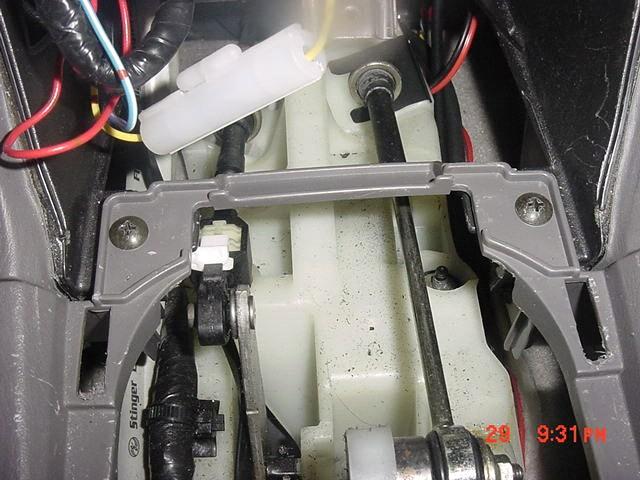









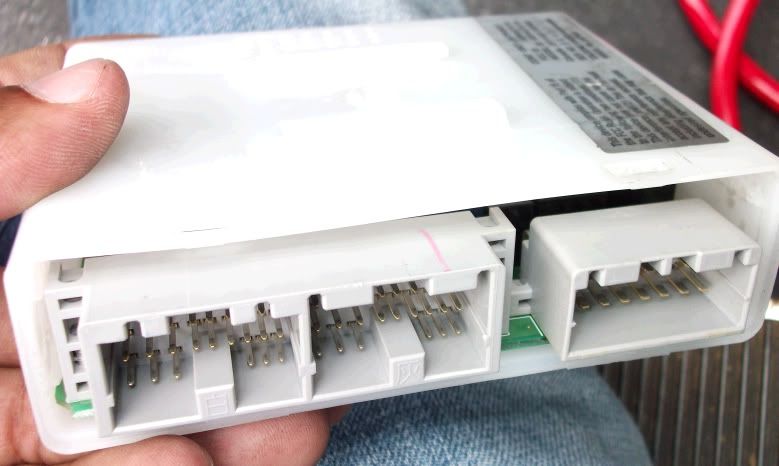
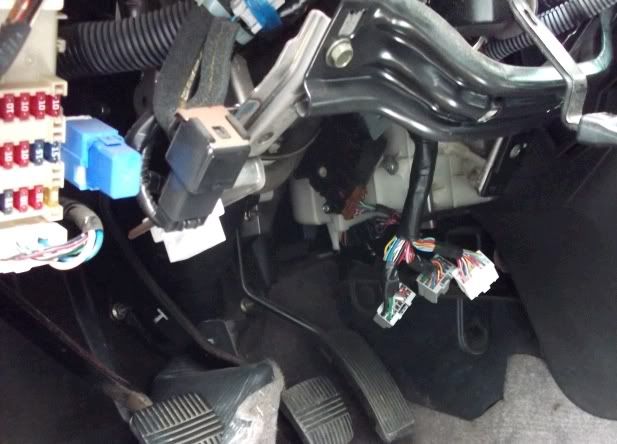 Closer look at harnesses:
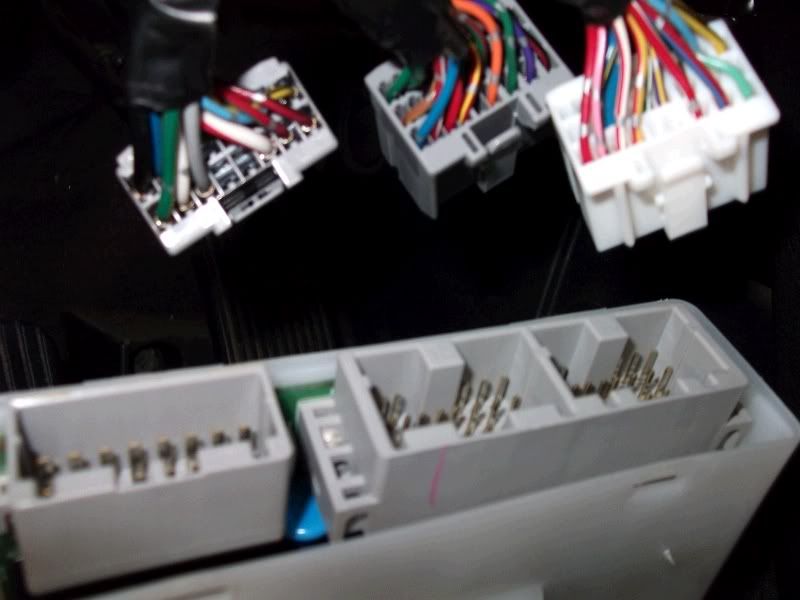 Plastic nub on ECM:
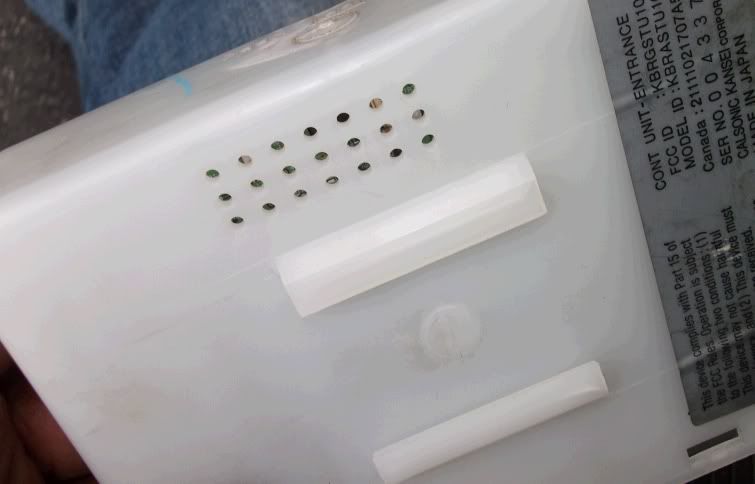 ECM in hand:
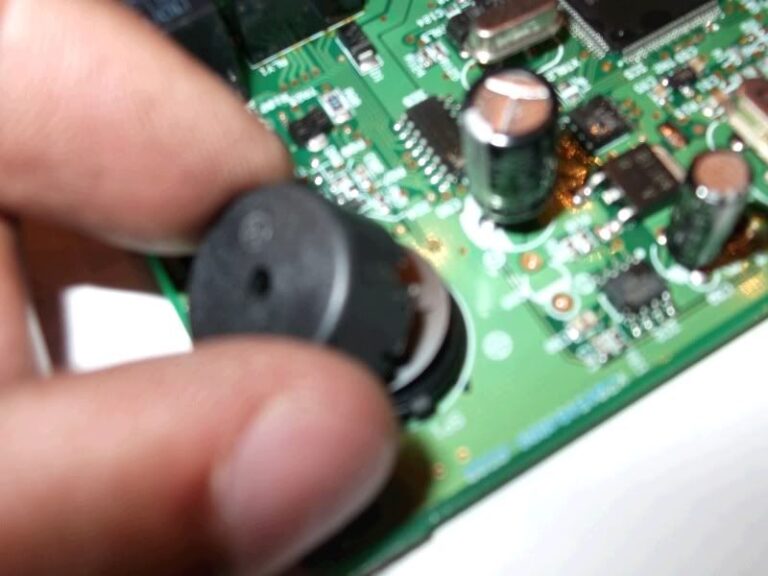
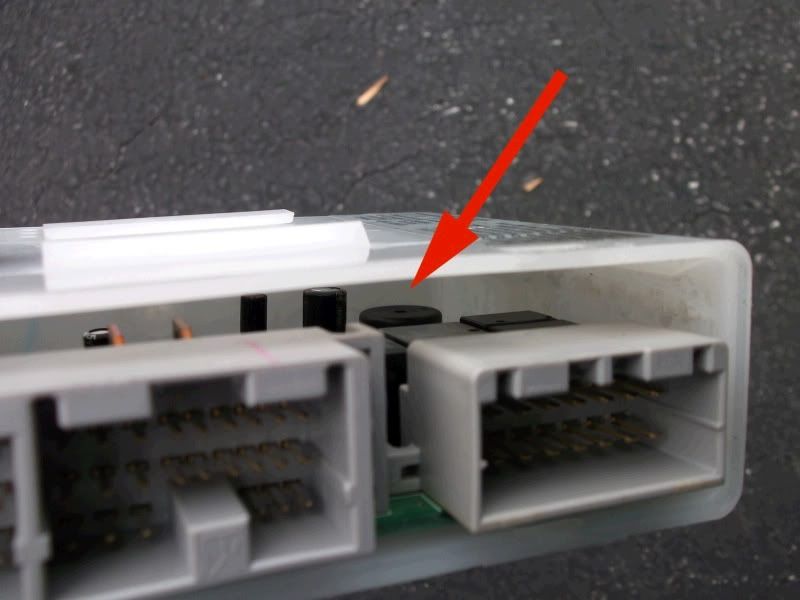
 There’s the piezo buzzer we want to get to:
 3. Slide the ECM circuit board out of its plastic protective case. Don’t rush, since you don’t want to damage the board or the case. It requires some cautious strength to wiggle the board free from the plastic guides. Easy does it. Used a screwdriver or needle-nose pliers if you need to. It’s probably good to ground yourself free from electrostatic charge before doing this, as not to damage the electronics with a static charge. (Again, I’m a nut and so I didn’t bother.)
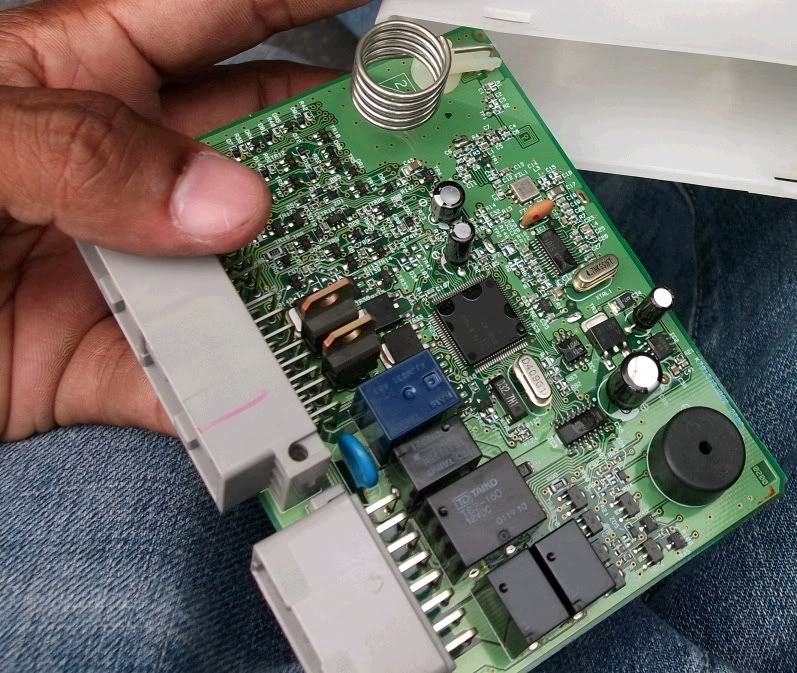 4. With board in hand, find a clear table so you can take apart the piezo speaker without losing any pieces. Carefully pry the black cover off the underlying base of the piezo buzzer, to reveal the inside:
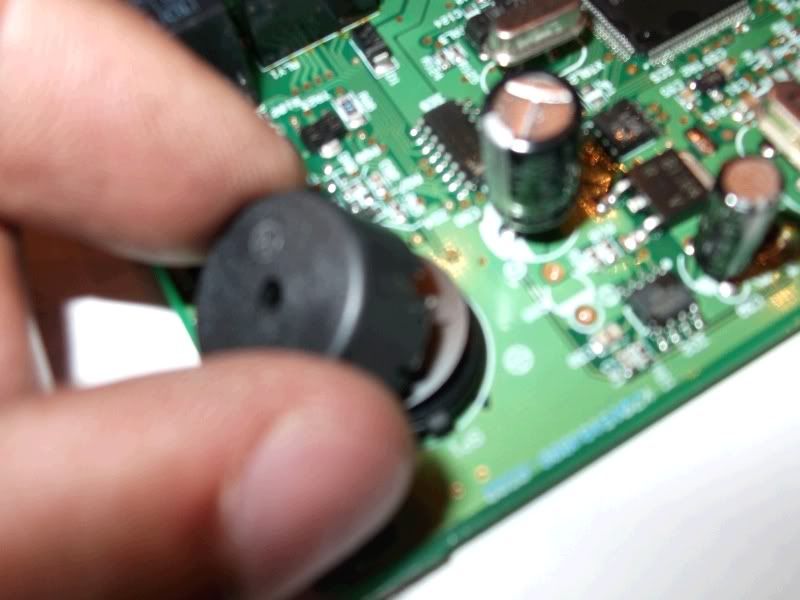 5. That shiny, thin, silver disk is the piezoelectic element that you want to remove. Take it off. (It’s unsecured, and will easily fall out once you take the black cap off.) This is the critical component that makes the chimes/sounds/warnings. Save it somewhere, in case you ever want to reverse the procedure down the road.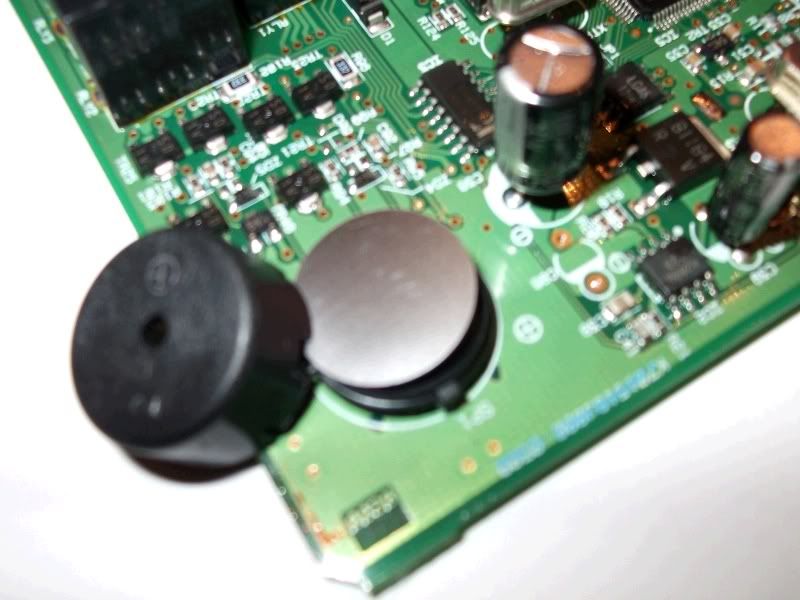
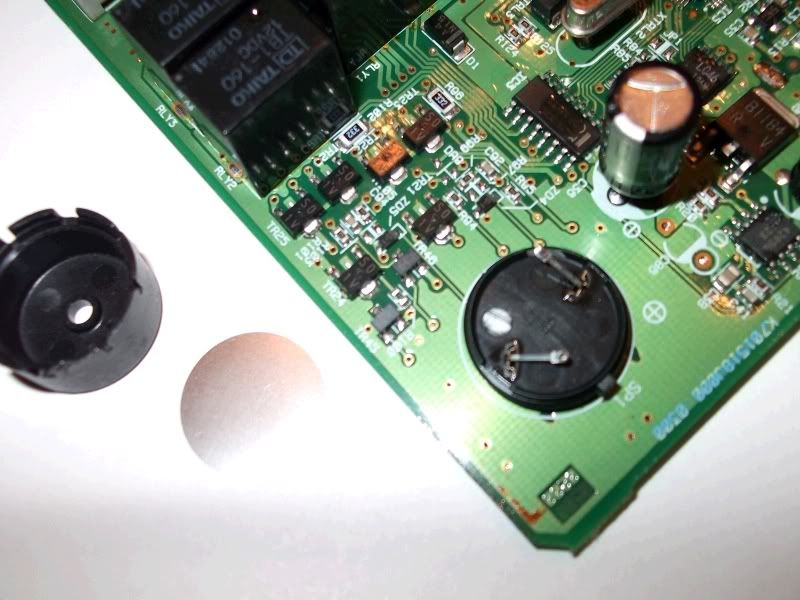 6. Replace the black cap (or not — it’s optional), and put everything else back together. Don’t start the car without the ECM wire harnesses back in their expected receptacles.







 \
\