Community Member Credit: maxilvr06
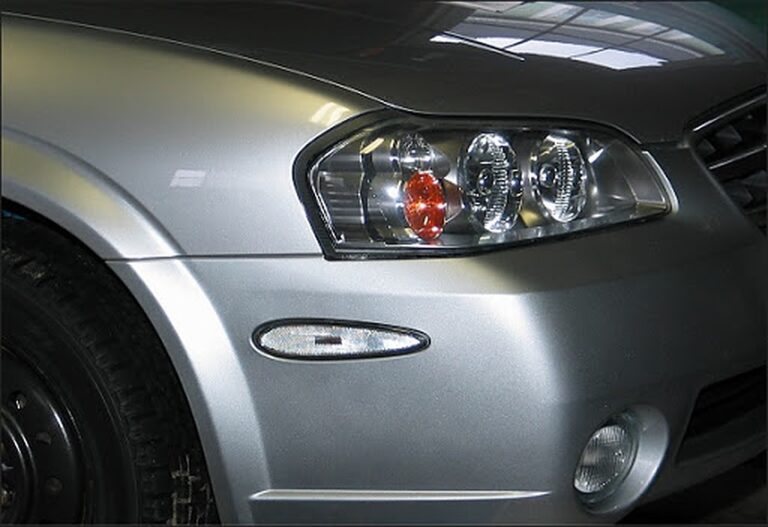
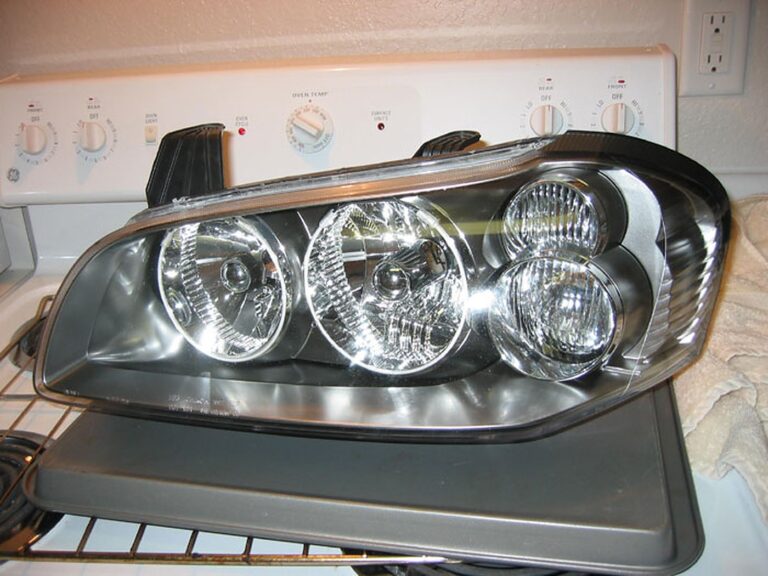
This page is a How to on clearing out that ugly orange blinker lens within the 02-03 maxima headlight housing. If you choose to use a clear lens (and not just leave the lens out) on your headlight, I suggest you buying a package of malibu 11 watt sealed beams (P/N: ML11P2) found at home depot in the outdoor lighting section. They are shown below:

Materials Needed:
- 10mm Socket Wrench
- 1 Average Phillips Screwdriver
- 1 Small Phillips Screwdriver
- 1 Small Flat Head Screwdriver (or Something Else Small and Flat)
- Wide/Flat Screwdrivers (as Many as Needed)
- Dremel Tool With Cutting Wheel and Fine Grit Sanding Attachments Oven
- 1 Cookie Sheet/Baking Pan
- 2 Old Towels
- 2 Malibu 11 Watt Sealed Beams P/n:ml11p2 (Found at Home Depot in a Pack of Two in the Outdoor Lighting Section)
- Channel Locks
- Paper Towel
Instructions:
1.) Remove headlight from car by using a 10mm socket wrench to remove the two screws attached to the upper radiator support and pulling sharply.
2.) Unplug one grey harness leading to the low beam and unplug the blinker and the high beam bulbs by twisting and pulling out.
3.) Once the headlight is removed from the car, remove all the bulbs and the ballast from it:

-use an average sized phillips screwdriver to remove the three silver screws holding the ballast to the headlight housing

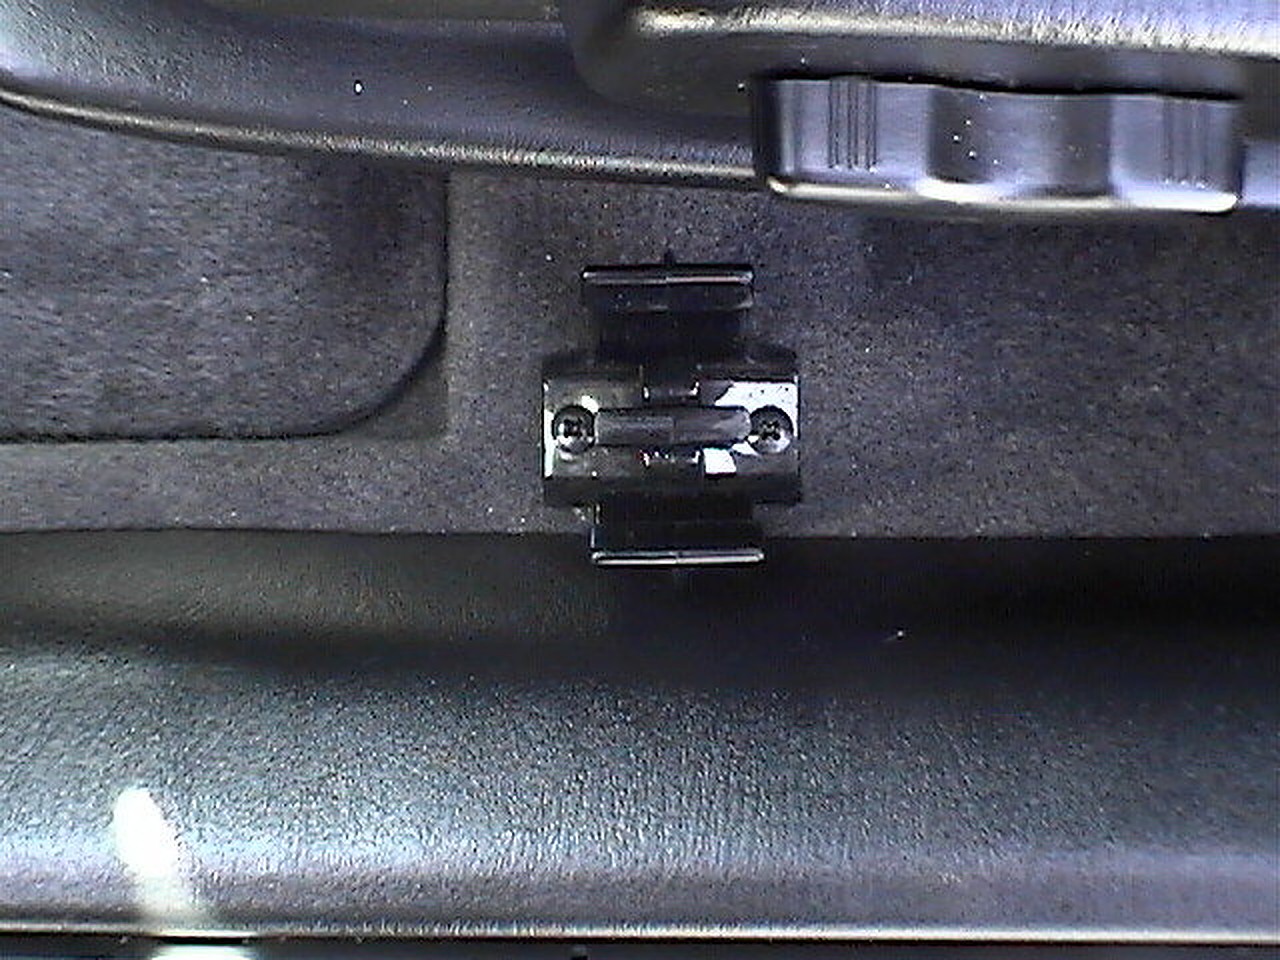
-unplug the harness connecting the ballast to the headlight housing by inserting a small flathead screwdriver (or something else small and flat) into the opening pictured below to release it while pulling

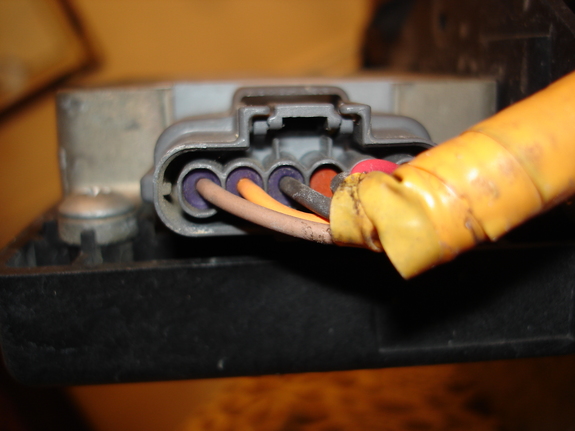
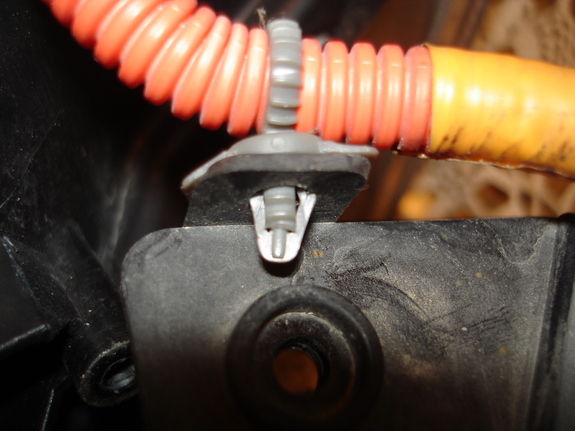
-disconnect the large red/orange wire from the anchor point by squeezing the tip end together and pulling through
-remove the clearance bulb,
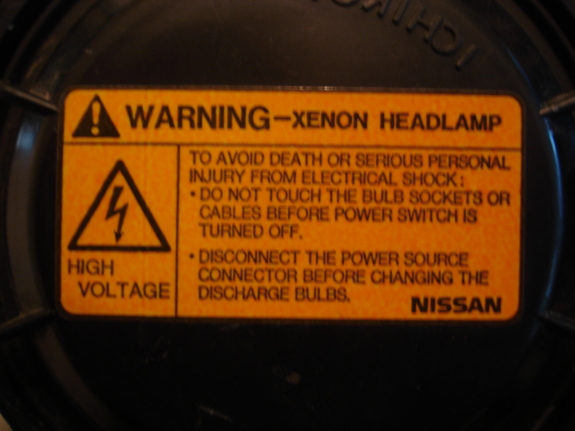
-remove the black plastic cap covering the HID bulb
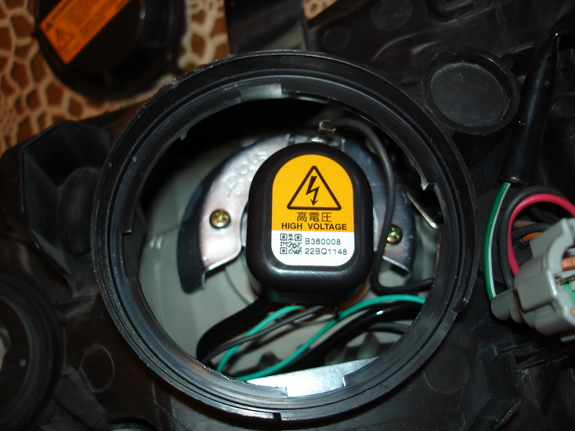
-twist the harness and pull out to reveal the bulb.
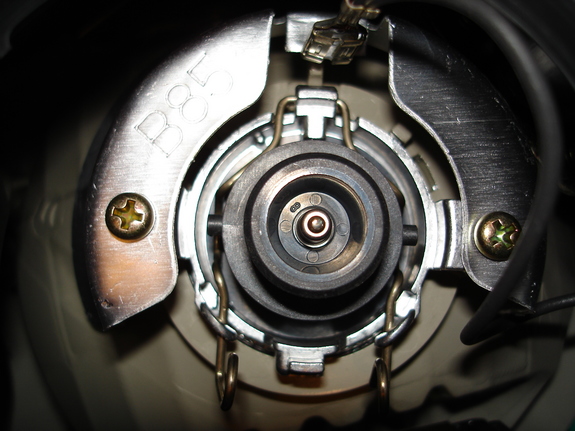
-After you get the bulb disconnected, remove it by pinching the two metal pins together and lifting upward giving you access to it. (all the attatched harnesses and plugs will be fine in the oven)
Here are what the bulb and ballast look like removed:
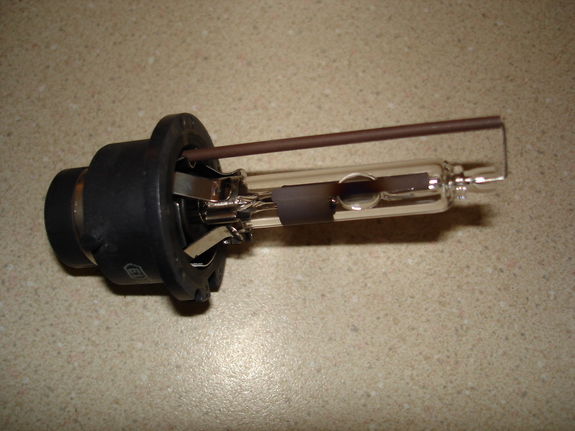
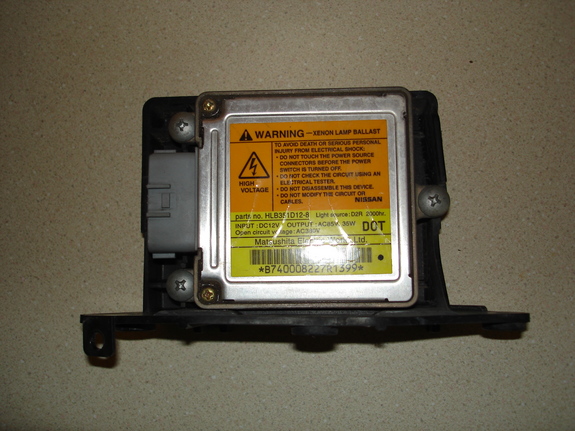
4.) Remove three very small screws from the backside of the headlight housing (two are located on the blinker side of the headlight, and one is just above where the ballast is; circled in red in the picture at the top of the page)
5.) Take an old towel and wet it, then put it on a cookie sheet or some type of baking pan so that the housing will not come in contact with hot metal while in the oven.
6.) Set the headlight on top of the wet towel face down (no need to cover the housing with the towel) and bake it for 20 minutes in the oven at 210 degrees.
**DANGER! Do NOT let any of the plastic parts, including the harnesses come in contact with any part of the oven or the metal pan! It could melt!**
7.) After taking the headlight out of the oven, lay it on an old towel and put the headlight on your lap while sitting down so you can get a good grip on it.
8.) Using a wide, flat screwdriver, gently insert it in between the black plastic housing and the clear lens where ever there is a gap. (i started at the top)
9.) With the screwdriver inserted still, slowly move it around the housing lifting the black plastic part up and try to pry the tabs up as you go. You can also use a couple other screwdrivers and just wedge them in where the tabs are so that you can pull apart the housing without having the tabs latch again on you.
10.) Be extremely patient on this part and try not to damage any of the plastic. (because it can be quite pliable after they’re baked) Once you get a bit of a gap all around the top of the housing, get a good grip and, without breaking anything preferably, slowly pull it apart. (the sealant will still be very sticky, so if you need to, you can put it back in the oven for 5 more minutes to make it a bit softer)
11.) When pulling apart the housing, try to release as many as the bottom tabs as possible for more ease, but after you get the top half disconnected, it should be pretty easy to pry apart the rest of the housing.
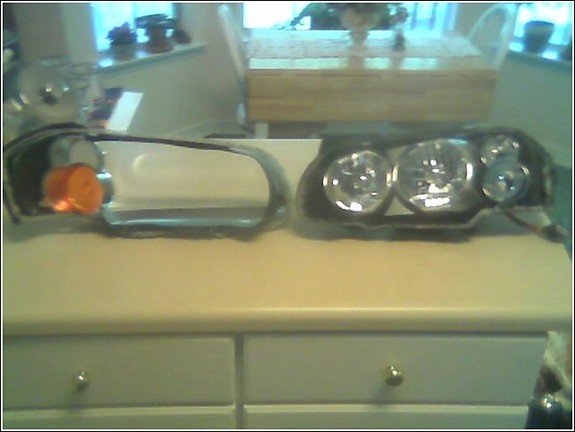
12.) When taken apart, it will look like the picture below. Remove the orange lens by simply snapping it out toward you from the three little tabs. (be very careful on this part though. The tabs are very small and will probably be very easy to break if too much stress is applied to it)
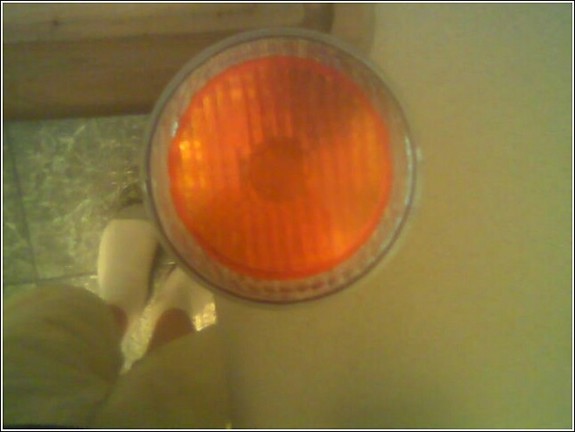
13.) Center the orange lens over the malibu housing as best as possible, and use a permanent marker to trace it onto the malibu lens.
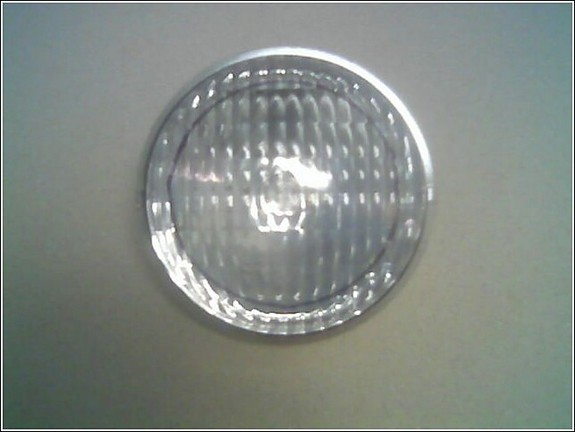
14.) Using a dremel with a cutting wheel attachment, carefully cut the lens out of the housing. (try not to get too close to the circle you traced. the cut doesn’t have to be perfect and you’ll see why in the next step)
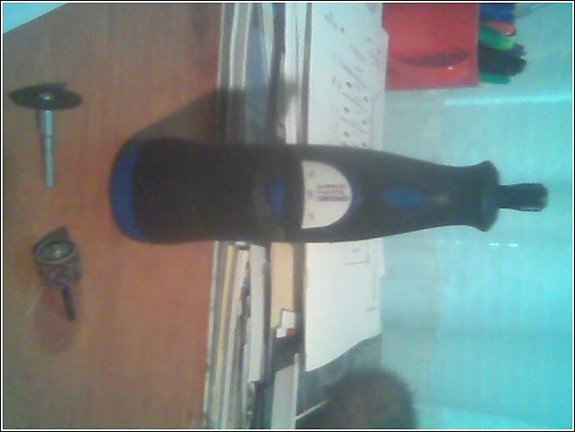
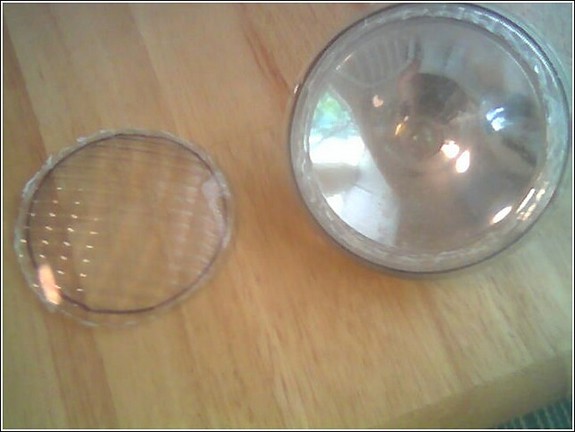
15.) Swap attachments on your dremel to a fine grit sander type and go to town sanding down the lens until you get a perfect fit. I suggest doing several trial fits before hand, because in my case, the circle i traced was a bit too small and i ended up using rubbing alcohol to remove the black circle i traced so that it wouldn’t show through.
16.) Snap the clear lens in the same way you took the amber one out, still being careful to not break one of the small tabs.
17.) Assemble the headlight again as best you can and bake for another 10 minutes at the same temp.
18.) Once the sealant is softened again, take your channel locks and put a paper towel inside of them (so that you don’t scratch the plastic) and go around the entire housing squeezing the lens back on using the channel locks. Make sure that all the tabs are attached firmly in the end.
19.) Re-assemble the entire housing and install it back on your car in reverse order and enjoy! (don’t forget the three little screws around the housing though, because i did!)
The results are great!
This is a comparison between the cleared headlight and the stock one. A pretty big difference if you ask me..