Tag

Engine Bay Mods

Browsing

Community Member Credit: Sdot82 / tatanko

As of right now, there are primarily eight different ways to do this swap. Each has its own advantages and disadvantages, which will be discussed. They are as follows:

1) -00 upper manifold
-00 lower manifold
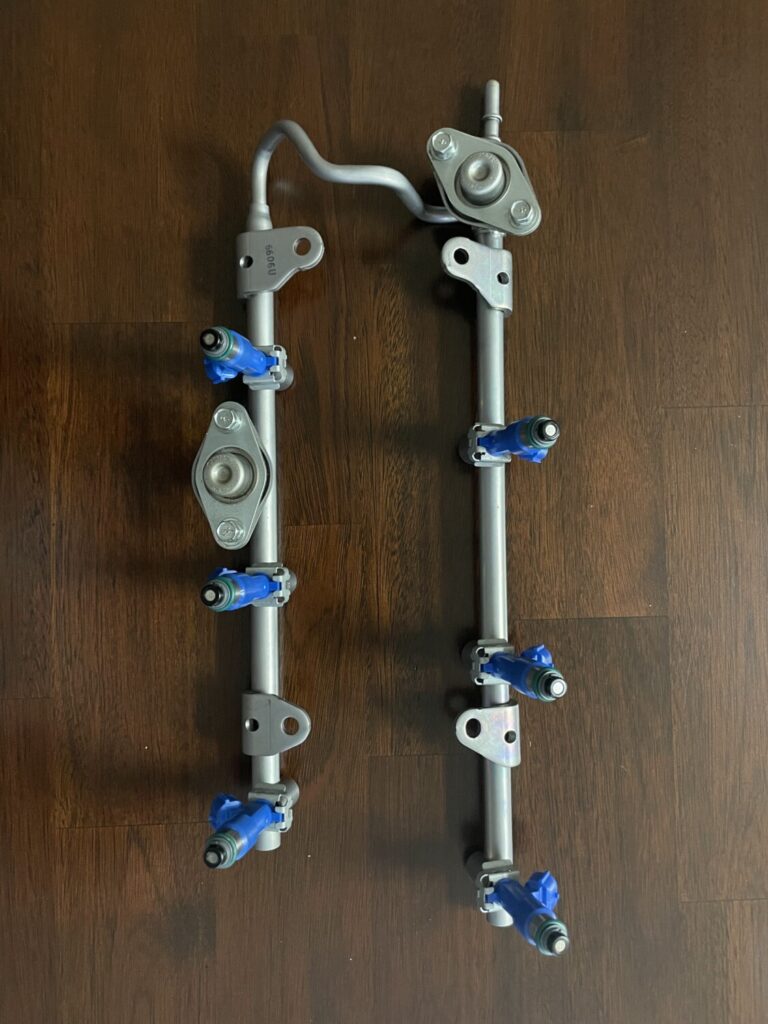
-00 fuel rail*
-00 injectors*
-00 throttlebody
-00 IACV
-00 EGR guide tube**
-00 rear valve cover***
-00 rear coil packs***

»Pros: Probably the least amount of work/customizing (and if you can find it all on one car, the easiest to compile parts for/possibly cheapest), throttlebody doesn’t require block-off.
»Cons: Requires tuning due to larger injectors, requires work to adapt the fuel rail to the old lines, the 00 IACV is iffy at best on the 4th gen ECU.

2) -00 upper manifold
-00 lower manifold
-00 fuel rail*
-00 injectors*
-00 throttlebody (requires block-off plate in this setup)
-4th gen IACV (needs adaptor plate)
-00 EGR guide tube**
-00 rear valve cover***
-00 rear coil packs***

»Pros: Second least amount of work/customizing (and if you can find most of it on one car, easier to compile parts for/cheaper), possibly superior IACV setup (not proven), throttlebody needs block-off plate.
»Cons: Requires tuning due to larger injectors, requires work to adapt the fuel rail to the old lines, IACV needs adapter plate, throttlebody needs a block-off plate.

3) -00 upper manifold
-00 lower manifold
-00 fuel rail*
-00 injectors*
-Pathfinder throttlebody (needs adaptor plate)
-4th gen IACV (needs adaptor plate)
-00 EGR guide tube**
-00 rear valve cover***
-00 rear coil packs***

»Pros: Lesser amount of work/customizing (and if you can find most of it on one car, easier to compile parts for/cheaper), possibly superior IACV setup (not proven), larger throttlebody, throttlebody doesn’t require block-off.
»Cons: Requires tuning due to larger injectors, requires work to adapt the fuel rail to the old lines, IACV needs adapter plate, throttlebody needs adapter plate.

4) -00 upper manifold
-00 lower manifold
-00 fuel rail*
-00 injectors*
-4th gen throttlebody (needs adaptor plate)
-4th gen IACV (needs adaptor plate)
-00 EGR guide tube**
-00 rear valve cover***
-00 rear coil packs***

»Pros: Lesser amount of work/customizing (and if you can find most of it on one car, easier to compile parts for/cheaper), possibly superior IACV setup (not proven), throttlebody doesn’t require block-off.
»Cons: Requires tuning due to larger injectors, requires work to adapt the fuel rail to the old lines, IACV needs adapter plate, throttlebody needs adapter plate.

5) -00 upper manifold
-4th gen lower manifold****
-4th gen fuel rail
-4th gen injectors
-00 throttlebody
-00 IACV
-00 EGR guide tube**
-00 rear valve cover***
-00 rear coil packs***

»Pros: Doesn’t require tuning, throttlebody doesn’t require block-off.
»Cons: IACV needs adapter plate, IACV is iffy at best on 4th gen ECU, lower manifold must be drilled.

6) -00 upper manifold
-4th gen lower manifold****
-4th gen fuel rail
-4th gen injectors
-4th gen throttlebody (needs adaptor plate)
-4th gen IACV (needs adaptor plate)
-00 EGR guide tube**
-00 rear valve cover***
-00 rear coil packs***

»Pros: Doesn’t require tuning, possibly superior IACV setup (not proven), throttlebody doesn’t require block-off.
»Cons: IACV needs adapter plate, lower manifold must be drilled, throttlebody needs adapter plate.

7) -00 upper manifold
-4th gen lower manifold****
-4th gen fuel rail
-4th gen injectors
-00 throttlebody (requires block-off plate in this setup)
-4th gen IACV (needs adaptor plate)
-00 EGR guide tube**
-00 rear valve cover***
-00 rear coil packs***

»Pros: Doesn’t require tuning, possibly superior IACV setup (not proven).
»Cons: IACV needs adapter plate, lower manifold must be drilled, throttlebody must have a block-off plate.

8) -00 upper manifold
-4th gen lower manifold****
-4th gen fuel rail
-4th gen injectors
-Pathfinder throttlebody (needs adaptor plate)
-4th gen IACV (needs adaptor plate)
-00 EGR guide tube**
-00 rear valve cover***
-00 rear coil packs***

»Pros: Doesn’t require tuning, possibly superior IACV setup (not proven), larger throttlebody.
»Cons: IACV needs adapter plate, lower manifold must be drilled, throttlebody needs adapter plate.

* = can be substituted for 01 QX4 parts, ** = can be removed and replaced with block-off plate, *** = you can grind down the rear coil packs and coil pack bosses instead of using these parts, **** = use of 4th gen lower manifold requires that you turn it 180º

Loading

Community Member Credit: CS_AR

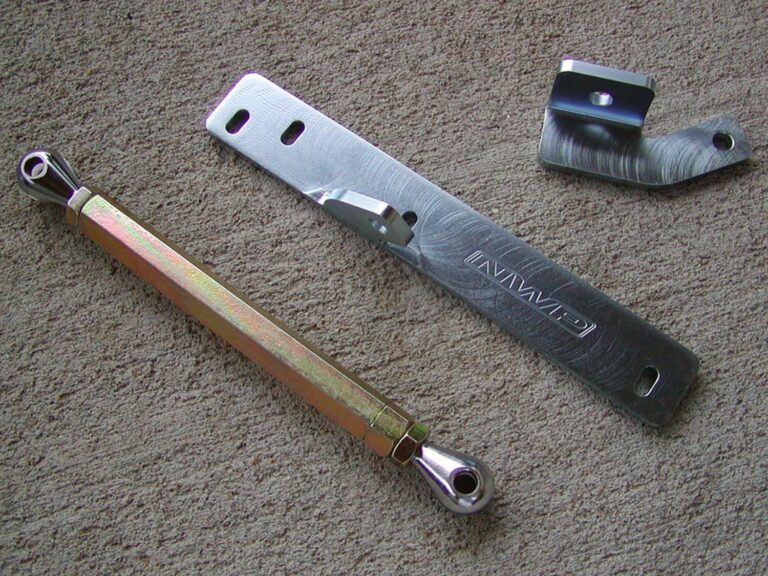
This afternoon I installed an NWP Engine Torque Link on the 98 GLE automatic. Installation was quick and easy. NWP does a “first-class” job on packaging and instructions for this product.

I’ve been running an NWP torque bar on the 99 SE 5-MT for 3 years. It really provides a nice tight feel and practically eliminates any engine rock during take-off and downshifting.

For the 98 models GLE automatic, it gives a more direct feel and eliminated some of the sloppy feelings that comes from engine movement with an automatic. I now feel more connected to the engine when driving — like it has a little more torque. Any wheel hop that it had before the installation is now unnoticeable.

The engine mounts are in very good shape on both cars. By reducing engine rock, I believe these torque links help extend the life of engine mounts.

Here’s a picture below.

Loading

Community Member Credit: Voltaire Duran Cacal

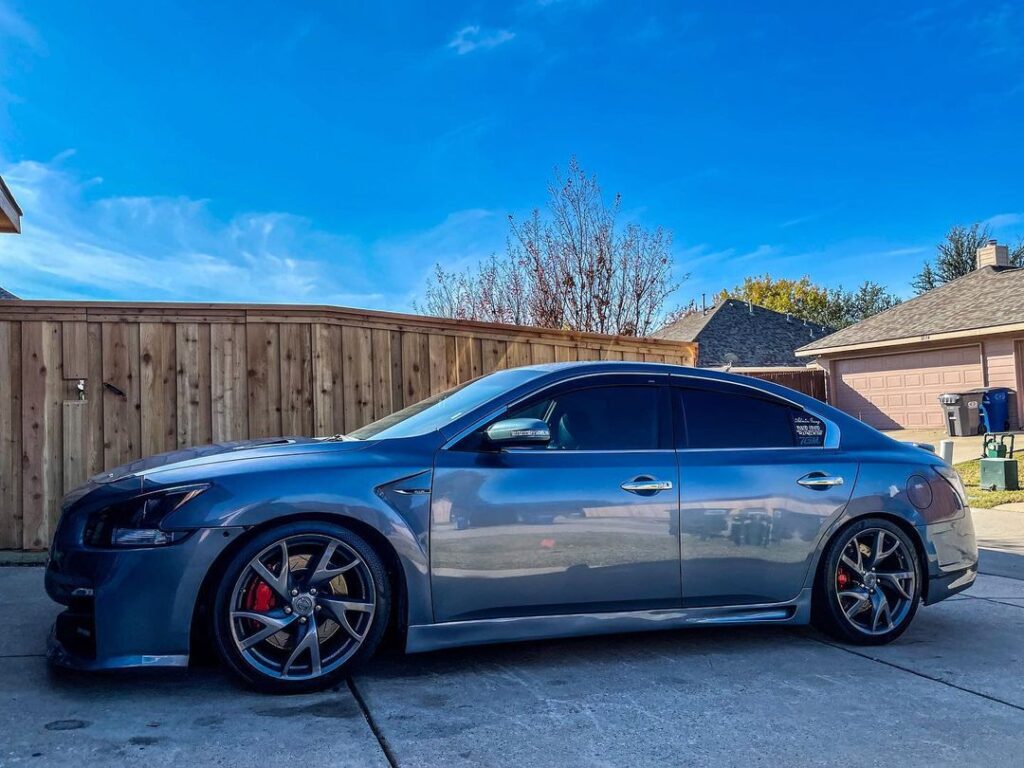
Car Specs/Info:

  • 2010 7thgen Nissan Maxima
  • CVT Transmission
  • 3.5″ True CAI
  • OBX Headers Ceramic Coated
  • 2.5″ True Dual Exhaust Ceramic Coated
  • Magnaflow Dual-in / Dual-out X-Muffler (for Resonator)
  • Dual Magnaflow Performance Mufflers w/ Dual Tips (Quad Tip Configuration)
  • Hi-Ram Intake Manifold
  • Nissan 75mm TB
  • Stillen Underdrive Performance Lightweight Crank Pulley
  • Gates Underdrive Pulley Belt Set
  • NGK 93026 DILKAR8A8 Laser Iridium Spark Plugs—Heat Range: 8

Loading

Community Member Credit: Charis Cacal

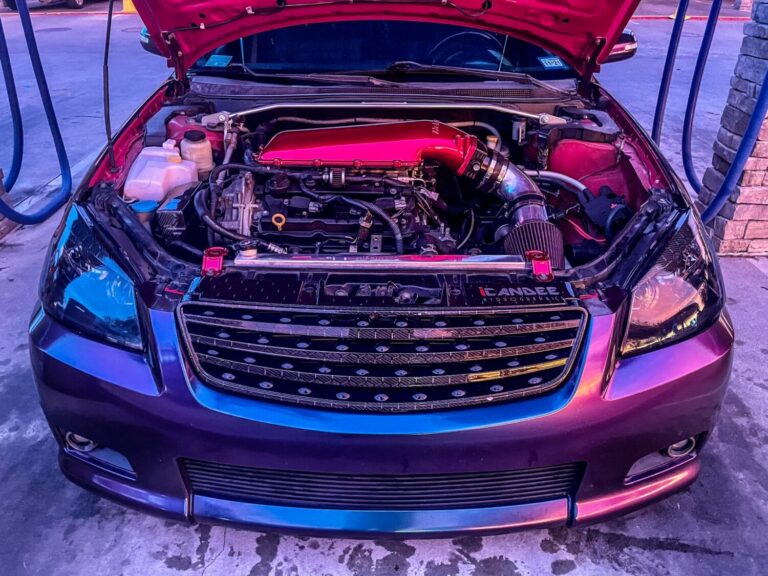
Car Specs/Info:

  • 2005 Altima SE-R 6MT
  • 2014 Maxima Motor
  • 105mm Holley Plenum Top
  • 102mm LS Throttle Body
  • 4″ Intake
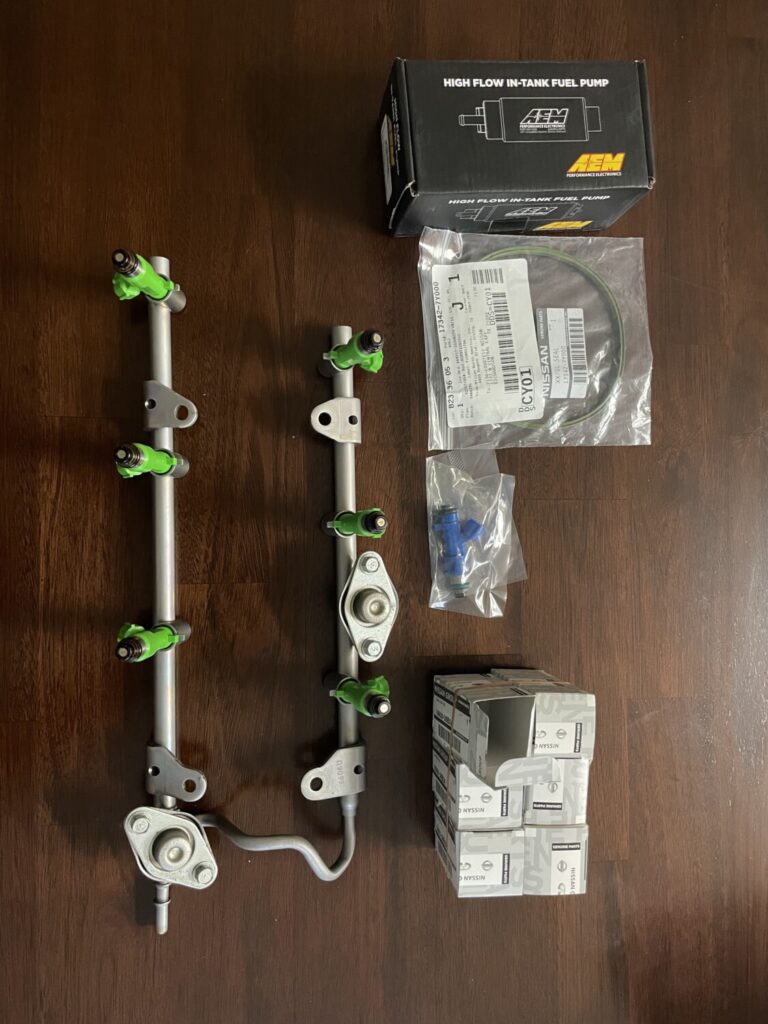
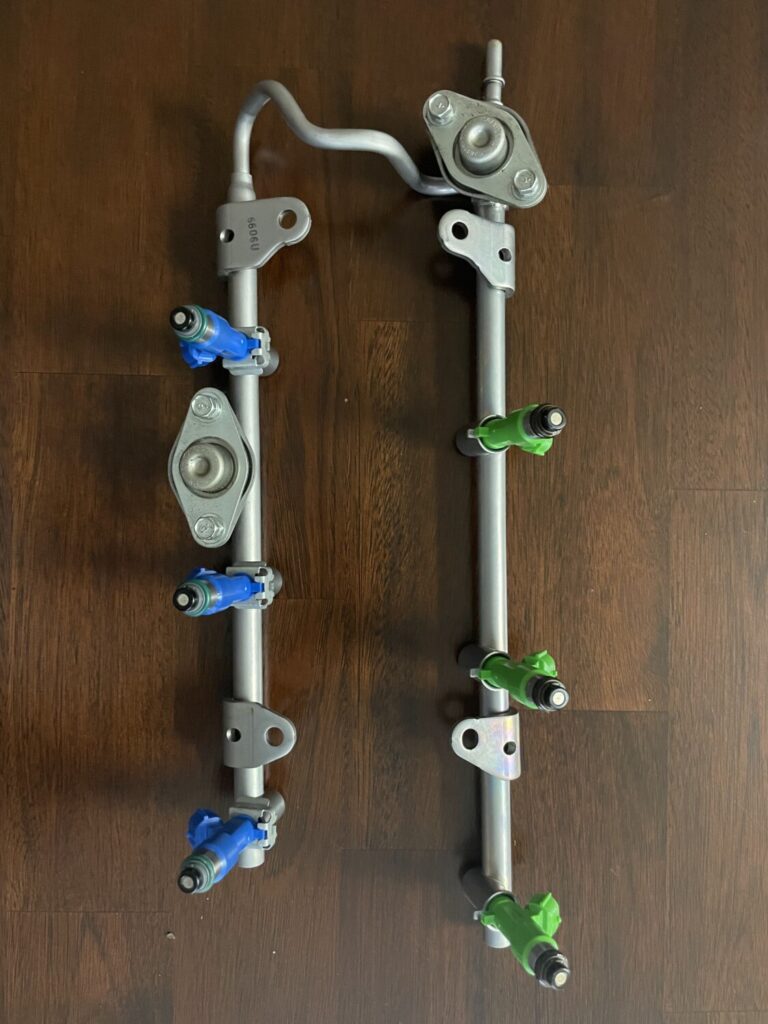
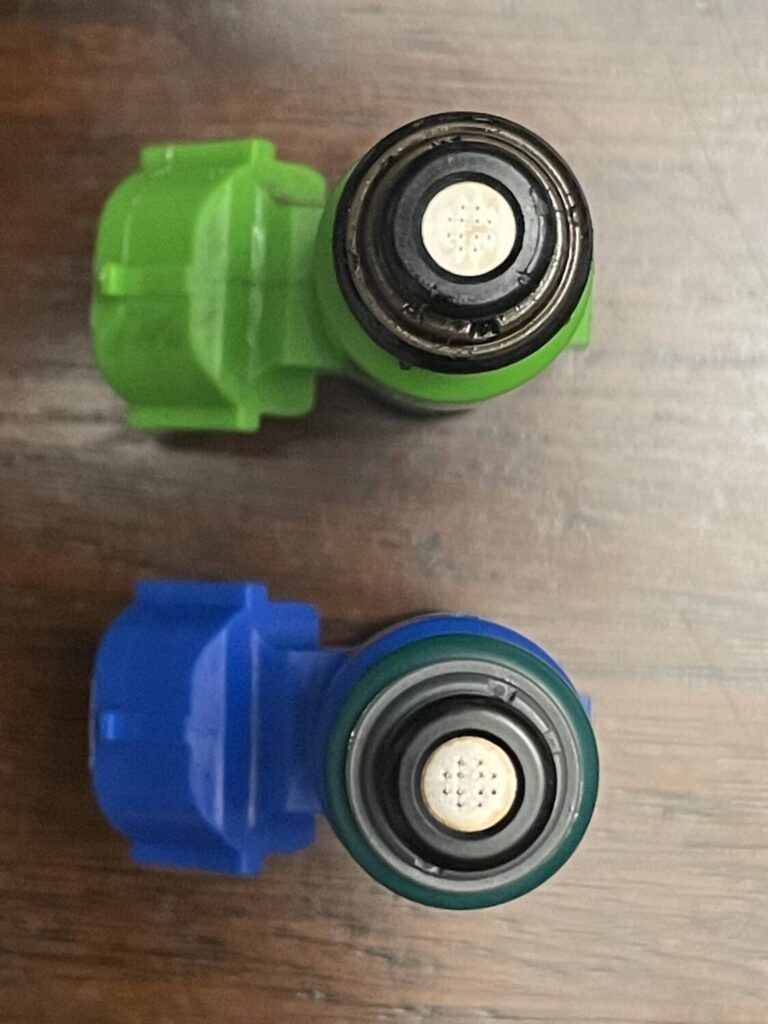
  • Genuine Nissan GT-R Injectors
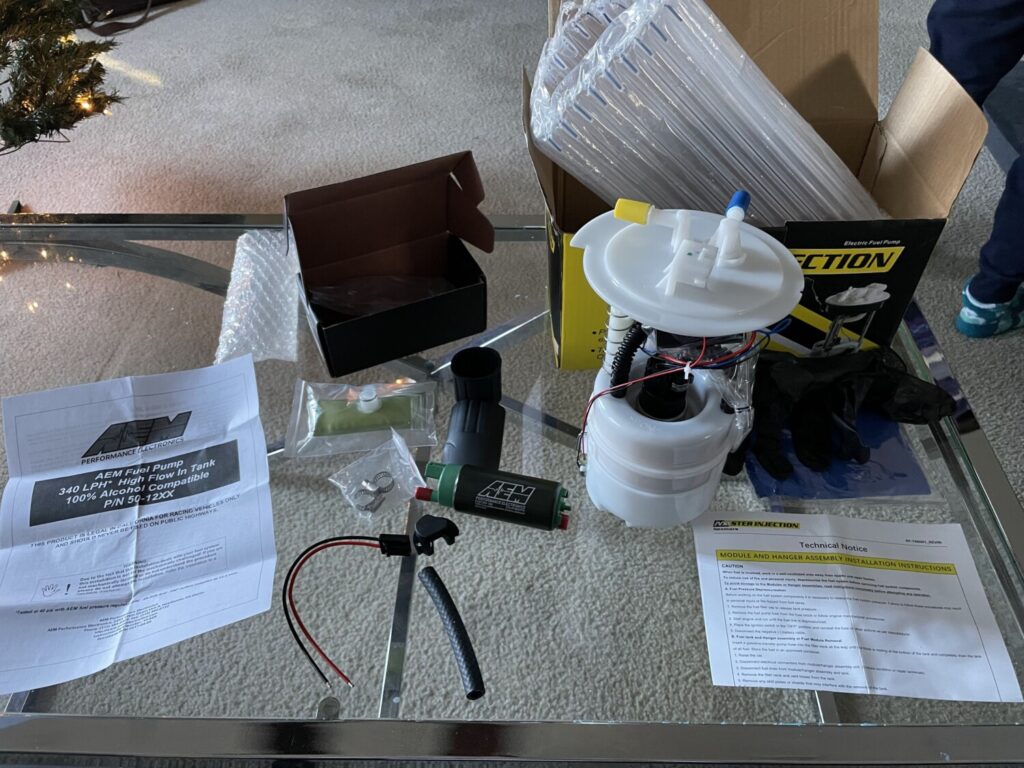
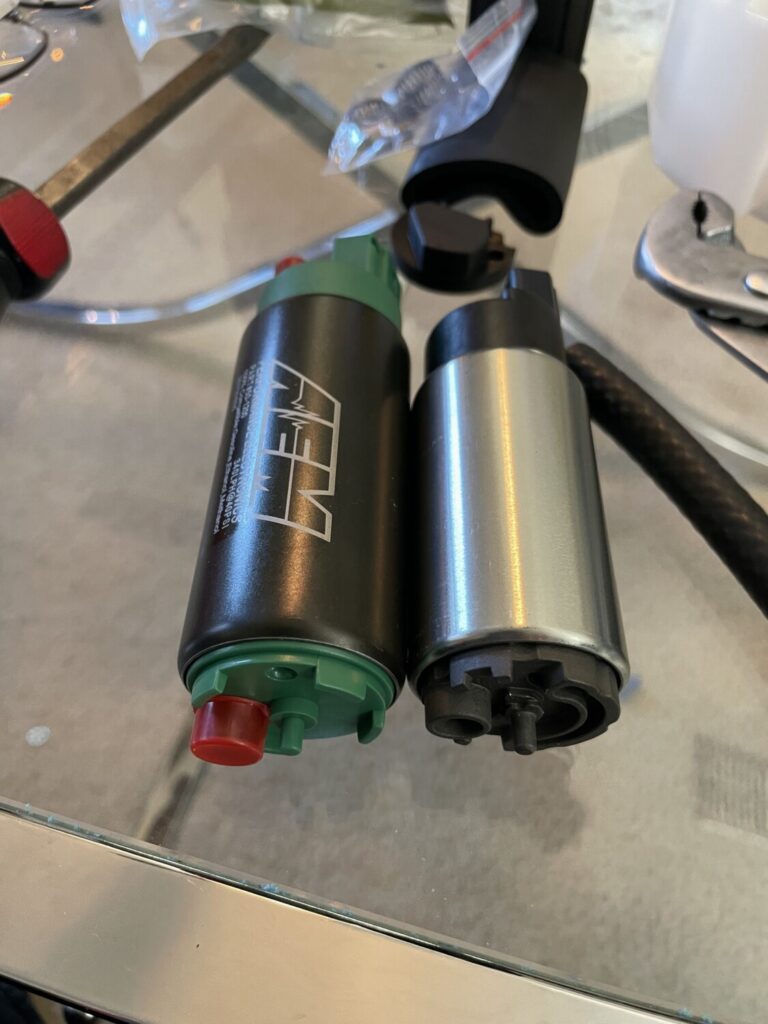
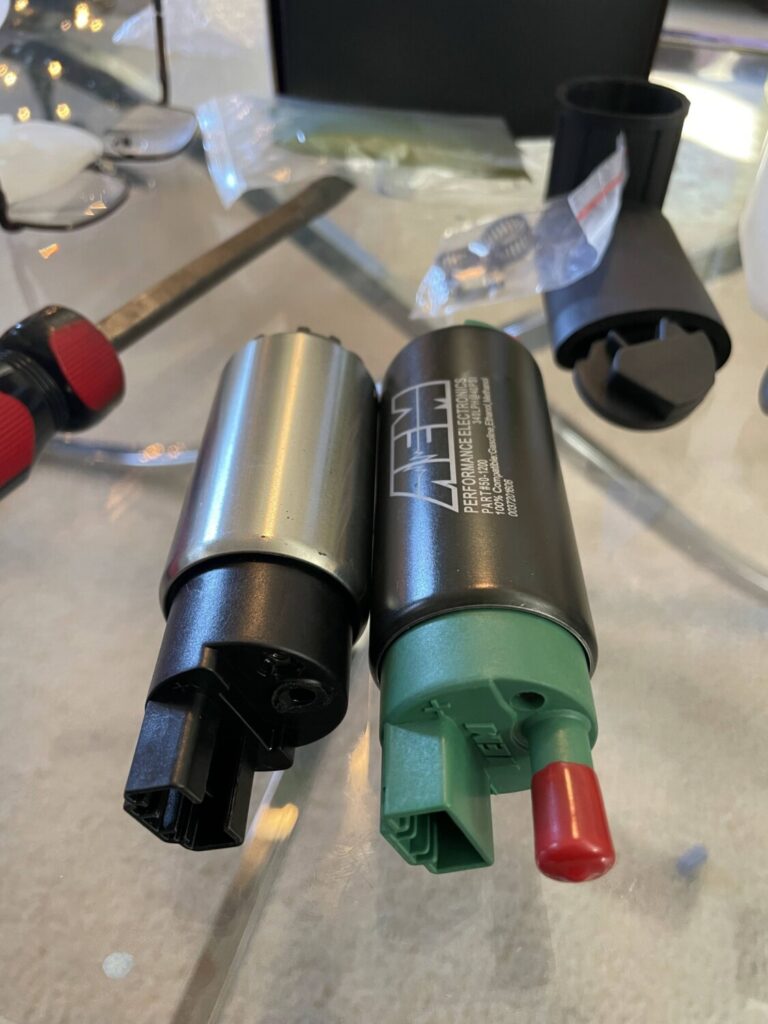
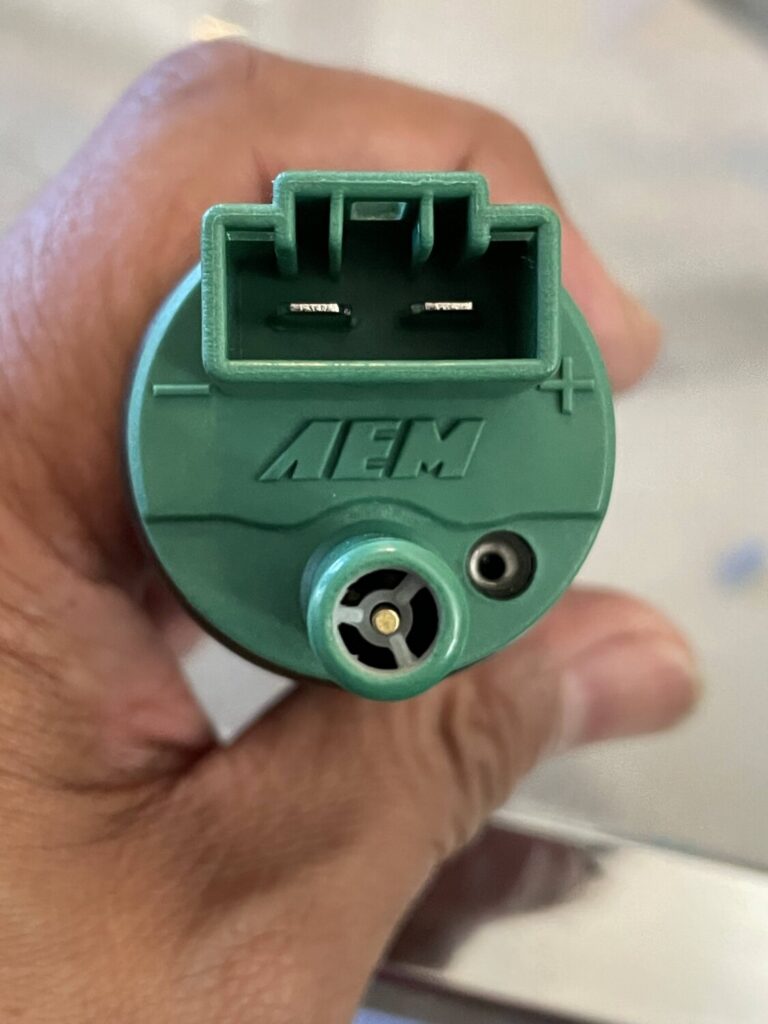
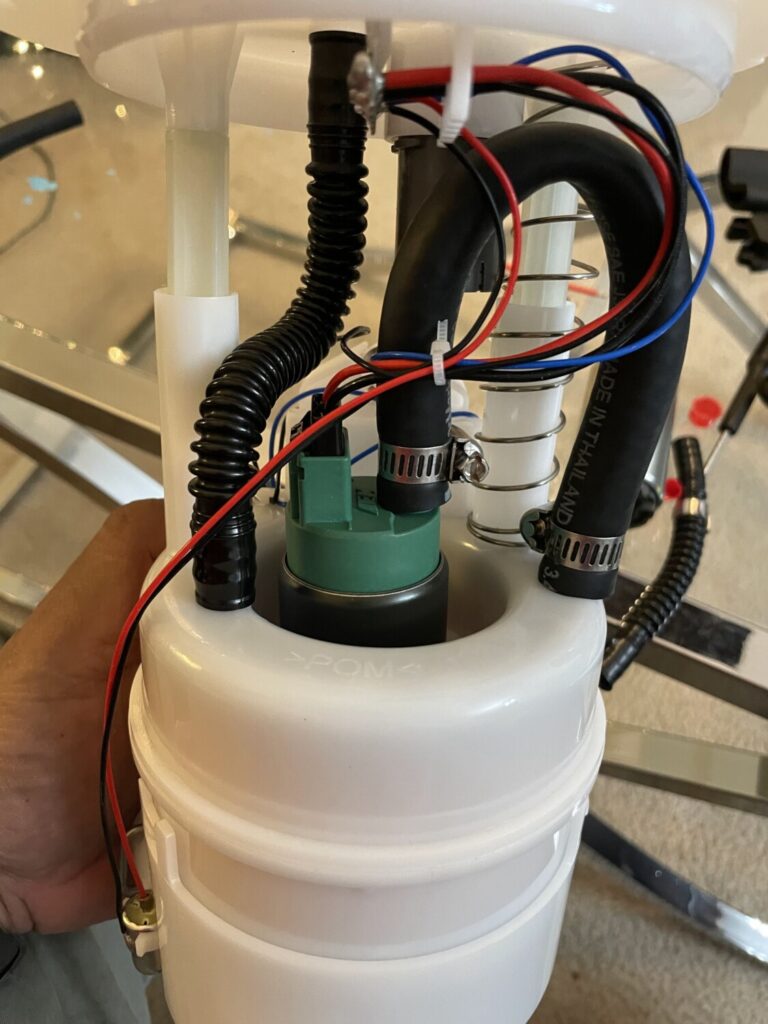
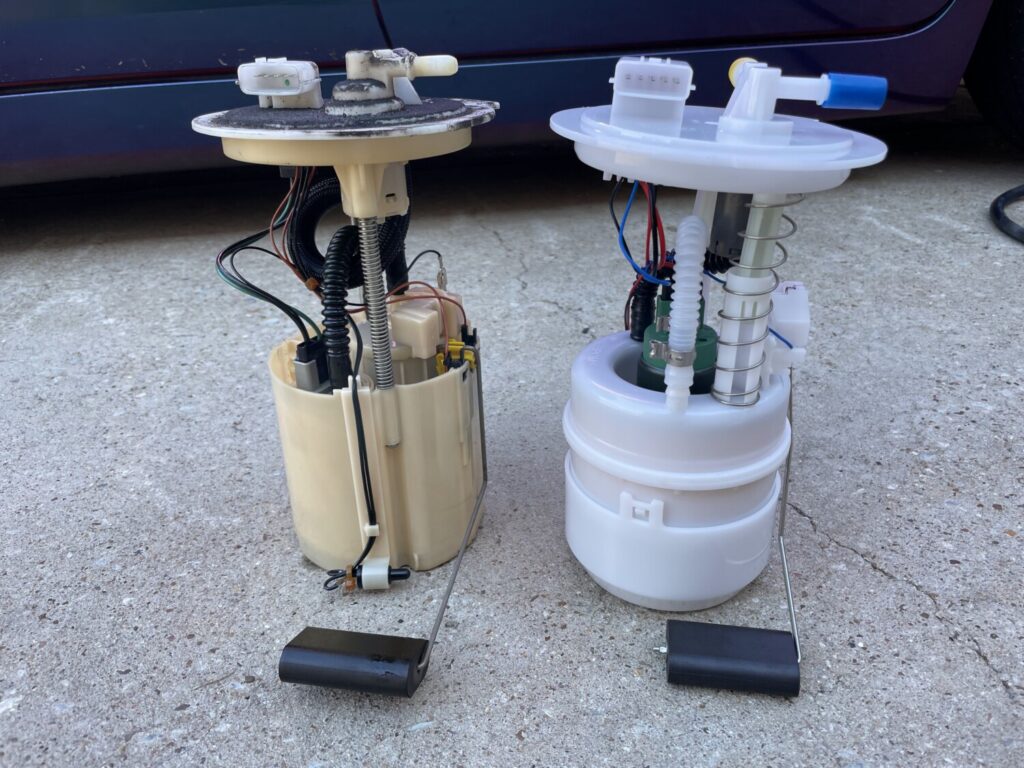
  • AEM 50-1200 E85 In-Tank Fuel Pump
  • SR*S headers (No Cats), 3″ Exhaust w/ 3″ Resonators, and Dual Borla Mufflers
  • NGK 93026 DILKAR8A8 Laser Iridium Spark Plugs—Heat Range: 8

NOTE: We had the AEM fuel pump driving down to Houston, but… it failed shortly after we got there (thank God we made it down, though). So we had to put a stock one on just so that we could drive it. We’ll get it replaced under warranty and then complete the tune for E85.

Loading

Community Member Credit: gtrrider

Basing our review on a 1995 Nissan Maxima, this application seems best for such a product in terms of providing restoration of needed grounding points and also slightly dressing up the engine bay. ActiveTuning prides themselves on this kit because it has been slightly revised recently with some added improvements ranging from: 1666 High Strand Count High Temp Resistance Wiring, 24k Gold Plated Terminals for insured conductivity between the connections, double crimping on each terminal for a secure/safe connection and lastly Stainless Steel hardware (bolts and such) which they insure will not rust what-so-ever. With all those things aside, let us get to what we do best. Thanks again to David at AT for providing us with this opportunity.

Our Take:

With an almost 11yr old car, grounding points tend to be slightly less conductive then they were back in 1995. With this Active Tuning Grounding kit we have essentially brought back the capabilities that the electronics of the car once had. There is a noticeable difference in the shifting habits of our transmission, being smooth up-shifts and also a crisp downshift. Nighttime driving in terms of the headlight performance has increased significantly from what it used to be, giving off more than enough light output that is required and also illuminating the interior slightly brighter than usual. Windows of course roll up a bit quicker and also cranking the car takes little to no effort from the starter. All in all, we rate this an excellent product.

Pros:

  • Stronger & Faster Starts
  • More Responsive Acceleration
  • Superior build quality
  • Smoother Idle
  • Smoother Shifting w/ Automatic Transmission

Cons:

  • Mounting points shown on AT’s website aren’t possible/best

Application:

  • 95-01 Nissan Maxima’s
  • 96-01 Infiniti I30s

Part Number Information:

  • 95-01 Nissan Maxima Grounding Kit
  • NI-MX-95GRNDKT
  • $40

Tools Required for Installation:

  • Sockets and Wrenches
  • Short and Long Extensions
  • Emery paper, grinder, or Dremel to clean grounding locations for good contact
  • Materials Provided for Installation:
  • 4 Ground Cables 10″, 12″, 14″, 15″
  • 2 M6 Bolts
  • 2 M6 Flat Washers
  • 1 M6 Nut

Installation Process: Grounding Motor to Chassis (1)

Installation is quite easy with basic tools. Before you begin, we would like to emphasize that the motor should be cool before preceding. Going against this advisor could lead to burns to the skin, body. ALWAYS ALLOW THE MOTOR TO COOL BEFORE STARTING!

To begin, locate the already existent grounding point on the passenger side of the engine compartment located just below the headlight assembly. You may position your grounding wire (15″) at this point or to the very right of it in the second already existent ground point.* The other end should snake through and with the provided bolt secure it to the open hole in the front of the valve cover. Use wire ties provided accordingly as this wire is located close to the radiator fans which are operating at very high speeds.

Installation Process: Grounding Battery/Motor(2) to Chassis

Disconnect your Negative terminal from the battery, and proceed to fit one end of the grounding wire (10″) in the sequence, and then secure the other end of the wire to the chassis preferably using an existing bolt. Reconnect and secure your negative terminal and proceed to the next grounding point. The next grounding point is back over on the Passenger side of the engine compartment near the motor mount. While using the same grounding point on the chassis as our first wire, secure the other end of the 12″ grounding wire just behind the a/c line on the motor. Use wire ties provided as this wire is located near the pulley assembly which is rotating at incredible speeds.

Installation Process: Grounding Motor to Chassis (3)

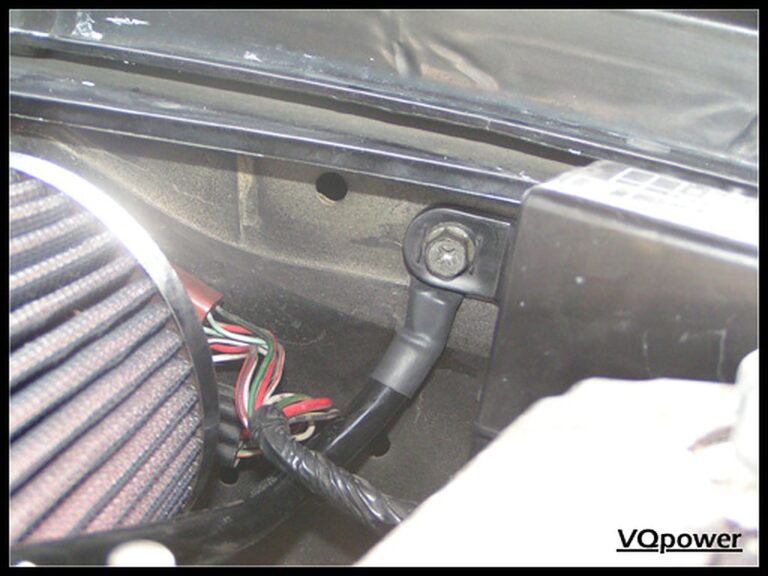
Last and certainly not least, you are going to secure the final grounding wire (14″) to the top mounting bolt located in the center of the Intake Plenum. To get to this you are going to need some finesse but it will work out perfectly in the end. Secure one end of your grounding wire to this bolt, underneath the bracket, and secure. Mount the other end of the wire just below the black canister shown in the third picture to the protruding screw on the firewall with the nut supplied.*

*Picture shows different locations from the description but are later routed how it is explained here.

Make sure all mounting points are secured properly, take the car for a spin, and enjoy. 🙂


Loading