Tag

electronics

Browsing

Issue:

Hey guys. Strange problem here and I’m hoping this has happened to someone before so you know how to fix it. My rear brake lights stay on even when the car is turned off. The key is out of the ignition and they just stay on, thus leading to my battery dying quickly. Any suggestions? I actually pulled the tail light fuse and they still stayed on! Any suggestions would be great.

Cause:

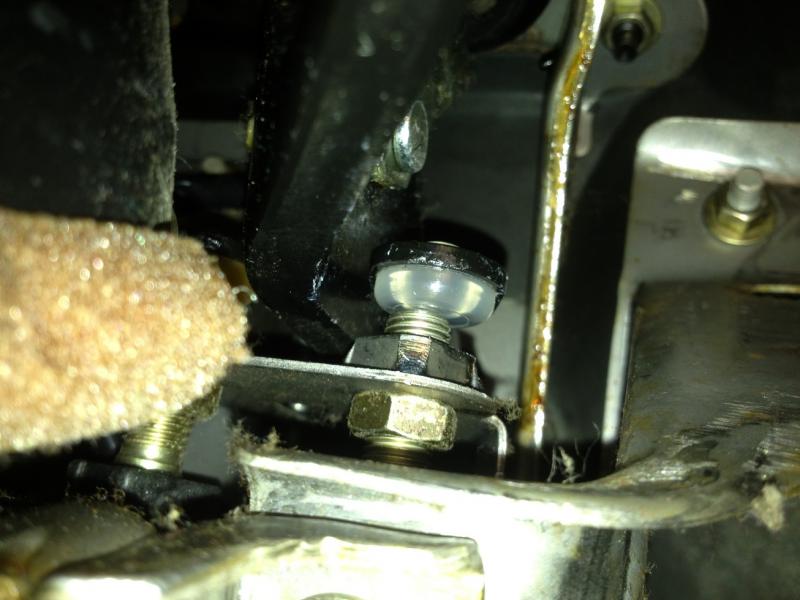
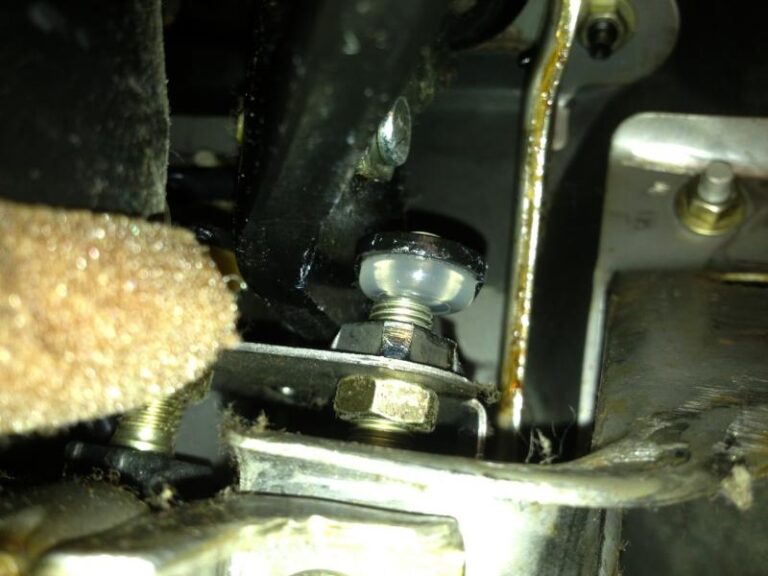
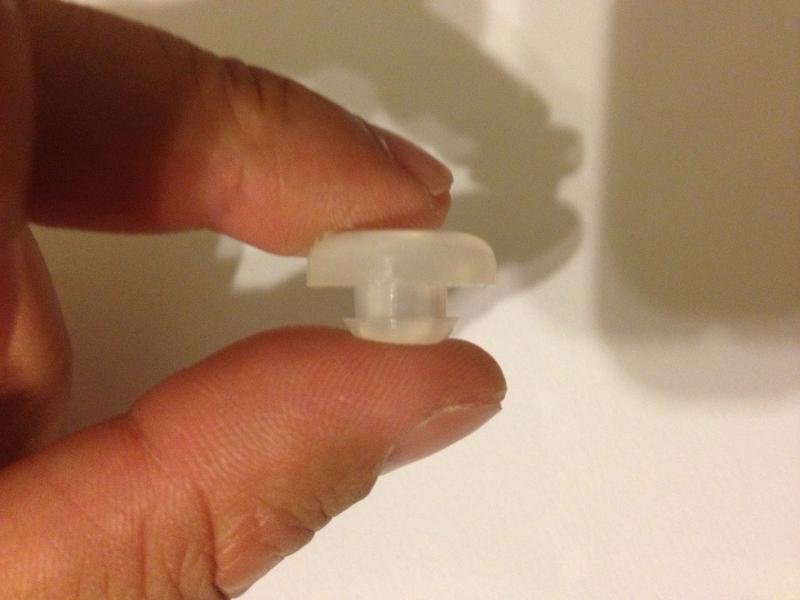
The same thing happened on my 1st gen. The brake pedal itself has a little rubber piece in it that brake light switch contacts and over time it dries up and breaks and falls out.

Resolution:

Yes, there are 2 stoppers – one for the brake light switch and the other for the cruise control disconnect switch. The two switches have nothing to do with the other one.

Additional Fixes:

  • A penny with electrical tape worked for me.
  • This happened to me as well. I tapped a penny with electrical tape to my brake pedal where the plastic button use to be for the brake light switch.
  • Yep. Found both the brake light and cruise control rubber pads on my floorboard. O’Reilly sells rubber bumpers for $2.49 that fit perfectly. Part Number 456230BP.
  • The part number for the 1996 model is 46584-S0100. I would recommend bringing your VIN number to the local dealer to make sure you got the right part. I said this because, for rubber-stopper replacement, there is another part number: 46584-5P010. It’s in black color with a much smaller end and it doesn’t fit my 1996 model.

Part Info:

Nissan calls the rubber bumper thing “Stopper-Rubber”. there are 2 part numbers listed for it but I don’t know what the difference is. They are:

  • 46584-S0100 list price $3.23 Used on 1995 through 1997
  • 46584-5P010 List price $14.05 Used on 1996 through 1999

Loading

Community Member Credit: Willie Gilmore

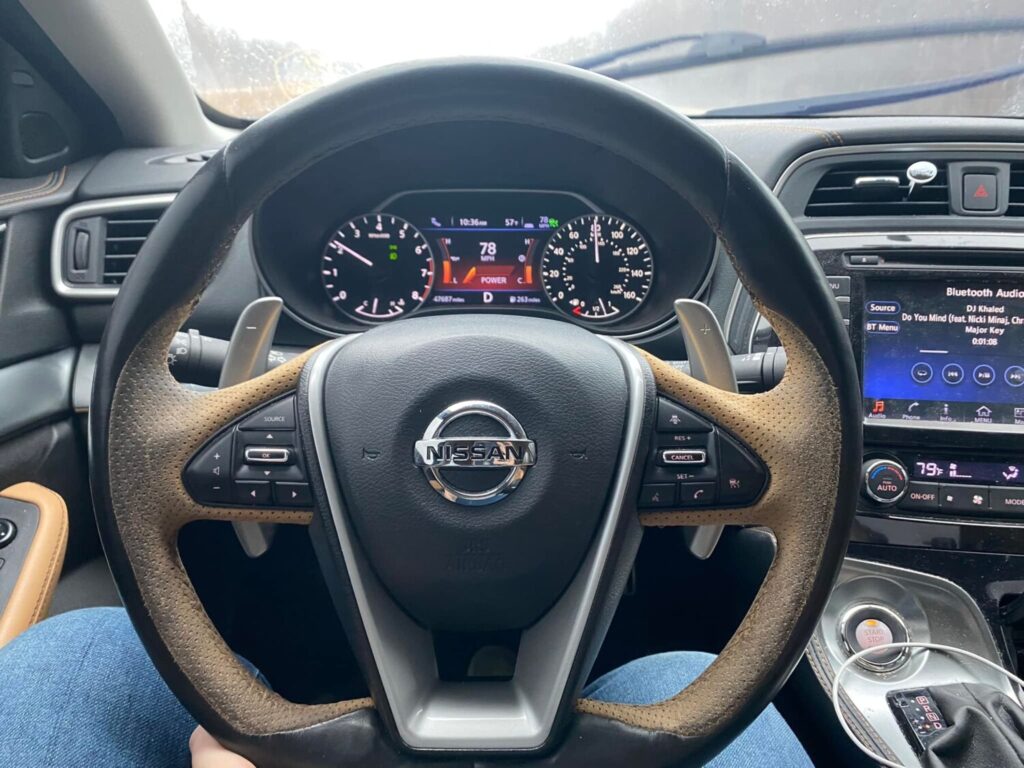
On the latest update of the Maxima (2019 and newer at least), you can. You just hold the button to turn cruise on for 1.5 sec or more, and it switches to normal cruise.
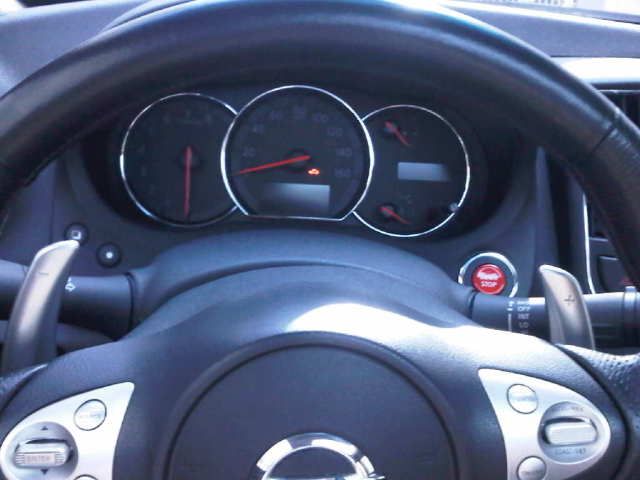
I always do this as I hate the default intelligent cruise control. I wonder if the 2019 Murano update also added the ability to switch between the cruise types. I had a 2015 Murano, and I couldn’t do this as it would only allow for intelligent cruise control, and where my dislike for that tech began.


Loading

Community Member Credit: Eddy

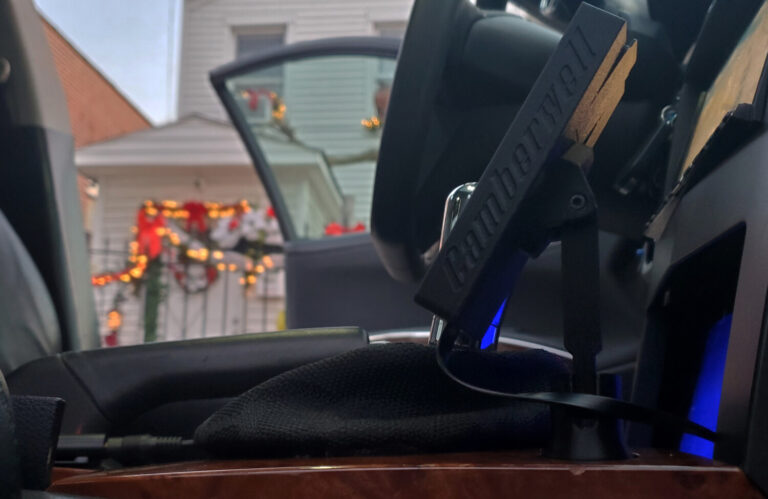
I was on the hunt for nice and elegant Airlift 3P controller. There were many online but just not a good fit for the 6thgen Maxima. Finally I found one that fit perfect using the cigarette lighter port. Mines did not cover with it so I ended just getting a shifter console on eBay that had it. Everything came out perfect and clean. It’s nicely tucked and visible.

Order Link: https://camberwell-intl.com/
Coupon Code:  LAYLOW15 (15% OFF)


Loading

Community Member Credit: CS_AR

Last night while driving Max IV, the check engine light came on. I suspected it was another Evap system related code. So I go home and plug in my OBD2 scanner. The scanner fails to connect. I had no scanner lights, no scanning, no activity from the reader. Oh great. It seemed like the OBD2 port was dead. It was.

Next I tried the scanner on Max III and it worked as expected. So this is a Max IV specific problem.

To rewind a couple of weeks when I was working on an antenna replacement, I managed to blow a couple of 7.5 fuses in a slot named ELEC PARTS. This fuse is located on the 3rd row from the right at the top. The clock will not function if this fuse is blown. Since I knew I had a blown 7.5 amp fuse, I picked up a 3-pack of fuses a couple of days earlier. I had already planned to replace the fuse to get the clock running this weekend.

Here’s a picture from Kevlo911 that shows the ELEC PARTS fuse location.

Loading

Community Member Credit: Blackdiamond / 2002blackmax

With the help of the technical service manual on CD produced by Nissan on the 2002 and 2003 Maxima I now have located the quick fix for a problem, I have had since purchasing my used 2002 SE a few months ago. That is the driver’s door window one-touch up function for the window was not working properly. The driver’s door window one-touch-up function was not working properly. The window would go up to the top and then retreat about 5 inches back down again.

This problem is due to the limit switch needs to be reset which at first I thought would be a considerable job (to take off the door panel etc.) but ended up being literally a 2-minute job as the door panel can remain in place.
I know several ‘02 and ‘03 Maxima owners have had this same problem but no one then appeared to know the fix. Although this procedure is simple once you do it, my description seems long, but I wanted to be a descriptive as possible.

So here it is:

Step 1: Pry the plastic cap up off the bottom center of the door pull handle and remove the single Philips screw.

Step 2: Remove the whole switch panel (in which the door pull handle sits) by prying it up from the back end either with a flat-edged screwdriver or table knife or by hand. It’s just clipped in, so should come out relatively easily. Sliding it up at the back and then pulling it back.

You can now see the inside of the door from where the switch finishing plate sat. You can leave the wiring all attached and simply hang the switch and handle plastic assembly to one side so you can see the inside of the door.

Look inside towards the front bottom of the door behind the plastic barrier. You will see a small black switch. It almost looks like a black pan screw head. This is the reset switch, but there is a sequence to now doing the actual reset procedure. The switch doesn’t really feel like one when you press it through the plastic barrier which incidentally you don’t need to cut (at least I didn’t). It is a switch that is only on when you are pressing it, otherwise, when released it is off.

STEP 3: Turn the ignition on so the windows are receiving power. Make sure the window is (up) completely.

  1. Press the reset switch (keep it pressed in) and roll (down) the window completely (manually! -NOT with AUTO ONE TOUCH FUNCTION)
  2. Release the reset switch. Then close the window completely (manually only! – NOT AUTO UP FUNCTION).
  3. The limit switch is now reset. Easy!!!

Video Reference

Loading

Community Member Credit: maxxxxspeed

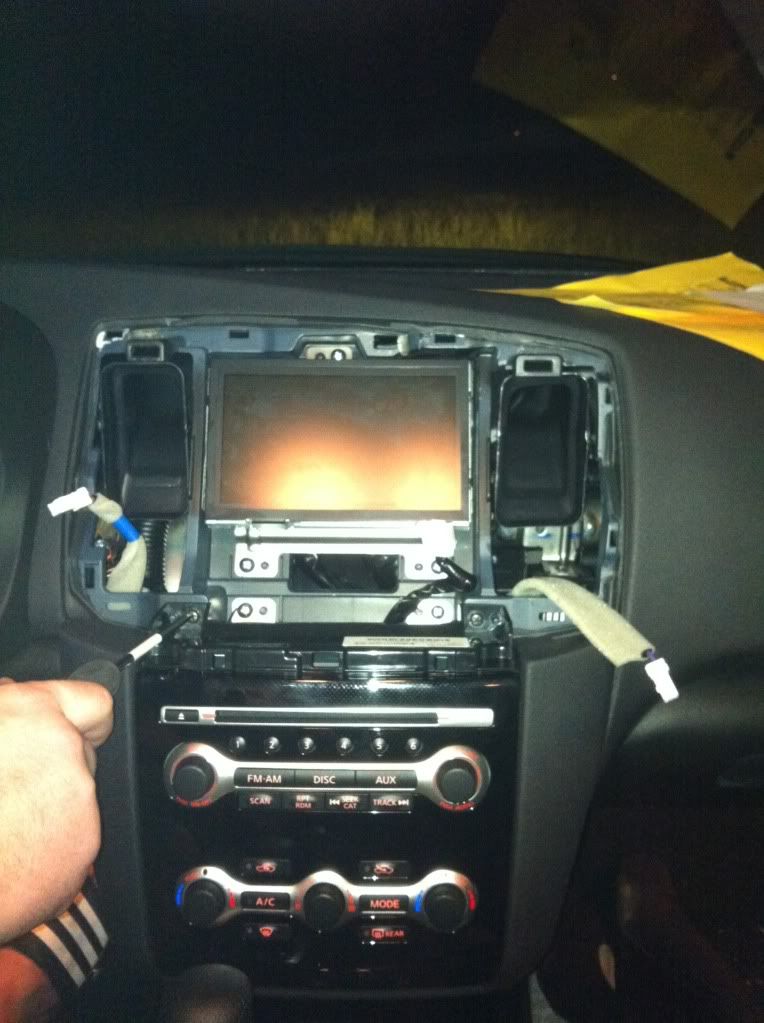
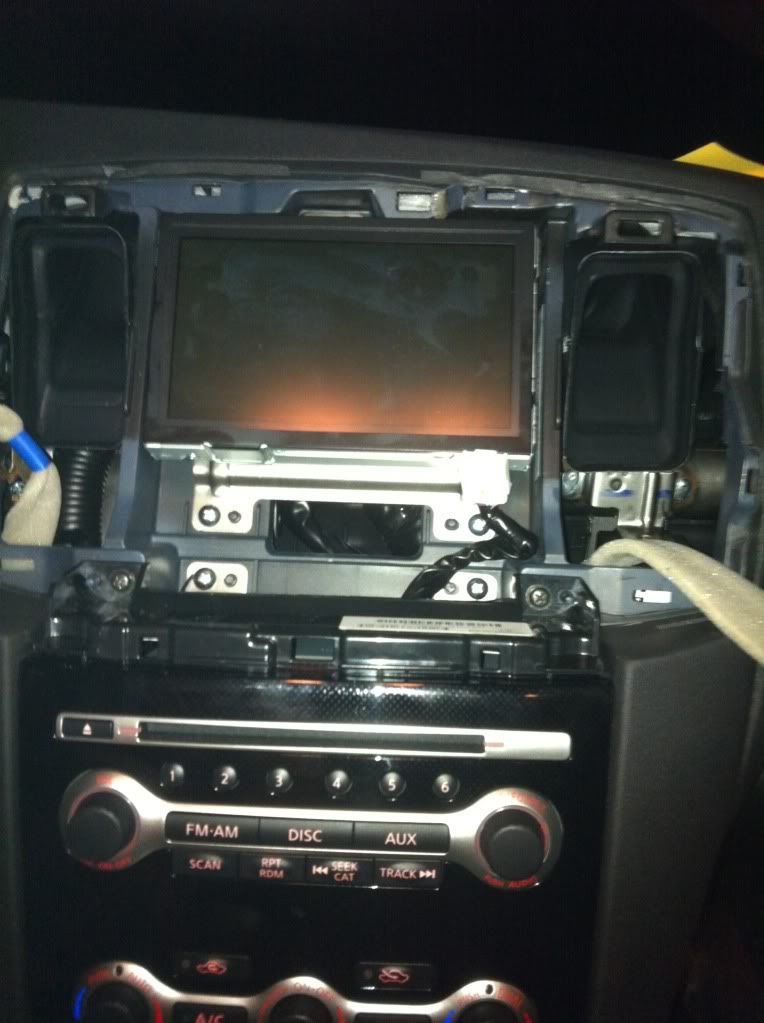
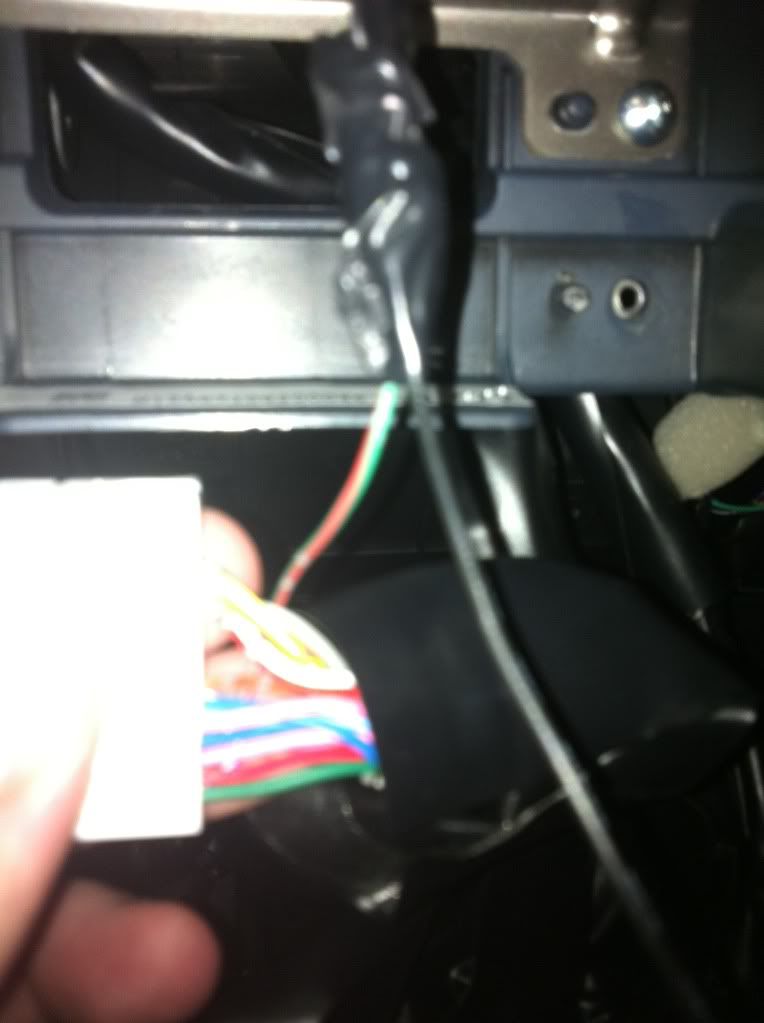
1. Remove the screen surround by pulling and prying with a plastic interior “popper”. As you can see there are quite a few clips. There are 3 plugs onto the back of this. Undo them and put this aside. (Pic below is completed so disregard the black wire you will not have this until it is complete)

2. Next remove the 2 black screws at the top of bottom portion of the stereo.

3. Now pull on this to release 4 clips that hold this on. There is one plug at the bottom of this. unplug and set aside.

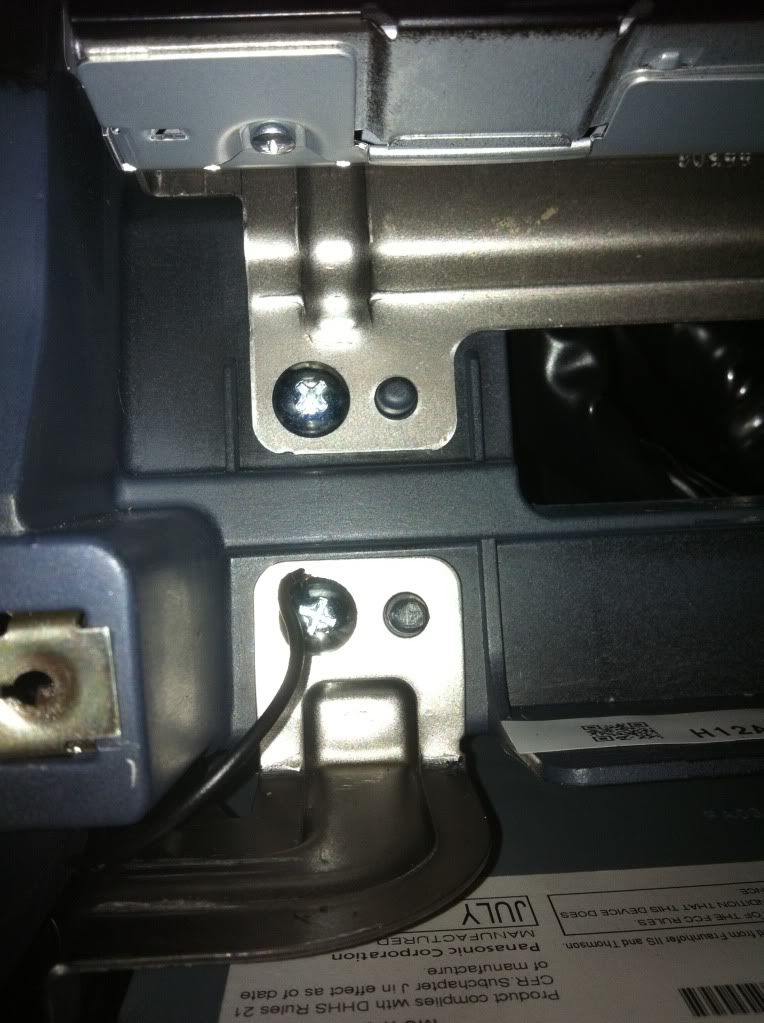
4. Now the actual stereo is exposed (silver box). It is held in with 4 screws. Remove there and pull it out. For the bottom left screw you may have to put your transmission in neutral to get a good angle on it. MAKE SURE YOUR PARKING BRAKE IS ON AND YOUR ARE ON LEVEL GROUND!

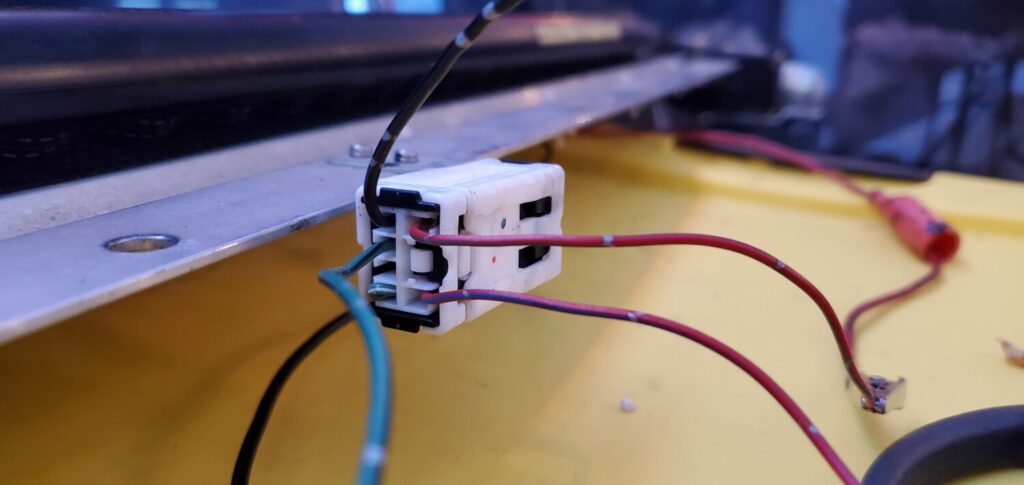
5. The connector you are looking for is the BIGGEST ONE. It is located on the bottom left hand (drivers) side of the stereo.

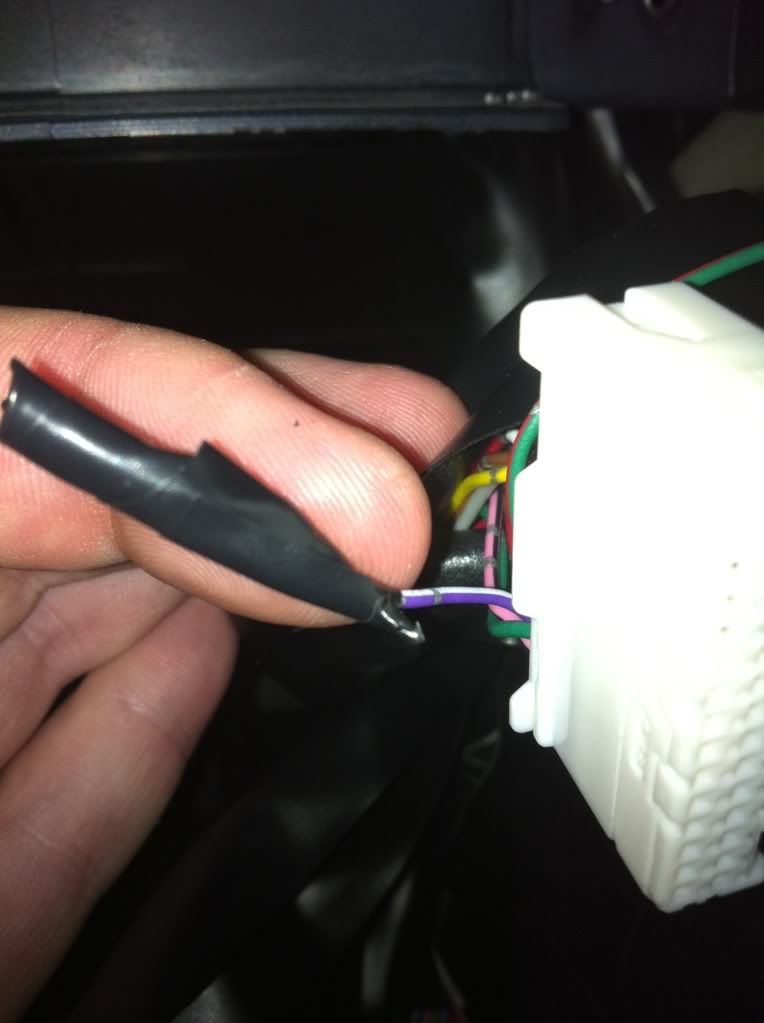
6. Cut the VSS wire. PURPLE/WHITE TRACER. Make sure you seal the ends to prevent shorting out. (I just quickly wrapped tape to make sure it worked before I permanently sealed the ends. This will eliminate the Speed Volume Control but I hated it anyways. so no biggy.

7. Next cut the EBrake wire. GREEN/RED TRACER. Ground the end that is coming out of the connector to the frame that holds the silver box (stereo) into the dash. I had to add an extra wire to get it to reach. (this will be soldered, again just quickly put together to make sure it worked).


Loading

Community Member Credit: 1sik4dsc

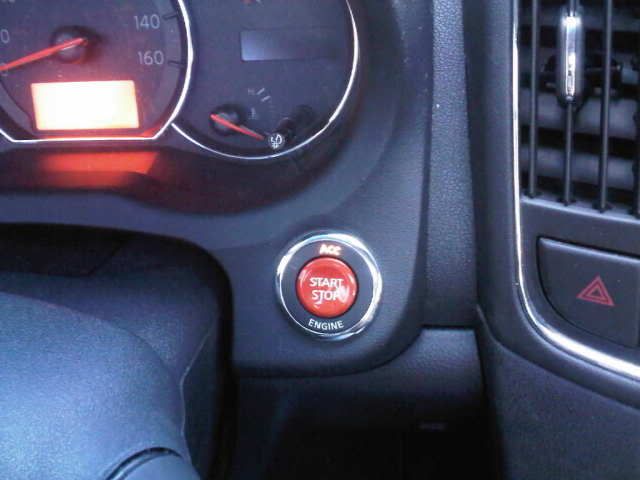
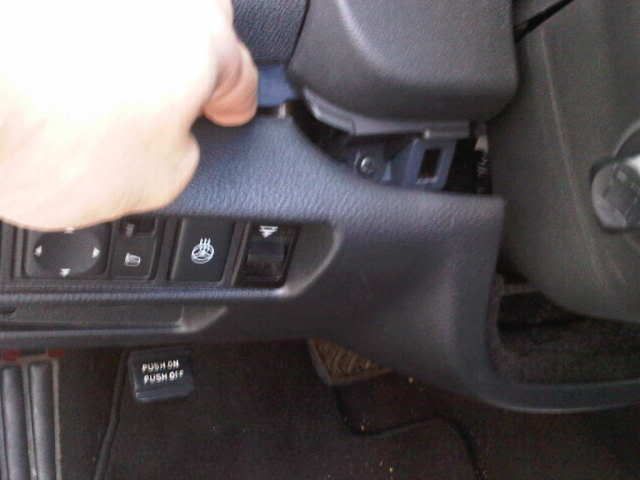
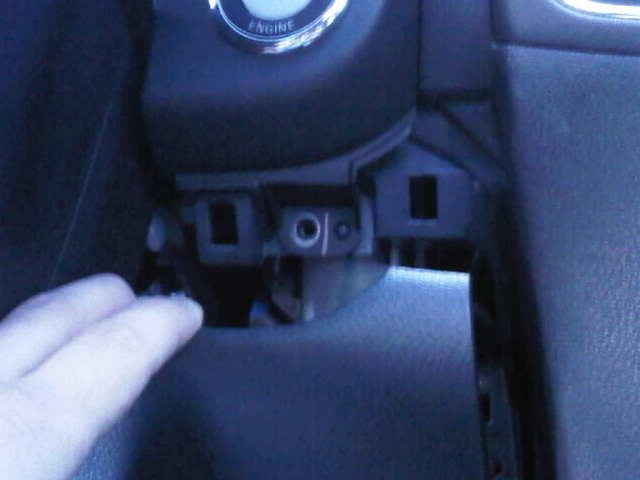
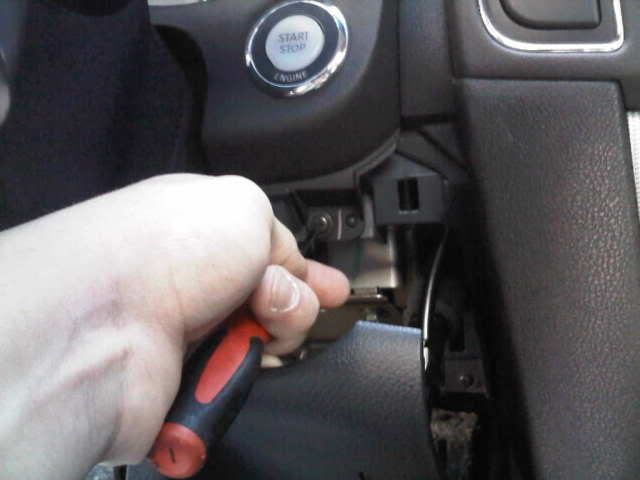
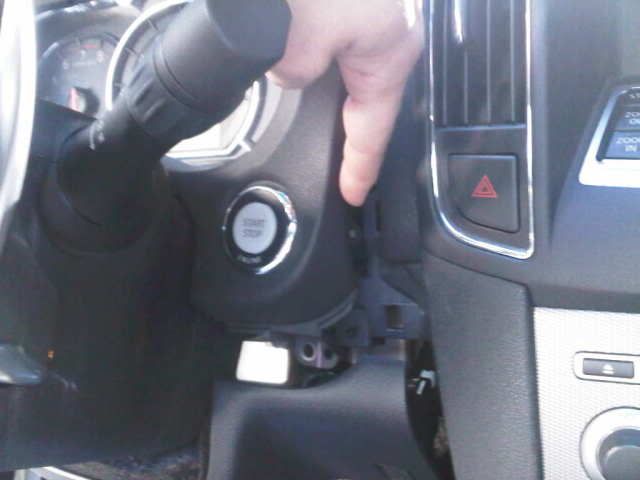
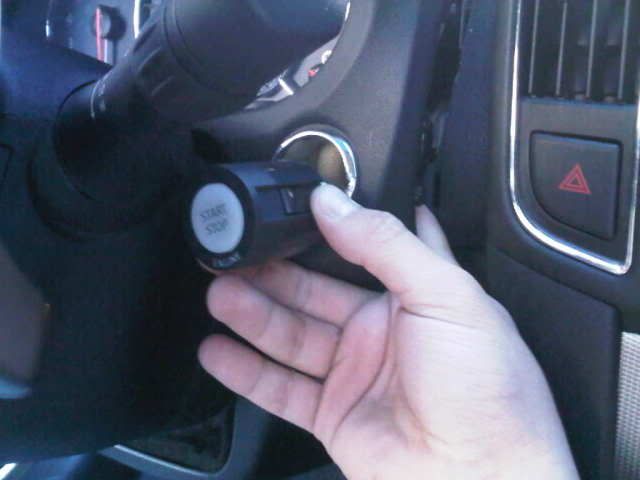
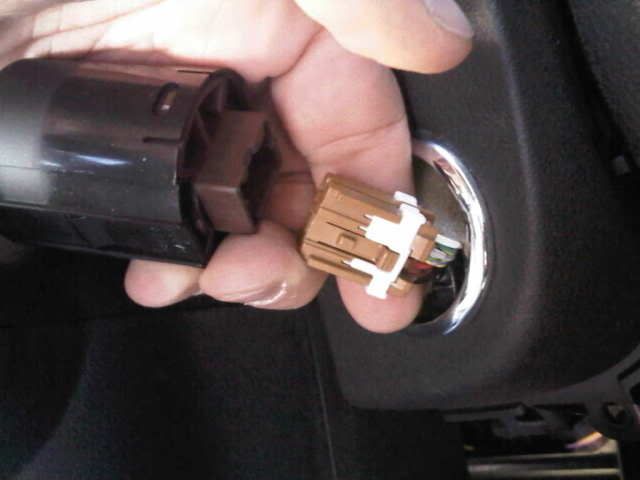
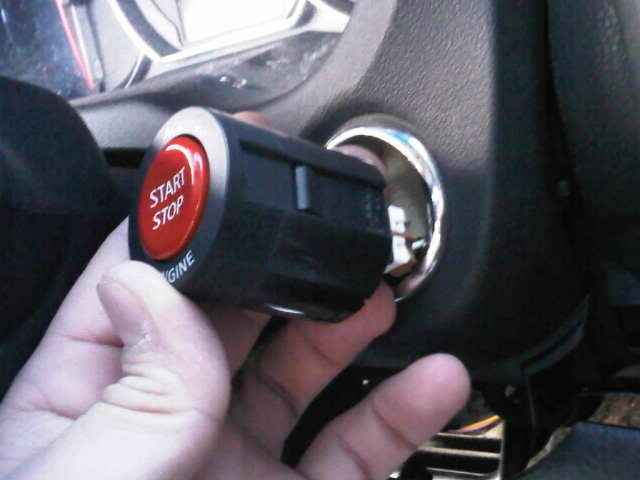
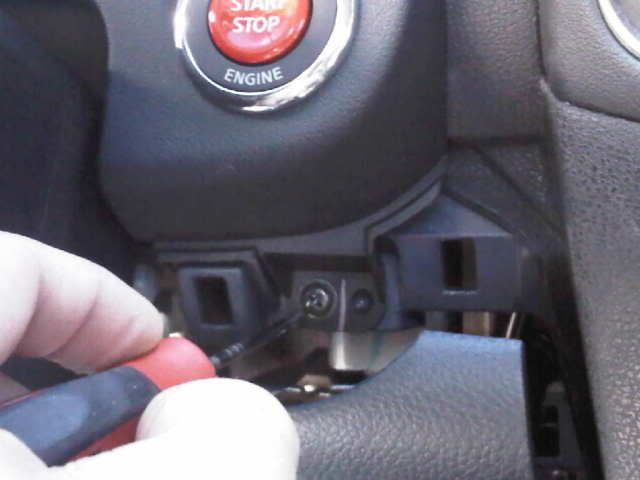
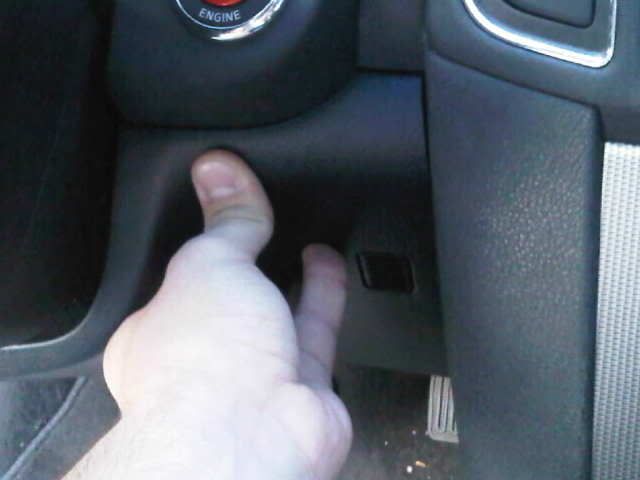
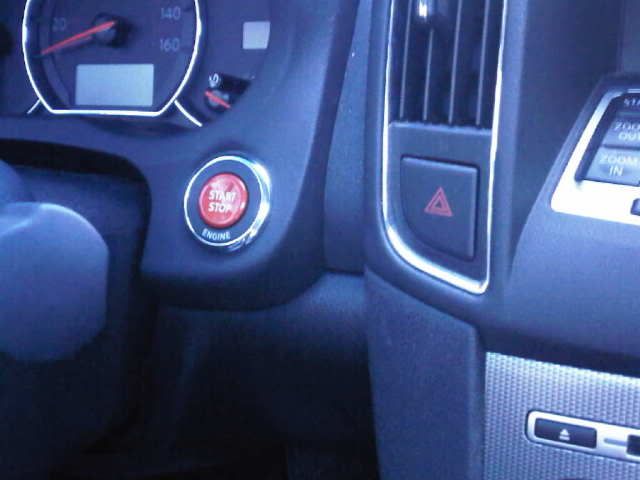
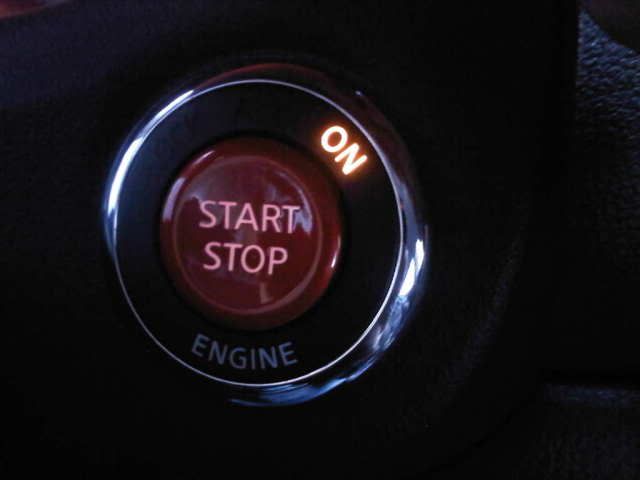
well, guys here it is…I did a write-up on it for anyone else looking to do this mod. Sorry for the crappy cell phone pics, This was really simple took me about 15 mins.

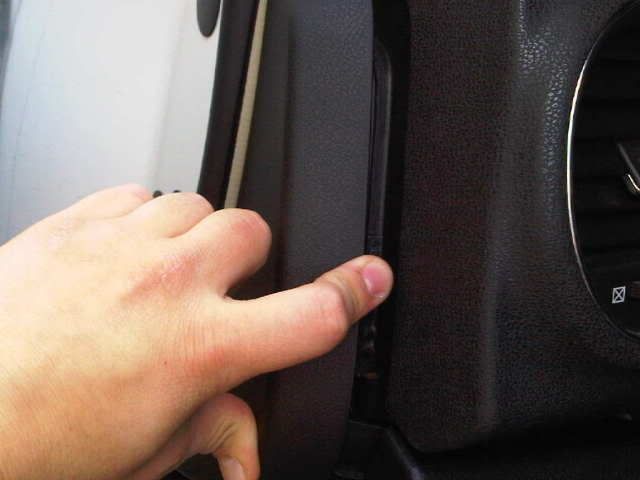
First, pop the plastic piece on side off

Second, pop off the plastic piece on the bottom of the steering wheel. Left side first!

Now go to the right side

You will then see a screw then holds the trim piece, unscrew with a Philips screwdriver

Next, gently pop out the trim piece to gain access to the ignition switch

Next, put your hand behind the ignition switch and push out GENTLY!

Unplug the switch

Plug your GT-R one in

Screw back the screw

Pop in all the plastic triming

And you are finished! Here are the pics


Loading