Category

my6thgen 04-08

Category

Member Credit: SGSash / onpointdyno

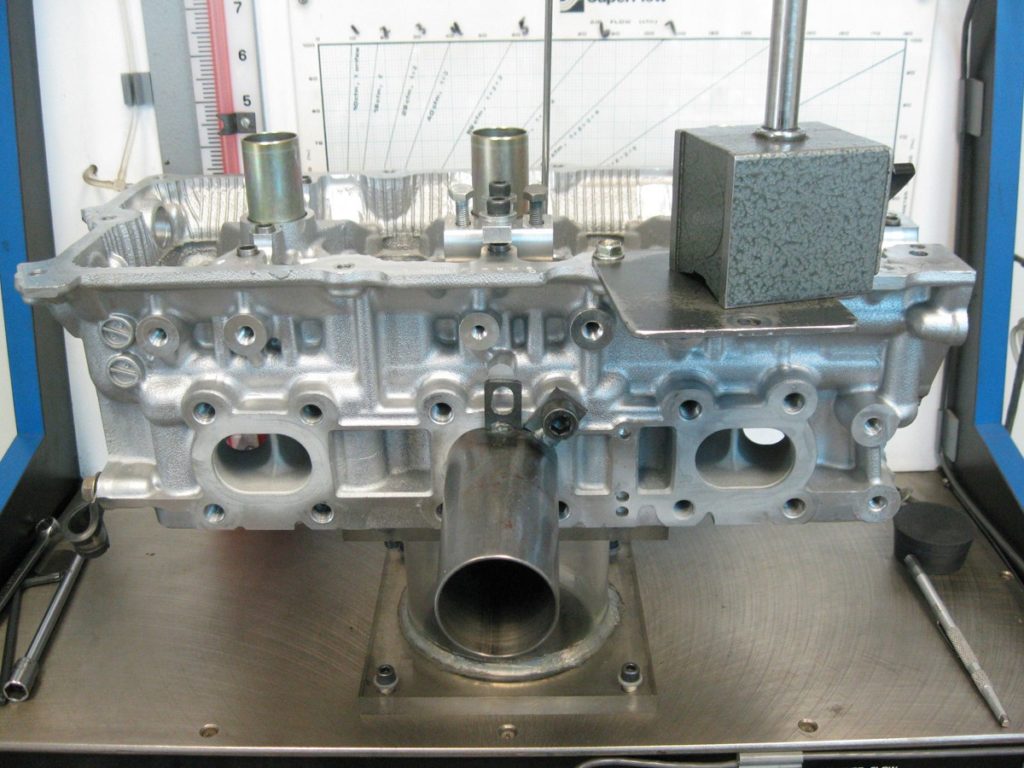
I just picked up my HR heads from Gord Bush who cleaned them up for me and flow tested them. We of course have previous numbers from the non-revup heads that I had Gord Bush port – so let’s compare! Visually looking at the HR heads you can see just how much bigger the intake port is than the non-revup heads, and the numbers prove it – the HR heads flow the same as the ported DE heads (in fact substantially more at low valve lifts). The exhaust doesn’t flow quite as well as the ported DE exhaust did, but it is still substantially better than a stock DE at high lifts.

Stock VQ35DE heads on the flow bench, very similar looking to the HR exhaust ports

Stock DE intake ports on the flow bench, substantially different than the HR

One reason the exhaust flows less at low valve lifts may be due to the fact that the HR has smaller valves. While this may be counter intuitive to those of you that go out there and buy the biggest valves you can, a smaller valve shrouds the combustion chamber less, and in-fact promotes flow at higher lifts. My imagination tells me you want the smallest valve and biggest port you can get away with, without overheating the valve.

Once these HR heads are ported, we should be able to get a decent bit more exhaust flow and hopefully crack the 400whp barrier with shorter intake runners and exhaust runners.


Loading

Community Member Credit: NiZMo1o1

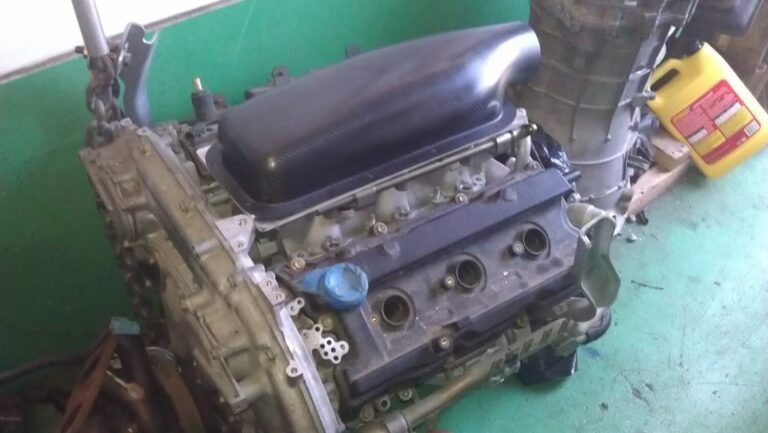
So I know it’s been a while since I’ve updated on my build thread or anything with Betsy. Just wanted to share what’s been going on as we’re doing R&D at the moment. We are working on a custom plenum for the VQ35DE and VG30DETT. So this isn’t near the finish but I wanted to share with you guys my setup.

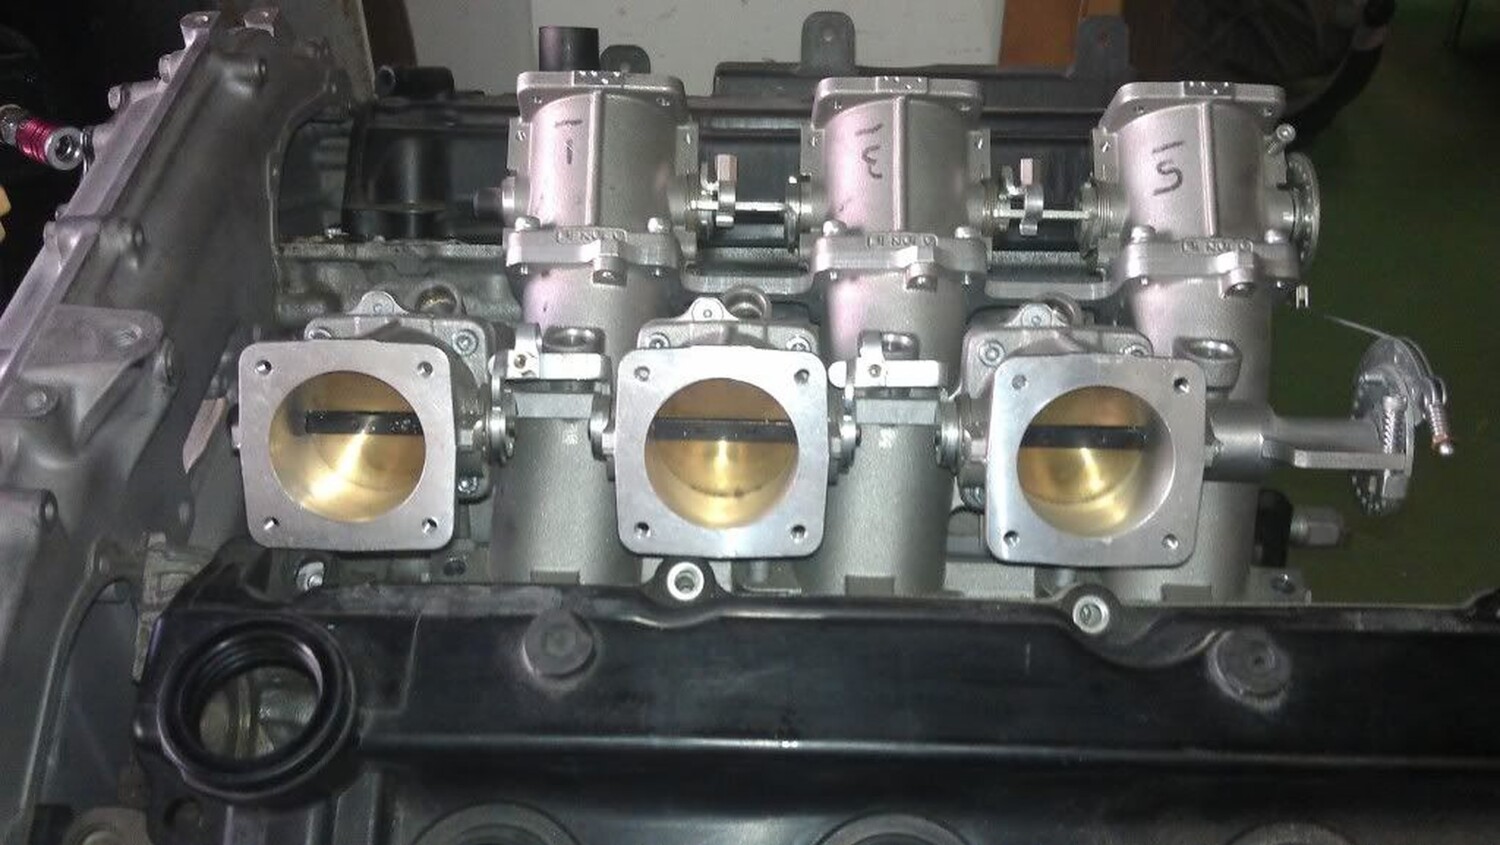
This is ACT carbon plenum with velocity stack airhorns inside it. I’ve decided to either go this route because of spacing underneath the hood. I intended to use the Jenvey ITB setup BUT because I would need to have two air boxes and may NOT have enough room, we decide to build our own intake.

This is how the ITB setup looks and we have a few running around ALL MOTOR in the FWD application. 

ACT Plenum

Rough idea, no Horn or stacks yet, not quite finished.

This is what its going to look inside

All this spawn from the VQ30DETT ( 300zx guys ) we are doing a setup for my buddy and got mixed reviews over on his board because there are many that are engineers over on his forum said it would never work.

The problem is these guys DON’T think out of the box, and because Nissan designs the OEM intake it’s supposed to work? Nissan built the OEM manifold to withstand 320hp-400hp max. Since we started this project guys overseas in New Zealand and Aussie have called us asking for this setup.

Over 3 weeks ago we started on the VG’s and then we looked at the mocked-up VQs and spare VQs at the shop. Decided today to start working on the VQ project, so this is just some rough draft early stages. The plenum will have enough volume with the velocity stacks inside to increase speed and airflow. The carbon plenum itself has been pressure tested to 90PSI which any motor will ever see that. I’m also tinkering with the idea to have the injectors sit INSIDE the air horns like F1 cars like so


Loading

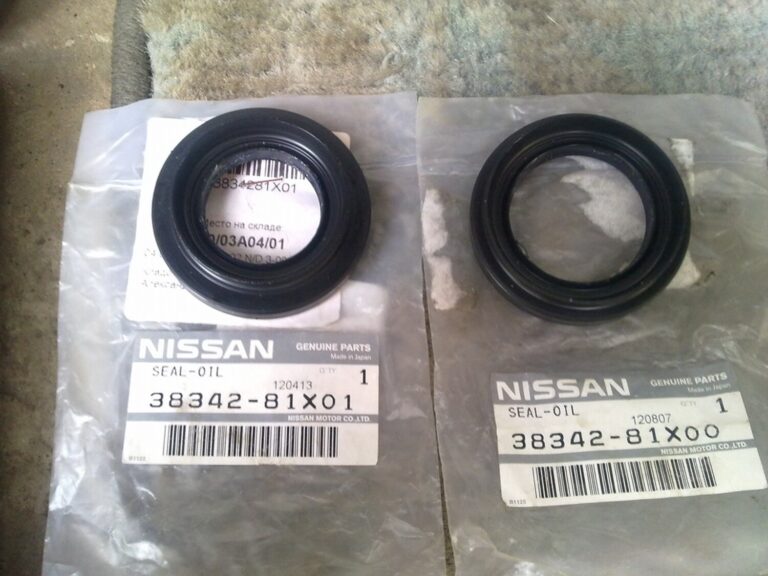
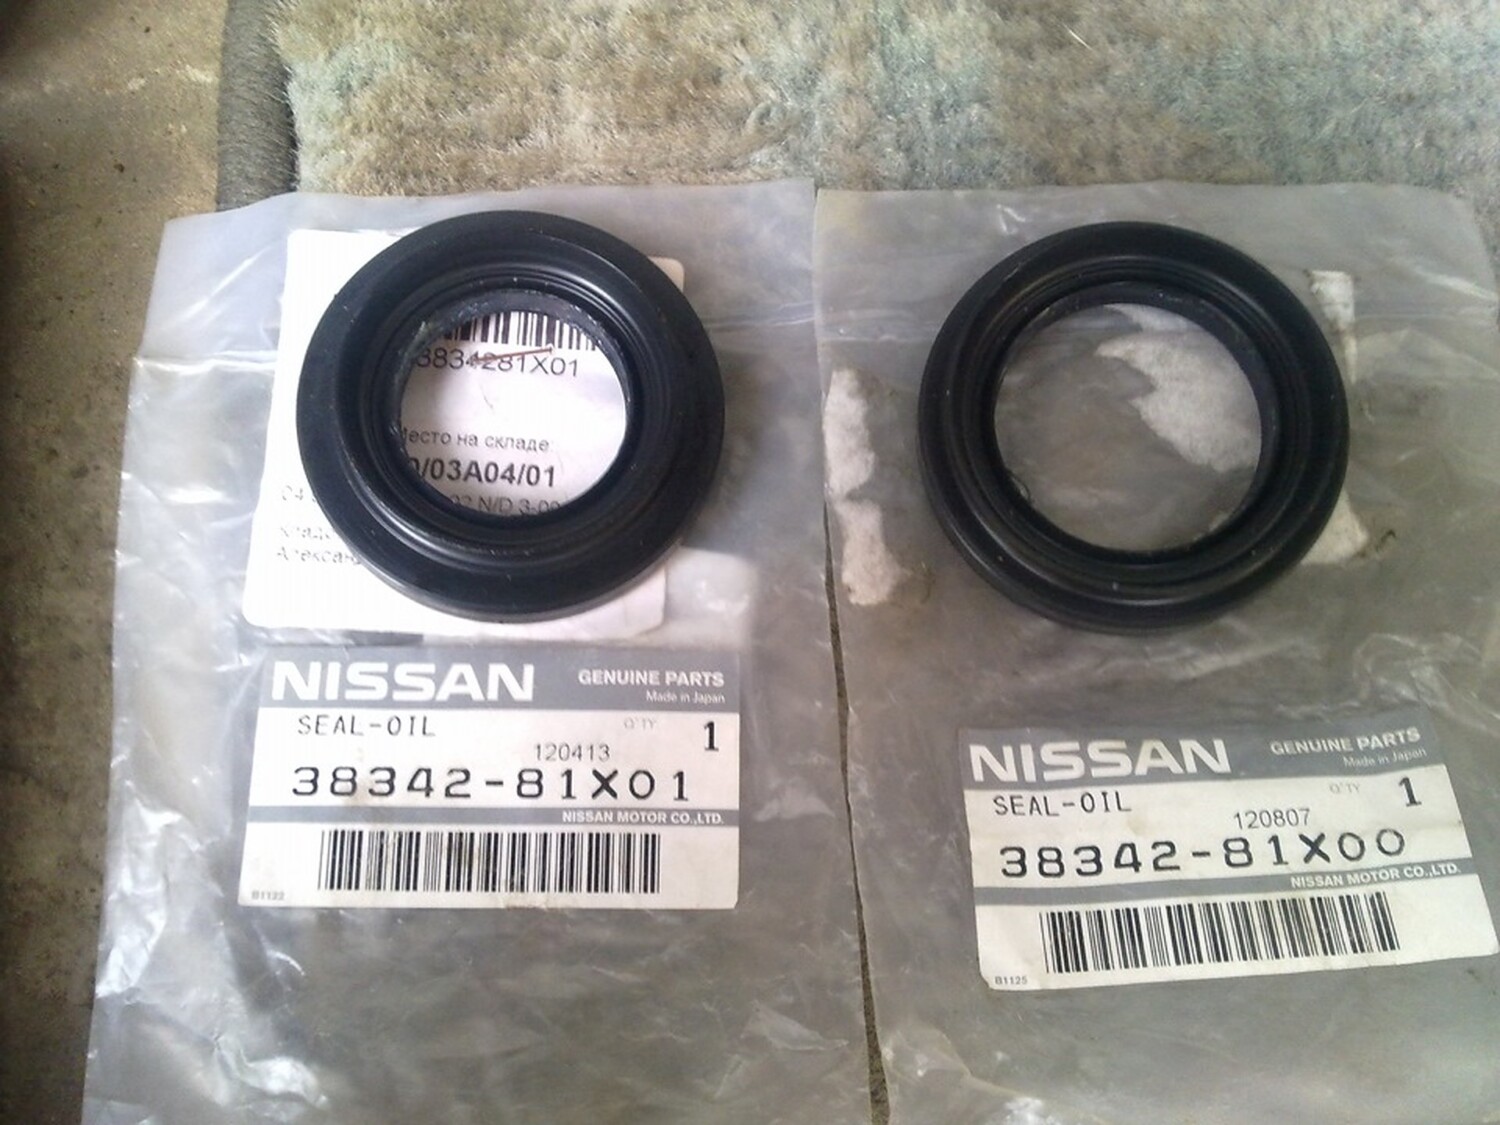
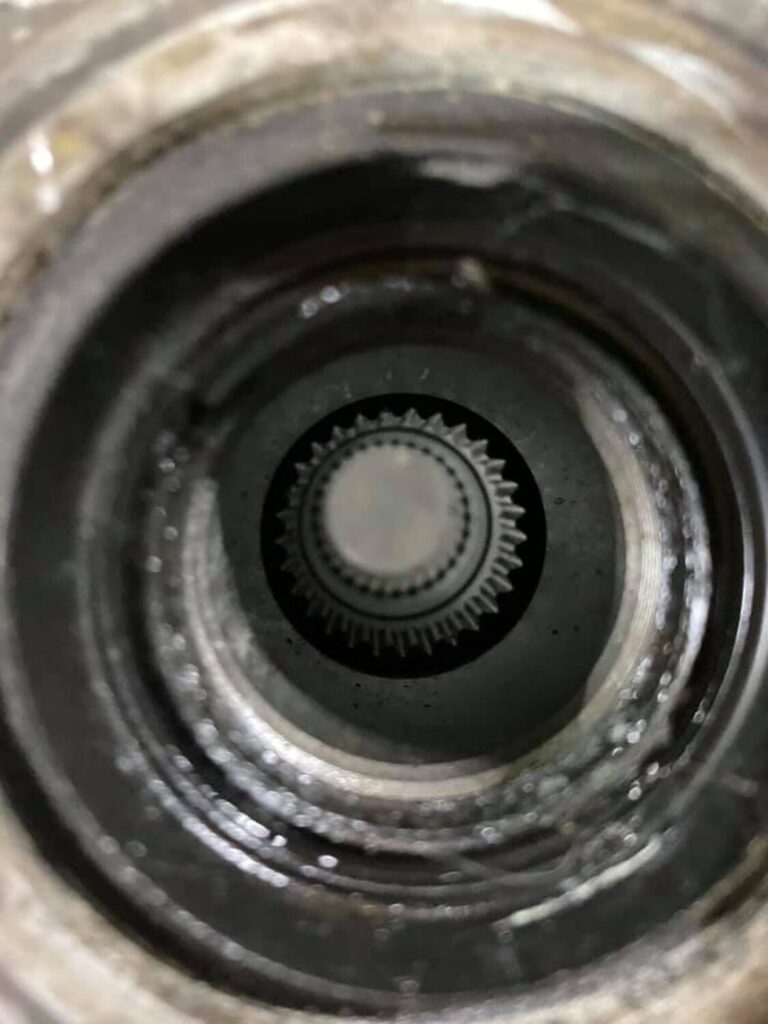
OEM Driver Side Part Number: 38342-81X00
Alternate Non-OEM Part Numbers: Timken / O’Reilly – 710118
Part Description: SEAL-OIL, Nissan Driver Side Output Shaft Seal / Differential Transmission Case
Price: $8.00-$9.00

OEM Passenger Side: 38342-81X01
Alternate Non-OEM Part Numbers: Timken / O’Reilly – 710124
Part Description: SEAL-OIL, Nissan Driver Side Output Shaft Seal / Differential Clutch Housing
Price: $8.00-$9.00

Input Shaft Seal: 32113-03E00
Part Description: SEAL-OIL, Nissan Input Shaft Seal
Price: $8.00-$9.00

Additional Reference Photos

Loading

Member Credit: Eddy

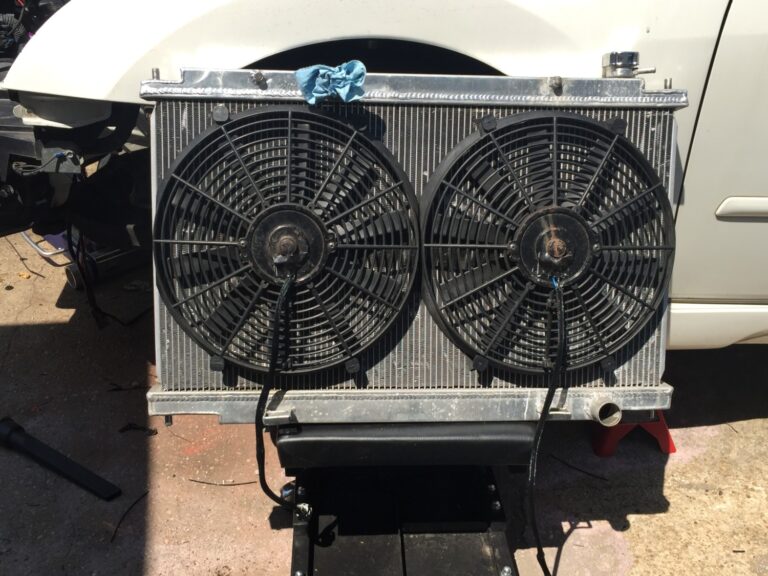
I decided to change my stock OEM Nissan fans to Mishimoto Slim fans. Below is what I did in order to make the fans plug-n-play, to the stock harness. For Mishimoto, you don’t really need a relay but it doesn’t hurt to have one. If you decide to do stronger fans like SPAL, you will definitely need a relay to avoid melting your wires. Those are very very strong fans of which the stock plugs cannot handle without a relay.

Important Note: Wire colors may be different so please check the factory service manual. You can use the below as a reference.

Instructions:

  1. Get a set of 1995-1999 4thgen Nissan Maxima Radiator Fan harness pigtails. You need the female end to make your Mishimoto fan plug-n-play. On the 04+ Maximas, the female connector is on the fan itself and cannot be reused.
  2. Positive Wires (12+ v): Twist pigtail wire 1 & 2 (Green and Blue) together to the blue wire on the Mishimoto fan.
  3. Ground Wires (-): Twist wires 3 & 4  (Yellow and Black) together to the black wire on the Mishimoto fan.
  4. Test your fan by unplugging the temperature sensor and turning the key to the ON position. Fan should automatically come on. Confirm the fans are also turning in the same direction of OEM fans. Turn off car.
  5. If steps 1-4 are good, solder/heat-shrink wires and repeated for your second fan.

All Set.

Reference Photos

Loading

Community Member Credit: cgoss / EddyMaxx

Here are steps for replacing alternator & power steering belts:

1. Remove undercover.

2. Fully loosen each belt. Remove generator and air conditioner compressor belt and then power steering oil pump belt.

a. Loosen idler pulley locknut (A)

b. Loosen adjusting bolt (B).

c. Remove Alternator and Compressor belt

d. Loosen adjusting bolt (C).

e. Loosen power steering oil pump bolt (D).

  • Bolt head (D) is at the engine rear side. You don’t have to loosen it all the way, just a little.

f. Adjust by turning the adjusting bolt (E).

  • In order to remove the power-steering belt, you have to put the ratchet into “tighten” mode aka “righty-tighty”. So you basically just tighten Bolt E and it will loosen the belt. 
  • In order to tighten and re-install the power-steering belt, you have to put the ratchet into “loosen” mode aka “lefty-loosey”. So you basically just loosen Bolt E and it will tighten/tension the belt. 
  • If you break the “E” adjusting bolt, its not too bad to replace and get a new one. You will have to remove “C” all the way which is a 12MM to get the assembly off. When putting a new bolt back on, make sure to put anti-seize on it. 

g. Remove Power Steering belt.

Click the image to open in full size.

Reference Install Photos

(A) You get to this one from underneath. 14mm wrench

Click the image to open in full size.

(B) You get to this one from the top side. 14mm socket with universal swivel adapter because you don’t have a straight shot on this one. If you have an HR Swap, you will need to use a 14MM wrench vs socket. 

Click the image to open in full size.

(C) & (E) You get to from underneath. 12mm wrench for C & 12mm socket for E.

Click the image to open in full size.

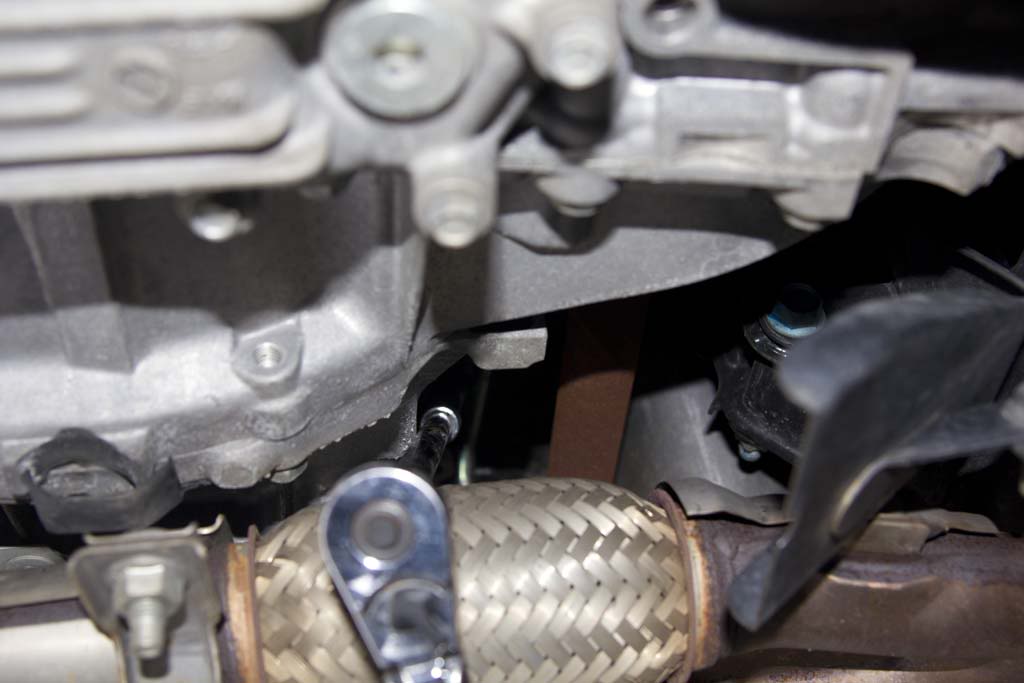
(D) This one is a little tough to get to. You can see in the pics below. I couldn’t get a clear pic of the bolt head but once you get under the car and look back in there, you will see it. I used a 3/8″ drive 14mm with a universal swivel adapter and two 12″ extensions. Going over the exhaust gave me the best position for the best leverage to loosen and tighten the bolt.

Click the image to open in full size.

Click the image to open in full size.

Helpful Video:

Loading

Member Credit: Nathan Davis

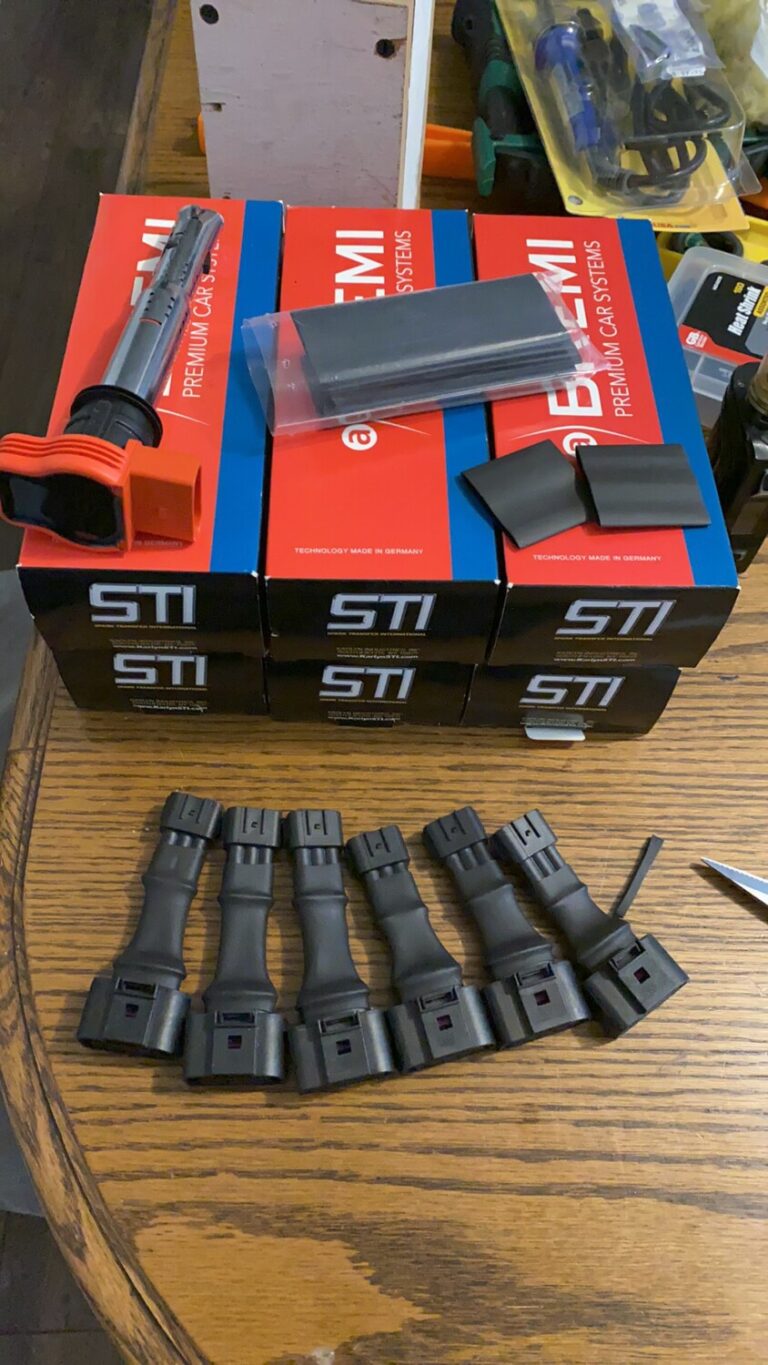
This write-up will help you make your own Audi R8 Coil Pack connectors. This version is very nice and clean. You can also hit up Nathan Davis on Facebook if you would like for him to make you a set.

Important Note: On the VQ35DE (2002-2008), you will need to use NWP Spacers for the Coil Packs to sit properly. The Gen2 VQ35DE (2009+) do not require spacers. You will also need the adapters to plug them in or make your own by splicing directly.

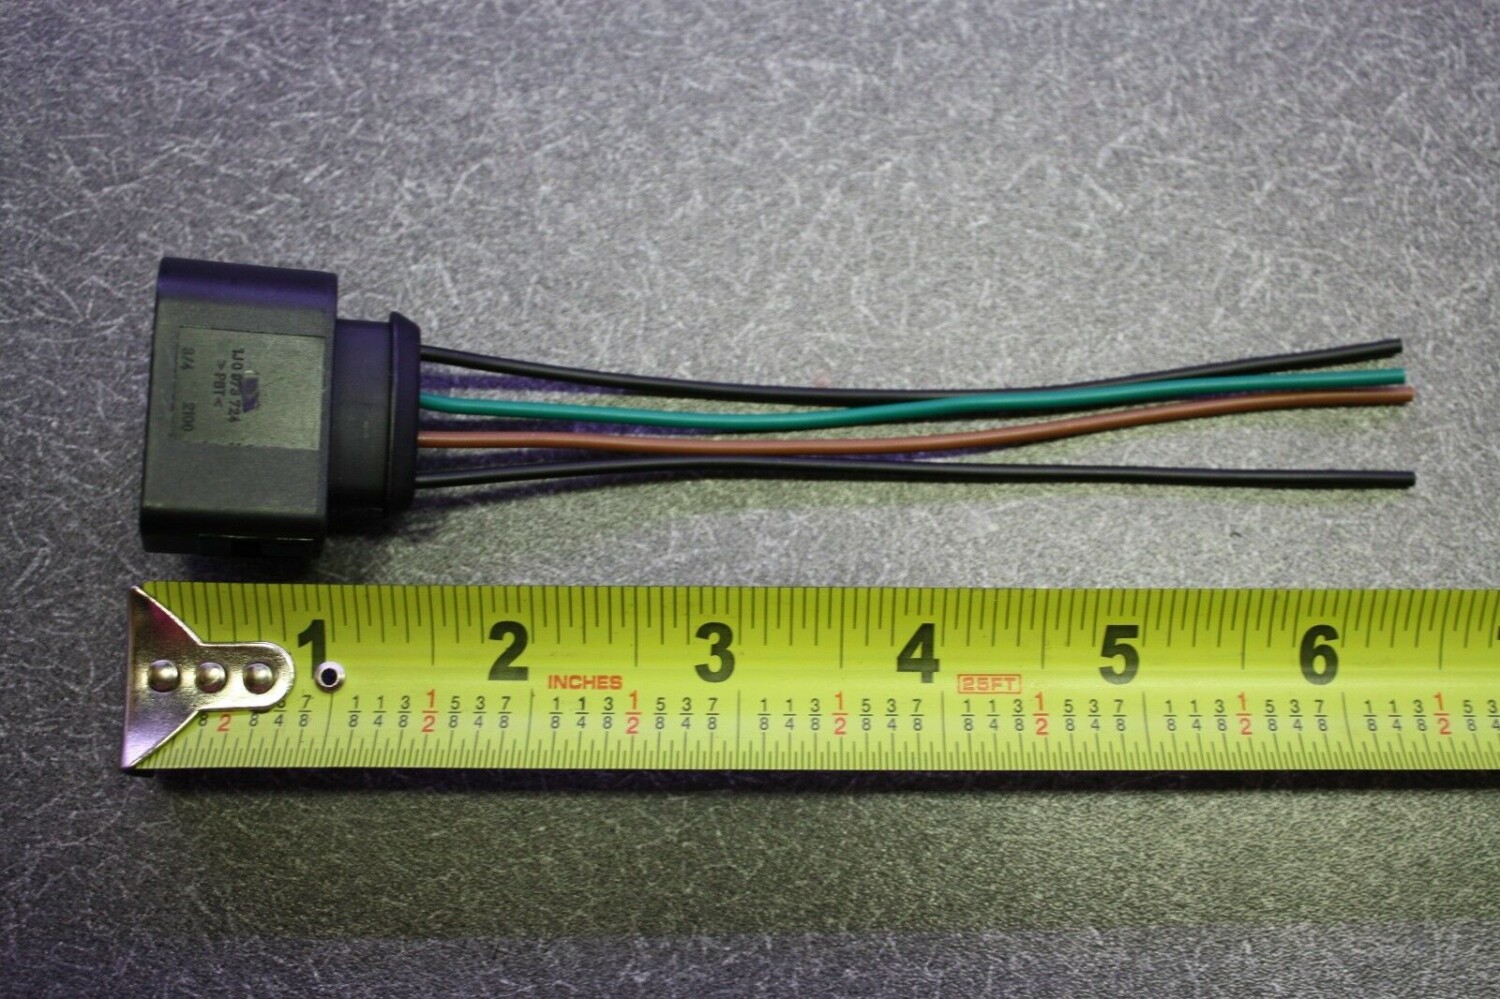
Audi R8 Coil Pack Connector 

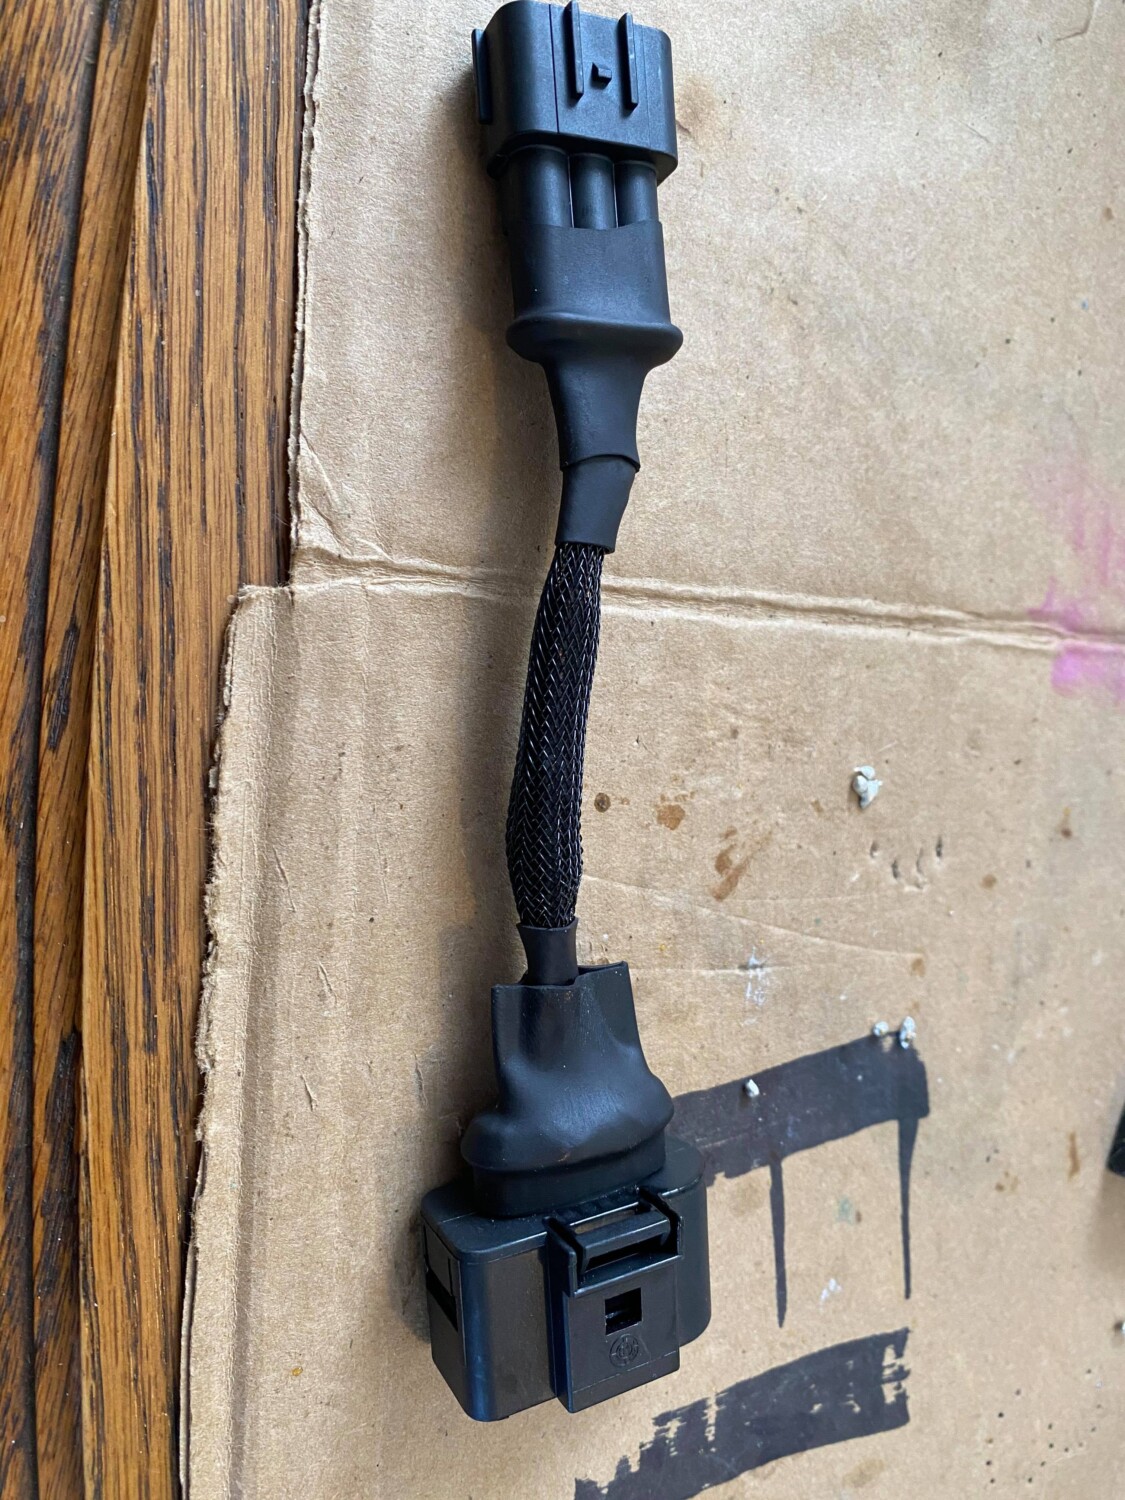
Nissan Coil Pack Connector

Additional Items: 

  • 1” by 4” Heat Shrink
  • Terminal Crimpers
  • Heat Gun
  • Wire Strippers

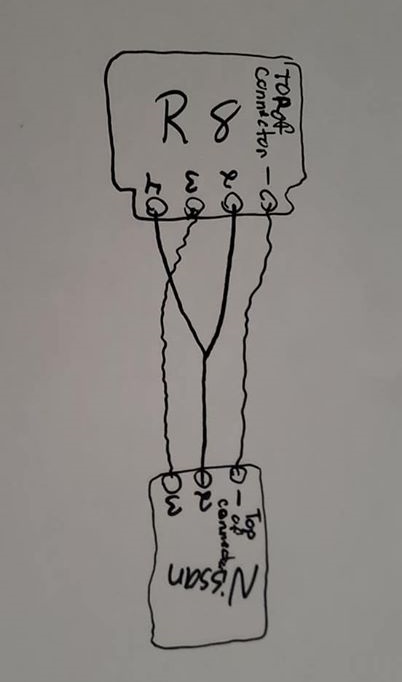
Wiring Diagram

Connector Soldering 

Final Product

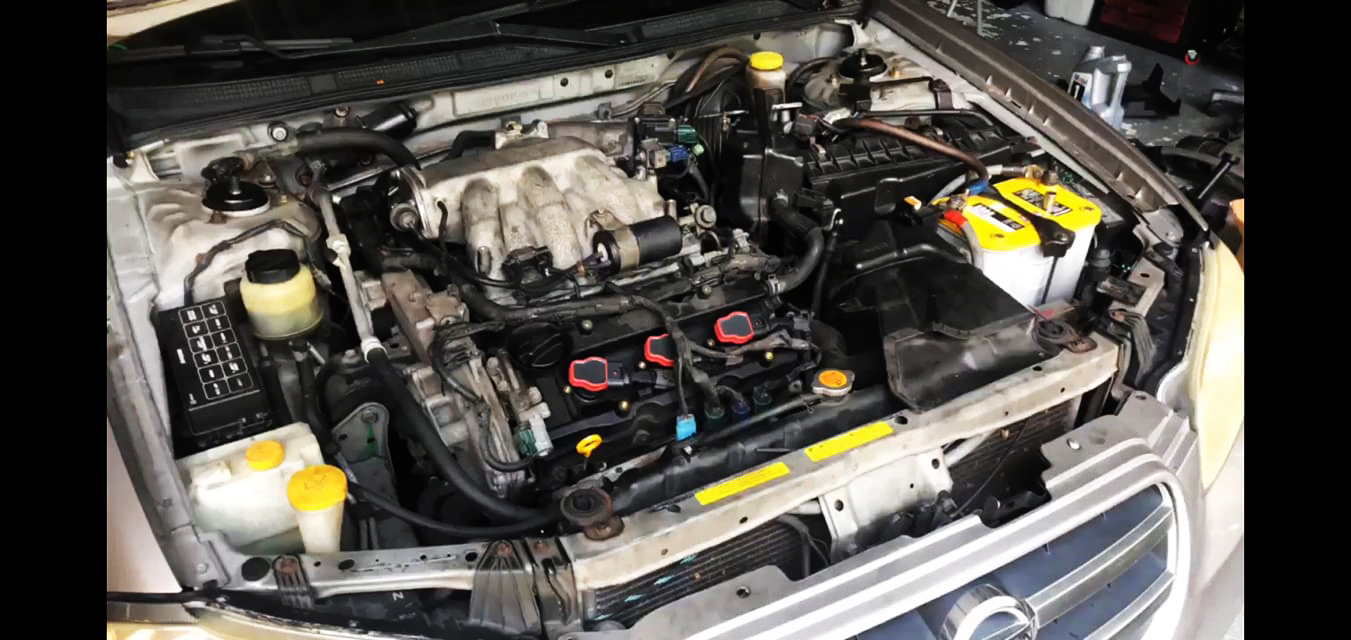
Installation Photos

Audi R8 Coil Pack Advantages:

  • 50,000 volts compared to Nissans/Infiniti 30,000 volts.
    • Some measure it with Kv so Nissans coils put out 21Kv while VW coils put out 30Kv
  • Quicker Heat dissipation. (Because of its metal body construction it can quickly dissipate heat. Nissan OEM body is made out of rubber that isolates heat instead of disperses it.)
  • More complete burn of the fuel mixture compared to OEM Nissan which equals to better MPG.
  • Idle Stability Improved
  • NO CEL (Check Engine Lights)
  • BEST PART ABOUT THEM IS THEY ARE CHEAPER $$$ than Nissan OEM yet they are much better.
  • Looks 10000% Cooler than OEM Coilpacks

Now the coil packs price varies due to different name brands. They range from $132-$216 for a V6 engine. Below is the link of the coil packs below so you can see the prices and brands. Doesn’t matter which brand you use. They all make the same exact power.

Order Link: https://www.nedautoparts.com/search?q=Audi+coilpack

Loading

Please Note: This is in reference to the 6-Speed Manual Maxima’s.

What does HLSD Stand for?

HSLD Stand for Helical Limited Slip Differential

What is it and what does it do?

It is a limited-slip allowing power to be fed to both wheels when wheel slippage is felt. You can feel it kick in when you burn out….you ever notice how cars tend to turn to one side…well on yours…you should just pull straight.

How do you know if you have a factory 6-Speed HSLD?

The identification for the engine and transmission is located under the hood on the firewall in the form of a thin aluminum plate. The engine code will read: VQ35(DE)

If you have a 6 speed with an open diff the code will be: RS6F51A

The last letter A means open diff. Open diff is just the regular factory transmission without HSLD.

If you have a 6 speed with a Helical Limited-slip Differential the code will be: RS6F51H

The last letter H means Helical.

Important Note: The 6-Speed Manual Axles are the same for either open diff or HLSD. The automatics are the ones that are different.

HLSD

Additional Reference Photos:

Loading

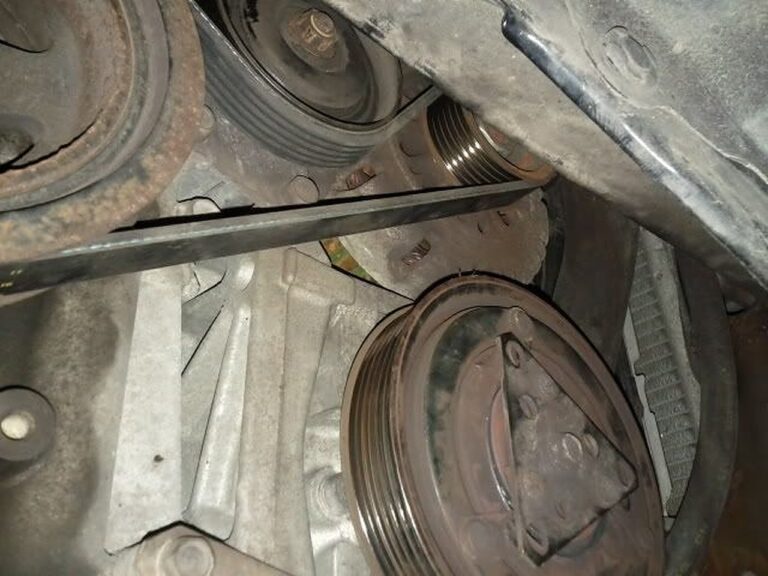
The ACC belts are the same for 1995-2008 Maximas. The idler pulley is also the same PN. The belt can be any brand long as its 36.5 inches long and 6 ribs. It can be a little longer or shorter as the tensioner will take up the slack so between 35.5″-37″. We will include the two most popular choices when doing this modification.

You can buy these at your local parts store like Autozone or Advanced Auto Parts. We’ve included some order links if you would like to order online from a reputable website.

Reasons for doing this:

  • Your AC compressor makes to much noise
  • Your AC compressor is fully seized
  • You live in Alaska or Antarctica and don’t need AC
  • Weight Reduction and you don’t give a shit about the AC Compressor.

Option 1: Belt 365K6 (Most Common)

Length: 36.5″
# of Ribs: 6

Order Link: https://www.vbeltsupply.com/365k6-1.html

Replaces:

  • Dayco – 5060365
  • Gates – K060365
  • Goodyear – 4060365
  • Metric Belt Code – 6PK0927

Option 2: Belt 370K6

Length: 37″
# of Ribs: 6

Order Link: https://www.vbeltsupply.com/370k6-1.html

Replaces:

  • Dayco – 5060370
  • Gates – K060370
  • Goodyear – 4060370
  • Metric Belt Code – 6PK0939
  • Napa – 25060370

Option 3: Belt 360K6

Length: 36″
# of Ribs: 6

Order Link: https://www.vbeltsupply.com/360k6-1.html

Replaces:

  • Dayco – 5060360
  • Gates – K060360
  • Goodyear – 4060360
  • Metric Belt Code – 6PK0914
  • Napa – 25060360

Option 4: Belt 355K6 (If Using Under Drive Pulley)

Length: 35.5″
# of Ribs: 6

Order Link: https://www.vbeltsupply.com/355k6-1.html

Replaces:

  • Dayco – 5060355
  • Gates – K060355
  • Goodyear – 4060355
  • Metric Belt Code – 6PK0901
  • Napa – 25060355

Installation Photos:

Additional Info:

You may find there is a bolt in the way. You can easily remove it. It’s a 14 MM.

Loading

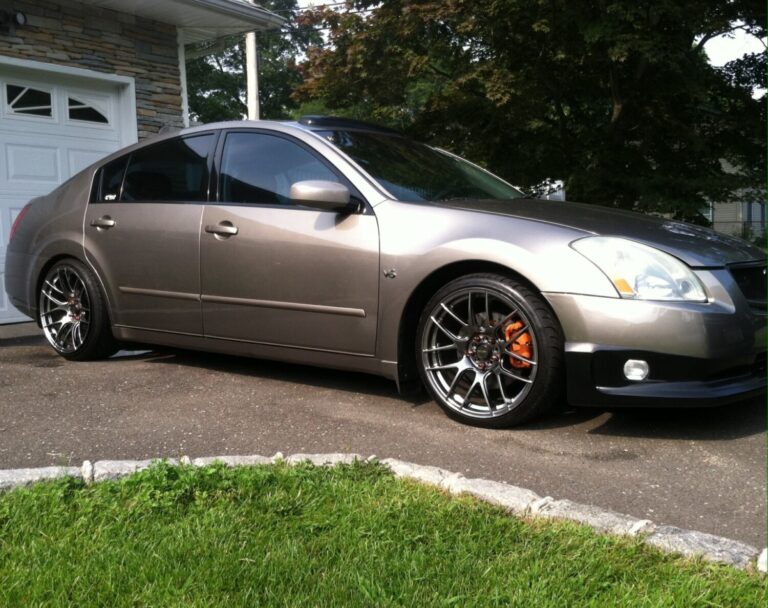
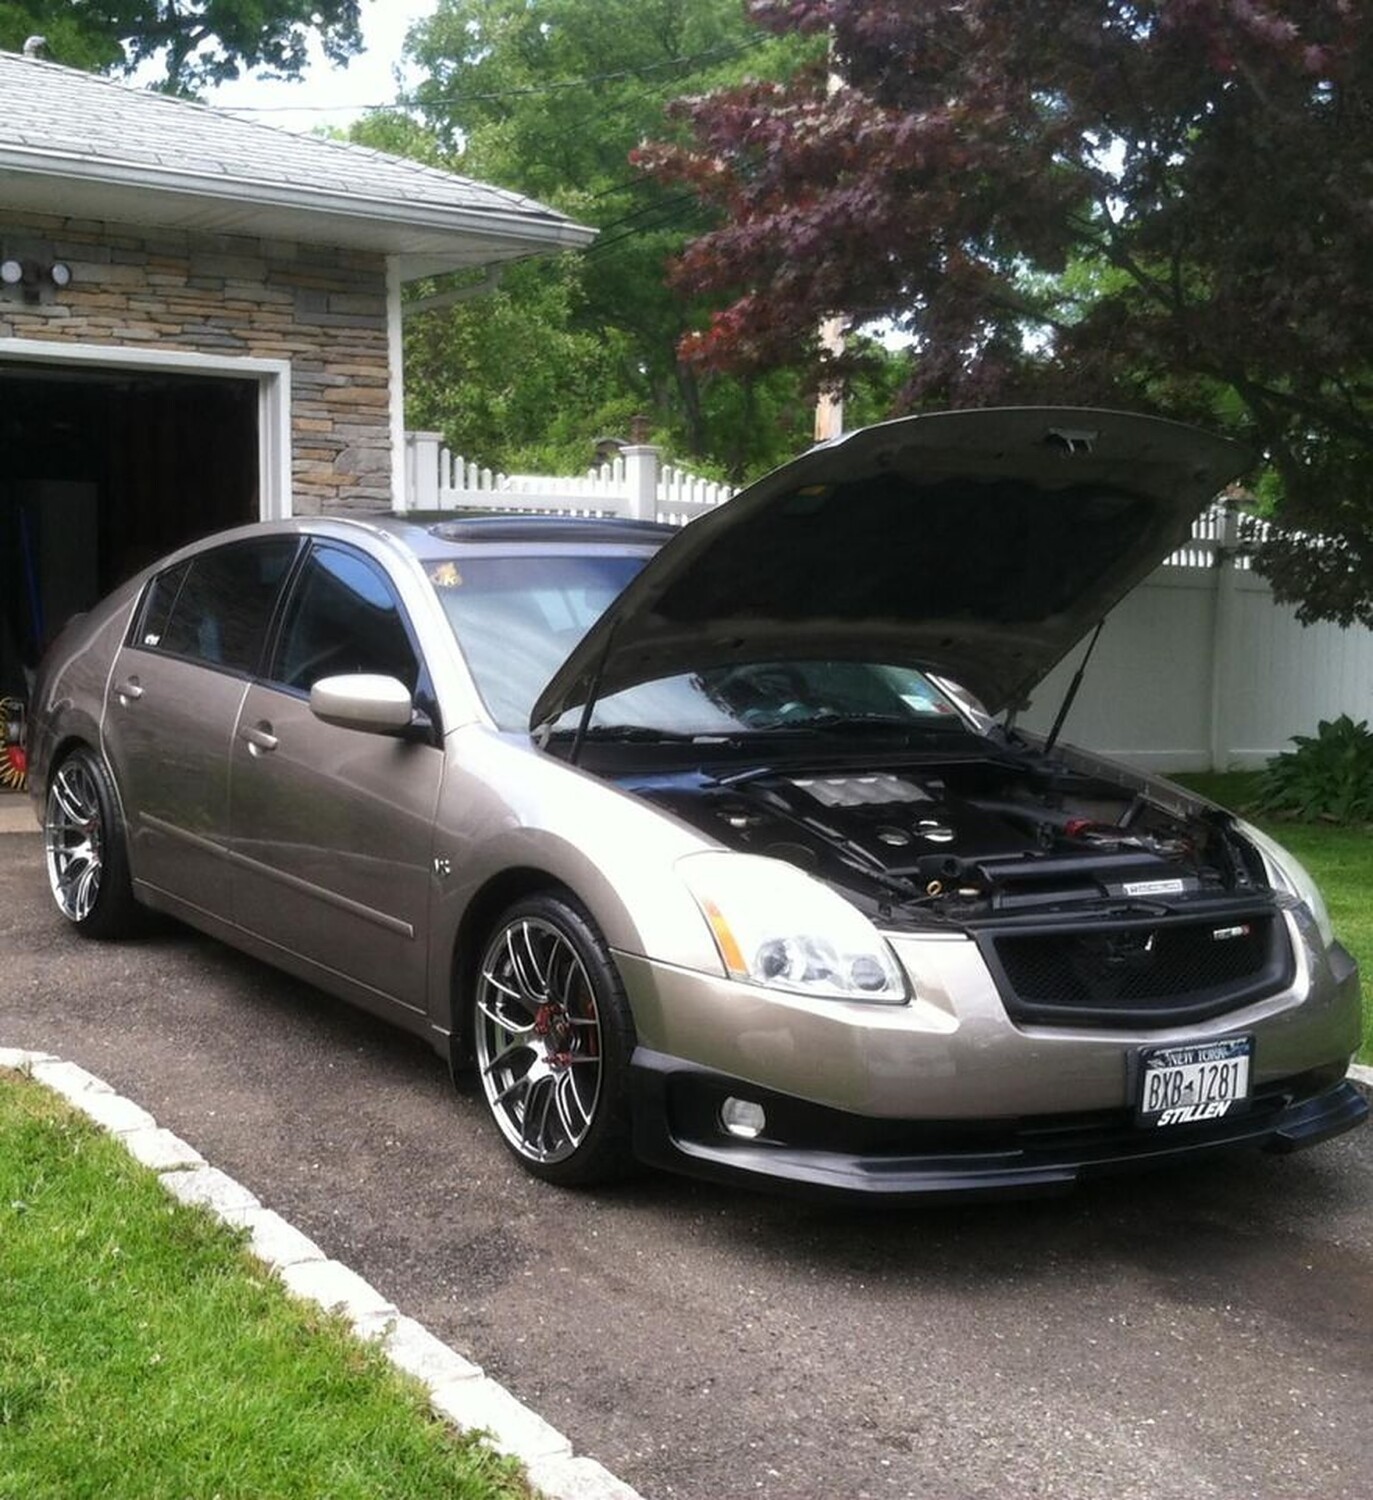
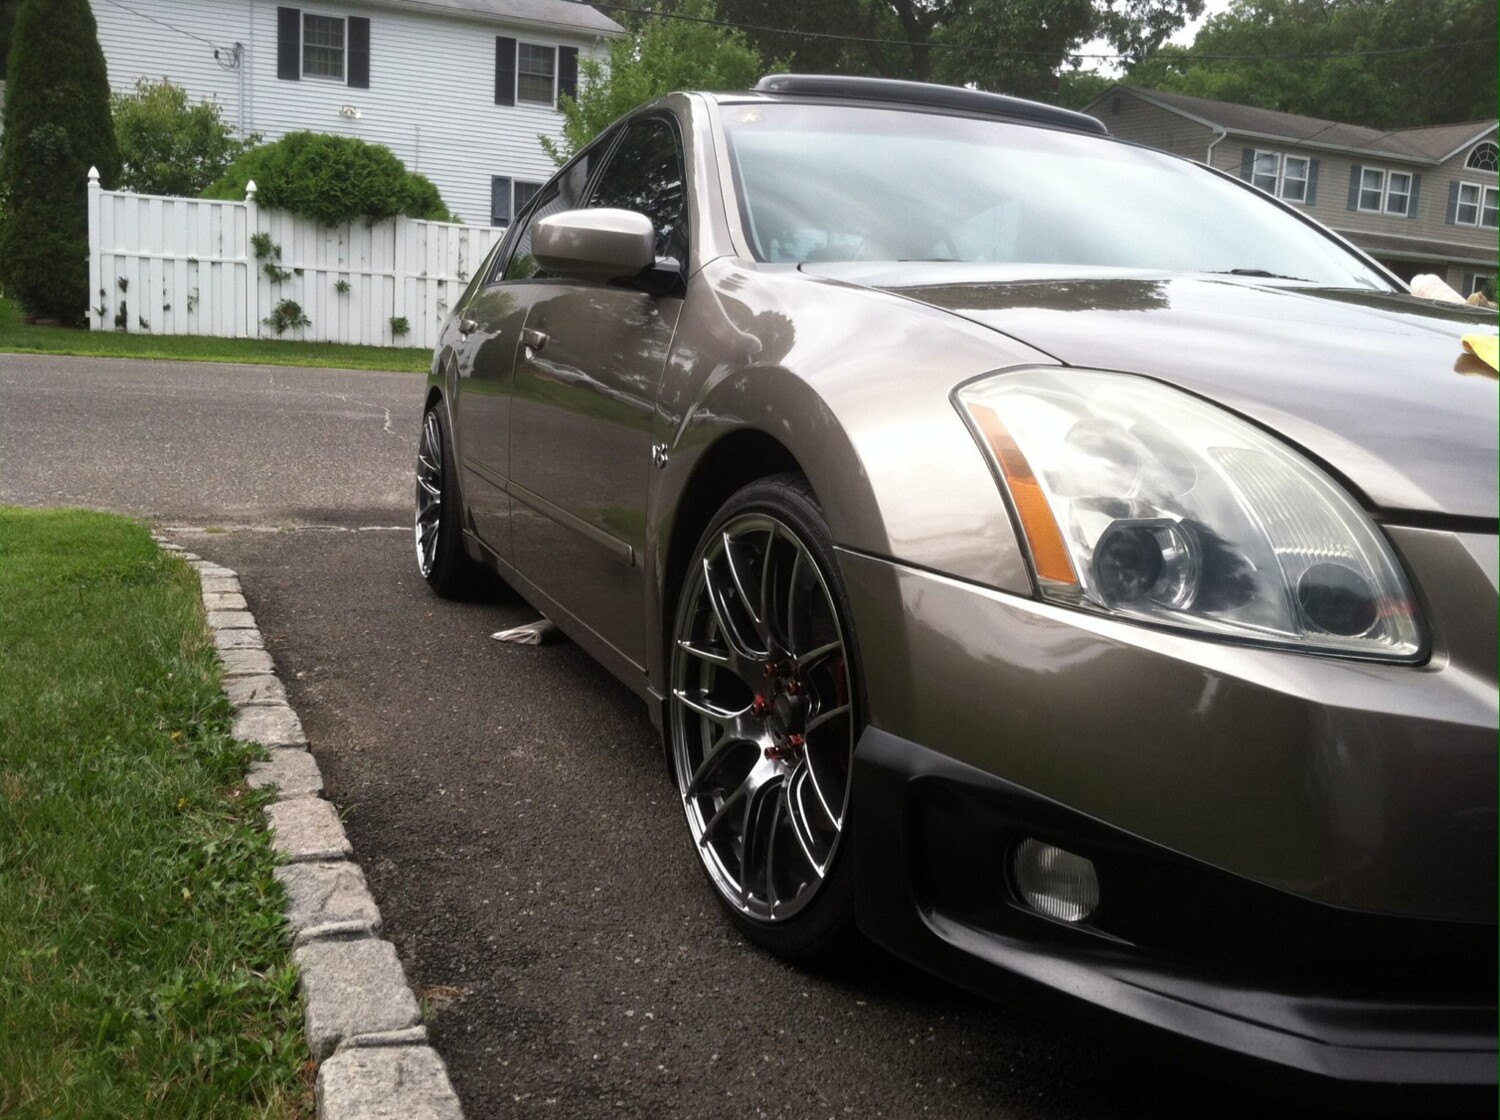
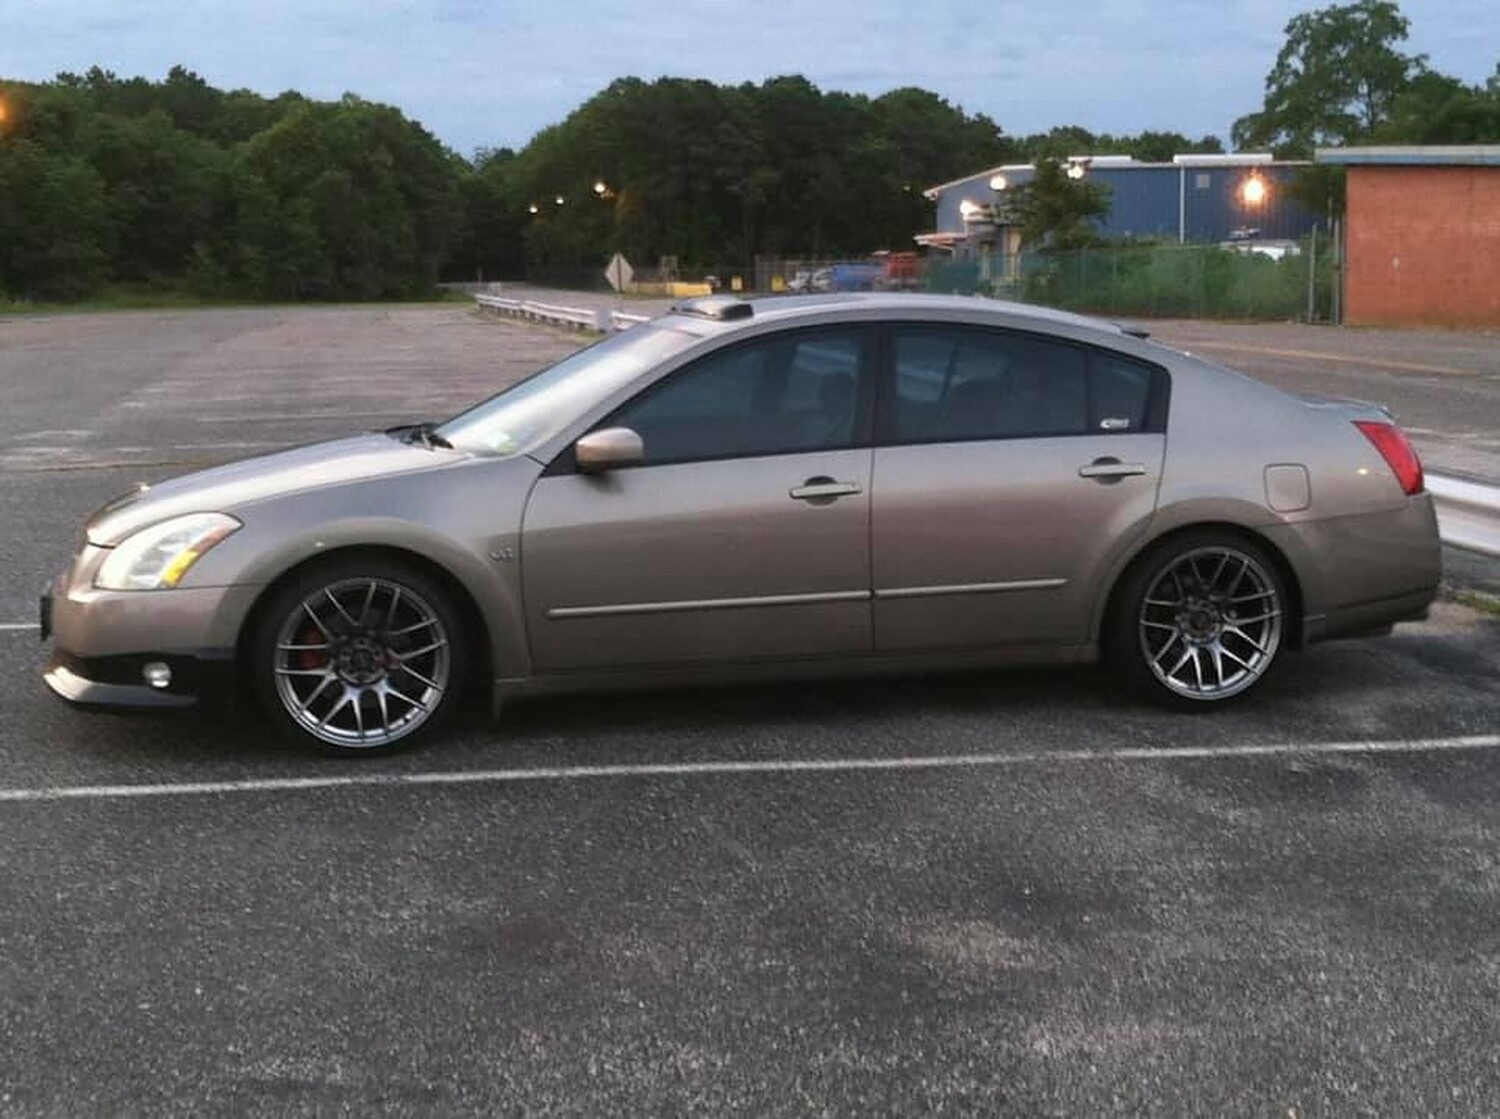
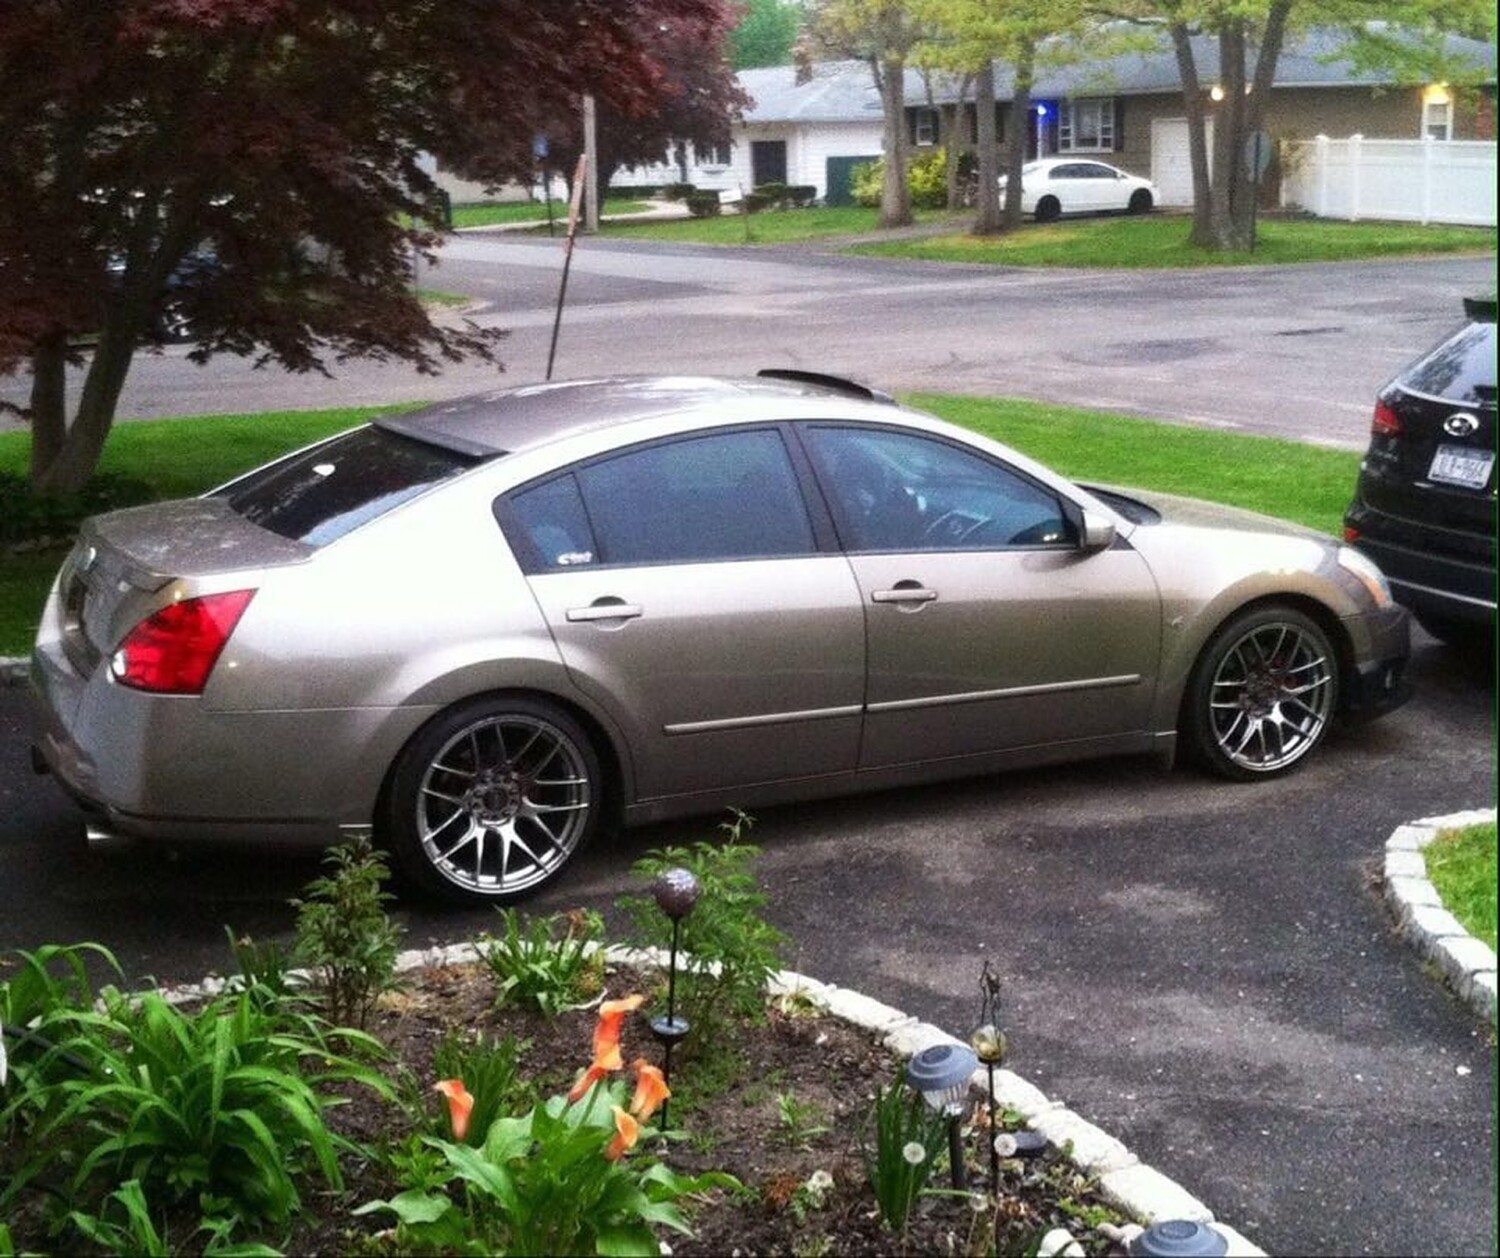
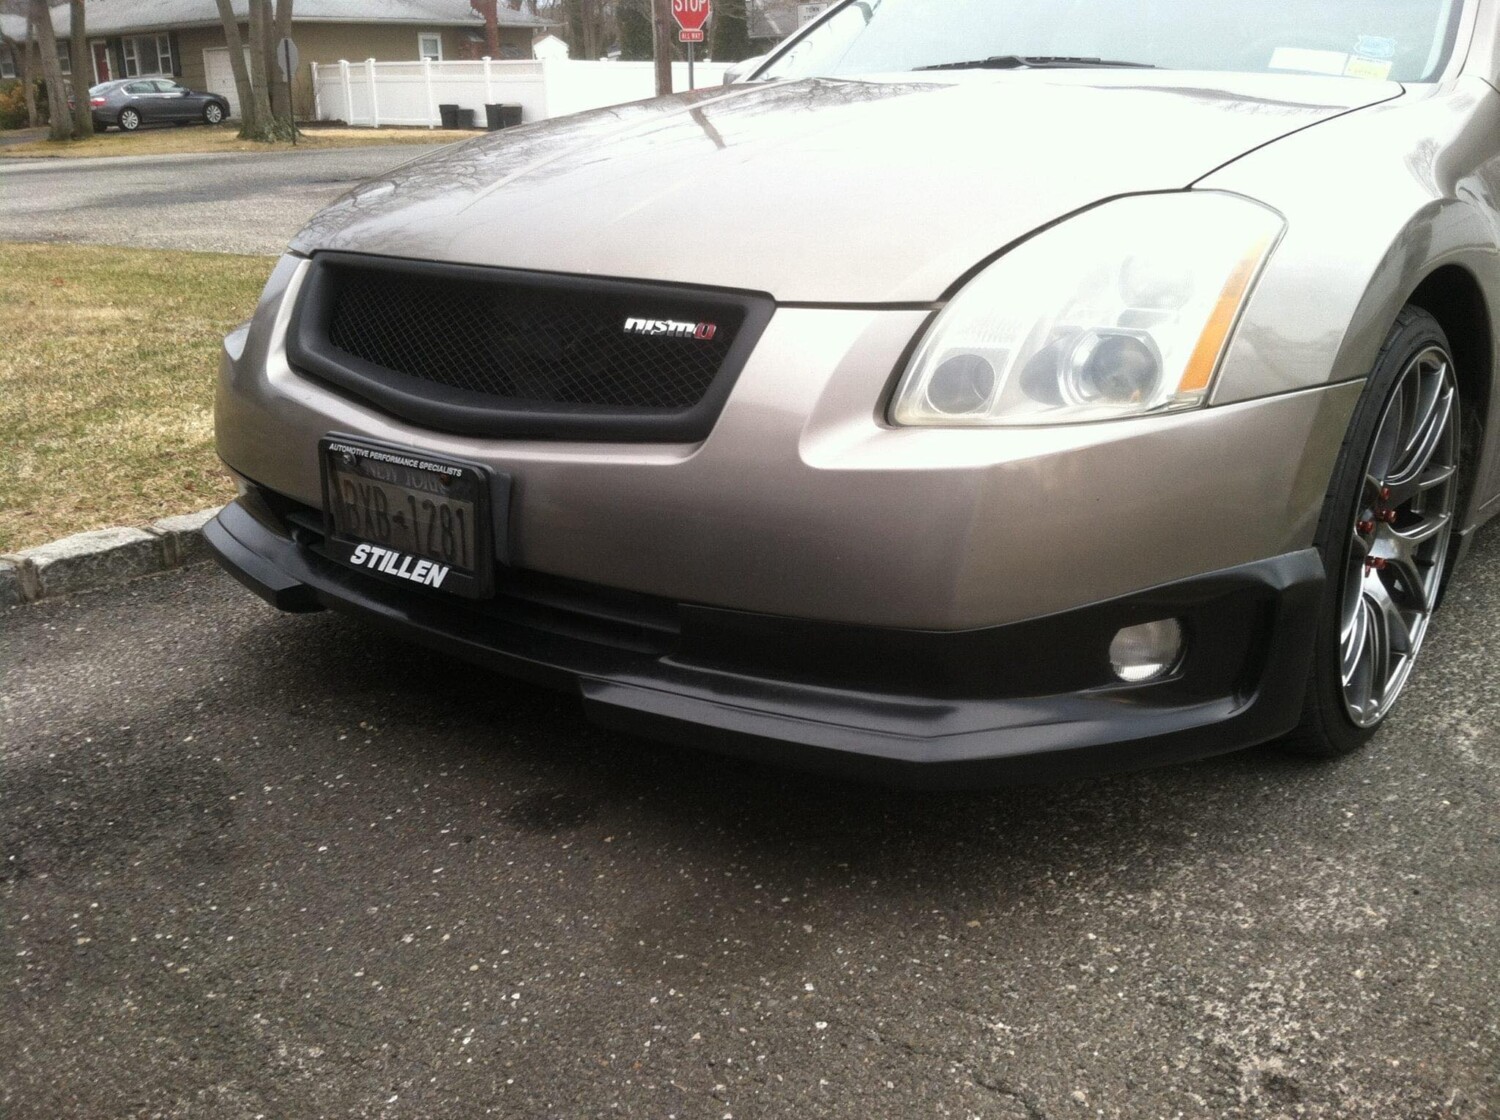
Owner: Jason Nystrom

Year: 2006
Model: Maxima
Current Color: Black
Transmission: 5-Speed Auto
Trim: SE

Mod List:

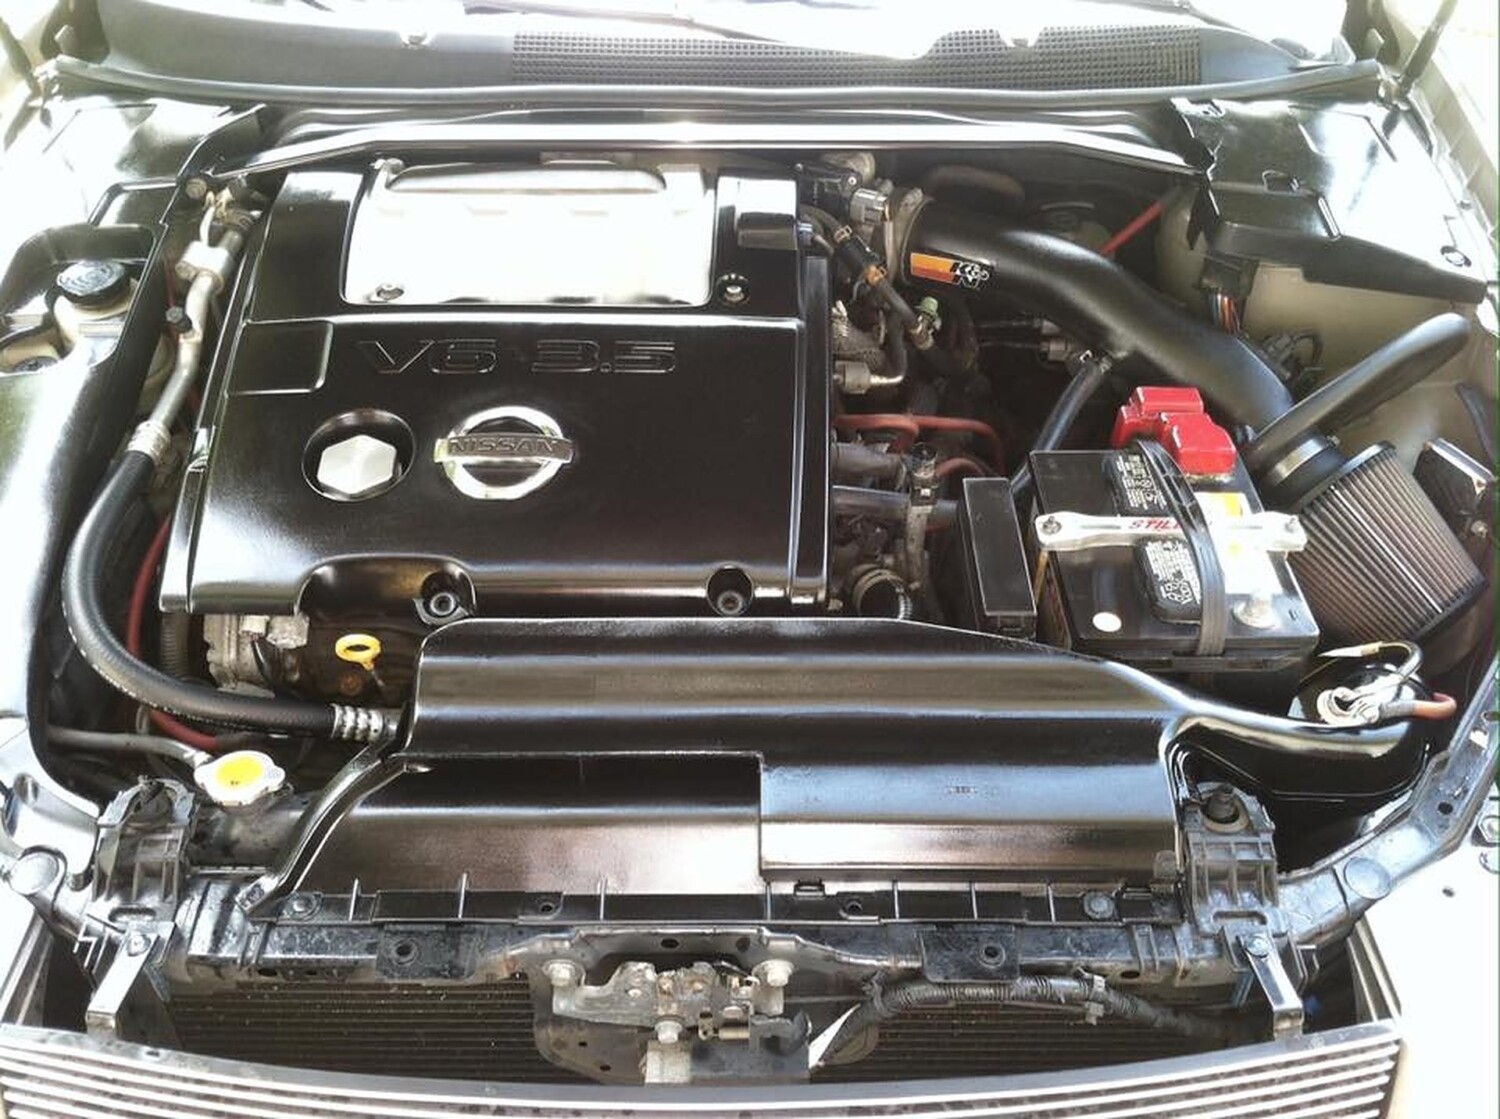
  • K&N SRI Intake
  • JEGs Mass Airflow Sensor
  • NWP 75mm Throttle Body
  • NWP 5pc Spacer Kit
  • NWP Block-plate
  • Racingline Red Ground Kit
  • Racingline Front Strut Bar
  • Racingline Y-Pipe
  • Racingline Highflow Cats
  • eBay Exhaust RS1
  • Adv. Timing 2 Degrees
  • Iridium Spark Plugs
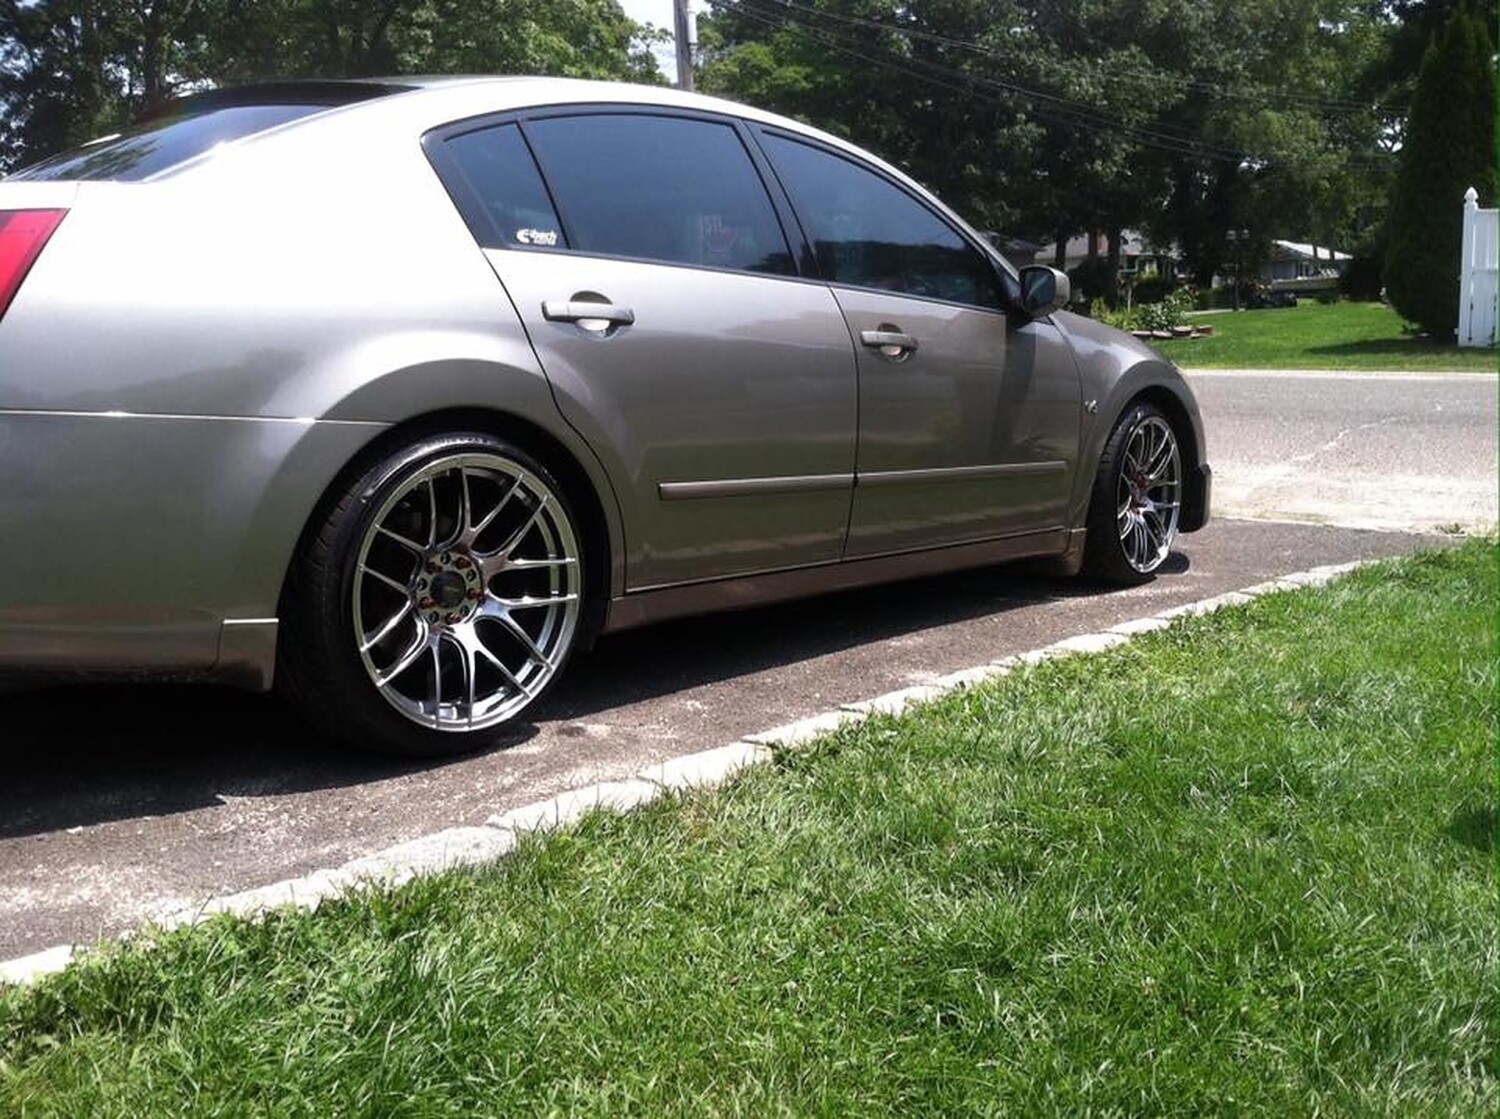
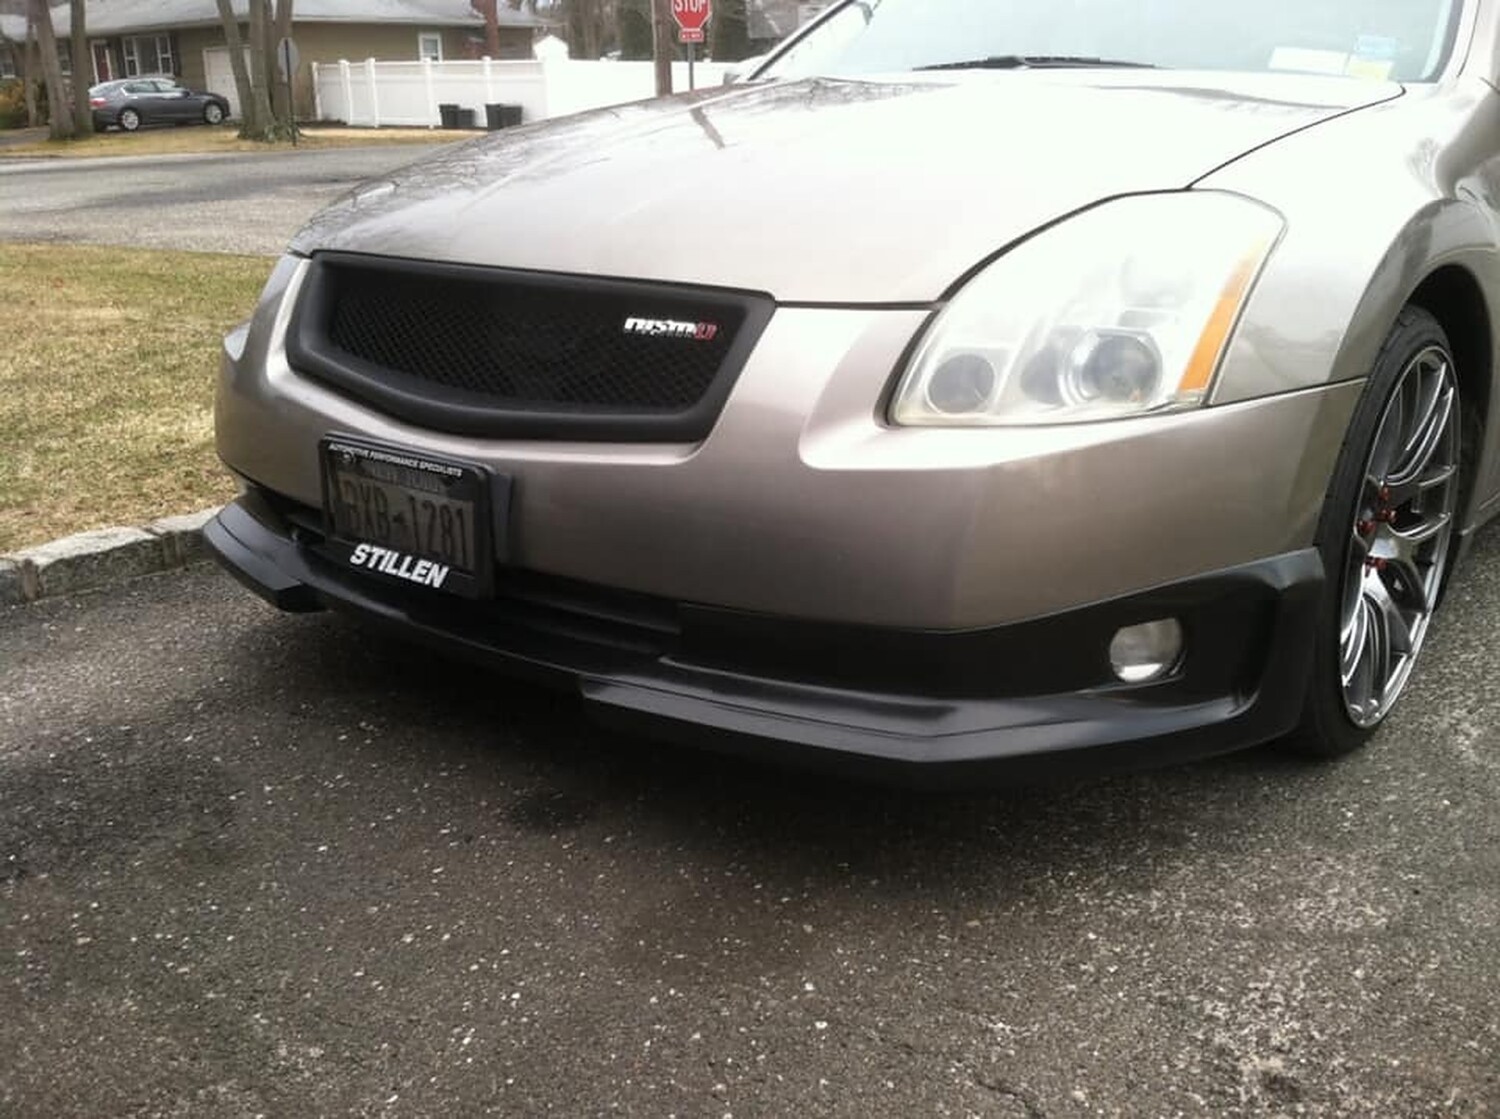
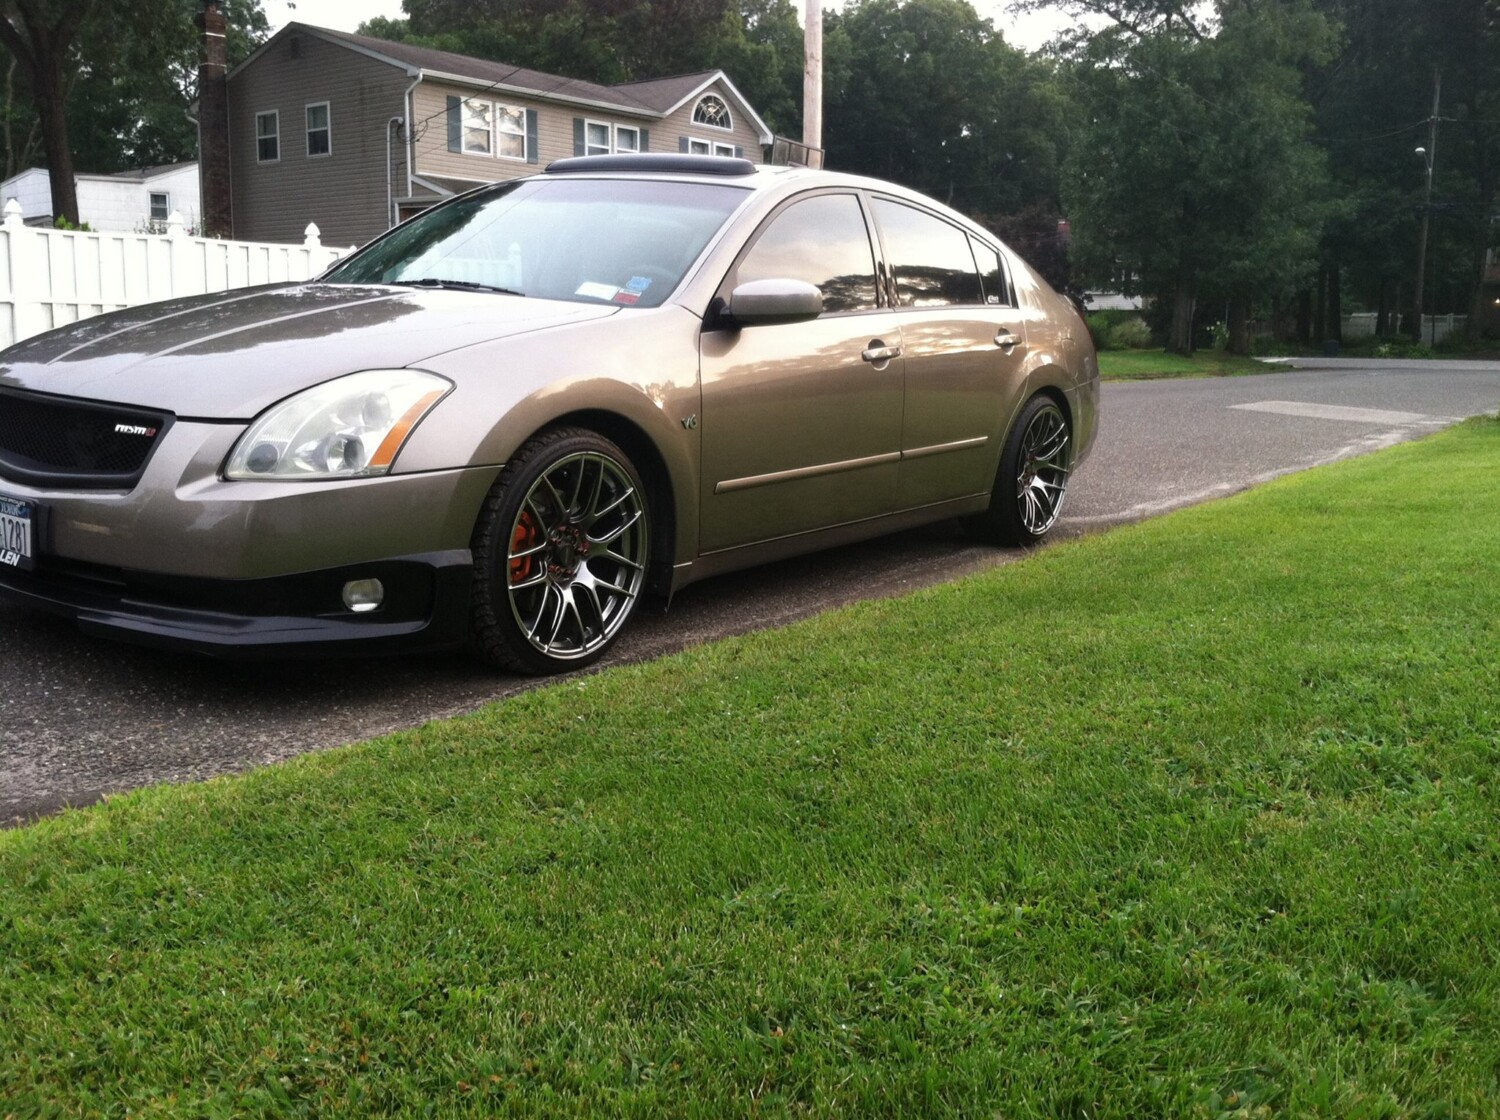
  • Stillen Front Lip
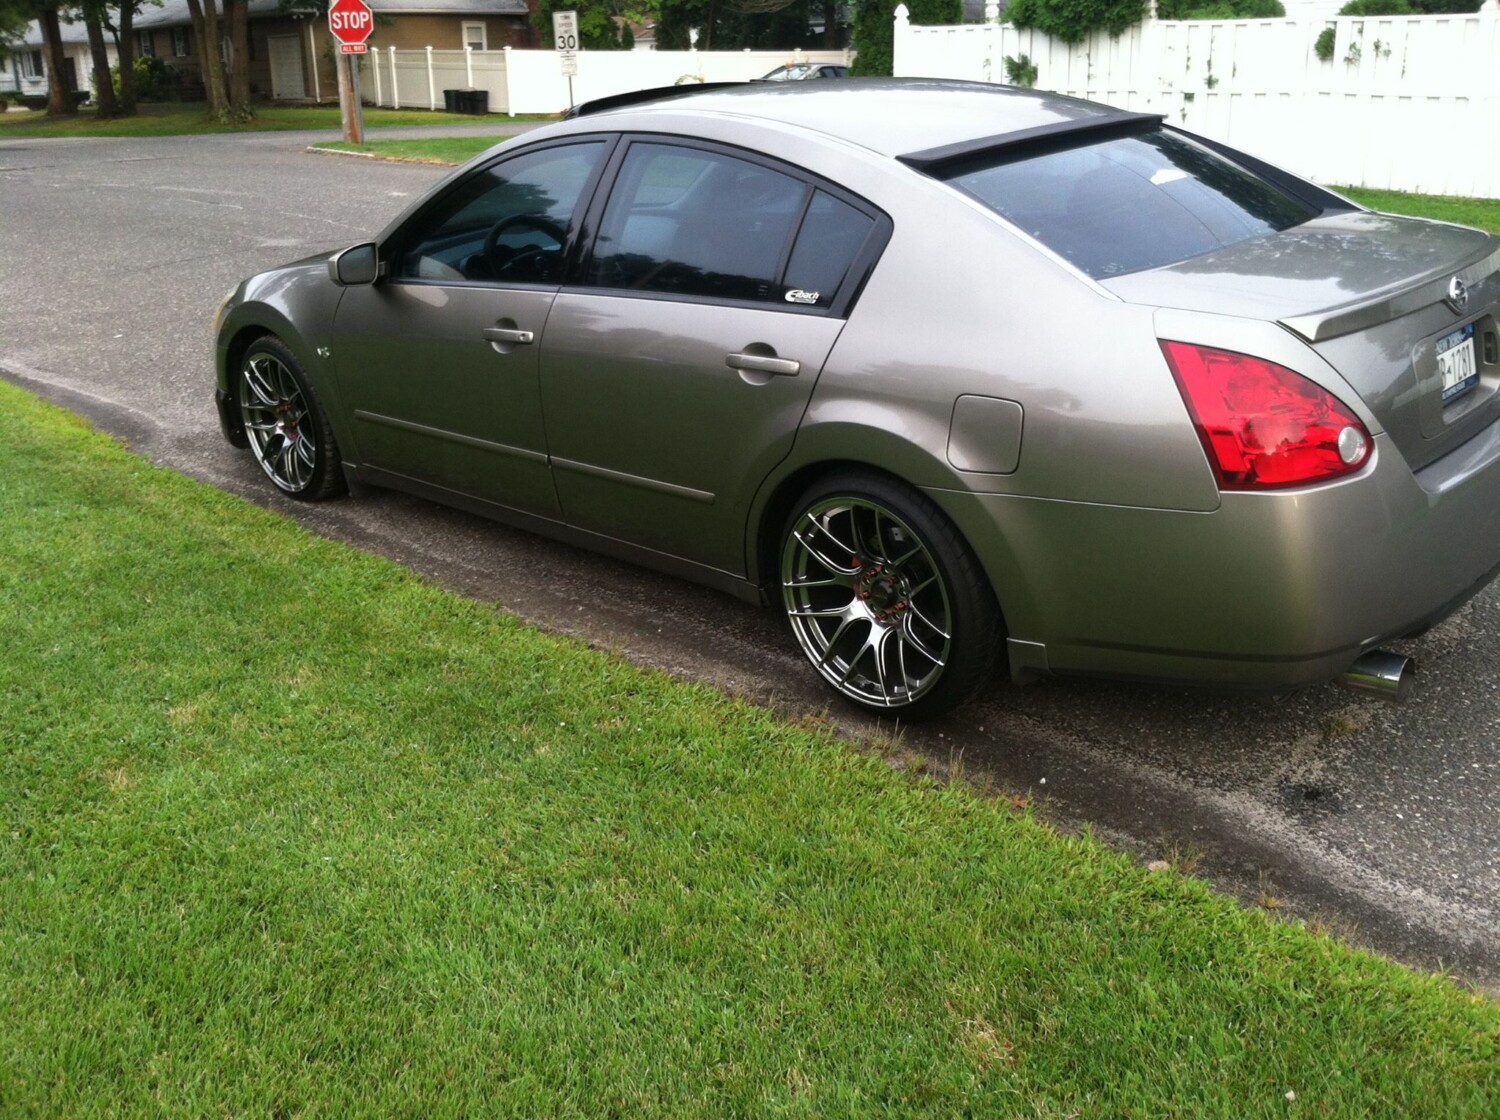
  • Rear Window Spoiler
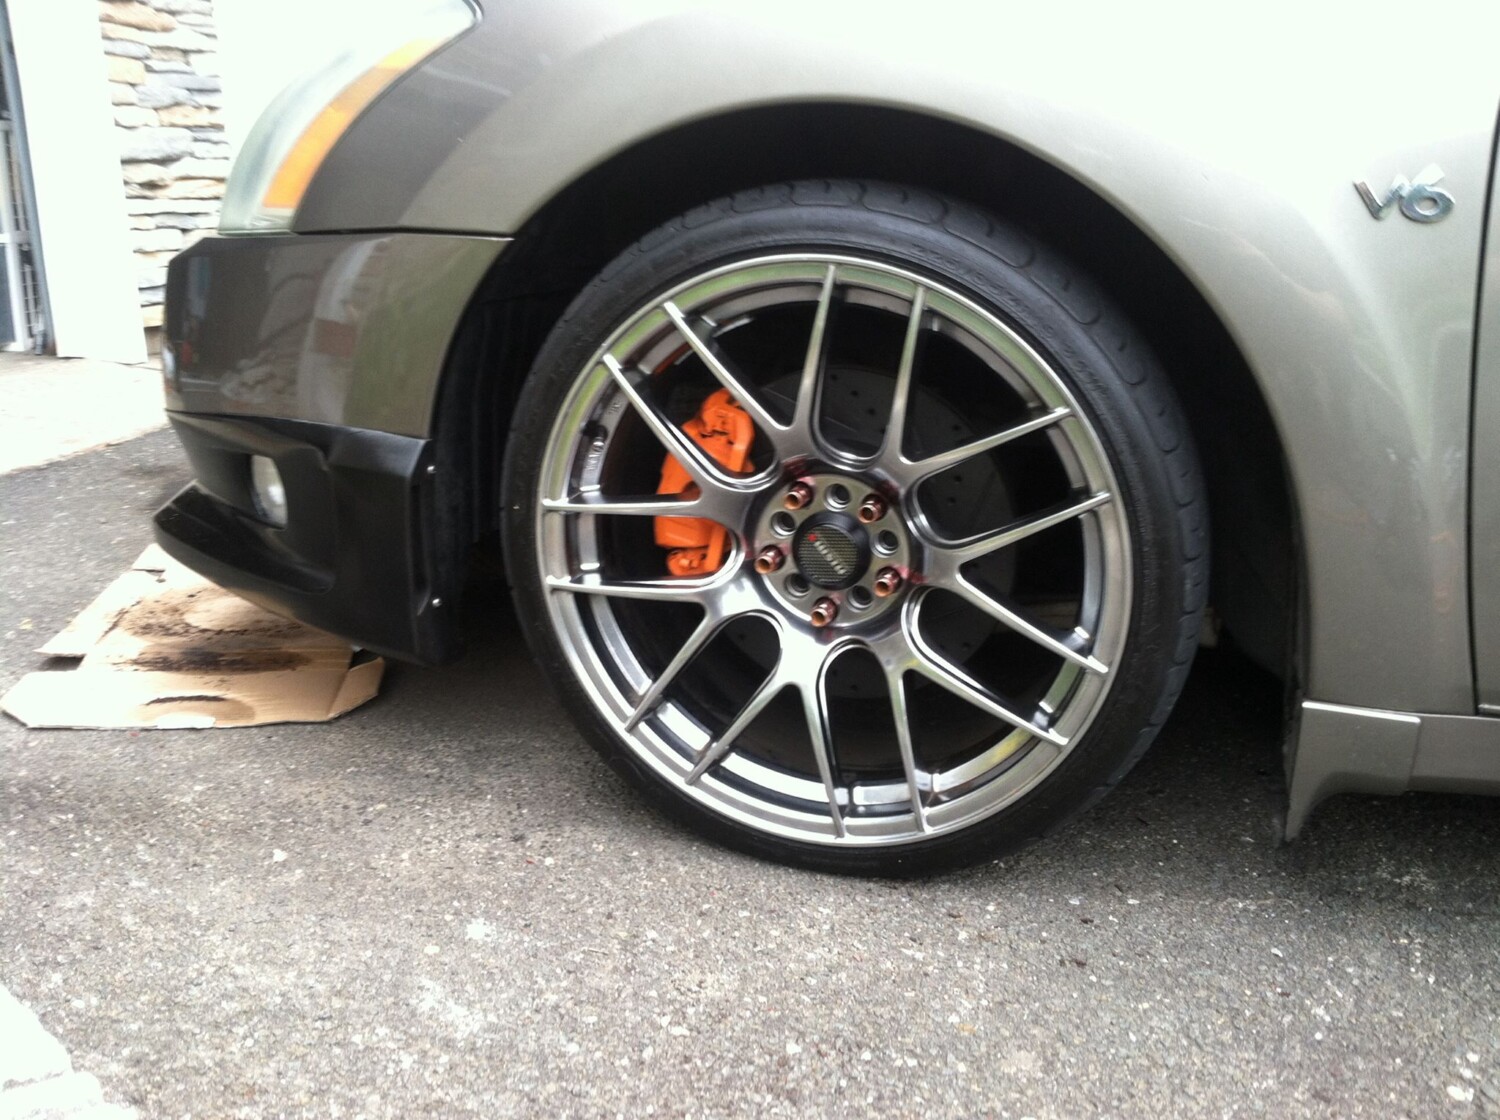
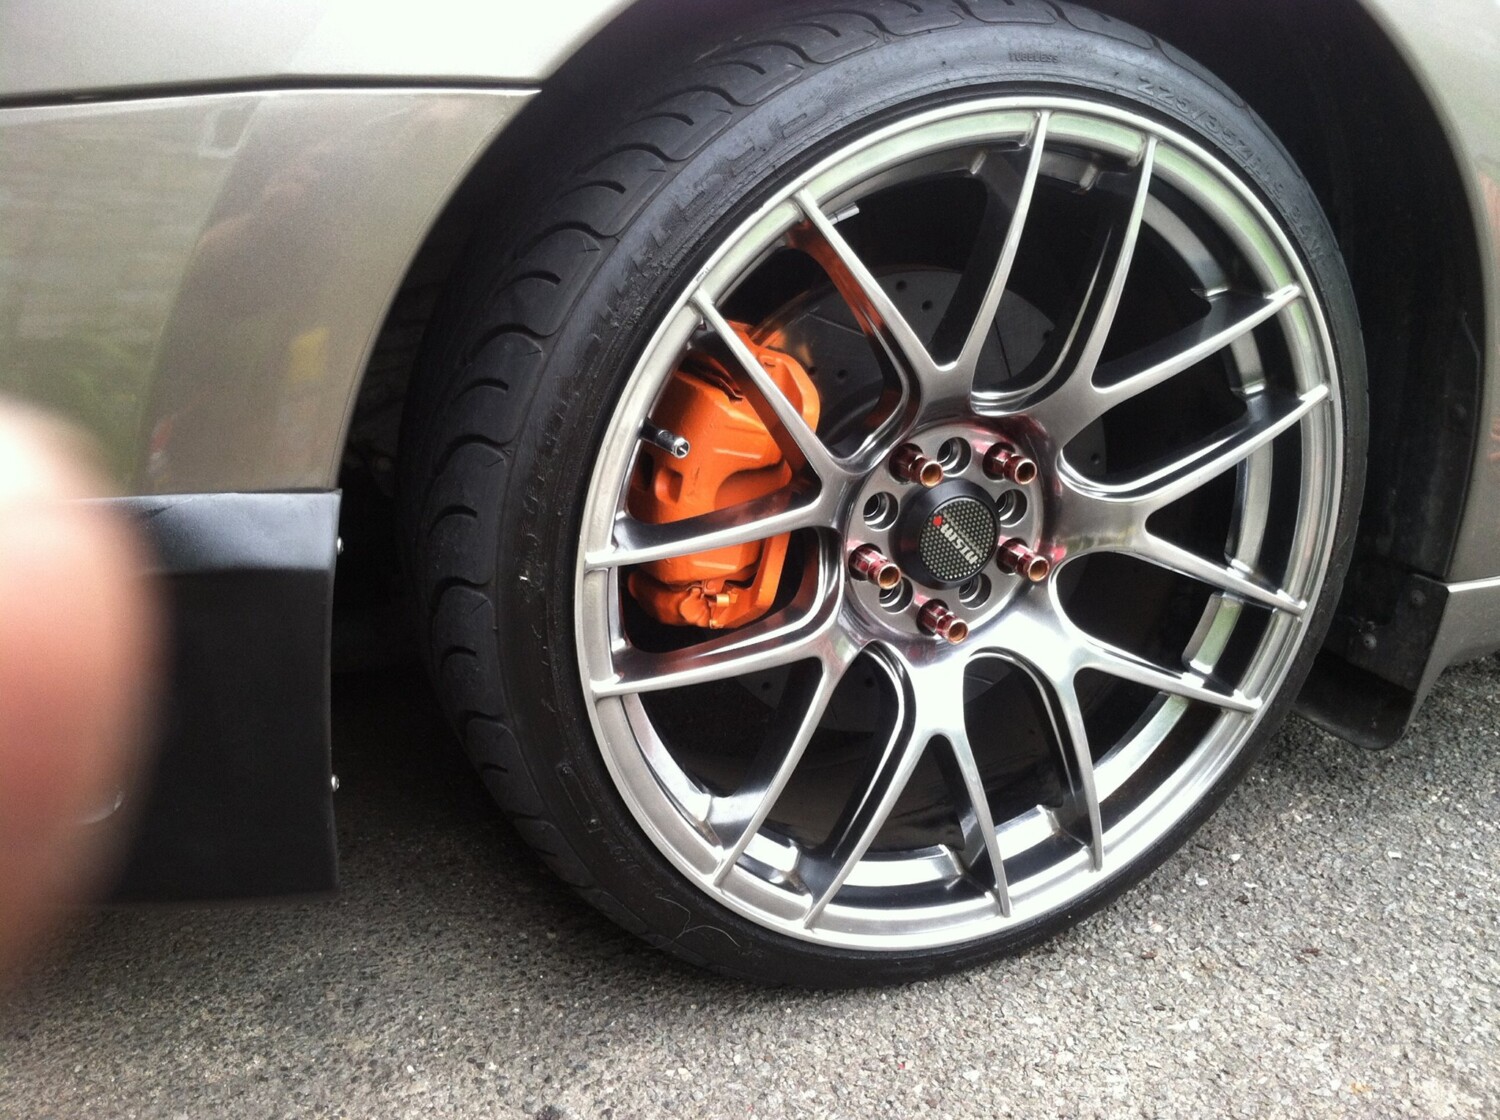
  • XXR Wheels (9” fronts, Rears 11”)
  • Eibach Lowering Springs
  • HIDs w/ Switchbacks

Loading