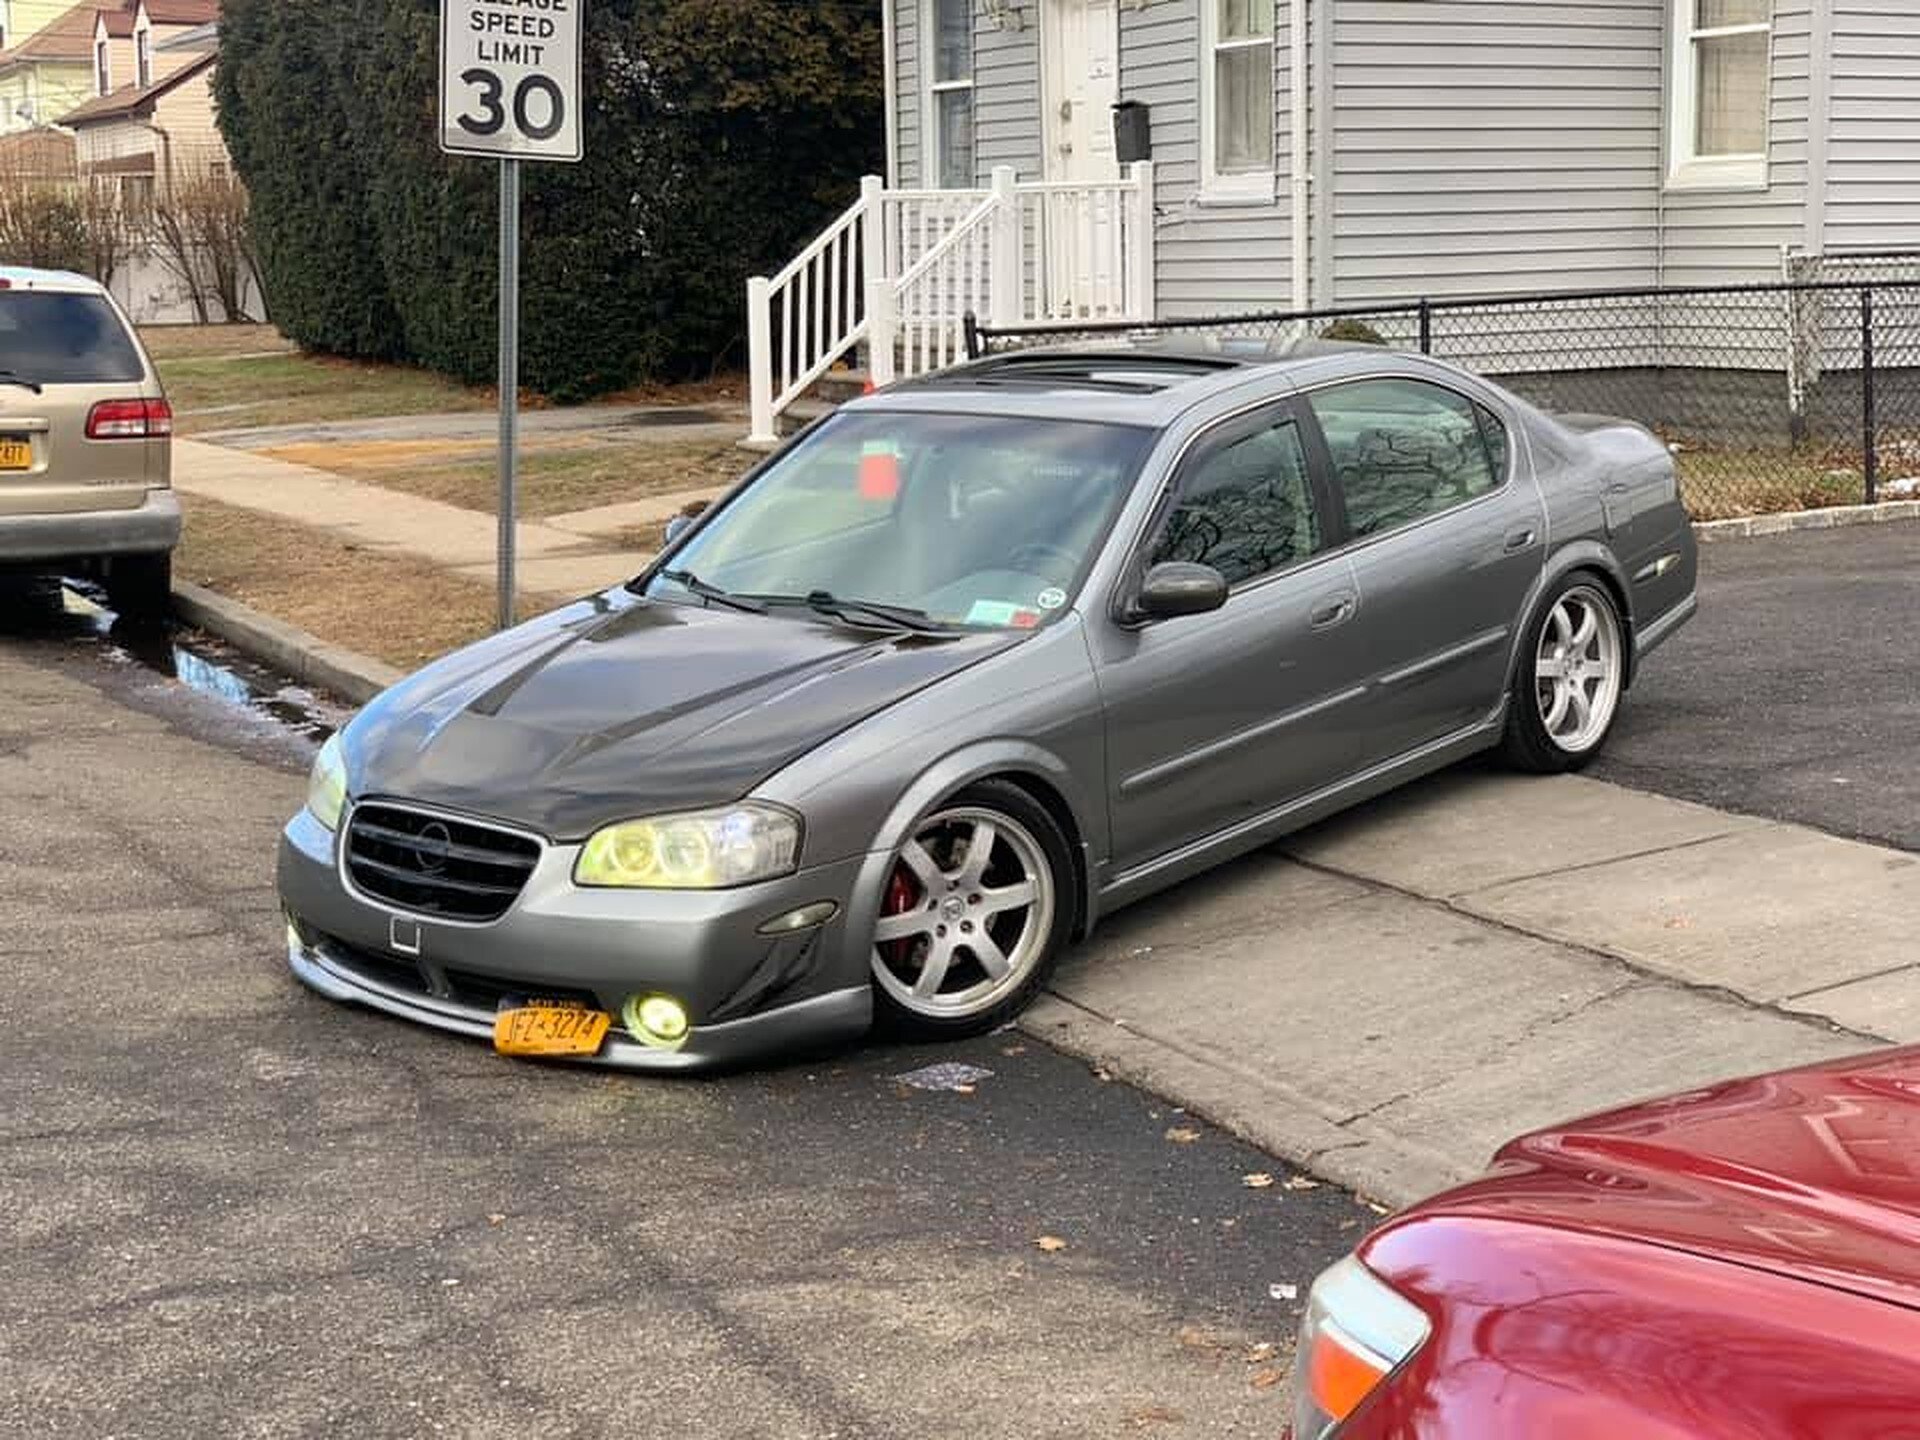
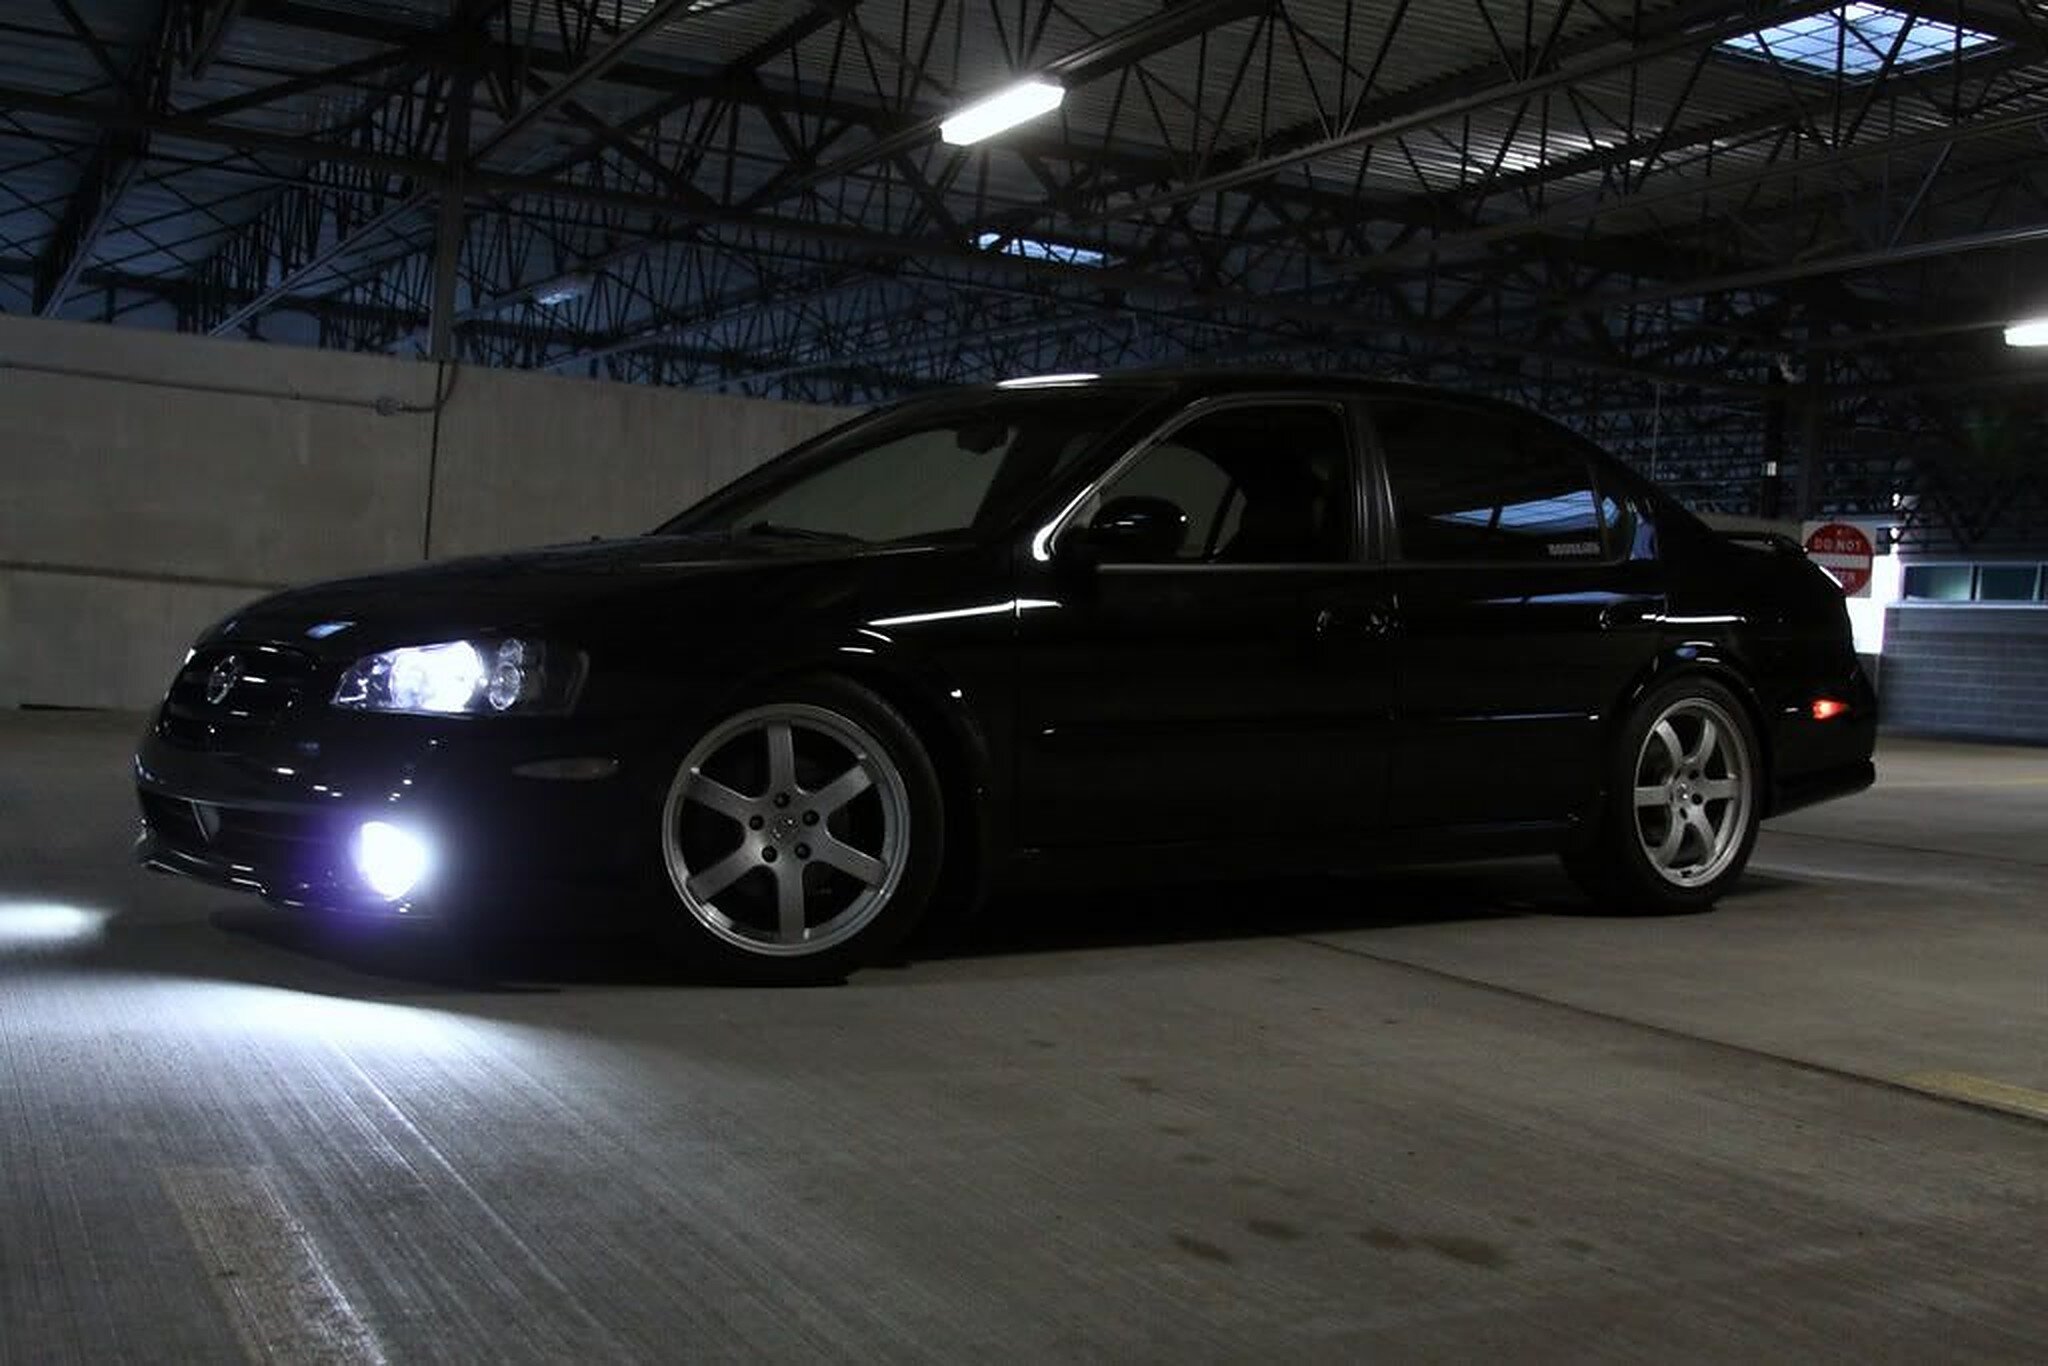
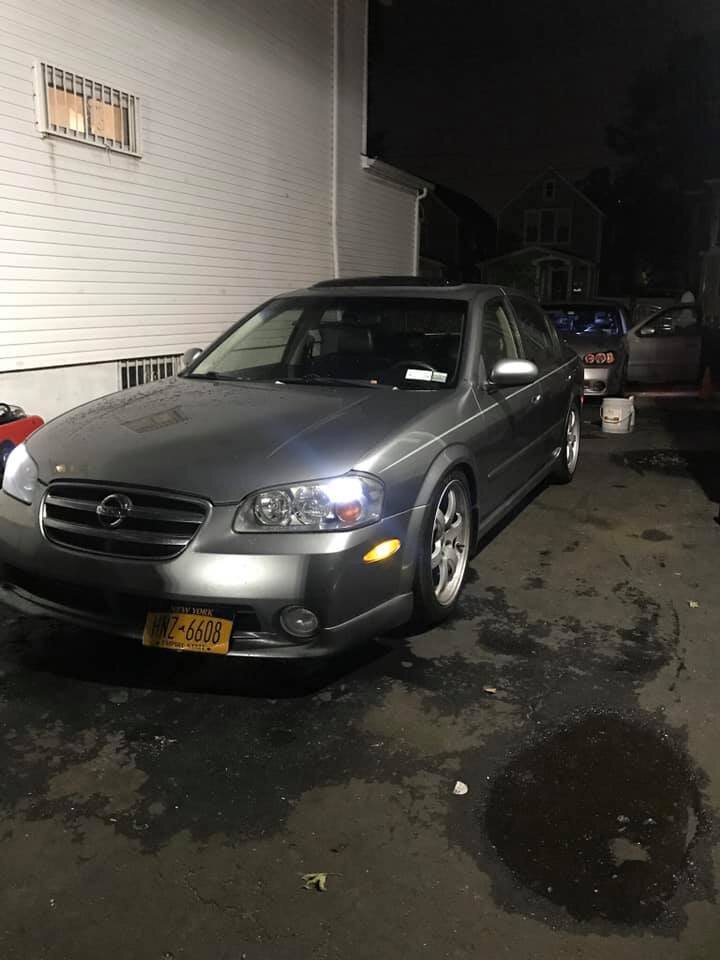
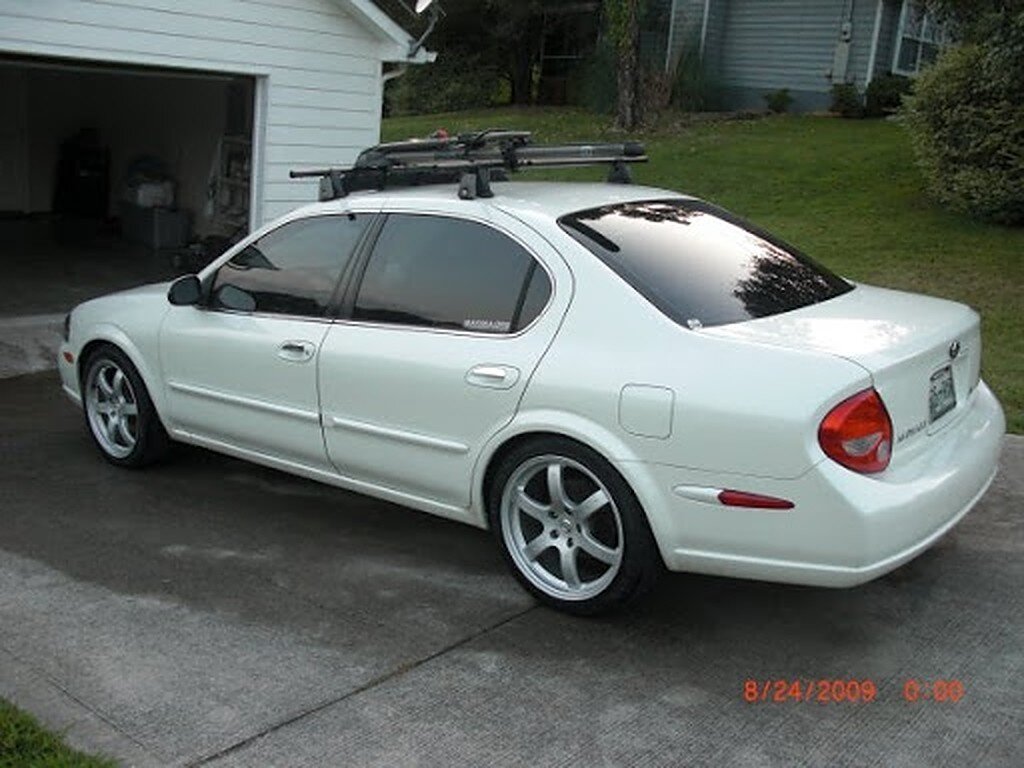
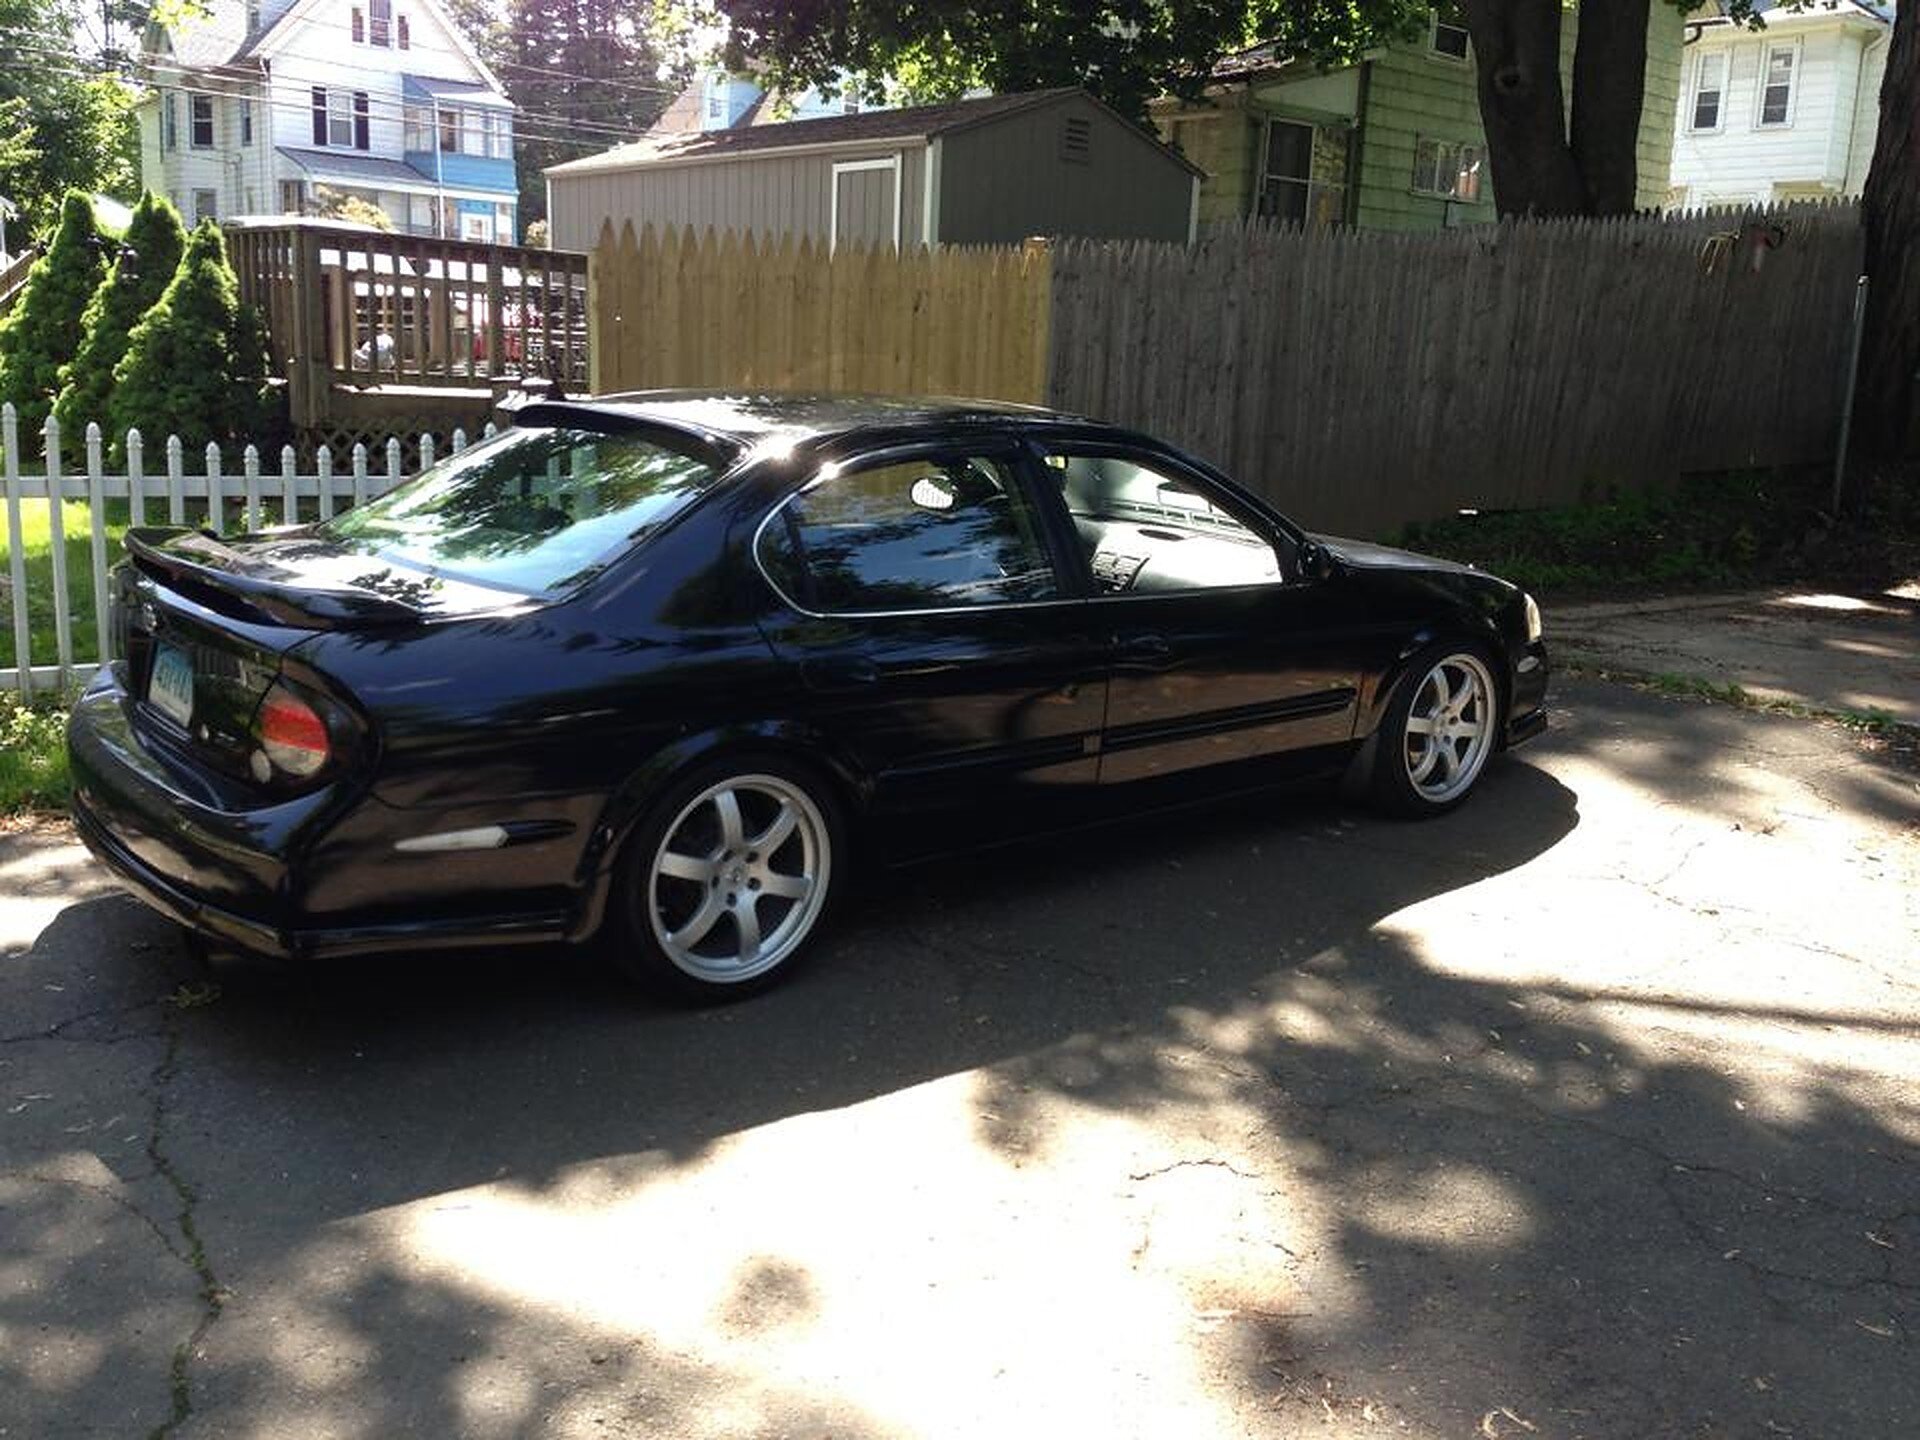
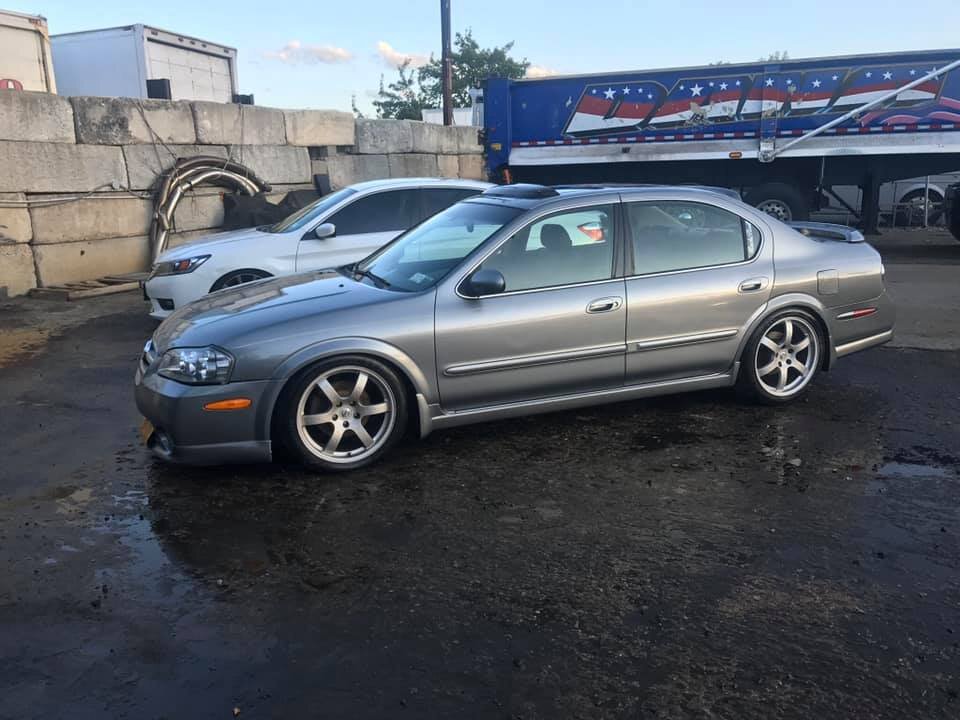
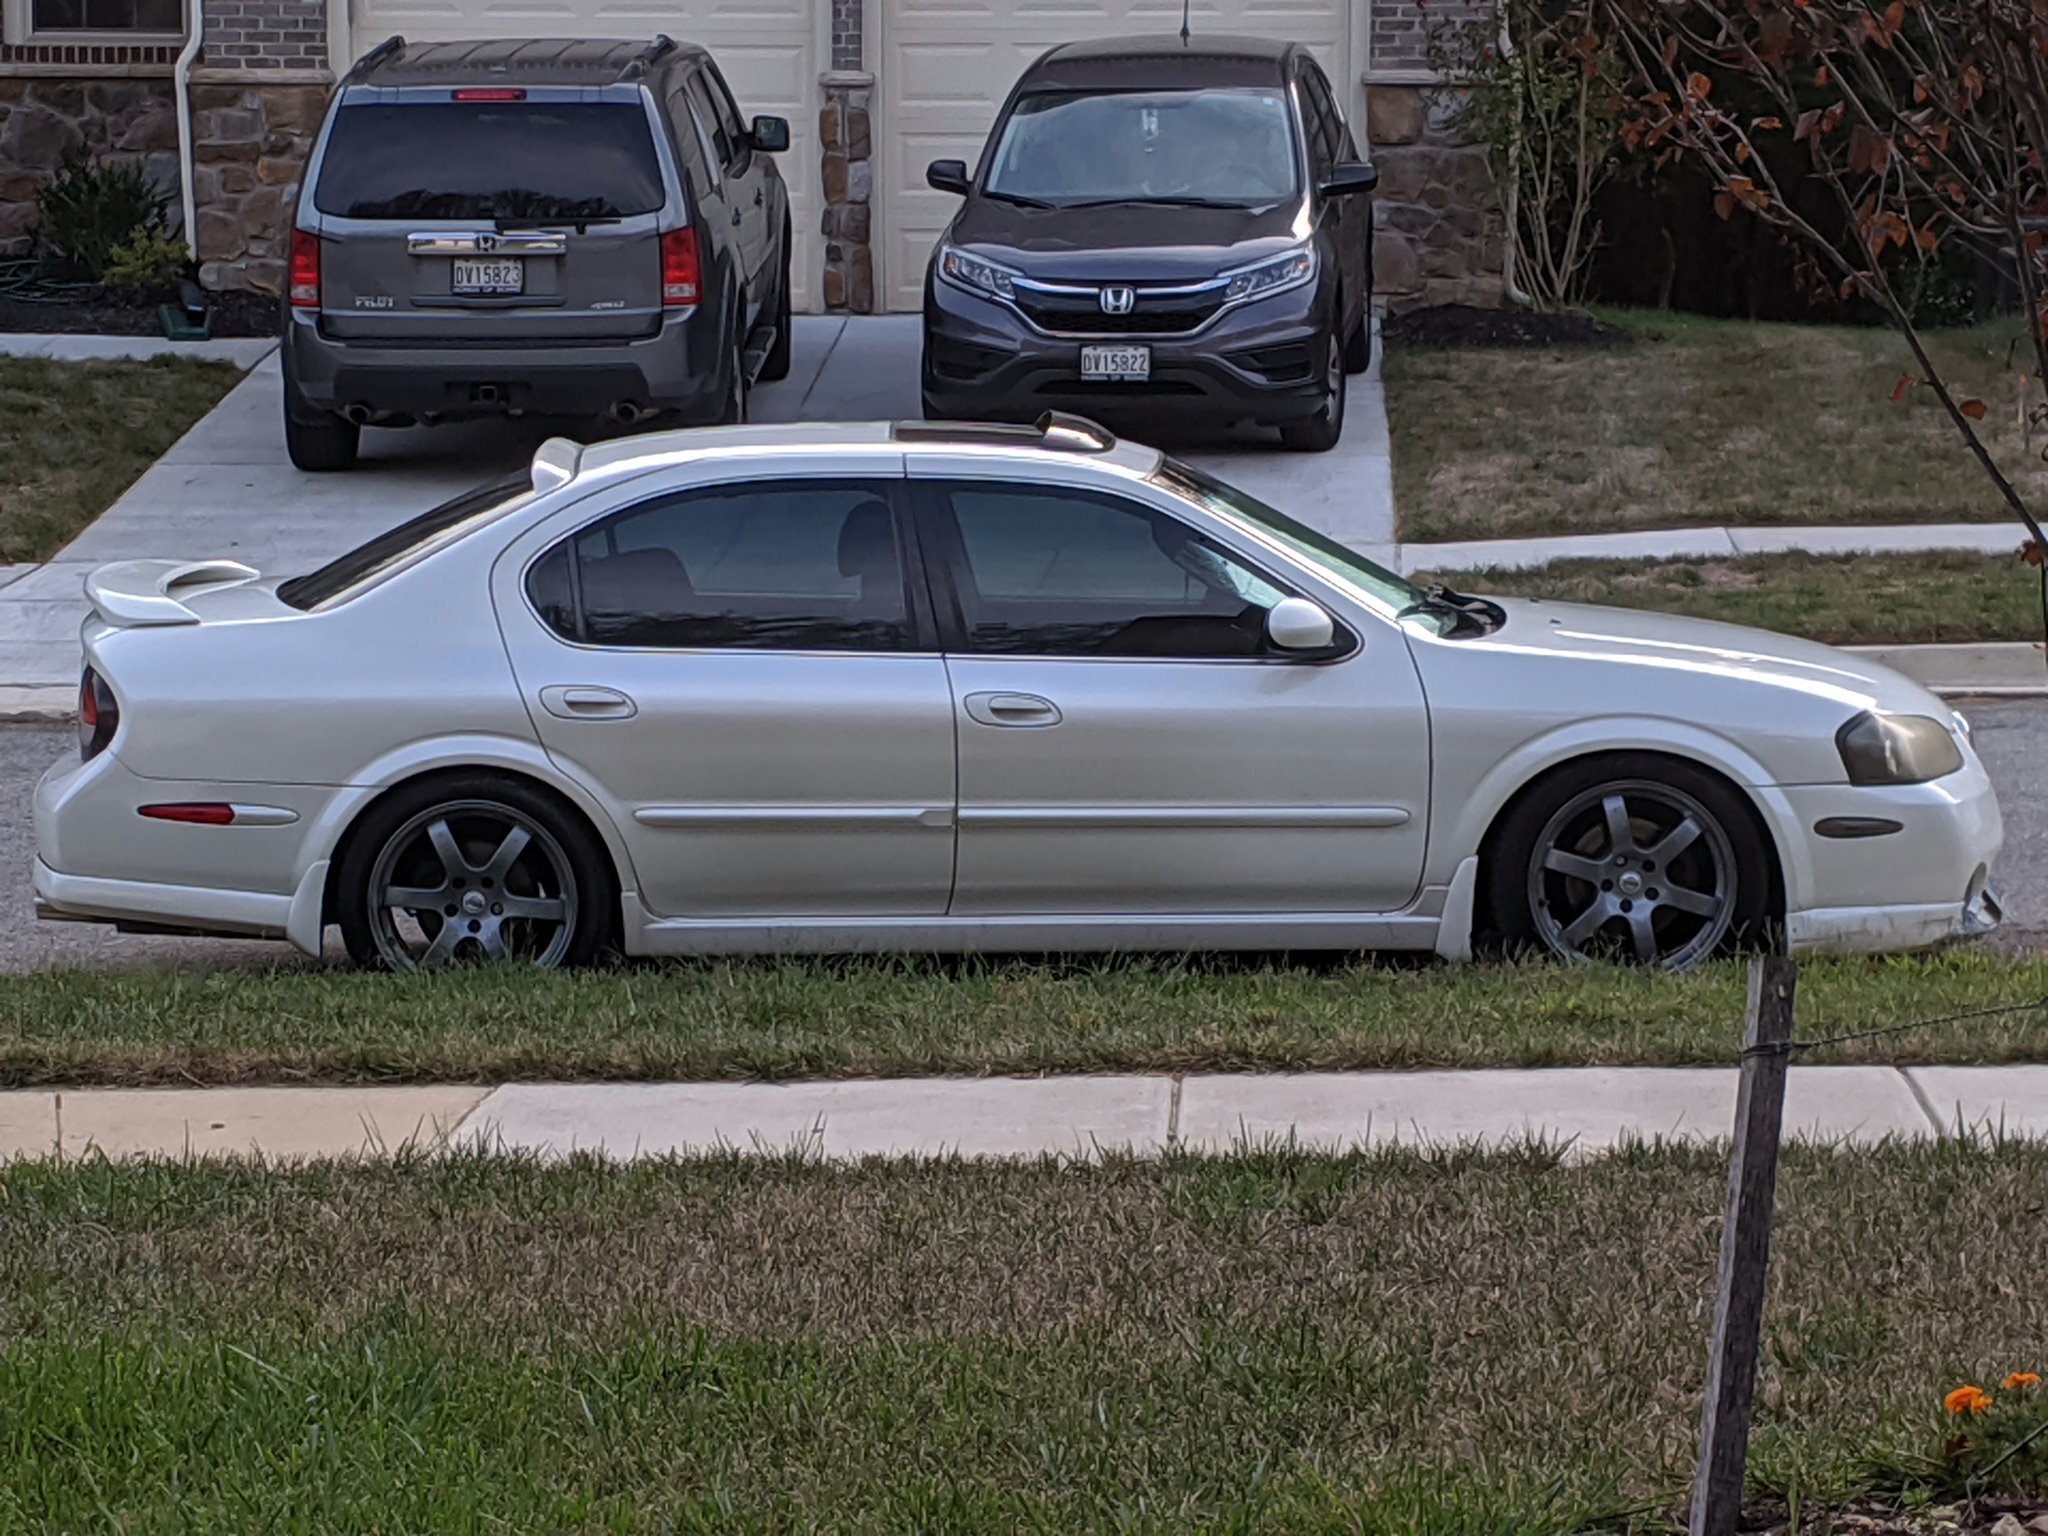
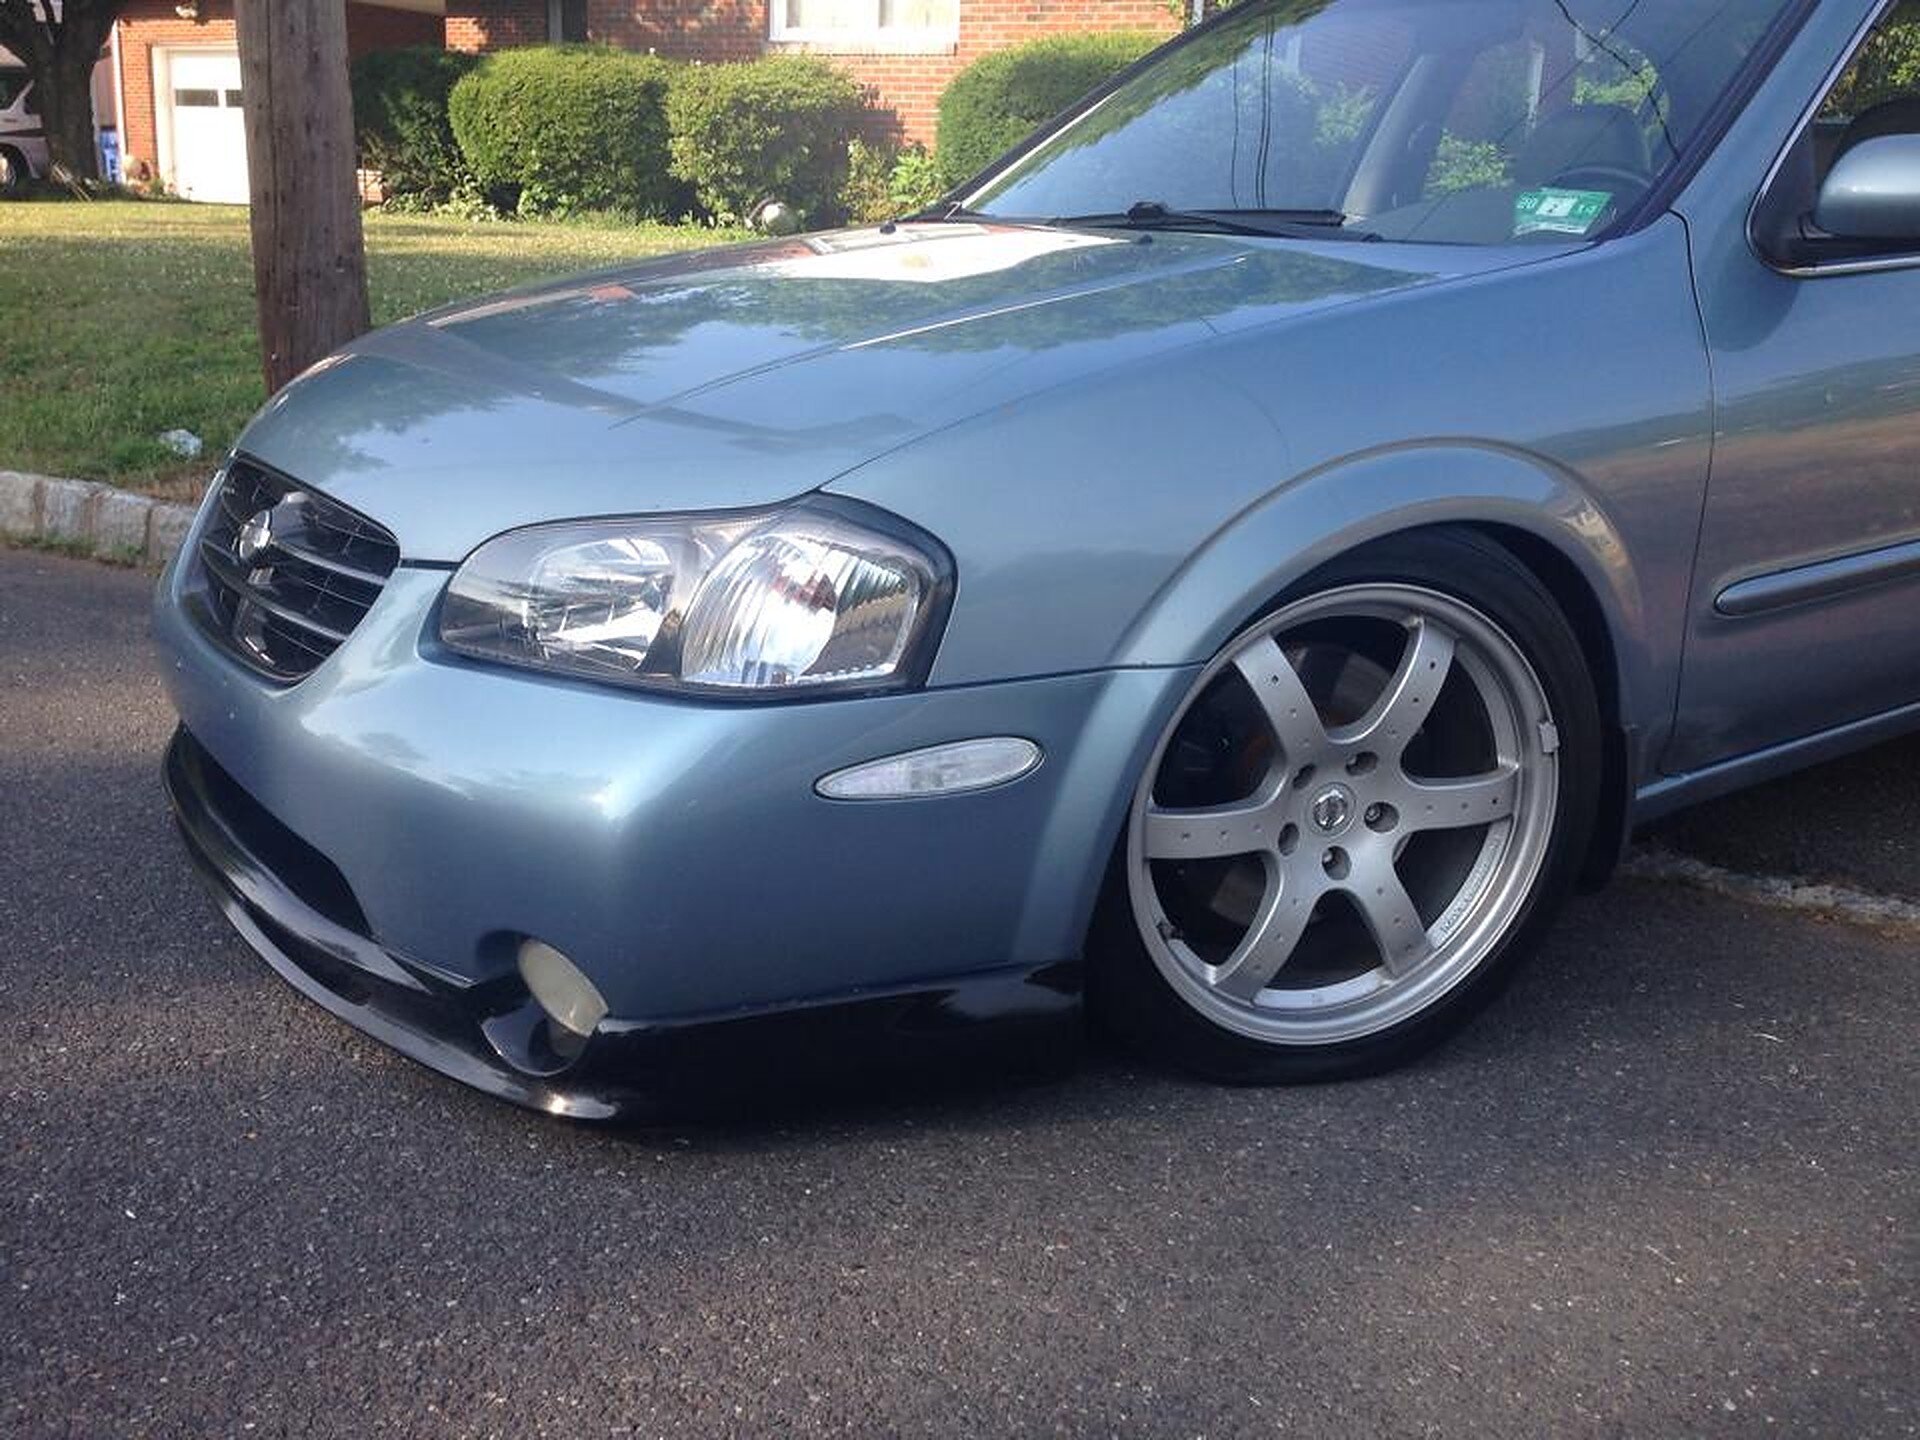
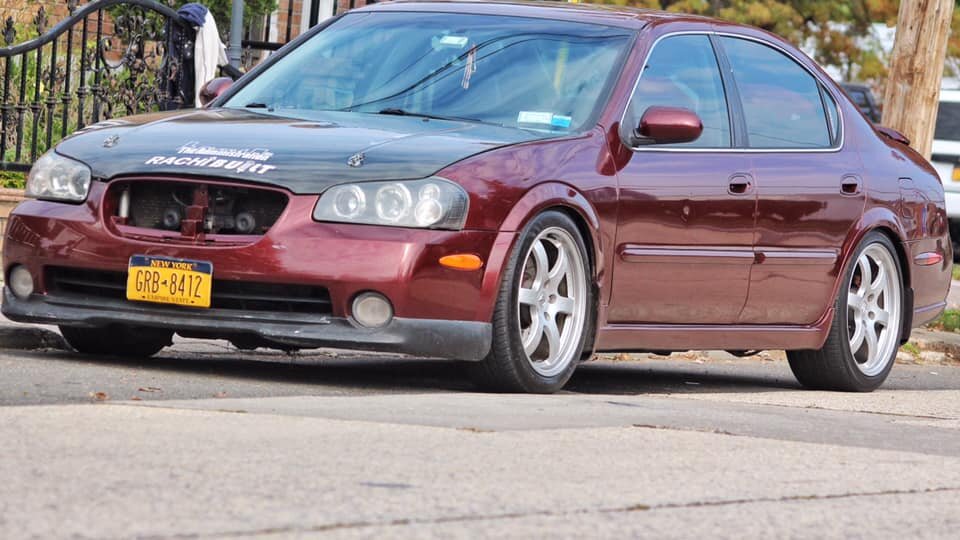
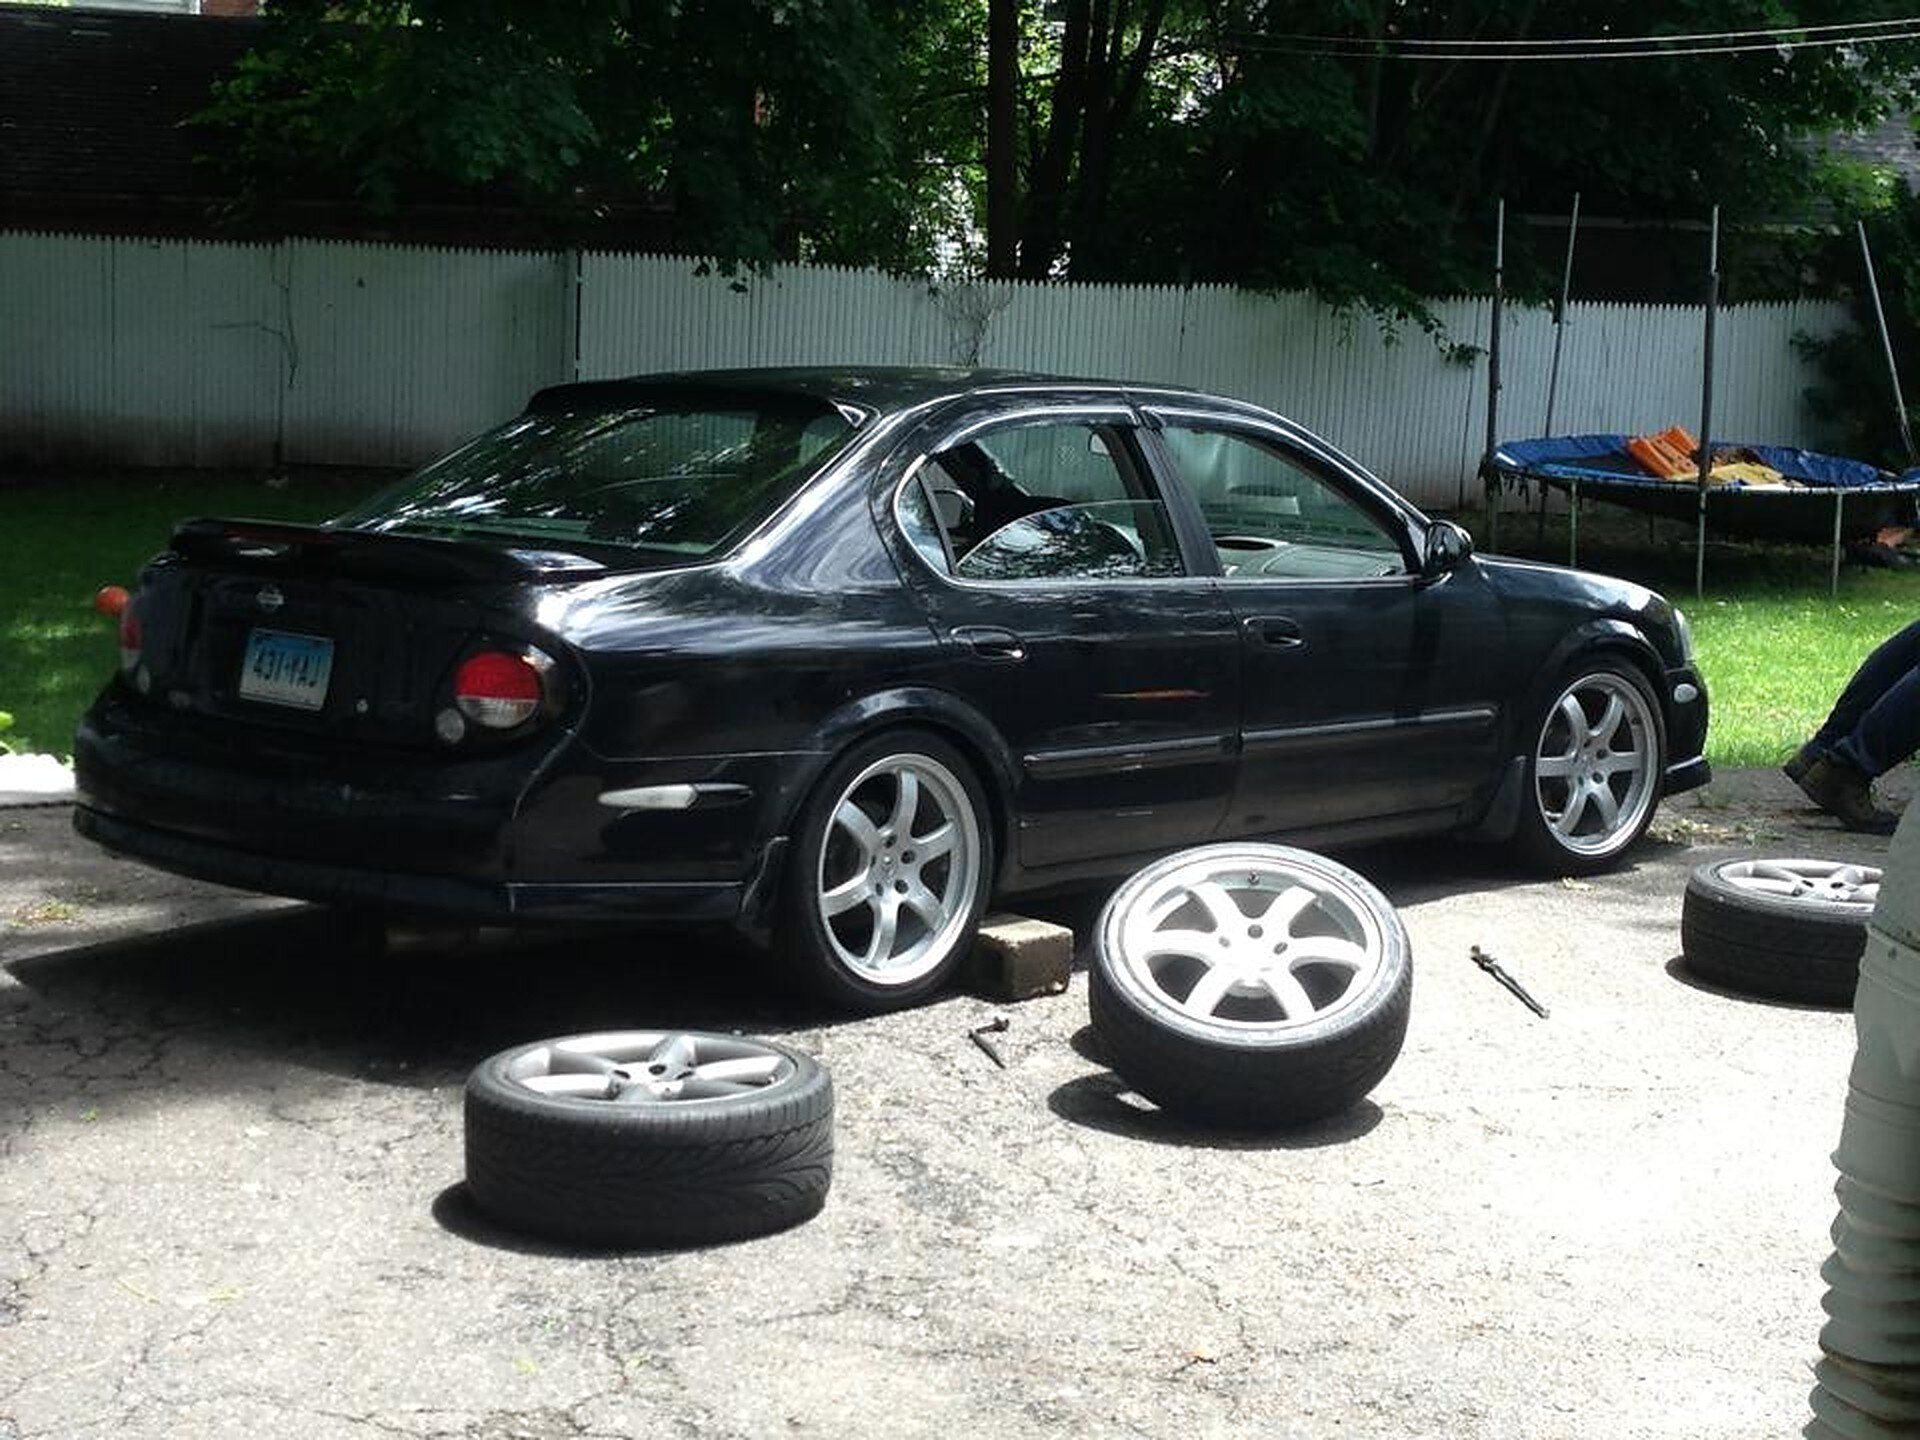
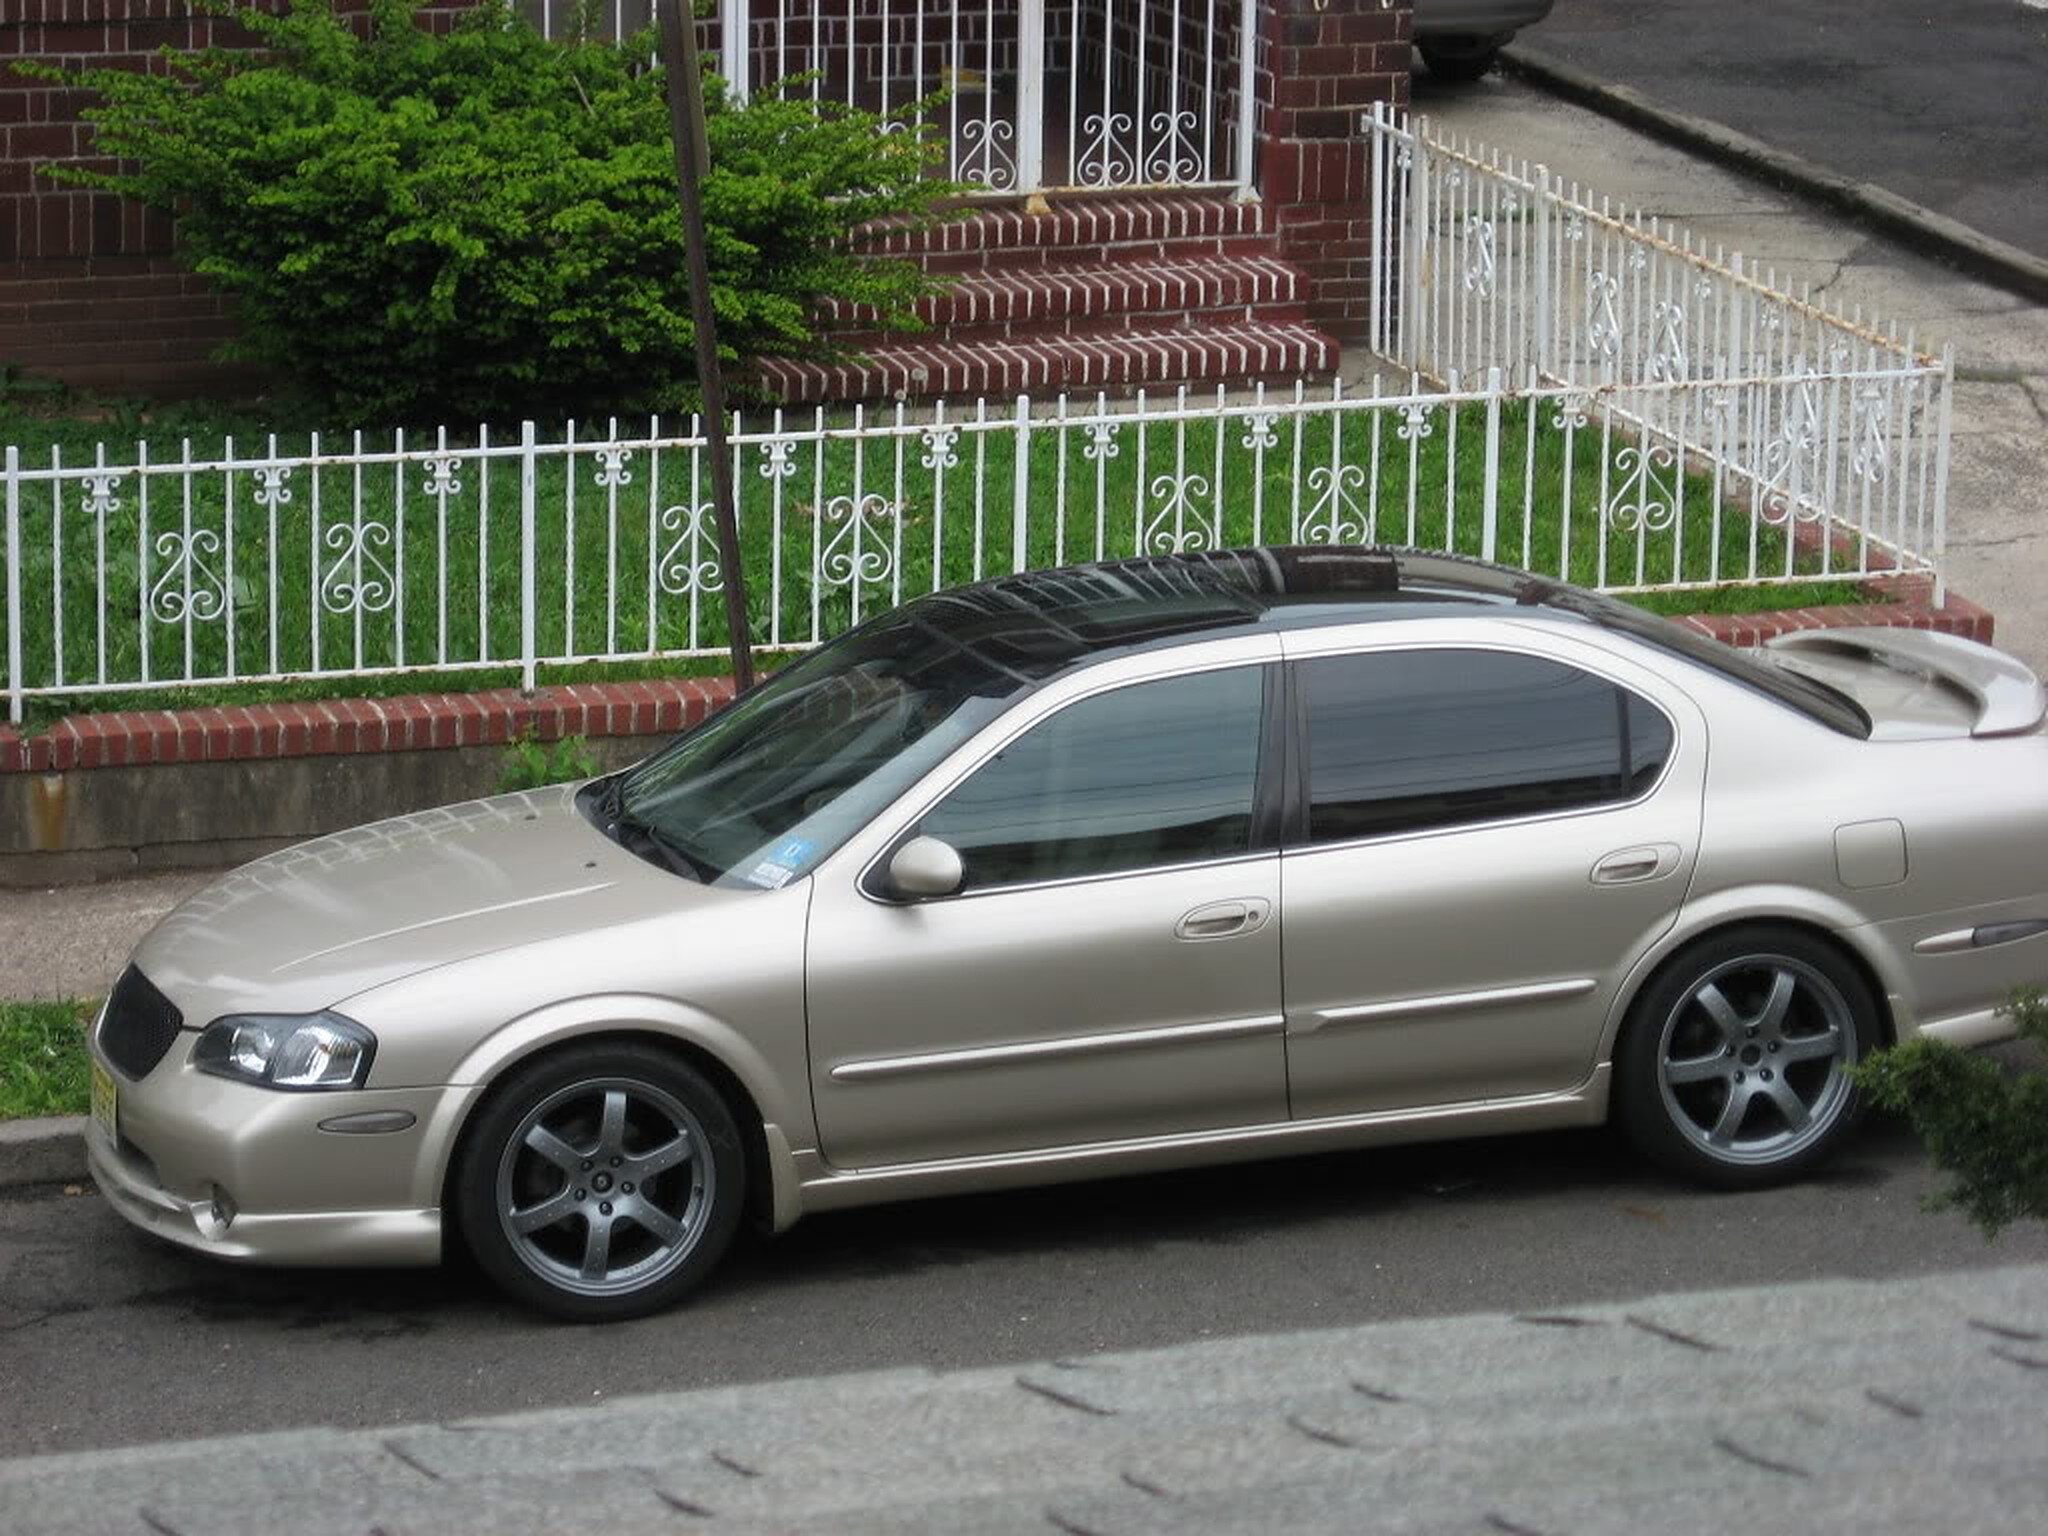
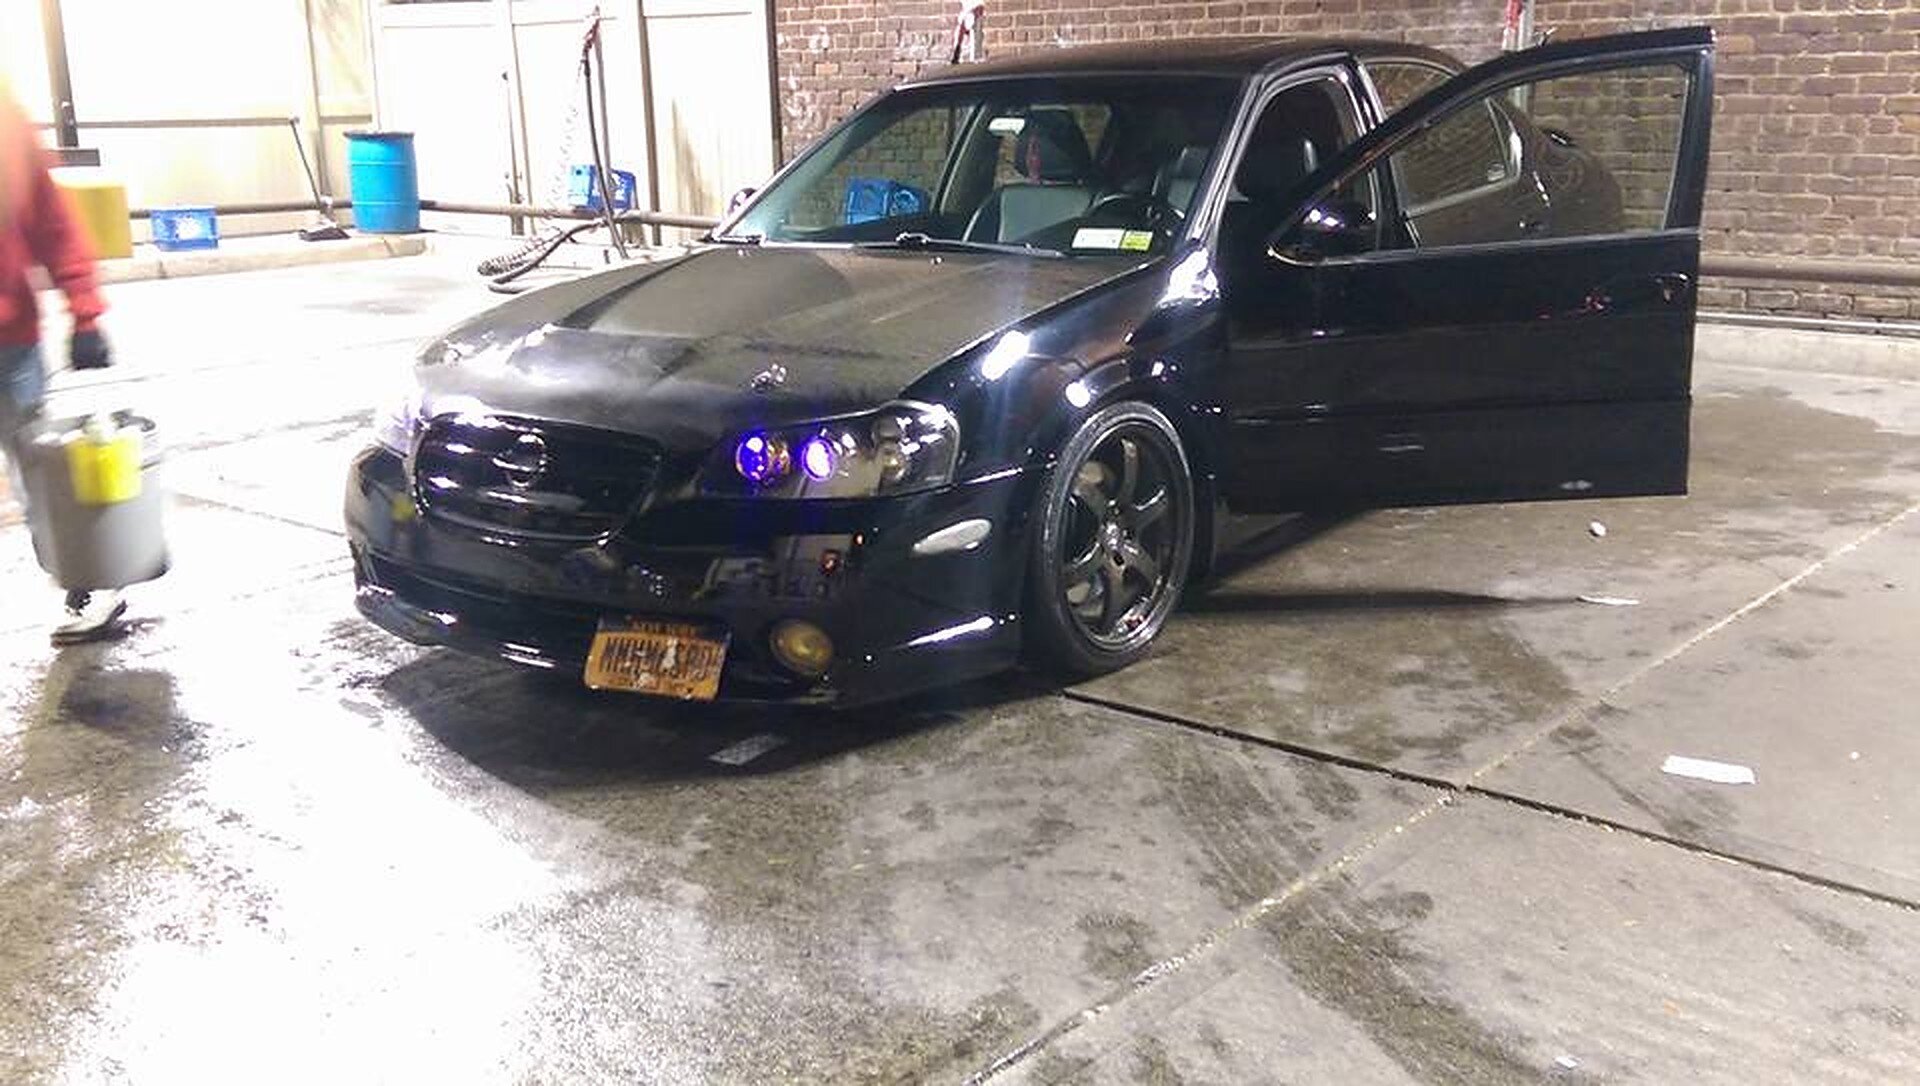
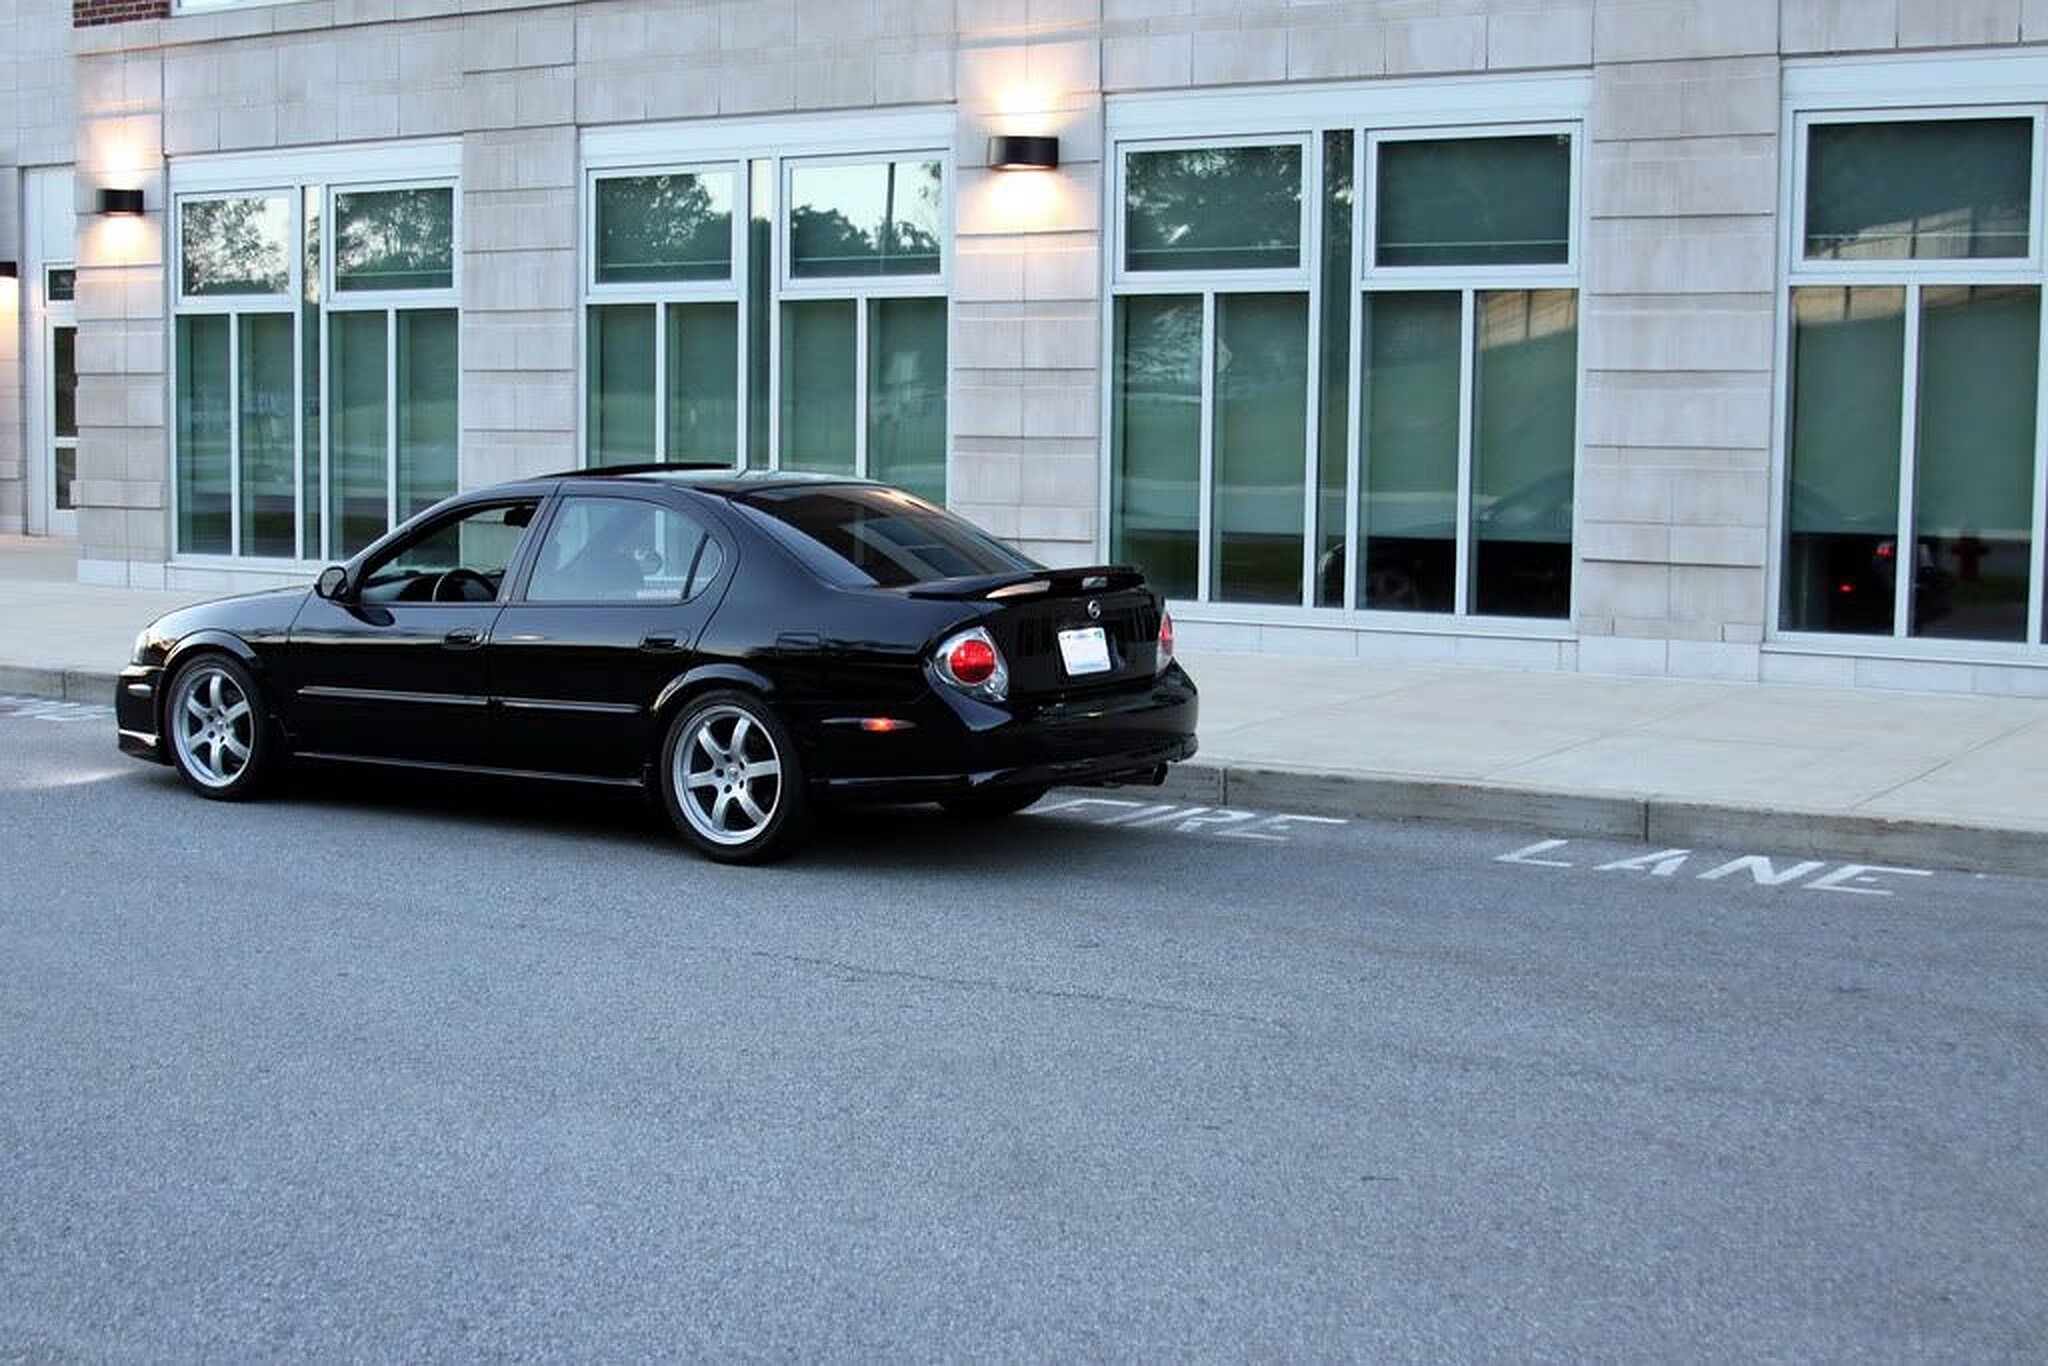
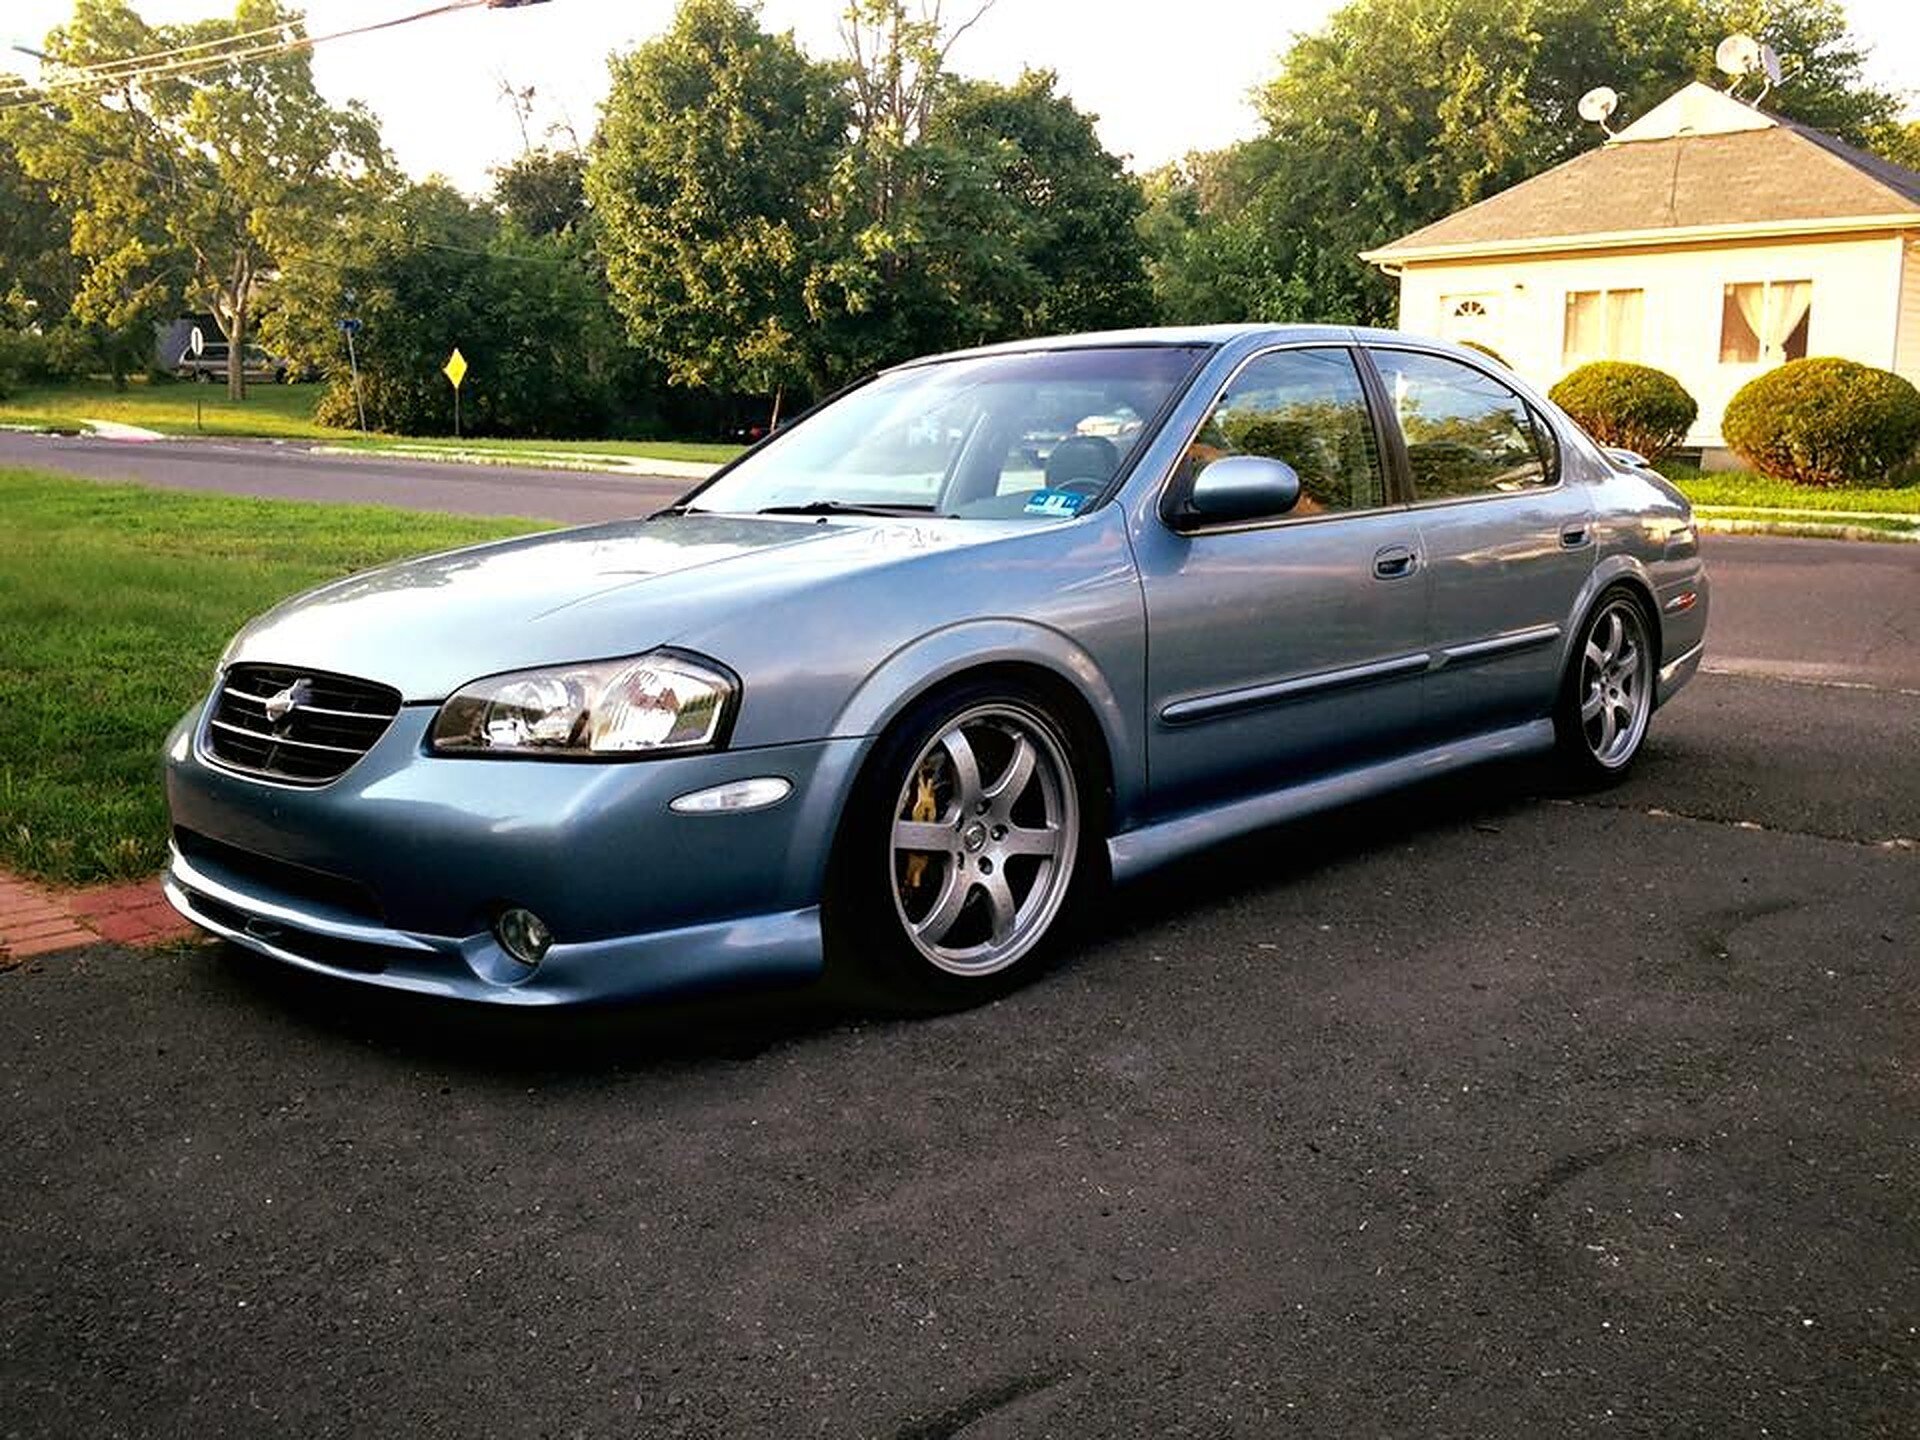
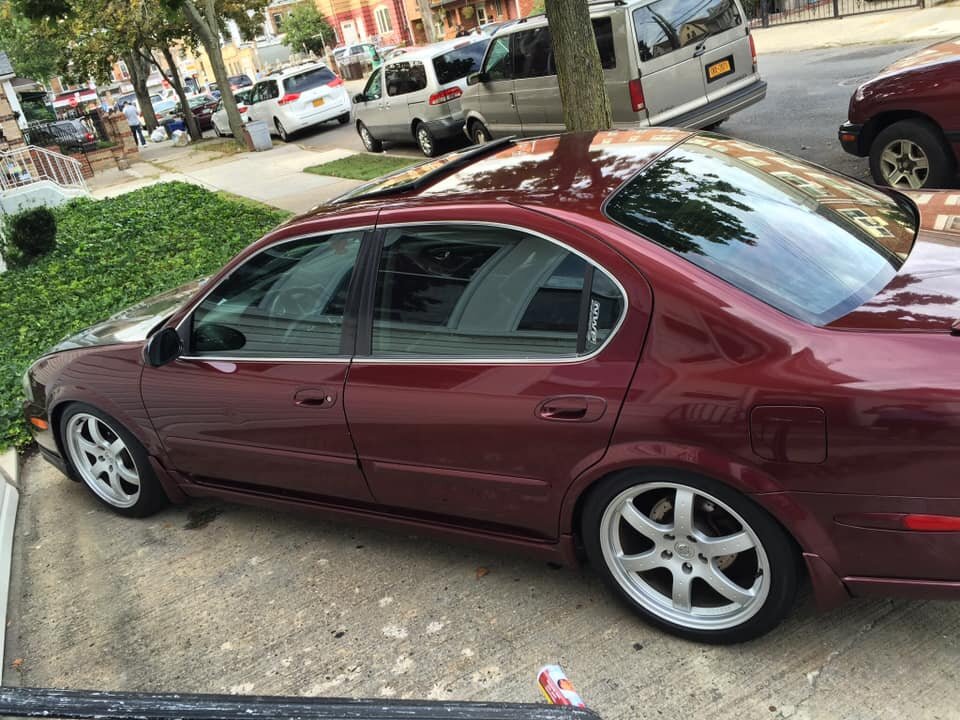
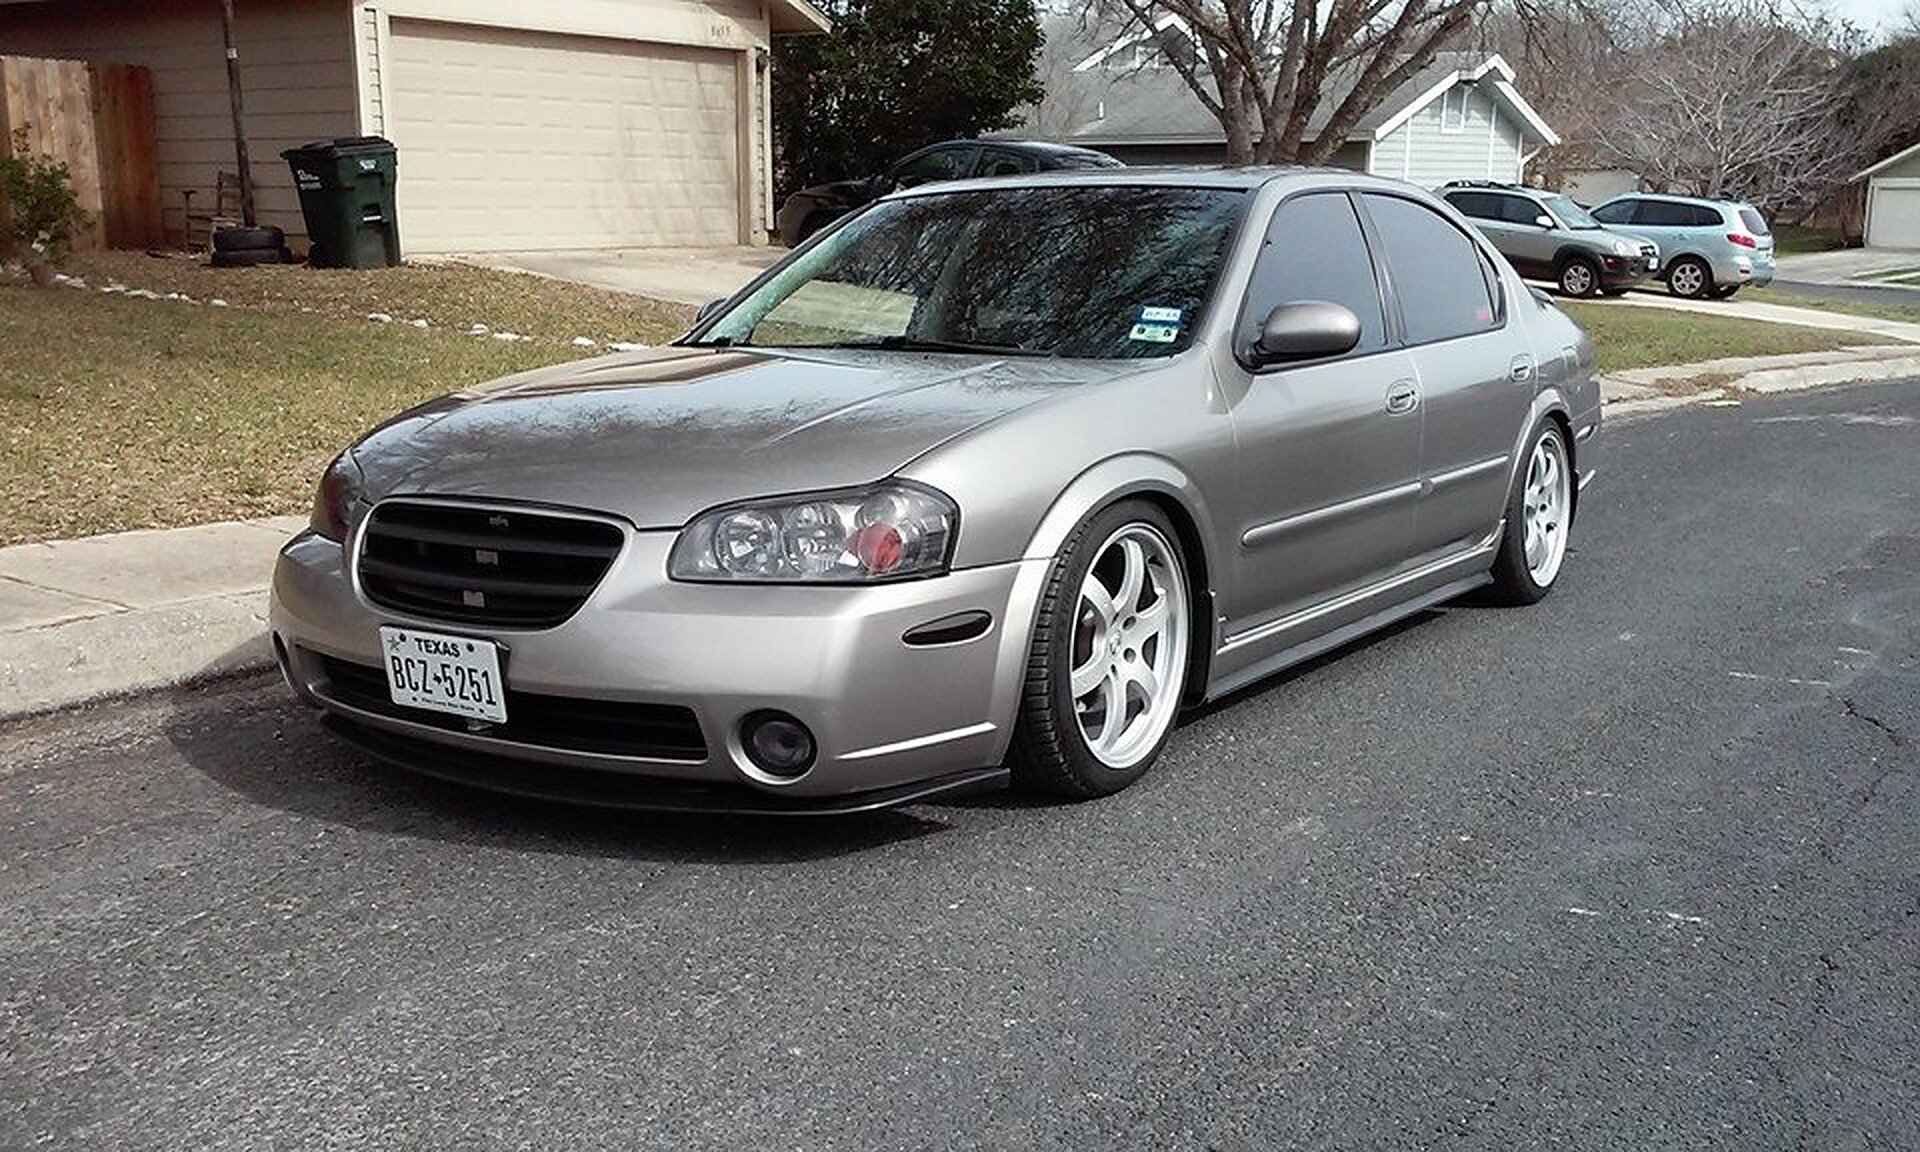
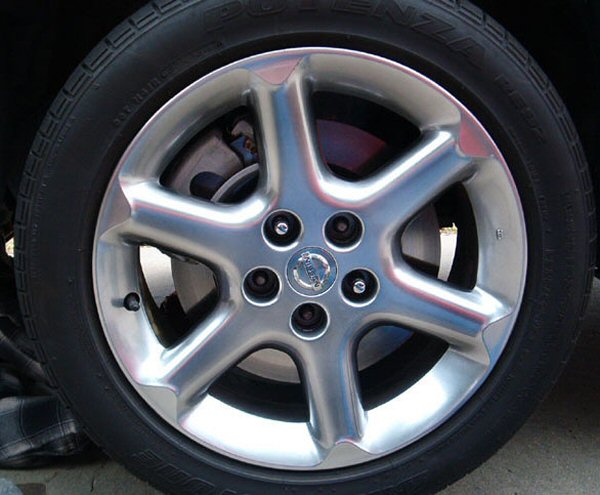
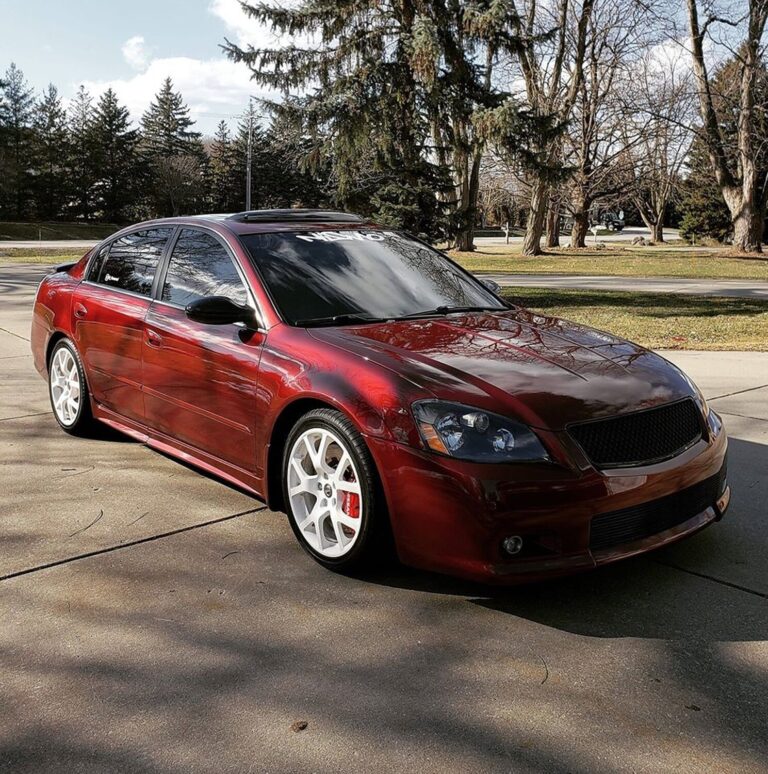
Please note that this post is for reference and documentation purposes ONLY.Matt Blehm no longer offers these products or services. Products were available from 2003 to around 2009.
BlehmCo Maxima Big Brake Kits
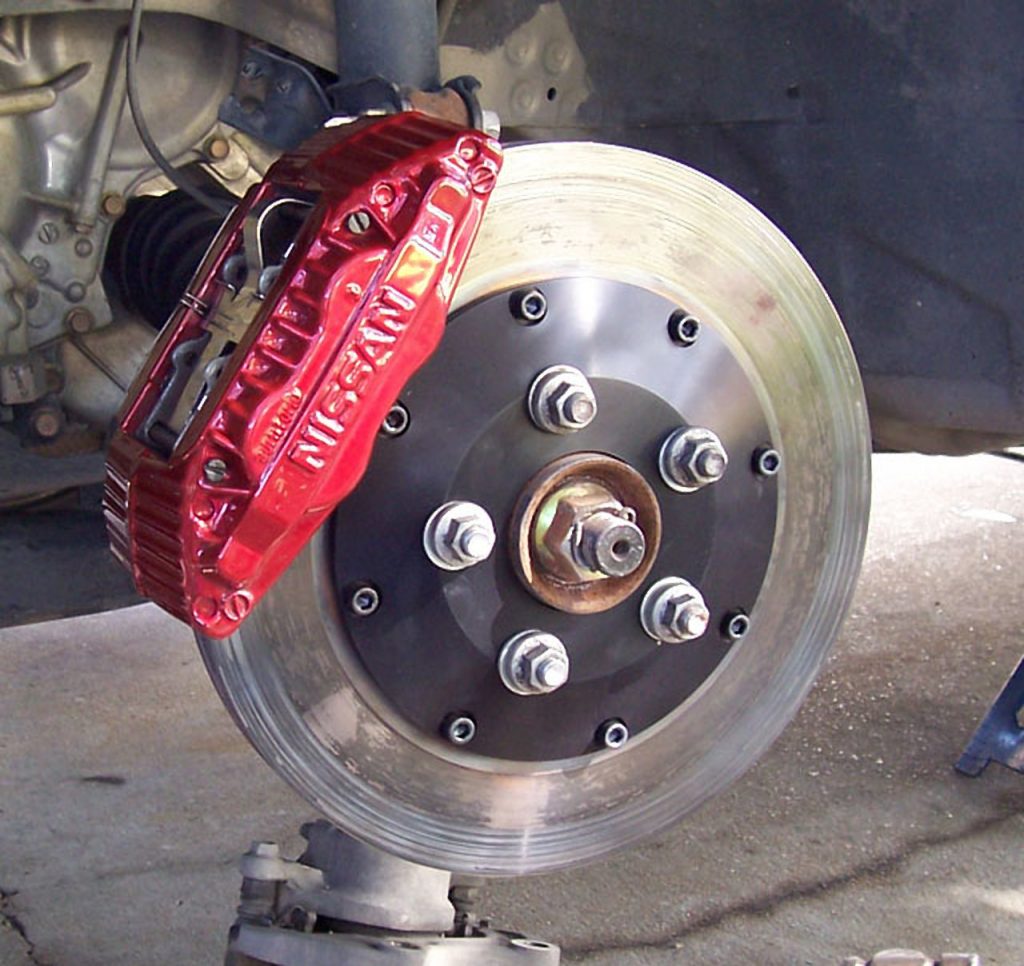
Front Big Brake Kit #1–2004 Maxima Rotors with 300ZX calipers: This kit fits all 1989 through 2003 models
Front Big Brake Kit #2–2004 Maxima Rotors with OEM 5th generation calipers: This kit only fits 2000 and 2001 models
REAR Big Brake Kit This kit fits all 1995 through 2003 models!
BlehmCo Maxima Front Big Brake Kit
This kit uses easy-to-find, off the shelf ALL Nissan parts! That way the next time you warp a rotor, or wear out the pads at an Auto X, track event, etc…you can just go to the local parts store and pick up replacement parts! Not many BBKs will allow you to do that!
So what’s in this kit?
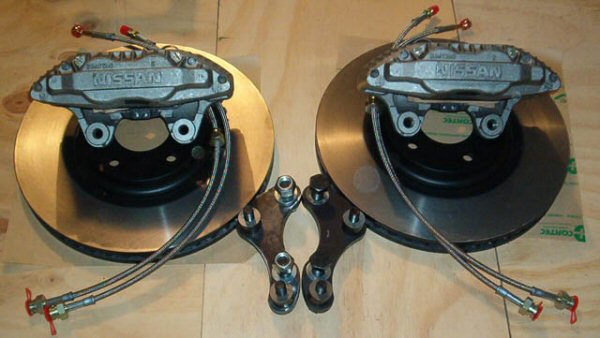
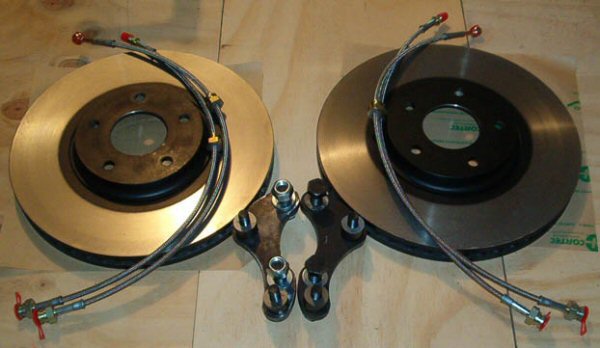
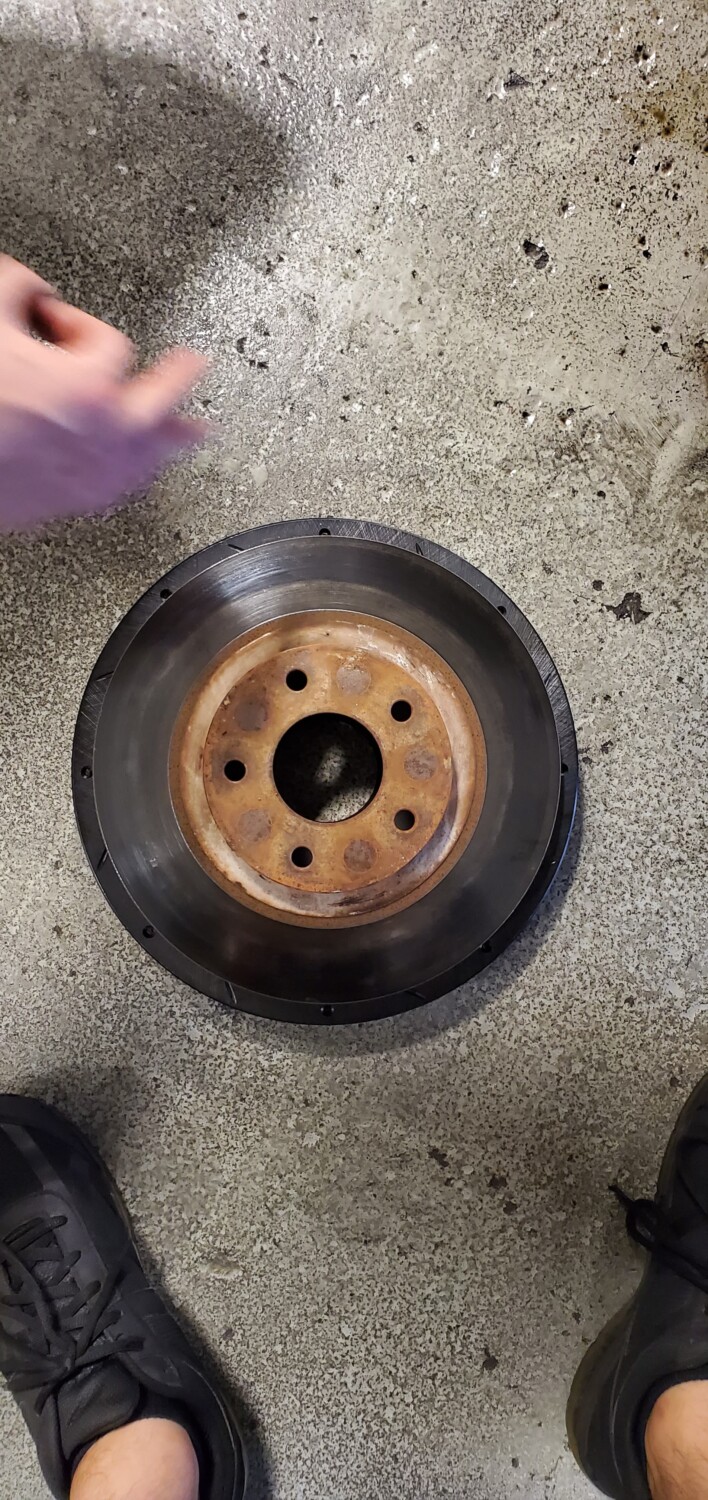
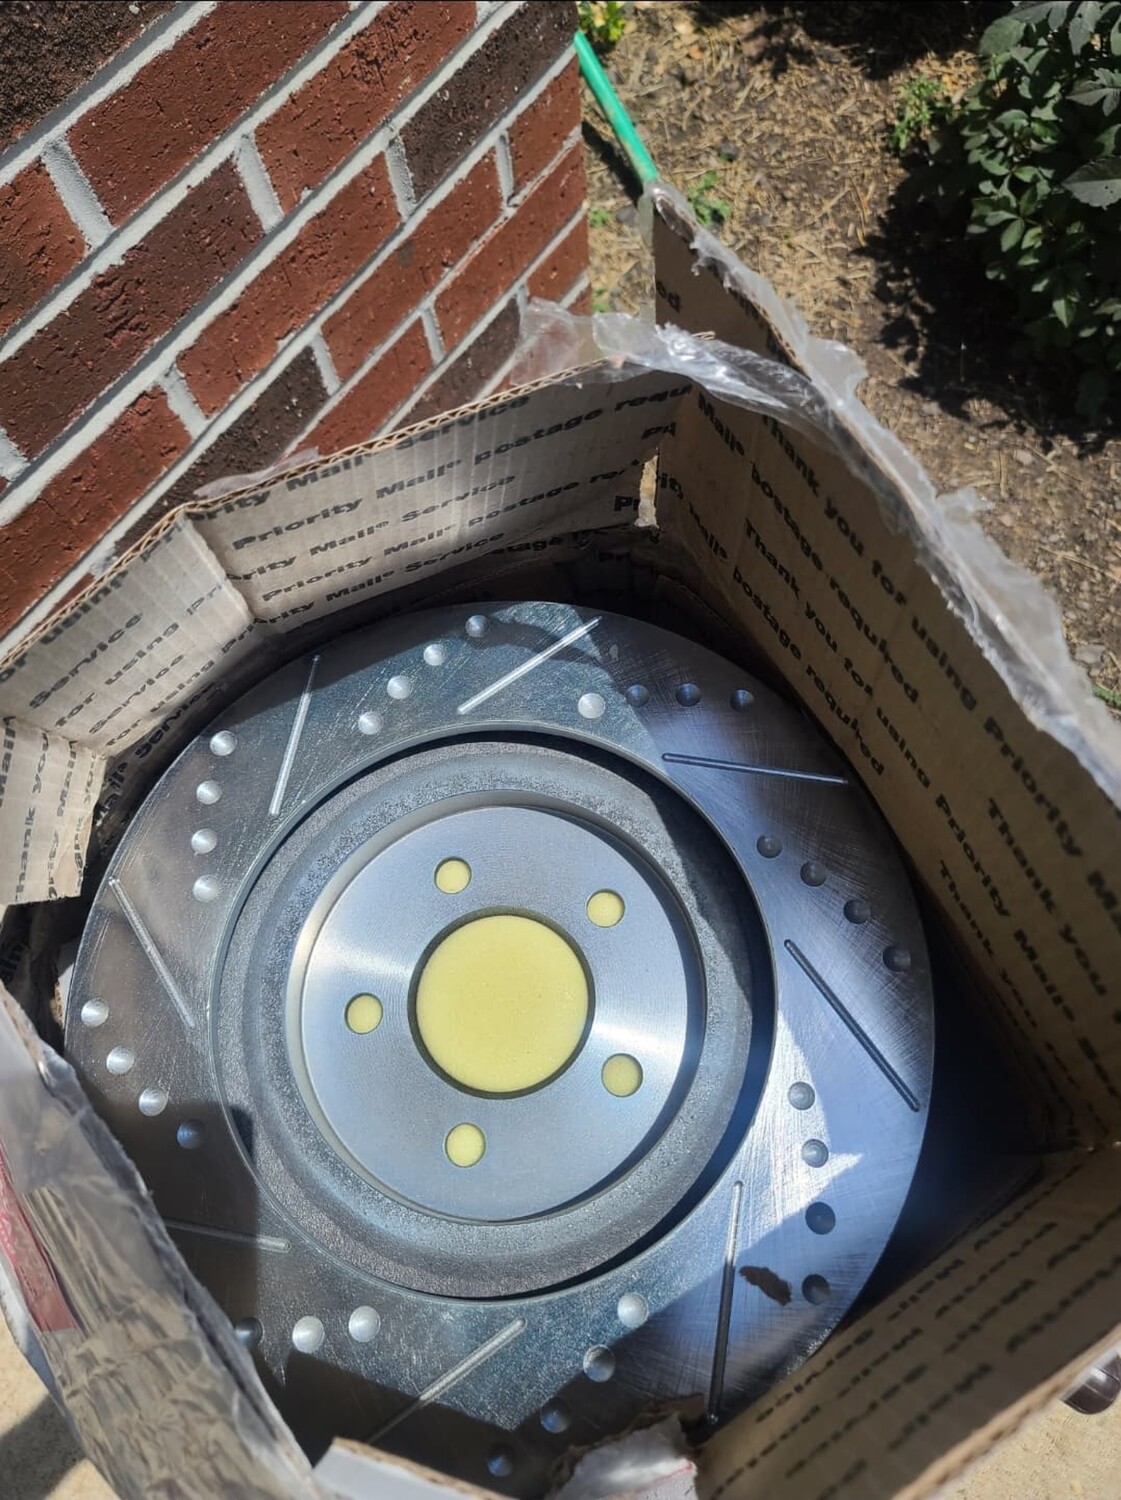
NEW OEM 12.6″ 2004 Maxima Rotors (included in the Complete and Basic Kits)
Used/Rebuilt/Remanufactured 300ZX ALUMINUM calipers, hardware, pads, shims, etc (included in the Complete Kit).
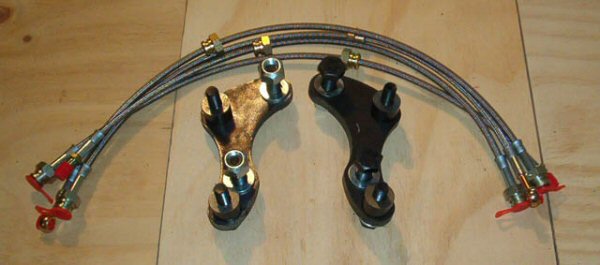
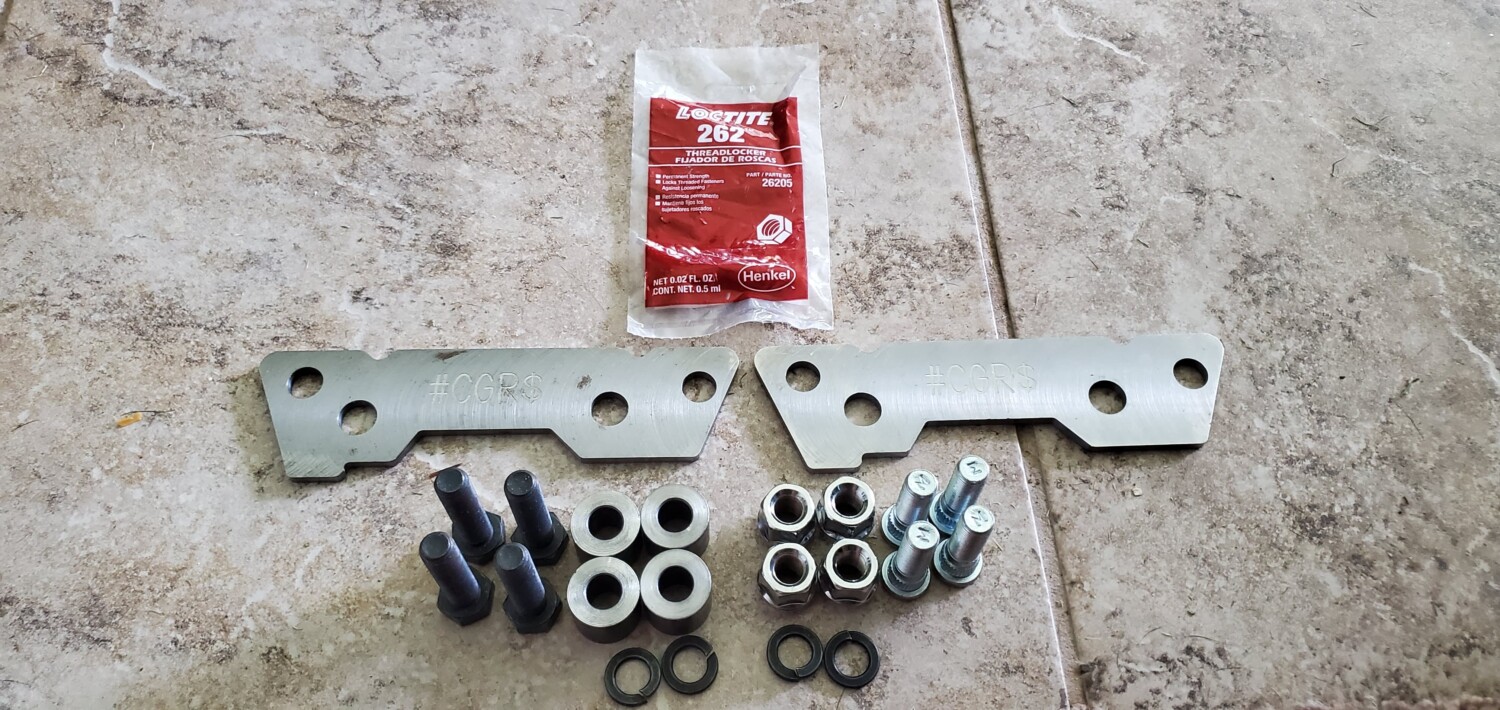
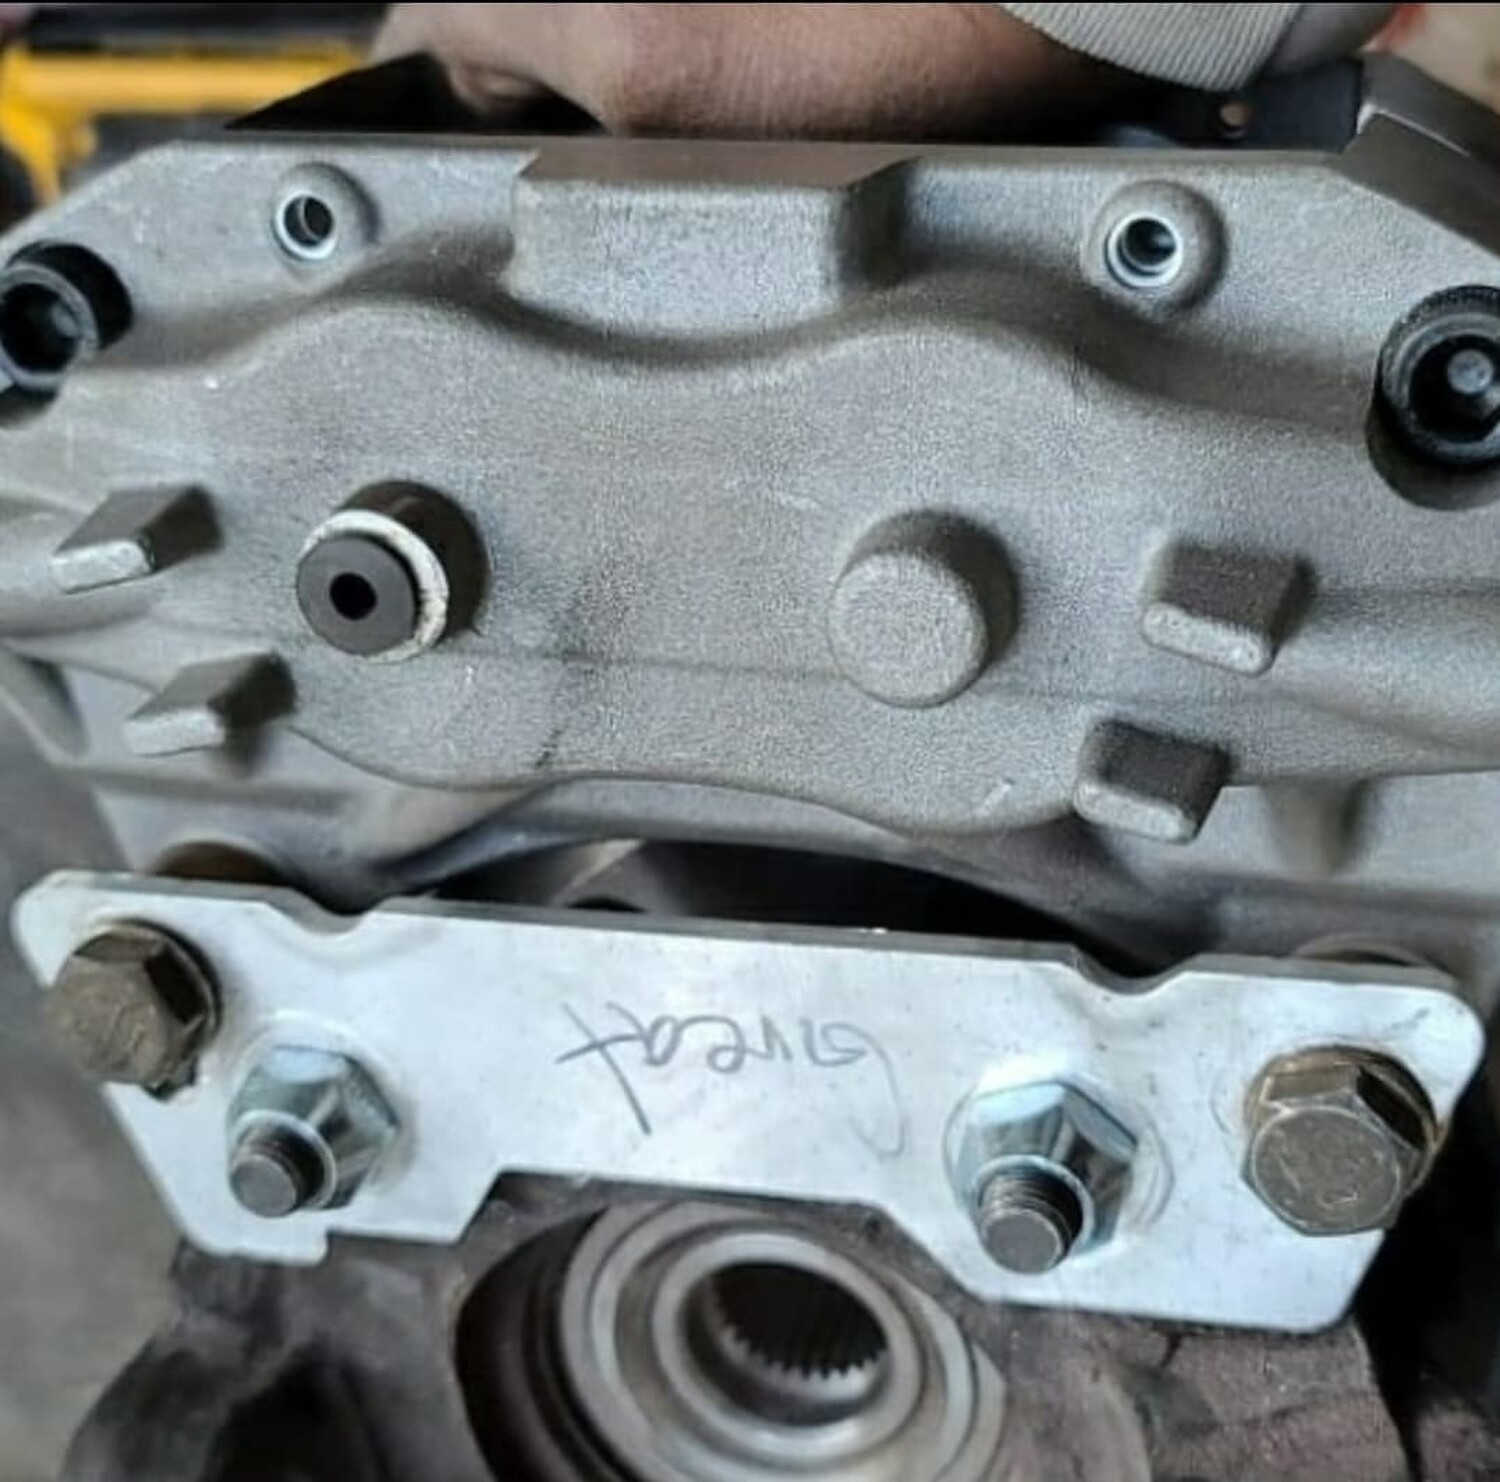
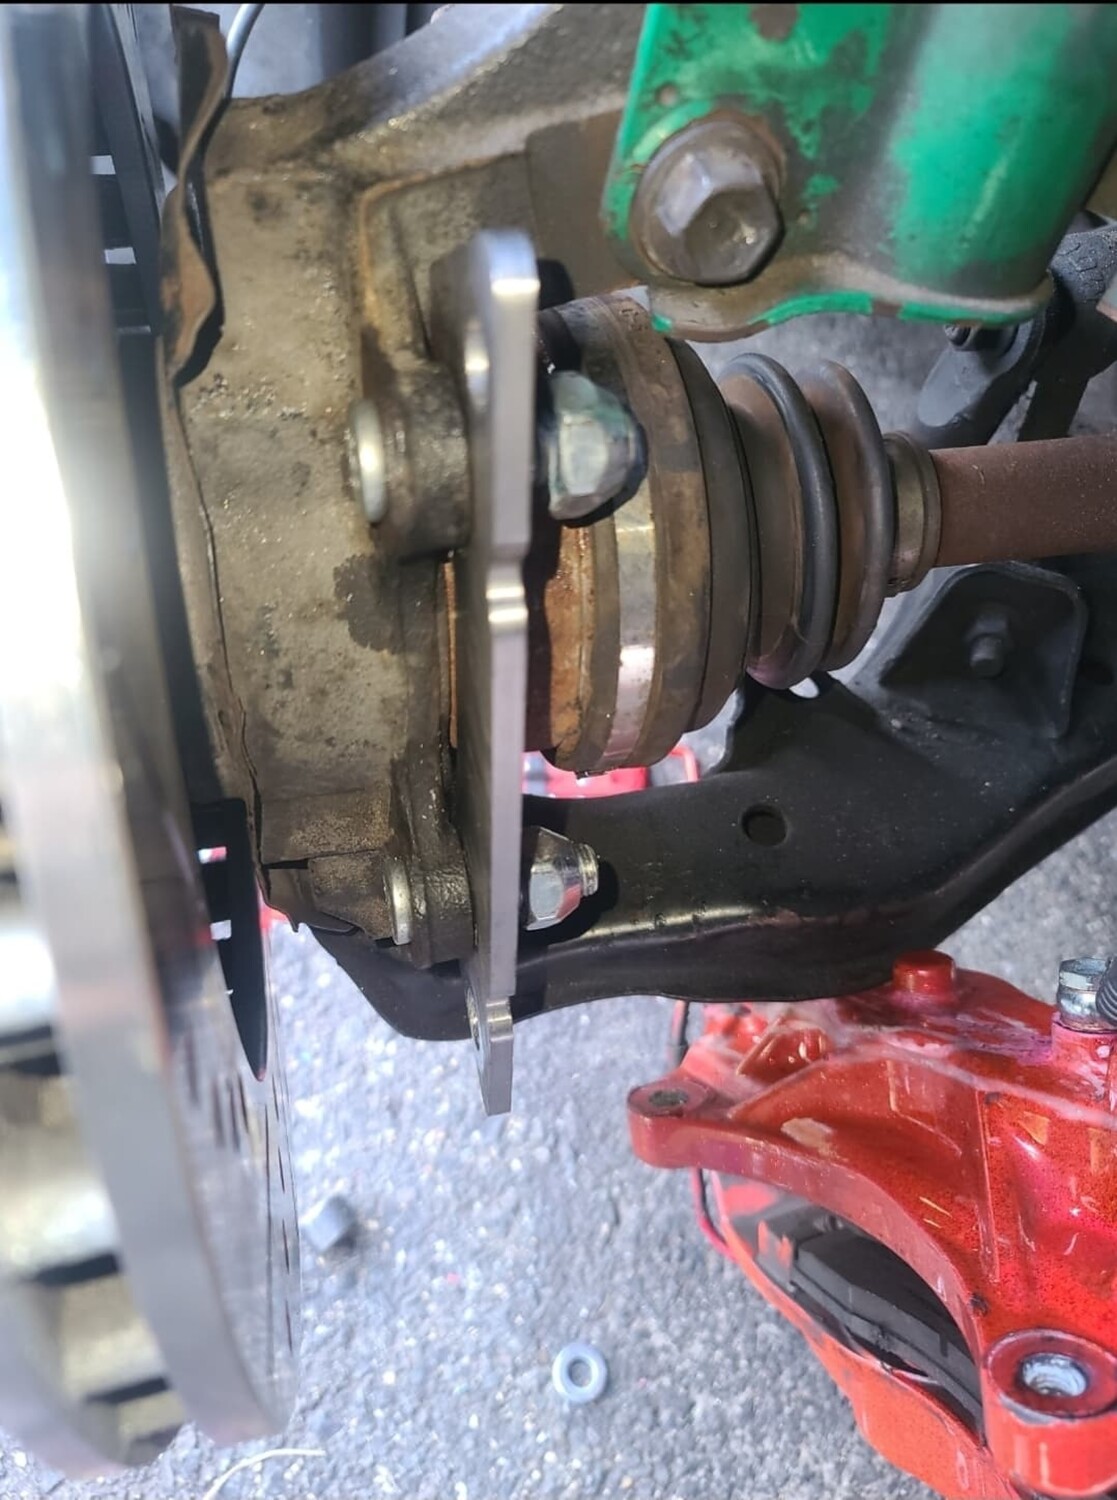
Caliper relocation bracket
All hardware necessary to install (nuts, bolts, washers, etc.)
Goodridge Stainless Steel brake lines, certified to D.O.T. FMVSS test 106 (many of the brake kits out there don’t have this)
As noted above, the kit is offered with and without the 300ZX calipers for those of you who already have some, or have a good source for them already. If you’d like me to source them for you, then prices are at the bottom of the page.
What are the benefits to this Big Brake Kit?
You guys already know the benefits of a big brake kit on your car, so I’ll point out the original parts of this kit…
It uses a NISSAN rotor that’s meant to fit on this suspension. The offsets are correct so as not to cause huge wheel clearance issues, the hub bore is a perfect fit, and the wheel stud holes are a perfect fit. It also doesn’t rub on the control arms (at least not on 3rd or 5th gens).
As most of you know, the 300ZX calipers have a plethora of pad selections out there–WAY more than the Maxima does because of the performance enthusiast base. You can go with Raybestos, Wagner, Axxis, or comparable pads for the street for a very reasonable price, or you can bump up to Hawk, Performance Friction, Porterfield, Ferodo, EBC, and many other higher performance pads for track days. If you’re in a pinch and need new pads “NOW!”, simply drive to your nearest parts store and pick some up! They’re extremely handy, as opposed to other aftermarket calipers where you usually have to order pads and wait a week for them to come in! These calipers are also designed for street use in that they have dust seals, pad shims to keep road noise to a minimum, easily obtainable rebuild kits, and all the other low maintenance benefits of a caliper designed for years of street use instead of a caliper designed to be rebuilt several times per race season.
The rotors are currently available through OEM sources (dealer), and you can also get blank, slotted, crossdrilled, or slotted and drilled from www.irotors.com. You have all kinds of choices and I will leave that up to you, but I DO NOT recommend crossdrilled rotors due to their tendency to crack. There is enough information in thousands of other places on these issues, so I won’t bother repeating them.
What wheels will these fit under?
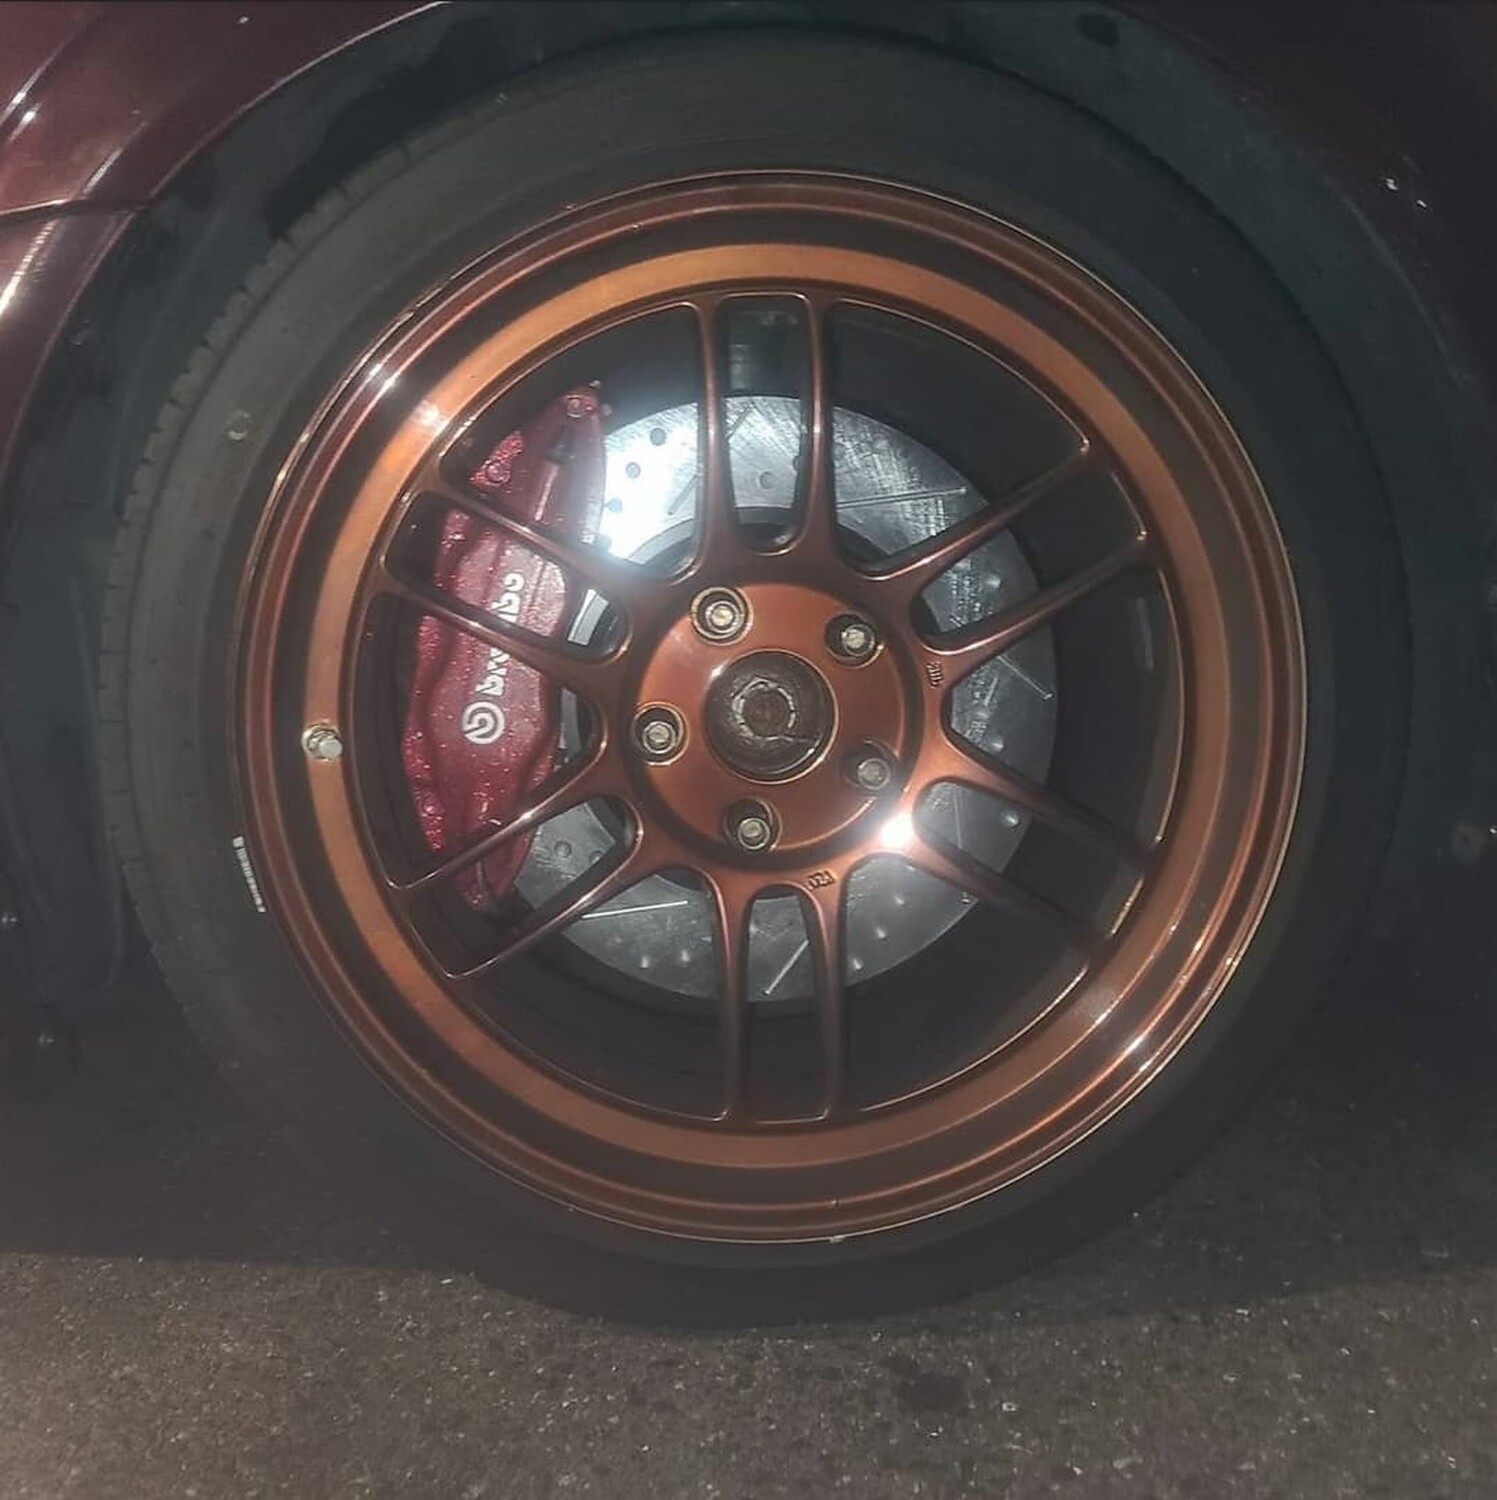
I have tried this kit with several wheels so you can get an indication of what will fit…. These kits DO NOT FIT UNDER THE STOCK 17″ Maxima wheels! So far, every aftermarket 17″ and 18″ wheel I have tried will fit, but the 17s get close on spoke clearance–depending on wheel design. I am currently trying to compile a database of all of the wheels that fit these kits to give you an idea, but the best way is to simply measure for yourself. I make no claims to wheel fittment, but for a general guess on if they will fit or not, use these measurements:
Measure 5 1/4″ out from the center of the wheel to one of your spokes. Now measure the distance from the surface of your stock rotors. If you have at least 2 1/2″ of clearance here, then you should be fine with the kit. I can tell you for certain that 300ZX (Z32) wheels will NOT fit without a 1/2″ spacer.
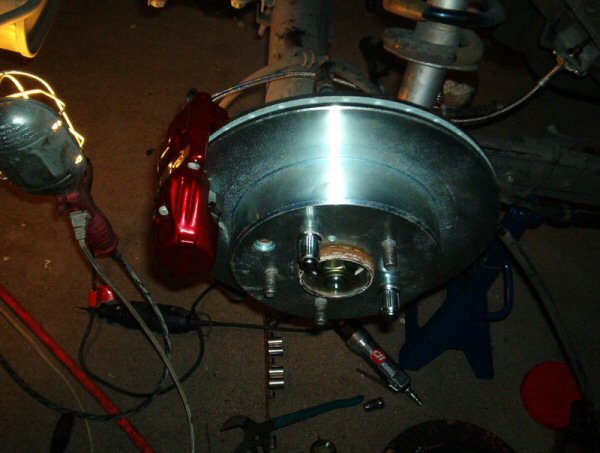
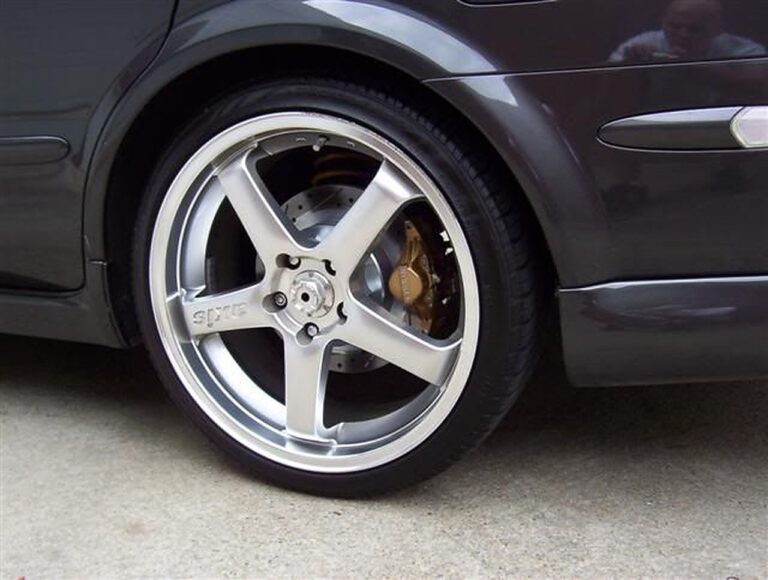
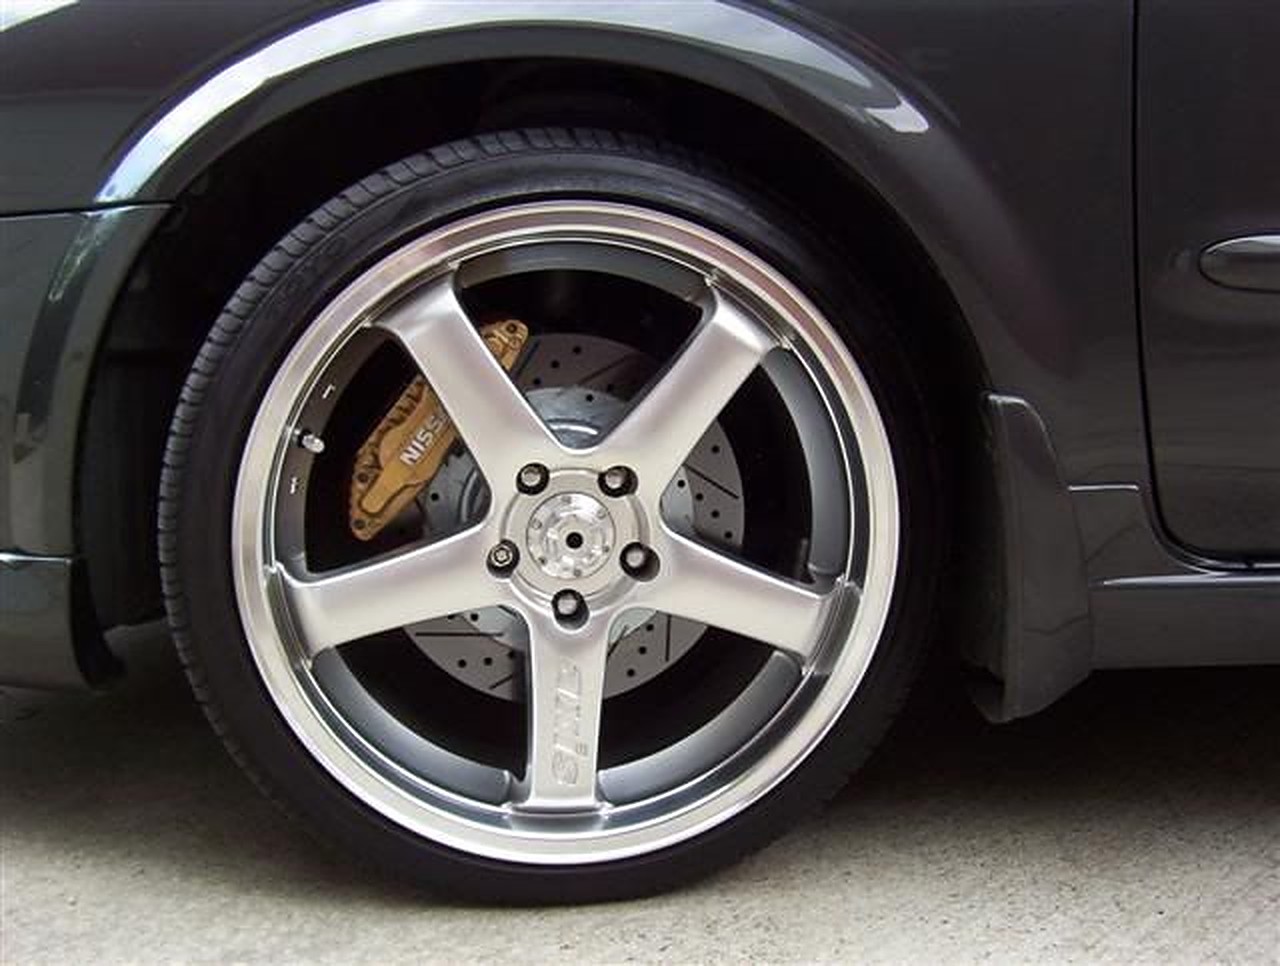
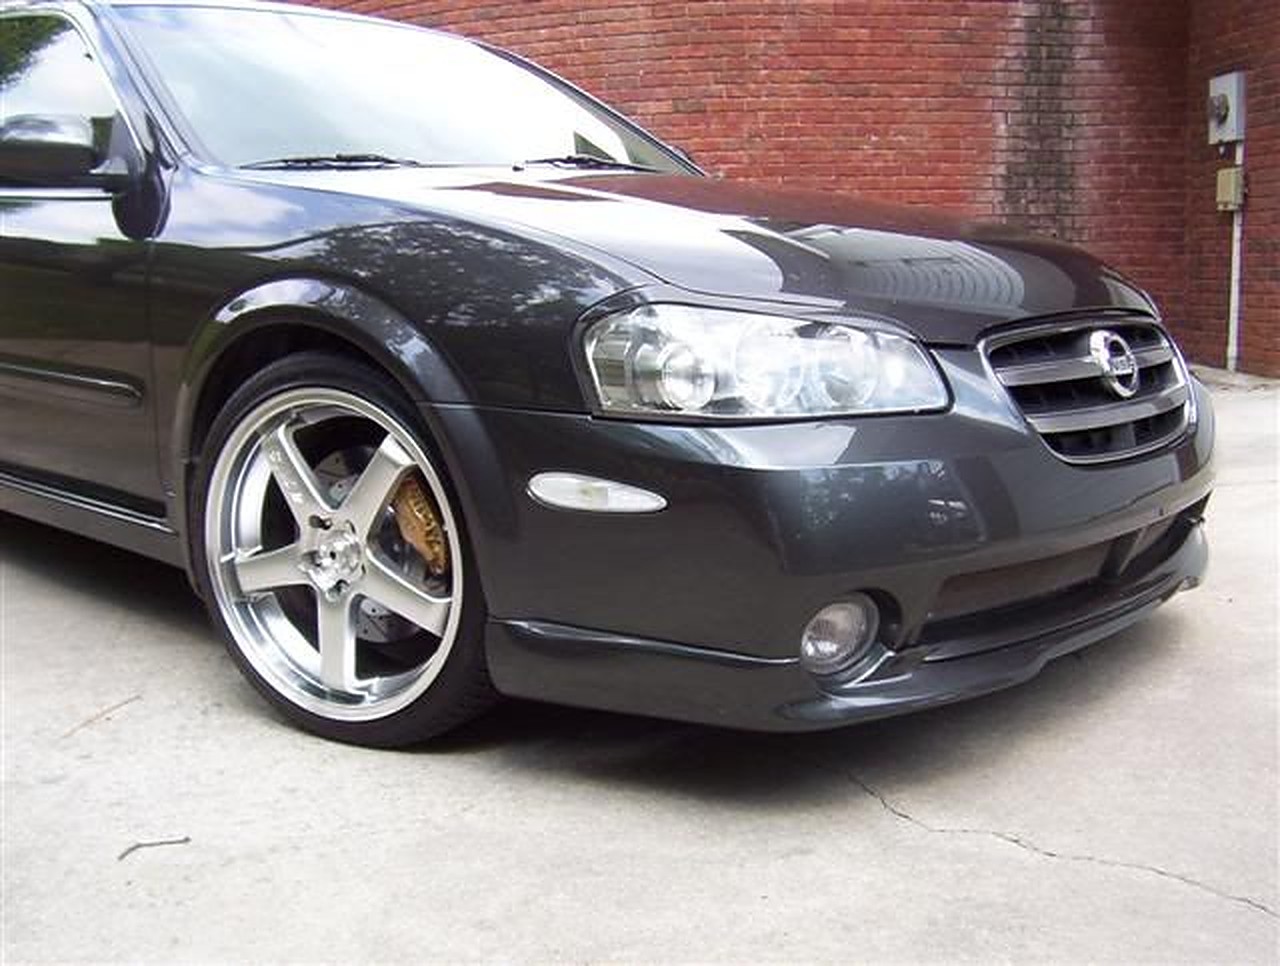
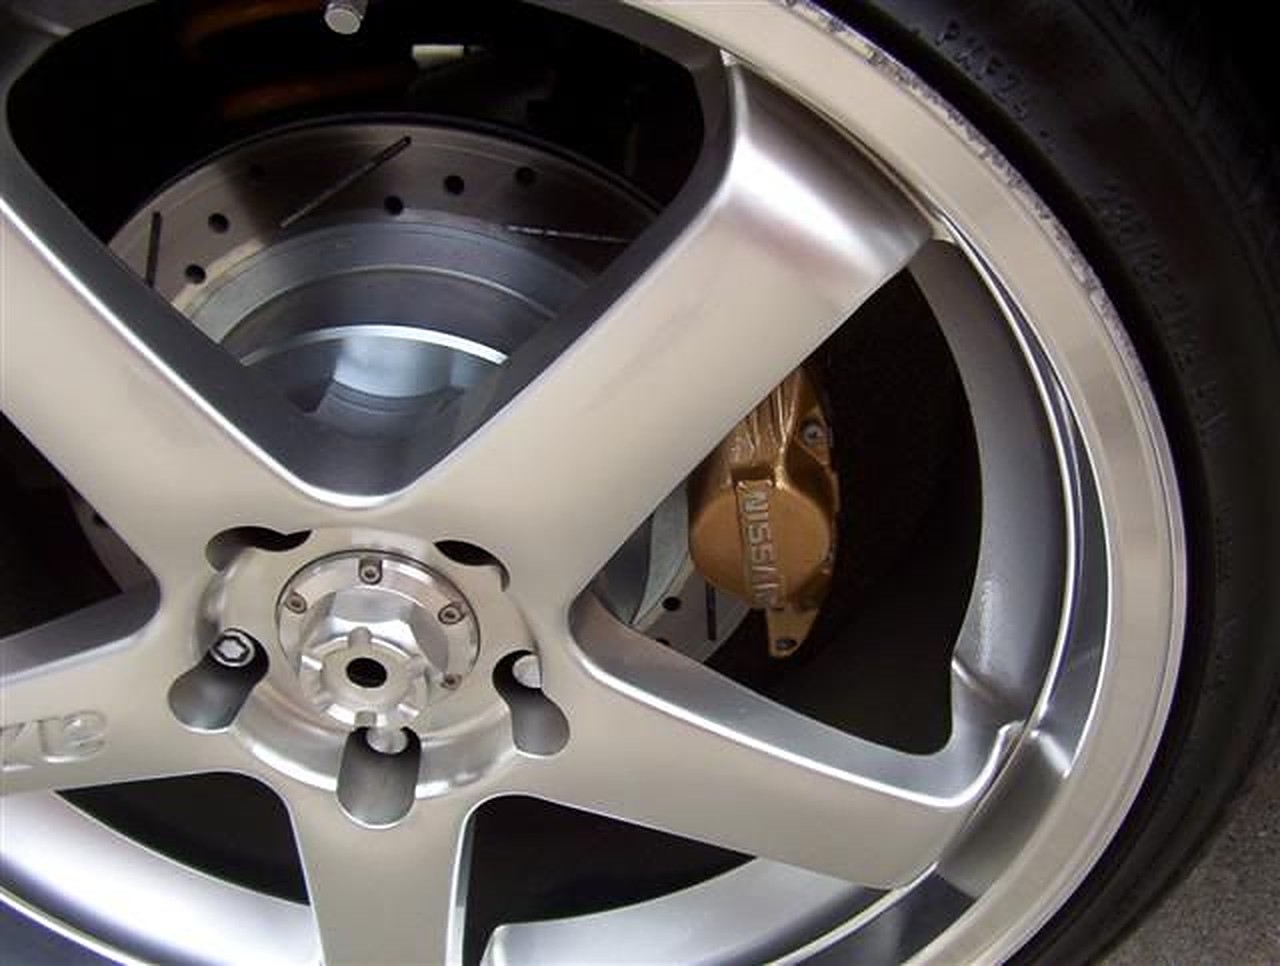
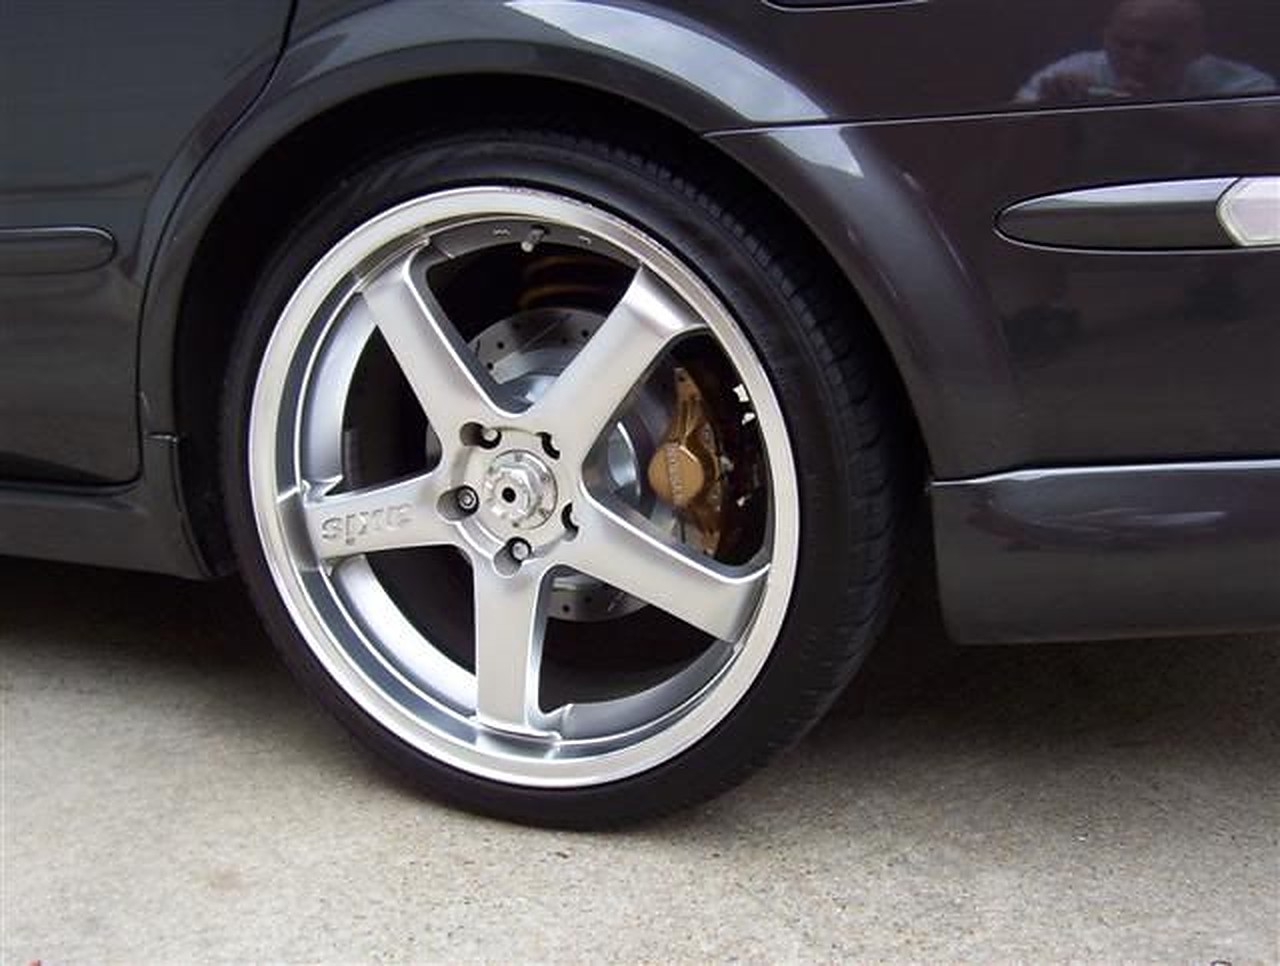
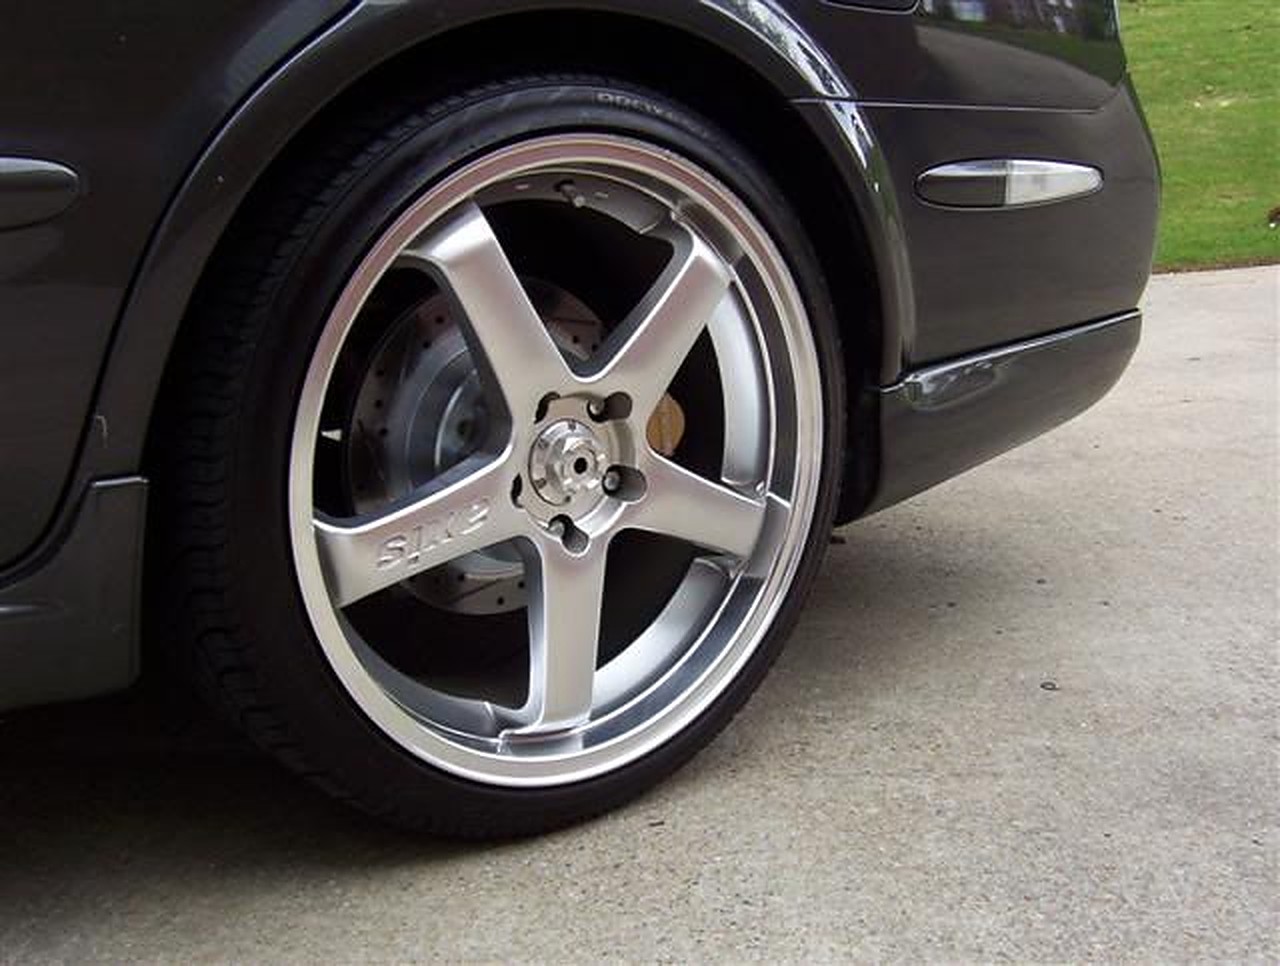
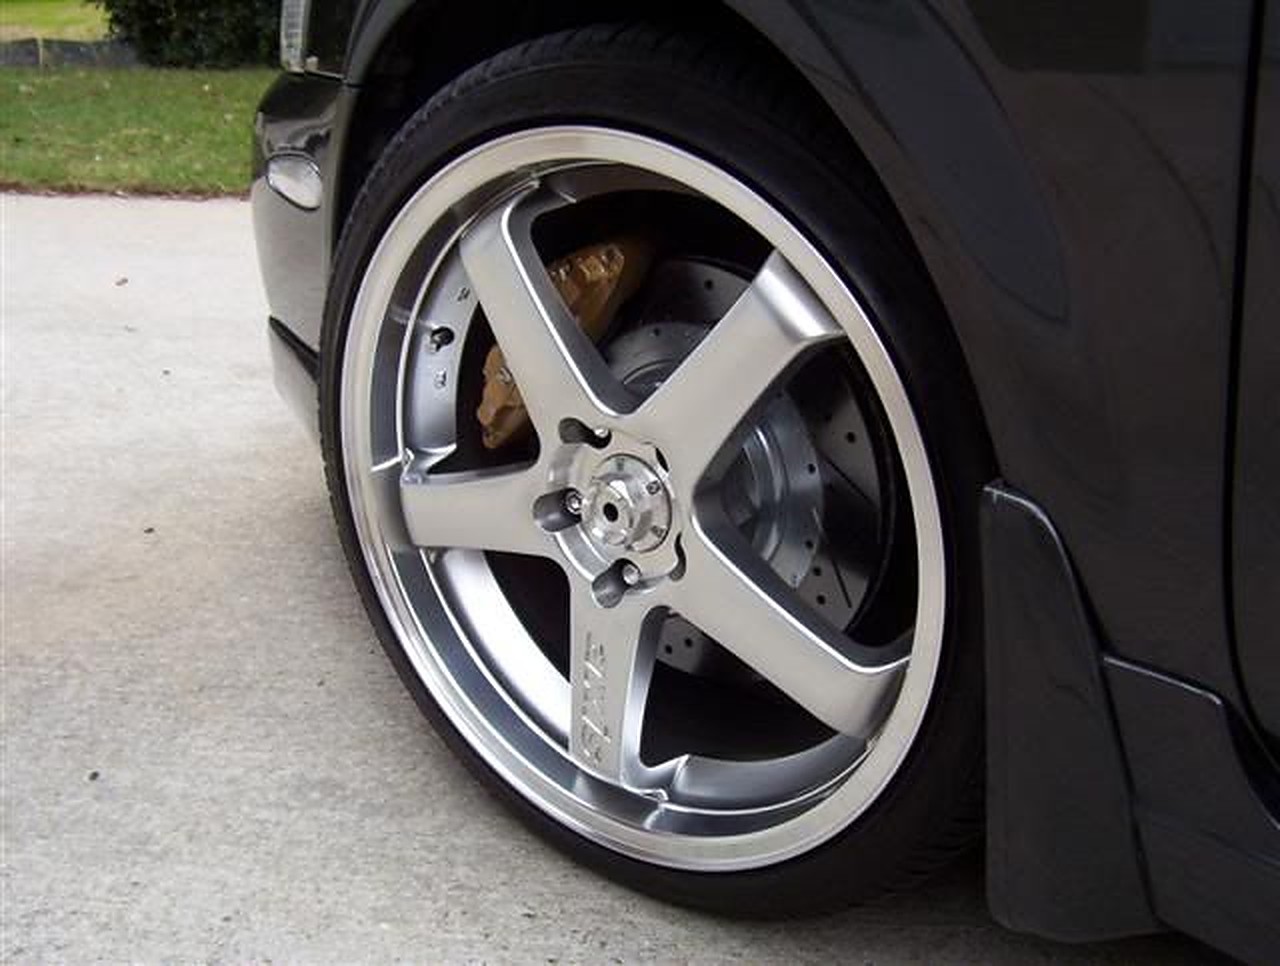
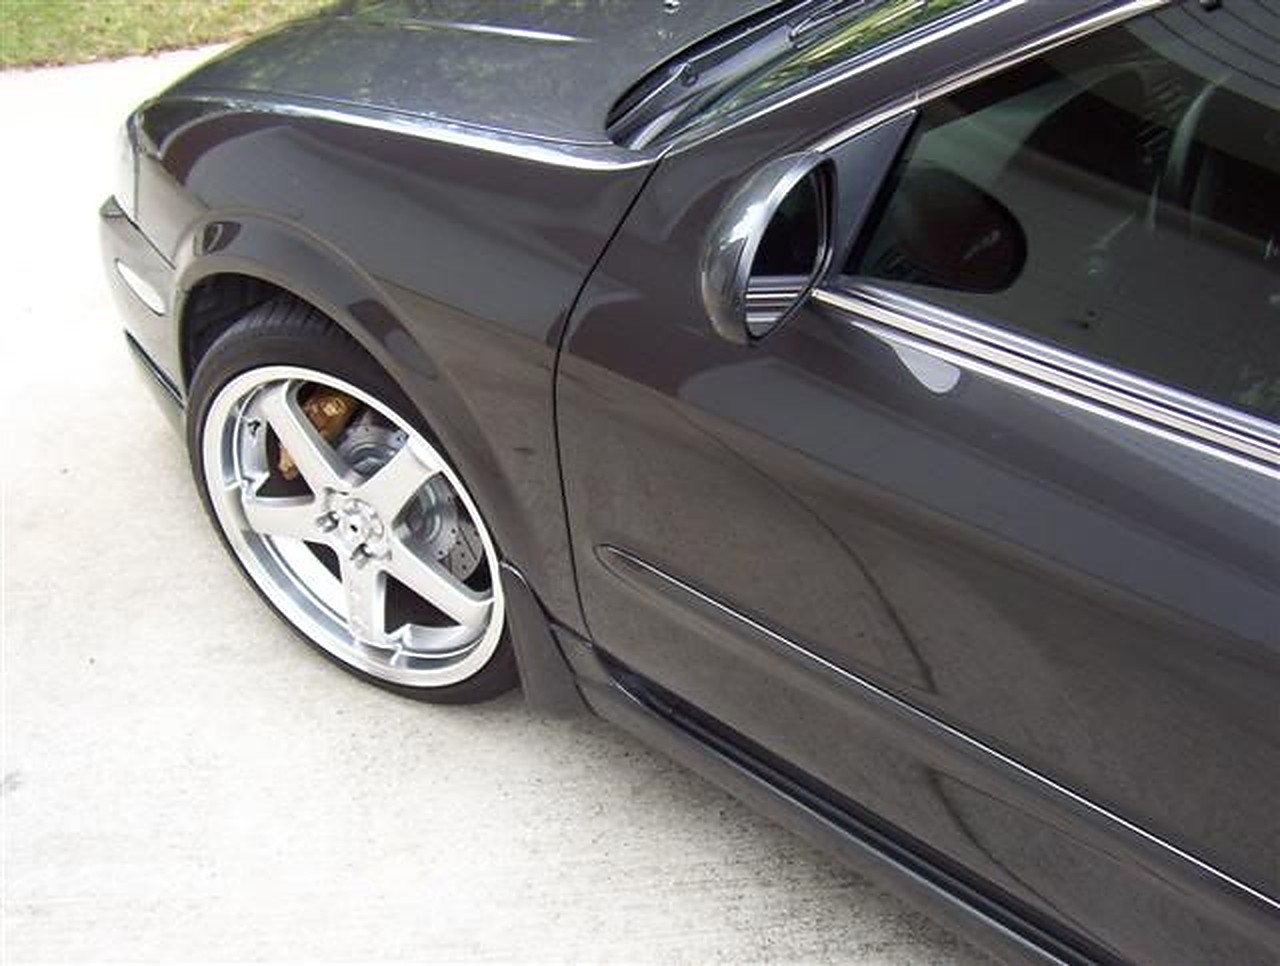
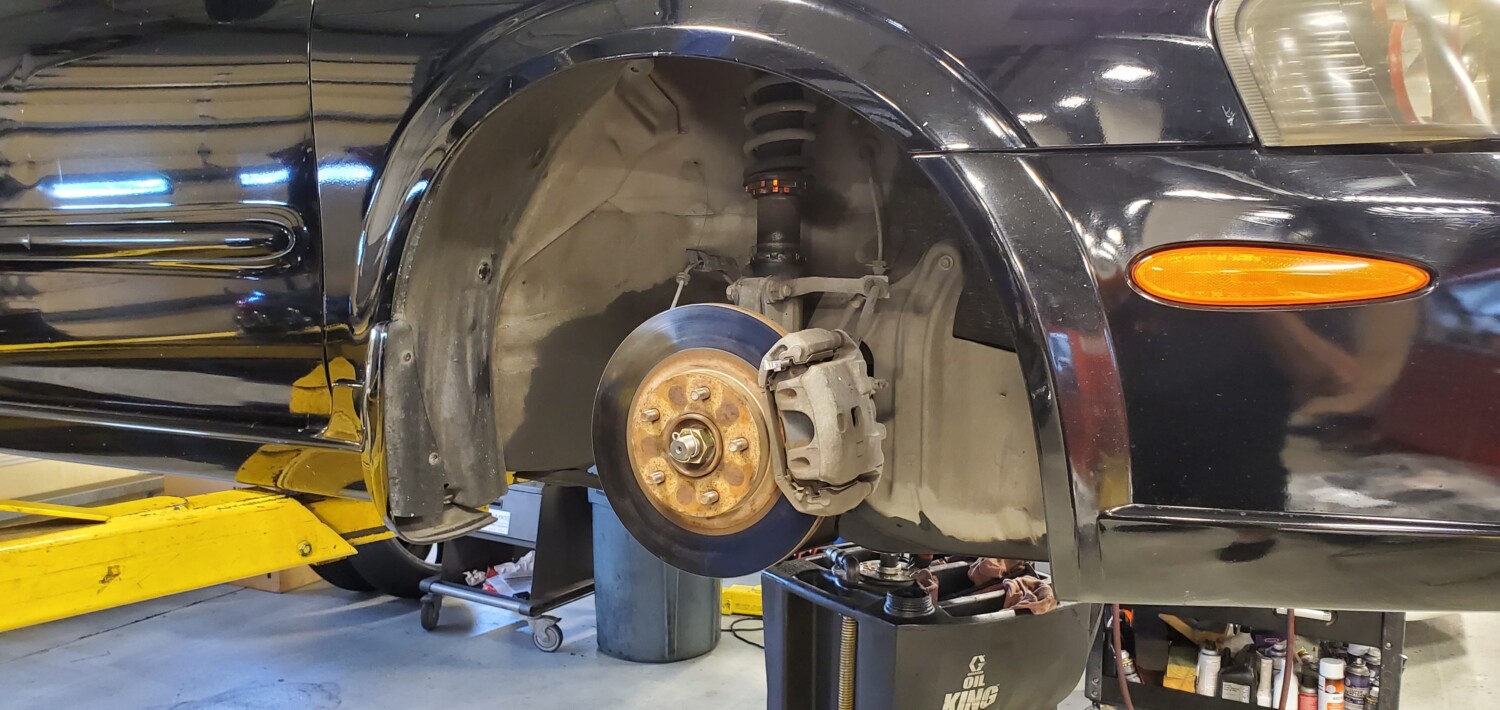
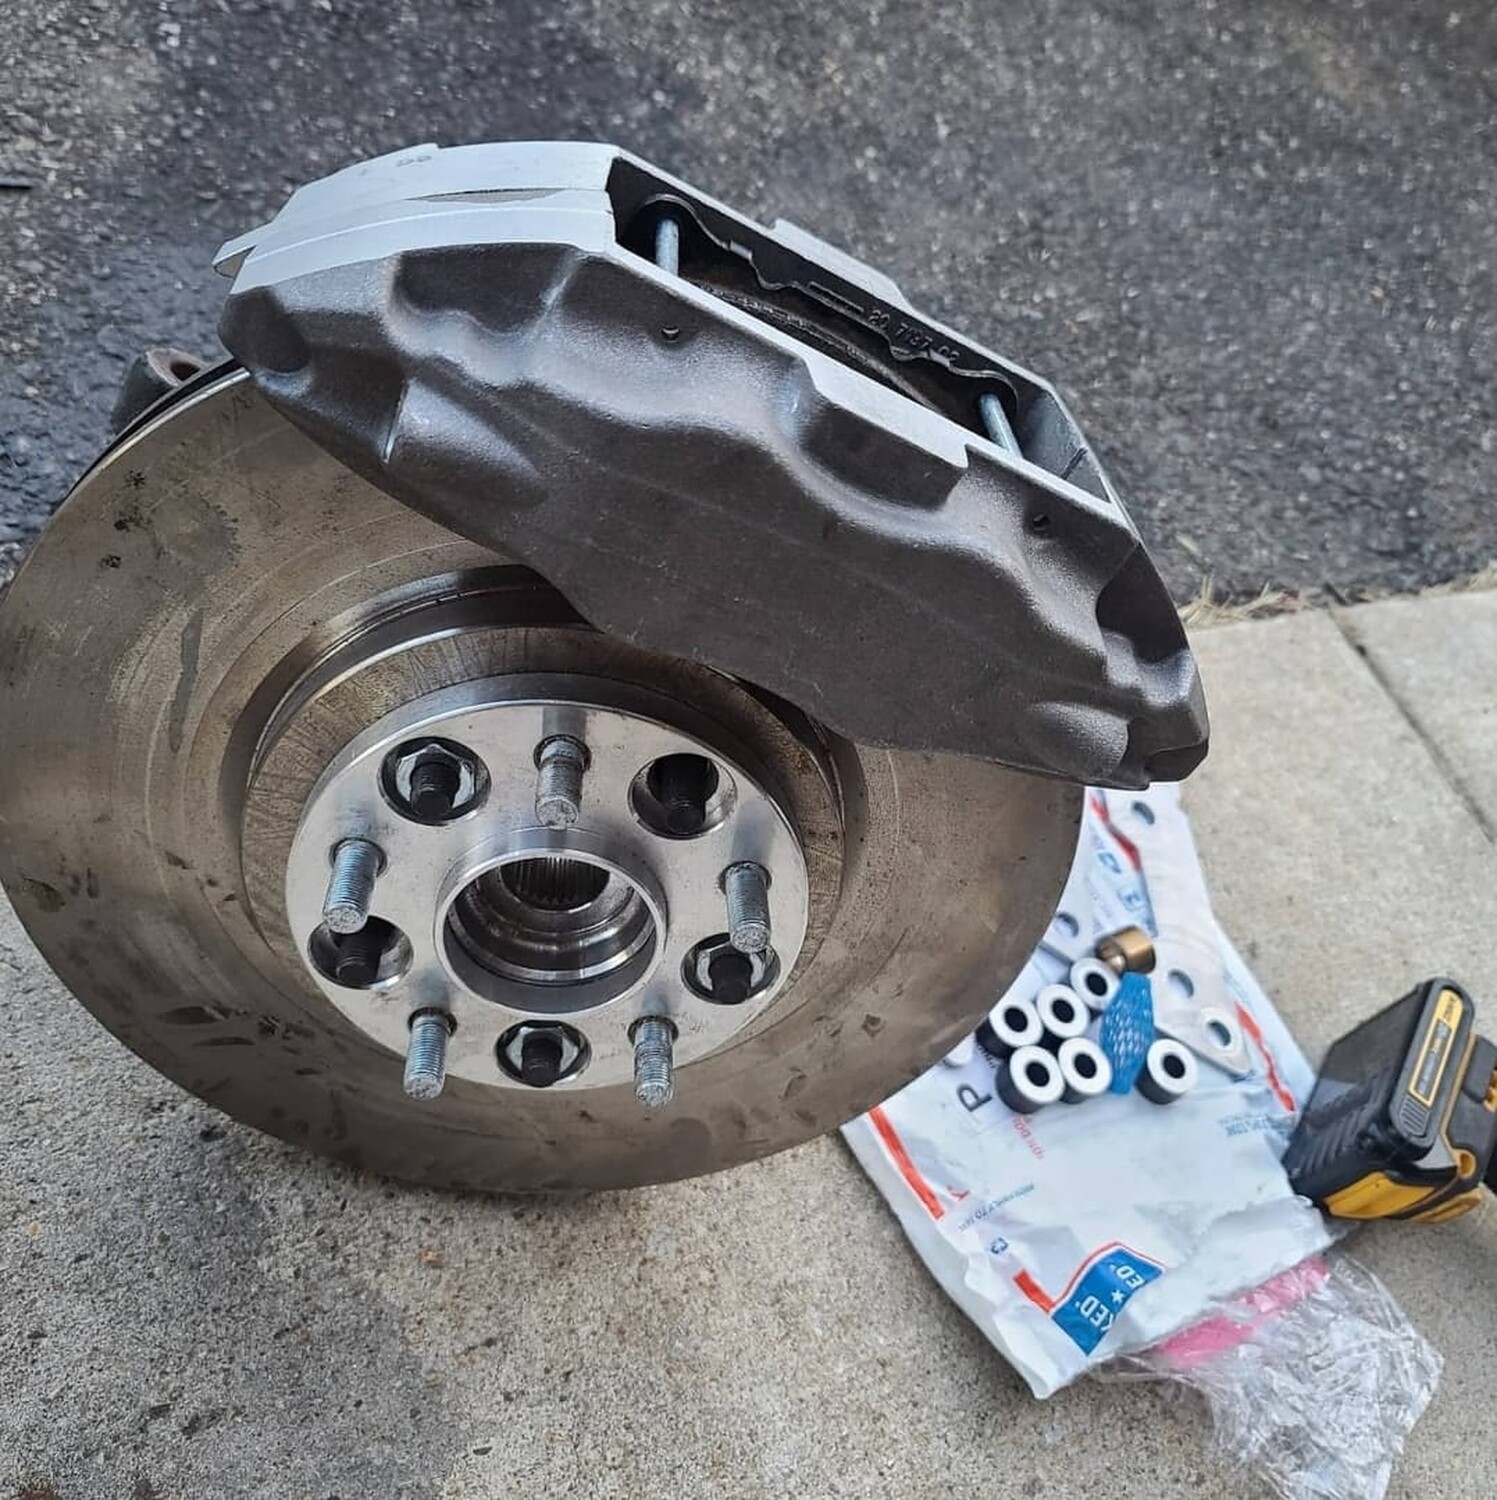
The installed kit:
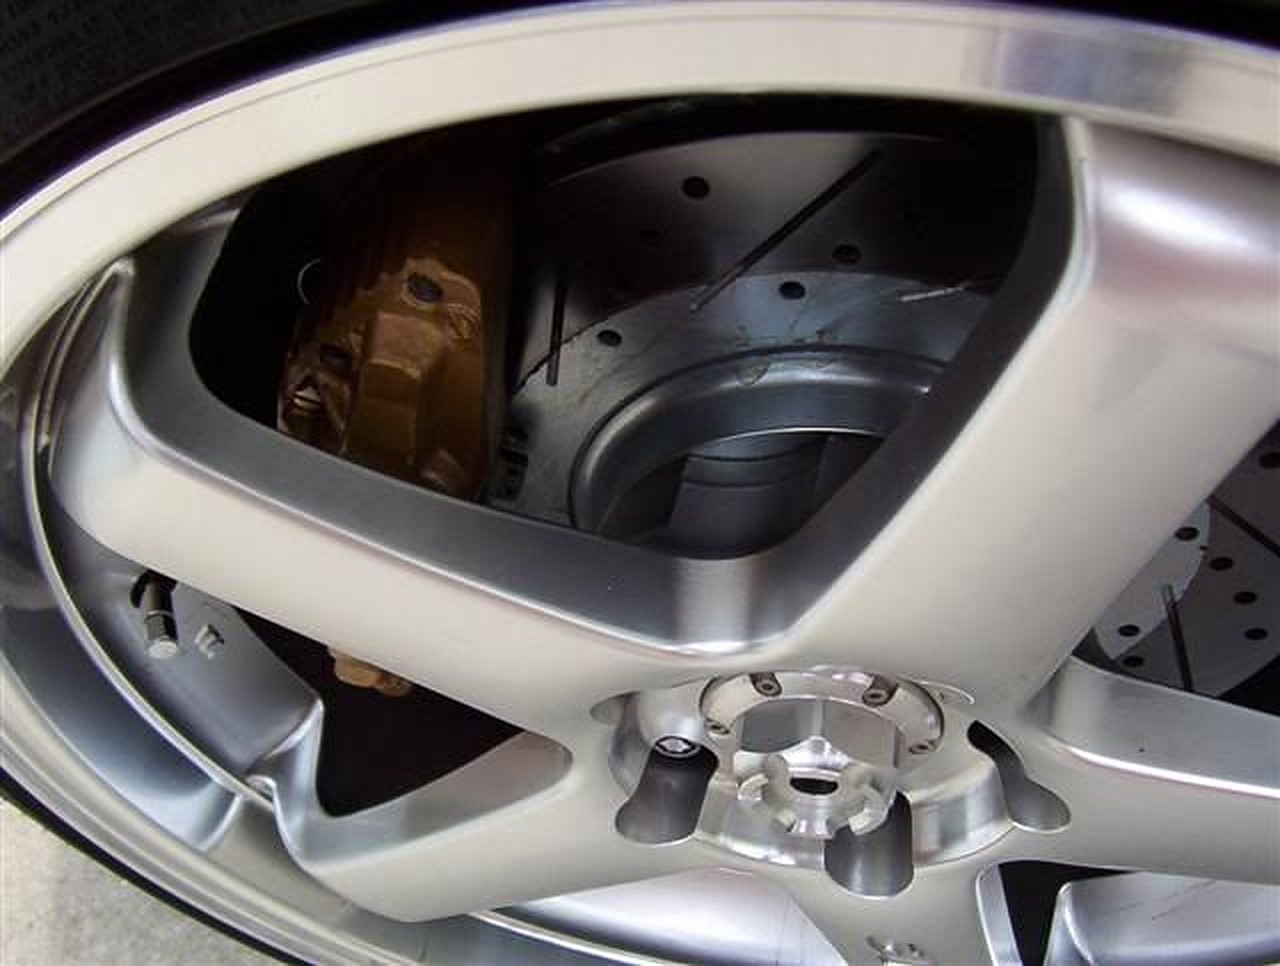
For those that want to see more up close pics showing caliper clearance around the wheel and spokes, click here
And now for the part you’re really interested in–prices!
Complete Kit: $765 + shipping
This kit is ready to bolt on, with the exception of brake fluid. This kit includes:
Remanufactured 300ZX Calipers
New OEM 2004 Maxima rotors
Custom Stainless Steel Brake lines–these lines are custom made to adapt the 300ZX caliper fittings to the Maxima hard line.
Caliper relocation brackets
All hardware necessary to install the kit
Basic kit: $440 + shipping
Note that this kit does NOT include the required calipers. I can get them if you wish, or you can supply them yourself. This kit includes:
New OEM 2004 Maxima rotors
Custom Stainless Steel Brake lines- These lines are custom made to adapt the 300ZX caliper fittings to the Maxima hard line.
Caliper relocation brackets
All hardware necessary to install the kit
Kit without Rotors: $200 + shipping
This is for those who want to source rotors, calipers, and pads themselves. This kit includes:
Custom Stainless Steel Brake lines–these lines are custom made to adapt the 300ZX caliper fittings to the Maxima hard line.
Caliper relocation brackets
All hardware necessary to install the kit ( again, this kit does not include rotors or calipers )
Want me to source the 300ZX calipers for you? If so, then I can source just about anything you want:
Parts car pulls (cores)–whatever price I can find them. Current prices range from $150 to $250 per set
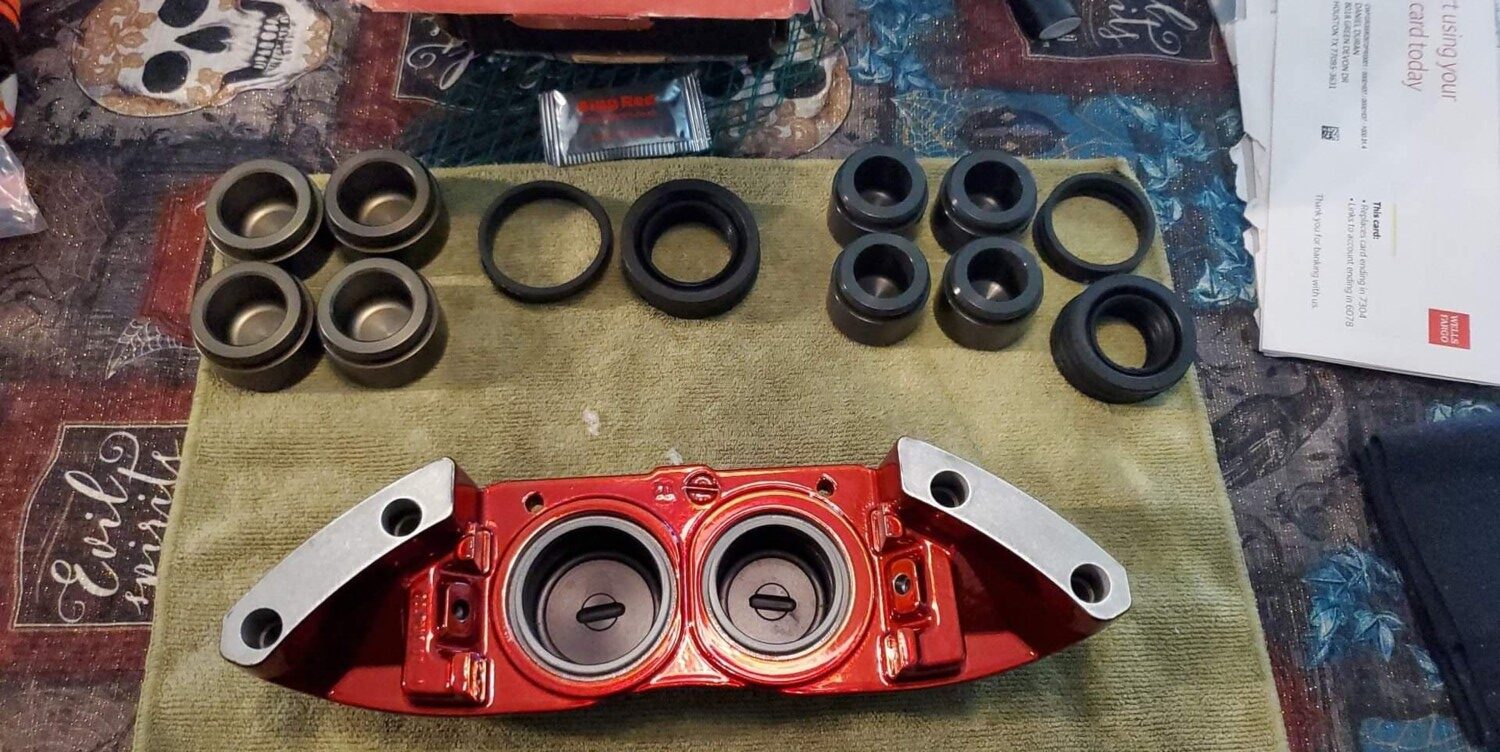
Cores rebuilt with OEM seal–core price, plus $60 ($30 of which is the rebuild kit). This price does NOT include new hardware. (Contact me if you want new hardware also)
Remanufactured calipers (loaded with generic semi-metallic pads, shims, pins, and hardware)–$350
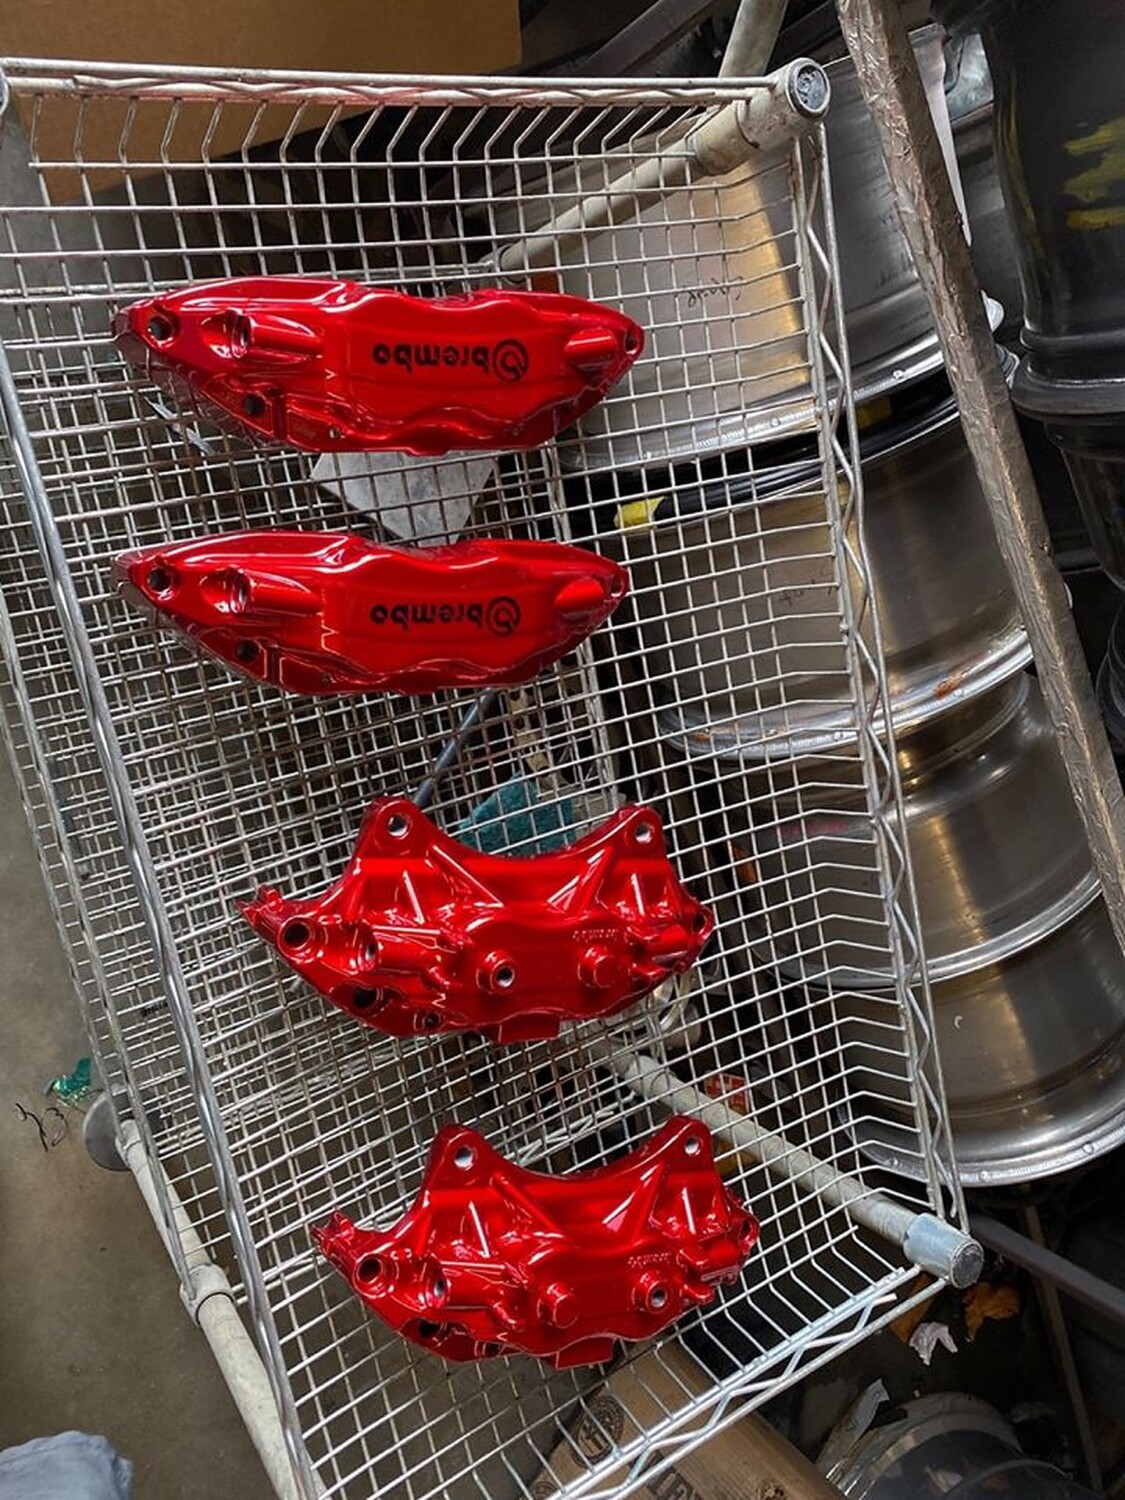
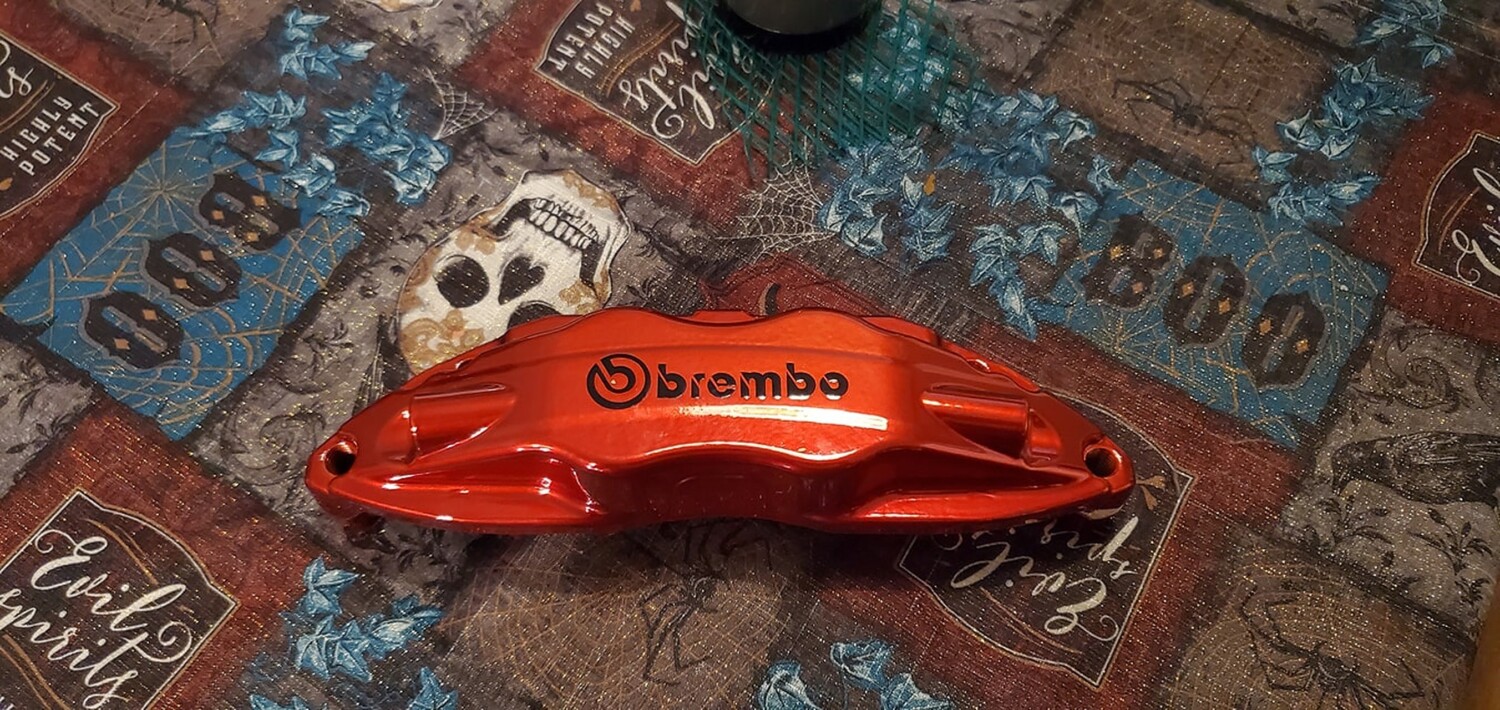
I can also do powdercoating for $100 per pair on calipers. Please expect a few weeks of lead time if I have to order powder or calipers for you
BlehmCo Maxima Relocation Big Brake Kit
This kit uses easy-to-find, off the shelf ALL Nissan parts! That way the next time you warp a rotor, or wear out the pads at an Auto X, track event, etc…you can just go to the local parts store and pick up replacement parts! Not many BBKs will allow you to do that!
What is this kit designed for?
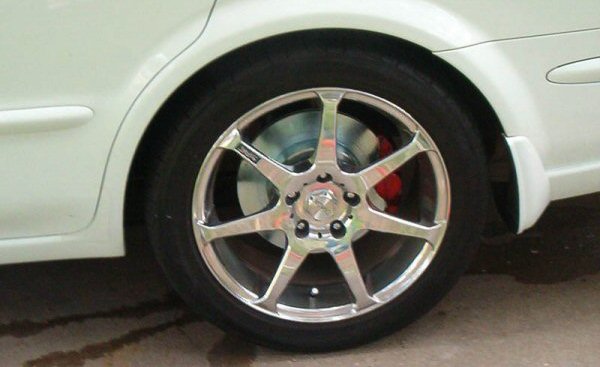
This kit is designed for the average “spirited” driver to alleviate the rotor warpage issues that are so common on 5th Gen Maximas. It’s also an extremely affordable way to improve the cosmetics of your car if you’re running larger wheels. The factory brakes just look too small under 18″ and 19″ wheels! The other goal was to make them fit under the factory 17″ wheels–which this kit does with ease!
Not many BBKs will allow get anywhere near the price of this kit, nor will there be easily available replacement parts when it’s time to replace pads or rotors.
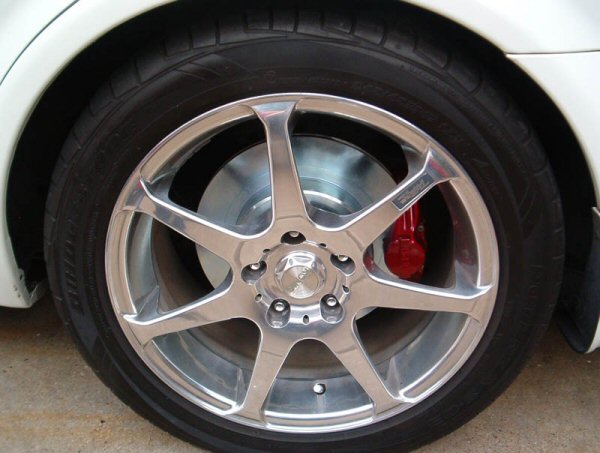
I tried this kit with several wheels, so you can get an indication of what will fit: So far, every 17″ and 18″ wheel I have tried will fit, but the 17s get close on rim clearance–depending on wheel design. I make no claims to wheel fittment, but I would say it’s safe to assume that most 17″ wheels will fit, and sure any 18″ wheel will also.
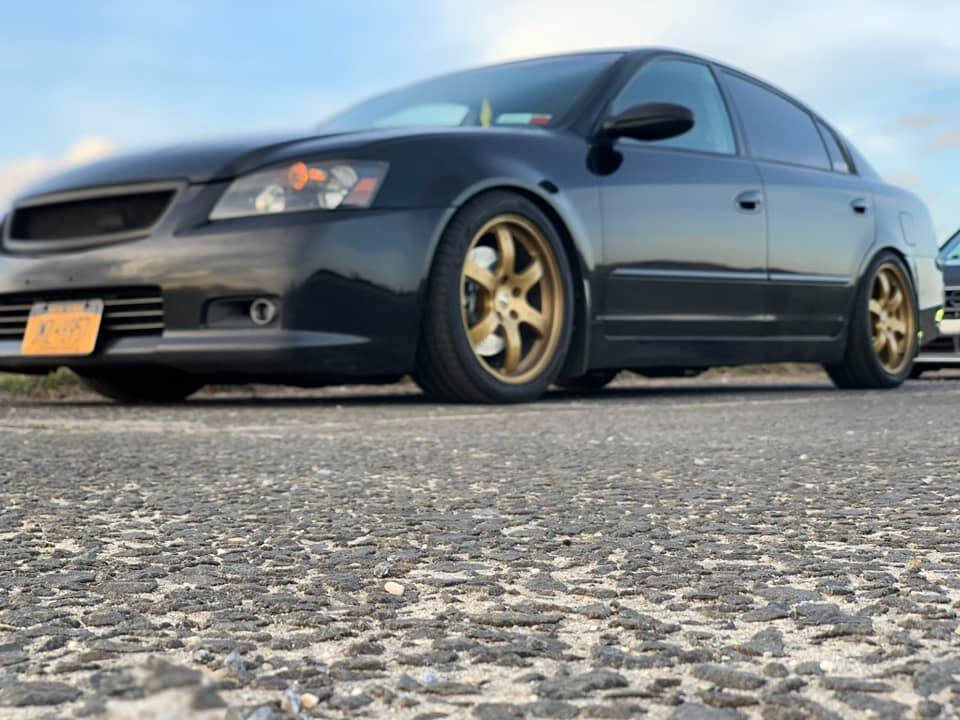
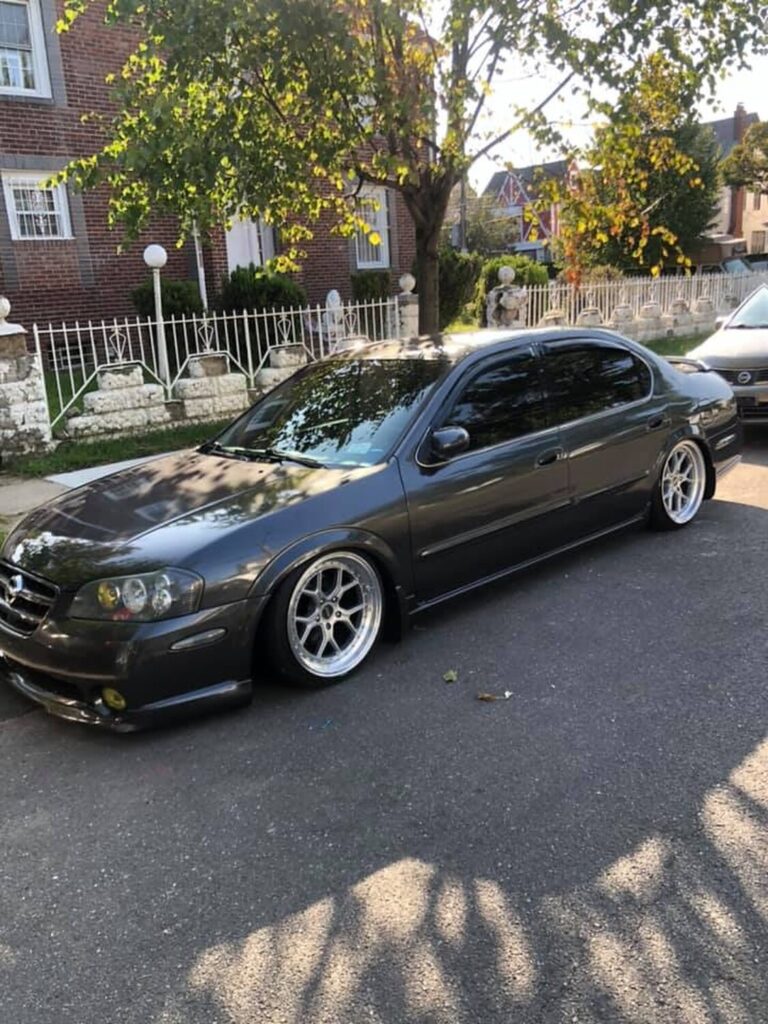
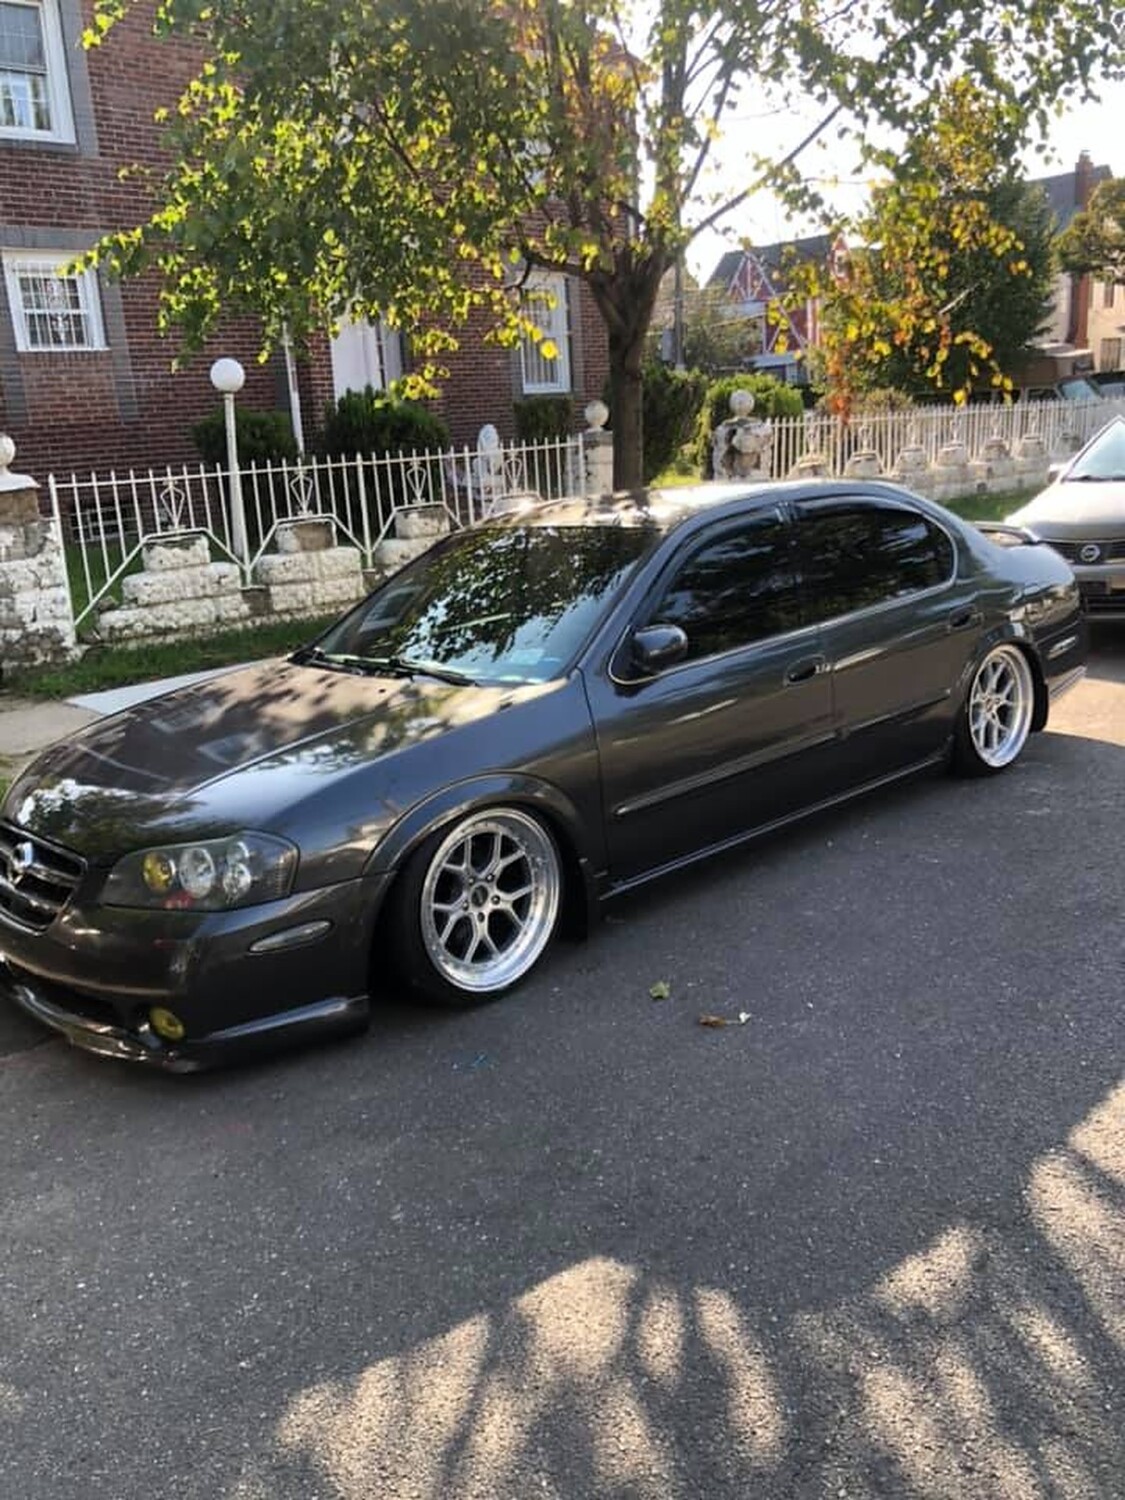
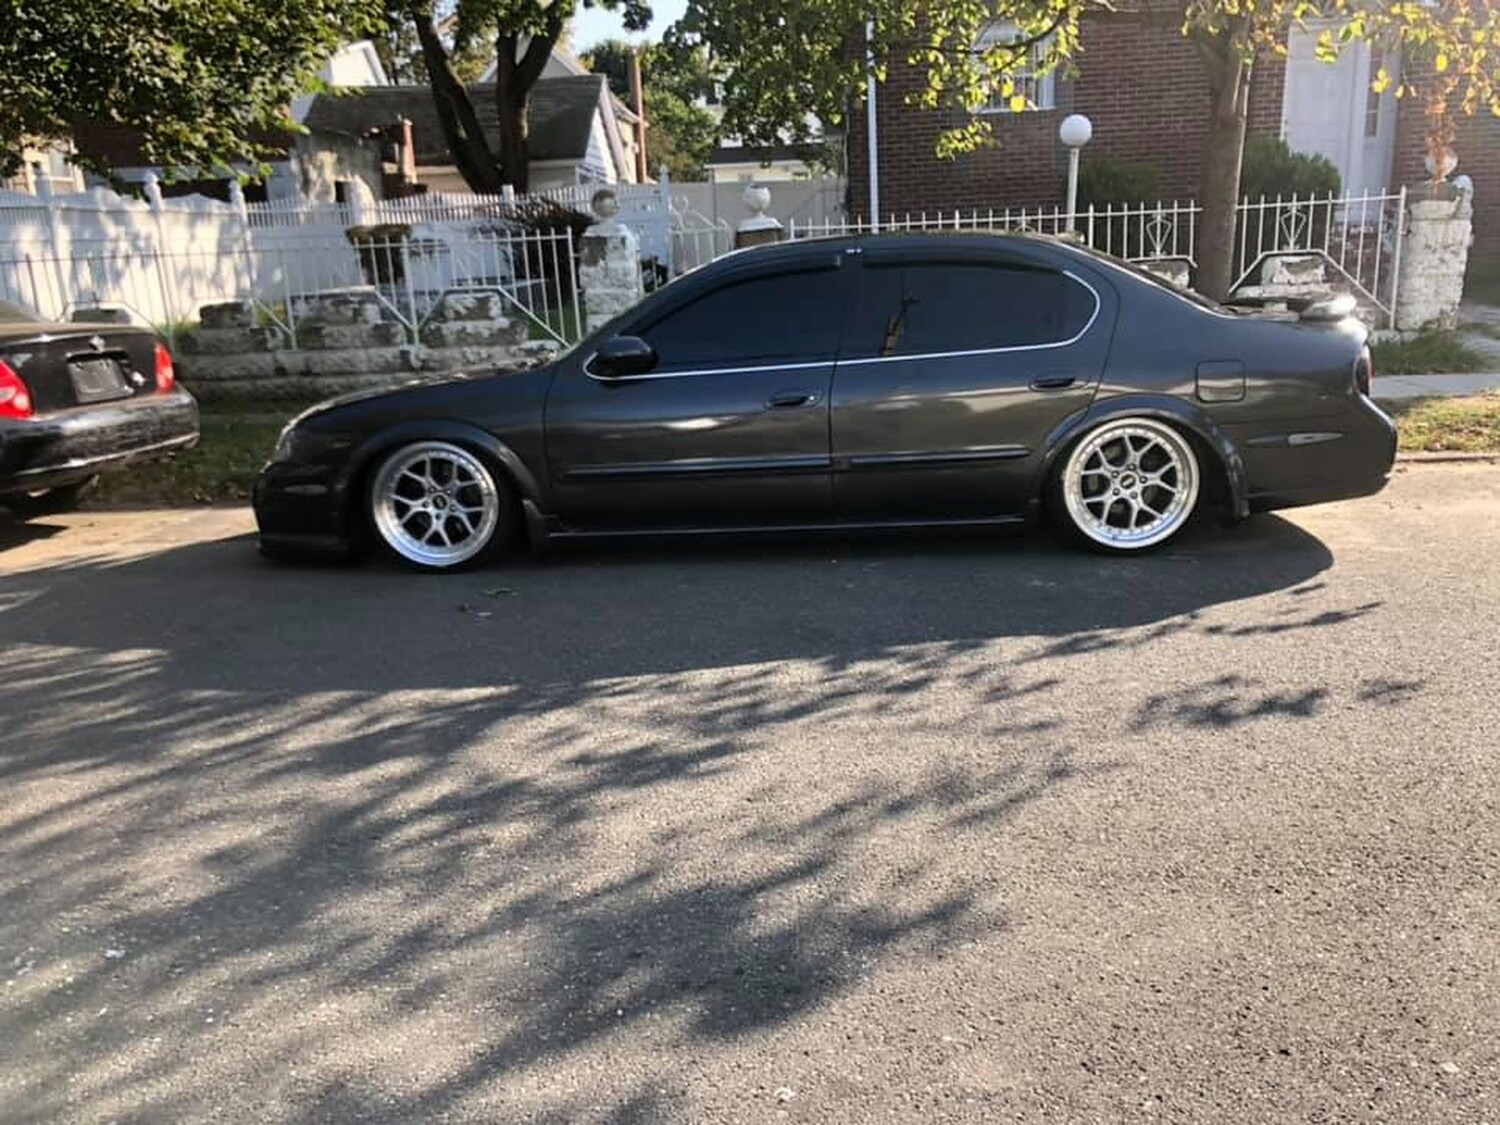
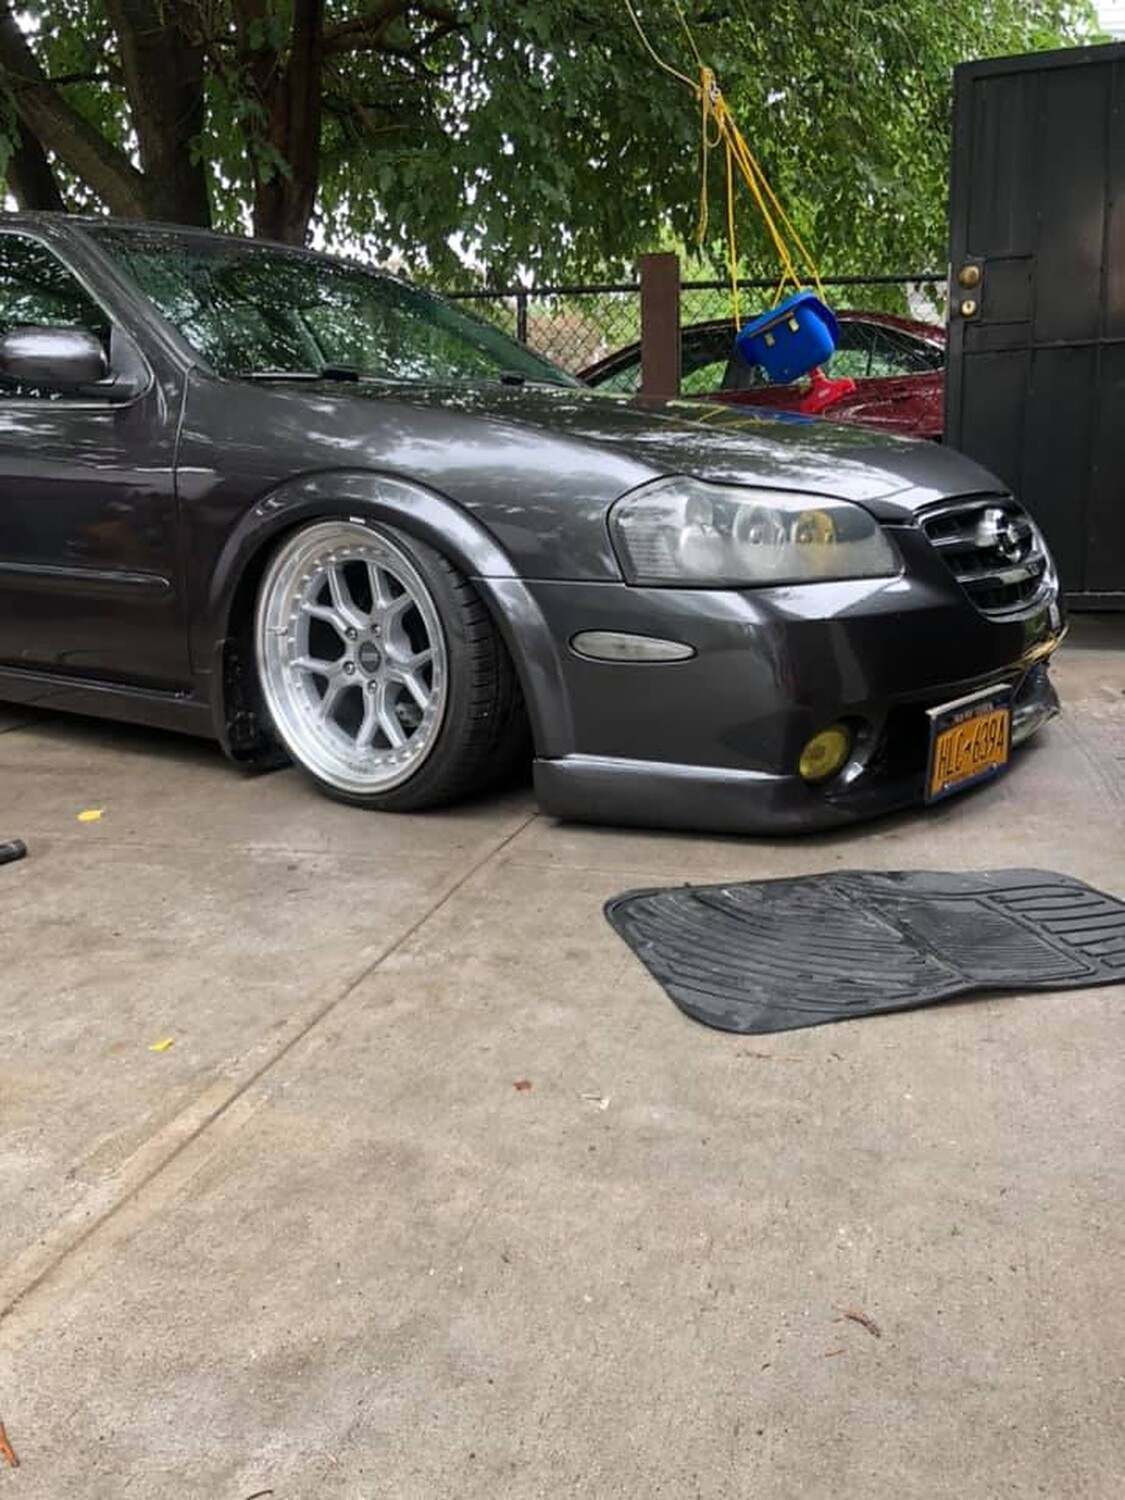
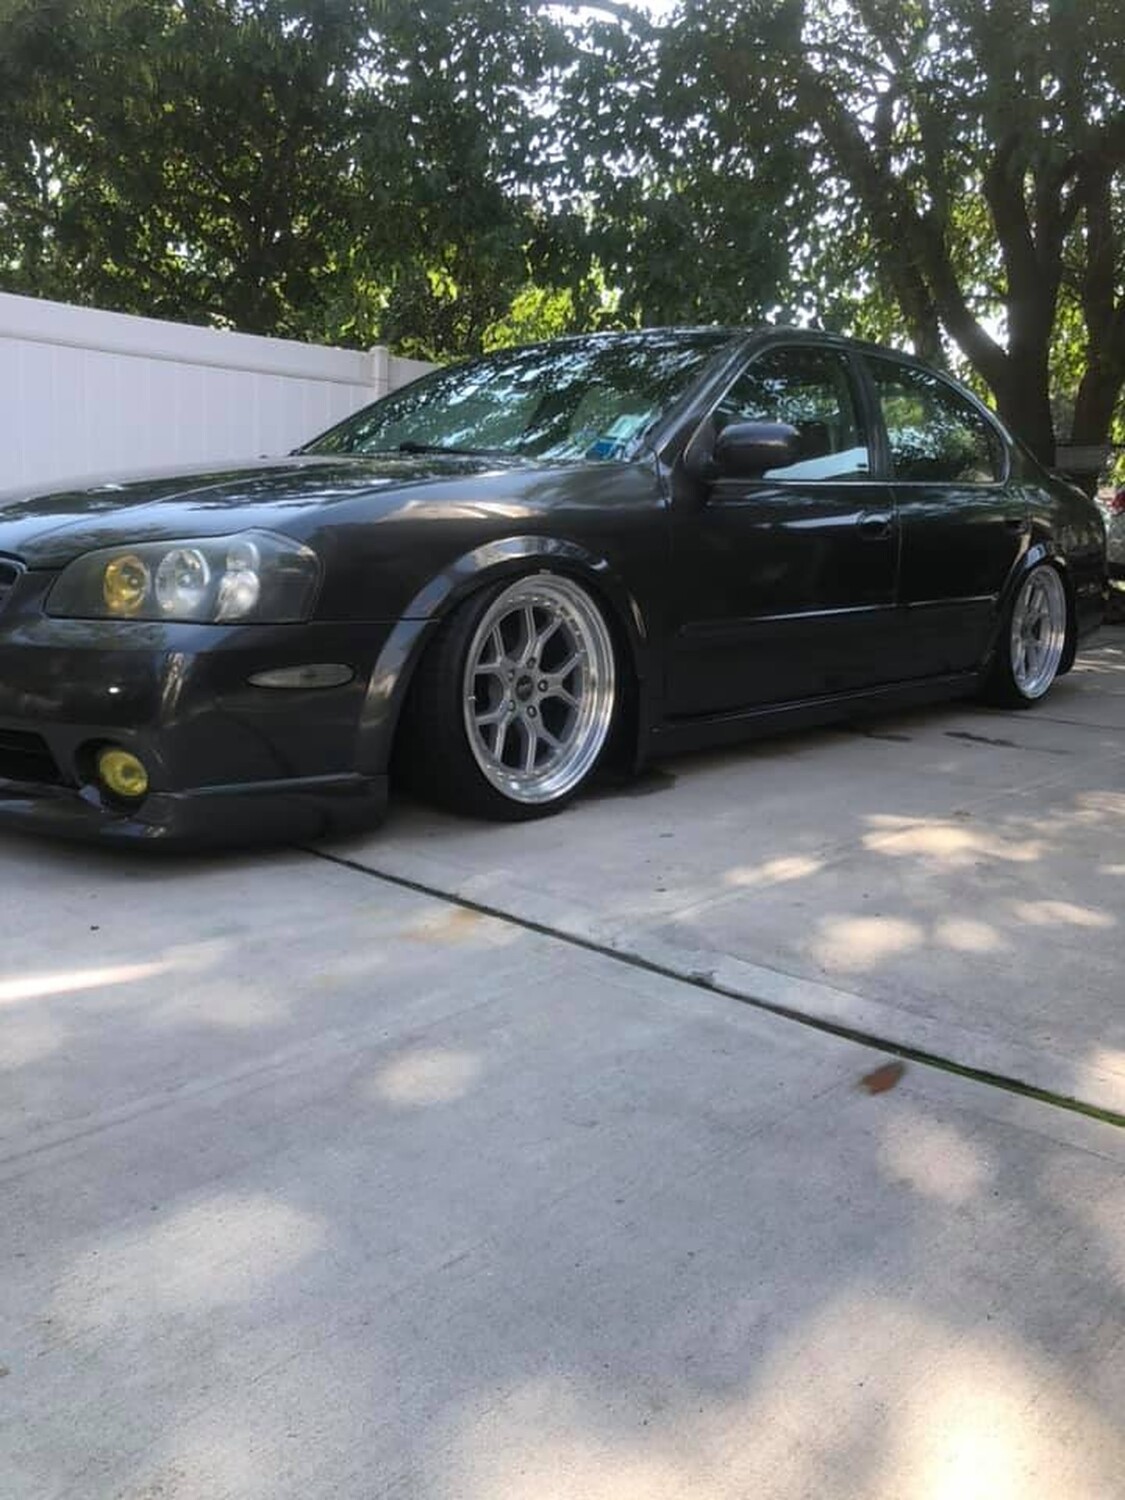
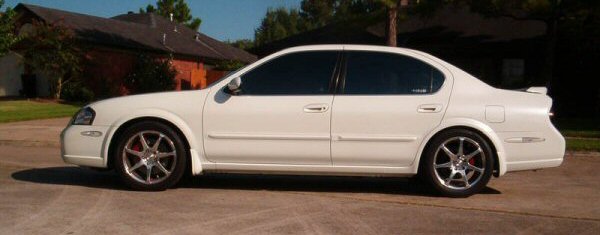
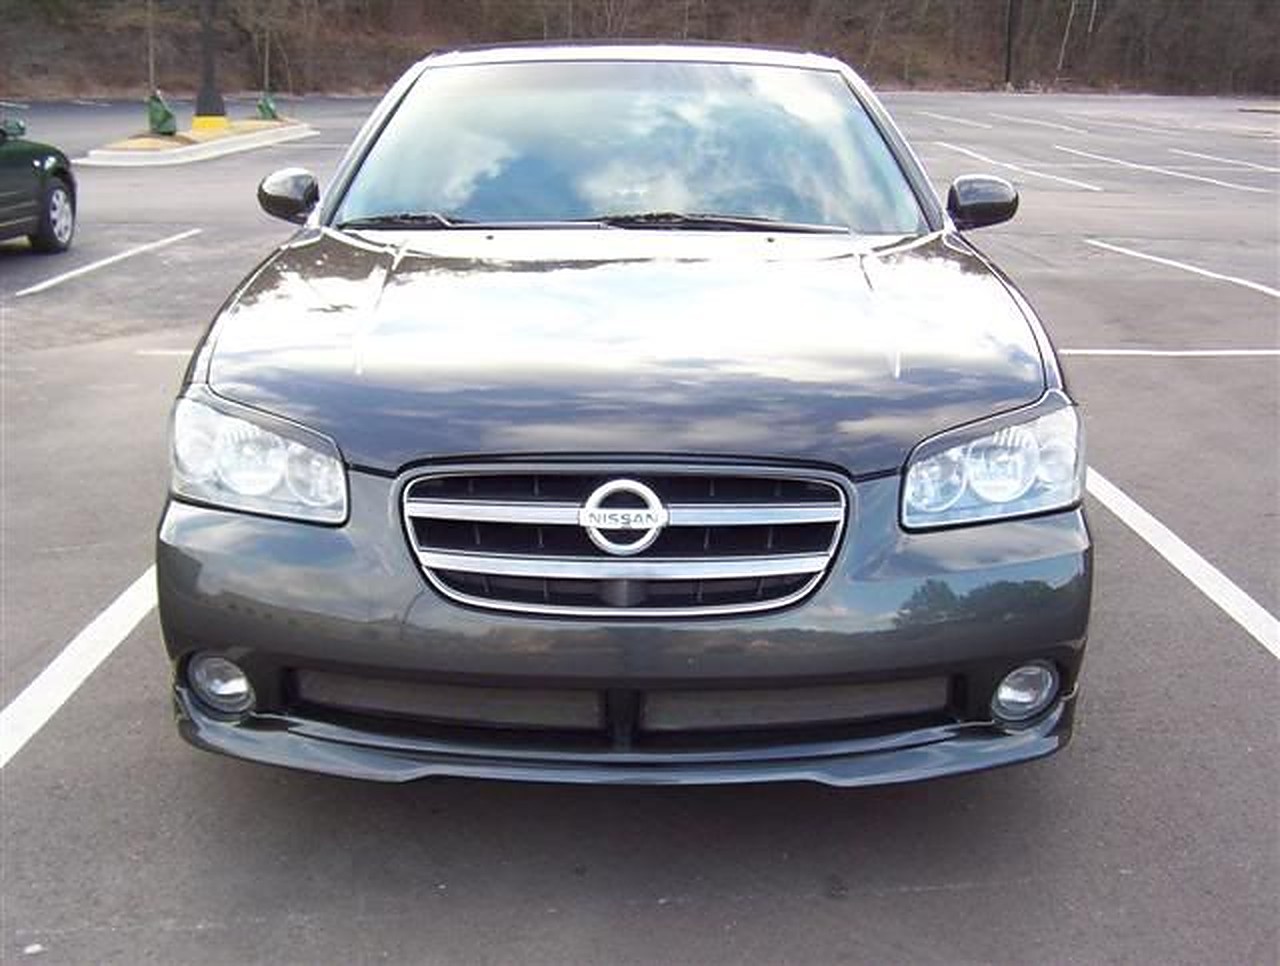
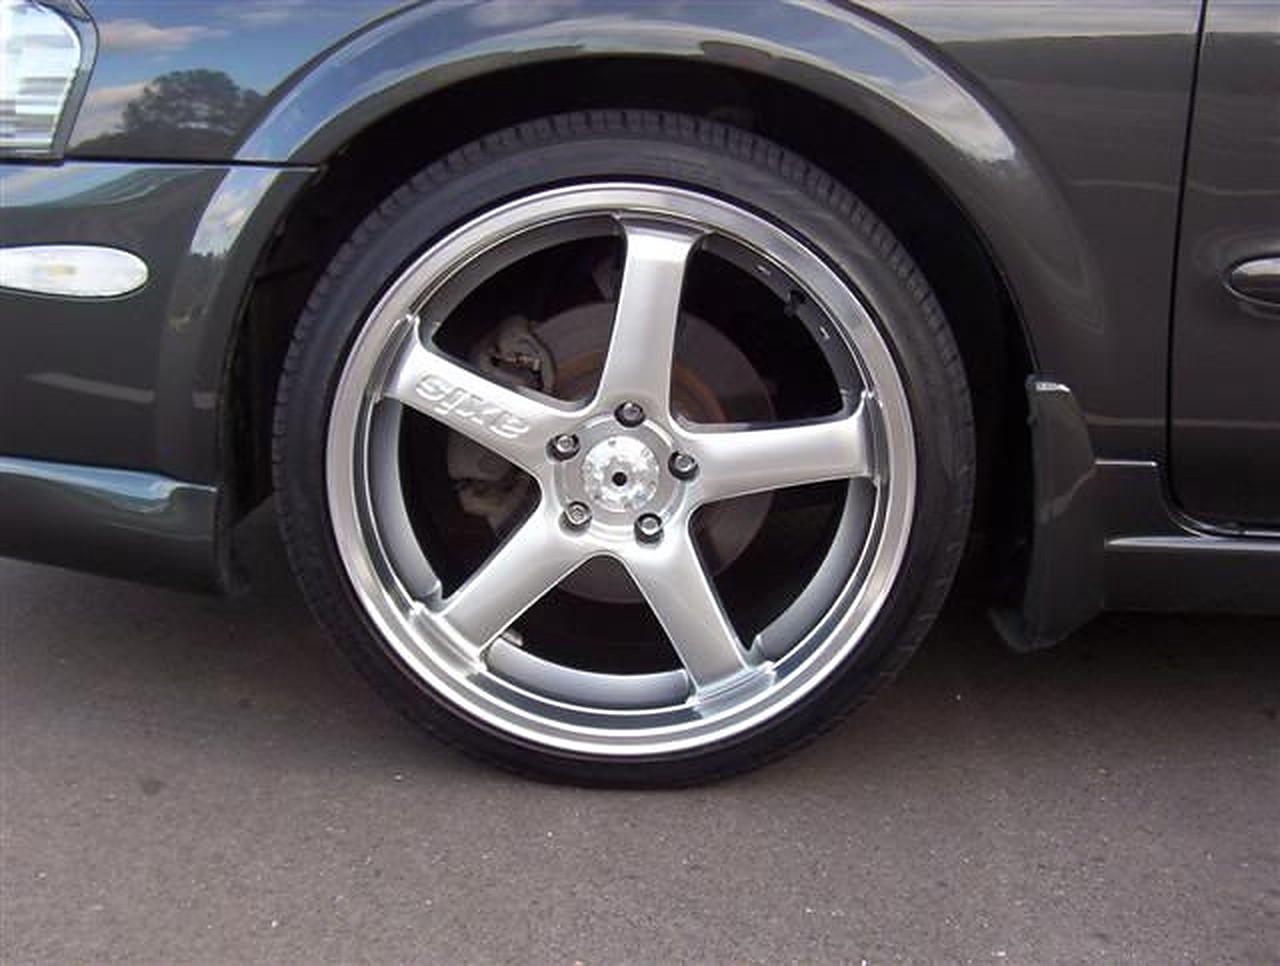
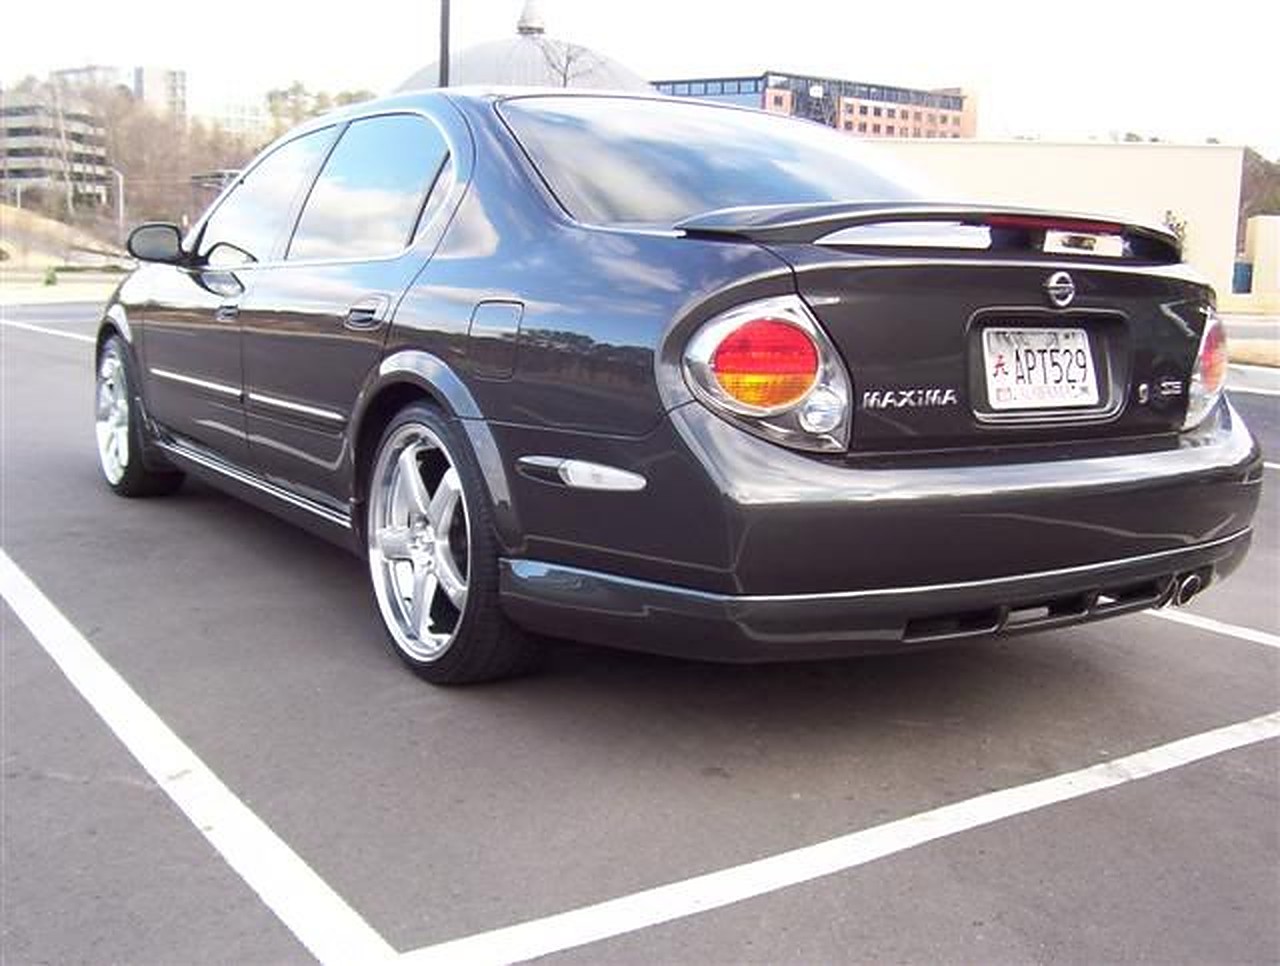
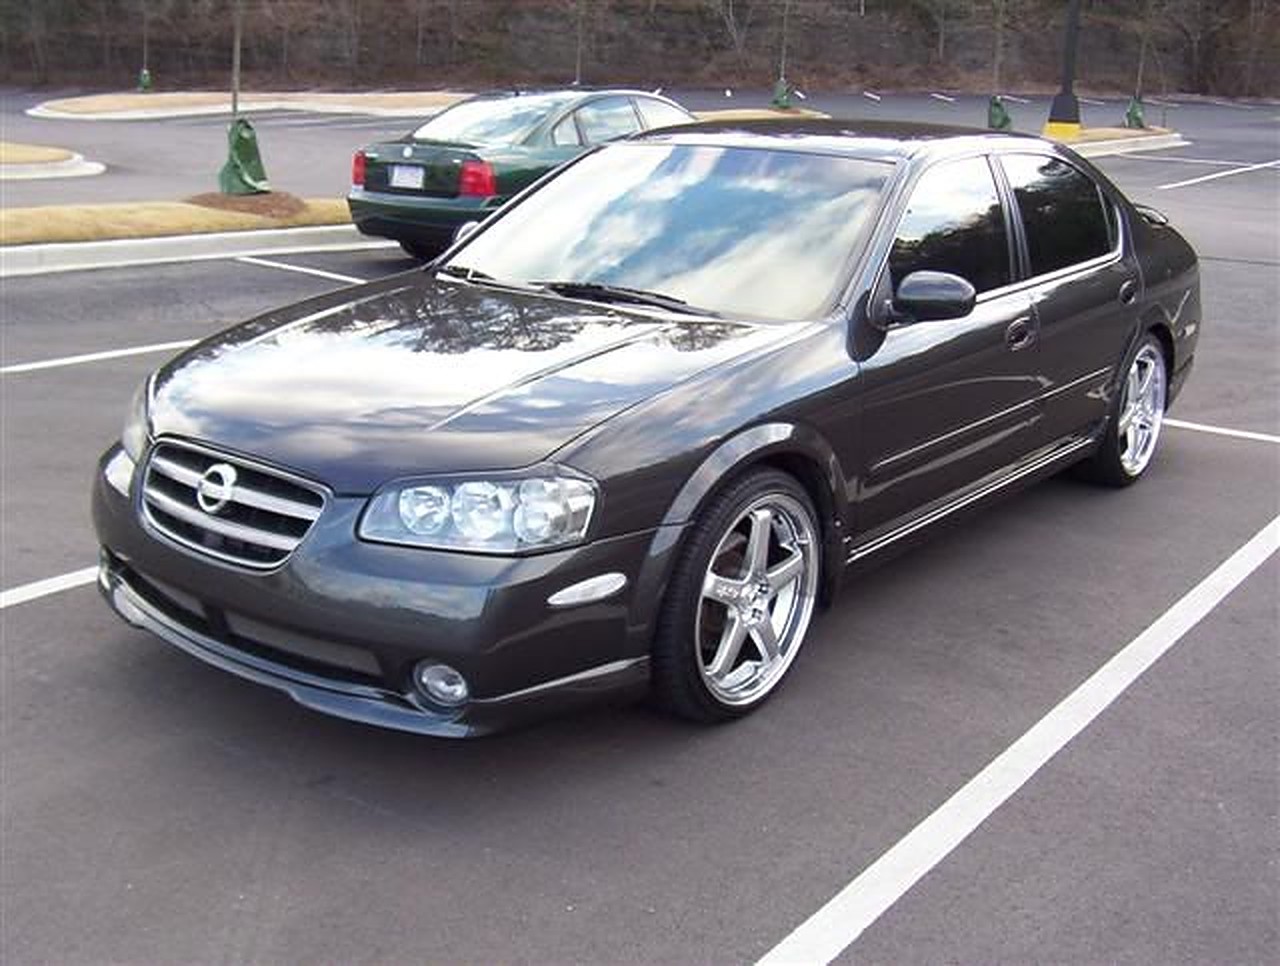
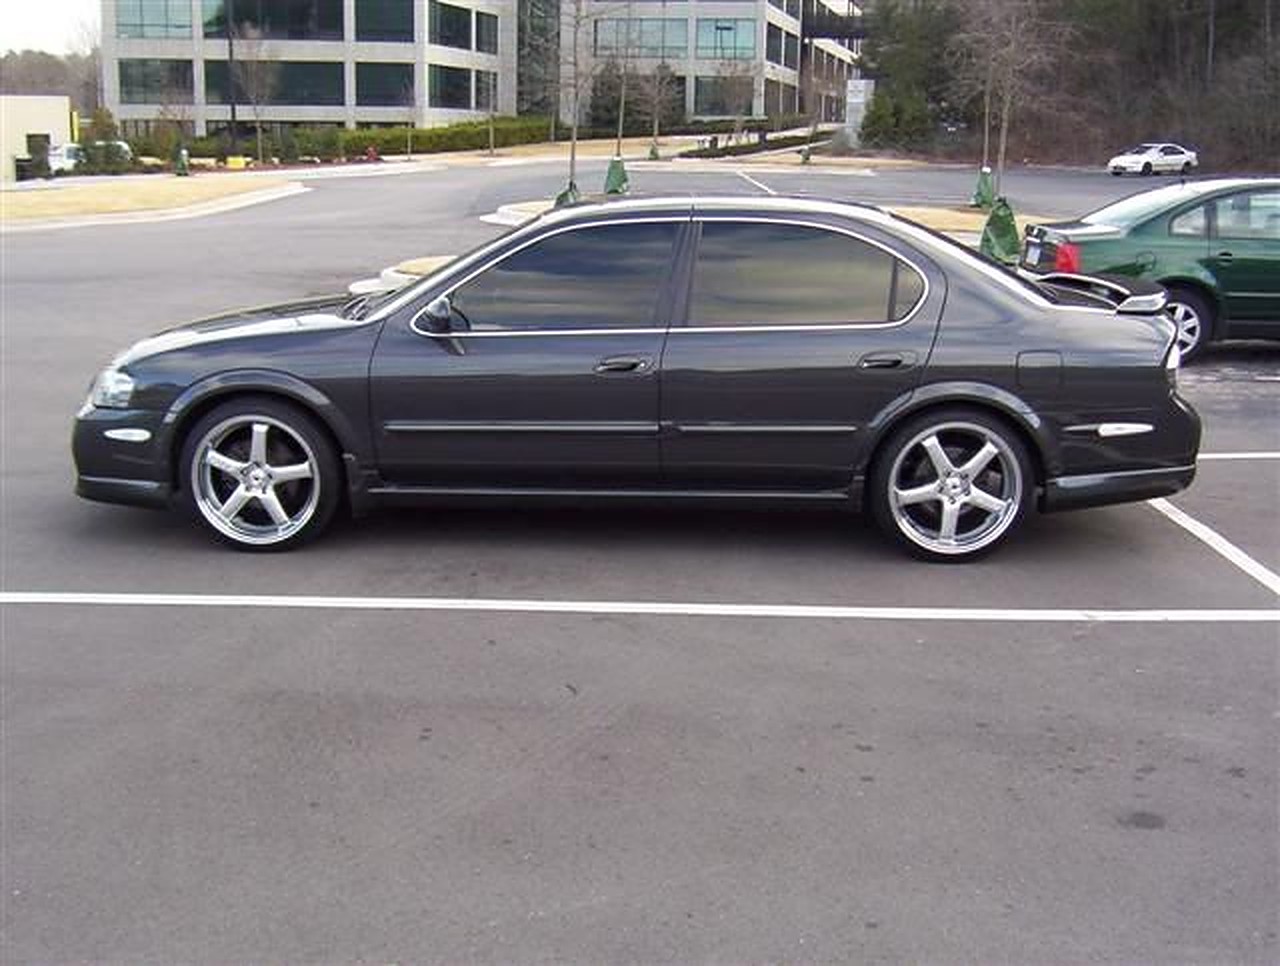
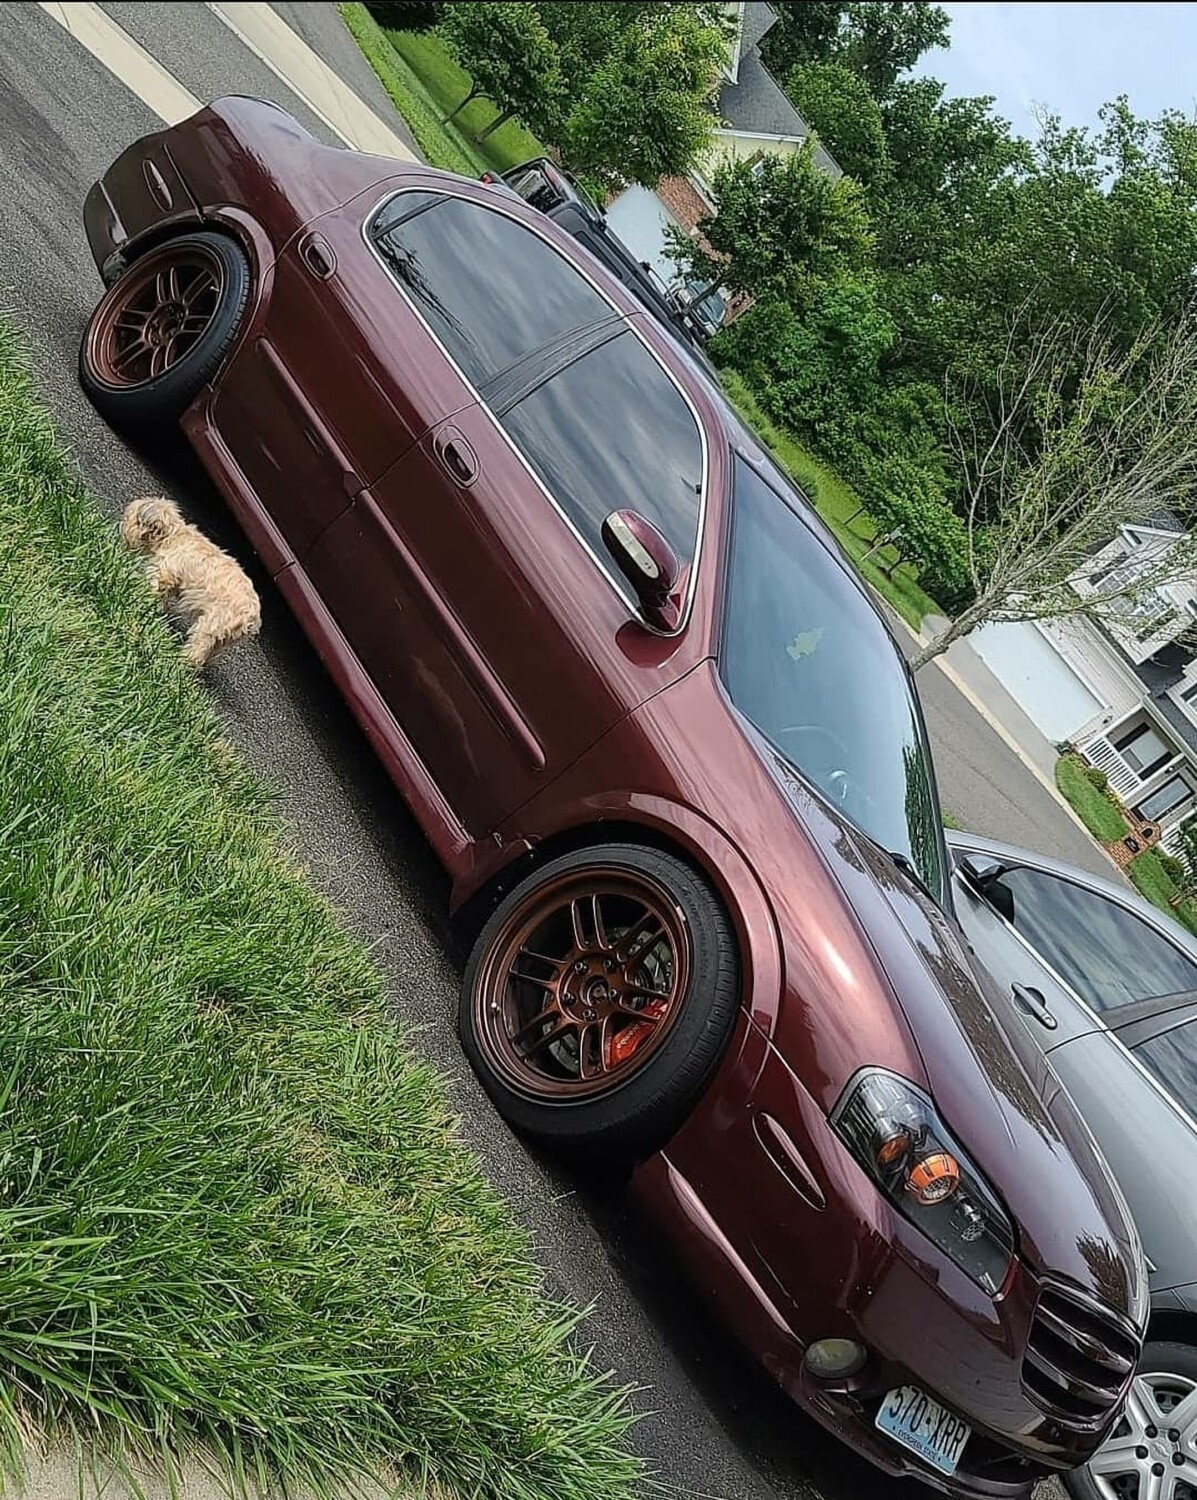
Here are several pictures of the kit, installed on Mike Hill’s gorgeous 2000 Maxima:
And now for the part you’re really interested in–prices!
Ready to Install Kit: $365 + shipping
This includes:
New OEM 2004 Maxima rotors (aftermarket crossdrilled or slotted rotors are now available for an additional $20)
Caliper relocation brackets
All hardware necessary to install the kit (nuts, bolts, & washers)
Complete kit, without rotors: $150 + shipping.
This includes:
Caliper relocation brackets
All hardware necessary to install the kit (nuts, bolts, & washers)
BlehmCo Maxima Big Rear Brake Kit—1995 through 2003 models
This kit uses easy-to-find, off the shelf ALL Nissan parts! That way the next time you warp a rotor, or wear out the pads at an Auto X, track event, etc…you can just go to the local parts store and pick up replacement parts! Not many BBKs will allow you to do that!
What is it?
Z32 300ZX REAR calipers and rotors built to fit 4th and 5th gen Maximas.
What are the benefits to this Rear Big Brake Kit?
You guys already know the benefits of a big brake kit on your car, so I’ll point out the original parts of this kit…
Many of you that have purchased Big Brake Kits for the front notice a front brake bias problem now. This is safer than having a large rear bias, but it is not the best performing. The rear brakes are tiny and just aren’t up to the task once you’ve upgraded the front brake system. They also look like go kart brakes behind the larger 17″,18″,and 19″ wheels that many owners are using now!
This kit, when paired with most front brake kits, will return the brake bias to within 3% of the factory front/rear bias. In my experiences, this has provided the best overall braking–nearly zero nose dive when you’re on the brakes hard, but you can still brake into corners without locking up the back end.
As most of you know, the 300ZX calipers have a plethora of pad selections out there–WAY more than the Maxima does because of the performance enthusiast base. You can go with Raybestos, Wagner, Axxis, or comparable pads for the street for a very reasonable price, or you can bump up to Hawk, Performance Friction, Porterfield, Ferodo, EBC, and many other higher performance pads for track days. If you’re in a pinch and need new pads “NOW!”, simply drive to your nearest parts store and pick some up! They’re extremely handy, as opposed to other aftermarket calipers where you usually have to order pads and wait weeks for them to come in! These calipers are also designed for street use in that they have dust seals, pad shims to keep road noise to a minimum, easily obtainable rebuild kits, and all the other low maintenance benefits of a caliper designed for years of street use instead of a caliper designed to be rebuilt several times per race season.
You can also purchase rotors at just about any aftermarket or OEM dealer. They have a huge selection of finish, slotting and drilling, and cryo treating options.
How?
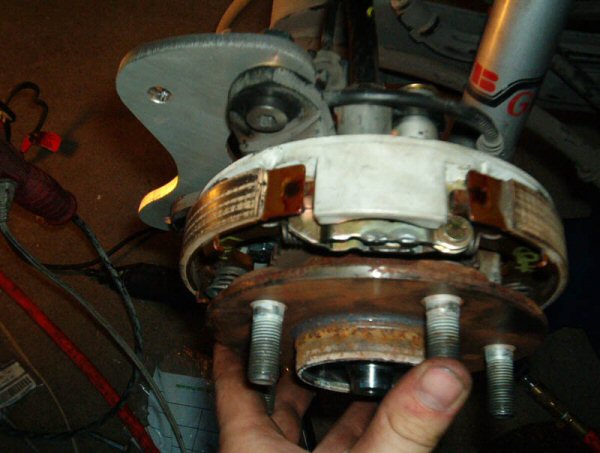
For those of you that are familiar with the Z32 brakes, they use an internal drum-type parking brake–as almost all other high performance brake systems do now. This makes caliper maintenance and pad changes extremely quick and easy, but this is also what makes designing a rear brake kit for this car very challenging. I have designed and built a rear drum-type parking brake to fit inside the Z32 rotor, and that’s what this kit is based upon.
Will this work with front Big Brake Kits from another company?
Some of the other kits out there (Stillen, Fastbrakes, Precision, etc) use different piston sizes in their calipers that will affect brake bias considerably. Please check with me before purchasing and be ready to do some measuring of your calipers (or have the part numbers ready for the calipers so I can look them up.) I have talked with Fastbrakes and confirmed the piston sizes on their calipers–their systems will work wonderfully with my rear BBK. I have yet to confirm this with other kits.
If you buy this kit for other front systems, the worst you will have to do is install a $50 brake bias adjuster from Wilwood or Tilton to make this kit run on your car. Simply be very careful about locking up the rear brakes until you have adjusted the bias to fit your system.
How Much does it cost, and what do I need?
I have set the price on my parts so that the entire setup should cost you under $1000 for everything needed to install the kit on the car. I will send you everything needed EXCEPT rear calipers, rotors, and brake fluid, which you will be able to purchase from the sources below and come out under $1000 total.
The parts I will supply are the parking brake assemblies (including custom backing plate and bracket), replacement parking brake cables (your original cables will not work), 6061 aluminum caliper relocation bracket, all fasteners and hardware required for installation, and custom rear DOT approved stainless steel brake lines made to fit this setup.
The parts you need to supply are 300ZX rotors and calipers, pads, and brake fluid. Rotors: Feel free to purchase them from any place you like, but I highly recommend IRotors.com You will need to purchase a pair of REAR rotors from a 1990-1996 300ZX.
Calipers: You can find them quite often on Ebay for under $100 a pair. Any 1990-1996 300ZX TT or N/A rear calipers will work–they’re all the same. If you purchase them used, I highly suggest rebuilding them. You can buy a rebuild kit from Orielly’s Auto Parts, Pep Boys, Autozone, etc for under $10. Many auto parts stores also carry remanufactured calipers for a reasonable cost. In Houston, they are about $100 each without core, $60 each with core.
Now for some Pics!
So what’s the total price from BlehmCo?
You will send me $720 plus shipping for the parts you need from me. Shipping usually runs about $20 for anyone in the main 48 states. CA, AK, and HI are more, but I am more than happy to ship worlwide! You will still need to purchase rotors, calipers, pads, and fluid. This should run you less than $250, which puts you at just under $1000 for the entire rear brake kit!
I can also do powdercoating for $100 per pair on calipers. Please expect a few weeks of lead time if I have to order powder or calipers for you.
As for stopping power, it’s a hell of a lot better than stock. It’s a lot smoother and you can actually feel the brakes grip. There is a little roar when braking hard because of the slots and holes in the rotors rubbing on the pads.
Pedal feel is a little softer, but you get used to it. I went from a stock brake system of 4 pistons total in the calipers to 12 pistons. There is more fluid to push so yeah…. expect a softer pedal if you’re going to use the stock brake booster.
The new e-brake that has to be used with the 300zx rear brakes isn’t as good as our stock e-brake but works okay. The lever is a lot firmer and you really have to pull it up to hold the car on a hill.
Additional Info: You have to mill down the diameter of the rotor, not the friction surface. the same would go for 5th gen rotors.. just because they’re 26mm thick rotors doesn’t mean they bolt right on. you have to worry about offset from the hub and inner and outer friction surface diameter. thus you would be better off to just use 26mm 300ZX rotors and mill them down 3mm and call it a day if you want to go that way.
For all the setups you will need to remove the dust shield, Obtain hardware, and calipers and rotors must be for the same setup, either 26mm or 30mm. These parts are not interchangeable.
The inlet for the clutch line is a 1/8-27 non-inverted flare. So usual regular SS one-piece lines won’t work as-is. You’ll need a SS line made along with a 90-degree adapter. That is pretty easy to get made locally so you won’t have to use any special conversion adapters. Also, there is no need for slave cylinder rod spacers because this pushes plenty of fluid.
90-Degree Adapter with Custom One-Piece SS Line
Product Info
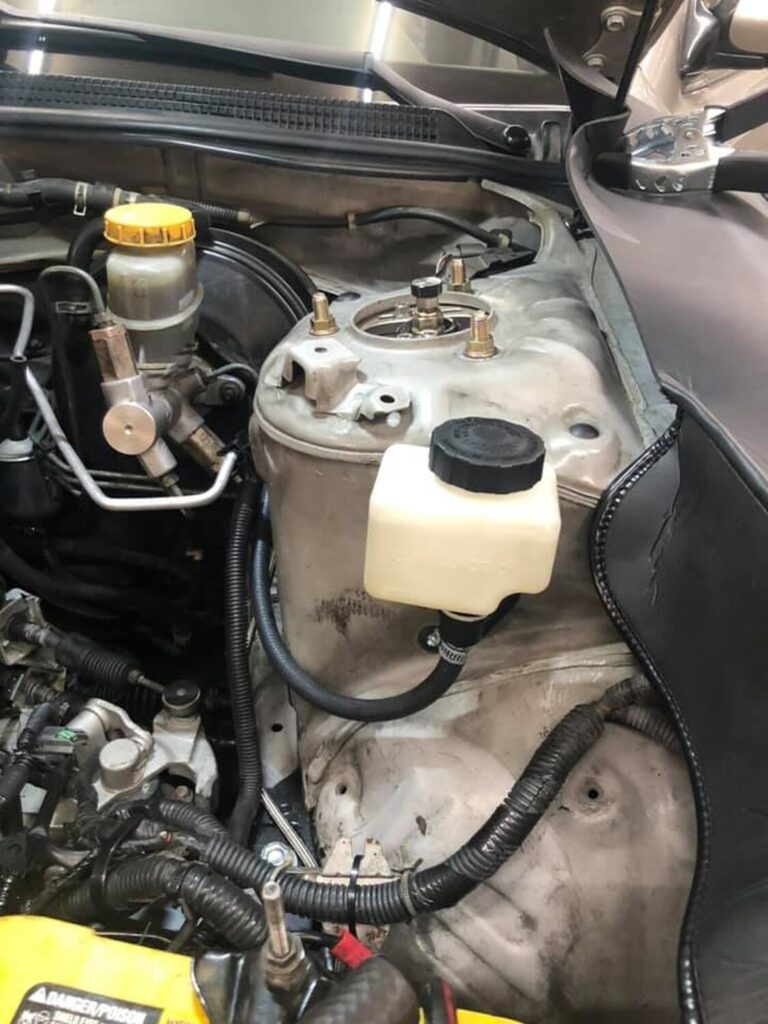
Wilwood’s Compact Combination Master Cylinders have been designed for limited space applications requiring the output capacity of a full size master cylinder. The ultra short 3.37”compact body provides 2.16” of additional clearance between the mounting flange and the fluid outlet. A full 1.12” of piston stroke meets or exceeds the stroke capacity of most full size cylinders. With 1/8” NPT fluid outlet port located at the top radius of the cylinder bore, reduces the chances for trapped air. Enhanced fluid inlet port allows mounting of the standard reservoir included in kit and also contain 11/16-20 internal threads for custom reservoir arrangements. The black E-Coated aluminum body resists corrosion and maintains a durable long lasting finish.
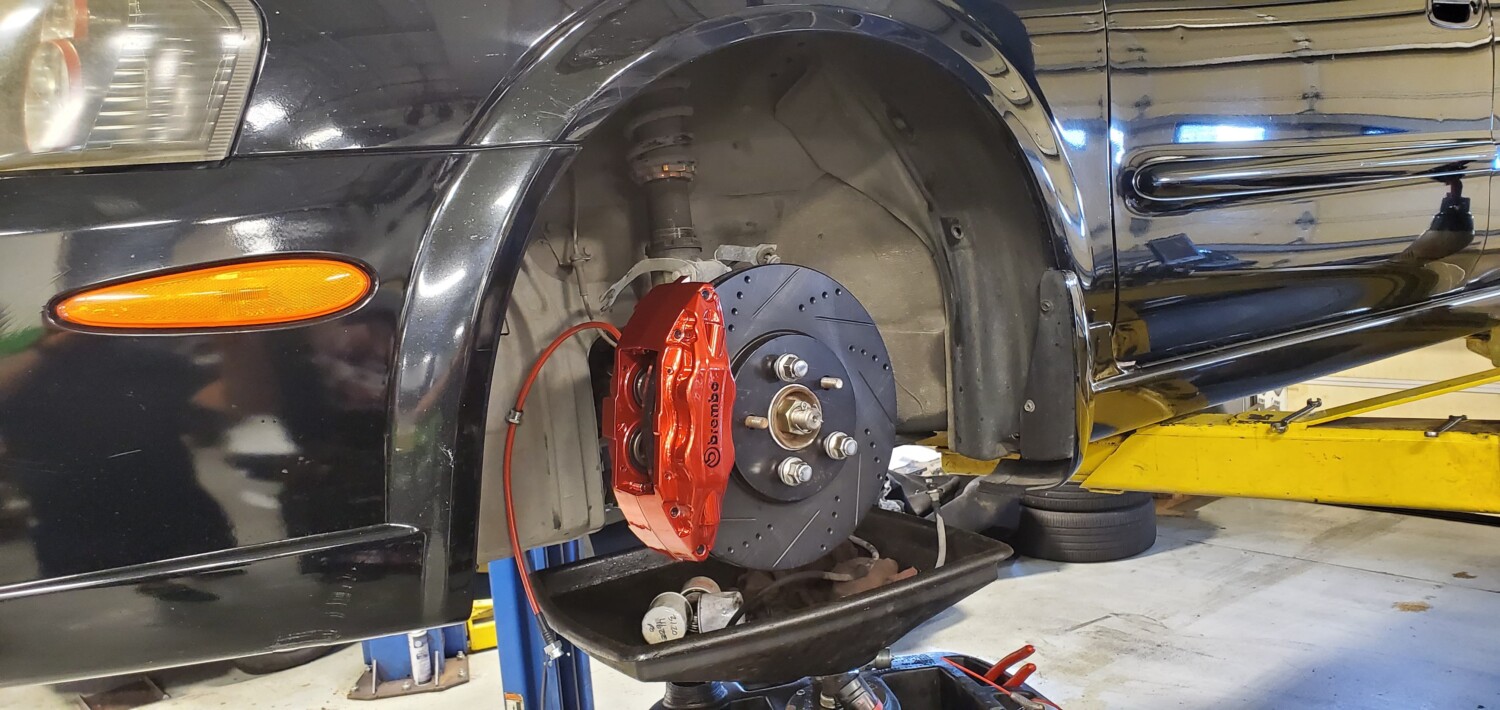
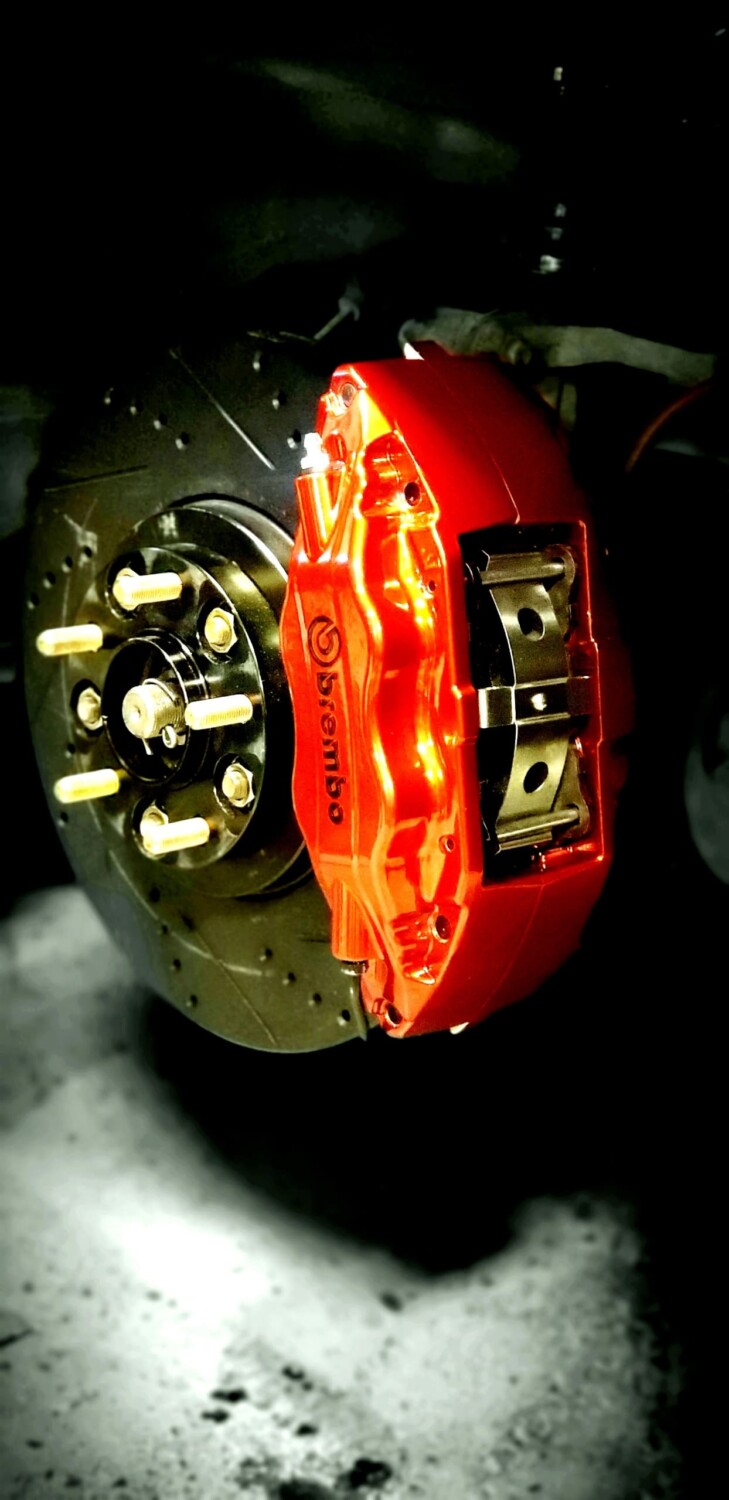
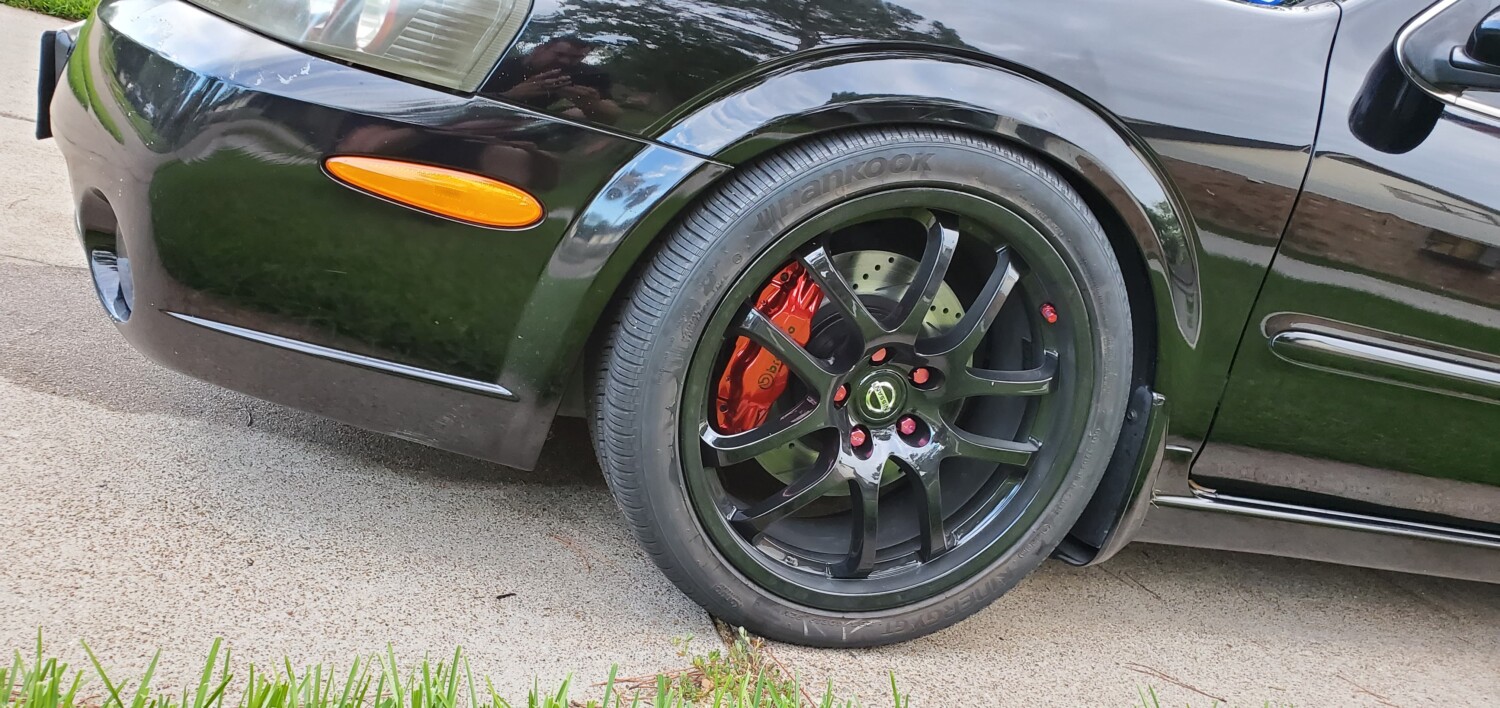
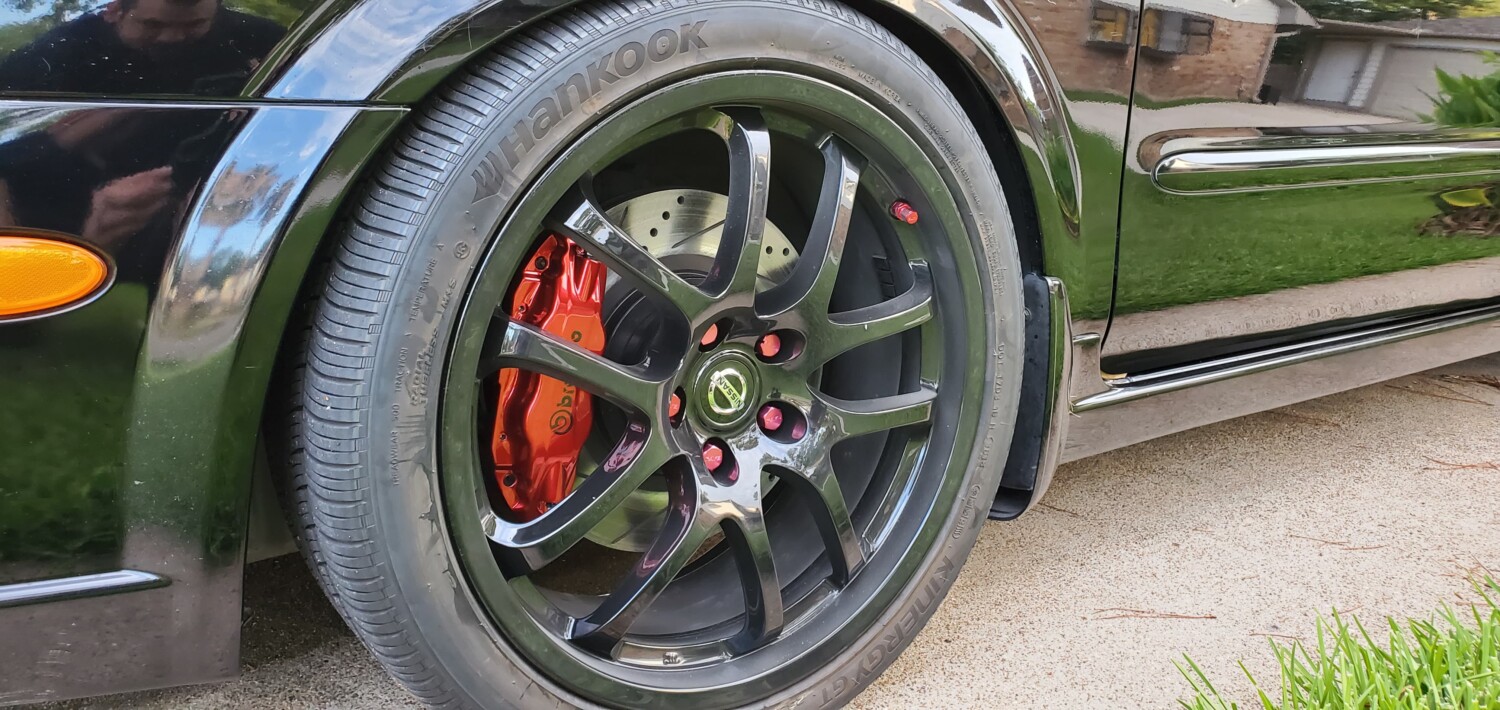
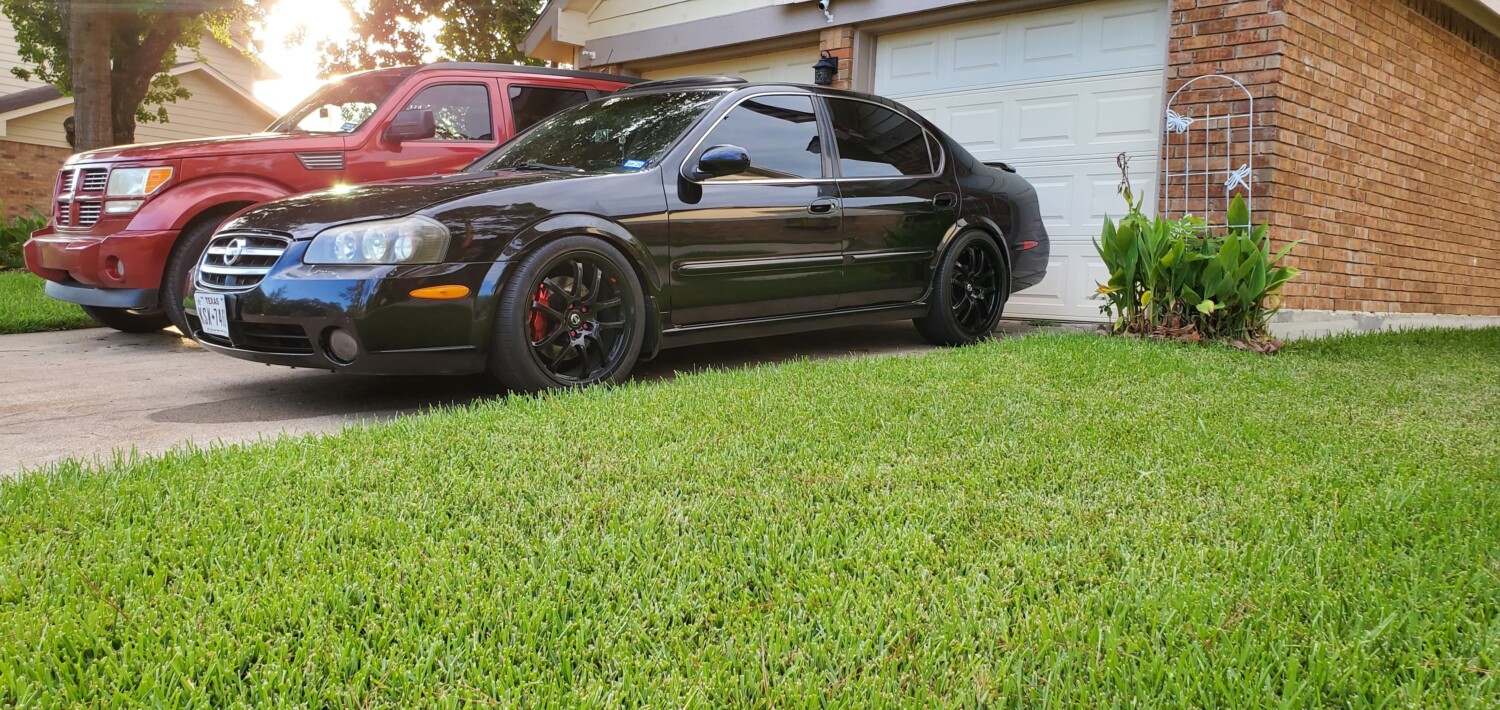
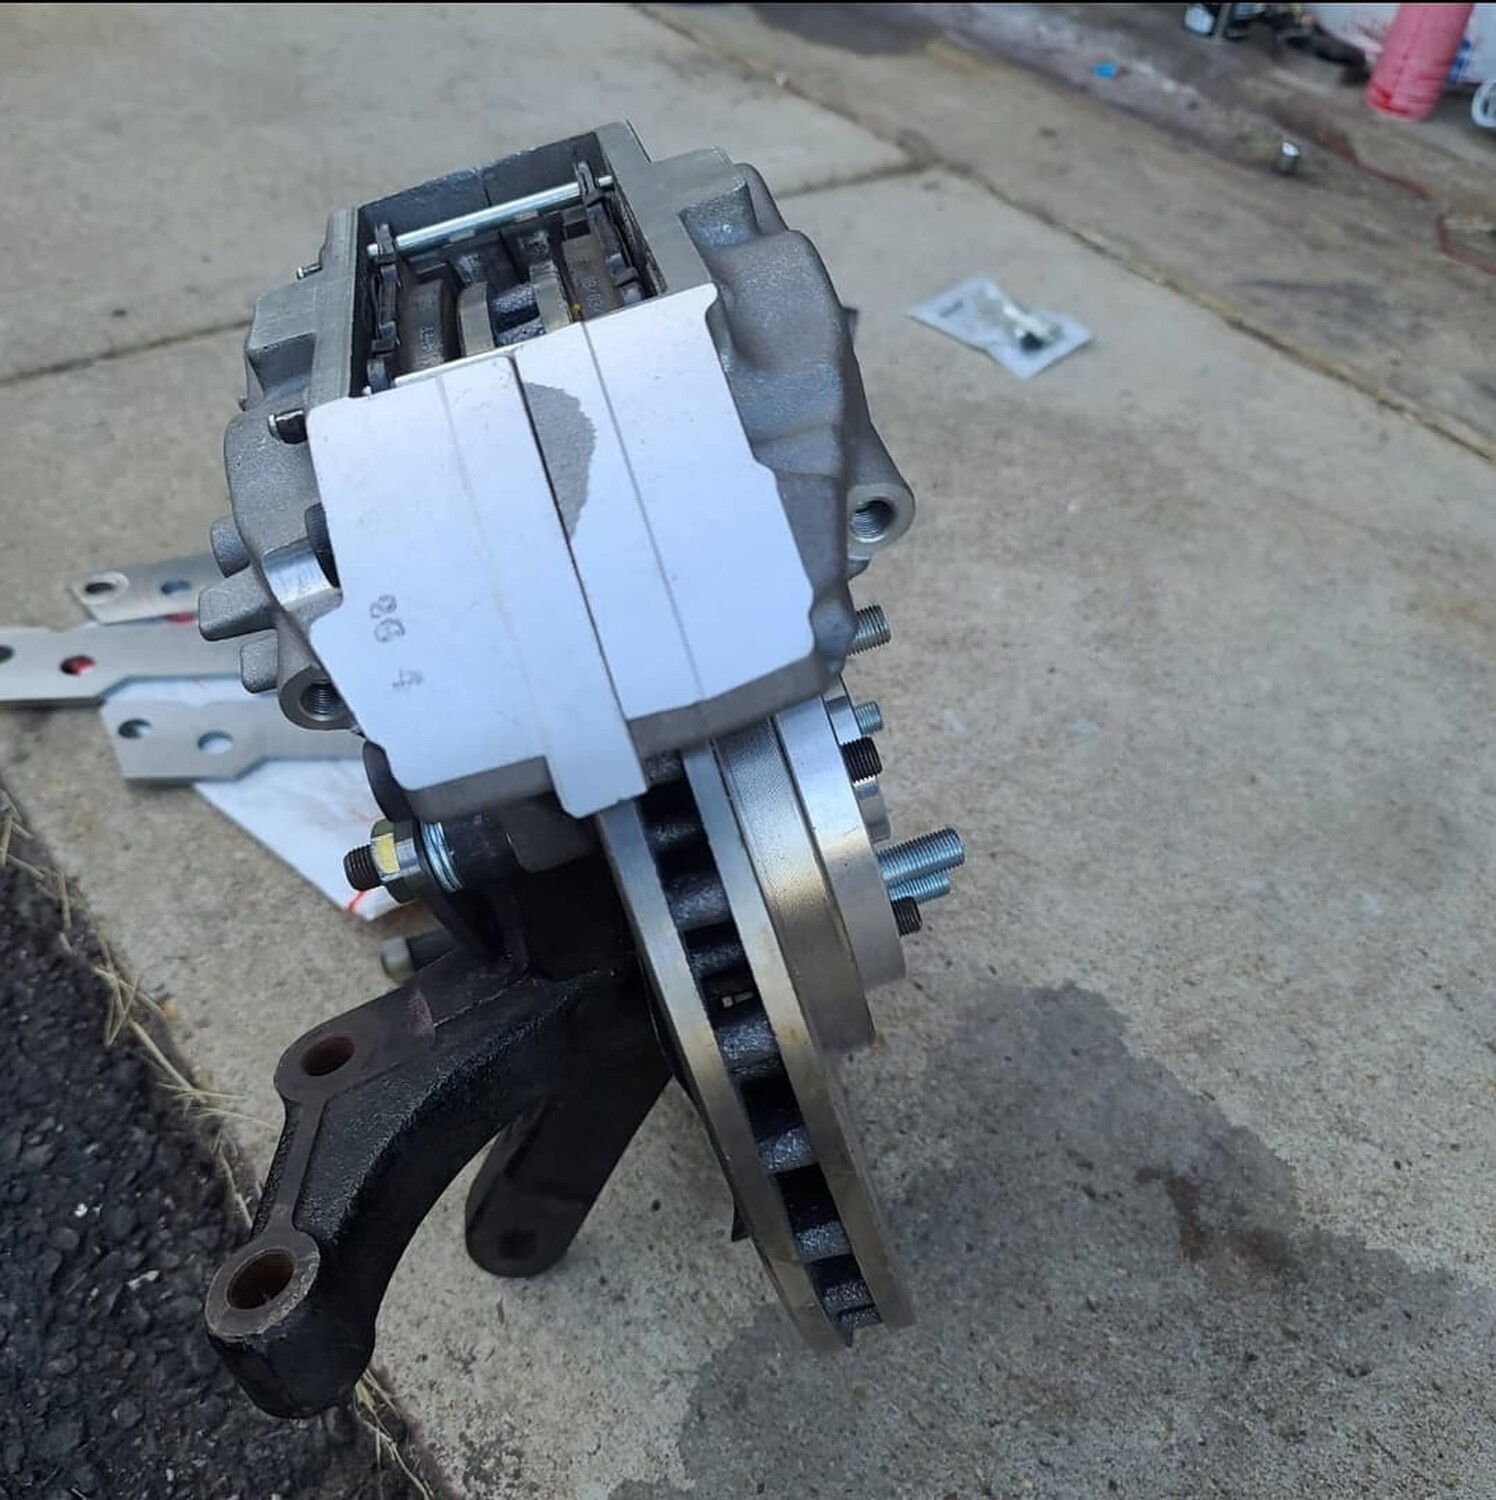
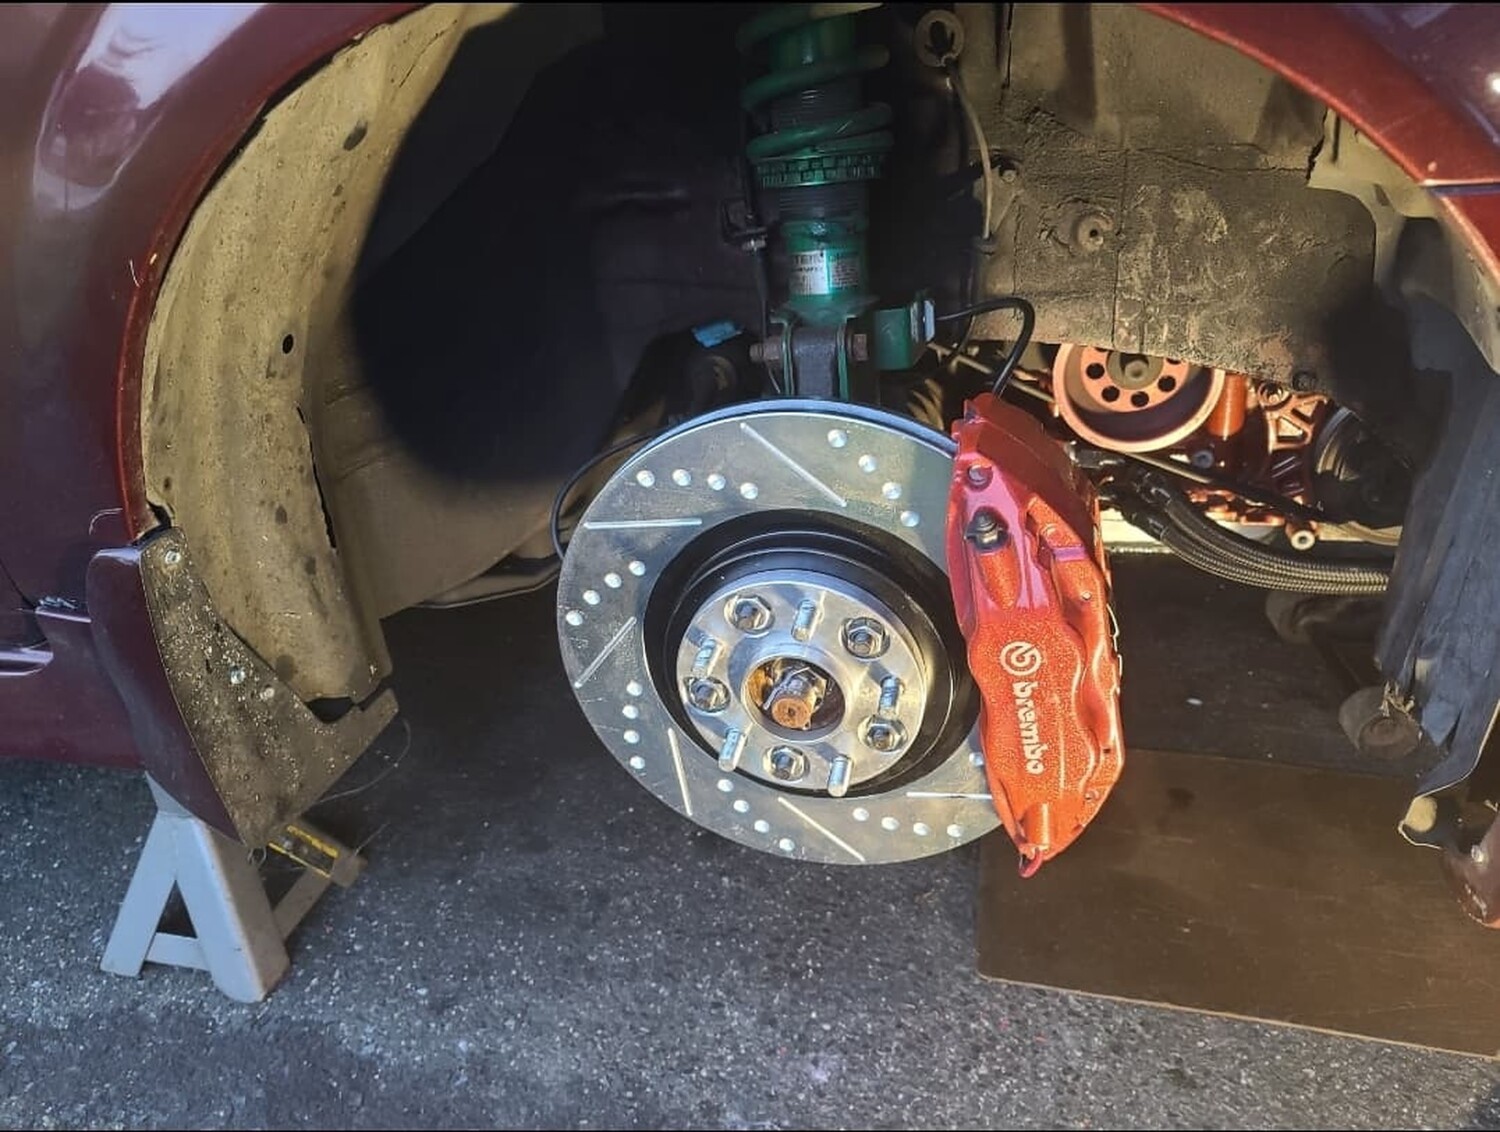
This is a 5thgen Nissan Maxima with EVO 8/9 Brembo calipers and Cobra Rotors.
Setup Details:
2003 Evo 8 4-Piston Brembo Calipers. Most members find these used on eBay or local junkyard.
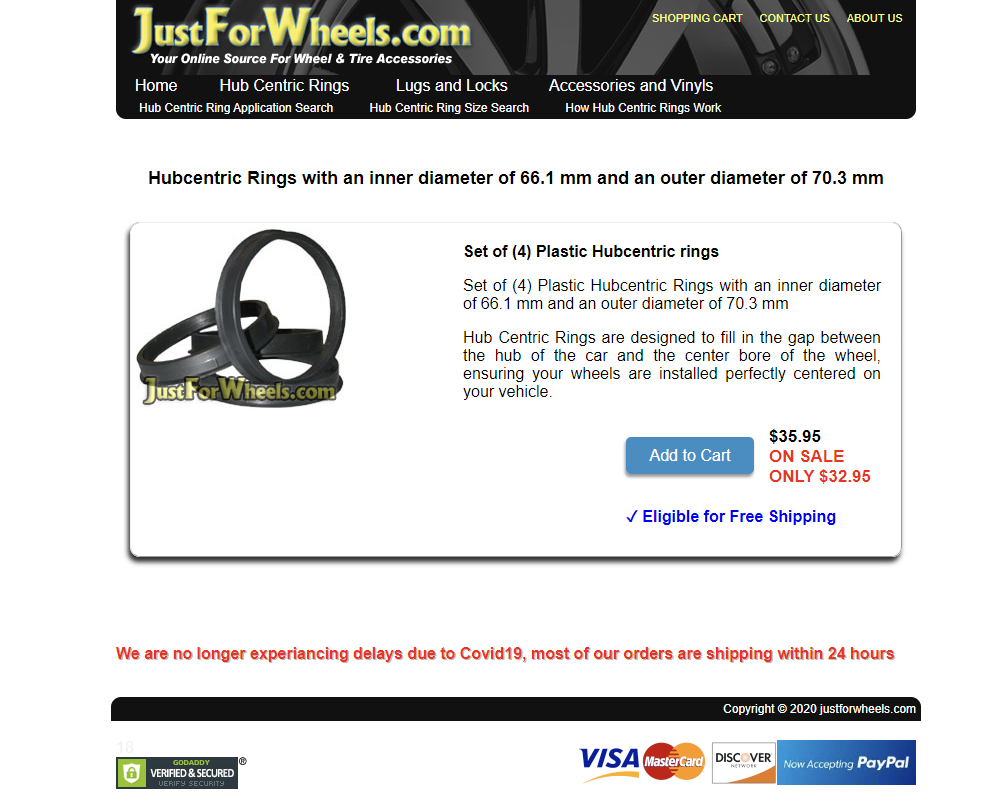
You need Hub Centric Rings for this to work. They need to have an inner diameter of 66.1 mm and an outer diameter of 70.3 mm. You can order here. They cost $35.00.
2003 Cobra 13″ Hart Rotors (You can use any Mustang Cobra Rotors from 1994-2004). RotorPros has a good deal on these shipped. $120 Shipped
Power Stop Brake Pads
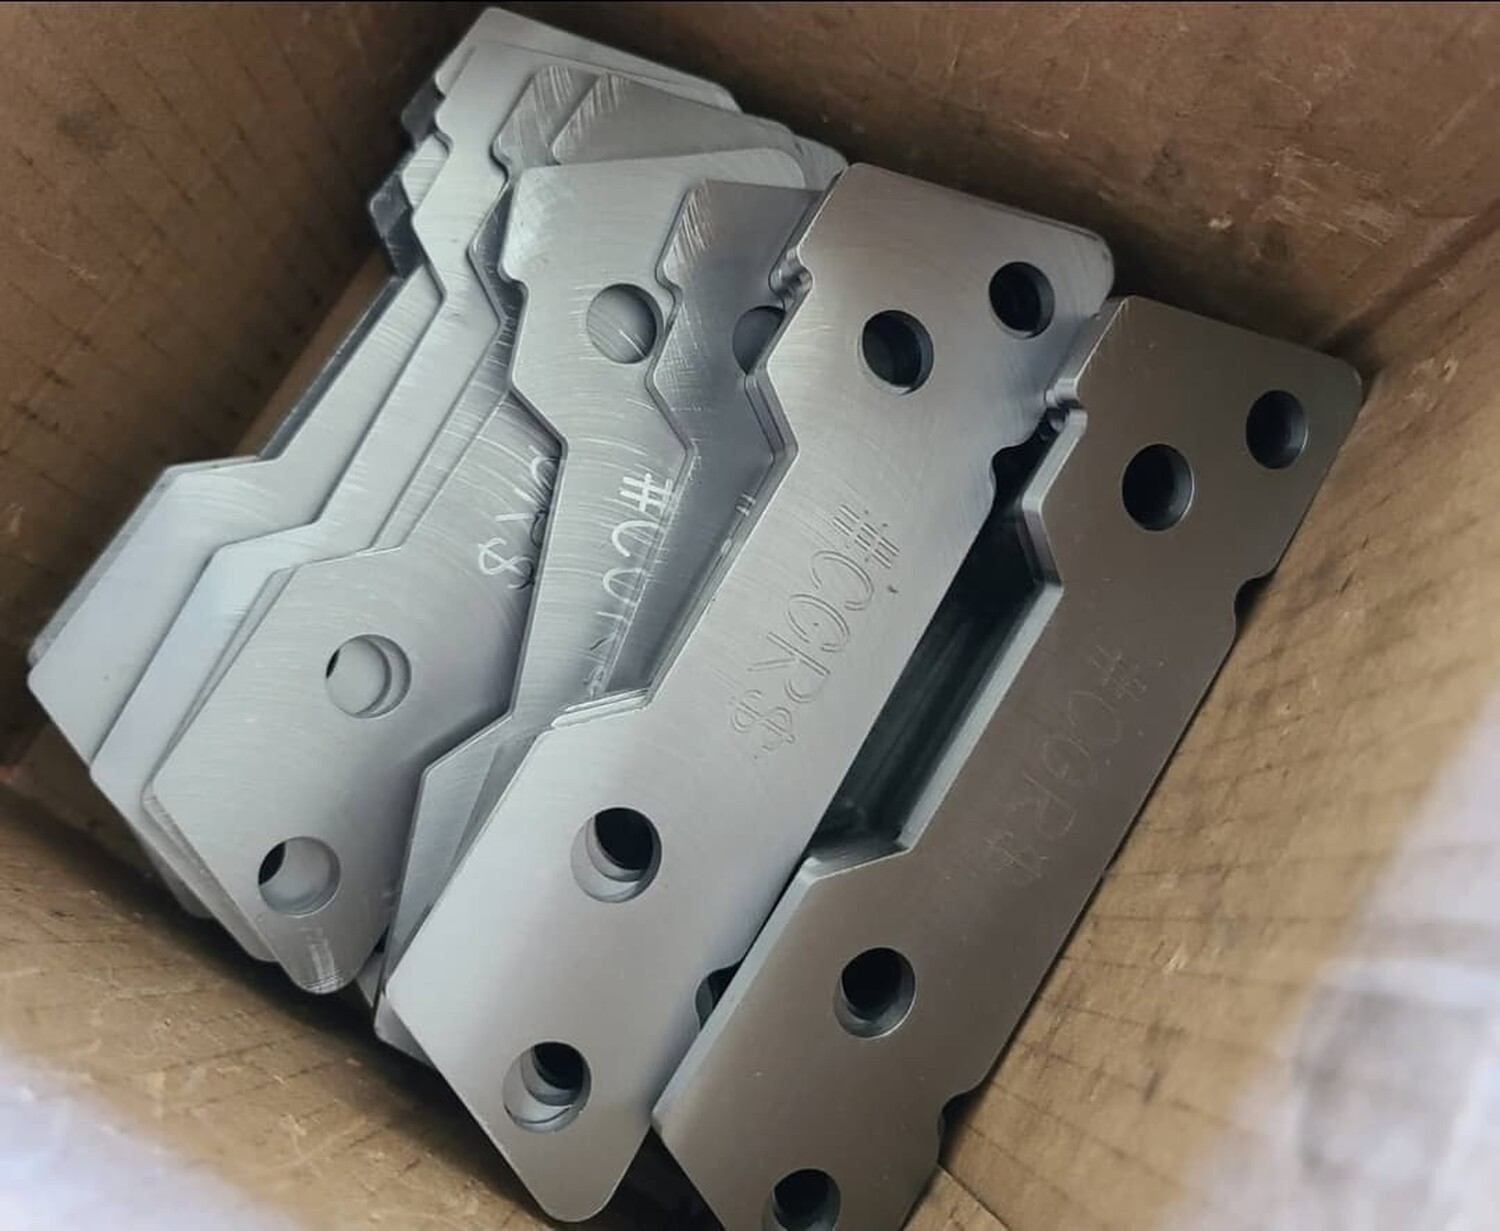
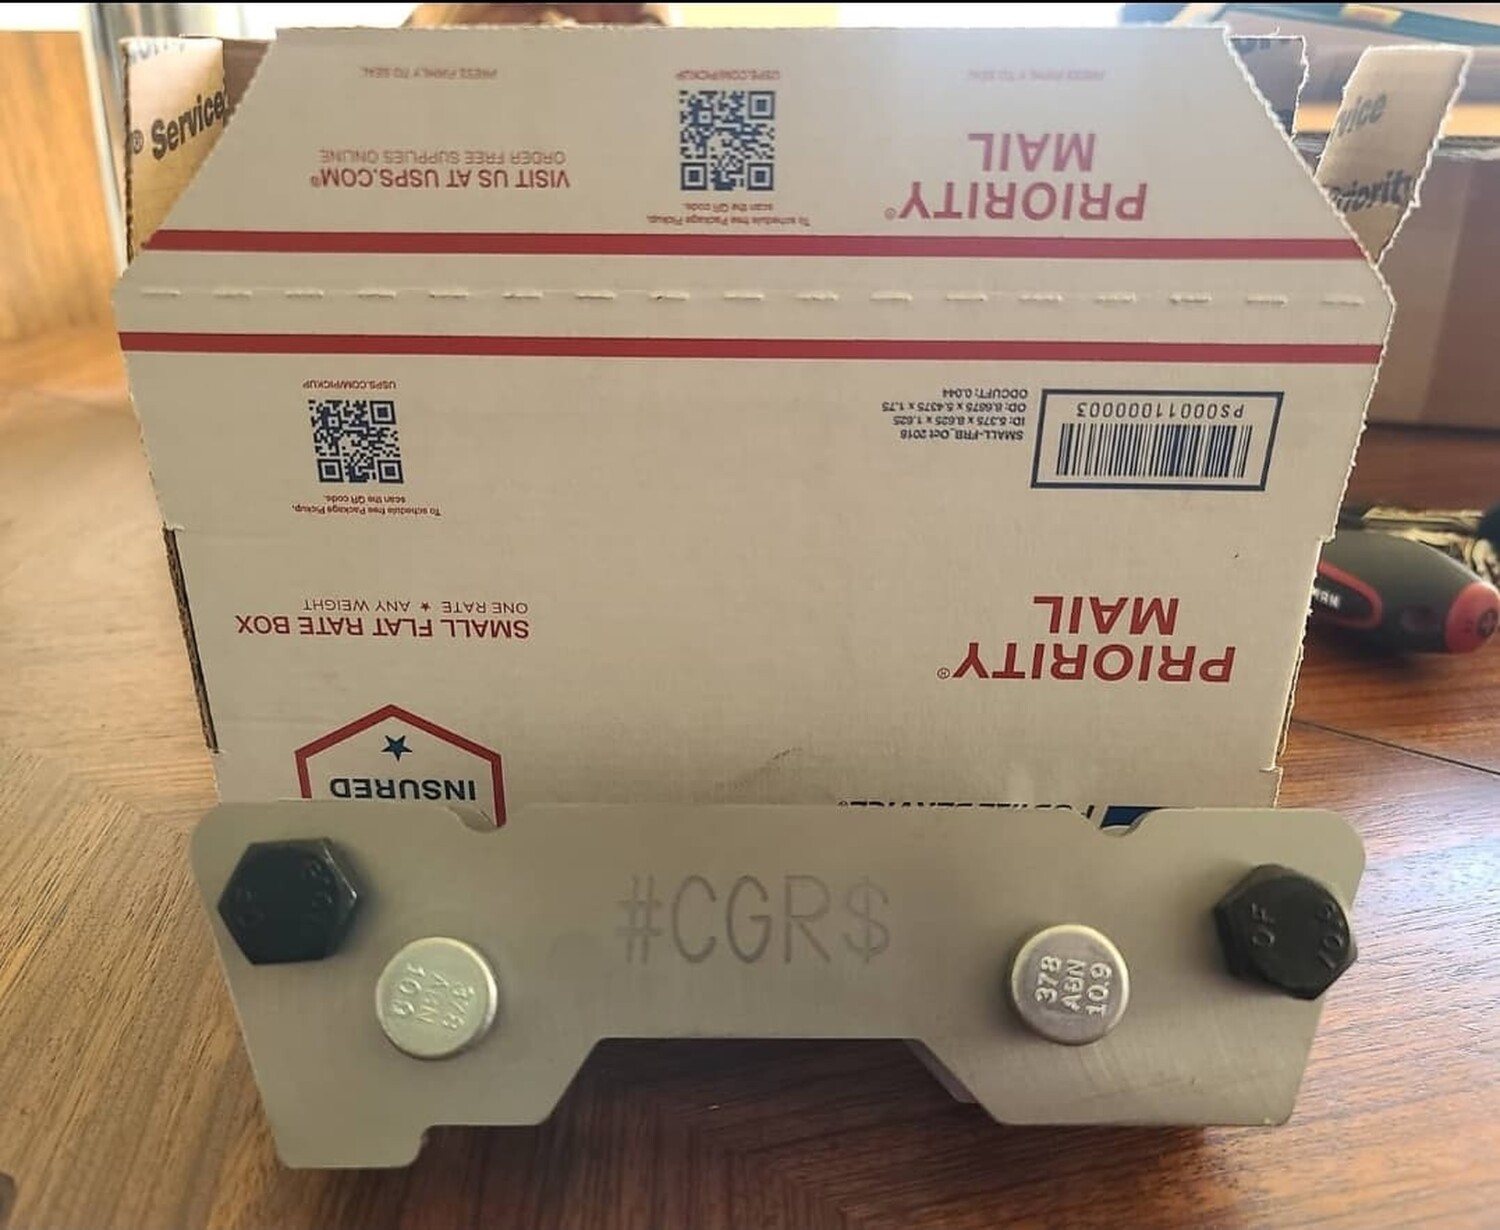
Custom Relocation Caliper Brackets ($175 — Contact @CGR for More Details)
Techna Steel Braided Brake Lines 6thgen for the fronts and 5.5th in the rear
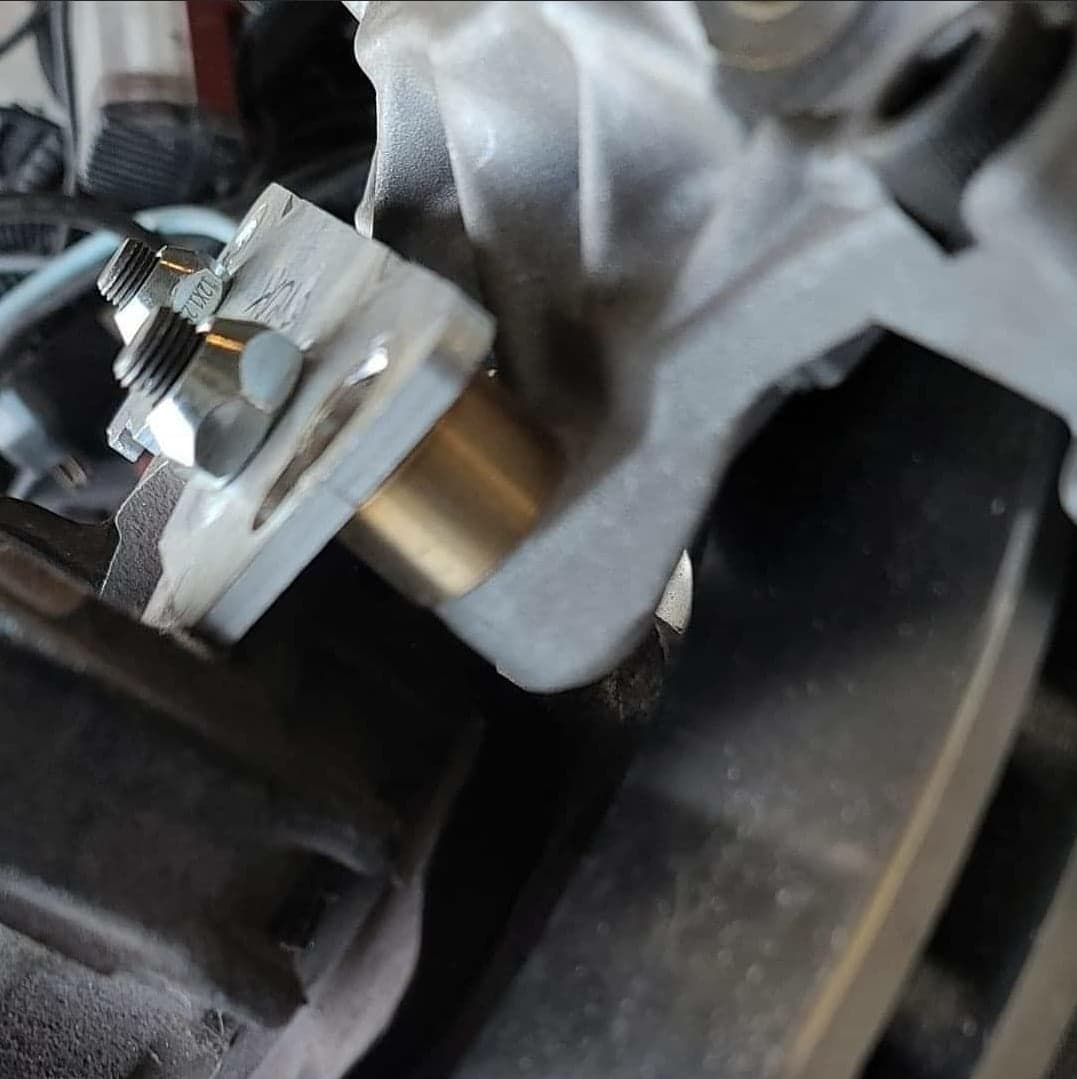
Until someone can TRULY engineer perfect Akebono brackets that bolt on to front Altima with zero modding needed, I only recommend this to people who are mechanically inclined, are willing to DIY, and go through some trial and error and use your intuition. Z1 motorsports 300ZX Z32 to Akebono adapters totally work but only for the DIY-enthusiast willing to modify them and spend some hours in the garage. Caliper lugs have to be shortened 6.85 mm to almost flush with the bracket. Also sleeving 14 mm bolt hole for 12 mm bracket bolts. Plus grinding a recess in the bracket for CV joint clearance.
Z1 Motorsports Akebono Front Brake Bracket Kit (300ZX)
Description: The Z1 Motorsports Akebono Front Brake Brackets are intended to mount the Sport model, Akebono Brake Calipers from the ’09+ Nissan 370Z or ’08+ Infiniti G37 Sport onto your 300ZX.
Each Z1 Akebono Brake Bracket Kit includes two black, hard anodized aluminum front brackets and all necessary hardware to properly install the calipers onto your ’90-’96 Nissan 300ZX. Designed and tested extensively in house, these are the best brackets on the market with the most even pad sweep. Our unique single piece design also makes installation a breeze. In addition, the one piece bracket design also means our brackets are more rigid than other pieced together kits on the market. These brackets do not require any additional machining or modification of the caliper itself in order to complete the installation.
Installation & Write-up
Rear is perfect install on knuckle with NO ADAPTER needed. No fuss no muss. You need the rear 370Z akebono calipers, rear 370Z rotors (I got Centric 120.42101 blanks), rear 370Z pads (I got Carbotech 1521 pads), Altima Stainless Steel Lines and you must specify the Akebono banjo bolts for these lines!
Perfectly centered, no shims necessary.
All 4 brackets were spaced for rear. Returned them and bought the Z1 adapters.
Z1 300ZX Z32 to akebono adapters. Quality 1 piece design. Altima front mount is 14mm and 300ZX is 12mm so some modding will be needed.
Re-drilling and tapping from 12 mm to 14 mm requires precision fixturing for diameter control as well as perpendicularly to existing holes, something I can’t do at home. Therefore I’ll sleeve the knuckle lugs with 1 mm shim stock coiled into a split bushing to eliminate any slop when mounting the adapters with 12 mm.
Axial positioning of calipers is outward approximately 1/2 inch. The alignment would probably be right on if the adapter thickness positioned calipers at the original lug surface. I suspect the 300ZX knuckle had a different offset.
Caliper lugs have to be shortened 6.85 mm to almost flush with bracket. Some other people who had issues with mounting 300zx brackets said they needed a few washers to space out the bracket from the knuckle and shave the top crevice of the caliper for the rotor to spin free A few washers adds up to what I did. I ended up using two slightly thicker OEM caliper bolt washers (6.85 mm total) and it seems to provide perfect centering
Sleeving 14 mm bolt hole for 12 mm bracket bolts. Plus grinding a recess in bracket for CV joint clearance. Should fit even better
At the local fastener store and got automotive grade revised bolts (didn’t have the proper lengths on hand)
Some pad overhang is negligible and at the pad is at the OD where it belongs. Swept area doesn’t cover full rotor radial which must be by design and still has massive capacity that will not get hot unless you’re at the track.
For front rotors, I am using are Lancer EVO X Centric High Carbon rotors which are 13.78 inches instead of 370Z’s 14 inch. There was controversy that 370Z rotors wouldn’t fit so I got the Mitsubishi ones. Doesn’t matter, they are same thickness and everything just 0.2 inches less diameter – never gonna make a difference.
Finally got the fronts centered and mounted. Had a problem with bracket interfering with caliper reinforcing rib when torquing down final assembly and had to disassemble and do more minor bracket mods.
1) Loosen the lug nuts on the wheels corresponding to the brake pads you are planning to change.
2) Jack up the car (refer to How To for examples). Make sure you use wheel chocks and do not engage the emergency brakes.
4) Lay out your new brake pads (and new brake kit if you ordered a new brake kit. The brake kit includes new shims in case your old ones are cracked or worn. But, I’ve seen others’ who were cracked pretty bad. It’s up to you whether or not you want to pull things apart and discover things are cracked and then go get a set, or get it anyways. In my case, I could have stuck with the old set).
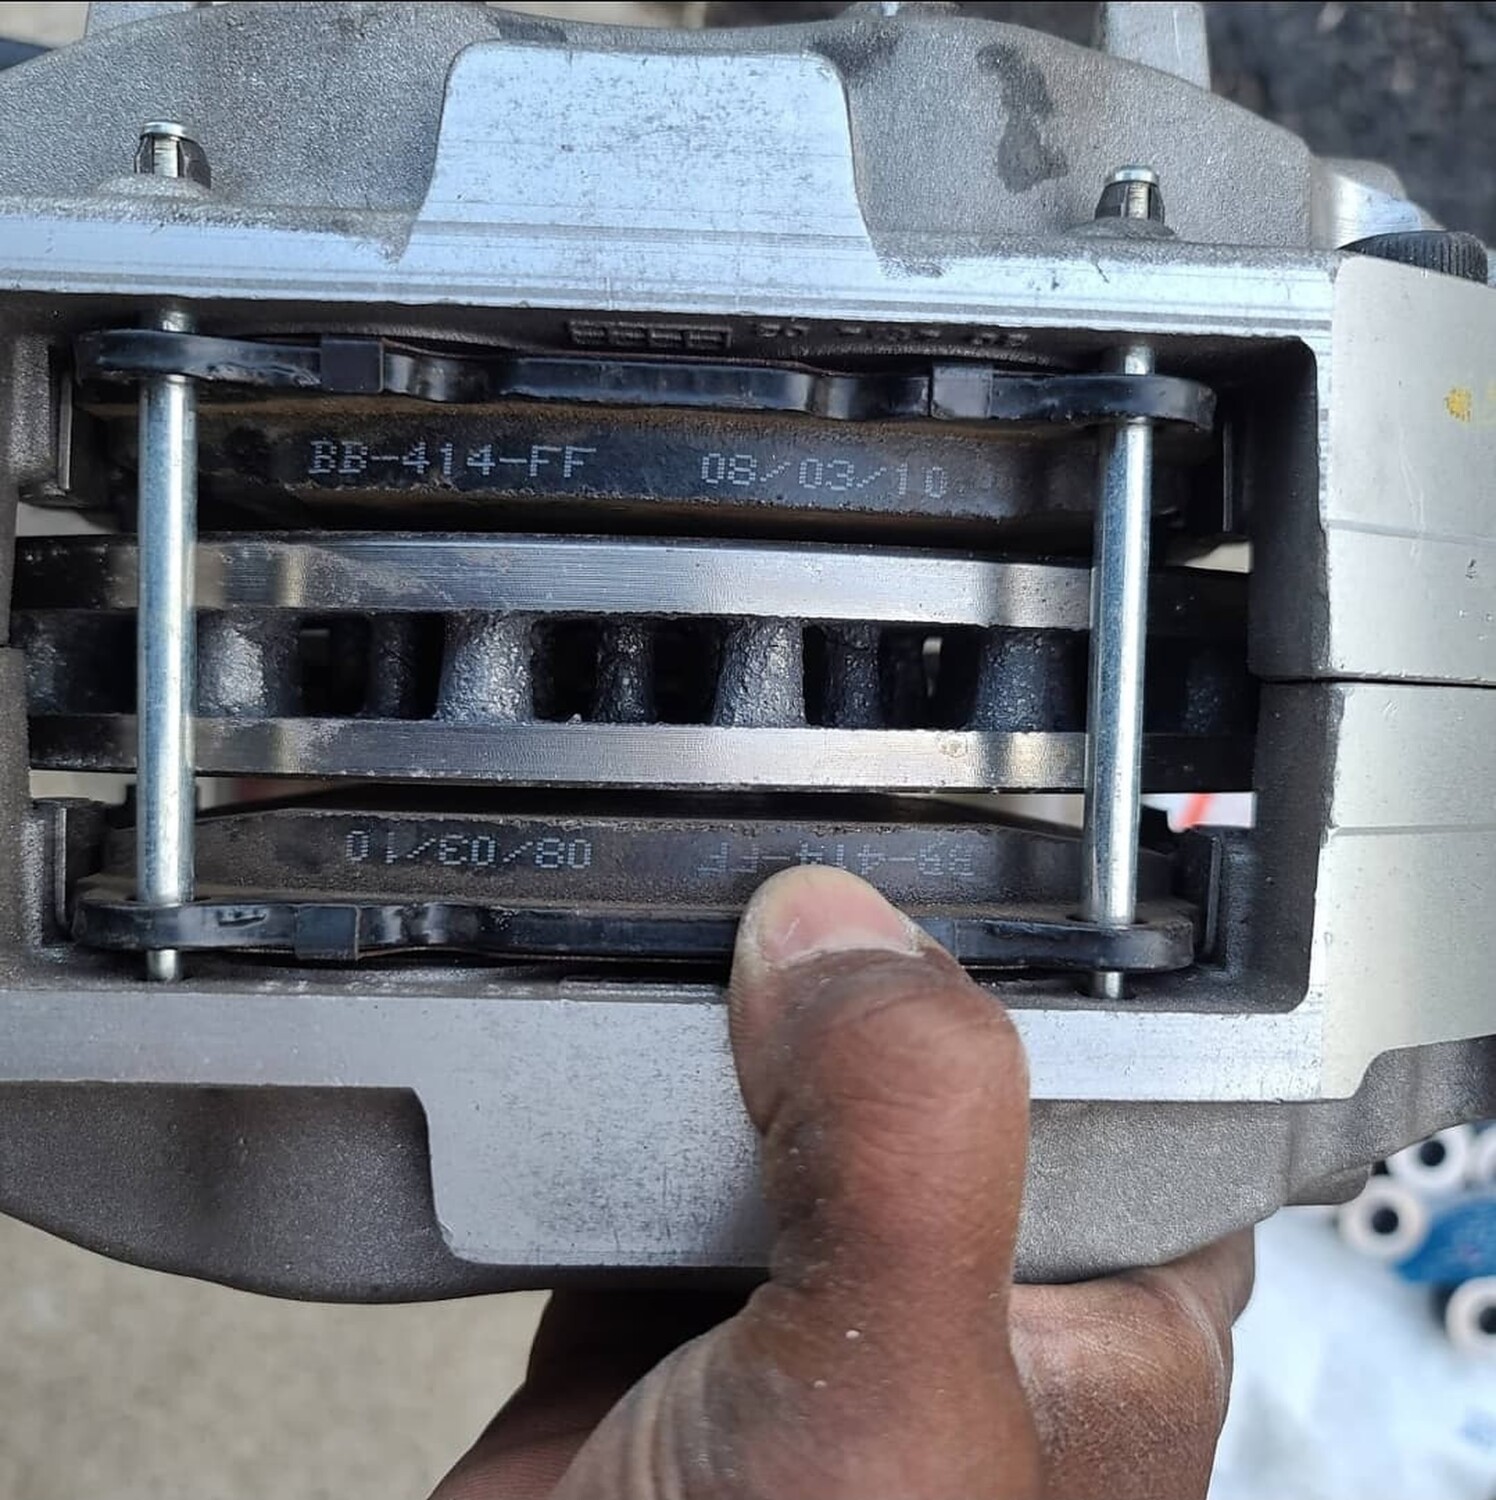
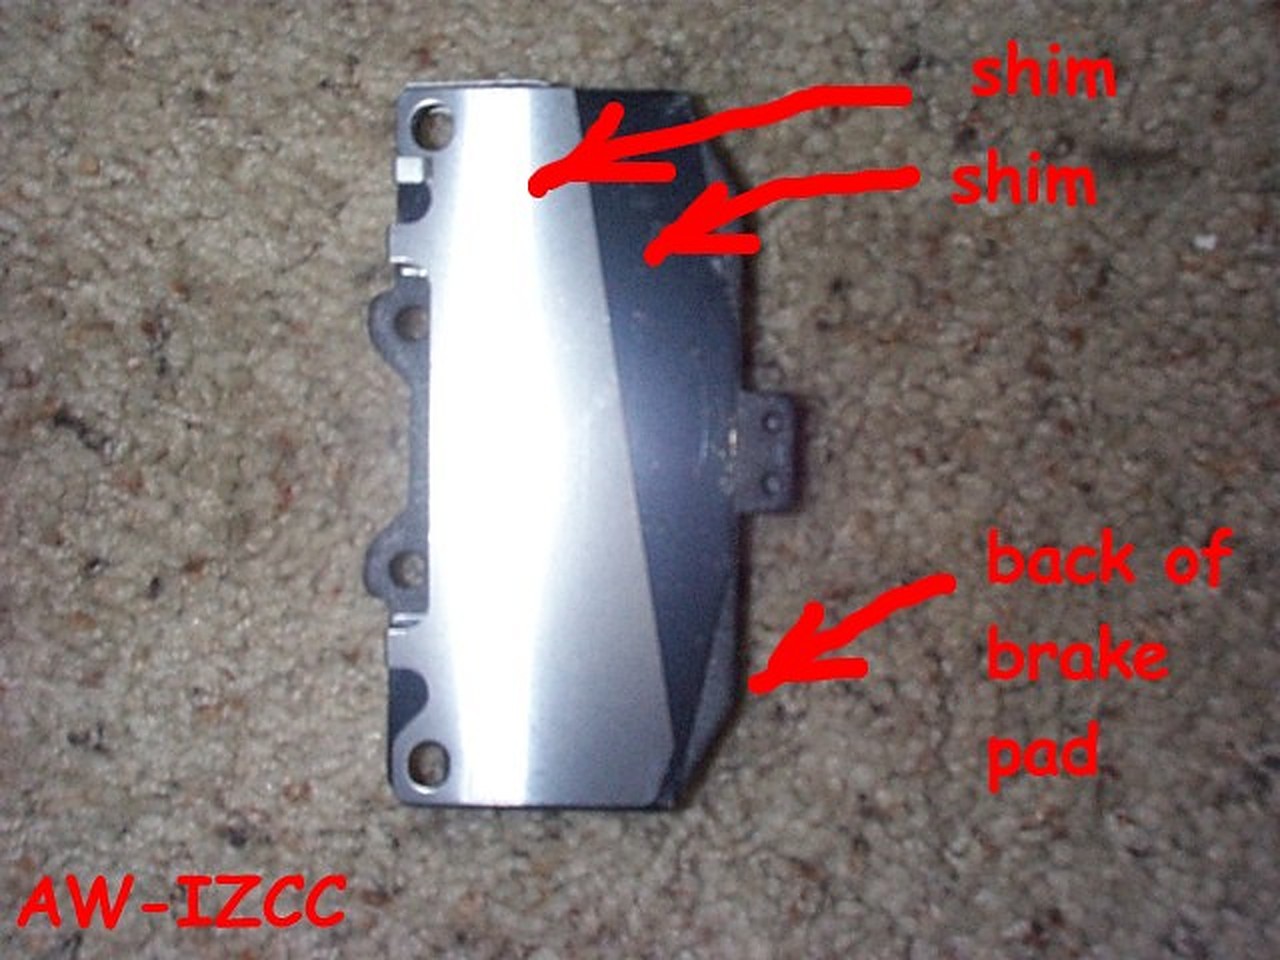
In this picture, the two pads are in the center of the picture, then going outwards, are the two shims that came with the aftermarket pads, then the two stock shims that come with the brake kit (or were there with the stock pads), and then the outside is the stock angular shim, and then finally, the small bracket that goes on the top of the pad assembly. I ended up using the aftermarket shim instead of the grilled stock shim. The aftermarket shim had adhesive on one side to stick to the back of the pads. (If your new brake pads only have one of the two pads with a wear indicator, put it on the inside of the caliper).
This is how your shims should look when assembled onto your new pads :
Brake Pad Side (you can see the small ‘assembly’ bracket at the top of the pad backing)
Backside of brake pad, with shim, angled shim, and then the small ‘assembly’ bracket.
5) Remove the cap of your brake fluid reservoir off, and put some towels around it in case of overflow of brake fluid.
6) Turn the steering wheel so that the front of the brake caliper you are working on, is facing you as much as possible.
7) Remove the spring that hooks into the holes in the top and bottom pins. Use your fingers or a pair of needle nose pliers.
8) Using needle nose pliers, push from the inside on the pin and pull from the outside with your fingers. Remove the top pin. However, pull the pin out slowly and brace your fingers against the flat spring that will want to launch out at you.
9) Then remove the bottom pin and the metal spring will fall out easily.
10) Grip the brake pad backing and pull it out (this will remove the brake pad and all it’s shims). If it is tough to pull out, try wiggling it slowly by pulling a bit on the top part and then a bit on the bottom part. Remember to pull out both the inside pad and the outside pad on either side of the rotor.
11) When removing the pieces from your caliper, lay them down on the ground so that you will remember how they go back. Here’s a picture of what I did as an example.
This is what your caliper will look like with the pads out.
12) Now, if the old brake pads were quite worn, you will have difficulty in getting the new and THICKER brake pads back into that little space. This is where you’ll have to push back on the pistons to make room. And this is why you removed the cap of the reservoir in case a lot of brake fluid gets pushed back up the system and overflows your reservoir. See the picture below, the shiney part is the piston and surrounding it is the rubber dust boot. You want to make sure to NOT damage the rubber dust boot and just ‘squeeze’ the piston back into the caliper.
This is my favorite ‘persuader’ tool. Got me out of a fix when I once overtightened my oil filter.
You should put tape around the persuader, or put cloth against the caliper if you are afraid of damaging the finish on the caliper. Firmly and slowly squeeze the pistons back in. You’ll notice a see-sawing effect. As you squeeze one piston, the others will have a tendancy to come out a bit. But, just alternating squeezing the pistons will bring them all deep enough to fit in the new pads. Just go round and round squeezing the pistons until you have enough clearance.
13) Do a dry run but assembling the brake pads (WITHOUT greasing it yet), just to make sure you can fit both new brake pads in without any clearance problems.
14) Ok, if you’re sure that BOTH new brake pads will go in, start assembling the shims onto your brake pad and apply the anti-squeal grease on the shim. The grease stuff is pretty toxic, I always use latex gloves when working with this stuff.
Assembled and ready to go? Then drop them back in and just reverse the disassembly procedure. Put the pad assembly back in the caliper. Place the lower pin in first. Place the upper pin partially in, and then put the metal spring in place and tuck the top part of the metal spring underneath the top pin and push the top pin across completely. Insert the small spring on the inside of the caliper and hook the ends of the spring through the holes in the upper and lower pins. Put the wheels back on. Put the lug nuts back in. Lower the car back to the ground. re-torque your lug nuts to spec.