As you know common issue for the second-gen FX/QX is the sunroof leak. That leak goes to the floor then kills the modules like the camera etc. The easy and best way to get rid of that leak is just to put another hose to the downside, drain holes in the engine bay.
In that way, you don’t need to break or put the risk of the trim pieces. I used a garden hose and got it to the cabin from the engine bay. when you look at the pics, you will understand. Tested in heavy rain, no issue anymore.
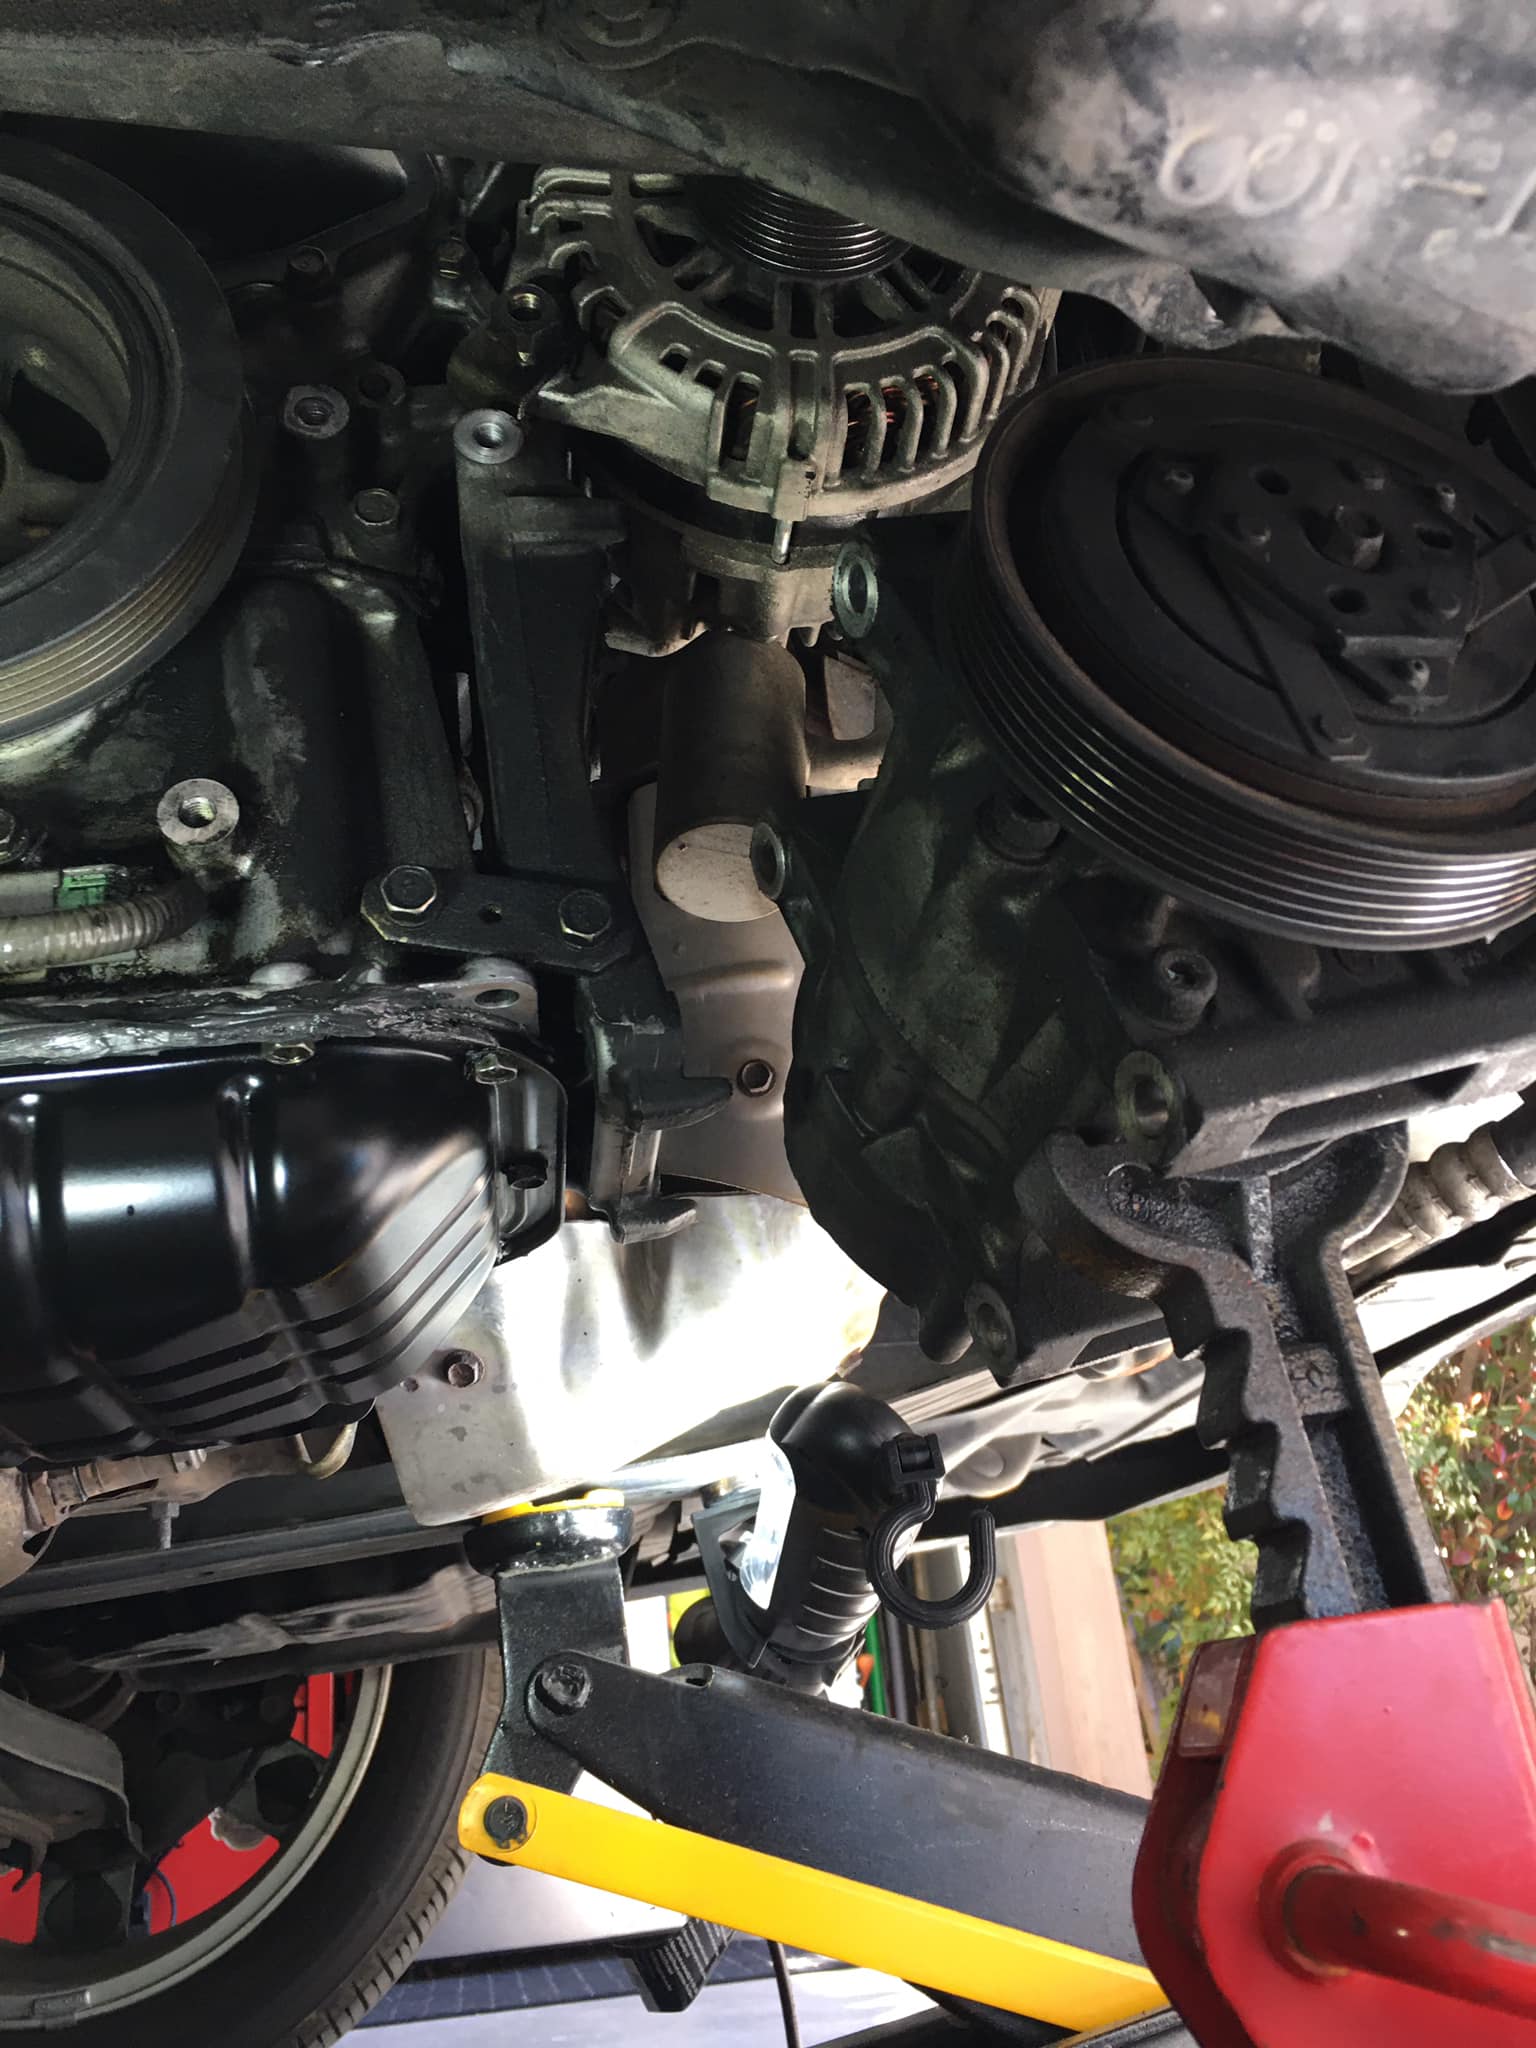
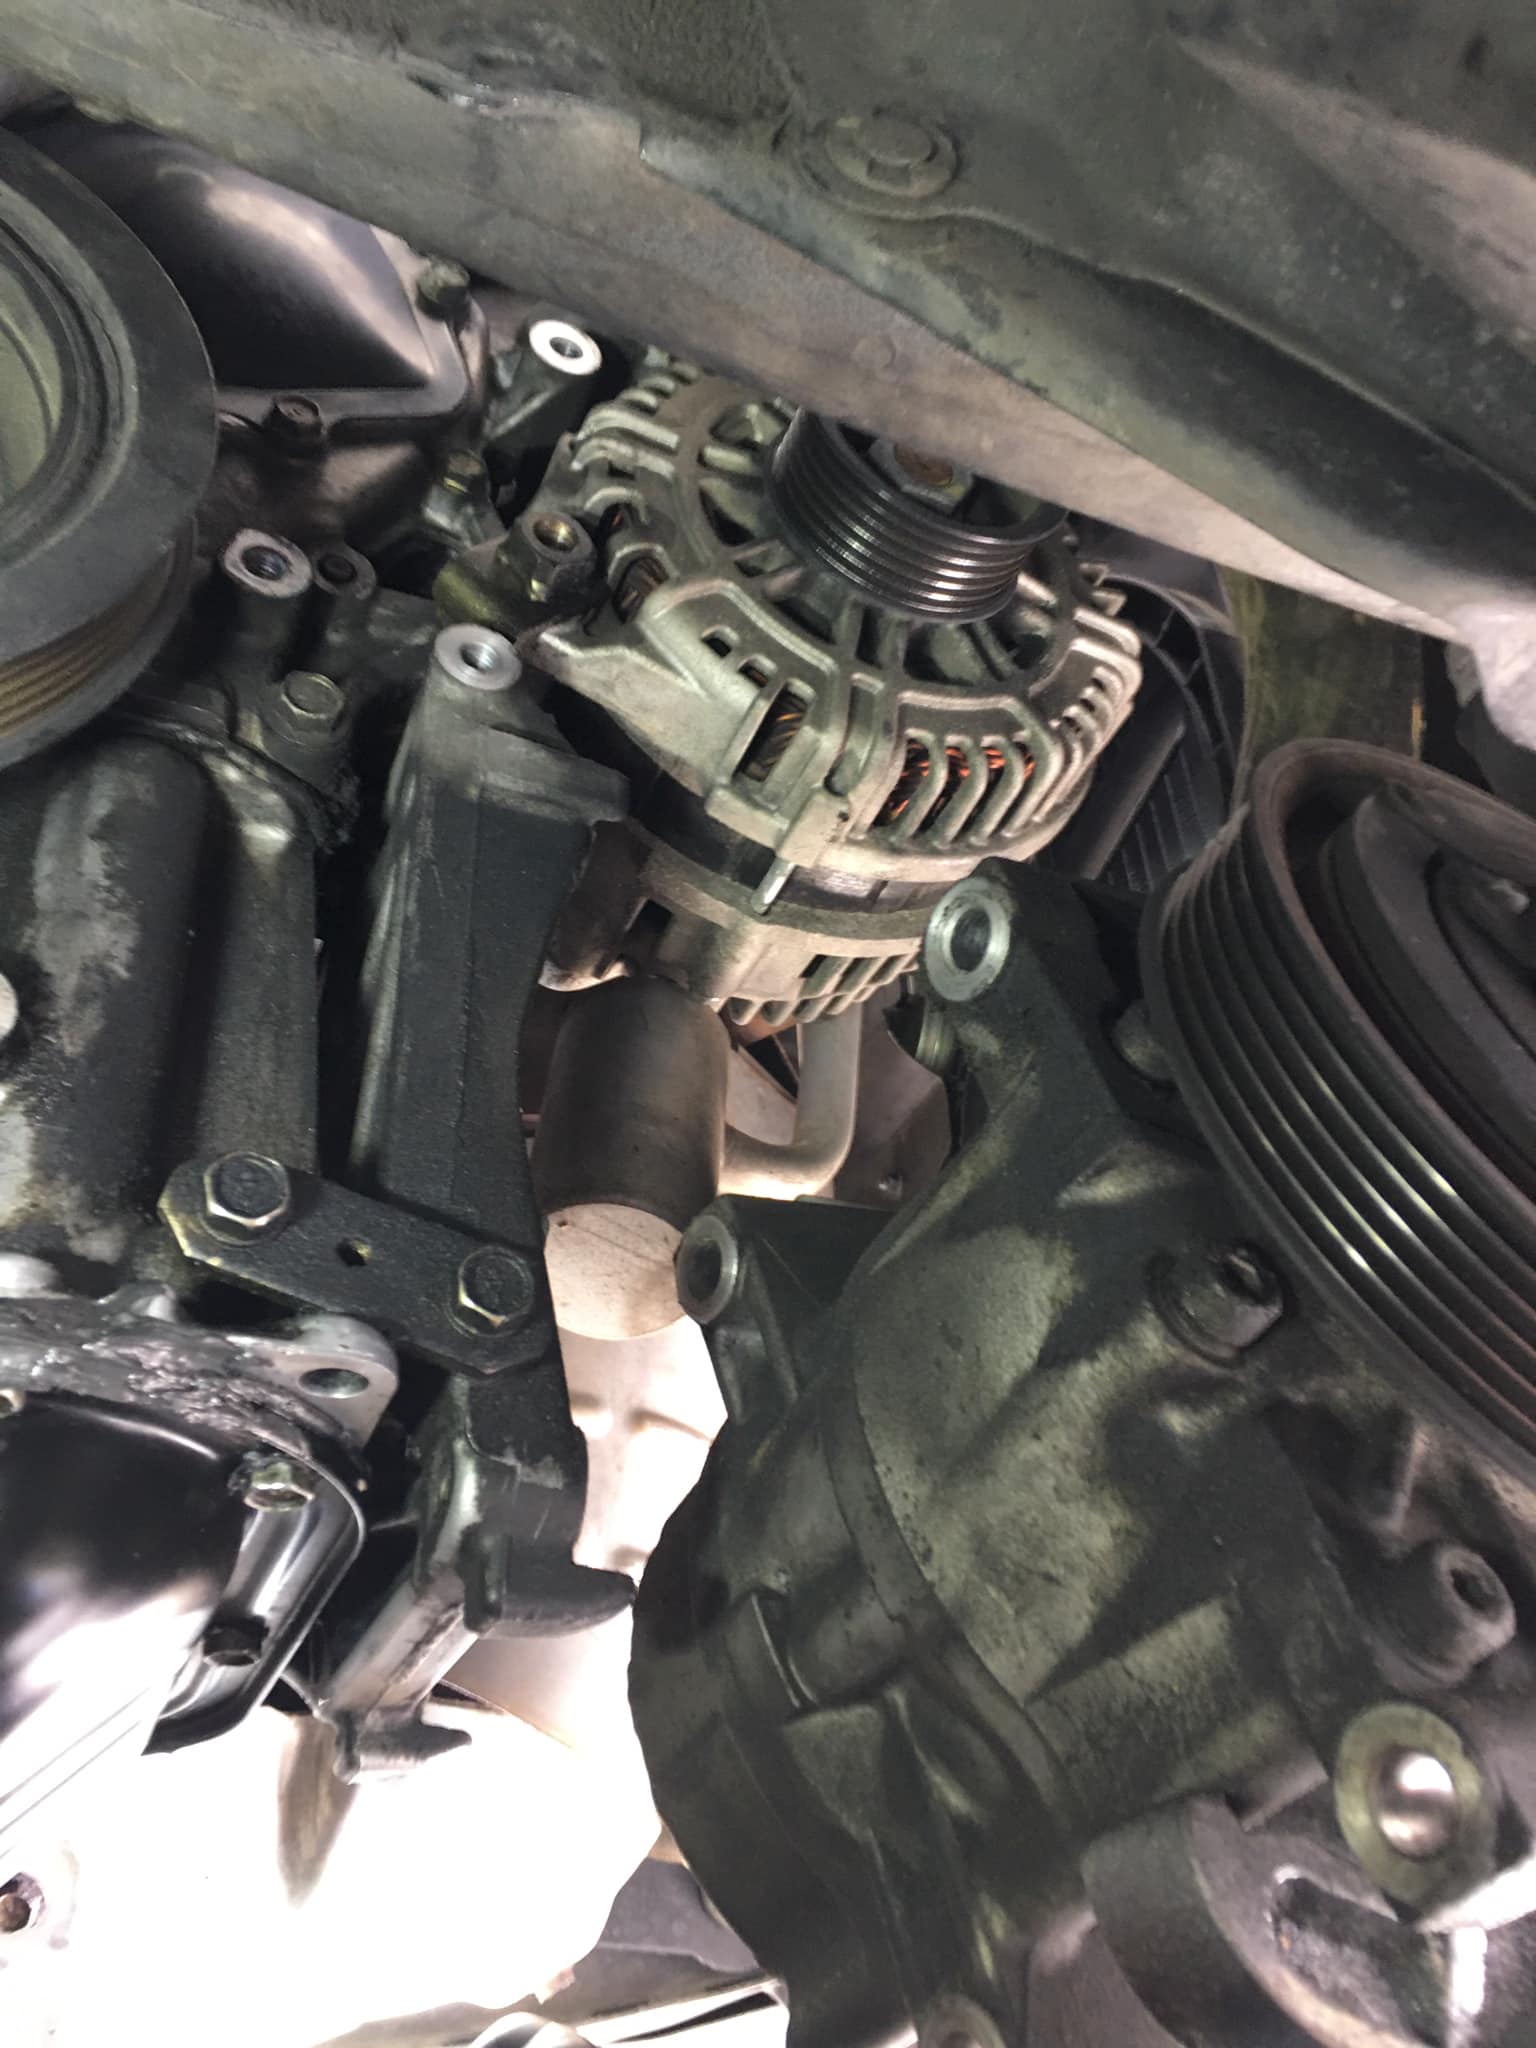
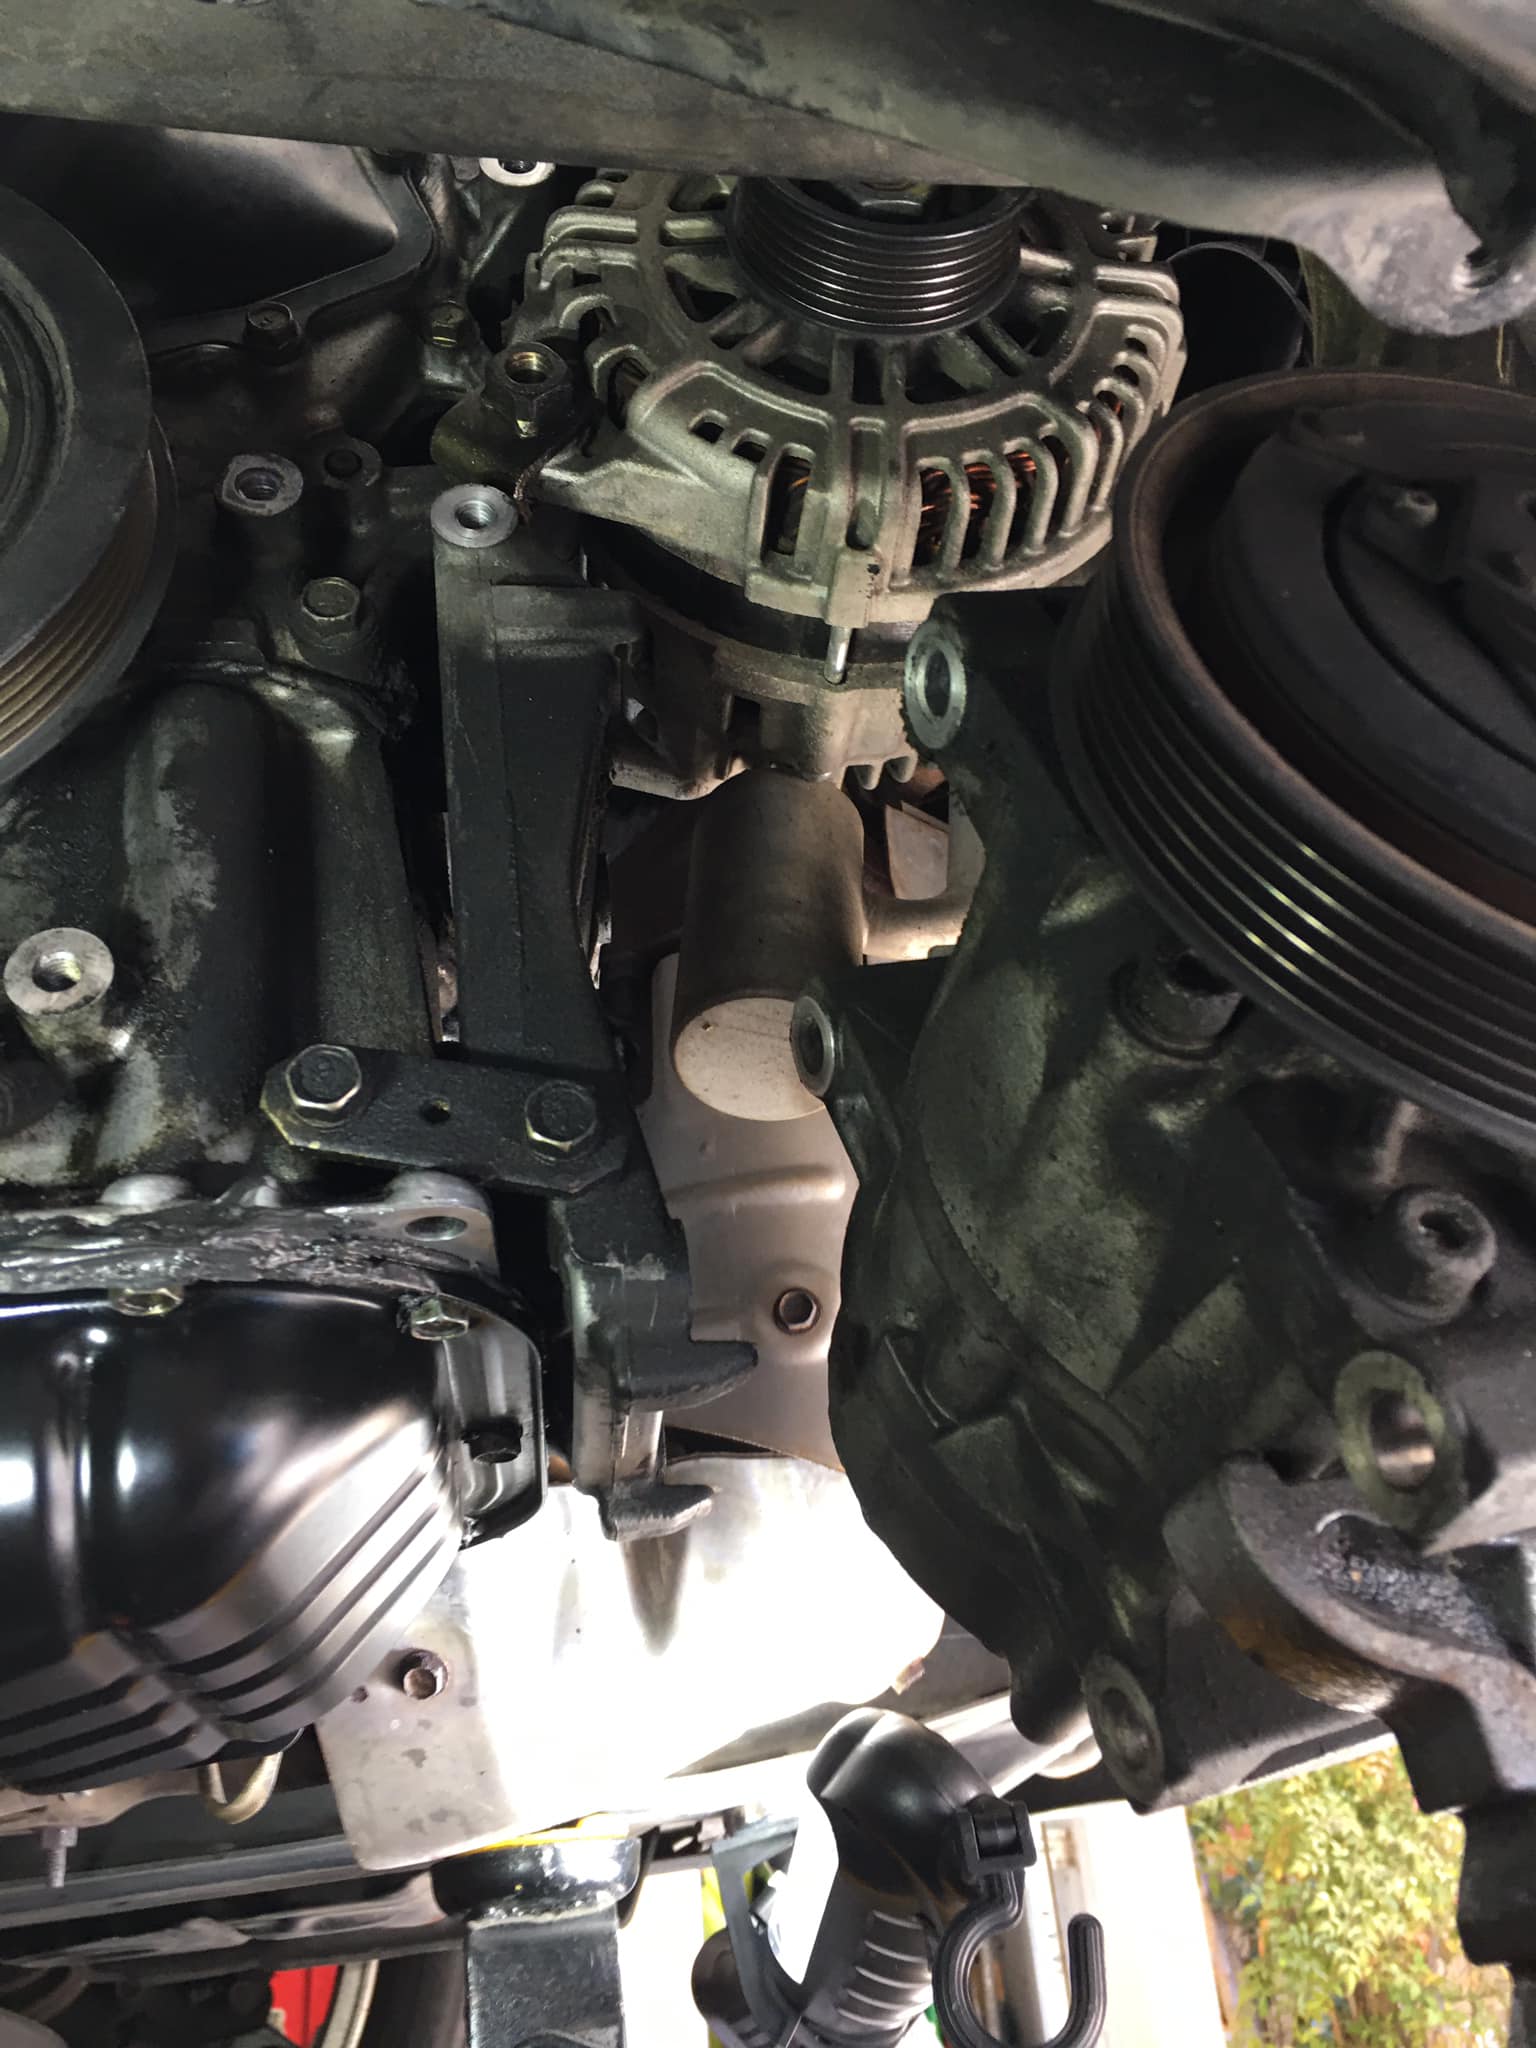
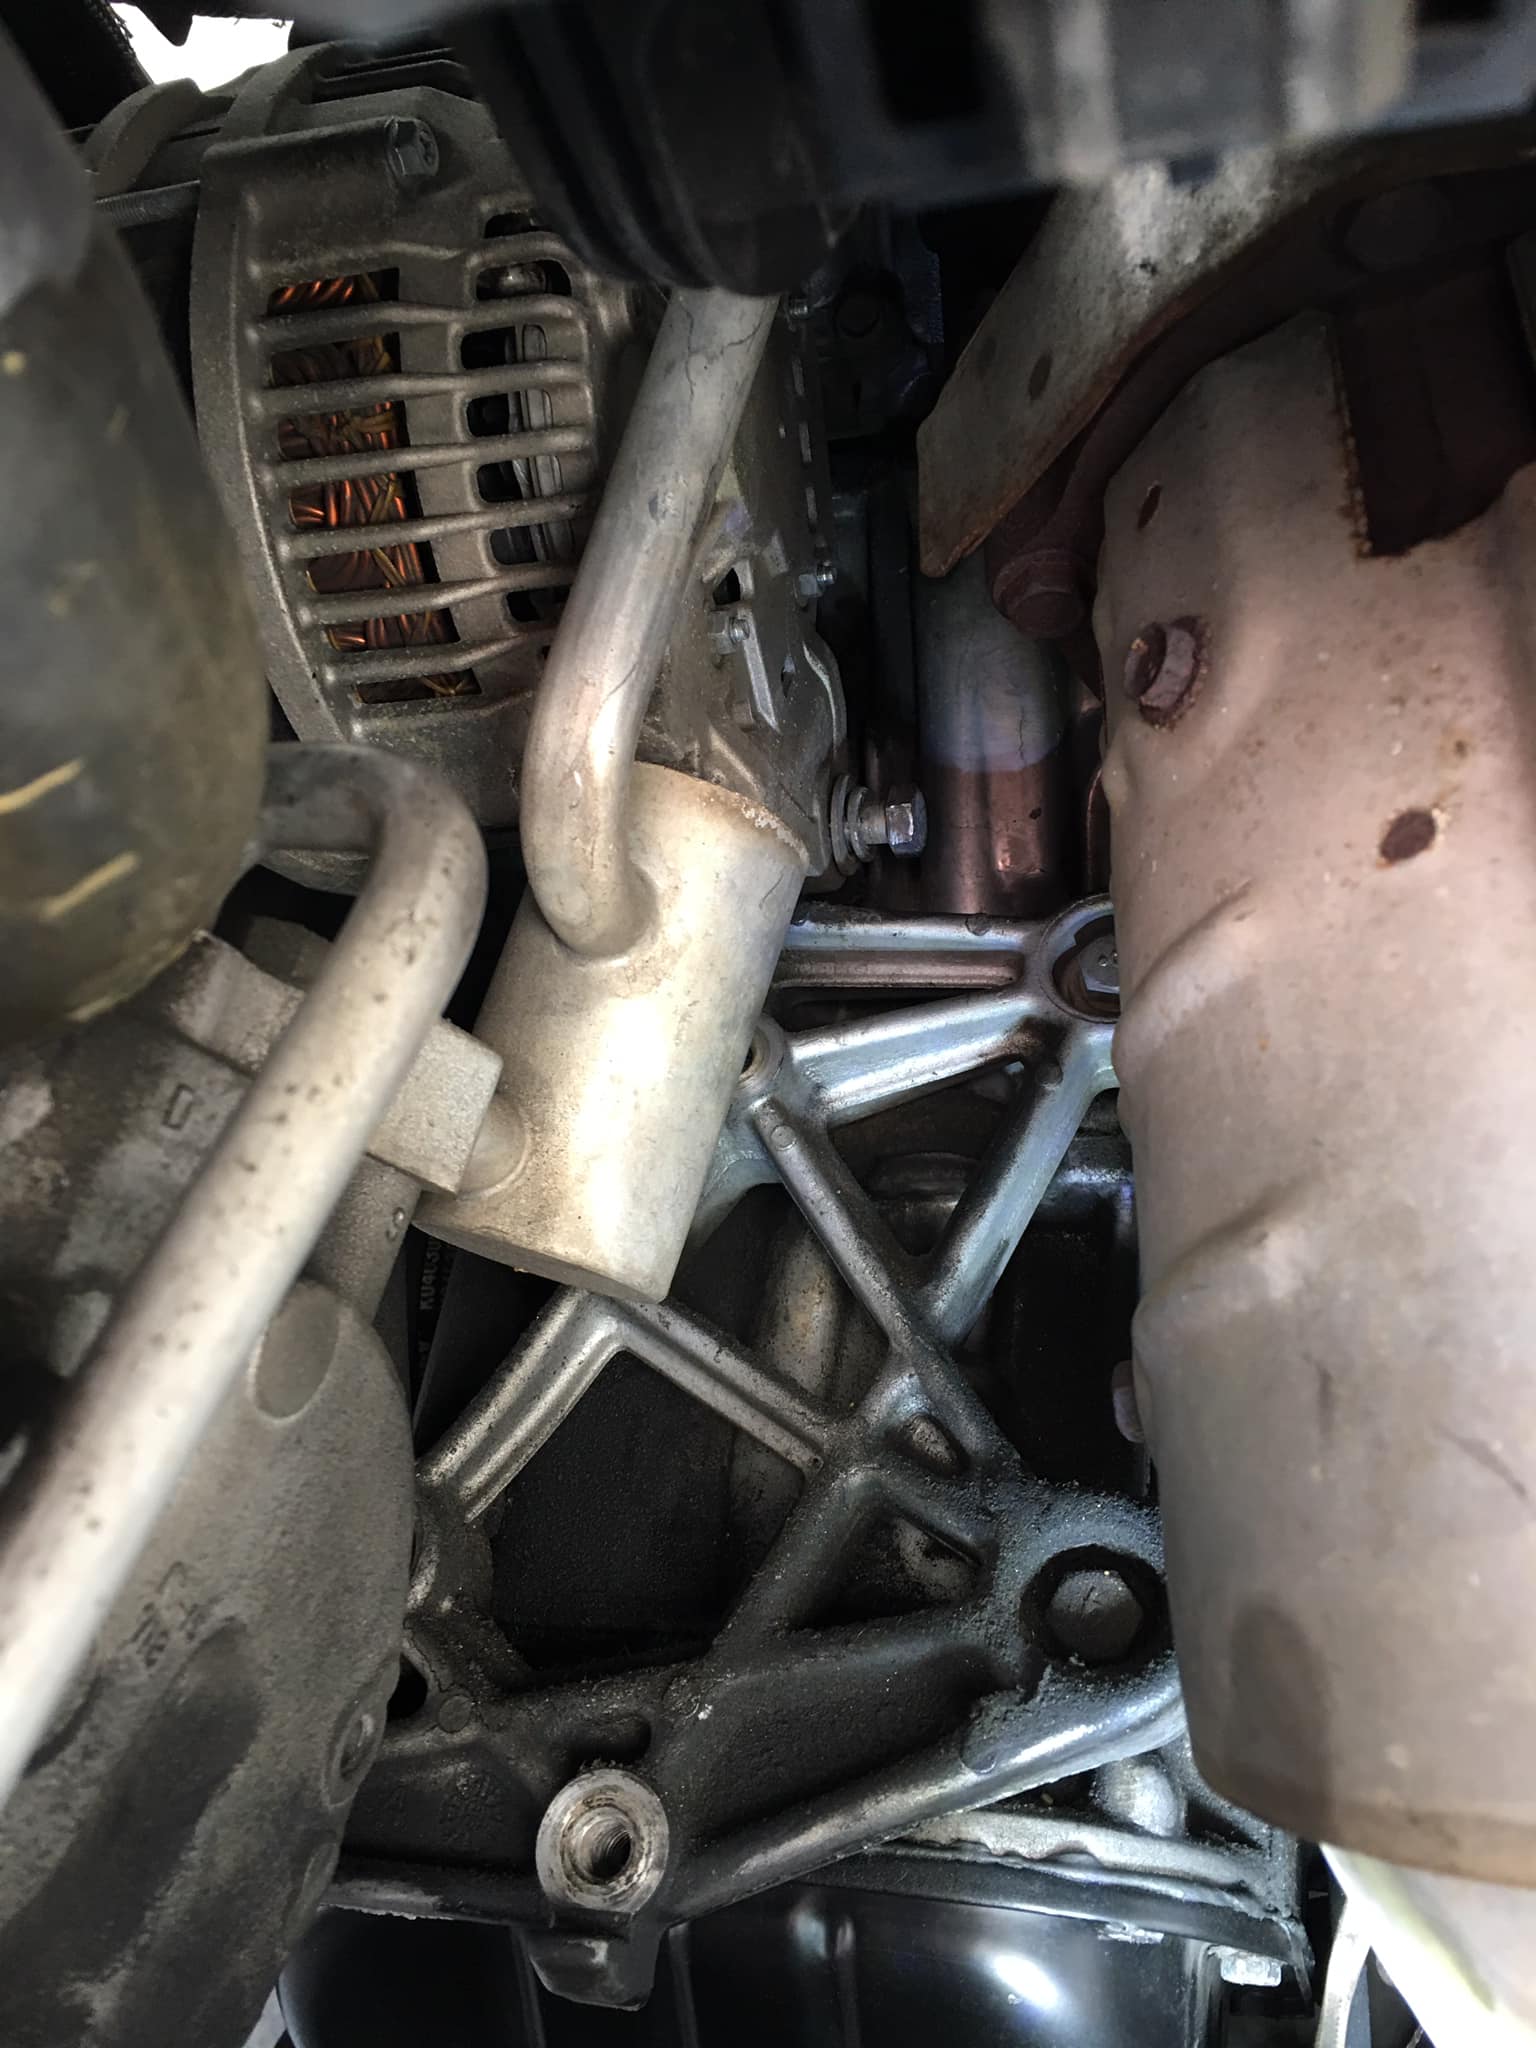
This is a transmission breather / vent tube. Do not block it off as it is used for ventilation purposes. This applies to both automatic and manual transmissions.
This is a transmission breather / vent tube. Do not block it off as it is used for ventilation purposes. This applies to both automatic and manual transmissions.
This is a transmission breather / vent tube. Do not block it off as it is used for ventilation purposes. This applies to both automatic and manual transmissions.
I have no speedo, ATC lamp flashes, ABS lamp is on. I pull code and get a U1001. I have read that this is a short or a ground problem from ECU. I checked ECU ground inside car and did a reconnect harness. Under the hood I have looked for any obvious wire issues from firewall out. checked battery and connections and re did ground connector next to battery to fuse box.
Mine too I get the same thing, cold start ZERO problem… but still getting the at check light blinking at me on coldstart… after about 5-10 minutes of driving speedo, odo stop working, then the abs light and tcs off light kicks on… i would pull the codes the first couple of days this started happening getting 4 codes.. U1001, P1212, P1574, and P0500… at first I started doing everything that would’ve been the cheaper fix, pulling pretty much all connectors off, cleaning them then re-seating them with di-electric grease… after that did absolutely jack $hit, i decided to redo- every ground under the hood… that did nothing… Checked all of my wheel speed sensor, and they all checked in spec… Moved into the cabin had my entire car in pieces on my lawn re-did the grounds in the cabin… Still nothing, which SUCKED!!! After feeling terribly defeated pulled out the fsm, checked every single step for the P1212 code, then rechecked it… nothing… absolutely stumped decided to do the test for a bad ABS/TCS module, step one power is good, step two fail, step three fail, step four fail… fml… I was like after doing EVERY single thing hoping it would be a cheap fix it DEFINITELY isn’t.
After some serious patience I WAS able to get the module off the pump without pulling the stupid thing off… there were curse word exchanged between it and I… it was way easier to get on… used the torx bit and a small ratchet… YES it’s tight, but it is doable… you have to disconnect the module, take out the entire air filter assembly, and move the harness out of the way. after putting it back on and forgetting to connect my mafs, it started like $hit and I was like that is more than likely not good… anyways ended up connecting everything and finally turned the key to the on position, NO count them NO stupid blinking AT check light… the ABS light, TCS off light, and SES light were still on… cleared all codes which got rid of the SES light… re-scanned it no codes, SWEET… ABS light and TCS light were still on i was like NOOOOOOOOOOOOO. Took it for a ride Speedo worked and another 50 ft and the lights all turned off… done and done And YES paradiddle i actually got a used pump AND module 125 sourced locally.
Solution:
All fixed – thanks to Cheap ABS ($109) and Brudface for his perseverance. This is another goes to show you that not all codes lead to the problem. This was an easy fix with knowledge. If not I would have gone done brudfaces original path….
Additional Notes (via channoff):
Steps for removing ABS Module:
ABS module is located just under brake master cylinder and attached to the ABS pump. To access, remove entire intake/MAF section. 5 bolts that remove with phillips head screwdriver
The worst part. There are 6 torx-20 bolts facing towards the wheel well and that are very very hard to access. The top 2 aren’t bad, but there is almost no working space for the other 4. I had to use multiple combinations of flex drivers, wrenches, etc to get those out. Probably took me over two hours for this part, but will probably only take 20 minutes in reverse now that I know which combinations work. Good luck on this part, just know that it IS possible to get those torx out.
You’re almost done. There are two electrical connections on the bottom of the ABS module. First, unhook the large one by grabbing the pull tab that faces towards the front of the car near the very bottom of the module. Slide towards front of car maybe 2″ or so.
Once that is out you can maneuver the module enough to access the smaller connection on very bottom of the module. That one pops off easily with a flathead screwdriver.
And that’s it. Sounds easy, right? And it is, but those torx screws are not your friends.
This describes removing and installing the rear O2 sensor behind the catalytic converter for 95-99 (Federal Emissions) Maxima/I30s.
Items Needed:
PB Blaster (or another rust penetrant)
22mm Wrench
Flat Head Screwdriver
Electrical Tape
Jack and Stands
Work Light
First, you will need to remove the bad O2 sensor. Use generous amounts (frequently) of the rust penetrant on the sensor where it goes into the exhaust pipe (bung).
While allowing the penetrant to work, follow the wire from the back of the sensor to where it goes into the floor panel. Use a screwdriver to pry the large rubber grommet from the floor pan. Once the grommet is loose, disconnect the plug that attaches the sensor to the harness.
Now use the 22mm wrench to remove the bad sensor from the bung. Continue using the penetrant as needed. This is the hardest part of the process (especially if you live in a snow state).
This is what you should be looking at once the bad sensor is removed.
Screw the new sensor into the bung and measure where the grommet will be positioned. Mark this position with a piece of electrical tape, and remove the new sensor from the bung.
Wrap the electrical tape around the wire cover on both sides of where it passes through the grommet. I added tape where the wire come out of the rear of the sensor.
Apply the anti-seize that comes with the new sensor to the threads; use plenty and coat all the threads, you’ll be glad if you have to do this again. Screw the new sensor into the bung and tighten with the wrench.
Attach the sensor clip to the harness.
Push the grommet back into the floor panel until you feel/hear the plastic backing catch, and the grommet is secured.


 | PROBLEM FIXED")


