Tag

Maintenance

Browsing

Credit: 99sagelimited

I recently decided to replace both of my leaky valve cover gaskets and clean up the engine bay a bit. Along the way, I ran into some issues that I’d like to share to forewarn other members.

Issues Encountered

  1. Coolant hoses
    When I removed the upper intake to access the rear cover, I had to cut two coolant hoses that connect to the back of the intake. I couldn’t reach the clips, so cutting was my only option. These hoses are Nissan-only parts, so I had to wait a while to get replacements.

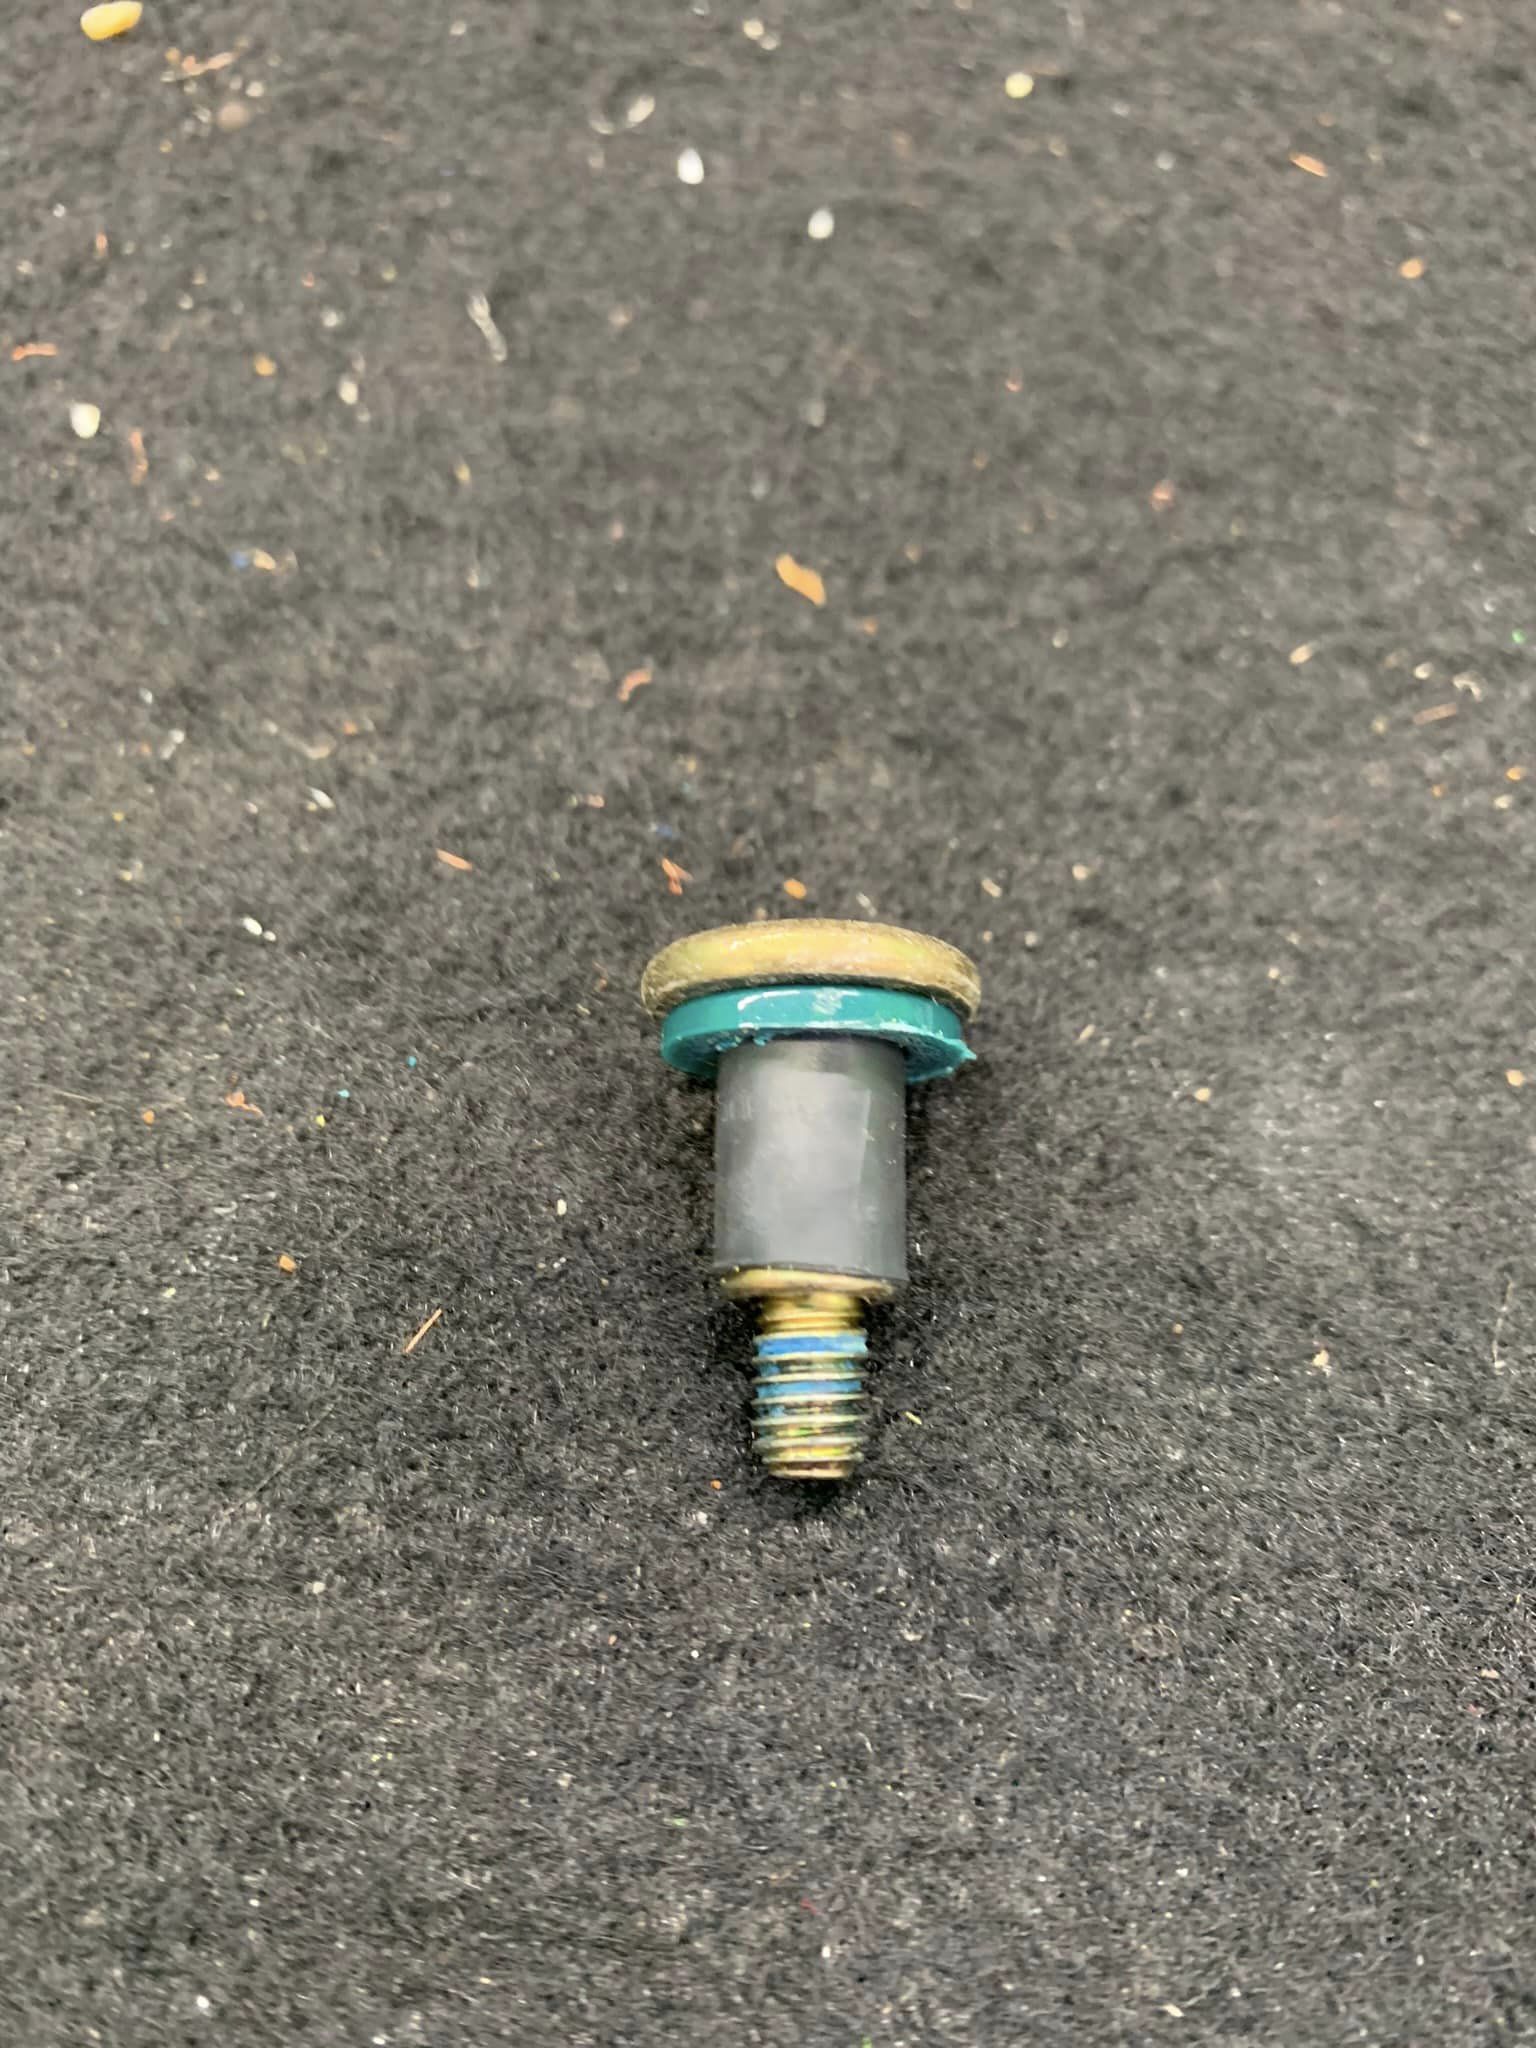
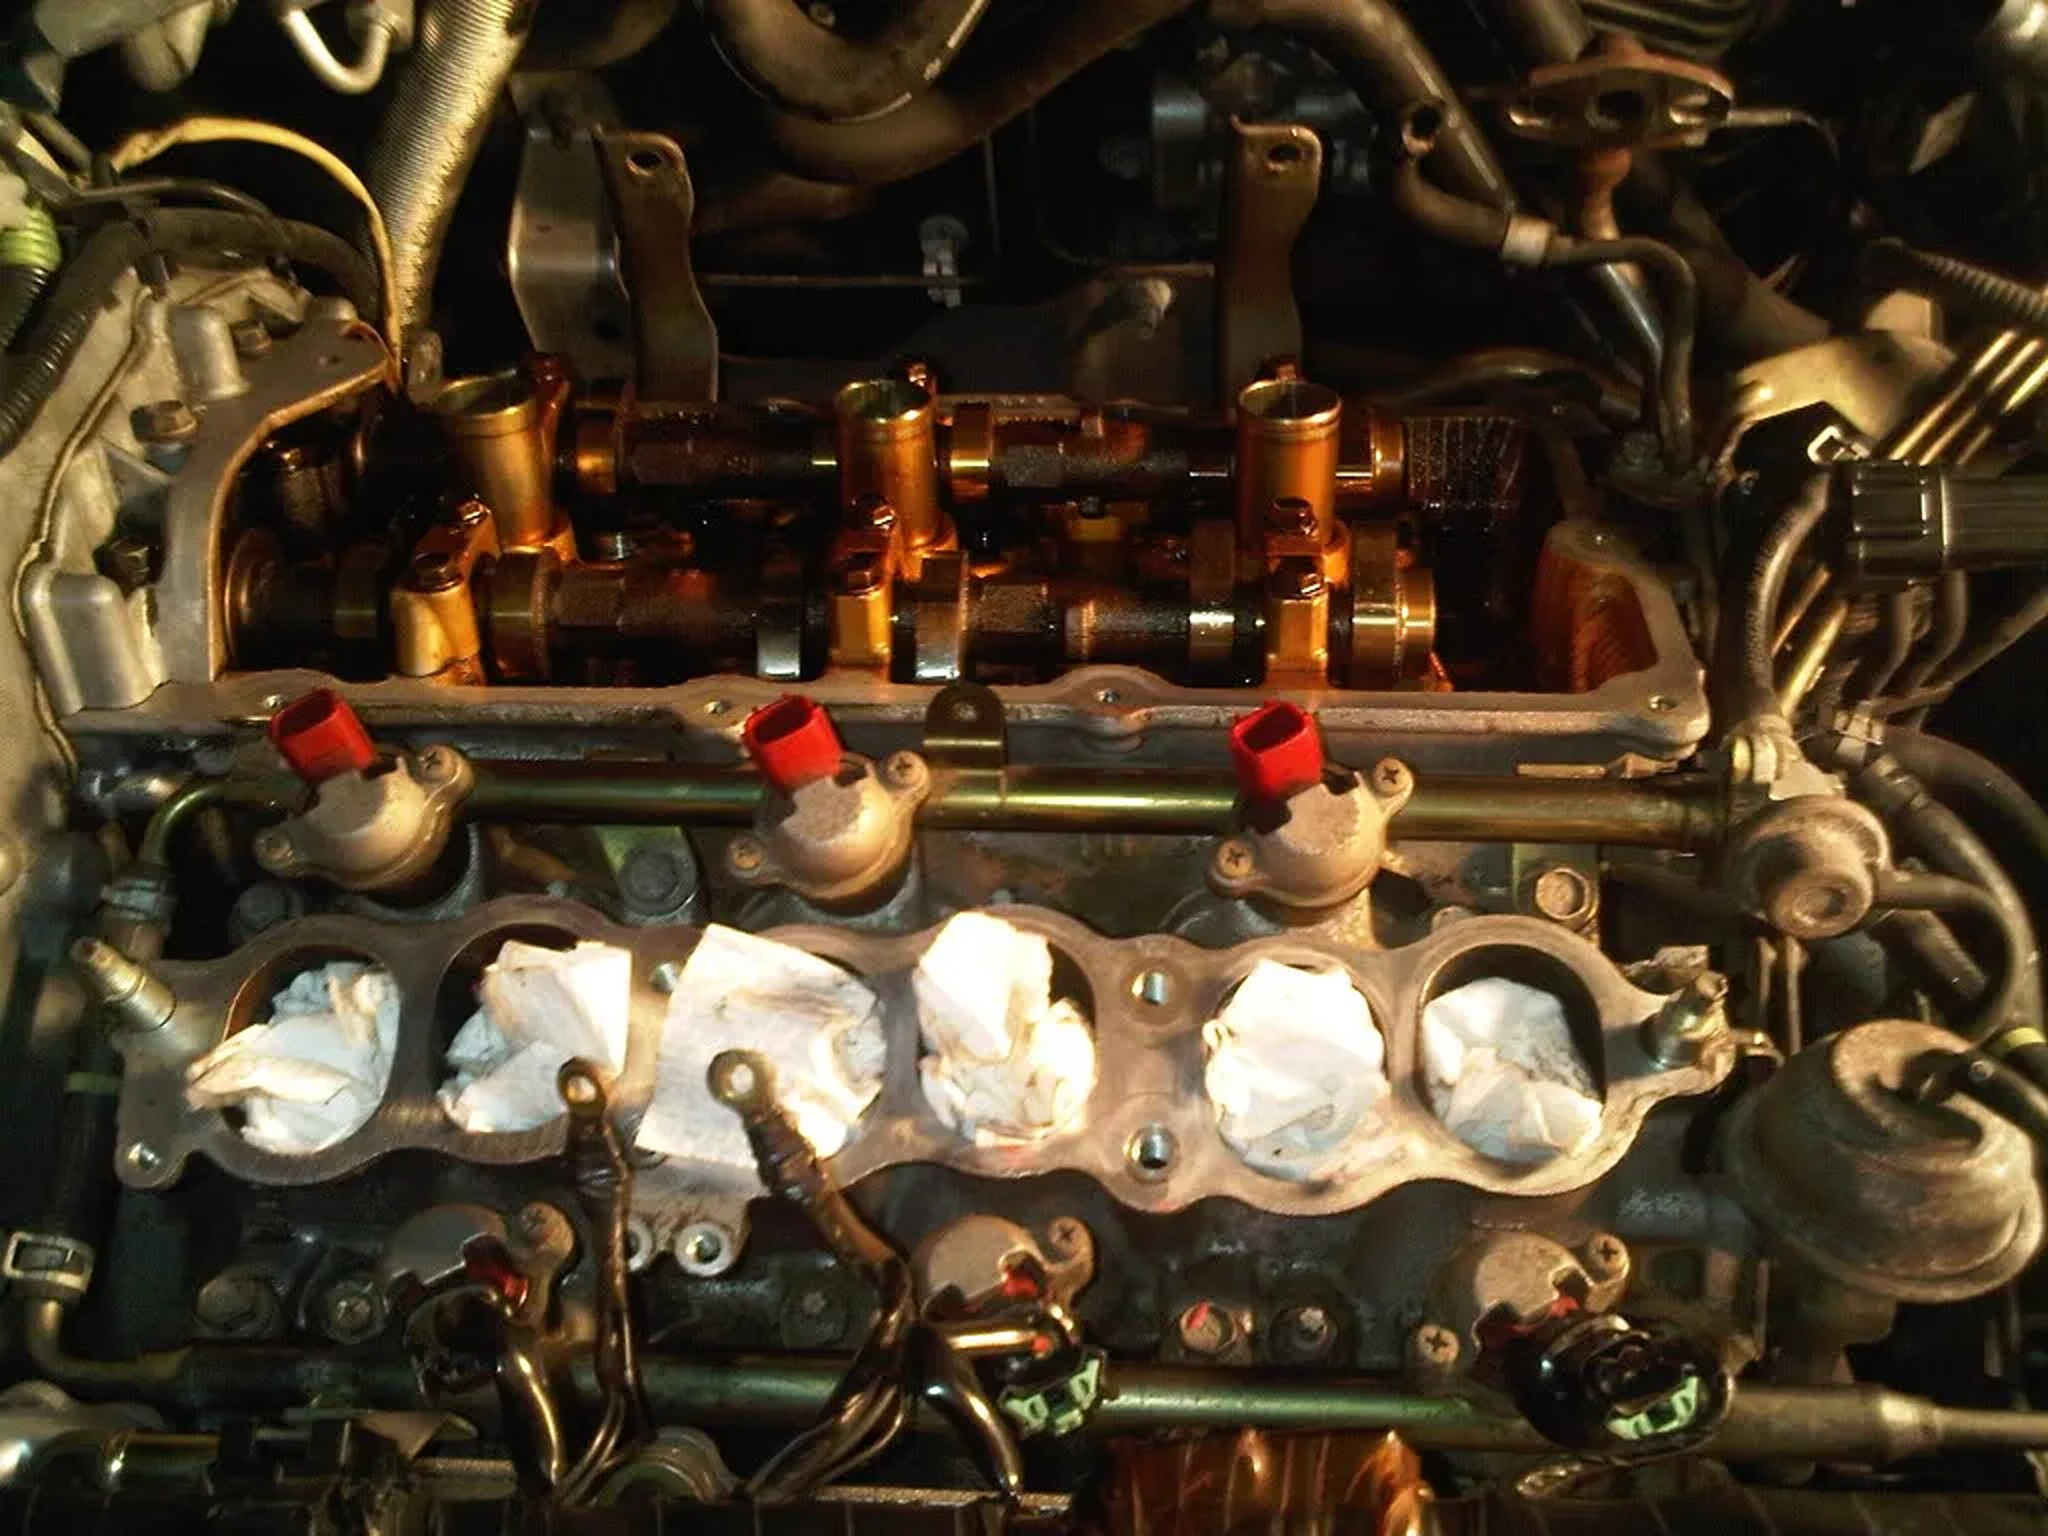
  2. Fuel rail and spacers
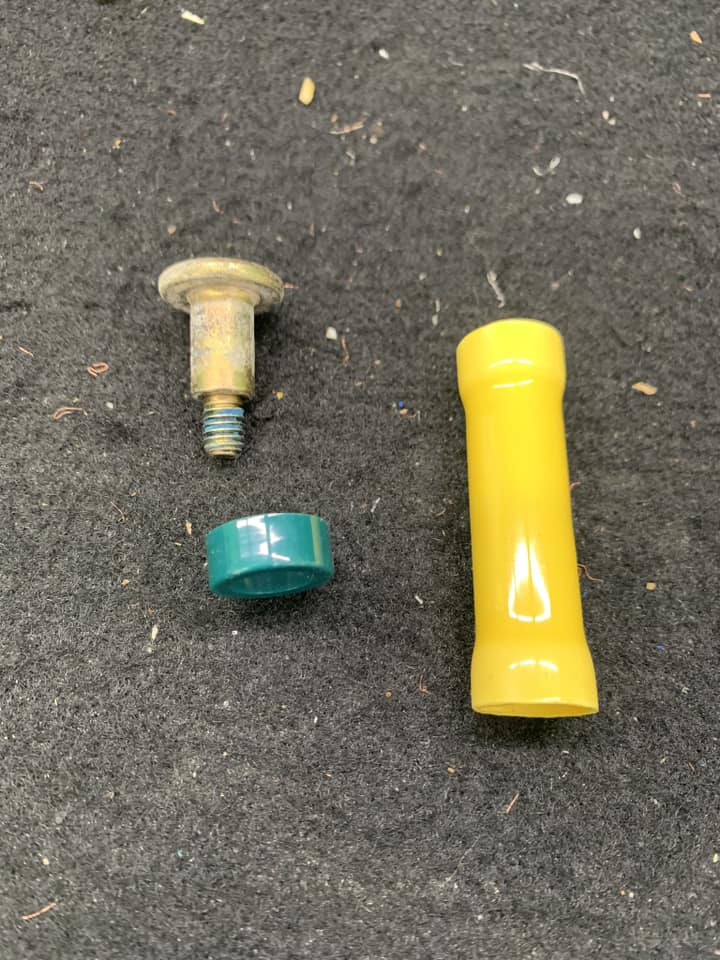
    Since the lower intake manifold gasket was included in the intake gasket kit, I decided to replace it as well. I didn’t relieve the fuel pressure beforehand and instead pivoted the fuel rail assembly out of the way.

    • The first time I reinstalled the rail onto the lower intake, I forgot the spacers and torqued it down.

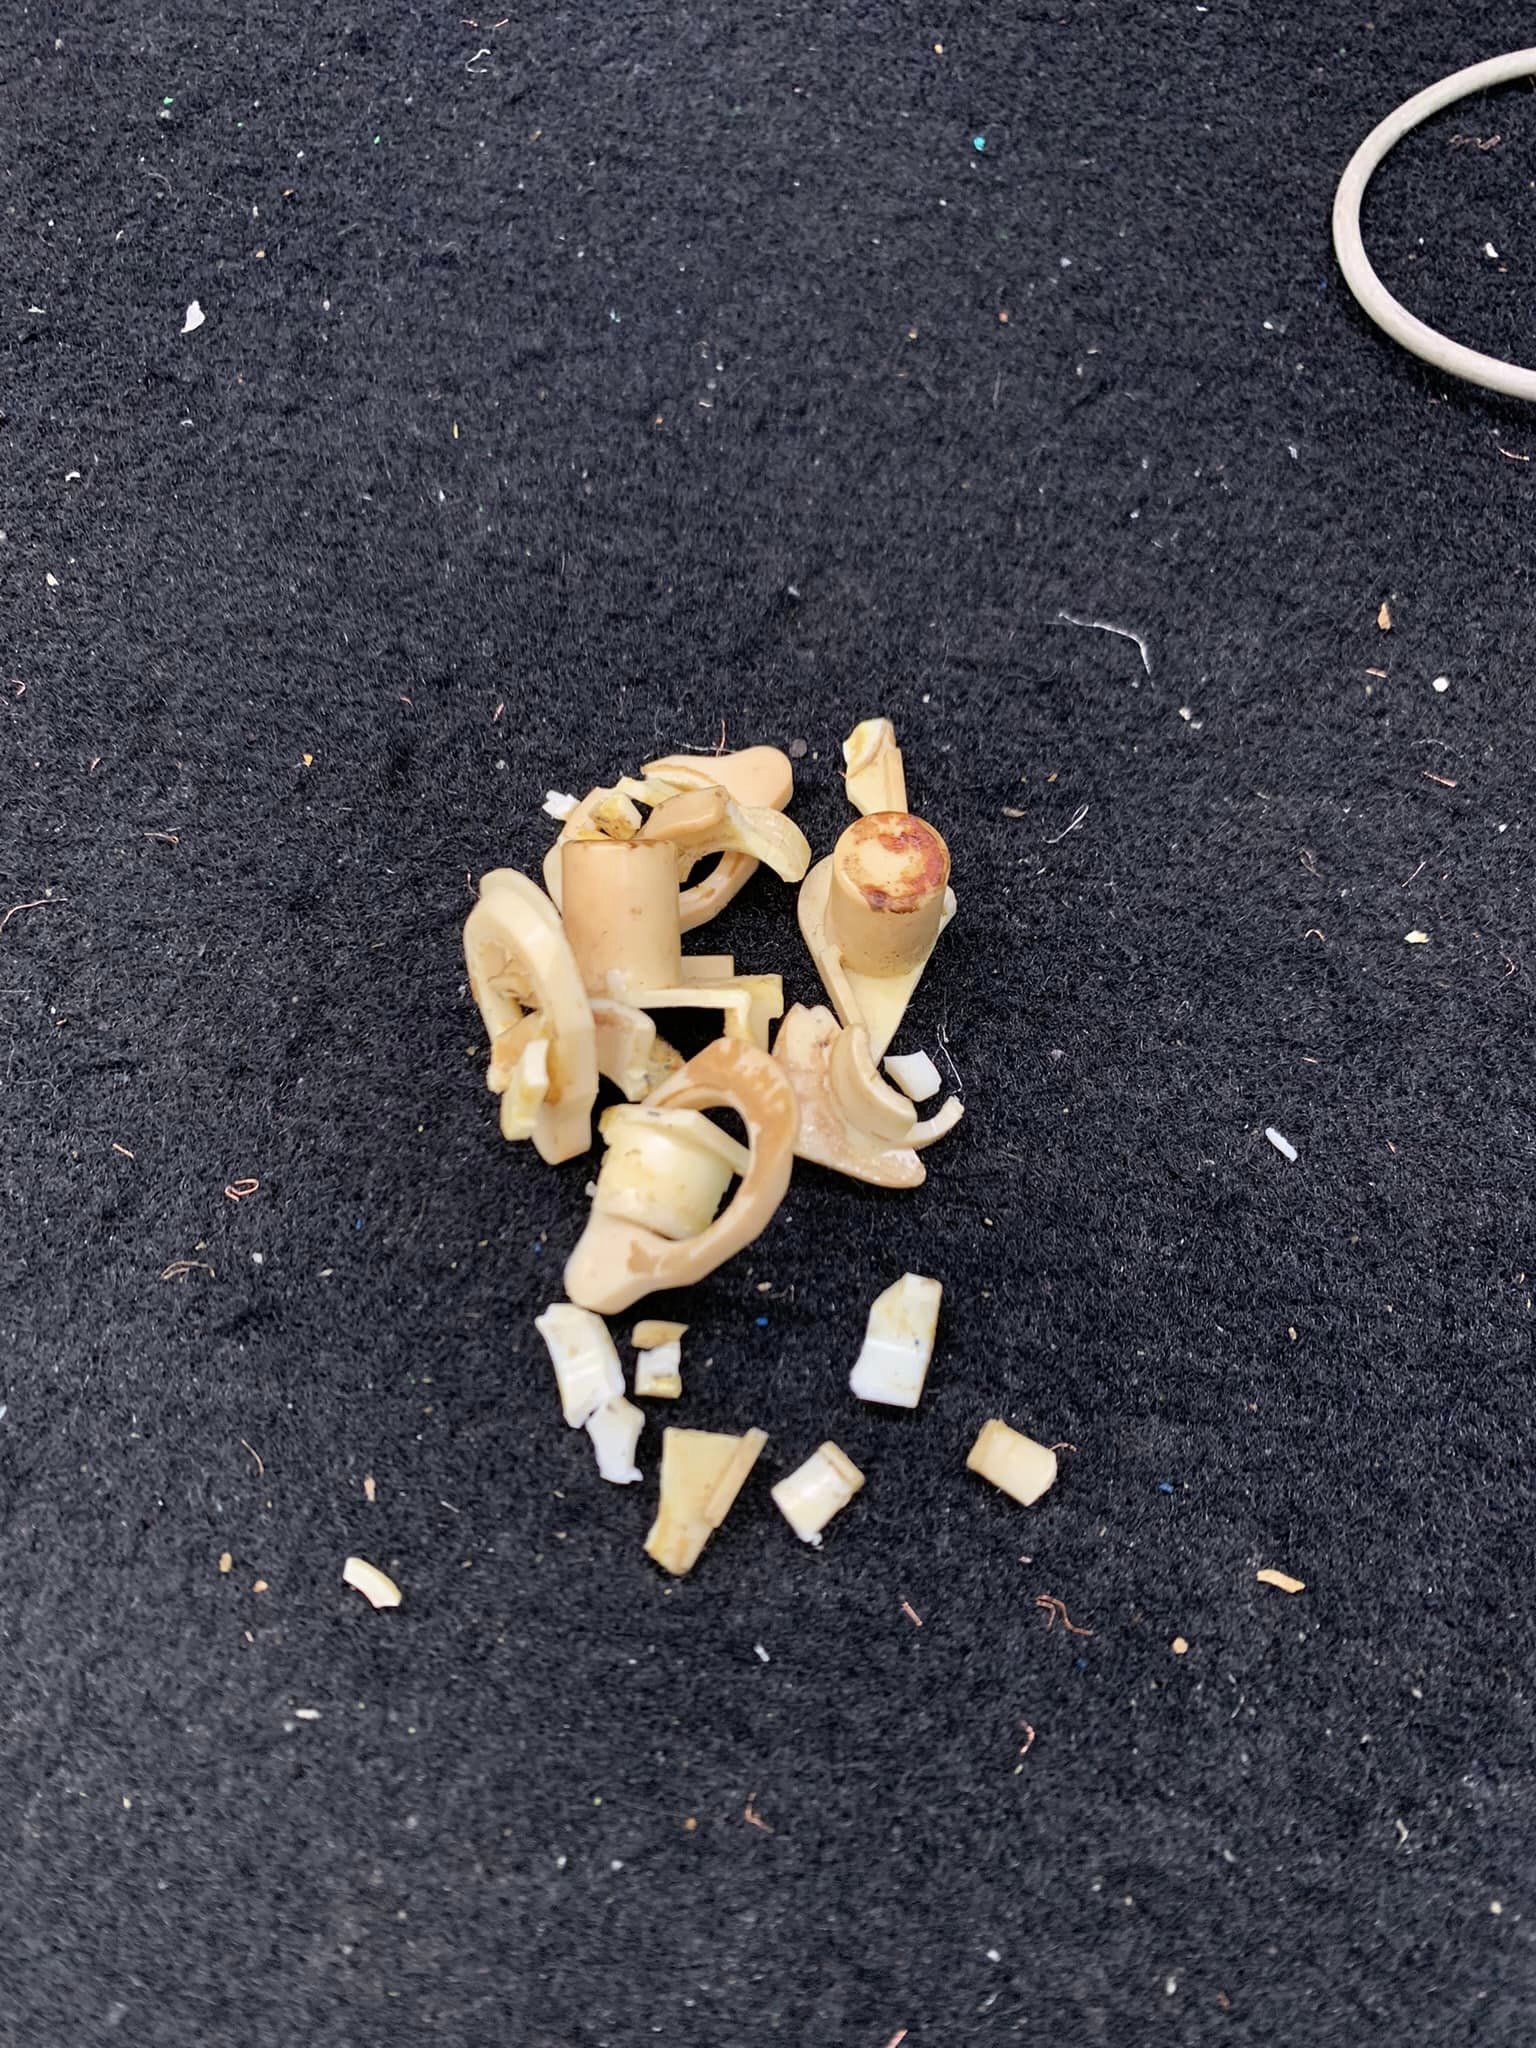
    • After realizing the mistake, I removed it and added the spacers. Unfortunately, the fuel rail tabs had bent from the mishap, causing a major vacuum leak that stumped me for several days.

    • To fix this, I ended up using smaller spacers to properly seat the injectors in the lower intake, along with installing new injector insulators.
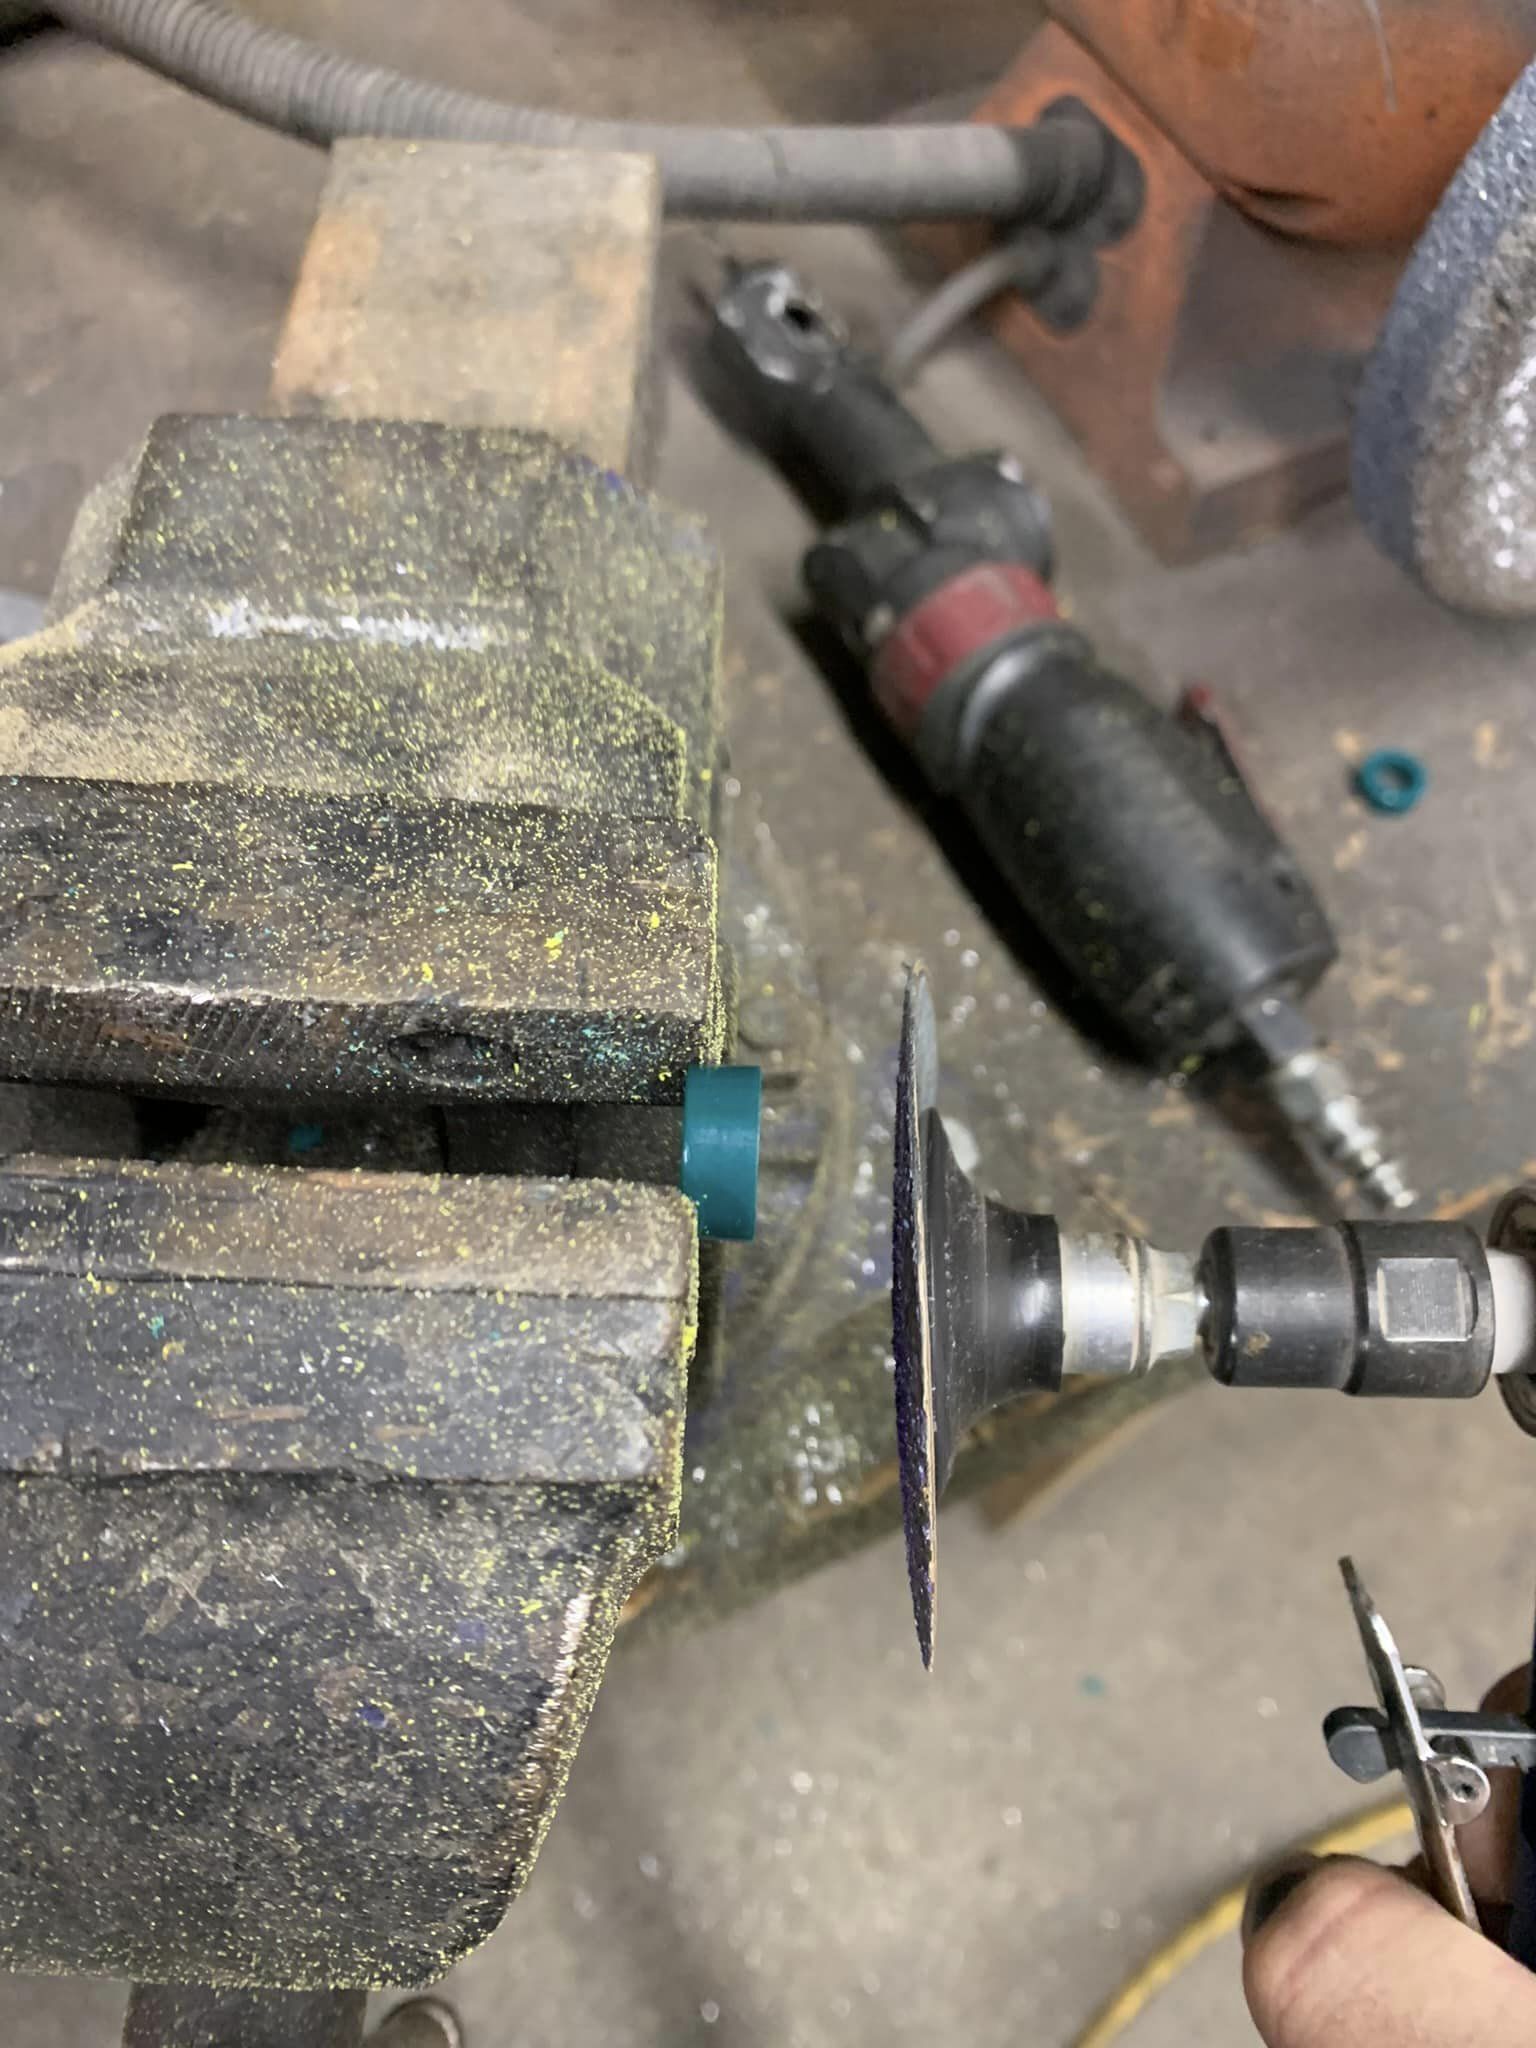
  3. Fuel rail bolts
    The bolts that secure the fuel rail to the lower intake strip very easily. I stripped one and had to re-tap it with a 3/8-24 bolt.

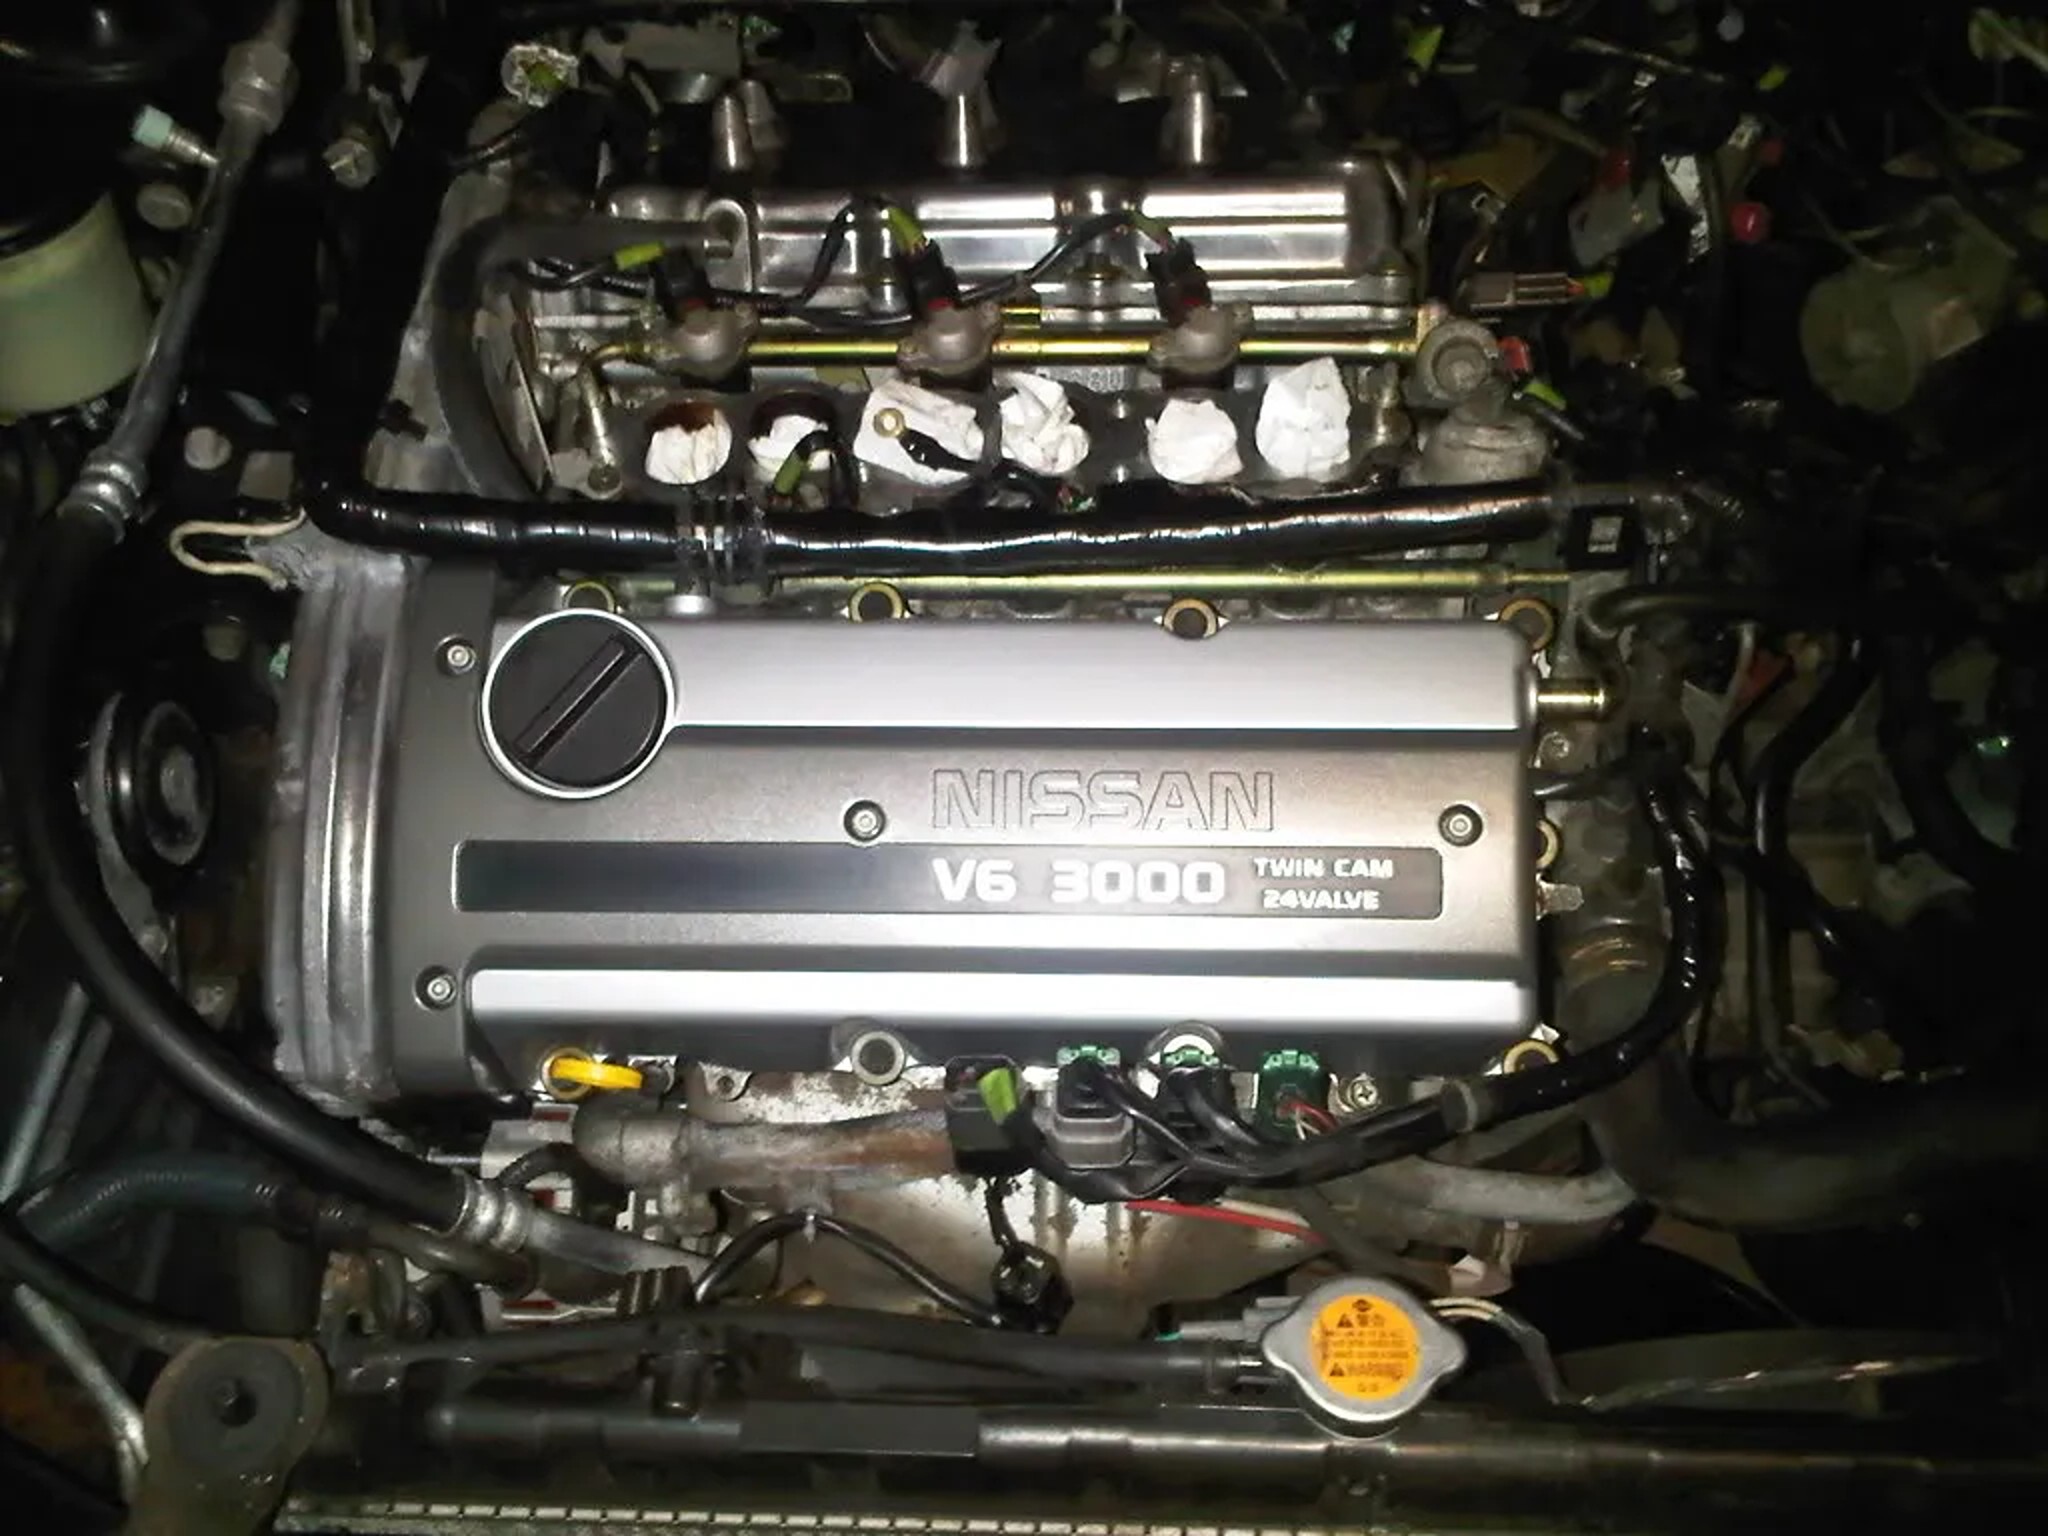
  4. RTV sealant on valve covers
    You must use RTV at the sharp edges on the front and rear valve covers. Most people know this, but I neglected it and had to redo both covers. I also recommend using either the OEM Nissan gasket or the Fel-Pro one.


Lessons Learned

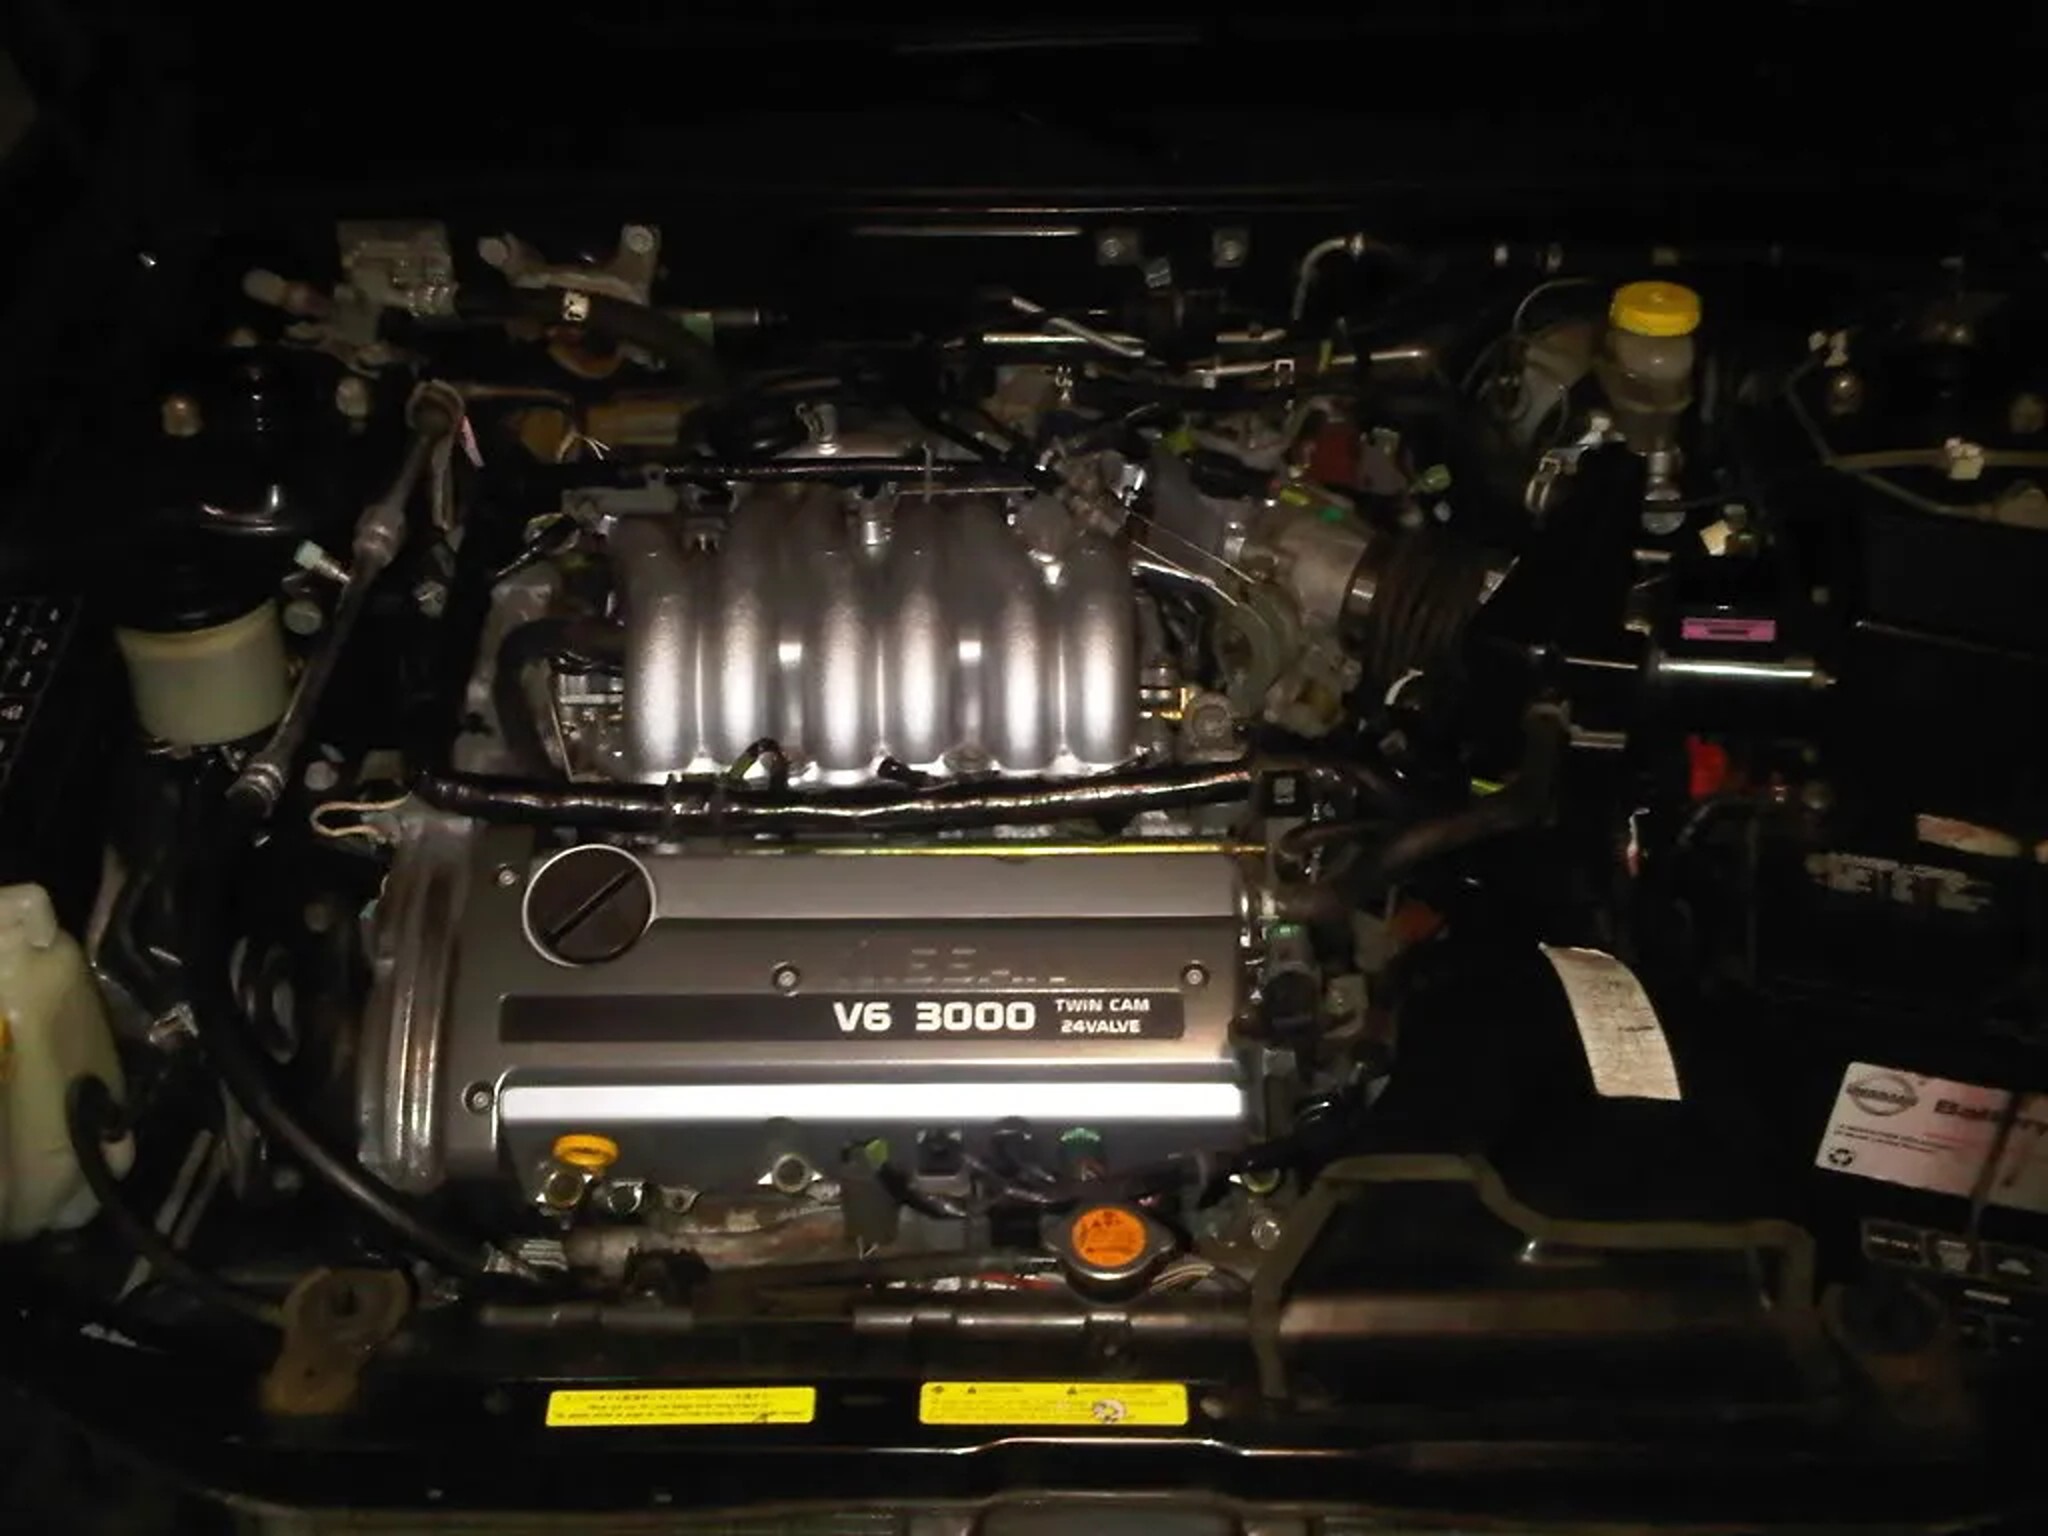
I ended up removing and reassembling the upper intake four times. By the last attempt, I could disassemble and reassemble everything in about an hour. While I had the engine apart, I also completed the following work, and now the car runs awesome:

  • Replaced valve cover, EGR, IACV, throttle body, and all intake gaskets.

  • Painted the front valve cover, ornament cover, and upper intake.

  • Polished the rear valve cover.

  • Cleaned the IACV, EGR tube, upper intake, and throttle body.

  • Replaced all coolant hoses.

  • Replaced the blow-by hose and all cracked vacuum lines.

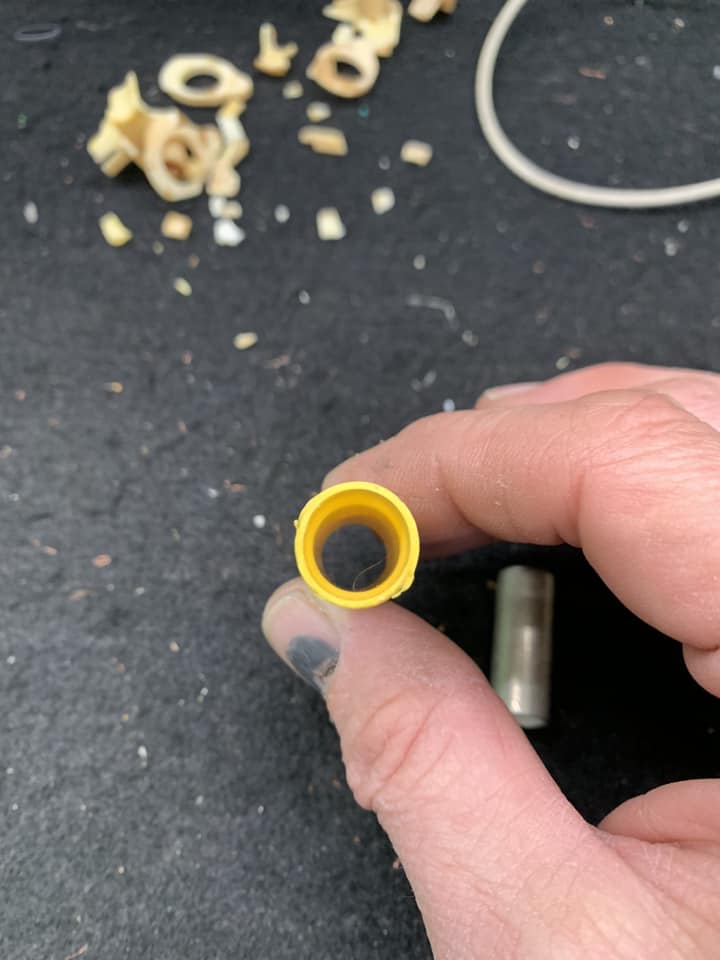
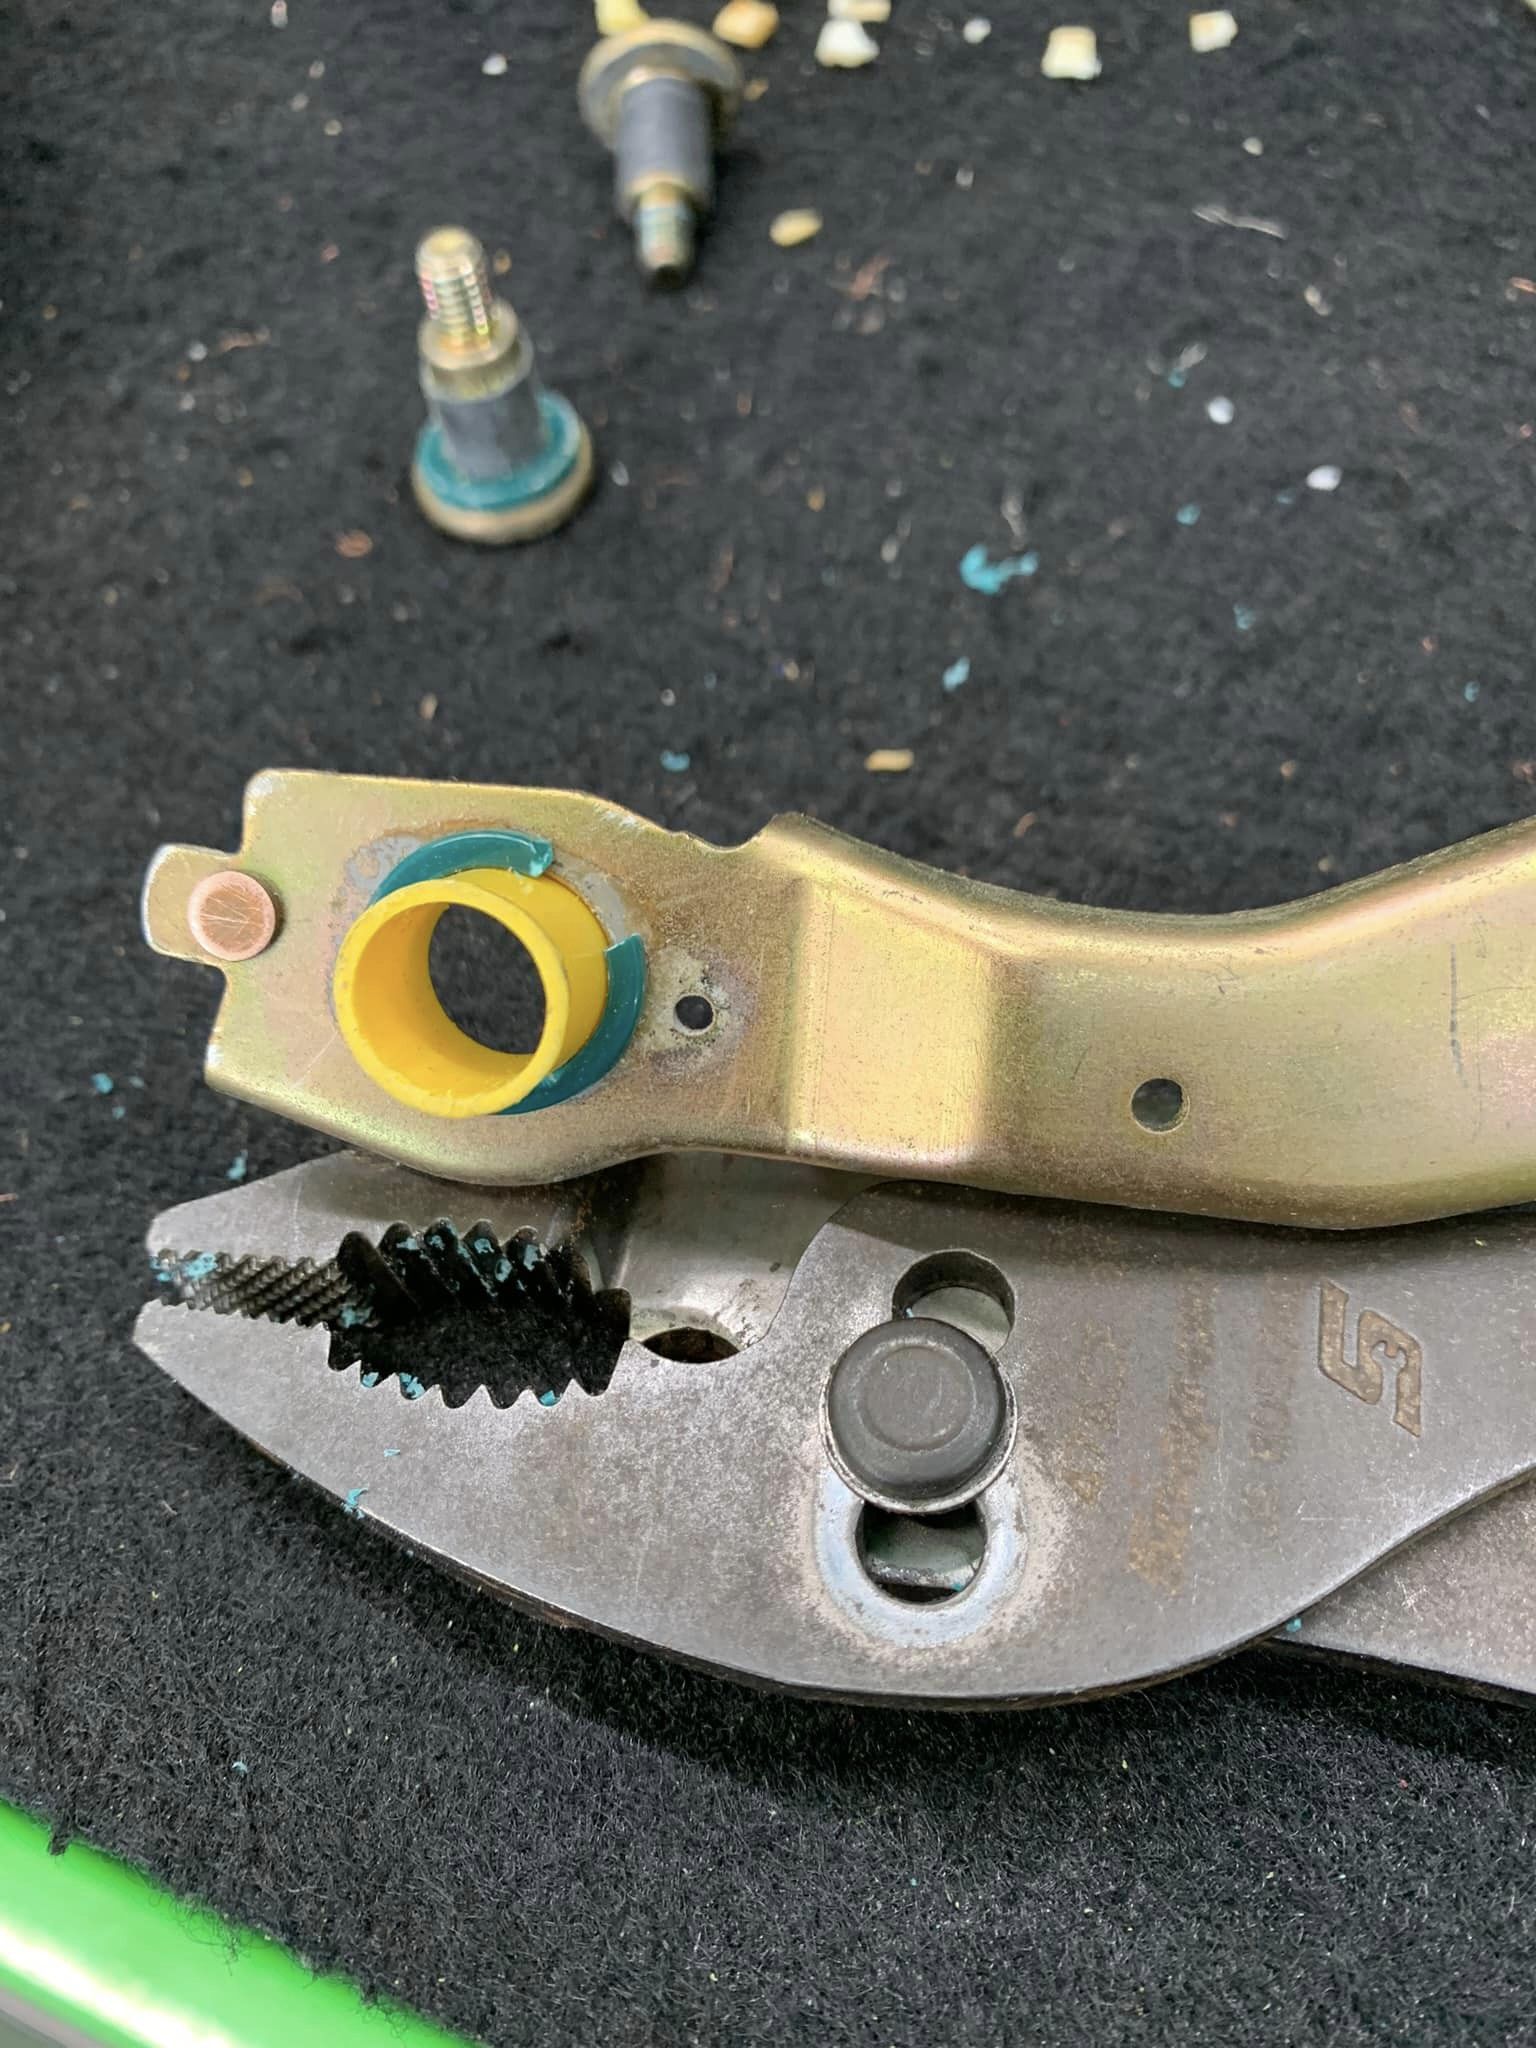
  • Replaced lower intake insulators.

  • Replaced the PCV valve.

Loading

Credit: Cory W.

Chasing down a persistent EVAP code P0440 and a noticeable gas smell on my recently purchased Maxima led me to an unexpected discovery. After replacing the entire EVAP system at the rear of the car with new parts, I found not one but two issues: a torn fuel tank sending unit O-ring and a crack on the top of the fuel sending unit. The odds of both being faulty were surprising!

I managed to identify the problem and thought I’d share my experience with the group. For now, I’ve temporarily repaired the crack on the fuel sending unit with JB Weld, though it still leaks slightly. I’m holding off on a more permanent fix since a new sending unit is already on its way.

Here’s what I noticed: gas bubbles up through the cracks in the sending unit and pools around the electrical connectors, causing a vacuum leak in the fuel and EVAP systems. This triggers the P0440 code without any additional errors. The cracks are a series of hairline fractures, and my O-ring was also severely deteriorated. This seems to be a somewhat common issue for older Maximas, as noted on Maxima.org.

For reference, the new fuel sending unit will cost me $270 and is set to arrive Tuesday. I’ve included photos to highlight where the cracks typically form and the condition of the old seal. As you might imagine, with a 3/4 full tank or more, it was leaking quite a bit. Interestingly, the O-ring’s part number is the same across other Nissans, including the 200SX and all 1991–1996 Sentras. Not sure about the sending unit compatibility, though.

I picked up the car for $2,100 with no rust, but it’s far from flawless. It needs a full suspension overhaul, rear main seal and power steering hose replacements, routine maintenance, some interior fixes, new tires and wheels, and has a few dents and dings. All in all, it’s your typical old but charming Nissan!

Loading

Credit: Justin Morrison

Everyone I spoke to about this insisted that the entire fuel rail needed to be removed to change the injectors. However, I found a video demonstrating a way to do it without removing the fuel rail. The injector only cost me $2, and now the car is running as well as it did before all the issues. I hope this information helps someone else. You have no idea how happy we are that it’s finally fixed!


Loading

Credit: Justin Morrison

My lesson for the day was that the vast majority of sunroofs out there have a mechanical backup for if it gets stuck open or in the tilt position. At that point I just unplugged the controls to remove the panel so I could bring it inside. I took the entire switch apart and sanded the corrosion off the terminals. Put it all back together and imagine that, ITS FIXED! I miss when they made things to last and/or serviceable.


Loading

Warning, long post but worth it if your a 4th gam Maxima owner!

  • Any of you 4th gen Maxima guys/gals even have your horn just start blowing out of the middle of no where or take the steering wheel air bag off only to find a pile of white plastic pieces everywhere? This is because the plastic insulation parts have deteriorated, cracked, broke and no longer do their job insulating the air bag section from ground. These parts where ever sold separately and the whole steering wheel itself is no longer available through Nissan. I have had multiple Maximas with this same problem so I figured I’d come up with a cheap and reliable solution using parts that are easy to find.
  • Since I work at a car audio shop I figured there has to be a way to use parts normal found at a reputable car audio shop to fix this problem. Here is what you’re going to need; 2 yellow 4ga butt connects, 8 1/4” or bigger plastic spacers, Some 1/4” heat shrink
  • Basically you are going to file/sand down the plastic spacers to less then 1/8”. You don’t want to go too thin. We don’t want them to crack under the pressure of the horn springs. I used a air sander and found it was actually easiest to hold the spacer between two fingers and sand one side at a time. I only sanded my fingers a couple times, LOL. Before you sand four of the spacers you need to drill them out a little, to about 7/16”. You used a step bit and just went slow. Again, we don’t want them to crack. Once you sand those four down you need to cut a slit in them. I simple pair of wire cutters make quick work of this task.
  • Take the four torks bolts that hold the air bag bracket’s off. You are going to cut the heat shrink to the same length as the smooth part of the bolts, you don’t want the heat shrink to cover any of the threads. Side them on and shrink them in place.
  • Next take the four plastic washers you didn’t drill out and slide them onto the bolts. Its going to be a little bit of a tight fit but they will go on.
  • Now take the two 4ga butt connects and press the metal connector out of the middle. We only need the outer insulators. I used a couple of sockets to tap them out. Next you need to cut them in half, making four pieces. You will be left with four pieces, each with a big and small end. Next your going to sand the large end of each piece down so it’s the same size as the smooth part of each bolts that’s left after putting the first washer on. Again, you don’t want them to cover any of the threads. Once done slide these onto the bolts and slide the bolts through the mounting brackets.
  • Next, take the four washers you drilled out and cut and carefully put them over the center insulator by prying them open a bit, being careful not to brake them. I had no problems as they are pretty durable.
    The final step is you are going to have to ”unwind” the spring a bit. They are a little too small to go over the center insulator so unwinding them will make there diameter bigger allowing them to side over the insulator. I took a pair of small pliers and on a few locations around the spring unwound them. Kinda hard to explain but I think you can get the idea here.
  • Now it’s time to reassemble everything. Just make sure the springs are outside the center insulators and you will be all good. This should last the life of your car for only a few dollars.
  • If anyone has any questions feel free to ask!

Loading