Spray Paint & clear coat & primer from Paintscratch.com *tri-coat if needed*
some type of Circle shape that will cover up the red spots in Altezza’s
Goof Off or Goo Gone product *Home Depot*
Instructions
1. View your Altezza’s and enjoy it while it lasts.
2. With the circle shape (I took bowls and matched them up on the Altezza’s and then draw the shape on paper. I taped the front side so it doesn’t absorb the paint in. Then taped them to the Altezza’s making sure no paint will go through. Then put it on the Altezza lights.
*Note*: I didn’t cover up the side marker because I didn’t need them You may cover them if you want to.
3. Spray a thin layer or two of the primer. Try to get a primer that is close to your car color. Let it dry.
4. Use the paint you got from paintscratch.com and spray them layer by layer. The best is to put a thin layer on, come back in 10 minutes, put another thin layer. And repeat this step till you have the whole thing covered. Try putting about 10 layers on.
5. Wait till it dries… Let it dry for about 3 hours.
6. Clearcoat *or tri-coat if you needed* with layers. about 4-8?Whatever floats your boat.
7. Let it dry for an hour or so… after it is dry, CAREFULLY take off the circle thing that you used. you don’t want hand marks on that thing…
8. You will see some parts that you painted that you don’t want. Simply wipe them off with Goof Off product. Do not use too much of it, it will leave little marks. Don’t try to make it too perfect or it will look stupid at the end.
9. Go outside and clear coat the WHOLE THING and it will leave you one shiny
skyline’s ass!!
Alright, so I know this isn’t a complicated procedure, but a lot of people like to know exactly what they’re getting into when they go to do a mod. I’m one of those people. I had found a tutorial before, but it seems it has gone offline or I can’t find it anymore. So I decided to take pictures and write one up while I did the mod myself.
Time: 5-10 min.
What you need:
Clear Bumper Lenses
Two 1156 Amber Bulbs
Two 194 Amber Bulbs
And these tools:
Step 1) Take off the outer light housing using the 1/4 Flathead Screwdriver wrapped in the cloth. Pry from the left side of the housing because the clip is on the right.
Step 2) Unscrew the one Phillips head screw holding the inner housing as seen in the above picture.
Step 3) Remove lights from housings, simply grab the Grey connector and twist, then remove.
*Note* Some states require amber bulbs (NJ does not) to be installed as well since our stock ones are clear, if this does not apply go to Step 4:
Step 3a) For the outer bulbs simply pull the bulb and it comes out
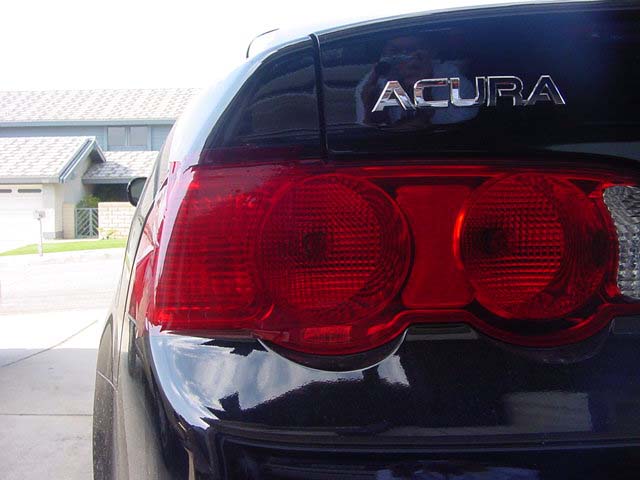
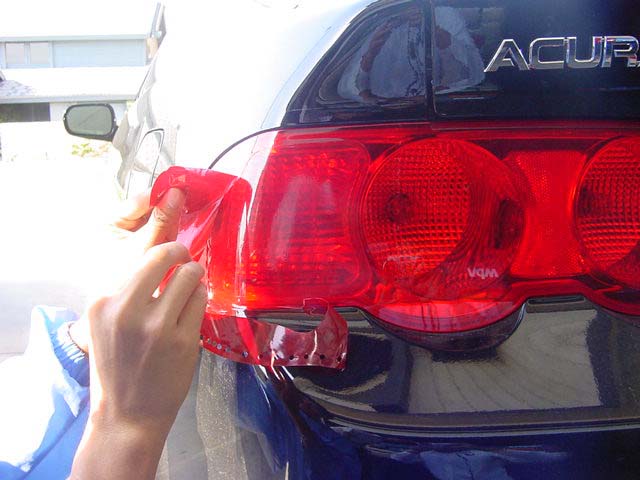
I’ve explained this a lot of times but i thought I’d write a clean explanation on how to “red-out” your tails. This really goes out to all the 95/96 owners who want to at least get rid of the ugly ambers on their tails. This process requires some effort but is worth it in the end. There are 2 ways to red them out… using red tape or painting them. This is how to use the tape. Of course the real red/clears look great but this is a pretty simple $3 cosmetic mod!
Things you need:
HeatGun or BlowDryer (heatgun works better)
Soapy water (water mixed w/ dishwasher fluid works)
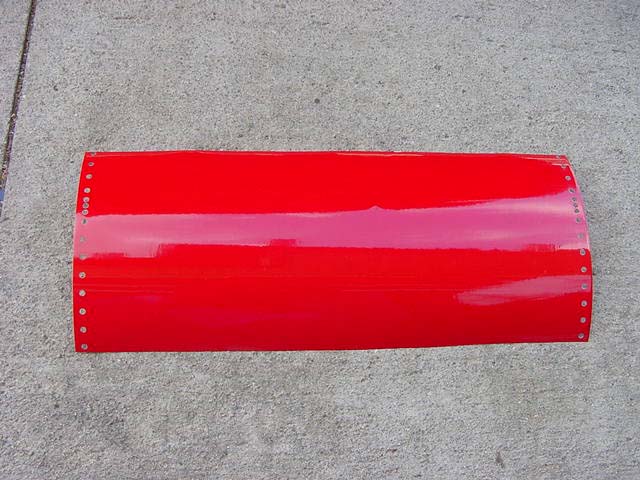
Red Translucent Vinyl Tape (can be purchased at a hobby store or from Oracal.com – 8300 High Performance
Translucent (link is external)… one sheet would be enough to cover both ambers; $3 per sheet)
something flat and hard… a credit card works perfect
Procedures:
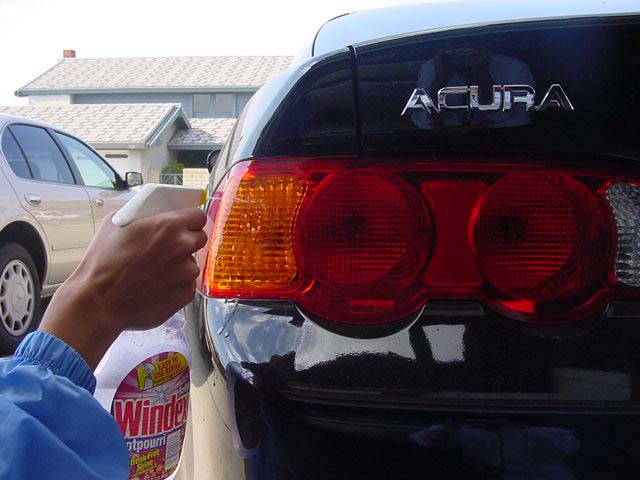
1. Wash/Clean both tails so that there isn’t any dirt on them
2. Now, apply LOTS of soapy water on the tails… let it run down, it doesn’t matter, but they need to be wet as you apply the tape. The reason for the soapy water is to avoid any air bubbles or having the tape annoyingly stick onto the surface where u don’t want it to be.
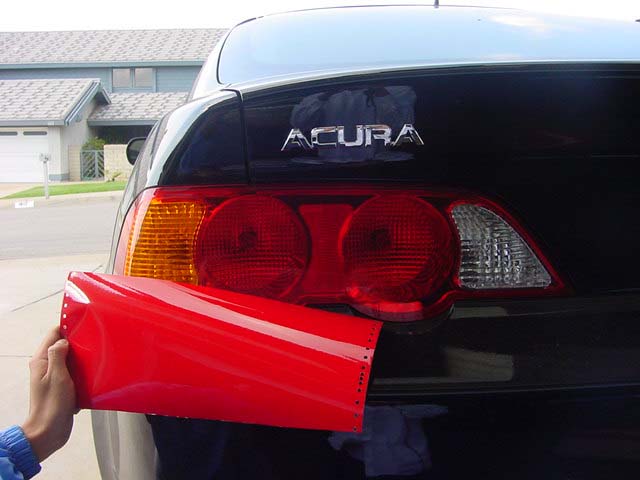
3. Now place the tape on the ambers and position it. With the water under the tape, you will be able to move the tape and adjust it properly.
4. After adjusting it, use the credit card to squeeze out the water underneath. Start from the middle, then move outwards. Keep scraping the top of the tape so that the water underneath will squeeze out from the ends of the tape. Don’t worry, the adhesive will still be 100% sticky.
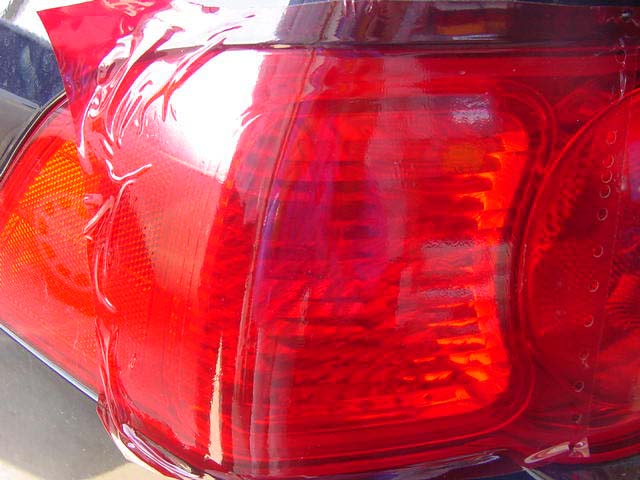
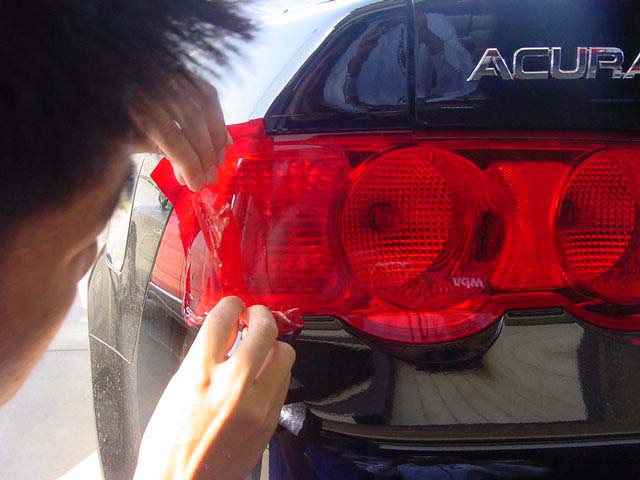
5. Now that you’ve squeezed out as much as u can on the most flat surface and the tape is stuck to the ambers, you will realize that u have to do the outwards of the ambers where they curve. For this to be done properly, use your heatgun/blowdryer to heat the tape so that it “melts” or become softer and stretchable.
6. As you heat up the curved parts of the tape, stretch the tape out as hard as you can w/o ripping it hopefully to wrap around the curve and not form any air bubbles. CAUTION: Don’t burn your fingers!
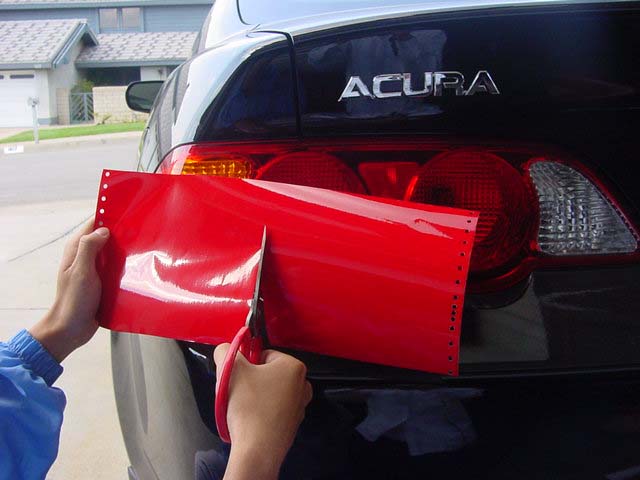
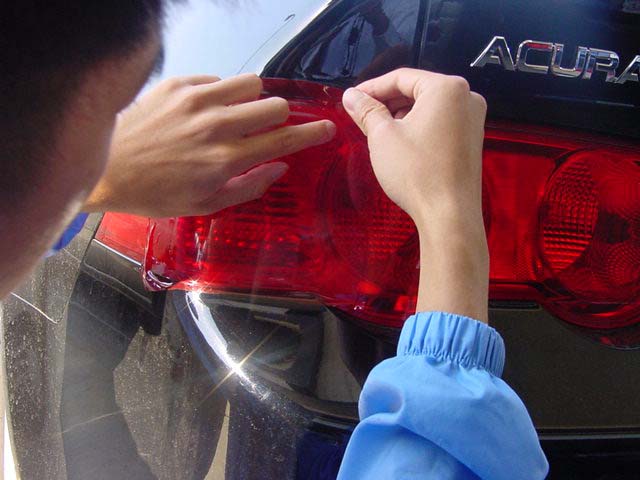
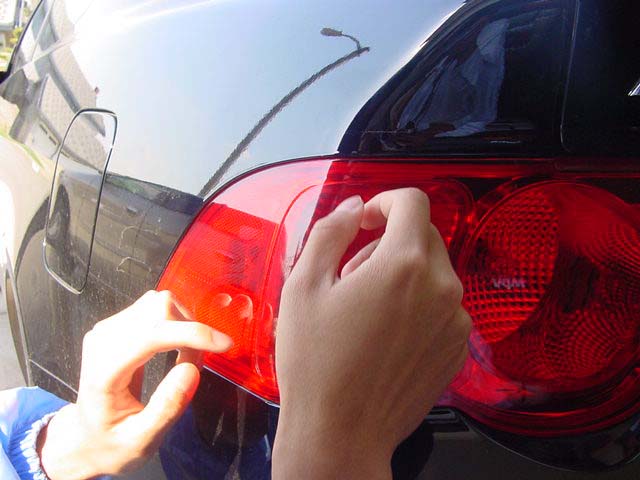
7. After doing a satisfactory job w/ the tape stuck to the ambers, use an exact-o knife or razor to cut the excess tape off. CAUTION: Don’t cut yourself in this process.
Voila! No more ambers.
As you read this instructions, you may start to realize this is EXACTLY how tinting windows are done. Basically you are doing a tint job on your ambers. Good luck!
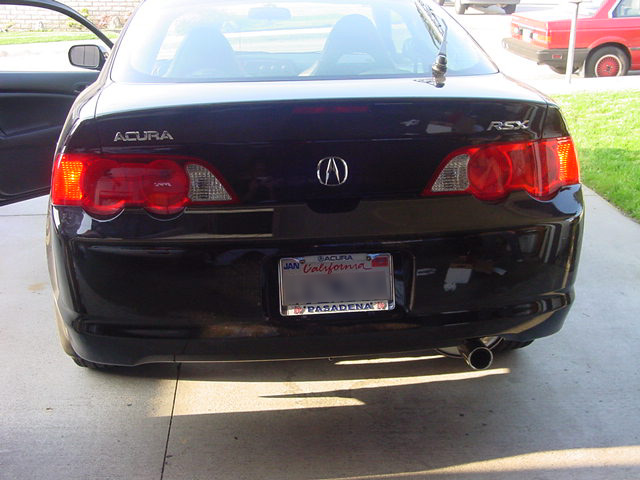
ACURA RSX RED OUT TAILLIGHT INSTALLATION
Tools Required
Xacto Knife
Hair Dryer
Red Transparent Vinyl
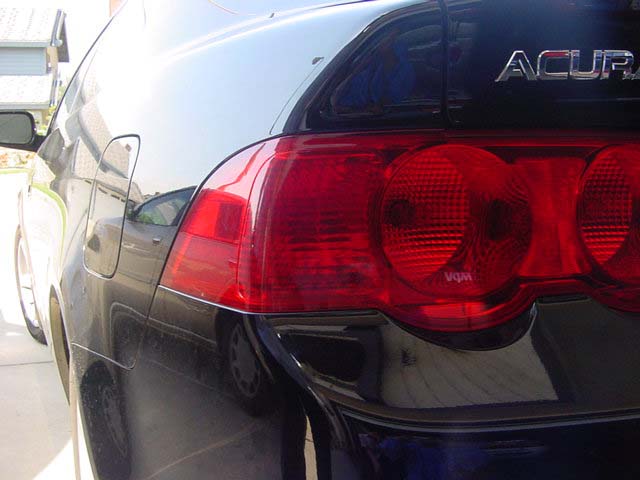
Step One
Get your sheet of transparent red vinyl.
Step Two
Put the sheet up to the signal light and see how much you will need.
Step Three
Start cutting the vinyl so u have enough for one side.
Step Four
Mix water and dishwashing liquid in a spray bottle and spray onto the tail lights.
Step Five
Peel off the vinyl, exposing its sticky side.
Step Six
Apply the vinyl flat and parallel to the tail light.
Step Seven
Flatten the edge out as much as possible, while pushing outwards towards the borders of the vinyl. Doing this will push out all of the soap water underneath. If you fail to push out most of the water, theirs a chance of small bubbles forming. Now do the same to the sides of the signals. This part is a bit trickier because the vinyl might wrinkle a bit on the sides.
Step Eight
This step is optional, but it is highly recommend. This will help get rid of wrinkles, giving you a smoother, cleaner look. Use a blow dryer and aim it towards the edge of the vinyl. You will notice that the vinyl quickly becomes more flexible. Use this to your advantage. Pull the vinyl outwards and stretch it so that it is taut (not slacked.) And use flatten it down. It helps to have another person help u at this stage, but not necessary. The vinyl should be on nice and smooth over the amber signal area.
Step Nine
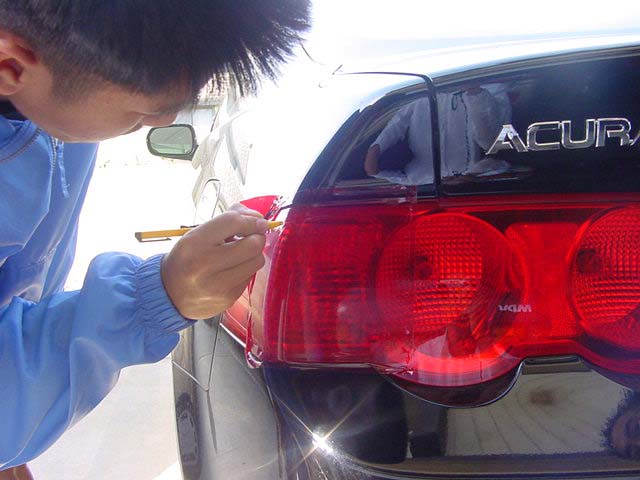
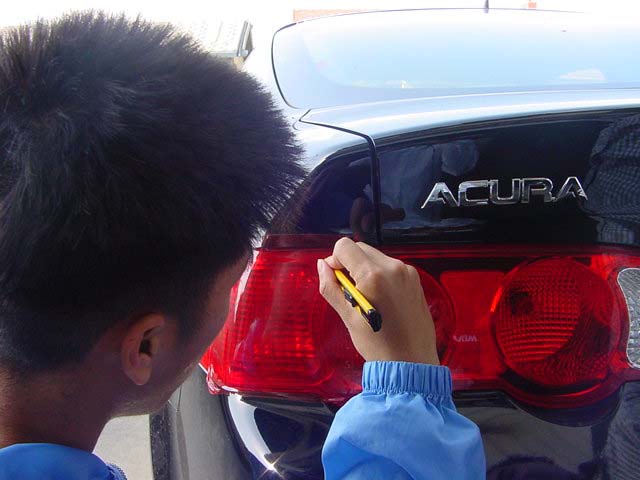
With your exacto blade, begin lightly tracing the shape of the signal. You should be able to see the shape through the vinyl.
Step Ten
Once you have traced the entire outline of the amber tail light, start peeling off the excess vinyl.
Step Eleven
Once you have gotten rid of all the excess vinyl, flattening it out again with your hand to get rid of any left over water/bubbles.
Step Twelve
Wait about 5-10 minutes to ensure its dry.
If you ever want it back, all you have to do is peel it off. The vinyl is very strong and will withstand the weather and car washes.
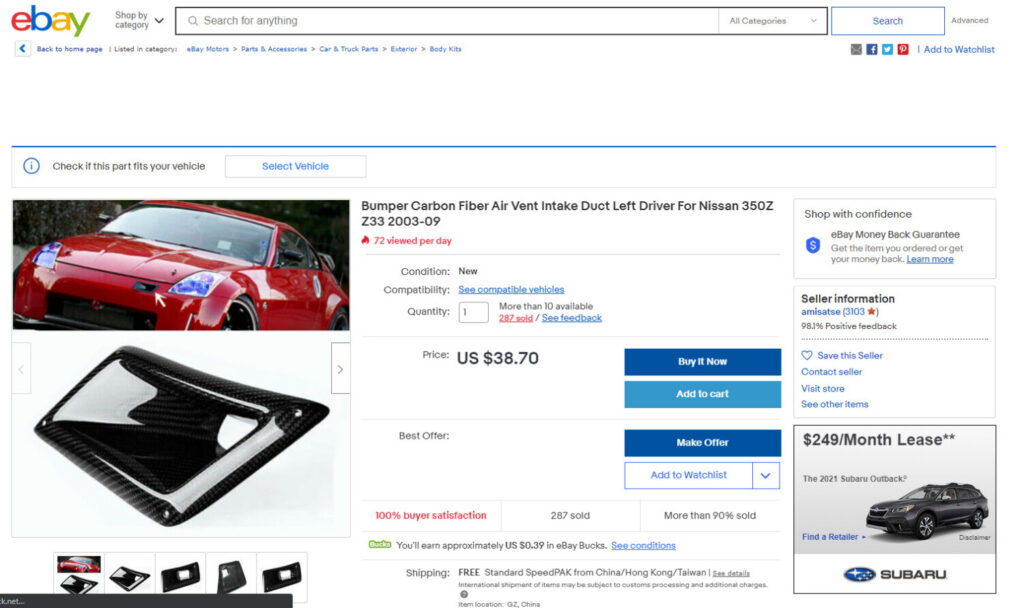
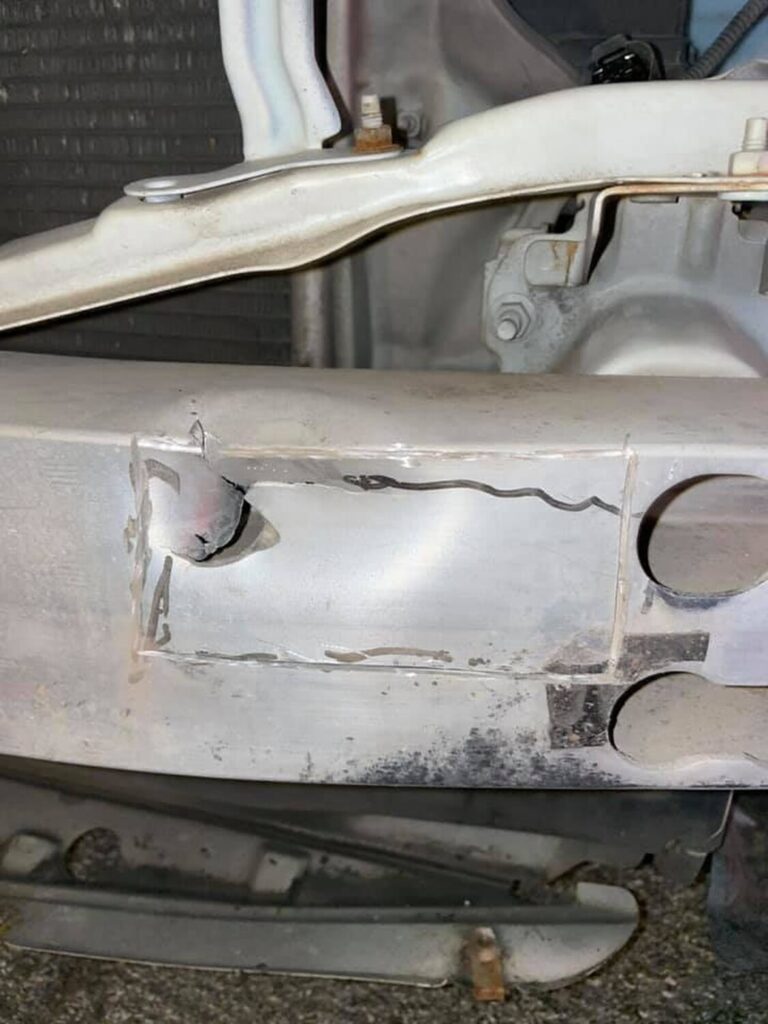
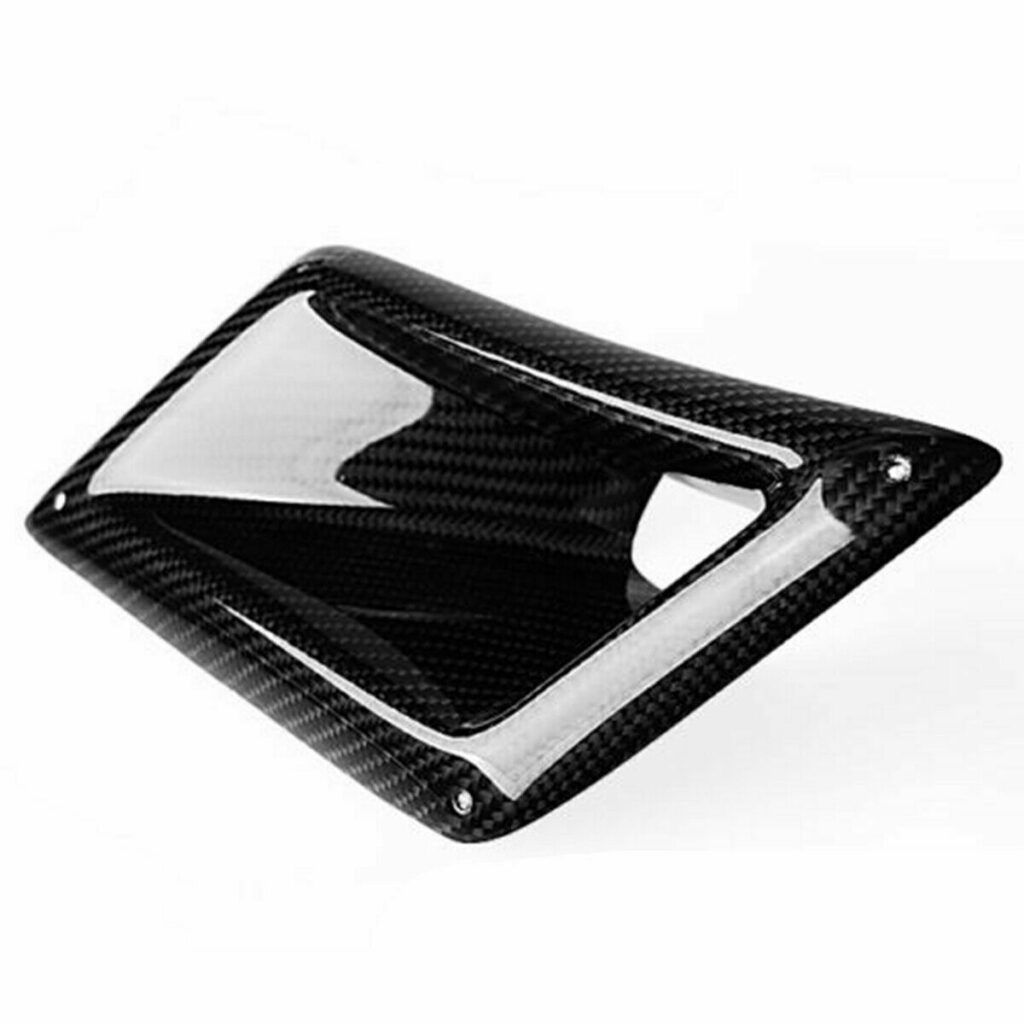
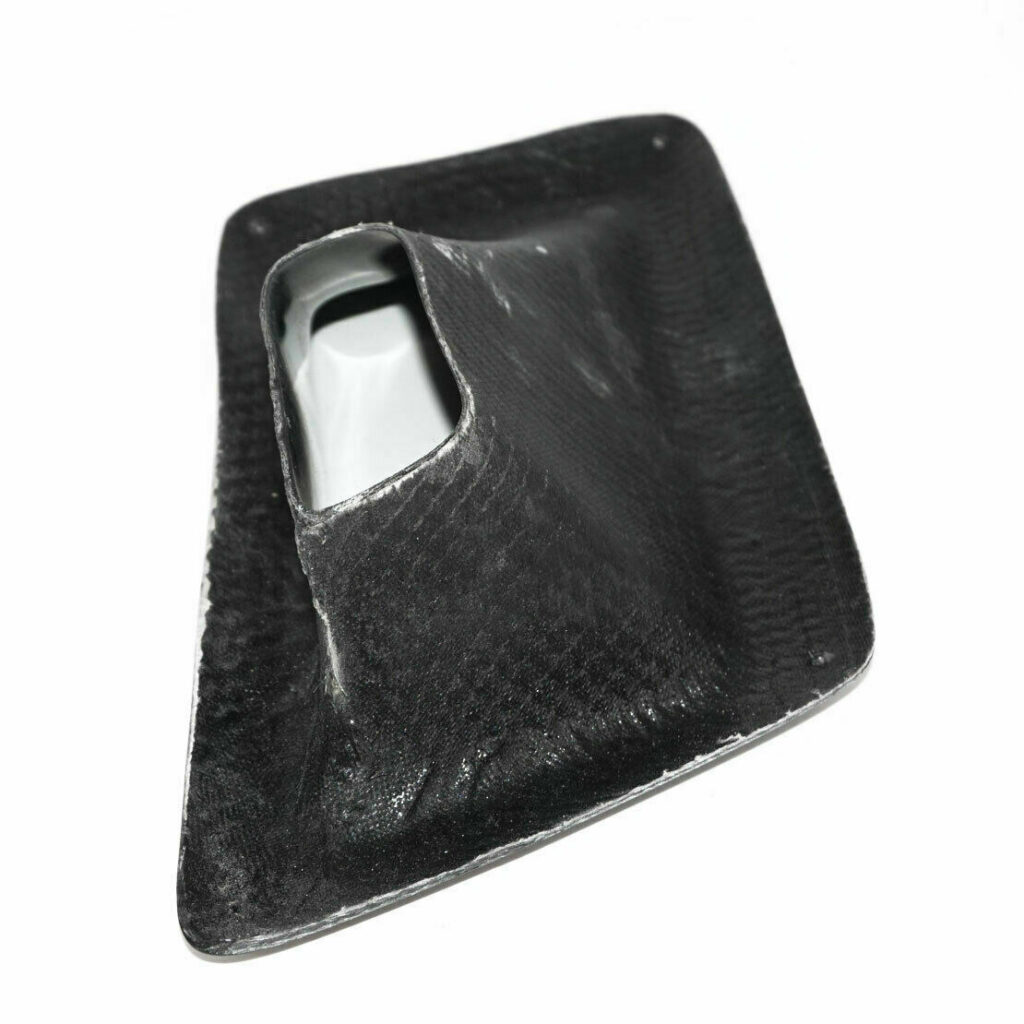
Description: Bumper Carbon Fiber Air Vent Intake Duct Left Driver For Nissan 350Z Z33 2003-09 Price:$38.70 Shipped eBay Order Link:https://www.ebay.com/itm/193269721728
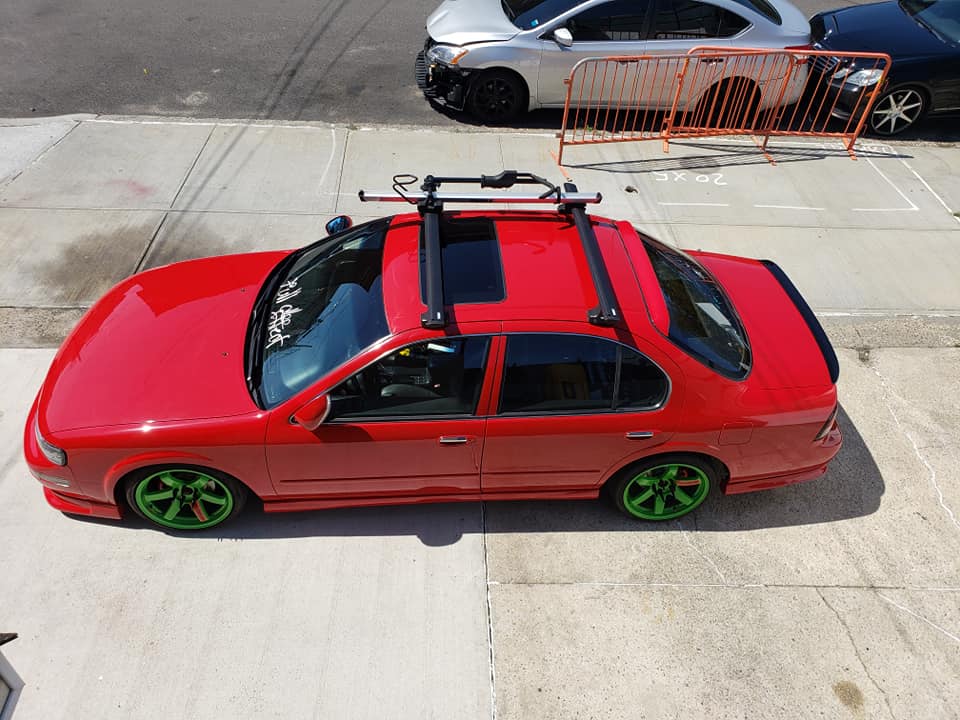
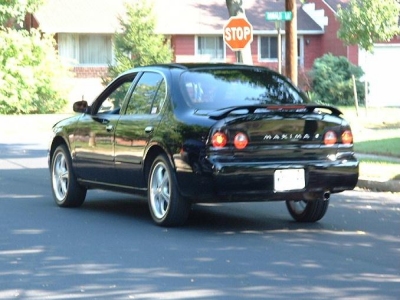
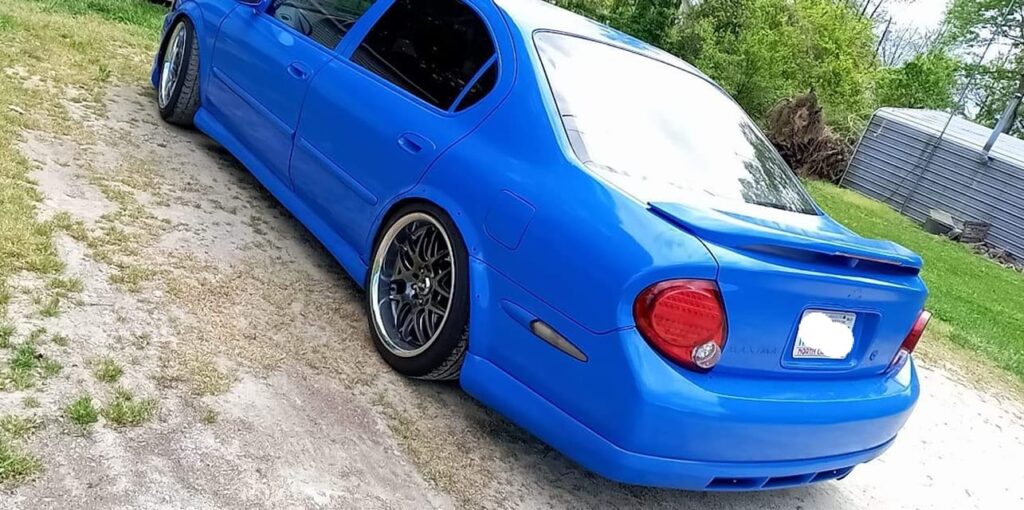
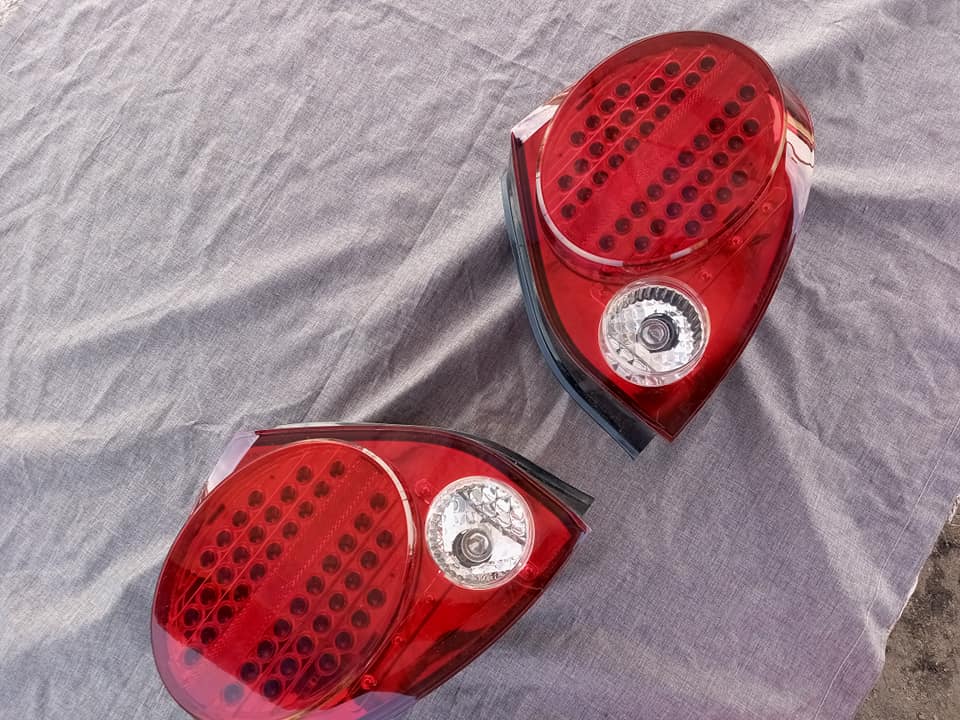
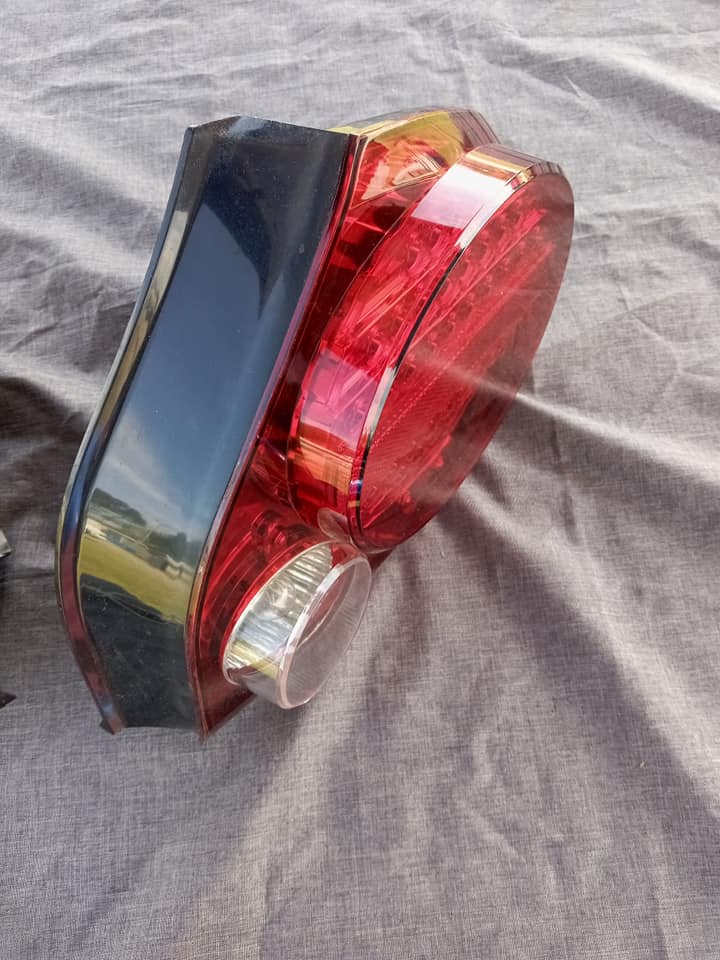
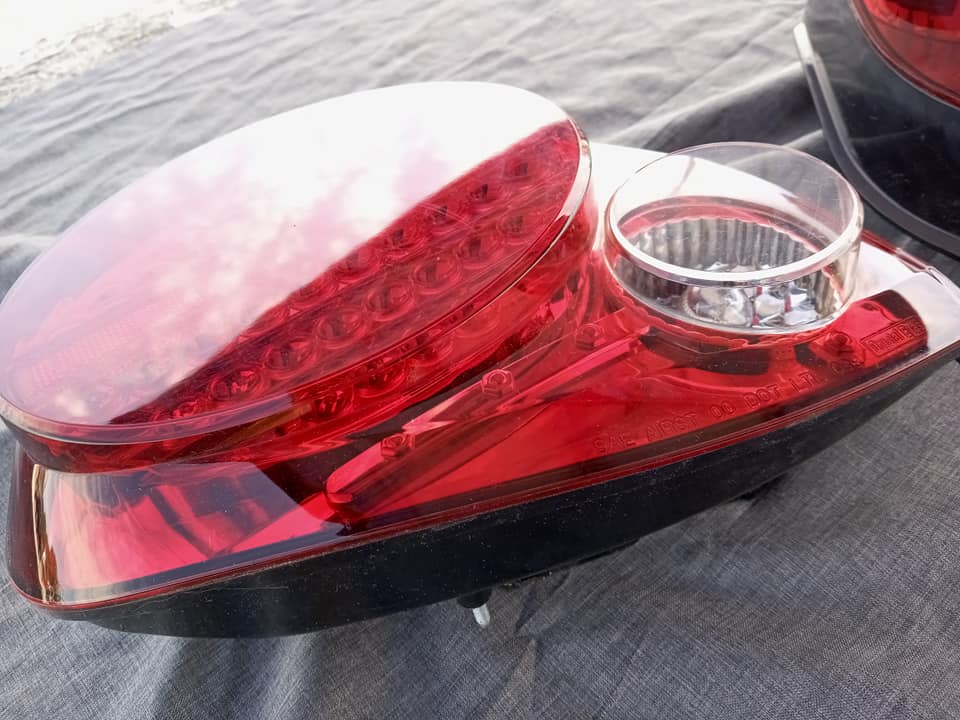
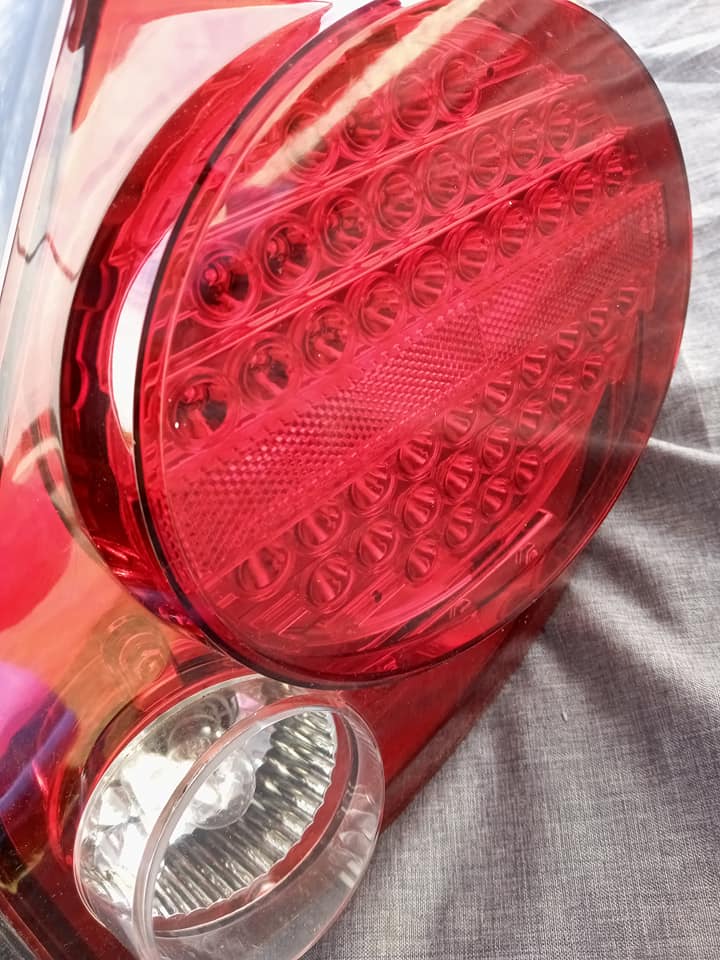
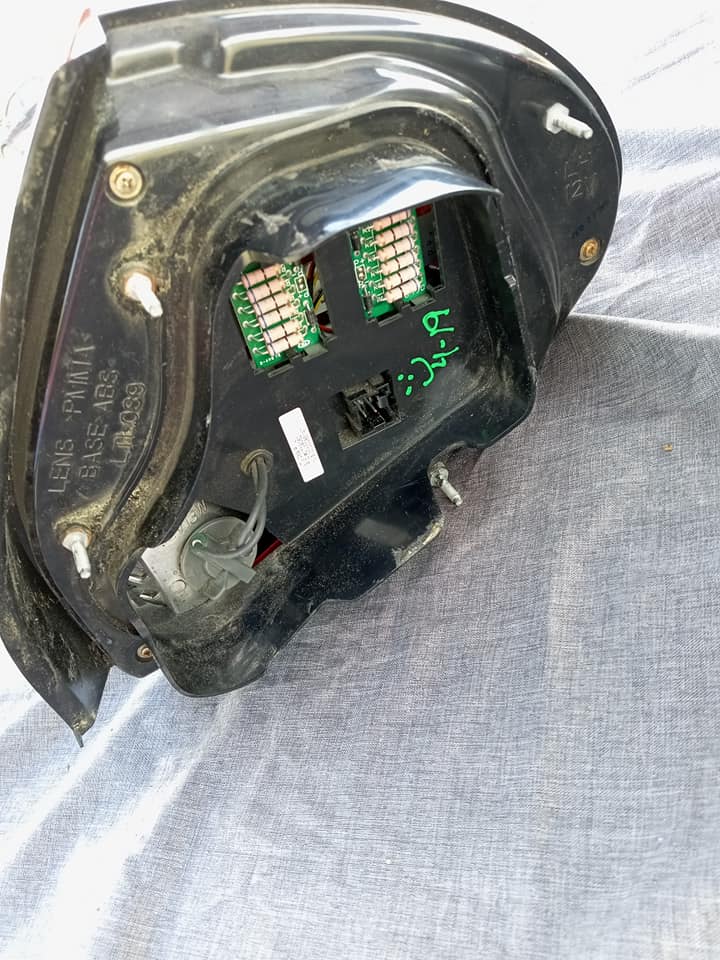
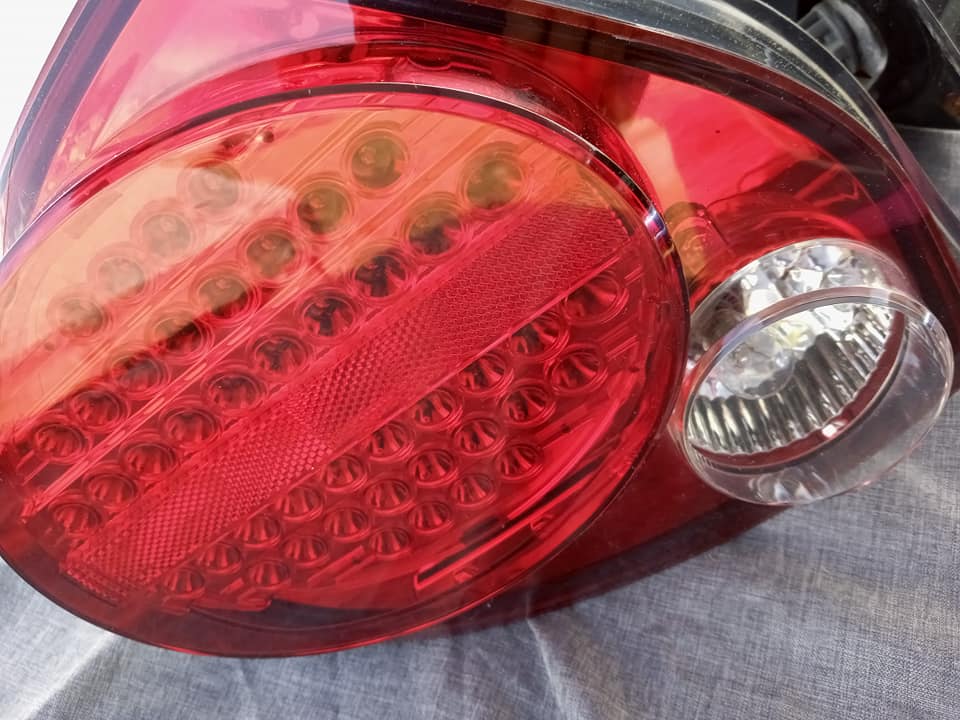
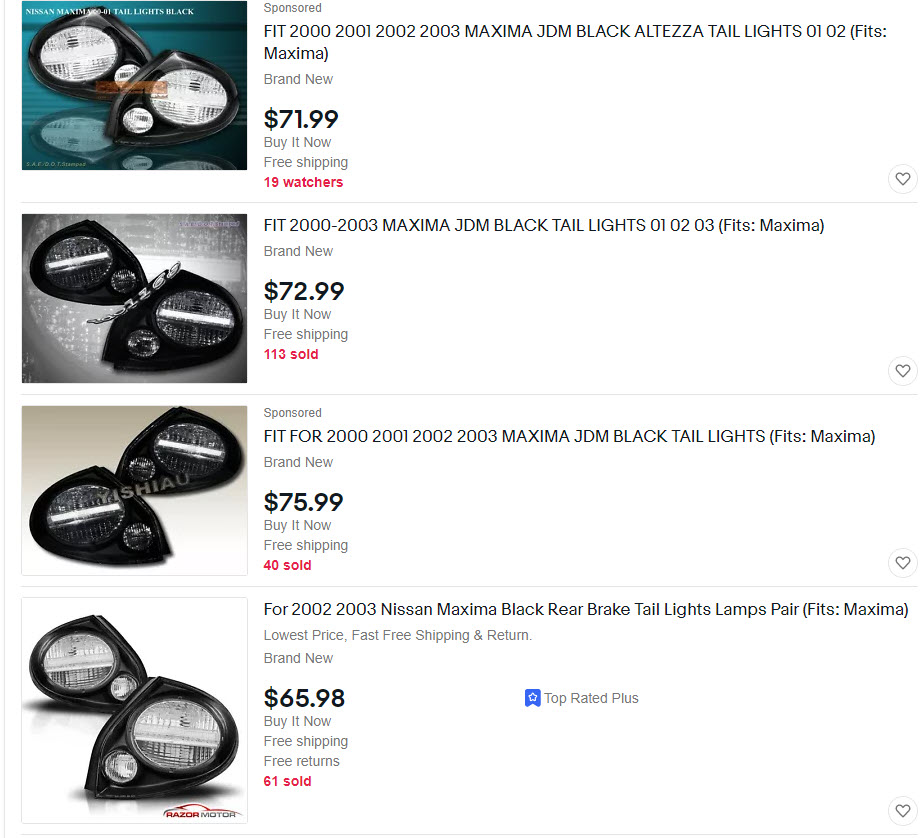
You can usually find these JDM Style Tail Lights on eBay. They range from $70 to $80 bucks. Below are photos of them installed on 5thgen Nissan Maxima’s.
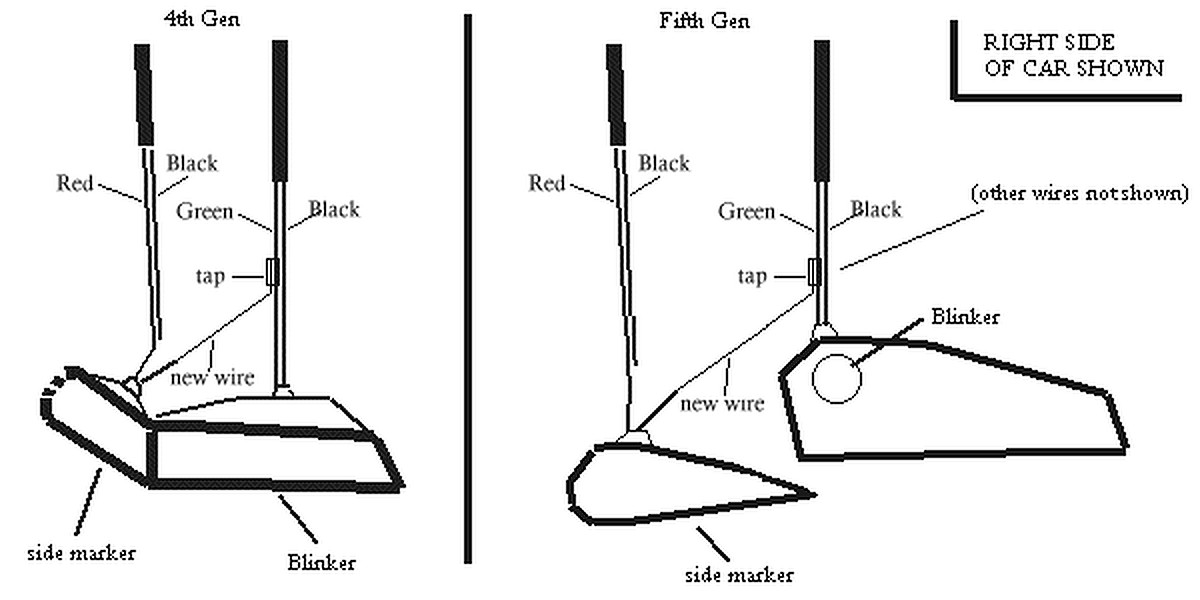
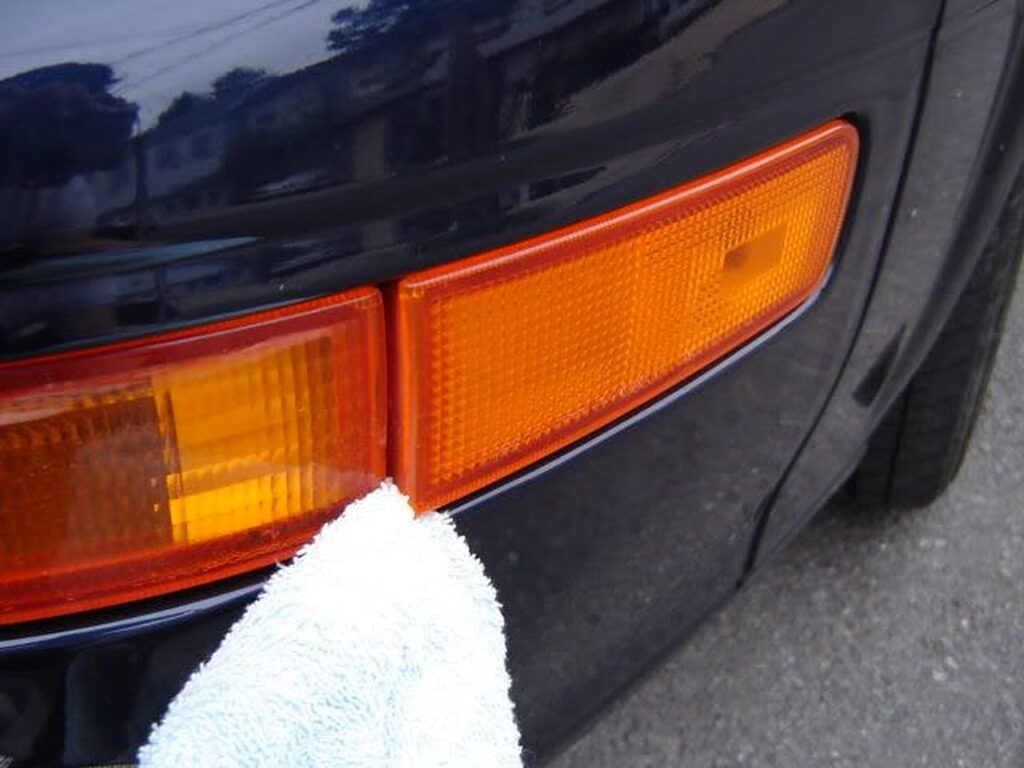
Find the blinker
(on 4th gen, remove blinker and marker assembly, on 2k just remove side markers)
Find the power for the blinker ( green wire )
Tap a wire long enough to reach the side marker ( use the best judgment)
on 2k you will need to pass this wire through to the marker somehow. find a hole
Cut the ground on the marker (Black wire)
Connect the wiretapped from blinker to the ground that goes TO the marker.
DONE
The wiring should result in:
Alternate blinking with lights are on
Markers blinking in sync when lights are off
Normal marker operation when not blinking
Tips:
Disconnect the wire harnesses for better reach you may also have to cut away some of the plastic wire cover.
Use electrical tape or shrink wire wrap to make things neat.


")


")


")