Credit: Kirill Savin


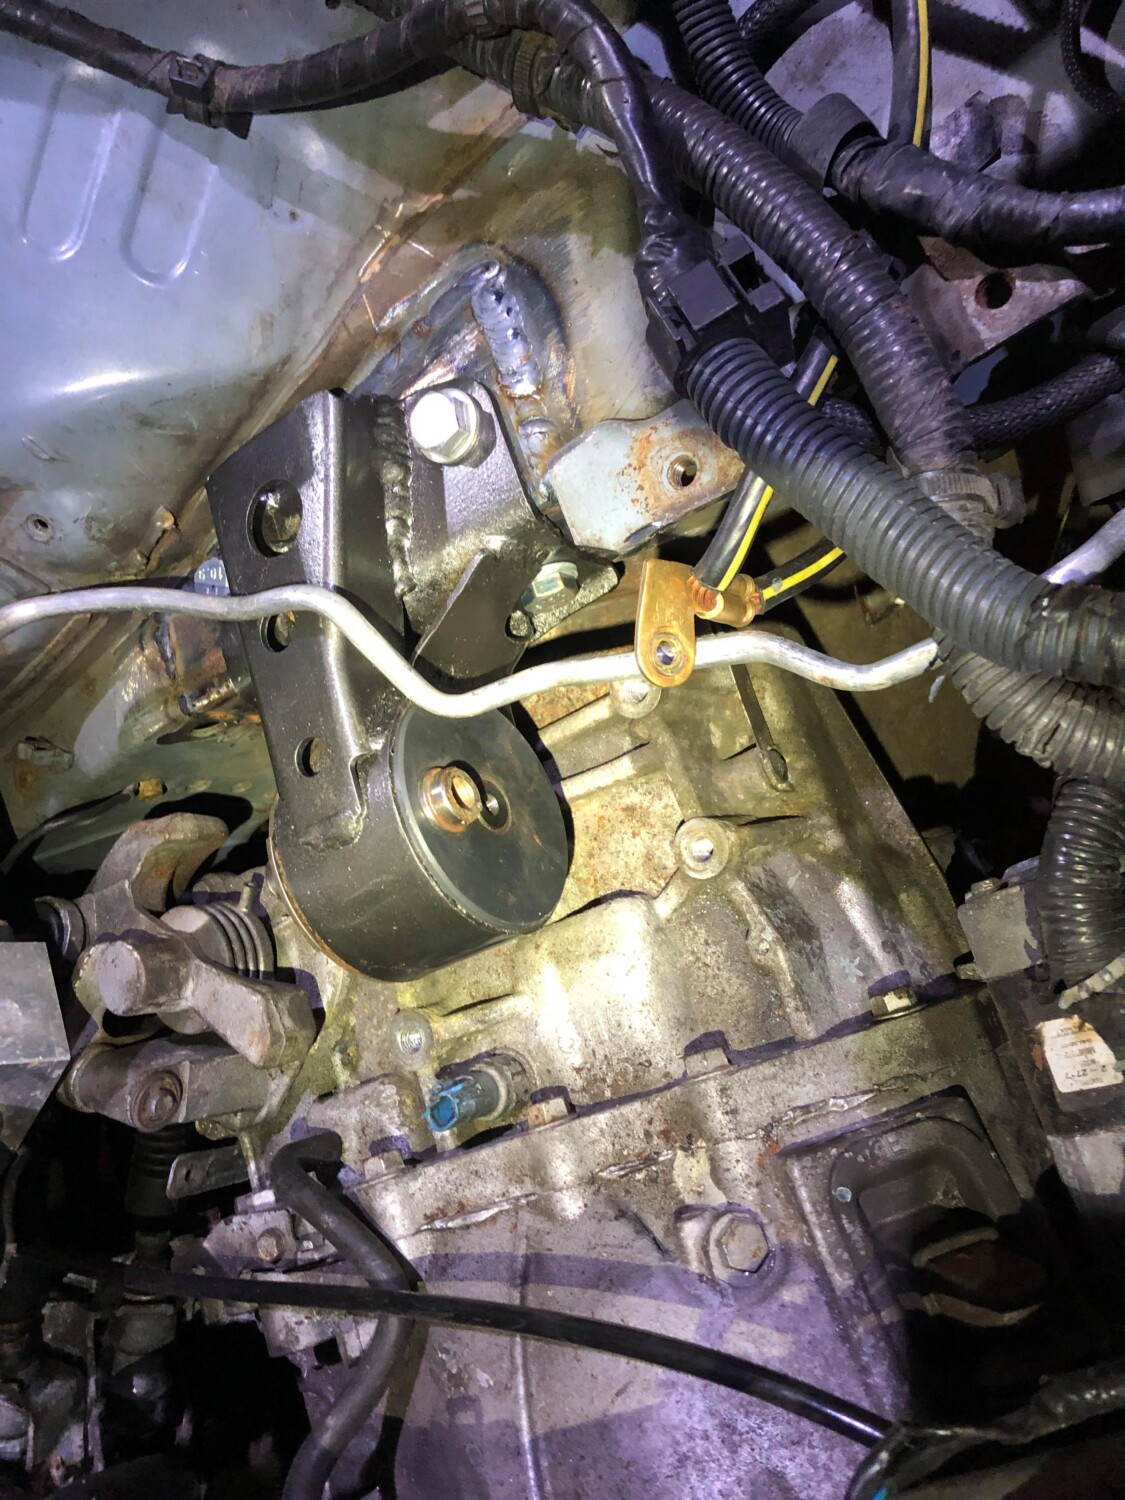
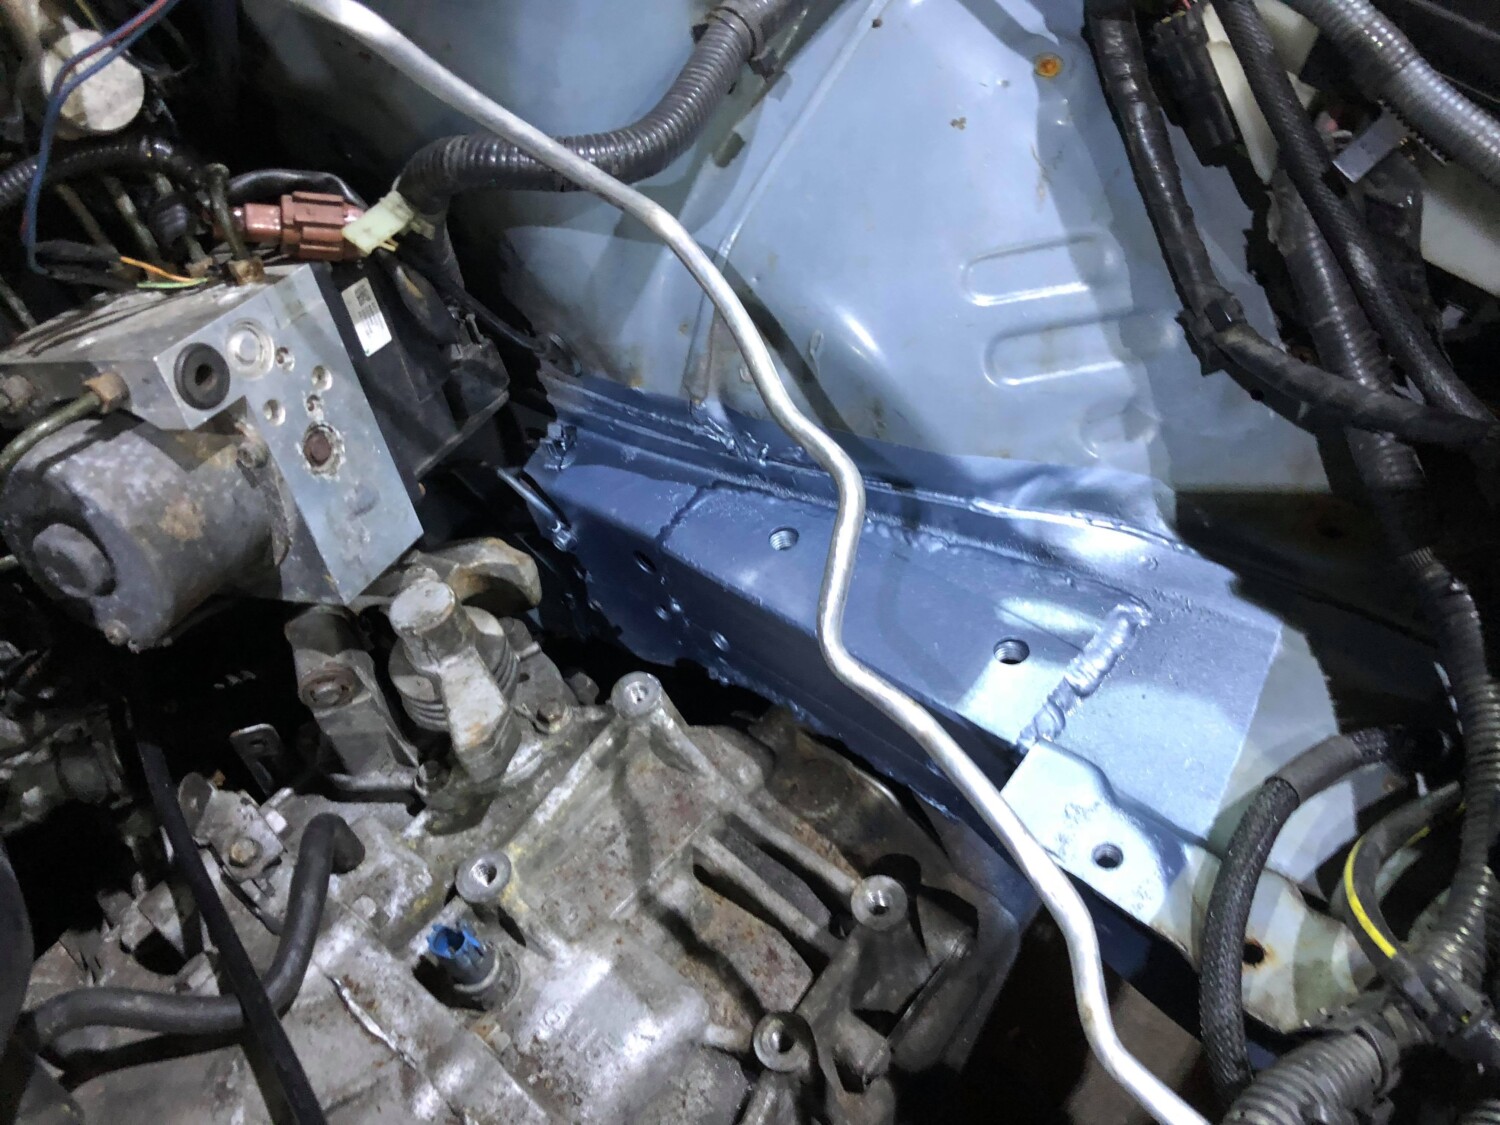
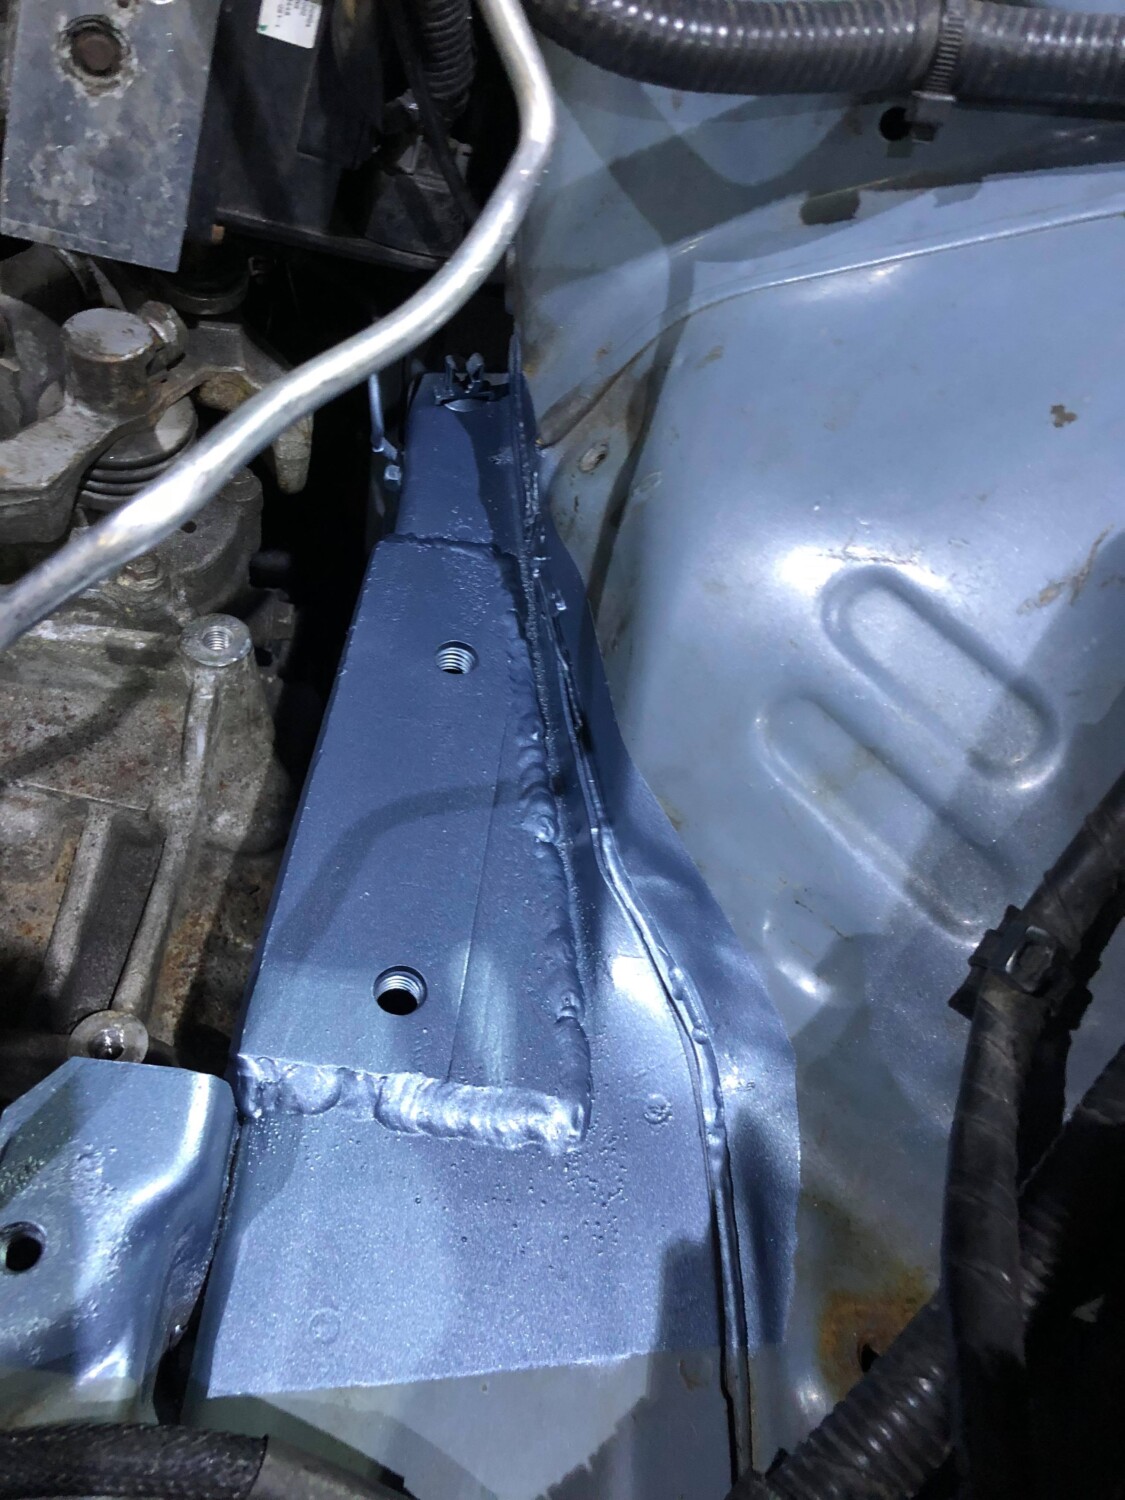
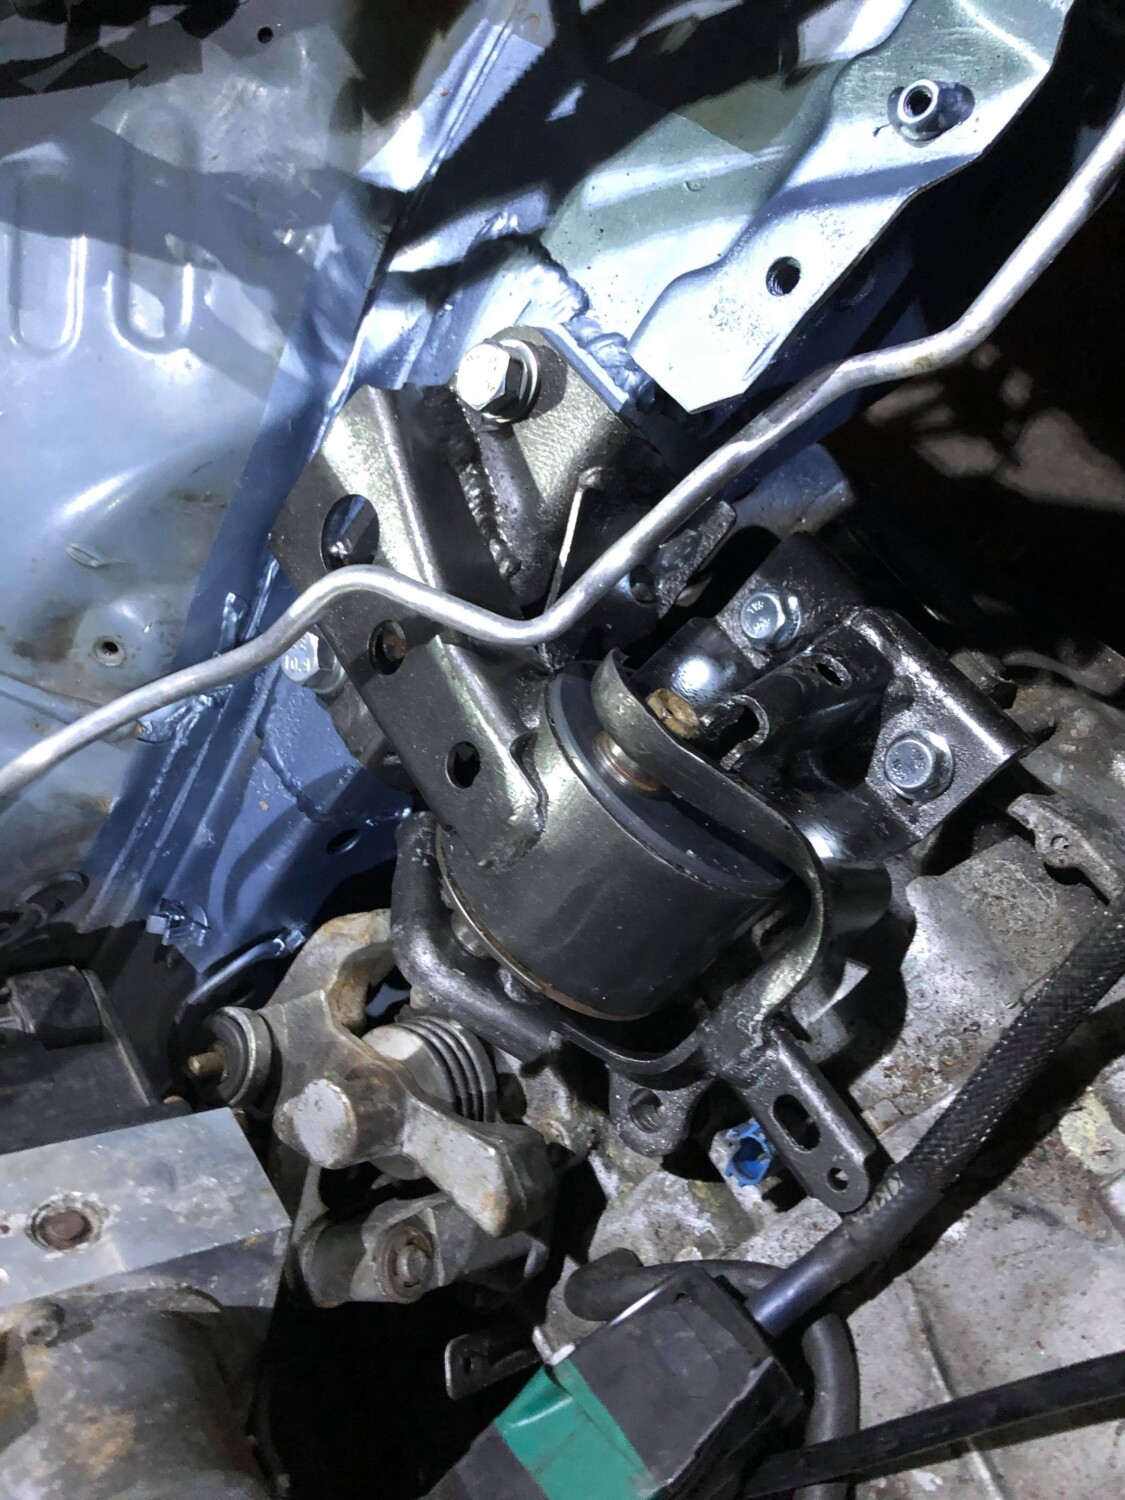



Credit: Clutched_tombo
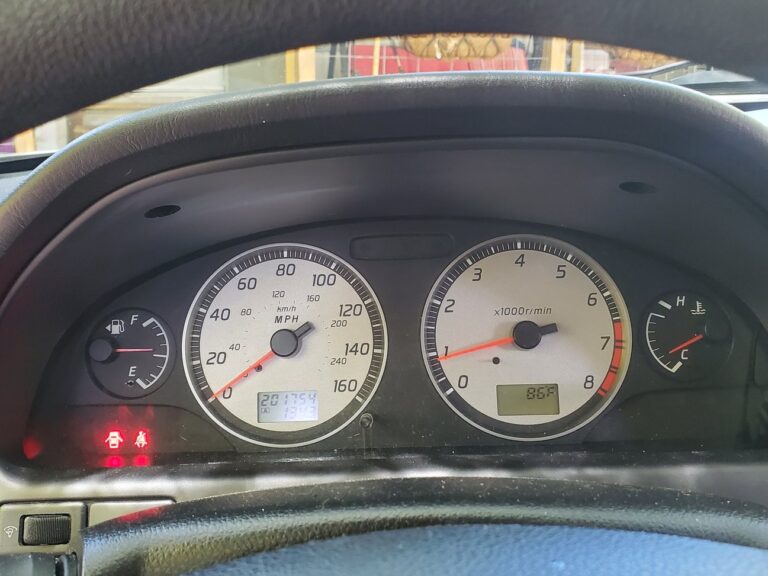
Hope this can help anyone that wants to use an aftermarket fuel gauge. May already be a write up on this but I couldn’t find it. I decided to go with aftermarket after not being able to find a cluster with one that actually works correctly.
Used one from Glowshift. Regardless of what gauge brand you use, results will be similar. After a few trials and error I got the new one working with no cel and gas lights on. I chose to mount the new gauge where the ashtray is. Didn’t take pics of how I wired power to it but I just used wire taps on the constant and switched ignition to the stereo.

Under the back seat I chose to just cut the green signal wire going to the fuel pump sending unit. With this wire not connected you will get a cel for high signal input. It uses a variable ground signal from the sending unit. You will also get the low gas warning light and dte will flash. I used a 47 ohm resistor and grounded the side going to the body harness and hooked the new gauge up to the side going to the pump. Ignore the butt connectors. This wasn’t the finished product. It was soldered after everything was working right.

If you ground the wire without the resistor, you will still get a CEL. After it’s all done with, my OEM gauge sits right above half and I have no CEL. You should be able to use any resistor between about 10 and 75 ohms. I opted for 47 OHM. Since it was in the middle of the resistance values of the sender. Last pic of where it sits with it all finished up. I’m happy with it.

Member Credit: sdot82
This write-up is for a 2000-01 VI manifold swap on to 95-99 Maxima. There are many ways to do this swap so first I will number the ways I know how to do this and then go into detail on how to do it. There are a couple of different Upper manifolds you can get Fed spec. or Cali Spec the difference is one may not have the swirl valve control (don’t need it anyway). I believe (don’t quote me on this) that the 00 Fed Spec do not have the swirl valve control and all 01 (Fed and Cali) do not have the hole for the EGR guide tube. You may want to ask the People from the Junkyard this because you want to know this if you are going to keep the EGR or not.
(note when I say 00 that means both 2000-2001 unless I specifically say otherwise for that part)
I think those are all the different ways that u can do the swap parts wise. In addition to those parts listed above you need to get:


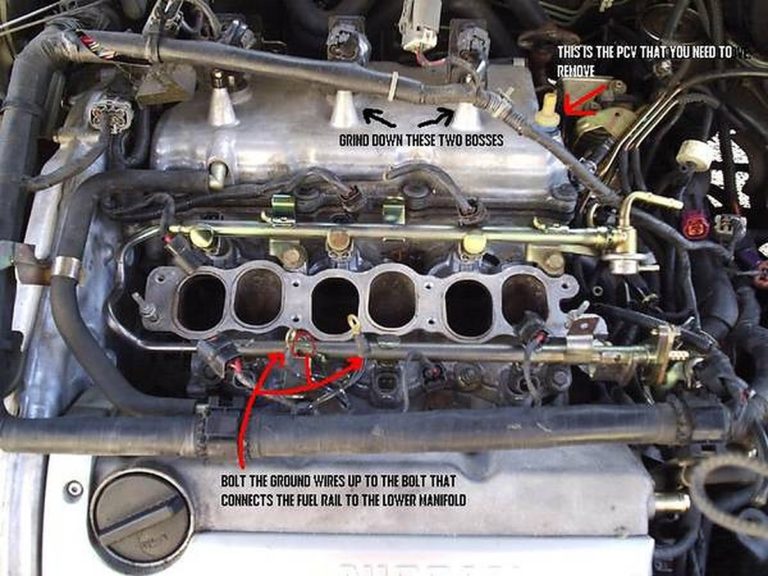
Now that the lower manifold and fuel rail are on, cover up the holes in the lower manifold so nothing can get inside. Remove the PCV out of your valve cover because it will not let the upper manifold sit properly on the lower manifold (later I will tell you what I did for this).

For the next part, you will need your grinder or Dremel. You will need to grind down the coil pack mounting bosses BUT ONLY THE FRONT MOUNTING BOSSES#3 AND #5( SEE PIC ABOVE). #3 and #5 are the ones to the right of you if you are standing in front of the car looking at the engine. Grind down as much as you need to just keep putting the upper manifold on to check for clearance. Once you are done clean up the mess you made grinding down the bosses.
Next up is the PCV, you should have bought a new PCV valve one that would allow you to connect to some hoses. The hose’s outside diameter should be ½ inch for it to fit in the valve case hole tight and cut it to be about 6-8 inches long. You might have to lubricate the hose for it to slide in (at least that’s what my girl keeps telling me j/k lol).
Note this is only for people that are keeping the EGR and 5th gen IACV.
Member Credit: bigfatty
I have been getting a few PMs on this from time to time, but most questions have been answered somewhere in this thread, take some time and read because there is alot of good info in here from people other than me. I swapped only two coils in Jan of 2006 and through Oct 2007 have not had a single problem with any additional coils. If you can isolate the bad coil, why replace all 6?
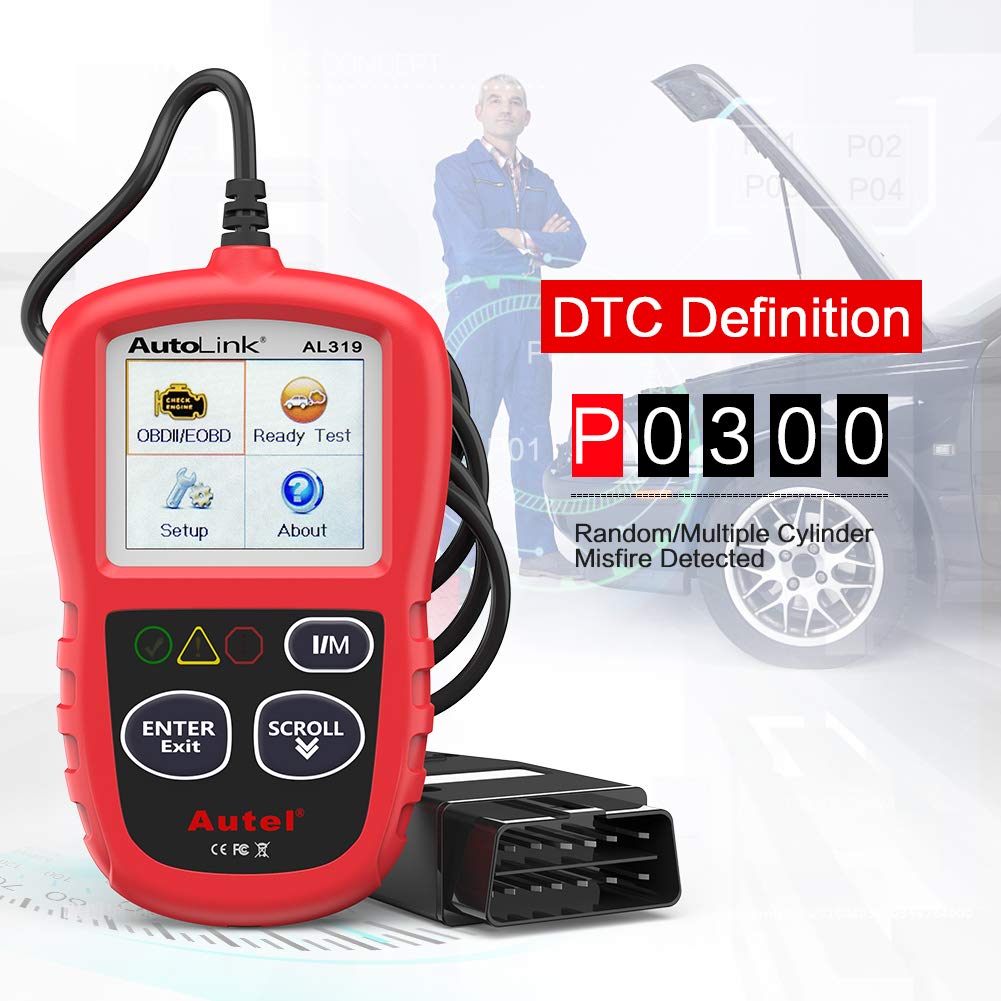
Sooooooo, I had the frigging SES, TCS, SLIP lights which any 5th gen owner should now know is code P1320, which means, drum roll please, Bad Ignition Coil. I was also luckily enough not just to have code once, but twice and also to have a code P0300, which is multiple misfires. I was able to get the codes pulled for free from my Autozone and so I started my quest to fix my car.
Some background info: The original coils from Nissan are garbage and Nissan knows this, yet they have chosen to do nothing about it. They did however update the coils with “newer” ones with a gray dot, that were supposed to be awesome. Well I open my hood, take off the cover and guess what, all my coils have gray dots. So I guess that blows that idea up. I bought my car in 2003 with 80k in miles from Woodfield Nissan in Illinois. So at some point in time they had already been replaced.
Ok, back to my test, I donated to Maxima.org so I could search and spent a night reading about just bad coils. The general consensus is that you should replace all 6 when one goes bad. The rough best price was about $300 for all six. The only problem is that I have this in my life right now that causes me to be short on money.
So after reading, I found a few things that will help in changing just the bad coils as I have done. I can not take credit for this info as pretty much all of it has been tried before, I am just trying to make it as easy as possible for everyone else.
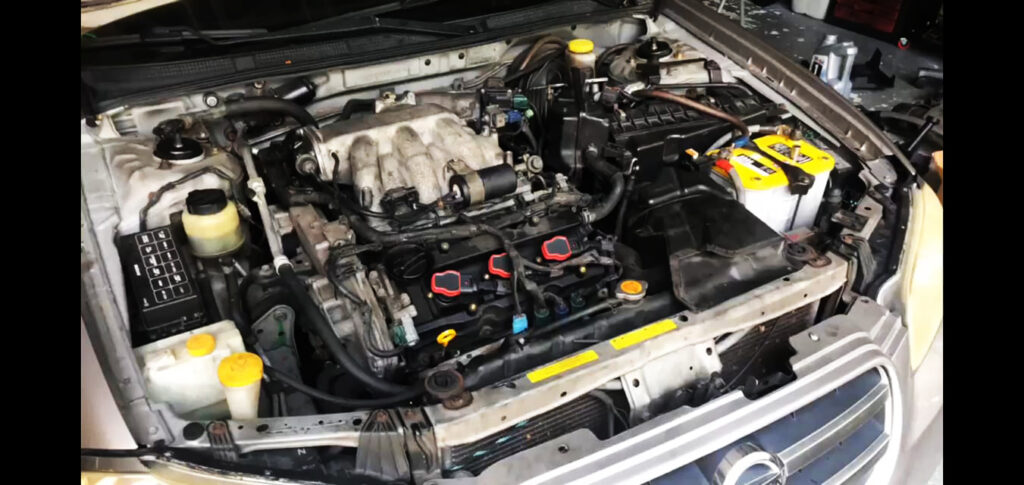
You may be lucky enough to have an additional code stored in your cars computer. If you have code P1320 with any P0301, P0302, P0303, P0304, P0305 or P0306, that is a misfire on specific cylinder. You now know which one is bad just replace that one, see the pics below on how to remove the coil.
Remove your cover by taking the four bolts off your cover, you will need a 4mm allen wrench.
This test will only work if your engine is running really bad idle. If your SES/TCS/SLIP only come on when your engine is under load this test will not work, skip to step 3. My engine was running really rough even at idle, so I started to unplug the coils on at a time. Just squeeze the clip and pull, it will come off.
The first one I tried cylinder #2, when unplugged, made no difference at all in how the engine ran. SO I instantly knew that one was bad. If your coil is good you engine will bog down and almost stall, as you are basically removing a running cylinder. Do this one at a time until you find the one, that when removed, your engine does not seem to run any rougher.
You will need a multimeter to do this. I have had mine for a while and it worked fine for this. Its nothing big, and you can pick mine up at Sears for only $19.99. Remove all your coils.
The front three coils are right there held in by one 10mm bolt each. Unplug the clip, remove the bolt and pull. The coil will come right out.
Member Credit: maxiiiboy (Vol.4, Spring 2017)
The 5th Generation Maxima is a very reliable car – if you know how to maintain it. The problem is that the car suffers from a few design defects that can make it expensive to maintain. For example, a worn-out engine mount may damage the Engine Control Unit (ECU) resulting in a major inconvenience and a dealer repair bill of $2,000-$4,000. Other actuators may fail with similar effect, sometimes repeatedly.
This note describes these problems and the remedies for eliminating them. The remedies are inexpensive and easy to do. If you own a 5-Gen Maxima, I strongly suggest that you do the following as soon as you can:
Do the above even if your car experiences no problems at this time. If your car already experiences problems such as P0505 or damaged ECU, then read this document before attempting any repairs.
The above instructions may not make much sense unless you understand what the problem is. The next section describes the problem, and the subsequent one explains the remedies in more detail. If you own a 5.5-Gen Maxima, keep reading but you can dismiss the IACV issue – your car does not have an IACV to worry about.
The fundamental problem is that in the 5-Gen Maxima the Engine Control Unit (ECU) is not properly shielded from the failures of some components it controls. For example, we know that the ECU can be damaged by a) Failed/shorted IACV, and b) Failed/shorted Electronic Engine Mount. There are also some reasons to suspect that failure or misadjustment of the TPS (Throttle Position Sensor) may have a similar impact; I am still investigating.
How the IACV Fails
Most often, the IACV fails after the engine coolant1 shorts the wiring in its stepper motor. There is an O-ring gasket that should prevent the coolant from getting into the IACV, but after 10-15 years, it tends to fail. I suspect that there are other reasons why the IACV fails. For example, the thermo-valve inside the IACV may get stuck, or there is an intake leak; the IACV then tries to correct and eventually fails. The bottom line is that IACV failures (code P0505) are reasonably common and that they have disastrous consequences.
1 Engine coolant circulates through the Throttle Body and IACV to eliminate potential starting problems in cold weather. However, this seems unnecessary as the TB/IACV is nicely hidden between the two engine banks. There are multiple posts on maxima.org that confirm that there are no starting problems with coolant bypass, even in Minnesota winters.

Figure 1 illustrates how the damage occurs. With a healthy IACV, the resistance of each IACV half-coil is 22 Ohms. Together with other factors this limits the maximum current through each half-coil to 0.5-1.5 Amp, and to a maximum of about 3-3.5 Amps through each of the two ECU ports and the STA509A transistor behind each port.
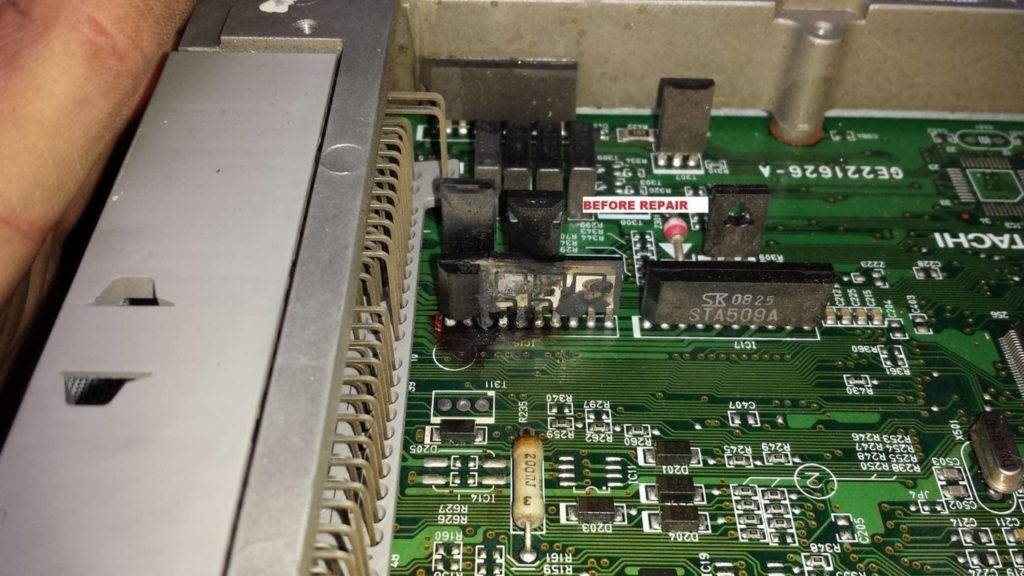
When the coolant eats up the insulation, the coil shorts, and the resulting current – up to the 15A limit imposed by fuse #58 – will flow through the IACV and “fry” the ECU. The 15A fuse should blow out, but usually the STA509 driver transistor in the ECU burns first, sometimes taking adjacent components with it. Appendix A shows how a damaged ECU looks like.
The horror story does not end here. Typically, the result is that both the IACV and the ECU are damaged. If the owner replaces just one of the two parts (say, just the ECU), he will find out that his new ECU is immediately damaged by the IACV he hasn’t replaced yet!! Even Nissan dealers are known to have made this mistake! The bottom line is: Make sure both parts are OK before replacing either!
Failure of the Electronic Engine Mount
5-Gen Maximas equipped with an Automatic Transmission have two Electronic Engine Mounts (Rear by the firewall, and Front by the radiator). Figure 2 shows the wiring schematic for these two mounts. Again, failure of either mount can damage the ECU in the same manner that the failure of an IACV can.

Each electronic mount has two states – Firm and Soft. Normally, the ECU puts the mount into the soft state at low RPMs (below 1000 RPM) and into the Firm state when the engine runs above 1,000 RPM. Disconnecting the mount eliminates the danger of ECU damage. It has no effect on the car (no codes or SES light) apart from occasional vibrations; more on that in the “remedies” section.
The ideal remedy would protect the ECU by using onboard fuses on all its critical inputs and outputs. However, I rejected this approach because of its risks: adding components to the ECU board and cutting traces or modifying wiring is just too dangerous for the average Maxima owner. For the same reason, I also rejected any solution that would cut/modify the Engine Room Harness.
This left me with the remedies described below. All of them have been successfully tested by the author.
There are three remedies that will reduce the probability of an IACV failure:
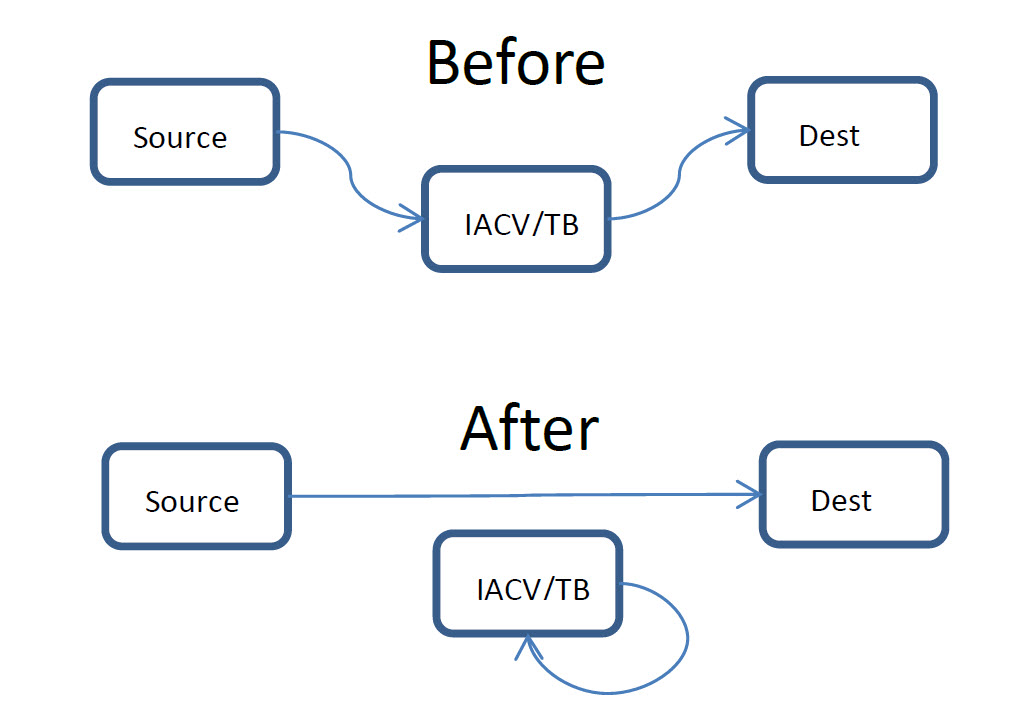
To summarize, there is no reason not to do #3. The same applies to #2. So, the question is: After you are done with (#3 + #2), should you do #1? I have done it eventually when my IACV experienced other problems (needed cleaning).
Only AT Maximas have Electronic Engine Mounts. For these cars, the following remedies exist:
2 Each of the two IACV half-coils is powered by a single STA509A transistor within the ECU. Each transistor can withstand a maximum current of 3A in steady-state mode and 6A in pulse mode. The desired protection would insert two fuses – one into the lead/connector port #2, and one into port #5 of the IACV (see figure 1). It would allow for proper fuse sizing, somewhere in the 3A-6A range for each fuse.
3 Powered off this fuse are multiple subsystems: IACV, EGRC1, MAFS, TP/SW, and others.
ECU failures are annoying and expensive. When the ECU can’t be repaired, the only solution is to purchase a “new”4 ECU and then tow the car to the dealer to have the keys reprogrammed. In some places, you may be able to find a locksmith that can do this task but it is not clear this is always possible. The key point is: because of the hassles associated with key reprogramming, you always want to repair your ECU rather than replacing it.
4 “New” means “appropriate ECU of the same type, in working order
The following outfits provide ECU repair and are considered reputable:
Reputation questioned: Circuit Board Medics.
Directly or indirectly, many members of maxima.org (and Nakis in particular) contributed to this note. I have learned a lot from other MAXIMA.ORG members. This note is an attempt to re-pay some of my debt.

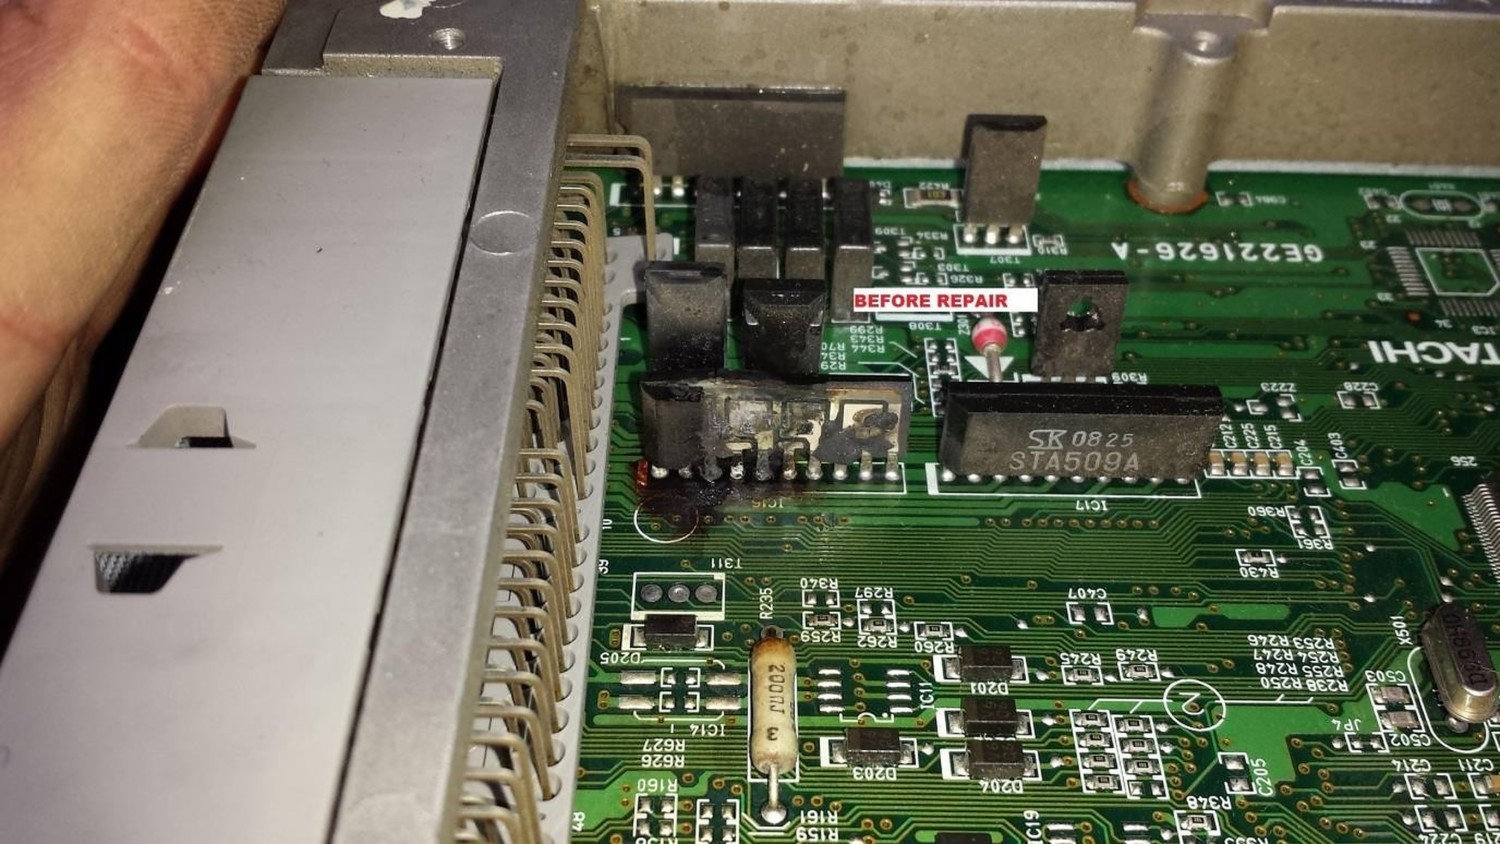
The above pictures are just examples. Not all damaged ECUs look like this. Sometimes, a burning smell is the only indication.
Existing fusing:
Fuse #58 covers, via ECM relay pins (#6, #7), the following: MAIN, MAFS, POS, EGRC1, EGVC/V, AAC/C, TP/SW, IGN/SG (acronyms from the FSM). From the circuit diagram, this is only:
Fuse #59 covers, via ECM Relay pins (#3, #5) the following: MAIN, MAFS, POS, EGRC1, EGVC/V, AAV/V, TP/SW, IGN/SG, EMNT, TPS, NONDTC, NATS. From the circuit diagram:
Solution requirements:
Possible implementations:
STA509A Datasheet:
http://www.datasheets360.com/part/detail/sta509a/-2407484356475109966/
Maximum current is 3A, max V is 47V
Member Credit: dustey
I have been battling a cylinder 6 misfire (P0306) for many months now. I have spent a lot of time on this website researching, but I can’t seem to find anything that works.
The problem: Intermittent misfiring on cylinder 6 that will come and go. It can switch from misfiring to not misfiring instantly. No change due to driving conditions. It happens on the interstate at 70mph, in neighborhoods at 25mph, and at idle. Some days it runs great, only misfiring for a short time, other days its a battle all day long. Sometimes it accelerates just fine, other times it misfires all the way. The idle is fine. Although it may misfire, the idle stays very normal, with no fluctuation.
I have checked the easy stuff already:
I have done all of the above, and none have made any difference in the misfiring. Always on cylinder 6.
I, fortunately, know a tech at the local Nissan dealership who also tested the wiring harness and intake plenum with similar results. He also flashed my ECU. He is now saying it’s the ECU because none of the other things have fixed it. His cost on the ECU is $650!
I called David from SpeedometerRepairGuy.com and explained what I needed and he said the ECU rebuild he does for Maxima’s wouldn’t fix my misfiring (only fixes damage from a bad IACV), also stating he had never heard of this problem before. Again, I have no problem with my idle.
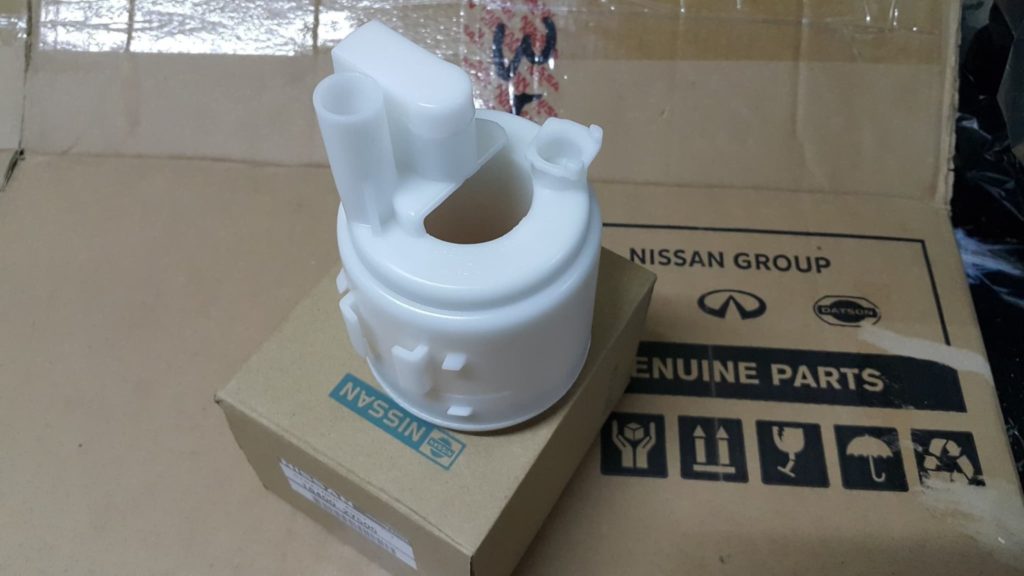
Not sure what to try next. A friend of mine suggested the fuel filter, but the Nissan tech was adamant that it couldn’t be the fuel filter, also citing its a “lifetime” part. Thought about just changing it, since it’s so cheap anyway.
Any other ideas of things I should try before getting a new (or used) ECU? I have already purchased one used ECU through car-parts.com and it was bad, so I am 1) trying to avoid the hassle of trying to find a good used ECU and 2) trying to avoid spending $650+ on a new ECU from Nissan. After all, at this point, I don’t know it’s a bad ECU, it’s by deduction that I/we think its the ECU.
I replaced the ECU with a reman unit from the dealership and had them install and reconfigure everything. (I did this as I pulled my then current ECU out and it was clear that water had gotten into the unit and there was corrosion on the board plus my buddy the Nissan tech is usually spot on.) Didn’t misfire for a day, but its back with vengeance now.
Since the posts above, I replaced the spark plugs again with OEMs (had Auotlites before), and today I switched coils between the bad 6th cylinder and a good cylinder (2), and it still continues to misfire and throw a P0306.
I just don’t understand why it would not misfire for 2 straight weeks when I replaced the fuel filter/strainer and then come back. Could it have something to do with fuel pressure? I mean, replacing the fuel filter/strainer does mess with the fuel pressure since you have to disconnect the lines and pull the fuse? I may be wrong, I am no mechanic…
What’s next? Switch out the injector again? I am second-guessing everything I have done now…
To follow up on this thread, I checked the compression (dry) and it was 125 across the board. Low, but not inconsistent which is good. Despite the Nissan tech’s advice to not replace the fuel filter (strainer) since it’s a “lifetime” part, I did anyway because it was a $13 part, easy to do, and $13 isn’t a lot to take a chance on in case it does work. I did both the compression test and fuel filter last Thursday (8/19/10) and it hasn’t misfired since. Unbelievable.
It started doing it on Friday 9/3/10. It went 2 weeks without misfiring, and started back again. The frequency seems to be less, however, it is throwing the P0306 code again (same cylinder as before). Since the problem started however long ago, it hasn’t gone that long without misfiring. It leads me to believe that its fuel-related somehow.
A friend suggested that it may be caused by a dirty fuel tank… reasoning that it ran fine for 2 weeks with a brand new fuel filter until it reached the dirty stuff in the tank. It did start misfiring just after I had filled up at the gas station (waiting in line for the car wash at the same station, actually). I just find it hard to believe that a dirty tank could do that and cause the exact same cylinder to misfire, but stranger things have happened.
Well, I got it figured out. There is something loose or a bad connection with the actual connector on the wiring harness which connects to the coil pack. Me and a friend of mine just starting wiggling all of the wires we could find after determining that it had to be something electrical related. By moving the connector itself a hair this or that way, I could cause it to misfire and then stop. We rigged it up to hold its place where it’s not misfiring:
So far so good. It has misfired maybe once or twice in the last week but it was literally just ones or twice and then it would be fine.My mechanic buddy at the Nissan dealership is going to replace it when he can find a spare. I know what you are thinking… Shouldn’t I have noticed this a really long time ago? Well, in hindsight, yes of course. But, it was one of those things that I took for granted and looked past. I never considered it could be something like that…
Member Credit: sparky1562
Left work Friday afternoon everything was okay. No signs of previous issues, no codes. Sitting at a stoplight the car started shaking real bad, hit the gas to go and she kept running but very rough. The check engine came on. I went to blinking mode as a kept driving. Pulled into Autozone read P0300. Nothing obviously disconnected. Smell of raw fuel out the tailpipe with blue/white smoke but not too heavy.
Made it home, the problem continued. I would rev fine and run better at 30/40 MPH but was rough. Left it alone until yesterday. It seemed to run better when cold, but not right.
I have ohmed out the injectors, the coils, all read okay. Pulled all plugs, all are dry except #1, which was a little wet, but none are fouled. Did a compression test (not fully warmed up I am sure) All cylinders came out to 210 PSI, except #4 which was 150. repeated and got the same results.
I can smell raw fuel so I know it is not running right. No leaks. When I crack the throttle and release, I can hear a gurgling sound in the vicinity of the throttle body, maybe at the EGR area/cylinder 5. I have heard that for a while. Maybe related, maybe not. I don’t hear any sign of a vacuum leak.
Well, it was fuel related. Specifically, a nearly clogged filter. I would have thought it would have just shut down, but it acted just like a dropped valve. Bought gas at a station I don’t normally buy from. Not sure it was a tank of bad gas or just timing, but the filter was the issue. I thought it might be the fuel pump, but it seems to be running perfectly now.


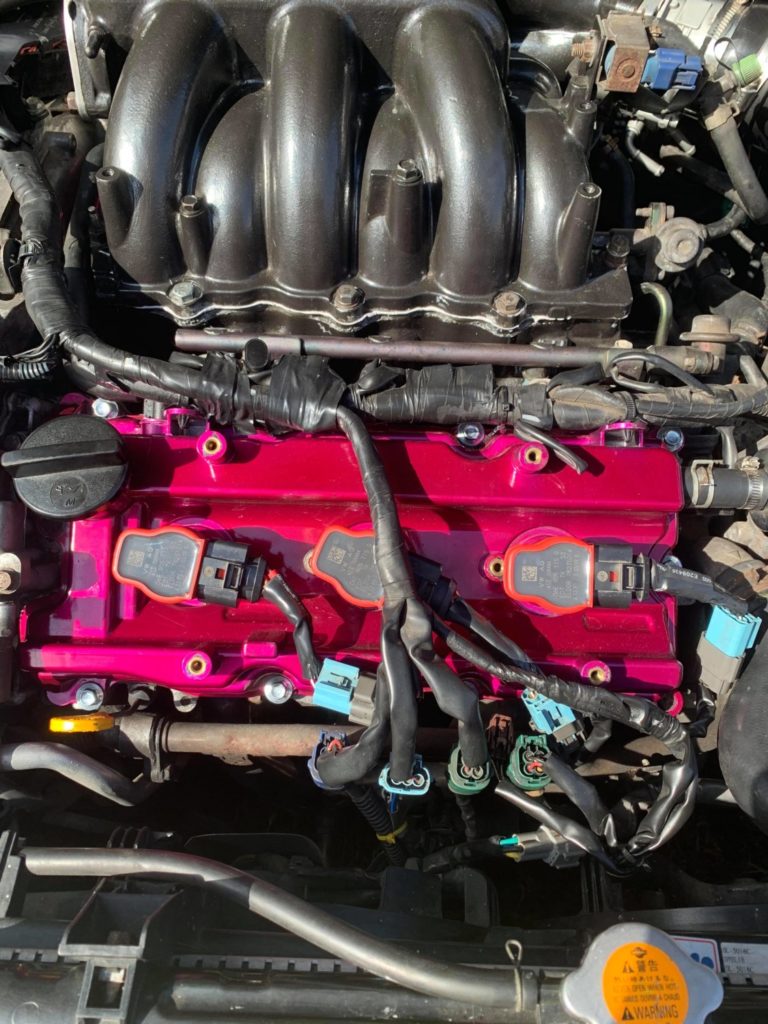
Member Credit: Tyreek Carter
I feel the idle is smoother and the throttle response is definitely better. I want to say I can feel a difference after adjusting a few fuel points on my AFC. Overall, I do like them and feel it was worth it. They are also an alternative to buying aftermarket coilpacks or standard Nissan OEM coilpacks.
Important Note: On the VQ35DE (2002-2008), you will need to use NWP Spacers for the Coil Packs to sit properly. The Gen2 VQ35DE (2009+) do not require spacers. You will also need the adapters to plug them in or make your own by splicing directly.


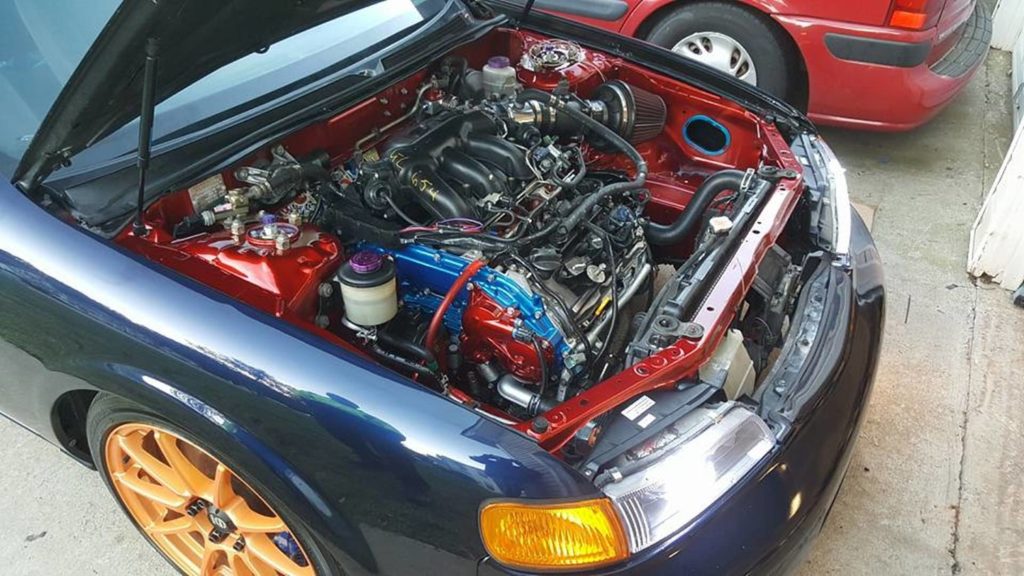

Member Credit: Julian Nicasio
If you are looking to replace your engine covers, below are the part numbers you need. Below is the current pricing as of December 2017.
You can buy them on eBay, NissanPartsDeal.com, quirkparts.com, rockauto.com.
Photo Credit: Ghozt


