Tag

Engine, Trans, F/I & Tuning

Browsing

Credit: shralp

So I just took the plunge into my first tranny fluid change and took some pics. I used 5 quarts instead of flushing all of it.

Important Note: Nissan Matic J was replaced with S.

THINGS YOU’LL NEED:

  • Nissan Matic J transmission fluid (got lucky and found some on eBay but most likely you’ll have to go to a Nissan dealer and pay $15/qt)
  • 10mm Socket
  • Bucket
  • Plyers
  • A friend to help
  • Funnel
  • Ramps/jack stands (so you can fit the bucket under)

STEPS:

1. Lift car and remove splash guard.

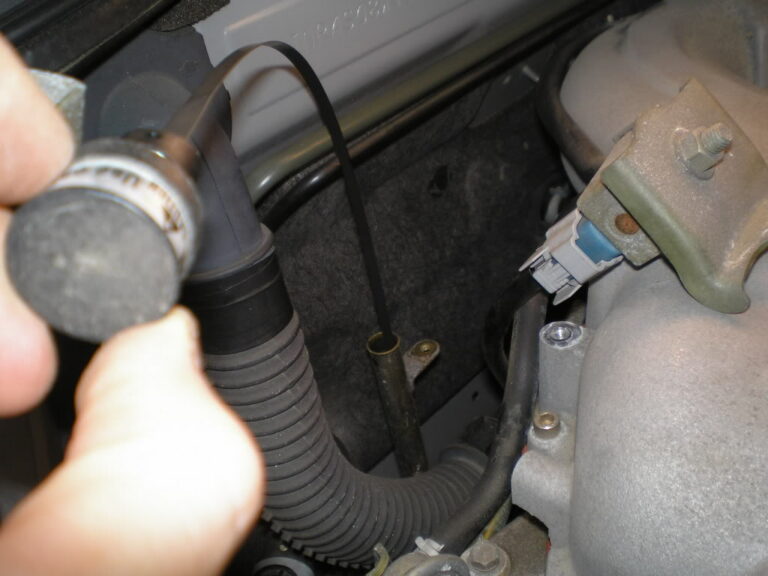
2. Remove the engine cover so you can get to the charging pipe behind the engine.

P7280226.jpg

P7280228.jpg

4. If you’re replacing X quarts of fluid, fill your bucket with X quarts of water and make a line at the water level. This way you’ll know when do stop draining.

P7280229.jpg

5. Get all your Nissan Matic J transmission fluid opened and lined up so you or you’re friend can continuously pour. Start your engine (nothing will drain without the engine running).

P7280232.jpg

6. Get under the engine with your bucket ready. You’ll be removing the smaller hose from the radiator (see picture).
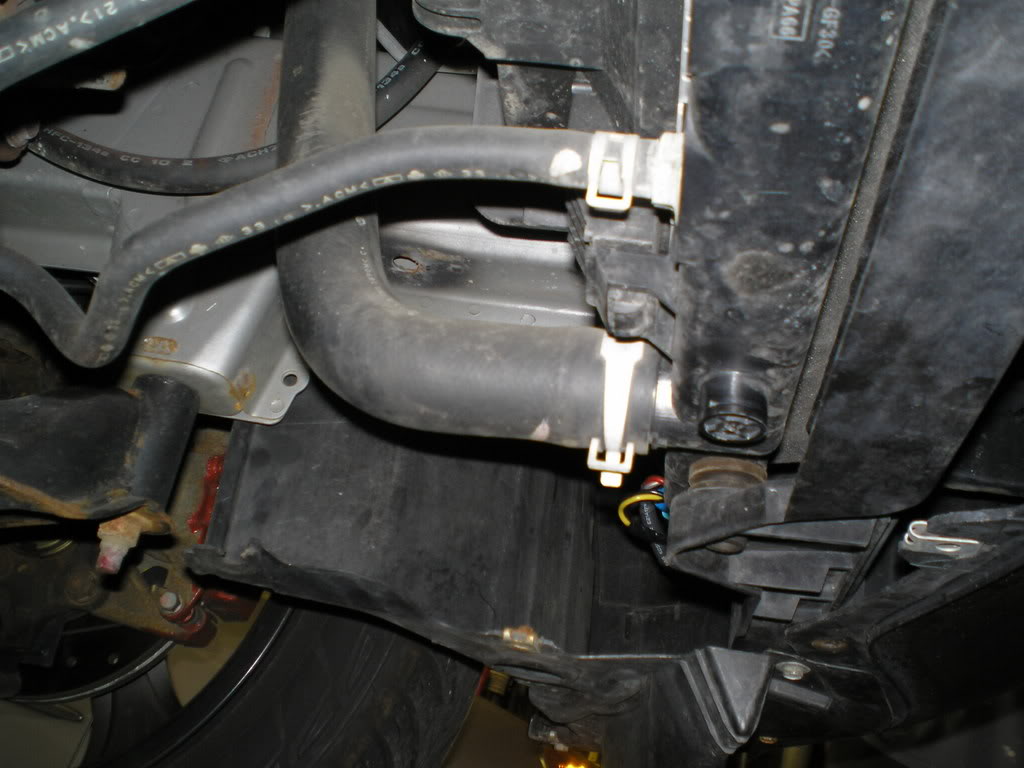
P7280231.jpg

7. With your plyers, squeeze the hose clamp and slide it farther up the hose.

8. Put your bucket directly below the end of the hose and get positioned so you can watch the fluid level reach the line on the inside of the bucket.

9. Pull the hose off the radiator. I used plyers on this step but it might be easier to just use your hand. TIP: JUST AS THE HOSE RELEASES FROM THE RADIATOR, GIVE IT A PINCH TO STOP THE FLUID FROM SPRAYING ALL OVER YOUR GARAGE!. Otherwise you’re garage will look like this.

P7280234.jpg

10. Yell to your friend to start pouring. Aim the hose at the bucket and stop pinching. Watch the fluid fill the bucket. As soon as it reaches the line in the bucket, pinch the hose again and reconnect it to the radiator. Hopefully all the old fluid is in your bucket and not on your body/garage floor.

P7280235.jpg

11. Slide the hose clamp back to the end of the hose with your plyers.

12. Turn off your engine and give your friend a high five or a kick in the nuts, depending on his performance.

13. Put the splash guard back on. Screw the dipstick bolt back into the charging pipe. Put your engine cover back on.

14. Good work, now go drink a beer and order some more mods for your FX.

Drain Plug

Checking Fluid Level

Important Notes

Actually the transmission holds 10 3/4 quarts. The 30,000 and 60,000 mile services call for a drain and fill which takes about 3 1/2 quarts to do.

OP what I would do is buy 8 quarts, drain the pan, and refill with 3 1/2 quarts. Drive 50-100 miles and repeat the process. Give the car about 1-2000 miles and repeat. That way you don’t shock the tranny all at once with new fluid. I don’t think the tranny has been hurt unless you track your car but check your fluid ASAP. If it is dark or brown and smells burnt, you probably need to ignore my first advice and take it to the dealer for a complete flush and fill.

The tranny fluid is Nissan S-Matic, it replaced the J-Matic and is the only transmission fluid recommended for our engines.

—————————————

I had my tranny fluid changed last month. Me and my buddy did it with the car on the hoist. We used the drain plug on the tranny oil pan. Drained out about 4~6 qts. Then we filled another 4 ~ 6 qts back to the oil pan (depending on how much you drain out). The turn on the engine, with the brake on, shifting from P to R, to D, then D to R to P, each gear stays about the 20 secs to let the new fluid to mix out with the old fluid. Then we did the process again. After that test drive the car in manual mode for about 10 mins. Then measure the fluid level. If not enough, then top out from the tranny dip stick tube with a thin tube funnel.

I do my tranny fluid change about every 30k miles. The car is running fine, no issue with the tranny.

Loading

Credit: 99sagelimited

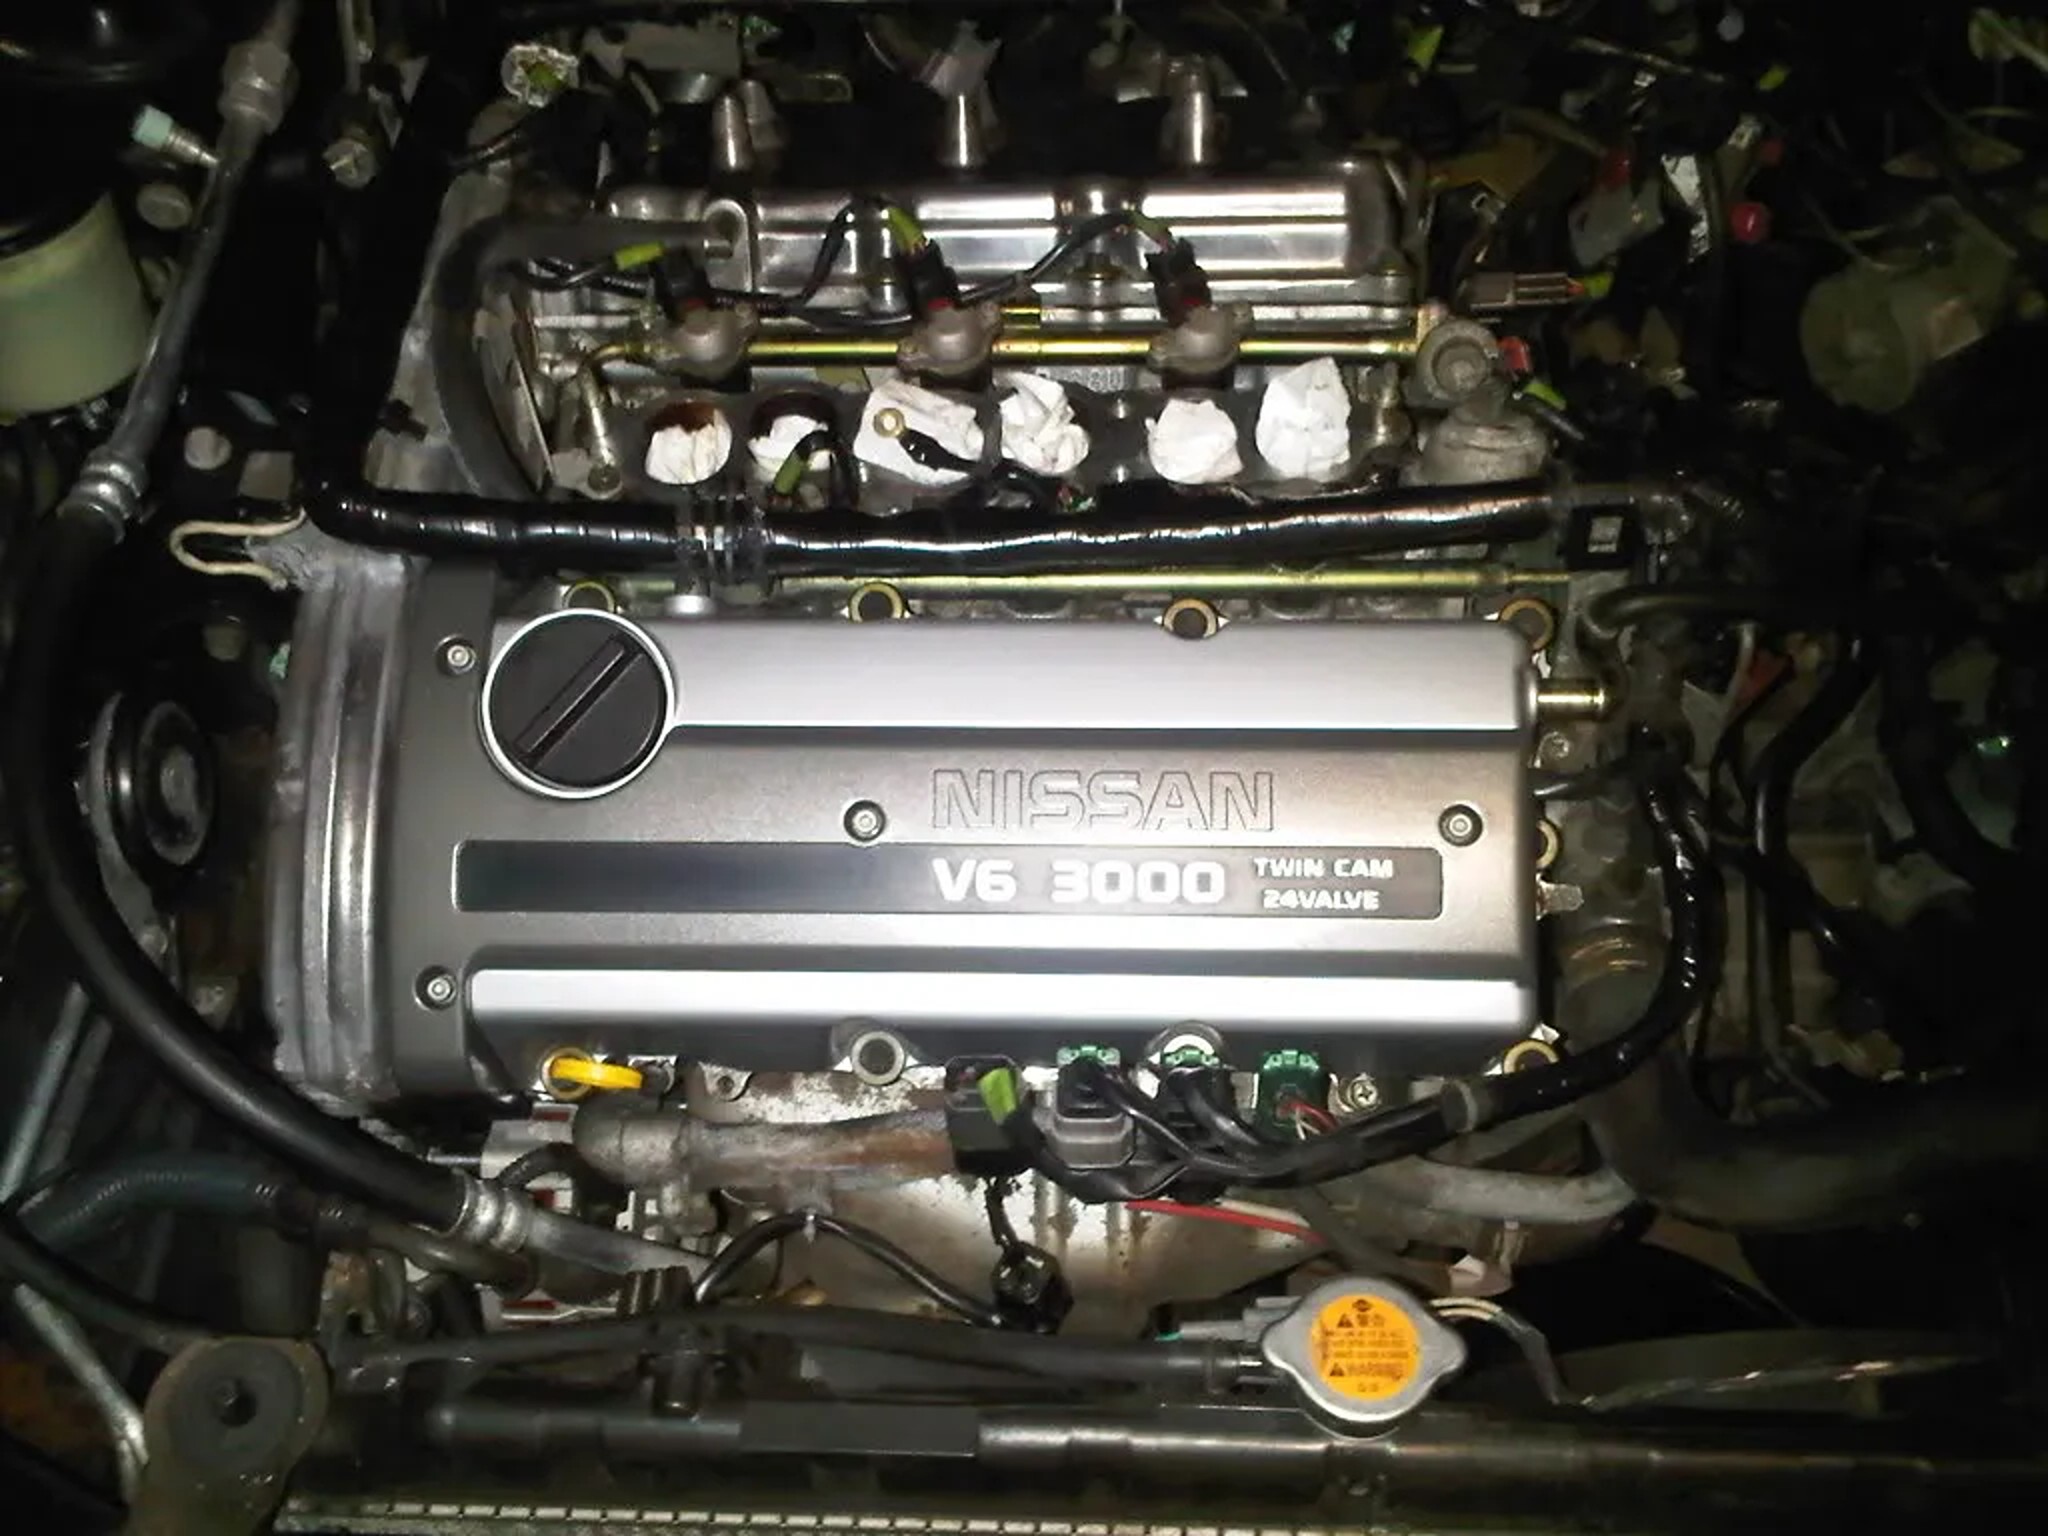
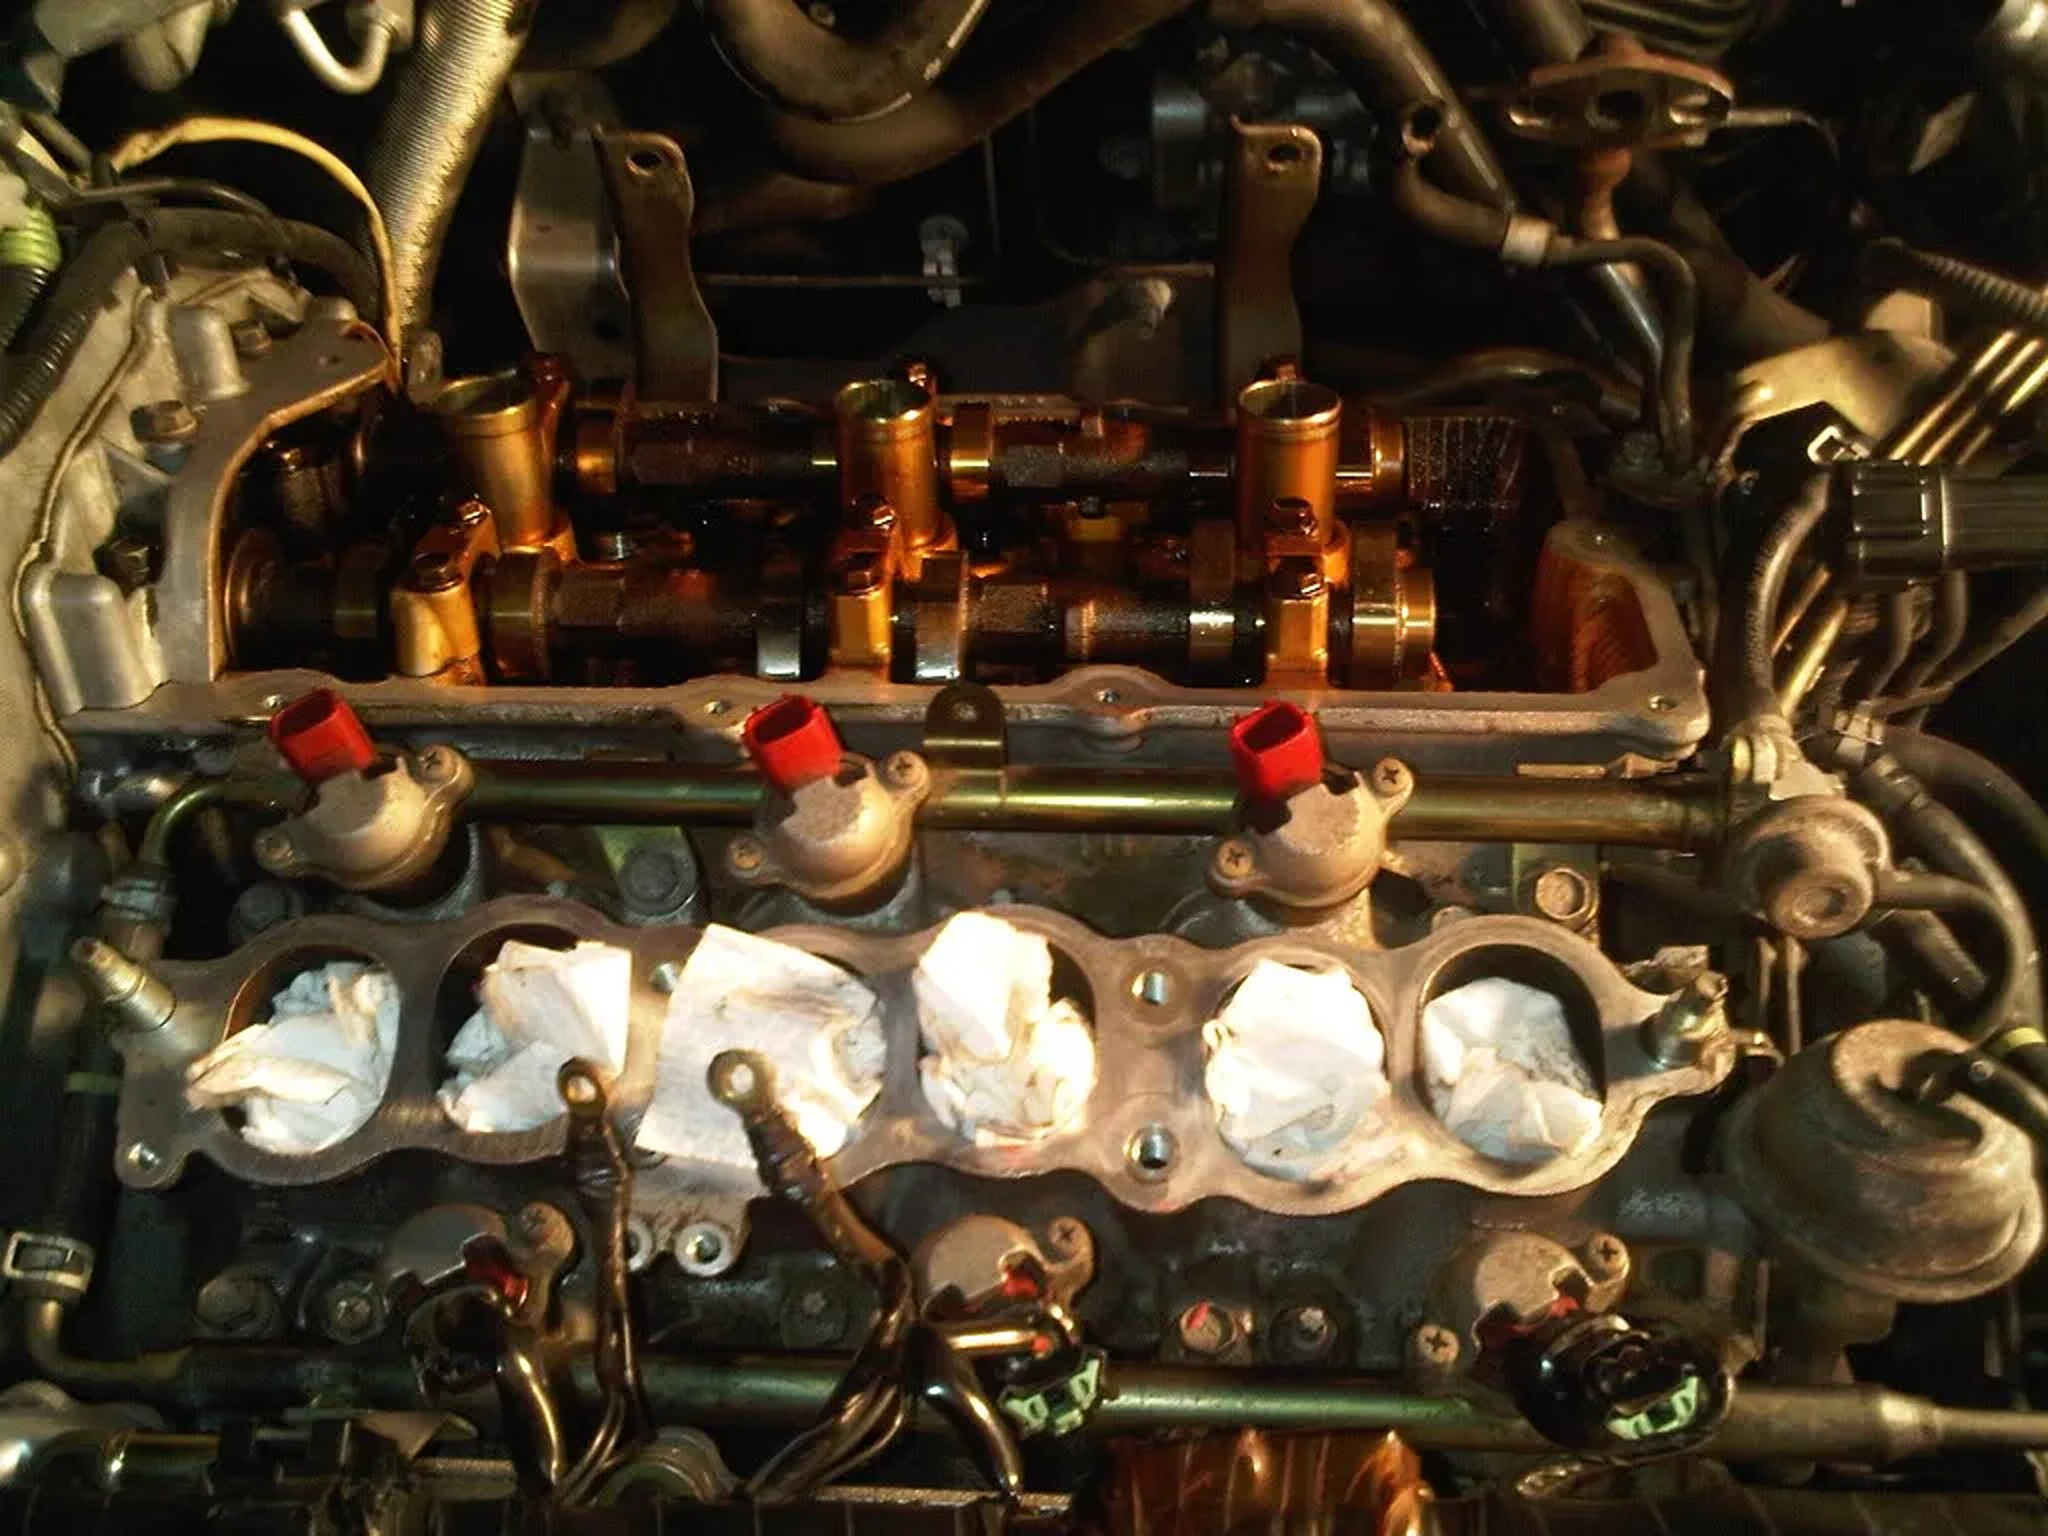
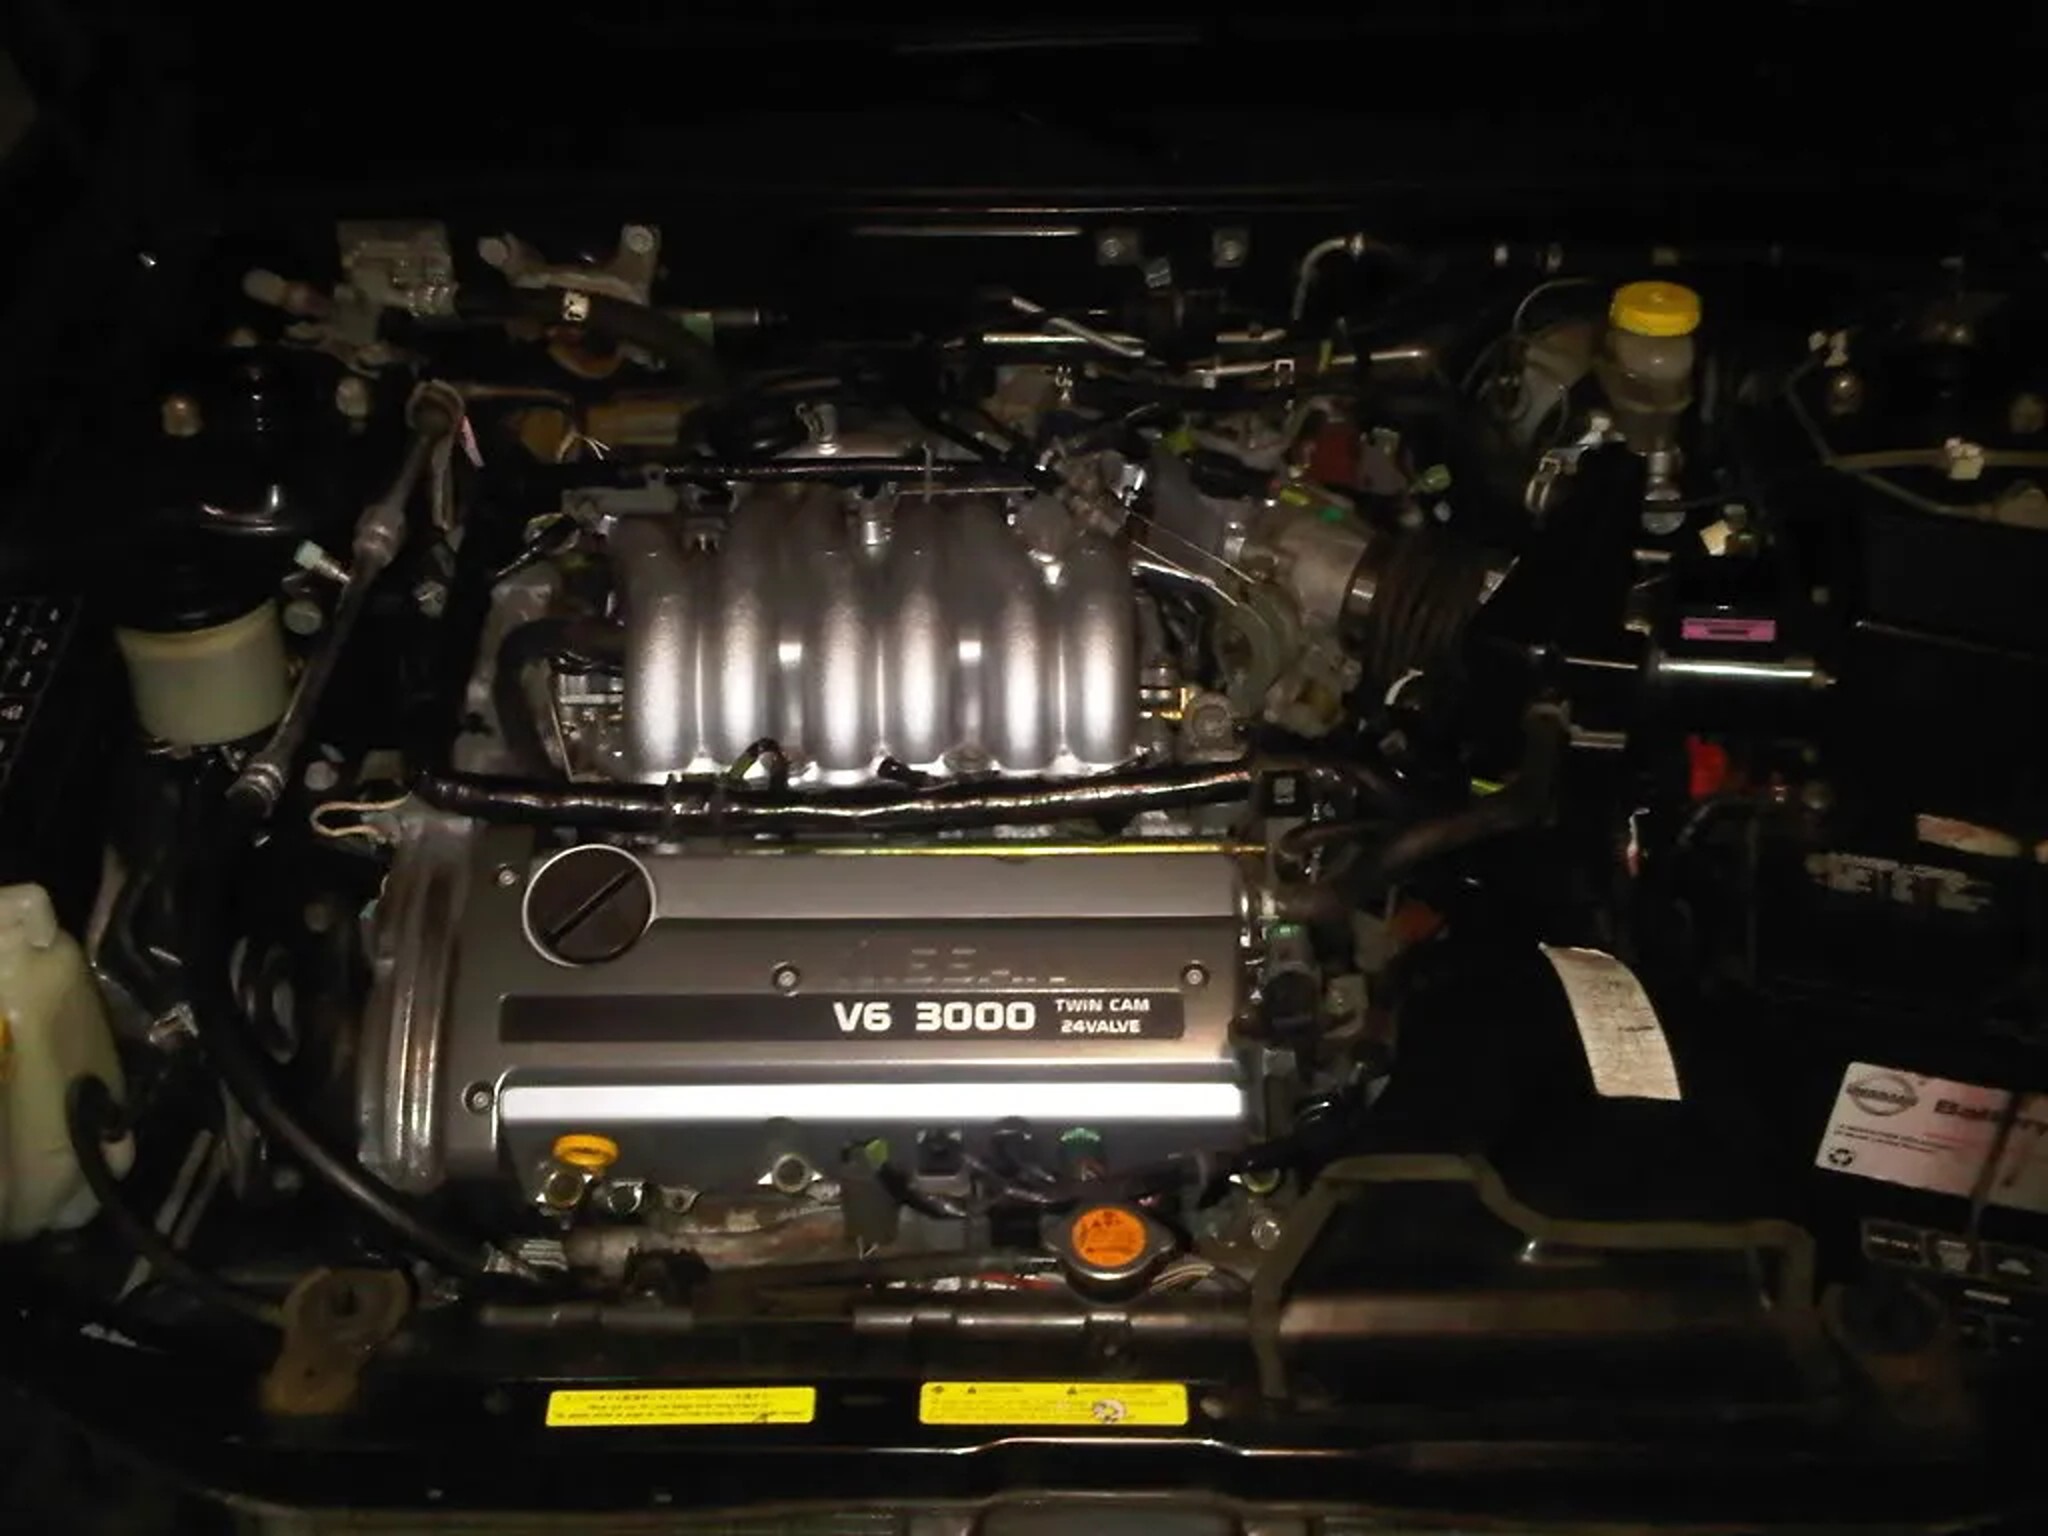
I recently decided to replace both of my leaky valve cover gaskets and clean up the engine bay a bit. Along the way, I ran into some issues that I’d like to share to forewarn other members.

Issues Encountered

  1. Coolant hoses
    When I removed the upper intake to access the rear cover, I had to cut two coolant hoses that connect to the back of the intake. I couldn’t reach the clips, so cutting was my only option. These hoses are Nissan-only parts, so I had to wait a while to get replacements.

  2. Fuel rail and spacers
    Since the lower intake manifold gasket was included in the intake gasket kit, I decided to replace it as well. I didn’t relieve the fuel pressure beforehand and instead pivoted the fuel rail assembly out of the way.
    • The first time I reinstalled the rail onto the lower intake, I forgot the spacers and torqued it down.
    • After realizing the mistake, I removed it and added the spacers. Unfortunately, the fuel rail tabs had bent from the mishap, causing a major vacuum leak that stumped me for several days.

    • To fix this, I ended up using smaller spacers to properly seat the injectors in the lower intake, along with installing new injector insulators.

  3. Fuel rail bolts
    The bolts that secure the fuel rail to the lower intake strip very easily. I stripped one and had to re-tap it with a 3/8-24 bolt.

  4. RTV sealant on valve covers
    You must use RTV at the sharp edges on the front and rear valve covers. Most people know this, but I neglected it and had to redo both covers. I also recommend using either the OEM Nissan gasket or the Fel-Pro one.


Lessons Learned

I ended up removing and reassembling the upper intake four times. By the last attempt, I could disassemble and reassemble everything in about an hour. While I had the engine apart, I also completed the following work, and now the car runs awesome:

  • Replaced valve cover, EGR, IACV, throttle body, and all intake gaskets.

  • Painted the front valve cover, ornament cover, and upper intake.

  • Polished the rear valve cover.

  • Cleaned the IACV, EGR tube, upper intake, and throttle body.

  • Replaced all coolant hoses.

  • Replaced the blow-by hose and all cracked vacuum lines.

  • Replaced lower intake insulators.

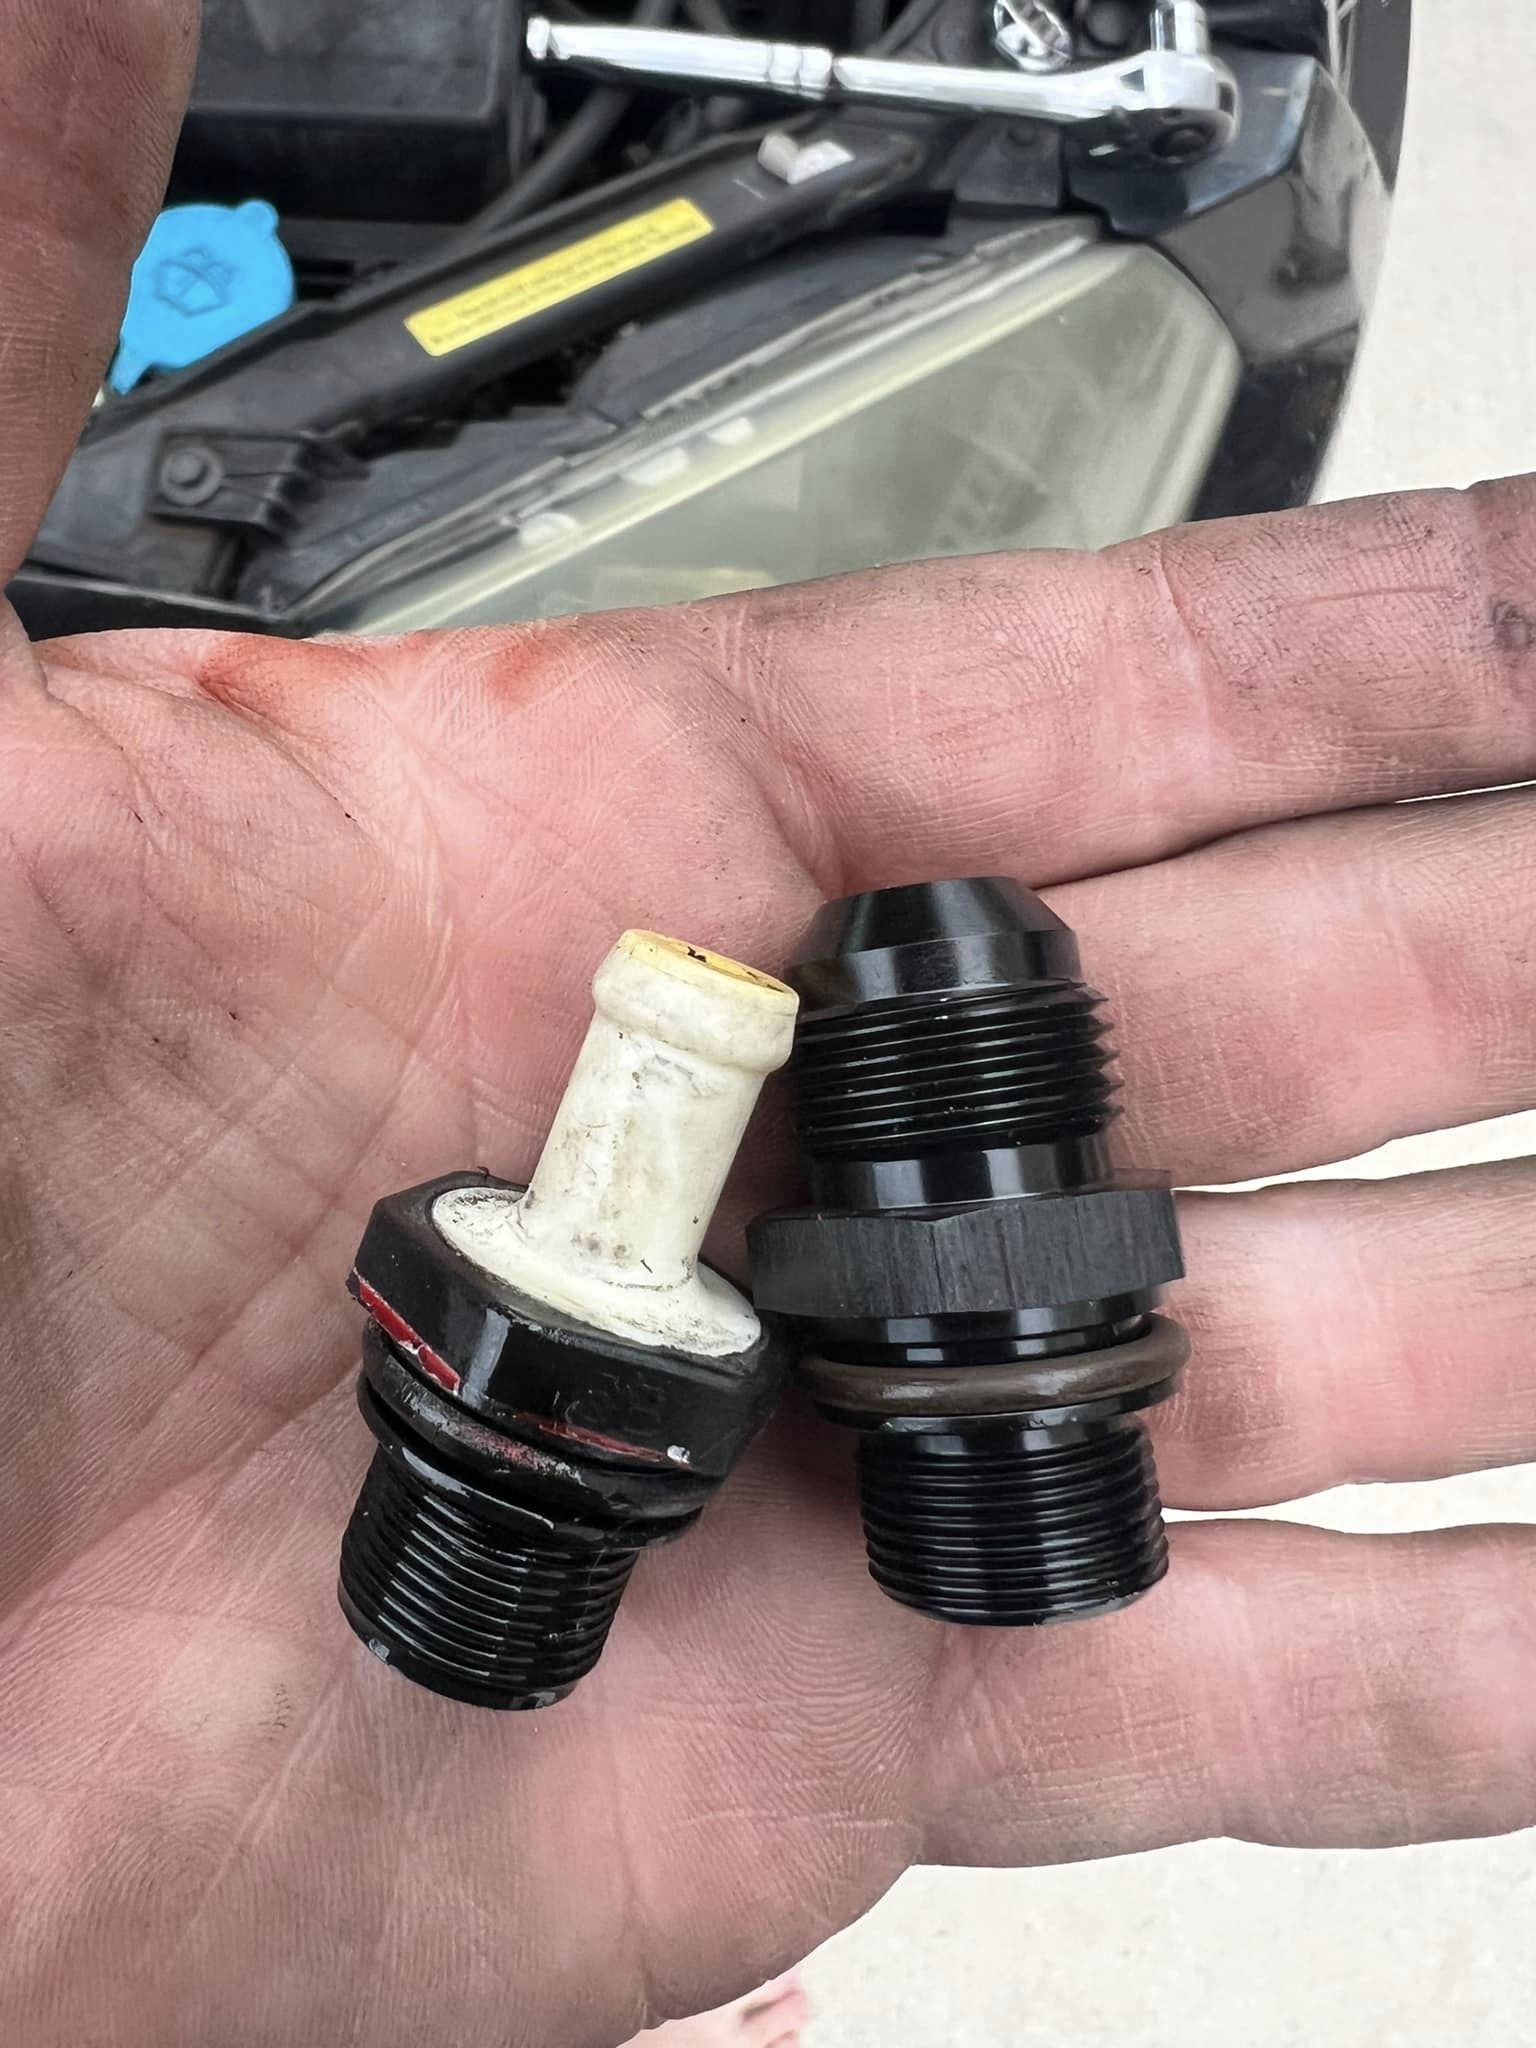
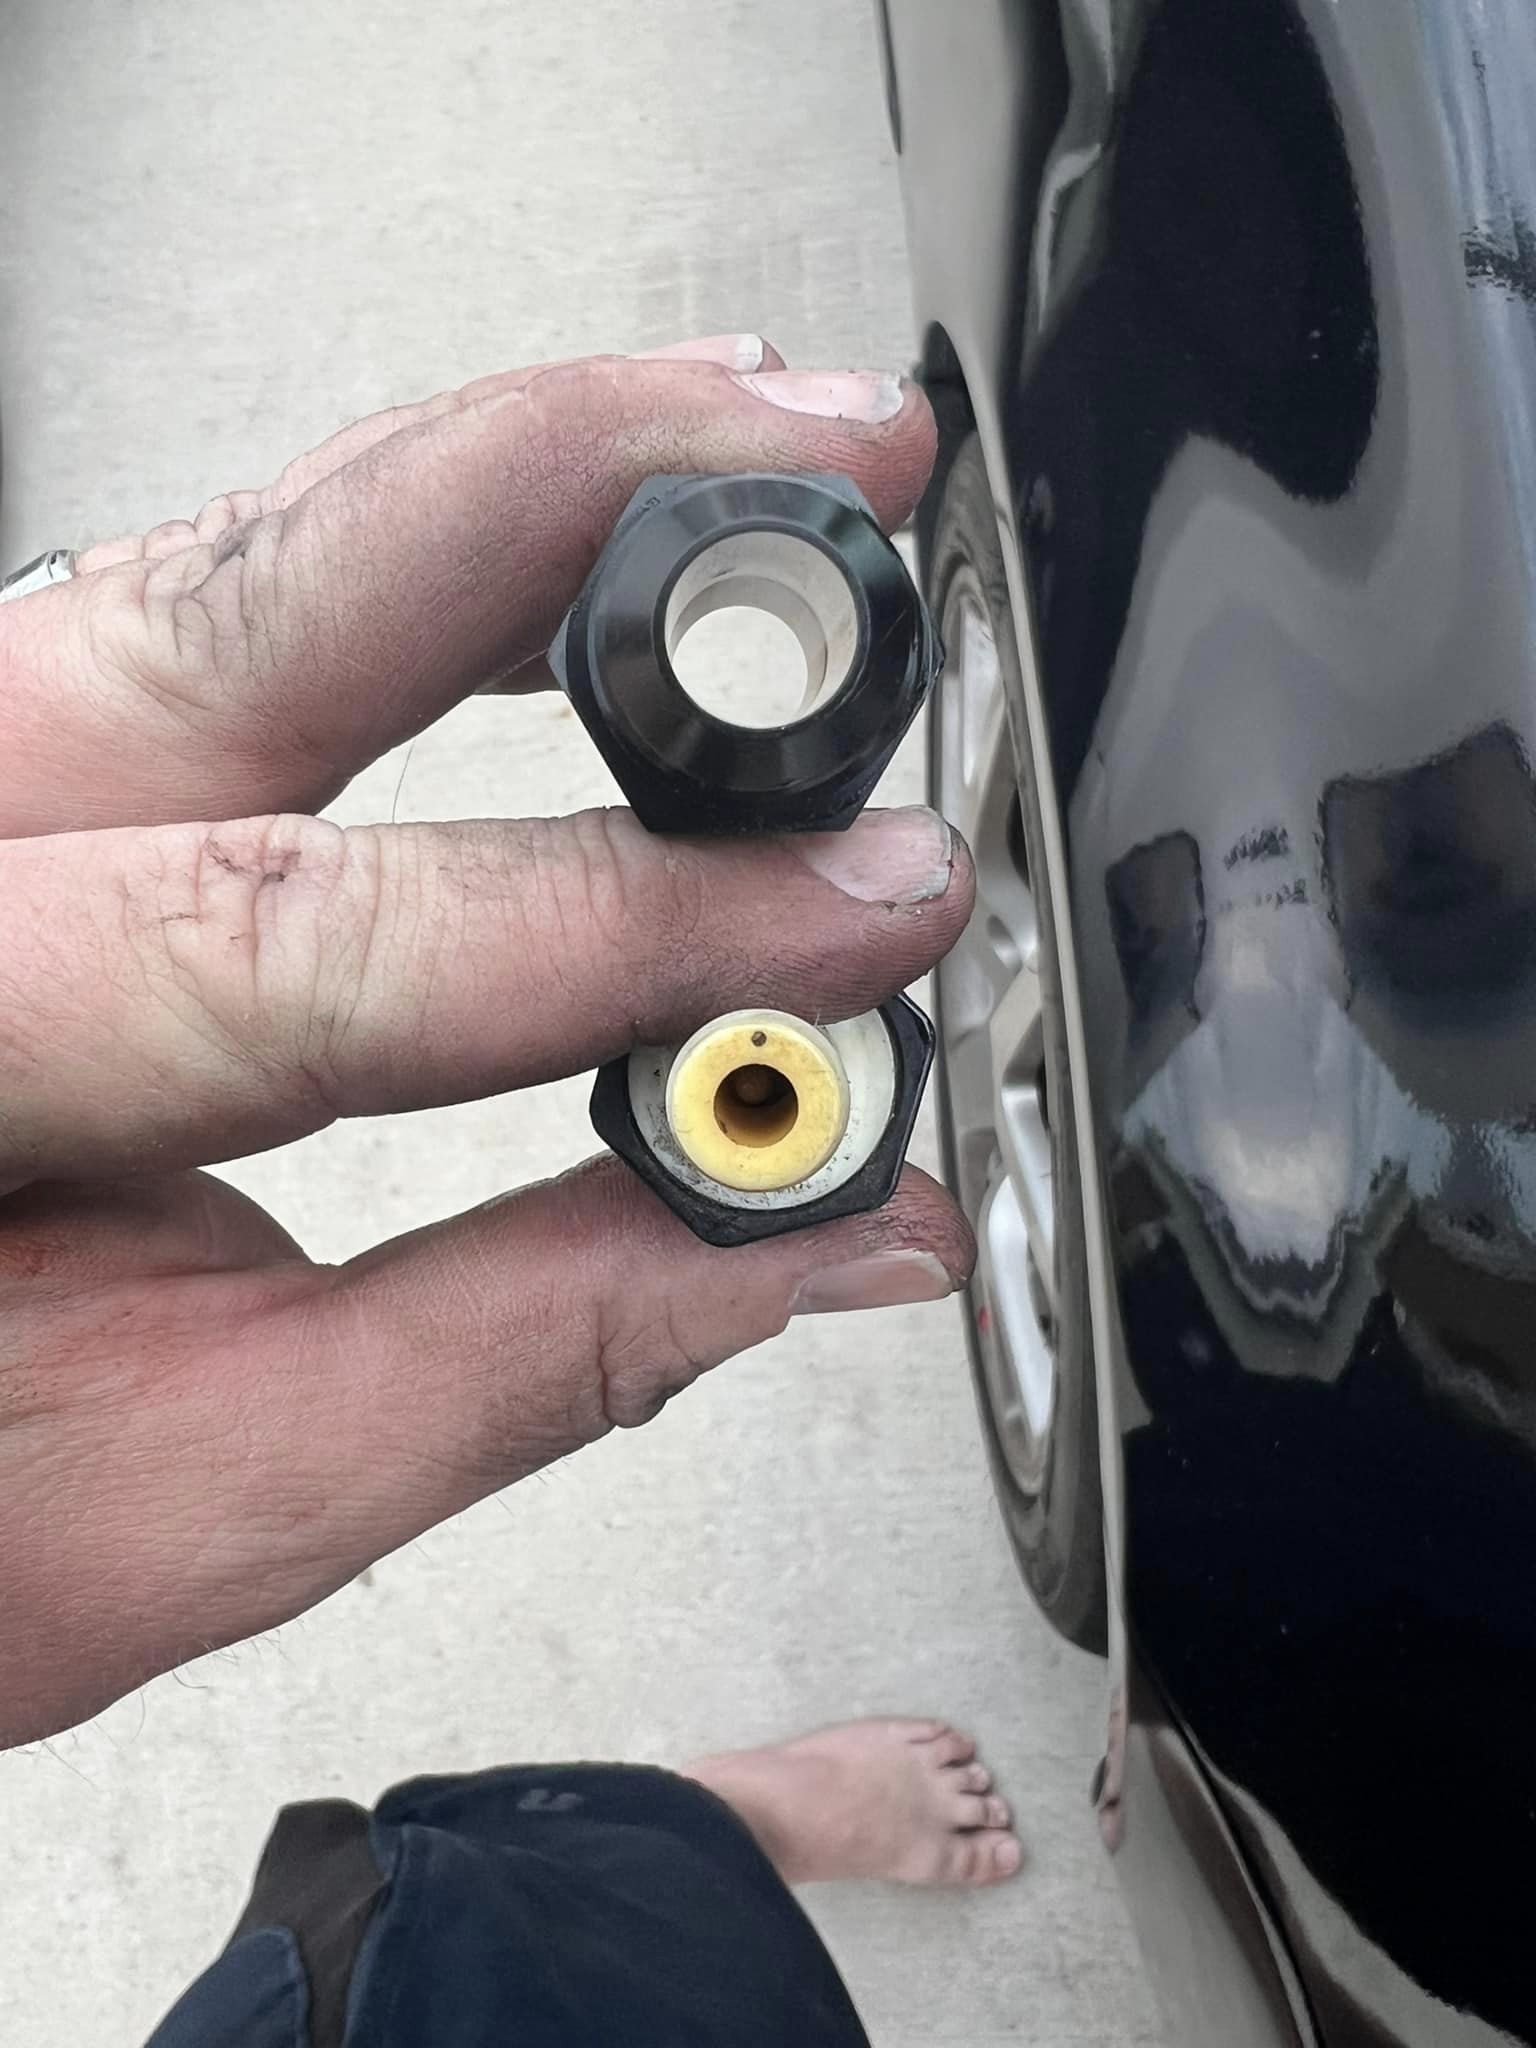
  • Replaced the PCV valve.

Loading

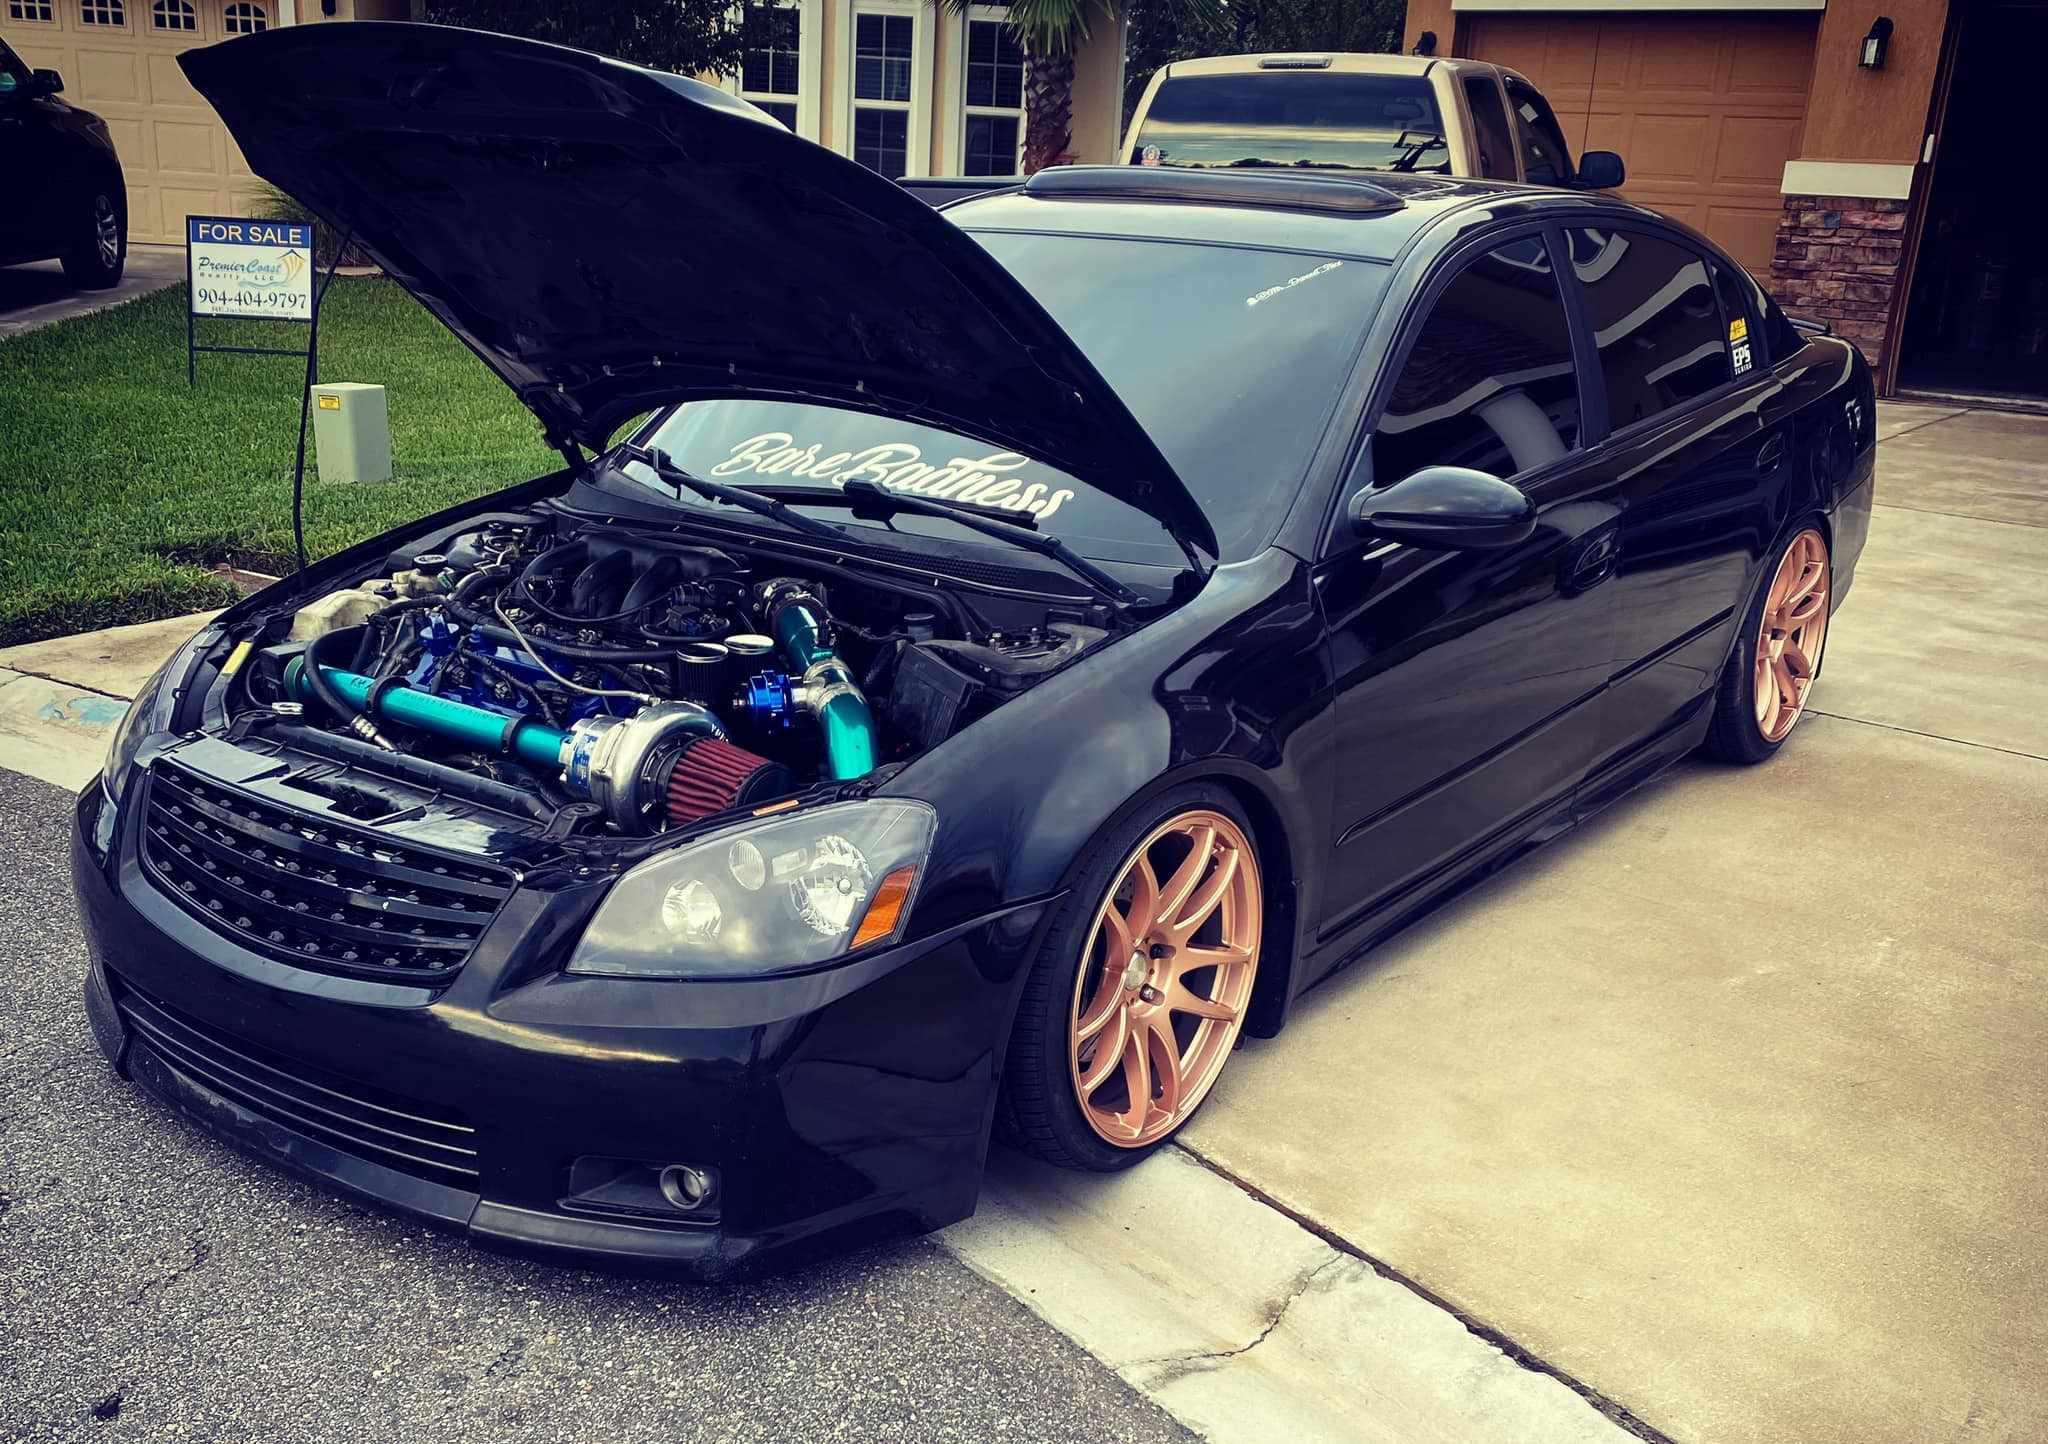
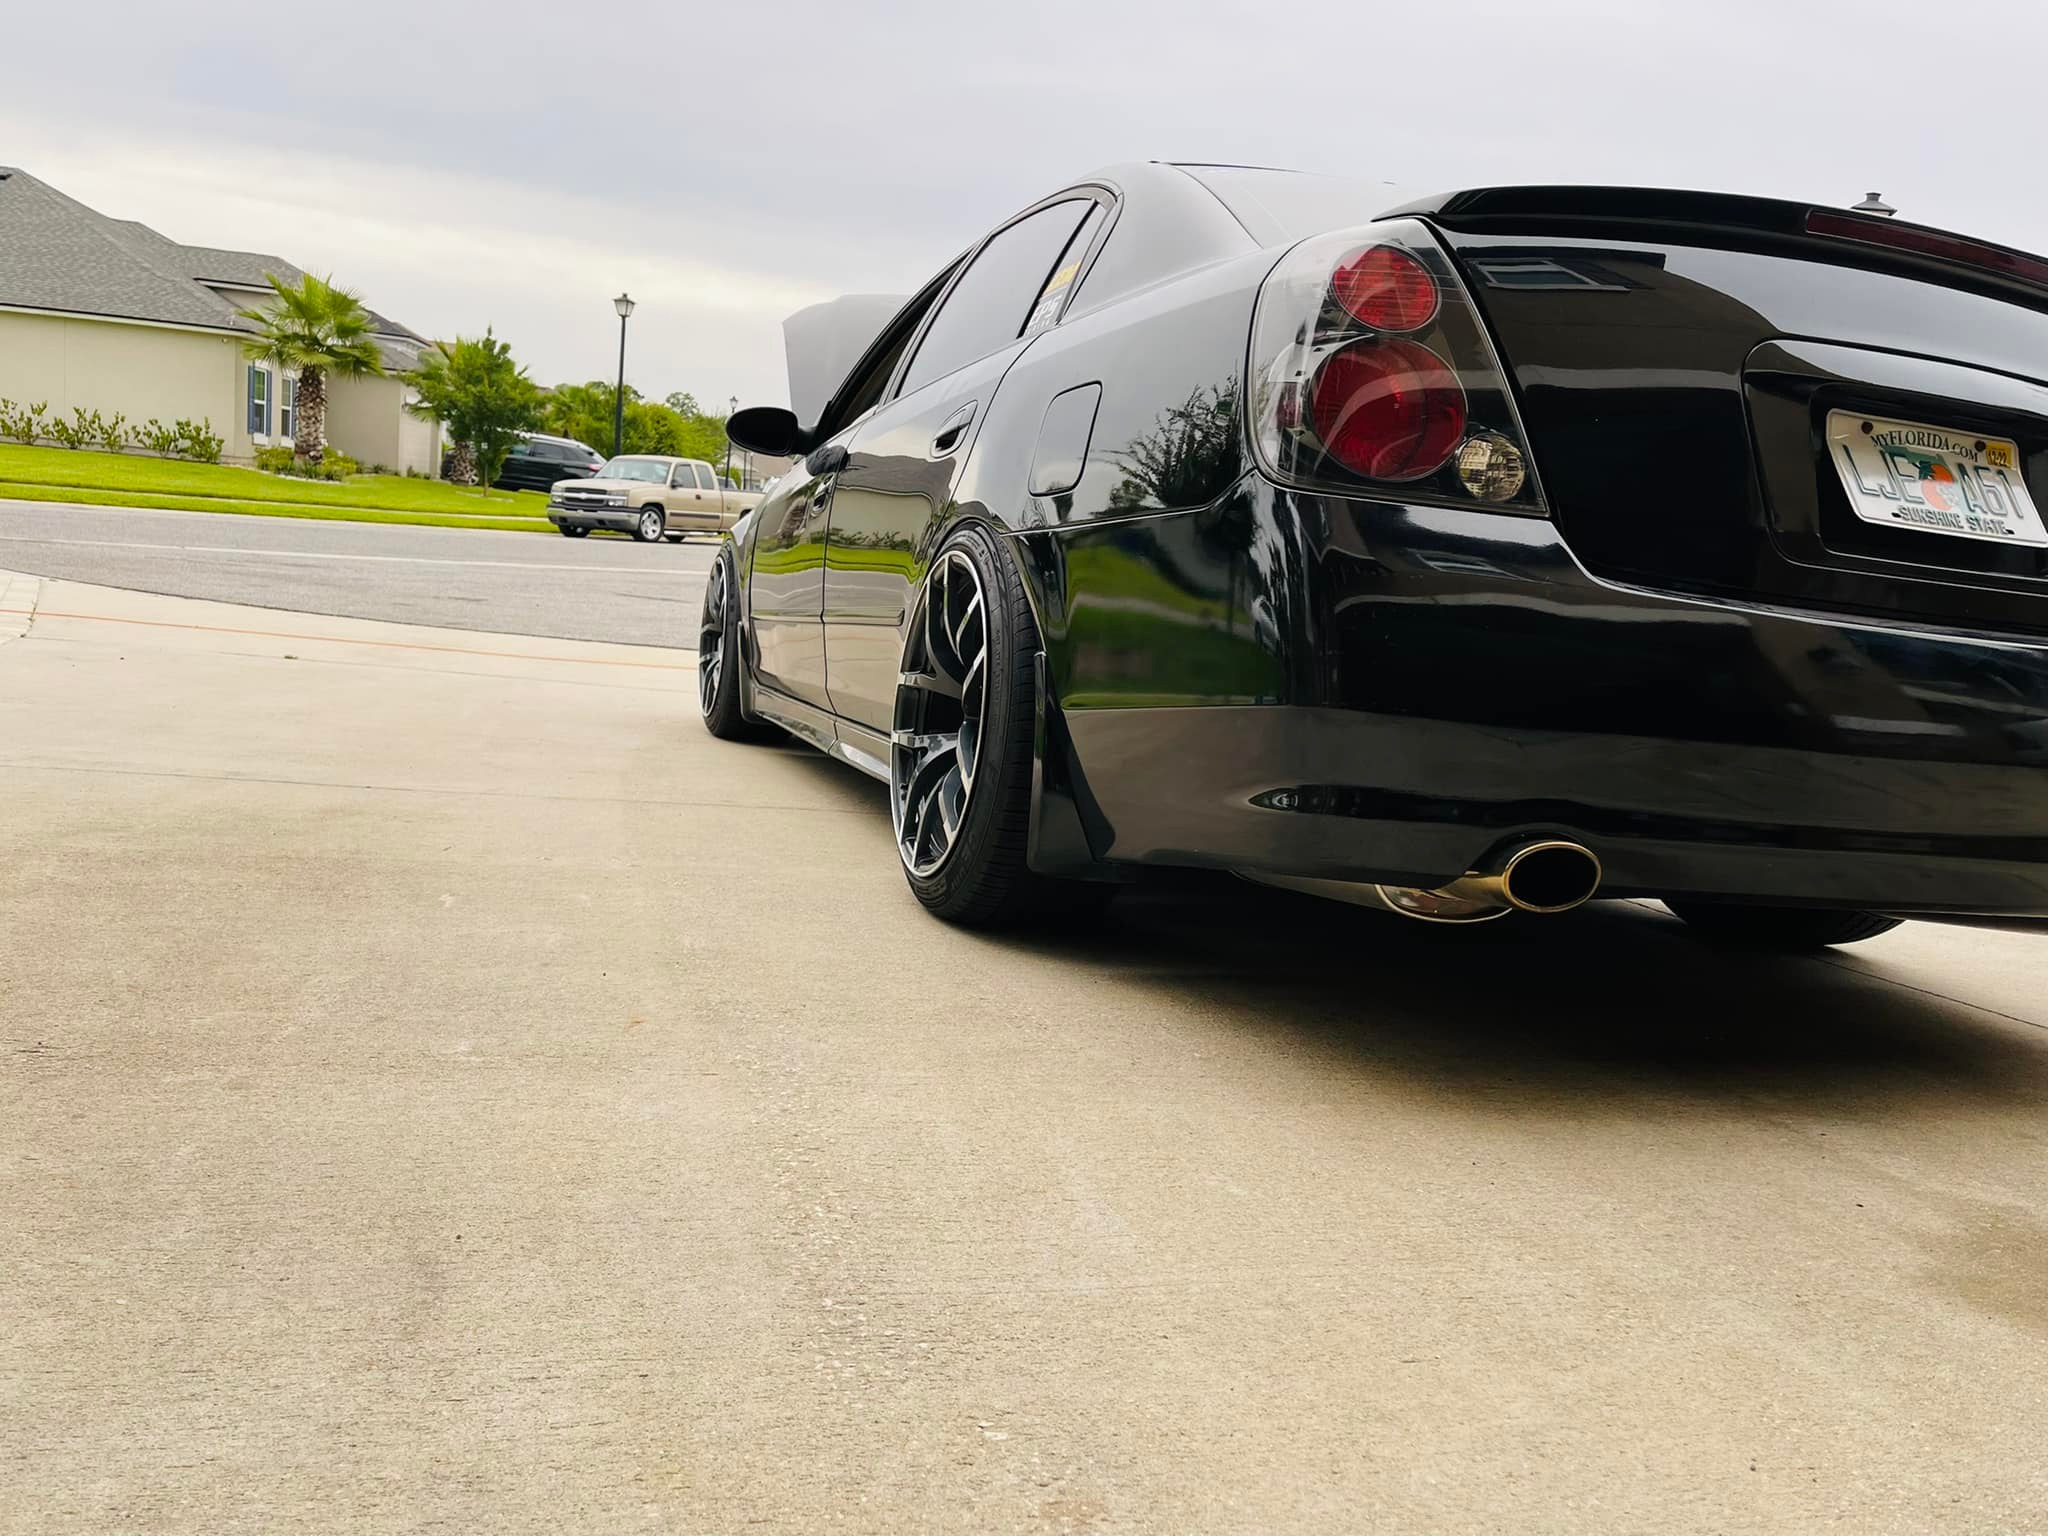
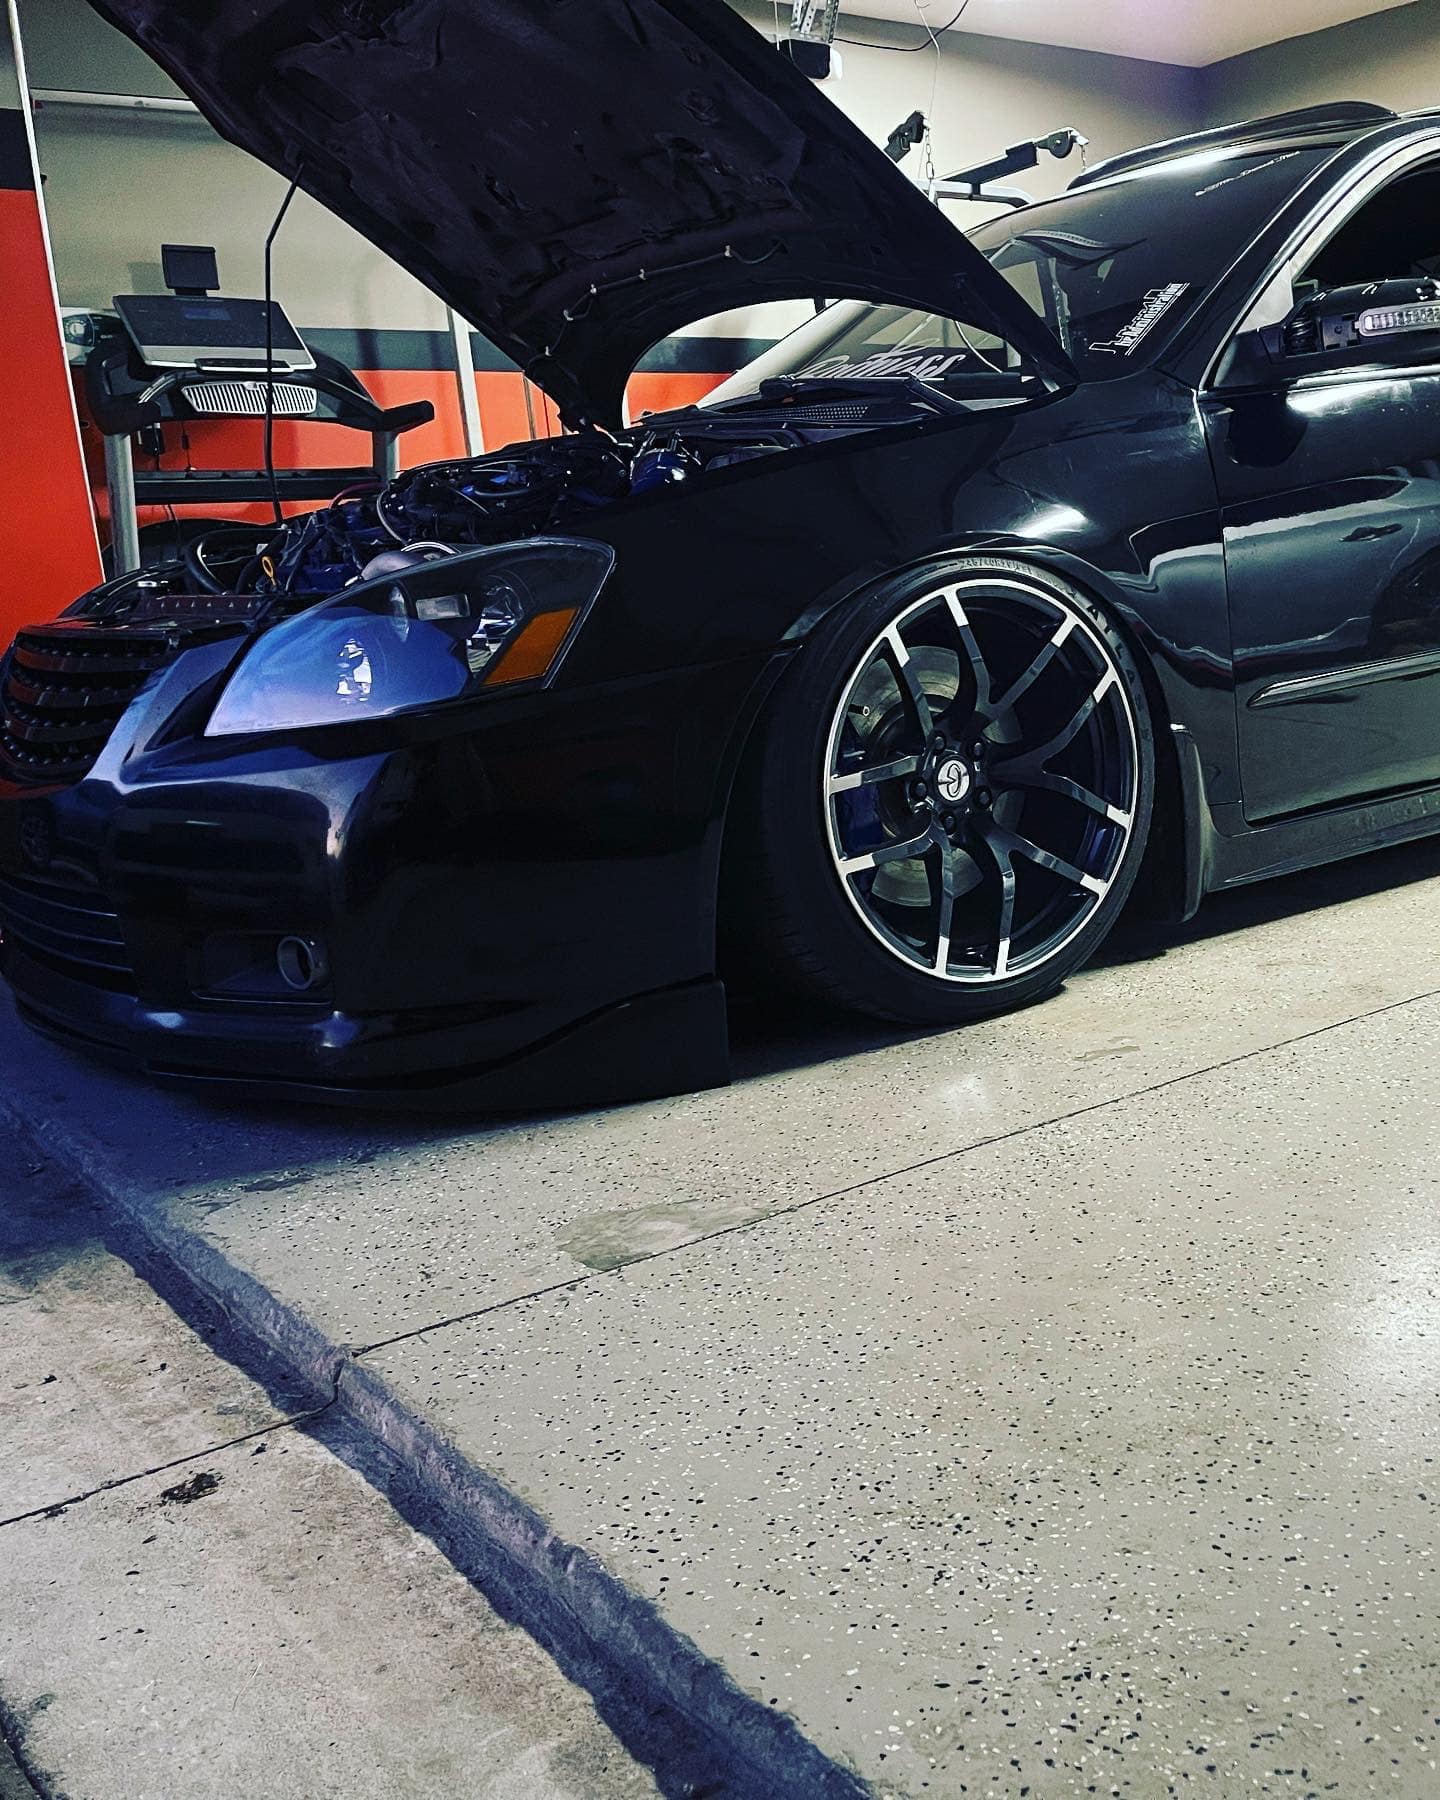
Owner: Andre N.

Year: 2005
Model: Altima
Current Color: Black
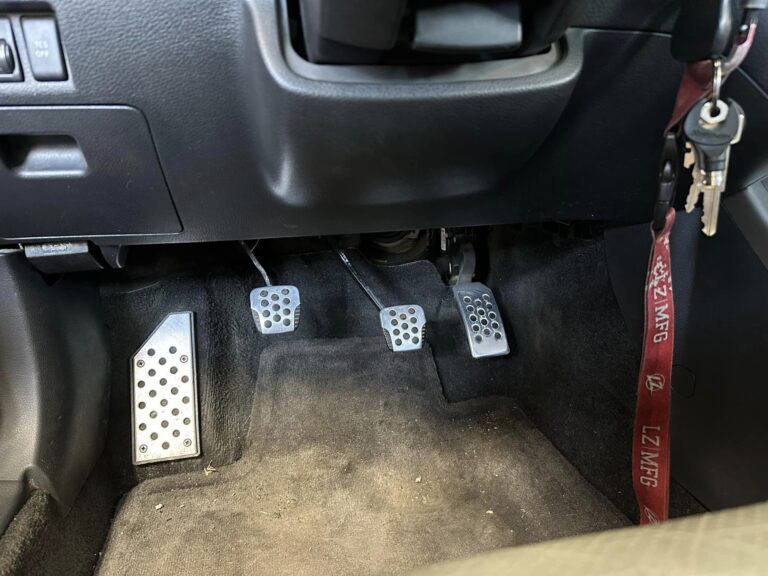
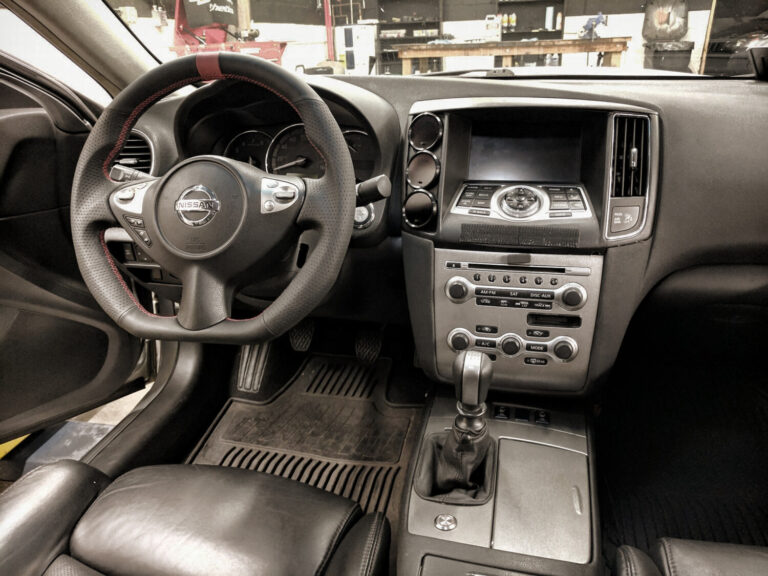
Transmission: 6-Speed Manual
Trim: SE-R

Mod List:

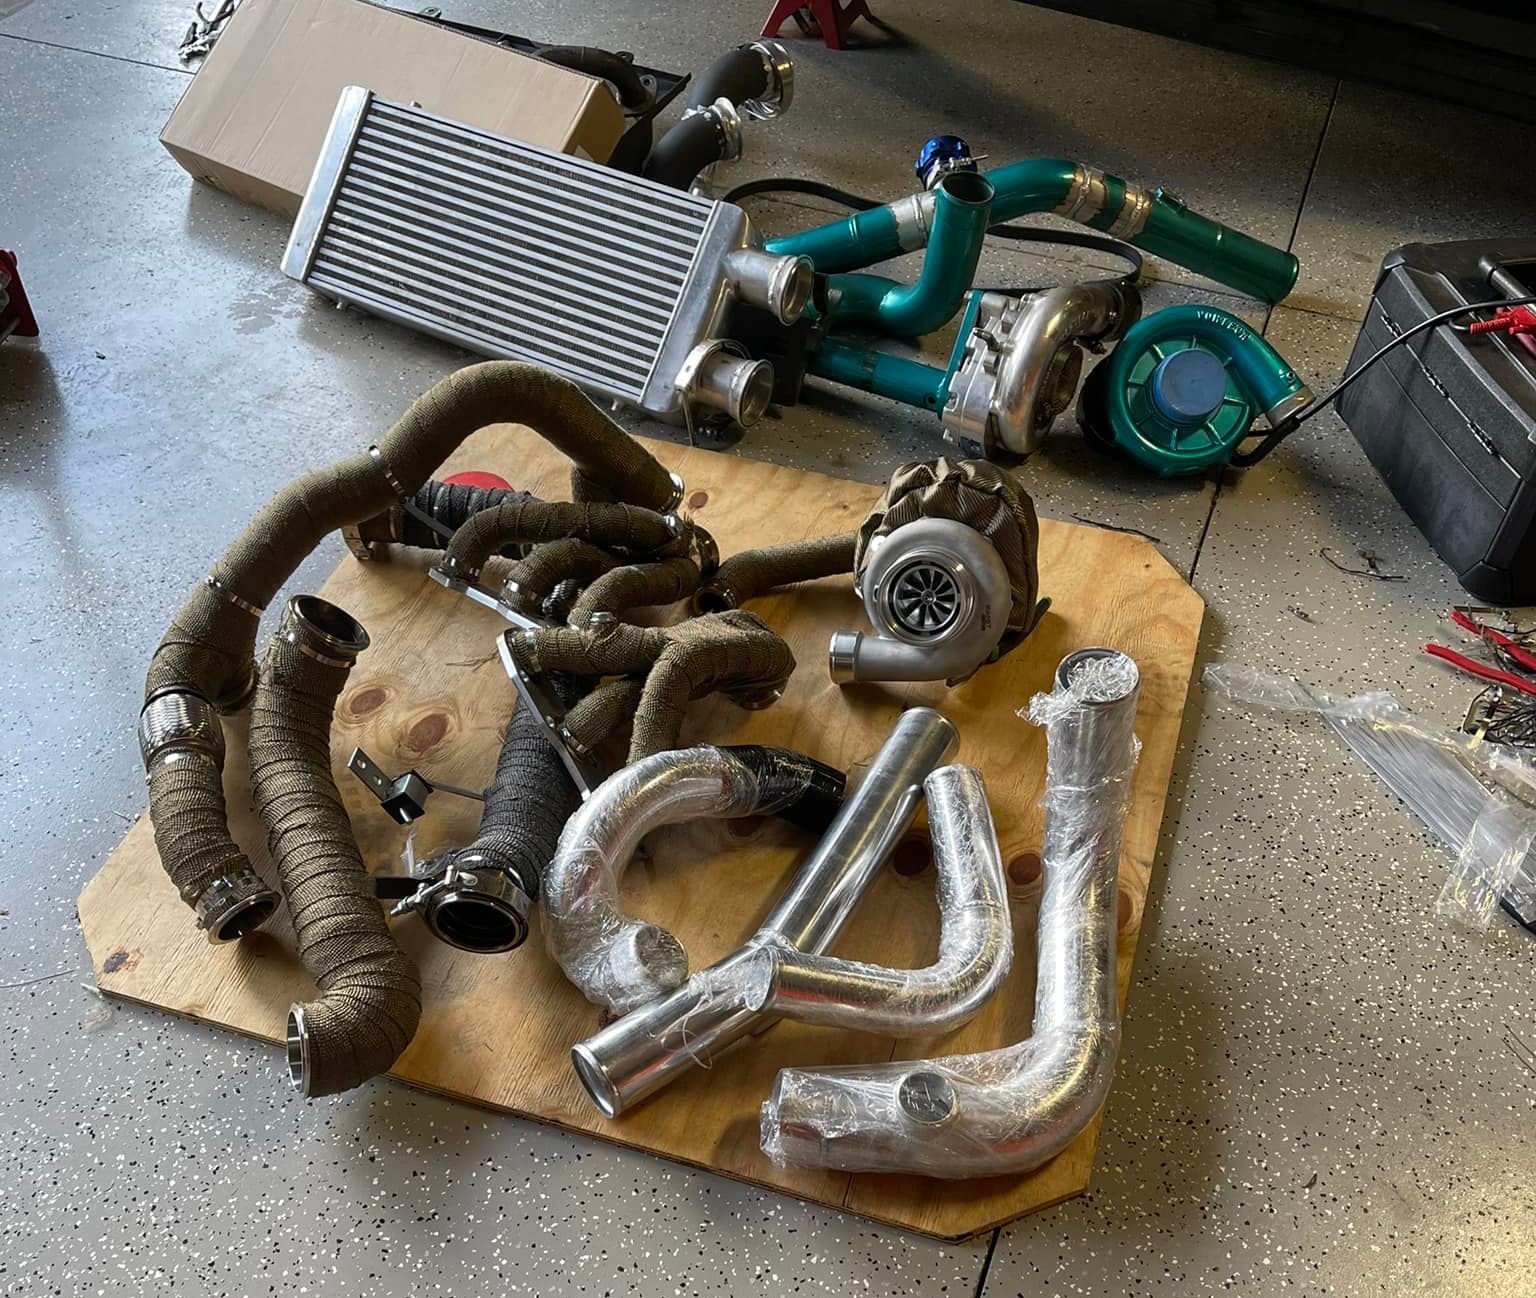
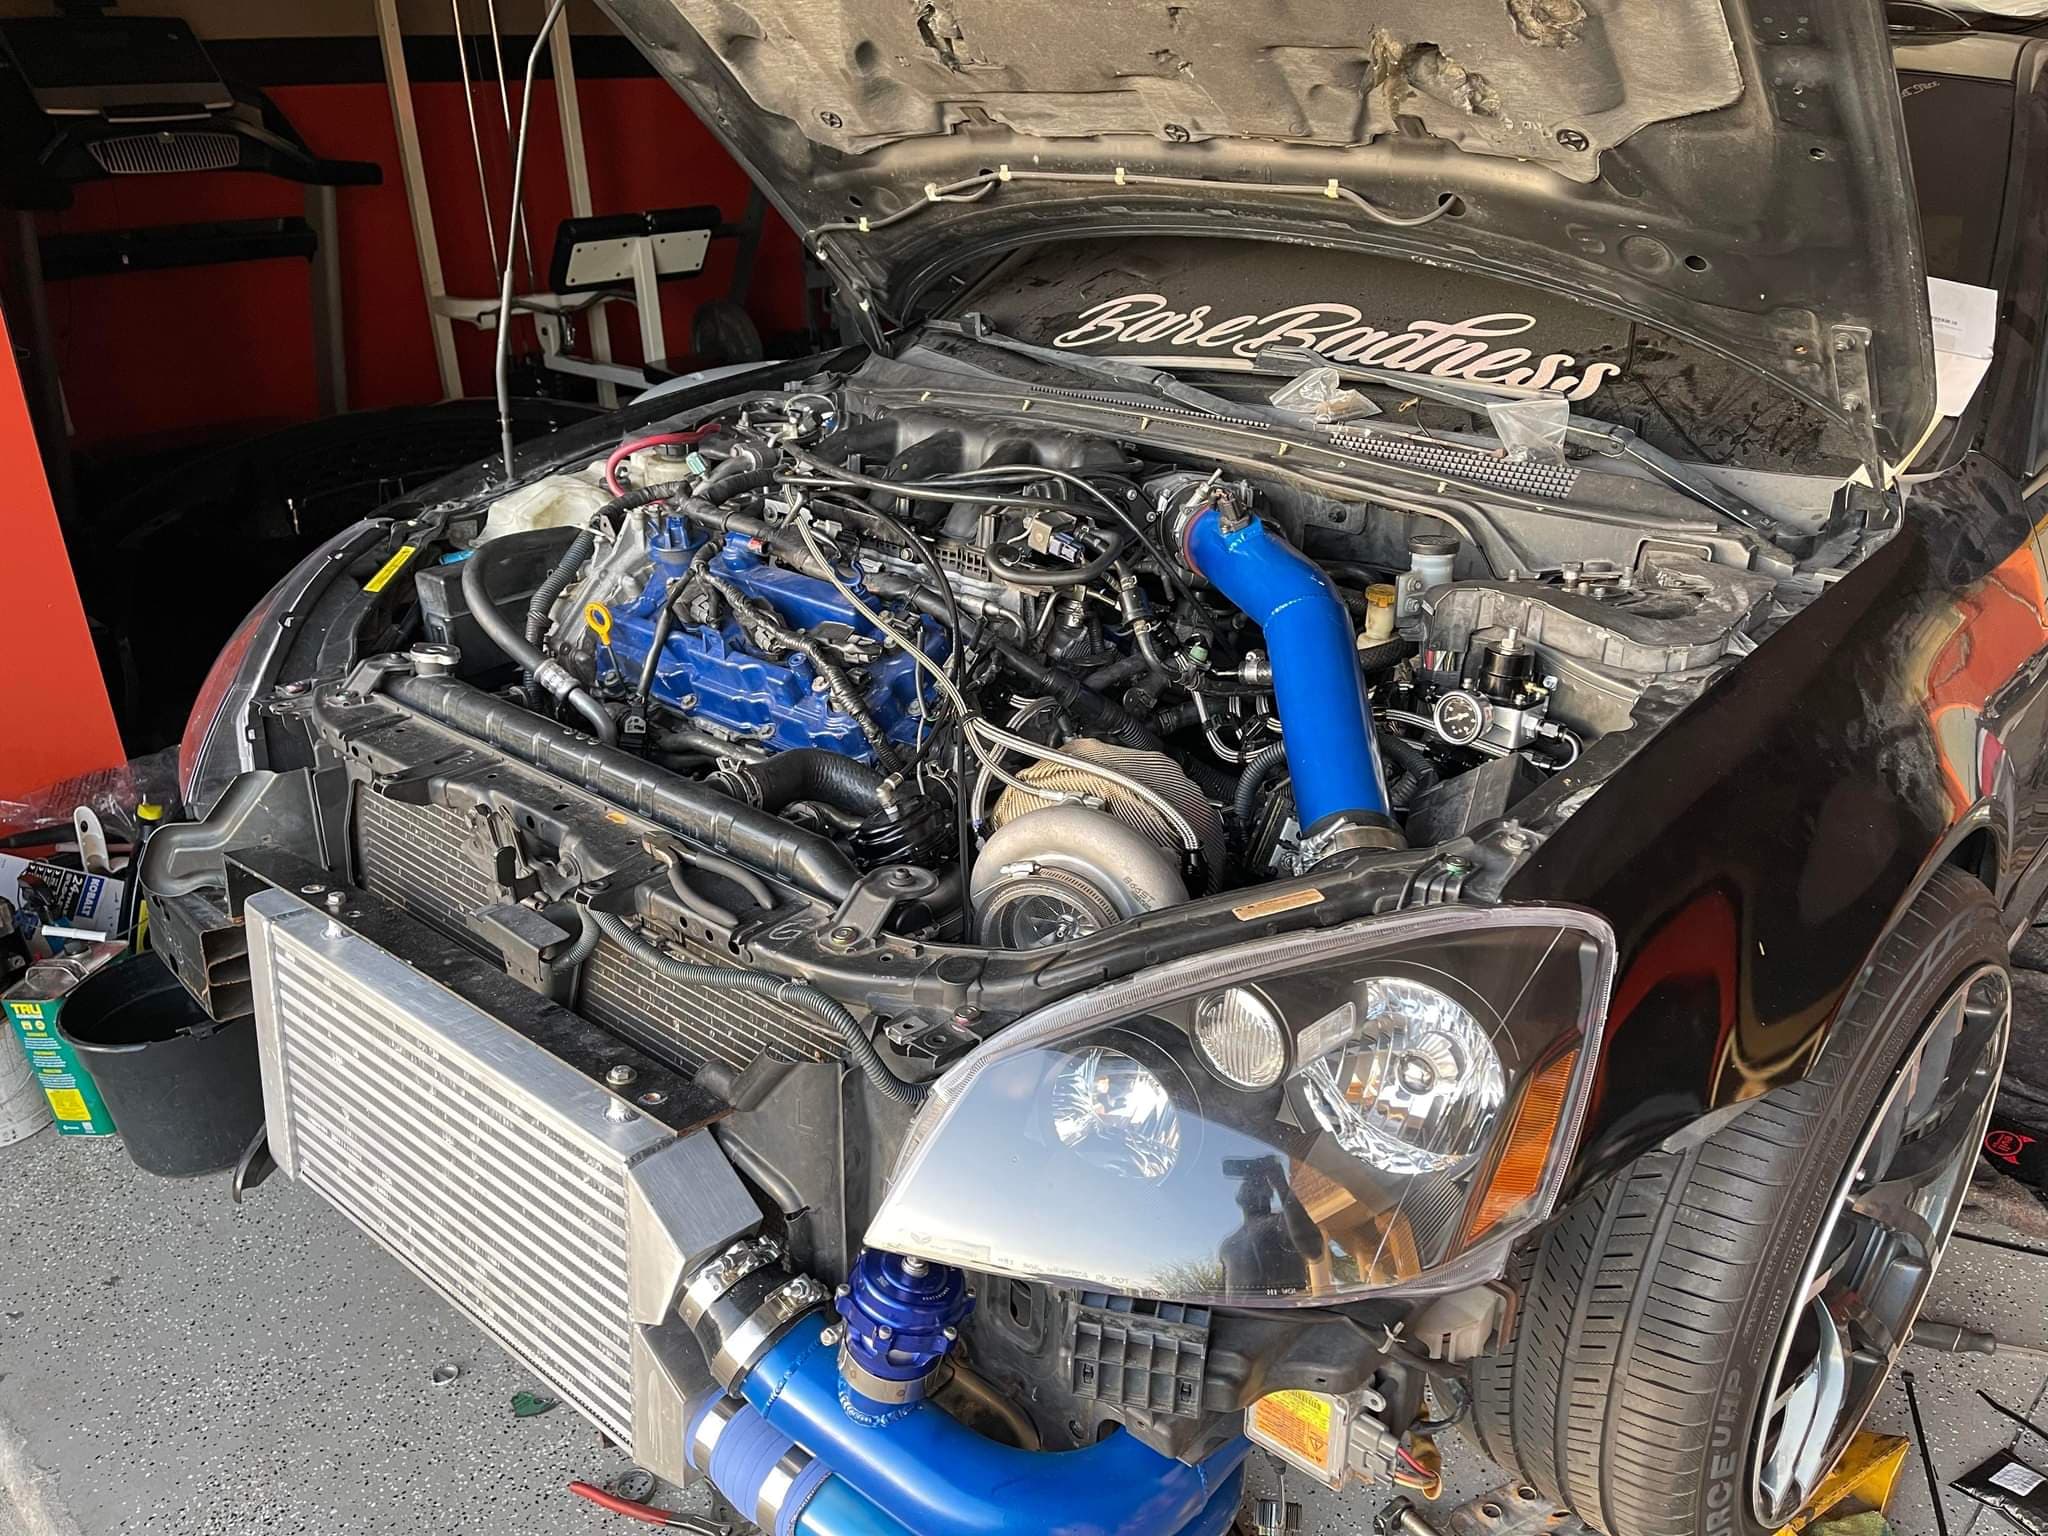
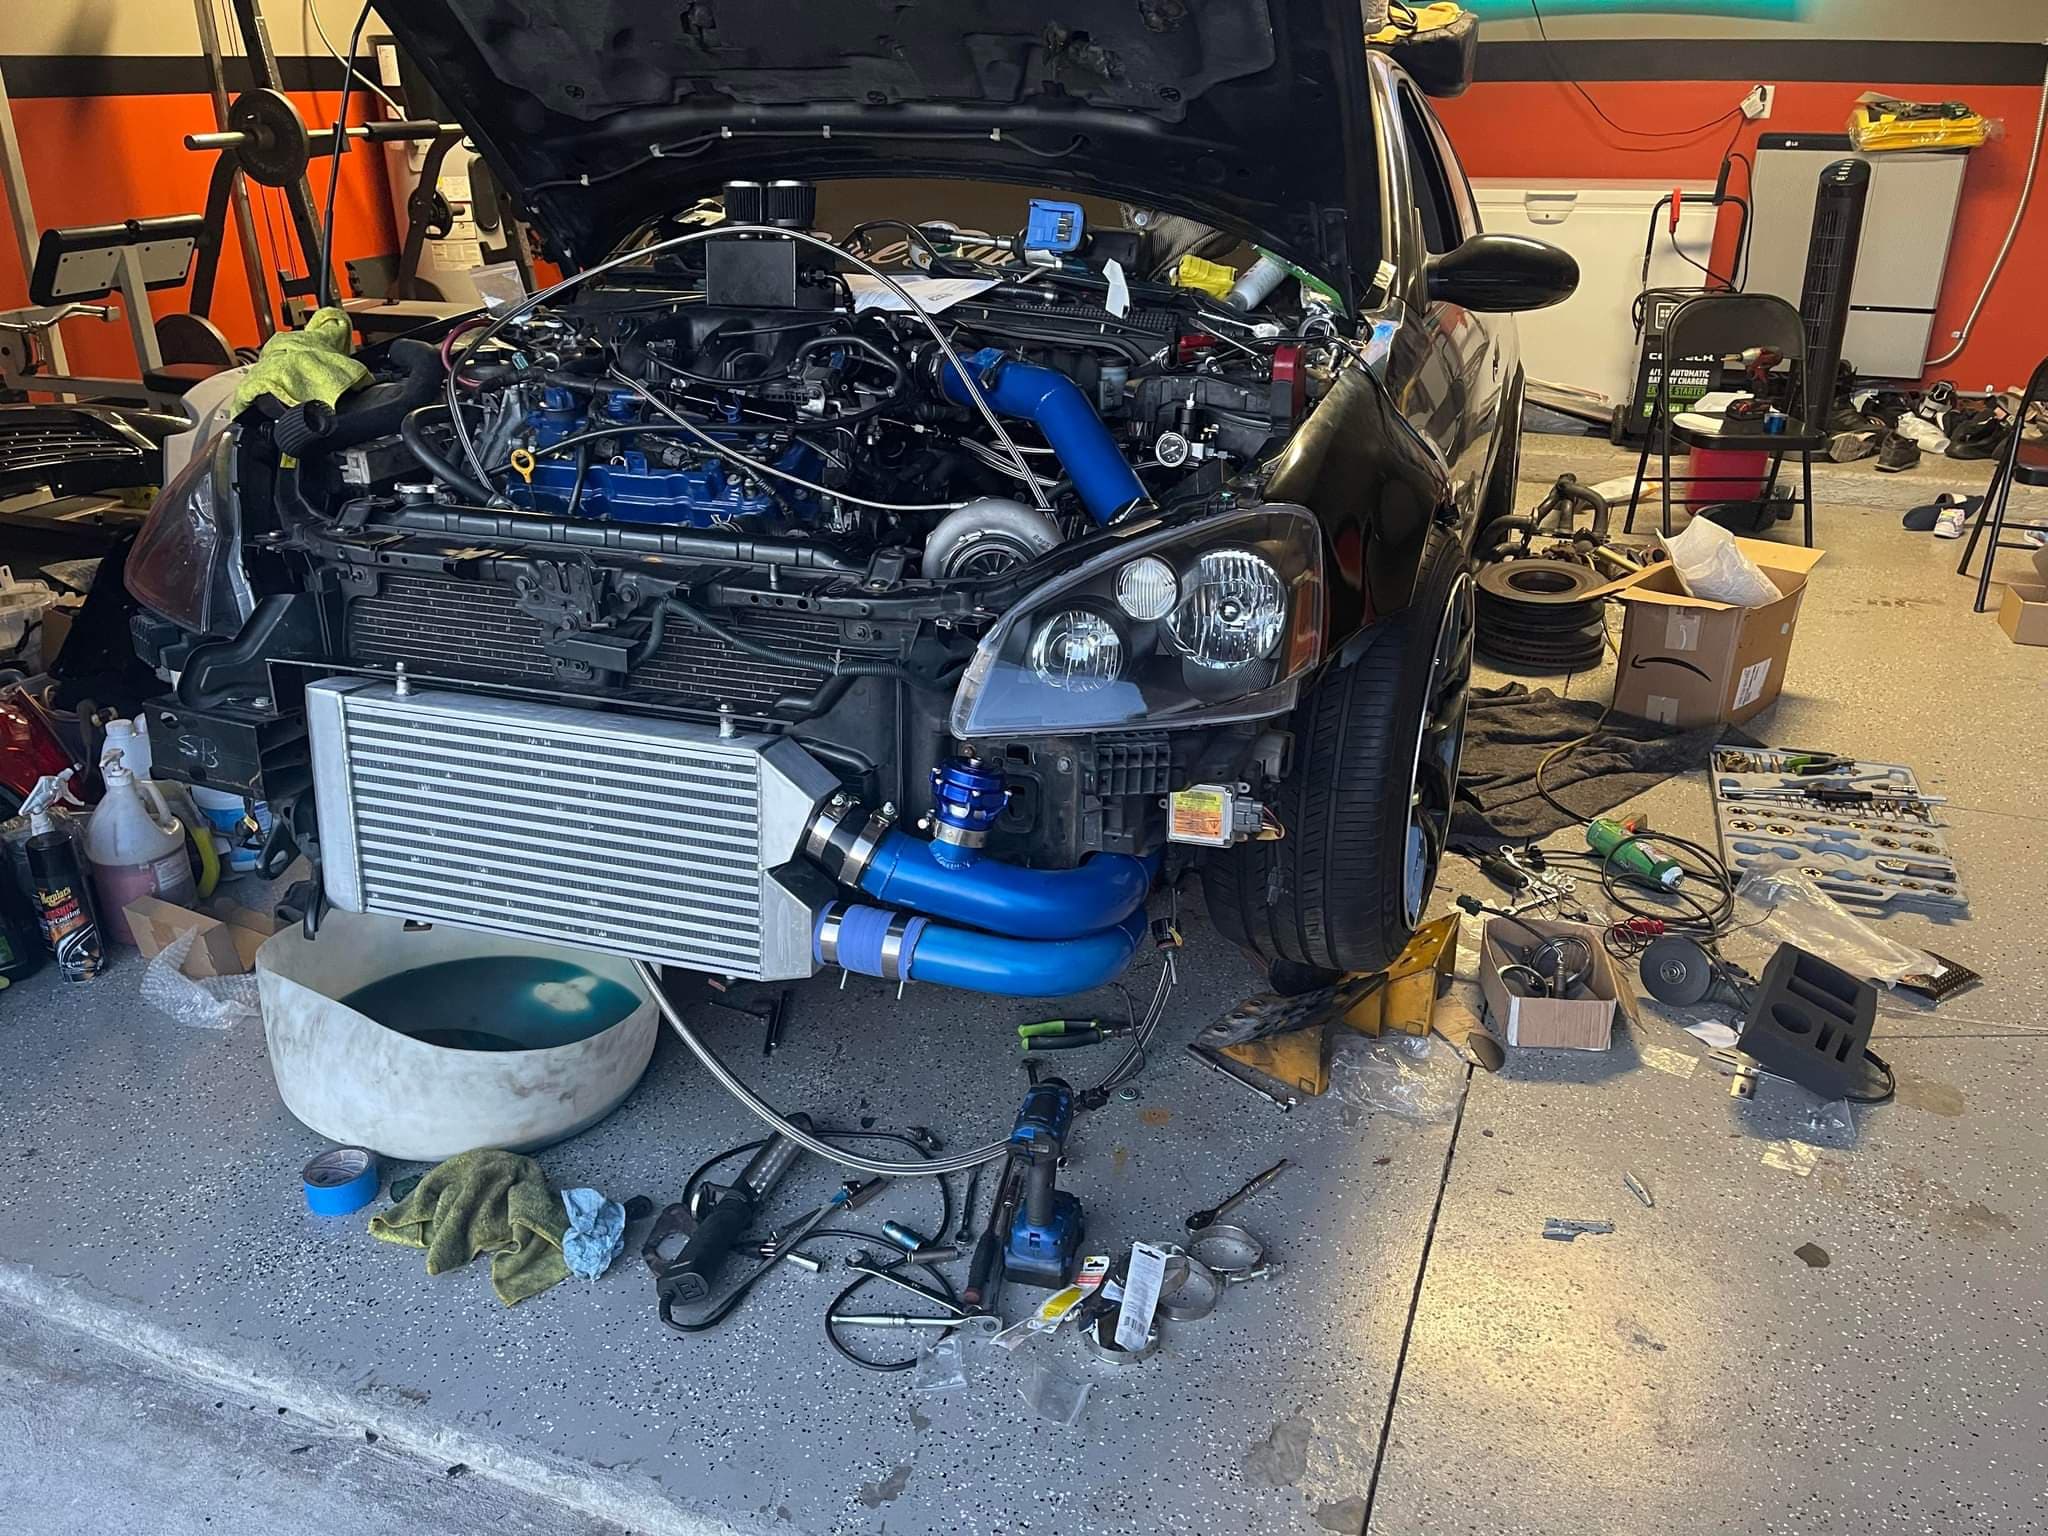
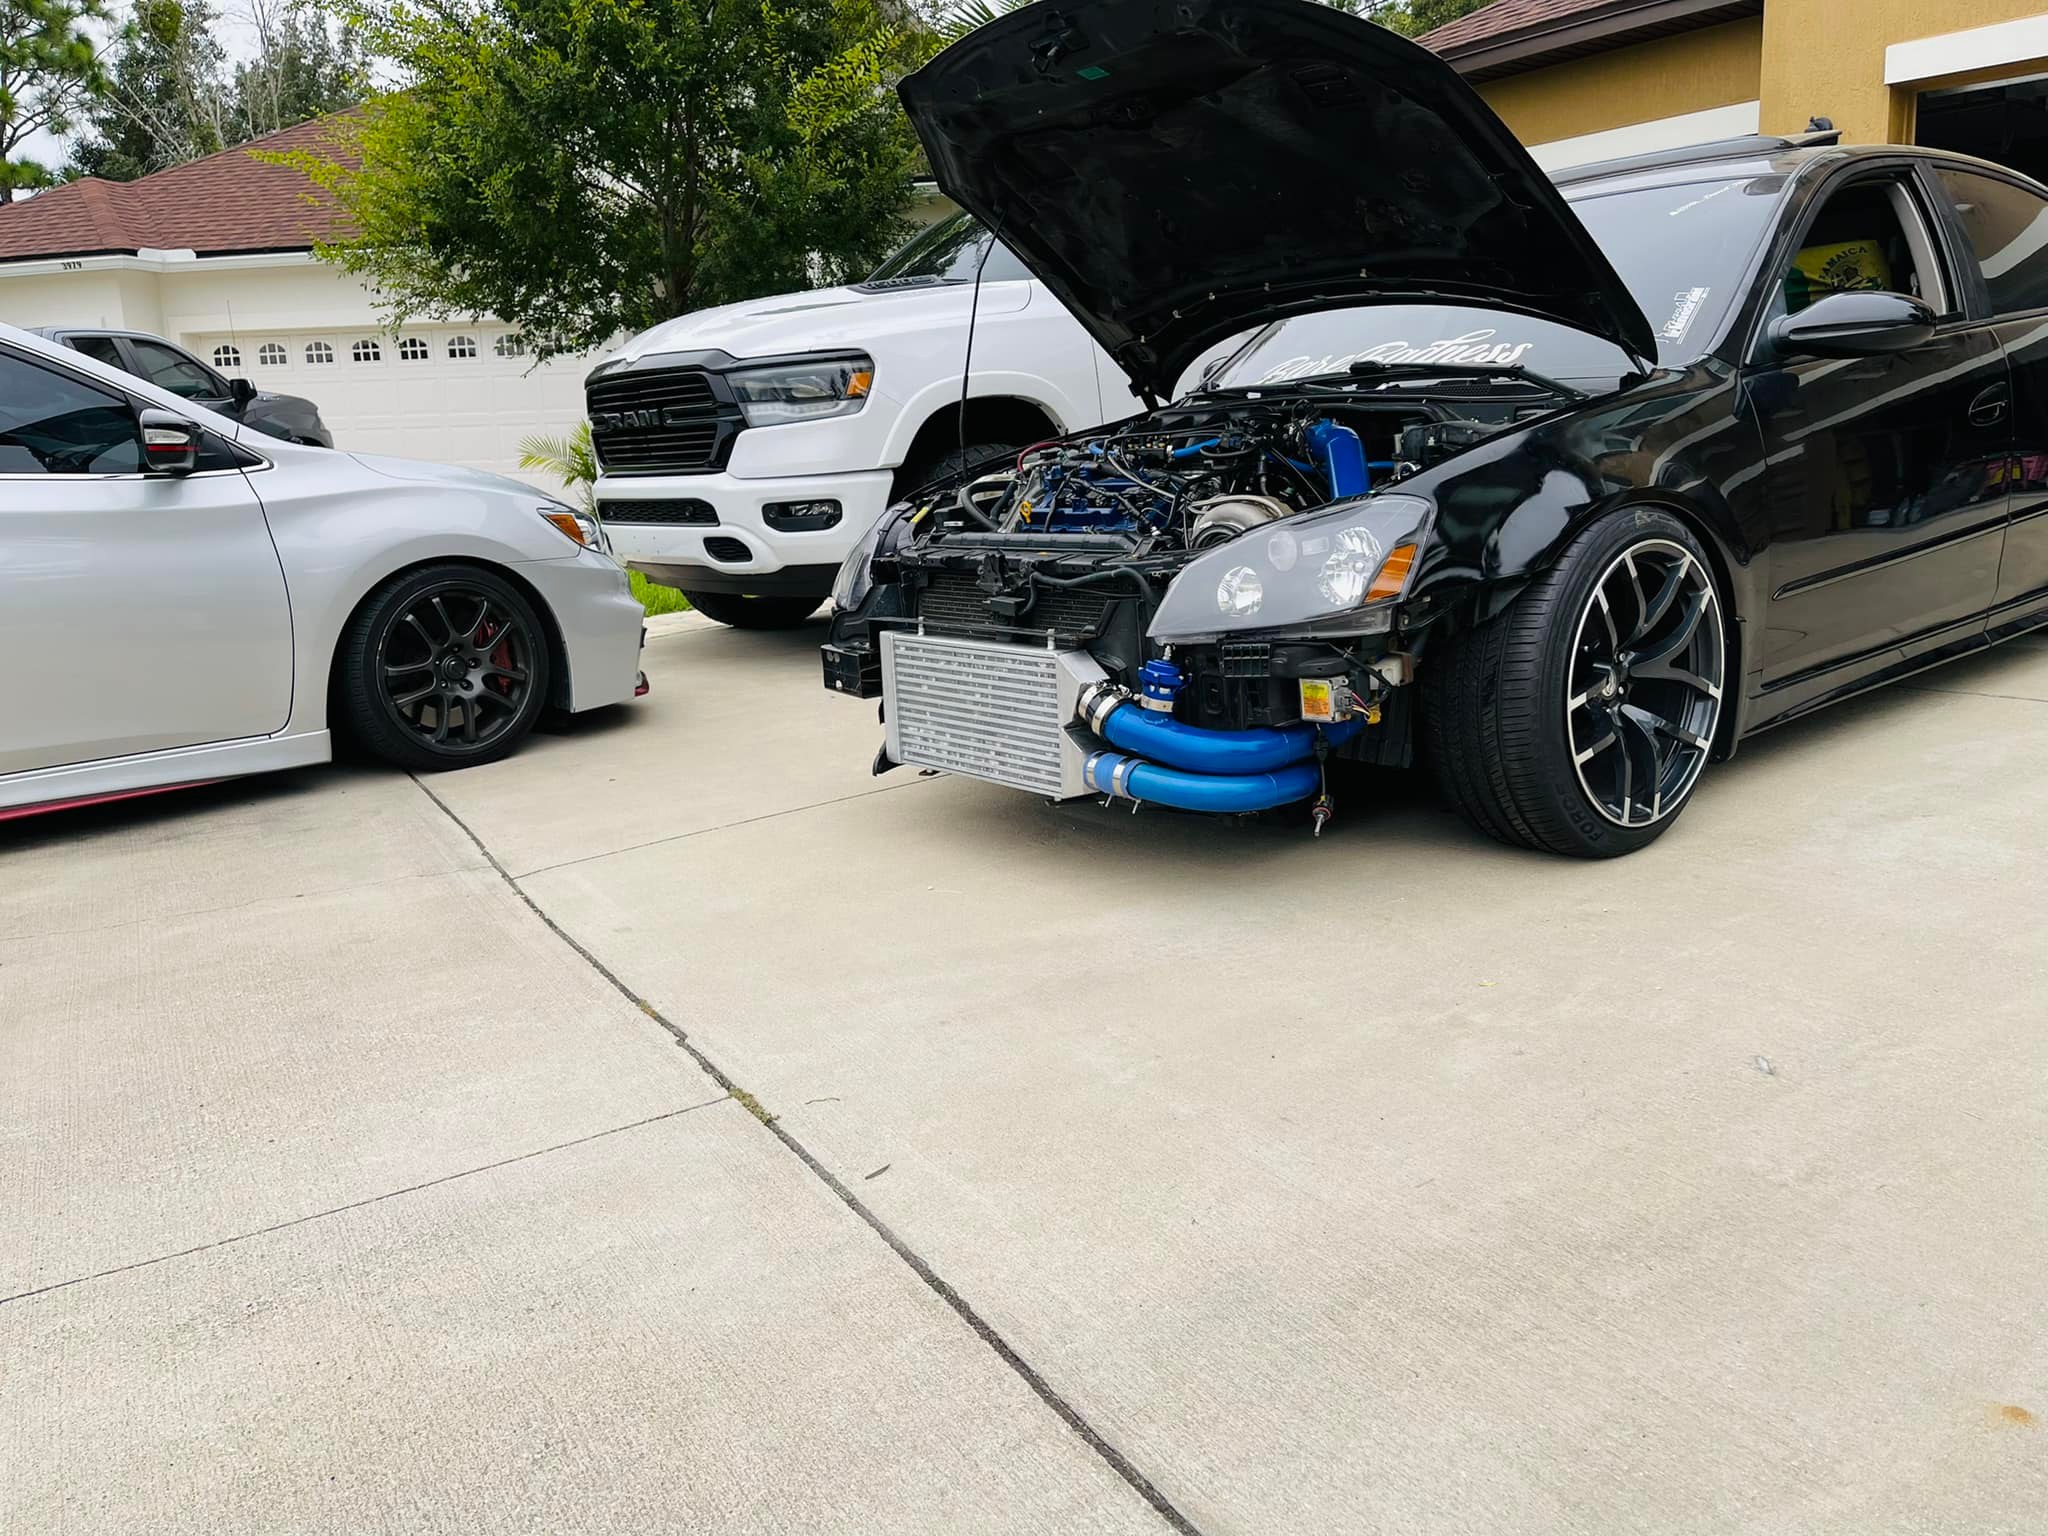
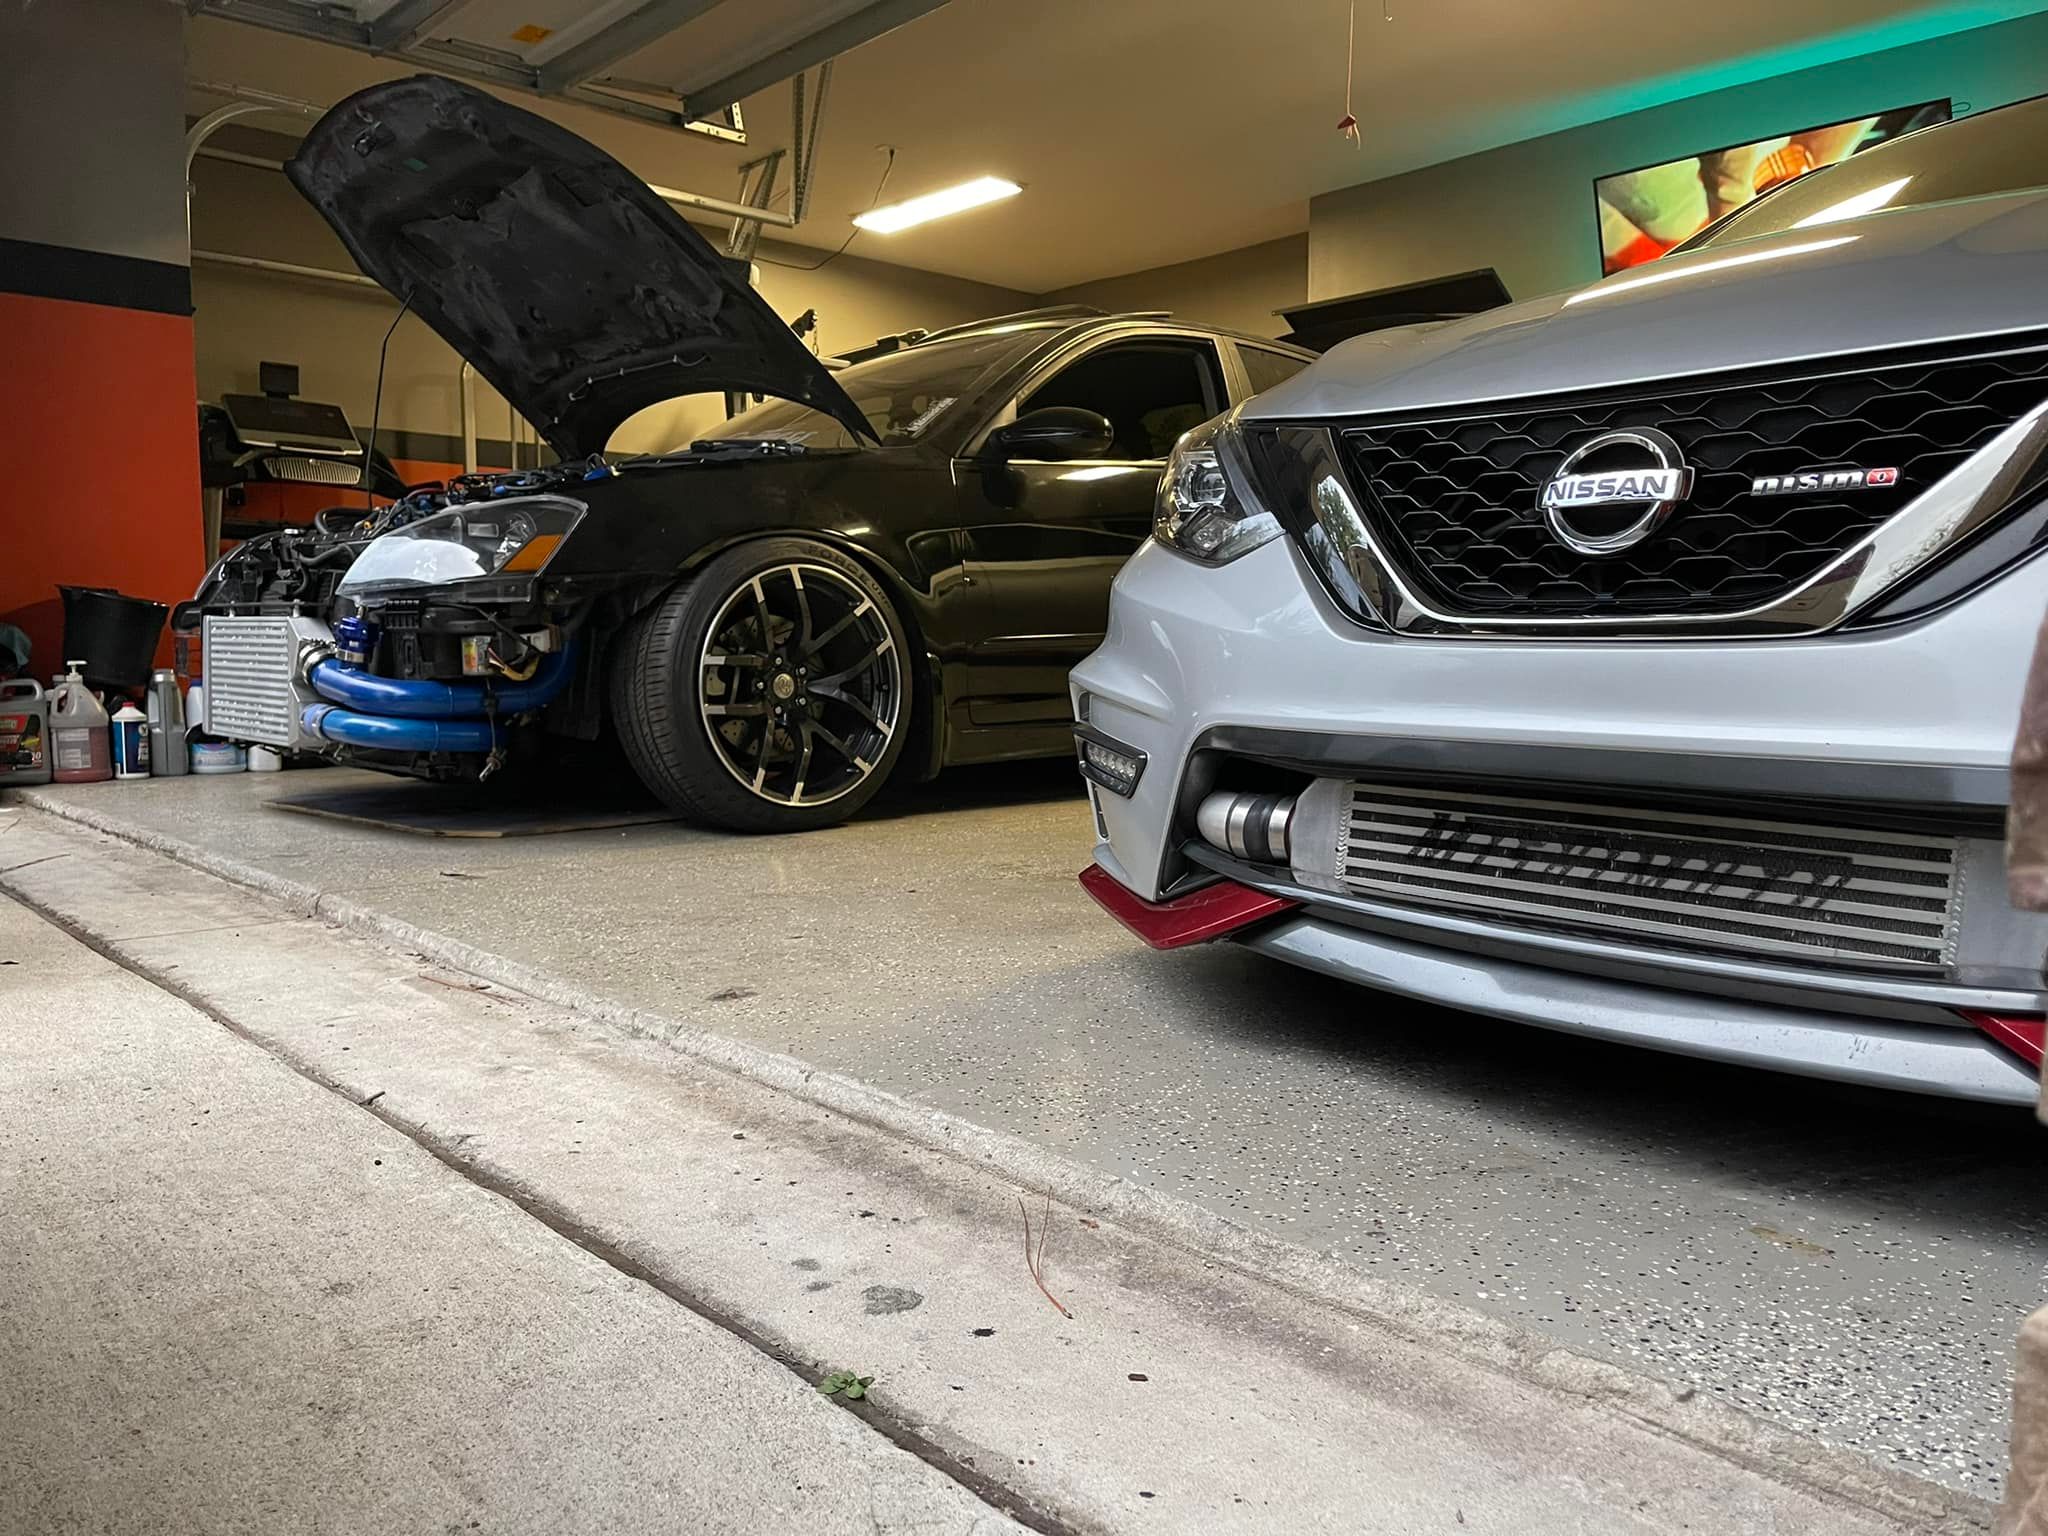
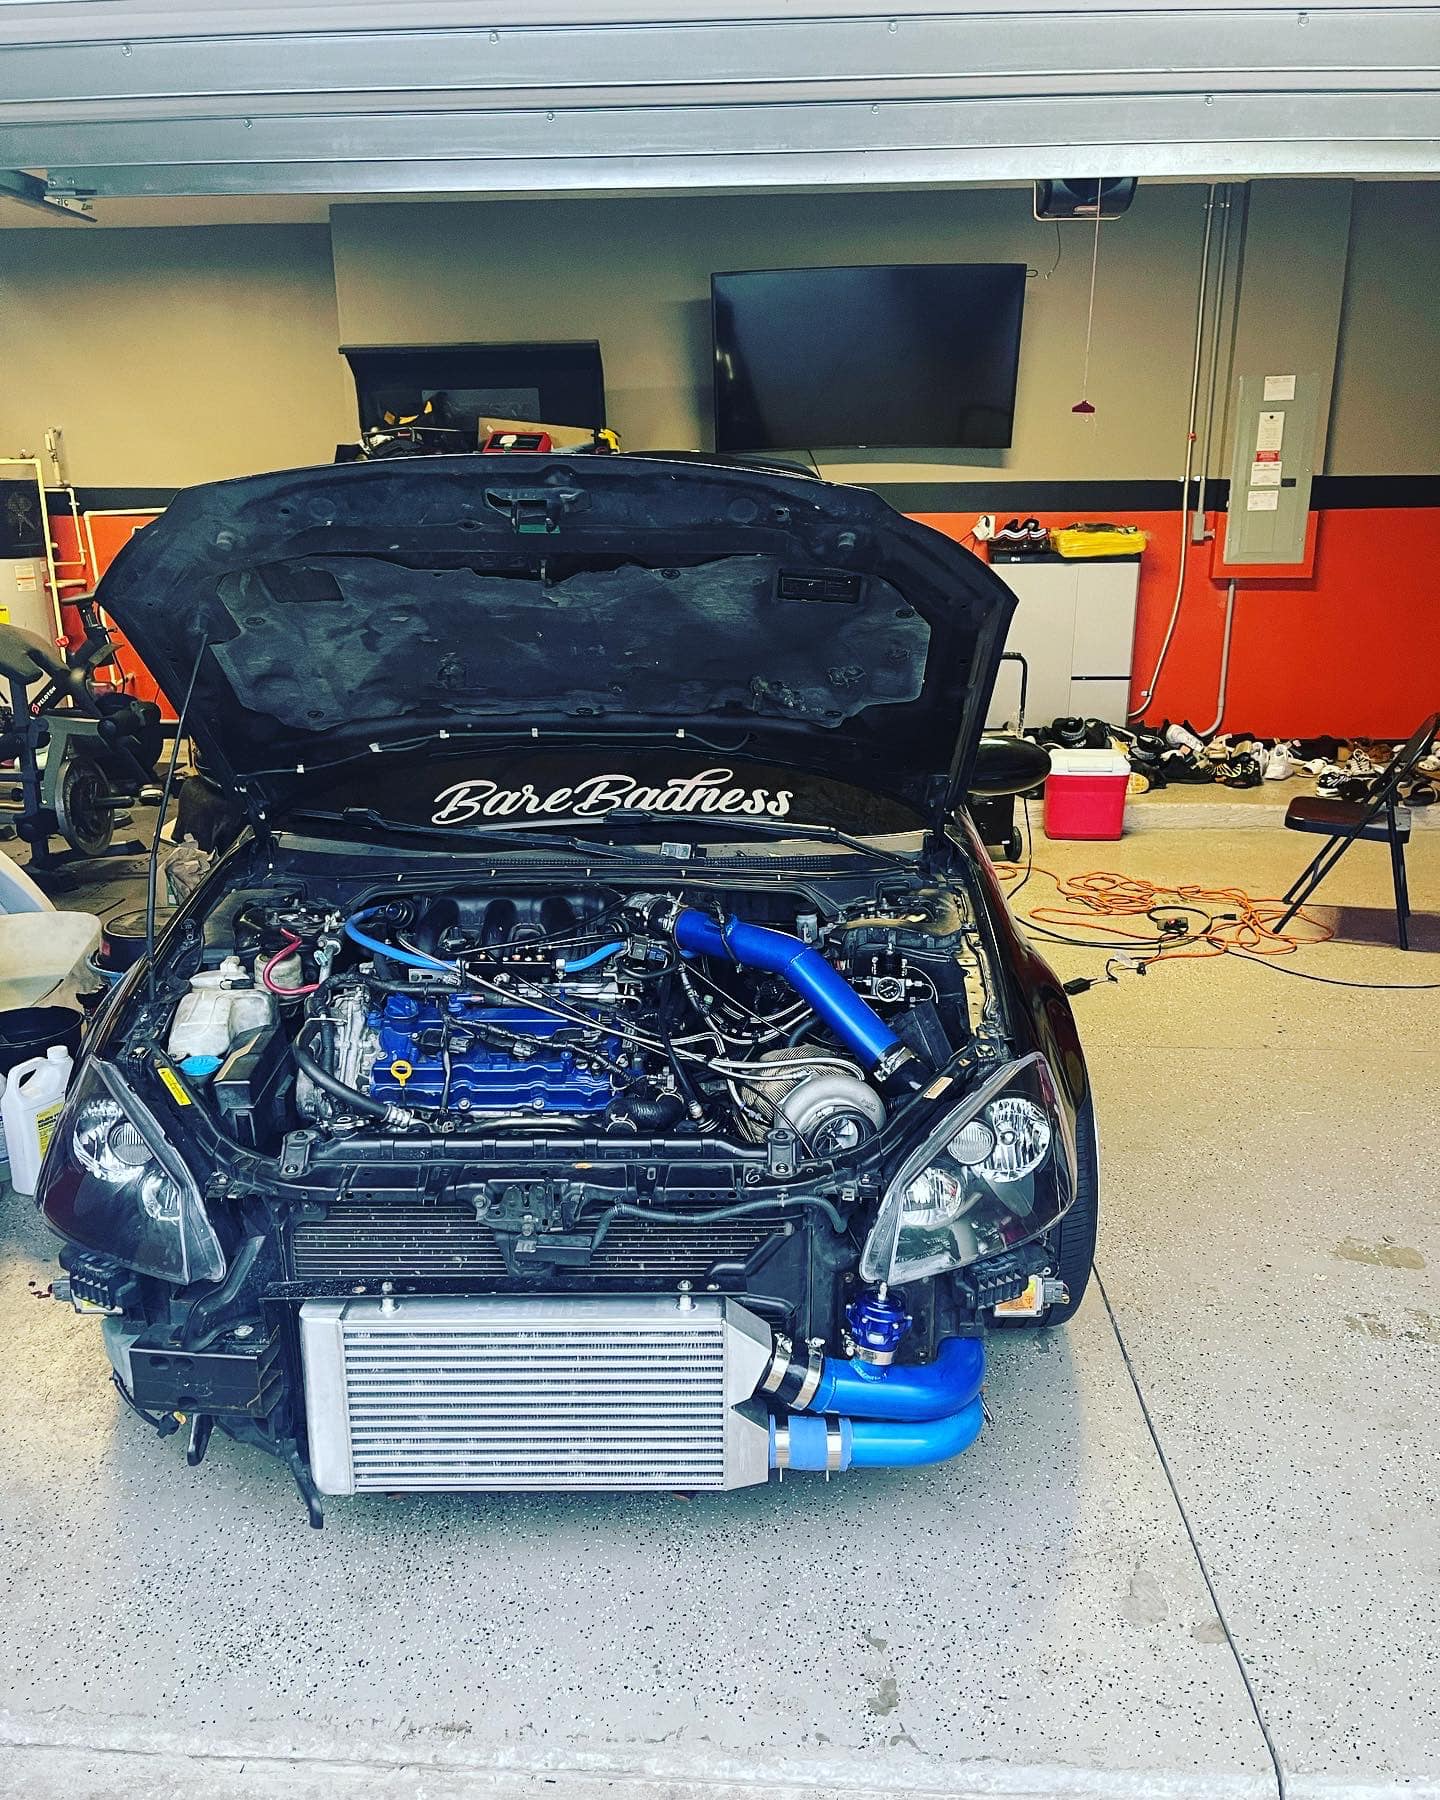
  • 2012 Gen2 VQ35DE Swap
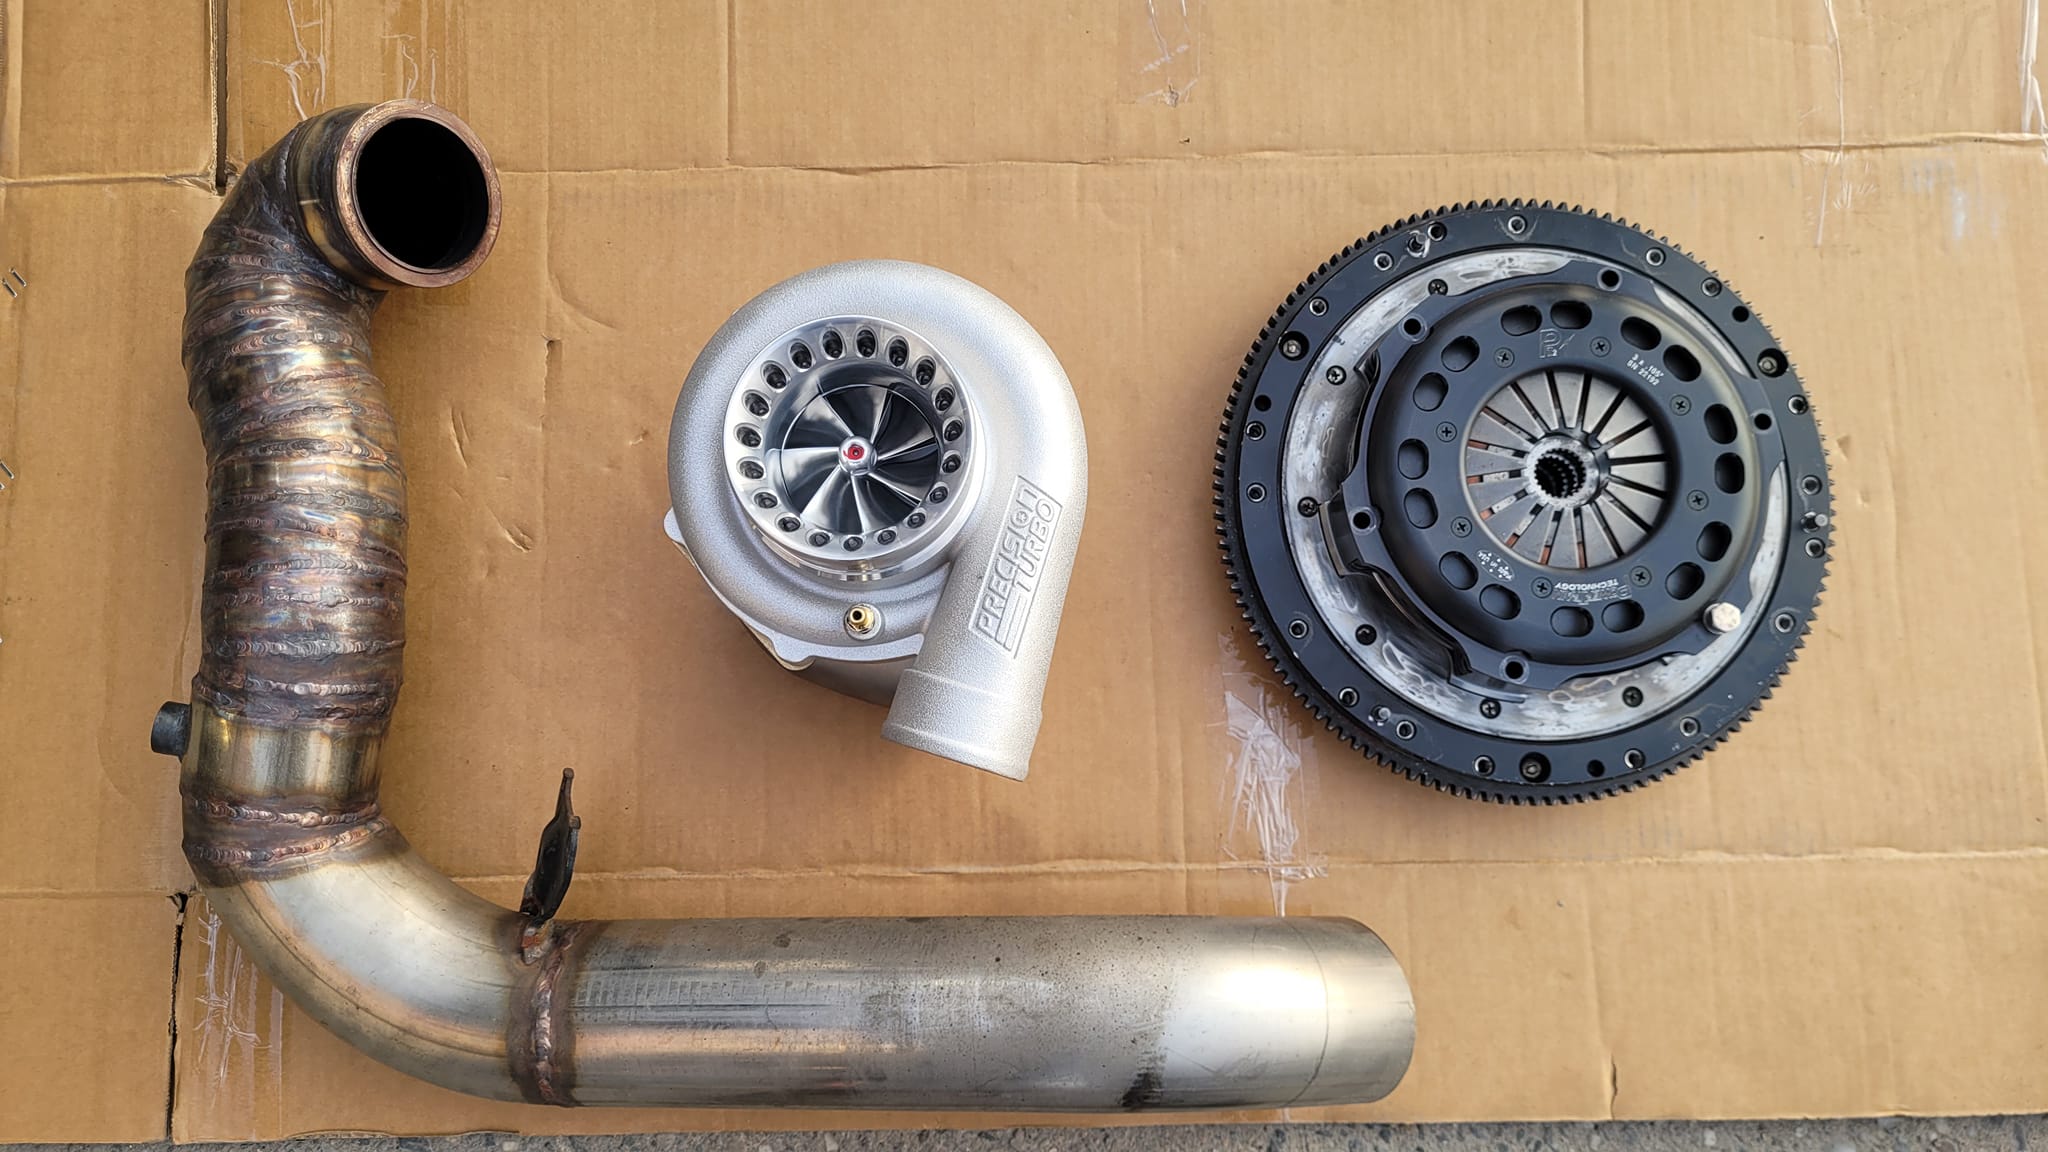
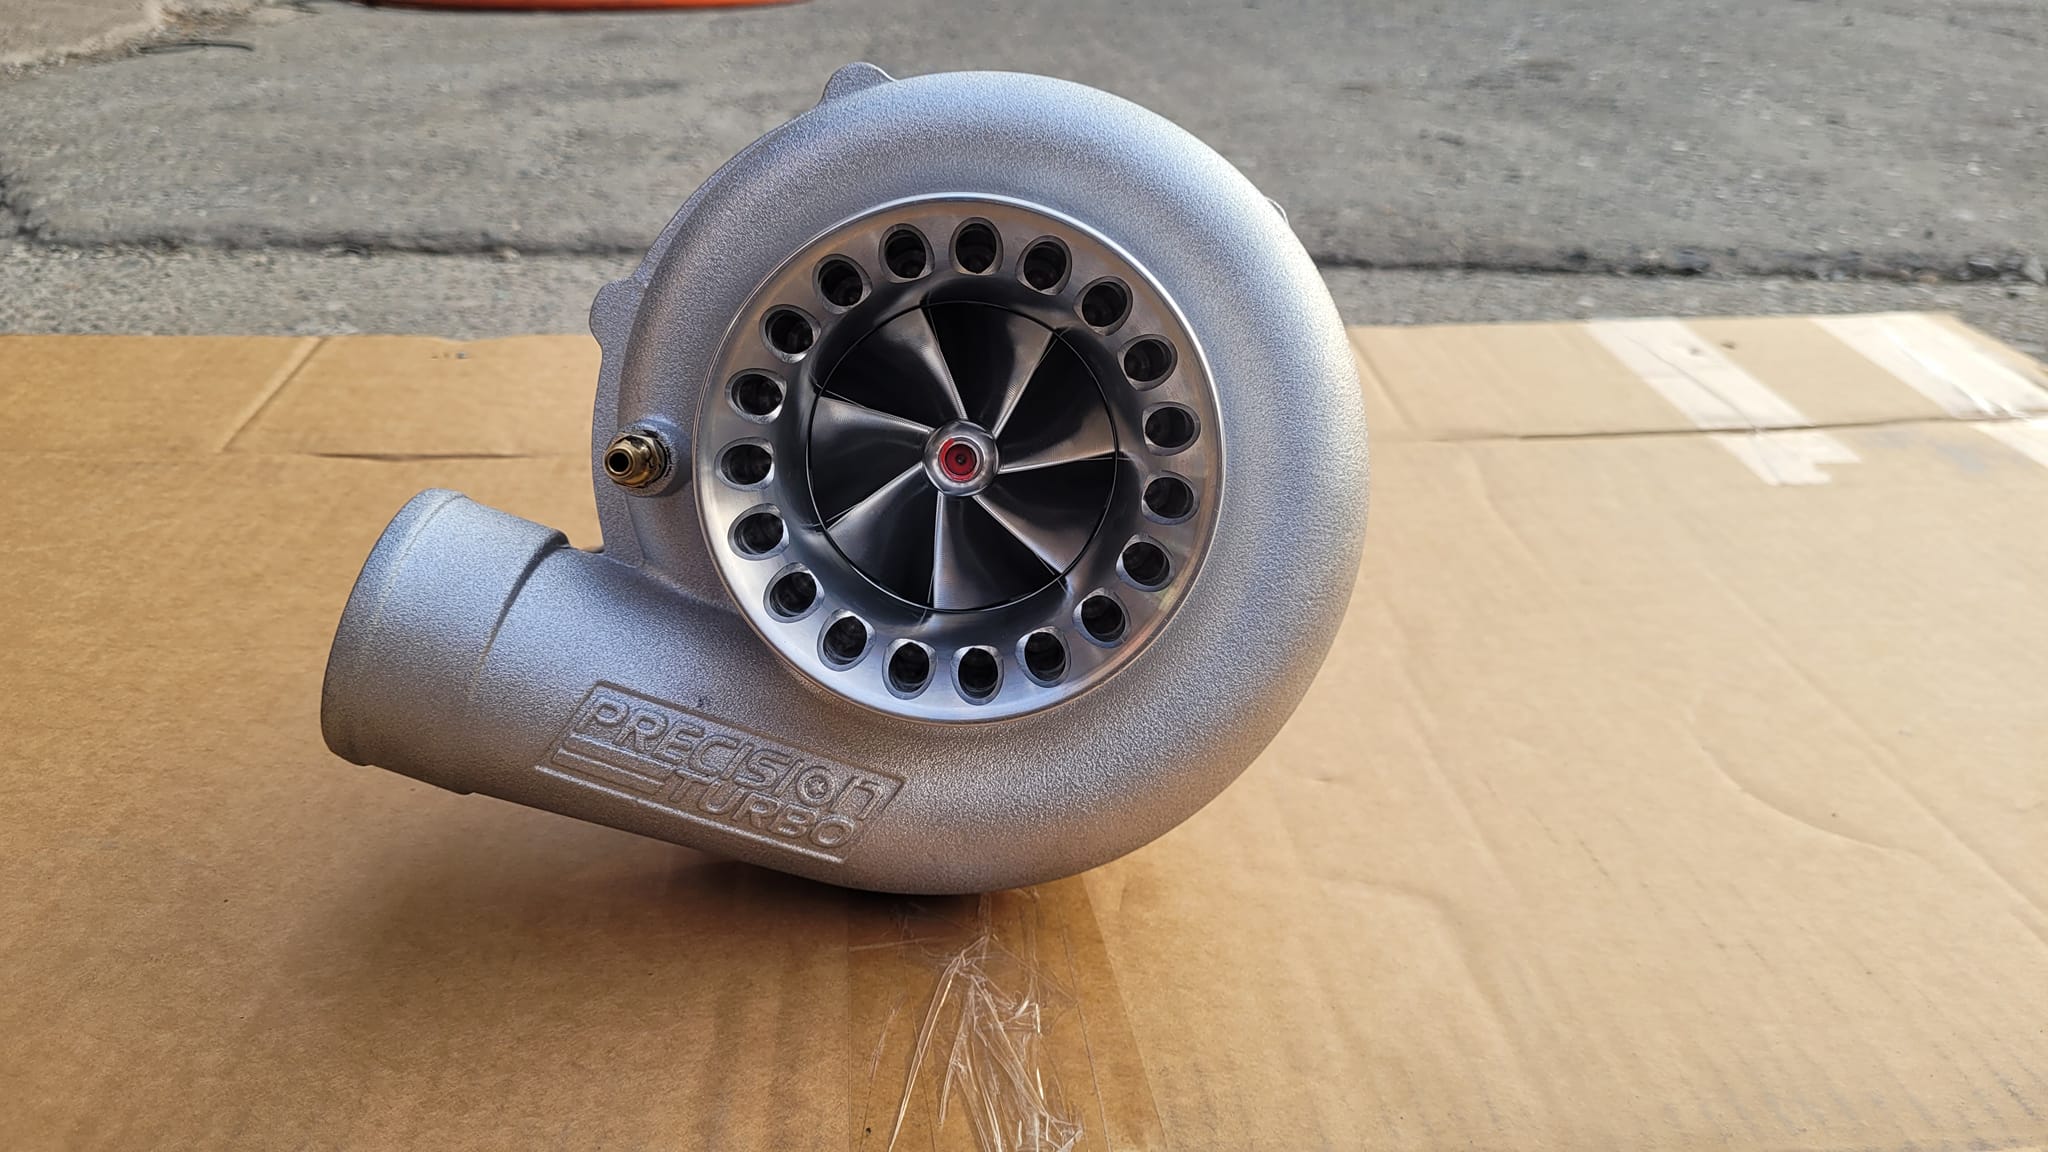
  • Custom Turbo Kit from TIP Performance
  • Rev-up Oil Pump
  • ARP Rod Bolts
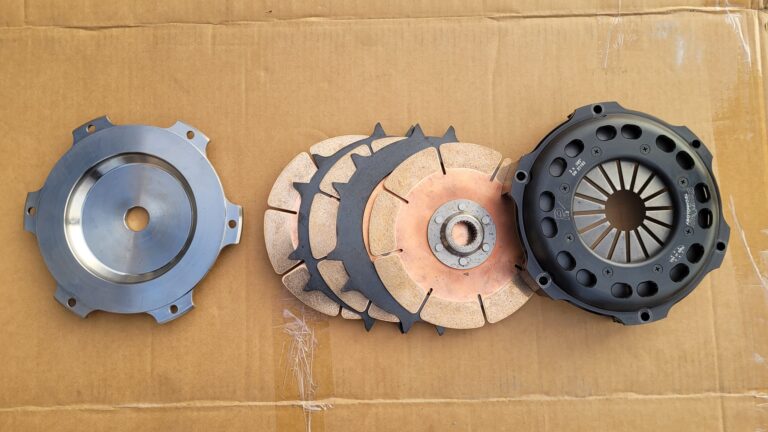
  • Stage 2 Clutch
  • OBX Headers
  • Full 3” Y-Pipe & Exhaust
  • 3″ Intercooler
  • ID1000cc Injectors
  • Tuned on UpRev

Loading

Credit: Kyle H.

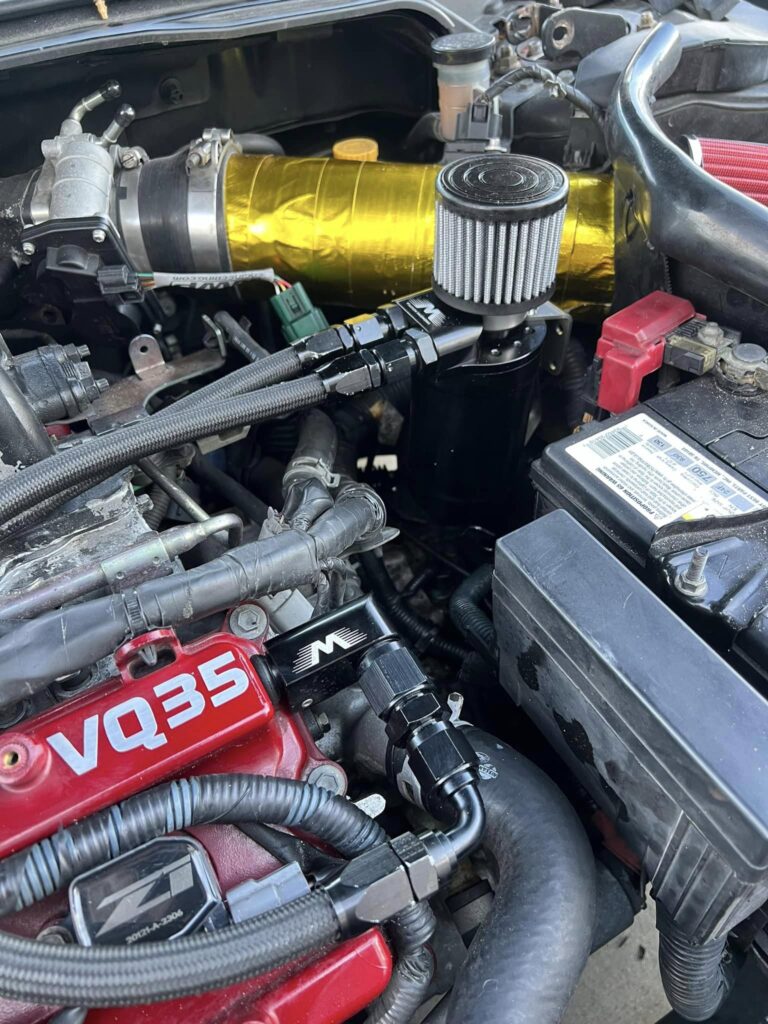
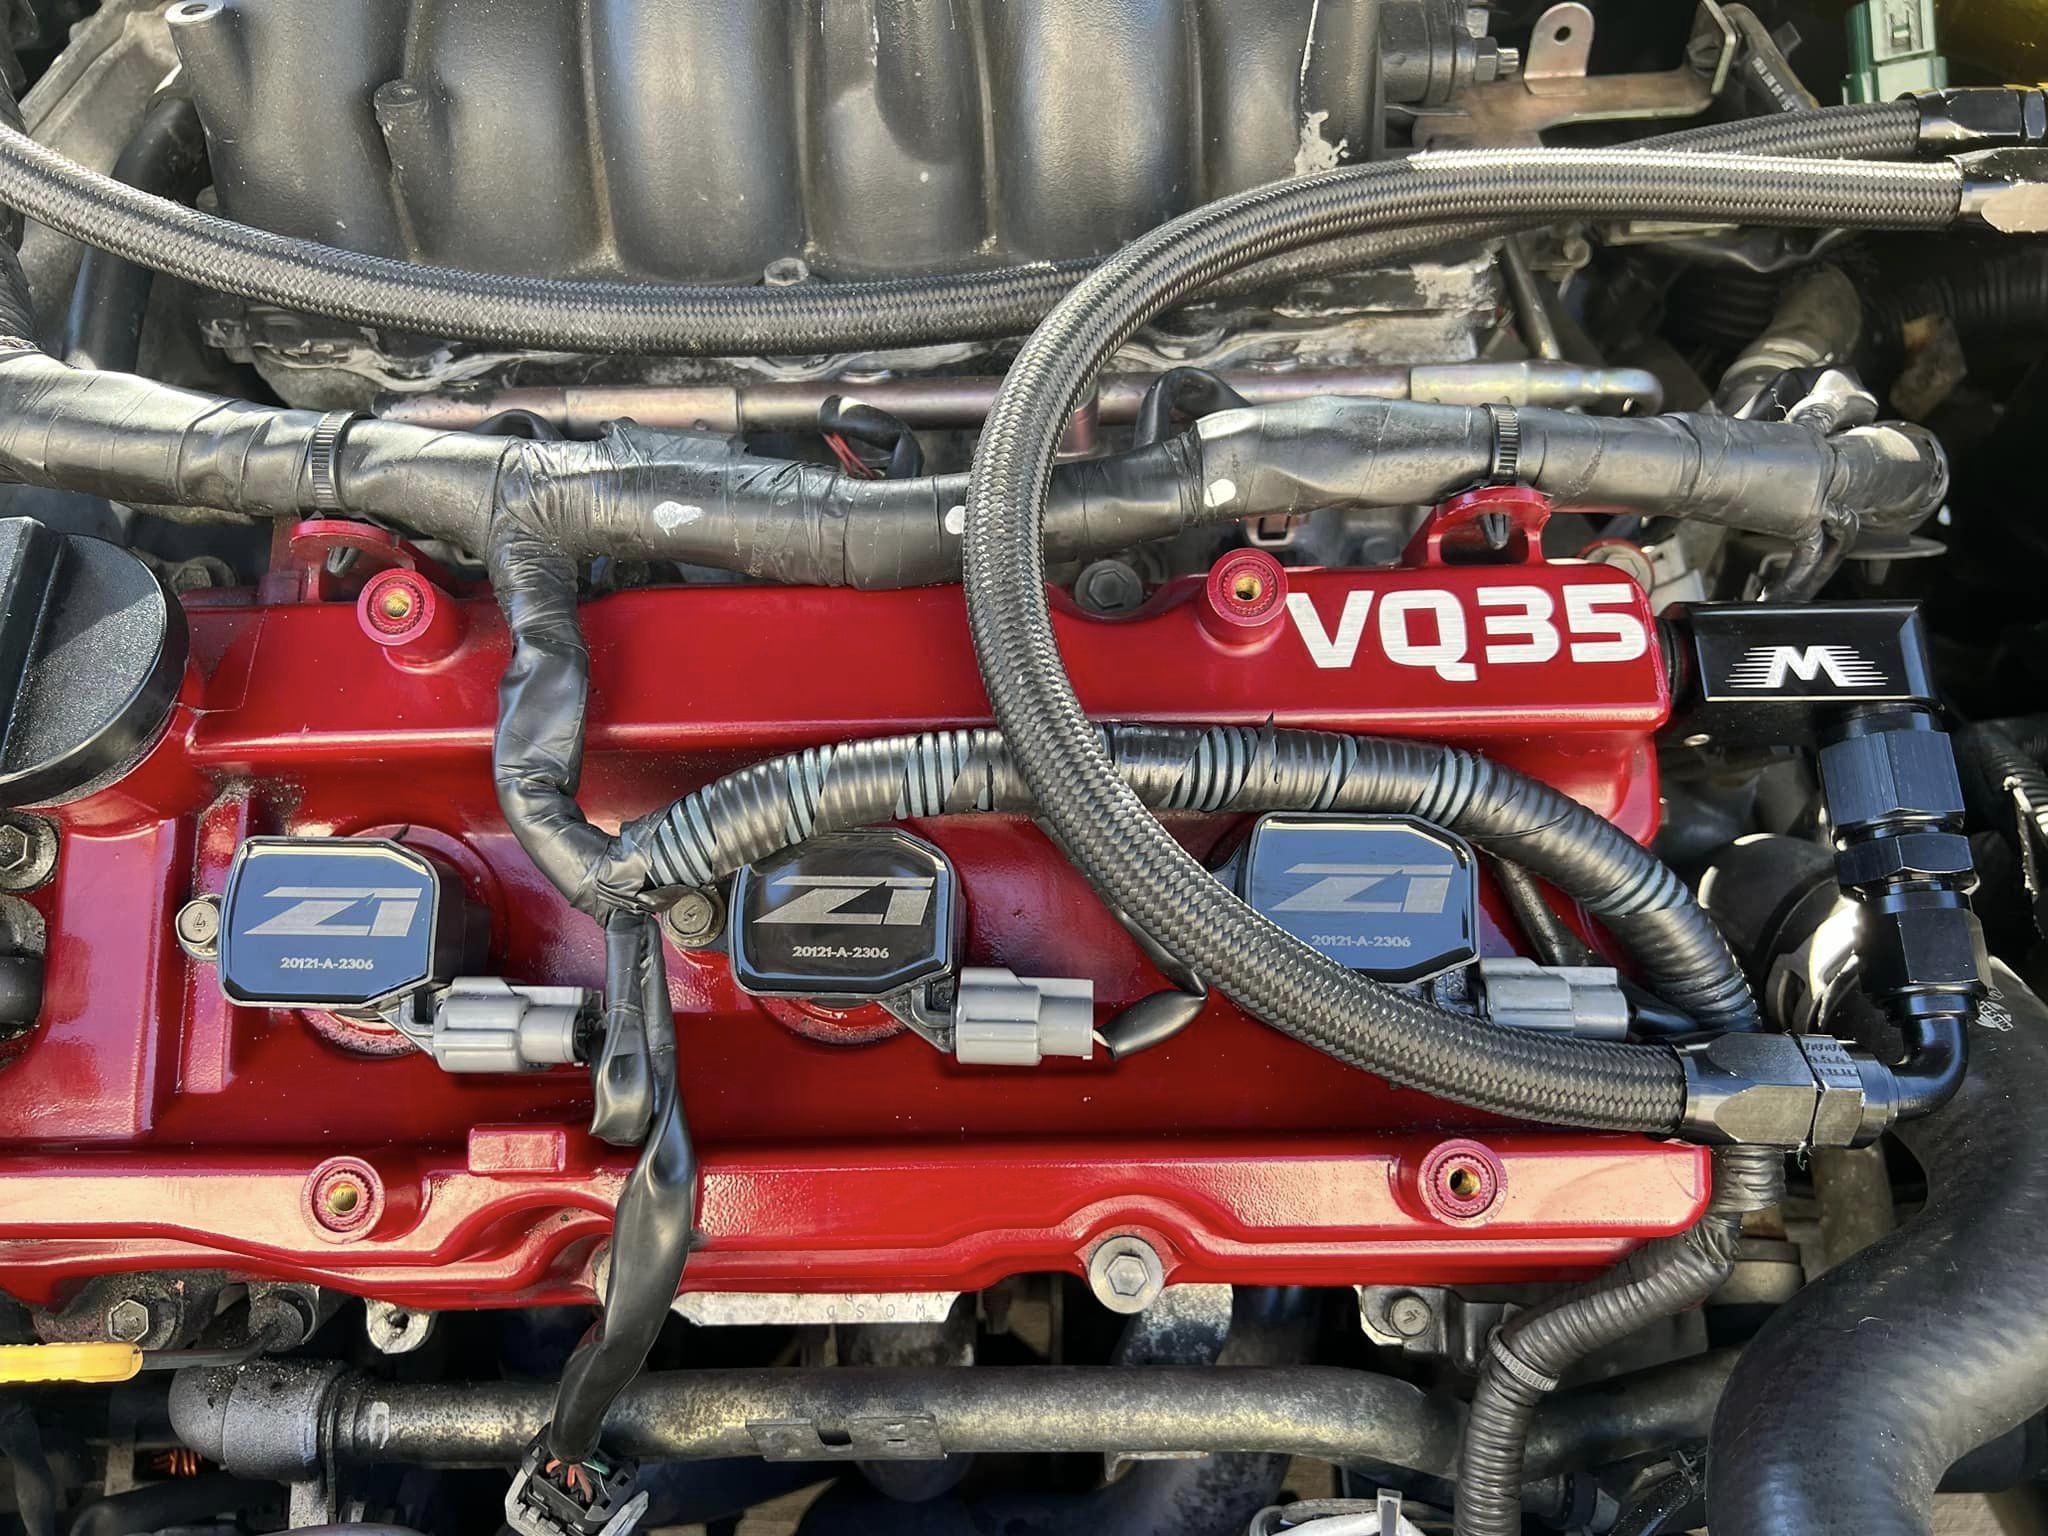
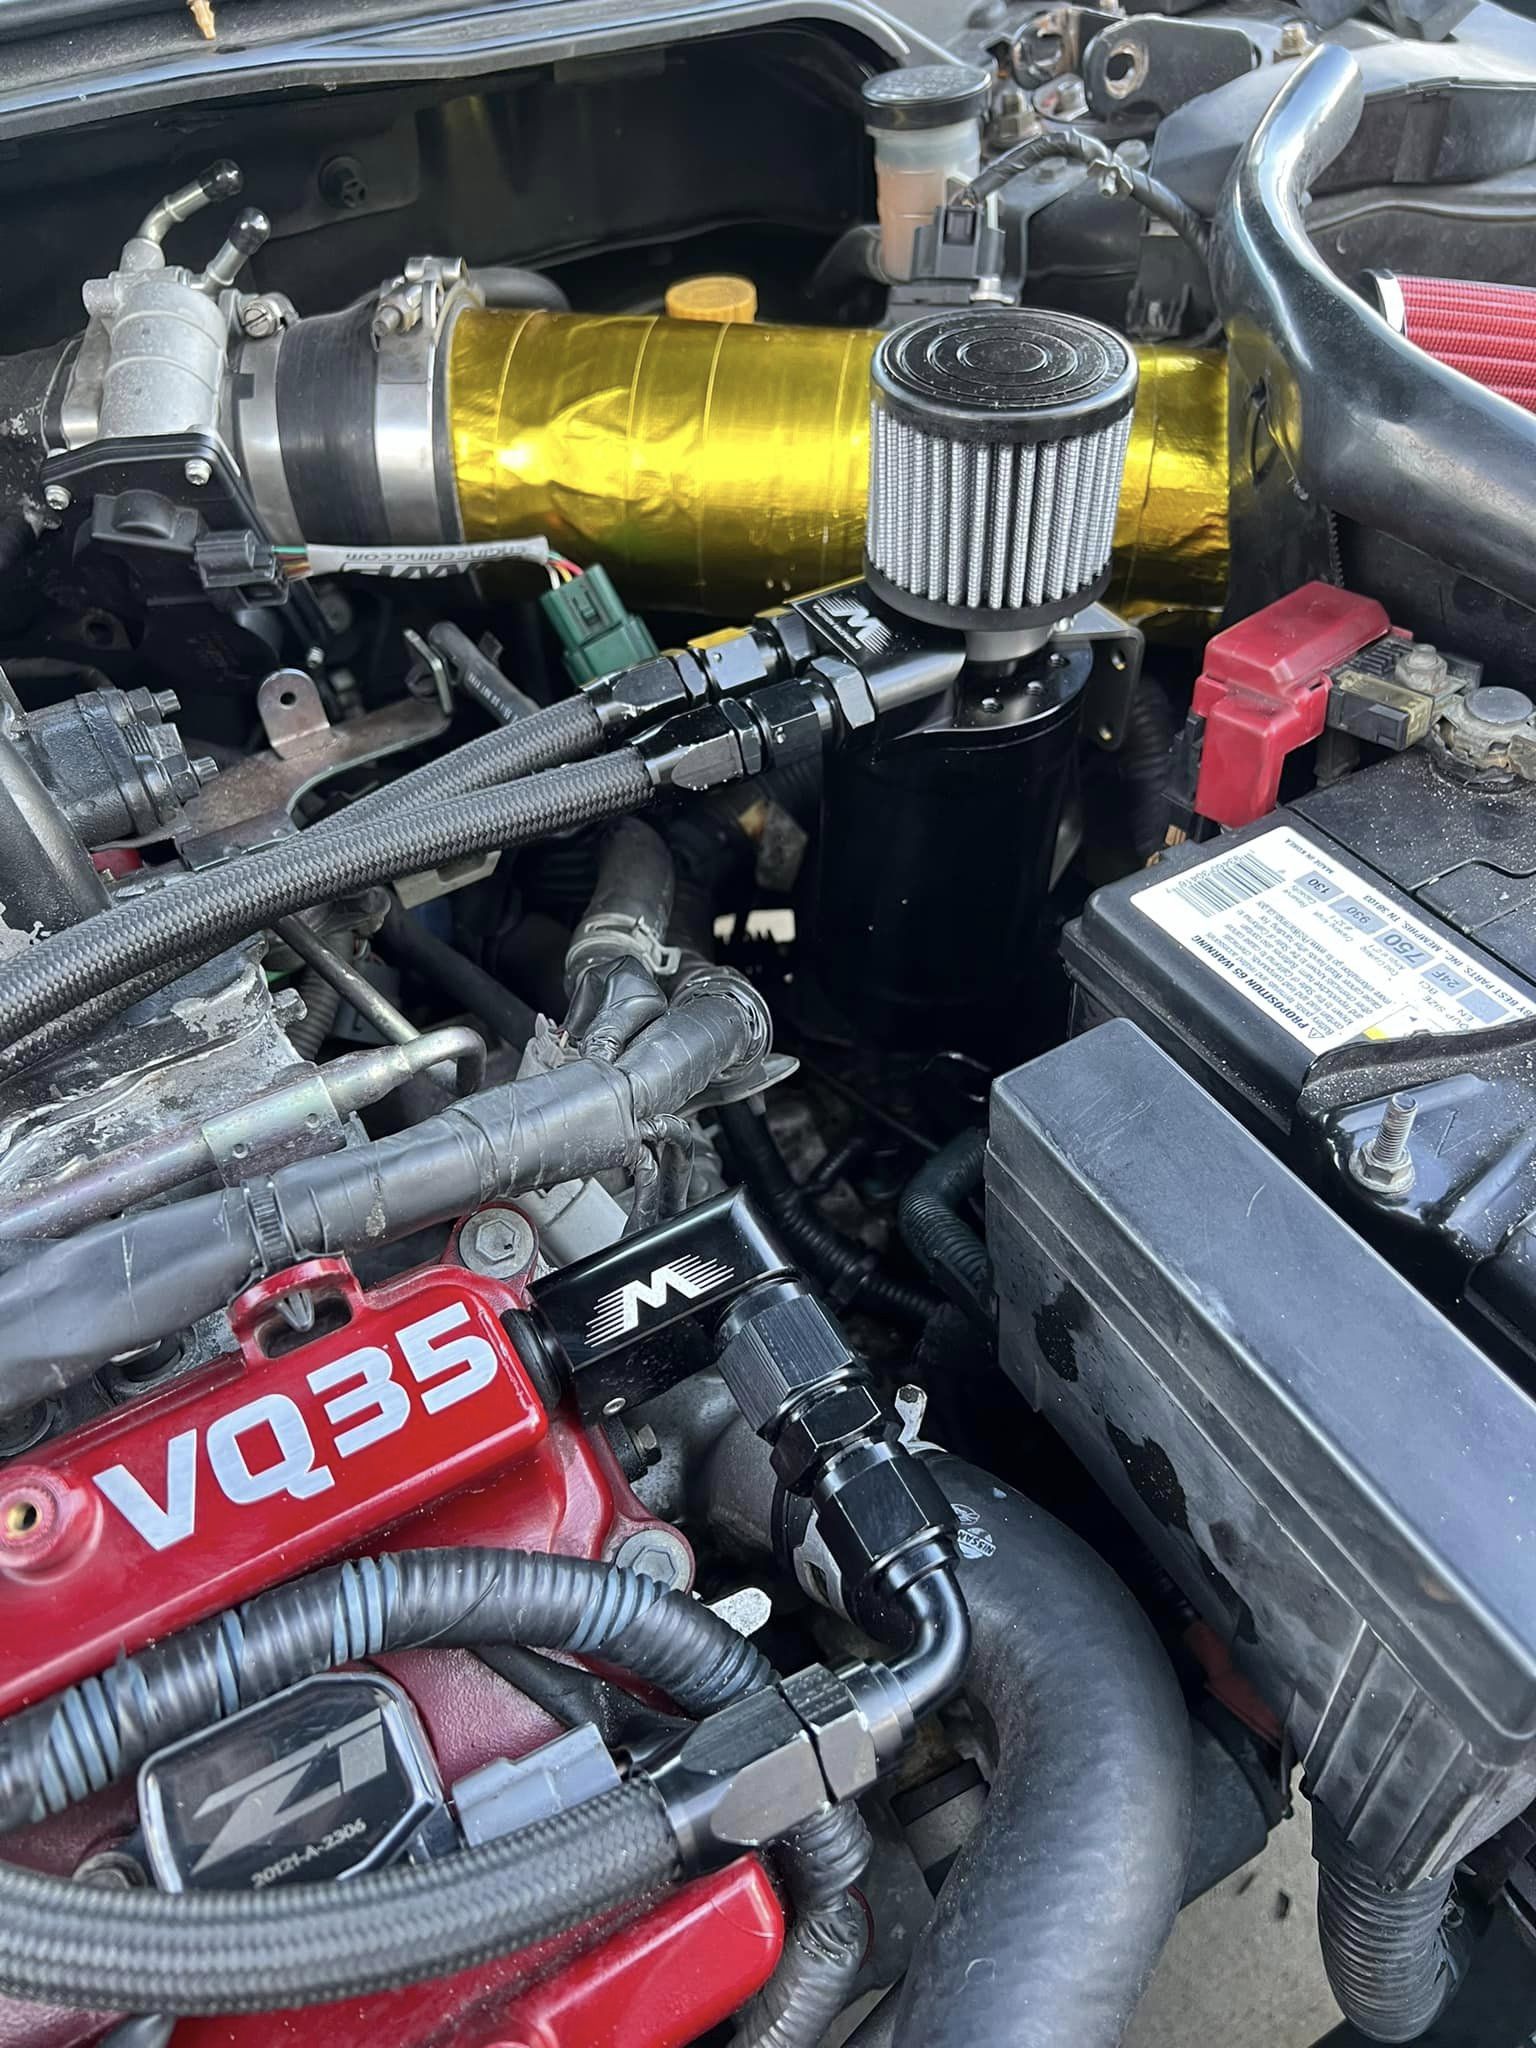
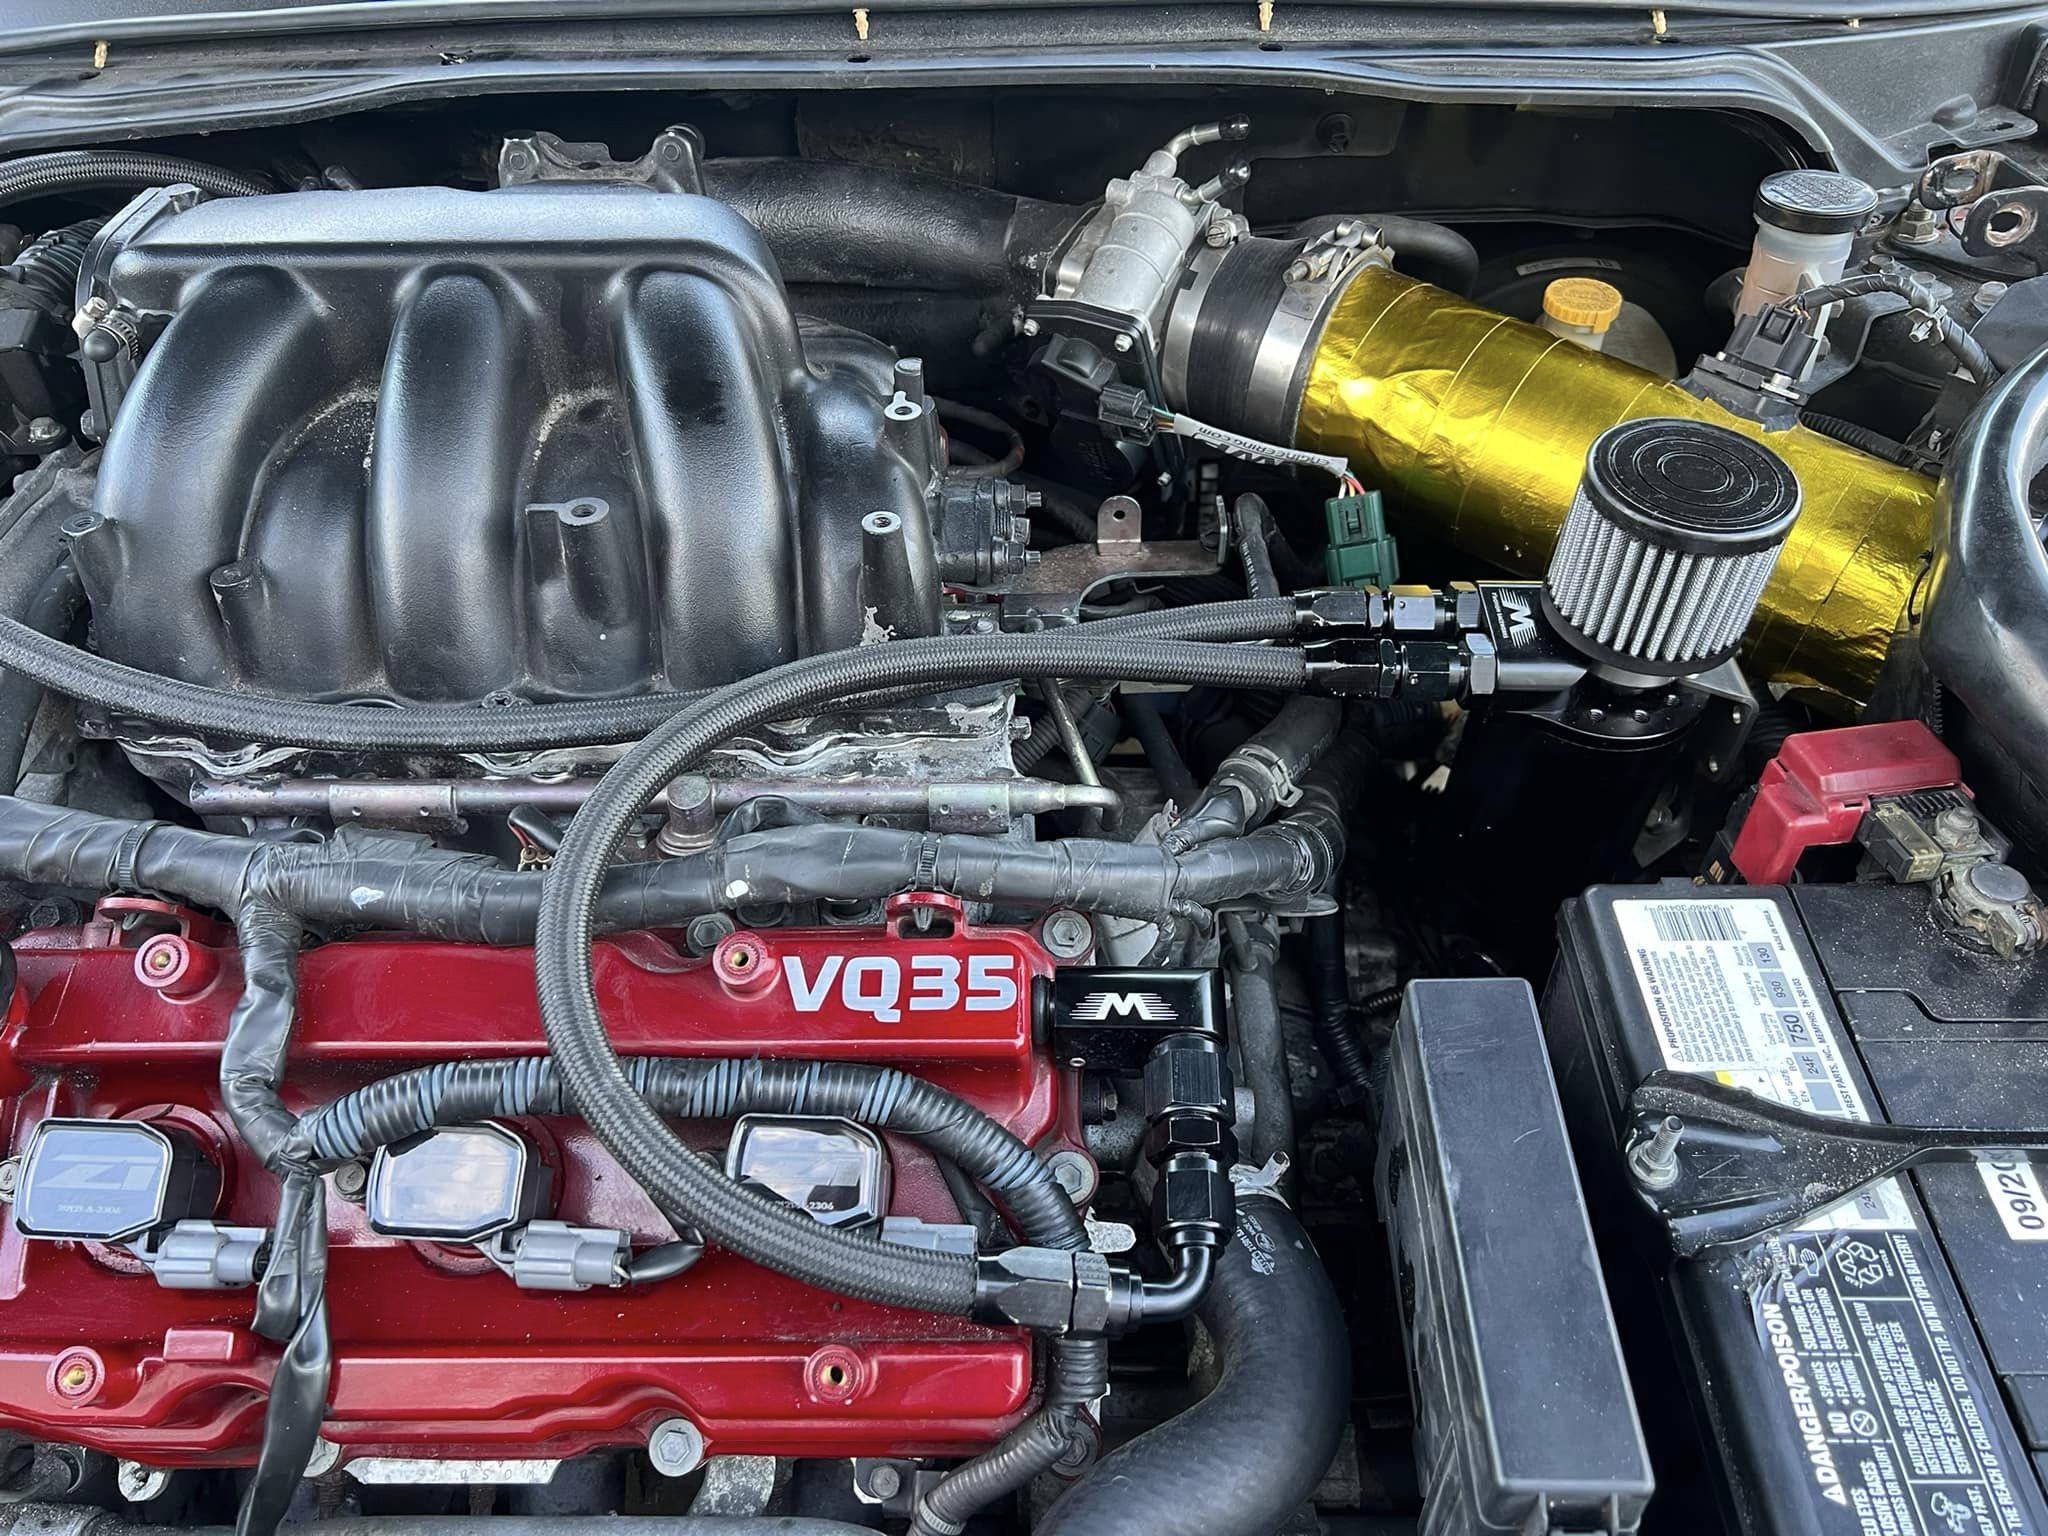
Catch can upgrade! I know this will be controversial, but I also installed Z1 high-output coils. Over the past week, I got quite a few things on the car fixed. New motor mounts, engine oil, and transmission fluid change, new AF sensors, and motor mounts. I had a cylinder 2 misfire, so I went ahead and changed the plugs, and it turned out to be a coil issue, so I opted for the Z1 upgraded coils to replace all the stock ones. This also finally gave me a reason to upgrade my old catch can system to a proper Motion Raceworks vented can with AN lines and completely delete the PCV system.

Loading

Credit: Trey Sunny

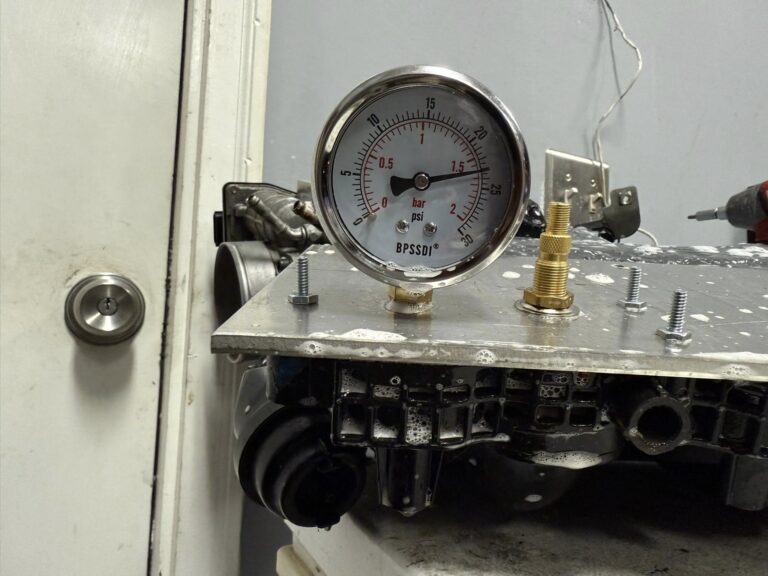
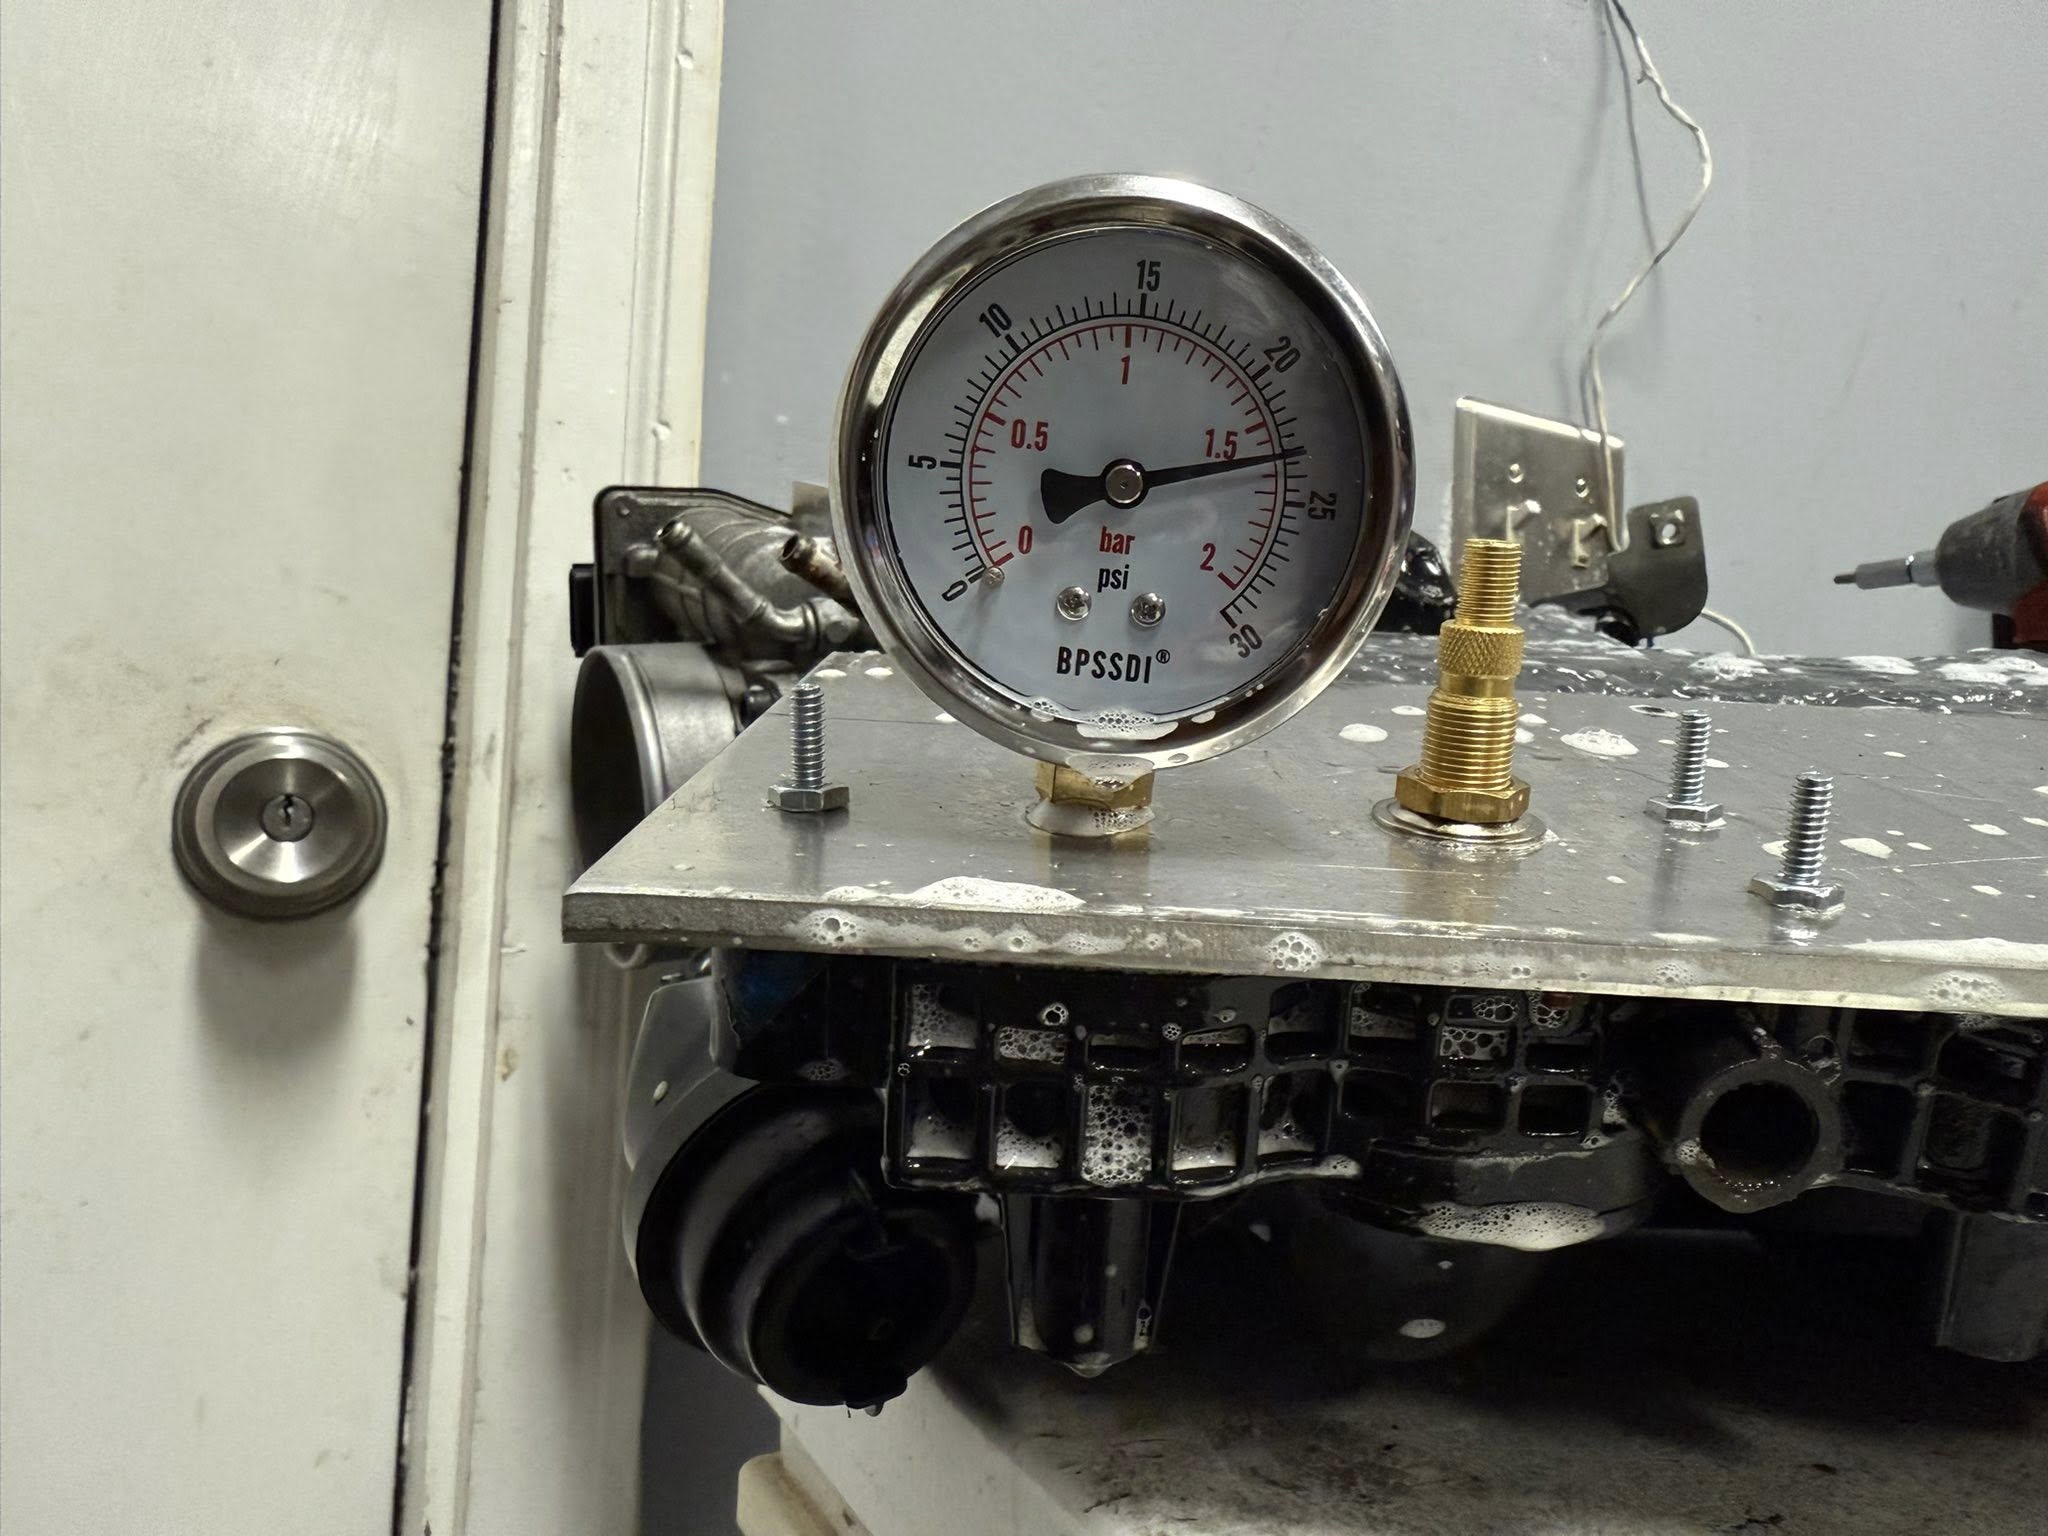
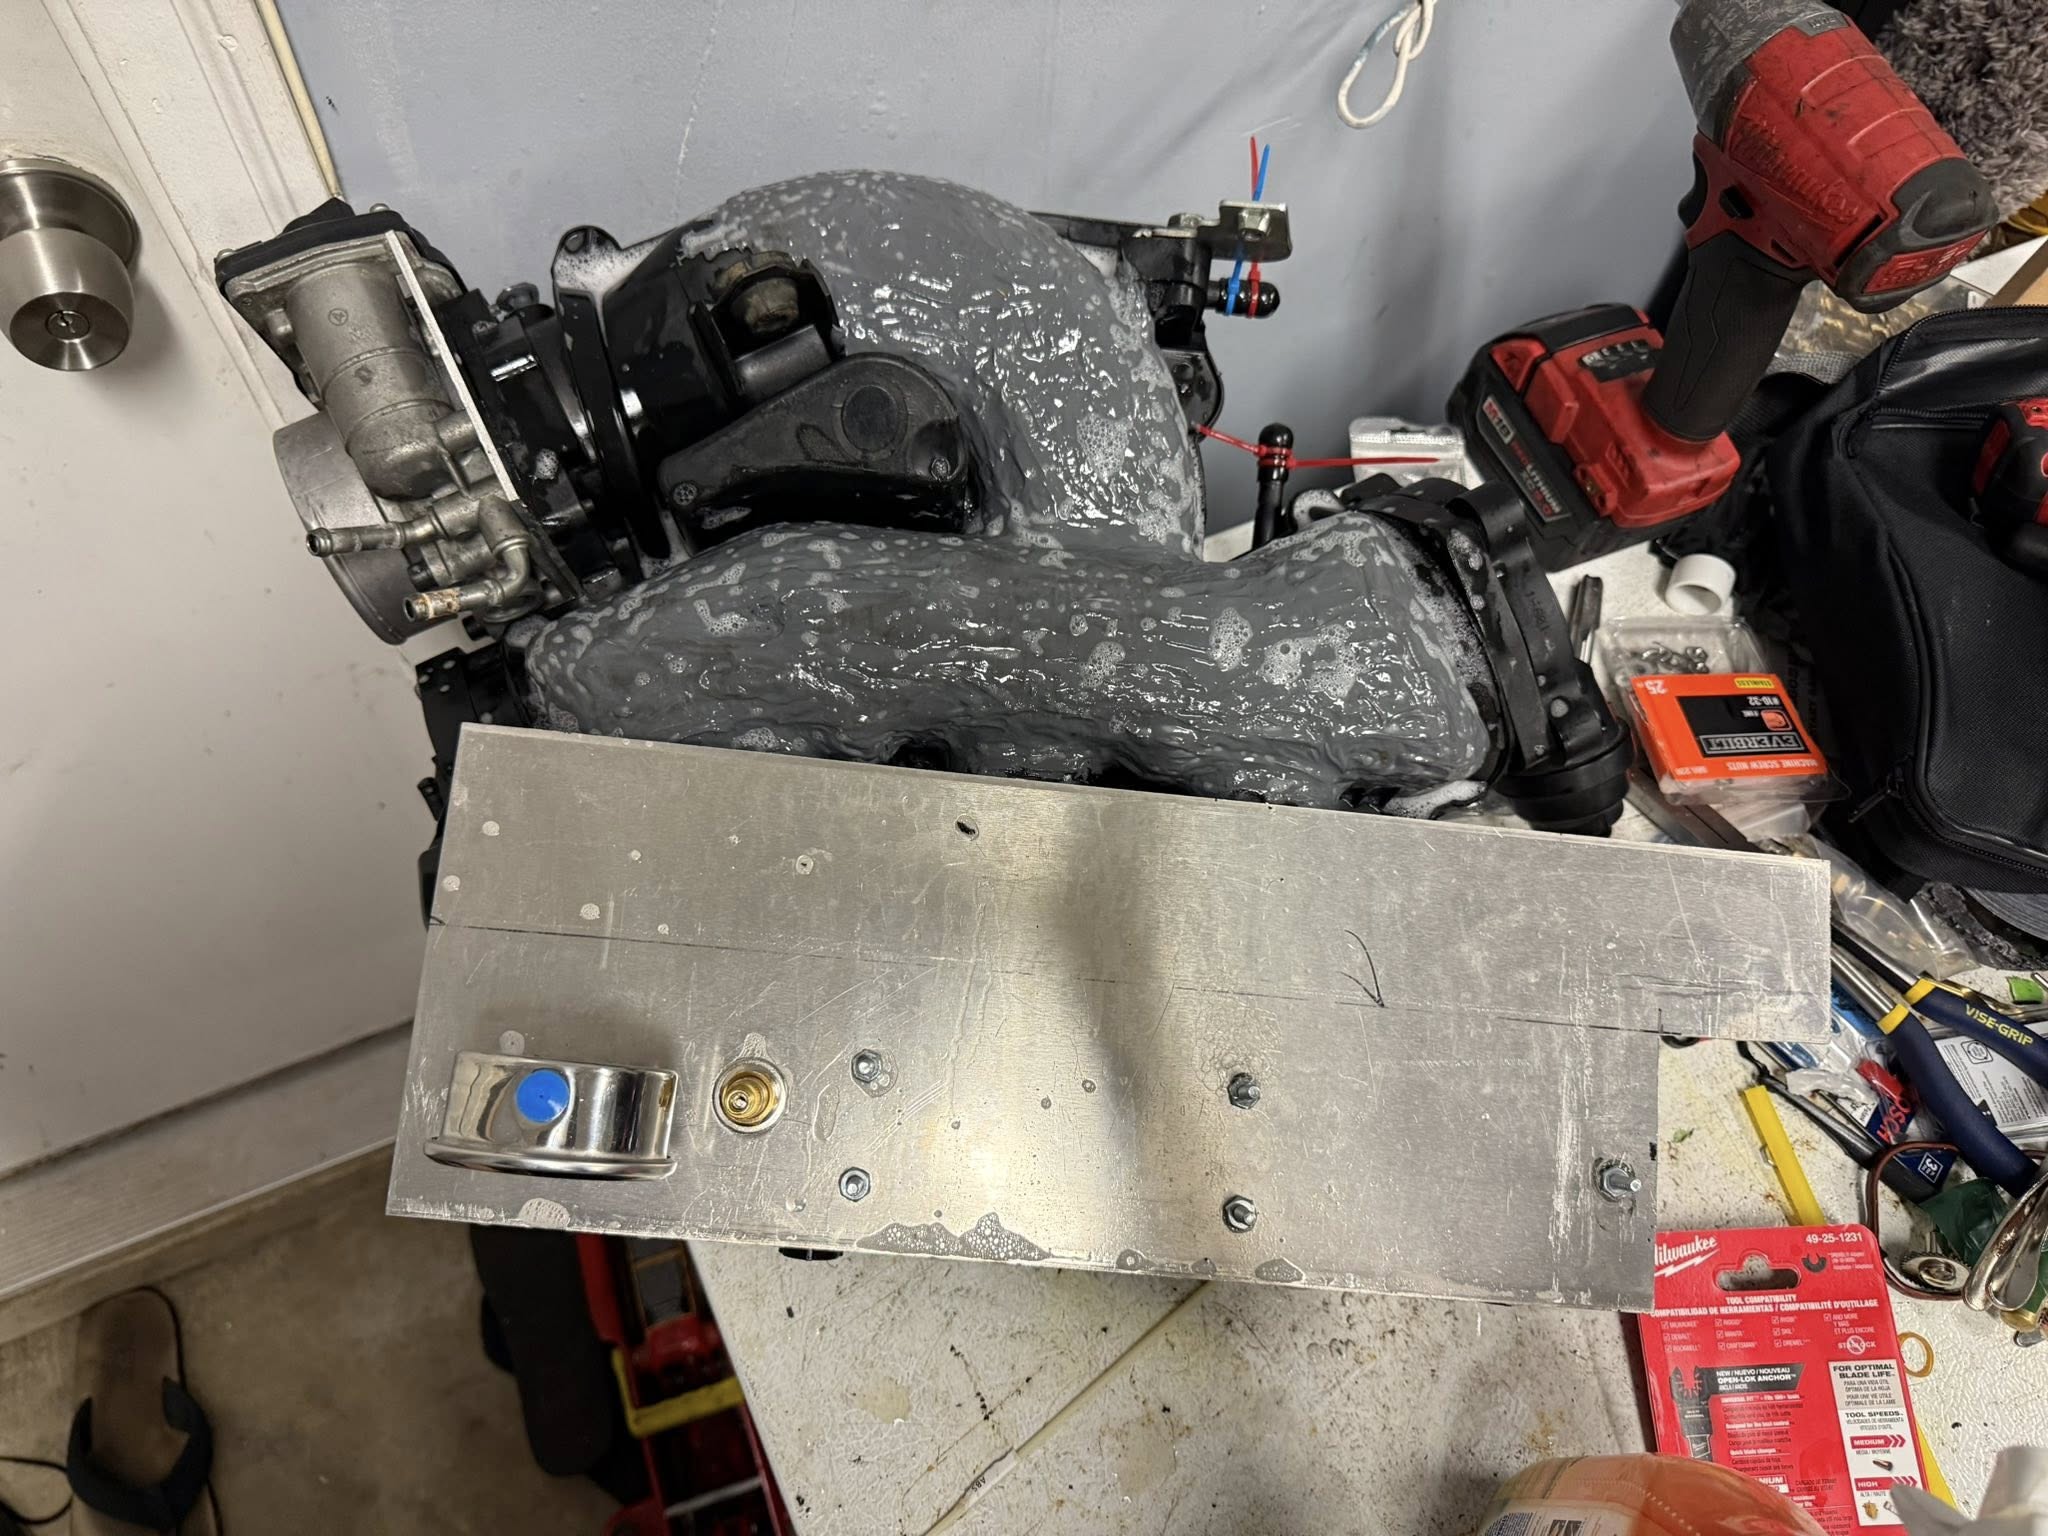
Did some testing today. Confirmed that a properly bonded SSIM HR/2nd gen manifold will hold at least 23 psi. I could have pushed it further, but it didn’t seem safe without a barrier in place. It’s not pretty, but it’s strong as hell. Zero leaks. It’s been holding 20 psi steady for 10 minutes now.

For the repair, I used metal staples for plastic welding and stainless mesh to bond the manifold back together. A hot air gun was used to fuse the staples and mesh, while an old soldering iron was used initially to rejoin the cut area. The JB Weld is mostly there for moral support, lol.

Loading

Member Credit:  Sunday Ortiz & Gerson Flores

This is only intended for a providing a reference to the list of core parts used in the 7GM 6-Speed swap. Please only attempt to do the swap if you are mechanically inclined and understand the Nissan FSM (Factory Service Manuals).

Full Parts List:

Please note that all of these items were purchased brand with the exception of a few parts (custom & discontinued parts). The total cost for all the parts below adds up to approximately < $5,000.00. You may be able to find parts for much less and save money. 

Item Description Quantity Part Number / Notes
2007-2012 Altima 3.5 M/T Mount Bolts 4 11298-9AN0A
2007-2012 Altima 3.5 M/T Clutch Pressure Plate Bolts 9 30223-JA00A
Altima 3.5 SR Shift Knob 1 32865-9HC1A
2007-2012 Altima 3.5 Passenger Axle 1 39100-JA10F
2007-2012 Altima 3.5 M/T Axle Seals 1 per side 38342-8H500 & 38342-8H501
2007-2012 Altima 3.5 M/T Flywheel Bolts 8 12315-ZA000
2007-2012 Altima 3.5 M/T Trans Mount 1 11220-JA11A
2007-2012 Altima 3.5 M/T Trans Mount Bracket 1 11253-JA11A
2007-2012 Altima 3.5 Manual Transmission ONLY 1 32010-JA60B
2007-2012 Altima 3.5 A/T Driver Axle 1 39101-JA11F (Aftermarket OK)
2007-2012 Altima 2.5/3.5 M/T Shift Assembly 1 34101-ZN00A
2007-2012 Altima 2.5/3.5 M/T Shift Cables 1 34413-JA20A
2007-2012 Altima 3.5 M/T Starter 1 2330M-JA10DRW
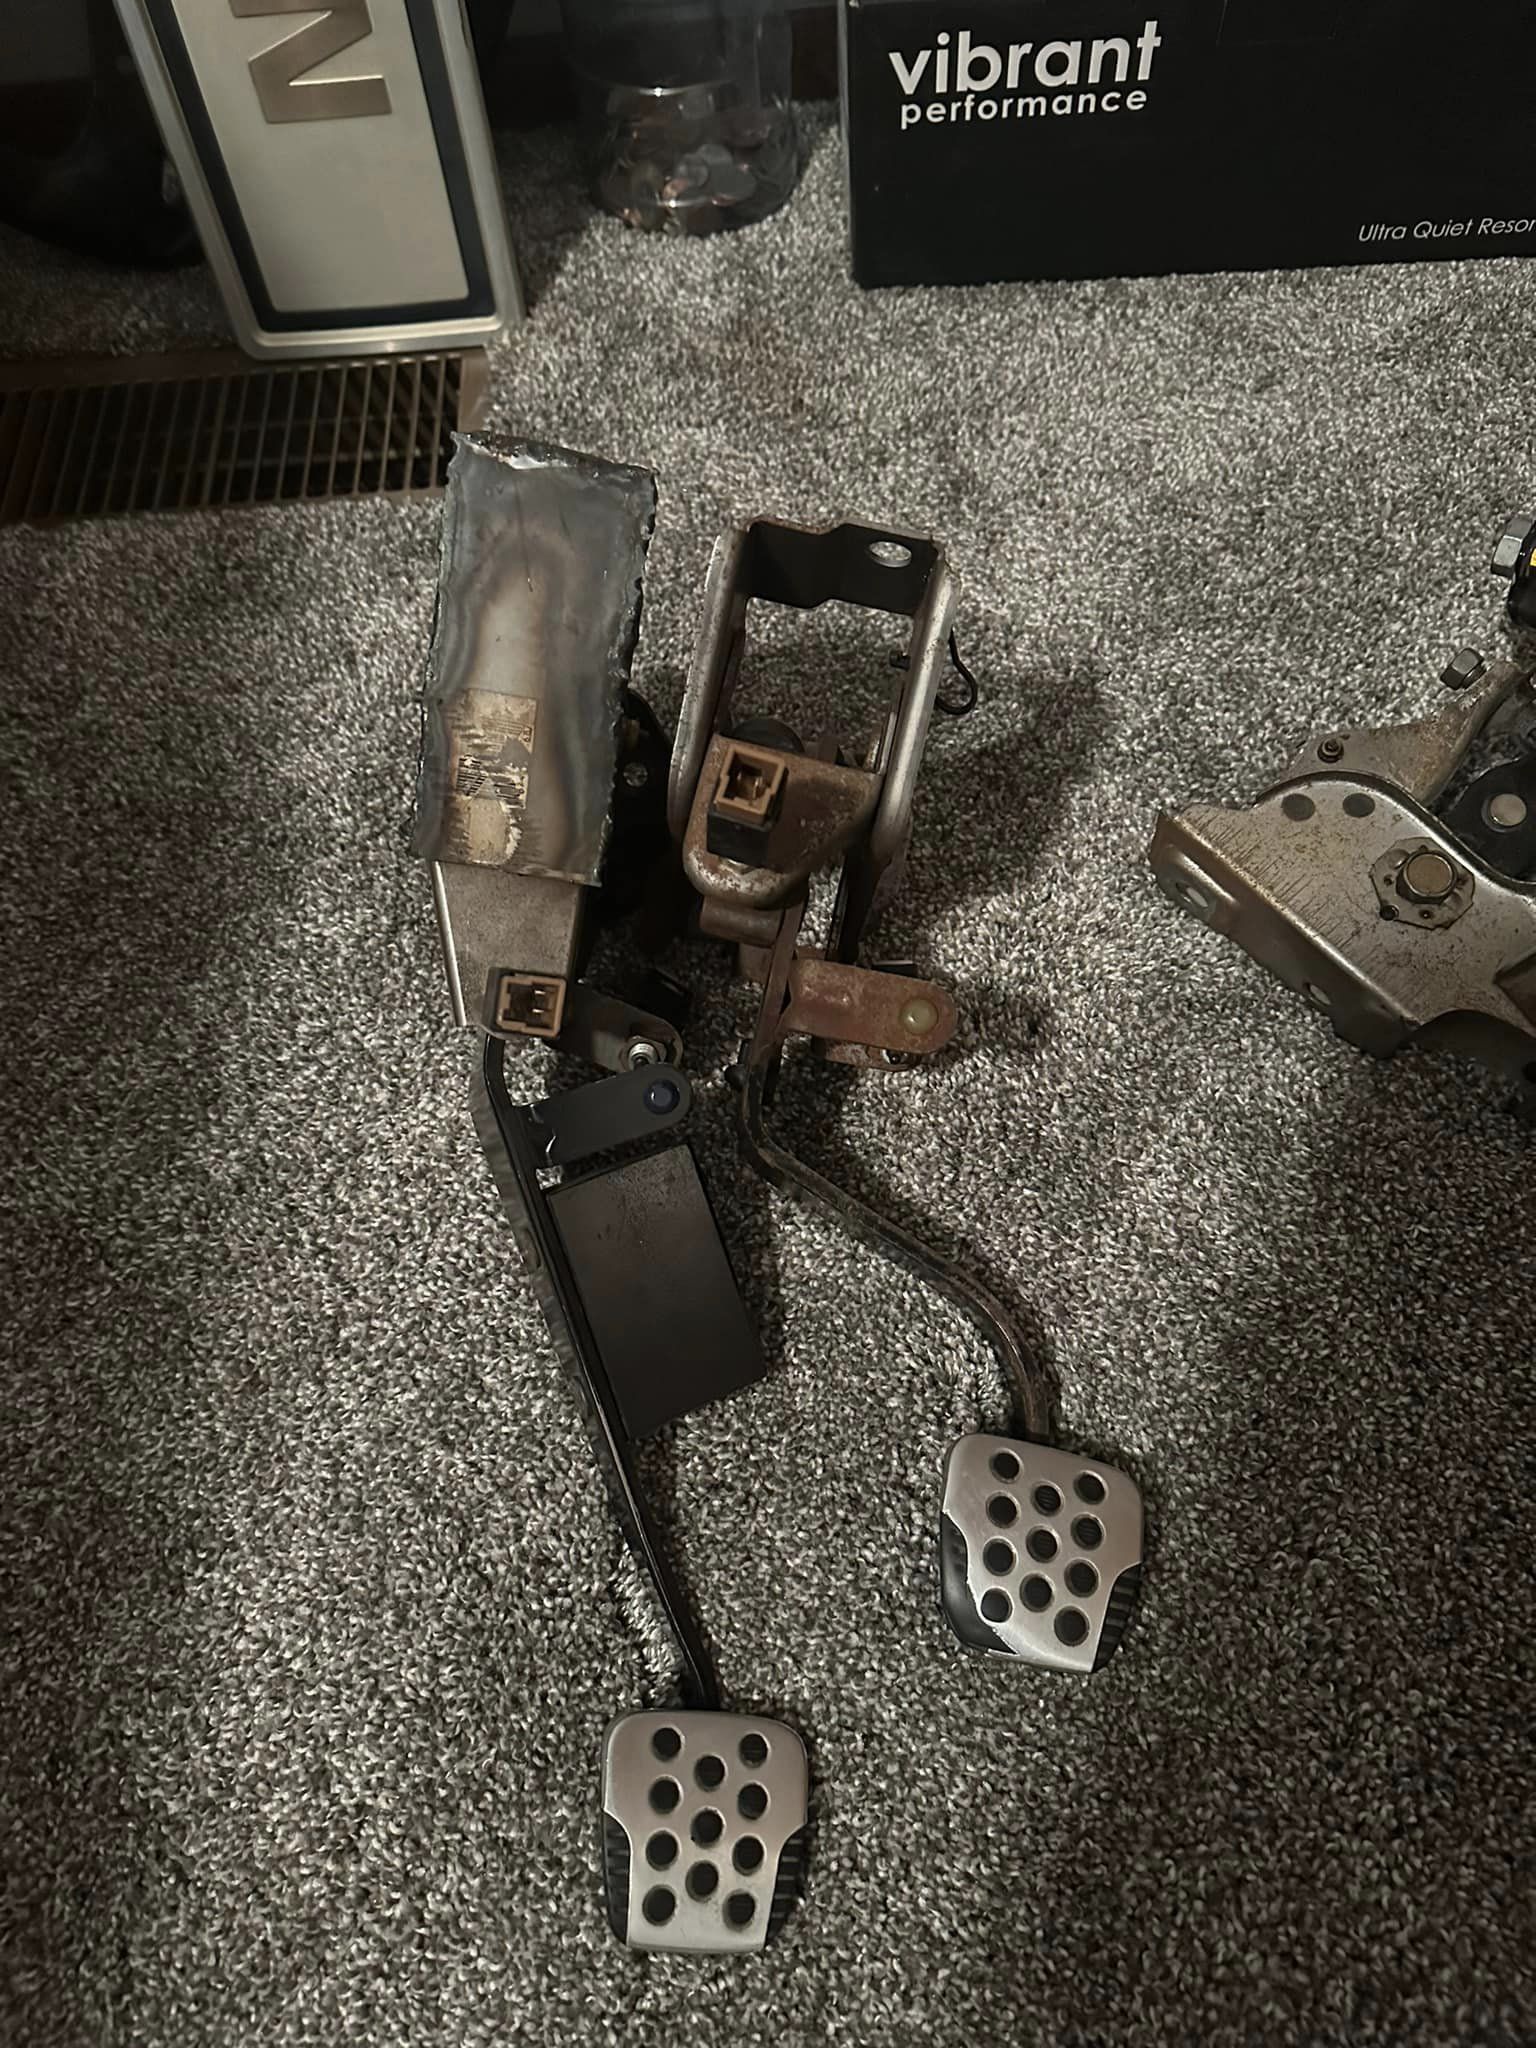
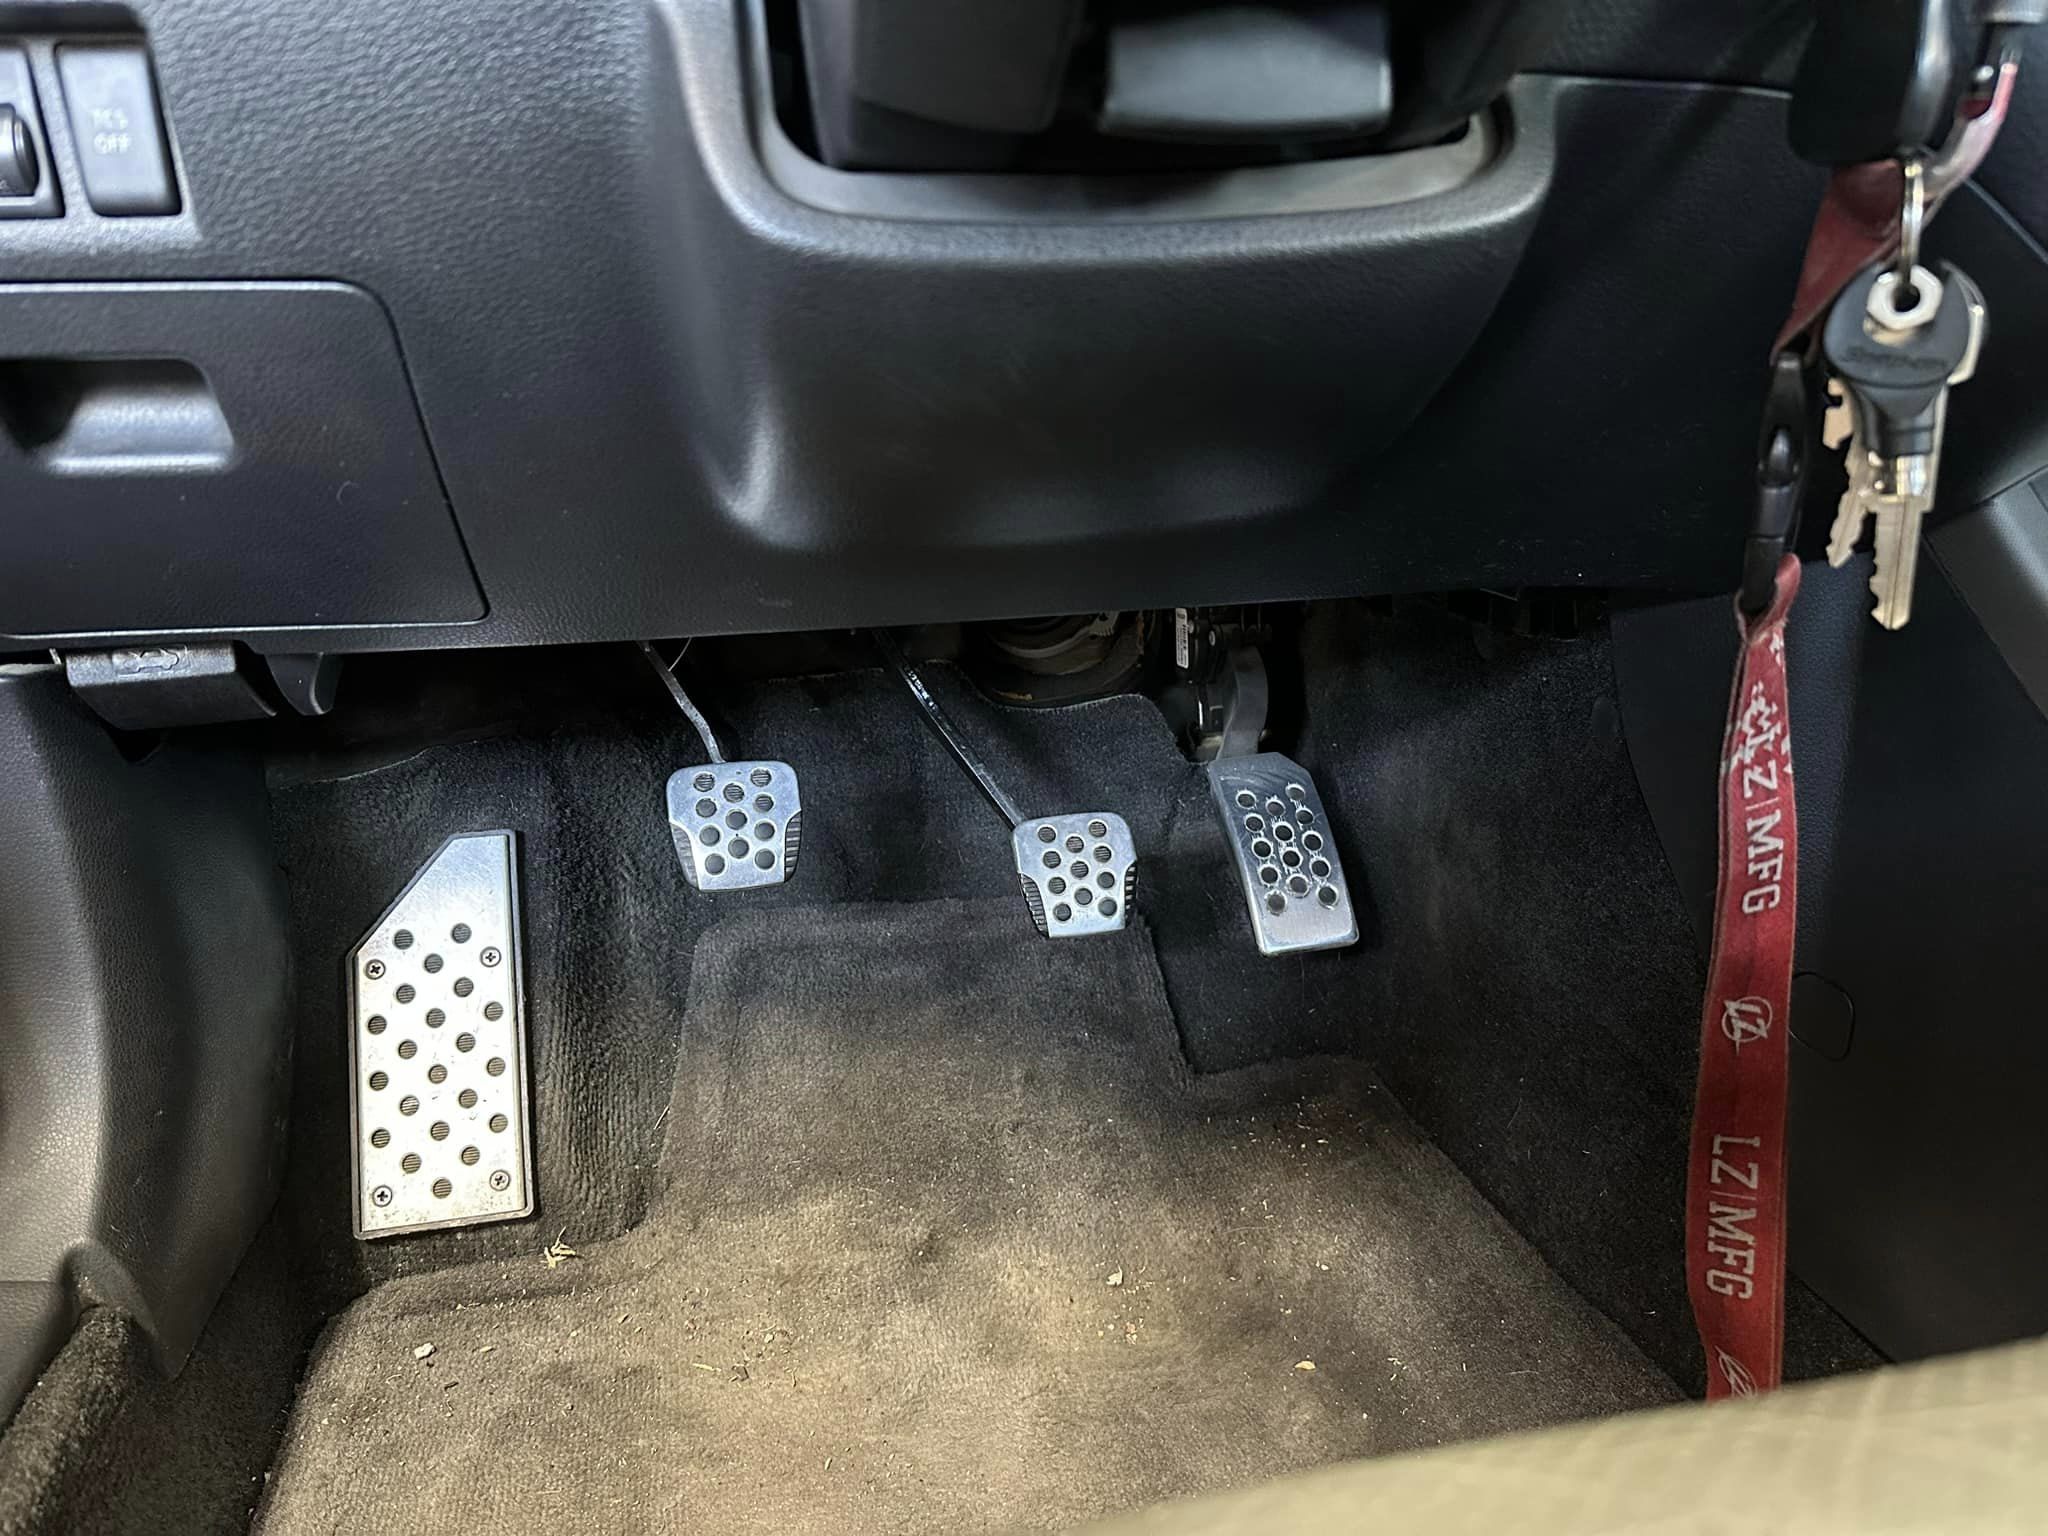
2007-2012 Altima 2.5 or 3.5 M/T Clutch Pedal 1 46503-JA100 (Discontinued – must source used)
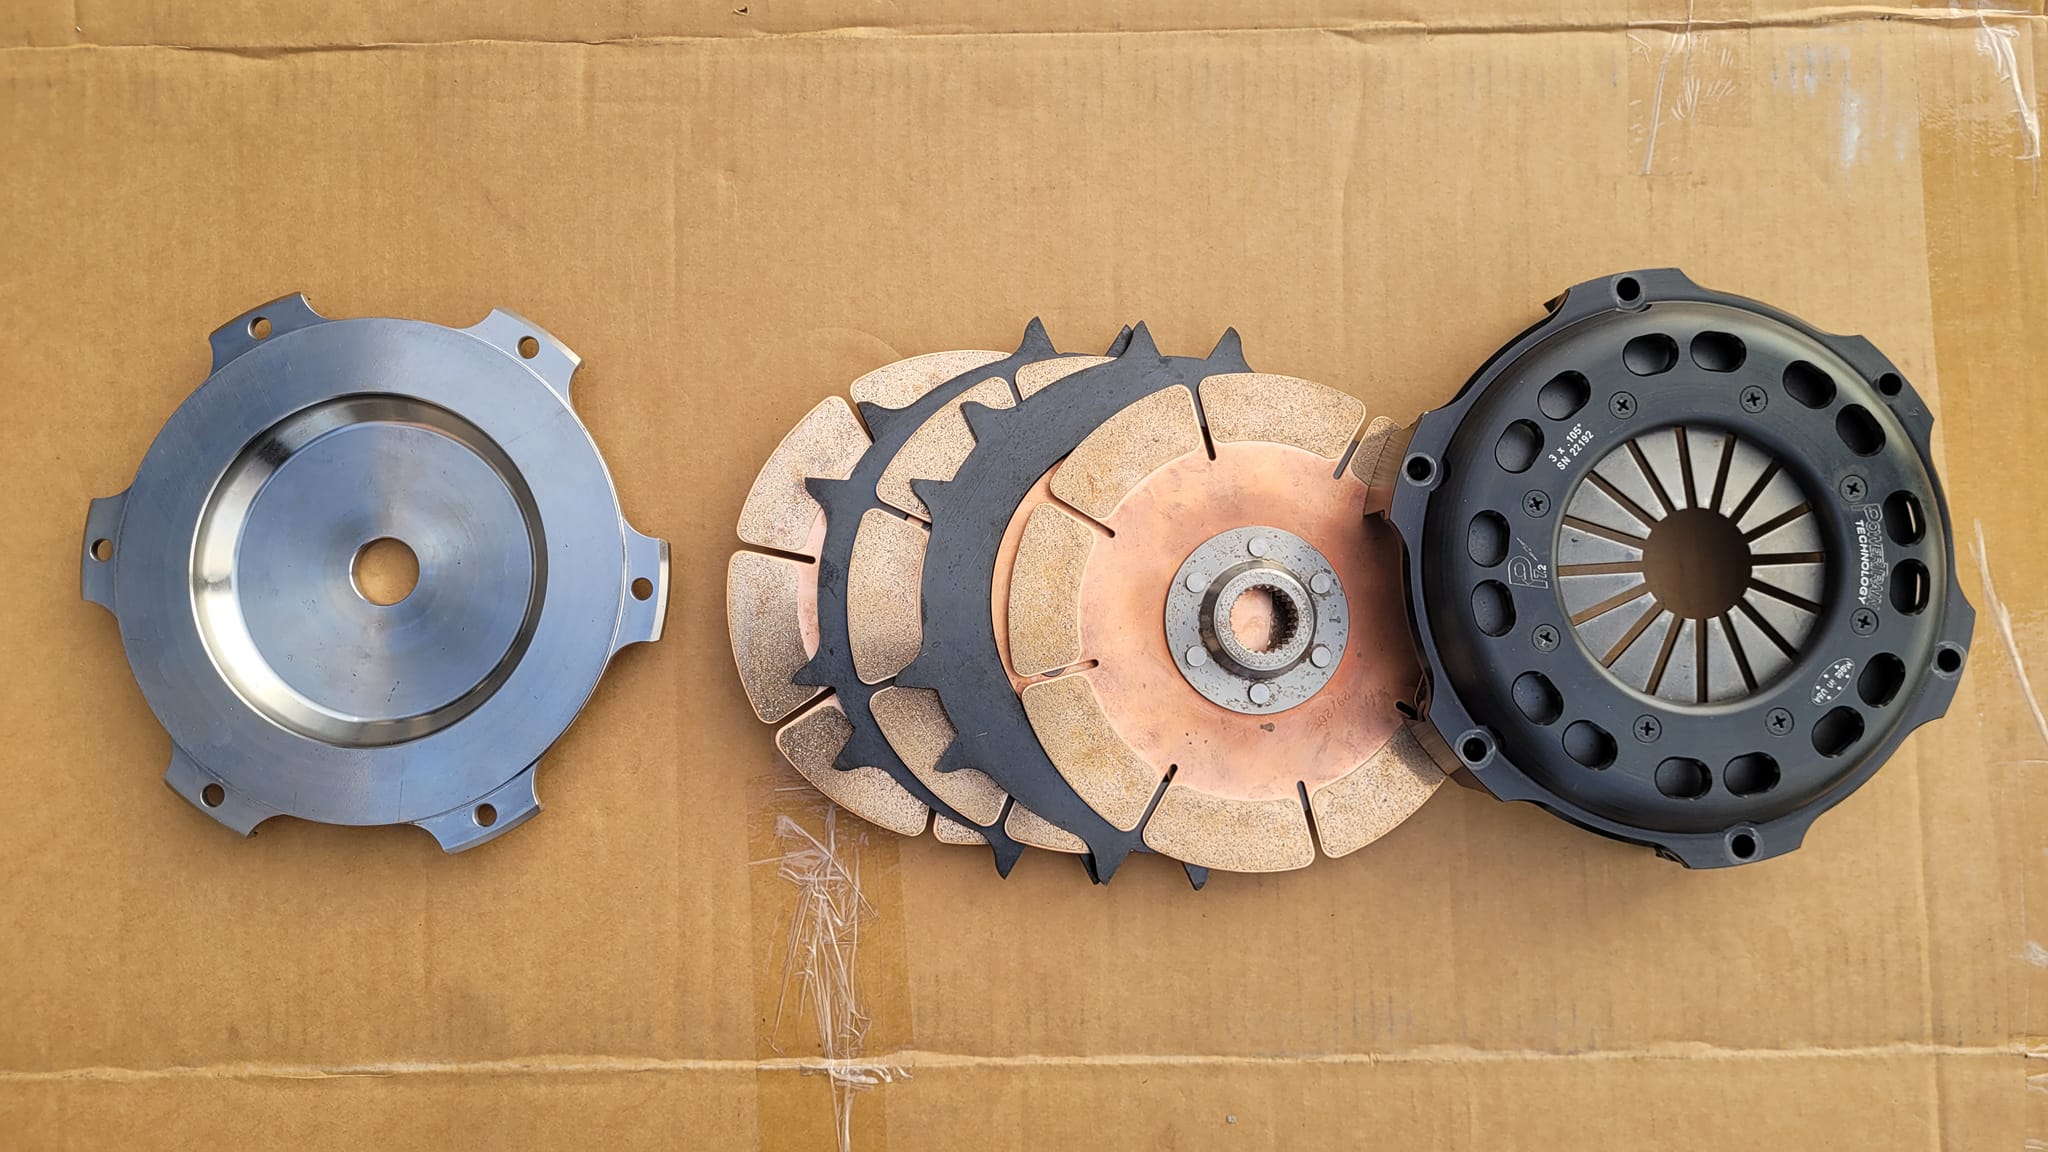
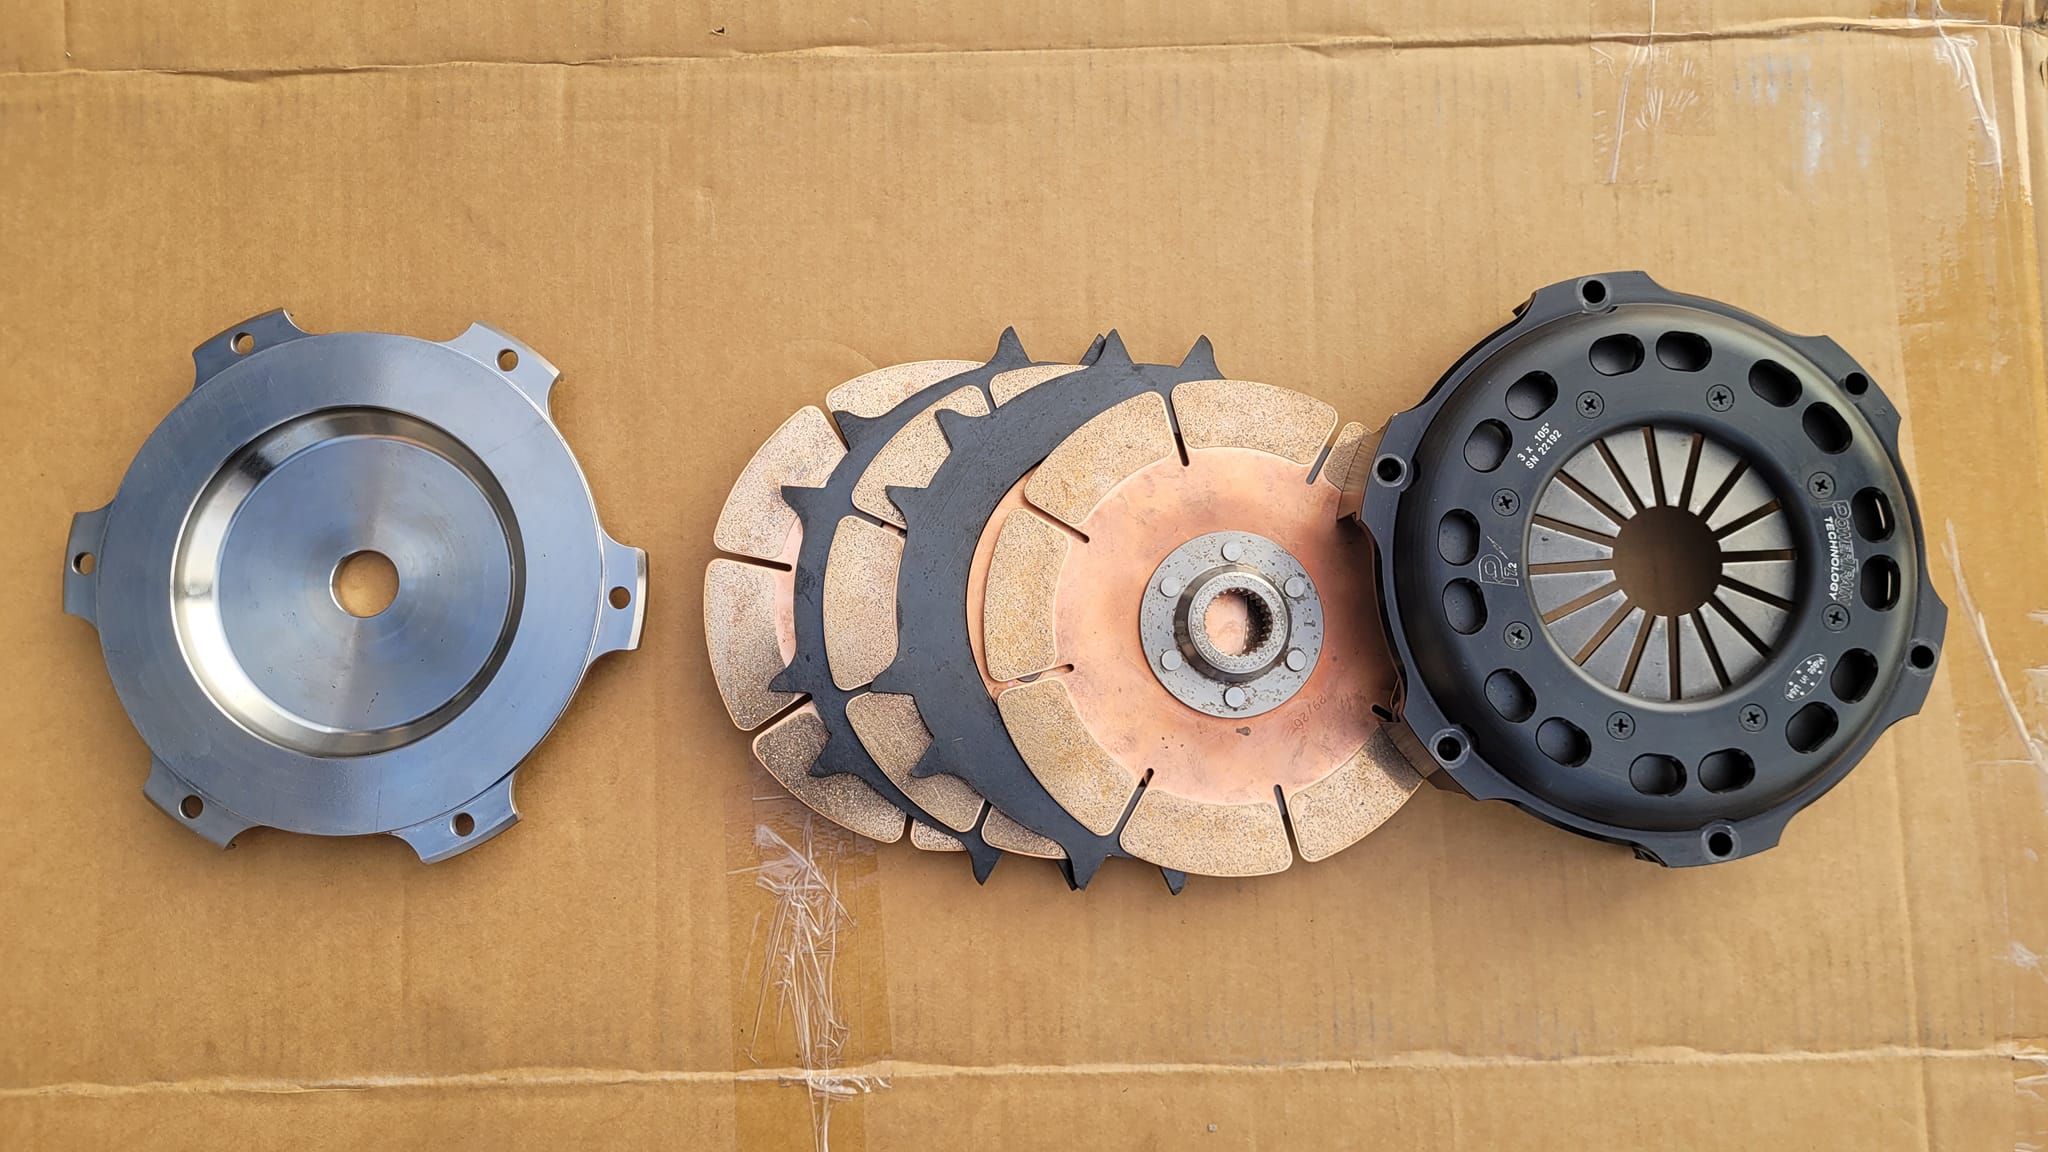
2007-2012 Altima 3.5 M/T Clutch 1 Recommended: Nisformance Stage 1/2 (daily), Stage 3 (aggressive)
Click to purchase
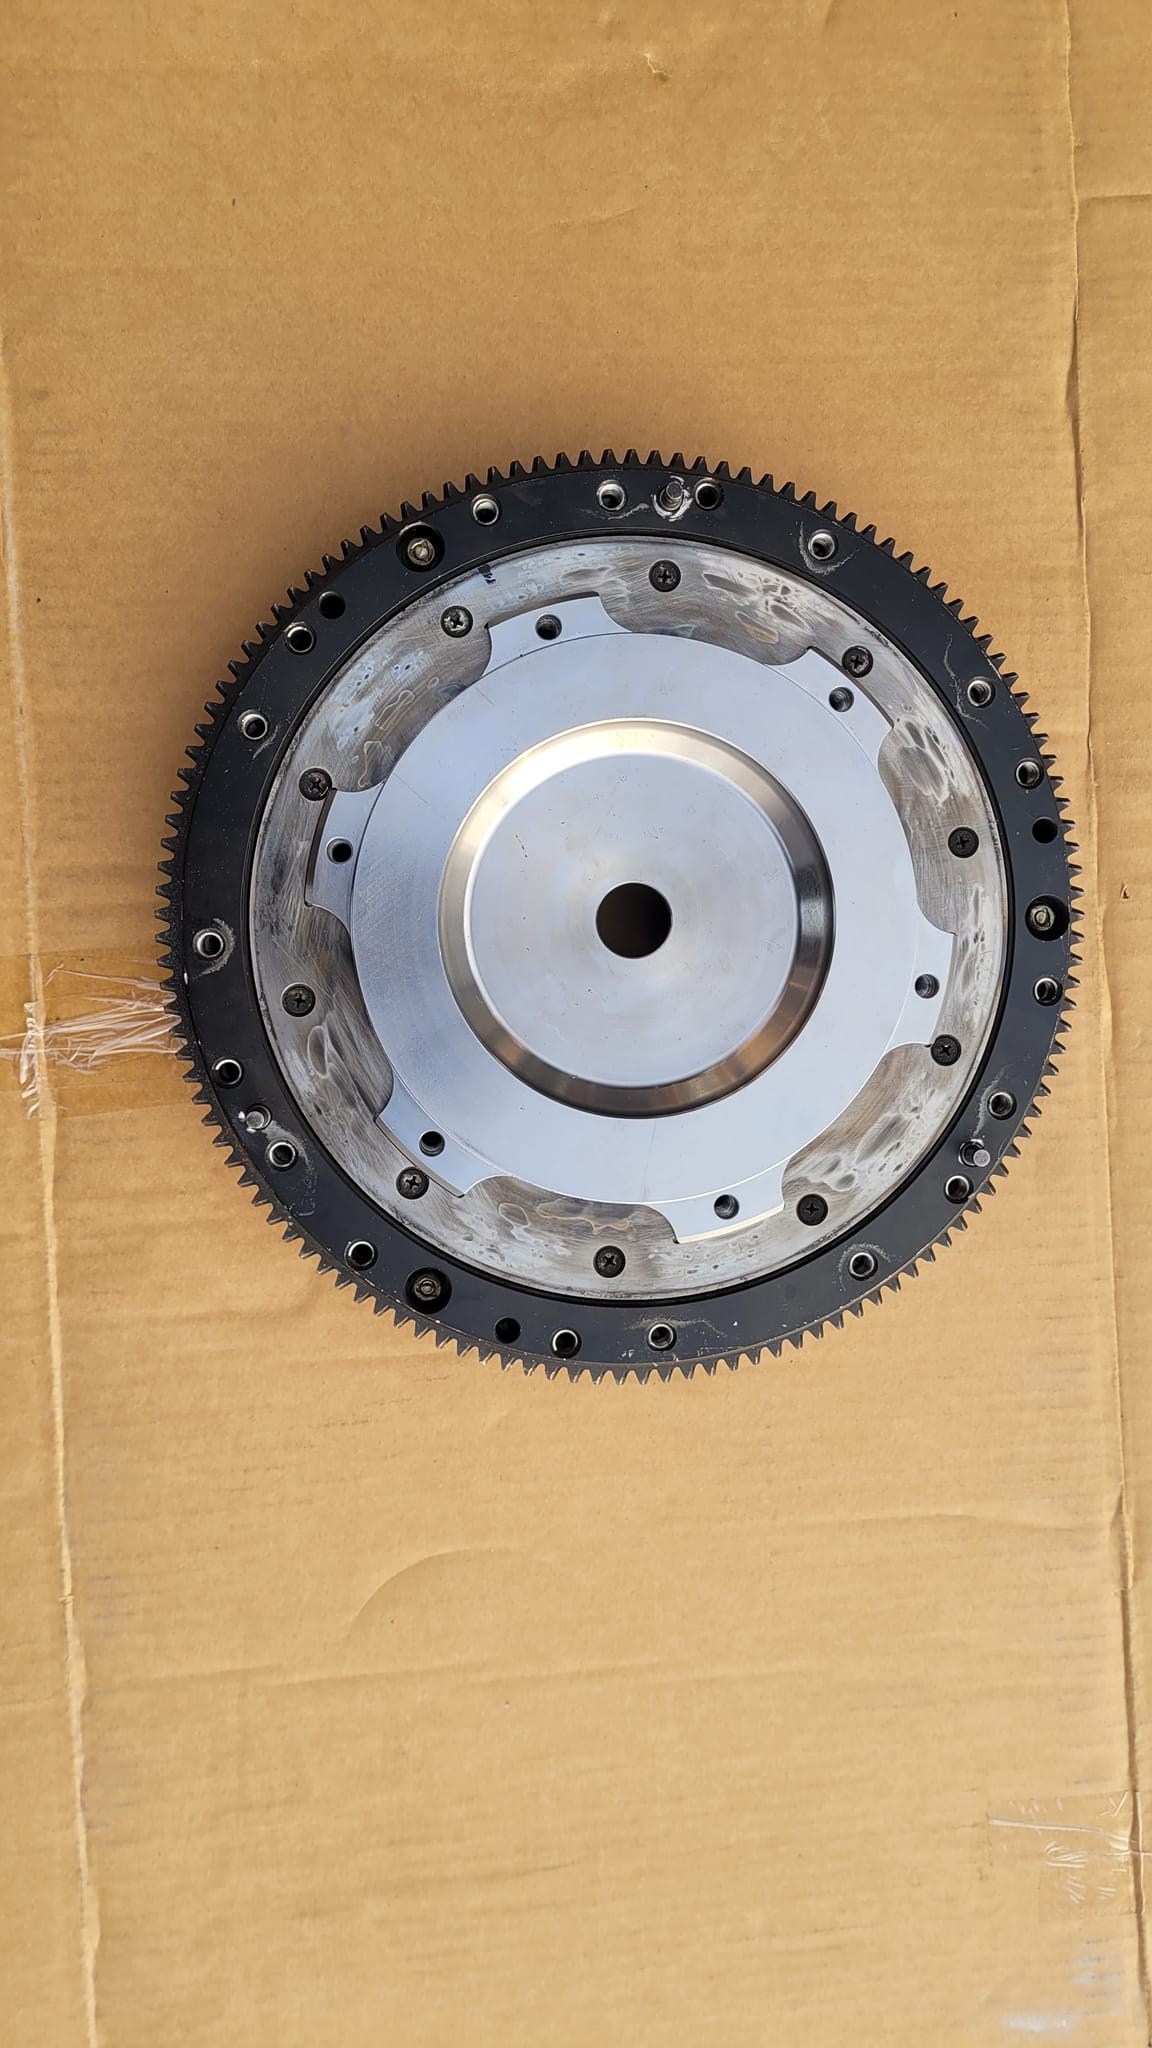
2007-2012 Altima 3.5 M/T Flywheel (JWT) 1 Click to purchase
Upgrade Metal Slave/Master Kit 1 Click to purchase
Passenger Axle CNC Spacer Kit 1 Click to purchase
2009-20 370z Clutch Master Cylinder Reservoir w/ Bracket 1 30610-JK00A
Redline MT-85 Gear Lube 3 QT 50504 (Purchase Locally)
UpRev Performance Tune (Gerson) 1 Click to purchase
E-Stopp ESK001 Electric Emergency Brake Kit 1 ESK001
Click to purchase


Loading