

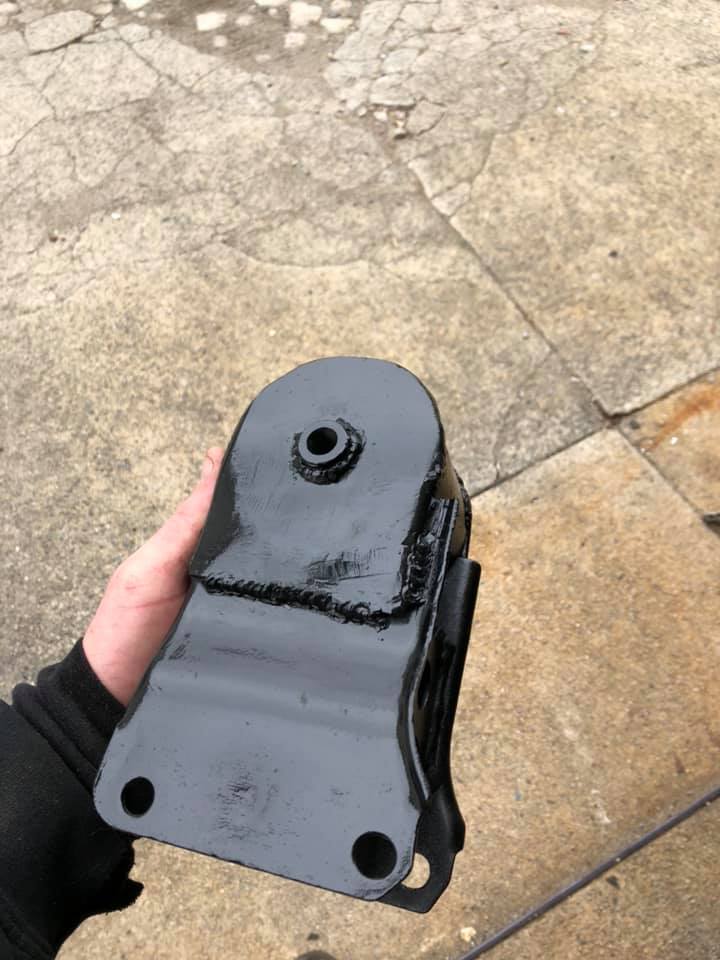
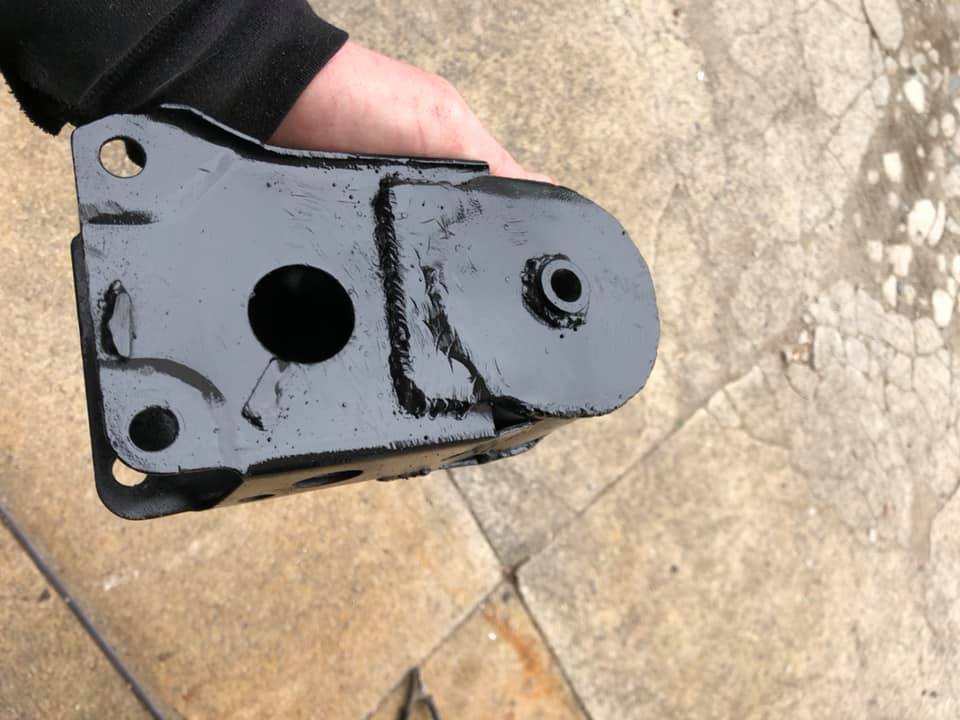




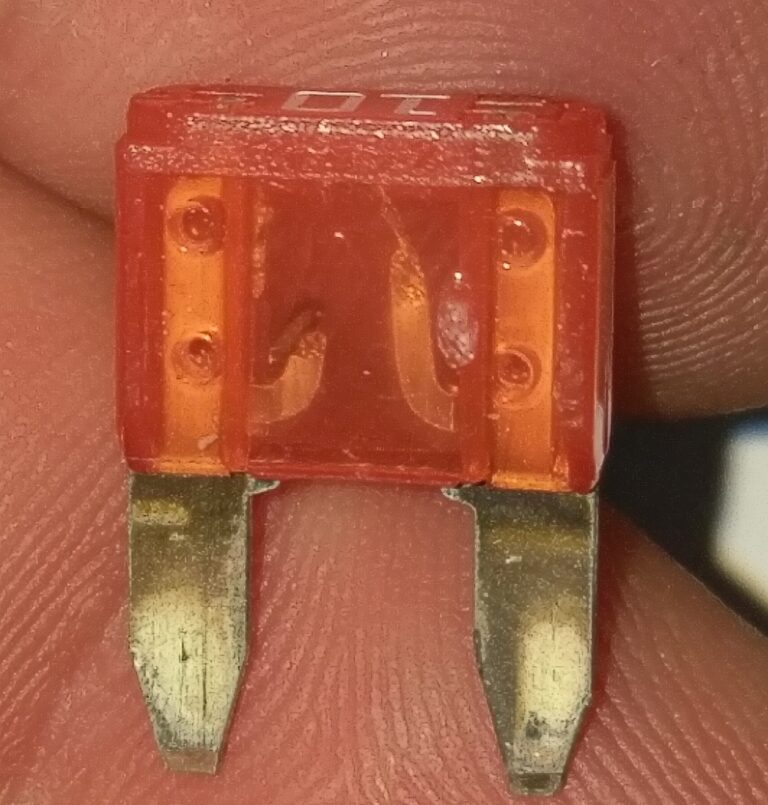
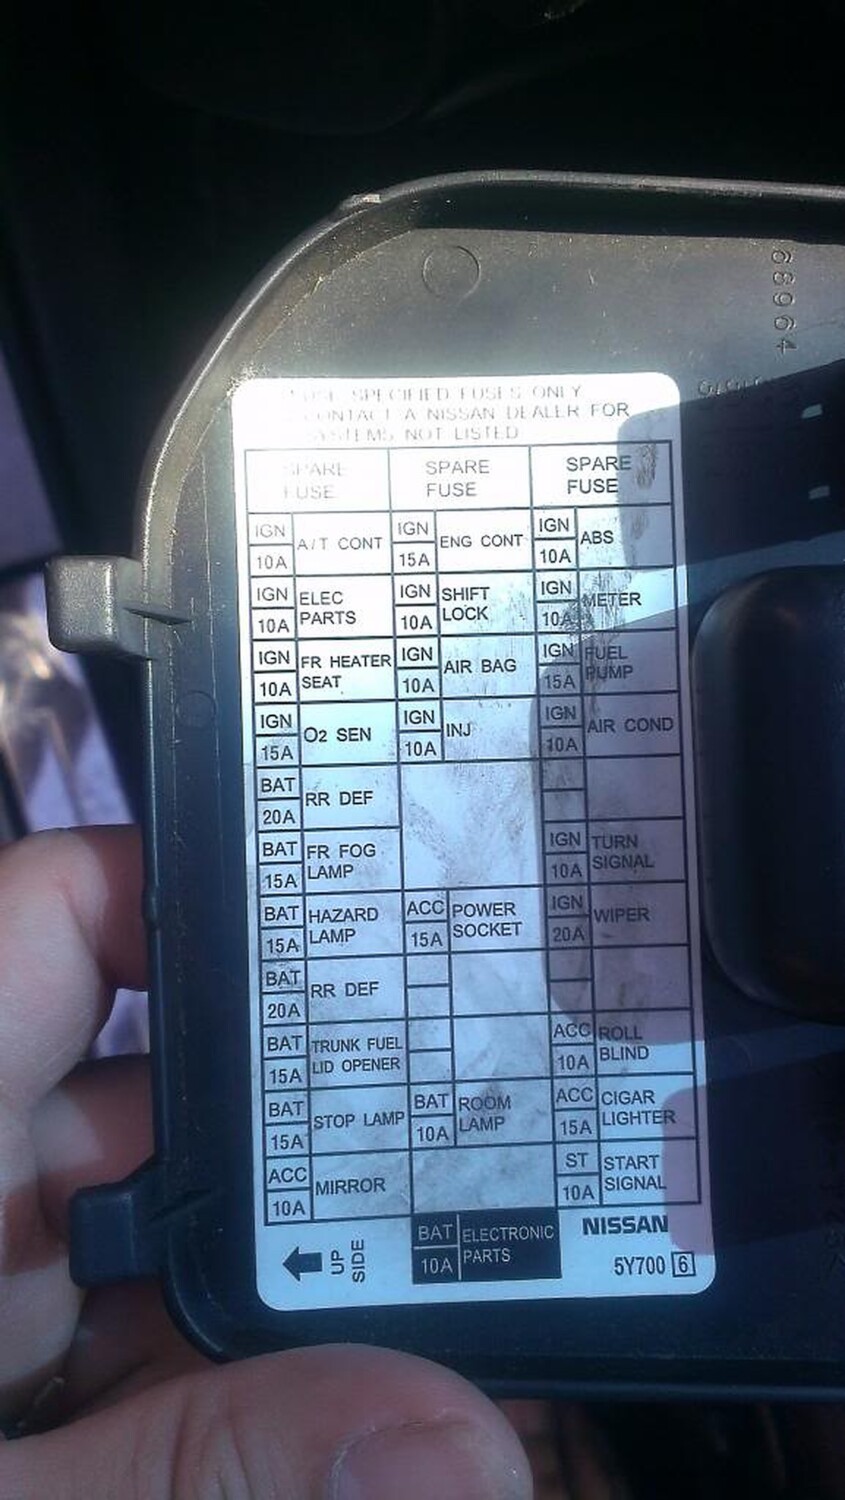
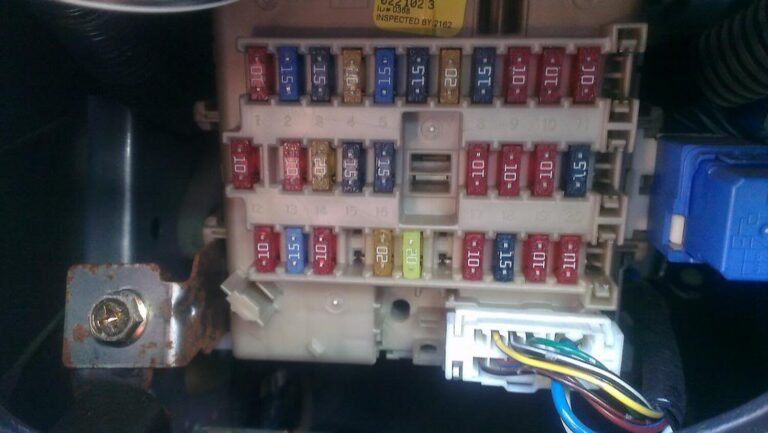
If you are not able to scan your car for codes, make sure to check the 10AMP fuse inside your car under the driver dash. If this fuse is blown, it will not allow you to use your ODB2 scanner to check for codes.
It’s the BAT 10A – Electronic Parts Fuse Blown. It’s in the middle fuse section all the way at the bottom.



UPDATE: September 23, 2020 – We’ve programmed various ECUs this year and programming worked 100%. It took about 5 minutes. Place charge anywhere between $50-$150 to do this procedure. Super simple! We’ve done 4thgens, 5thgens, 6thgens and Altima SE-Rs.
This means that you can use a BlaZt cable to re-initialize the NATS on any Maxima of those years. This is particularly useful for those who have to replace their ECU and don’t feel like going to the dealership and dropping $100 to get the ECU programmed to their key/immo (or those who simply want to add more keys to their car).
More Info on Nissan Datascan & ODB2 Cable: https://www.my4dsc.com/nissan-datascan-ii-aka-the-affordable-nissan-consult/
Normally, the PIN is provided to you when you buy the car but most people lose it. Well, now you can finally add your own keys to the car and/or re-program a used ECU’s to the car.
For those who don’t know the PIN, the PIN can be decoded using a software called “Nissan SuperCode”. The software requires the serial number from the BCM that the ECU came from. It will then provide the PIN. The only problem is that when you buy an ECU from a junkyard, they usually don’t provide/know the BCM serial number from the car that the ECU came from. Normally, you’d have to go to the dealer so they can decode it, but now that I discovered this “master” PIN, you can do it yourself!
The following cars all use the same “5523” default PIN:

350Z on the right. Both are the same height.

350Z on the Bottom.
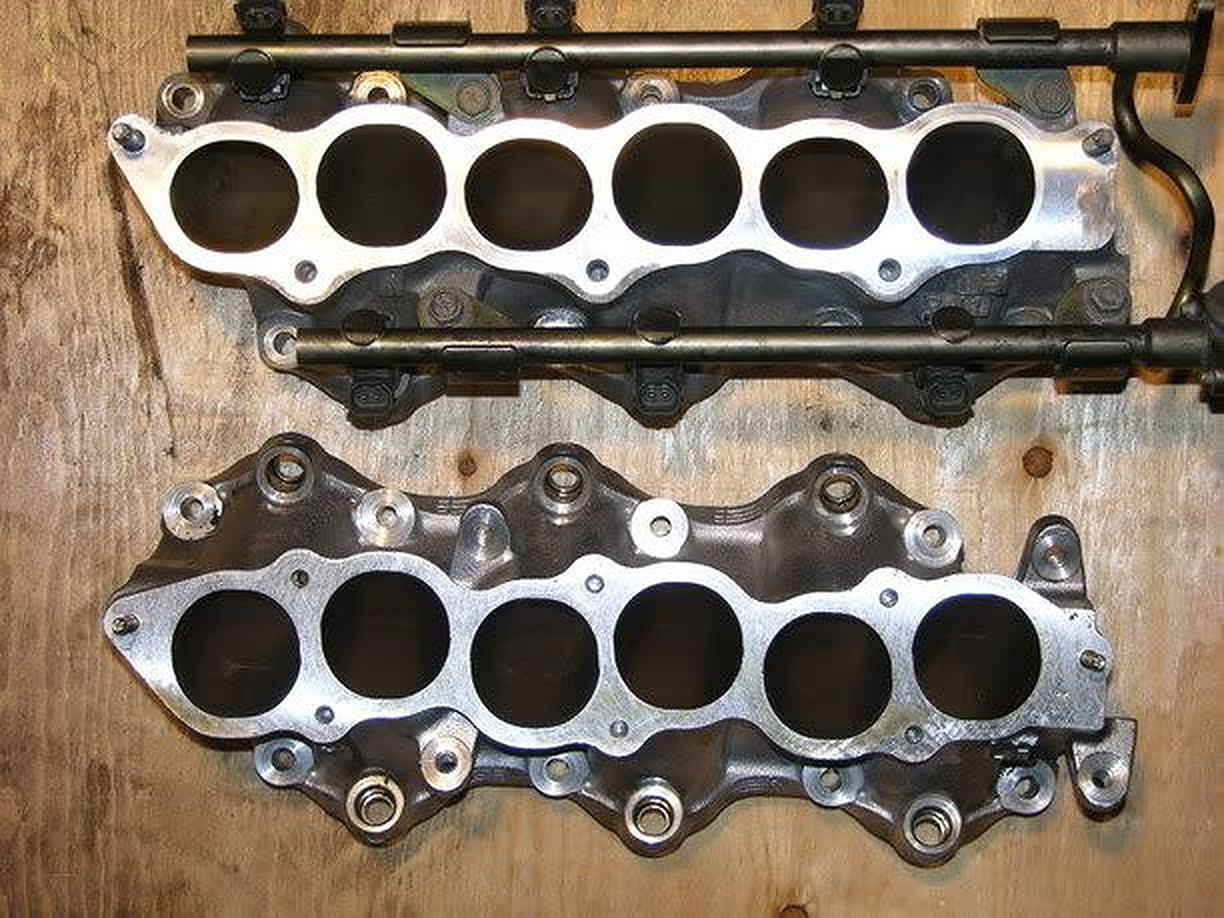
The next two pics are meant to show how much more of a straight thru shot that the flow path is in the 350Z LIM.
The first one is the FWD Maxima LIM
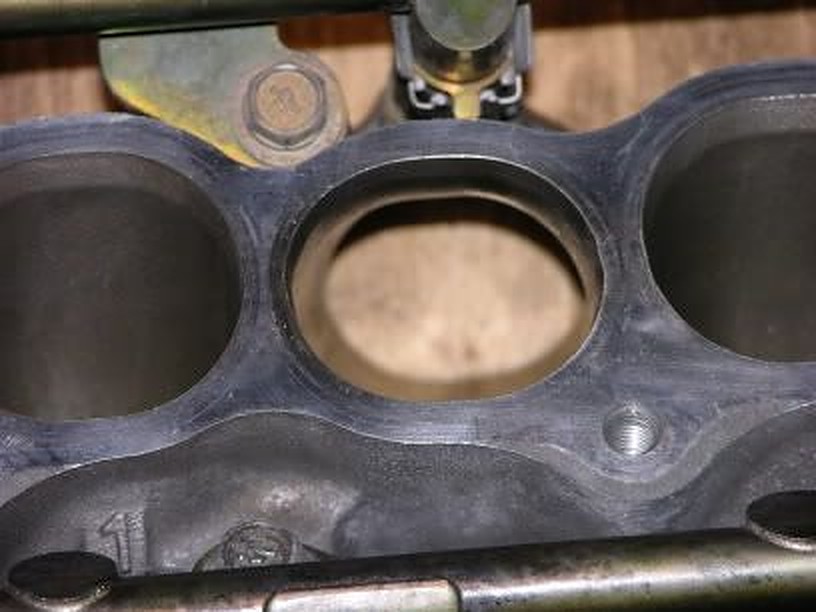
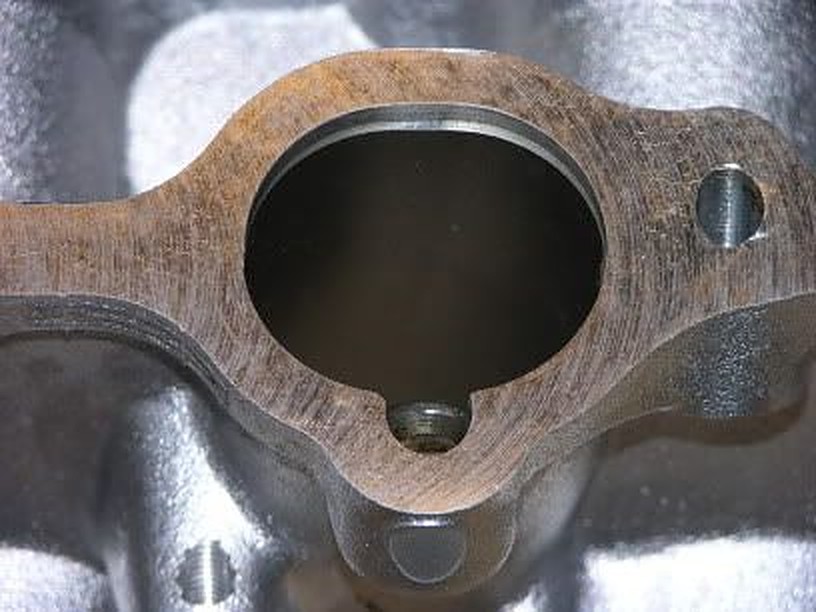
Notice how the 350Z path below is much straighter.

Notice on the 350Z port below there is a small machined step on the inboard lip. It only goes about halfway around the port circumference. It is on the wrong side of the port to prevent flow separation so there must be another reason.

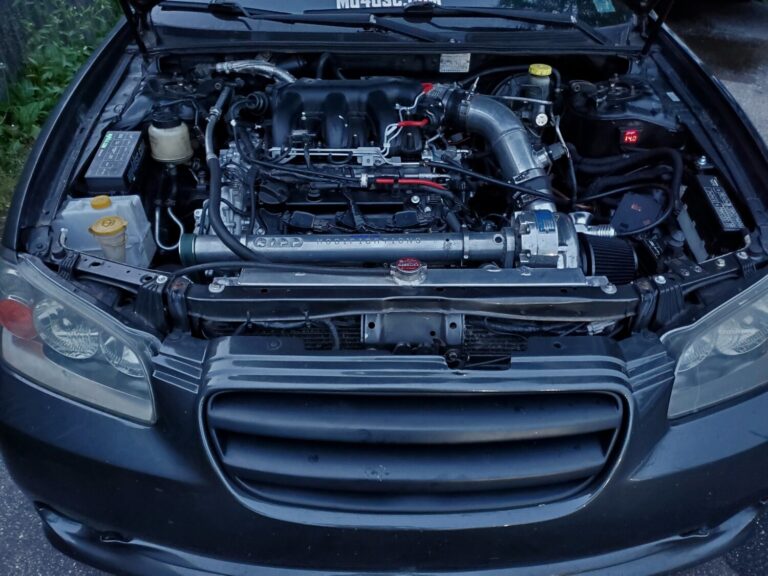
Member Credit: Eddy
My SPAL fan recently had an issue due to some wiring that made contact with the headers. It caused the two wires coming out of the fan itself to touch and it ended up ruining the fan motor. So this time around I decided to go with the SPAL 14″ 1864 CFM fan. Primarily because its a little smaller in size and give me a little more clearance with my 5thgen Maxima supercharged setup. The CFM is good enough. I also have a small 10″ fan as well (not SPAL) but just as a backup.
Make sure you use a good relay (at least 40 AMP) before connecting directly to your OEM harness.
Fan Part Number:30102042
Fan Price: Between $120.00 -$140.00
Specs:


If you don’t use a good relay like the one above, this will happen (Photo Courtesy of Javon Bennet)

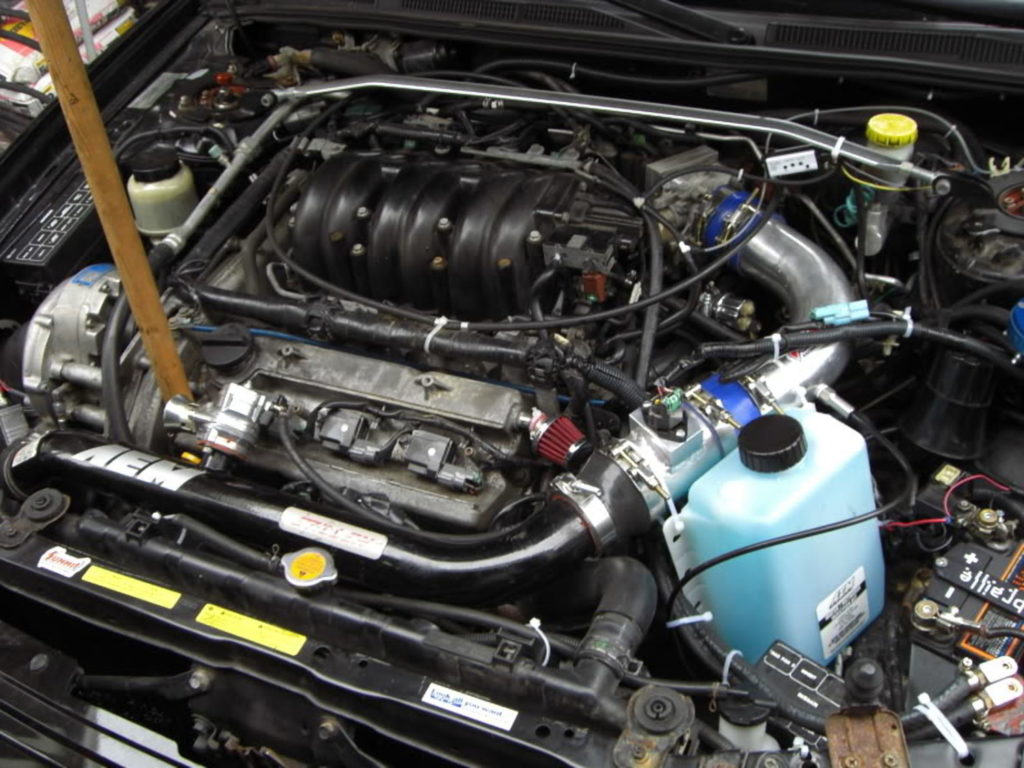
Member Credit: JAY25
Go to NAPA to get the copper plugs, you can get them as cheap as $1.20 a piece and up to $1.99 a piece change them out every 20k.
Stock heat range copper plugs:
NGK #BKR5E-11
Nissan # 22401 – 50Y05
One step colder copper plugs (recommended):
NGK # BKR6E-11
Nissan # 22401 – 50Y06
Two step colder copper plugs:
NGK # BKR7E-11
Nissan # 22401 – 50Y07
The -11 part of the NGK number is multiplied by .004″ to get the gap size for an engine producing stock hp. This would make the stock gap 0.044″. Most people with SC’s and such are running 0.034″ – 0.038″ in order to further reduce tendency for detonation.
3.60 to 3.33 – K060710
3.25 to 3.125 – K060705
3.00 to 2.62 – K060703
Well for a fact I can tell you that anything @ 3.25 too and including ASP’s 3.0″ pulley will use the 6 rib 695 length. I think that is the stock belt in the V1 kit which means it will work with the 3.33, 3.48, and 3.6, but I didn’t buy the kit new so I can’t speak for sure.
V2 owners
3.6 – 7 psi
3.33 – 9 psi
3.25 – 10 psi
3.125 – 11 psi
2.87 – 13 psi
V1 owners deduct half to one full PSI from each pulley
A: Yes, but it’s not clear how beneficial it will be.
First off, know that any intercooler you want to add to your vortech supercharger will have to be custom. Nobody makes an off-the-shelf intercooler so you’ll have to put it together yourself or pay someone else to. At a basic level it will consist of the intercooler iteself, piping from the blower to the intercooler, and piping from the intercooler to the MAF. In the case of an air-to-water aftercooler you’ll also need a water reservoir and water lines to and from the aftercooler.
Why go through all this touble? Well as your blower spins and compresses the air on its way to the engine, it also heats it up. Hot air is less dense than cold air, and all things being equal, a colder, denser charge will make more power than a warm one. In addition to creating more power with a denser charge, the cooler air will also help to combat detonation by lowering cylinder temperatures.
Sounds great, right? Unfortunately this added power and safety comes at a cost. Because the air must now follow a longer path before getting to the engine you will get a drop in boost pressure when measured at the throttle body. So while the blower may be pumping out 10psi, 2 or 3psi are getting lost on the way through the intercooler system. The amount of boost lost is dependant on the efficiency of the intercooler, the amount of piping required, and the “smoothness” of the bends in the piping.
So when does is become “worth it”? Credit goes to Stephen Max for this detailed explanation…
An acceptable pressure loss through the intercooler and piping is on the order of 1 to 1.5 psi. The 3.6″ pulley gives 7 psi and is good for a 80 hp gain, and people running 10 psi are typically seeing 300hp at the wheel, a 120 hp gain. So that translates to about 10-15 hp per psi, with decreasing power gain the higher you go in boost pressure. So lets say a good intercooler setup with 1 psi boost loss costs 10 hp, and if the setup is not so good, a 20 hp loss.
A widely accepted figure for power gain from charge air cooling is 1% for every 10 deg F of temperature drop. So working with a 300 hp figure, to get back the 10 hp the charge air needs to be cooled 33 F, and to get back 20 hp we need 66 F of cooling.
I have done an extensive amount of data logging with an intake air temperature gauge. I have one thermocouple at the blower inlet and one at the throttle body. Boosting to 11 psi results in a maximum charge air temp of 185 F. That was on a hot day where the air temp at the road surface was about 100F, so the temp rise was 85 F. I have never seen the temperature higher than 185 F.
Assuming an intercooler with 80% cooling efficiency, the 185 F charge air will be cooled to 117 F, assuming 100 F ambient ( convert to absolute temp by adding 460; ==> [645-577]/[645-560] = 80% )
So, to summarize, an intercooler working at 80% efficiency will cool 185 F charge air down to 117 F, which is a 68 F temp drop. So for an intercooler and piping system that results in a 10 hp loss due to pressure drop, we have gained back about 20 hp due to temperature drop, for a net gain of 10 hp. If the intercooler and piping results in a 20 hp loss, then we have broken even with the temperature drop.
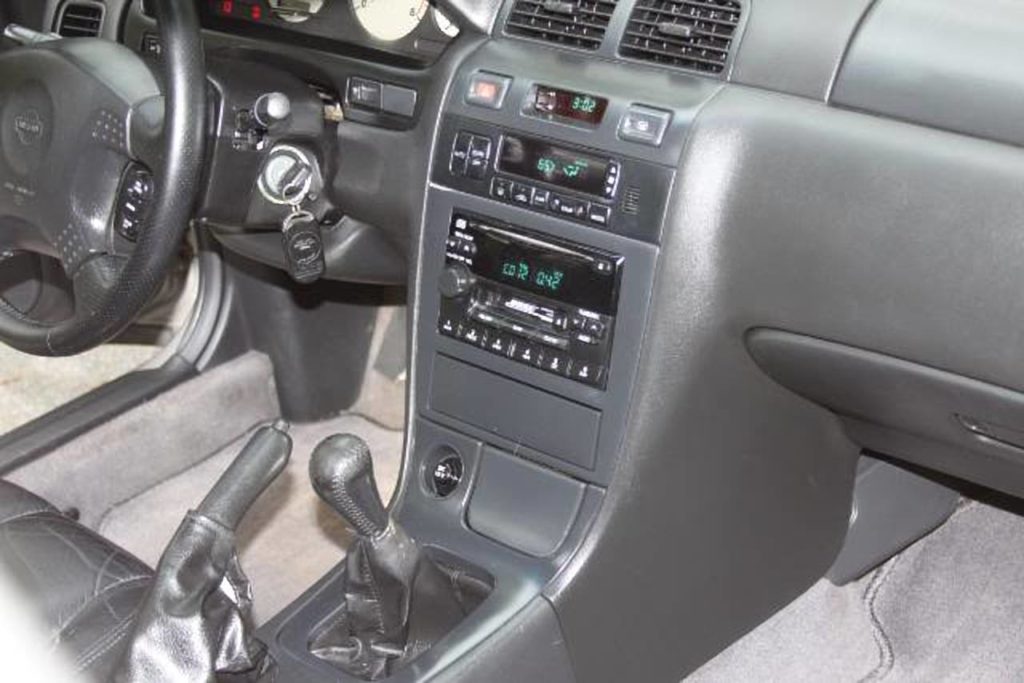
Member Credit: ajm8127
I did a 5 speed swap two weeks or so ago and there was a lot of time spent wading through the FSM pages to make sure the electrical system of the automatic chassis was compatible with the manual transmission, and the functionality of a manual chassis. This is a guide I came up with the try to easy the confusion when swapping a automatic transmission out for a manual one. I followed the procedure outlined below and used a 1997 manual ECU in my 1997 automatic chassis and can happily report that I have no CEL.
I. Introduction
This is a guide to those of you who wish to swap the automatic transmissions out of your fourth generation Nissan Maximas. It will walk you through the procedure to convert the electrical system. There are four areas that must be addressed in order for your car to be as close to stock as possible, electrically and functionally speaking, after the swap:
Reverse Lights
ASCD Cancel Switches
Clutch Interlock Switch
Park/Neutral Switch
As always, when working on the electrical system of your car, disconnect the battery.
II. Reverse Lights
Relevant FSM section:
EL – Exterior Lamp – Backup Lamp
In order to pass safety inspection in many states, the reverse lights must come on when the vehicle is placed in reverse. On the automatic this is achieved thought the inhibitor switch which is mounted to the front of the automatic transmission. On the manual version of the car, the reverse/neutral (R/N) switch handles this. When reverse is selected, the switch completes the circuit and sends battery voltage to the reverse lights.
I used the R/N switch harness from the manual version of the car, and soldered it in place where the inhibitor harness used to be. You will notice on the R/N harness you have two think wires and two thin wires. You will need to connect the thick wires in this step. First thing is first, cut off the two connectors that plugged into the inhibitor switch when the automatic was in the car. Next, locate the green and green/white wires on the inhibitor harness. The green wire supplies battery voltage, and the green/white wire runs back to the reverse lamps. Luckily for you, the wire colors on the R/N switch harness are the same. Using the thick green and thick green/white wires on the R/N harness, connect them to the green and green/white wires on the inhibitor harness (Figure 1). I have used shrink wrap tubing to insulate the joints, but electrical tape will work as well.
III. Clutch Interlock Switch
Relevant FSM section:
EL – Start
AT – Wiring Diagram
In order to prevent you from starting the car in gear, the vehicle is equipped with a circuit that will only energize the starter solenoid if it detects you are in neutral or park. Again, with the automatic, this is accomplished based on which contacts of the inhibitor switch are connected. On the manual, this is accomplished by sensing when the clutch pedal is fully depressed. To keep this functionality after the 5 speed swap, you must connect a wire in the inhibitor harness to the clutch interlock switch (switch that senses when the clutch is fully depressed). The other side of this switch must be tied to ground, so that when the clutch is fully depressed, the wire on the inhibitor harness is grounded. Fortunately, when you do a 5 speed swap, you will have a bunch of wires left over that are unused. This will allow you to easily run a wire to from the engine bay to the cabin by using some of those unused wires. For this task, I have used a yellow/blue wire to complete the circuit to the clutch interlock switch (Figure 1.) This yellow/blue wire used to tell the TCM (Transmission Control Module) when the vehicle was in drive. Connect the green/orange wire from the two conductor side of the inhibitor harness to the yellow/blue wire, on the seven conductor side of the harness.
The next step is finding where this wire comes out in the cabin. The TCM is underneath the BCM, directly in front of the shifter. Its harness looks similar to the ECU harness in that it has a 10mm bolt securing it. Find the yellow/blue wire and cut it from that harness (Figure 2). It will be in position 18. Also, find one of the black ground wires, and cut it as well. This will be the ground that one side of the clutch interlock switch is connected to. The grounds are positions 15 and 48. Next, you will need the clutch interlock switch from where ever you got the clutch pedal. It will be in a harness with the ASCD brake and clutch cancel switches, along with the brake light switch. Remove the clutch interlock switch connector from this harness and extend the wires on it (Figure 3). Add enough so that they reach the TCM connector with about six inches to spare. At this point I wrapped electrical tape around these wires to keep the harness looking stock. It also keeps the wires in a bundle, which makes them easier to keep out of the way. Route these wires under the dash and around into the center console. Now connect one of the wires from the clutch interlock switch to the yellow/blue wire from the TCM harness. Connect the other wire from the switch to the black ground wire on the TCM harness (Figure 2).
IV. Park Neutral Switch
Relevant FSM section:
EC – Park Neutral Position Switch
AT – Wiring Diagram
Nissan engineered the electrical system in the fourth generation Maxima to be able to sense when the car is in park or neutral. If you have been paying attention up to this point you would have probably guessed that in the automatic, this is done by the inhibitor switch in the P or N position. Of course, we removed the inhibitor switch. To take its place in the manual, the reverse/neutral switch is used. Look back under the hood and find the additional two wires coming from the manual R/N switch harness. They will both be thinner than the two connected for the reverse lamps, and will be green/white and black in color. Now, locate the two wires coming out of the inhibitor harness that are pink/black and purple/white. I connected the wires with the white tracer together (purple/white to green/white) and I connected the pink/black to black (Figure 1). Again, find the TCM harness and connector, and cut off the pink/black (position 17) and purple/white (position 16) wires. Also, cut off the other ground that you did not use in step III (position 15 or 48). Additionally, you need the wire that runs to ECU pin 22 form the TCM connector. This wire is green/orange, and is in position 13. You now need to connect the wires from the R/N switch to ground on one side, and the ECU on the other. Connect the pink/black wire to the ground wire from the TCM connector, and connect the purple/white wire to the green/orange wire that runs to the ECU (Figure 2). Now, when the transmission is in neutral, ECU pin 22 will be grounded.
V. ASCD Cancel Switches
Relevant FSM section:
EL – Automatic Speed Control Device
Automatic Speed Control Device is a fancy phrase for “cruise control”. In order for this system to function properly, it must disengage when the clutch is pressed or the brake is applied. Of course in a car that used to be an automatic, there is no clutch, so only the brake pedal has a switch. Because you will be adding a clutch pedal, you will need to sense that as well if you wish for the system to function properly. You will need the ASCD pedal switch harness from a manual car. This harness is easily identified as the one that plugs into the pedal switches. You should have already used a portion of it in the Step III when you hooked up the clutch interlock. You can remove the brake light switch connector from the harness, as that is not used (it is the larger one). Now, unplug the ASCD brake cancel switch from its connector, and remove that connector from the car. Connect the wires running to the ASCD brake/clutch cancel switch harness to the wires that used to connect to the ASCD brake cancel switch. Effectively what you are doing is wiring these switches so that if either the brake of clutch pedal are pressed at all, the ASCD system will turn off the cruise control until you reset it (Figures 4 and 5).
VI. Conclusion
If you have followed the directions outlined above, you should have successfully completed the electrical portion of the 5 speed swap enabling you to have all the functionality of the 5 speed car in your automatic chassis. If you have also received a manual ECU from a car compatible with your model year’s emissions, you should be able to complete your swap CEL free.
Figure 1. Inhibitor and R/N switch harness
 Figure 2. TCM harness and connections.
 Figure 3. Extend the wires on the clutch interlock switch harness to reach the TCM connector.
 Figure 4. ASCD brake pedal cancel switch disconnected and wires from the ASCD brake/clutch pedal cancel switch harness.

Figure 5. ASCD brake/clutch cancel switch harness wired to ASCD brake cancel switch harness.
 Figure 6. Manual R/N switch harness and automatic inhibitor harness become one.