Brand new to the market is our HD Detent Kit for the Nissan RS6F51 transmission! Add confidence and enjoyment to your driving experience with these affordable and easy to install springs. Over 70% stiffer than OEM, the V1R HD Detent Kit provides the driver with the positive feedback desired with every gear change.
We have custom tailored each spring to not only increase the performance of your transmission, but also to combat the sloppy reverse feel that is far too common. This kit is suitable for any vehicle – from the daily driver to weekend warrior. Be sure to couple these with Vision One Racing Shift Selector Springs for the ultimate transmission experience!
The Diamond Claw® Crank Lock utilizes precisely sized CBN particles with a hardness of 10,000 Vickers that effectively LOCK your flywheel and harmonic damper in place. With a thickness of only .008″ – Driveline alignment remains unaffected.
Previously only available for the most common platforms – including the Nissan GTR, Vision One Racing remains focused on bringing these solutions to the entire Nissan family. Protect your most expensive and crucial components with this small yet powerful addition! At an affordable cost, the Diamond Claw will be reusable for virtually the entire life of your engine.
When modifying engines and pushing them beyond their designed capabilities, harmonic vibrations are your worst enemy. Long strokes, balance shaft removal, increased RPM, single mass flywheels, turbocharged applications, and even higher compression all are capable of contributing to increased harmonics. These micro-vibrations often times cause surface welding (also known as “fretting”) on the crankshaft, flywheel and other expensive components.
The V1R Diamond Lock® helps to prevent flywheel bolts from backing out with increased RPM and power output. In the event that the flywheel does become loose and begin to vibrate against the crank, the Diamond Claw® can help protect the crankshaft and prevent further damage.
We’ve seen firsthand the detrimental effects that fretting can pose – sometimes even destroying a crankshaft beyond use. While mitigation techniques have been around for ages, nothing has proven to fully prevent this anomaly… UNTIL NOW!
Before I start… I understand that this procedure is not a tough one and is pretty straightforward to most. But for others like me who have never even thought about changing out a radiator, this may come in handy. Plus… pics are always a good thing. Also, I am no mech guru of any sort so all comments and tips that may help this thread are very welcome.
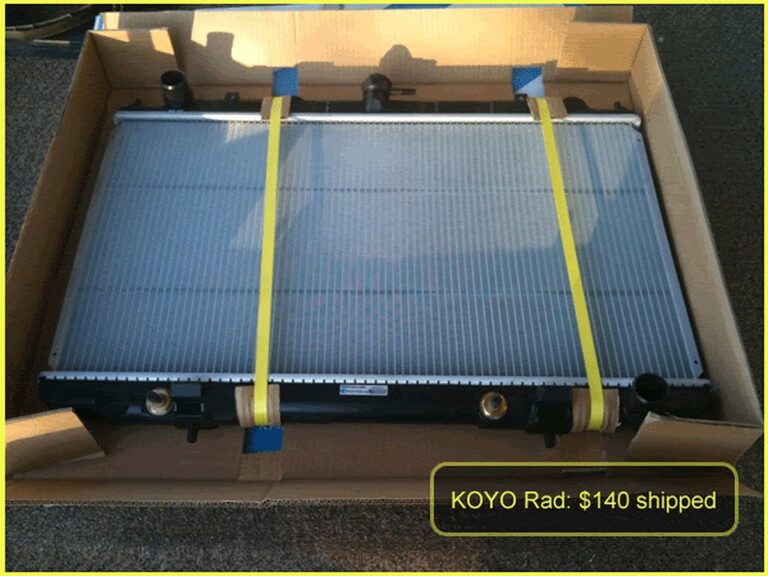
I was quoted by Nissan $792 for radiator replacement. Trust me… spend $140 on the radiator and install it yourself!!!
The Leak:
Items Needed:
Drip pan
Pliers (or whatever you’d like to grab those hose clamps)
Socket Wrench
10mm Socket
Flat Head Screwdriver
Floor Jack (not necessary but makes it much easier)
Radiator Hoses (good to change out after 50-60k)
Radiator Hose Clips (the kind that screw tight, not clamps)
Funnel
Directions:
1. Remove splash shields (right and left) from underneath the front of the car.
(four 10mm bolts each)
2. With the splash shields removed the lower radiator will be visible.
3. With your drip pan below the radiator, unscrew the drain found here using a flat head screwdriver:
It may take a while for the radiator to completely drain. In fact, mine never stopped dripping completely.
4. After the radiator is drained you can begin to undo hoses. Top:
Bottom:
AT Lines: (2 if you drive an AT)
Also, don’t forget to undo the line from the Reservoir Tank.
I used a pair of rubber bands to keep the AT lines folded closed. Otherwise, you’ll lose AT fluid.
5. Also at this time, unplug the radiator fans from their power source:
6. Unbolt the two radiator holding brackets:
7. With everything unhooked, etc. you can now slide the entire radiator assembly (fan shroud included) up and out of the engine compartment.
8. Unbolt the fan shroud from the old radiator here:
9. Remove fan shroud and place it on your new radiator:
10. Bolt on fan shroud to your new radiator:
11. With the new radiator assembly complete, you can now slide it into its slot in the engine compartment. There are 2 brackets that the bottom of the radiator will fit into. There will be some wiggle.
12. Connect all of your hoses back to the radiator.
13. Connect your fan power lines to their connectors.
14. Bolt your radiator brackets back on so that the radiator prongs go through the bracket holes.
15. Using a funnel and coolant of your choice (I used Prestone 50/50) and begin filling your radiator.
16. Fill until you see the fluid come up to the top.
17. With the radiator cap off, start your car and leave it running for 10-15 minutes all the while checking the fluid level, your temp gauge, and leaks.
18. Let your fans come on to make sure they are working properly.
19. Also check your top radiator hose to make sure it is very warm to the touch so you know your thermostat is not stuck.
20. Once you are satisfied that everything is in order, turn your car off and let it cool down.
21. Pour more coolant in as needed. The level should drop a decent ways after cooling off.
22. Drive your car around and make sure your temp gauge is reading right below half.
23. Also check under your car for any resemblance of leaks.
That’s it! You should be good to go now. Overall it’s a breeze. Just be ready for some mess and trouble getting those damn plastic clips on and off your splash shields.
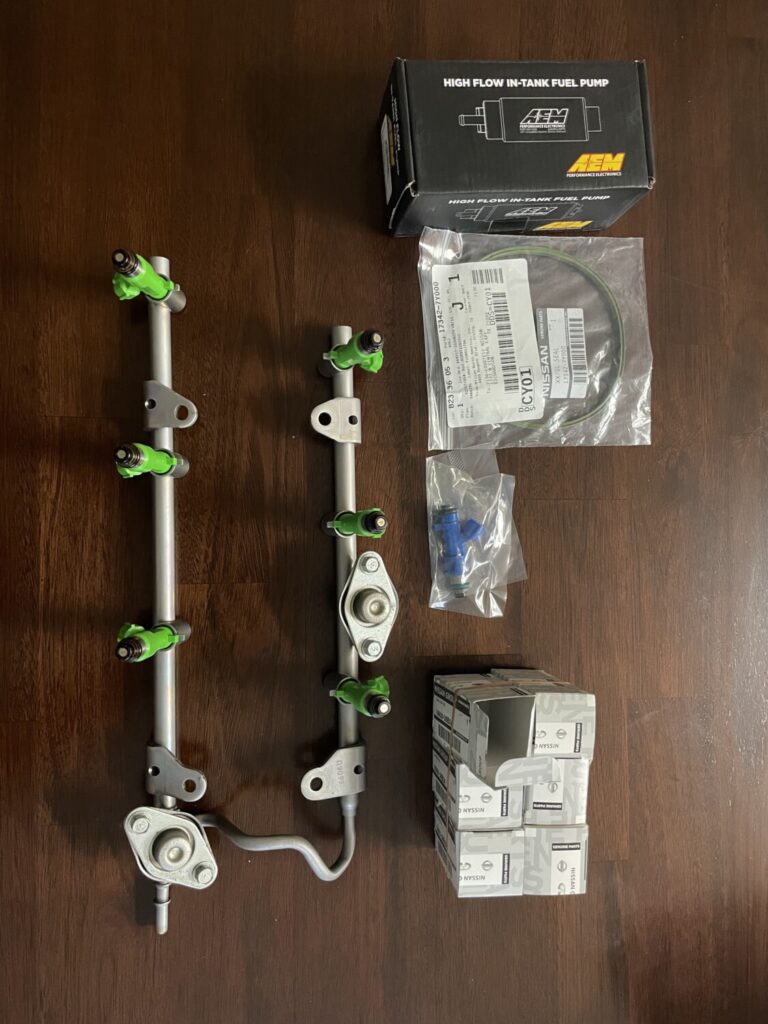
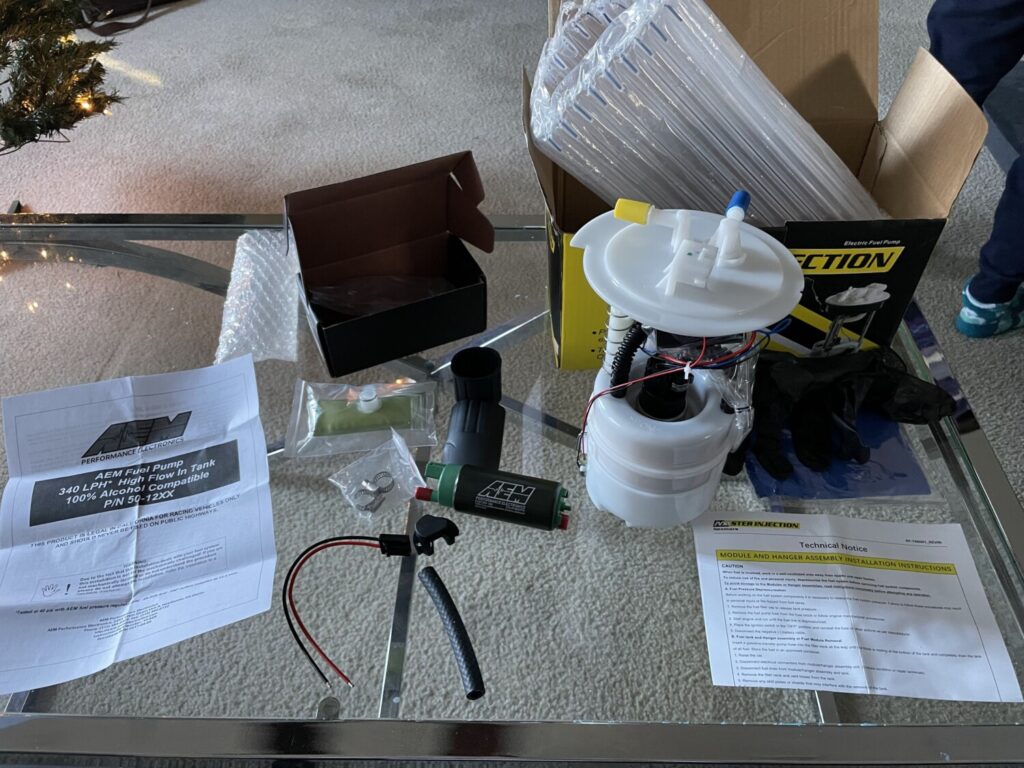
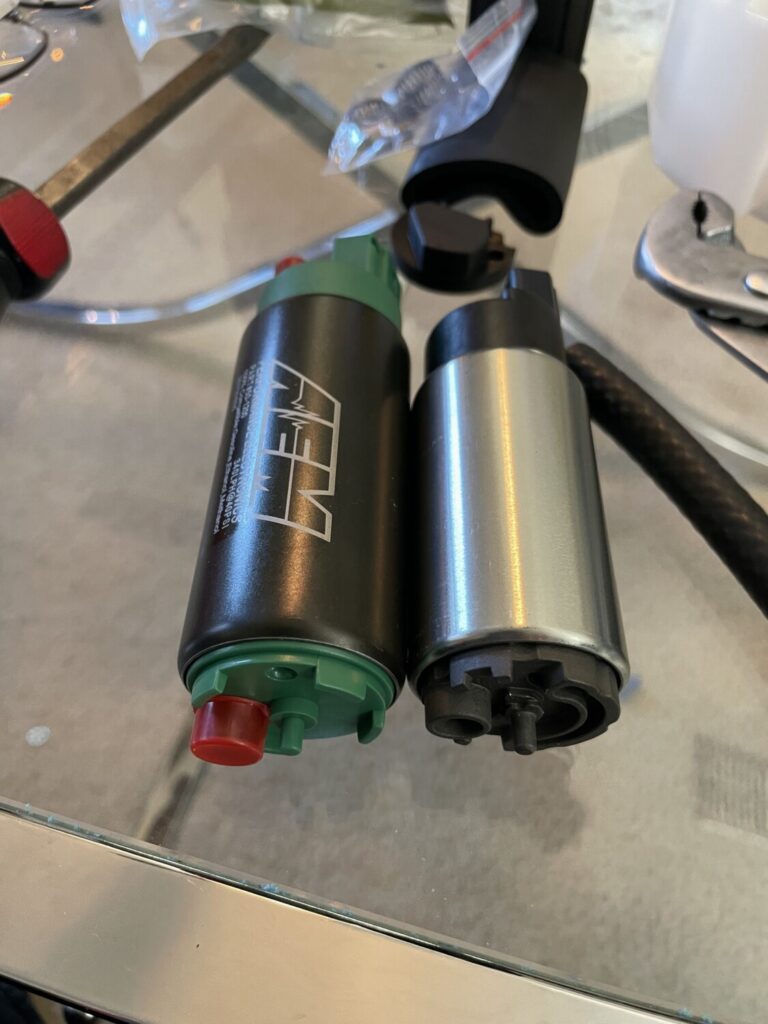
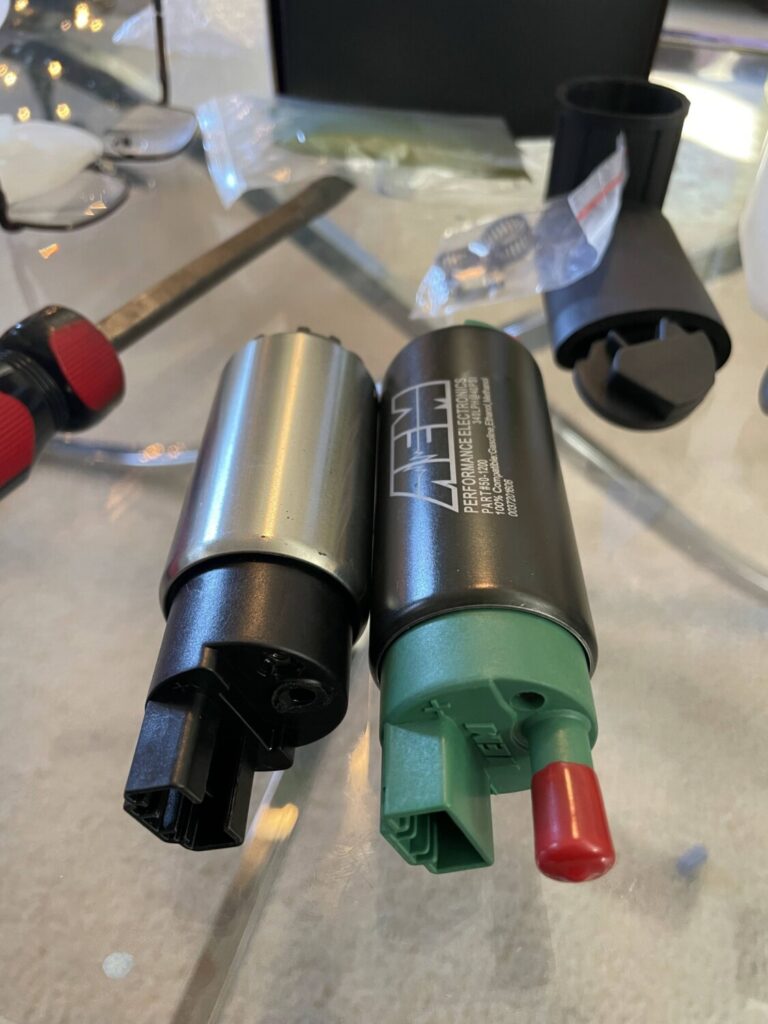
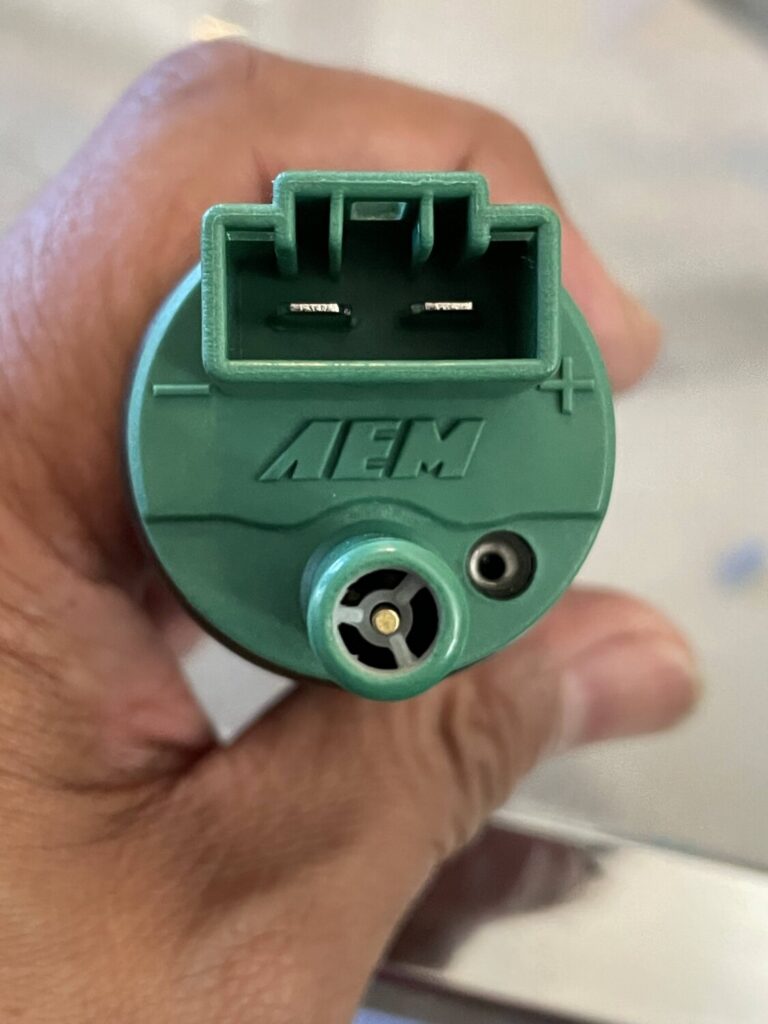
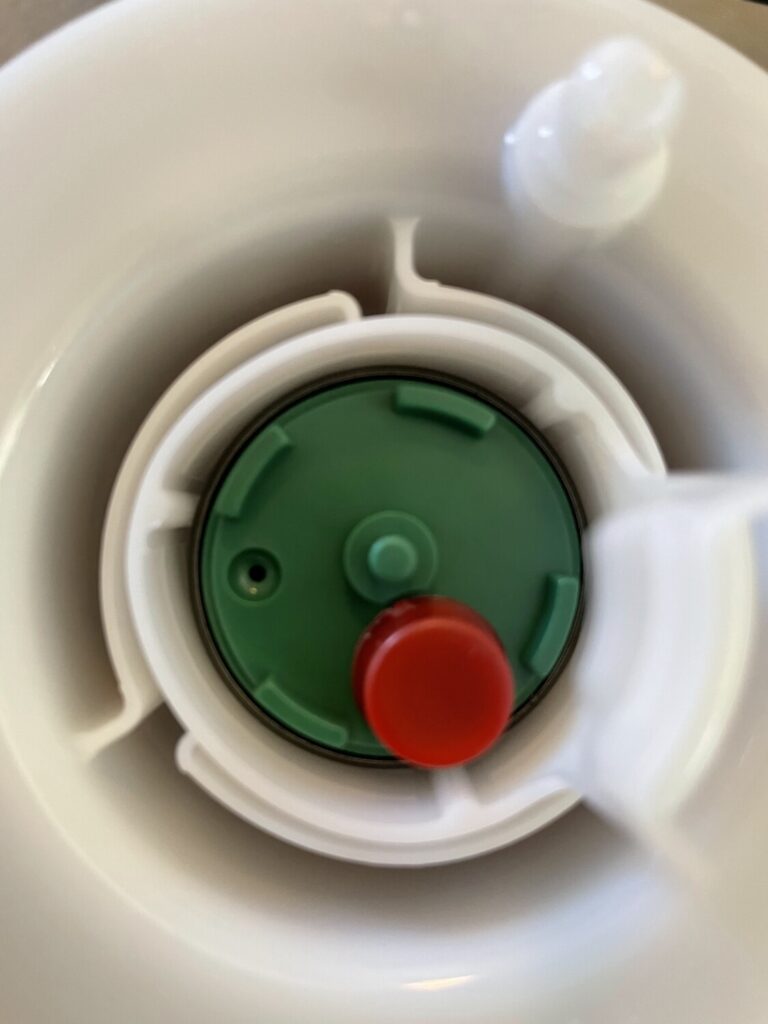
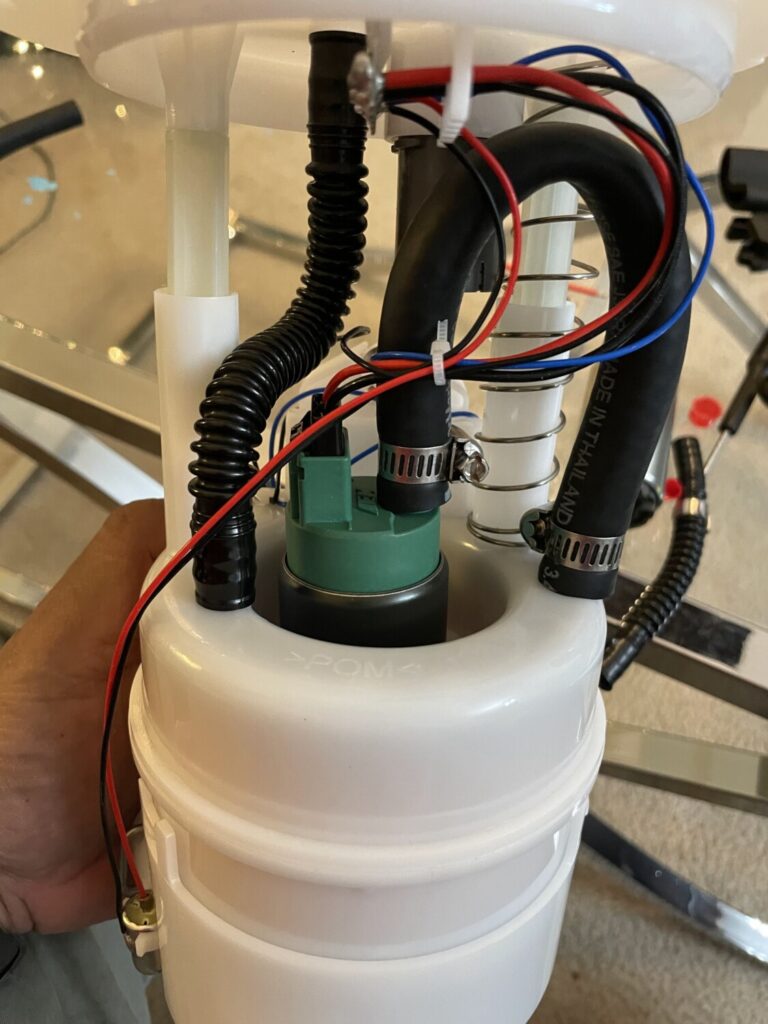
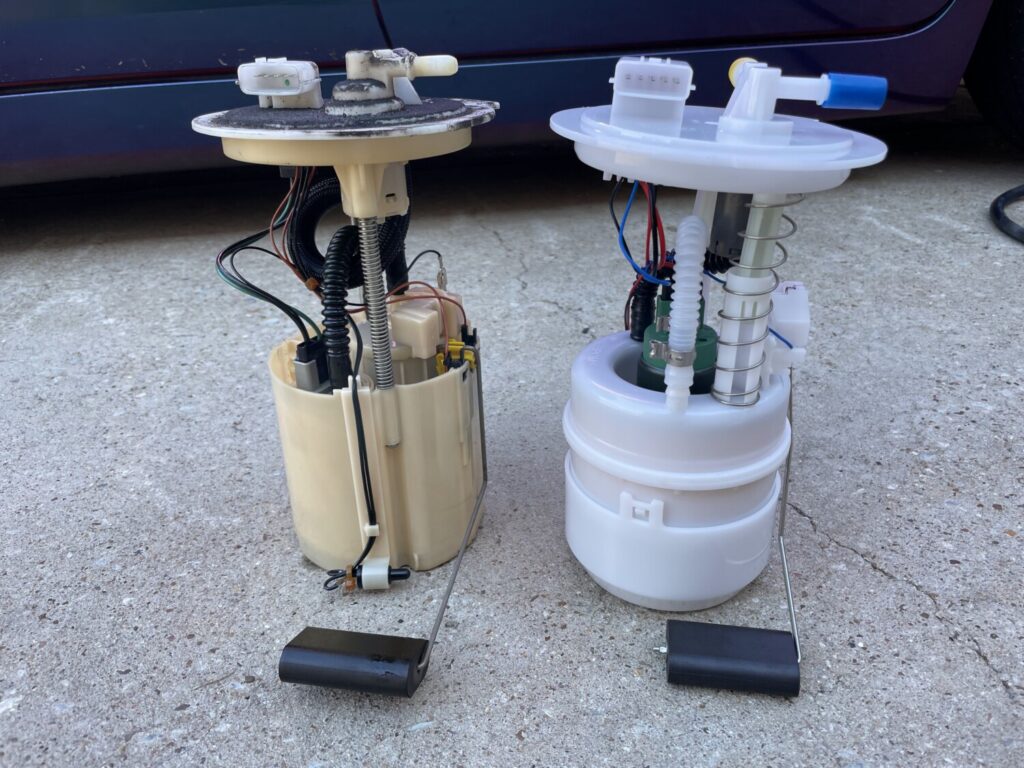
NOTE: We had the AEM fuel pump driving down to Houston, but… it failed shortly after we got there (thank God we made it down, though). So we had to put a stock one on just so that we could drive it. We’ll get it replaced under warranty and then complete the tune for E85.
10 mm Socket, 12 mm Socket, 14mm Socket, 15/16, Swivel extension
Clutch Master Cylinder
Pliers
PB/slick 50 etc…
10mm Wrench for Hydraulic Line Screw
Instructions
1. Disconnect clutch fill cup two 10mm screws (no need take of bracket just cup).
2. Locate clutch master cylinder on the inside of the brake master cylinder.
DONT PANIC when you see how far it is in there.
3. Look under your dash and locate the clutch pedal and follow it all the way to the top until you see a small goldish retaining clip and gold pin holding the clutch master cylinder shaft to the pedal. REMOVE THE CLIP AND PIN
4. Follow the master cyl shaft to the firewall you will see 2 – 12 mm screws. Using your wrench/extension/12mm/swivel socket remove both screws.
5. Get a 14mm socket and remove the windshield wipers.
6. Just under your windshield wipers is a black plastic cowl pull it up in the center and all the plastic fasteners will pop up.
7. Remove the windshield wiper motor and assembly 3 – 10mm screws disconnect pigtail.
8. Just under that is a fake me out strut tower brace just under your windshield wiper cowl. locate the 6-7 10mm screws and remove them. FakeSTB!
9. You should now clearly see the clutch master cylinder using a 10mm wrench remove the hydraulic line connected to the top of it.
10. Remove the master cylinder and clutch fill together makes it easier to remove the clip holding the fill cup hose to the master cylinder. should look like this removed
11. Install the new one connecting the retaining clip and pin the the clutch pedal first then tighten up the screws
You are basically done now. I suggest bleeding the clutch before you put everything back just to make sure the master cylinder works correctly.
Clutch Bleeding 101
1. Fill the clutch cup to the top. (you do not need to put the top back on the pressure that the dealer claims need to be there is BS! The way it works is once you depress the clutch the valve closes so no air will ever get in it. I posted this 2 years ago because I listened to the STEALERSHIP and I was totally wrong also so I apologize for the misinformation back them.
2. Get a 15/16 socket (tiny) go to your clutch slave cylinder and unscrew the bleeder valve.
3. Go back to the inside of the car and pump the clutch with your hand 3 times. pour brake fluid in the clutch cup then go back and pump it another 3 times. I suggest doing it a total of three times just to make sure all air is out of the line.
4. On the last or third try when you push the clutch to the floor LEAVE IT TO THE FLOOR and go and close the bleeder valve. go back and pump the clutch after 3 pumps it should be extremely tight. That’s it your done.
Now just put everything back together.
HELPFUL HINT: If ever you come into a situation when your master cylinder fails while driving or at an intersection or tractor trailer coming at you and it won’t let you shift. Turn the car off and you can put the car into first without the clutch turn it back on and take the hell off 🙂