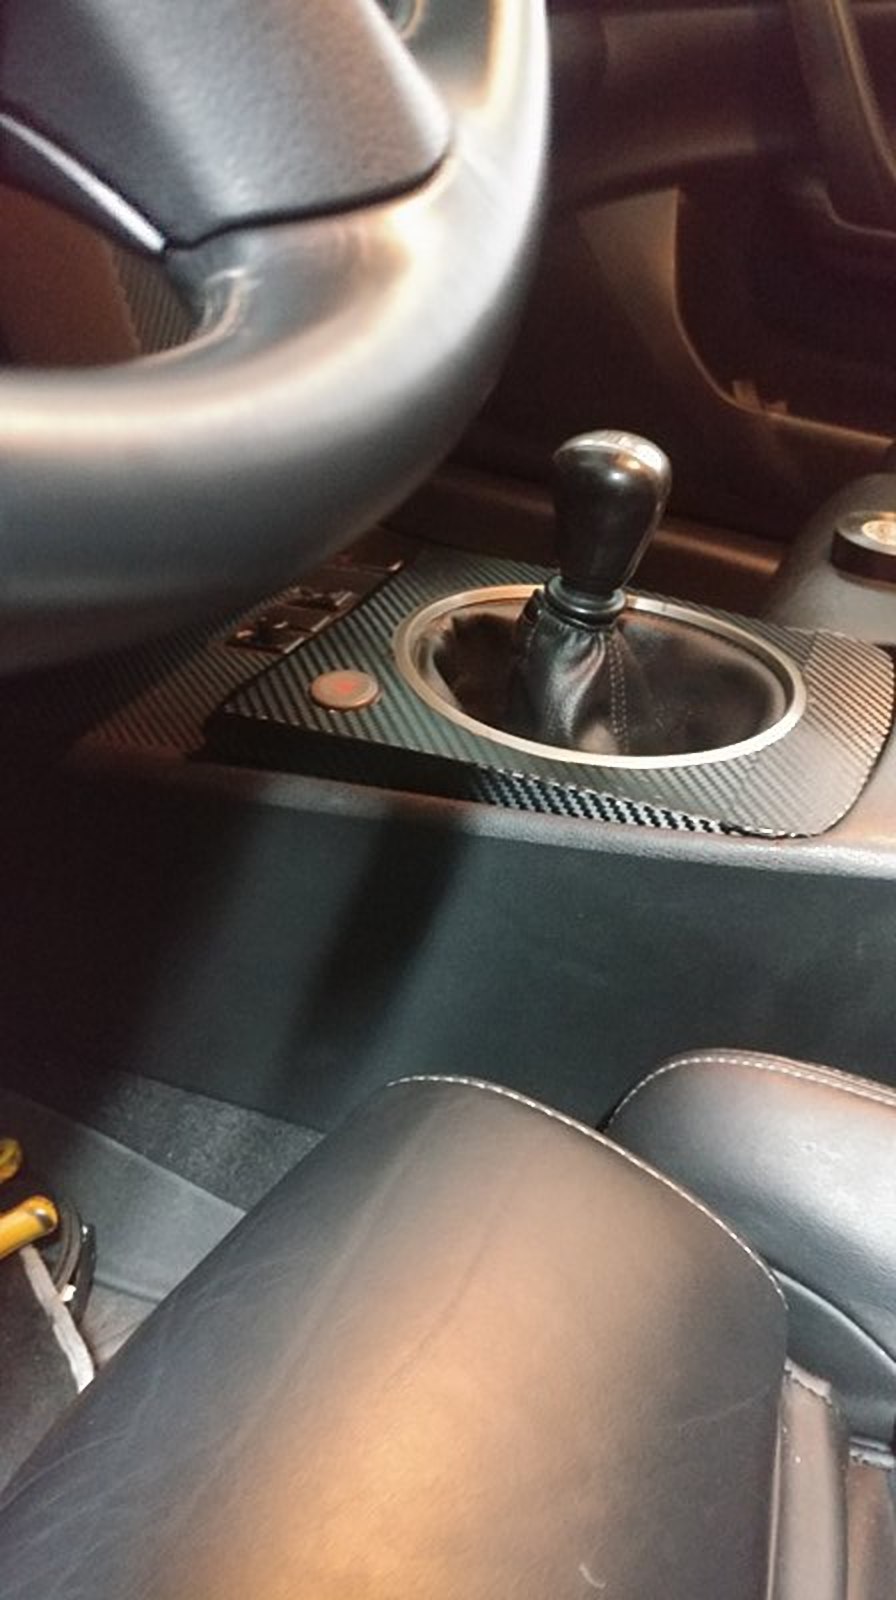
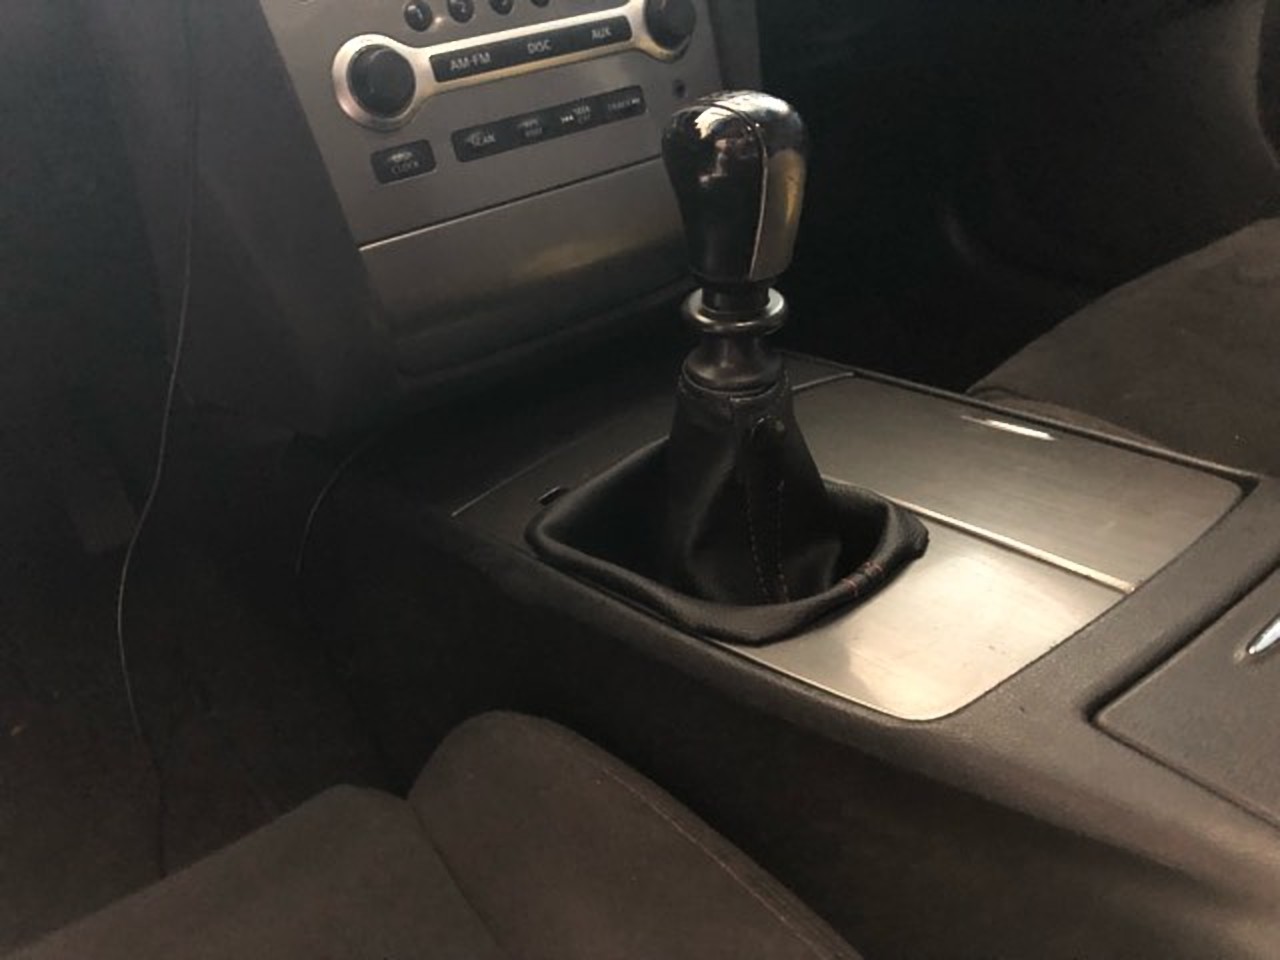
Community Member Credit: Voltaire Duran Cacal
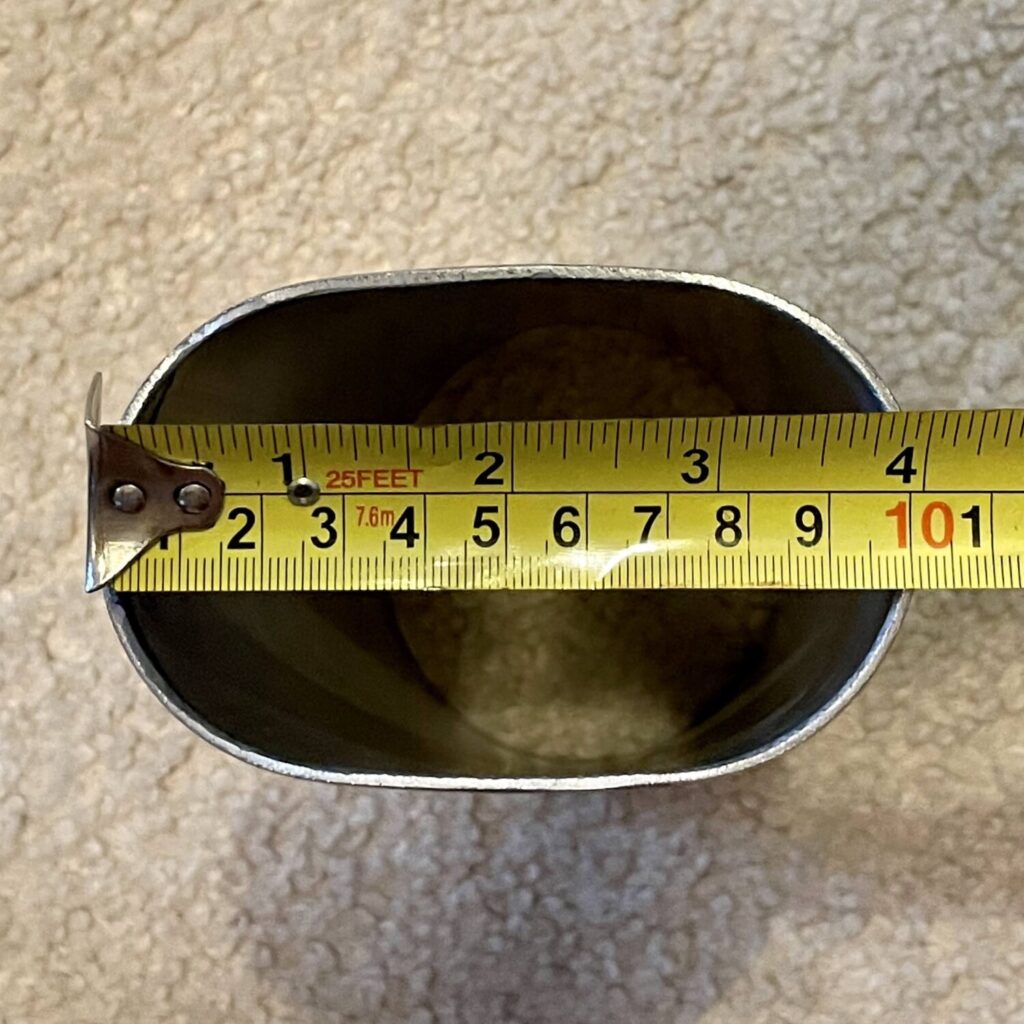
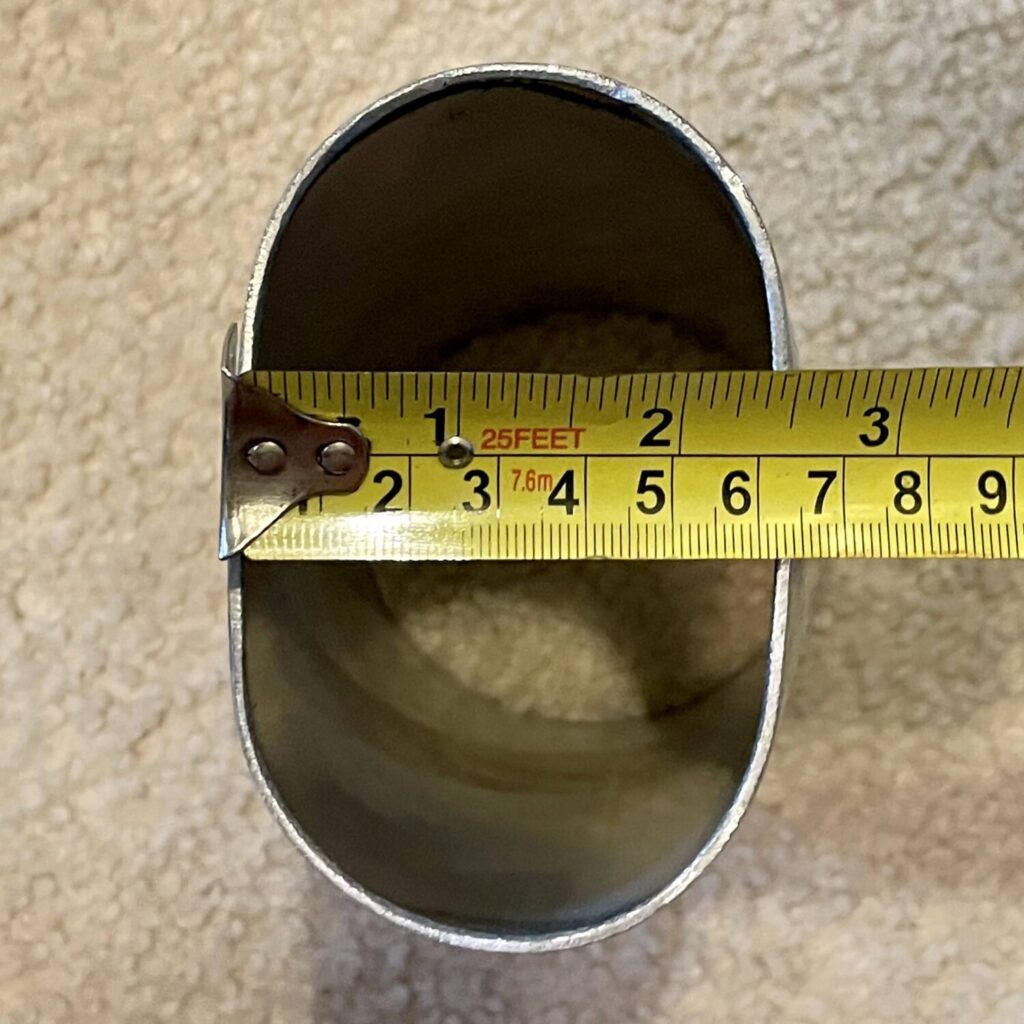
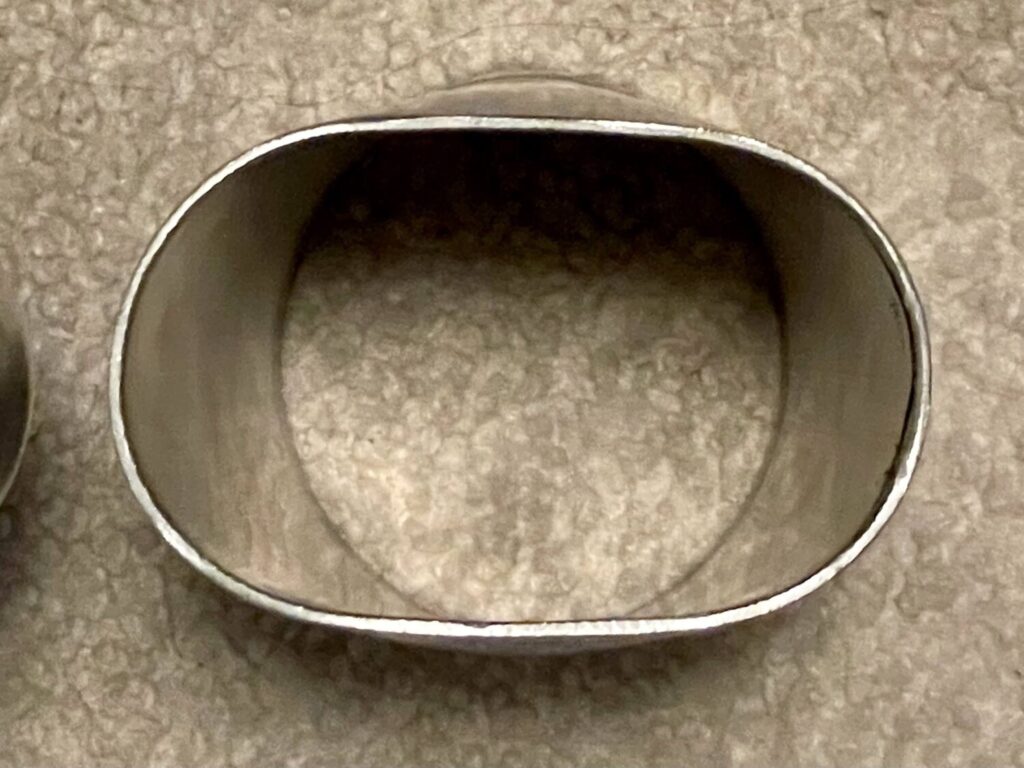
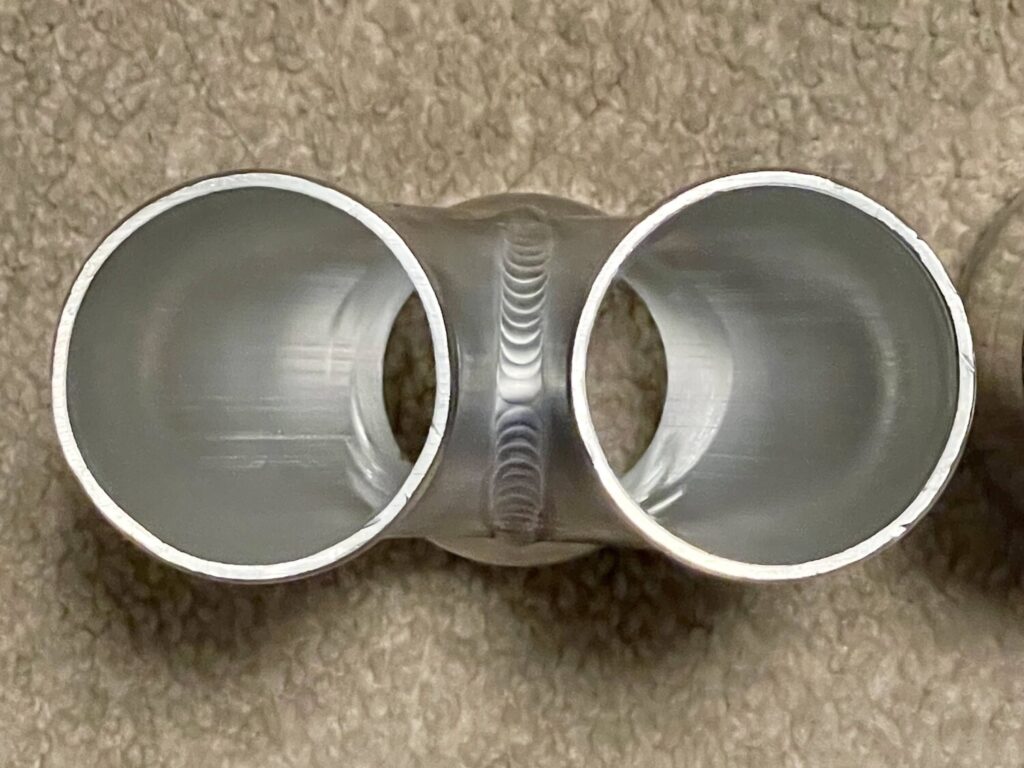
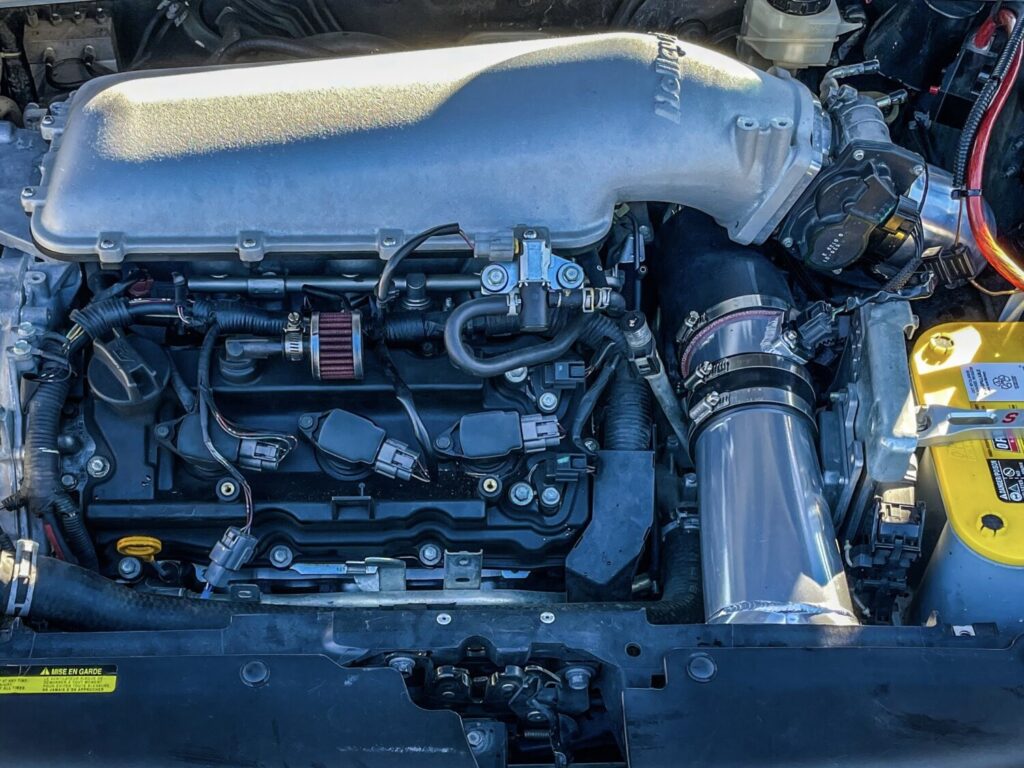
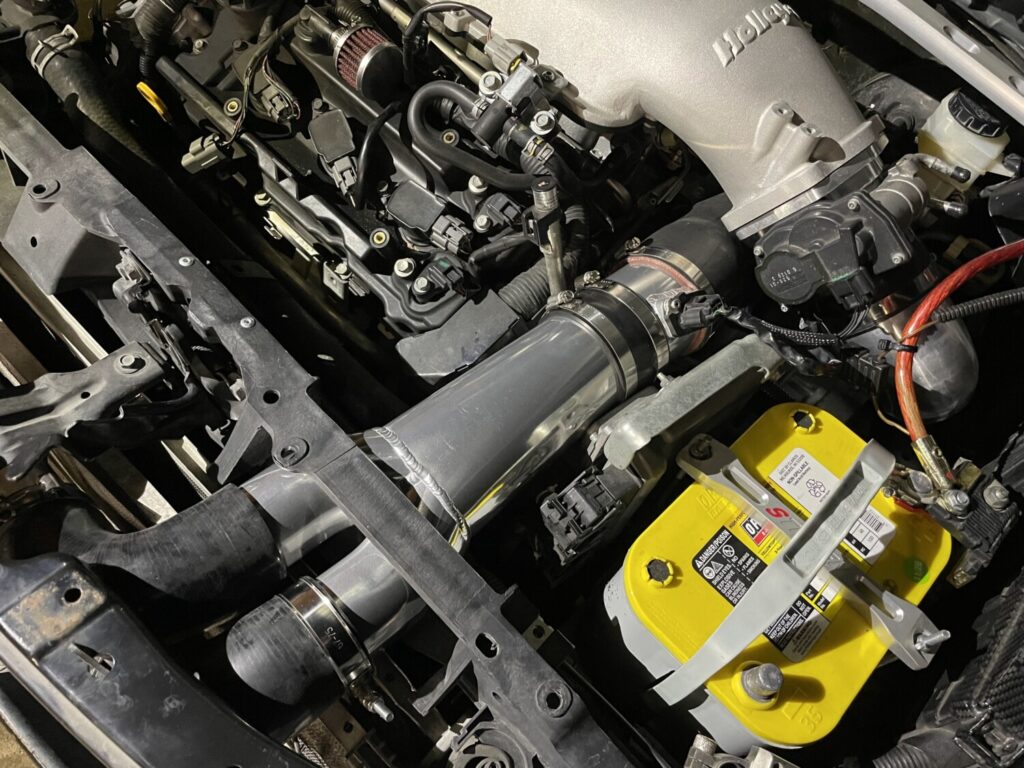
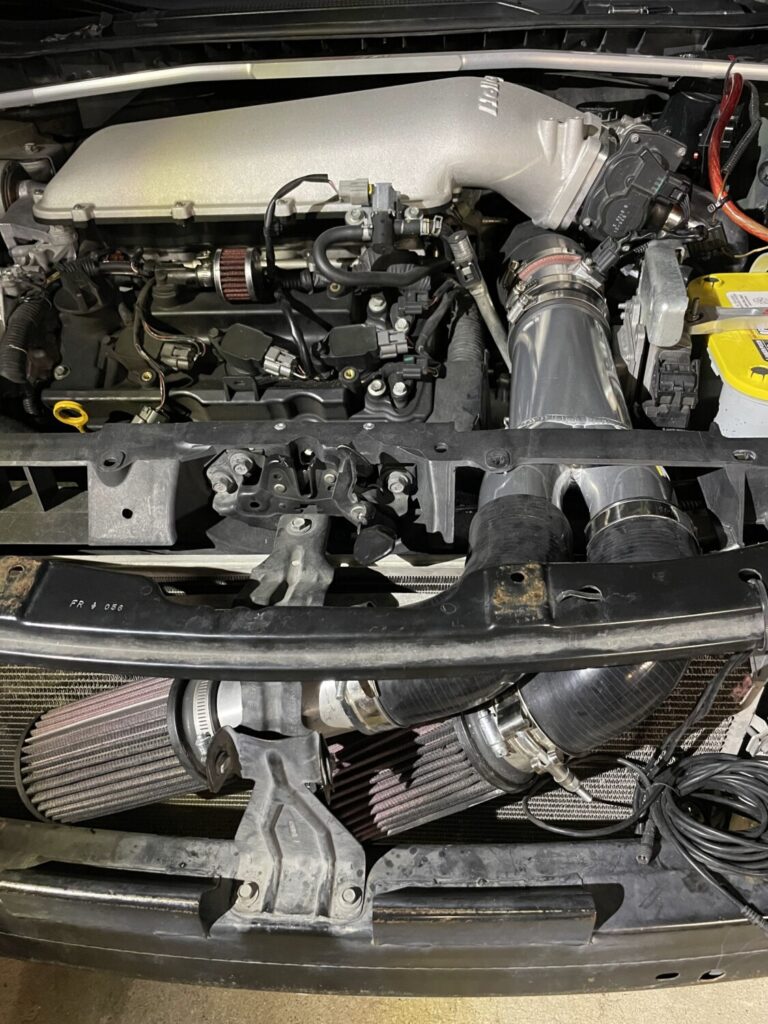



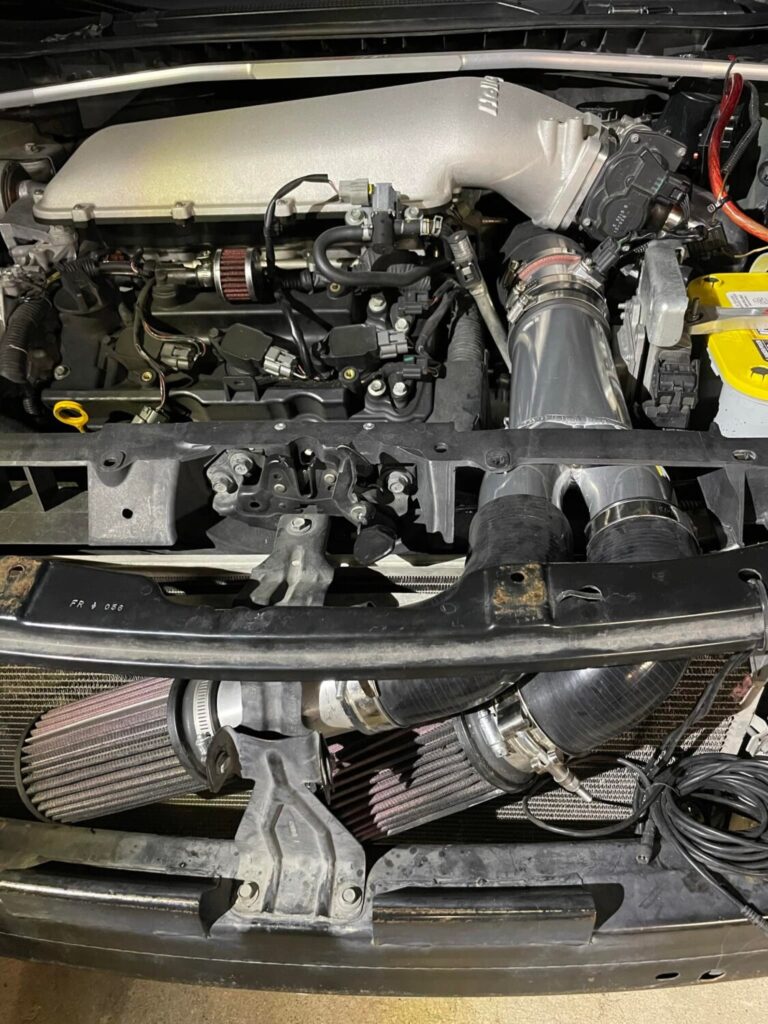
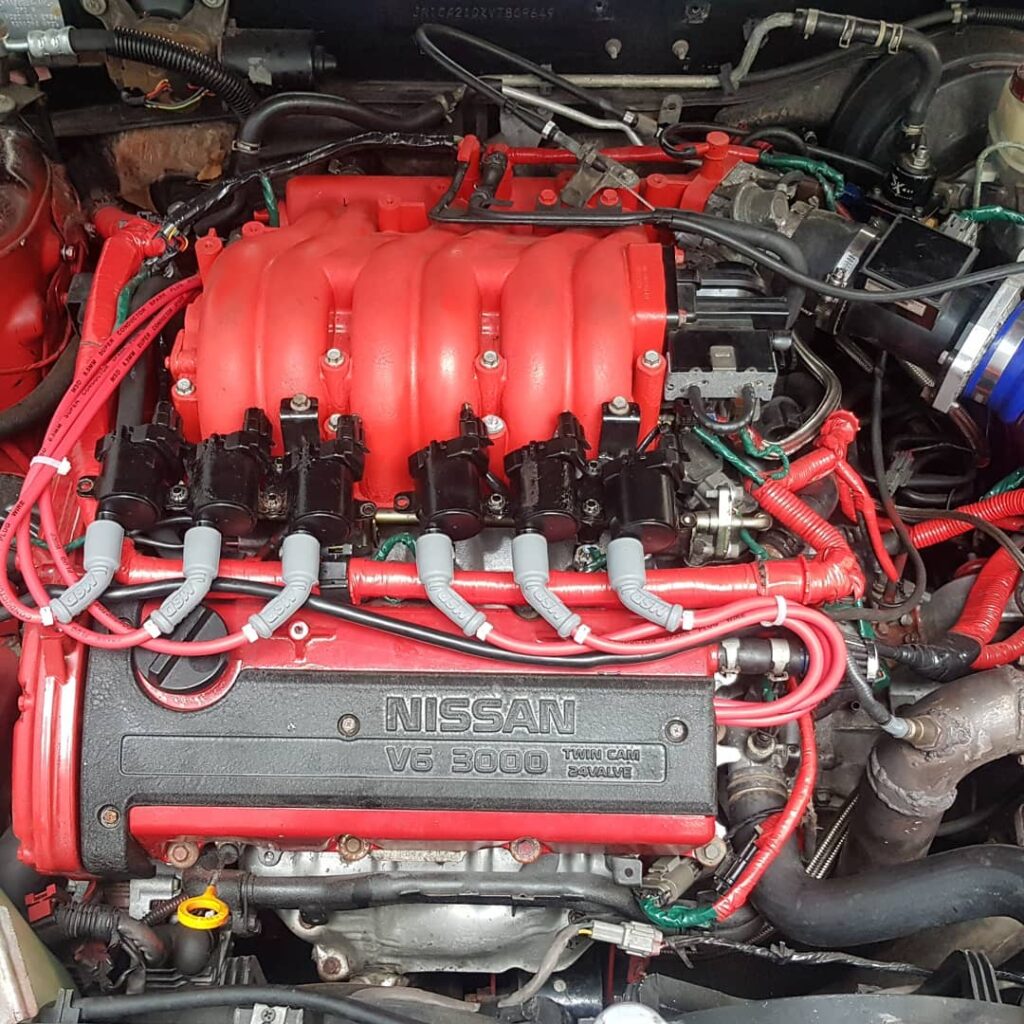
Member Credit: Fuzzyknub / EddyMaxx
If you eliminate your EGR valve, you’ll likely get a P0400 Exhaust Gas Recirculation Flow Malfunction trouble code. But no worries, here’s what you need to do to get rid of the code.
EGR stands for Exhaust Gas Re-circulation. It takes the exhaust and recirculates it back into the engine so it will burn any unburnt fuel left to create a better emission. It only does a small portion, not all of it the cats take care of most of it. The EGR is a federally mandated system designed to control tailpipe exhaust emissions.
The EGR system reduces emissions by returning small amounts of metered exhaust gases back to the engine intake. The theory is that by using exhaust gas as part of the intake air/fuel mixture, there is less oxygen to burn, which lowers the temperature of combustion. Cooler cylinder head temps lead to less formation of pollutants, specifically nitrogen oxide (NOx) compounds.
The reason most people delete the system is it really doesn’t work after 20+ years of built up gunk and crap in the system. If you take yours off, I will bet you have carbon build up in the tubes and nothing i getting through that. All its doing now is directing all of it into the exhaust system. Another reason is it ends up being a major source to a vacuum leak. All the EGR valve is, is a rubber diaphragm. They usually fail after 10-15 yrs or after 100k miles. They don’t make parts for it anymore or if they do it is insanely expensive.

 1. EGR Block-off Plate
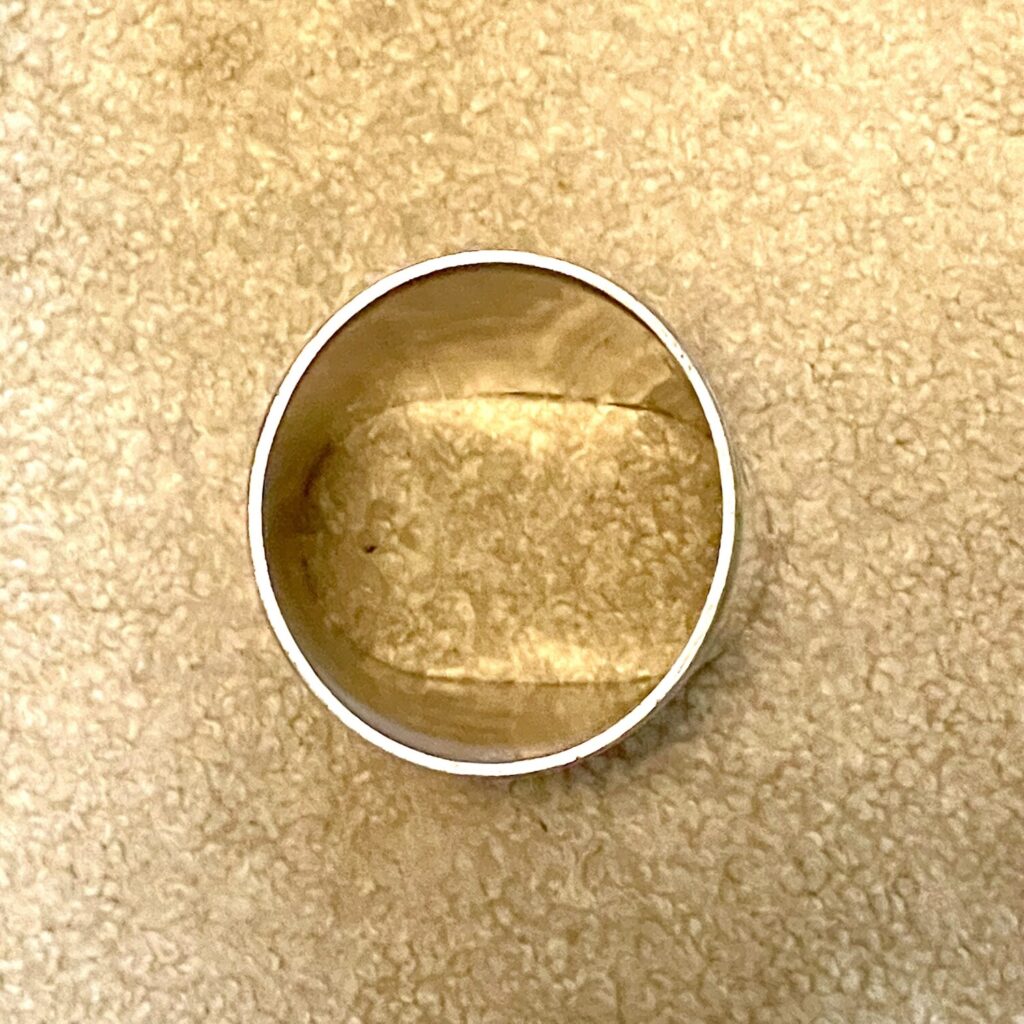
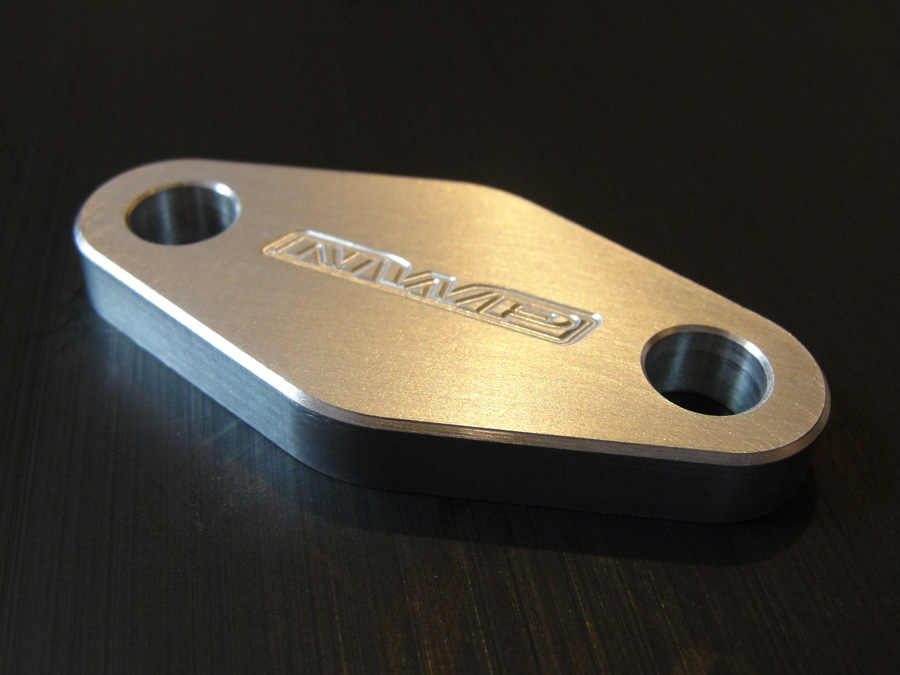
Buy the EGR blockoff plate from NWP (you can also make your own). This will go on the intake manifold when you disconnect the piping from the EGR system. If you are doing an HR swap or have a 07-08 Maxima, then you don’t need to do this. They cost $35 bucks from NWP.


For the exhaust side plumbing you’ll either need a plug for the exhaust bung or have headers that don’t have an EGR bung. The EGR exhaust bung plug is a M24 plug. You can actually buy it directly from Nissan using this: Plug Taper – Nissan (14052-21R00)

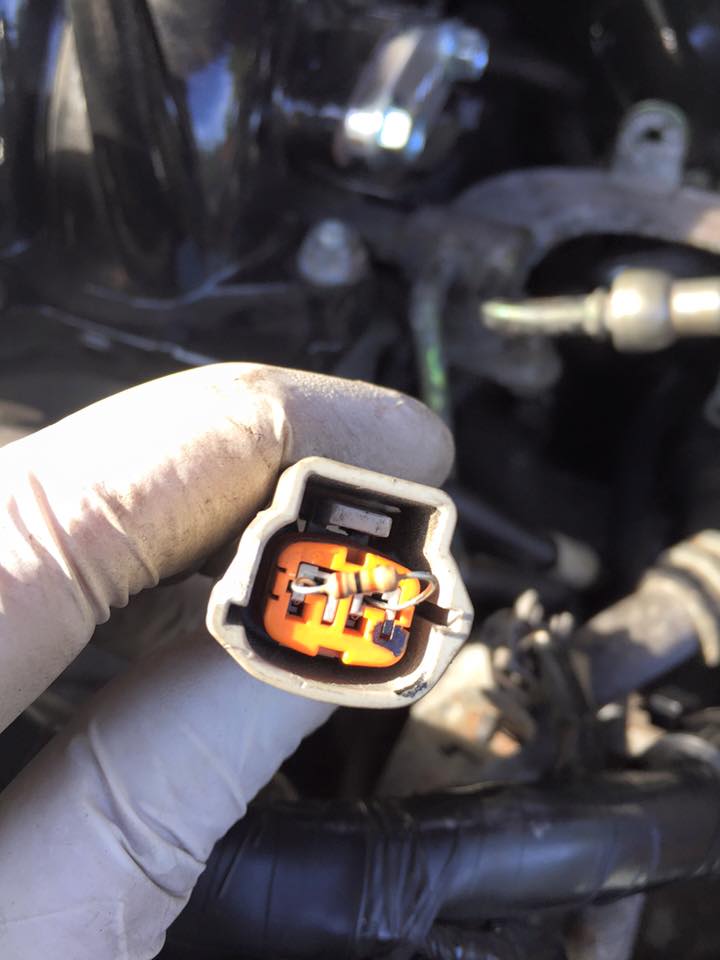
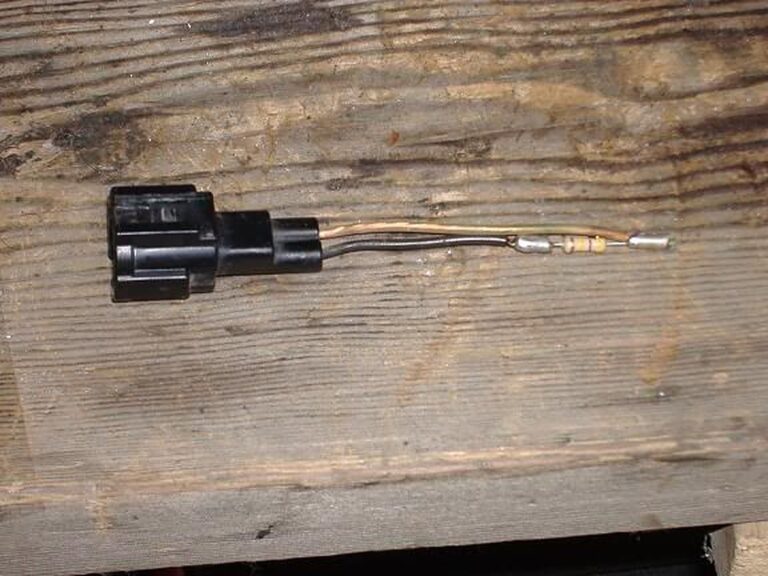
This is the smallest of the 2 sensors on the EGR piping under the hood. You can either leave it in the engine bay reading ambient air temp or you can trick the ECM by sticking a 10k ohm resistor in the female connector (as my picture illustrates above). I don’t believe you will go into limp mode if you totally remove this sensor and don’t do the resistor trick but you will throw a P0406 (EGR flow sensor A circuit high input) code.
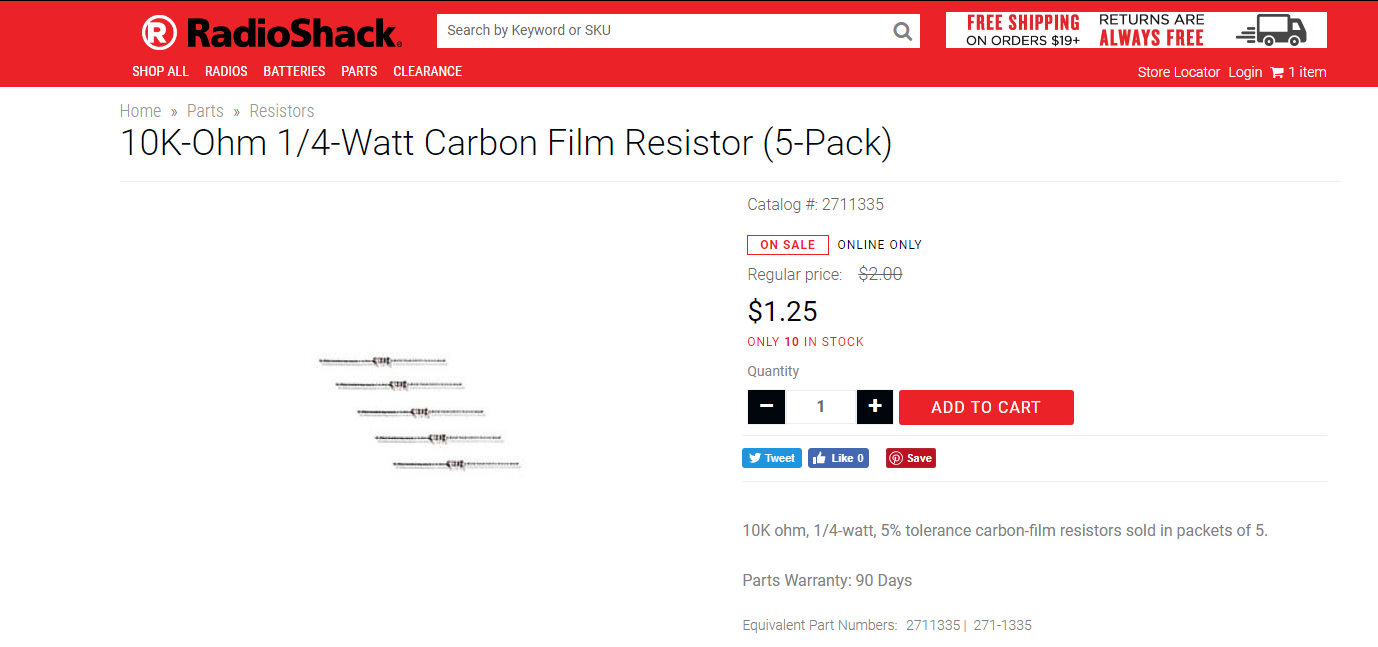
RadioShack Part #: 2711335 10K-Ohm 1/4-Watt Carbon Film Resistor (5-Pack)

 4. EGR Valve Sensor
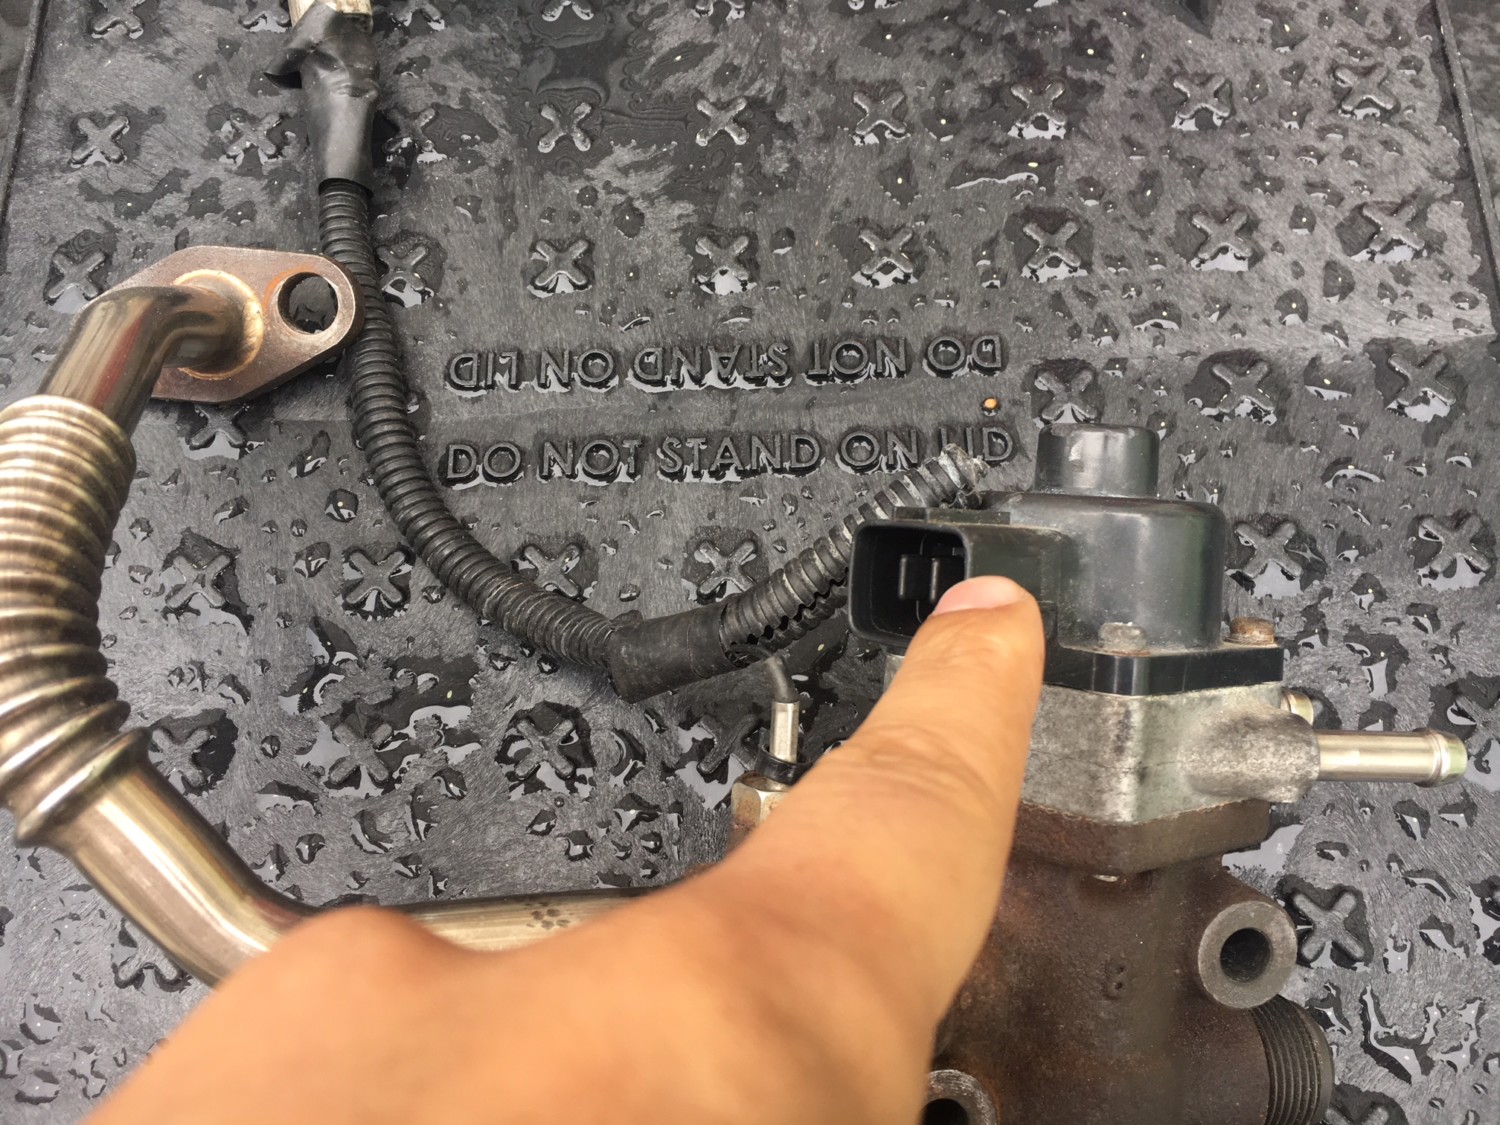
I removed this sensor (4 screws secure it to the piping) from the piping, left it plugged in to the factory harness and zip tied it to some other wiring under the hood. This one is a big deal as you WILL go into limp mode and can’t rev over approx 3k rpms if you take this sensor out from under the hood! Ask me how I know

If I remember correctly my coolant lines went to the EGR valve, out to the throttle body and back out to the return plumbing. I basically just took the EGR out of the lineup. So the coolant line runs straight to the Throttle body and back out to the return plumbing. I’ll delete the coolant lines to the throttle body at a later date and time as I was doing a LOT of mods at once and didn’t feel like fooling with it at that time & point.
That should do it!
I performed this on my 2004 Nissan Maxima and drove 3K+ miles. No issues or CEL from the EGR delete. The emissions readiness monitors also pick up EGR as PASS!

Photo of my car (Taken Sept 2nd, 2018):

Community Member Credit: asand1 / maxima_se007
Important Note: This should really be used as a temporary solution. The proper fix is to replace either the knock sensor itself or the harness which is known to go bad. Most people do both at the same time.
Resistor: 470K
Order Link: https://www.radioshack.com/products/radioshack-470k-ohm-1-2w-5-carbon-film-resistor-pk-5?variant=20332249541


Stock Sub-Harness

Notice the KS Sensor attached at the right. You will want to use the end at the left. Strip off the electrical tape and wire loom. Then strip the tape from all the connections. Clip the black wire where it is crimped to the shielding. Pull the shielding from the clear wire. Strip the black wire about 1/4″. I used a 16Ga butt connector cut in half, and solder to connect to the 470k resistor. Now clip the other end of the resistor and the clear wire even. Strip about 1/4″ from clear wire and solder using the other half of the 16Ga butt connector.
It should look like this now.
 Now use shrink tubing to protect. I folded the end over and added another short piece of tubing.
 Now put the sub-harness connector back on its bracket and plug the engine harness plug back in.
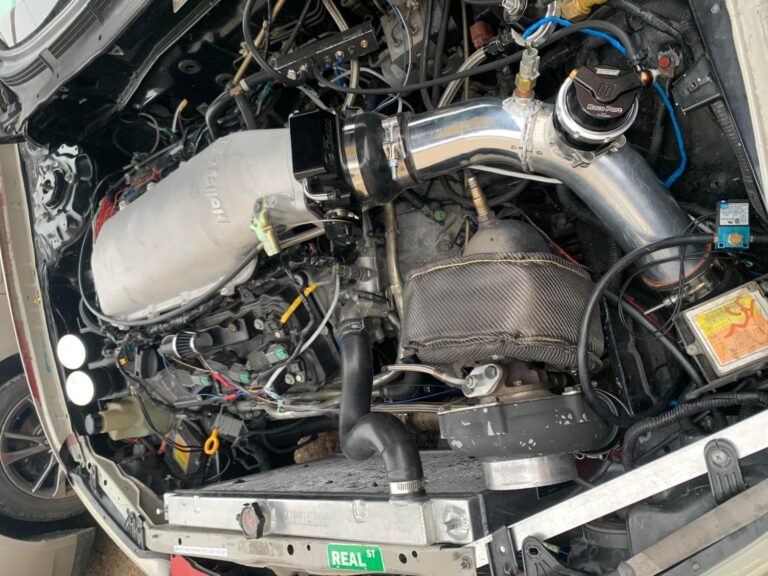
Owner: Jose Gutierrez
Year: 2000
Model: Maxima
Color: Red
Engine: Gen2 VQ35DE (Full Swap)
Transmission: 6-Speed Manual (Originally 5-Speed Manual)
Highlights:


Community Member Credit: CS_AR
I purchased NDSII with the VAG cable in hopes that it would work on the 99 model. The 99 model has unique connect string that I’ve not been able to make work with NDSII. However, I have been able to use NDSII on my neighbor’s 5th gen. It was a “by the book setup” on a 5th gen that worked without issue. NDSII does not show support for 4th gens that I’ve seen so there is nothing misleading as far as I’m concerned. Though I have a nice piece of diagnostic software for neighborhood use now.
I bought a Consult 3 clone from China (comes with software and PC interface cable). It did not work. Beware of ODBII tool selling web sites in China with the smiling call center girls. There is nobody there to help or answer your email when the product fails to work. Money down the drain.
I purchased an ELM327 wireless module to use with NDS for Android. ELM327 appears to work with a product named Torque Lite — but it was difficult to make a connection. It really has no diagnostics that I need. Money down the drain.
I bought software from the UK that was advertised to work and provide a NATS PIN code generator and older Consult 3 version. It was advertized to work with the cable that came with the Consult 3 package from China. Money down the drain.
NOTE: None of these products will reset NATS.
Products I own that WORK on a 4th gen:
1) ECUTalk with Cable. This product was developed to work with the ODB1 Consult port pin diagram in the picture below. I have tested the Cable and the free ECUTalk software on my 1991 ODB1 Nissan in addition to a 1995, 1997 and 1999 Maxima and I30. While 4th gens are ODBII cars, they the came equipped with a Consult OBD1 style port.
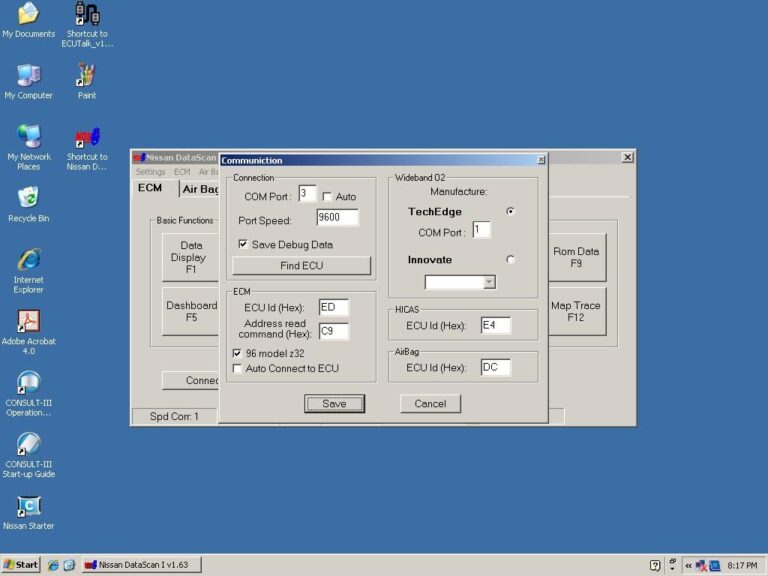
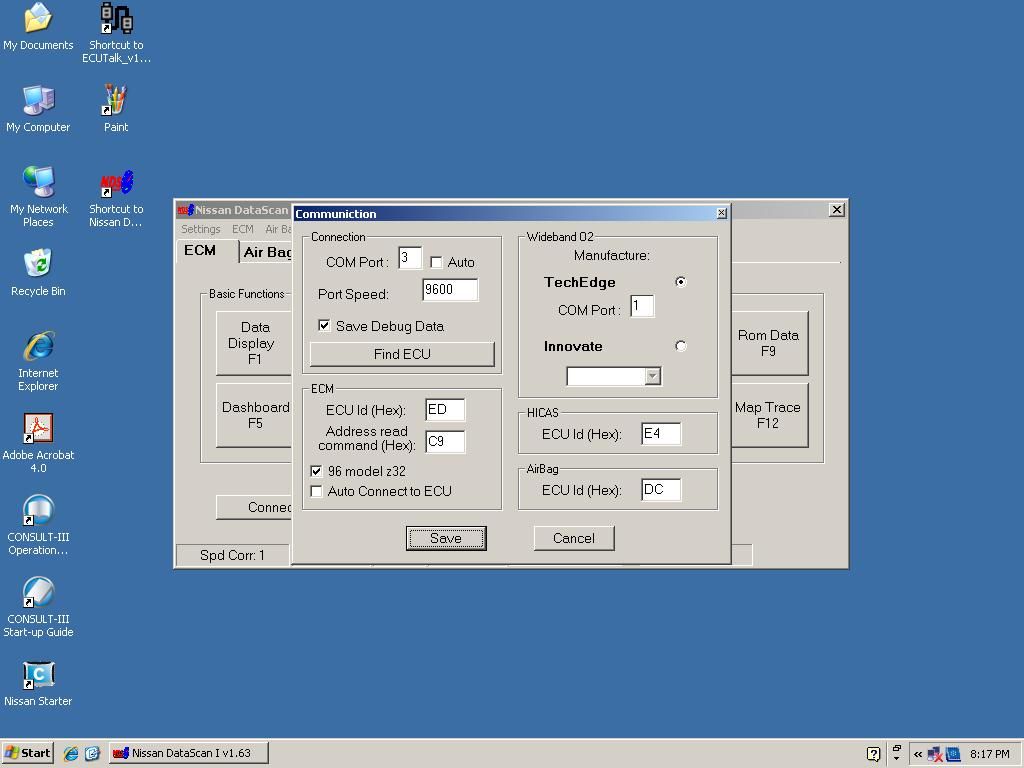
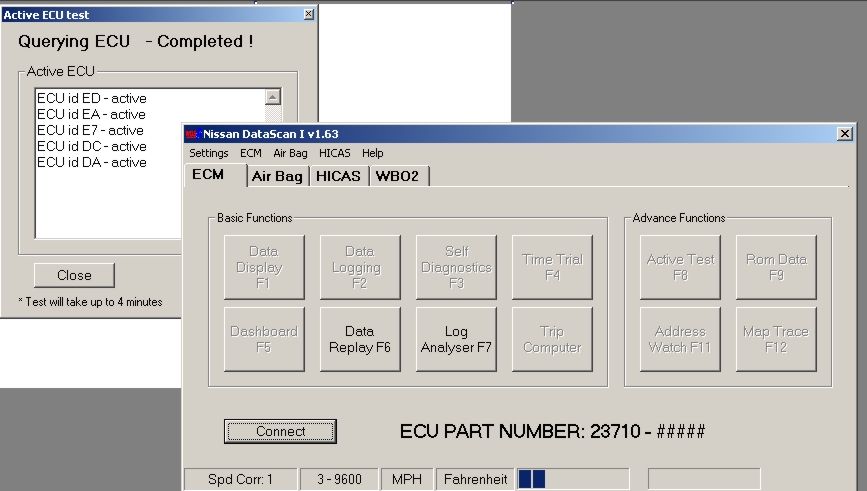
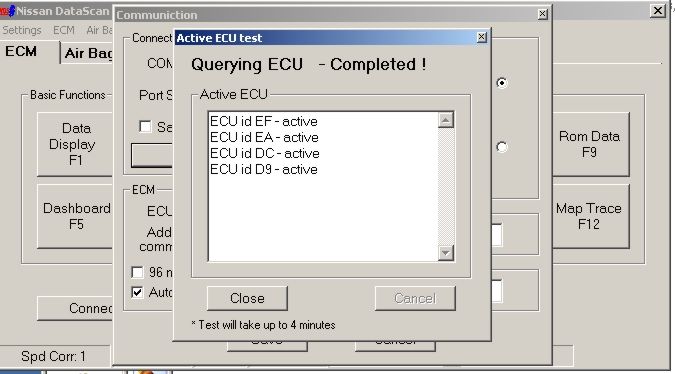
2) Nissan Data Scan I (The Original) with the ECUTalk Cable. After I learned how to use the ECUTalk product above, I wanted to conduct a power balance test. I purchased NDS1 realized it works with great with the ECUTalk cable. There is a help document to describe how to connect NDS1 for a 99 model and 4th gen. To use NDS1, you’ll need to find the Ecu ID (Find ECU button) to get the code to insert in the EcuID (Hex Code) data element. Also, I had to check the 96 z32 box and use the connection string for a 1996 300ZX. IIRC the 4th gen uses the same connect string as the 1996 300ZX.
3) El cheapo ($49) OBD2 code reader from Harbor Freight. I’ve reset more codes with that orange handheld unit than I can remember on cars from Chevy to Toyota. With a good working ODB2 code reset and reader device you can definitely win friends and influence people.
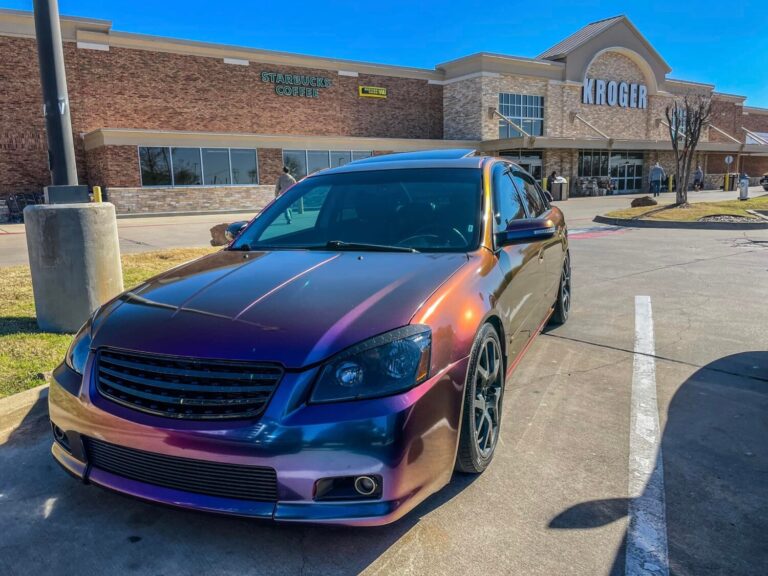
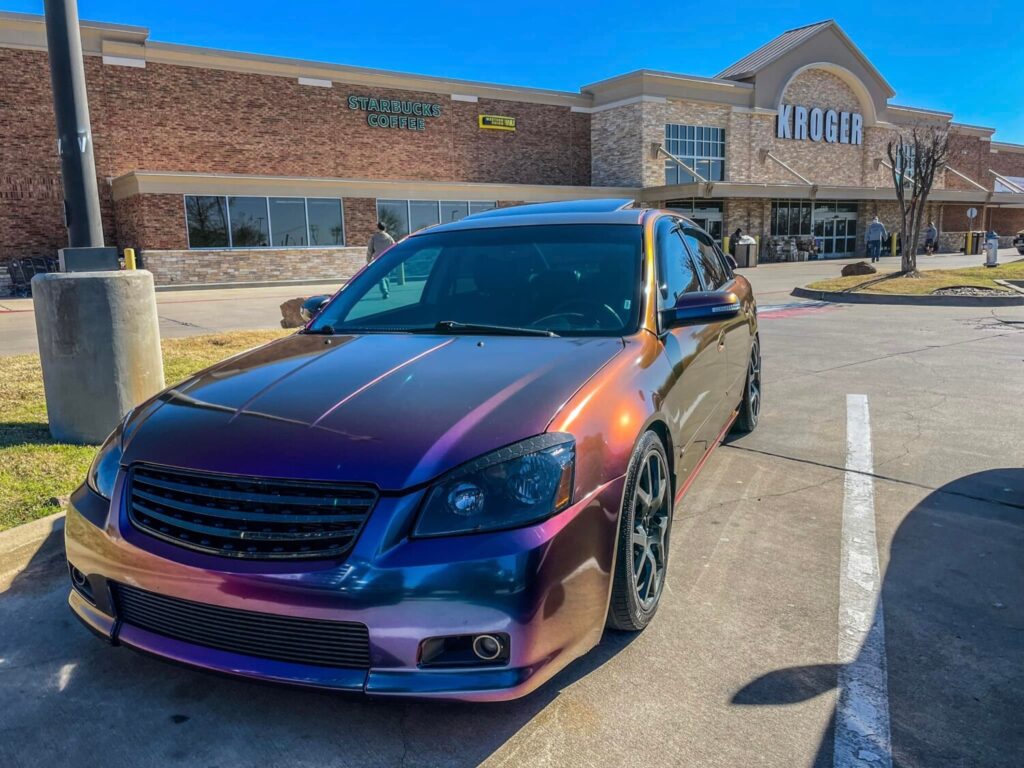
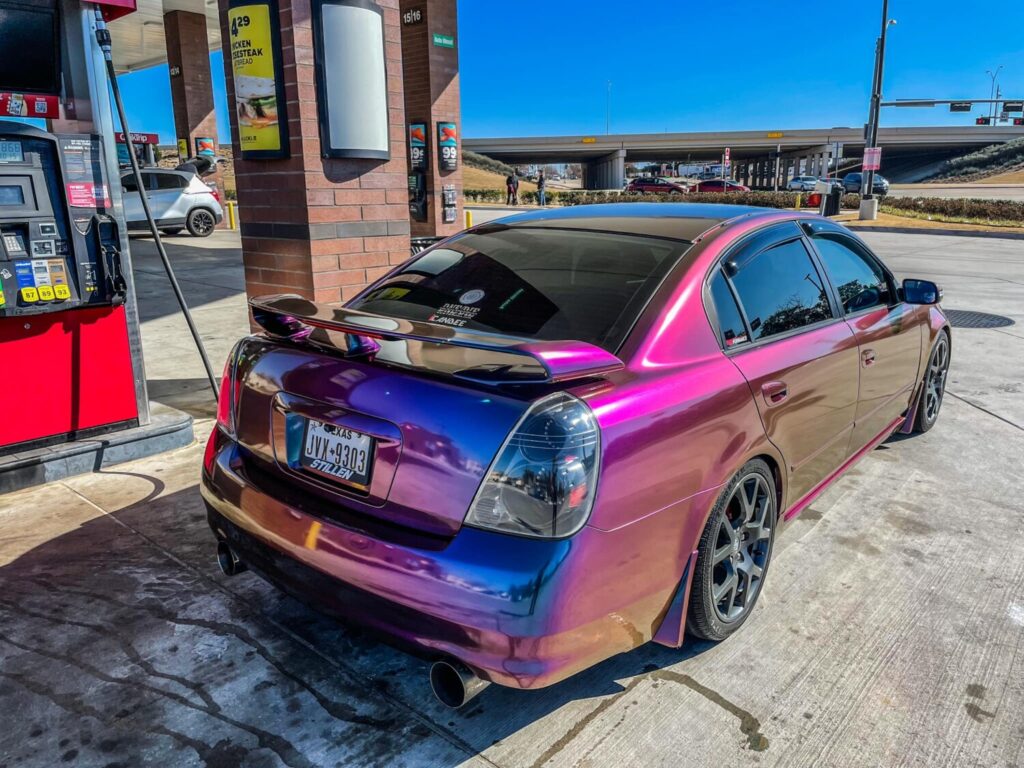
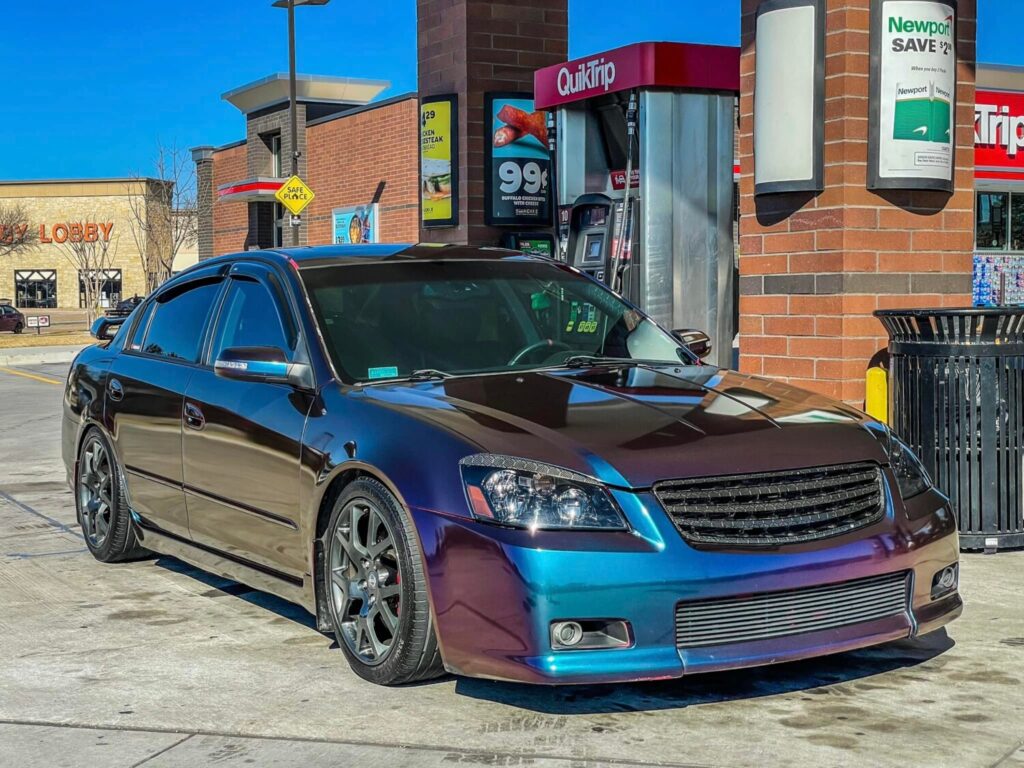
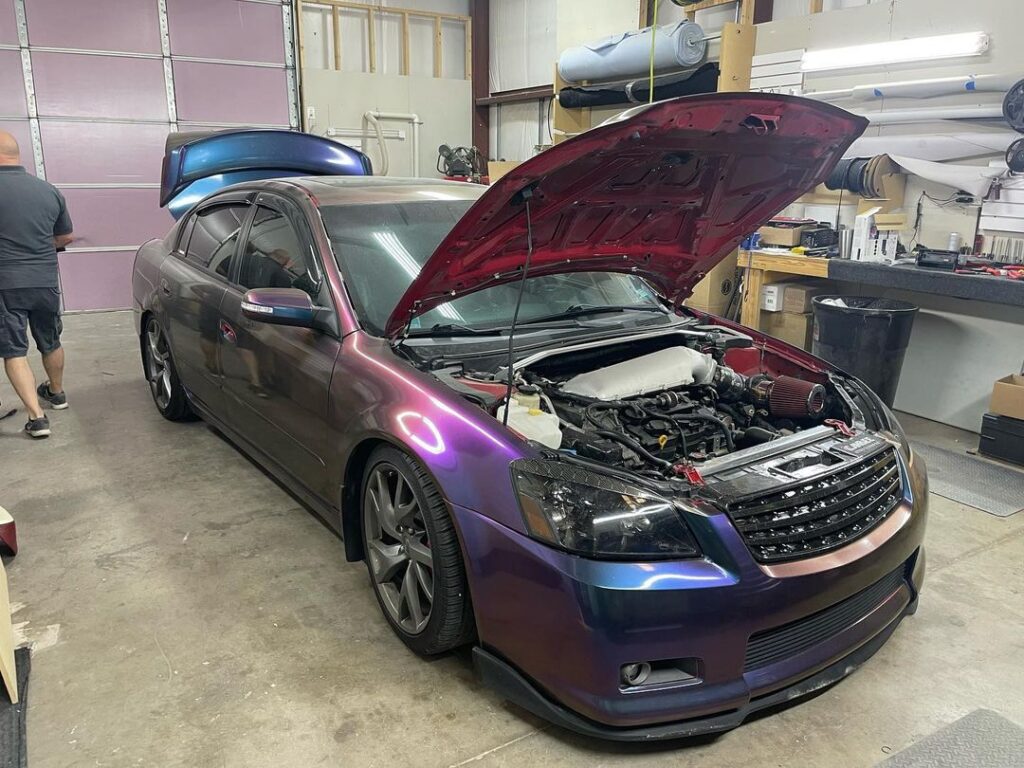
Owner: Charis Cacal
Year: 2005
Model: Altima
Color: Charcoal
Transmission: 6-Speed Manual
Trim: SE-R


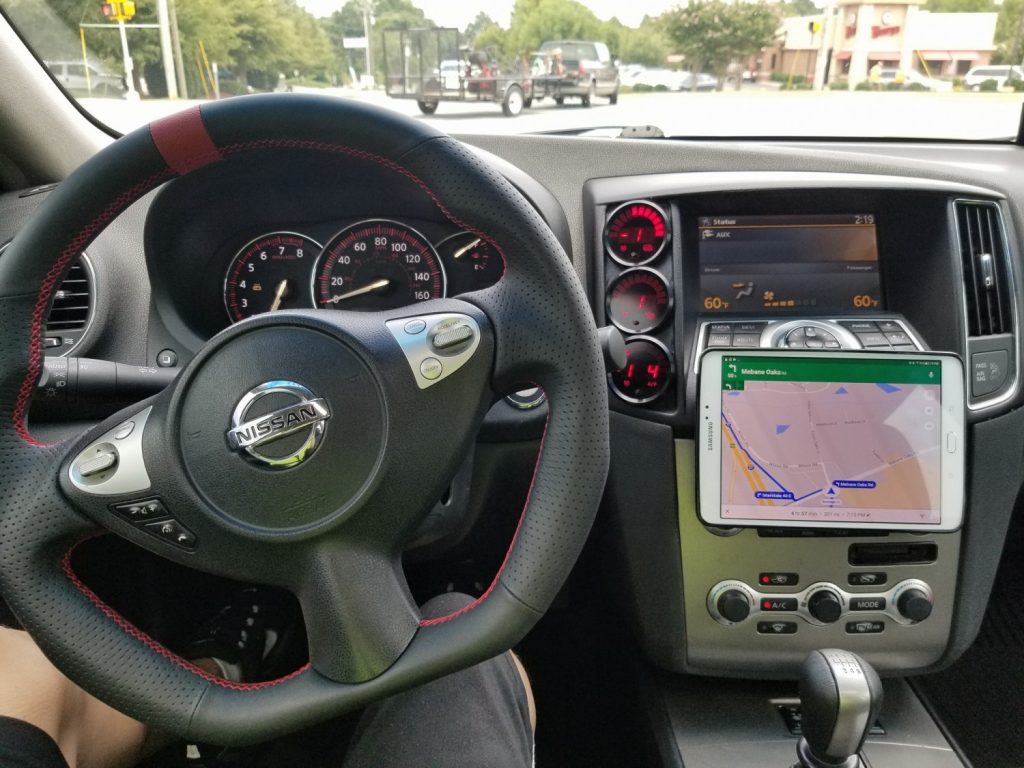
There was a time where 6-speed swaps for the Nissan Maxima were only available for 4thgens, 5thgens and 6thgens. After 2006, Nissan no longer offered manual transmission options. All-new Maxima’s now come with the CVT transmission. While the CVT provides a smoother ride and improved fuel economy, it definitely takes away from the 4DSC experience.
But don’t worry. Those times have certainly and FINALLY changed. The 6-speed swap is now officially available for the 7thgen Nissan Maxima (2009-2015). We consider the 7GM 6-speed the true meaning of a 4DSC. It has a balance of power, luxury and comfort.
These types of projects are the ones that fuel the community into modding their Nissan Maxima’s. The Maxima world was quiet for a few years and thanks to these guys and shops, the Maxima community is back and better than ever! So who will be the next swap? Be sure to keep us posted.
The full parts list for the swap can be found here: https://www.my4dsc.com/official-7thgen-nissan-maxima-6-speed-swap-parts-list-2009-2015/