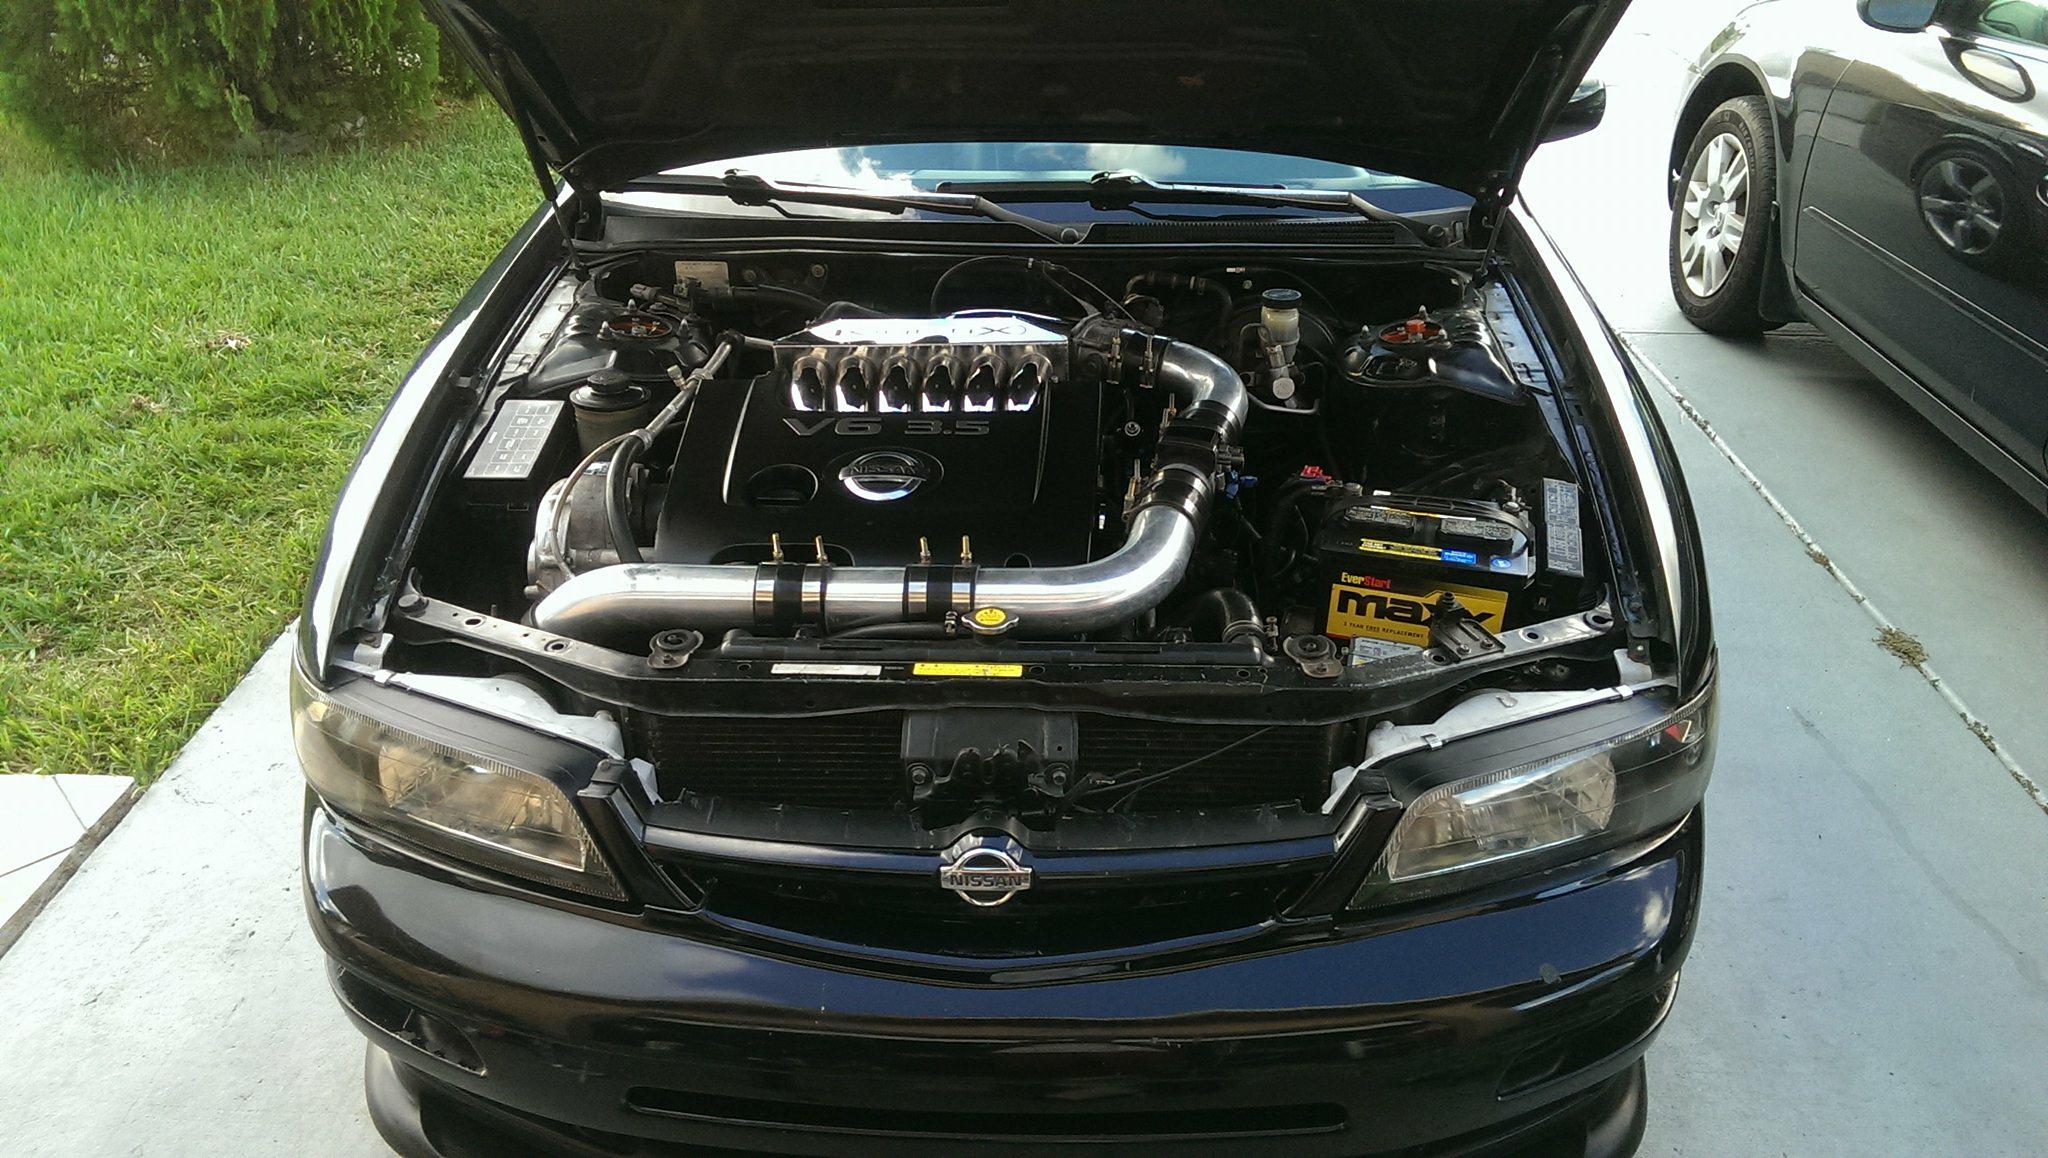
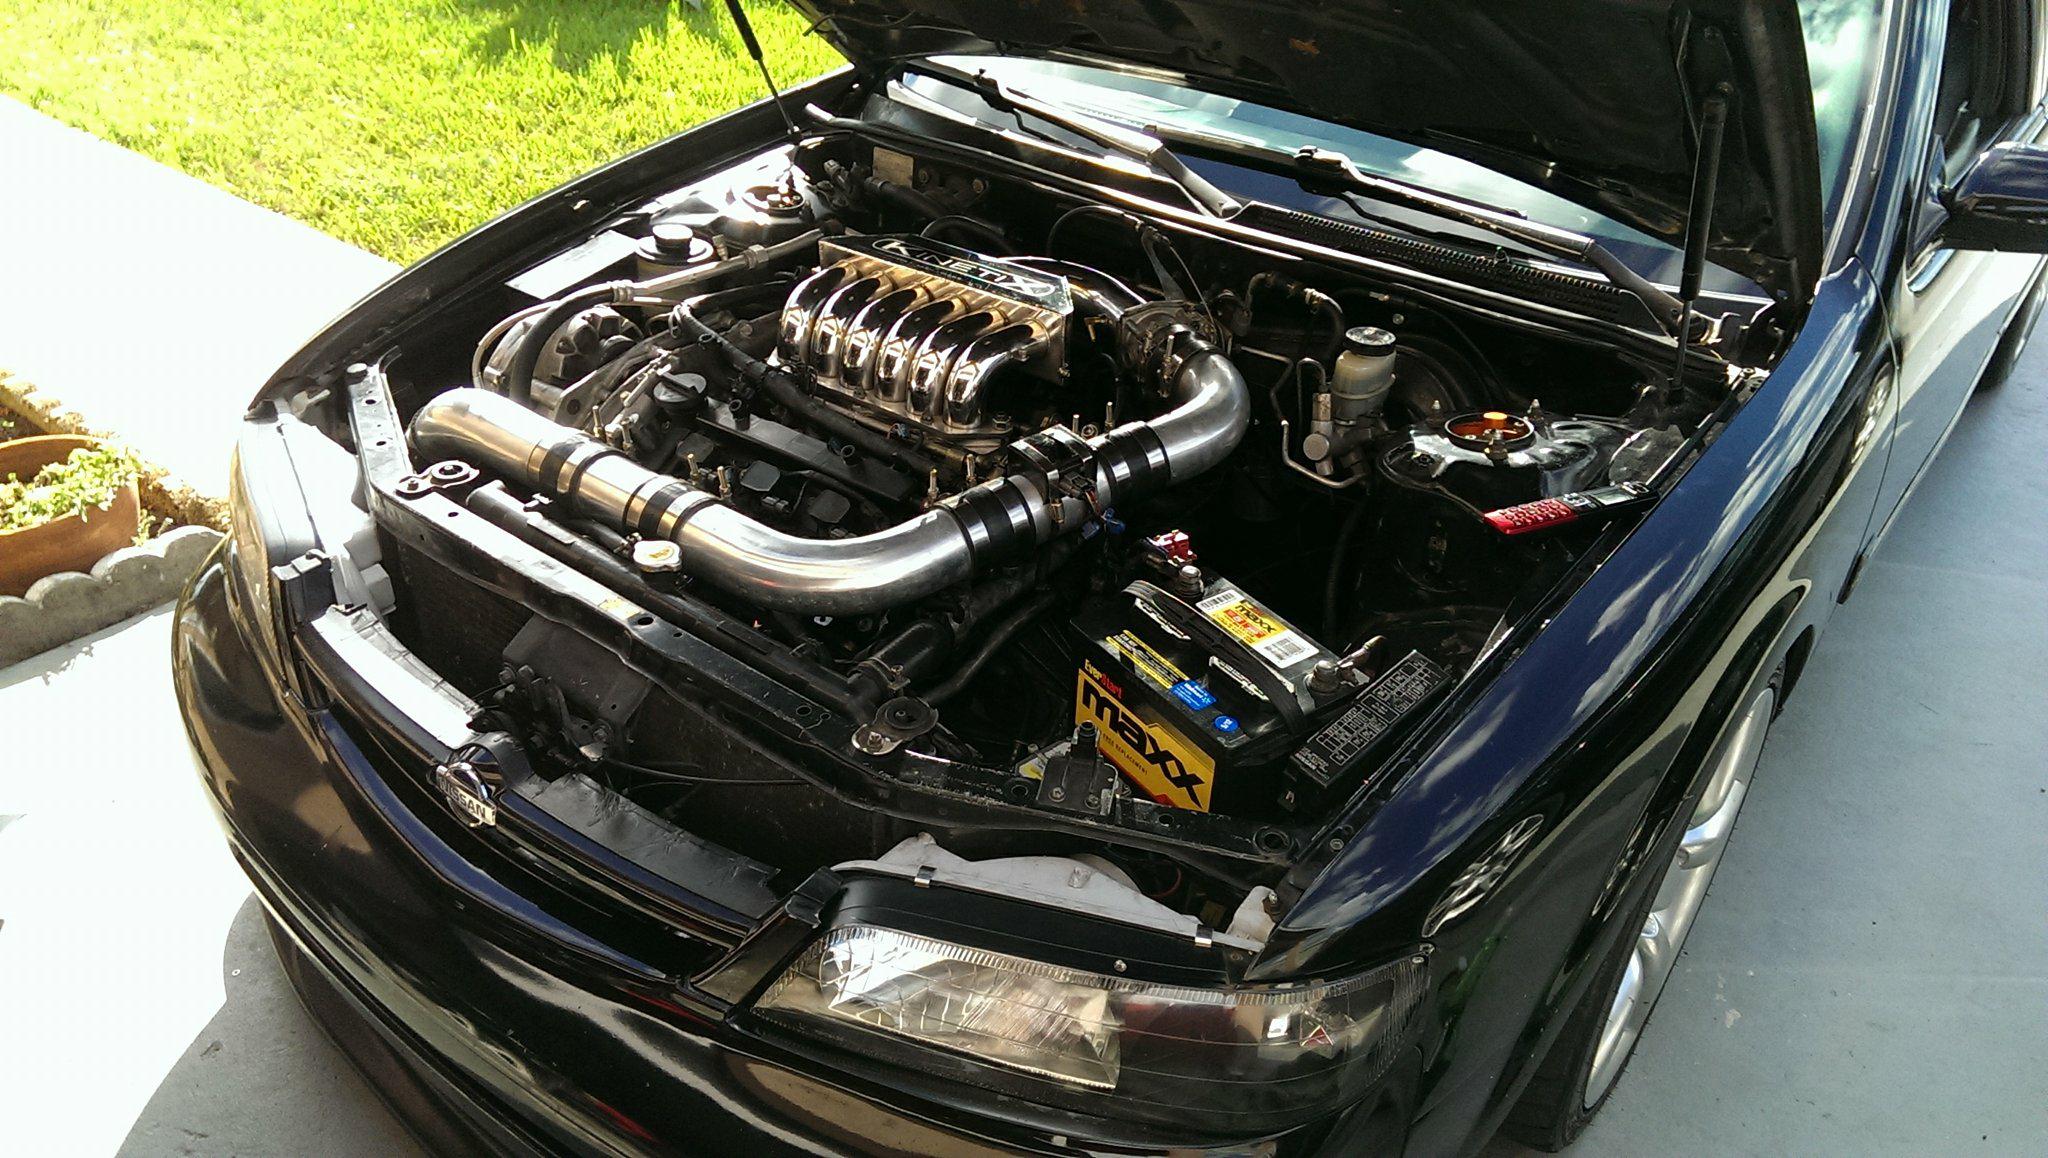
Owner: Junior Olsen
Year: 2008
Model: Maxima
Color: Tan
Transmission: CVT
Trim: SE




Community Member Credit: Eddy
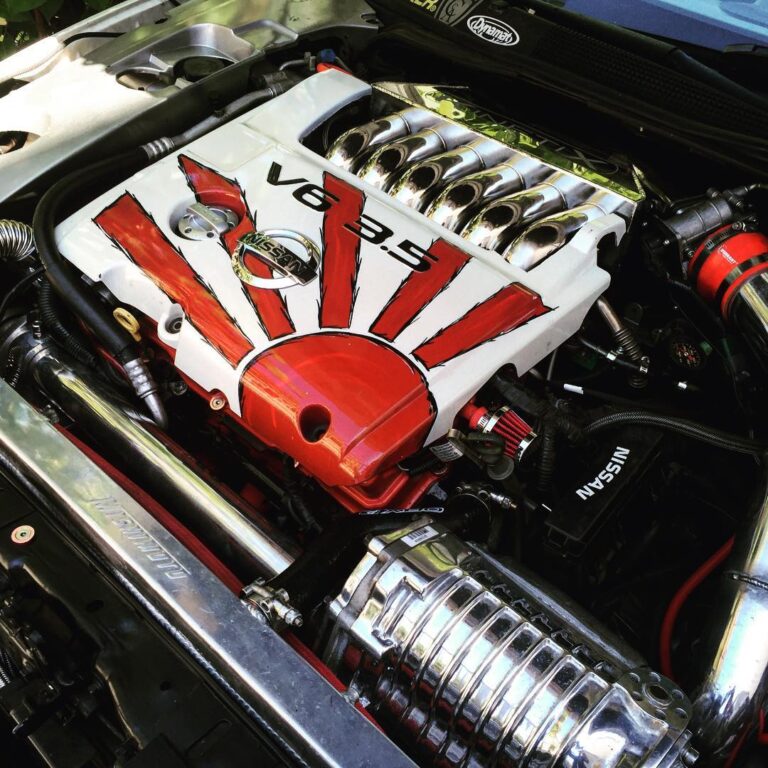
The Mishimoto performance aluminum radiator for the Nissan Maxima is designed and engineered to maximize cooling efficiency, boost engine functions, and protect your car from overheating.


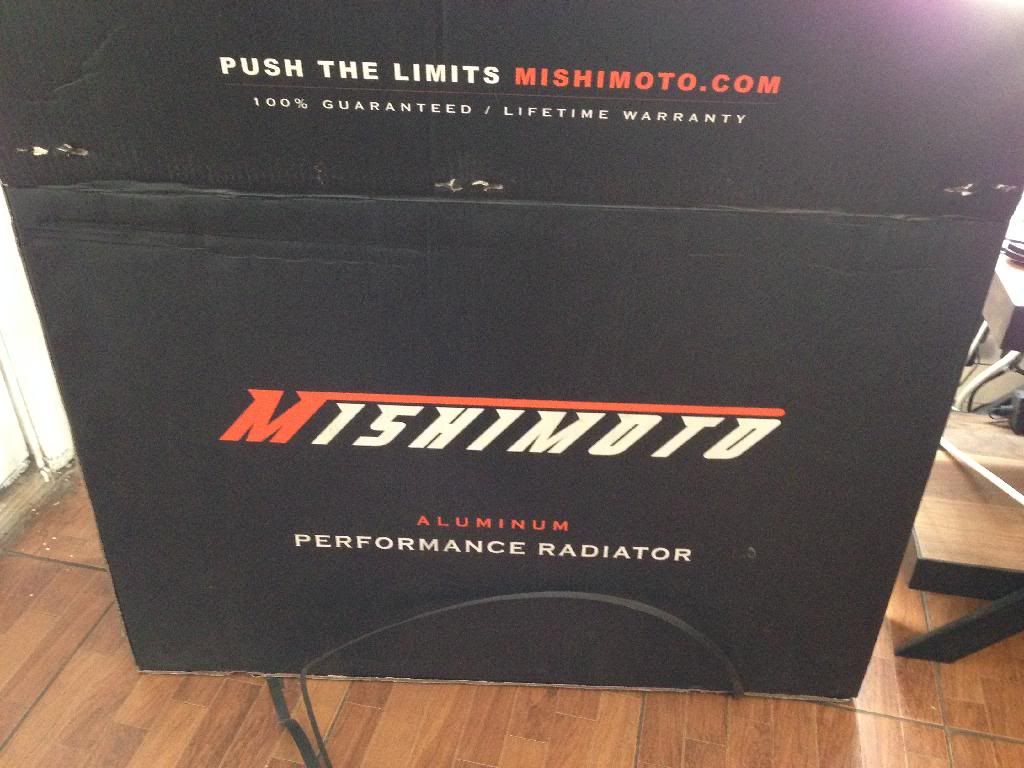




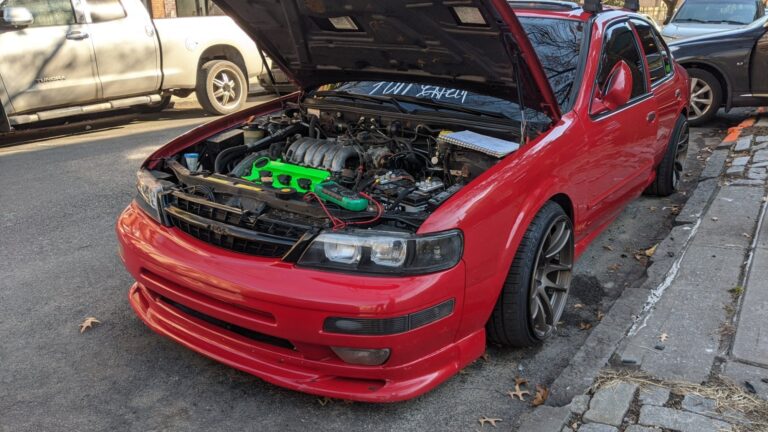
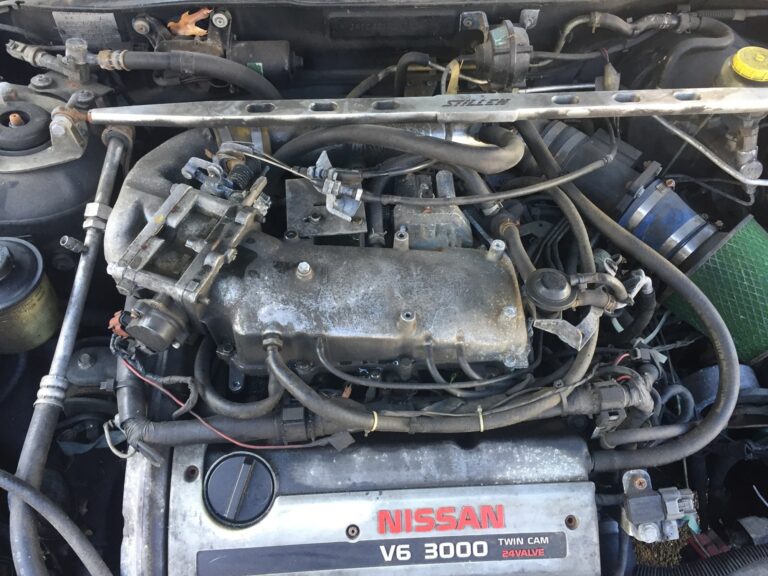
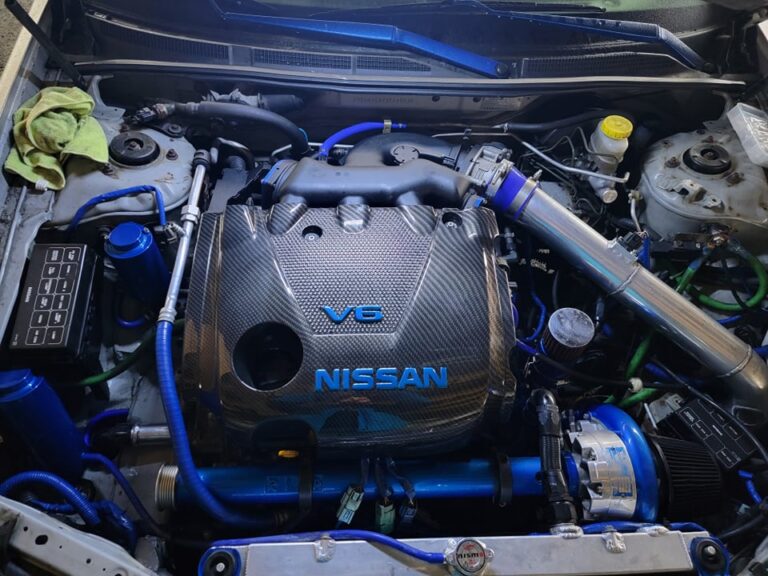
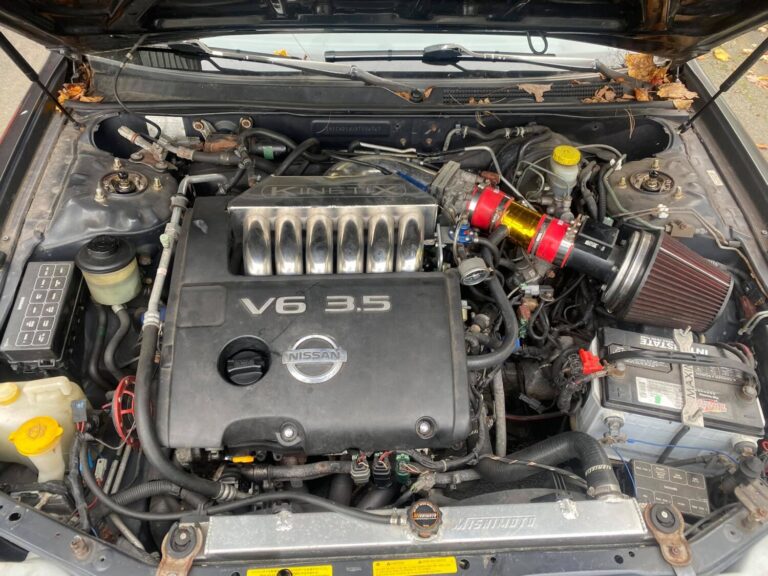
Notes: This is not a full VQ30DE-T engine. It’s an A32 VQ30DE with a VQ30DE-T Upper Intake Manifold


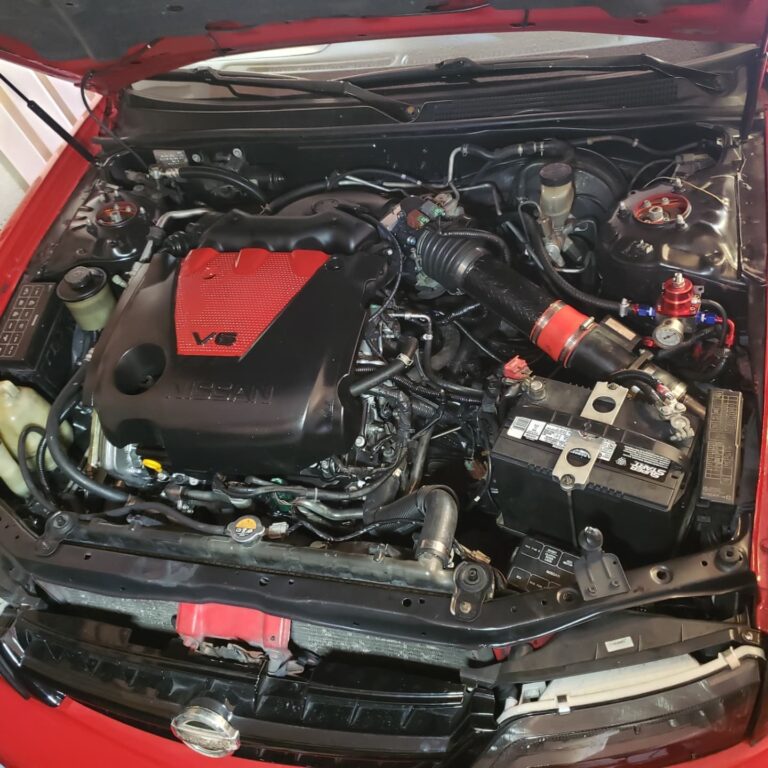
If you are doing a Gen1/Gen2/Gen3 VQ35DE Swap in your 4thgen Nissan Maxima, you can verify your base ignition timing using ECUTalk.



Community Member Credit: The Wizard
1. ECU pinout for 99 is much different than 95-98’s. Regarding installation of the EU, pin 44 needs to be changed to pin 46.
2. Jumper Pin 13 must be set to OPEN (not 1-2 as shown on page 27 of Dan’s writeup), otherwise your fans will not kick on and your car will overheat. I’ve tested this. Thanks for the footnote Dan!!
3. The 99 FSM is all screwed up, so don’t go by it. Hours and hours were wasted trying to figure out the 99 FSM and compare it to the other year FSM’s I have. The 99 FSM led me to believe that 3 pinouts had to be changed at first. Before I hacked or cut a single wire, I did a continuity test (per Dan’s recommendation) and figured out which wires were really what. Only one wire on Dandy’s ECU diagram had to be switched as stated above.
4. My Emanage Ultimate is version D. I don’t have any CEL’s!!
This illustrates that resistors don’t need to be soldered in (for version D).
5. Also, I have no issues with burning/melting coilpacks as some have experienced.
Last but not least, I would like to give a big thank you to Dan (Dandymax). I sent him 3 or 4 emails asking for help/clarification on several issues before the install. Dan always got back to me within 24 hours or so and provided in-depth explanations. With his awesome write-up and his “tech support”, he made the install a breeze and trouble-free. Lastly, I found many, many mistakes in Greddy’s install manual (more on that later), but couldn’t find one in Dan’s writeup! Great job Dan!


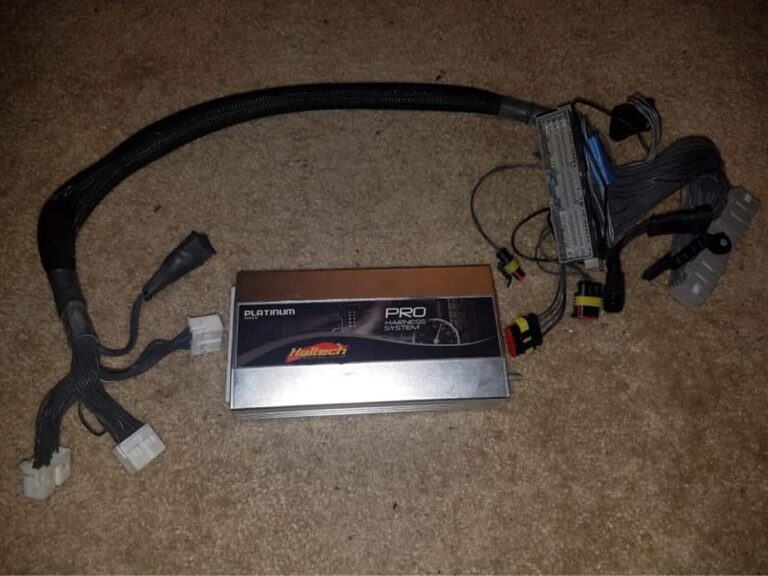
The red connections you see are for the wires that get tapped. The taps are 2.5″ of wire with a female connection on the end. I crimped a male connector on each of Greddy’s bare tap wires. It did it this way so the EU can be removed quickly and easily from the system if need be.
The clear connections are the connections Greddy provided and are for the intercepted lines. It worked out really nice because Greddy would put a female connection on say Injector #1 IN and a male connection on the Injector #1 OUT. All I did was crimp on the opposite of each onto the OEM harness. If the EU is taken out of the car, the female/male Greddy connections will join together and the car is back to stock.
I plan on installing it under the seat and running the harness cable under the center console for a super clean look. When it’s done, it will look like it’s not even there……


Community Member Credit: Trevon Walters

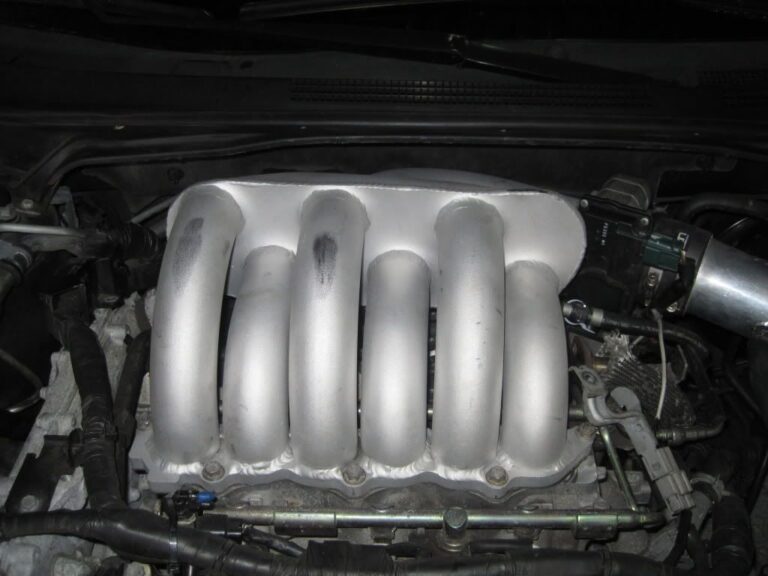

If you want to add an easy 25WHP to your Altima or Maxima then look no further. Our SFR high-velocity manifold is an easy bolt-on and adds 25WHP to an NA car and up to 50WHP on turbo cars. We also offer an aluminum engine cover that goes with it to really dress up the engine We also offer the intake manifold for the later models Altimas and Maximas.


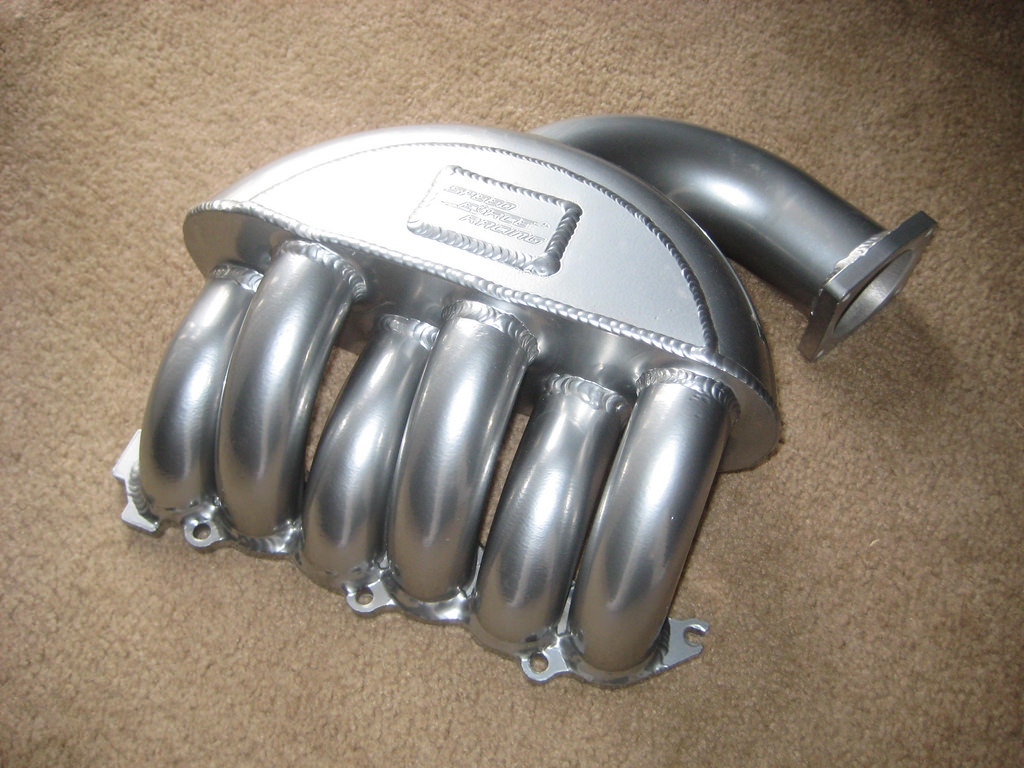
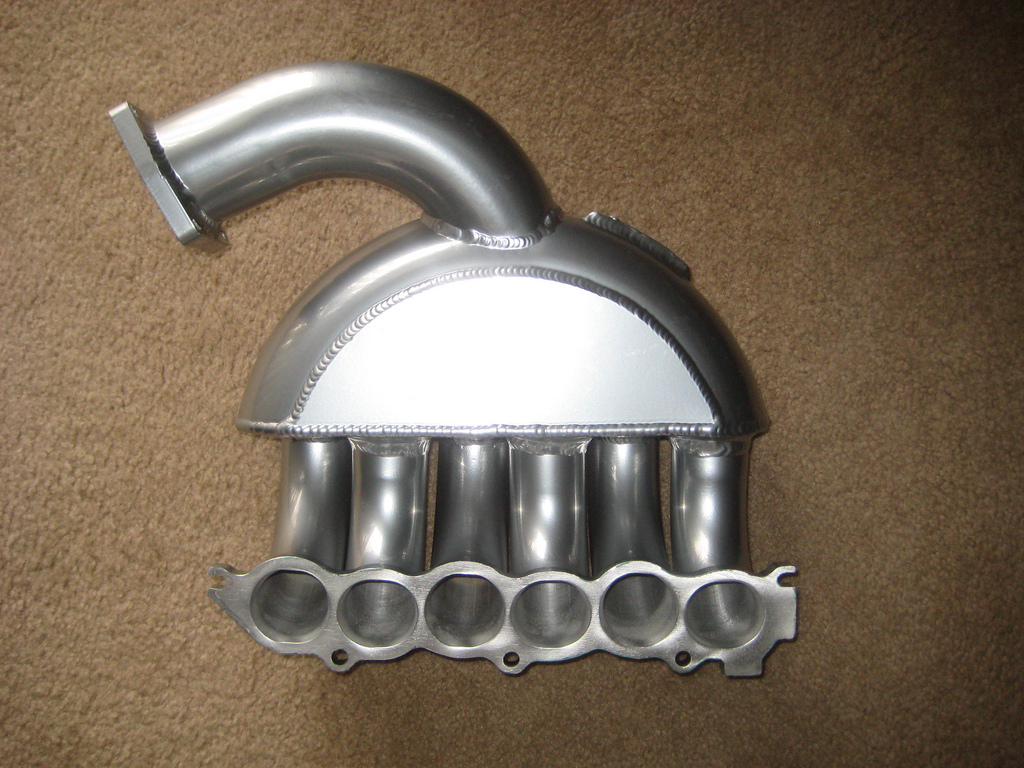
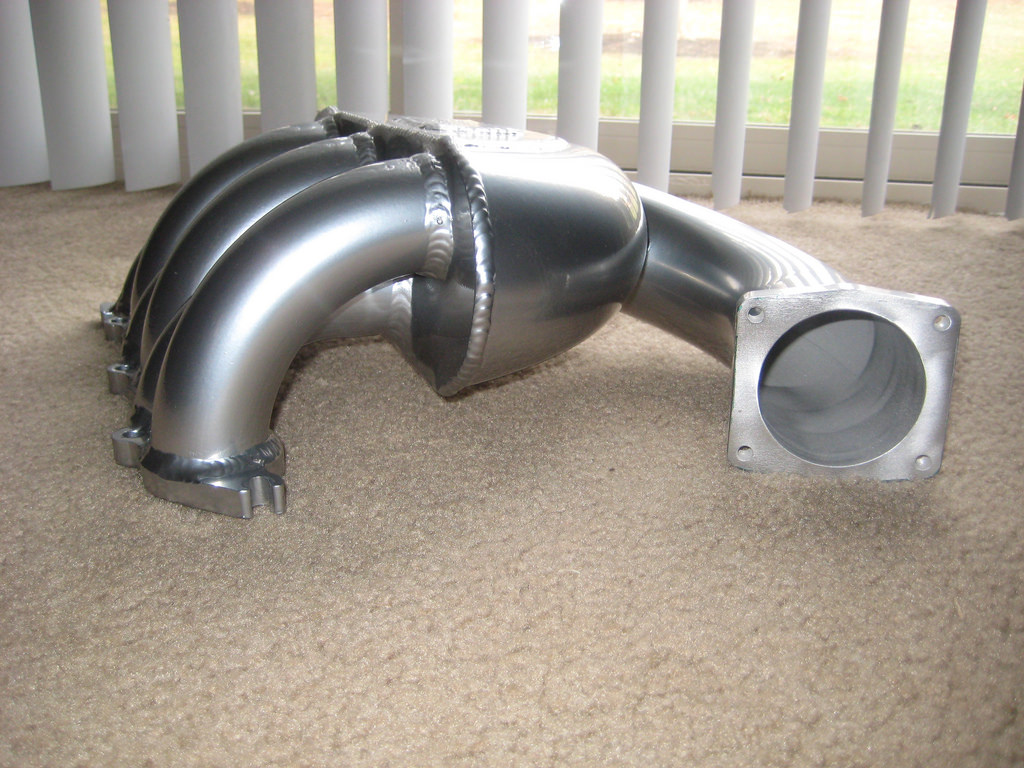
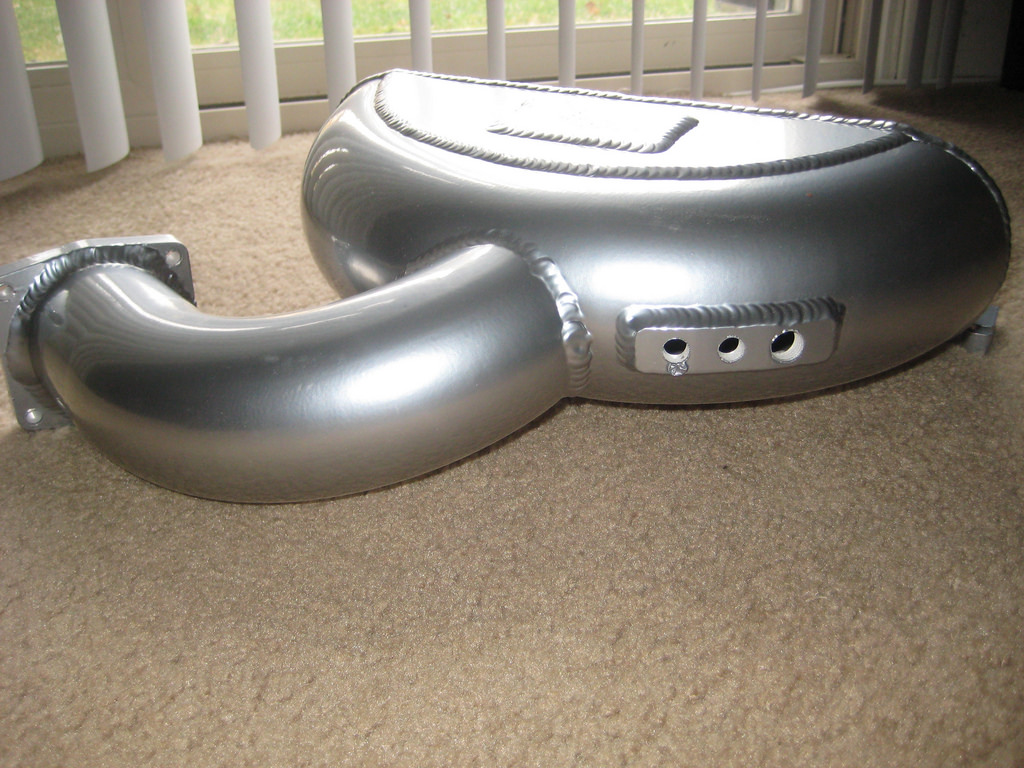
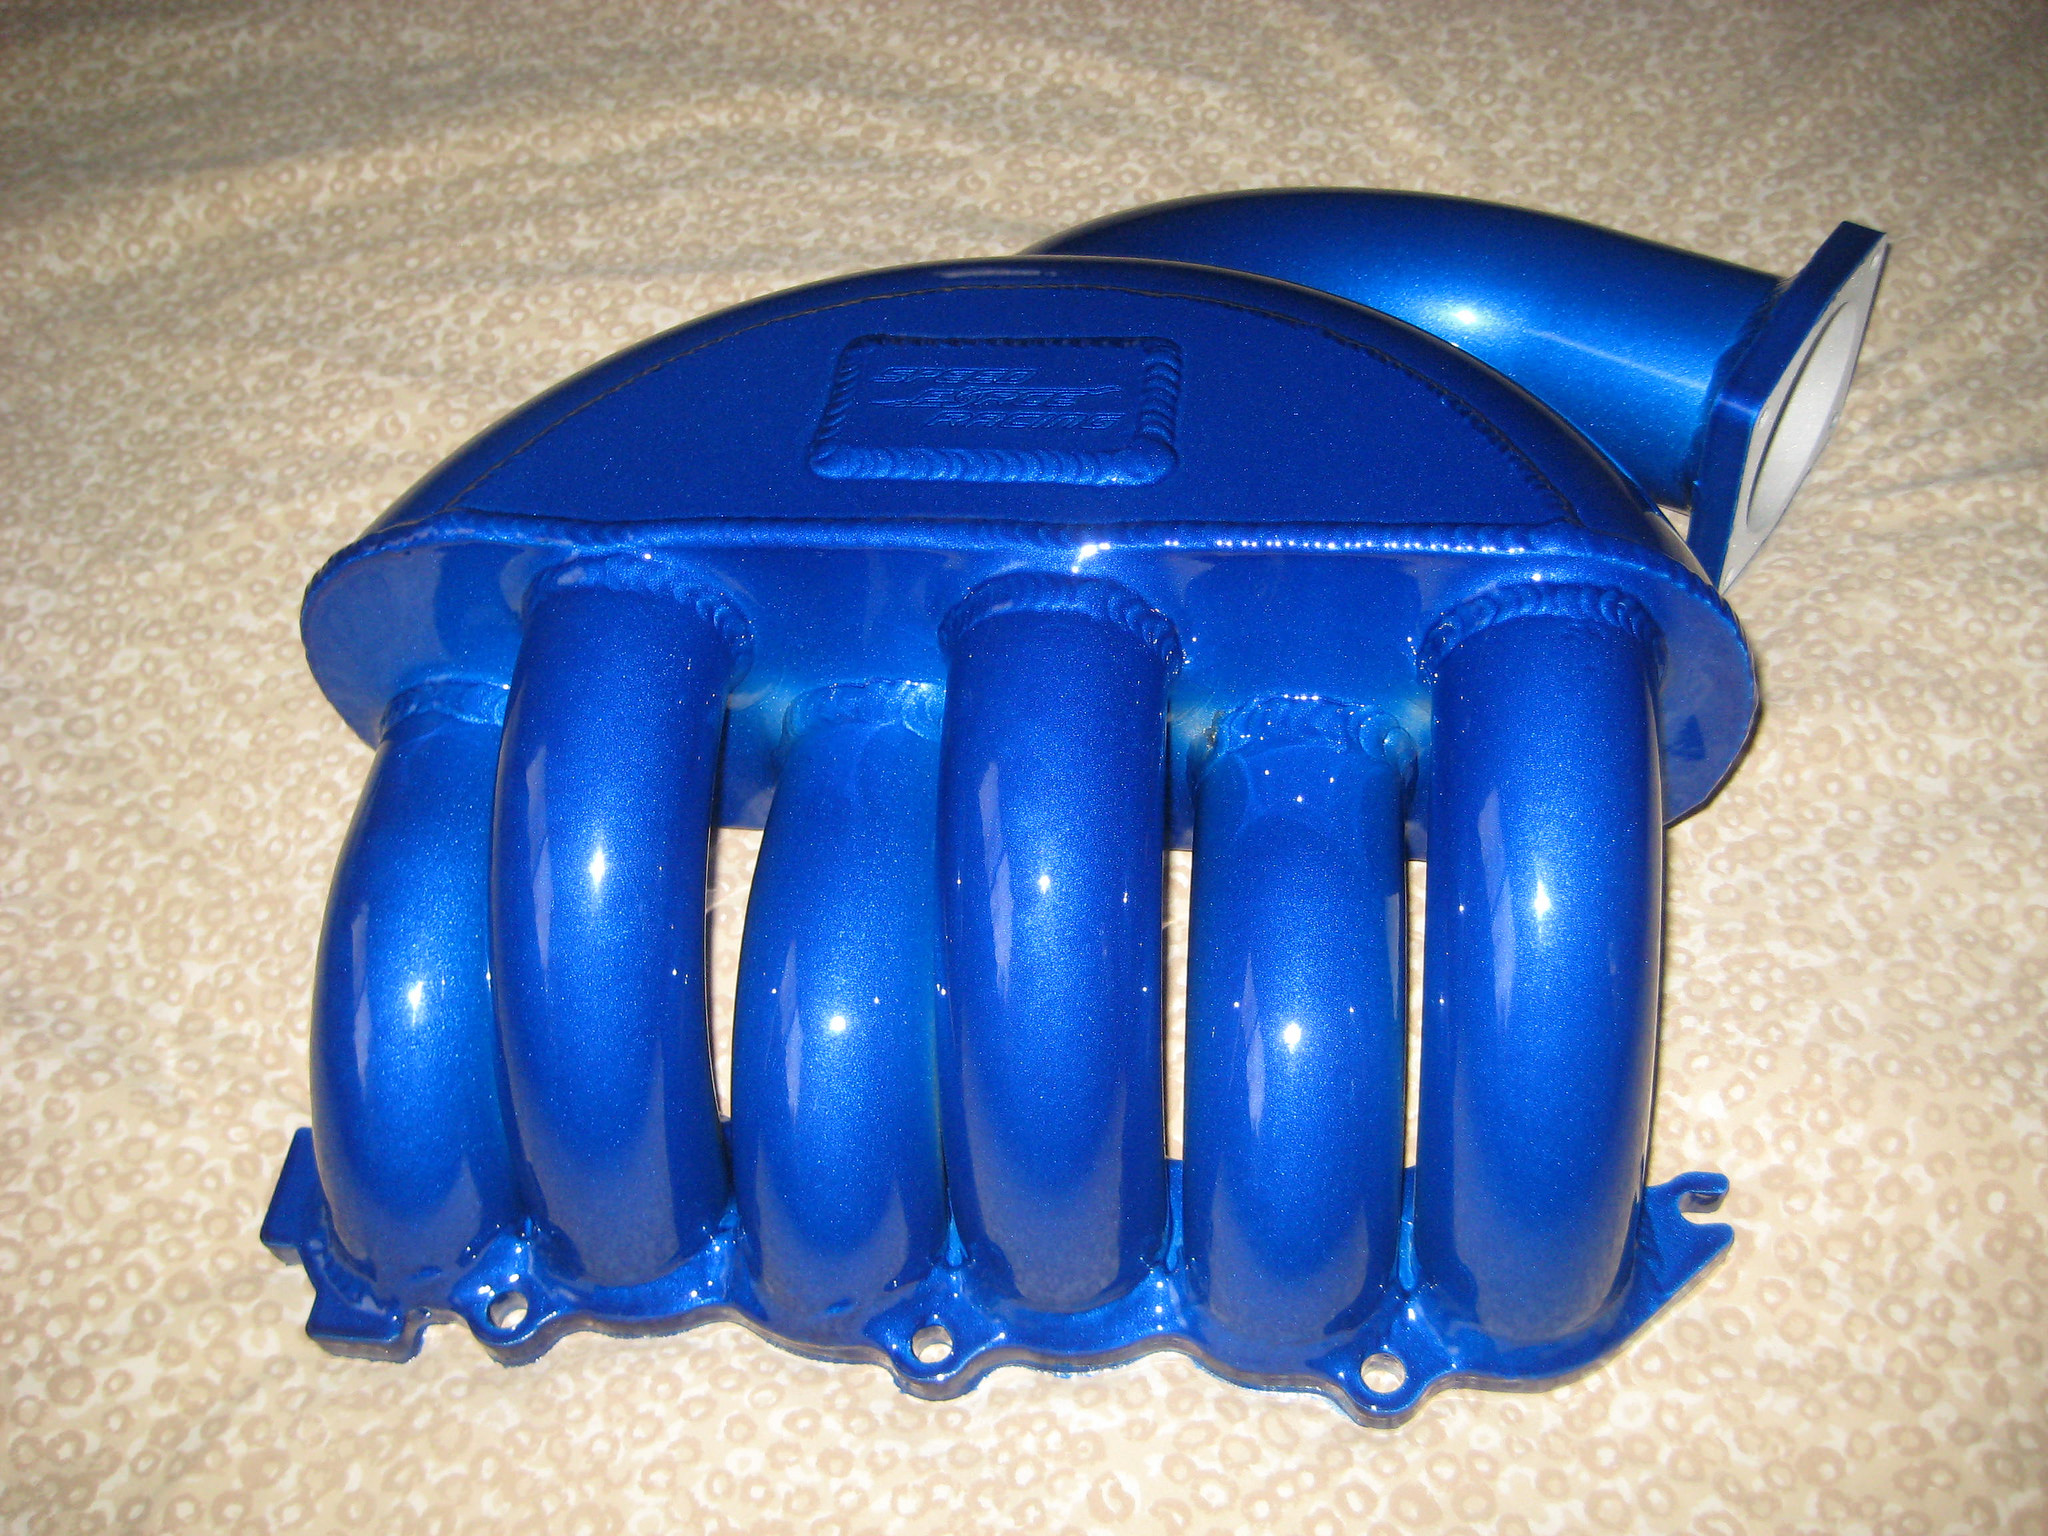
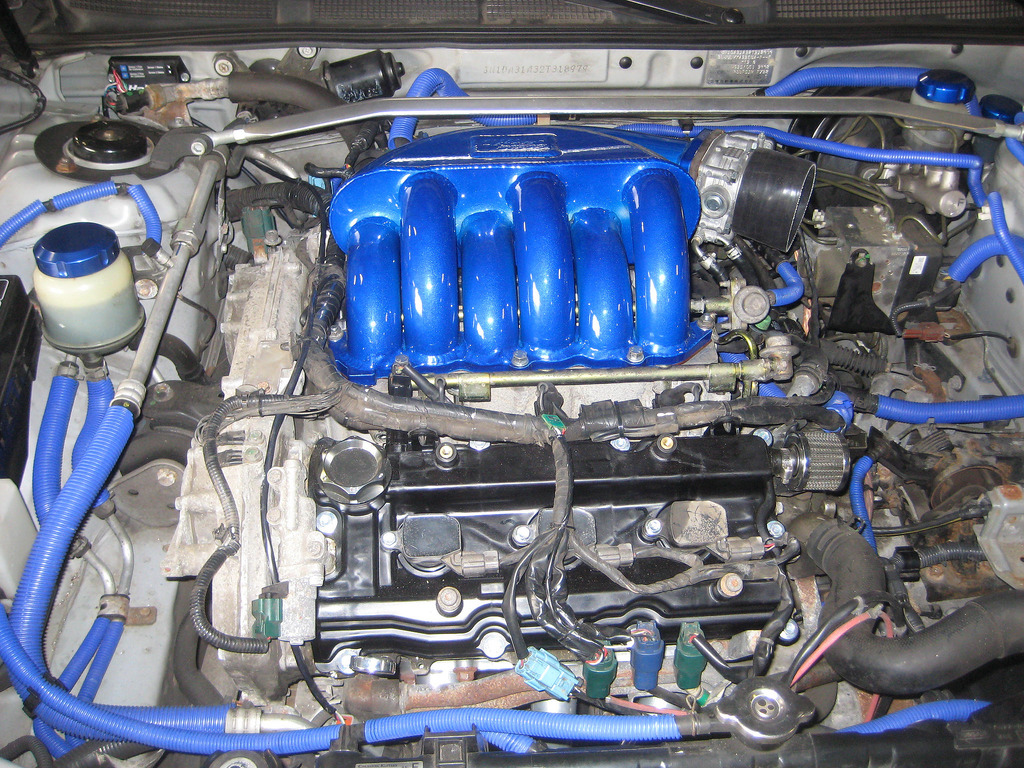
I was fortunate enough to have the first SFR High-Velocity Manifold put on a N/A vq35. From what Tim at Speed Force Racing told me this manifold is slightly different from the manifold made for forced induction cars.
I have had the manifold for months. When I first received it I was impressed with what I saw. The design is wicked and looks waaaayyy better than stock. It took me a while to slap it on at first because I had to find and purchase the correct barb fitting to hook up the vacuum hoses. At first, the installation was a bit time-consuming because I didn’t know what I was doing. I have installed the manifold on and off about 6 times already so installation for me is under an hour.
The sound is pretty cool. At low revs during soft acceleration, you hear a humming/growl from under the hood. Under hard acceleration, the engine sounds great! it isn’t loud and obnoxious. It’s more of a deeper growl, nothing too crazy or far from stock, but noticeable.
At first, I could only go off of the butt dyno and my butt dyno liked what I felt. To me, the mid-range was increased a lot. I knew the torque was increased a lot (dyno showed 10wtq at peak). Up top, the car felt great as well. My car just easily pulled to higher RPMs. I could definitely feel the car breathing MUCH better. Even while cruising at lower RPMs the car had sooo much better response.
Here are some pics of what it looks like on my car:


Some graphs got mixed up at the shop but I managed to get the most important ones. The graph shows the highest dyno from the stock manifold with the highest dyno with the SFR manifold. the other graph has the highest stock vs. a couple runs with the SFR manifold but also shows the torques as well.

I picked up almost 30whp at redline alone.
I was amazed at how much power was picked up at redline. this isn’t your average SSIM dyno graph only showing gains up top. You can clearly see there are gains on the ENTIRE powerband. Peak rose 5whp (wish it was more). What’s important here is the area under the curve. midrange you can see ~12whp gains as well!
I like this manifold very much! yes, it’s not a cheap mod but for the overall power, it’s worth it. It adds power where cams don’t and cost half the price. Plus install isn’t that hard. To me, it was well worth the money spent.