Tag

electronics

Browsing

Community Member Credit: 01SE02SER

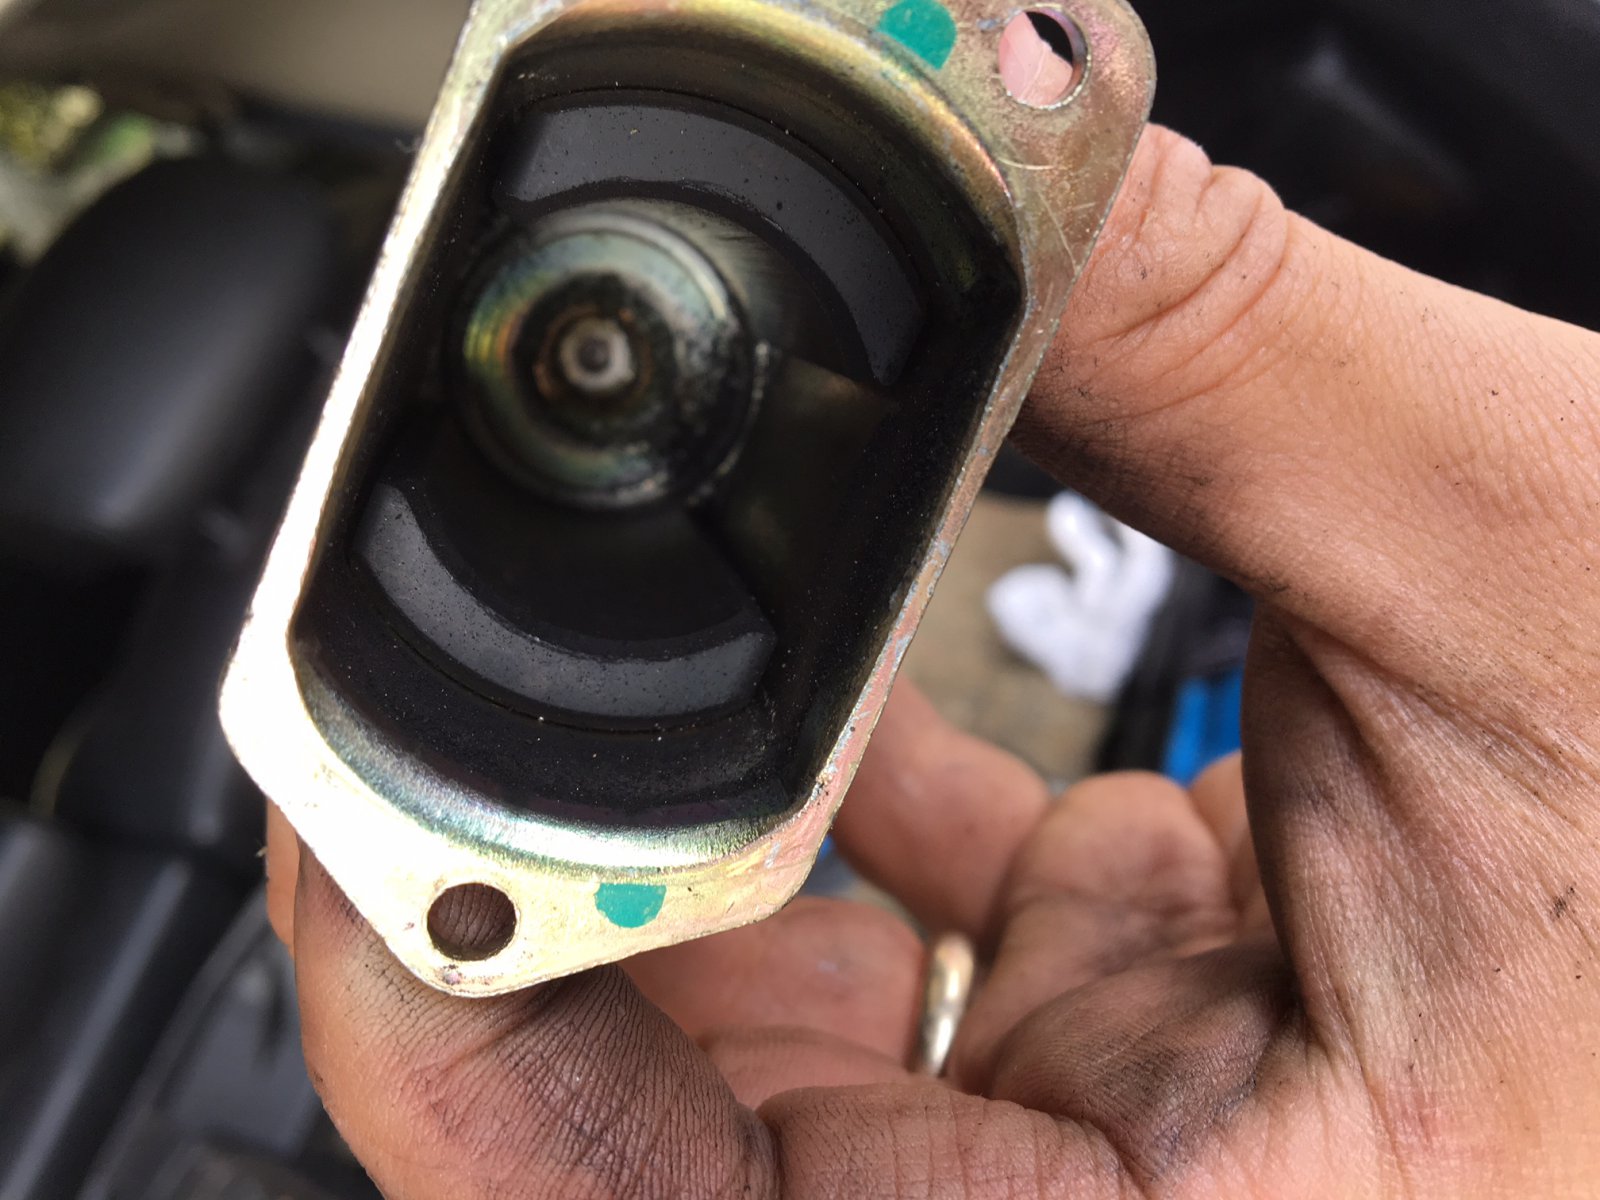
Now here is what the back of the clock unit looks like. If you look closely, you will see that EVERY wire is labeled and tells you what it is. All you have to do is hook it up to the correct corresponding wire.

Now this shows an exact picture of the wiring I have done. The RED wire from the SCANNER connects to the Yellow/Red wire. The YELLOW wire from the SCANNER connects to the Green Wire (The picture shows me splicing a black wire, that is because I had to extend the original yellow wire from the scanner.) The last wire left on the scanner is BLACK, that I just grounded to the sunroof bolt under the sunglass holder. No need to extend that wire all the way down to the clock unit for NO reason.

This will work and is the correct way to wire the scanner. It will blink or do whatever pattern when the car is off or armed. When the car is turned on, the scanner turns off.

Hope this helps and solves everyone’s problems. Simple install, but I think some of you got confused. Now everyone can have knight rider style SCANNERS.

Car Photos

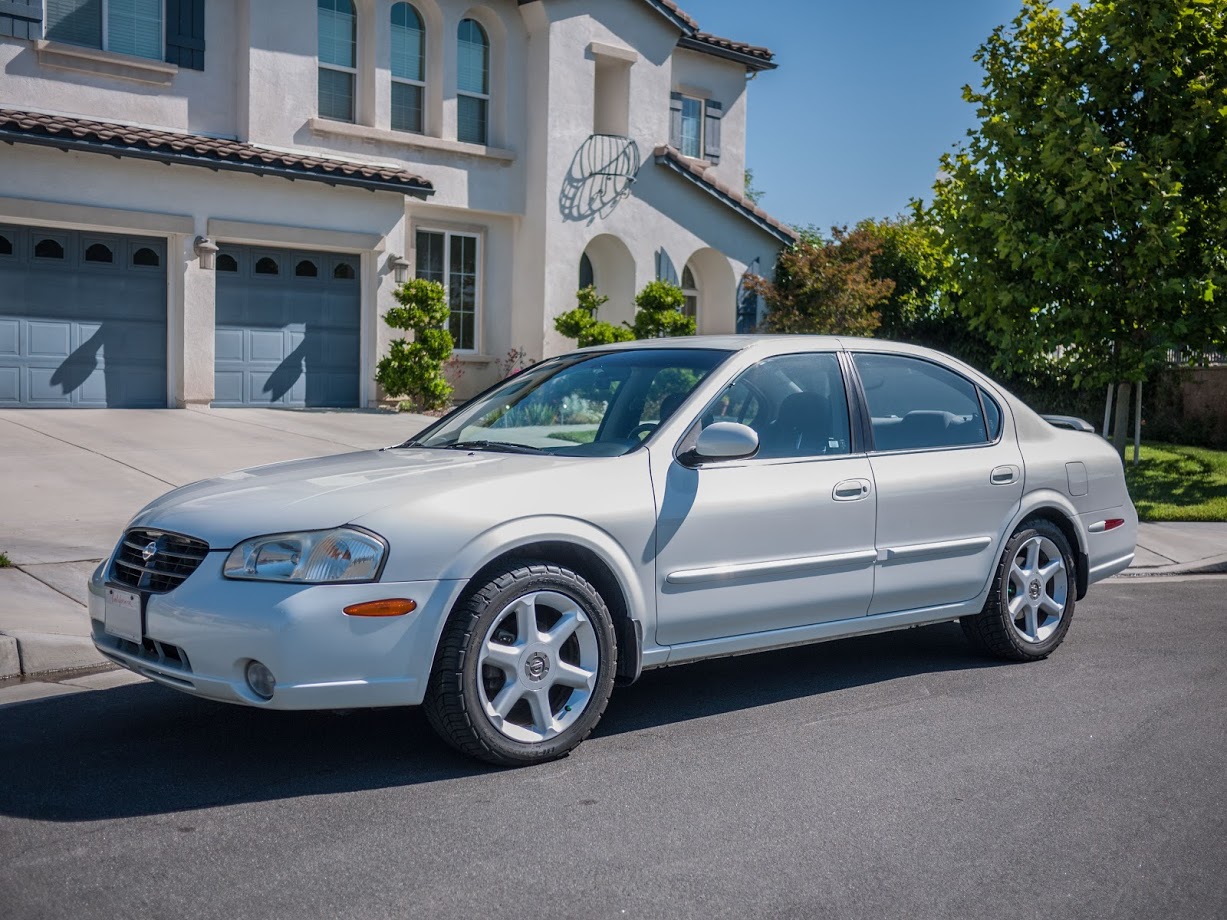
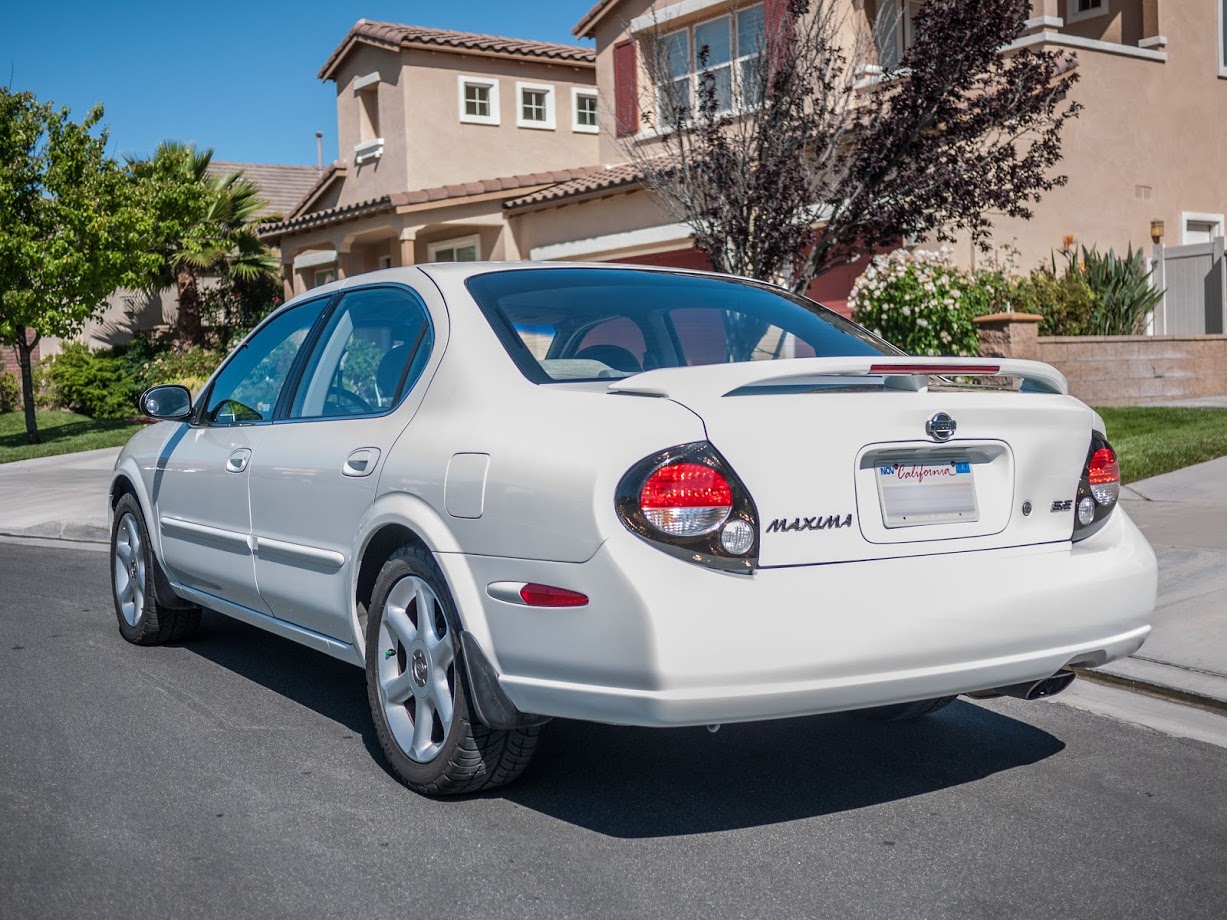
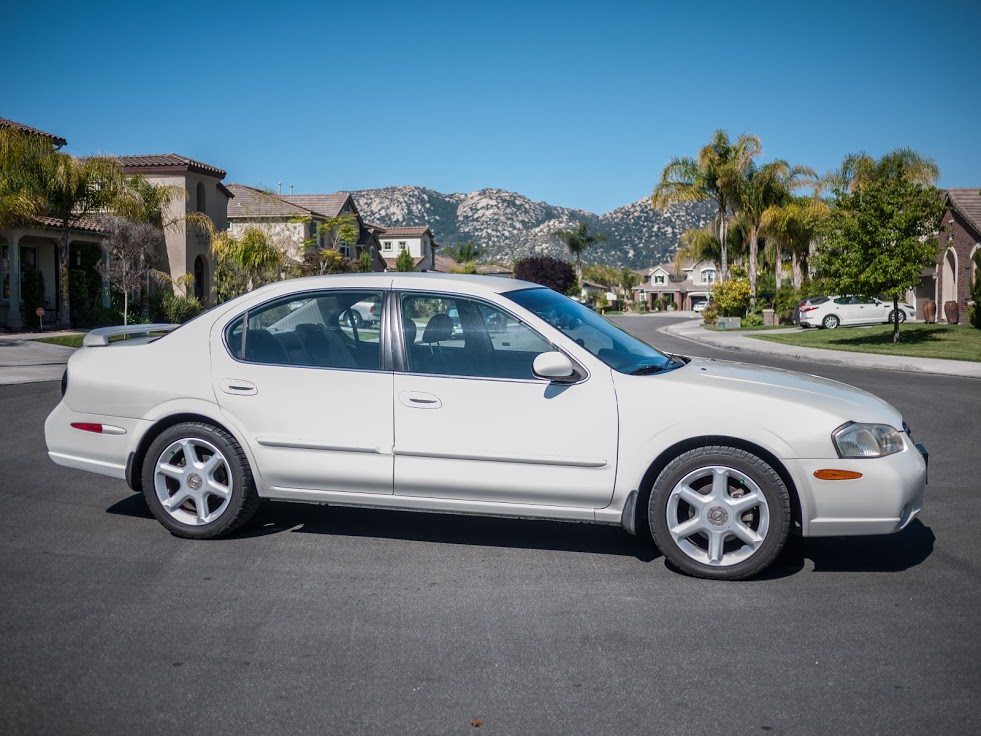
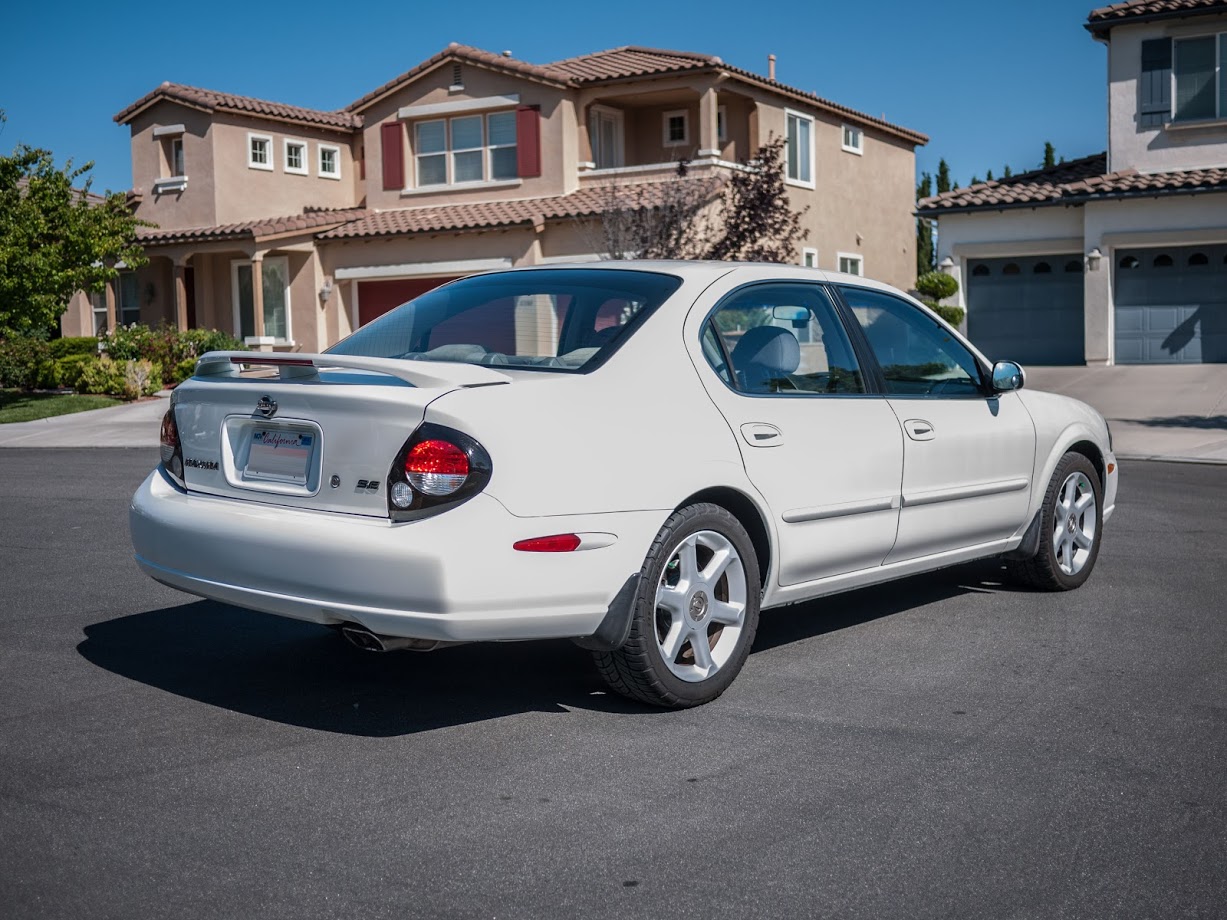
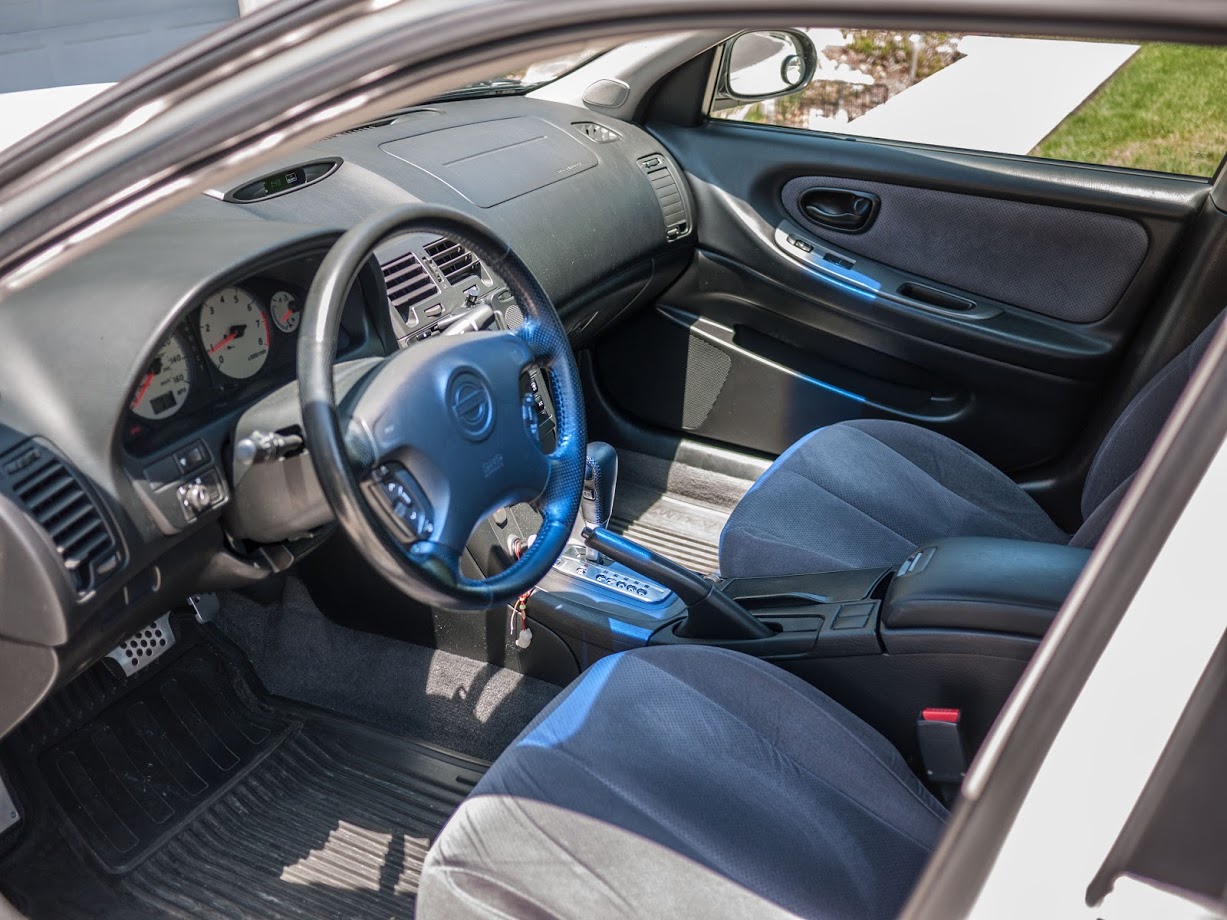
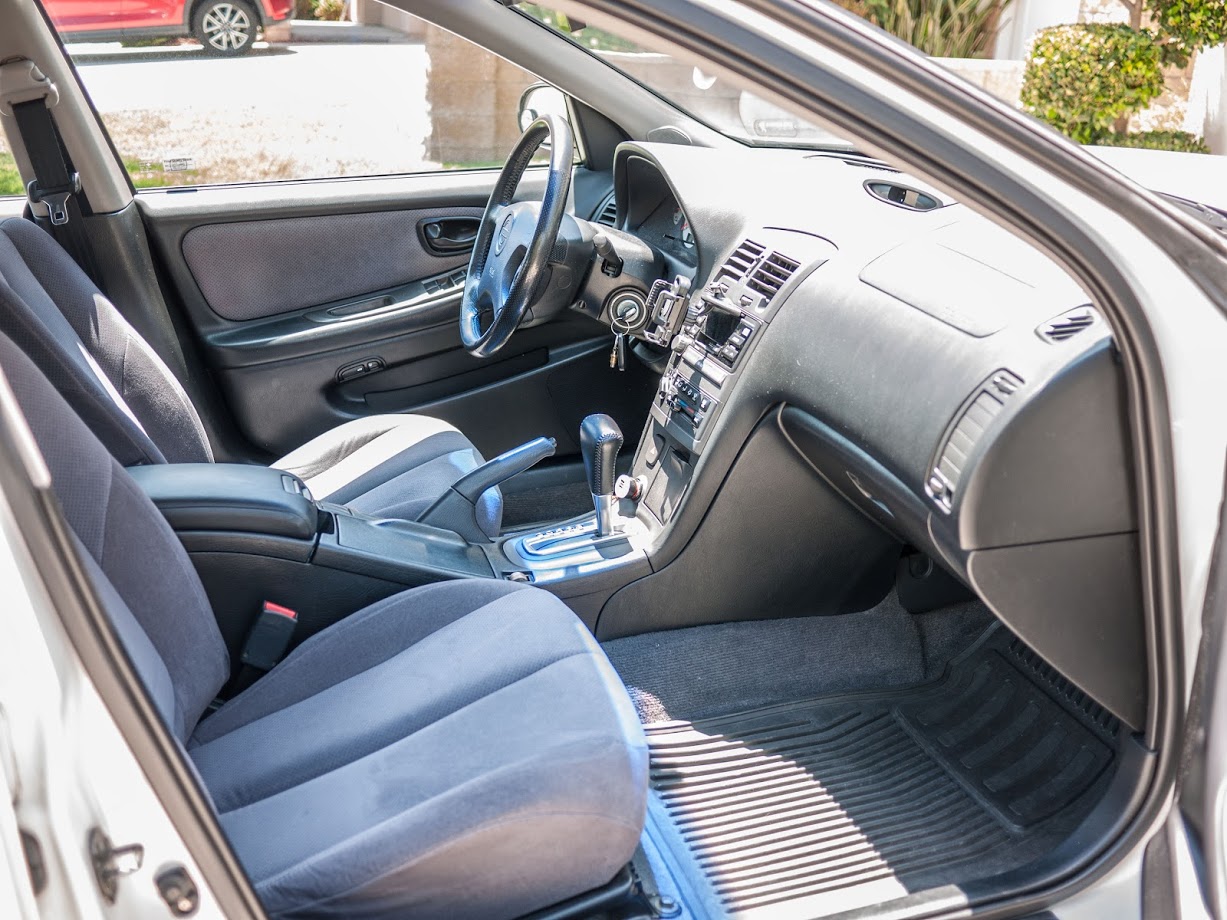
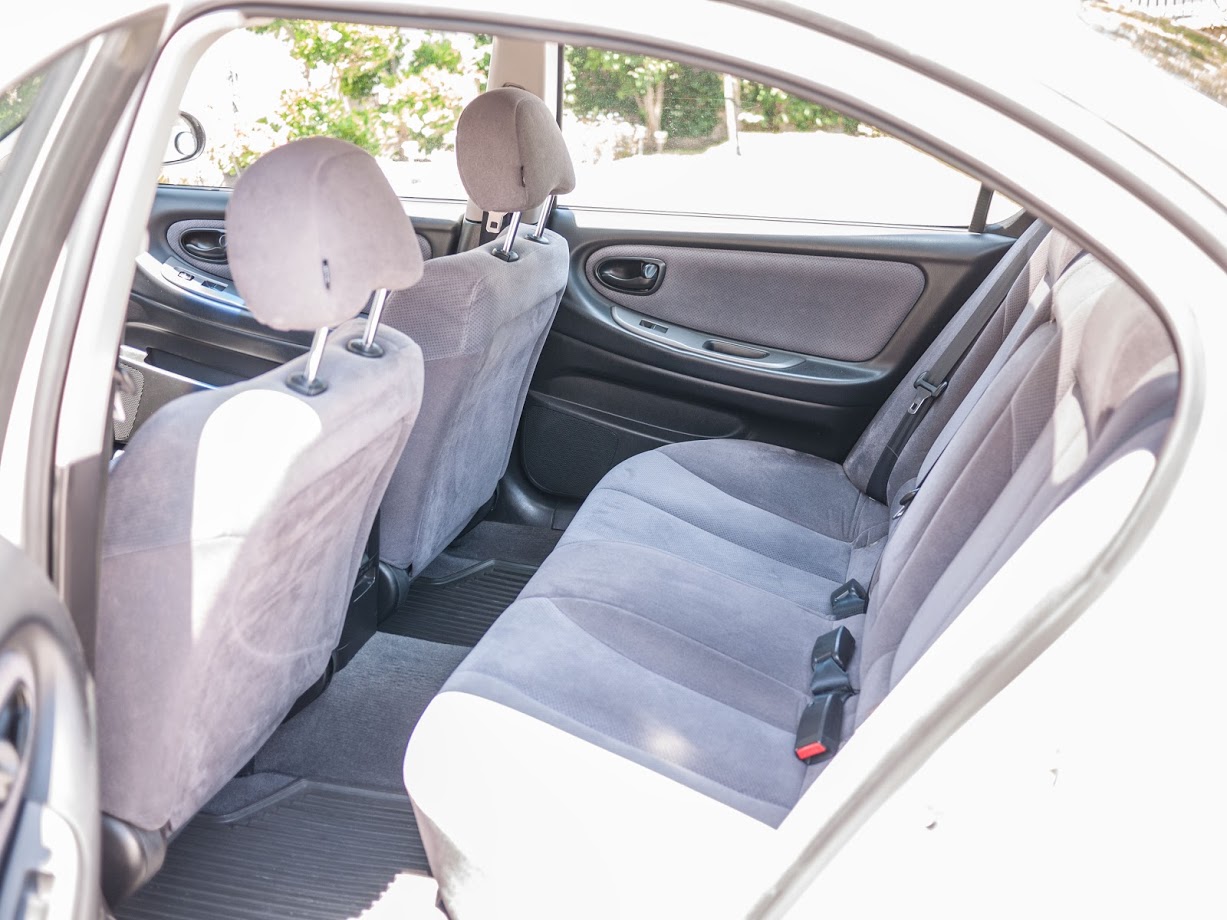
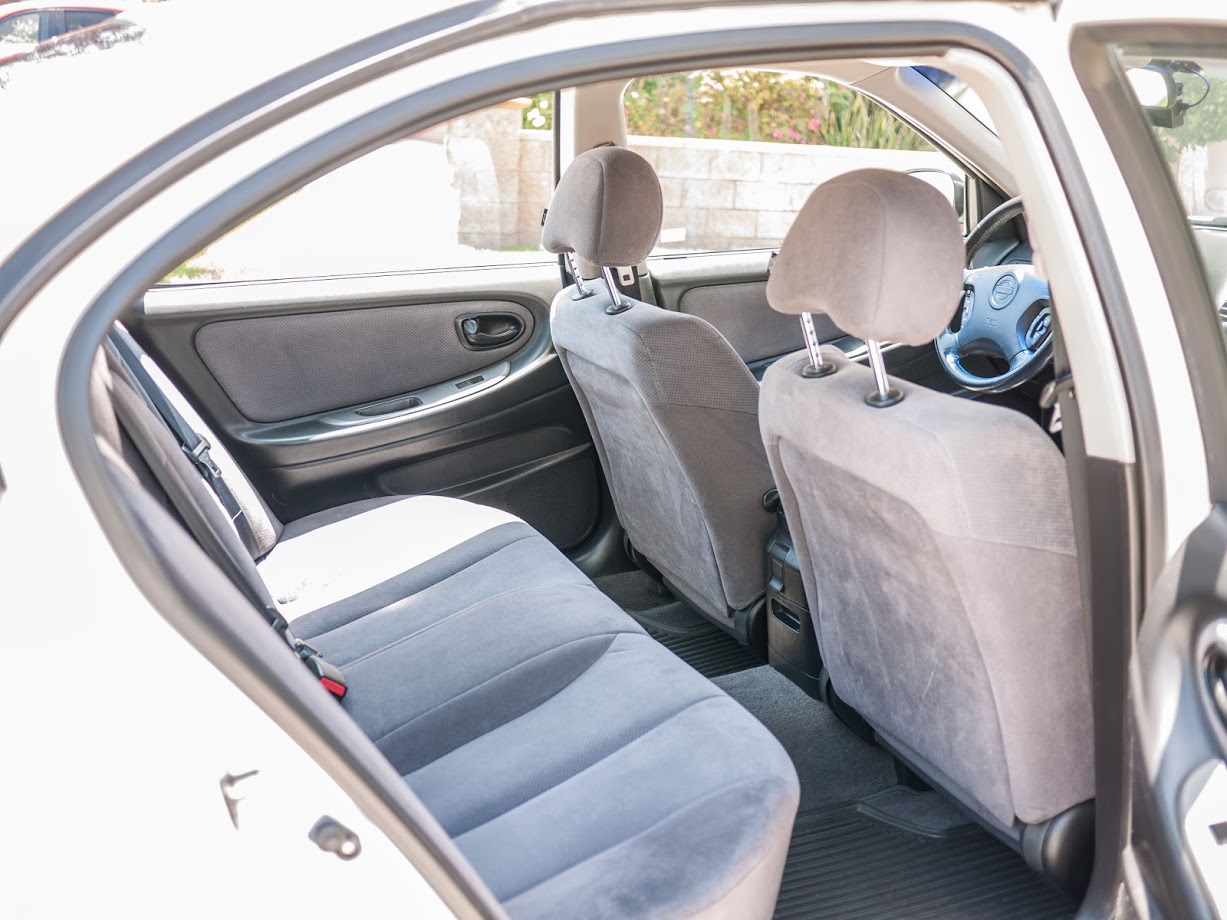
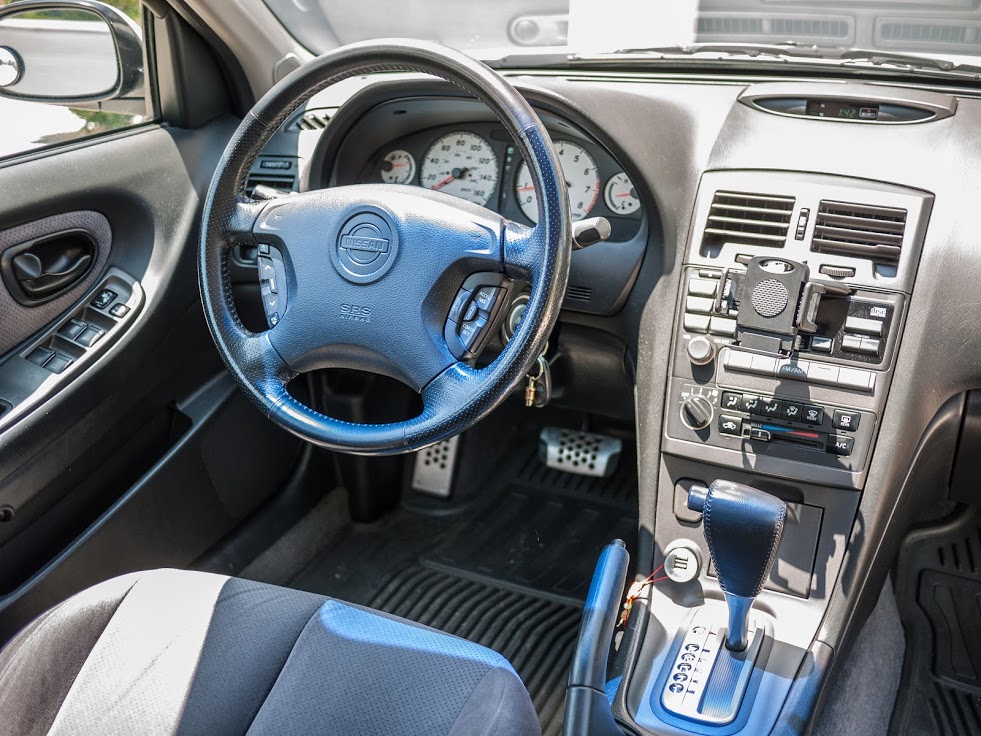
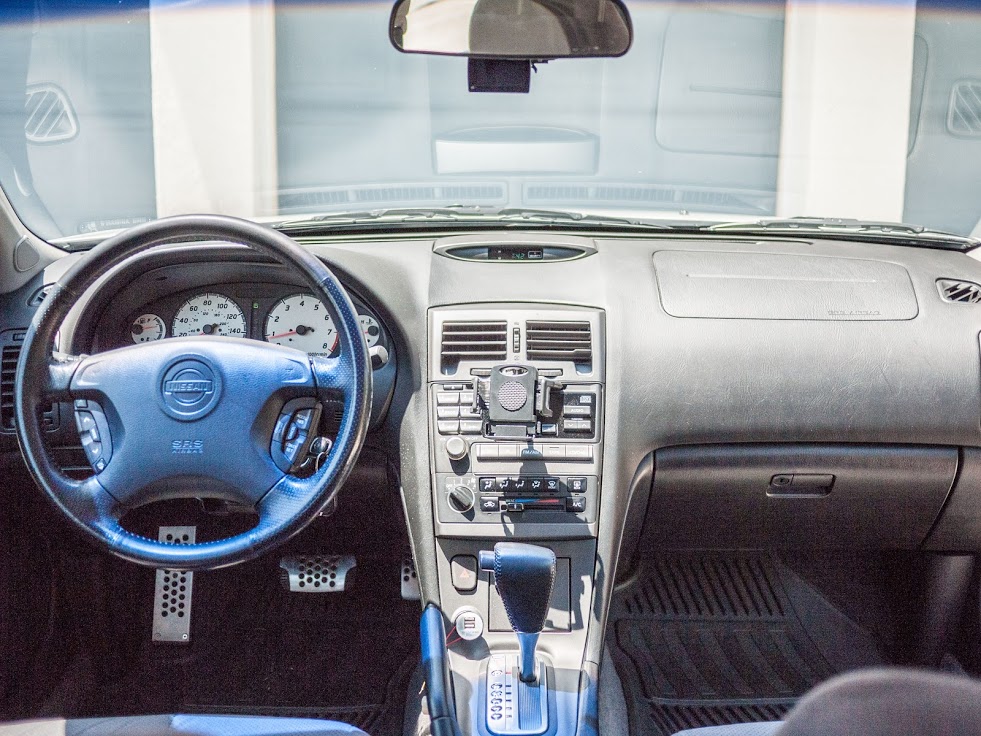
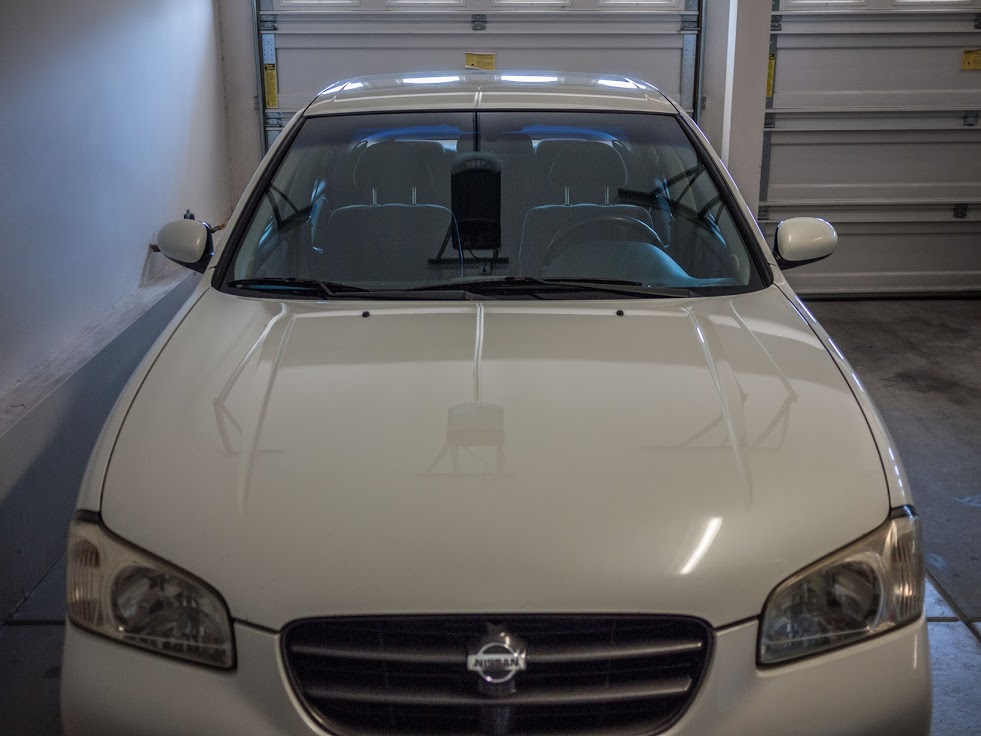
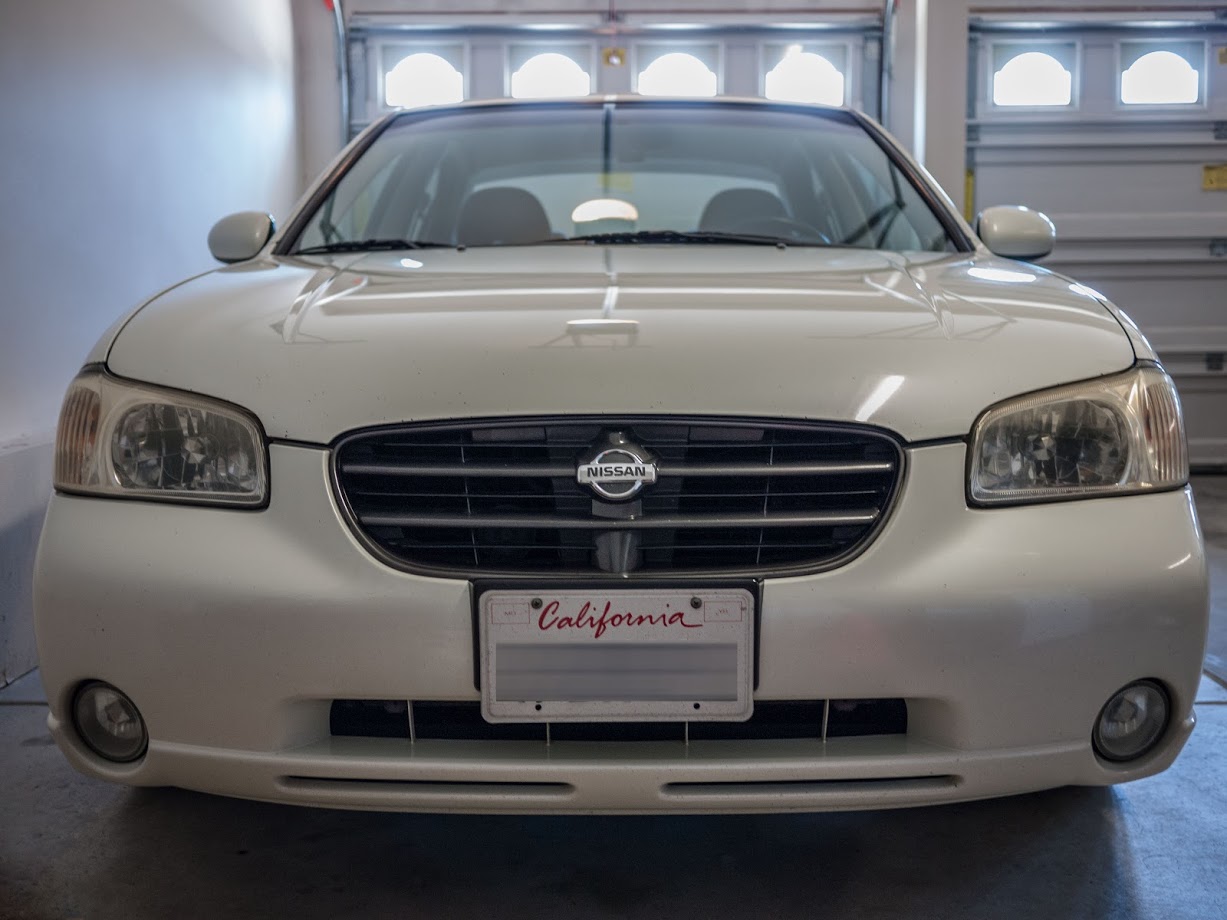
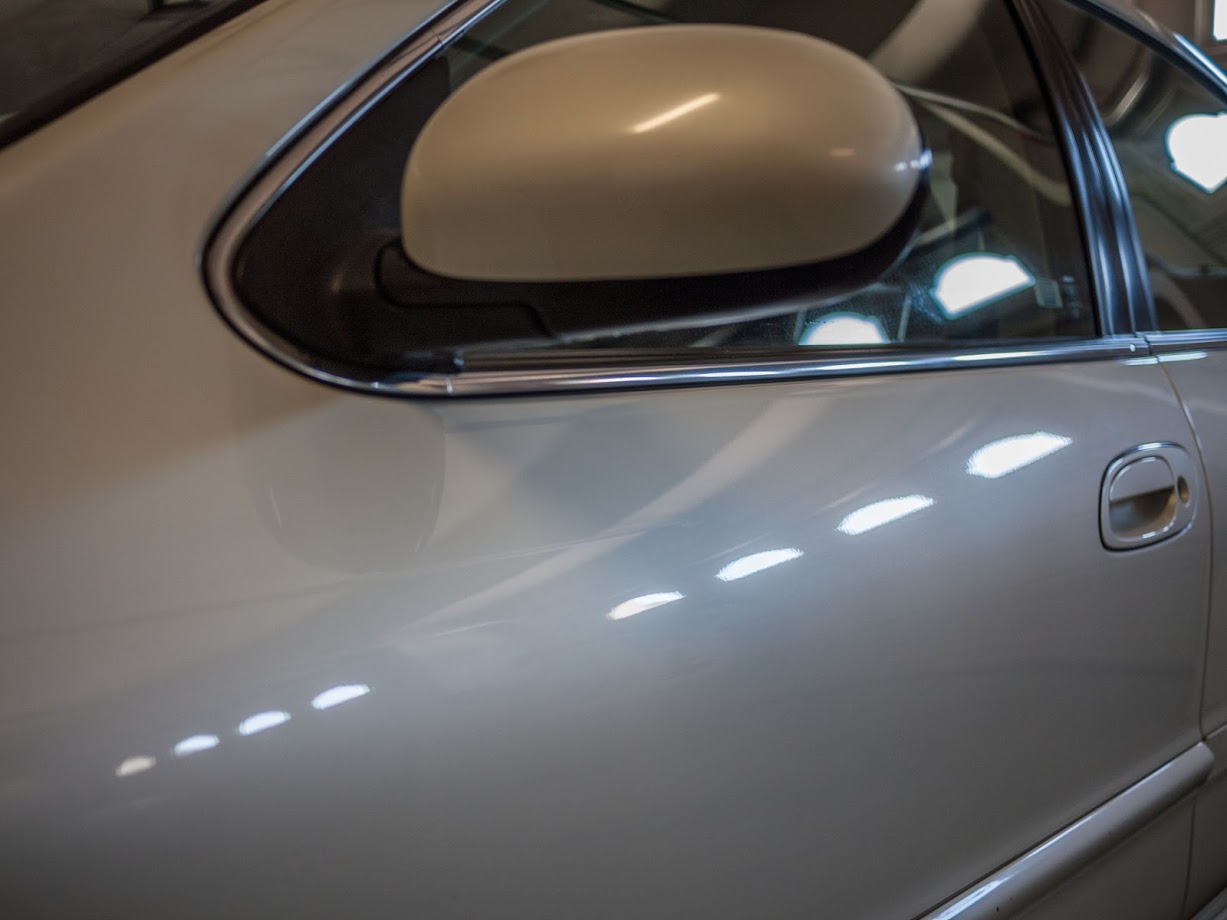
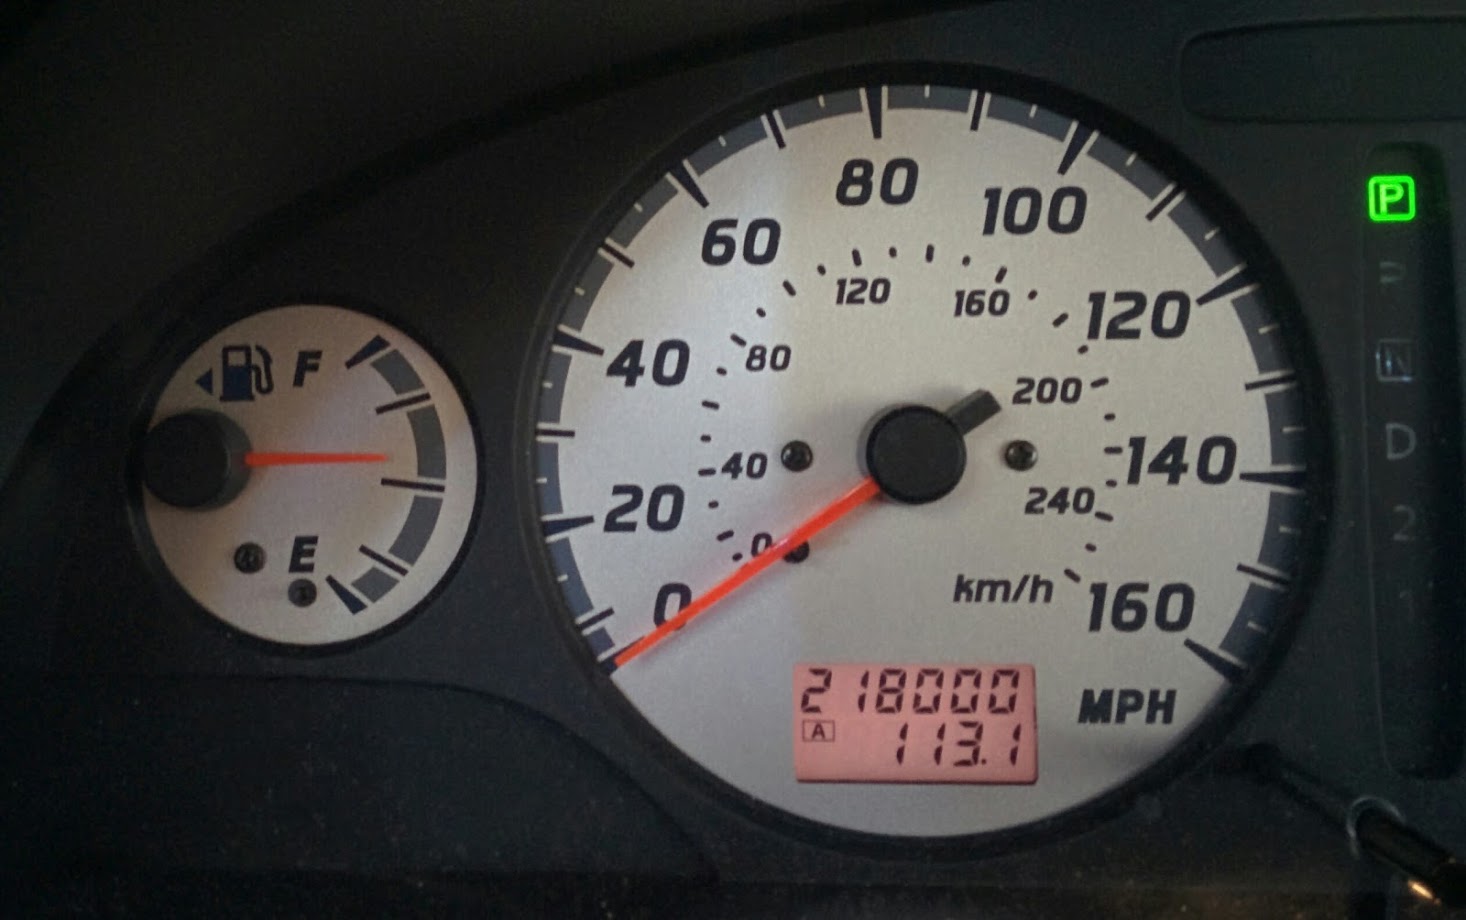
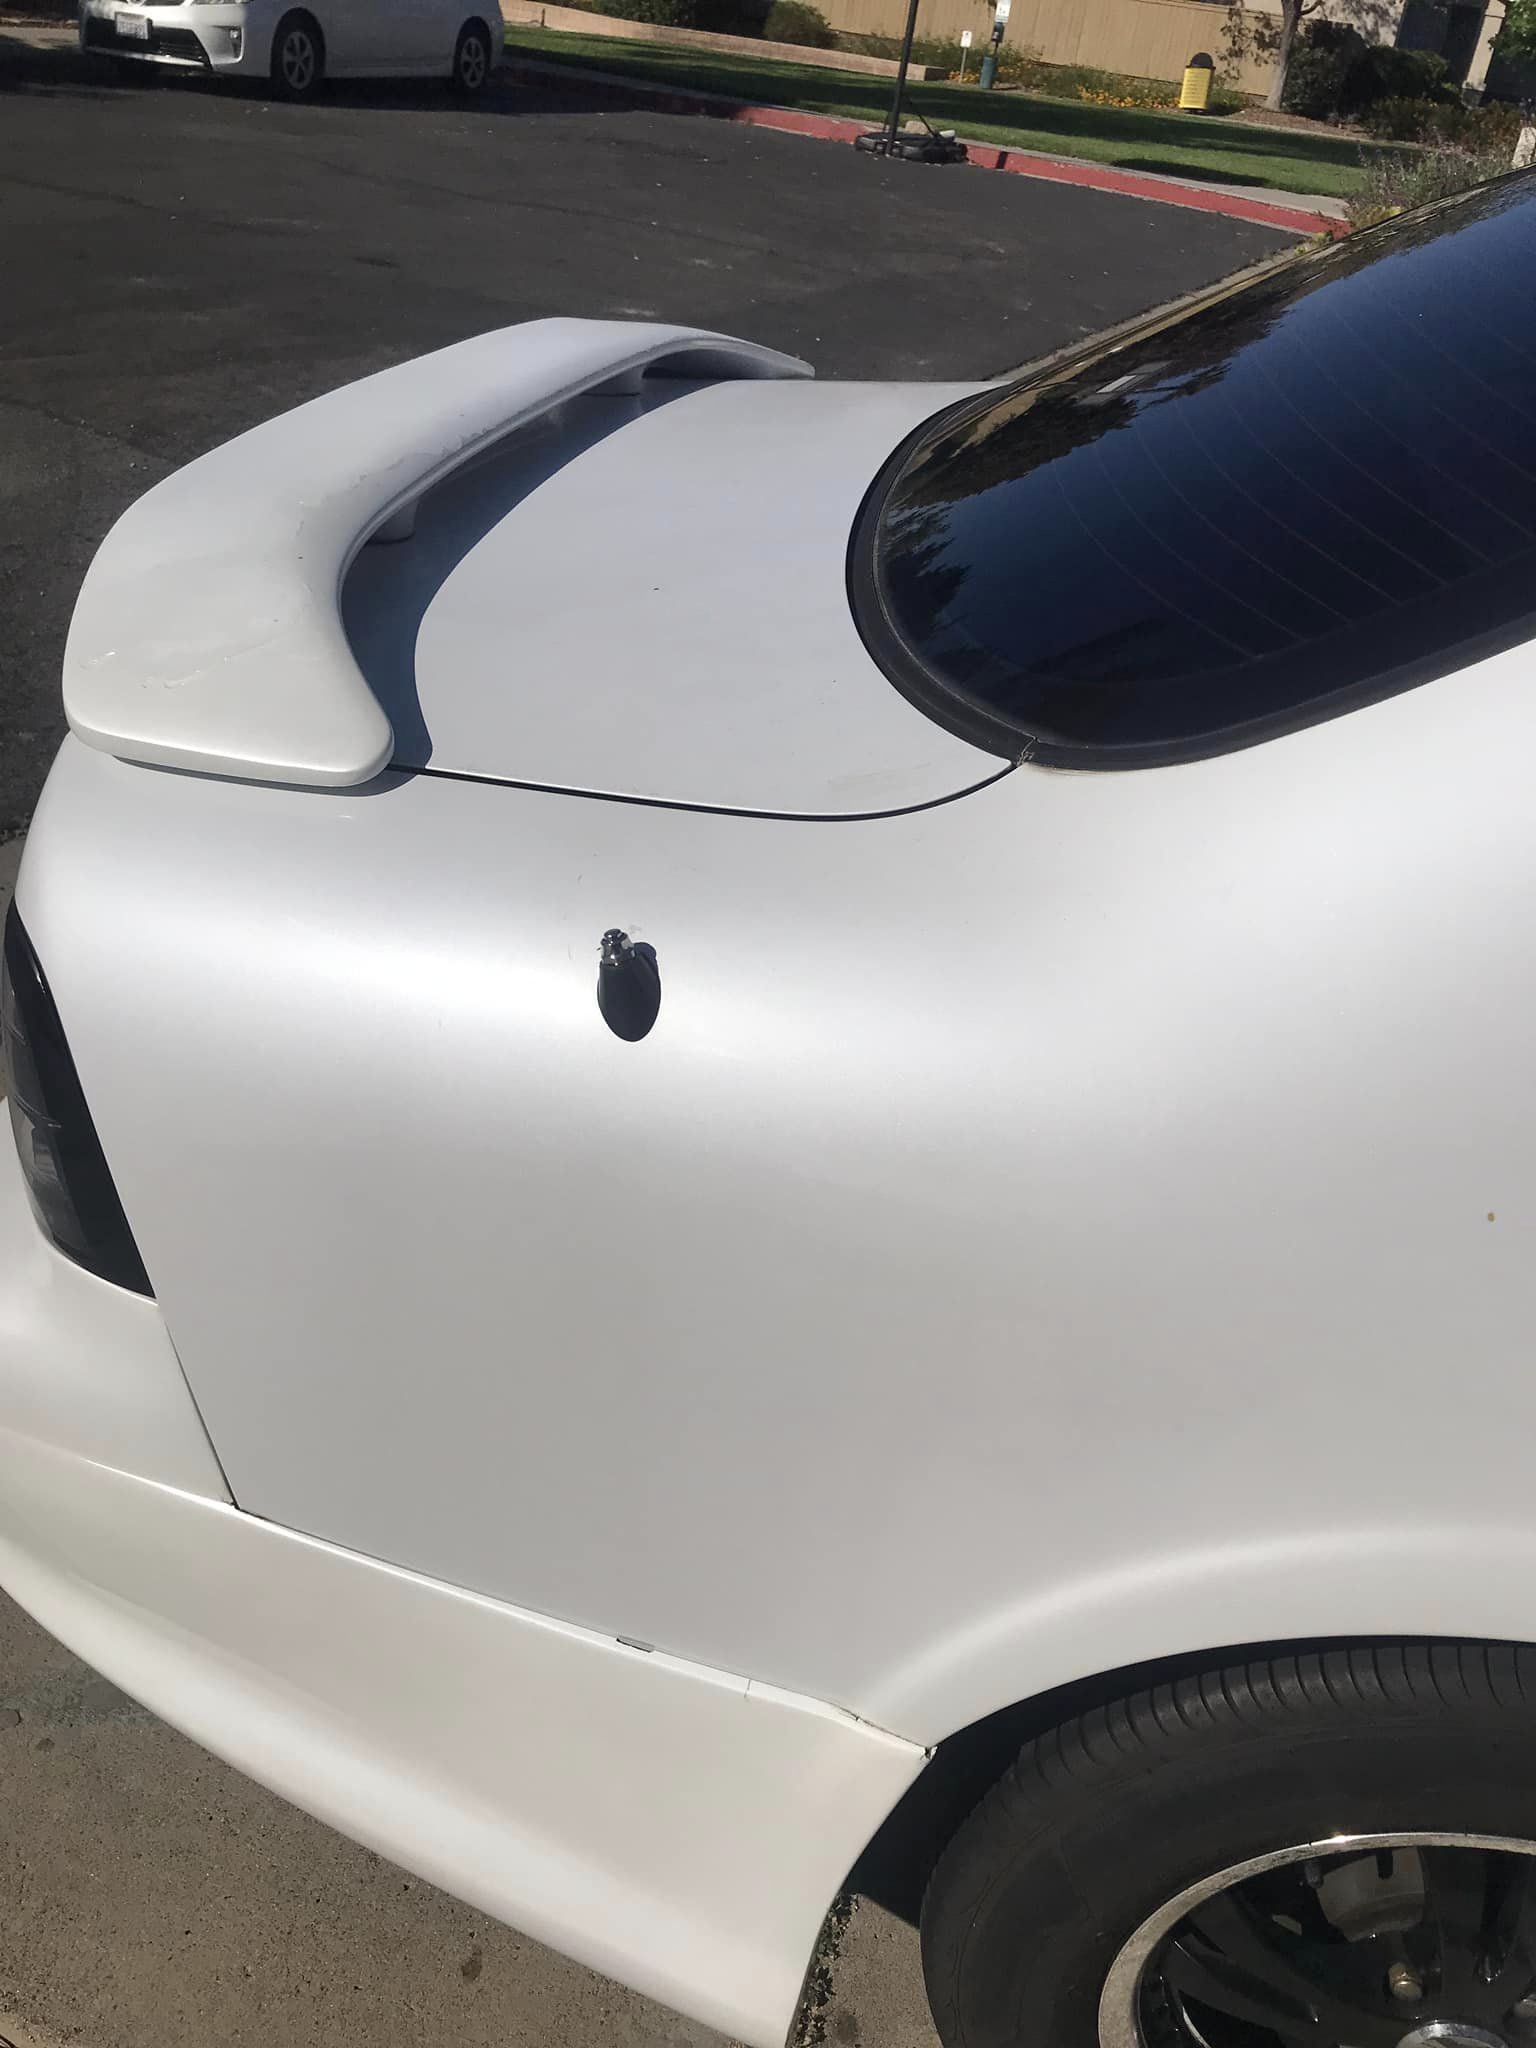
I’m the original owner of this car. She is a 2001 Nissan Maxima SE with an Icelandic Pearl exterior and a Black interior with simulated perforated cloth trim and seats. At the time, I actually had her custom ordered at the dealership, so she wasn’t a dealer-upgraded / price-hiked model that was just sitting on the lot for me to pick.

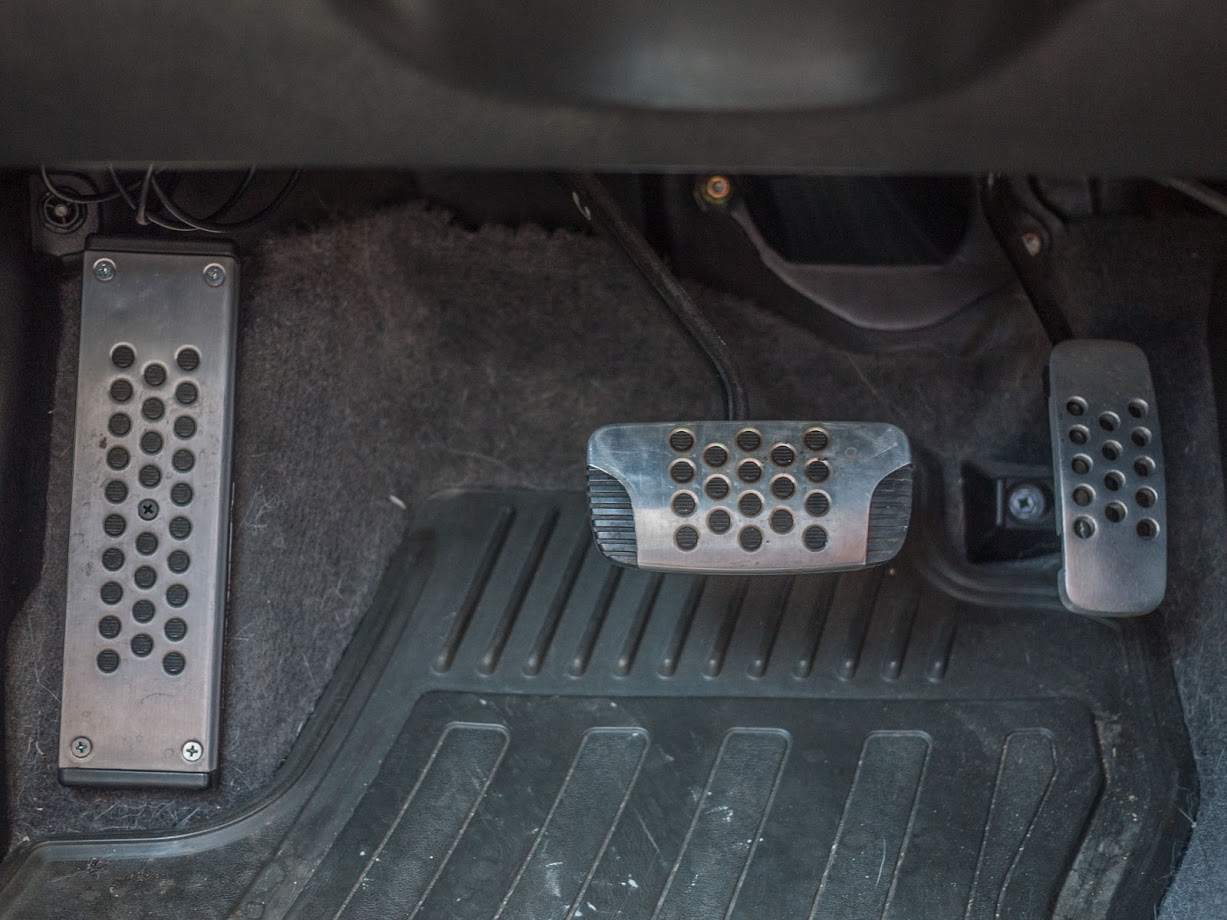
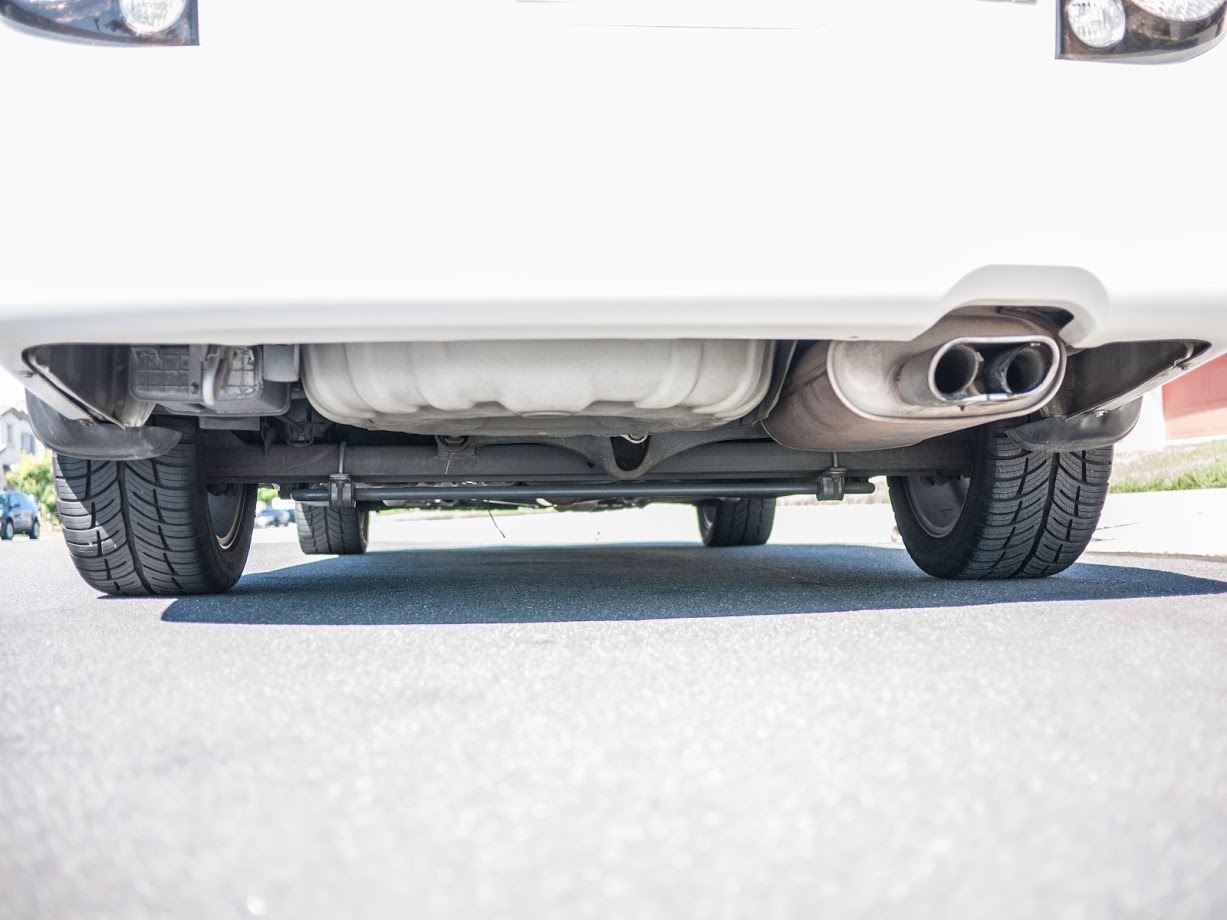
I’ve never really modded her except for a generic FSTB, a Progress rear anti-sway bar, and swapping out the stock 16-inch wheels with the 17-inch ones from that model year. As for interior mods, I have the chrome door sills, OEM rubber floor mats, and 350Z dead pedal with Anniversary Edition pedals. I do have the Anniversary Edition shifter too, but I haven’t been motivated enough to install it. For electronics, I have a GROM Audio adapter which allows me to have Bluetooth while keeping the steering wheel audio controls and a YI 4K Action Camera that I use as a dash cam.


_____

Loading

Credit: Cory Willis

For those that want OEM keyless entry, auto roll down front windows and activating the oem alarm system on their GXE Maxima. This is on a 1996 Nissan Maxima GXE. Thanks to Michael Fernandez for the junkyard parts and OEM key fob. Programming was “interesting” but it finally works.


Loading

Community Member Credit: Eddy

I started having issues with my rear trunk latch life gate on my 2004 Infiniti FX35. It just wouldn’t open. For some time, I was just removing the trunk 15A fuse where it would reset the latch. It would eventually open. But this ultimately got worse. I got tired of taking the fuse in and out whenever I wanted to open the trunk. Also, I really didn’t want to spend $100+ bucks on the part to fix it, so I figured I’d try whatever was out there.

So I tried the solution in this write-up. I won’t take all the credit because I found some info on one of the FX35 forums (member Jim Lee). It took me about 20-30 minutes to do and WOW, everything works again. It’s been a few days now and all works fine. Basically, you turn your motor back to brand new again by following this how-to. The motor has something called a ‘commutator’. It needs to be super clean. When I took my motor out, it was very dirty and black. It is the common issue of the brushed motor. You can Google “Commutator” to learn more about it. 

Update 4/9/2021: This officially resolved my issue. All is good and saved me a bunch of $$$. 

Update 8/25/2024:  I had to repeat the process, but it didn’t work right away. If you run into this, all you need to do is remove the “15A Rear Door Fuse” and then put it back; that should reset it. If the fuse is blown, make sure to replace it.

Commutator Reference Photo:

Summary: I would recommend try this how-to. It will save you a lot of money and it’s very simple to do. The part is about $100 bucks and labor may be another $100 bucks. This was FREE to me and just took 20 minutes of my time. Plus you learn a little about how these things work.

Nissan OEM Part Replacement Information

If you are looking to just replace and not attempt this how-to, below is the information you need to order the correct part for your FX35. Please cross-check the part number to ensure it works for your generation FX35.

Part Description: Motor-Closure, Back Door
Part Number: 90554-AQ000
Price: $124.03

This video below will show you how to remove the plastic covers to expose and take out the latch motor.

How to Fix and Clean Motor “Commutator”:

Original Photo Credit: Jim Lee via FX Forums

After doing the above and taking out the motor, you can follow the steps below:

Take off the 3 screws on the motor.

Pull the shaft out of the housing.

Simply use a terry cloth rag and apply some elbow grease back and forth to clean it.

These were actual pictures of my FX35. You can see how dirty it was as seen above. You can see the green cloth I used.

After cleaning it, it looks like this. Literally brand new again!

Put everything back together. AND NOW EVERYTHING WORKS AGAIN! Before I would have to take out the trunk fuse in order to reset it and hoped it opened. Now it opens consistently with no issues at!!

Motor Reference Photos:

Loading

Credit: Wyatt James

Electro-hydraulic power steering for easier maintenance, cleaner engine bay, and cause race car stuff.

Loading

Credit: Josh Go Hard Neal

Part Description: SIDE MIRROR SWITCH ASSEMBLY
Part Number: 25570-4M410
Price: $27.00 – $35.00

  • Sharing what I found upon my search for a OEM switch to control power folding side mirrors.
    This was installed on my 04 i35.
  • My 98 Max I used the generic push button switch that came with the mirrors.
  • Switch works for mirror adjustment as it should but orientation of switch is vertical vs horizontal as you will see in vid.
  • Also the power fold switch is a rocker switch so if ya want to use a aftermarket rocker switch that will work fine like what Eddy Perez shared https://www.my4dsc.com/universal-toggle-switch-for-cefiro-mirrors/
  • Nissanparts.cc was the cheapest I found and it’s just a Nissan dealer in WA which had the best price vs other dealers if ya Google search the part number 25570-4M410.

This appears to come from OEM ’99-’02 Nissan S15 Power Mirror Control Switch.

Videos:

New OEM Switch 25570-4M410

Generic Switch that comes with Mirrors

Loading

Community Member Credit: Eddy

I wanted to add a sequential shift light to my 2002 Nissan Maxima. After doing some research, I decided to go with the Ecliptech Shift-P2 Shift Light Light. Pretty simple and straightforward to install. I ordered it from the link below and these guys shipped it out super-fast. Would recommend ordering from them if you choose to go this route. It was super easy to install as well.

Order Link: https://flyinmiata.com/products/ecliptech-shift-p2-shift-light?variant=43356833251583
Price: $219.00

Shift-P2 - Ecliptech

Benefits:

  • You get smooth and consistent anticipation of your shift point.
  • It reduces driver workload and fatigue, both in sprint races and endurance events.
  • It provides drivers with reference points for performance.
  • You can achieve consistent staging RPM for standing starts & launches – so no more watching the tacho on the start line!
  • In enduro events, you can manage your fuel by short-shifting at an indicated point below the peak RPM.
    You can improve your lap time consistency and get up to speed at new tracks and with new suspension setups faster.
  • Eliminate unnecessary engine/transmission wear by keeping the RPM within the range you want, without bouncing off the limiter.
  • A good progressive RPM display can give you what you don’t have… a gauge in your peripheral vision showing the range of RPM you’re interested in! It gives you a reference for improving performance and building on skills. For example, maintaining staging RPM while concentrating on race start, smooth anticipated shift points and maintaining corner entry pace.

Installation:

  • RPM (Blue) –> PIN 34 on ECU (Green/White Wire)
  • Switched 12V (Red)
  • Ground (Black)

ECU Pinout:

Demo Video:

Product Feature & Walkthrough from Manufacturer

Loading

Community Member Credit: Eddy

Out of nowhere, I noticed that the trunk on my FX35 was not fully closing. Initially, I thought the actuator was toast and I would need to replace it. When you get the lock, you should be able to hear the trunk latch engage. I wasn’t hearing.

I did some research and found a quick solution. I removed the 15A – BACK DOOR fuse for 30 seconds and plugged it back in. After that, the trunk was opening and closing fine. I may have to replace the actuator soon but at least the trunk is closing. I was worried someone could just randomly open it and take stuff from the trunk.

Hope this helps anyone who has the same issue.

If you need to replace the actual, I found the following information. Adding it here for future reference.

Photo of Actuator


Loading