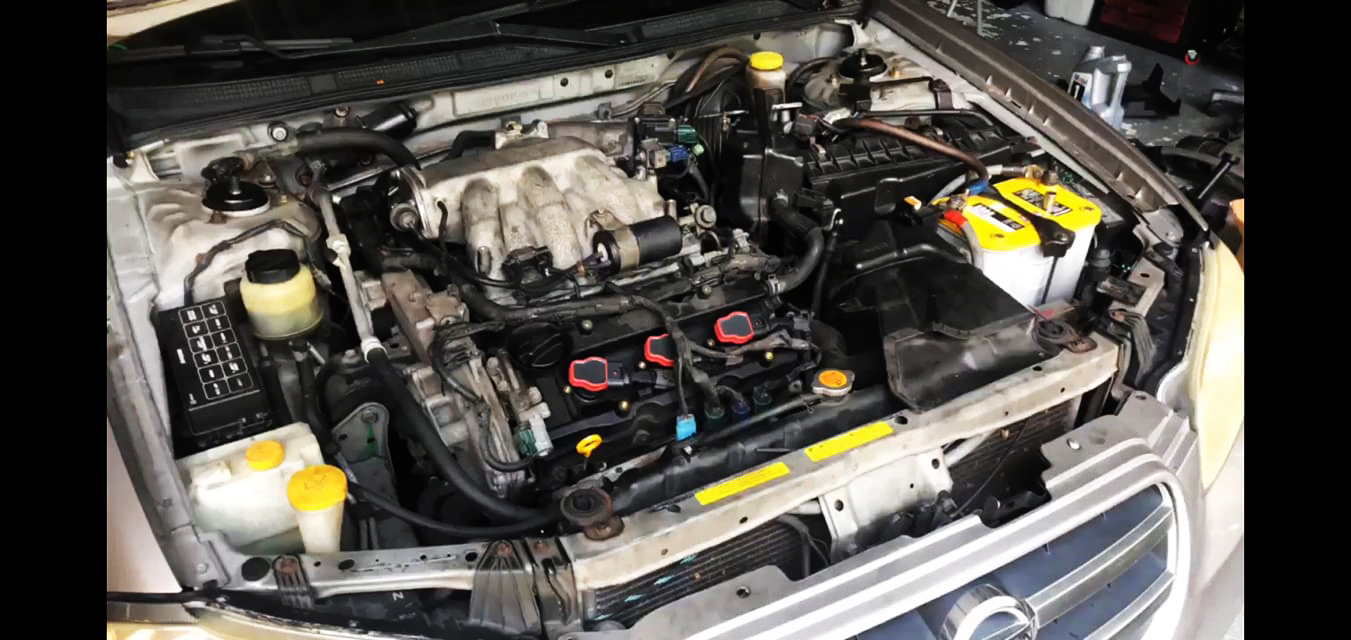
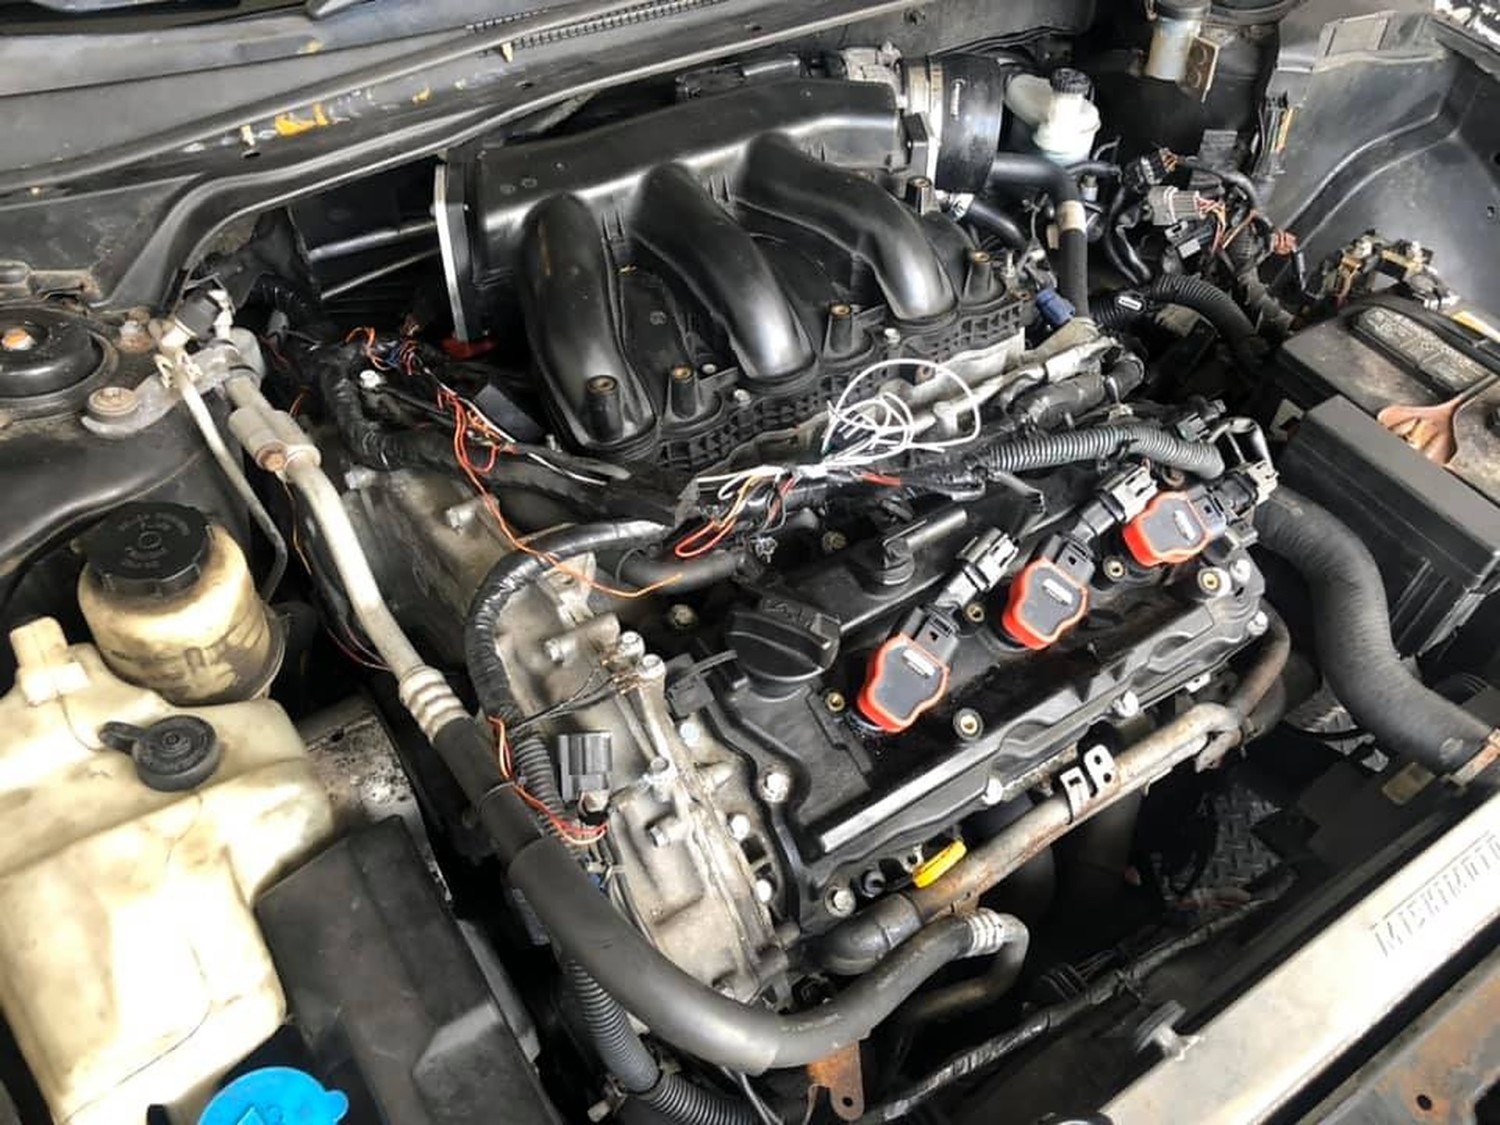
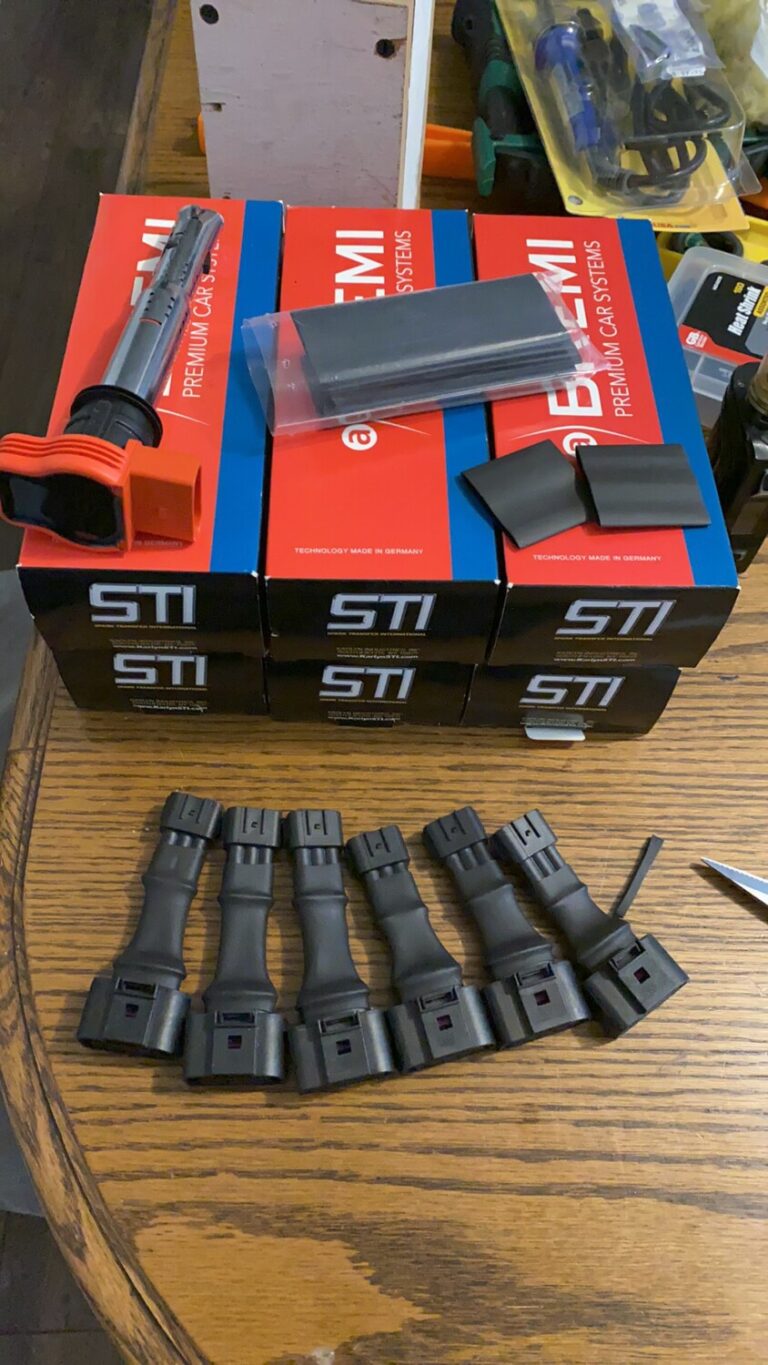
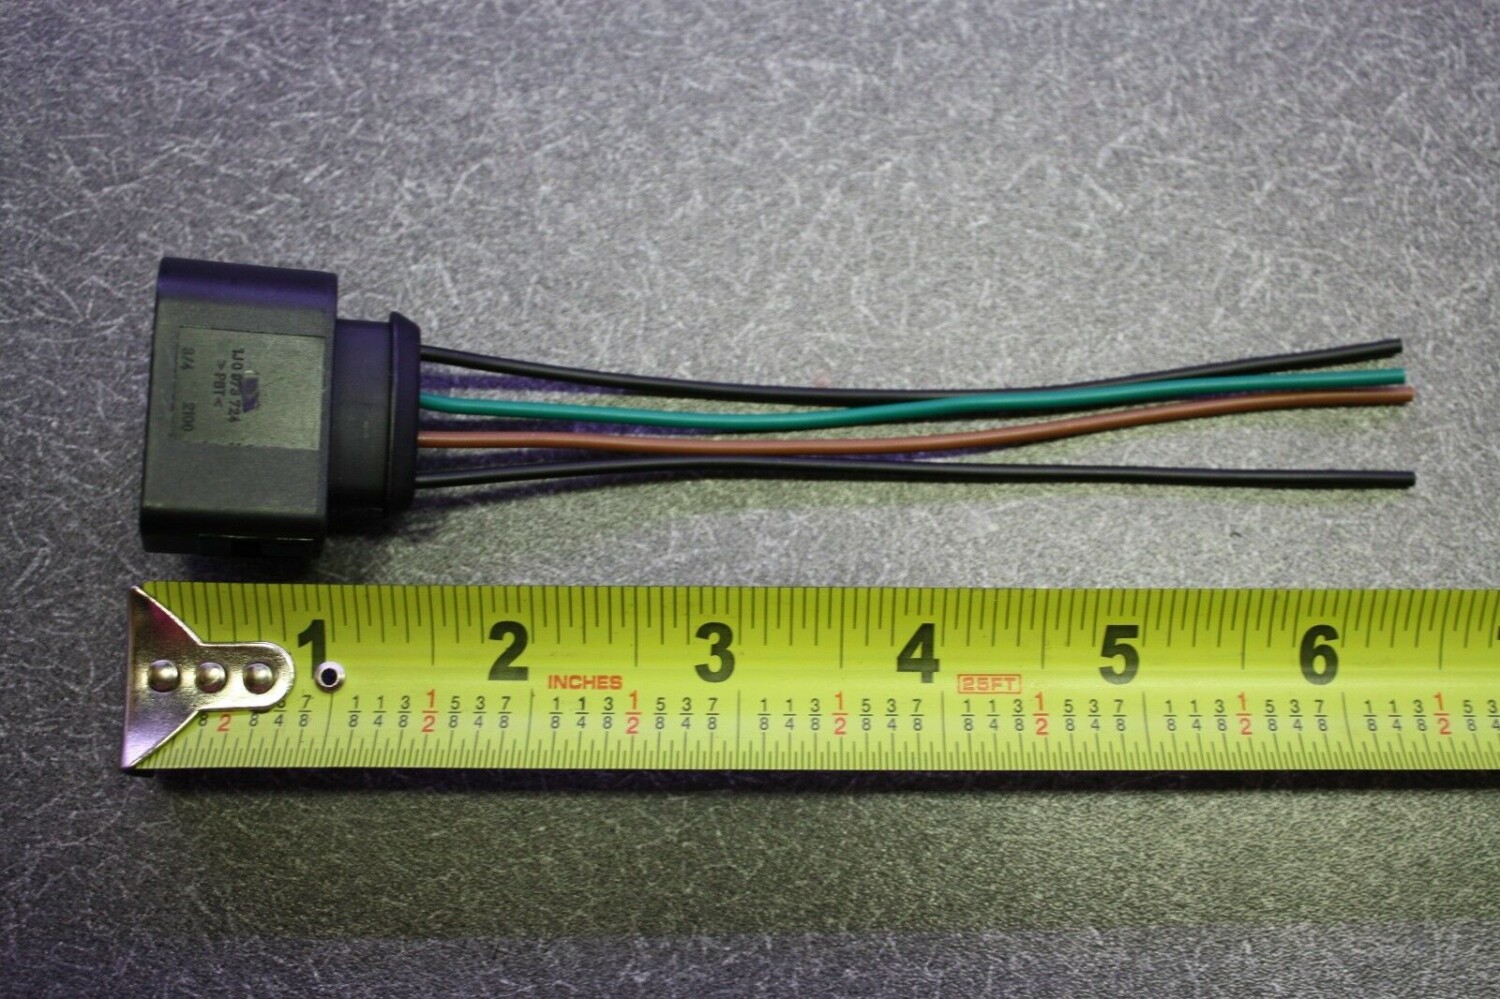
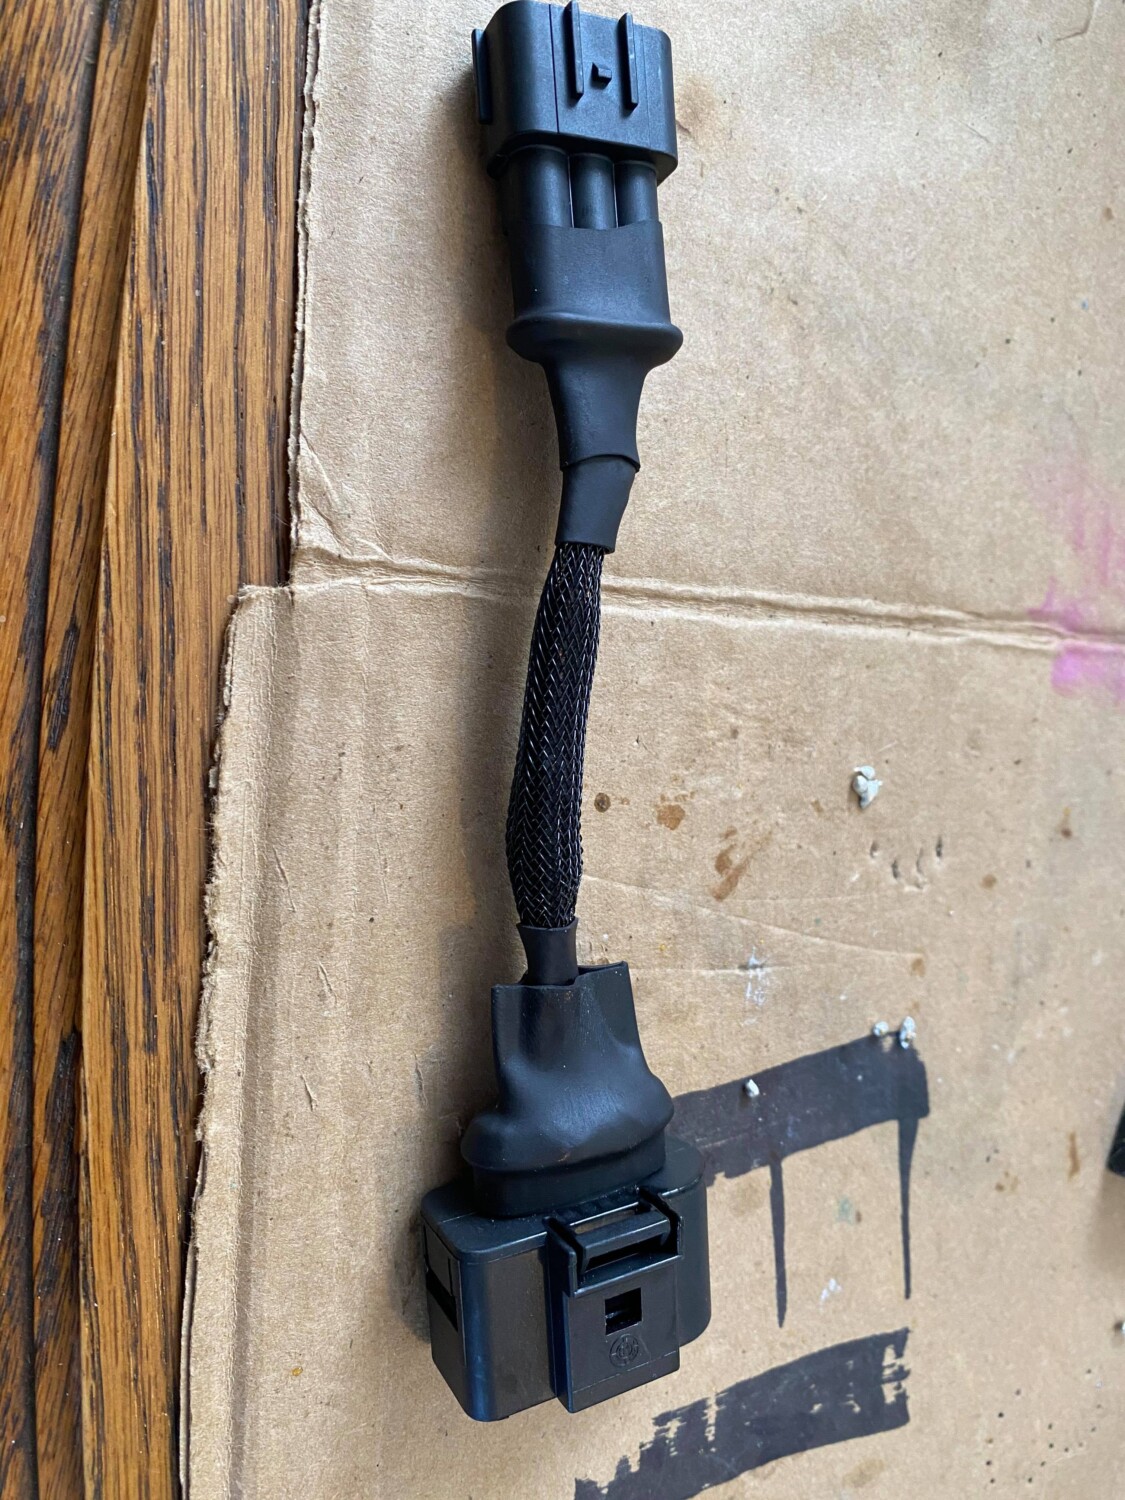
This write-up will help you make your own Audi R8 Coil Pack connectors. This version is very nice and clean. You can also hit up Nathan Davis on Facebook if you would like for him to make you a set.
Important Note: On the VQ35DE (2002-2008), you will need to use NWP Spacers for the Coil Packs to sit properly. The Gen2 VQ35DE (2009+) do not require spacers. You will also need the adapters to plug them in or make your own by splicing directly.
Part Description: 6x Male Connector 3-way for Mazda Ignition Coil UF540
Price: $44.99
Additional Items:
1” by 4” Heat Shrink
Terminal Crimpers
Heat Gun
Wire Strippers
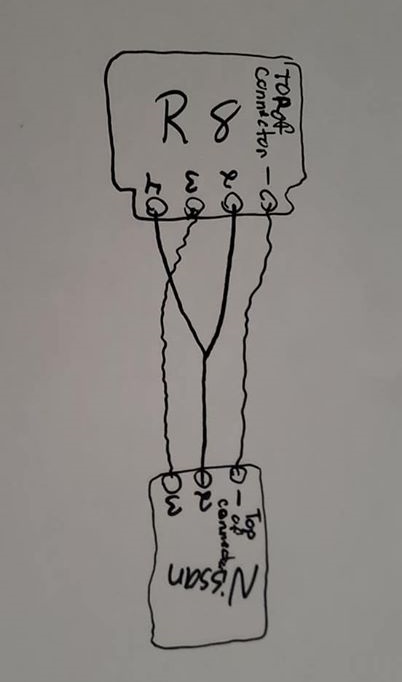
Wiring Diagram
Connector Soldering
Final Product
Installation Photos
Audi R8 Coil Pack Advantages:
50,000 volts compared to Nissans/Infiniti 30,000 volts.
Some measure it with Kv so Nissans coils put out 21Kv while VW coils put out 30Kv
Quicker Heat dissipation. (Because of its metal body construction it can quickly dissipate heat. Nissan OEM body is made out of rubber that isolates heat instead of disperses it.)
More complete burn of the fuel mixture compared to OEM Nissan which equals to better MPG.
Idle Stability Improved
NO CEL (Check Engine Lights)
BEST PART ABOUT THEM IS THEY ARE CHEAPER $$$ than Nissan OEM yet they are much better.
Looks 10000% Cooler than OEM Coilpacks
Now the coil packs price varies due to different name brands. They range from $132-$216 for a V6 engine. Below is the link of the coil packs below so you can see the prices and brands. Doesn’t matter which brand you use. They all make the same exact power.
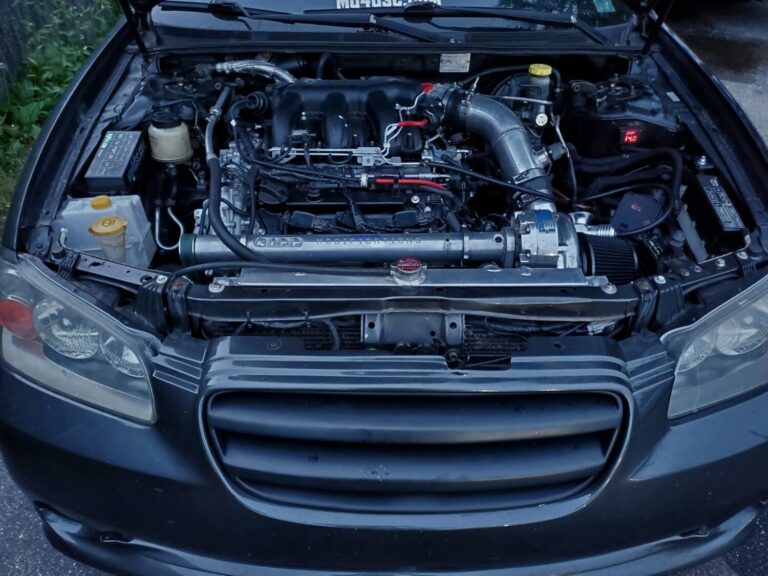
My SPAL fan recently had an issue due to some wiring that made contact with the headers. It caused the two wires coming out of the fan itself to touch and it ended up ruining the fan motor. So this time around I decided to go with the SPAL 14″ 1864 CFM fan. Primarily because its a little smaller in size and give me a little more clearance with my 5thgen Maxima supercharged setup. The CFM is good enough. I also have a small 10″ fan as well (not SPAL) but just as a backup.
Make sure you use a good relay (at least 40 AMP) before connecting directly to your OEM harness.
Fan Part Number:30102042
Fan Price: Between $120.00 -$140.00
Specs:
Model: 30102042
Airflow CFM: 1864
Profile: High Performance
Blade: Curved
Push/Pull: Pull
Height: 15.04″
Depth: 3.45″
Width: 14.45″
If you don’t use a good relay like the one above, this will happen (Photo Courtesy of Javon Bennet)
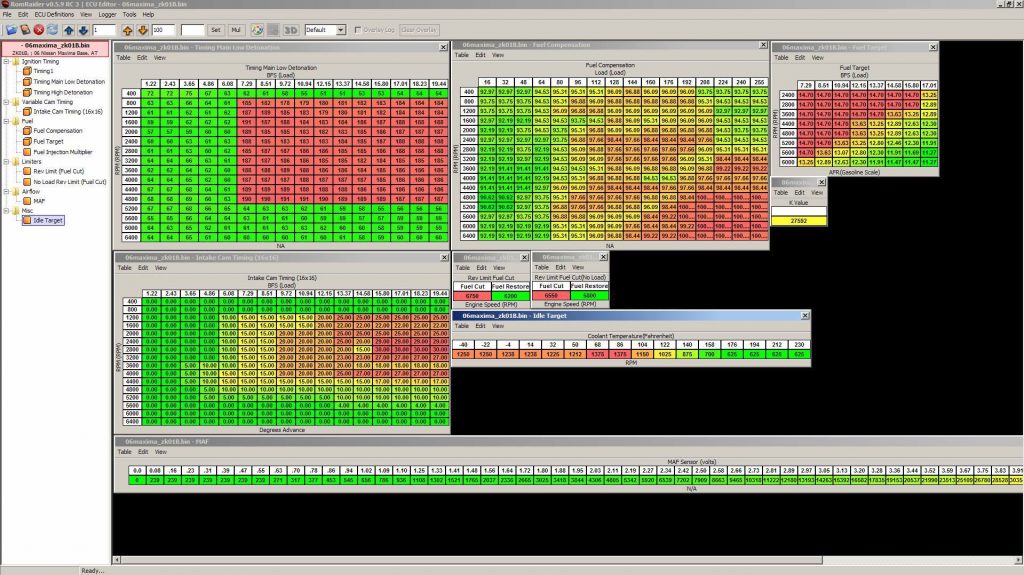
For all you hardcore Nissan/Infiniti enthusiasts, there is finally an open-source solution that allows you to modify and flash ECUs! With a $10 VAG-KKL cable, you can basically flash your own ECU and tune it your to personal comfortable without breaking your wallet. The average tune costs roughly $600+ these days. Since you’re modifying the ROM yourself, there’s no vendor lock-in and you are free to do what you need and want. Great for those who have knowledge of tuning and want to tune their own vehicles!
Applicable Vehicles:
2000-2001 5thgen Nissan Maxima
2003-2003 5.5gen Nissan Maxima
2004-2008 6thgen Maxima
2009 7thgen Maxima
2002-2004 Nissan Altima
2005-2006 Nissan Altima SE-R
2003 Infiniti G35
And various others……
Links to Tool/Software that you will need (Click links to Download):
You will need to buy an OBD2 KKL VAG-COM 409.1 USB Cable. It costs $10 or less.
It’s all based on the ROM size. If the ROM size is 512K then you should use the 7055_35 kernel. If the ROM size is 1024K then you use the 7058 kernel.
Cars Tuned on ROMRaider / Nisprog
5.5 Gen Maxima Tuned by AdminTuning VQ35 Bolt Ons
Shaquille Jenkins 5.5 Gen Maxima Gen2 VQ35DE
Trevon Walters 4thgen Maxima Hits 11.77 (All Motor) Gen2 VQ35DE
Which ECUs Will This Work On?
Most gasoline Nissan / Infiniti ECUs from ~ 2002 onwards share very similar ECU hardware, based on SuperH microcontrollers manufactured by Renesas (previously Hitachi). This project supports ECUs that use the OBD-II “K line” signal for diagnostics communications.
How Does the Reflash Process Work?
The process is carried out entirely over the OBD-II “K Line” serial communications link through an undocumented set of manufacturer-defined extensions to the standard ISO14230 protocol. Recently, the necessary commands have been reverse-engineered revealing the required steps:
Establish connection to the ECU.
Send the first stage data payload: this is the “kernel”, a simple program that will receive commands and data for the reflash.
Make the ECU run the kernel. From this point on, the kernel runs from RAM and effectively takes control of the whole ECU.
Send the reflash commands and new firmware data to the kernel.
Reset the ECU: the new firmware will now be executed, and the kernel will be completely removed.
Kernel Features
The basic kernel is an implementation of an ISO14230-compliant protocol with extensions. It implements the following requests:
Fast ROM dump (tested up to 5.4 kB/s; typical speed is ~100 B/s without a kernel)
Read ROM/RAM/external EEPROM
Write to RAM
Erase flash ROM block
Write flash ROM block
Requirements
The basic reflashing kernel will support gasoline ECUs with:
SH7055 or SH7058, 0.18um microcontrollers (the most common types)
K line wired to the OBD-II connector pin 7
Unfortunately CAN-only ECUs are not currently supported.
Host computer:
OS: Linux and Windows are known to work; Nisprog is based on freediag source code which is cross-platform and should run on most Linux/UNIX flavors.
Connectivity: a simple USB-OBD adapter is required. These are the “Generic dumb serial adaptors” described in the freediag docs.
OBD2 KKL VAG-COM 409.1 USB Cable
Limitations
There are several important points to be aware of when using Nisprog:
The ECU is a safety-critical system in a car. Reflashing an ECU can void warranties, reduce the vehicle’s reliability, and cause a whole variety of undesirable consequences. Use of this project and any associated tools (freediag, Nisprog, etc) is of course entirely at the user’s risk. Standard disclaimers apply.
Reflashing an ECU may be illegal in some areas. Responsibility in this matter lies again with the user.
Diesel ECUs are not supported, they are entirely different.
Tuning and modifying ROMs are complex skills that can only be acquired through significant investments of time and effort!
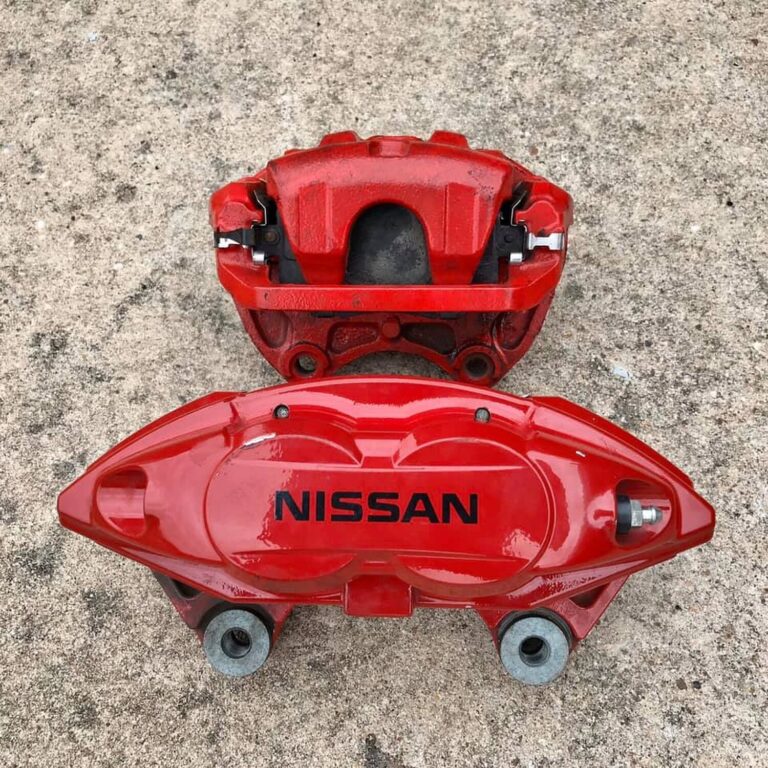
Until someone can TRULY engineer perfect Akebono brackets that bolt on to front Altima with zero modding needed, I only recommend this to people who are mechanically inclined, are willing to DIY, and go through some trial and error and use your intuition. Z1 motorsports 300ZX Z32 to Akebono adapters totally work but only for the DIY-enthusiast willing to modify them and spend some hours in the garage. Caliper lugs have to be shortened 6.85 mm to almost flush with the bracket. Also sleeving 14 mm bolt hole for 12 mm bracket bolts. Plus grinding a recess in the bracket for CV joint clearance.
Z1 Motorsports Akebono Front Brake Bracket Kit (300ZX)
Description: The Z1 Motorsports Akebono Front Brake Brackets are intended to mount the Sport model, Akebono Brake Calipers from the ’09+ Nissan 370Z or ’08+ Infiniti G37 Sport onto your 300ZX.
Each Z1 Akebono Brake Bracket Kit includes two black, hard anodized aluminum front brackets and all necessary hardware to properly install the calipers onto your ’90-’96 Nissan 300ZX. Designed and tested extensively in house, these are the best brackets on the market with the most even pad sweep. Our unique single piece design also makes installation a breeze. In addition, the one piece bracket design also means our brackets are more rigid than other pieced together kits on the market. These brackets do not require any additional machining or modification of the caliper itself in order to complete the installation.
Installation & Write-up
Rear is perfect install on knuckle with NO ADAPTER needed. No fuss no muss. You need the rear 370Z akebono calipers, rear 370Z rotors (I got Centric 120.42101 blanks), rear 370Z pads (I got Carbotech 1521 pads), Altima Stainless Steel Lines and you must specify the Akebono banjo bolts for these lines!
Perfectly centered, no shims necessary.
All 4 brackets were spaced for rear. Returned them and bought the Z1 adapters.
Z1 300ZX Z32 to akebono adapters. Quality 1 piece design. Altima front mount is 14mm and 300ZX is 12mm so some modding will be needed.
Re-drilling and tapping from 12 mm to 14 mm requires precision fixturing for diameter control as well as perpendicularly to existing holes, something I can’t do at home. Therefore I’ll sleeve the knuckle lugs with 1 mm shim stock coiled into a split bushing to eliminate any slop when mounting the adapters with 12 mm.
Axial positioning of calipers is outward approximately 1/2 inch. The alignment would probably be right on if the adapter thickness positioned calipers at the original lug surface. I suspect the 300ZX knuckle had a different offset.
Caliper lugs have to be shortened 6.85 mm to almost flush with bracket. Some other people who had issues with mounting 300zx brackets said they needed a few washers to space out the bracket from the knuckle and shave the top crevice of the caliper for the rotor to spin free A few washers adds up to what I did. I ended up using two slightly thicker OEM caliper bolt washers (6.85 mm total) and it seems to provide perfect centering
Sleeving 14 mm bolt hole for 12 mm bracket bolts. Plus grinding a recess in bracket for CV joint clearance. Should fit even better
At the local fastener store and got automotive grade revised bolts (didn’t have the proper lengths on hand)
Some pad overhang is negligible and at the pad is at the OD where it belongs. Swept area doesn’t cover full rotor radial which must be by design and still has massive capacity that will not get hot unless you’re at the track.
For front rotors, I am using are Lancer EVO X Centric High Carbon rotors which are 13.78 inches instead of 370Z’s 14 inch. There was controversy that 370Z rotors wouldn’t fit so I got the Mitsubishi ones. Doesn’t matter, they are same thickness and everything just 0.2 inches less diameter – never gonna make a difference.
Finally got the fronts centered and mounted. Had a problem with bracket interfering with caliper reinforcing rib when torquing down final assembly and had to disassemble and do more minor bracket mods.
I finally finished installing my last mod. For a while I’ve been searching for a shift light indicator, but nothing as big as a Monster Tach or anything that would make the car look ricey. My idea of a shift light was something that would be small and inconspicuous.
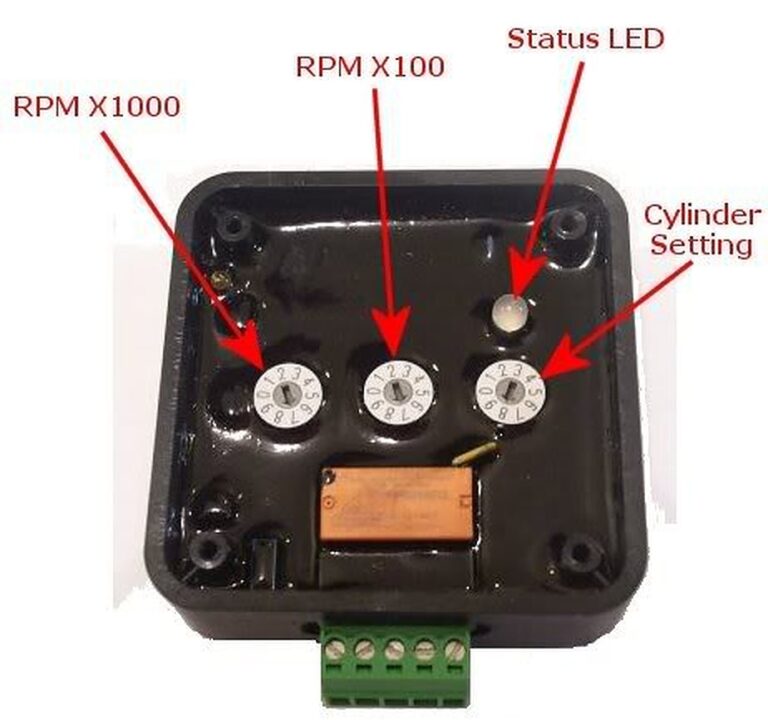
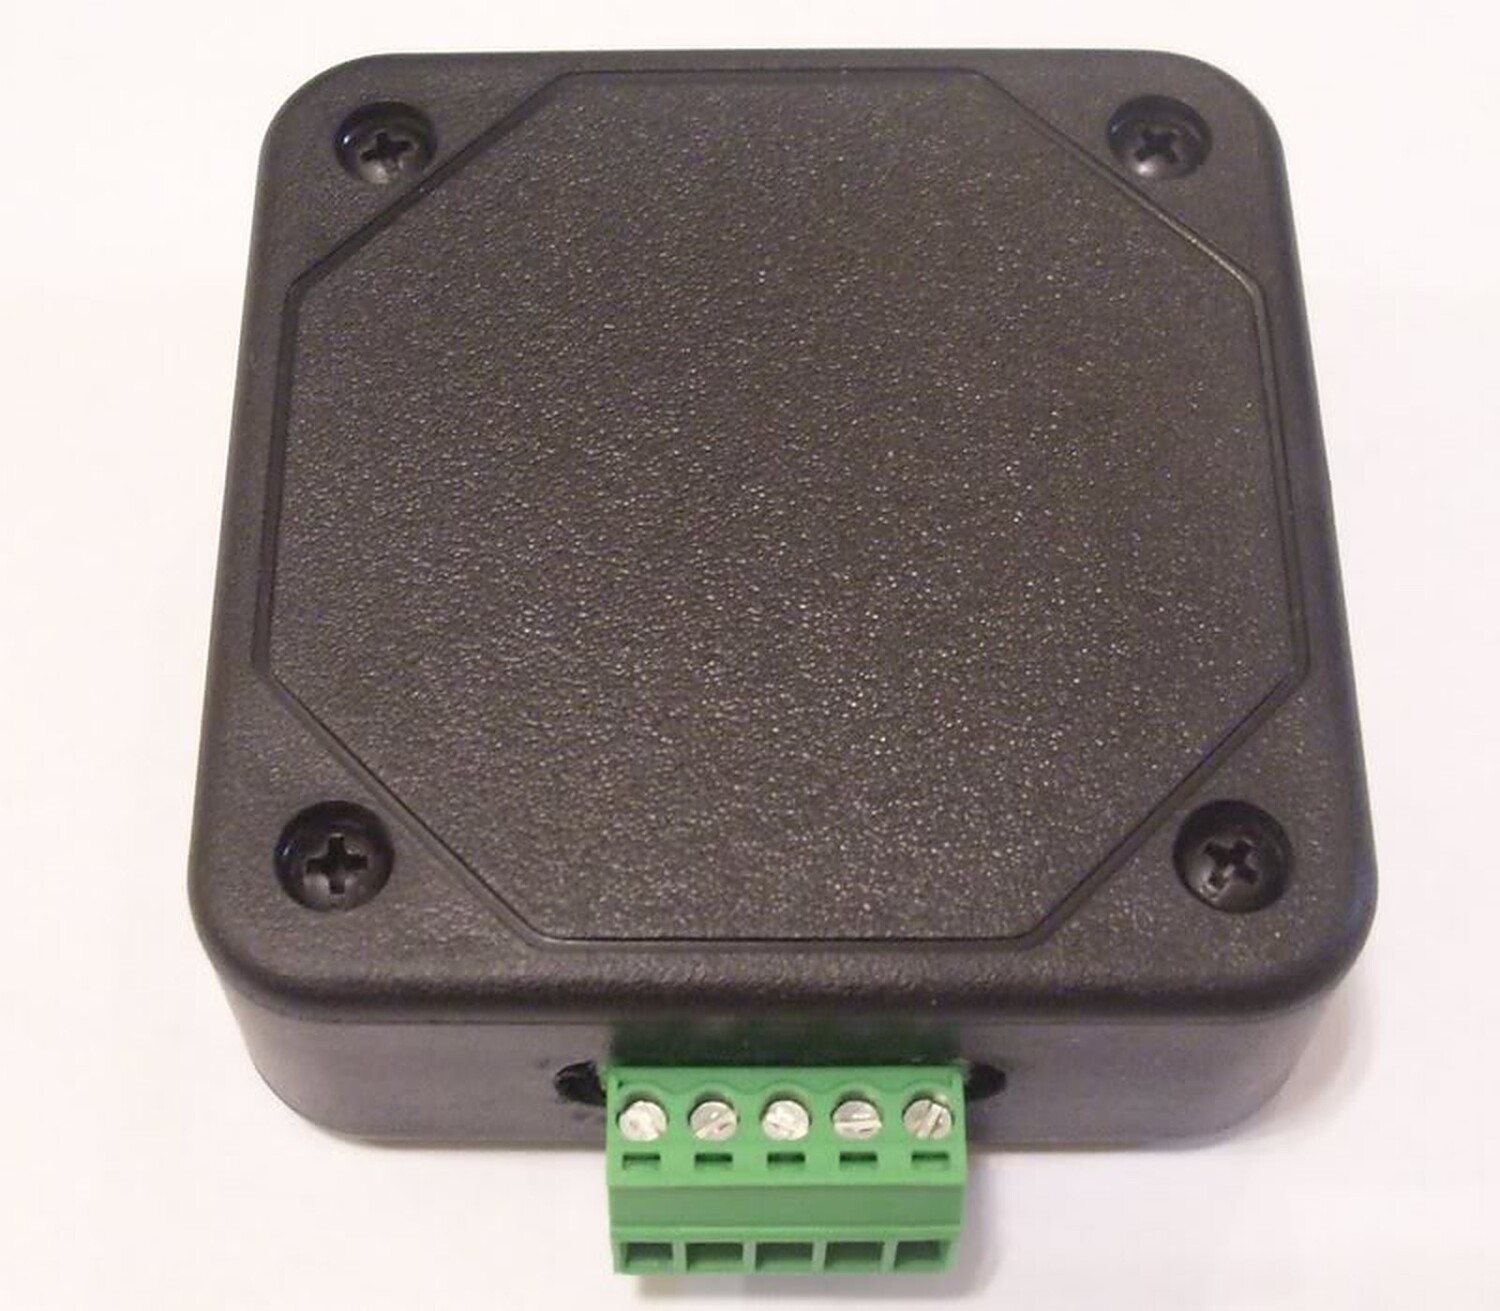
I came across a shift light module from Raptor Performance that allows you to connect a single L.E.D or more. The module is small and can be hidden under the dash and the L.E.D or L.E.D’s can be mounted anywhere in the car. With this module you can have a shift light that is not noticeable and does not take up any space or block your view like a monster tach.
Here are the instructions on how to install the shift light. The total install time was 1 hour and quite simple.
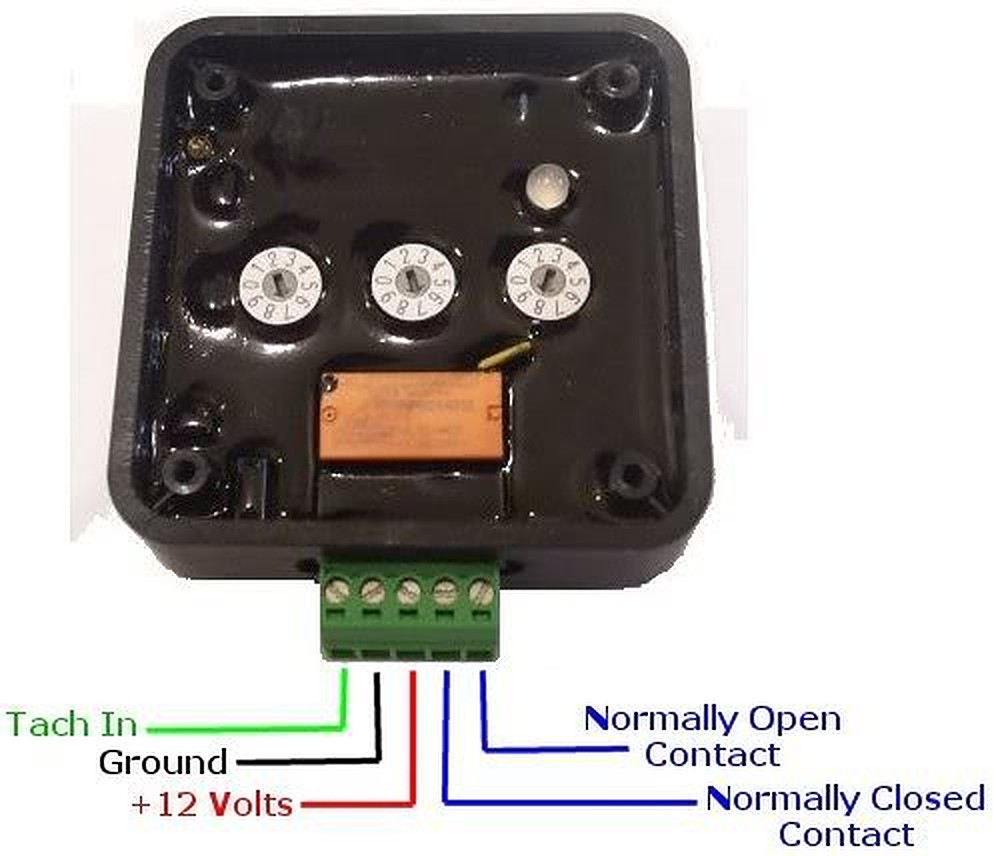
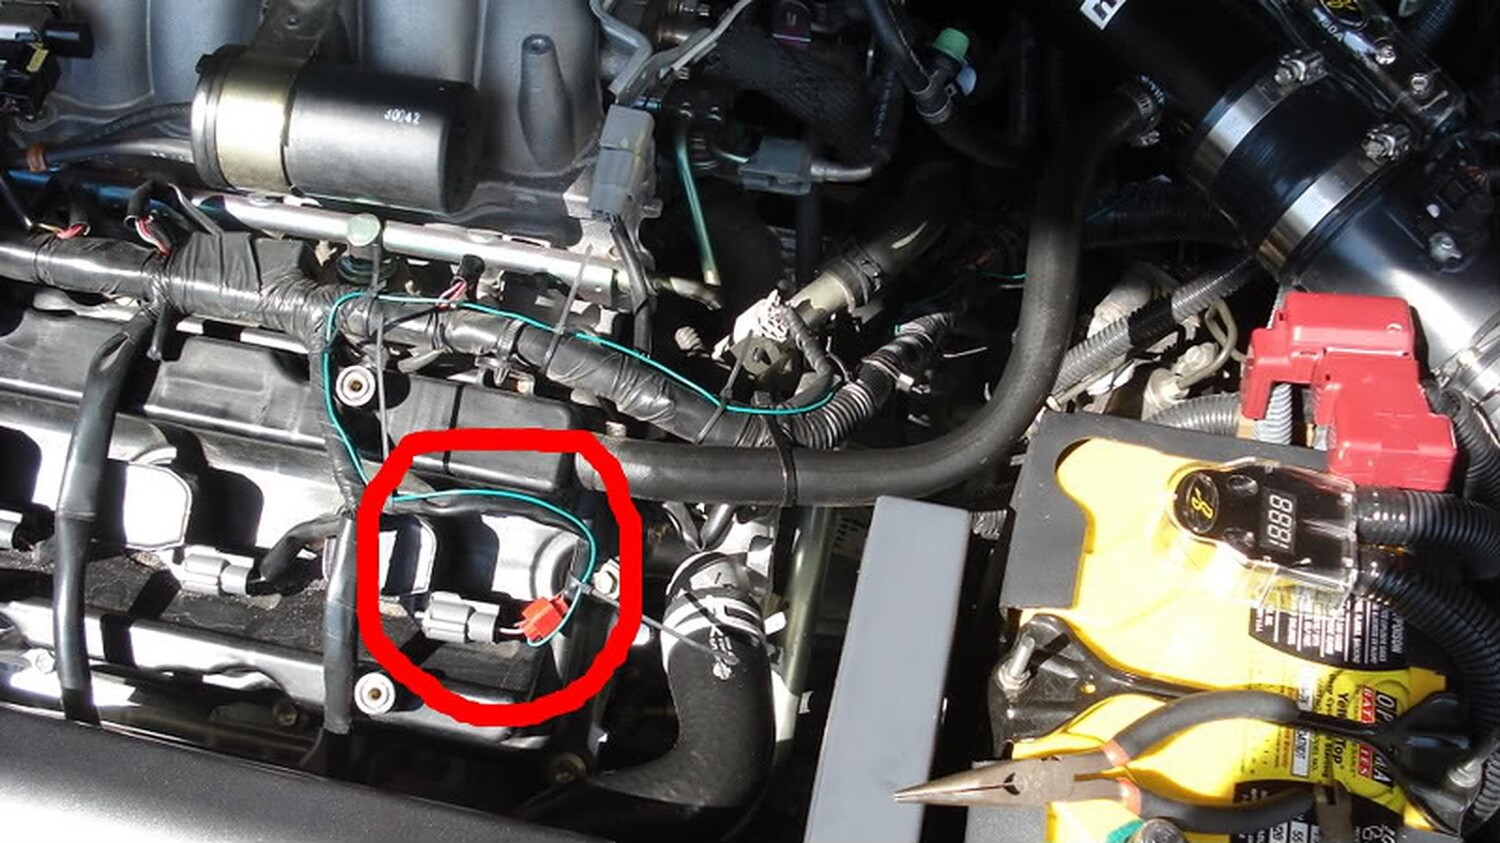
The green wire connects to the tach signal. In our cars this can be found at any ignition coil. Each coil has three wires running to them. Each coil has a red and black wire and the third wire is of a solid color with a stripe. Below is the color configuration for each coil
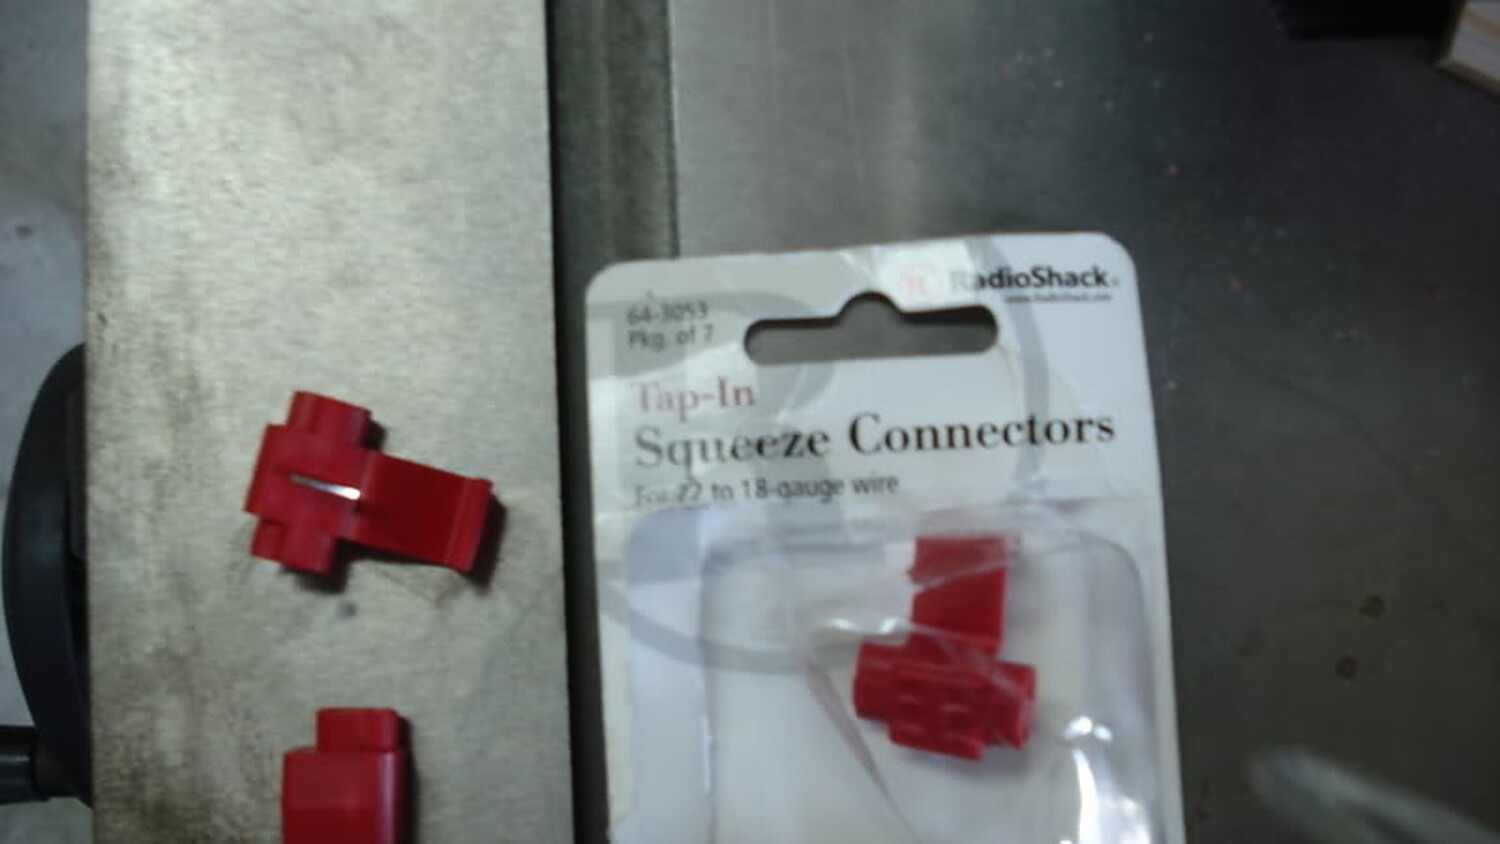
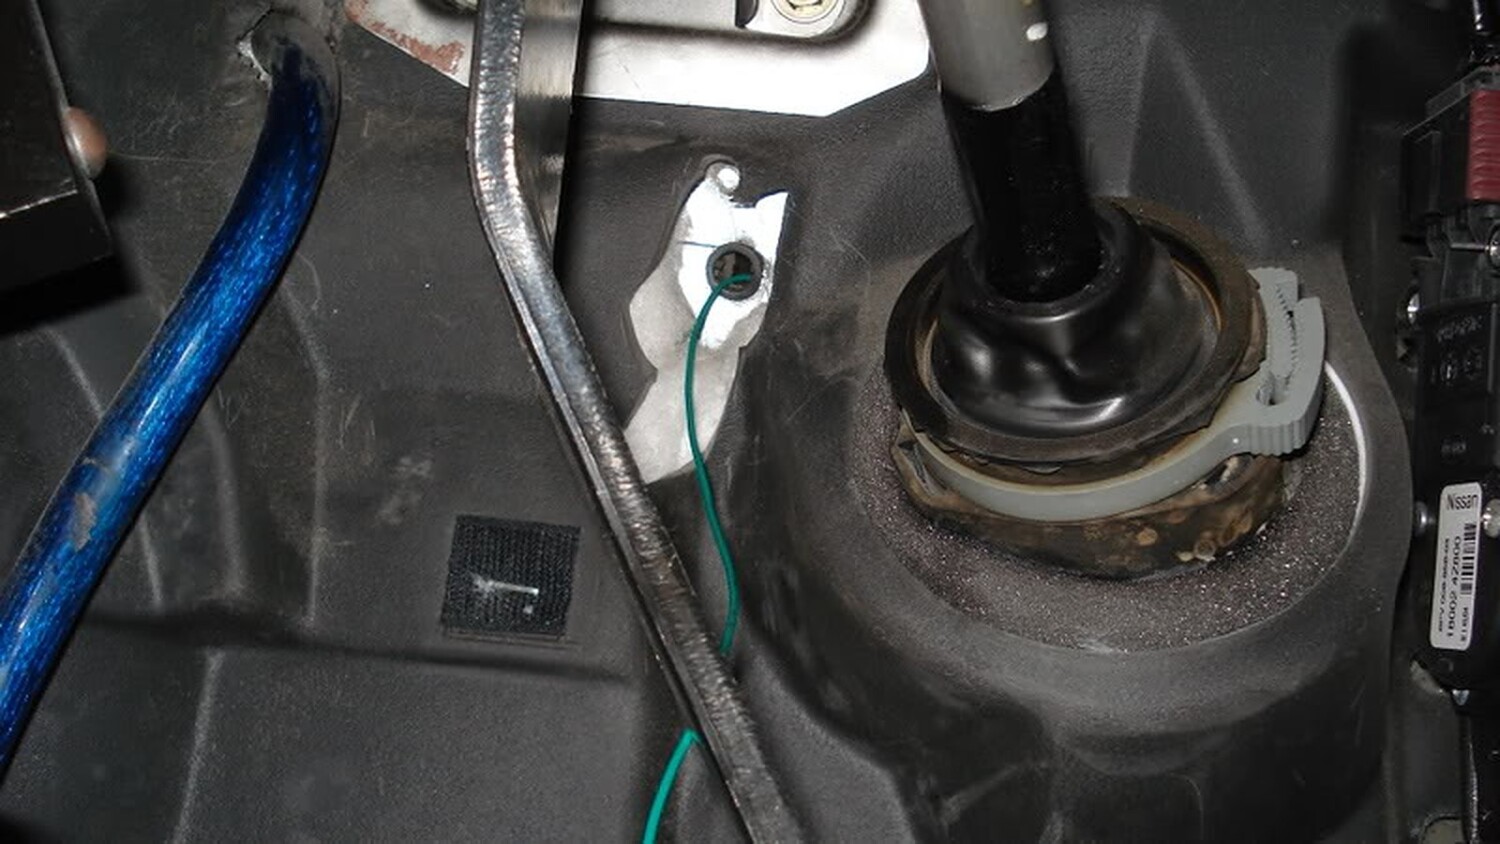
I tapped the Grey/Red wire with a 22 AWG wire tap and ran a 22 AWG wire into the cabin.
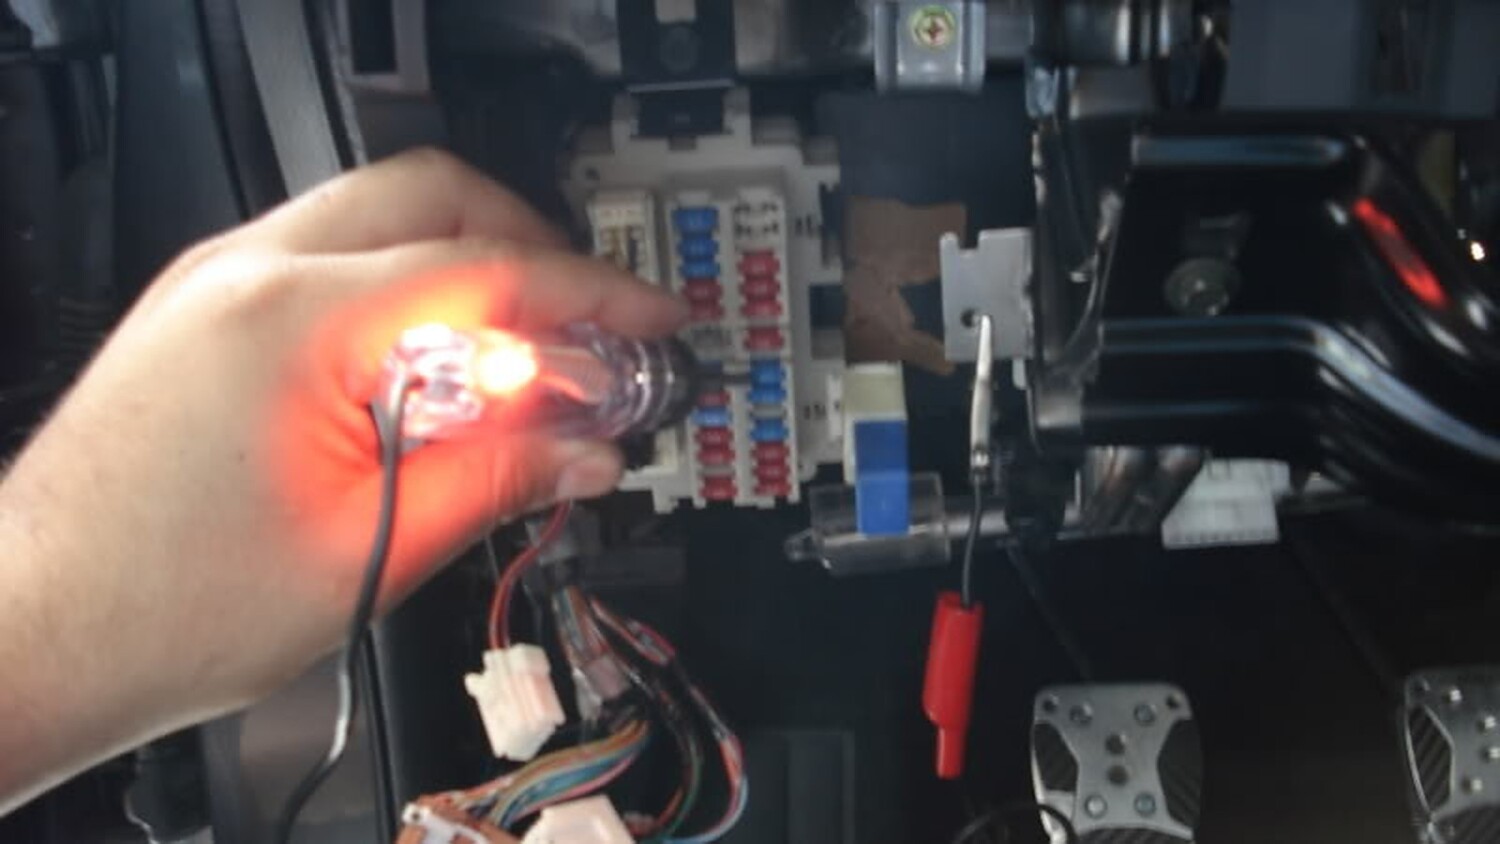
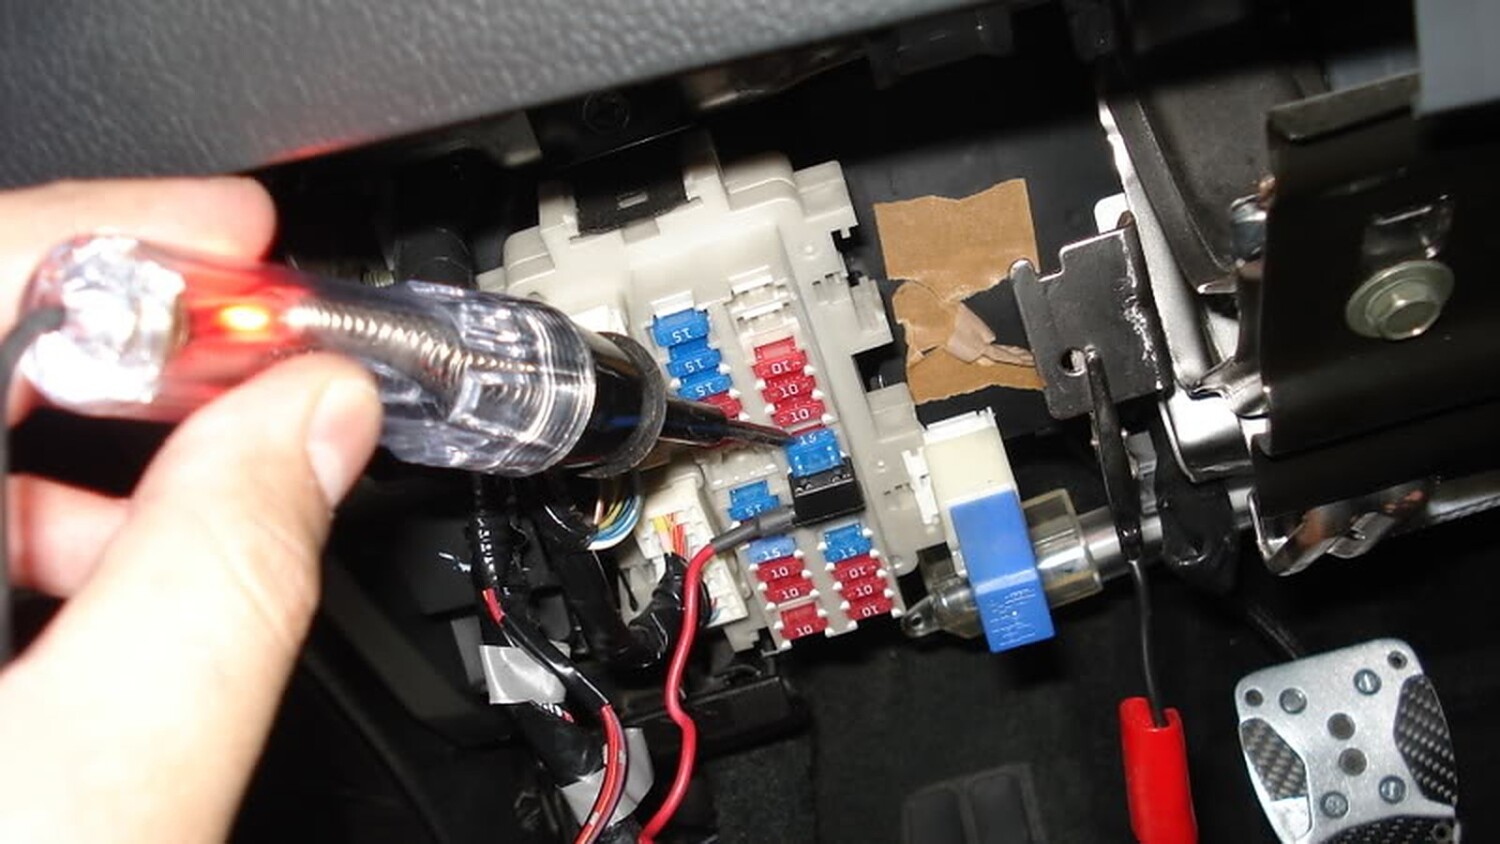
Once I finish running the other end of the wire through the firewall, the next step was to find a 12 volt source and ground. For my 12 volt source I choose the fuse for the rear power sockets
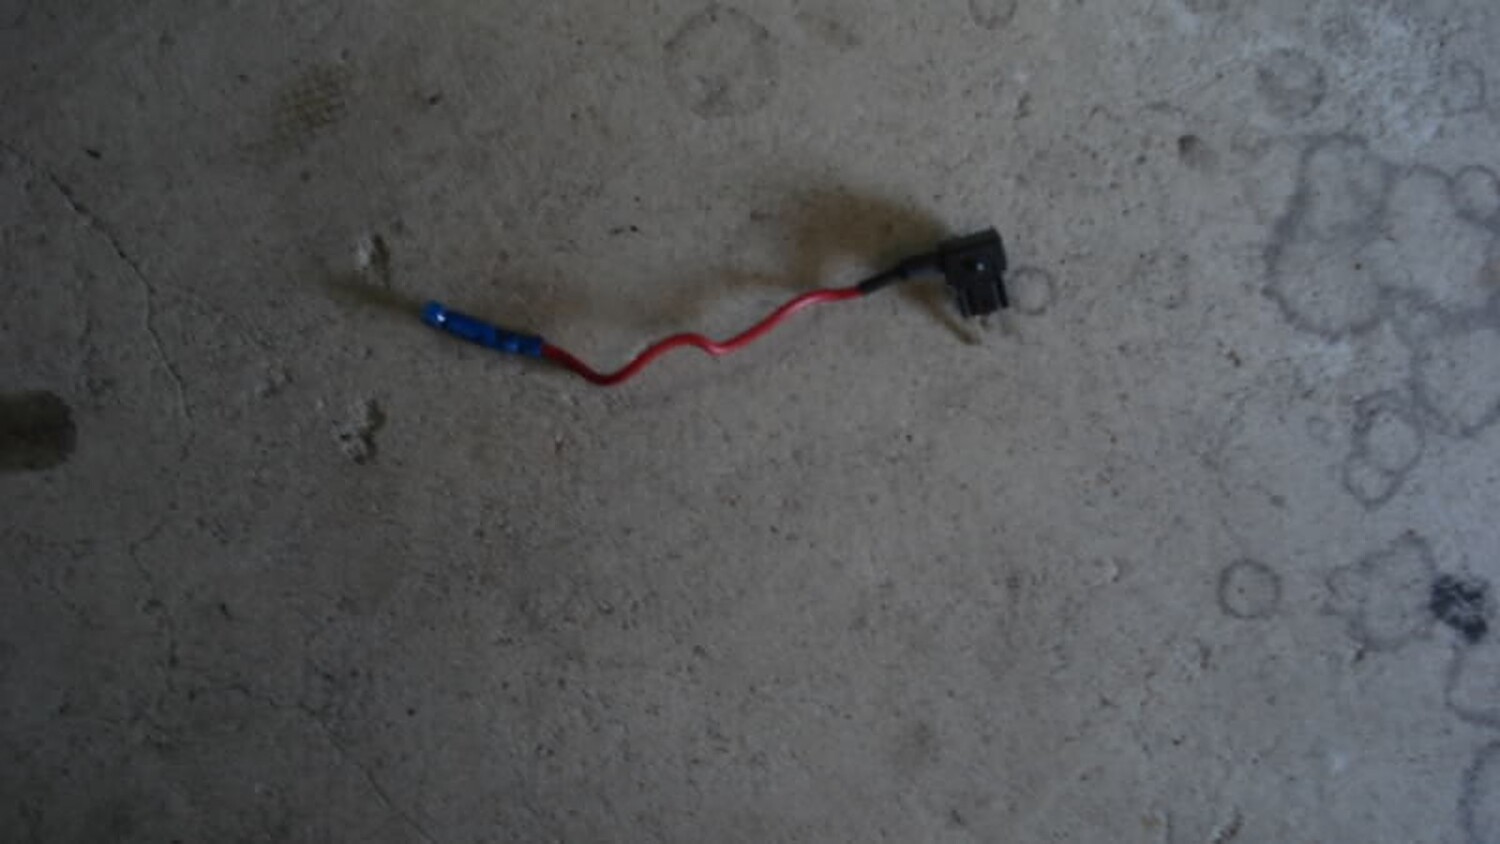
In order to use that same fuse I added a fuse tap
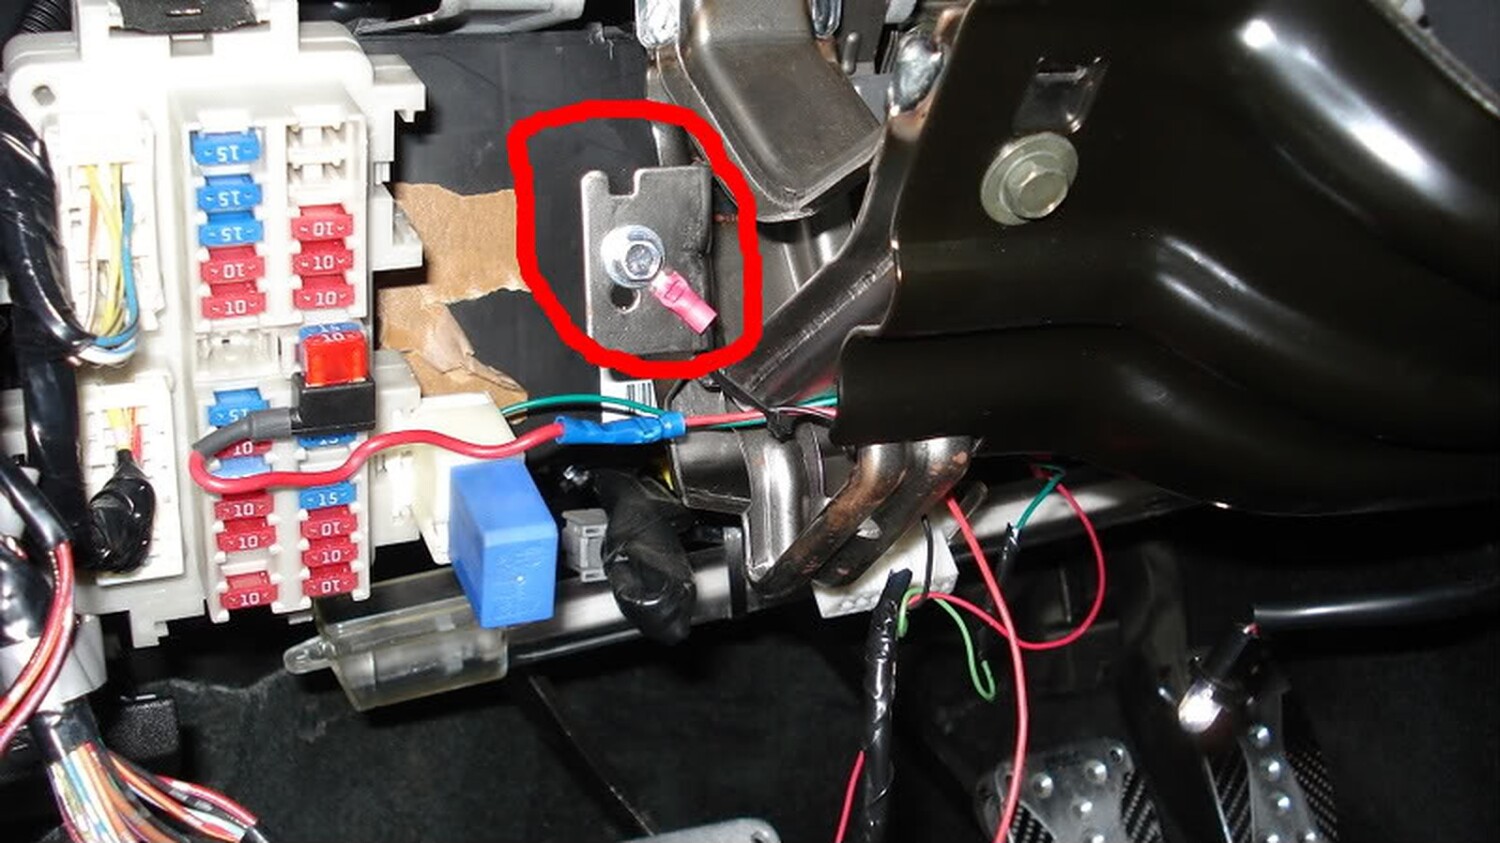
The tap has two slots to add fuses. One slot is used for the original fuse to work with the rear power sockets and the other is used for my new 12 volt source (tack module). Next step was to find a good grounding point
Now with the ground, 12 volt source, and tach signal connected we can now tap these wires into the harness that comes with the module. The harness has a green, red, and black wire. Green is for the tach signal and of course red for 12 volt and black for ground. The L.E.D ground will connect to the Normal Open Contact (see below ).
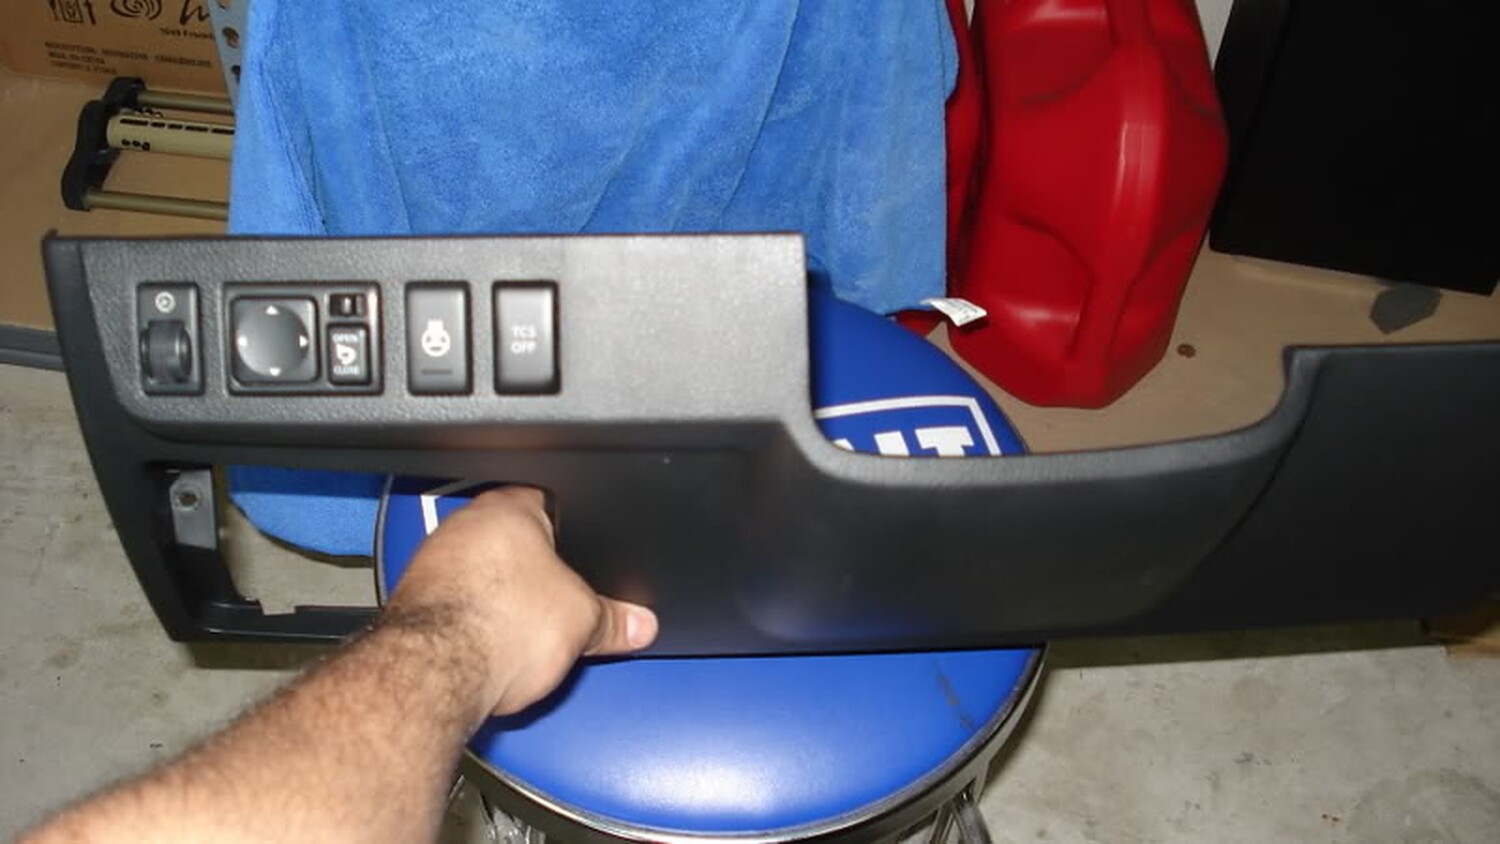
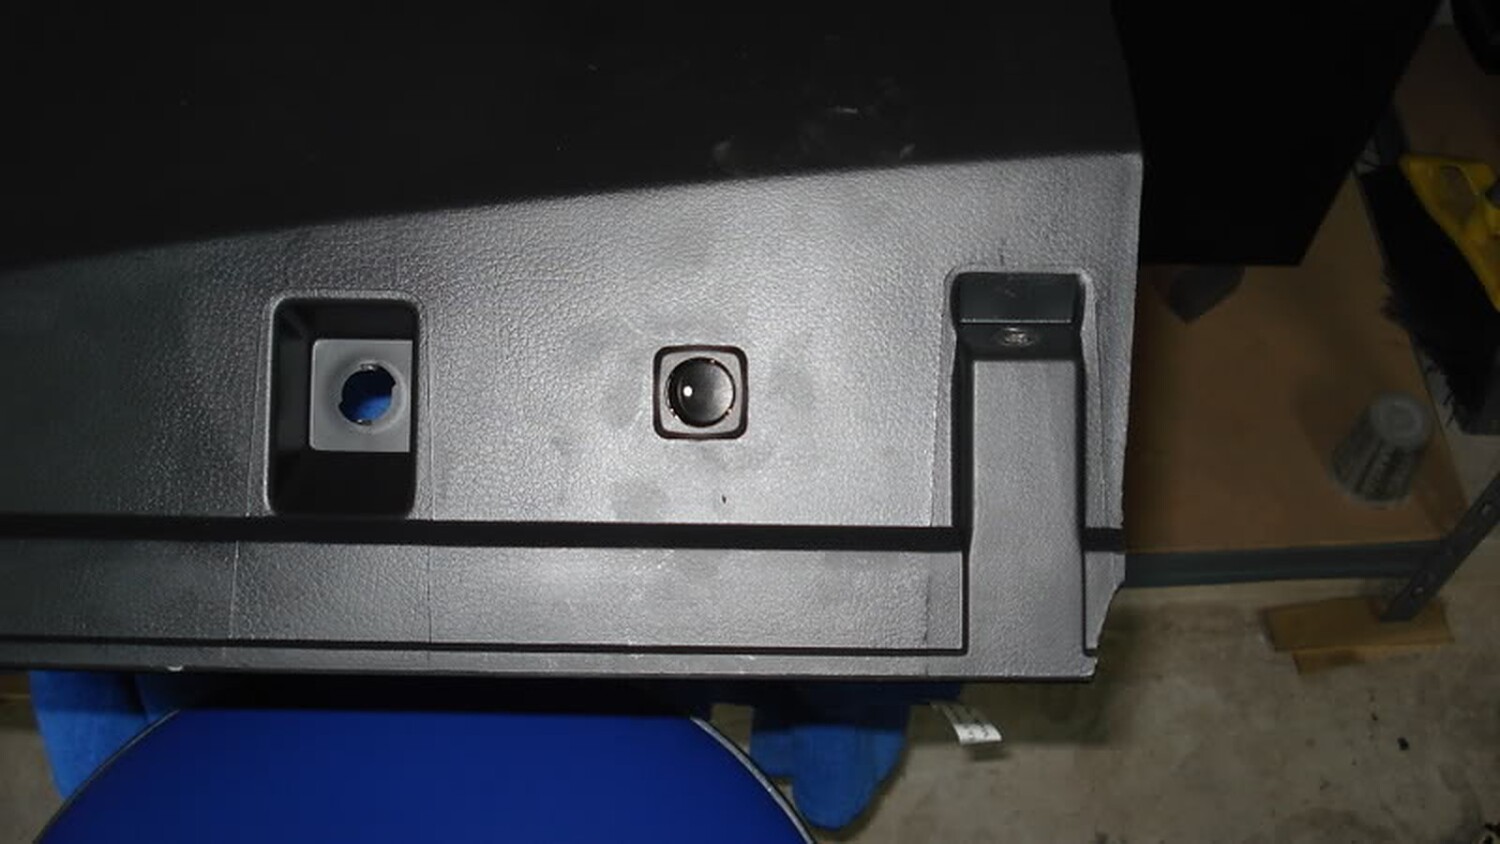
Now with the ground, 12 volt source, and tach signal connected we decided to install a switch so that I can turn on and off the module. I mounted the switch on the bottom of the panel below next to where the courtesy bulb connects. The 12 volt source from the fuse box connects to the switch and from the switch to the module.
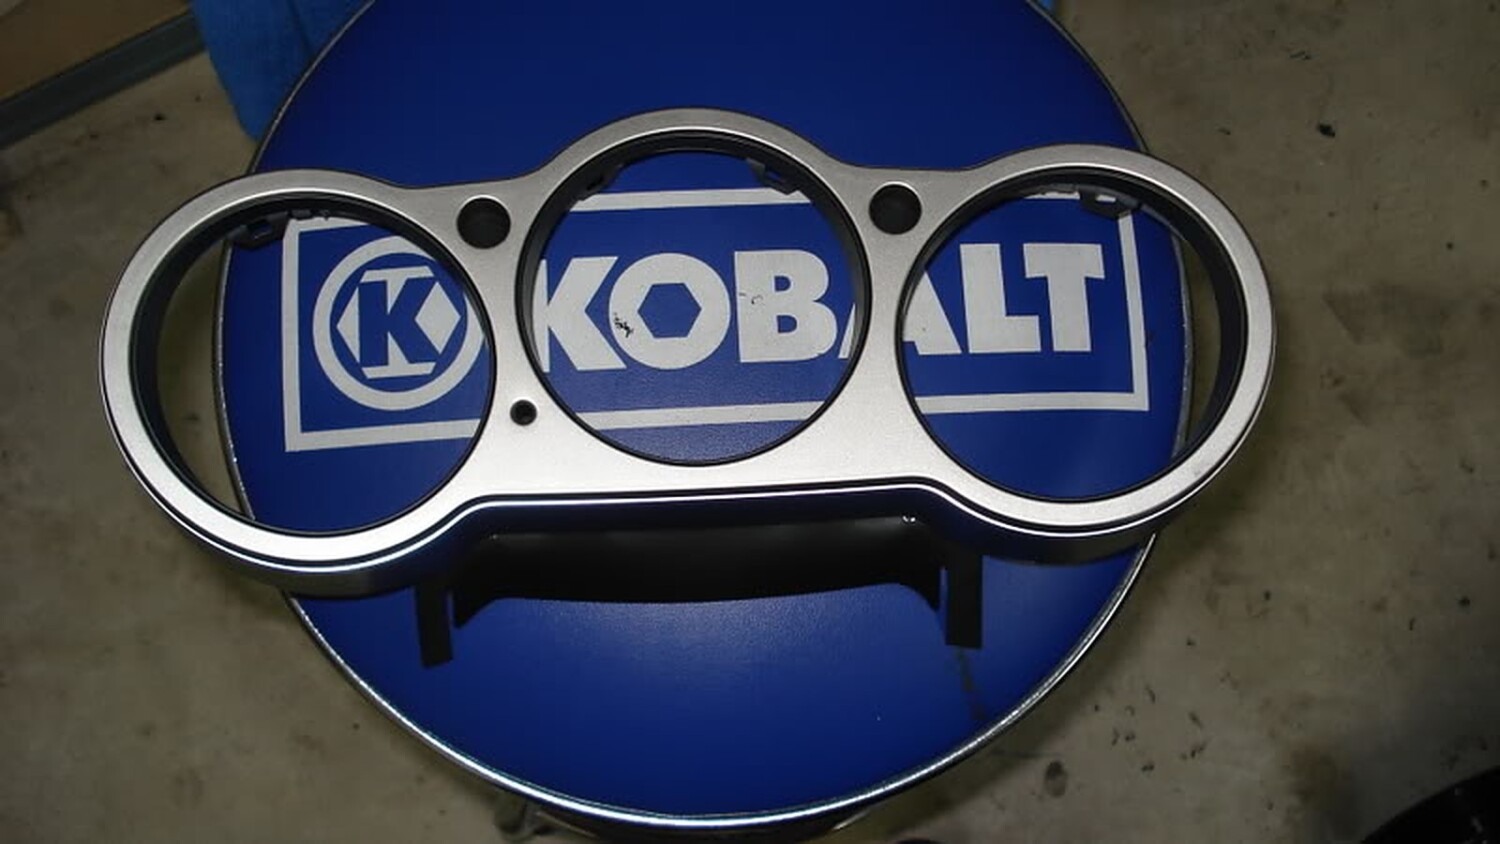
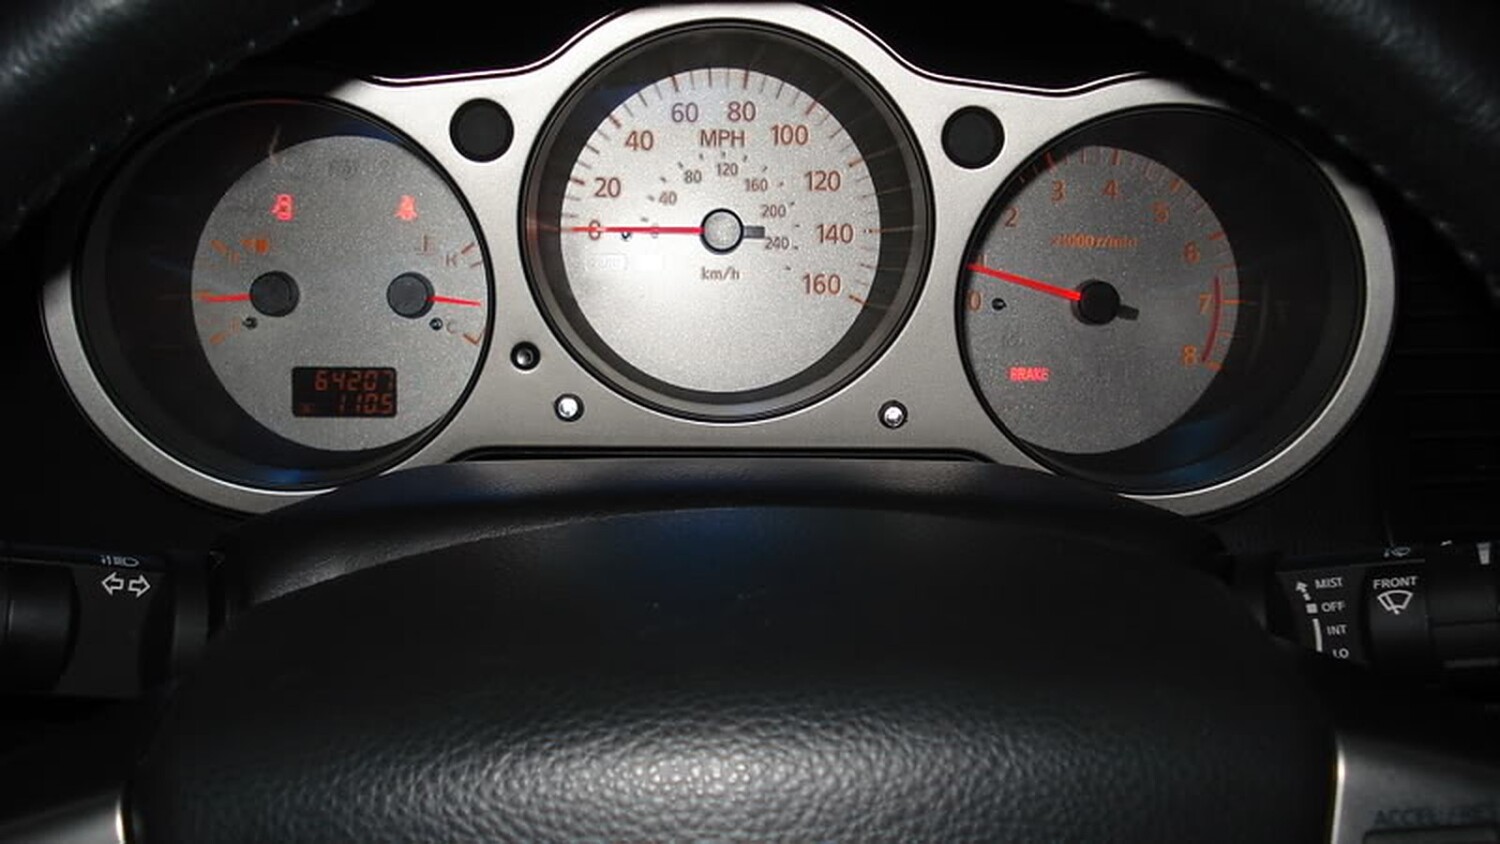
The next step is to find a spot where you want to mount your L.E.D’s. The spot I chose was on the bezel that surrounds the odometer and tach. To connect the L.E.D’s you can connect the + wire to the 12 volt tap we are using for the module and the ground you will need to connect on the Normal Open Contact.
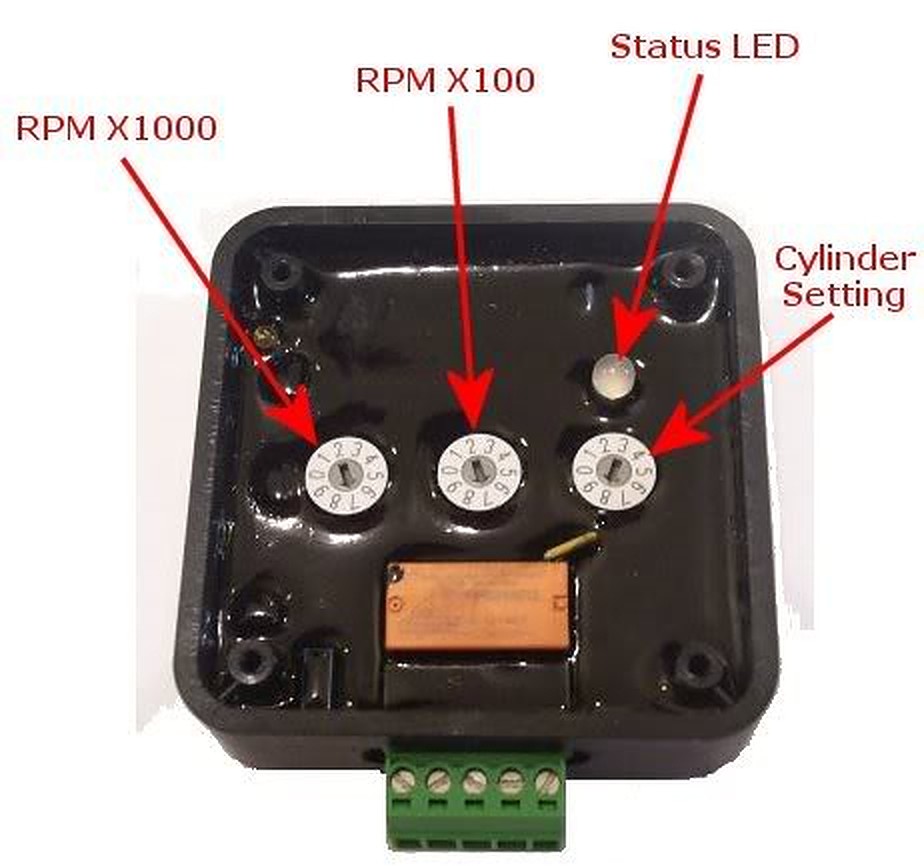
Now that we have all of this installed we can now adjust the dial on the module to your desire settings. In my case I wanted the module to send the signal to the L.E.D’s when the RPM would hit 6,100k. At 6,100K the L.E.D should light up and give me enough time to react and shift before redline.
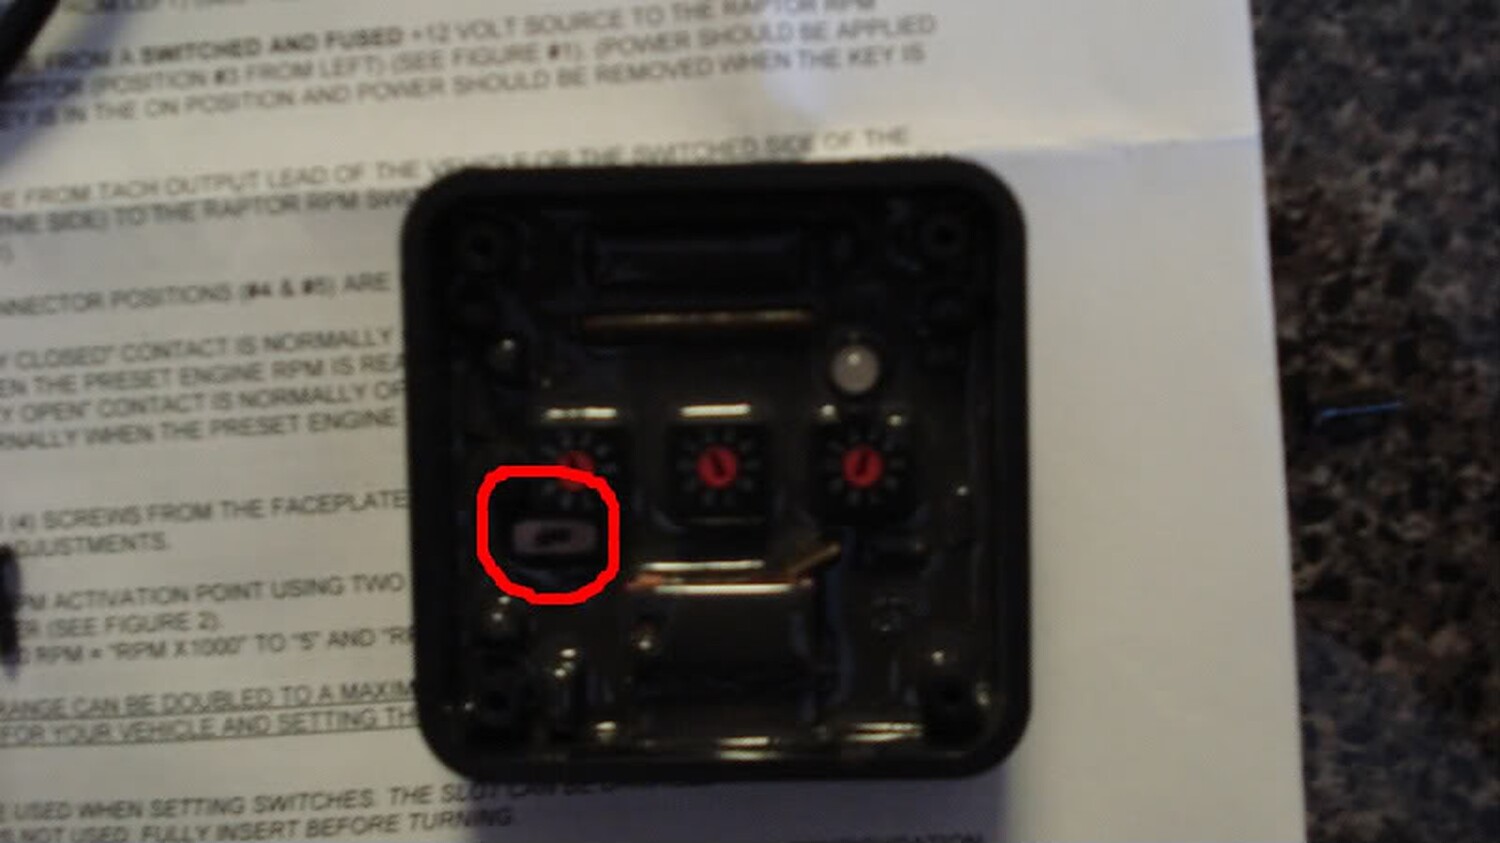
To do this I set the RPM X 1000 at 6 and the RPM X100 at 1. This gives me a dial of 6,100 RPM. If you want to do 6,500 you would set RPM X 1000 at 6 and RPM X100 at 5. Since we are only using one coil lead in our install you will only leave the cylinder setting at 1 on the dial. You will notice that there is a small toggle switch on the module. This switch was installed on the module in order to read a low volt signal from the coil.
Once you set your signal point on the module hook the harness to the module and turn on your ignition.
If the rpm switch isn’t picking up a signal after you program it (noted by rapid green LED flash), slide the small slide switch to the alternate position. Also, make sure your power switch is also on the “ON” position. If the install was done correctly you will see the following
A: The status LED will turn yellow and will flash the number of times which is representative of the RPM X 1000 setting
B: There will be a pause for about two seconds (no status LED flash)
C: The status LED will turn red and will flash the number of time which is representative of the RPM X 100 setting
D: There will be another pause of two seconds (no status LED flash)
E: The status LED will turn orange and will flash the number of time which is representative of the “cylinder setting” (in our case 1), and finally the module will do an LED test (alternating red & yellow) and be ready for use.
Once this is done close you module with its cover and install anywhere under the dash. I installed mine with double sided tape. Clean up the mess and enjoy.
Here is a video of how it works on my car. BTW, I want to thank my other half for helping me record the vid.
UPDATE from Robert Mandru: Have both the 300zx and 350z bracket adapters. They will NOT clear with Evo X 2 piece rotors, maybe just 1 piece. Even with one piece it still wouldn’t clear the inside, rotor too large with the 350z/G35 adapter. The EVO X top hats are too big and will not allow the calipers to bolt up. Probably could do it with the 300zx adapter without modding the caliper but for god sake, you have smaller bolts that are supporting all the strain coming from holding the caliper in place during braking conditions. Not worth it.
In simple terms….. do not bother with the eBay 300zx Caliper Adapters
If you are looking to upgrade to Nissan 370z / Infiniti G37 Akebono Calipers, then below is the information you need to know when using the Autosports Engineering brackets. The brackets are decently priced and work fine. however, various members have reported some pad “overhang” which has varied (some worse than others). But other than that the brackets work fine and there have been no issues or functionality impacted with the overhang.
Important Note: These brackets for only for the front calipers. The rear Akebono calipers are plug-n-play but only for the 04+ Maximas/Altimas. All you need to do is trim the dust shield as it’s a much bigger rotor.
If you are reading this article, you are very likely trying to resolve P0420/P0430 without having to spend a lot of money on the issue. Most of the time, the codes are due to a bad clogged catalytic converter or bad O2 sensors. Before replacing the O2 sensor, be sure to do the spacer fix modification first because O2 sensors are not cheap.
There aren’t usually any drivability issues associated with these codes. For most people, the first sign that anything is wrong at all is the check engine light. Below are the typical check engine lights you would normally get:
P0420 NISSAN – Catalyst System Efficiency Below Threshold Bank 1
P0430 NISSAN – Catalyst System Efficiency Below Threshold Bank 2
The Fix
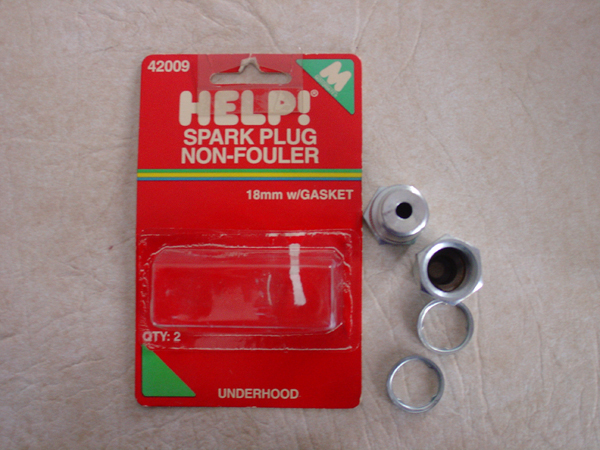
You can eliminate the codes by using a spark plug non-fouler which tricks your engine computer to think that everything is working fine. This simple trick will pull the O2 sensor away from the exhaust flow and the computer will think the Catalytic converter is working properly. This will work if you remove the catalytic converter or have a bad cat. It’s very simple and cheap to do. Below is a video on how to perform the fix:
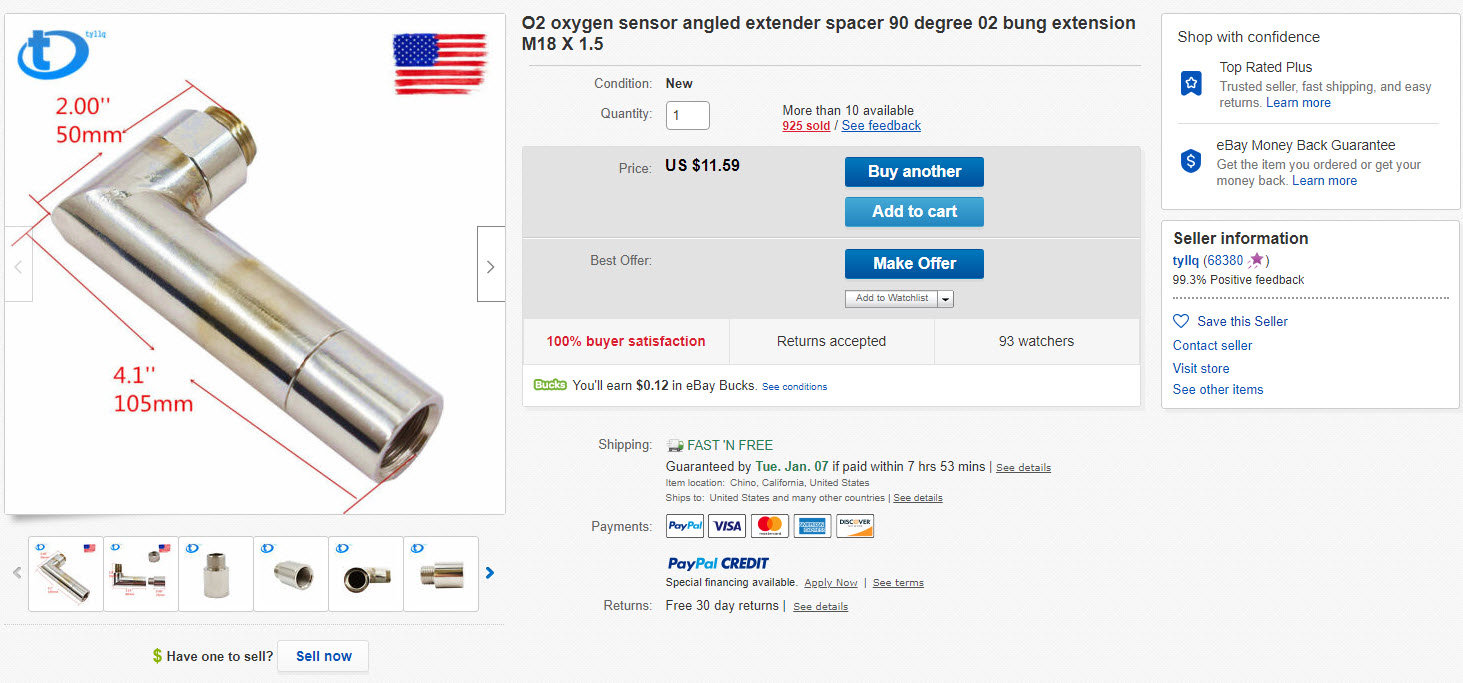
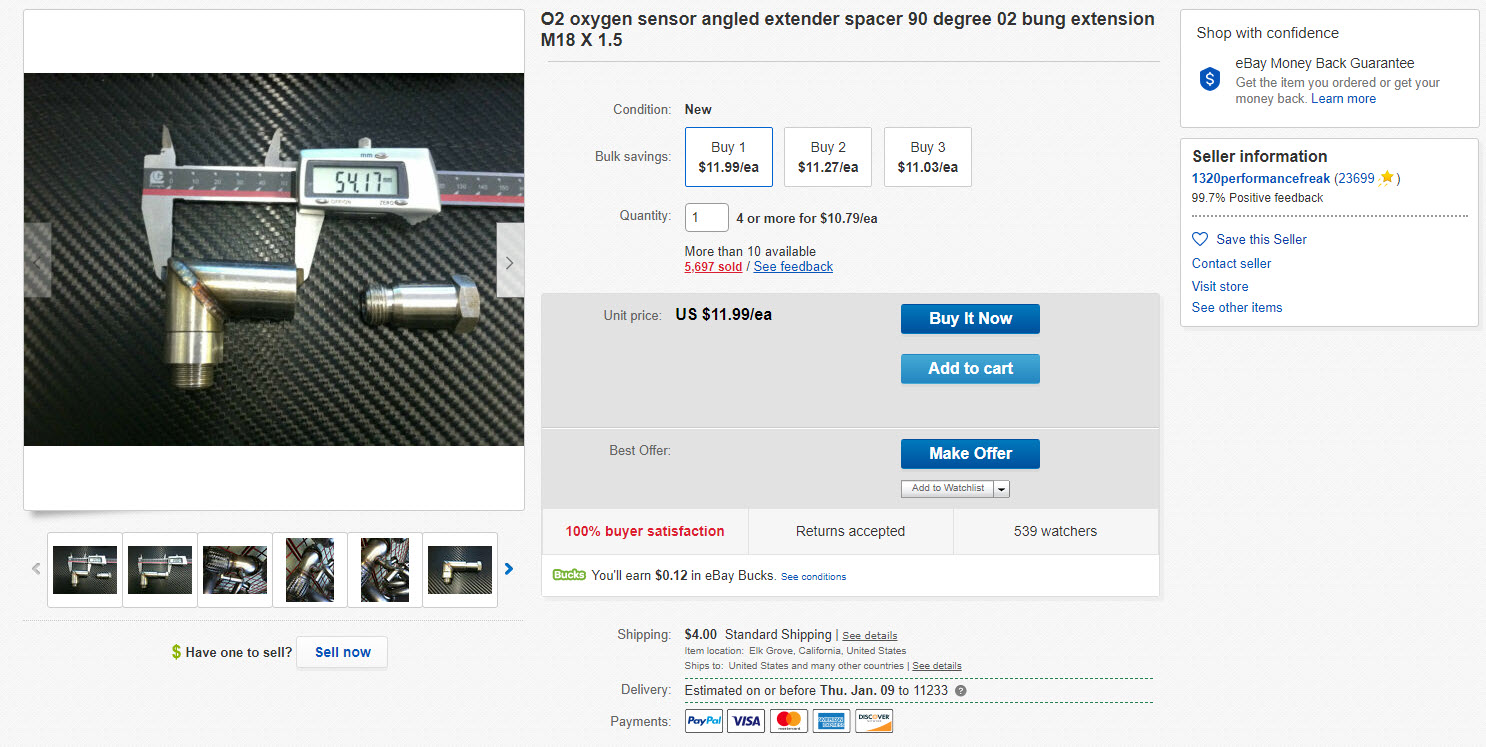
You can also buy them pre-made on eBay if you do not want to drill.
Make Your Own Spacers/Foulers
You can buy these non-fouler spacers at your local parts store. You can get them from Advanced Auto or Autozone for about $7-8 bucks.
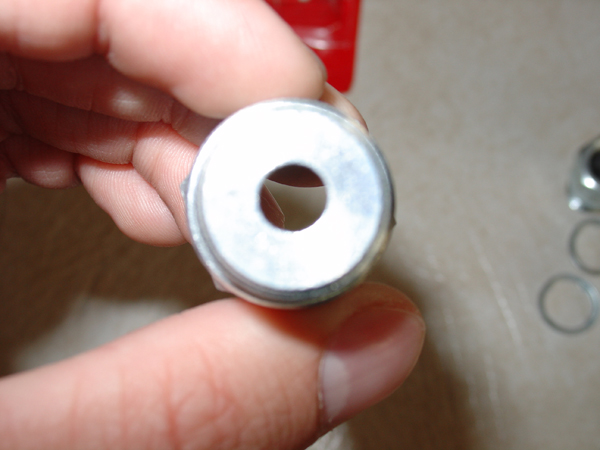
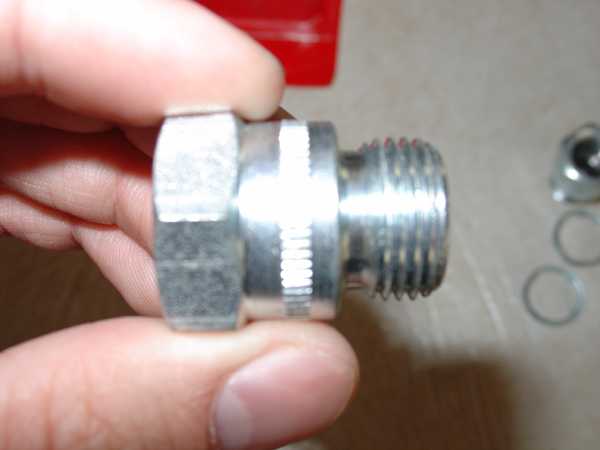
You now need to drill out 1 of the non-foulers using a 1/2″ drill bit. When finished this is what it will look like.
O2 Sensor inserted in the modified non-fouler
Second, unmodified non-fouler now installed on modified non-fouler, then threaded into the pipe
Reference Photos
Below are photos of the spacers installed and 100% working on Nissan Maximas by generation. After installing the spacers, the CEL codes went away.






 Installation Photos