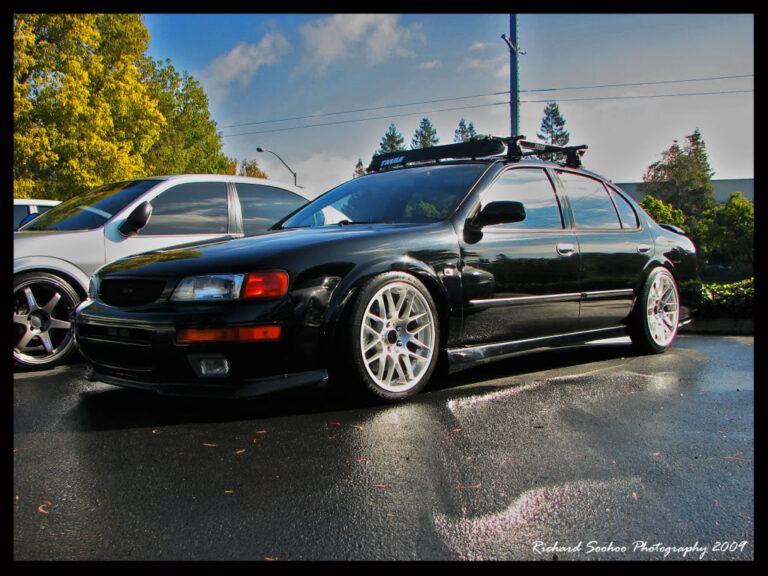

Community Member Credit: KP11520
As it turned out, I did remove the center A/C vent and clock cluster and then the climate control/bose cluster. And found nothing even close to what I was hoping to find. So I went back under the dash on the driver’s side and looked up higher, BINGO!
What a PITA to get up in there and remove it. I ain’t that skinny kid like I was decades ago. And I have long arms! I did almost invent some new curse words though!
How to replace a Mode Door Motor in a 95 to 99 Maxima:
So, if anyone else winds up having to do this too, all you need is:
The new Mode Door Motor
A Stubby #2 Phillips screwdriver.
An Offset #2 Phillips screwdriver.
There are 3 Phillips screws that hold the motor bracket to the side of the white ducting box. You’ll need to twist and contort yourself to get access and leverage to remove the screws. Then it will hang by the wire. Now it’s easy to find the release on the plug and remove it completely.
When it’s out, remove the 2 screws that hold the motor to the bracket. Replace the motor and make sure to align it in the bracket as the old one was and reinstall the 2 bolt/screws (tight).
When you reinstall the new motor mounted in the old bracket, notice the two connection points on the white arm of the motor and move the assembly metal arm on the duct box to align correctly with these two points. Hold it in place while you set in the middle screw. Reinstall the other 2 screws and then tighten all of them well. Then re-plug in the connector. Voila! Done!
Good luck with this miserable job. Contorted and tight. But probably would save you Hundreds of dollars at the dealer.


Official PDF: Keyfob Programming 4thgen
1. Close and lock all doors with the driver’s side power lock/unlock switch.
2. Insert key into ignition and remove it from the ignition key cylinder at least six times within 10 seconds. Your Hazard Lamps will flash if you have performed this step successfully. ( Withdraw key completely from ignition cylinder each time ). If this procedure is performed too fast, system will not enter programming mode.
3. Insert key into the ignition cylinder and turn to the ACC position.
4. Within 5 seconds, push LOCK button on the keyless remote. Your Hazard Lamps should flash. ( Do not press the button more than one time in the above step). If the button is pressed more than one time, the programming procedure will not be successful.
5. If there are any remaining remotes (including the old ones), unlock then lock all doors using the driver’s side power lock/unlock switch and within 5 seconds, push LOCK button on the next remote. Your Hazard Lamps should flash. Repeat this step for each keyless remote (including any existing keyless remotes).
6. Turn the key to the OFF position, remove keys from the ignition, Open door, Test Remotes


Community Member Credit: murphys_law
I recently acquired a set of VHR injectors as shown below. Information seems to indicate that they flow approximately 385cc at 51psi, which translates to ~355cc at 43.5psi(3 bar.)
In my testing, these work extremely well in the bolt-on DE and have just enough fuel to handle the typical NA modified VQ. The duty cycle for a bolt-on car peaks right around 70%, so that should keep them in a good safe range for just about any VQ or HR that is naturally aspirated(this car makes about 260whp in a mustang dyno.)
I failed to mention it, but they are obviously plug-n-play for the Vq35(besides tuning of course).

Next to a GTR injector.
Same 12 hole spray pattern, albeit with smaller holes(less flow.)

Member Credit: EddyMaxx
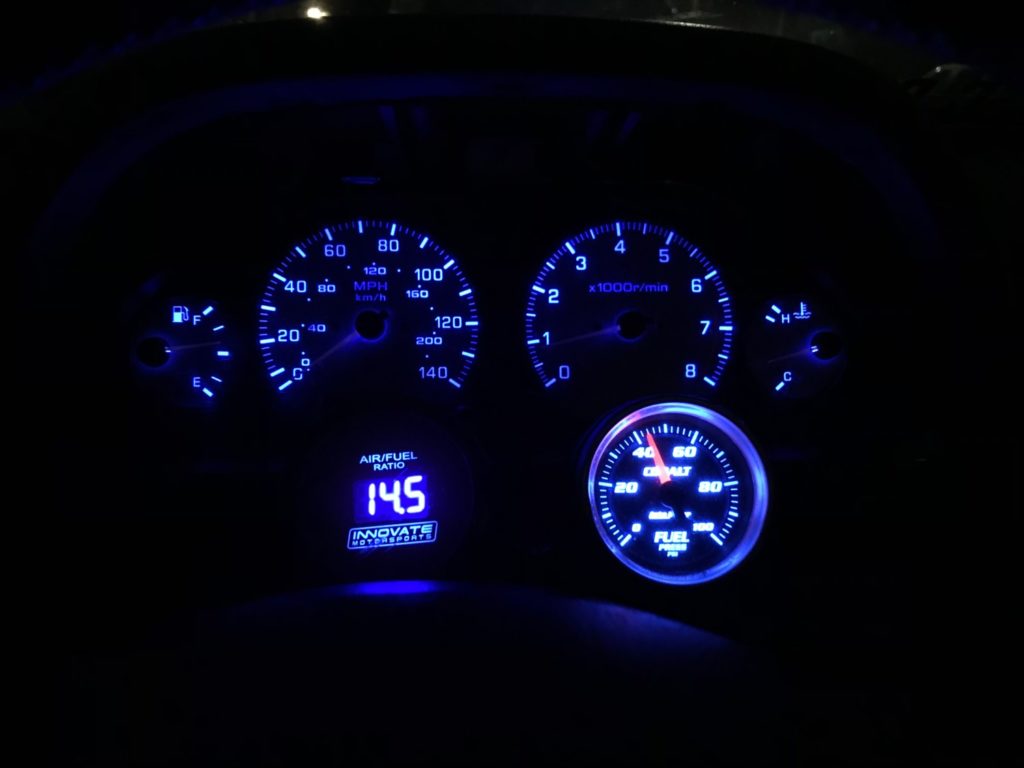
I wanted my cluster to match the rest of the LEDs in my 1998 Maxima. I liked the blue color so I ordered those. The install was pretty straight-forward and the final outcome is awesome. I’m going to sand down the orange on the needle for a clear look.
Special thanks to Brad Conner for the assist! You can find his install instructions here.
Part Number: NEO5-BHP (This is only for 1998-1999 Digital Clusters. For 1995-1997, you need T10/194 bulbs bulbs)

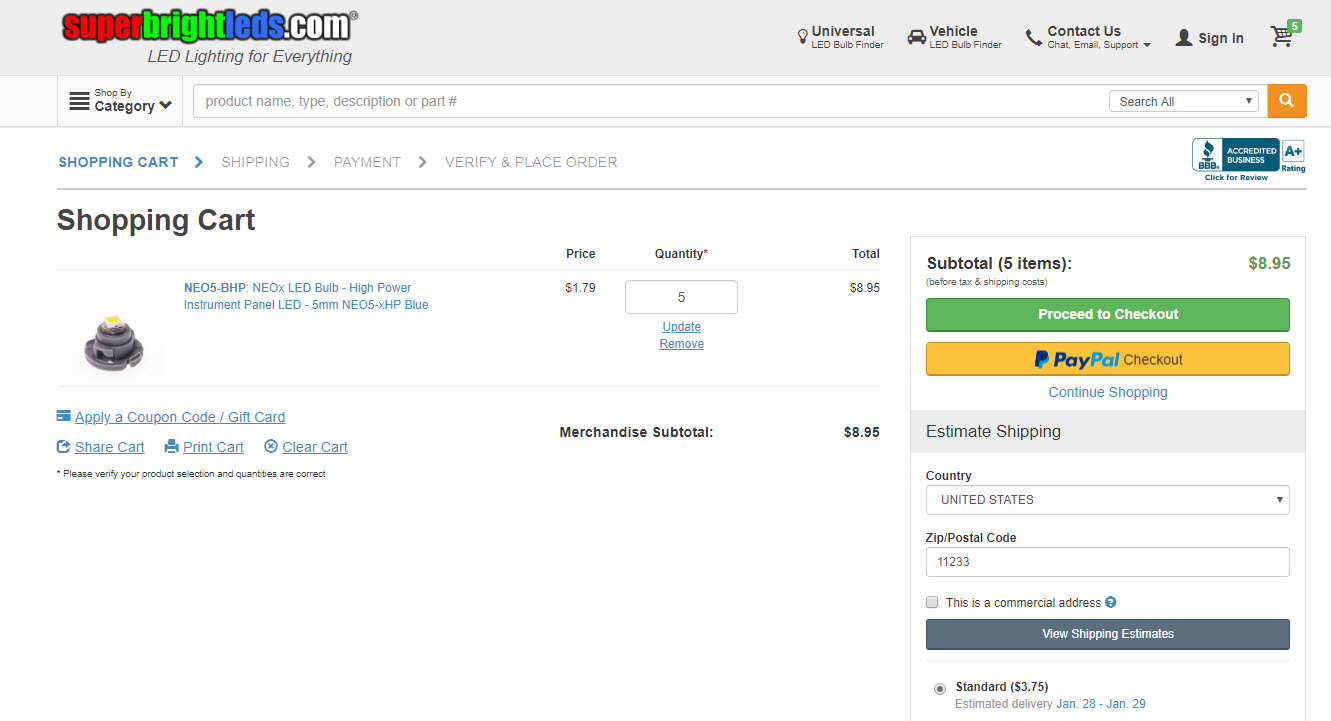
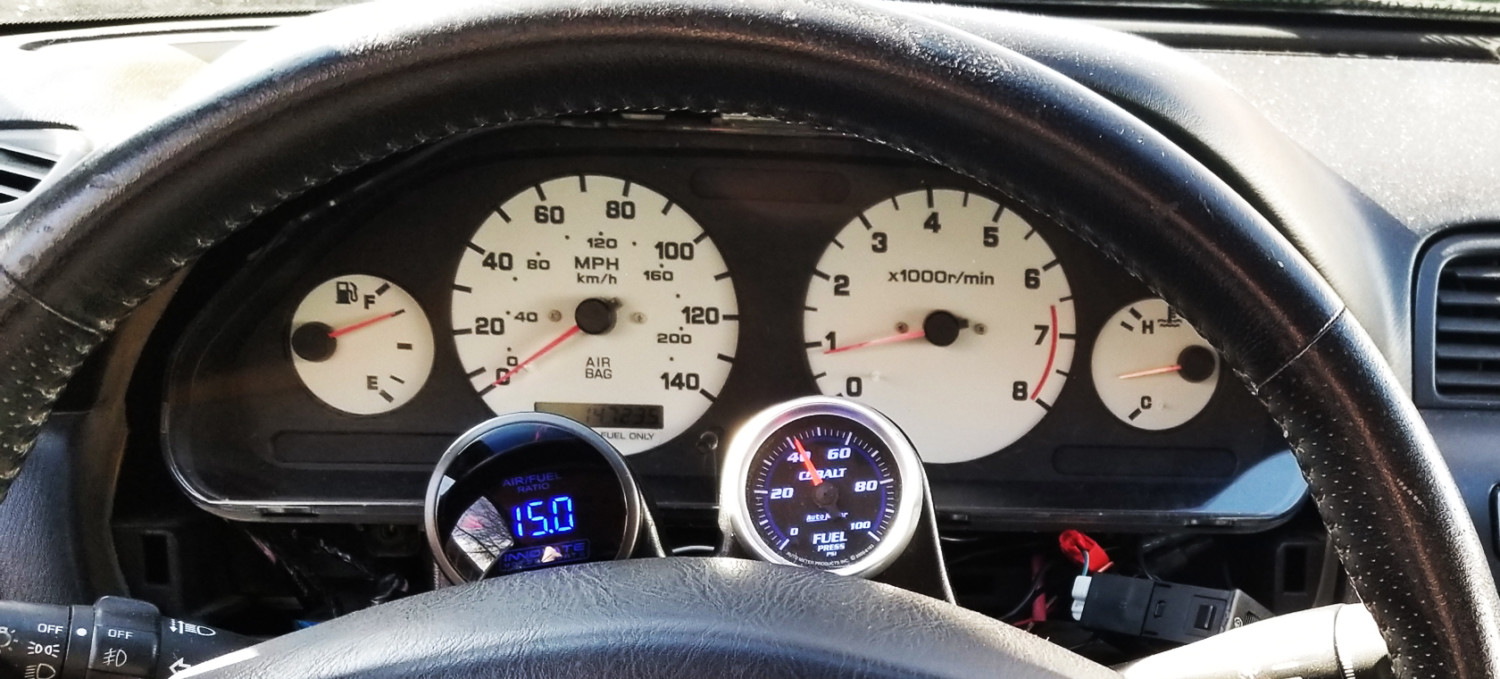


Note: These LED bulbs are polarized. If a specific bulb does not light up, you will have to adjust it. It took me a few tries but I finally got them all working. Make sure they are secured as you adjust them so that they don’t fall out if you hit a speed bump. Also, it’s recommended to fully test the cluster with new bulbs installed before putting everything back in.


Credit: Daniel B. Martin
The automatic climate control is a sophisticated computer-controlled device. It relies on signals from four sensors.
This conversion is possible but costly and probably not worth the effort. To judge by past posts on this newsgroup, the automatic climate control is more failure-prone than the manual type and replacement parts are expensive.


Community Member Credit: 96i30azn
I had to change mine yesterday and had the devil’s own work trying to find out how to change it. 2hrs and lots of swearing, dirt, and scratches later, I figured others would appreciate a picture tutorial so here it is:
Supplies you need:
– Phillips screwdriver
– Flat screwdriver
– 10mm hex (socket would be best)
– H3 55w bulb
1. Turn your wheel towards the side you’ll be working on.
2. In your wheelwell, find 2 clips that secure the fender lining on and pry out their “stems,” they look like this:
3. Unbolt the 10mm bolt right behind your tie-down tab.
4. Unscrew the phillips screws along the lower edge of your bumper
5. Push the lining back into the wheelwell to access the corner light/fog lamp
6. Unbolt the 10mm bolt and remove the corner light shown below:
*caution – do not mess with the 8mm hex/phillips bolt – that secures the fog lamp reflector inside the housing
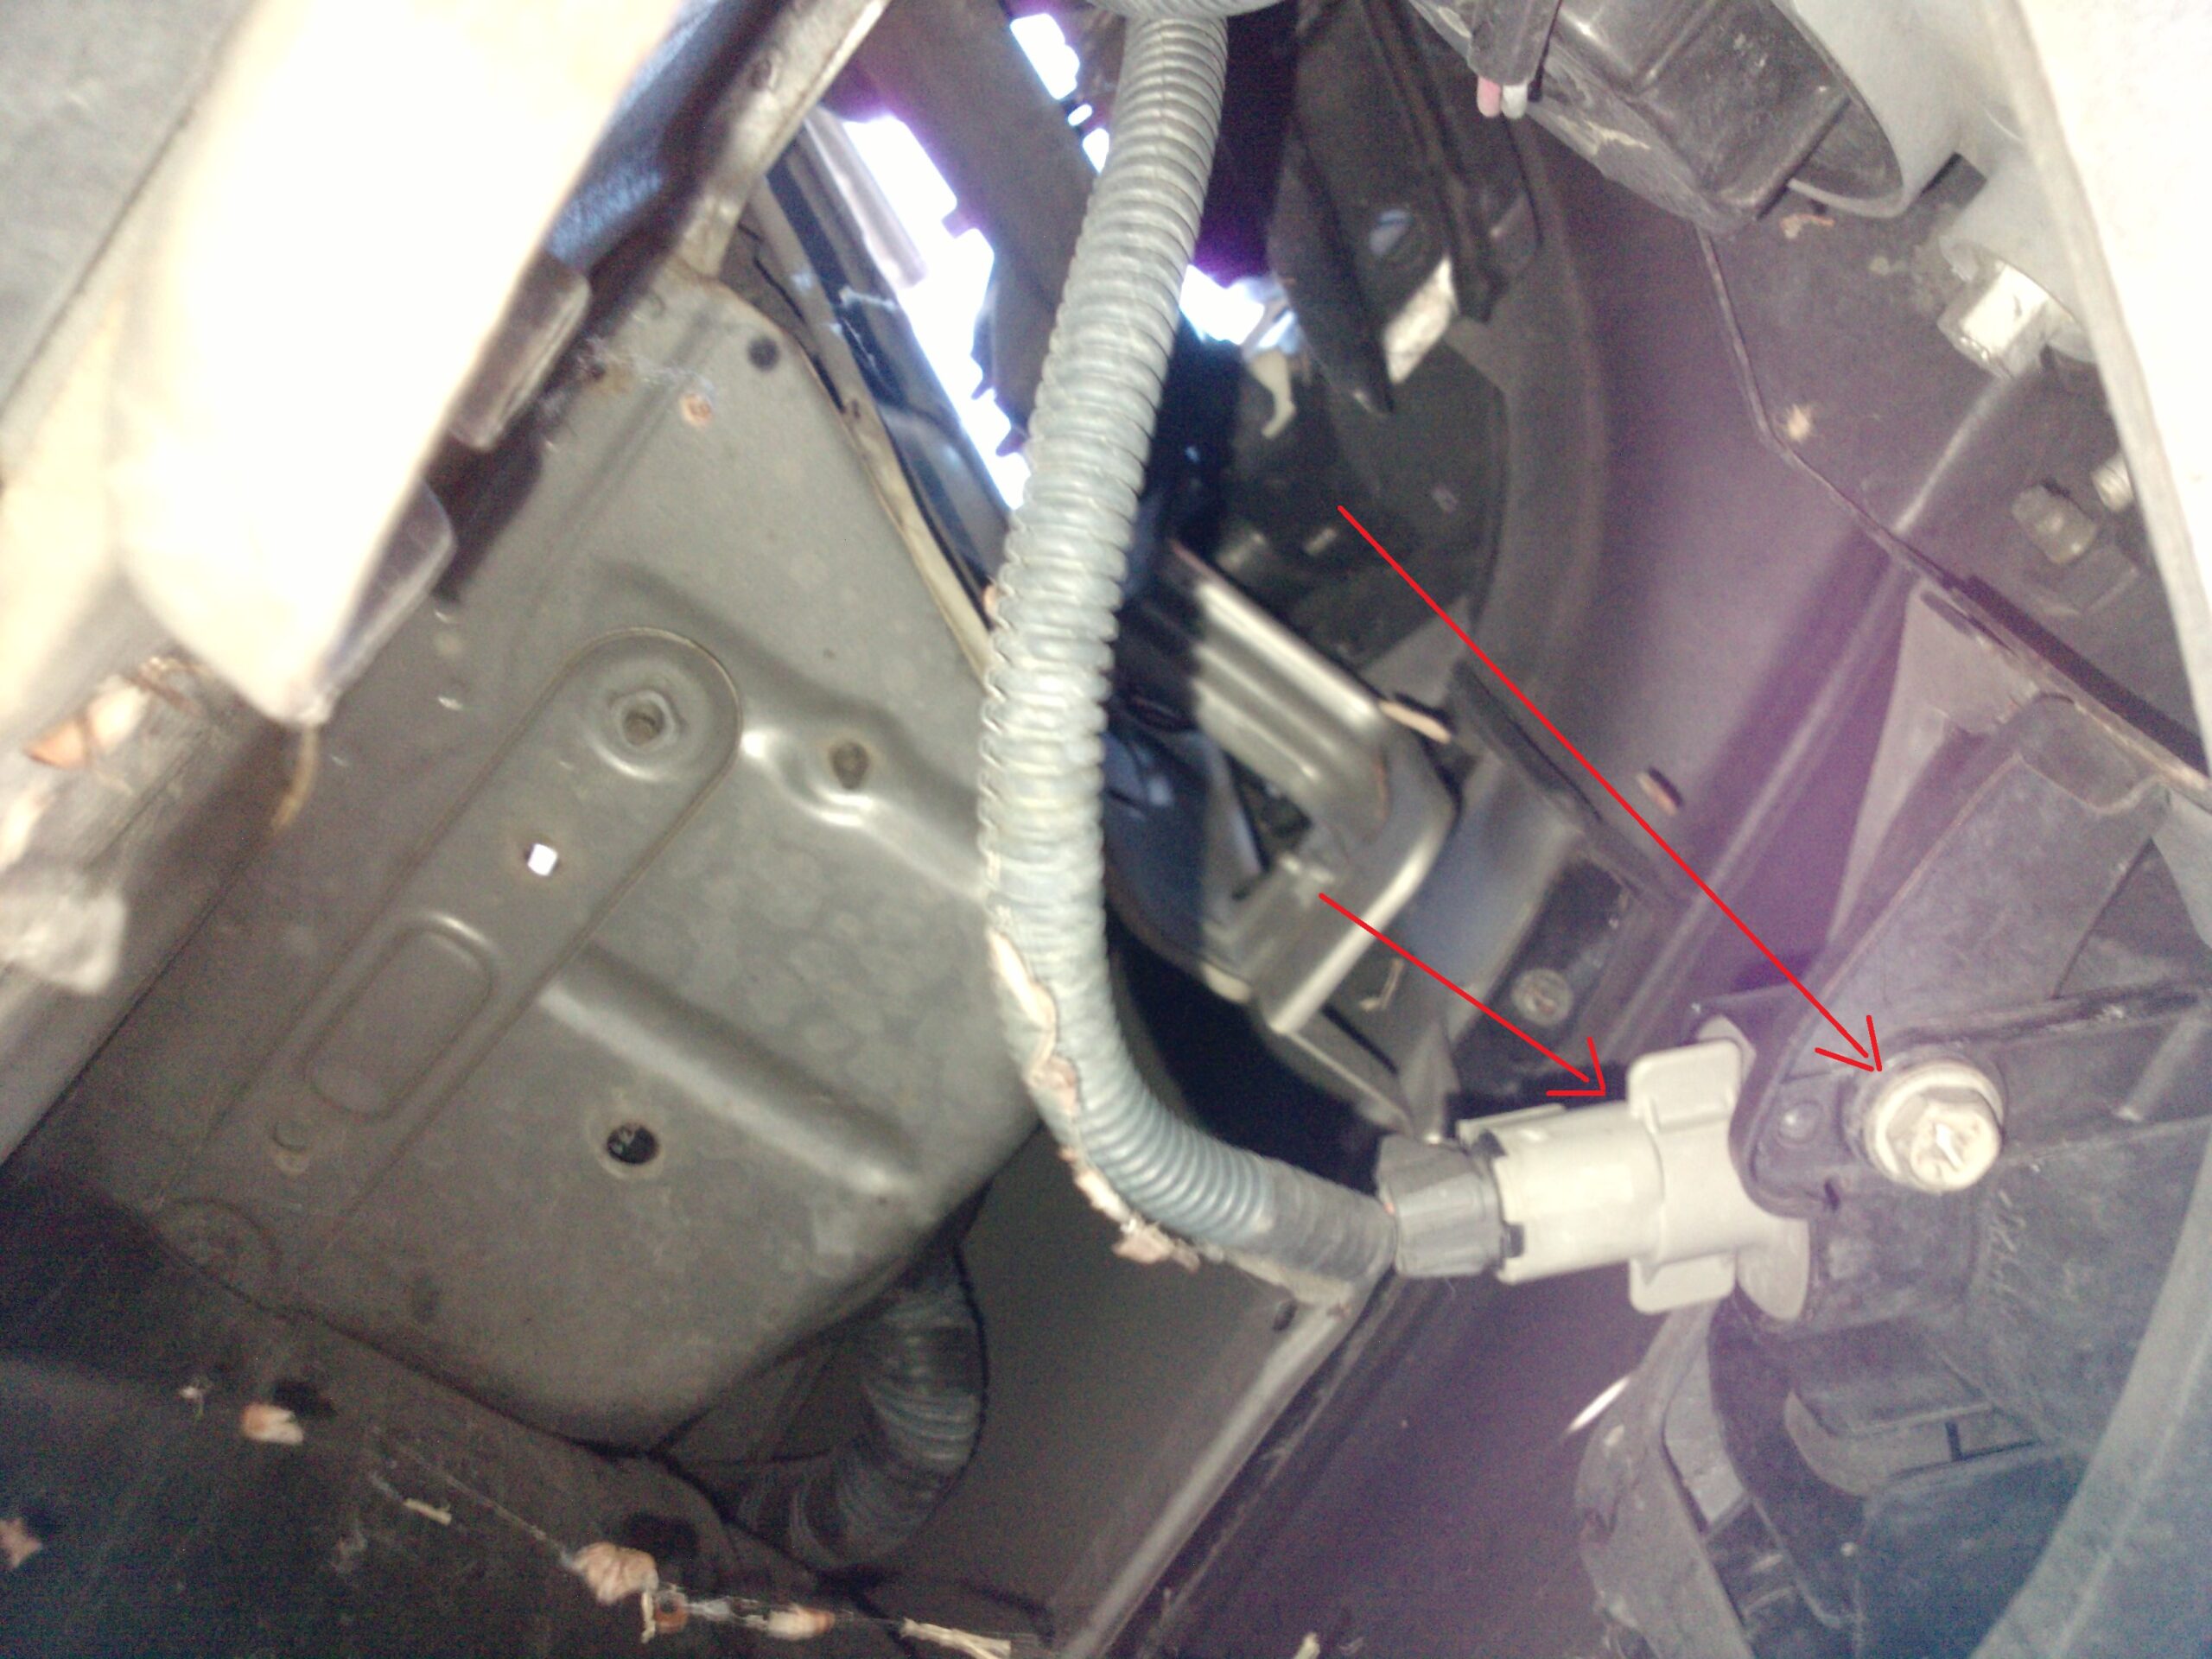
7. From the outside, take your flathead and pry the corner light forward (of the car)
8. This exposes the bolt that holds the fog lamp housing to the bumper shown below, unbolt this:

9. Pull the fog lamp assembly forward then out (from centerline) to remove
10. Unclip the harness found at the pointy end of the fog lamp to remove it from car
11. There is a wire clip (partially outlined) that secures the clip, undo this wire clip to remove bulb from fixture:
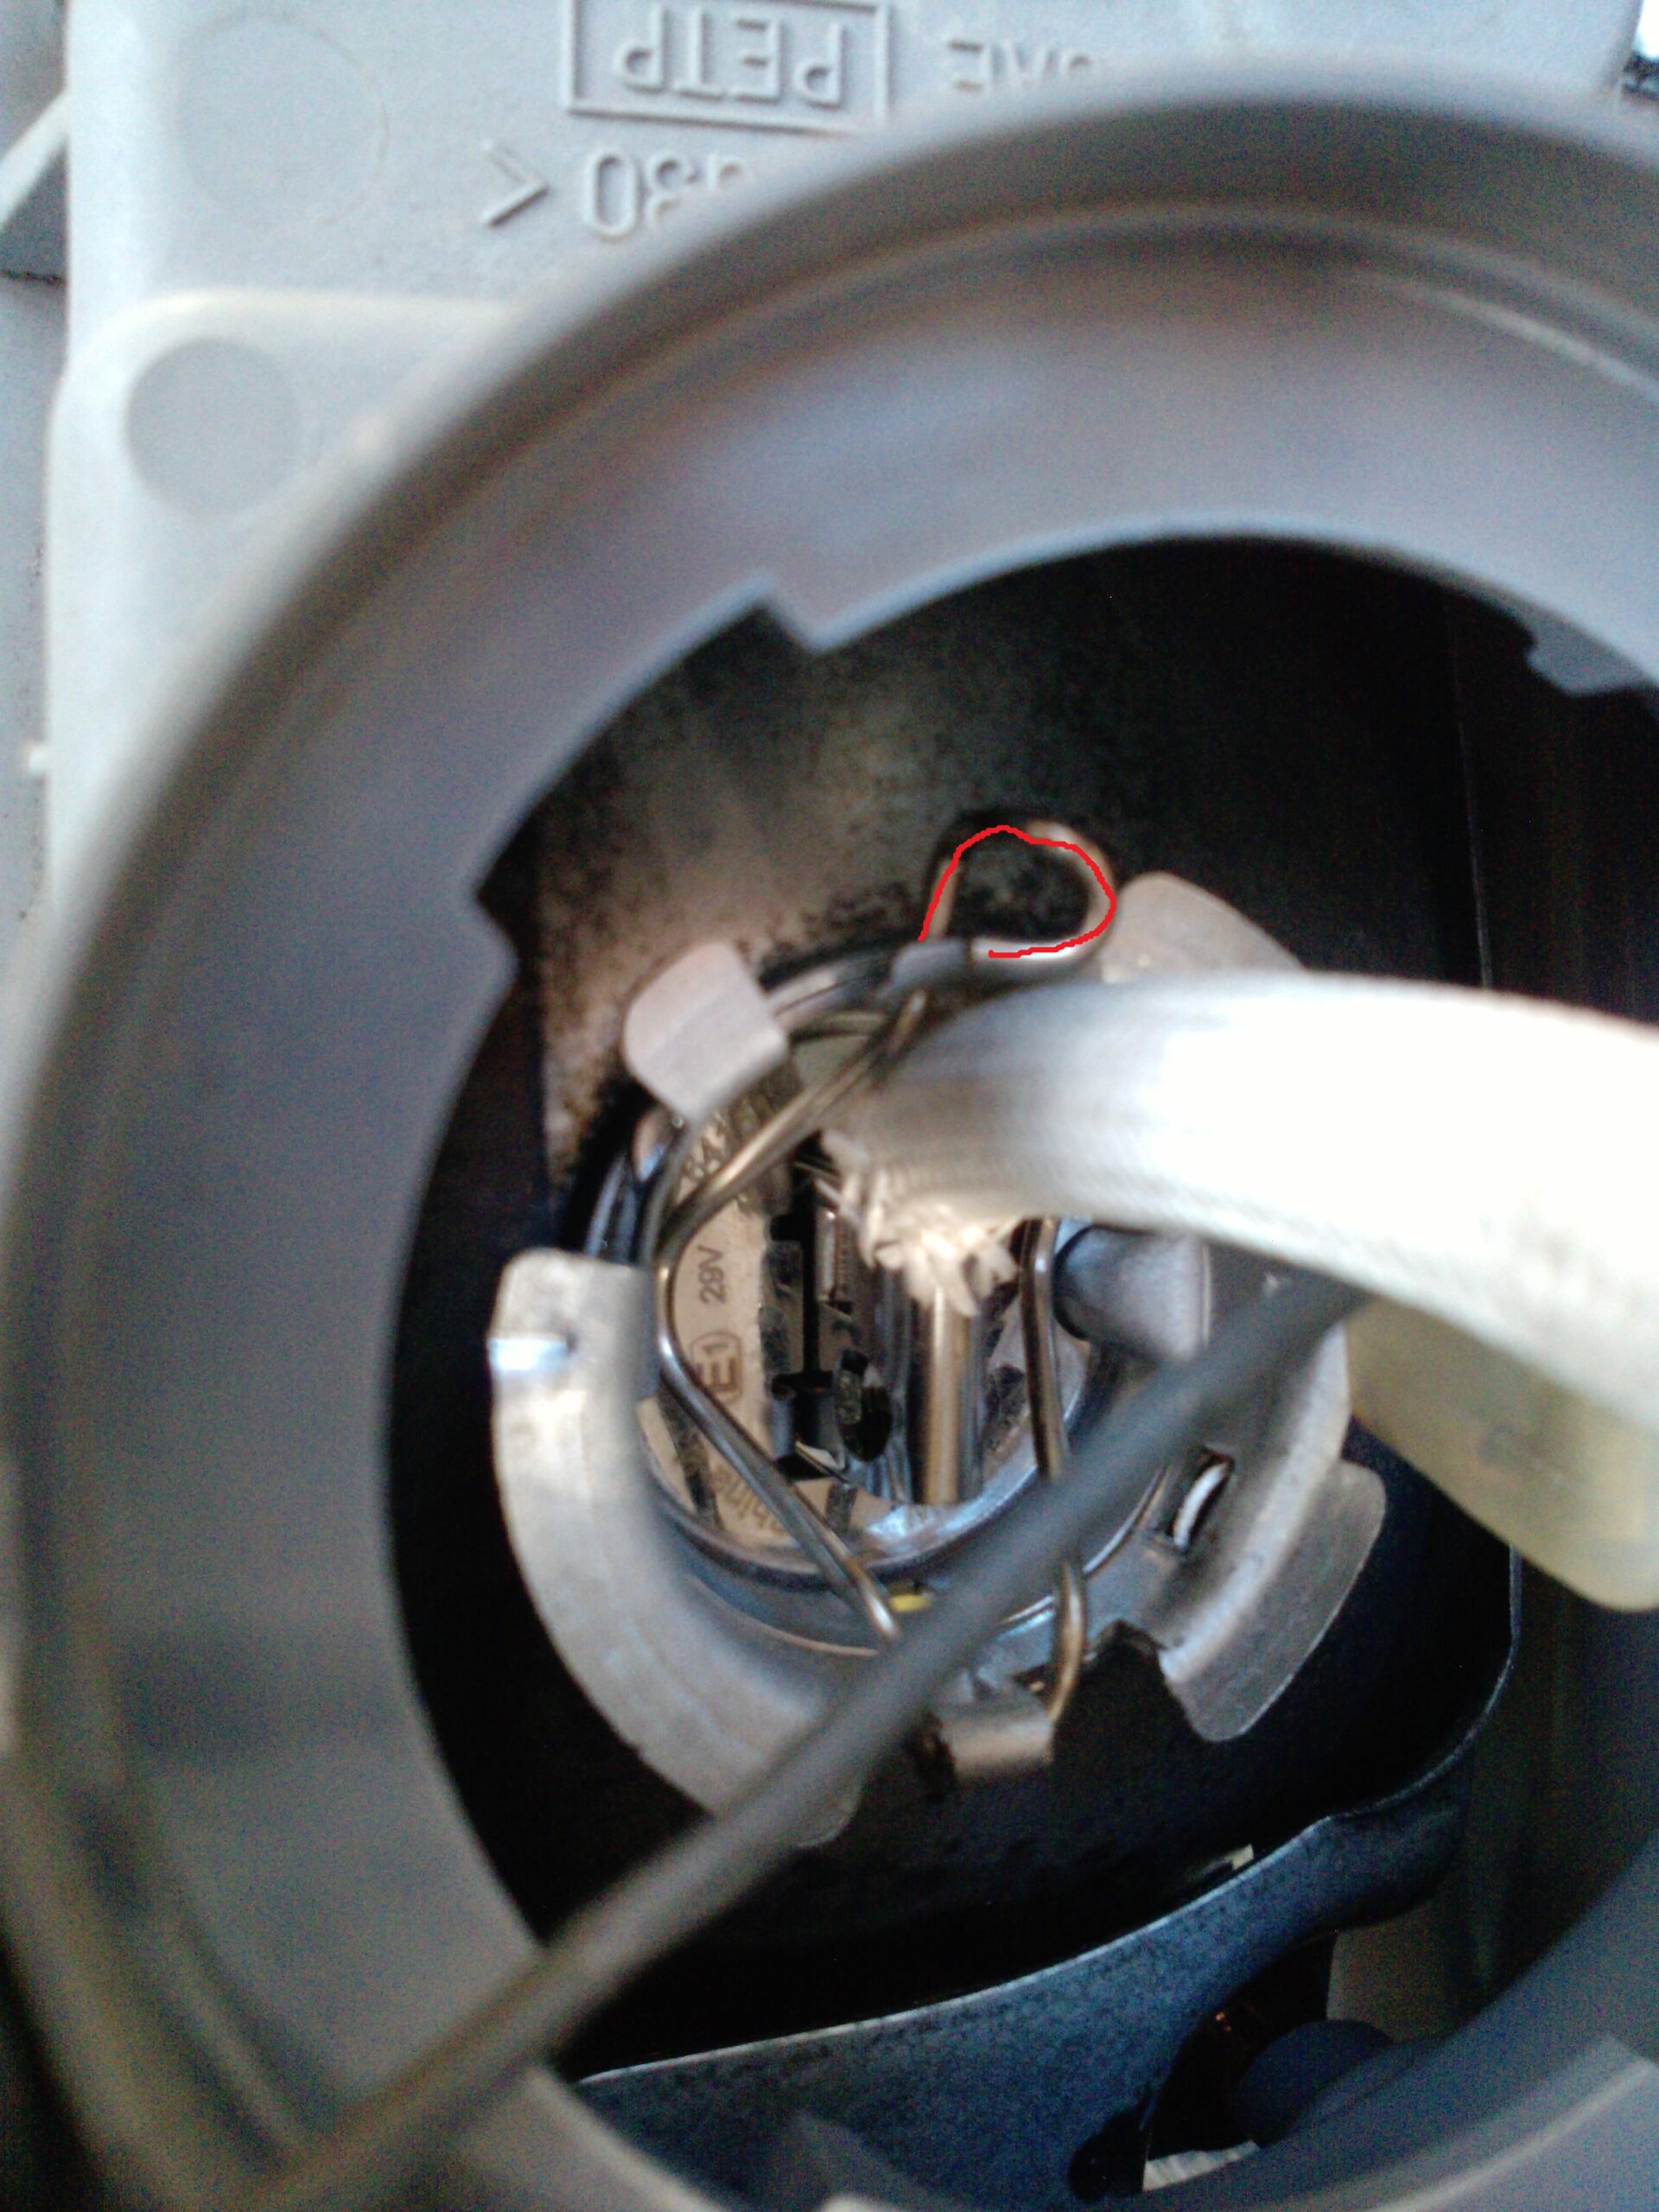
12. Push back the rubber sleeve and unplug the bulb Installation is reverse of removal

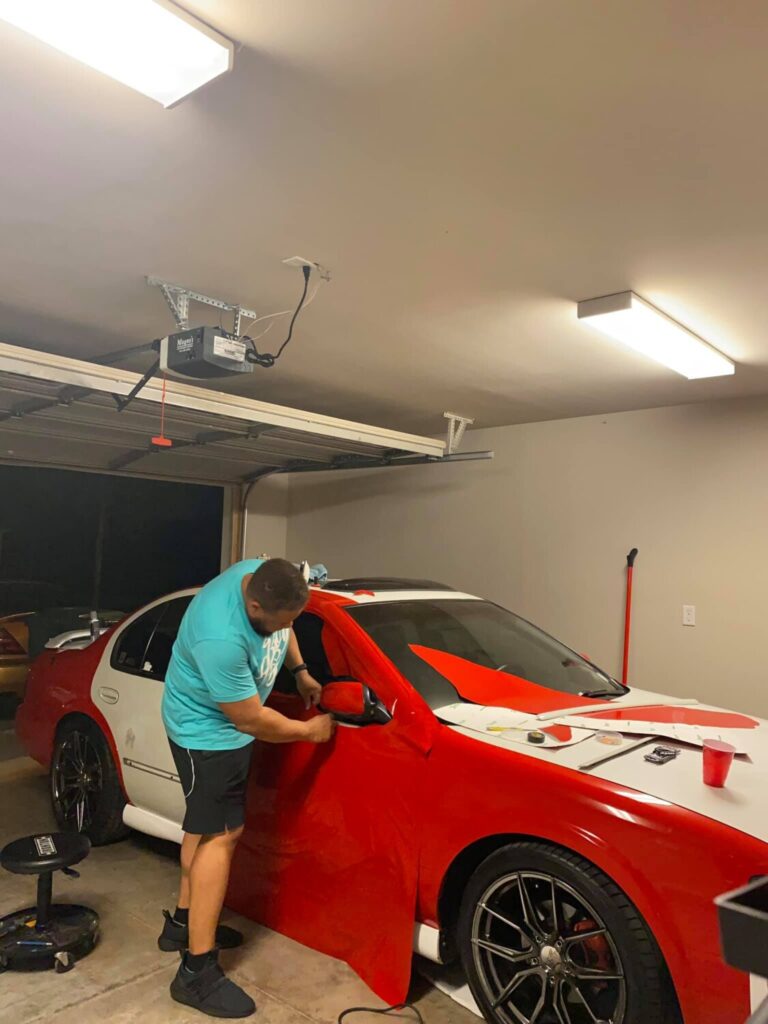
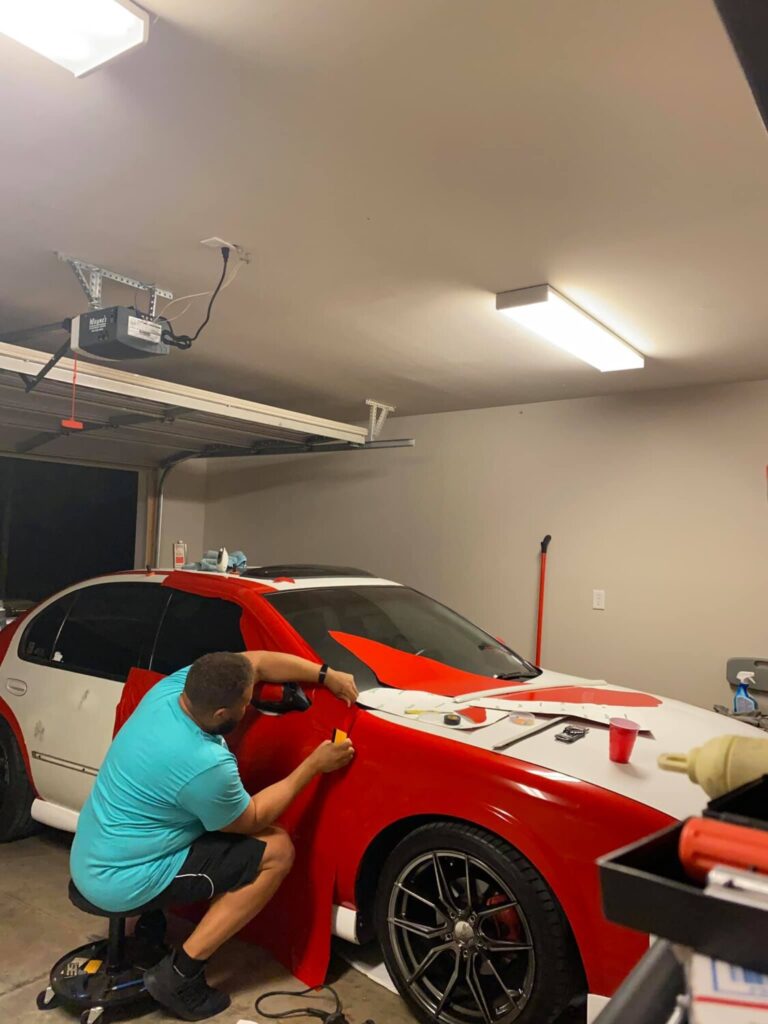
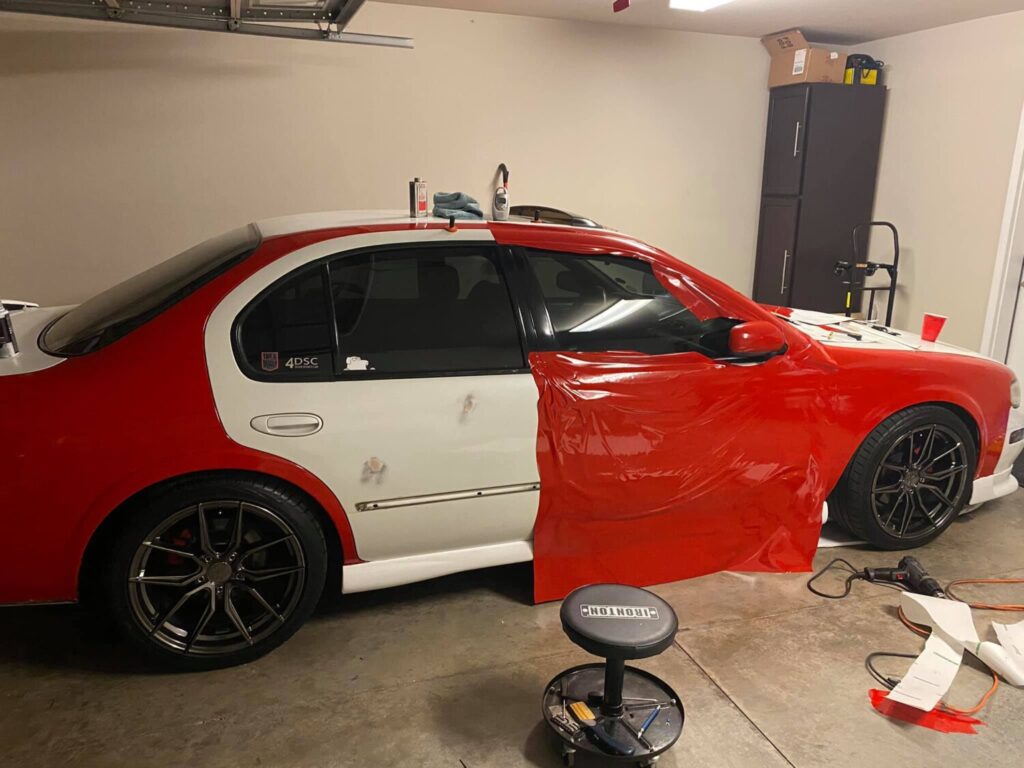
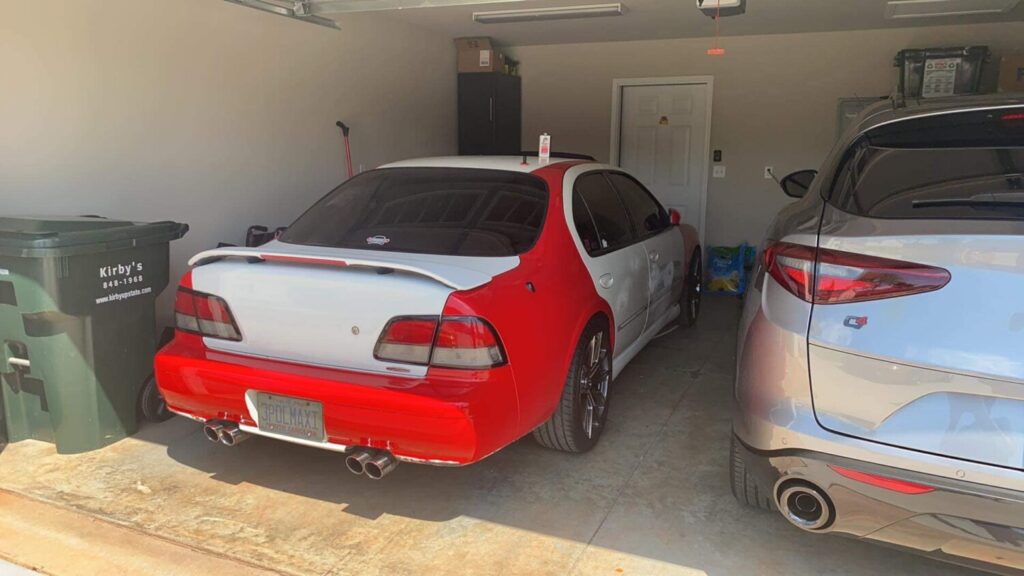
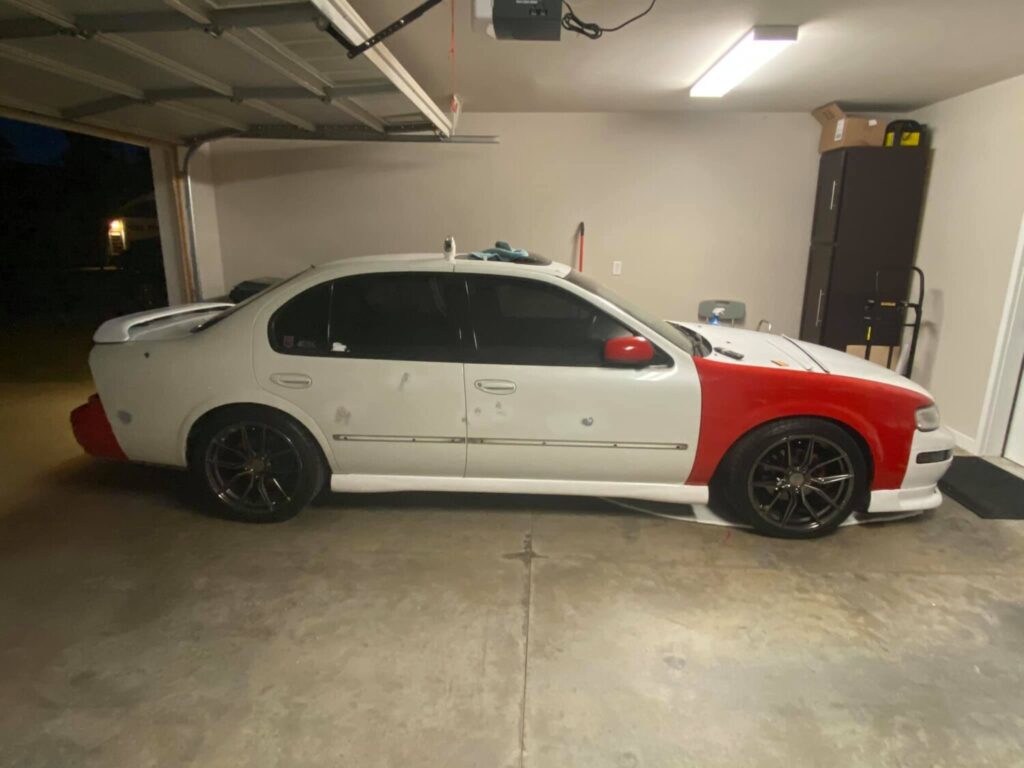
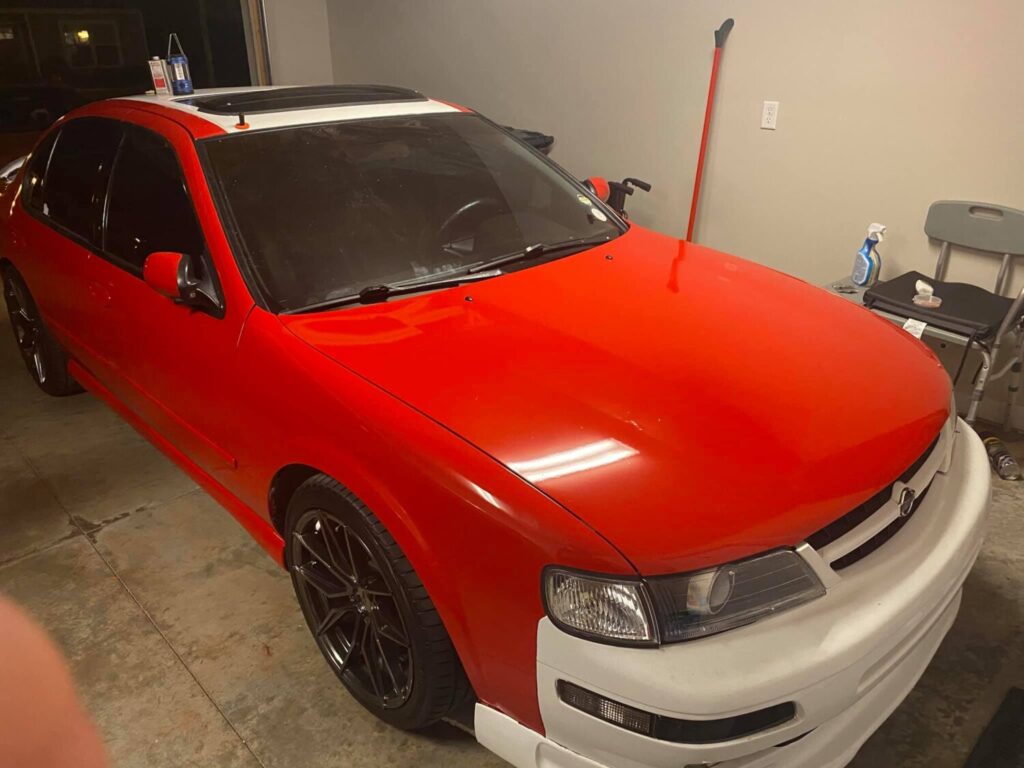
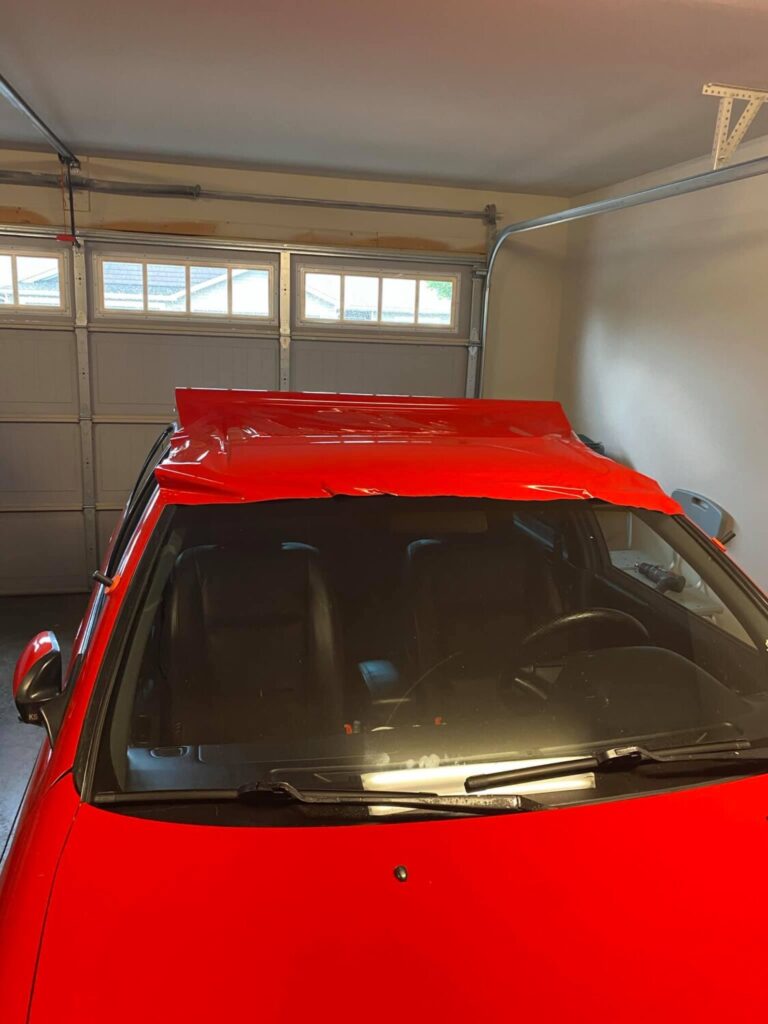
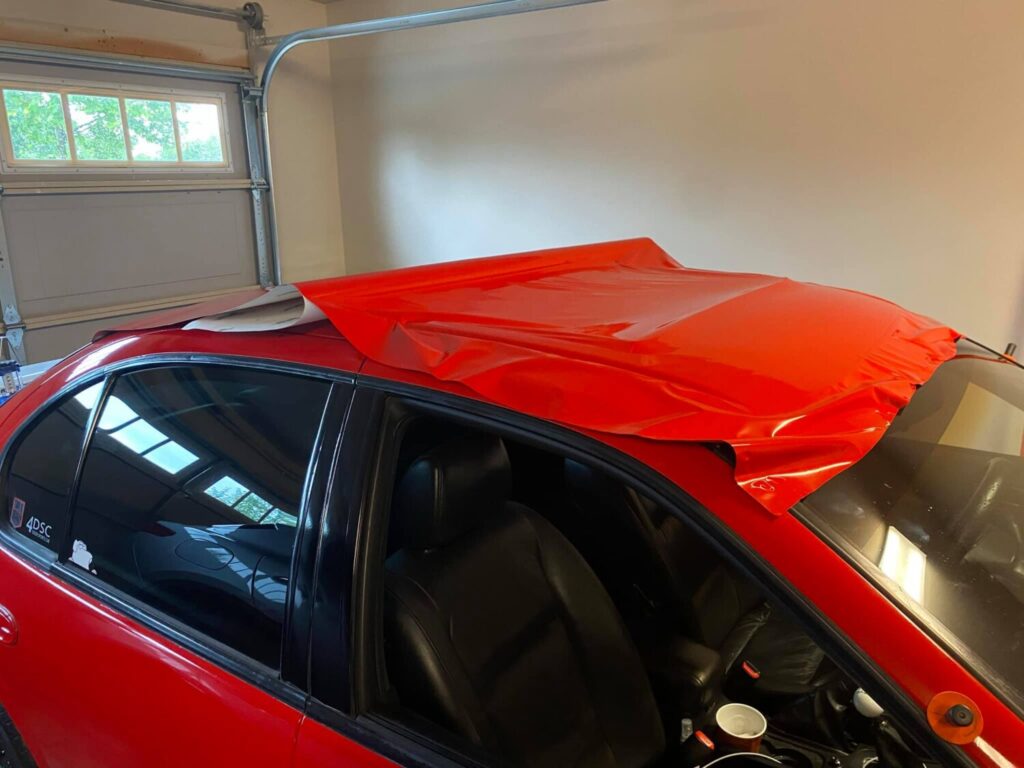
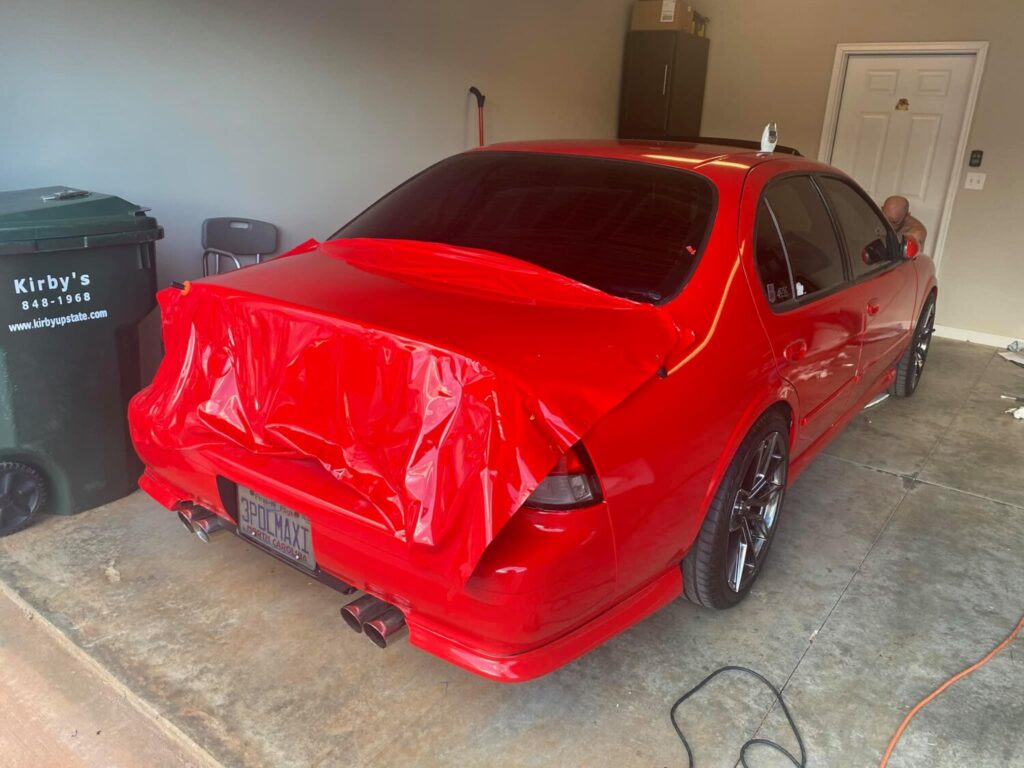
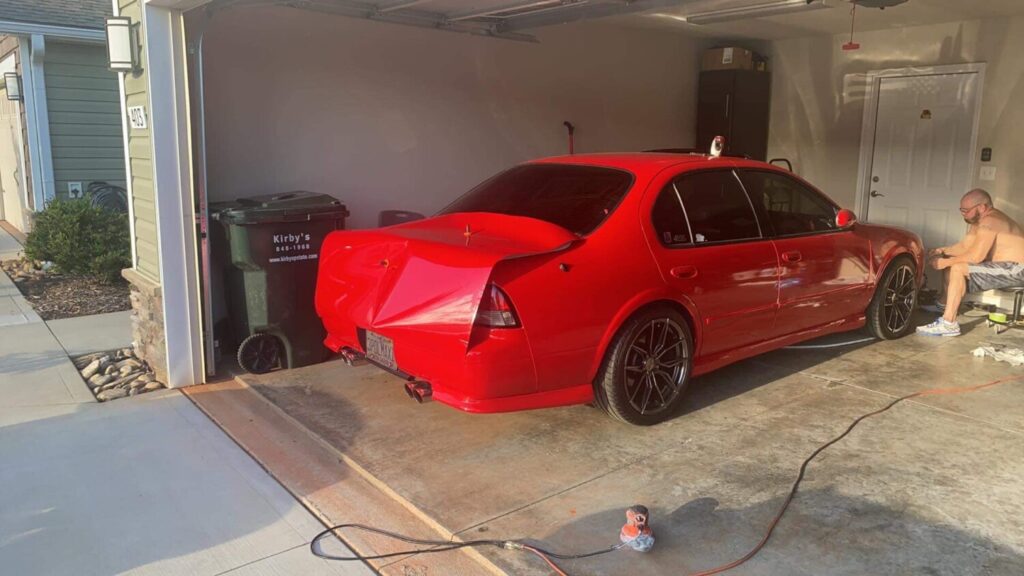
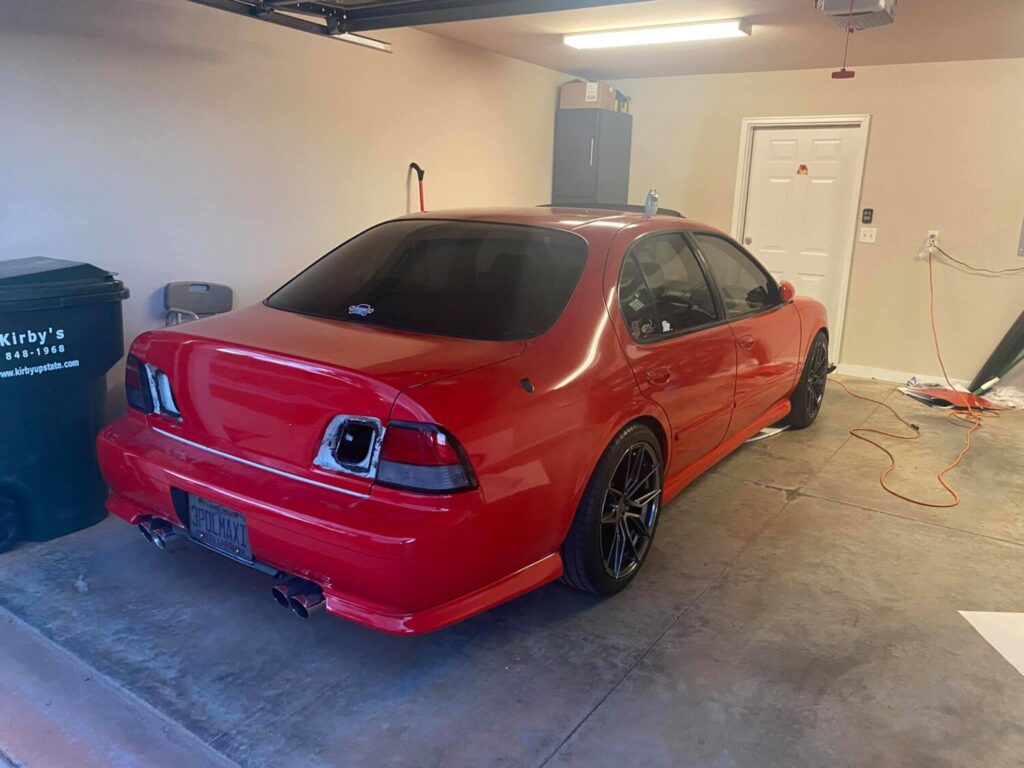
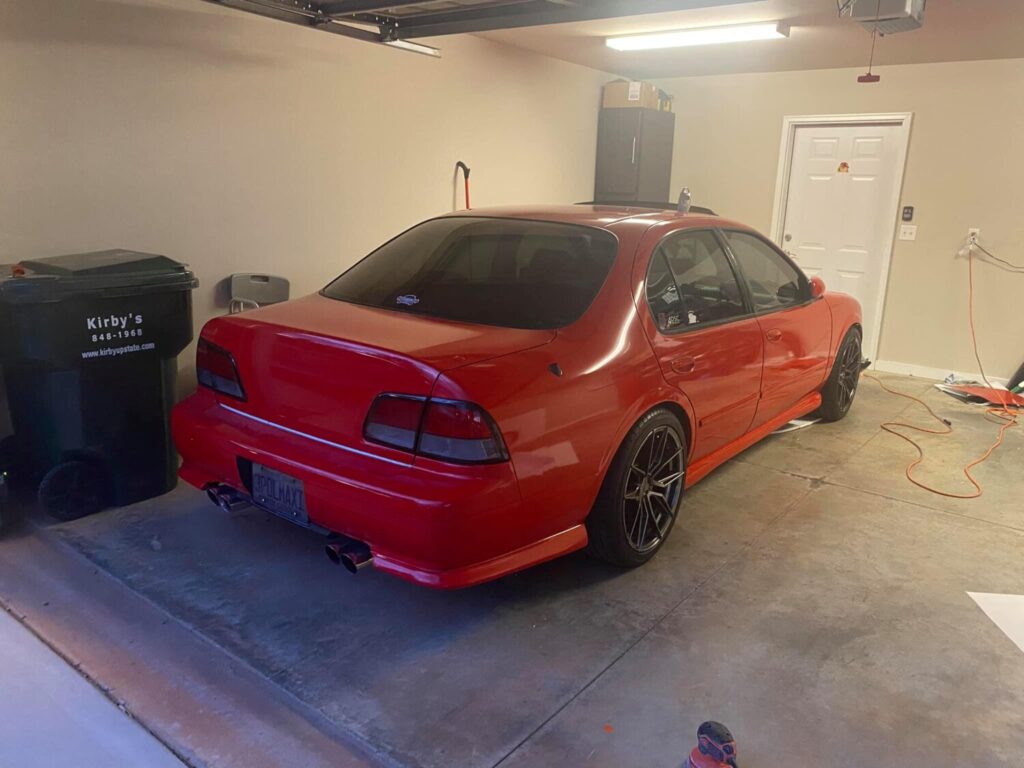
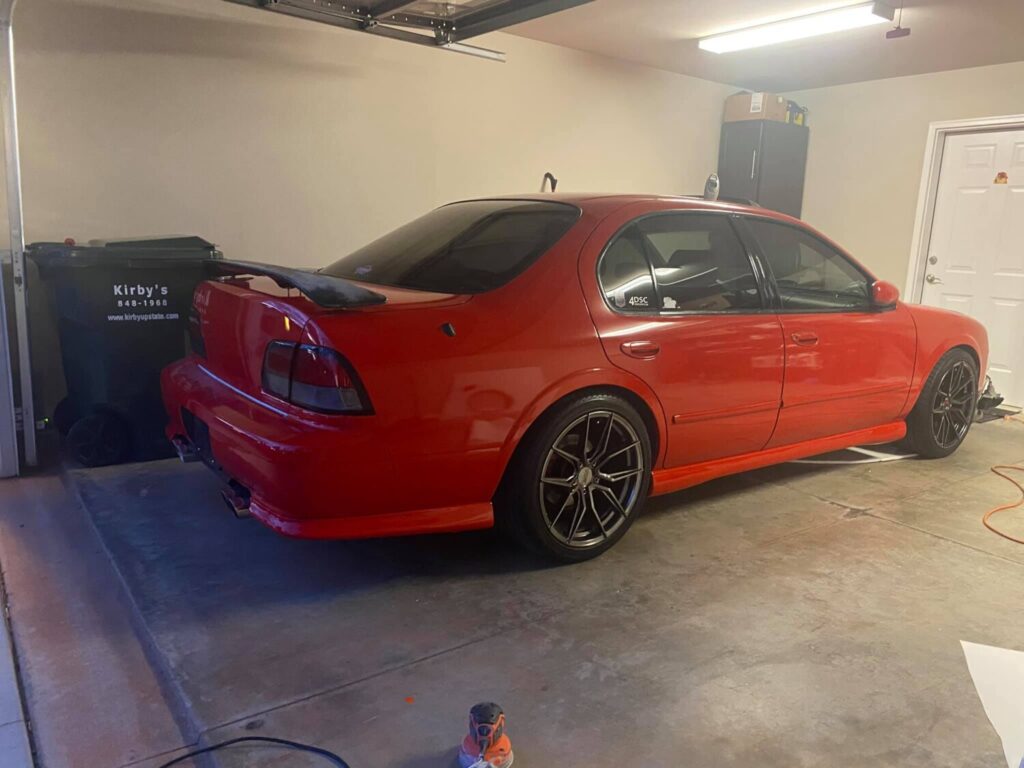
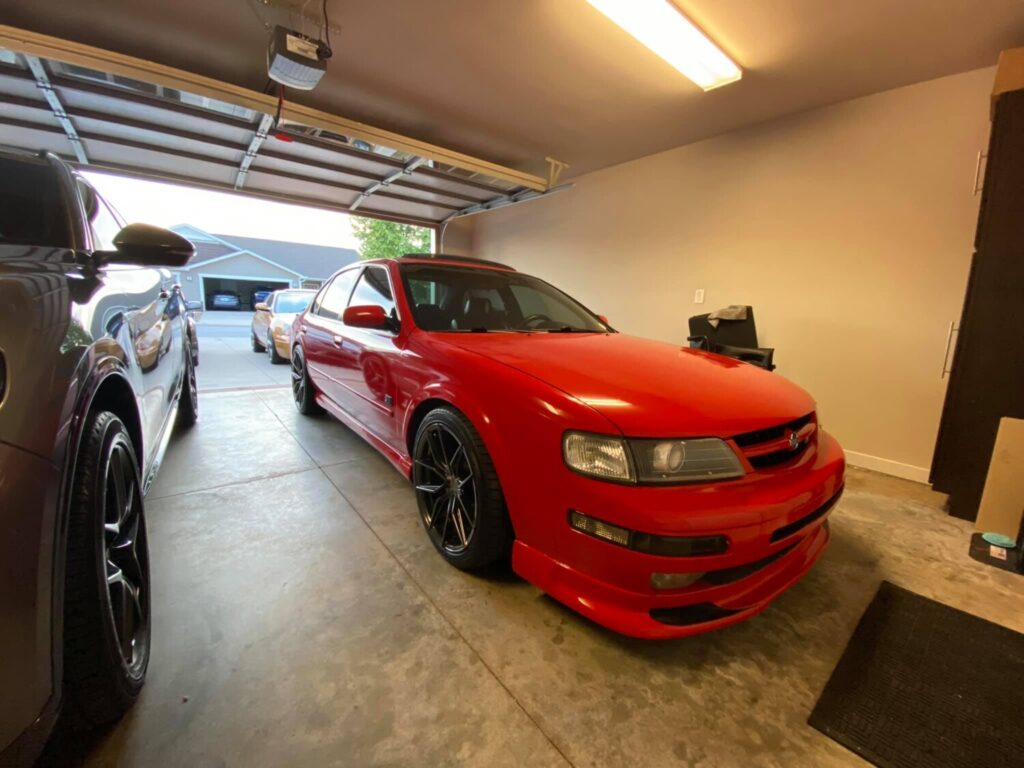
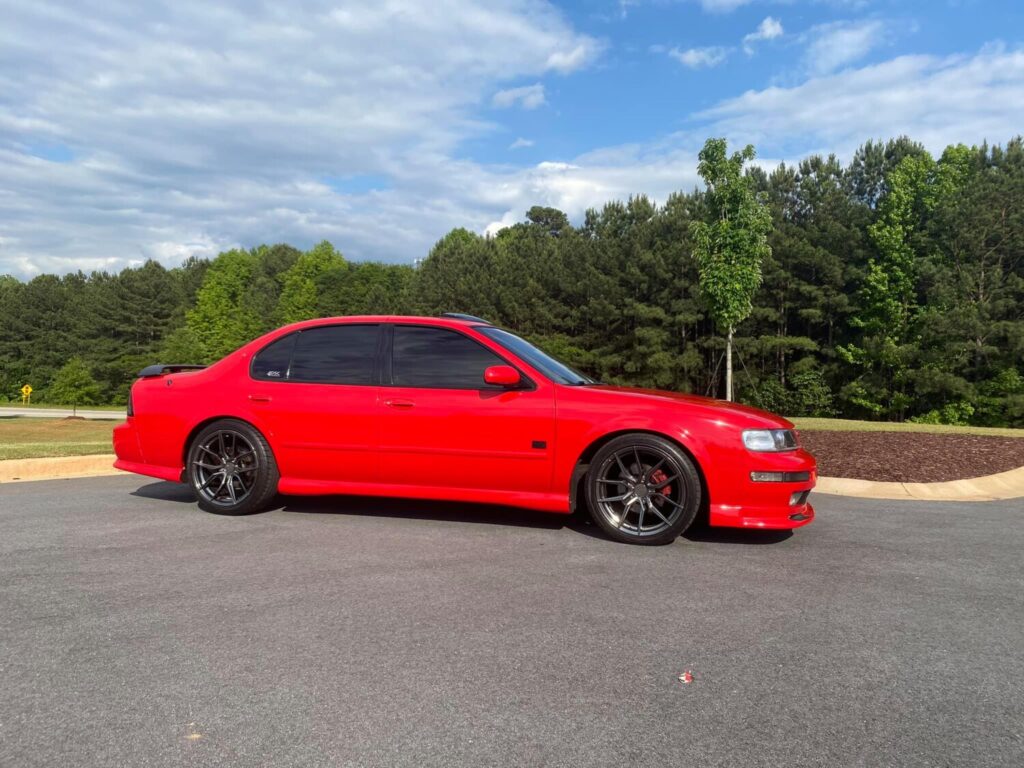
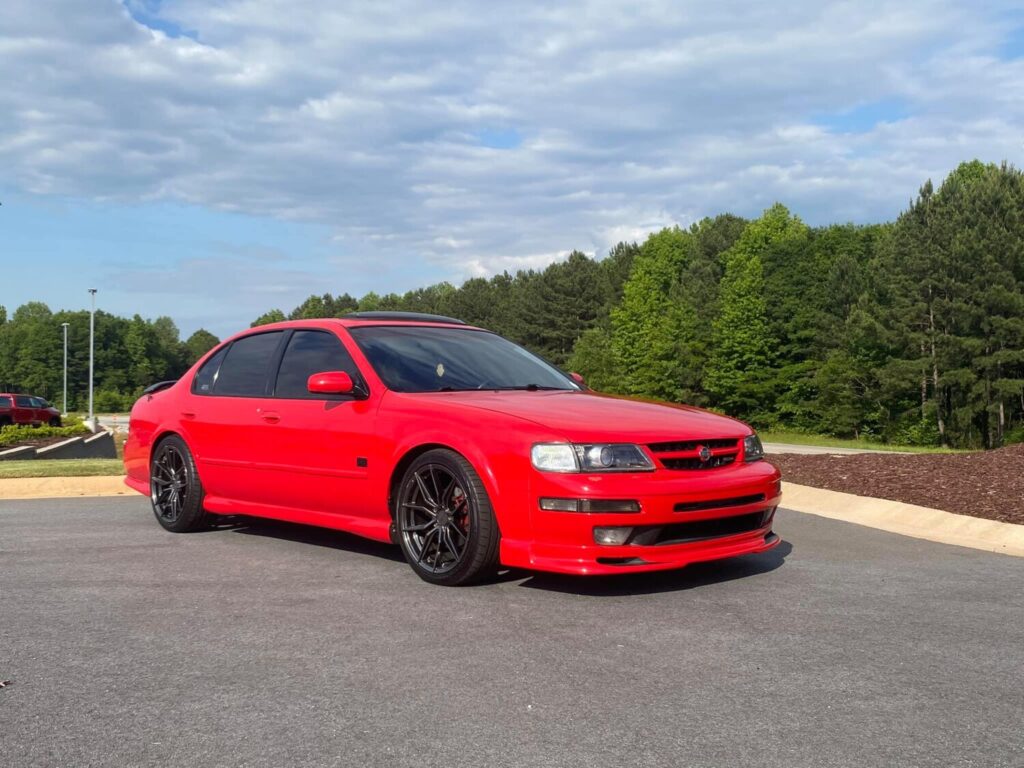
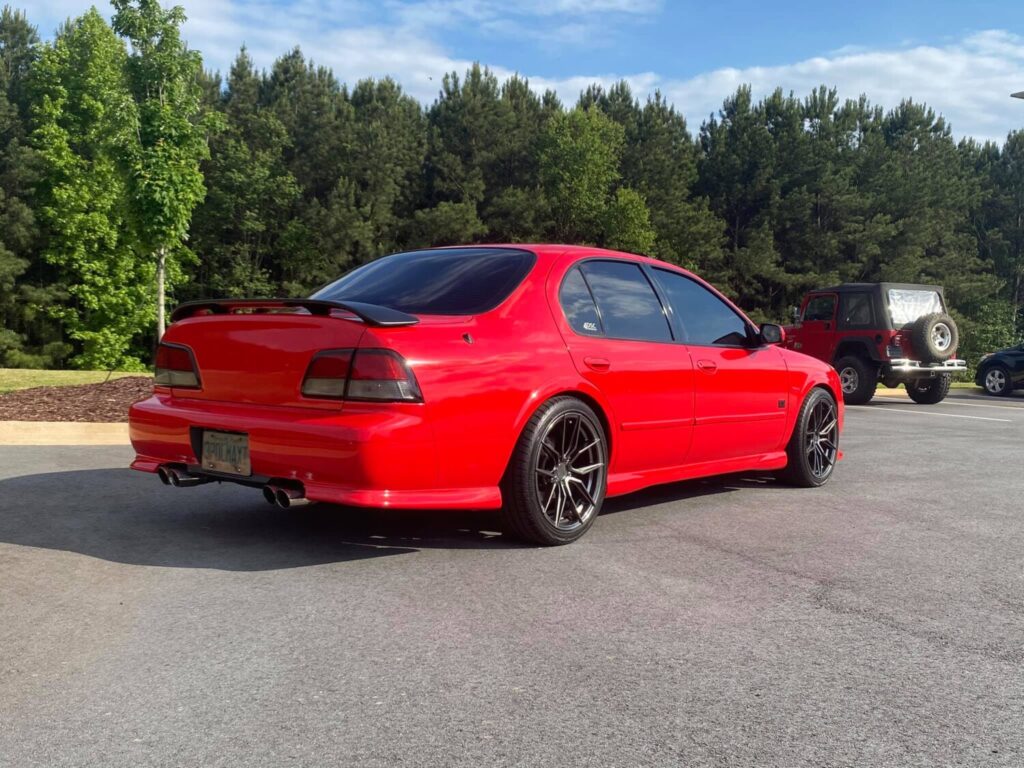
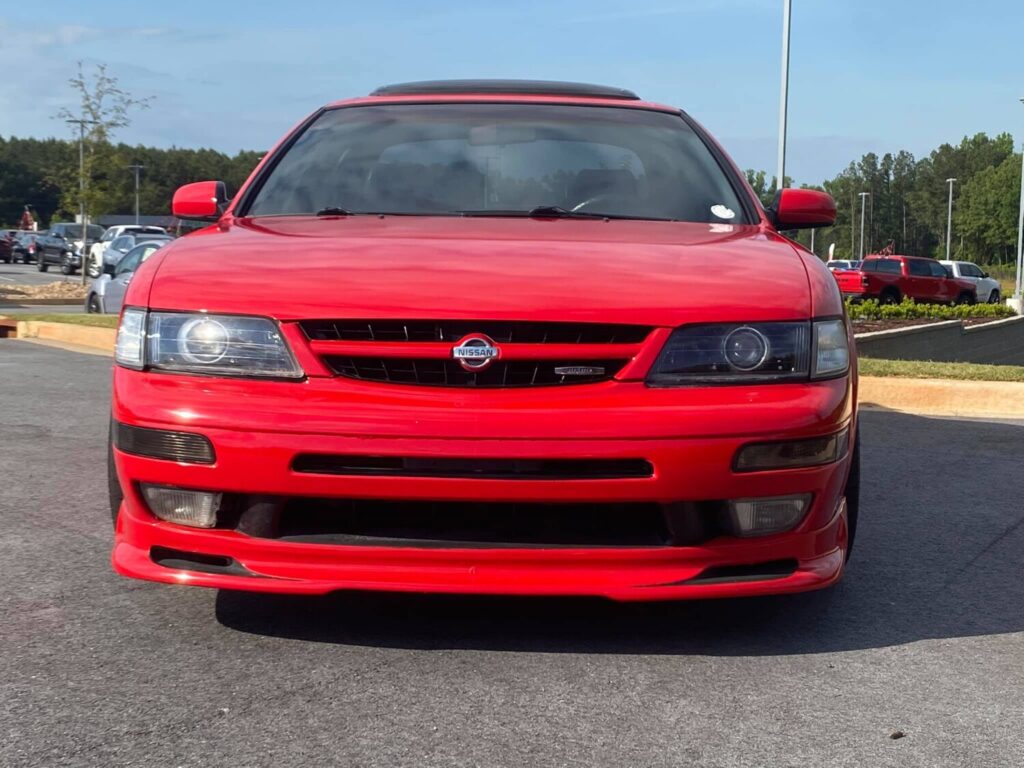
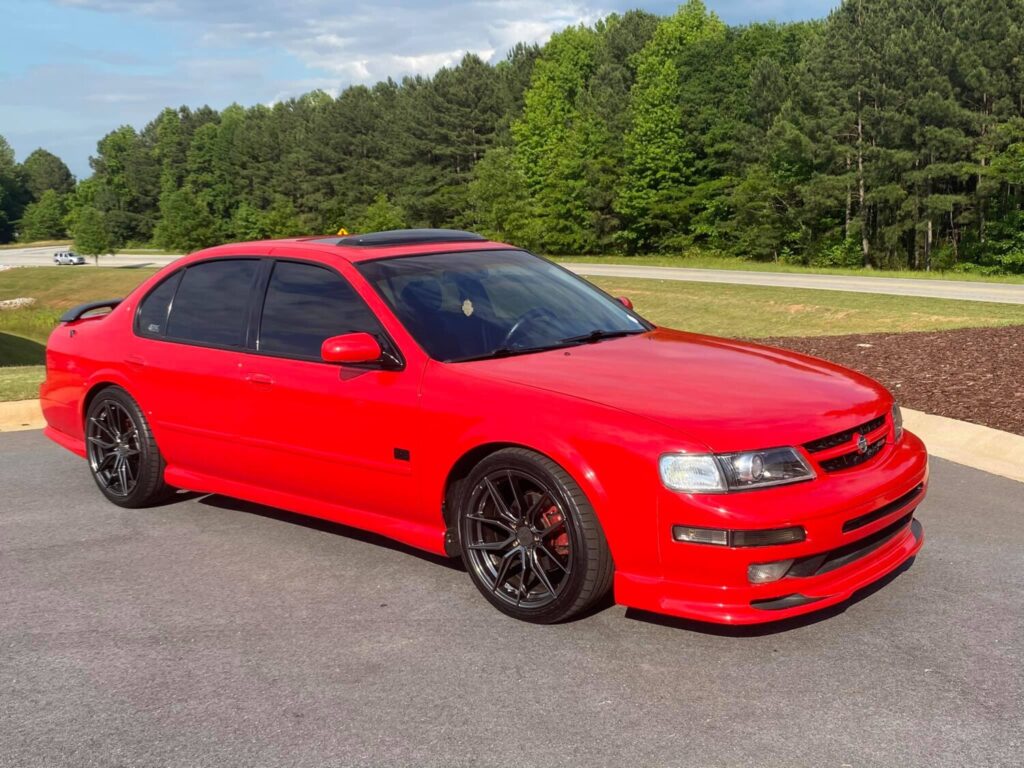
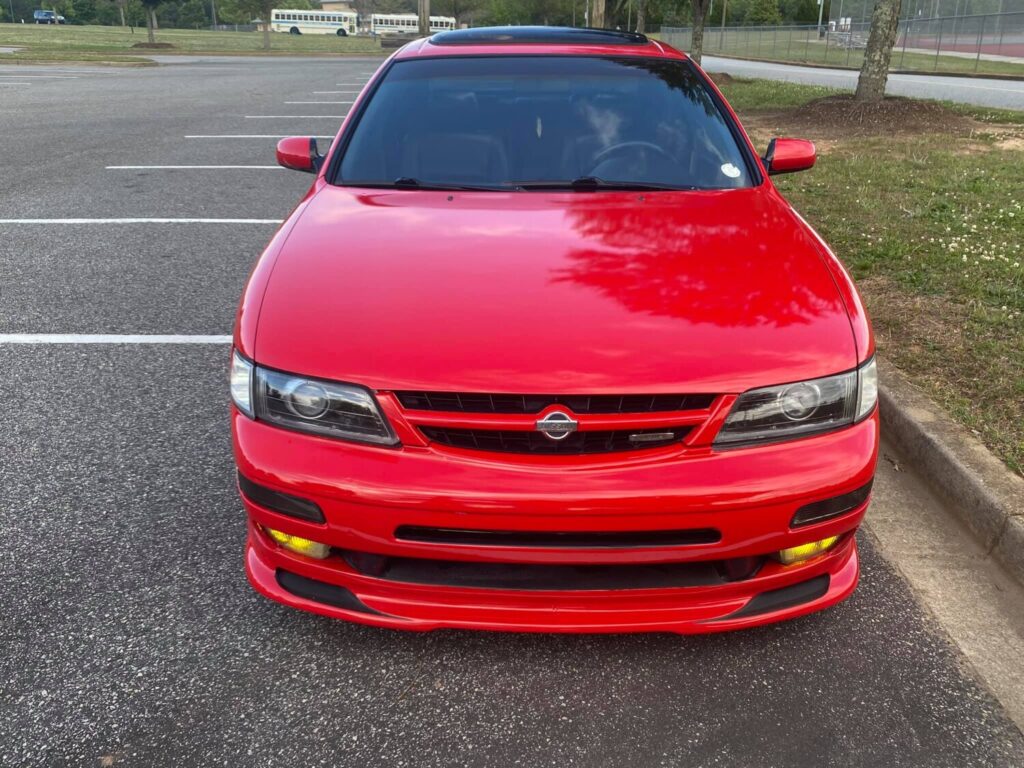
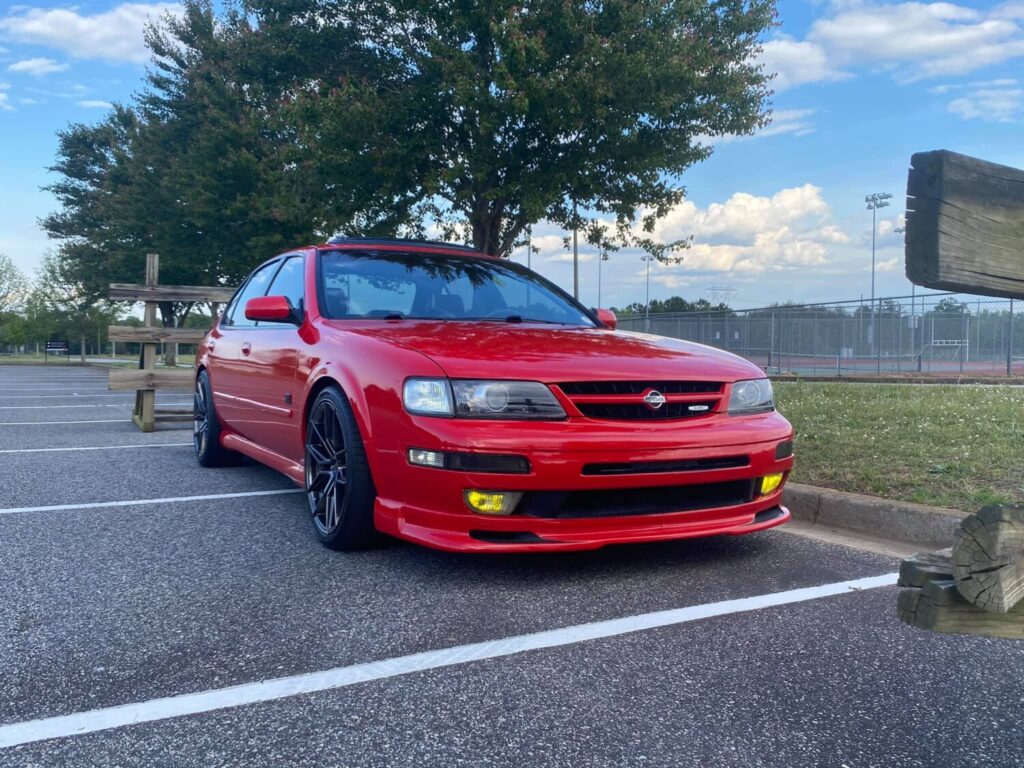
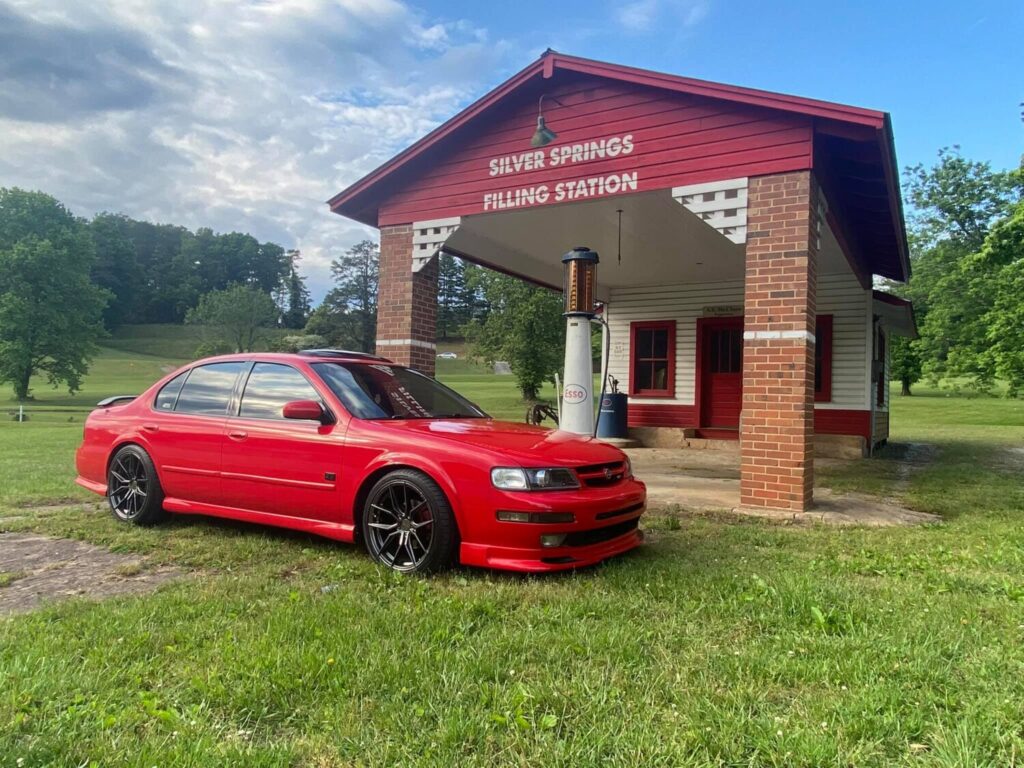
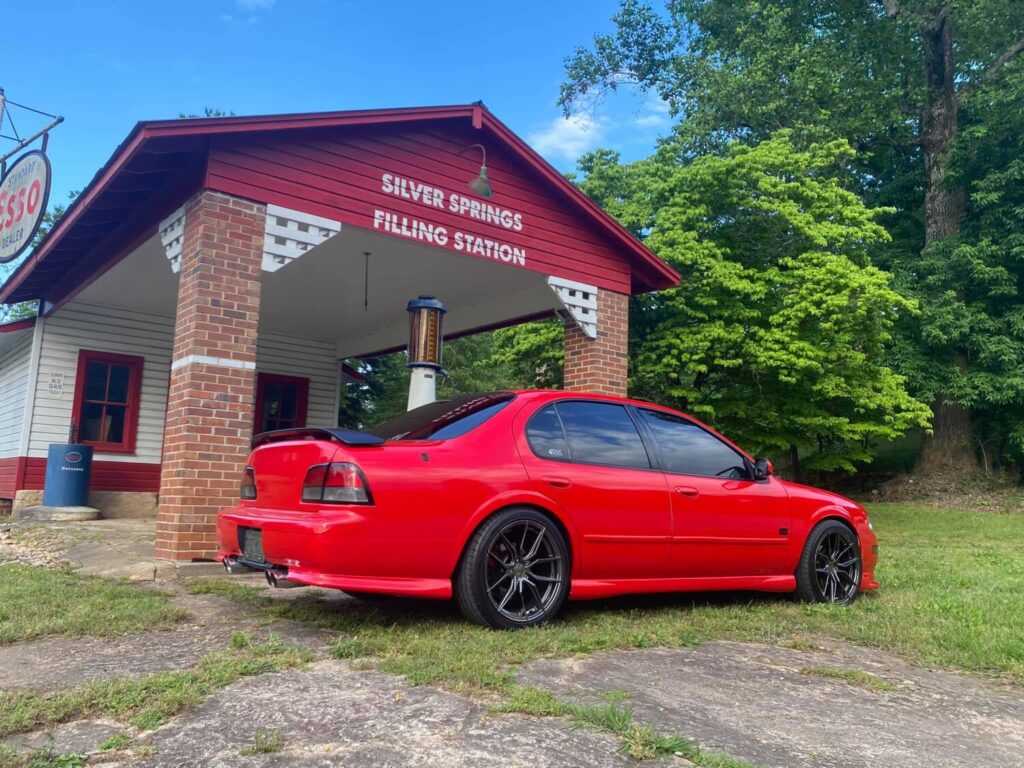
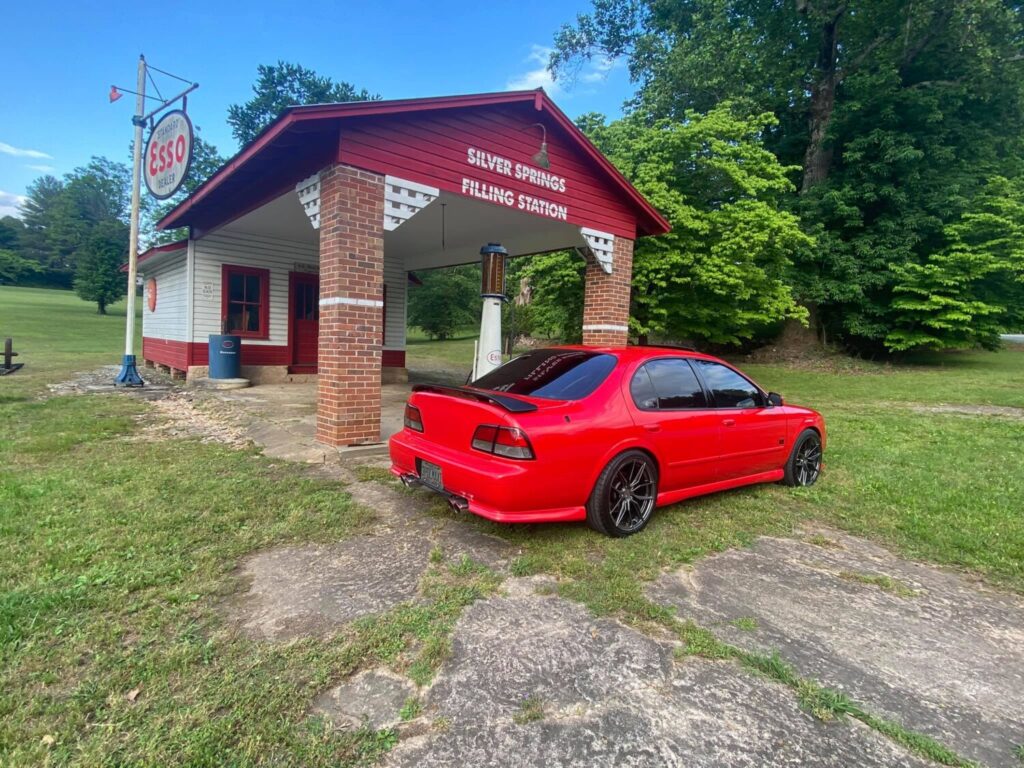
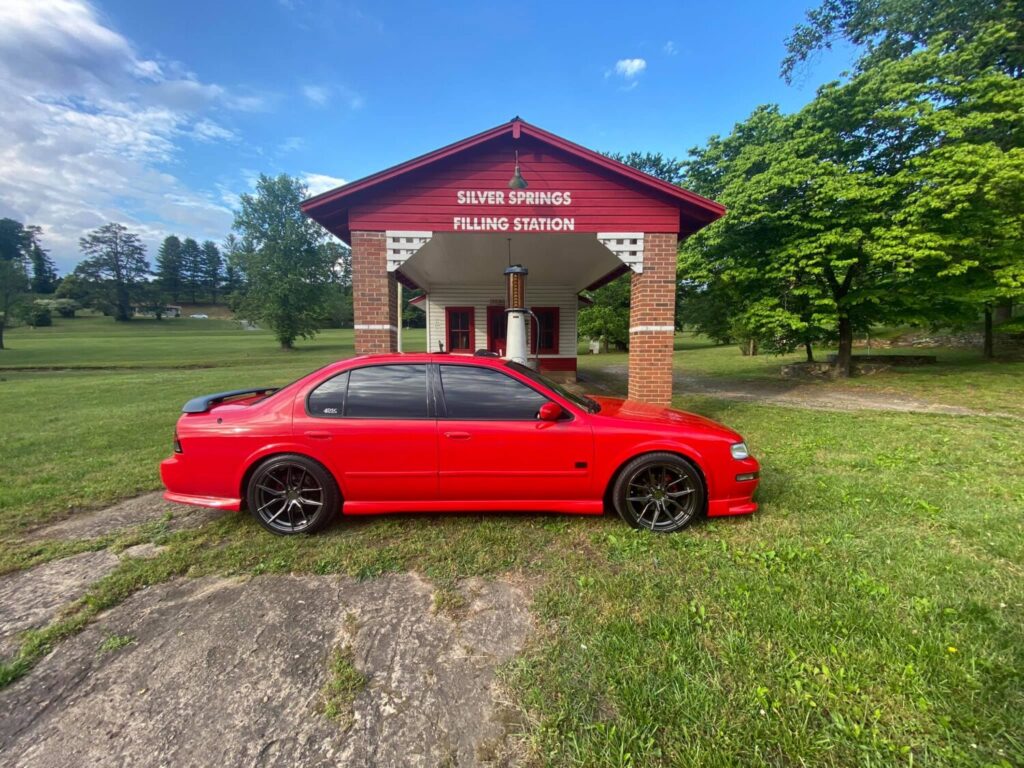
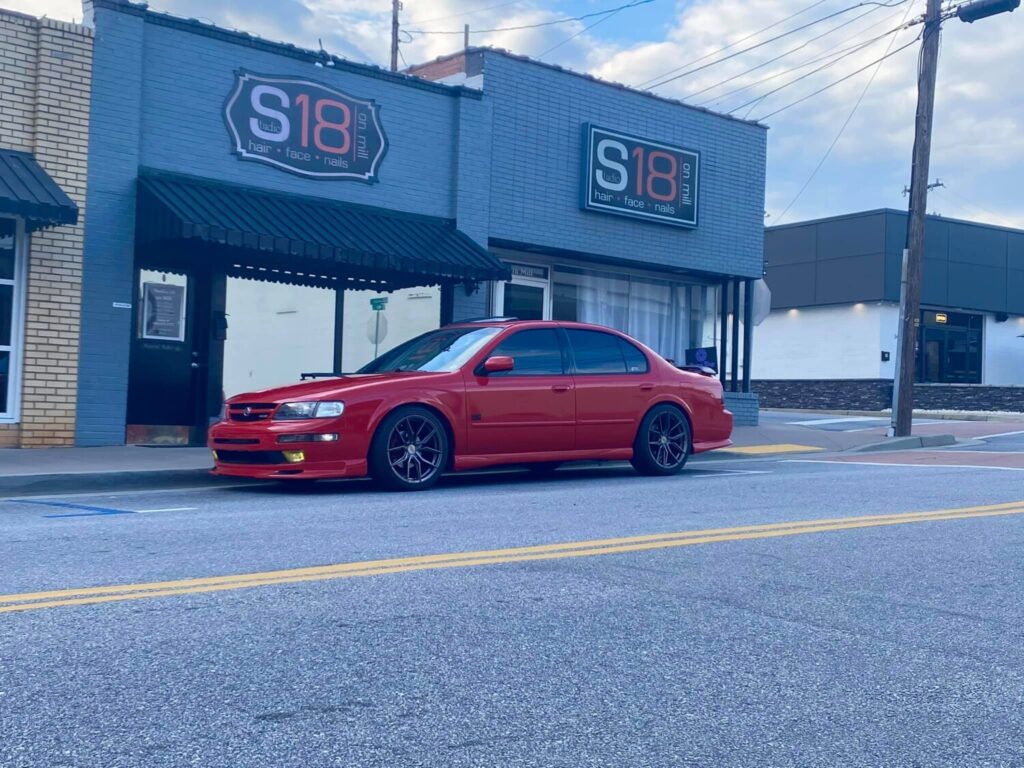
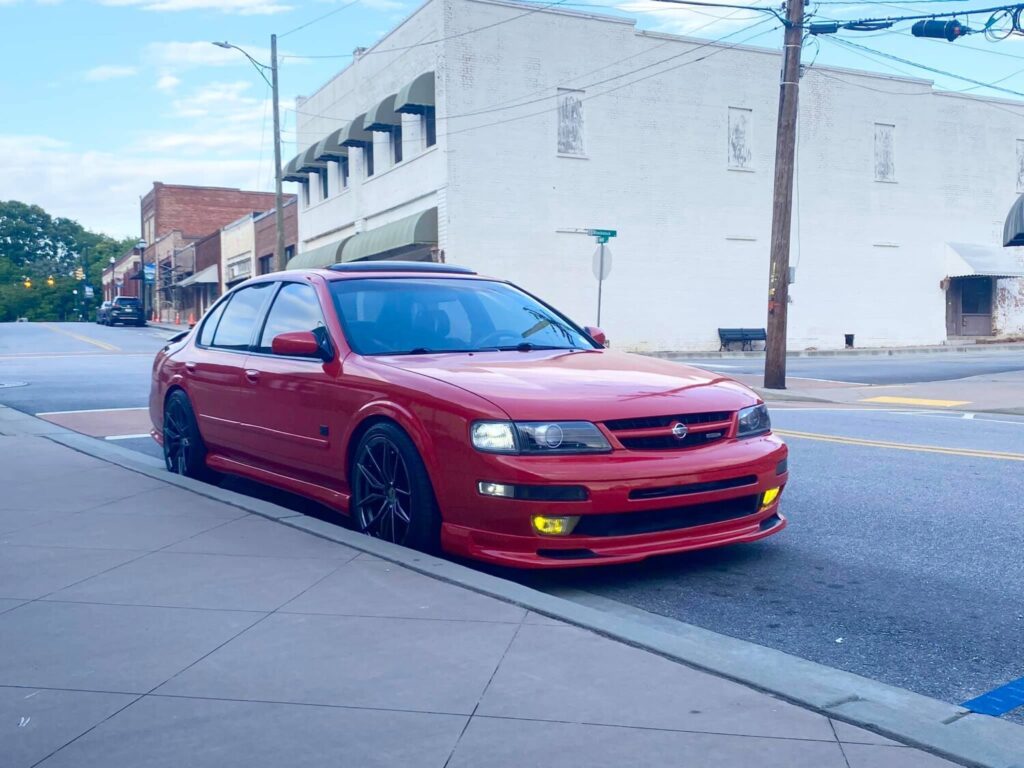
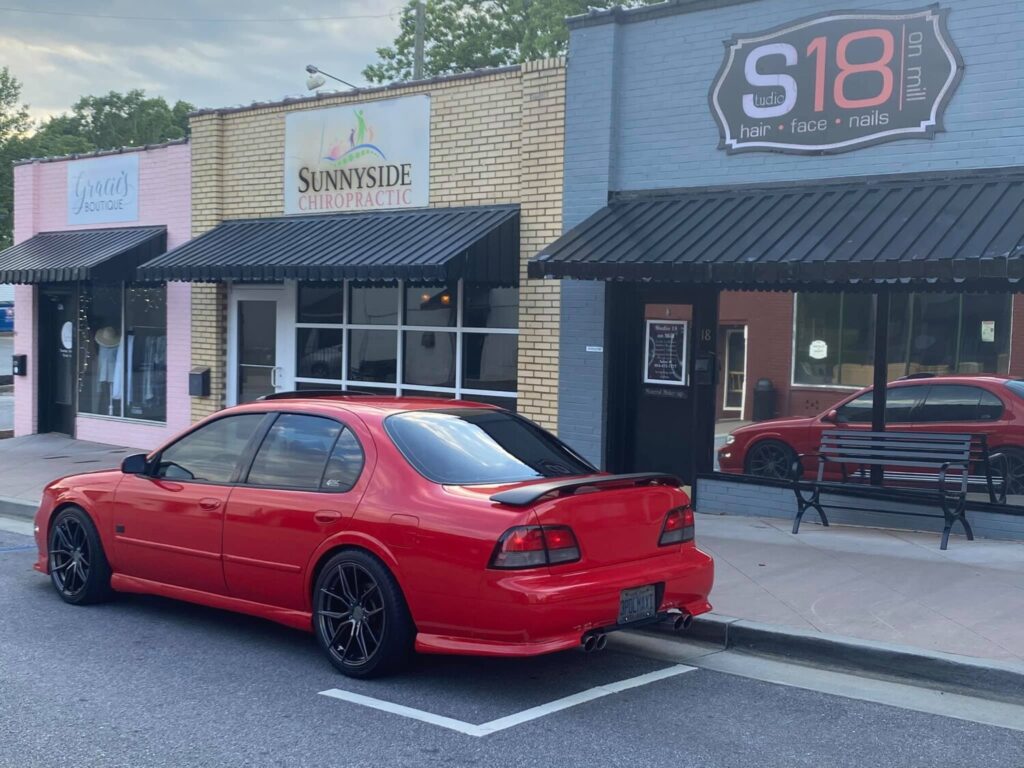
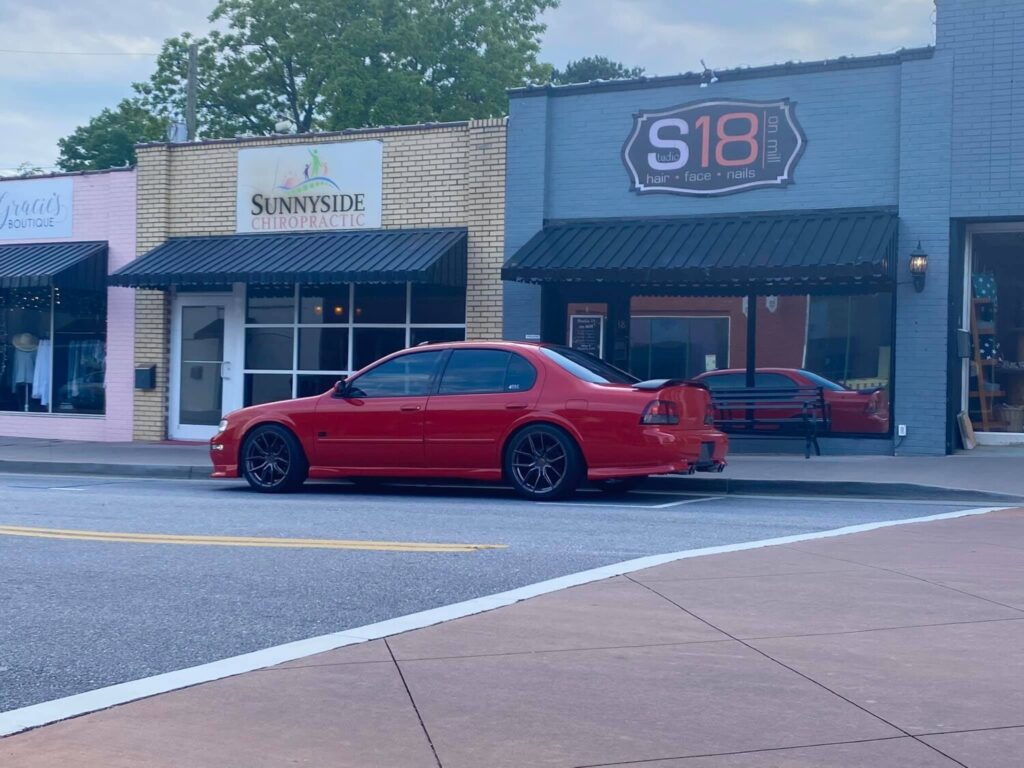
Owner: Brandy Duncan-Whillock
Year: 1999
Model: Maxima
Color: Wrapped Red
Engine: VQ30DE
Transmission: 5-Speed Manual