Category

my4thgen 95-99

Category

Community Member Credit: Schmellyfart

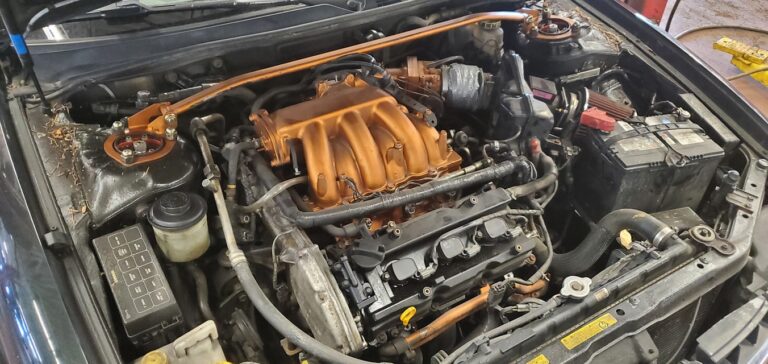
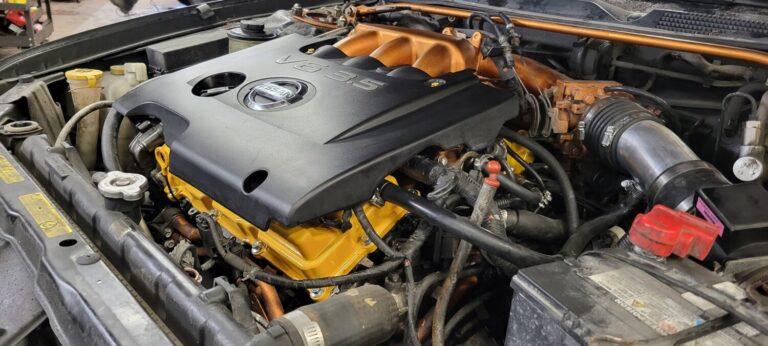
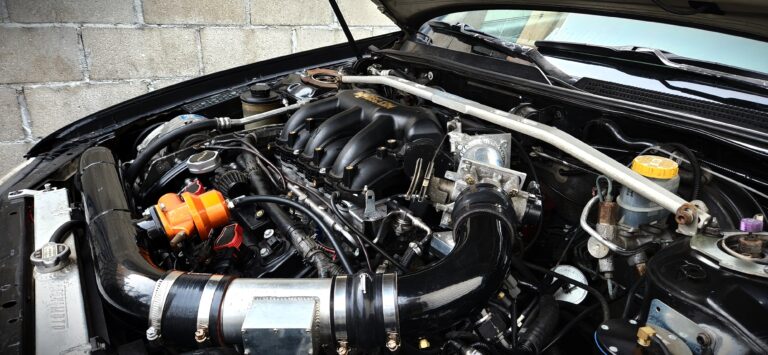
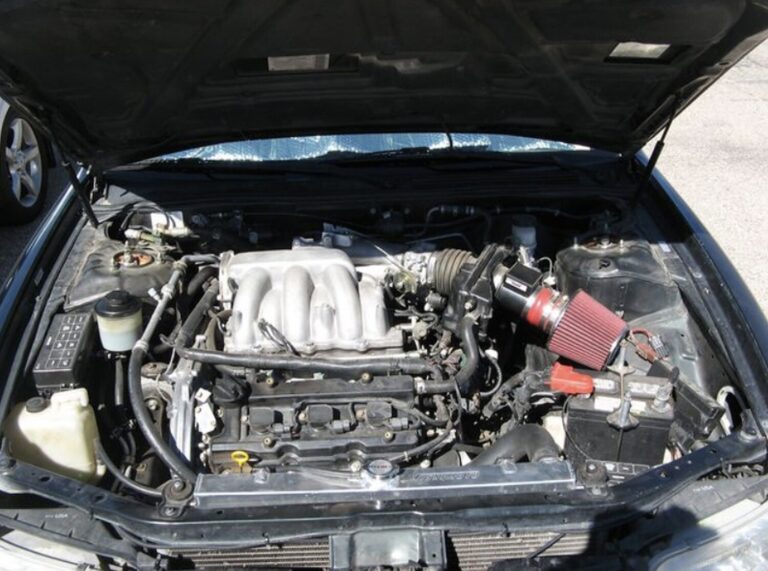
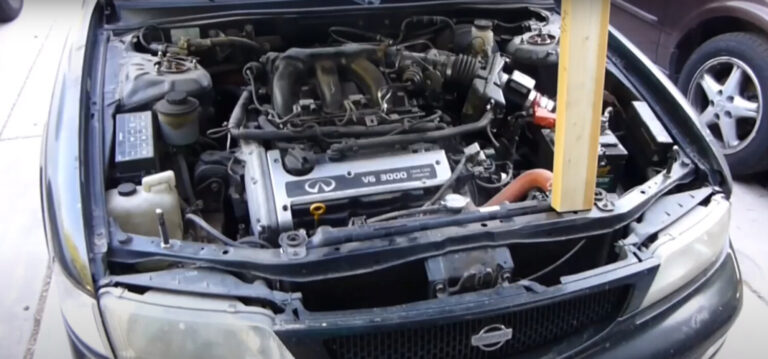
This an overview of the main items and modifications required to install a 2007+ Altima and 2009+ Maxima VQ35DE engine into a vehicle using a VQ30DE(K) Engine Control Unit (ECU).

Blue highlighted items need to be fabricated. Some items are produced by me (or in the design process) to make this swap easier.

Red highlighted items are new gaskets that are highly suggested to replace. I usually source my OEM gaskets from nissanpartsdeal.com.

This is intended only as reference material. Refer to the Factory Service Manual (FSM) for Removal and Installation procedures as well as torque specifications. I am not responsible for any damages blah blah.

  2007+ Altima 2009+ Maxima
Upper Intake Manifold Smaller Ports Larger Ports
Throttle Body 70mm 75mm

*Maxima and Altima Upper Intake Manifolds are interchangeable*

Timing Components

  • To use the newer engine with the older ECU, all timing components and sensors will need to be replaced with that of a VQ30.
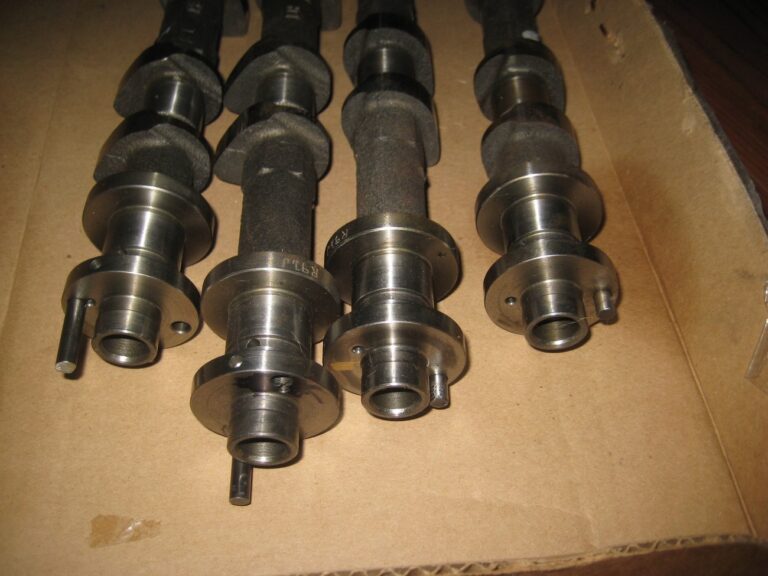
  • Cam adapters will be needed for this specific engine. –Currently available from schmellyfart@gmail.com. ‘StephenMax’ type Cam Adapters will NOT work.
  • VQ30 Outer Timing Cover and Access Plates
  • VQ30 Inner Timing Cover
  • VQ30 Water Pump 21010-31U85
  • VQ30 Timing Chains
  • VQ30 Timing Gears
                • 1 Crank Sprocket
                • 2 Exhaust Cam Sprockets
                • 4 Intake Cam Sprockets
  • VQ30 Intake Cam Bolts – to be used on VQ35 Exhaust Cams
                • (VQ35 Exhaust Cam bolts to be used on VQ35 Intake Cams)
                • Torque Cam bolts to VQ35 spec.
  • Water Pump O-Rings
                • Seal- O Ring 21049-ZL80B
                • Seal- O Ring 21049-ZL80C
  • Block to Timing Cover O Rings
                • Seal- O Ring 15066-ZL80B
                • Seal- O Ring 15066-ZL80D
  • Front Crank Seal
                • Inspect VQ35 Seal – Sometimes this seal is new enough where is can be reused and inserted into VQ30 Outer Timing Cover.
                • Seal-Oil, Crankshaft Front 13510-31U10
  • VQ30 Timing Chain Guides
  • Main Timing Chain Tensioner
                • Either VQ30 or VQ35 Main Timing Chain Tensioner & Guide may be used, but they must not be mixed together. For example:
                • VQ30 Main Timing Chain Tensioner & VQ30 Main Timing Chain Guide
                • VQ35 Main Timing Chain Tensioner & VQ35 Main Timing Chain Guide
  • VQ35 Secondary Timing Chain Tensioners
                • These may need replacing depending on age of the engine because the VQ35 Timing Chain creates different grooves in the tension than the VQ30 Timing Chain that will be installed. Use only VQ35 Secondary Timing Chain Tensioners.

Oil Pans – A few options:

  • VQ30 upper oil pan, lower oil pan, and oil pick up tube.
  • VQ30 upper oil pan, VQ35 lower oil pan, VQ35 oil pick up tube.
                • VQ35 lower oil pan is deeper and narrower than VQ30 lower oil pan.
                • Pro: reduced chance of oil starvation on hard cornering
                • Con: Reduced ground clearance
  • Use dipstick that matches your lower oil pan!

Water Pipes

  • VQ30 Water Outlet Pipe (transmission side of engine)- VQ30 uses two coolant sensors, VQ35 uses one.
  • 2x Water Outlet Pipe Gaskets -11062-31U00
  • Water Inlet Pipe (Near Front Valve Cover)
                  • The HR head on these VQ35 has an extra port at the Water Inlet Connector for the Oil cooler. I personally found the Oil Cooler to interfere with Crank Sensor, so I removed mine – YMMV. If removing the oil cooler, this hole will need to be plugged via tap and hole plug, or Water Inlet block off plate – (Pending field test) . (Oil Cooler removal will also require VQ30 Oil filter stud 11024-4P10A and Water Jacket Blind Plug 11051-60U2A). Once blocked off, VQ30 or VQ35 Water Inlet Connector can be used.
  • Gasket-Water Inlet 13050-31U05
  • Thermostat
                  • If VQ35 Thermostat is used, approx. 2” of the lower radiator hose will need to be cut off of Thermostat end to fit. (2002-2003 Maxima Lower radiator hose MIGHT work without trimming – not yet verified)
    • VQ30 Thermostat will bolt up without issue.
  • Thermostat Gasket: Gasket-Water Inlet 13050-31U00

Injector Clips

  • 1995-1999 Maxima needs VQ35 Injector clips soldered/crimped and sealed to the engine harness
  • 2000-2001 Maxima Injector clips require no modification.

Fuel Rail

  • VQ35 has a returnless fuel rail.
                • Convert to returnless fuel system using guides on Maxima.org (Easier)
                • Modify VQ30DE-K Fuel Rail to fit VQ35 and retain return fuel system (Harder)

Throttle Body

  • The original Throttle Body (TB) is driven electronically, the VQ30 ECU requires a cable driven TB. Due to confined space around Throttle Flange, options are limited. A custom throttle body adapter or modified throttle body is necessary (Finalizing Design).
                • 70mm 2001 Pathfinder TB w/ adapter. This TB is ideal due to OEM quality, TPS bolts up, and its Idle Air Control Valve (IACV) works very well with the VQ30 ECU. Minor wire harness modification required for IACV.
                • Heavily modified Mustang (Foxbody or SN95) TB
                • Heavily modified Q45 TB
                • Heavily modified VQ35 TB converted from electronic to cable.

Exhaust Studs

  • Cylinder 5 and 6 exhaust studs must be removed and installed in opposite holes in order to reuse older VQ30 headers or exhaust manifolds.

Valve Covers

  • VQ30 valve covers fit, but are also heavier. I would only recommend using the front VQ30 valve cover and spark plug cover if you want to keep it stealthy. Some Coil pack shenanigans may be required. Rear VQ30 valve cover is not recommended as the Upper Intake Manifold (UIM) does not clear the coil packs.

Emissions

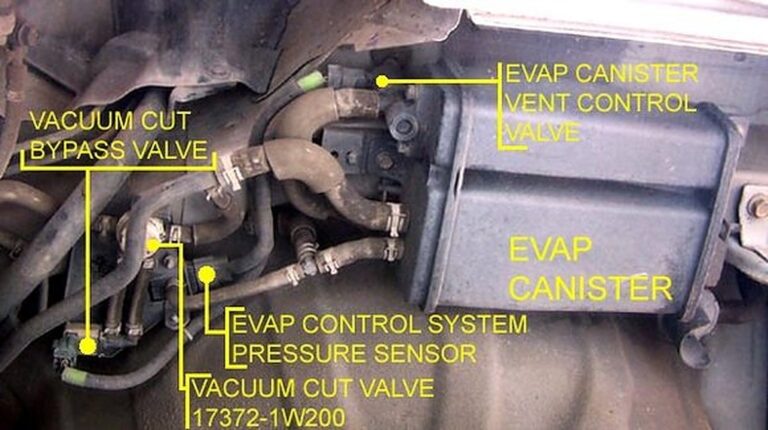
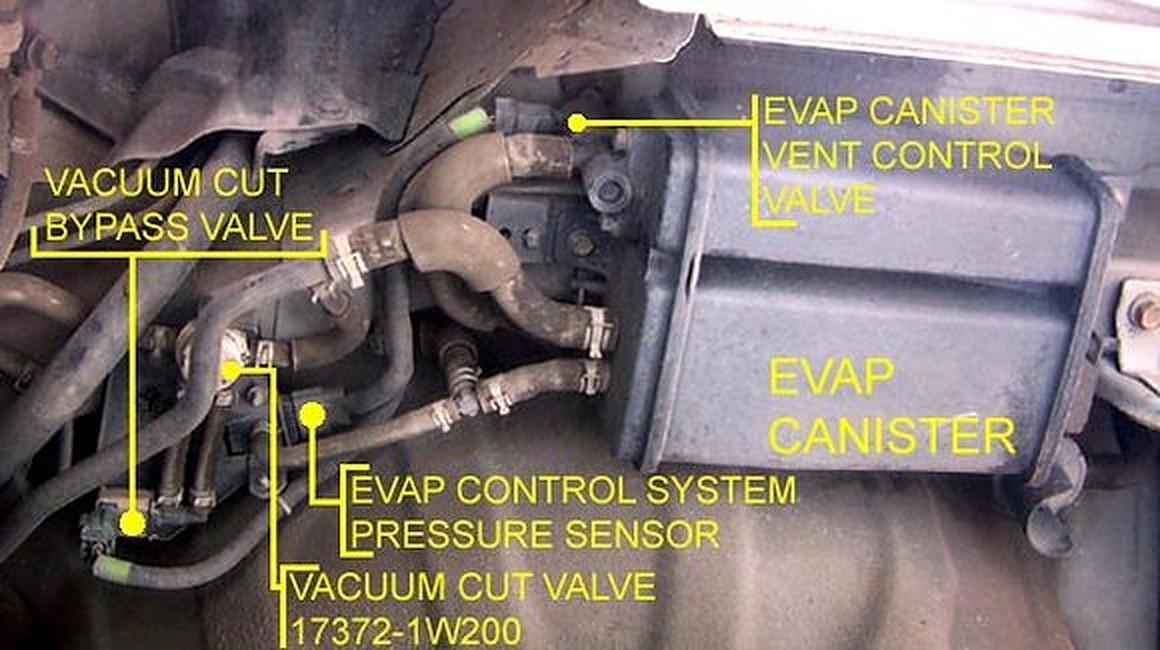
  • Optional depending on personal preference. All emissions systems can be retained with the exception of EGR. Take good notes and mark the inlet/outlet of every emissions part, all can be reconnected to VQ35 UIM. Simplified Vacuum Hose routing diagram coming soon.

VIAS

  • Mine are currently installed but not controlled. Currently awaiting testing to verify optimal setup with VQ30 ECU.

Loading

Owner: Abdala Streetz Fernandez

Year: 1997
Model: Maxima
Color: Sage Mist Green (FS0)
Transmission: Automatic 4-Speed
Trim: GLE

Here’s a video of the recent PBIR track visit, this was an 11.4 @ 125mph 1.8 60ft. I was hoping for this to be a 10second run. It turns out, once again I ran the best time in two gears like the last track visit. This time due to user error (a solenoid became unplugged somehow). This was with 2nd and 3rd gear only.

Vid Credit: Chris Forsythe

Loading

Community Member Credit: Kevlo911

I bet over 75% of 4th gen owners have a leaking steering rack and/or worn tie rods…

I bought the rack from: https://www.carsteering.com/buynow/1999/Nissan/Maxima/Rack_and_Pinion/80-00386_R

I bought the 99se rack because it is stiffer. It comes with new inner tie rods and new o-rings. You should replace the outer tie rods and sway bar bushings at the same time.

As for the how-to.

  • Loosen lugs
  • Jack up and put the car on jack stands.
  • Remove wheels
  • Remove outer tie rods(I did not and paid for it ) – You need to rent the outer tie rod removal tool from AutoZone to do this.
  • Remove the bolt on top of the sway bar end link and the 2 bolts on the bracket that holds the “inner” bushing in.
  • Move the sway bar up and wiggle it out from the passenger side.

Remove the y-pipe (rent the o2 removal tool)

As you can see, I forgot to rent the tool

Now the fun part. Crossmember. Remove the engine mount bolts, in the rear I used a long 10in extension to get to the bolt from the engine bay(intake removed). Front engine mounts you need an open-end wrench on one side and a socket on the other(or two sockets…) I supported the engine with a jack and a 2×4. If you have a tranny jack it would be better. Remove the 2 bolts in the front and rear(4total bolts) on the cross member and it will dropdown. You can replace the mounts right now if you want to.

See a plate covering this mount on the rack. It is behind the rear header and is held on by three 10mm screws. Remove it.

Now remove the fluid lines, have something to catch the fluid(I had a trash can lid). Remove these from the engine bay, it is much easier that way.

Use a 14mm open-end wrench to get the bottom one. On the top one, remove the hose and swap the nipple on the new rack once it is out of the car.

Remove those nuts. Now you will see the spindle, there is a 12mm nut holding it on the spindle of the rack. Make sure the steering wheel is straight before you remove it.

Remove the bolts holding on the rack now. One mount is pictured above, the other you will see when you are down there. USE THIS ALONG WITH MY TIPS TO CHANGE THE RACK

FSM is basically the same write up too. As you can tell I didn’t do everything they did.

You will remove the rack from the middle, it will NOT slide out from the sides(I found out the hard way). You will move it towards the pass side and then drop it down in the middle. You will install it the same way. I also installed new bushing on the rack, I got MOOG bushings from rockauto.com

You will soon find out the spindle does not want to go into the joint. You will have to bang on top of the joint to get it on the spindle. I used my tq wrench and breaker bar to bang it in. I didn’t have a rubber mallet(I did this with the rack mounts partially in, only the lower nuts were in). Rest is the reversal. Next, you get it aligned… I still have to do this, my wheel is cocked to the right.

This will take all day and would be much easier with air tools. But I saved about 800-1200bucks labor by doing it myself and I now have a stiffer and better feeling steering system.

Loading

Community Member Credit: Maximeltman

Notes:

  • Includes the vq35 secondary gears & chains, and vq30 primaries, and crankshaft gear misc vq35 lifters. These are what my engine came with and it does work this way. You don’t need cam spacers.
  • These came from an engine that I bought a few years ago, and it was prepped (or so I was told by the person who sold it to me) by Tilly, and the way he did it required the 3.5 secondary gears, so it’s just the standard degree for the 3.5 swaps.

Loading

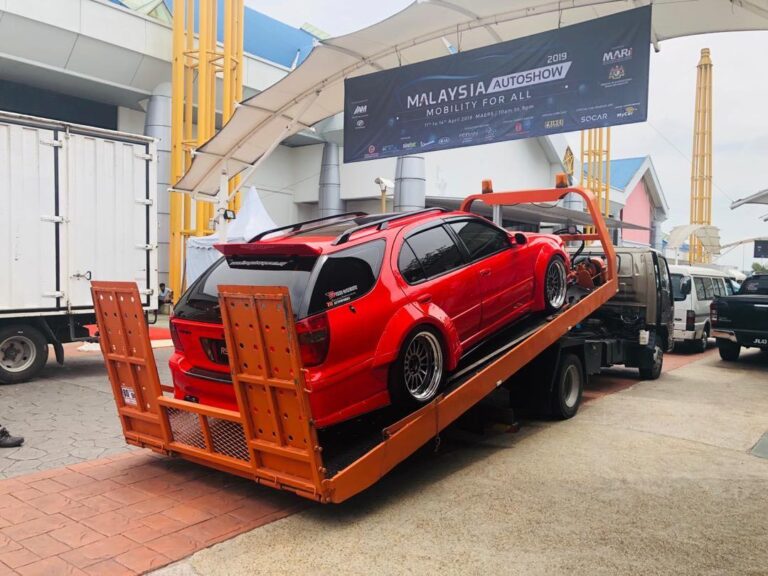
Owner: gringgo_jinjo

Year: 1997
Model: Cefiro
Current Color: Ferrari Red / Glasurit
Engine: 2.5L V6
Transmission: Automatic
Trim: Wagon

Mod List:

  • Rare Front Impul Strut Tower Bar
  • DD Aluminium Radiator
  • Original 1 Pair Sr5 Recaro Seat
  • Original Defi Link Display Mounting Stand
  • Fully Alpine Sound System
  • Nissan Momo Steering
  • Nissan Panoramic Roof
  • Clean & Perfect Interior
  • Liberty Work Wide Body ( Copy )
  • Original 19” SSR Professor TF1 Wheels
  • Front -2 Pots Greedy Breaking System C/W Cross-Drilled & Slotted 2-Piece Rotors
  • Rear – 2 Pots Brembo Breaking System
  • DD High Low Soft Hard Adjustable Absorber
  • Original Autech Bumper, Side Skirts & Door Padding
  • Rare Titanium Head Lamp C/W Yellow Signal
  • Alarm System by Black Widow USA

Loading

Owner: Claude St-Pierre

Year: 1998
Model: Maxima
Color: Deep Evergreen
Transmission: 4-Speed Automatic
Trim: GXE

Mod List:

  • 2002 VQ35DE Swap on 3.0 Timing
  • Stock VQ35DE Cams with Spacers
  • 96mm (0.5 overbore) 8.8/1 Wiseco Pistons
  • Eagle Forged H Rods
  • ACL Bearings
  • ARP Bolts
  • ARP Head Studs
  • Balanced OEM Crank
  • Balanced OEM Crank Pulley
  • Mild Head Porting
  • Mitzone Yellow Valve Covers
  • VIAS delete
  • 2001 QX4 Throttle-body with 2001 VQ30DE-K IACV
  • Cosmo Racing 2004 Maxima Intake
  • Untuned 3.0 ECU
  • Stock 3.0 MAF
  • Stock 3.5 Injectors on Stock Fuel Rail
  • 2001 Fuel Damper and Pressure Regulator
  • 255LPH Deatschwerks Fuel Pump
  • EGR Deleted
  • EGR Temp sensor and Solenoid Retained
  • EVAP and PCV Fully Operational
  • No CEL Codes with Swap
  • Moded OBX Altima Headers
  • Thomas Perdue’s Custom Y-Pipe
  • Cat Delete
  • eBay 5th gen Catback
  • 1999 I30t VLSD  Automatic Transmission
  • Hayden Transmission Cooler
  • 2005 G35 Twin-piston Front Calipers
  • 12.6″ inch 2004 maxima Max Brakes Cross-drilled Front Rotors
  • Max Brakes Cross-drilled Rear Rotors
  • Powerstop Z26 pads All-around
  • DOT-4 Brake Fluid
  • K-Pro Coilovers
  • 2001 Altima SE OEM FSTB
  • Hayden Transmission Cooler for P/S Fluid
  • Summer wheels 235/40ZR18 Westlake Sport RS on Envy wheels
  • Winter wheels 215/55R17 studded Certified Wintertrek on 2001 AE wheels
  • Weight Savings with 2001 Spare Wheel
  • Kenwood/JBL Stereo

Loading

Community Member Credit: Eddy

After swapping my 1998 4thgen Nissan Maxima with a 2020 Gen3 VQ35DE engine, I was not able to use a strut bar. But thanks to some information from Josh and Blandon, I was able to try a 6thgen Maxima Stillen strut bar and to my surprise, it fits 100%. Fits perfect and has no hood clearance issues. This strut bar should work with any VQ35DE swapped 4thgen. No modifications are needed.

Below are the ones I tried that did not fit: 

  • 1995-1999 Stillen Strut Bar (only works with VQ30DE)
  • 2004-2008 Racingline Strut Bar (Does not clear the upper manifold)

Additional Reference (via Blandon’s 4thgen)


Loading

Community Member Credit: schmellyfart

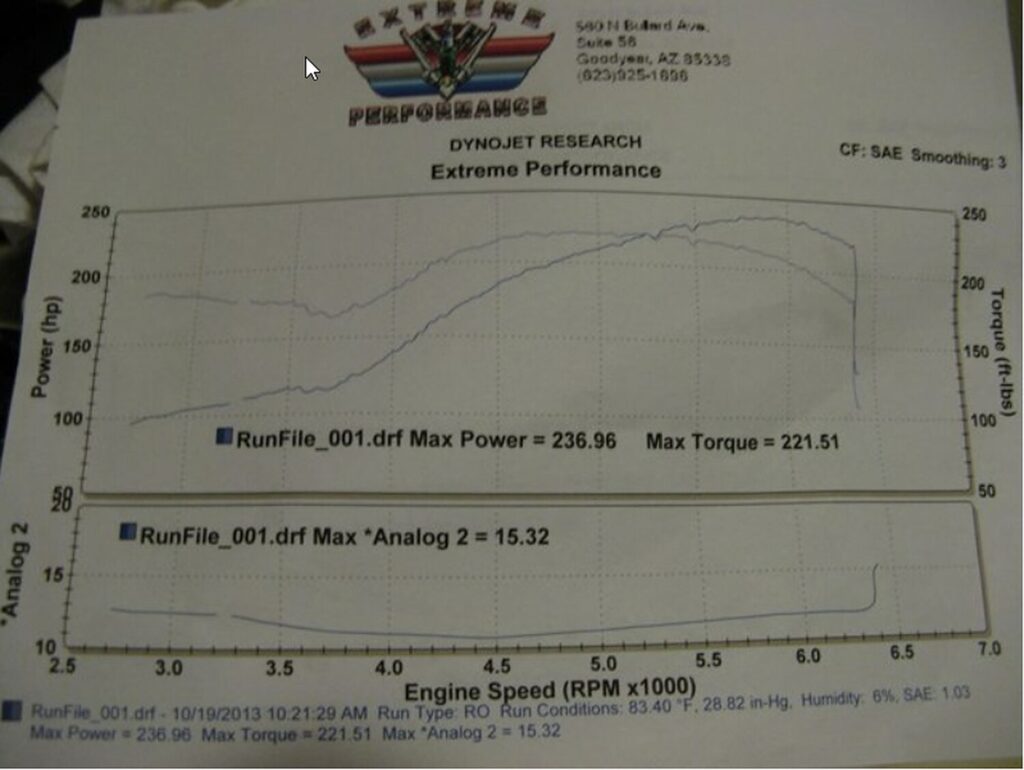
Finally got a chance to dyno the swap today. I decided to spring the extra $10 for an AFR reading since my EU is disconnected. Grand total: $30 for two pulls. Same shop/dyno I used for my previous pulls with the 3.0.

Minor changes that might affect readings:

  • New tires 245/50R16
  • Finally had the car aligned after the swap.

Current setup:

  • 2002 VQ35 w/3.0 timing, DE-K Injectors & FPR, return fuel setup
  • Stock 5th gen intake w/ BOMZ  cone filter
  • PFTB
  • NWP BOP
  • NWP 5pc spacers
  • Altima headers w/ 3″ y pipe back
  • VQ30 Spark Plugs
  • Fuel and timing are bone stock, no adjustments made.

236.96 WHP /221.51 WTQ

Loading