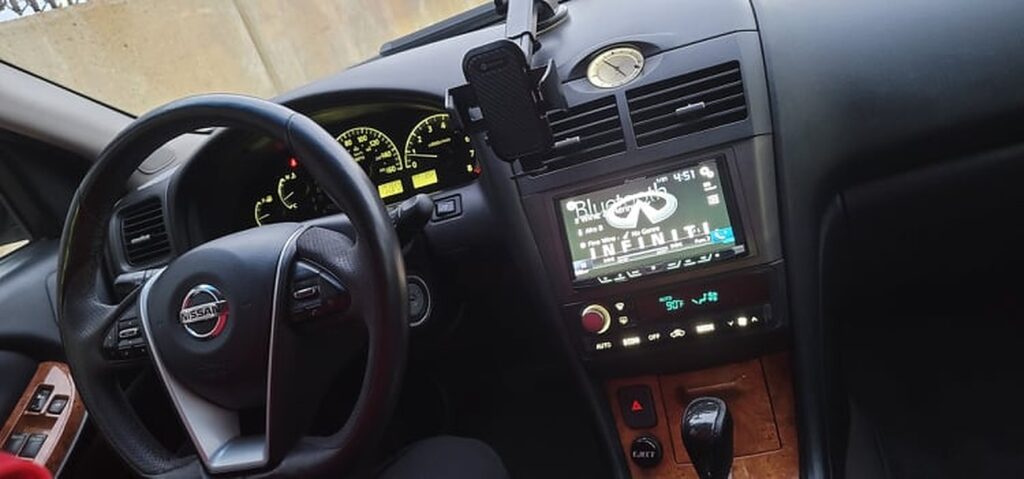
Community Member Credit: Marcos Chavez
![]()


")


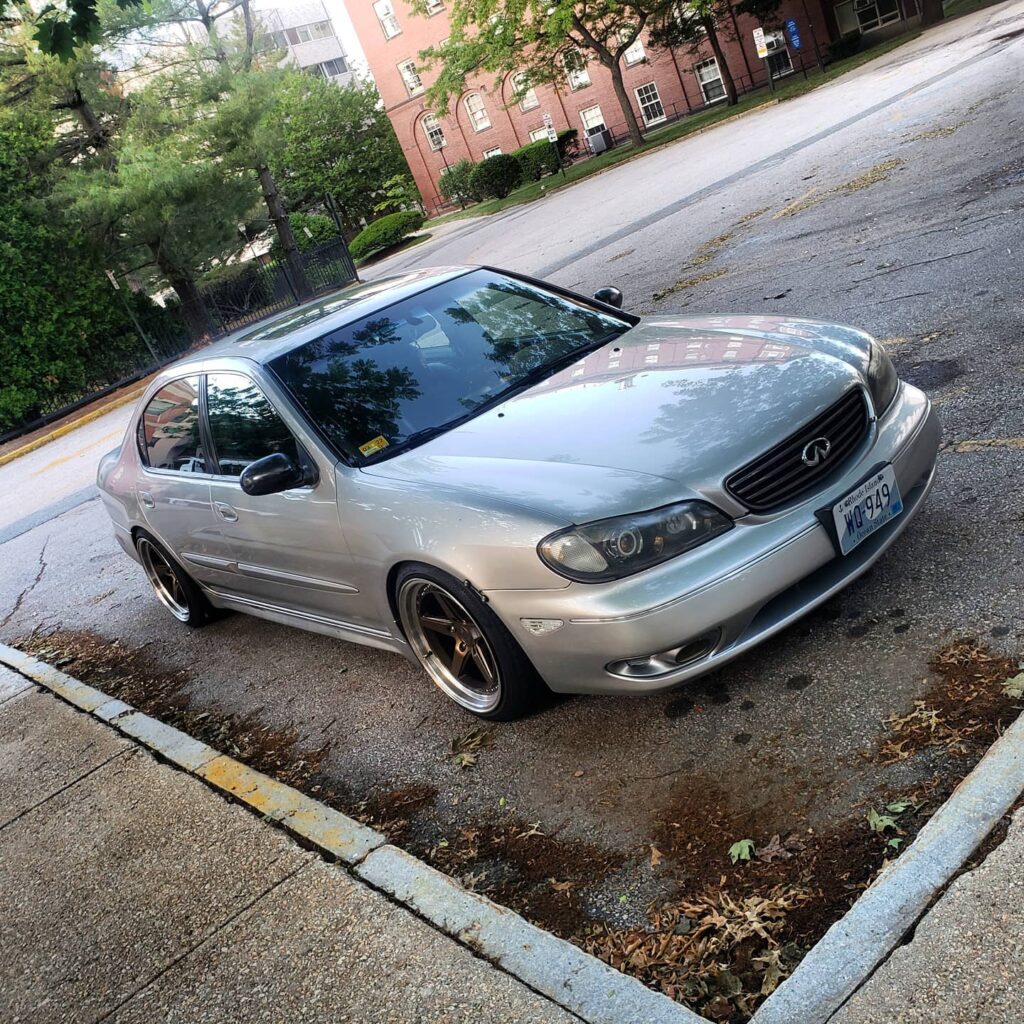
Community Member Credit: Hansell Londono
Important Notes:


![]()


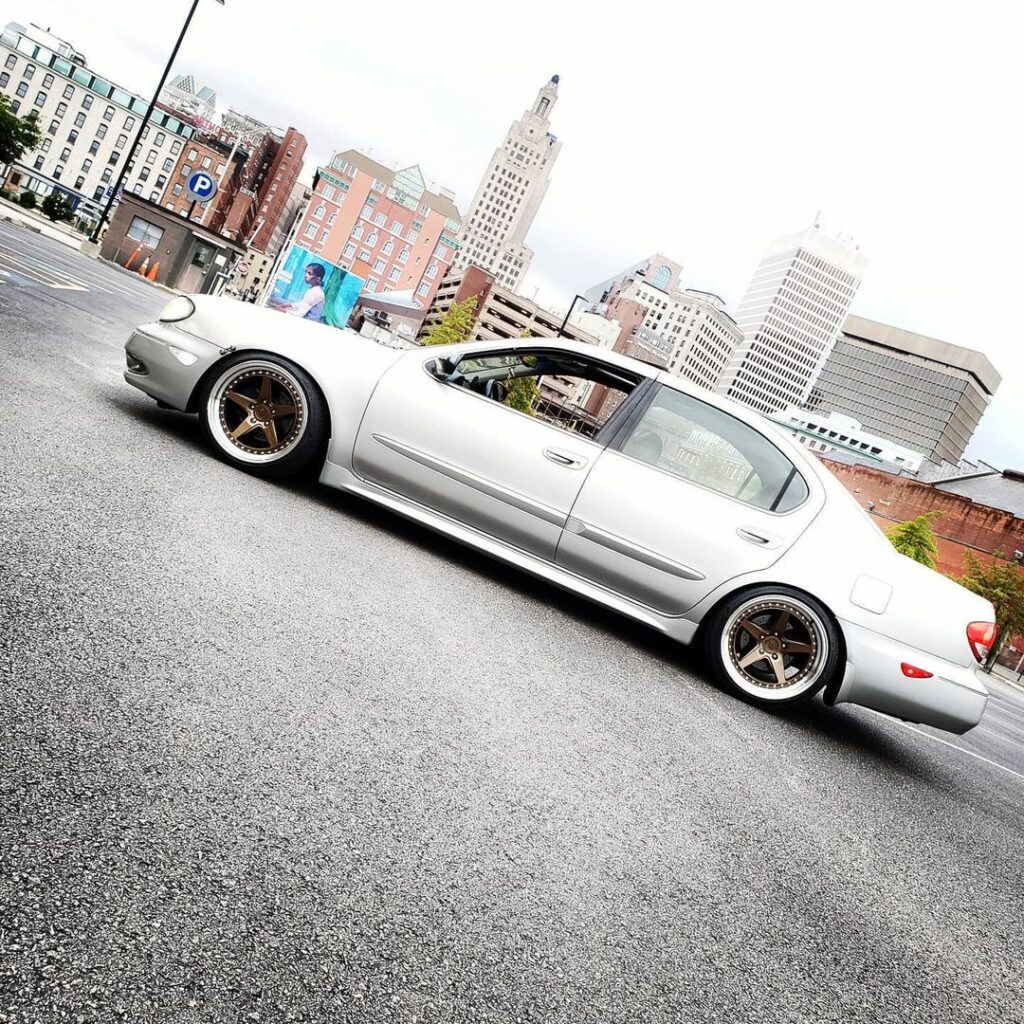
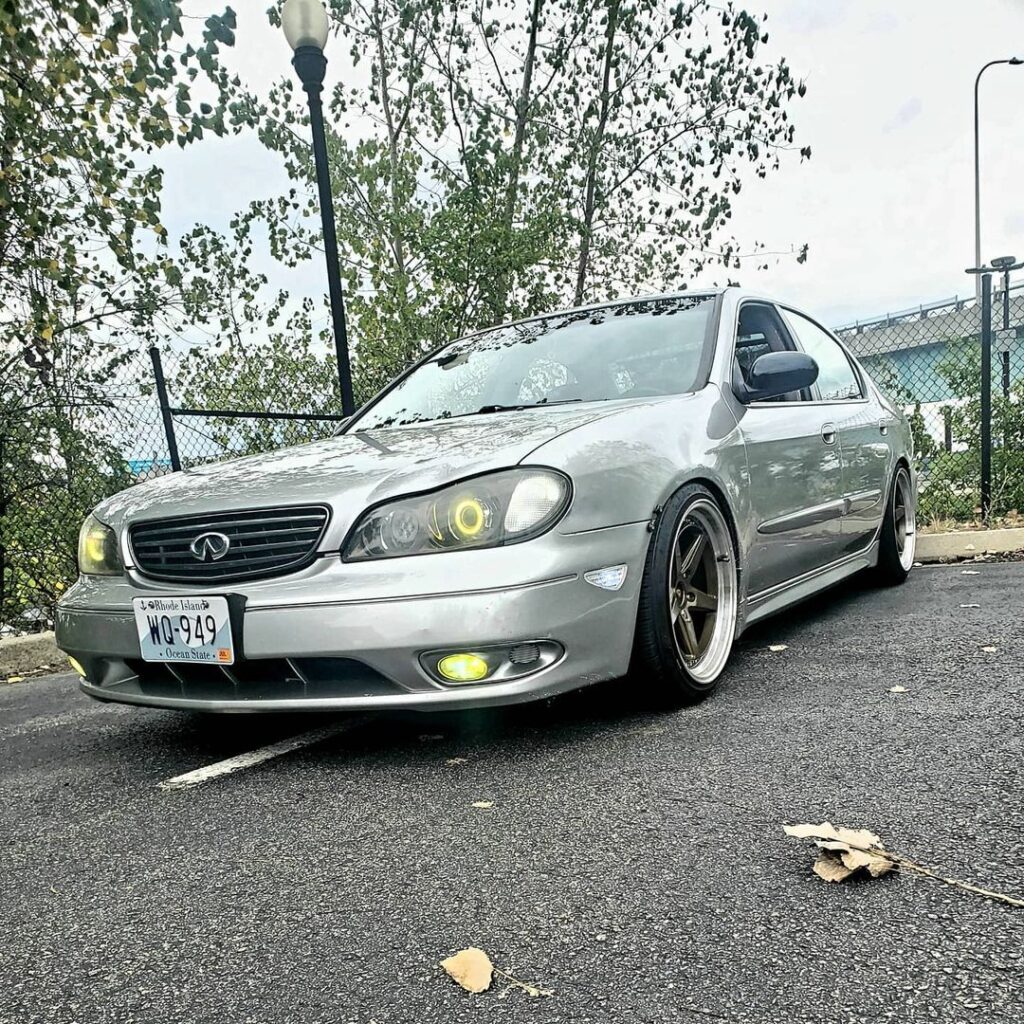
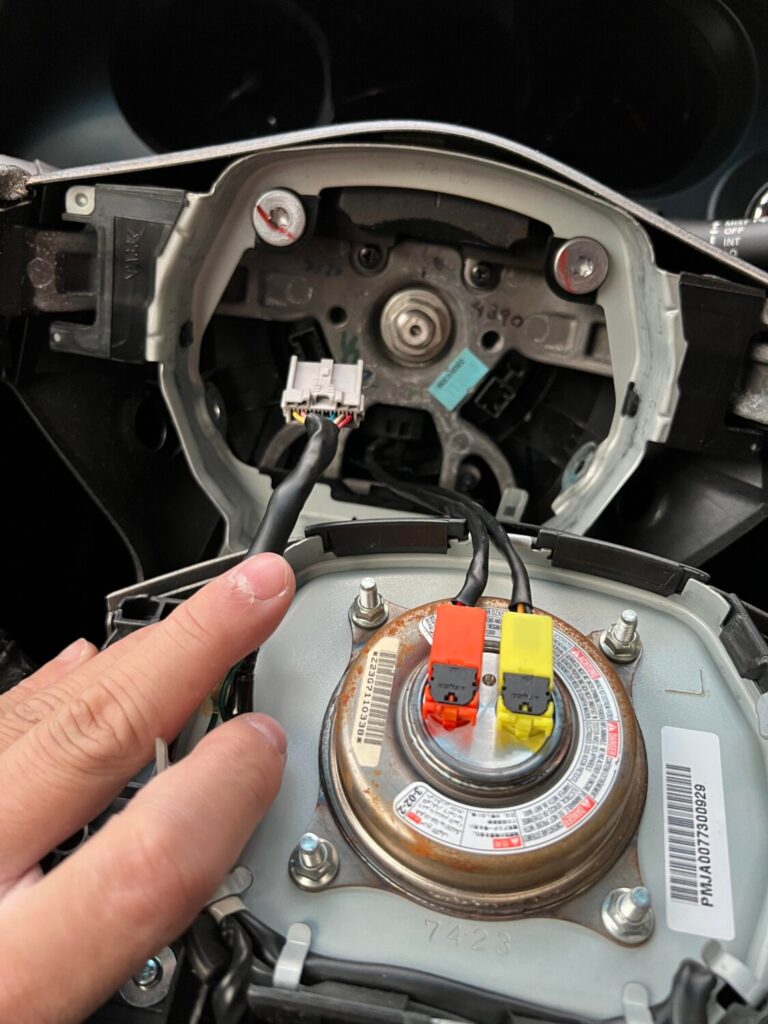
Community Member Credit: Nelson Andino
Notes:


This is the plug you need to use.
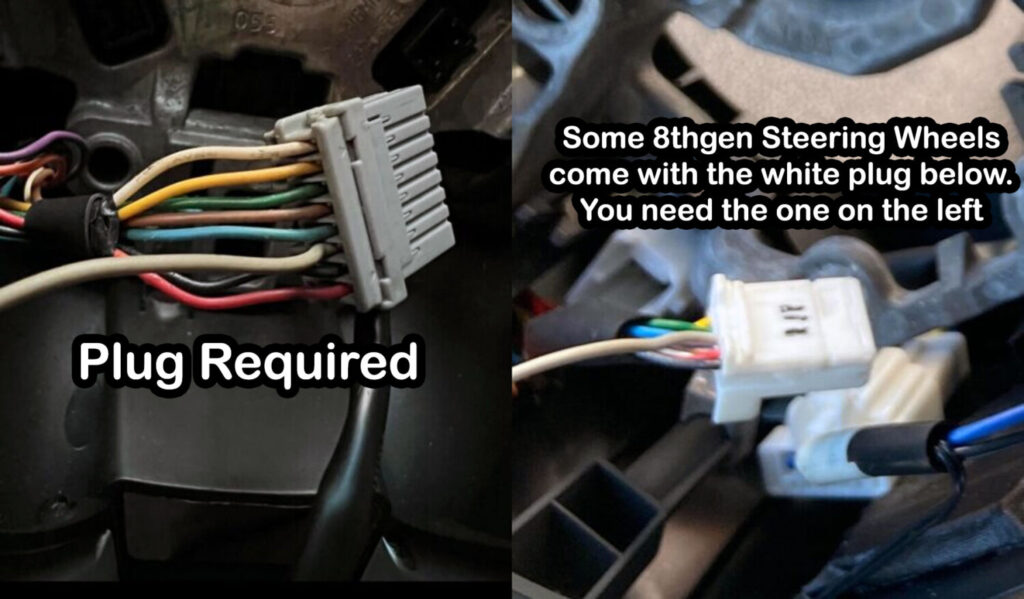
2016-2017 Airbag Setup
2018-2021 Airbag Setup
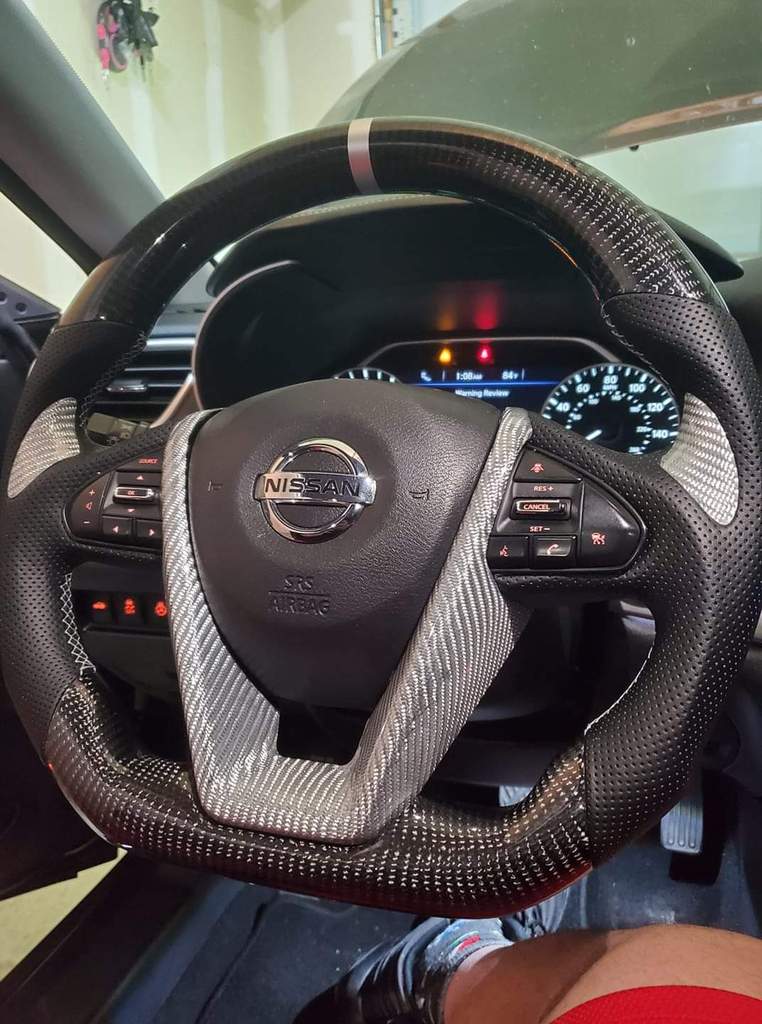
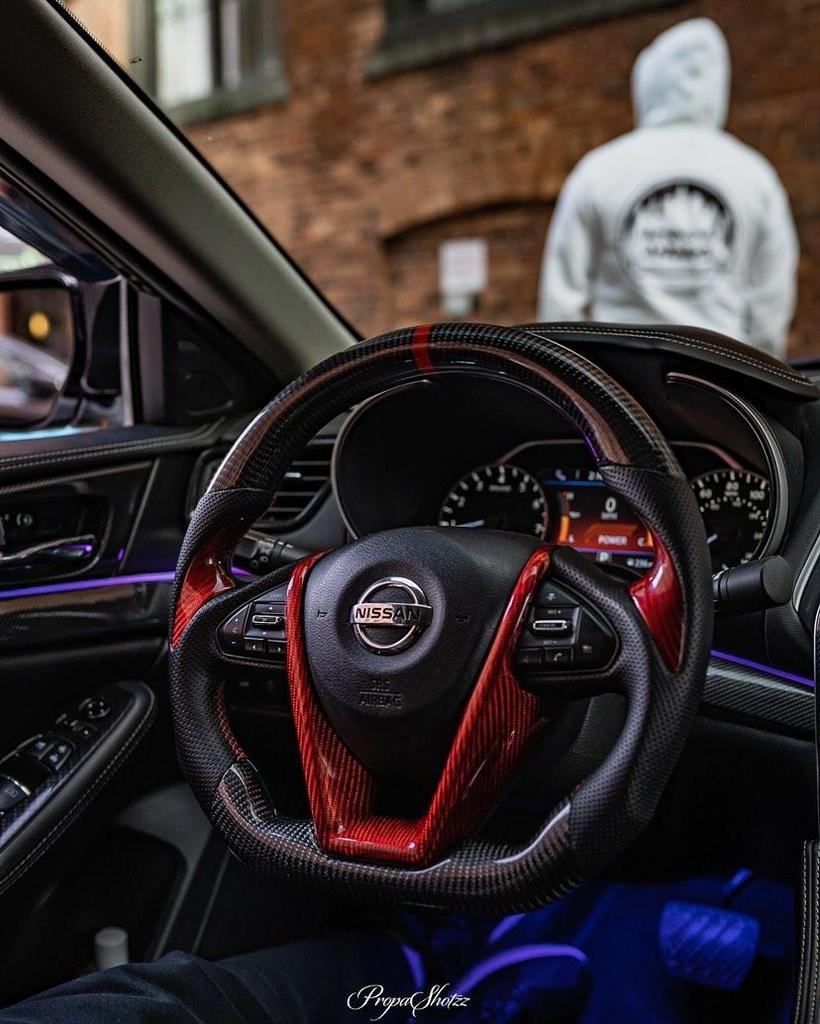
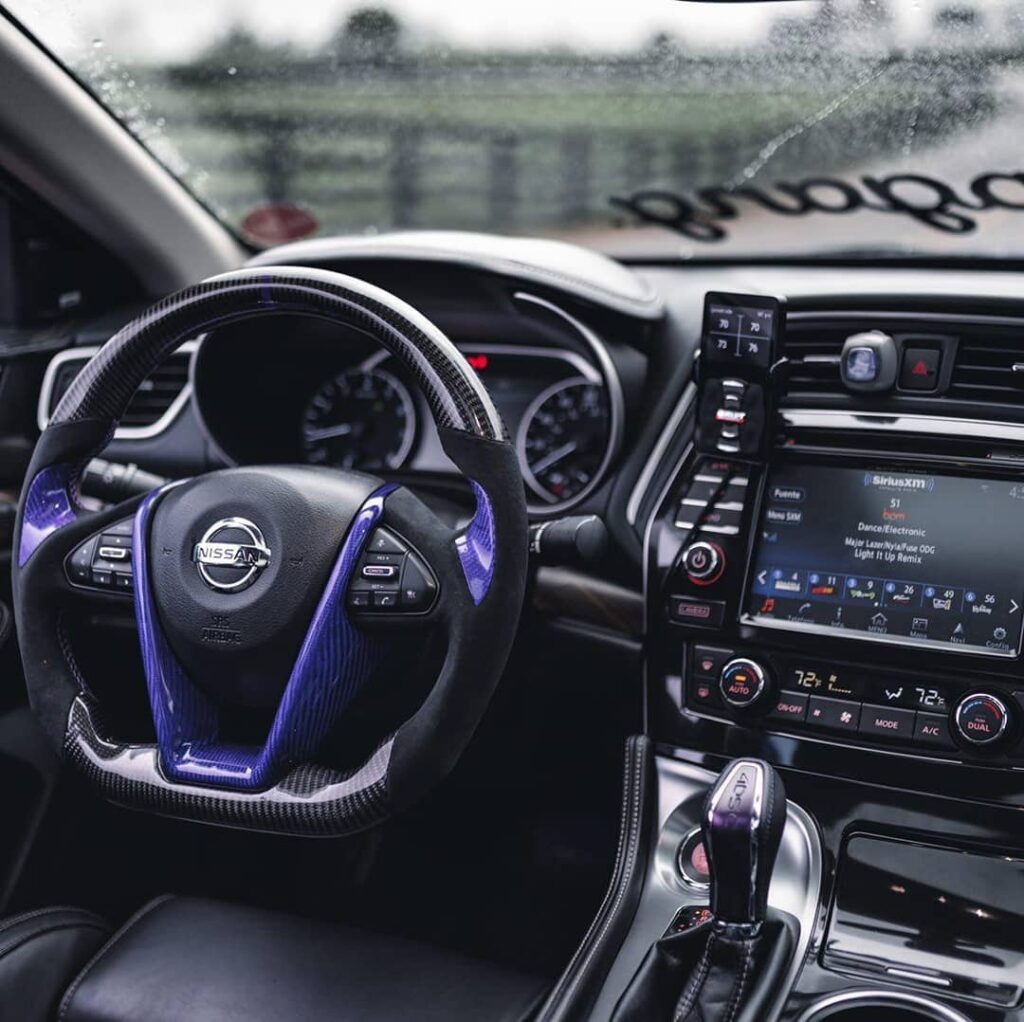
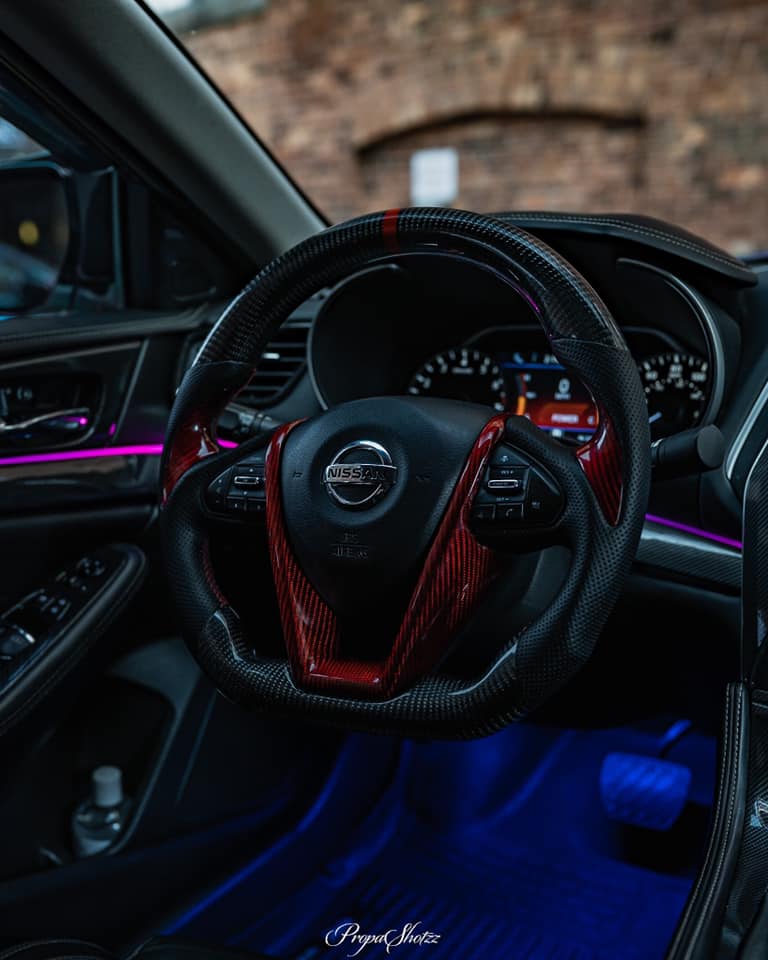
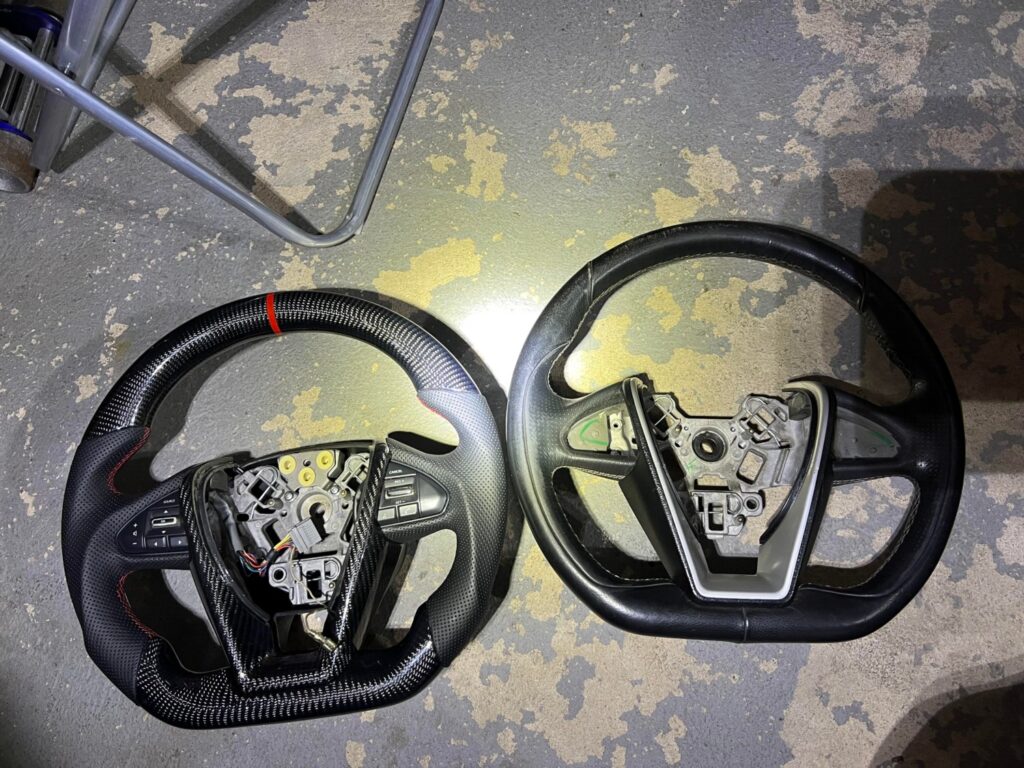
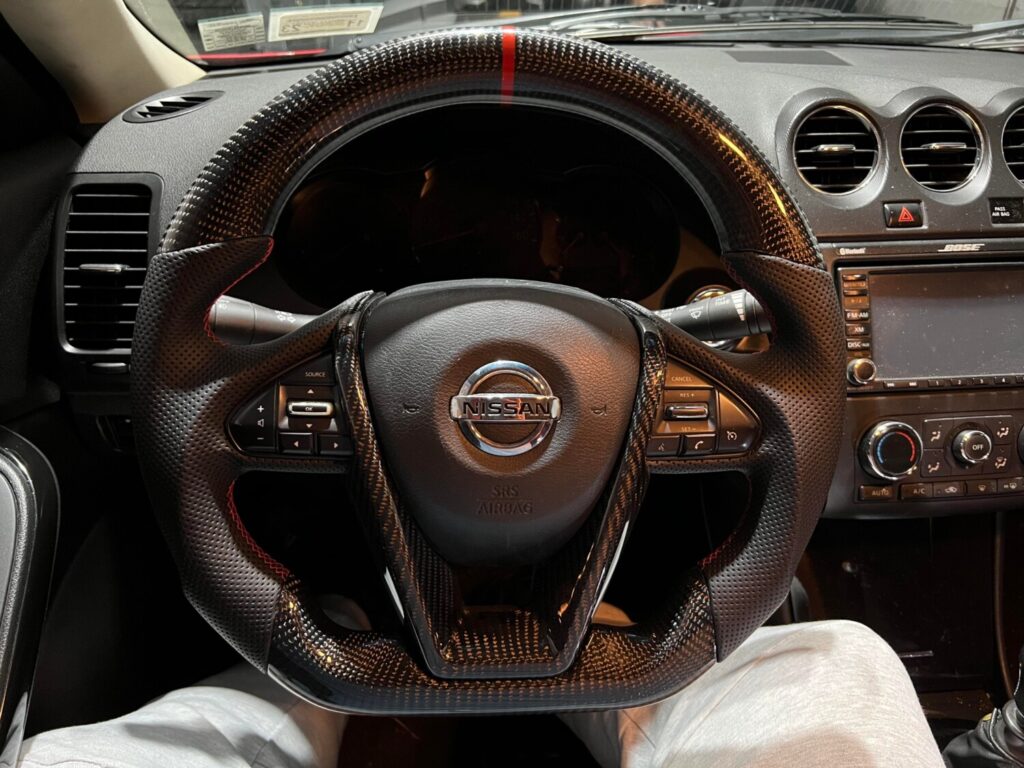
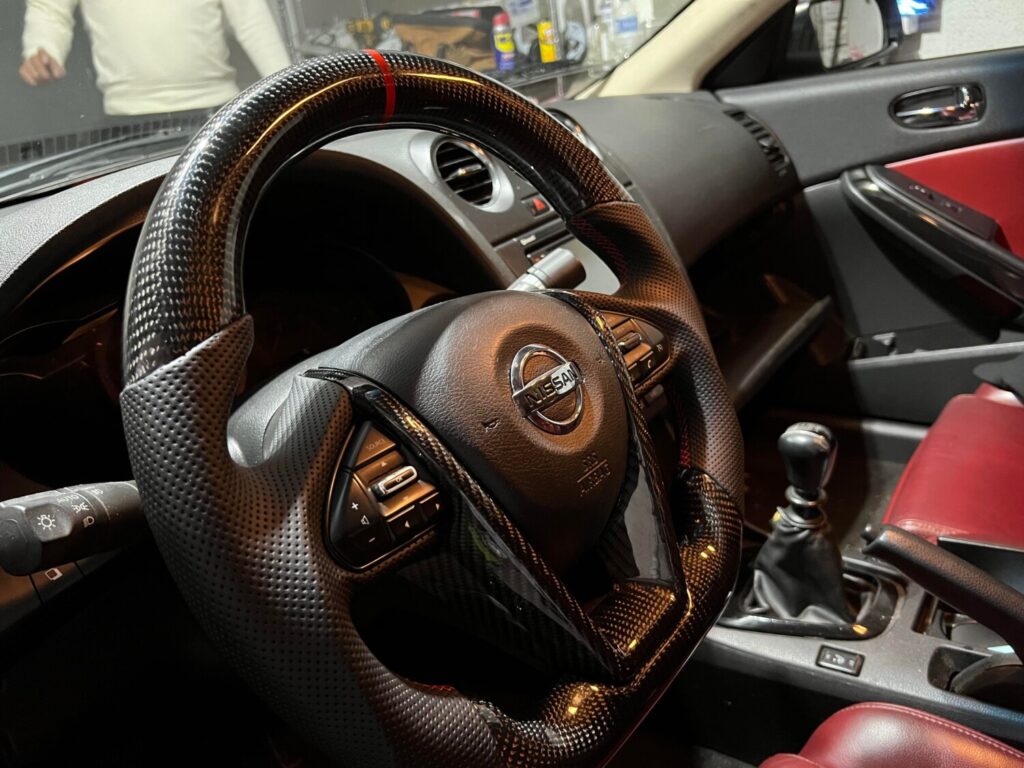
Upgrade to Carbon Fiber

![]()


Community Member Credit: Trini Boom
As some of you may know, when you go over bumps or rough road surfaces, you hear a clunking noise that sounds like metal to metal contact in your steering wheel. This thread will show you how to fix the problem.
Tools Needed:
Step 1: Disconnect both positive and negative from battery 10mm (I take no chances with airbags)
Step 2: Remove the left side cover
Step 3: Remove right side cruise control cover
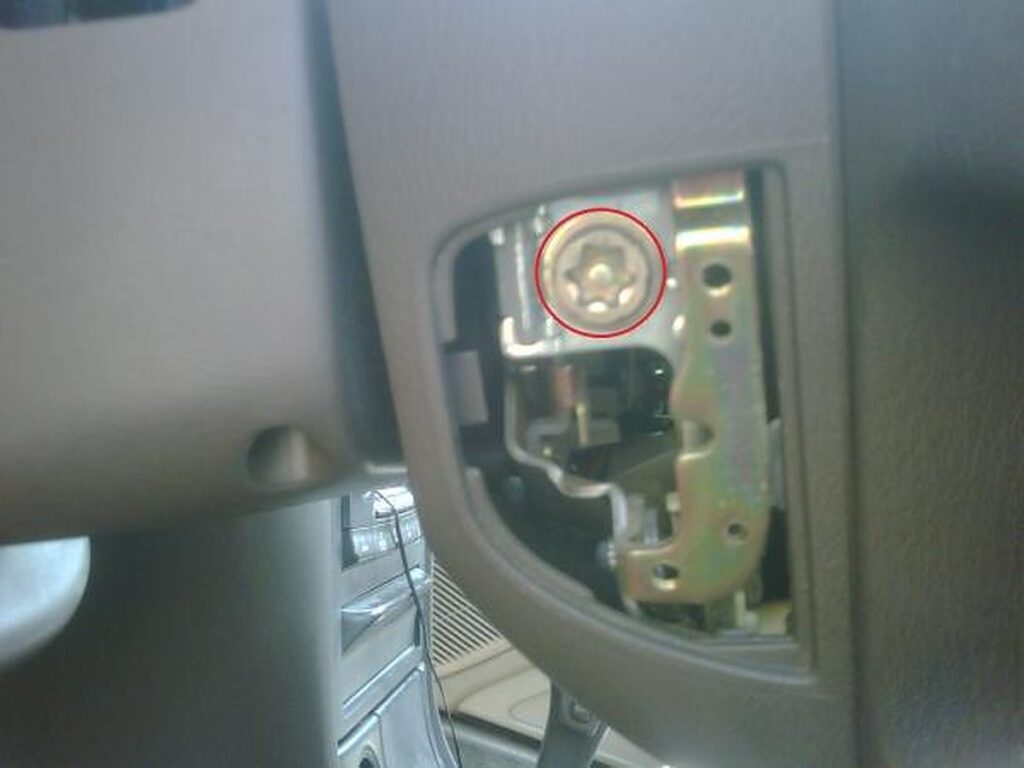
Step 4: Remove both airbag screws with a T50 Torx bit.
Step 5: Slide the airbag forward and disconnect the airbag harness.

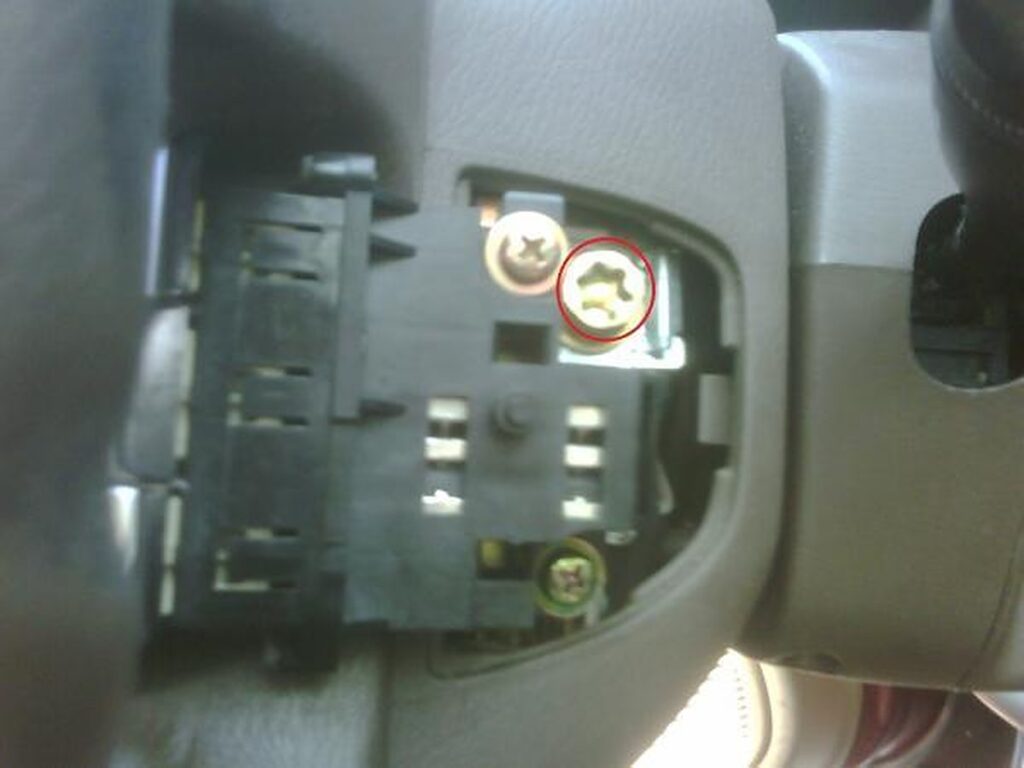
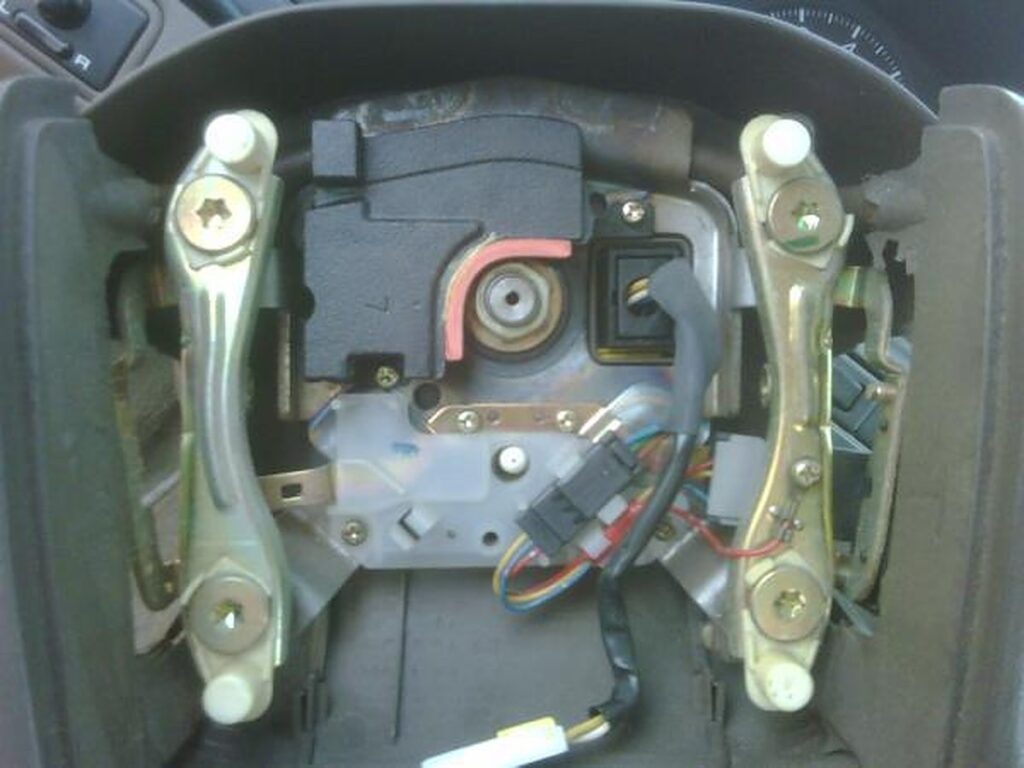
Step 6: Remove both Philip screws shown along with steering wheel nut 19mm. Lift the piece out.

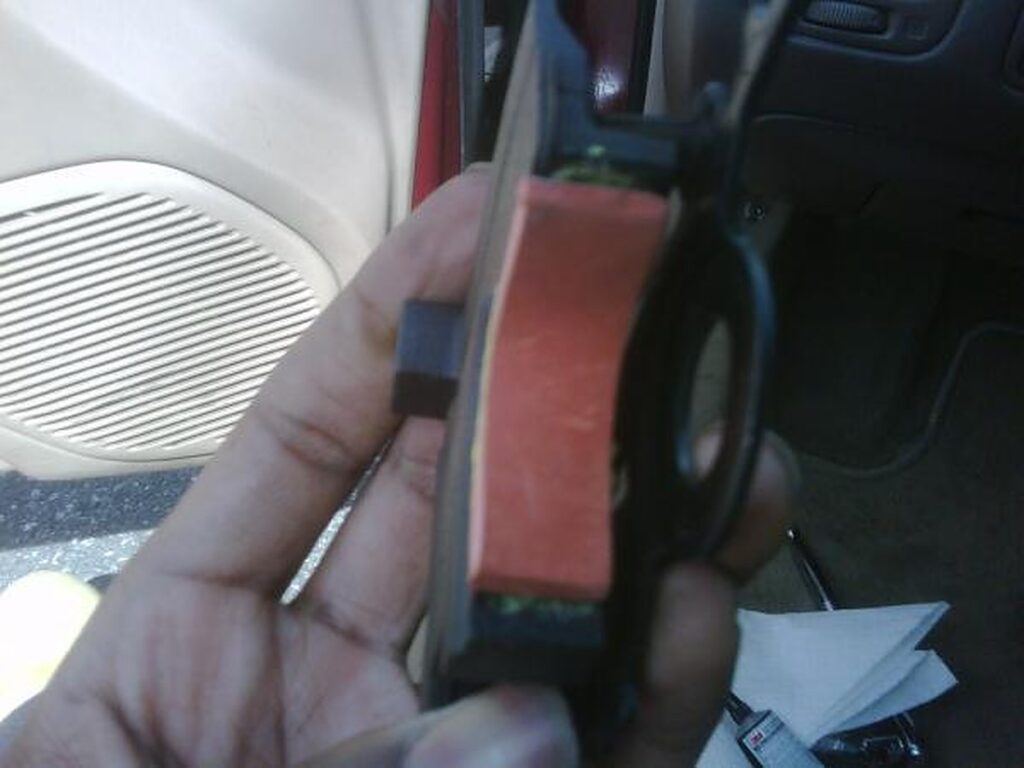
Step 7: Pre-fit rubber squeegee and mark where to cut as I have done with the red lines.
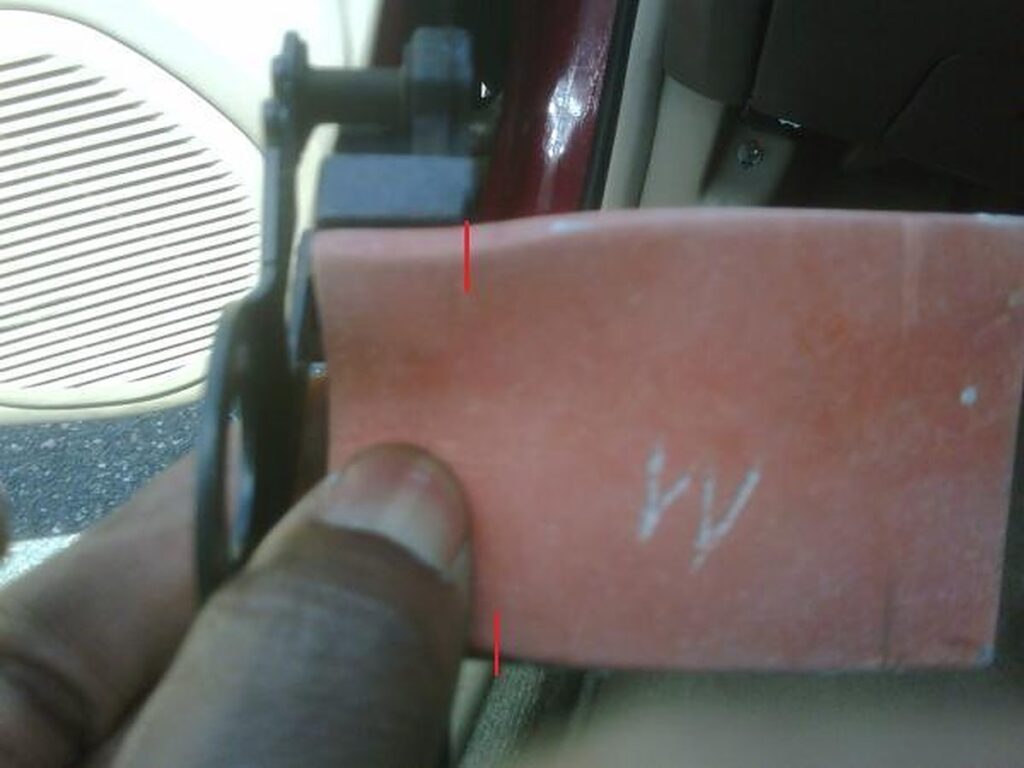
Step 8: Cut the piece off on a flat surface. Clean metal surface and rubber with tissue with rubbing alcohol.
Step 9: Apply adhesive to the metal surface and allow a few minutes to dry some but not completely.

Step 10: Place rubber on the surface and hold for a few minutes for it to dry and stay in place.
Step 11: Reinstall the piece and this should be your finished product.
Reinstall air bad and covers and take for a test drive. Should not hear anything from the steering wheel again.
![]()
")
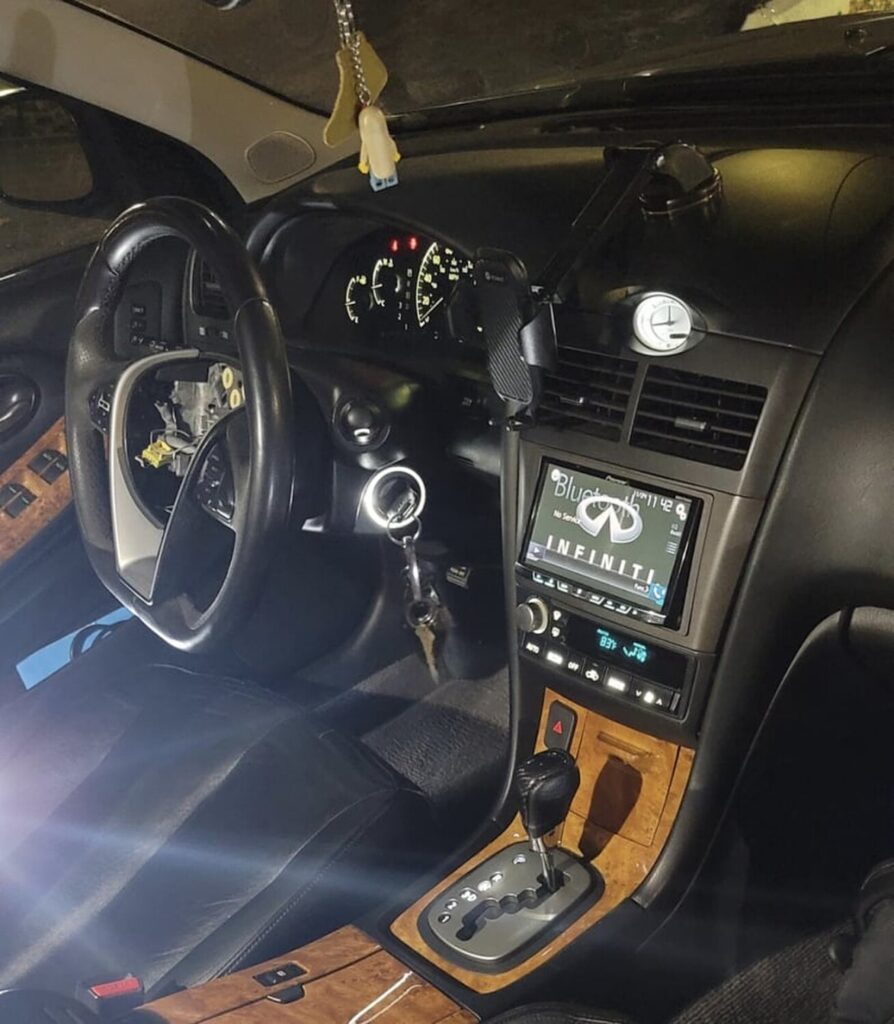
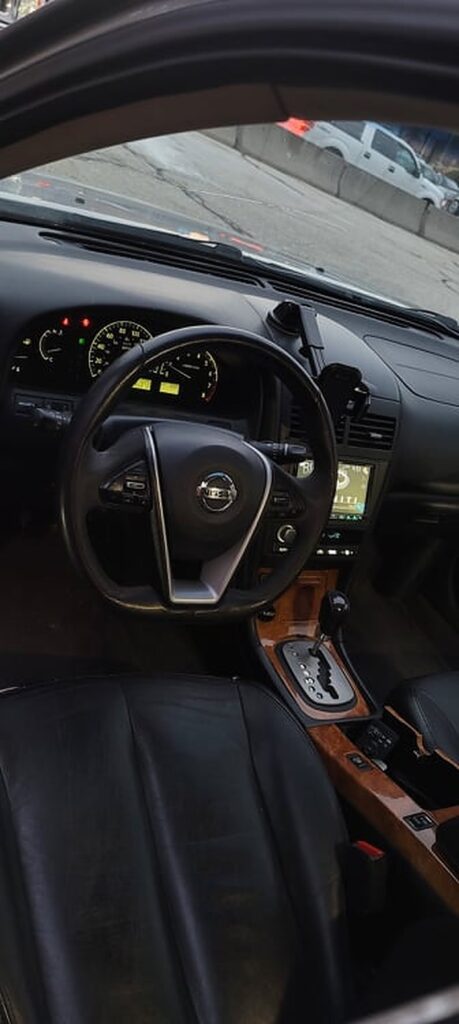
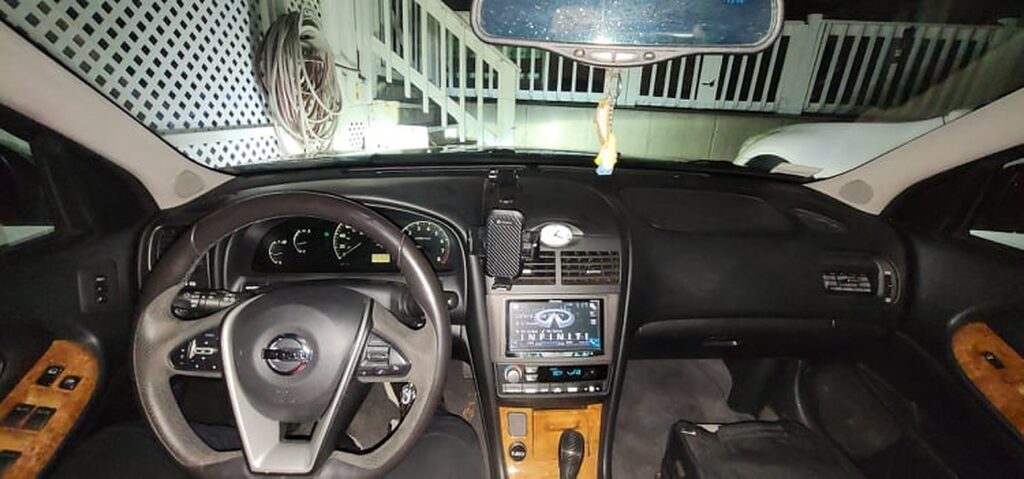
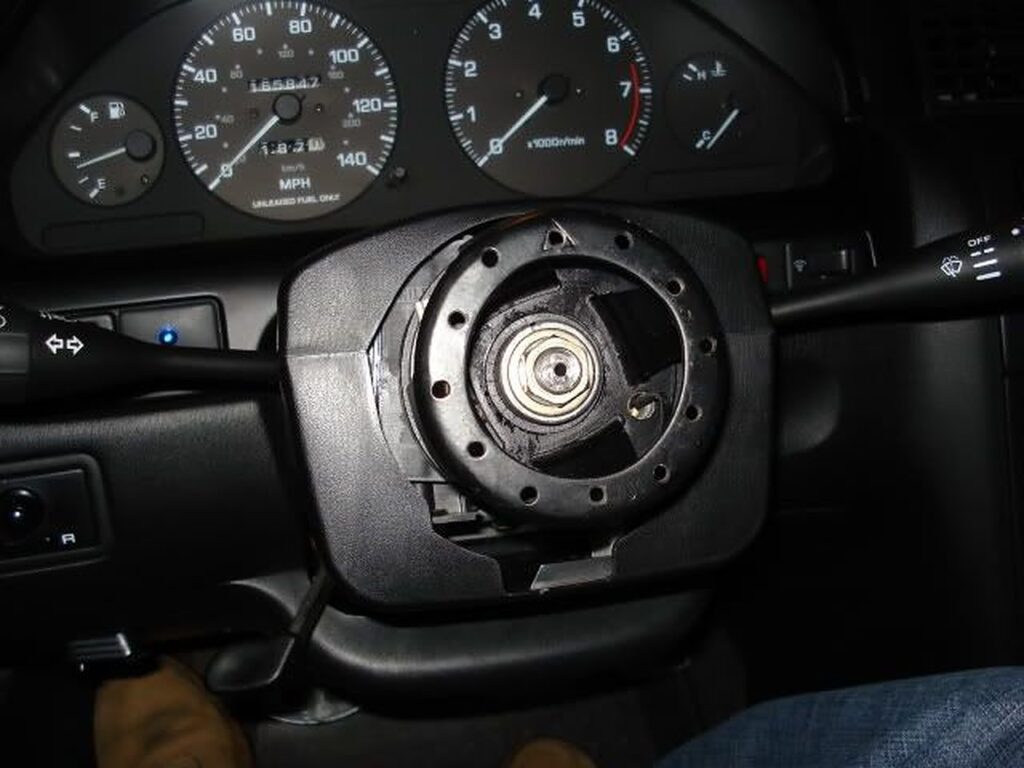
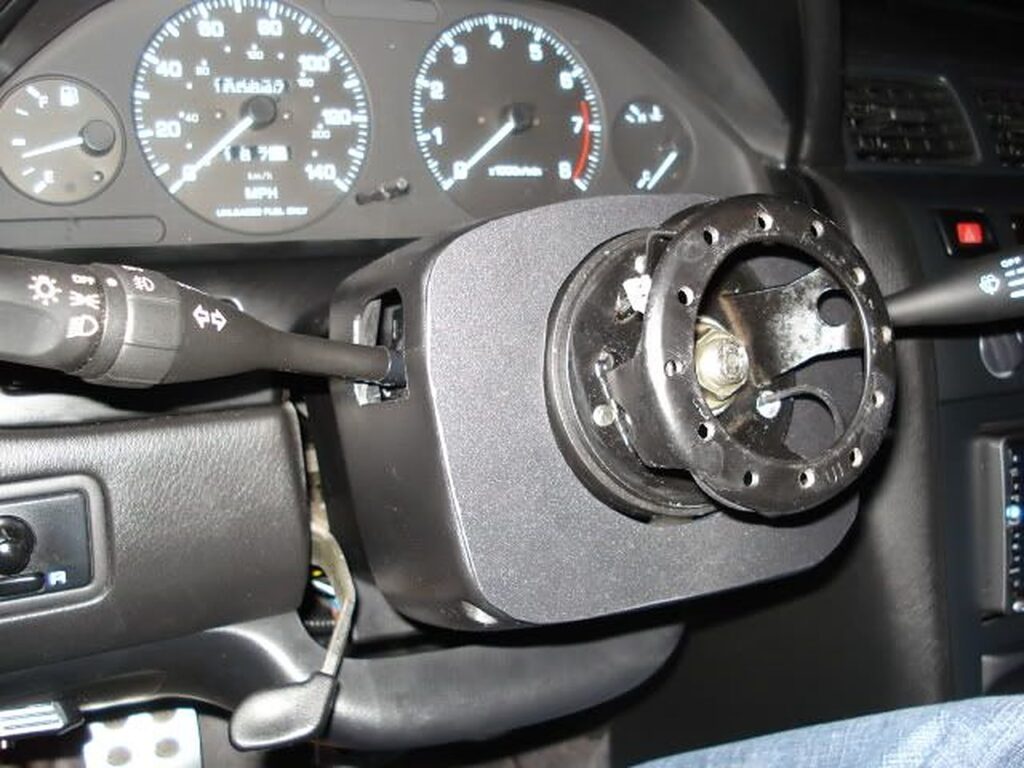
Community Member Credit: Finkle
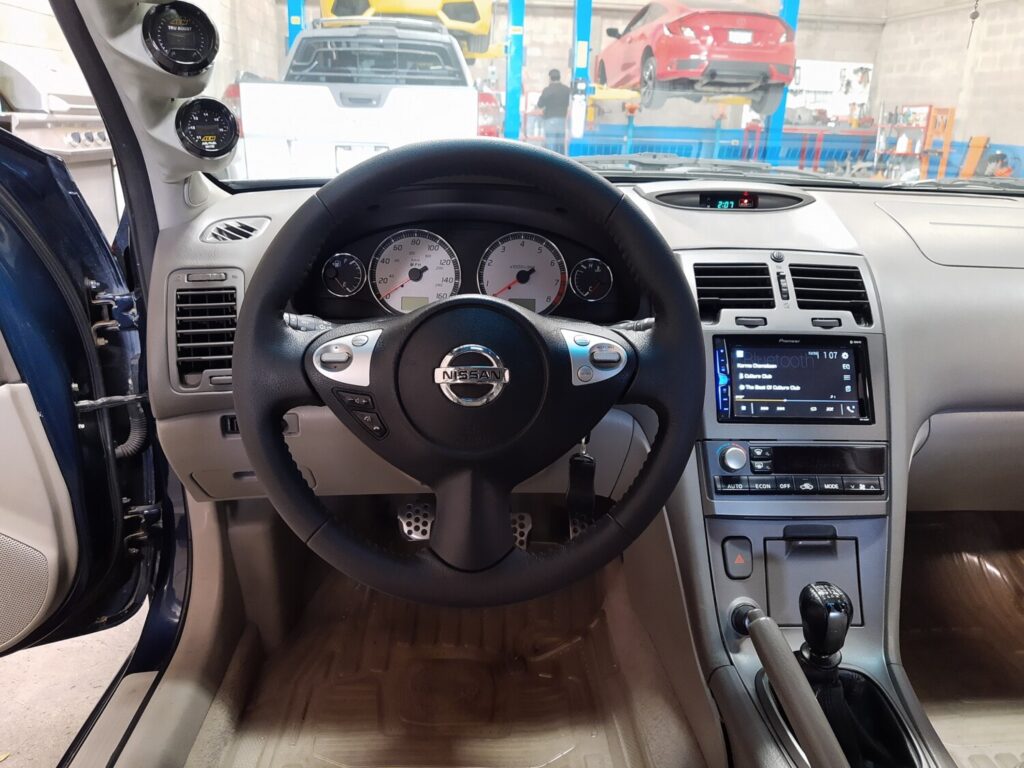
I have been looking around for cool-looking steering wheels at the junkyard for a while now. I wanted something other than the 5th gen wheel.
I found a 2001 Toyota Celica wheel and jumped on it. After a couple of afternoons of work, this is what it looks like:


Never mind the Toyota logo, I am going to make it into a Nissan logo.
I used the Maxima 5th gen clockspring I had in there from my steering wheel audio controls I had on the stock wheel. I will be making new controls for this wheel.
I got really lucky, the airbag on the Celica is the same as the maxima’s. I swapped the airbag connector, no airbag light! My multimeter had 4.4ohms for the Celica one and 4.3 for the maxima. My meter has a tendency to run a little high, might be closer to 2ohms. Either way, the computer can’t tell the difference.
For the cruise controls, I trimmed down a little bit and screwed it onto the side where the Toyota cruise control stick would be.
The horn works too. Easy wire splice.
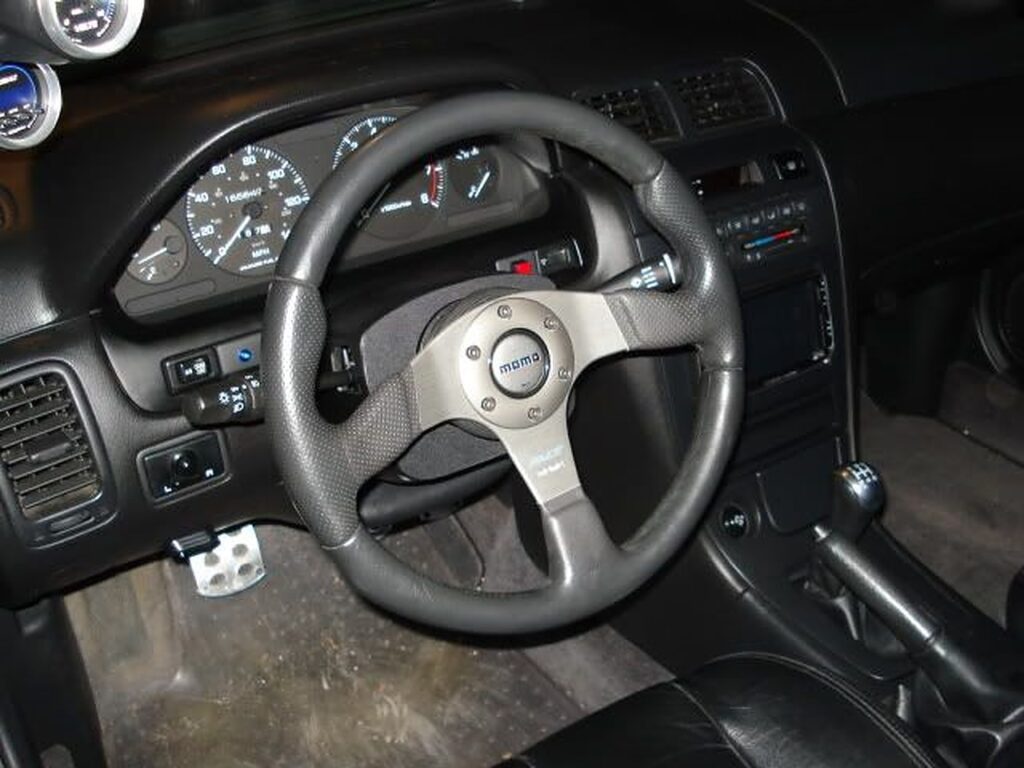
The Celica wheel is smaller and does not extend out as far, making it look sportier and also easier for my large legs to fit under it. It’s about 5 pounds lighter as well.
![]()

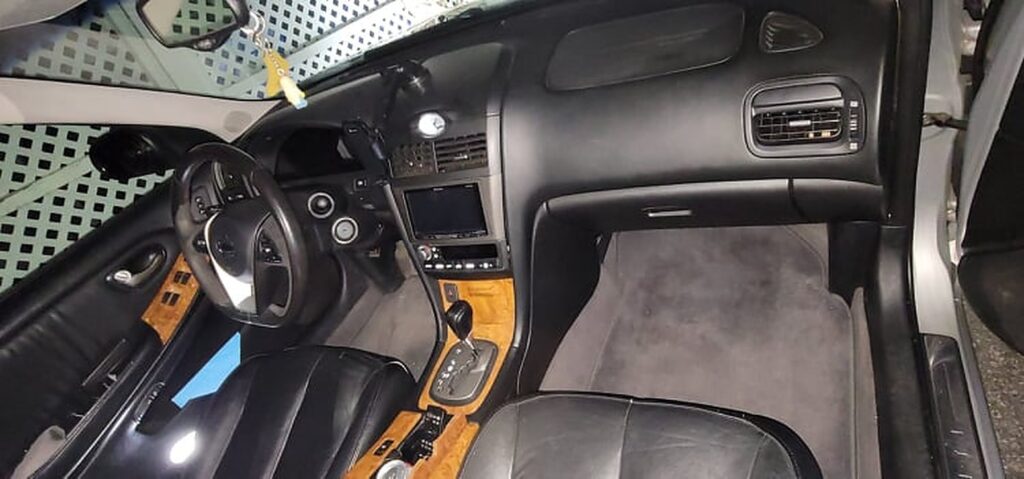
Community Member Credit: DJ420
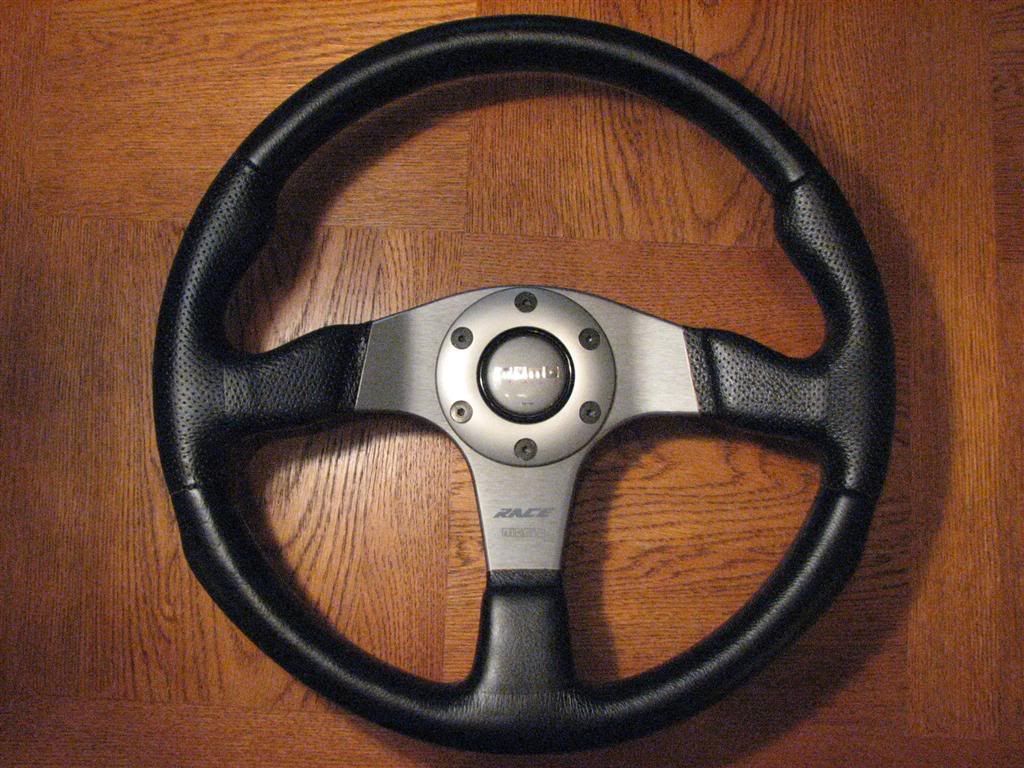
Momo Race Lightweight Steering Wheel
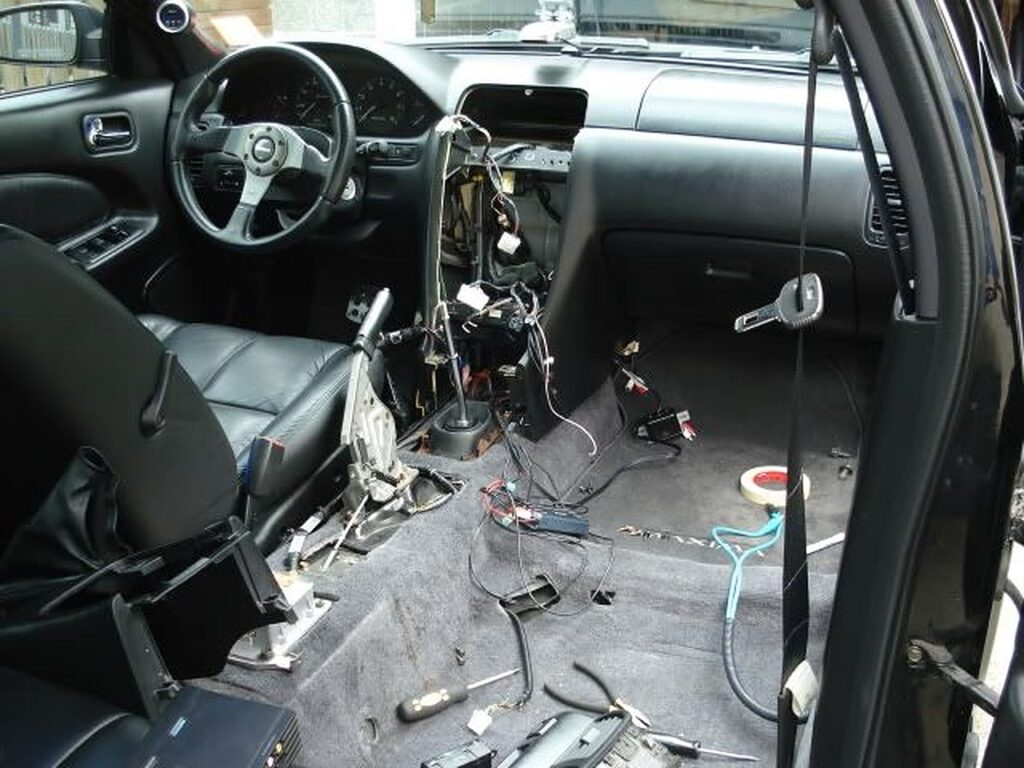
Here you will find the tools and items necessary to make a cruise control and horn sub-harness. I want the BAG to be the ONLY option deleted.
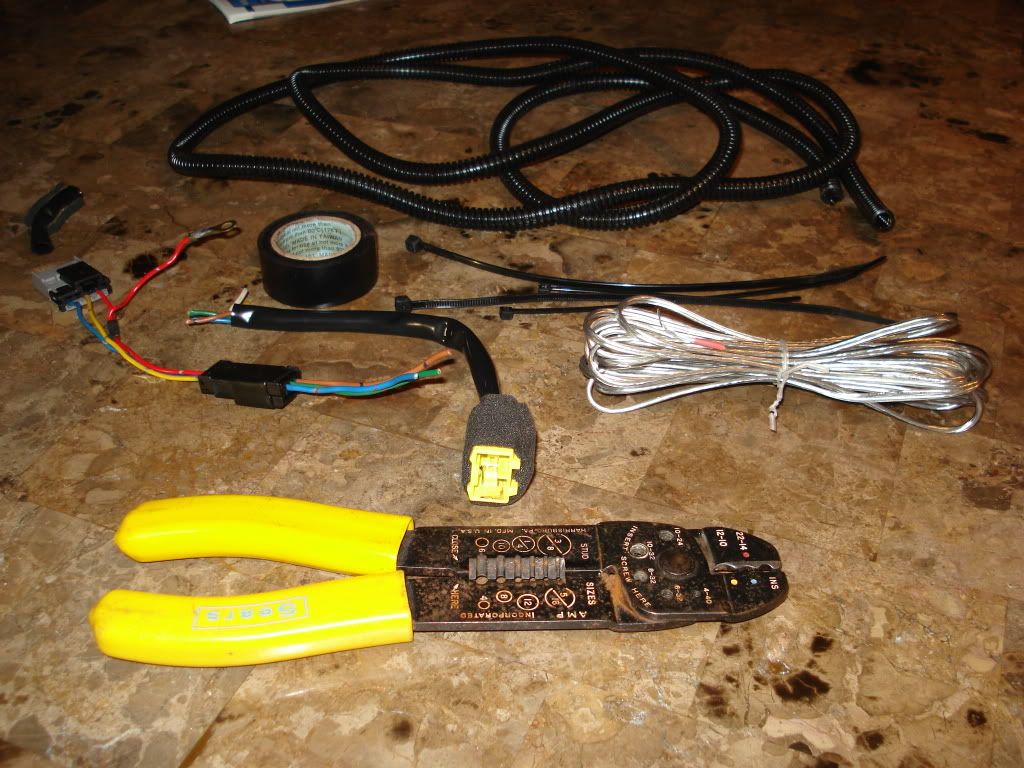
The 2 harnesses you see above are the harness going into the clockspring, and coming out of it. Simply put, your cruise controls and horn are wired through your clockspring. I have eliminated the clockspring, so I needed to make this to run the horn and cruise controls to another location.
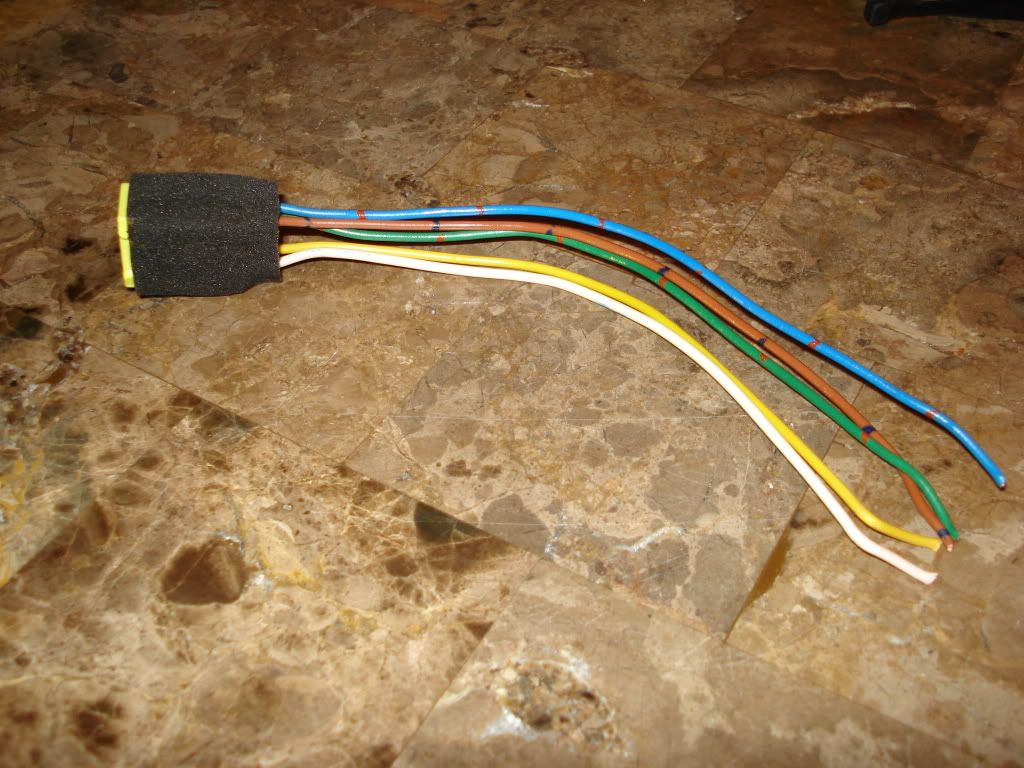
Cut (or cap off) the yellow and white wires. These are the airbag wires and are no longer needed. Splice the brown, blue, and green wires together with their mate color on the other small harness end. I opted to add 5 feet of wire in between, to make the completed harness about 6 feet long. This will allow me to mount the controls just about anywhere!
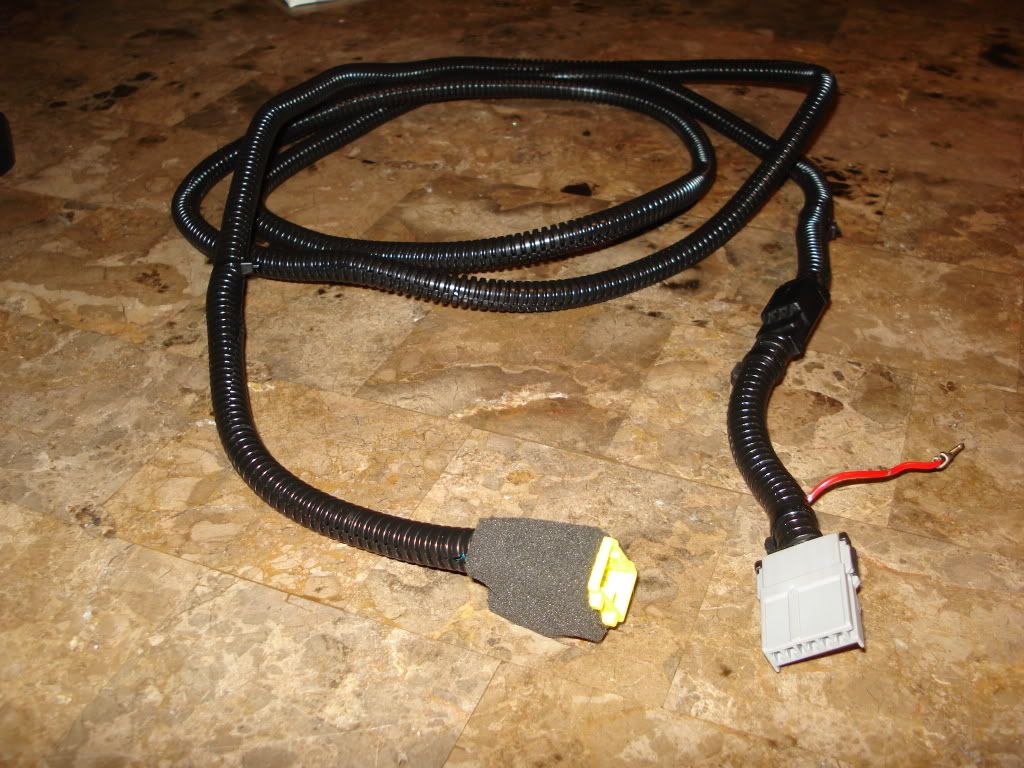
This is what my finished harness looks like!
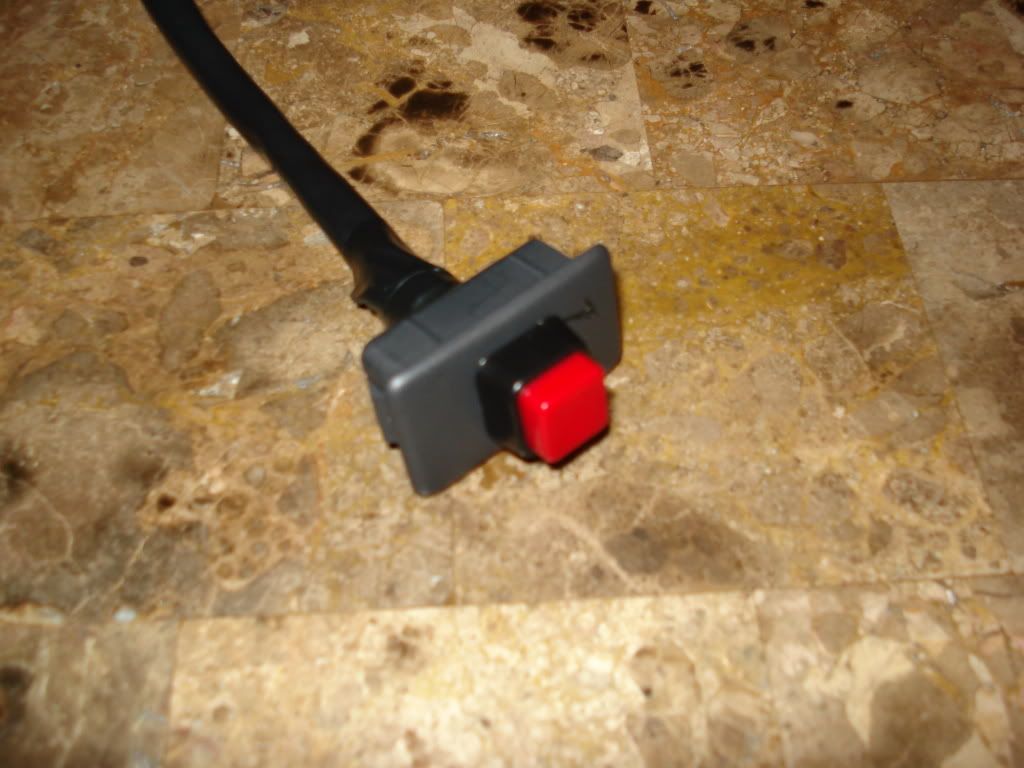
Push-button horn switch. Mounted on switch dead panel. Going to be mounted where the red and white wires are sticking out of my dash in the above pics of the wheel.
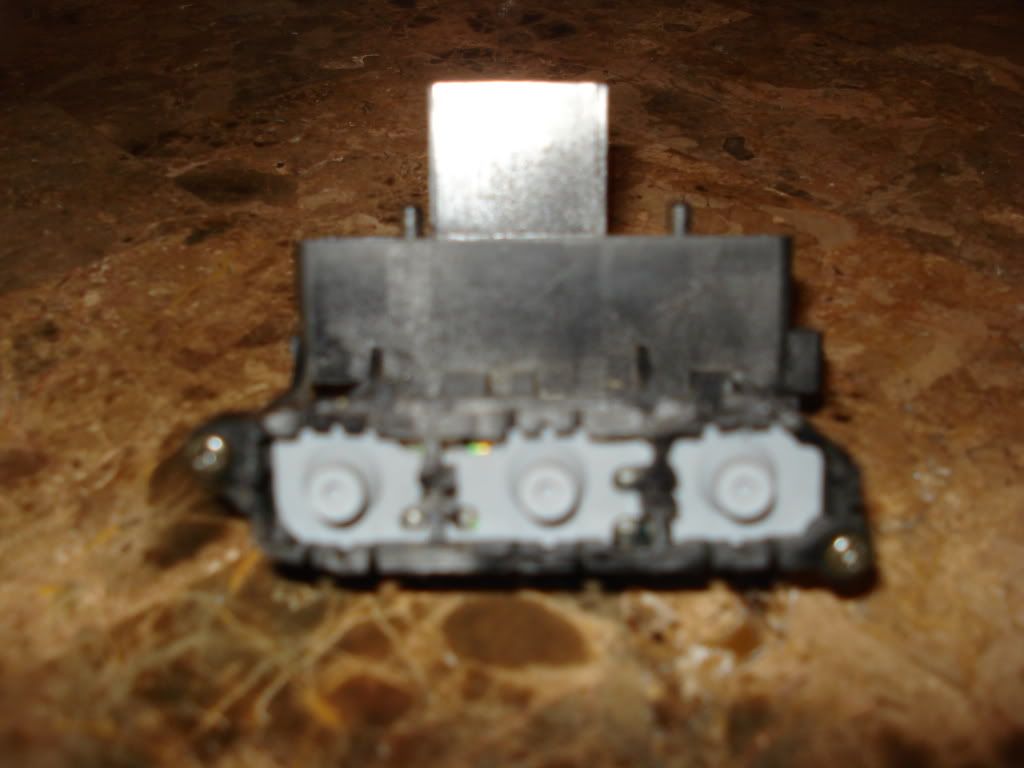
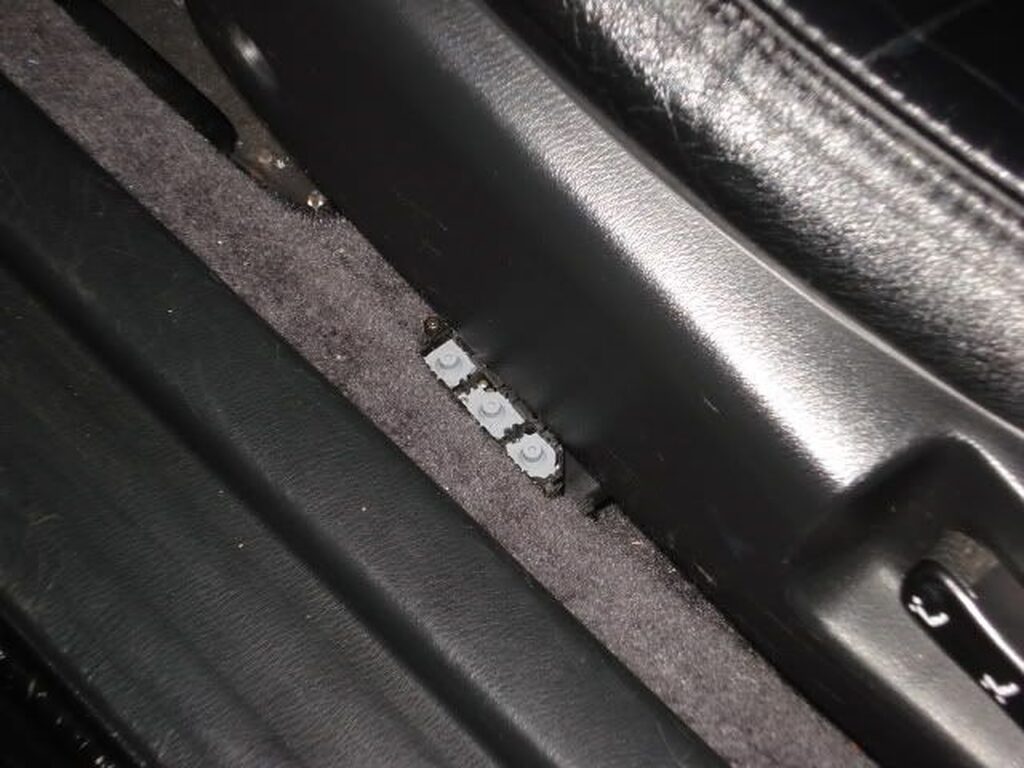
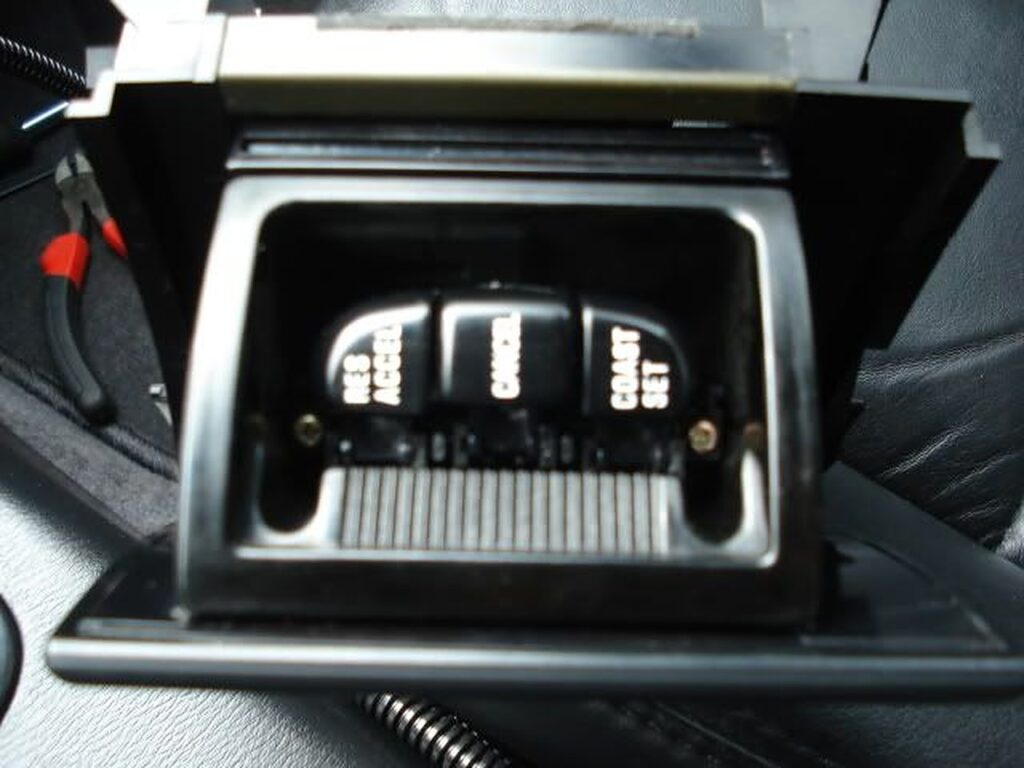
Here is a modified cruise control button.
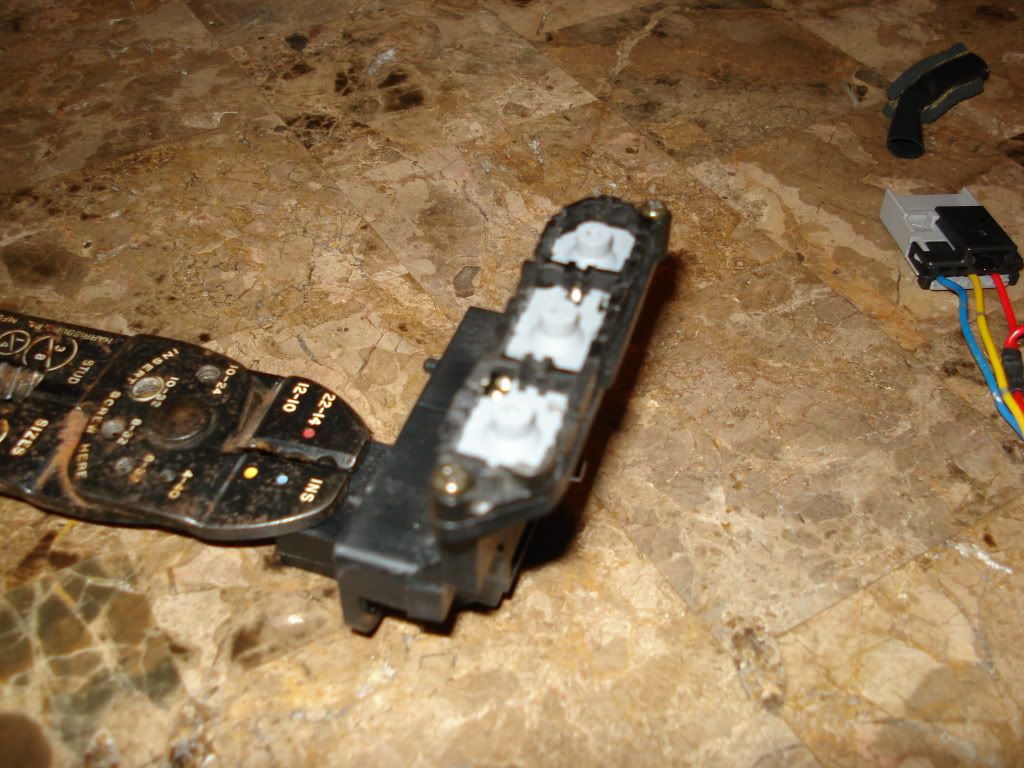
Due to the fact that there is a circuit board in the unit, it can not be changed to just singular push buttons. So I took off the bulky buttons, and cut back the housing so that just the rubbery buttons were accessible.
So this is what the final custom trim piece looks like. Took about 14 hours of work! Messed up the first one.
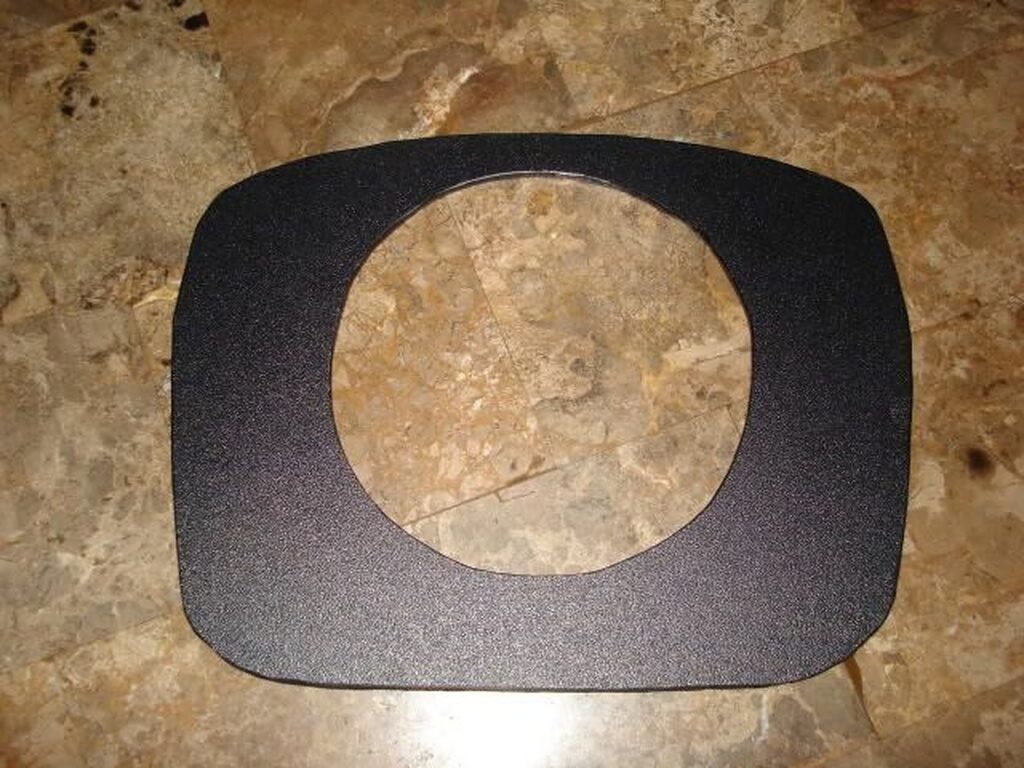
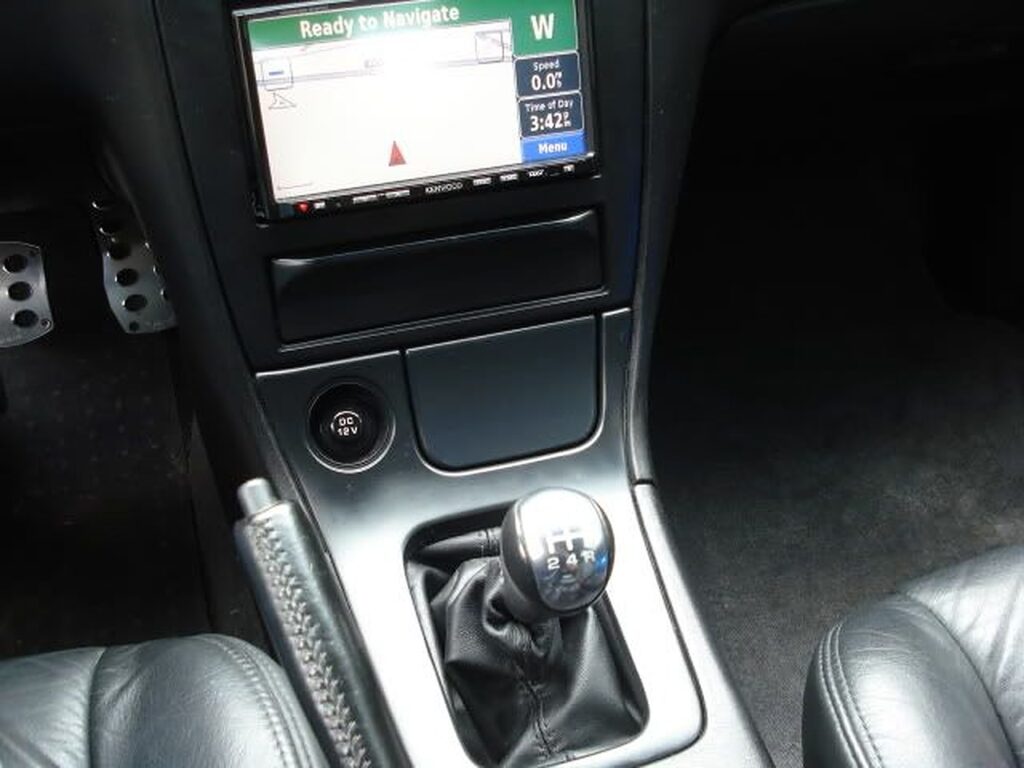
This is what it looked like BEFORE the trim piece is attached: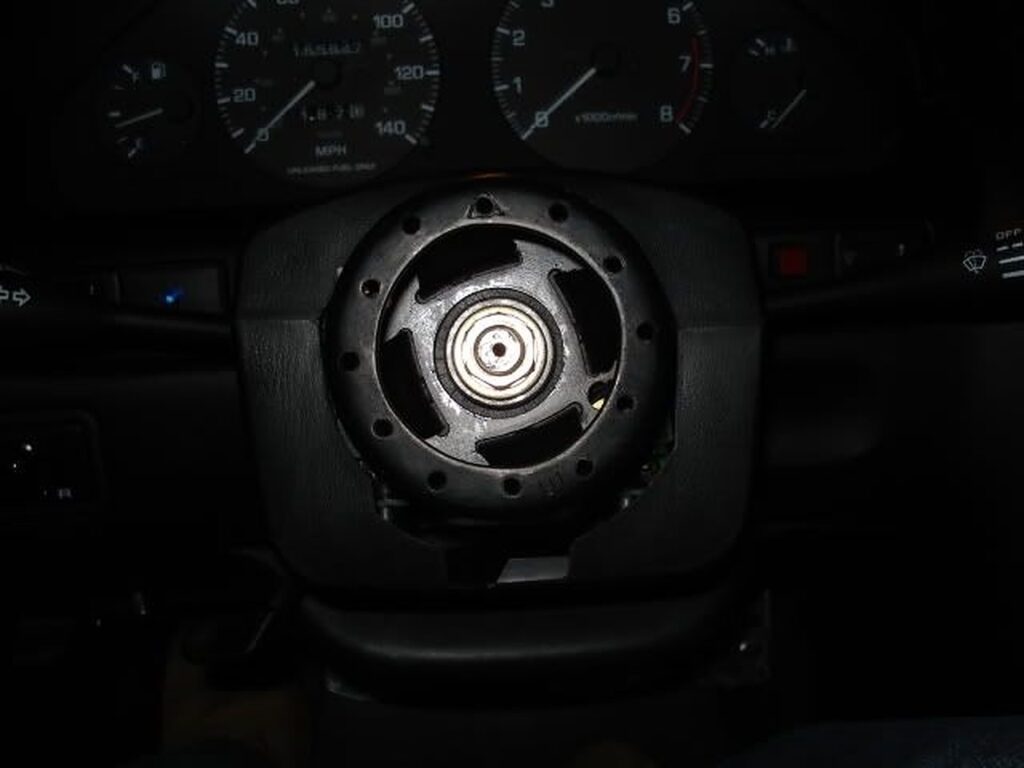 Here it is, trim attached to the column cover.
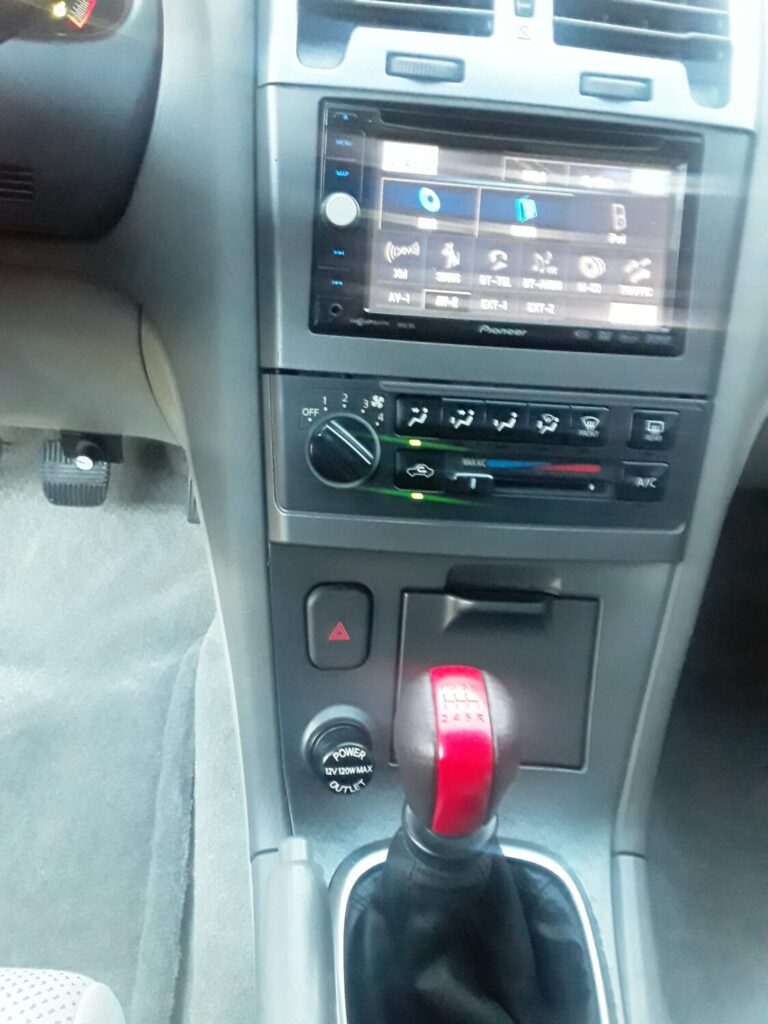
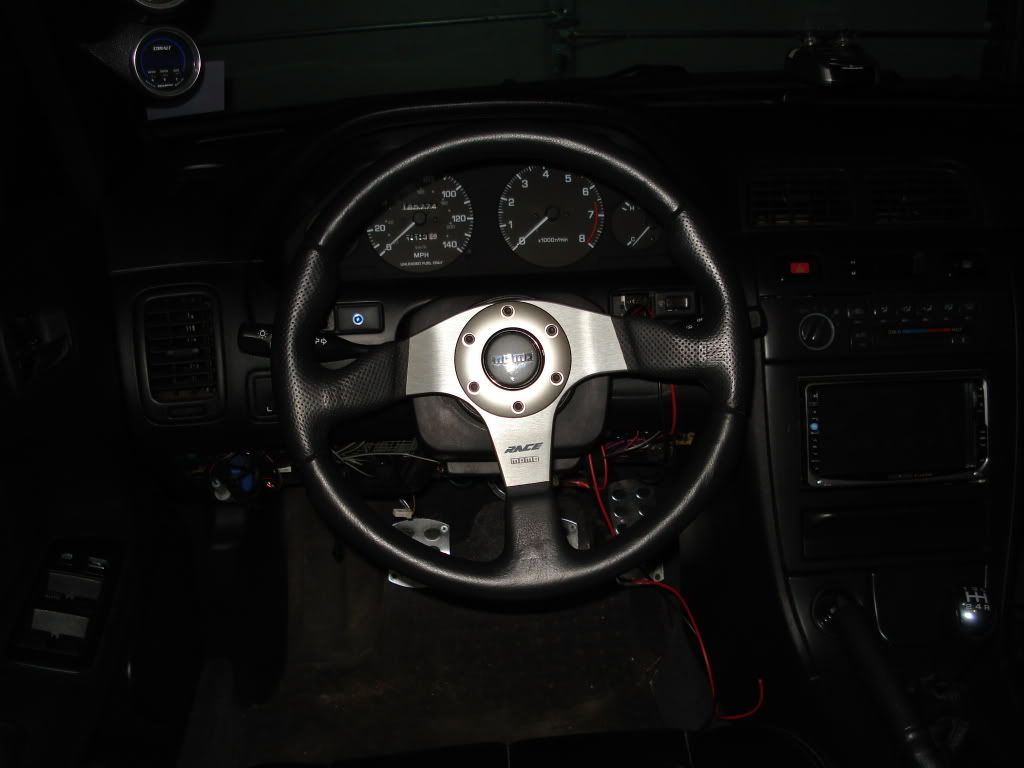
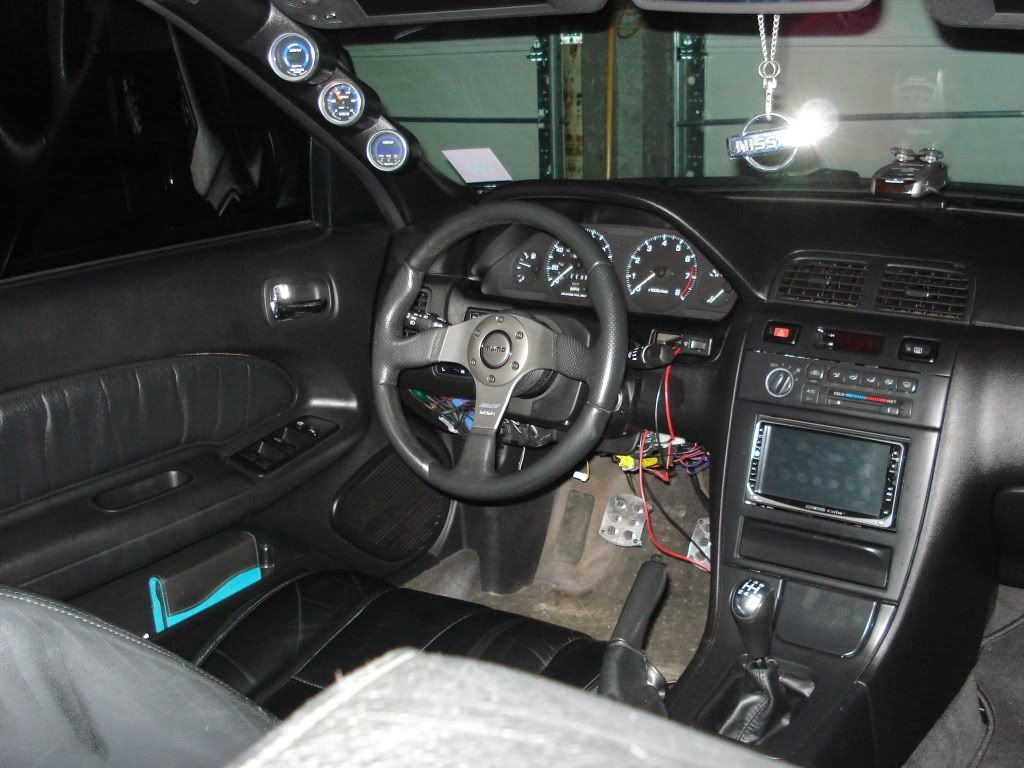
Here are a couple of shots after the wheel is back on. The horn button can be seen just beyond the wheel.. (hint: the red button! lol) I wanted black, but couldn’t find any in that shape and size.
And last but not least, we have cruise controls. They aren’t permanently mounted, but the extremely ODD shape of the switch actually helped hold it where it is! lol
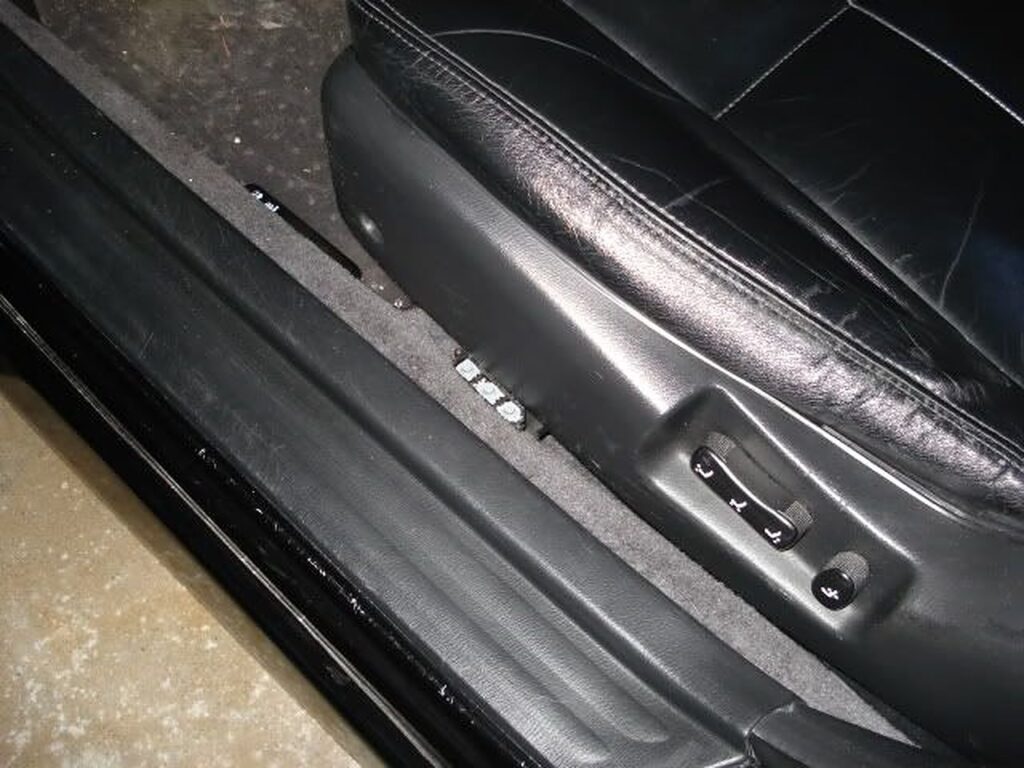
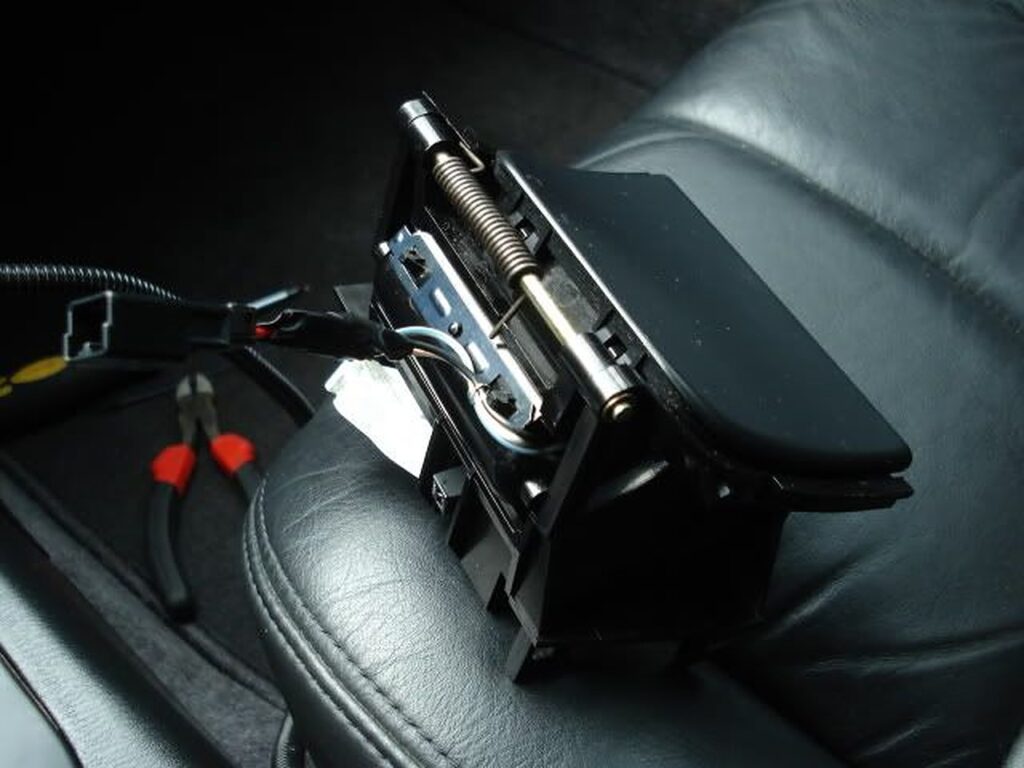
So, after relocating the cruise controls to the floor, I was happy to not have lost them. BUT, I wasn’t very happy with the appearance of them right by the door! I knew it was temporary because there was NO WAY I was gonna deal with that uncleanliness!! SO, in the background, I have been working on a lil project.
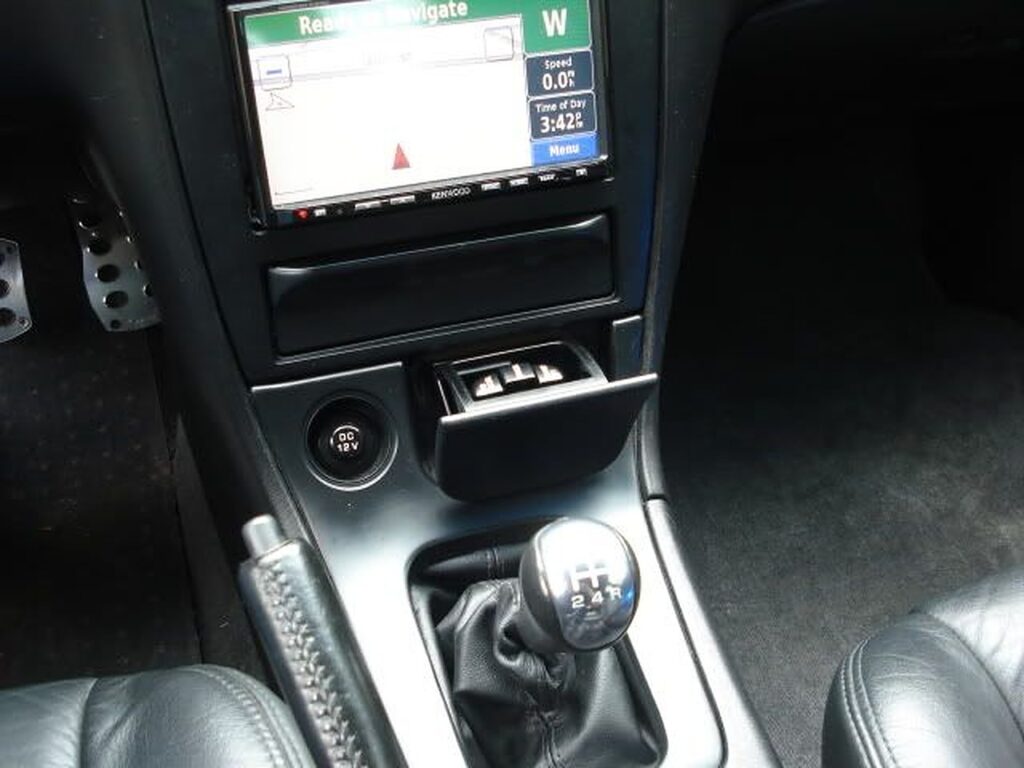
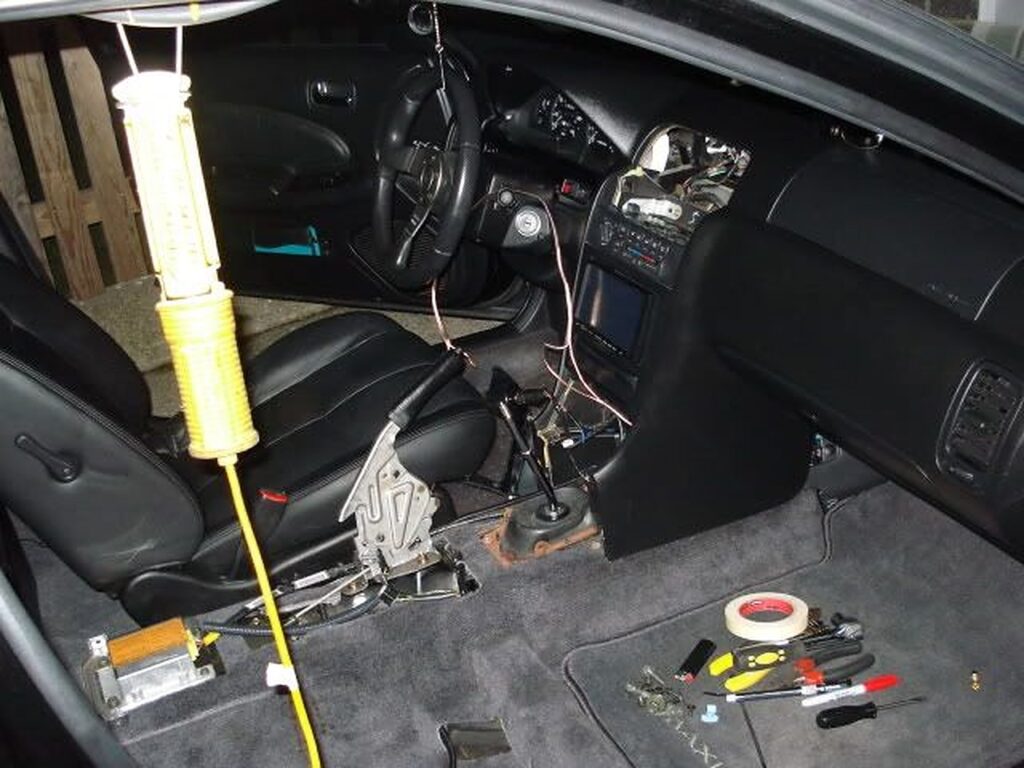 And so, without further ado, I bring to you Retractable Ashtray Mounted Cruise Controls!


![]()