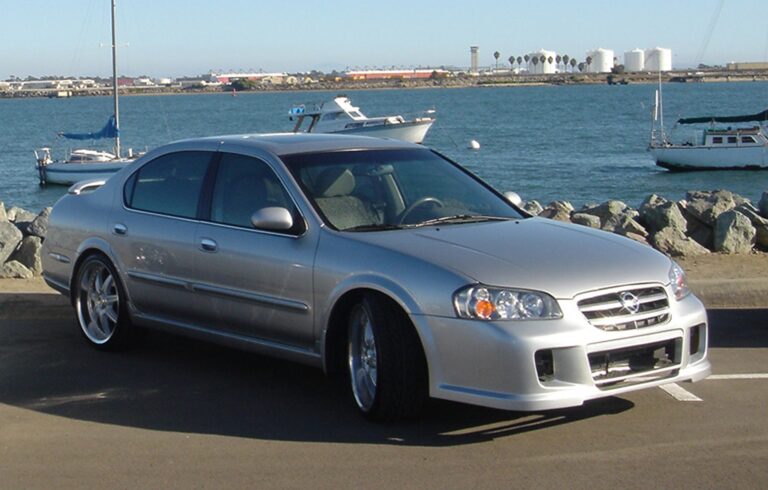
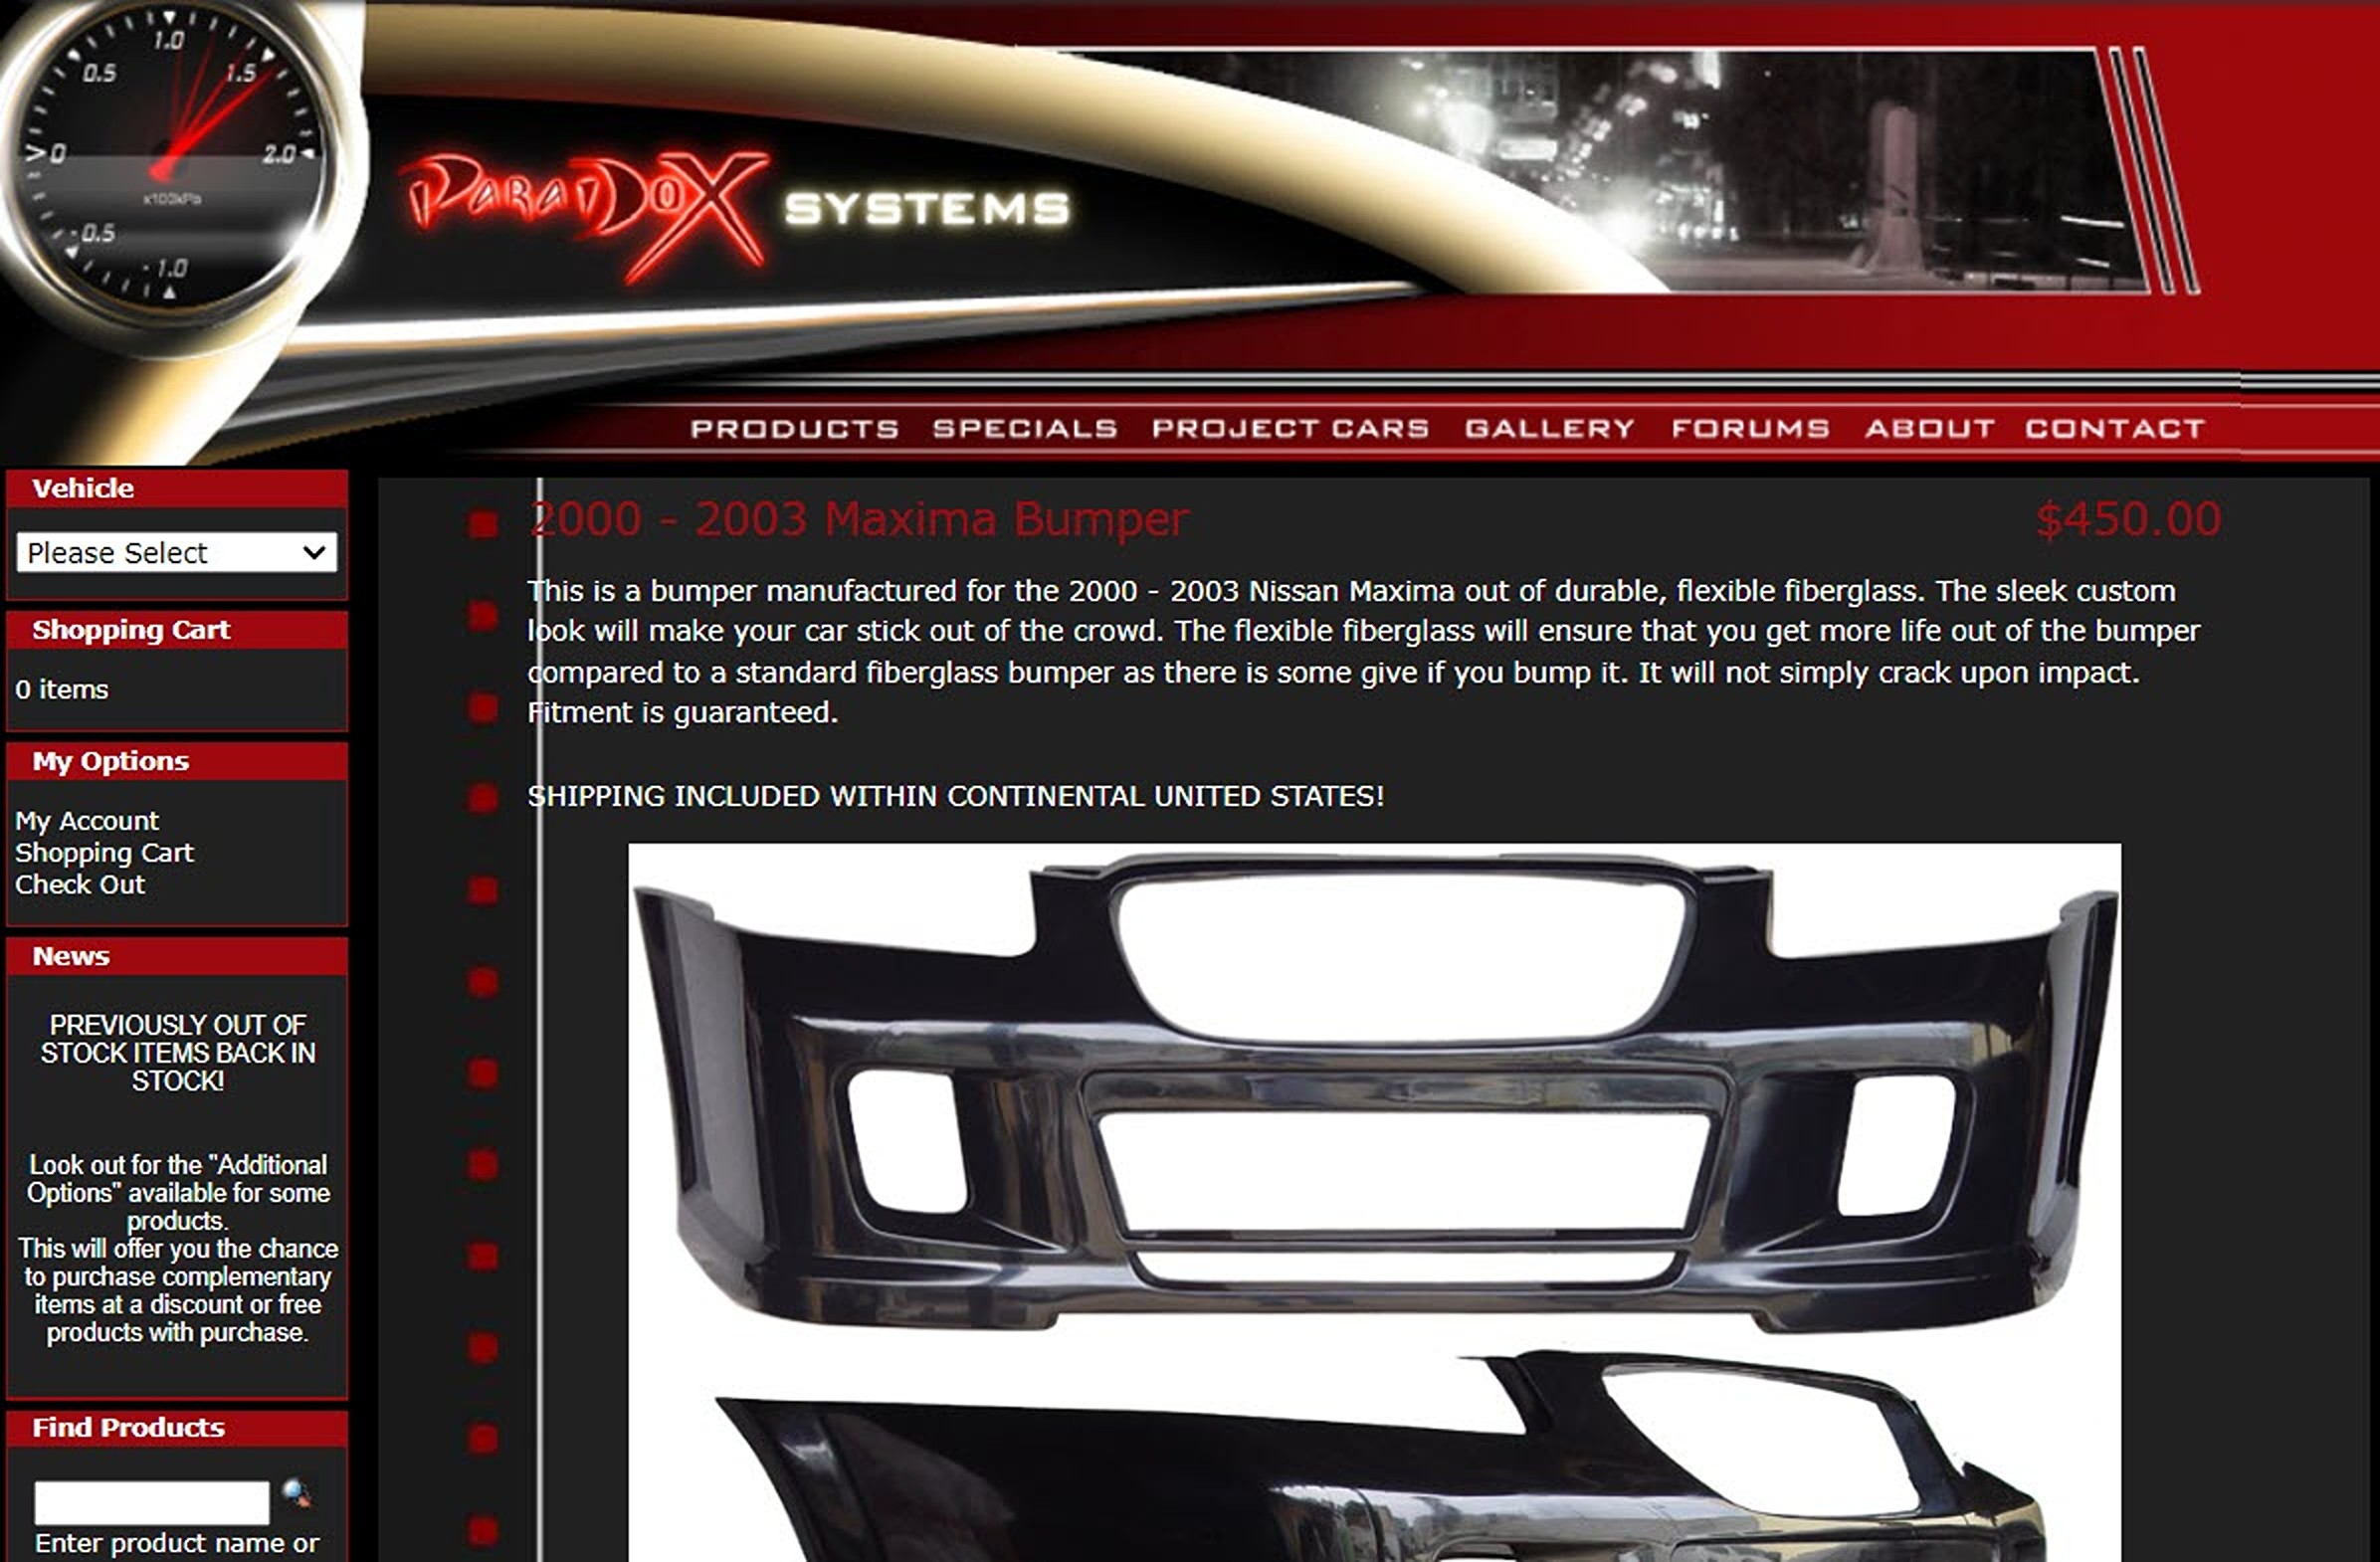
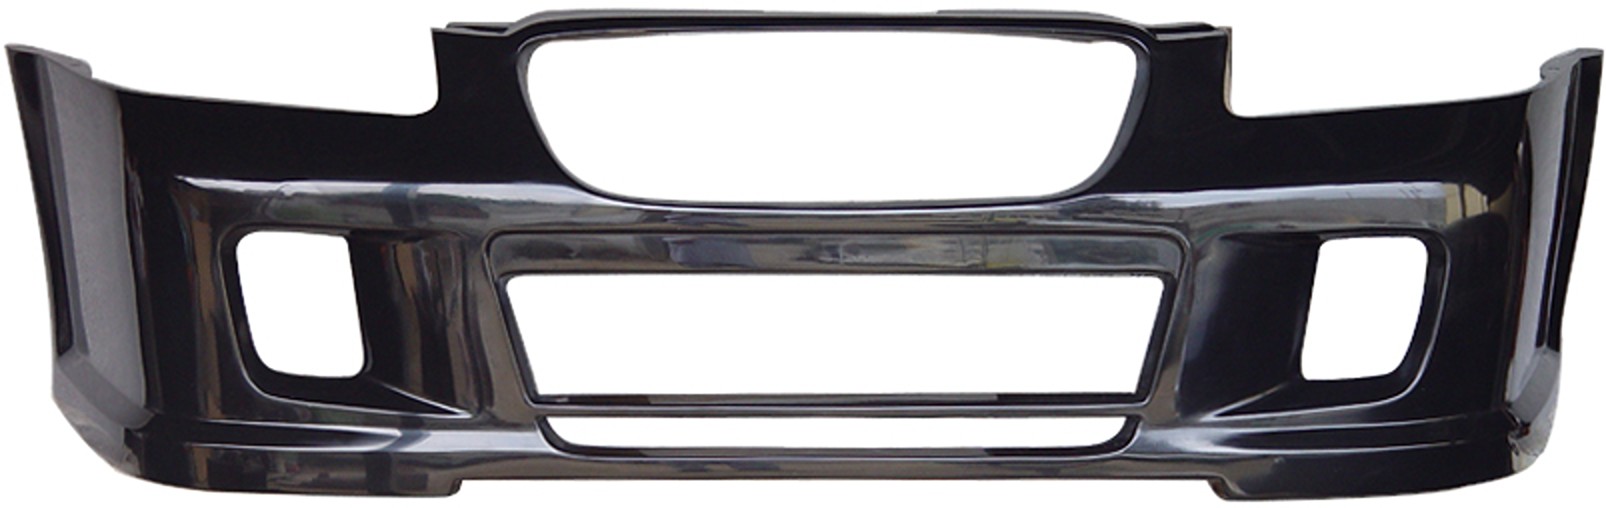
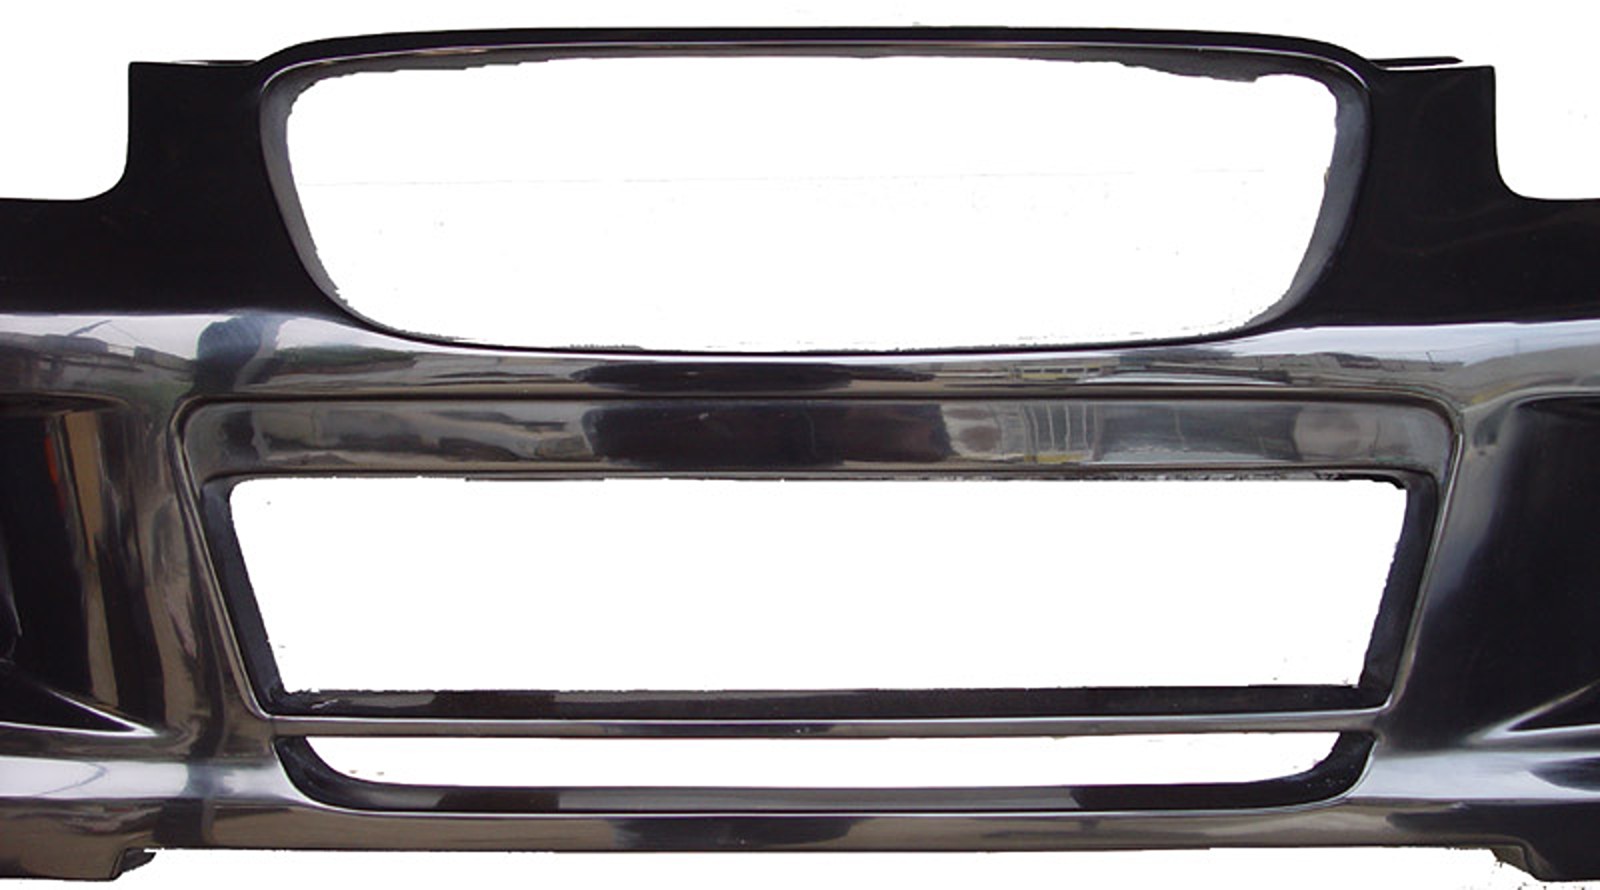
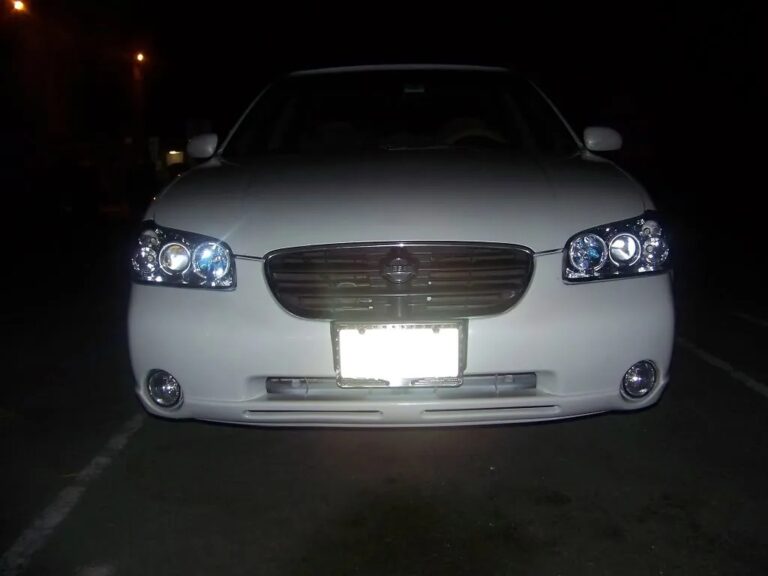
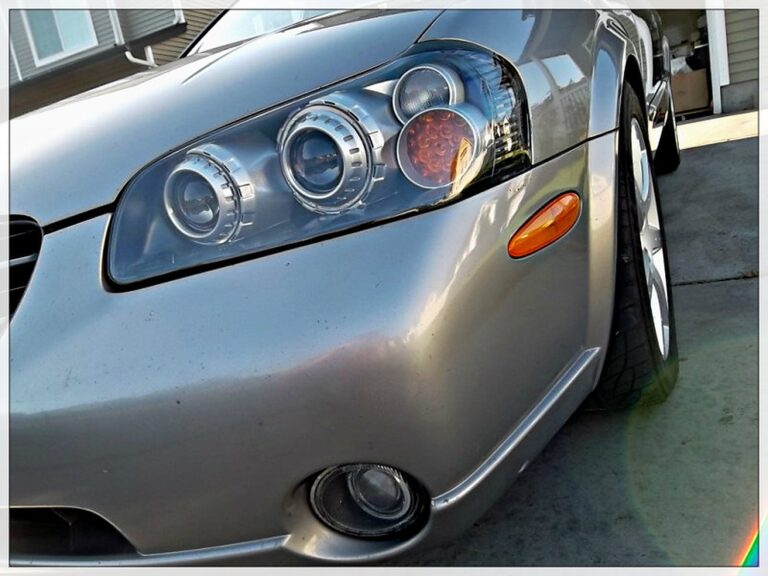
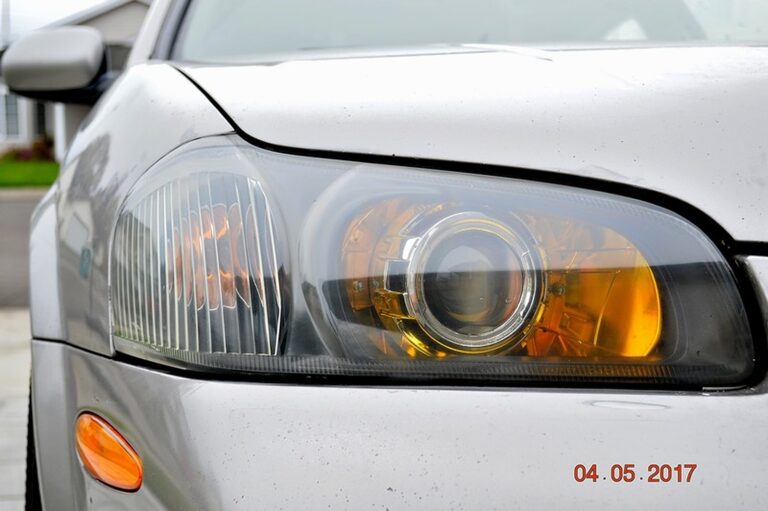
This is a bumper manufactured for the 2000 – 2003 Nissan Maxima out of durable, flexible fiberglass. The sleek custom look will make your car stick out of the crowd. The flexible fiberglass will ensure that you get more life out of the bumper compared to a standard fiberglass bumper as there is some give if you bump it. It will not simply crack upon impact. Fitment is guaranteed.
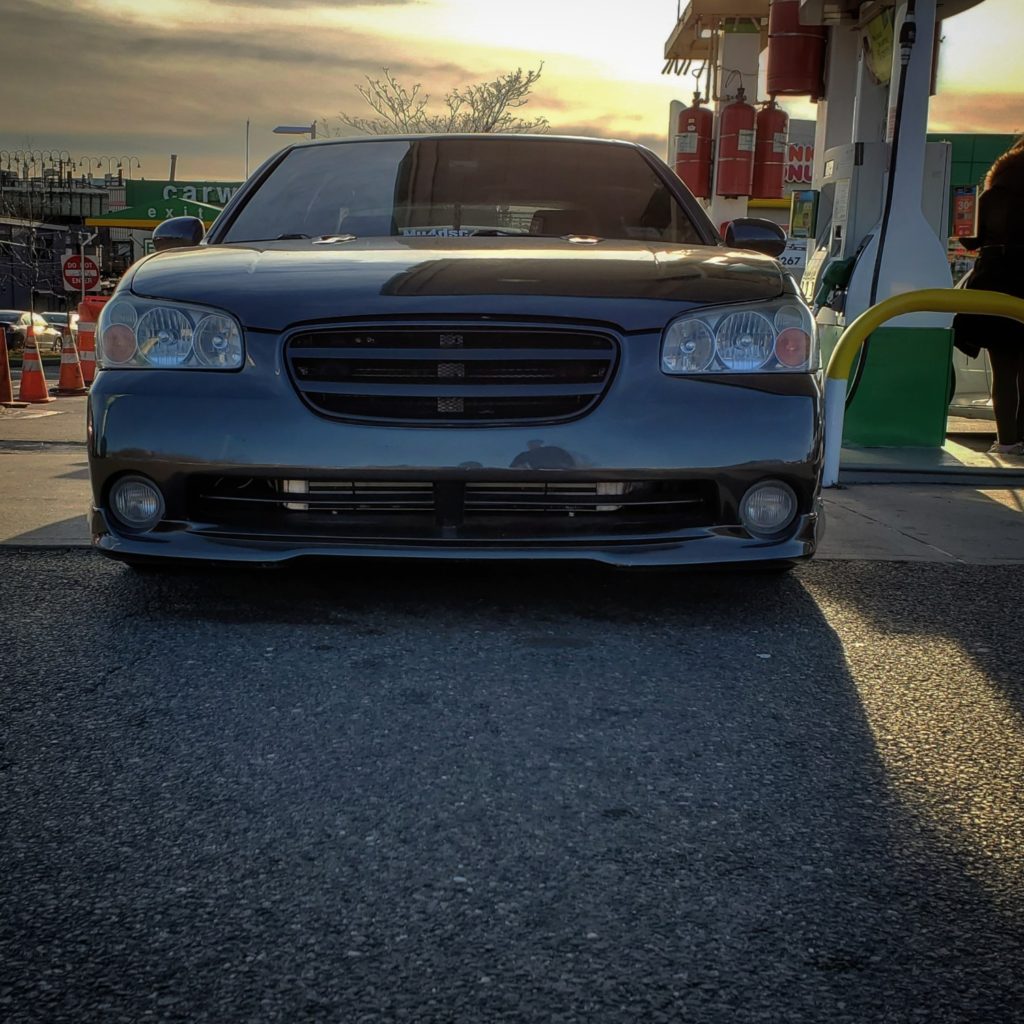
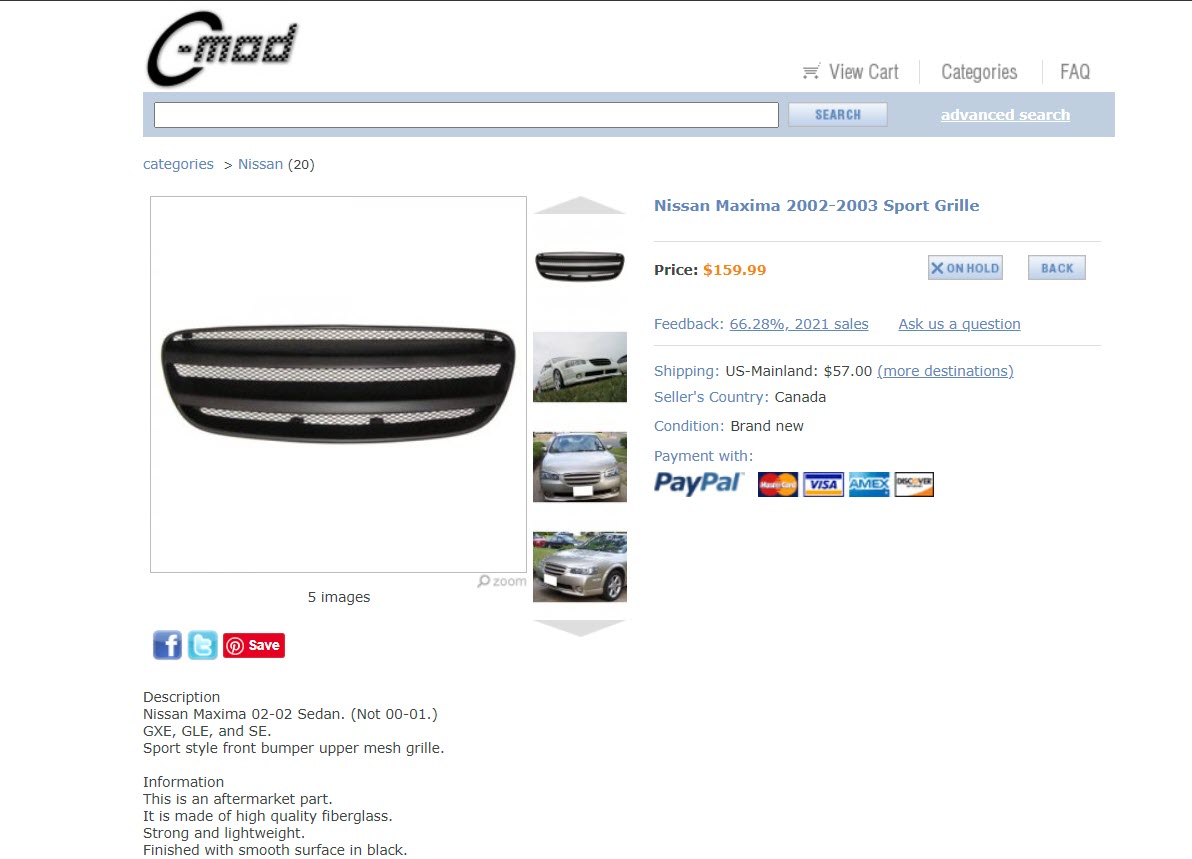
I always wanted a CMOD grille for my car but it was back-ordered out for quite some time. As soon as they came back in stock, I ordered one immediately. It took two weeks to get it which is not bad at all given it’s shipped internationally.
The grille itself is made out of Fiberglass. I was happy with the quality and perfect fitment of my 2002 Nissan Maxima. The grille comes in a matte black finish and black mesh. You’ll need to drill some small holes to perfectly attach to the bumper. It took me about 20 min to install.
Out of nowhere, I noticed that the trunk on my FX35 was not fully closing. Initially, I thought the actuator was toast and I would need to replace it. When you get the lock, you should be able to hear the trunk latch engage. I wasn’t hearing.
I did some research and found a quick solution. I removed the 15A – BACK DOOR fuse for 30 seconds and plugged it back in. After that, the trunk was opening and closing fine. I may have to replace the actuator soon but at least the trunk is closing. I was worried someone could just randomly open it and take stuff from the trunk.
Hope this helps anyone who has the same issue.
If you need to replace the actual, I found the following information. Adding it here for future reference.
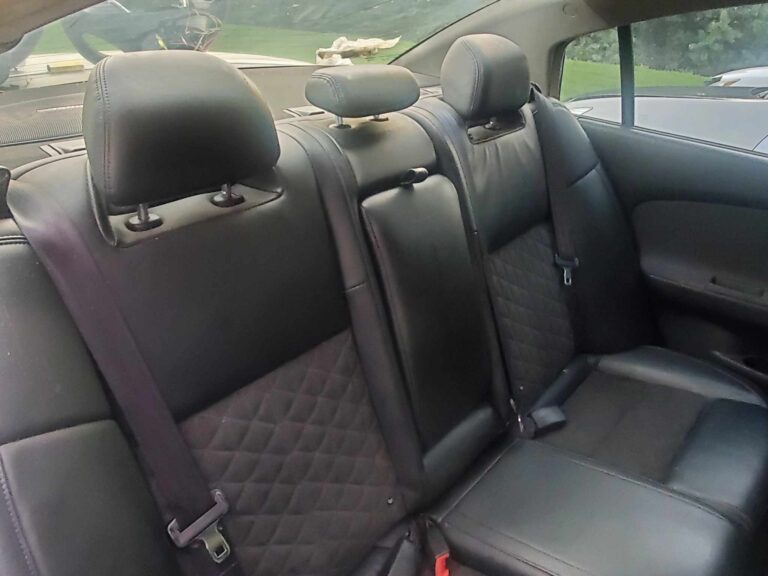
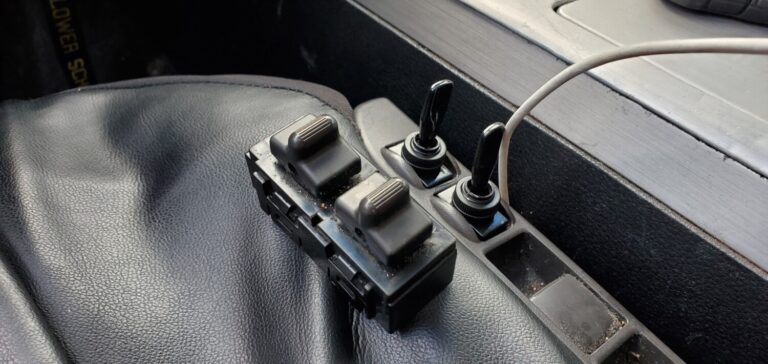
My recline and power seat move button stopped working. Seems like they were stuck. I’m sure I could have taken it off and tried to prepare it but I found a better solution that worked for me. I bought two Dorman 85919 toggle switches and swapped the button with that. The switches fit great and work 100%. A good option for those who don’t want to pay $100 bucks for a new one. This costs less than $10 bucks to do.
2- The grill is now free but there are 4 clips that are attached towards the radiator that you use
a plier to take out…. close up of the clip…
3-the holes were where the clips were held in place to the bumper.
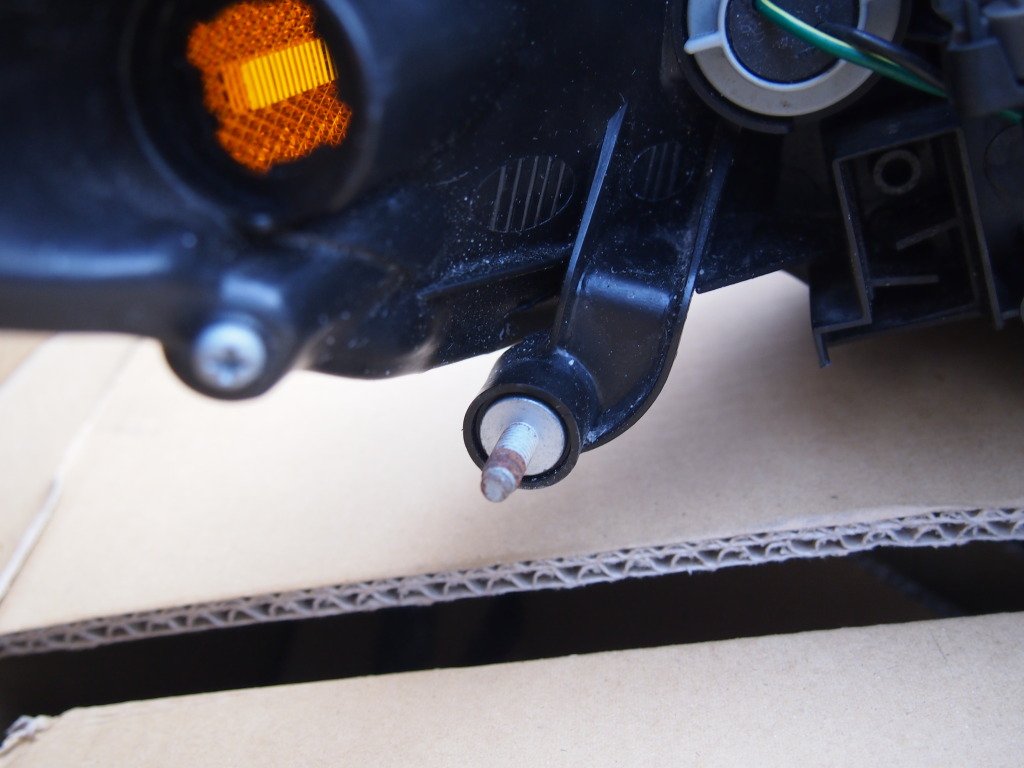
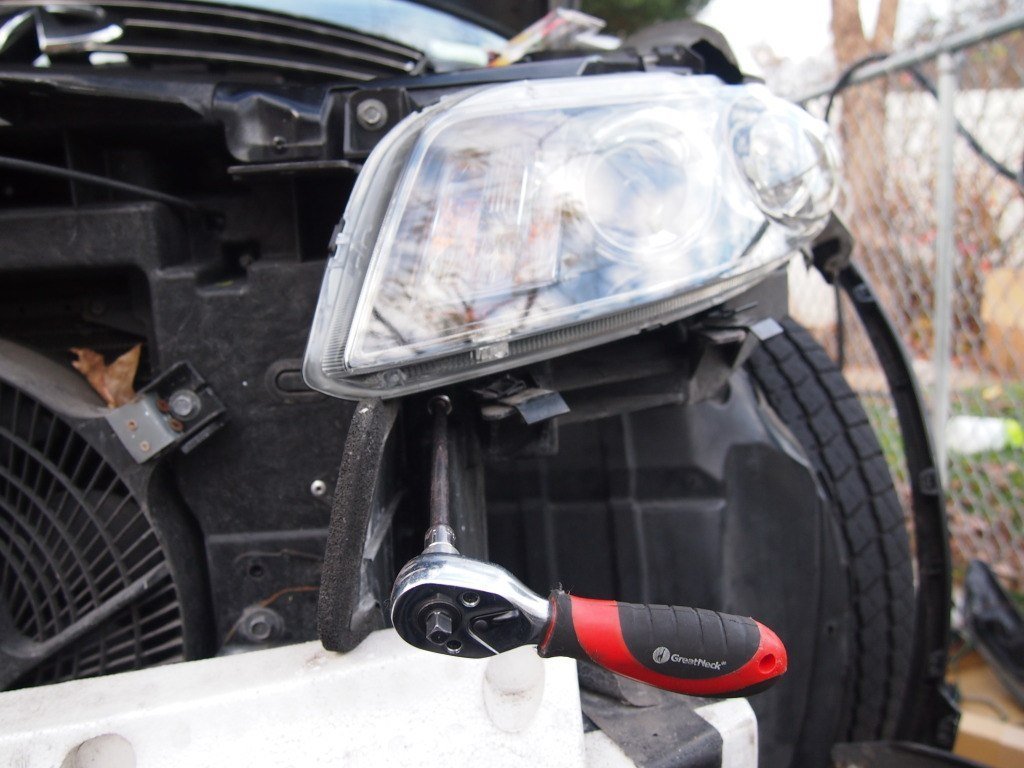
4-the headlights are held by 4 screws. 2 on top and 2 at thhe bottom… one behind the front bumper
and the other behind the wheel wells.
5-to remove the bumper you will have to remove 10-15 bolts depending on how many you have under the car
by the bottom plastic cover… but you have to remove 2 screws that hold the bumper to the fender…on each side..
hard to get a nice pic so these are some supporting pics..
6- once you unbolt these 2 bolts then you will see that the bumper will kinda wobble… they are still
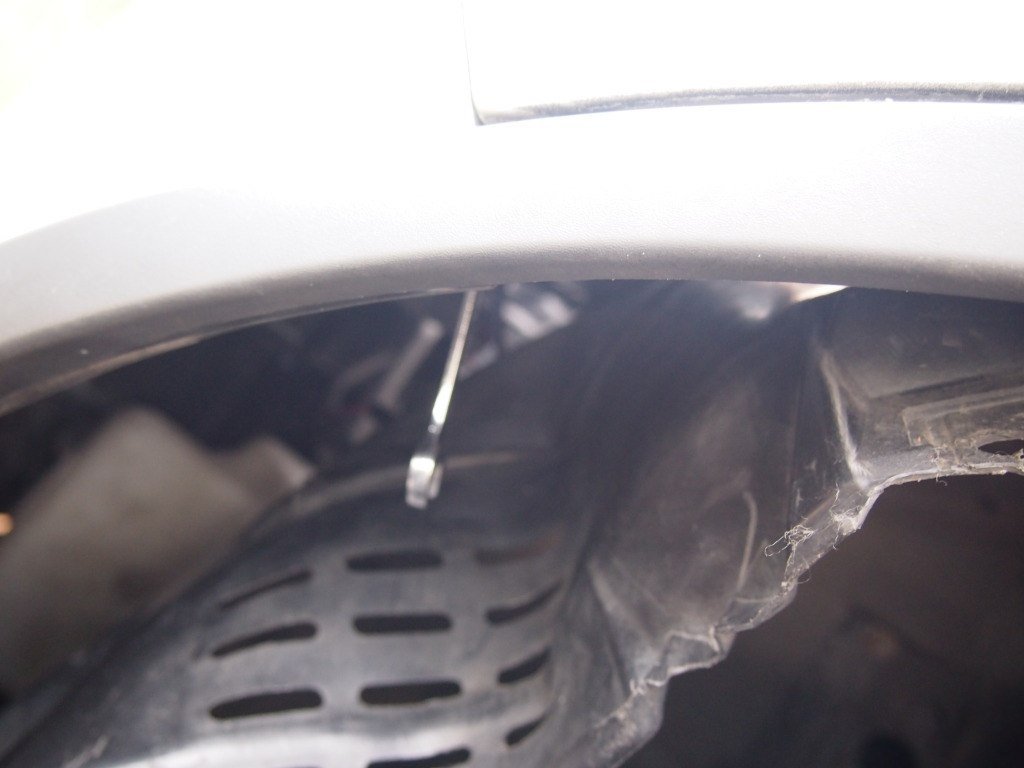
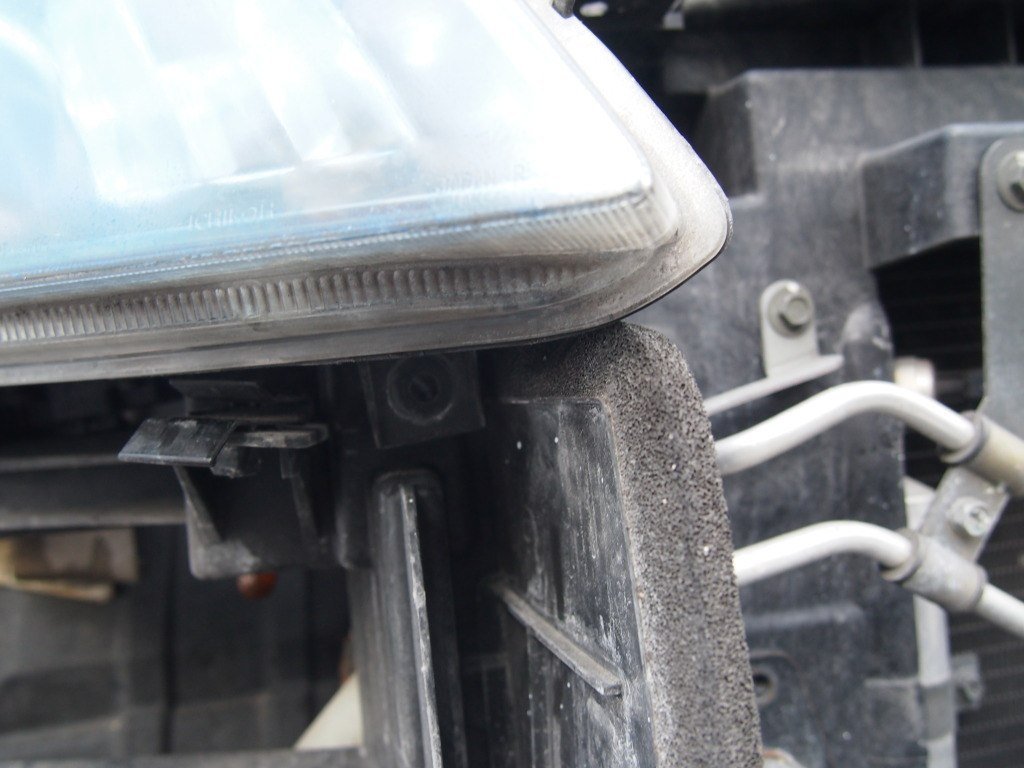
held in place by 2 clips right under the headlight housing… if you pull the bumper you will see them.
7- when pulling on them be careful i broke 1 of the clips but when putting them back in i found it
not to be bi issue with just 1 clip instead of 2 but still be careful…
8- with the bumper off or hanging by 1 or 2 screws at the bottom… you can now access the bolt under
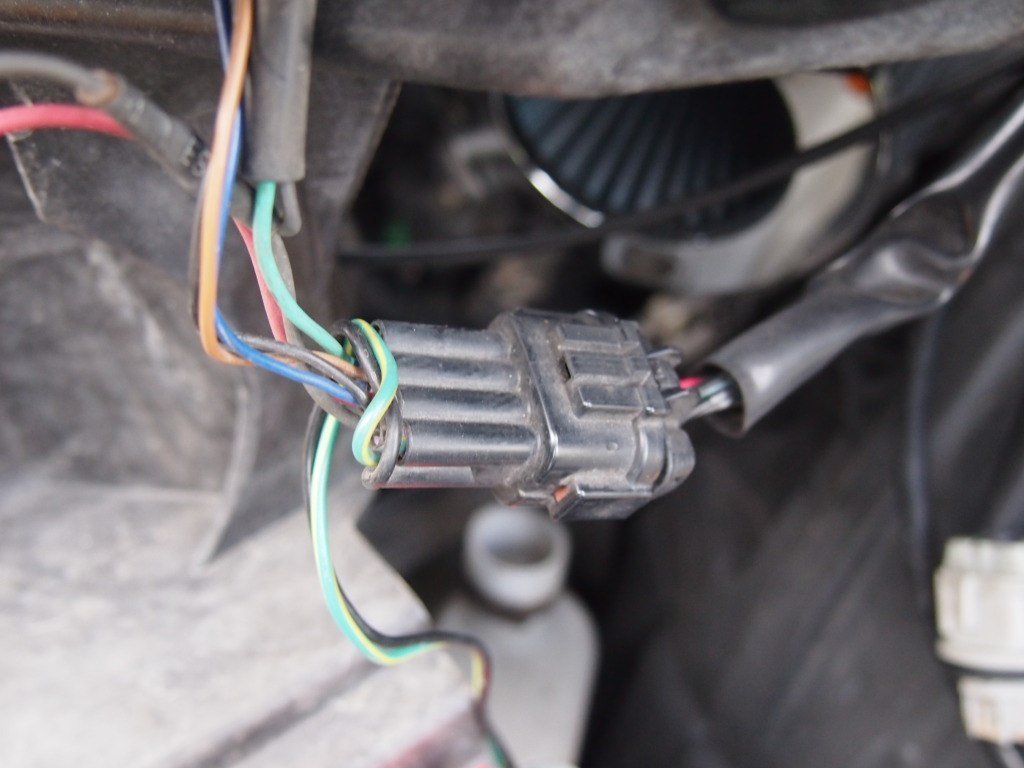
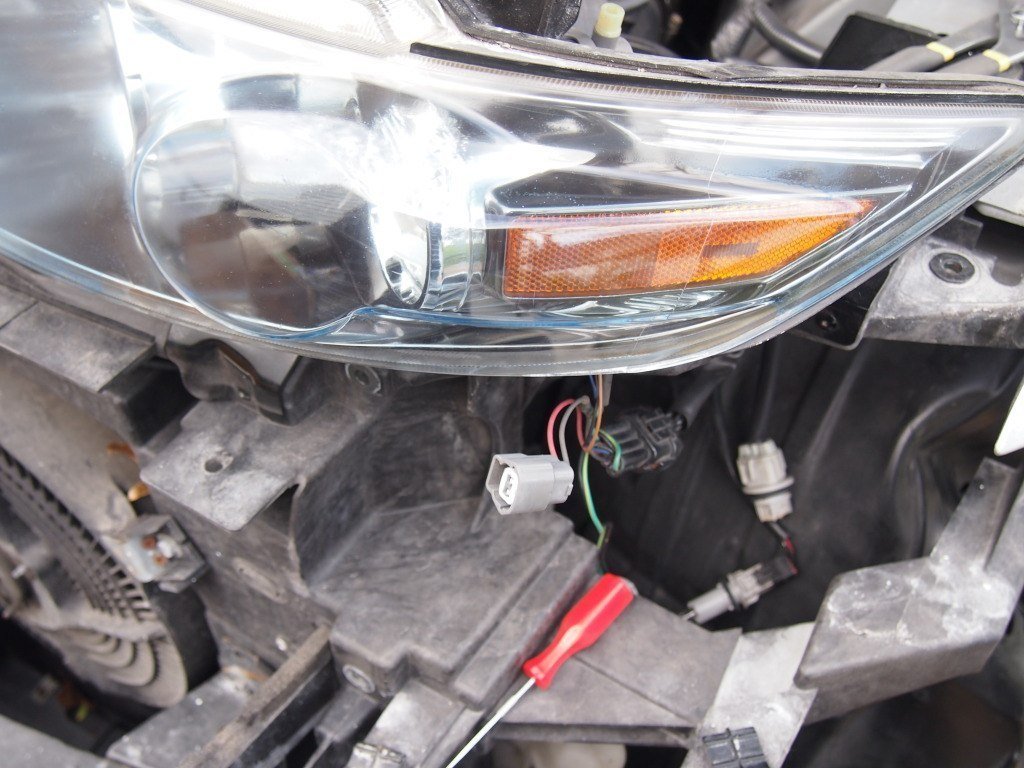
the headlight. this shoul be the last bolt to remove… unplug all th electrical harnesses/wiring…
take em out gently…
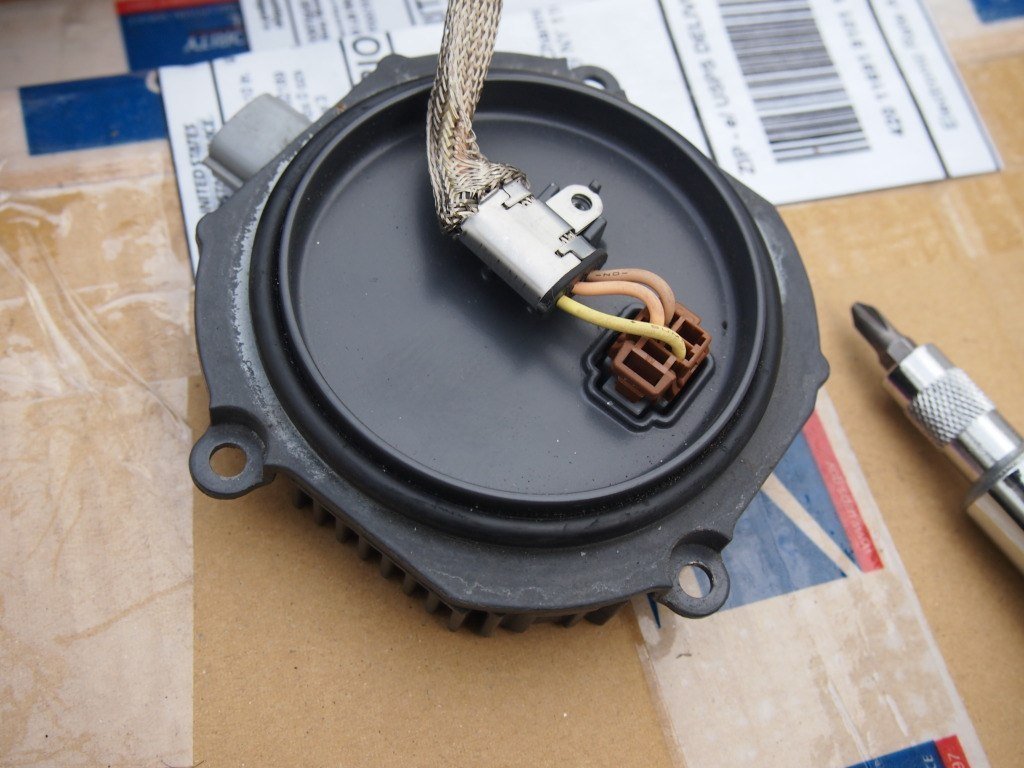
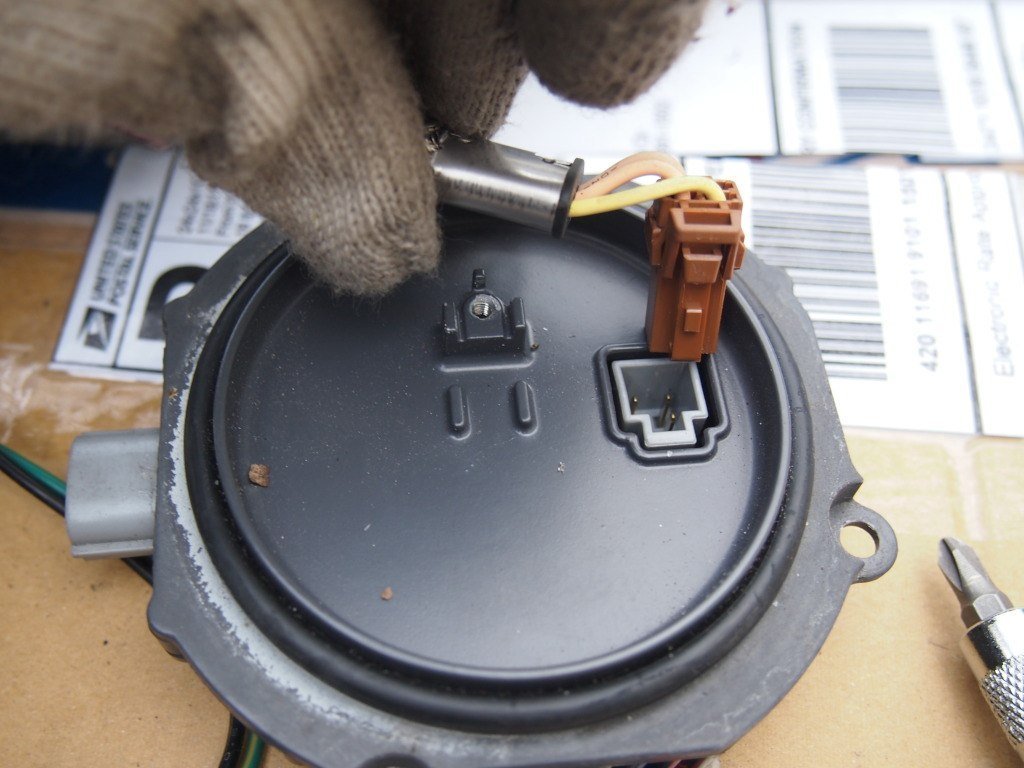
9- once you take the headlights out you can now exchange the ballast (3 screws) held in under the headlight.
and the light bulbs..(unclip the metal pin and take the bulbs out..
this is the ballast ( i didnt know until today)
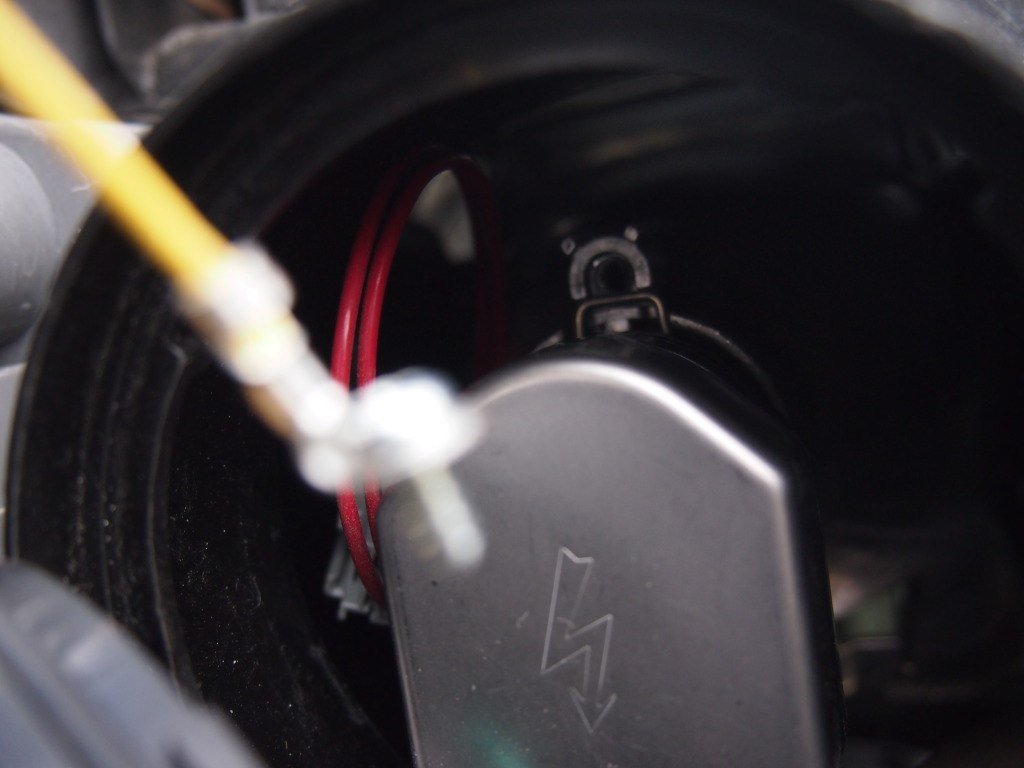
now take the silver holder out by twistin like a regular bulb
you will see the rear side of the bulb
unclip thes metal sprins by pushing them with your thumb n finger n open the latch….
10- do it to the other side and put the bulbs and the ballasts back in …..
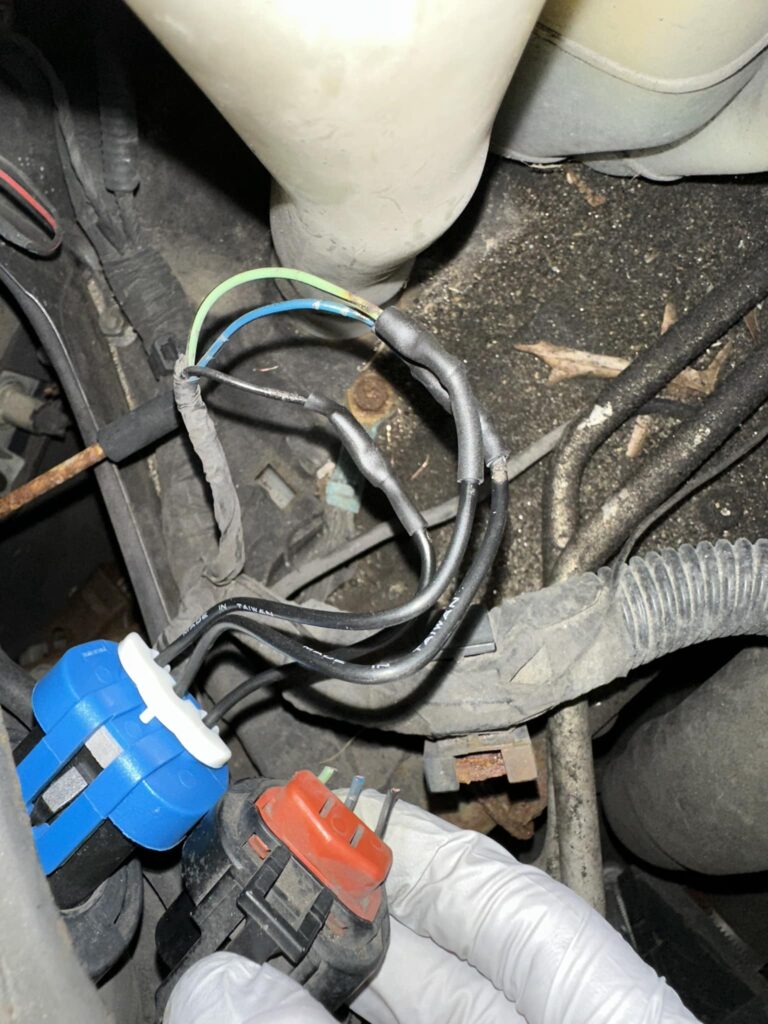
11- if you are going to do DTRL SWAP now is the time …. cut the black wire cover tape
12- i used a nipper to cut the tabs because i was lazy…
13 – please refer to dtrl swap thread for more info if you have any question.
14 – put headlight back in and connect all the wires
15 – put the bumper back in …..
16 – PUT GRILL BACK IN AND CHECK THE LIGHT TO SEE OR OF THEM ARE WORKING WELL CLEAN AFTER
YOUR MESS AND FEEL GOOD DONE!!!!