Left work Friday afternoon everything was okay. No signs of previous issues, no codes. Sitting at a stoplight the car started shaking real bad, hit the gas to go and she kept running but very rough. The check engine came on. I went to blinking mode as a kept driving. Pulled into Autozone read P0300. Nothing obviously disconnected. Smell of raw fuel out the tailpipe with blue/white smoke but not too heavy.
Made it home, the problem continued. I would rev fine and run better at 30/40 MPH but was rough. Left it alone until yesterday. It seemed to run better when cold, but not right.
I have ohmed out the injectors, the coils, all read okay. Pulled all plugs, all are dry except #1, which was a little wet, but none are fouled. Did a compression test (not fully warmed up I am sure) All cylinders came out to 210 PSI, except #4 which was 150. repeated and got the same results.
I can smell raw fuel so I know it is not running right. No leaks. When I crack the throttle and release, I can hear a gurgling sound in the vicinity of the throttle body, maybe at the EGR area/cylinder 5. I have heard that for a while. Maybe related, maybe not. I don’t hear any sign of a vacuum leak.
The Fix
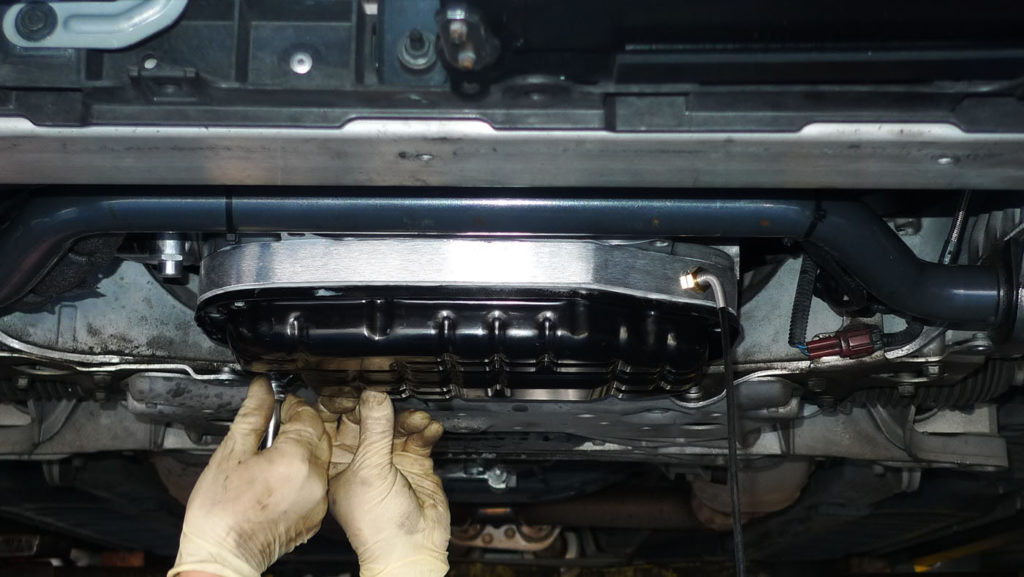
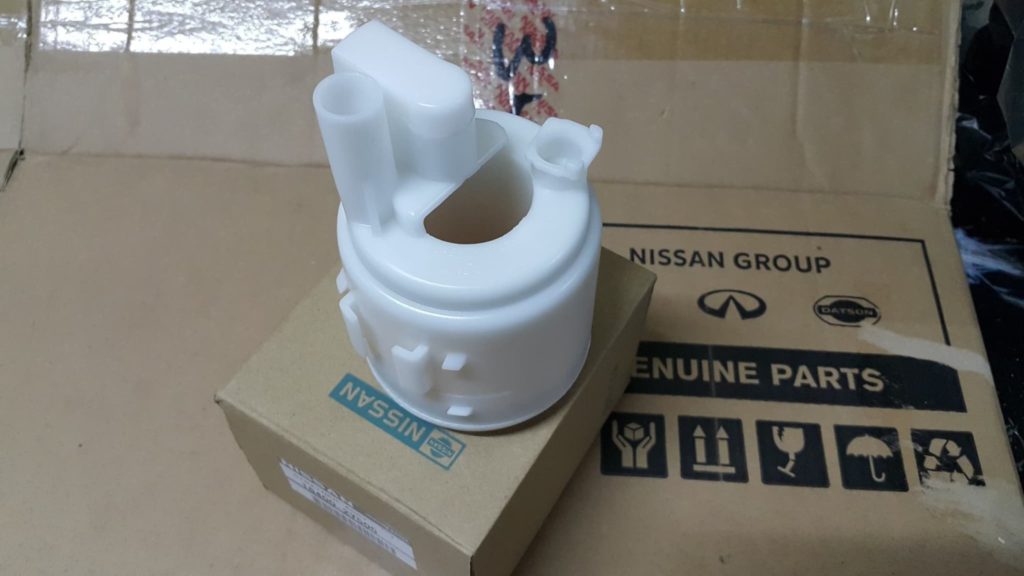
Well, it was fuel related. Specifically, a nearly clogged filter. I would have thought it would have just shut down, but it acted just like a dropped valve. Bought gas at a station I don’t normally buy from. Not sure it was a tank of bad gas or just timing, but the filter was the issue. I thought it might be the fuel pump, but it seems to be running perfectly now.
I feel the idle is smoother and the throttle response is definitely better. I want to say I can feel a difference after adjusting a few fuel points on my AFC. Overall, I do like them and feel it was worth it. They are also an alternative to buying aftermarket coilpacks or standard Nissan OEM coilpacks.
Important Note: On the VQ35DE (2002-2008), you will need to use NWP Spacers for the Coil Packs to sit properly. The Gen2 VQ35DE (2009+) do not require spacers. You will also need the adapters to plug them in or make your own by splicing directly.
1 can of Carb cleaner (I find Berrymans B12 to work fastest)
New throttle body gasket
New IAC Valve Gasket (dealer only)
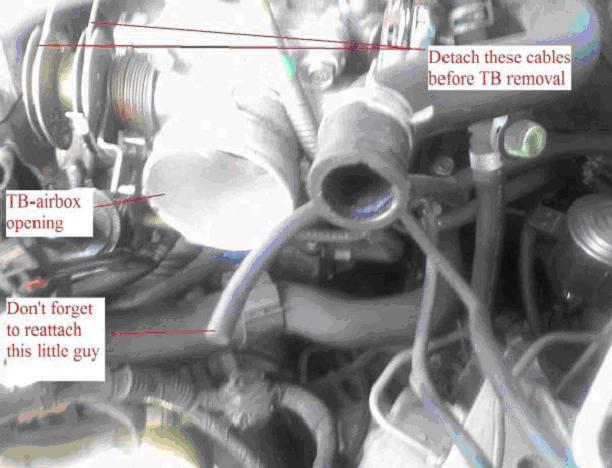
Step 1: Disconnect battery. unclip airbox, unplug MAF Sensor, use pliers to slide clamps holding hoses to airbox down and slide off hoses, use flathead or 8mm socket to loosen clamp holding air tube to throttle Body, remove 10mm socket on side of airbox holding it down and remove air intake assembly.
Step 2: Move the throttle to fully open position, lift throttle cables one at a time forward and wiggle out of the TB (towards the left of the TB). Unplug 2 Throttle Position Sensor Plugs.
Step 3: Remove the 4 12mm bolts holding the TB to the plenum
Step 4: On the bottom of the TB there will either be 2 or 3 hoses attached. use pliers to slide clamps down and remove hoses. make sure your radiator cap is still on or engine coolant will start to flow out. If hoses have seized on, use a flathead to pry the top and break the seal.
Step 5: Remove throttle body. scrape old gasket from both surfaces. clean entire butterfly plate (both faces) and cylinder. there should be no black when done. use only throttle body cleaner as carb cleaner will remove teflon coating which can later lead to faster corrosion and/or deposit formation
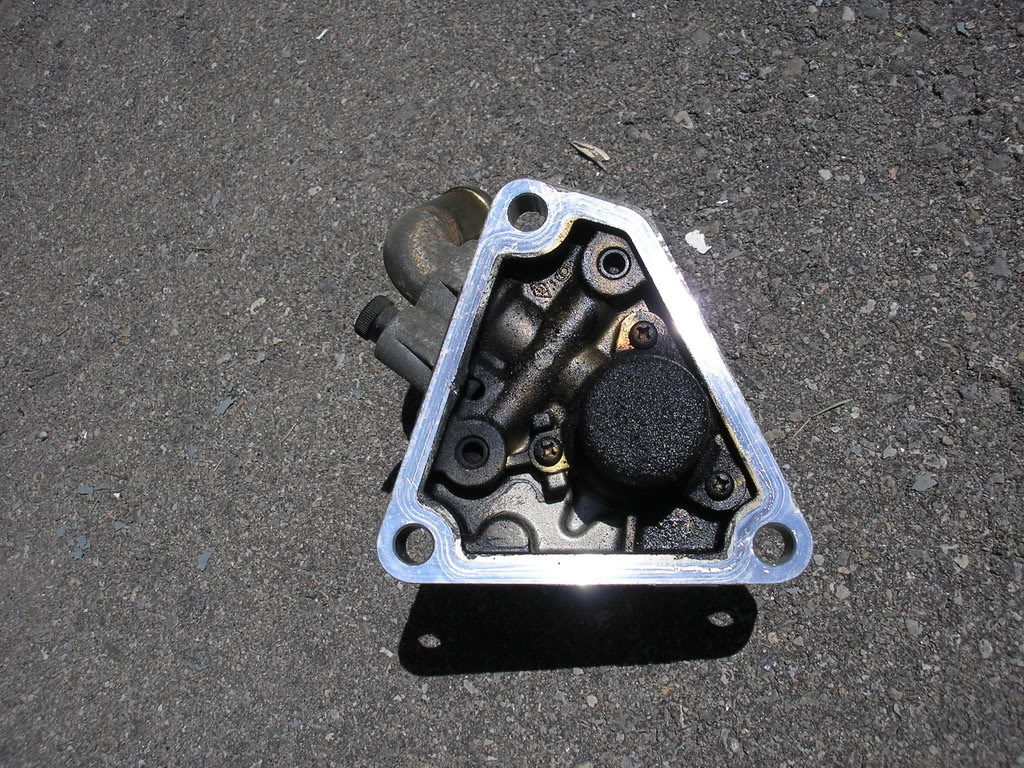
Step 6: Locate IAC Valve (triangular unit bolted to the driver’s side of the plenum right in front of the firewall with a large hose that was connected to the air intake assembly) unplug all 4 plugs.
Step 7: Remove 10mm bolt holding EGR Temp Sensor plug to the IAC Valve. (hard to see so you may have to feel around the firewall side for it) It is the only plug of the 4 not directly attached to the IAC Valve body
Step 8: Remove 3 12mm bolts holding IAC Valve to the plenum and remove IAC Valve. Remove old gasket (no need for scraping as it is a metal gasket).
Step 9: Spray/wipe the entire inside of the triangular face clean. Spray the inside of the brass housing clean of all deposits. spray base of Idle screw clean to ensure no carbon deposits remain. Be liberal with the spray.
Step 10: Replace gaskets and reassemble in reverse order. make sure when attaching the air tube to the TB you tighten the clamp. a loose clamp = a small vacuum leak that probably can’t be heard but will be felt (high idle).
Before reassembling, some like to spray remaining throttle body cleaner/carb cleaner into the plenum to clean it up. This is usually a waste of time since oil coming from the PCV will quickly muck it up again but pooled cleaner may help clean downstream intake when you start it back up. not enough to make a big difference but hey. If you do this, don’t be alarmed by the blue smoke at startup (oil and sludge being burned off). Start the car, take it for a short run to blow any remaining cleaner out and you are done.
I cleaned my MAF, TB, IACV, and EGR guide tube last week after some extensive research here on the org. I felt like none of the threads included directions for a total newb to do everything. Doing everything at the same time makes sense b/c if you’re gonna get to the EGR, might as well attack everything else while you’re at it so here it is. My car is a 1999 Infiniti i30t, your car might vary slightly in terms of hoses, tubes, and plugs.
1st off, what you’re gonna need:
Tools:
– 3/4 racket
– 8, 10 socket wrenches
– 3″ and 6″ socket extensions
– 12mm deep socket
– 12mm box-end wrench (for getting at the lower rear nut of EGR guide tube
– Flat screwdriver
– Pliers
– paperclips – the type that is in an “X” since they’re the biggest
– Large Phillips screwdriver
– Hacksaw blade
Consumables:
– Lower EGR guide tube gasket part # 14722-38u02 $5.86 (Connell Nissan prob rip me off)
– Upper EGR guide tube gasket part # 14722-38u01 $3.75 (@OC Nissan in Garden Grove)
– IACV gasket part # 23785-AD100 $3.88
– TB gasket part # 16175-31u01 $3.65
What they look like:
The brush is a heater chute cleaner, but I didn’t know the EGR guide tube was only the size of a finger
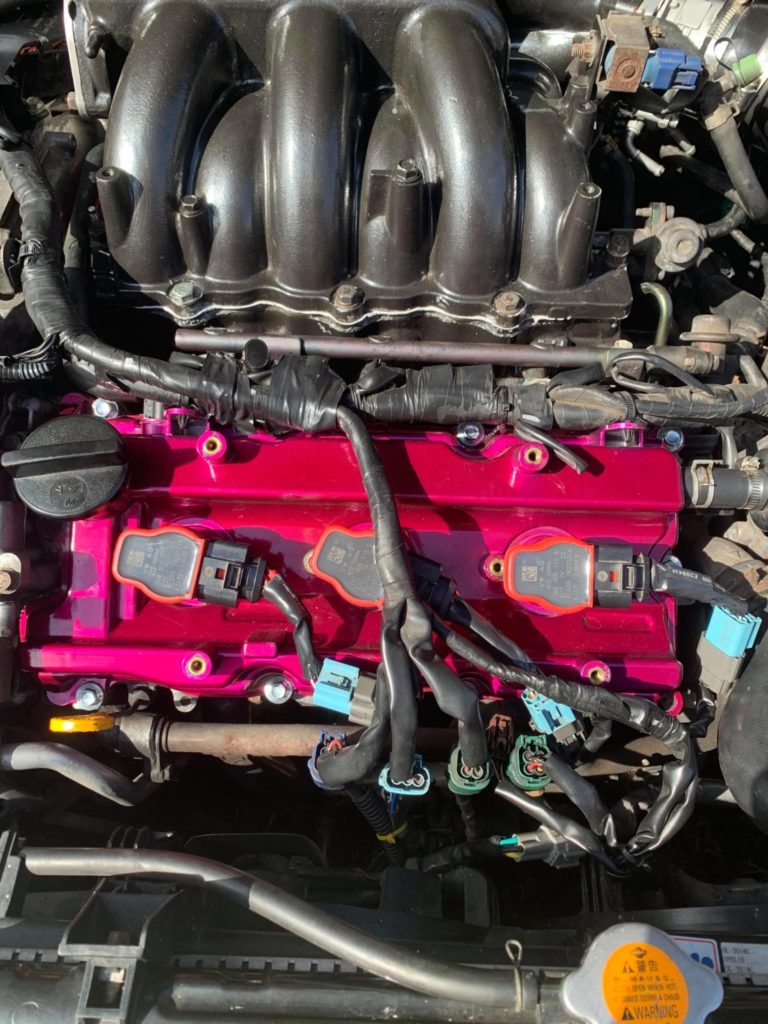
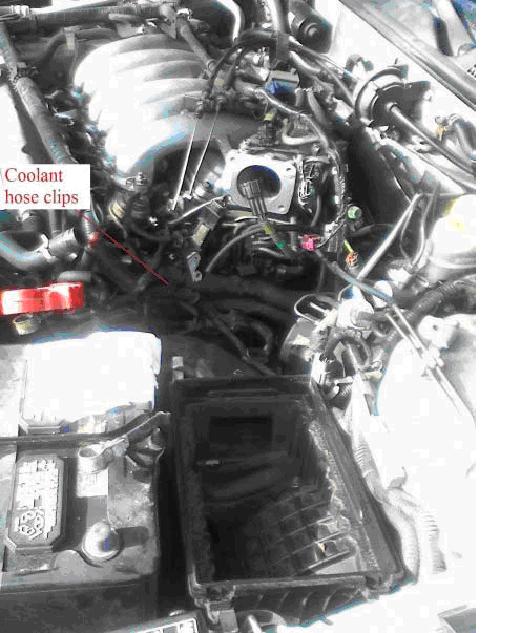
Here’s a picture of the engine bay labeled for future reference:
Steps – Airbox:
– use 10mm box ends to remove Neg battery terminal and then positive
– disconnect MAF
– detach hoses on airbox (next to the “MAF sensor” label in pic)
– Undo the 4 clips holding the box w/ the air filter not shown in pic
– use pliers to slide airbox hose clamps off – squeeze them all the way will make them slide a lot easier
– Pull of the 2 big hose and a small hose (tubing really)
– Loosen the big hose clamp next to the throttle body
– Lift airbox out
It should look like this:
notice you can see one of the large airbox hoses and the rubber tubing
Throttle Body Removal:
– Disconnect cables to throttle body
– Disconnect the 2 throttle position sensor (TPS) plugs
– Disconnect the plug on top of throttle body and detach it from the metal bracket (picture above shows it already detached)
– Use your 12mm socket to unscrew the 4 bolts holding the TB
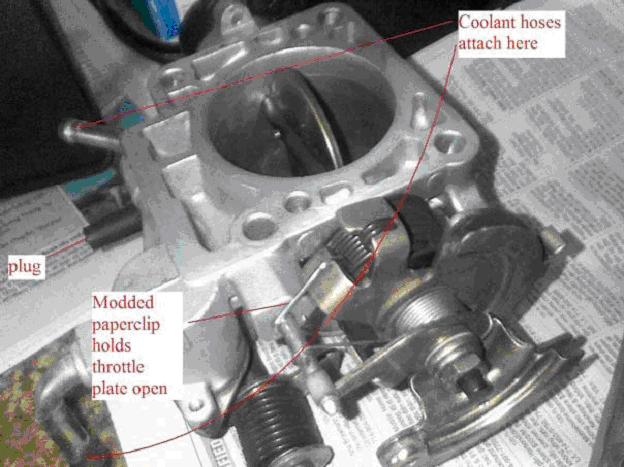
– Pull TB up, there should be 2 or 3 coolant hoses attached to it, undo them
– Remove any residue of the old gasket
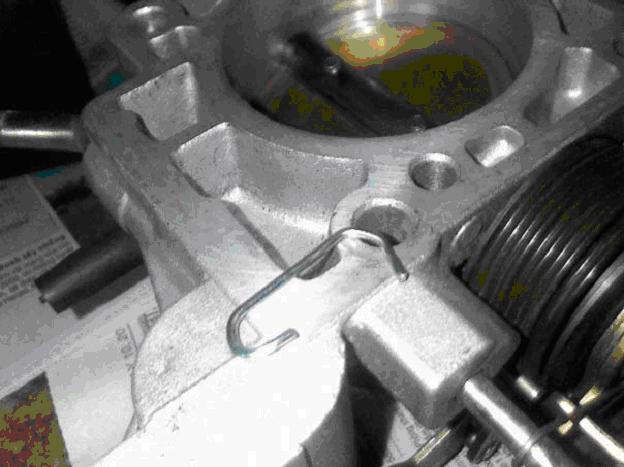
– Optional – fabricate and clip like this to hold the throttle plate open
IACV:
– Remove the 3 electrical (in my case) plugs to the IACV
– Remove the bracket that holds the rearmost plug
– screw bolt back on IACV to prevent loss
– use 12mm sockets to remove the 3 bolts that hold the IACV
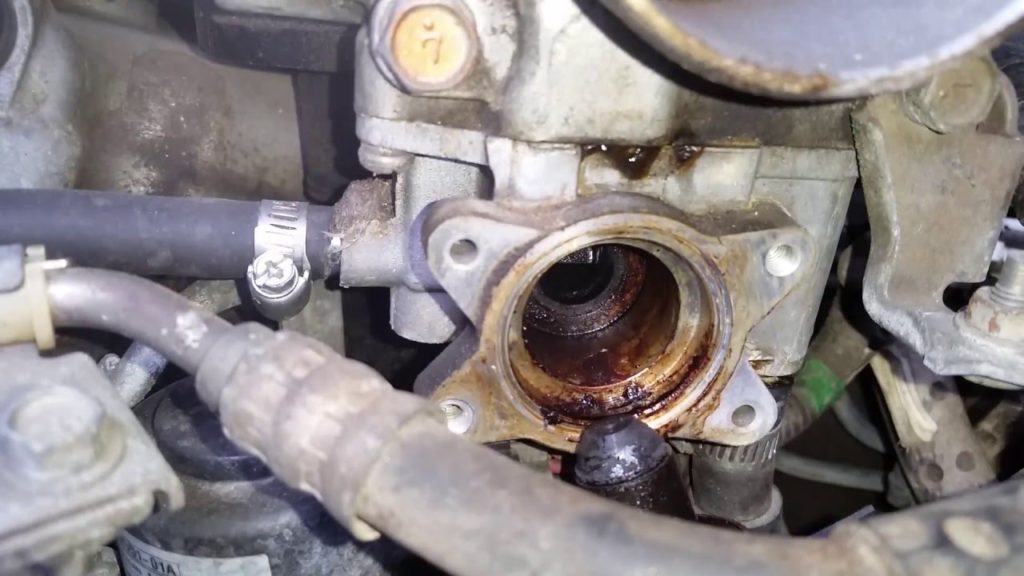
– Pull IACV off and remove gasket if it sticks. Your engine bay should look like this now
EGR Guide Tube Removal:
– Unclip the large coolant hose clip (2 pictures up) with a flat head screwdriver
– Locate EGR guide tube – it is attached to the plug whose bracket you just removed
– Locate the lower rear stud of the EGR guide tube not be confused with the EGR tube that is located forward left of it
– Hacksaw the non-threaded part of the stud off (you need ~ 3mm off of it to get egr guide tube out), this is for me the most painful step as I had to do it with a hacksaw blade – can’t fit a whole hacksaw in there
– leave the 2 upper EGR bolts alone – it’ll make removing the lower ends easier
– Get in with your 12mm box end to undo the nut – you’ll likely only get one wrench tooth position’s worth of rotation each stroke but it comes out fast, you can turn it with fingers
– Carefully remove the nut and 2 washers 1 by one as not to drop it
– Use your 12mm deep socket to remove front lower nut of EGR guide tube
– Also remove the nut and 2 washers one by one
– Use your 12mm socket to remove the 2 upper bolts of the EGR guide tube
– Pull EGR guide tube off
– Remove gaskets with flathead if needed – my lower one was quite stuck, spray it w/ carb cleaner
Here’s a pic of how I attacked the lower front nut of EGR guide tube:
At this point, your biggest problems are over, you just have to clean the parts and reinstall them. Use the TB cleaner on intake, TB, and stuff attached to it, MAF cleaner for MAF, and carb cleaner for everything else. There are 3 things to take off of the parts you have for as easy thorough clean:
– IACV – remove the little drum that’s held on by 3 screws
– TB – remove the large hose so that the MAF is closer to get to
– EGR guide tube – remove temperature sensor to clean and clean out all orifices
Cleaning Tips:
– Use a knife and straightened paperclips along with carb cleaner to clean our EGR guide tube
– Toothbrush works well for cleaning TB and IACV, but it scrubs away from you or you’ll get dirty
Here’s a clean EGR guide tube for kicks:
When you’ve put everything together again, it’s time to adjust idle speed:
– Warm your engine up to operating temperature
– Unplug the 2 TPS plugs in the 1st engine pic
– Turn black idle speed adjustment screw on the IACV, in the pic right under IlyaK’s post (also in 1st engine pic), clockwise to lower idle speed and CC to elevate it
Troubleshooting:
– I have heard that if you forget a vacuum hose, you will get high RPM idle
– I forgot to tighten the large EGR tube (the one I mentioned “not to be confused with”), it also gave me high RPM idle and excessive engine compartment heat – coolant temp reads normal though
Member Credit: joesae01max & Calvin Cross (Install Pics)
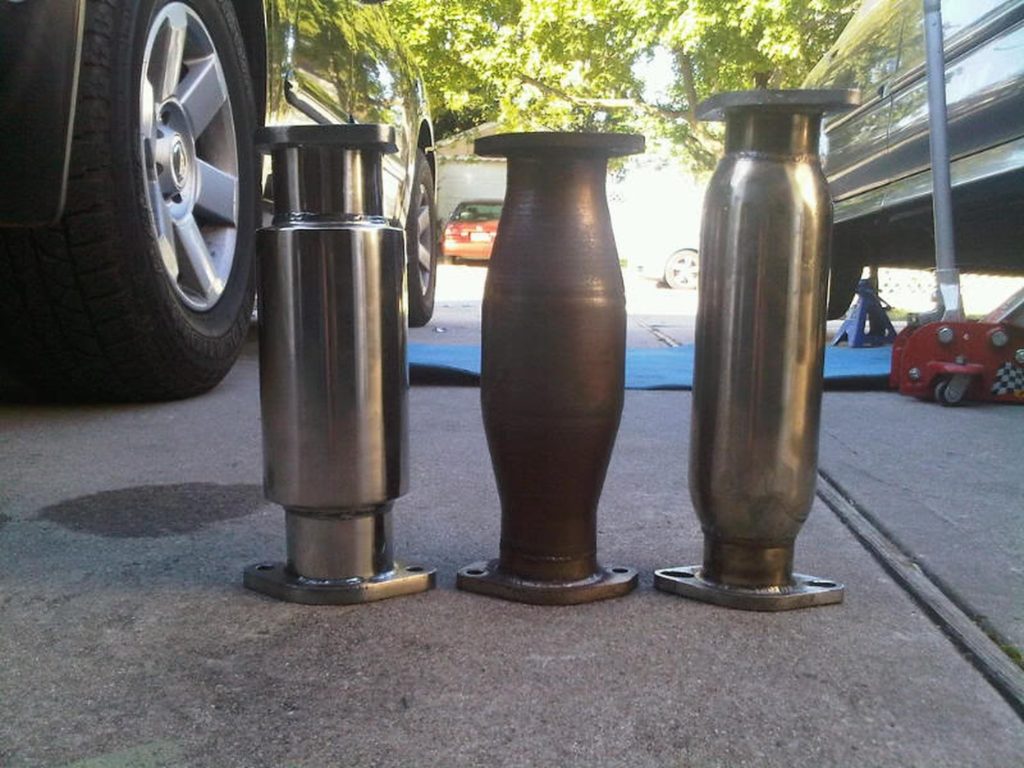
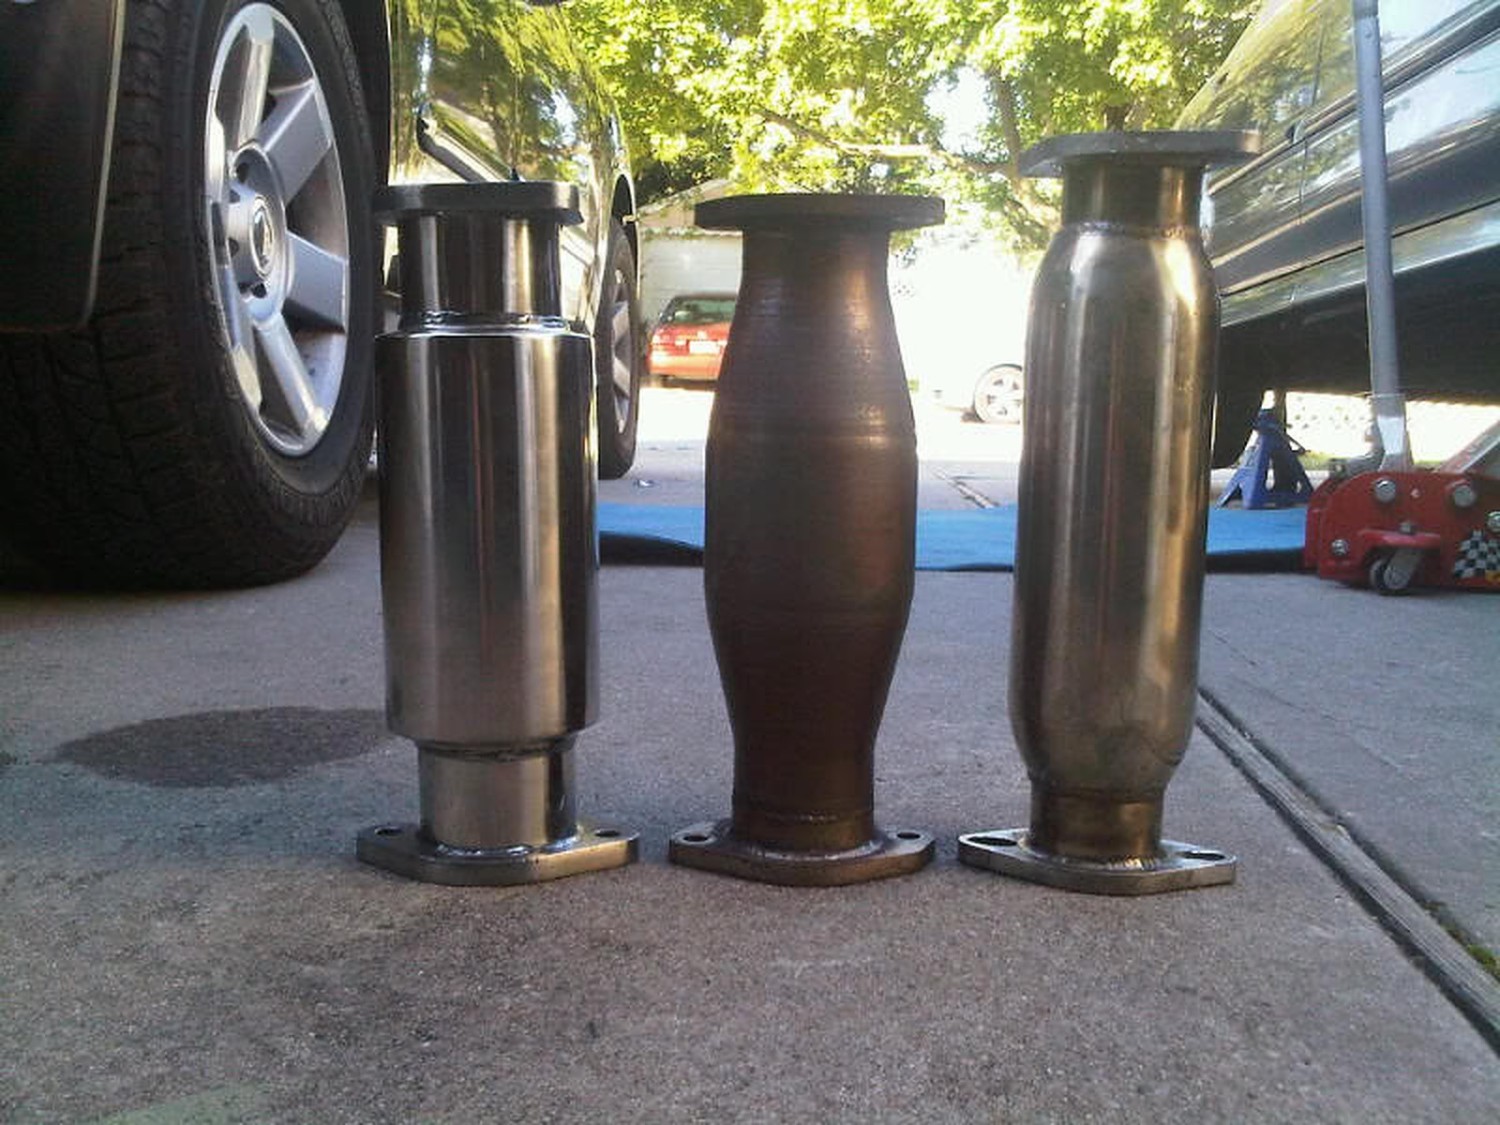
So I bought a Megan test pipe from a fellow .org member and let me tell you the Fitment was HORRIBLE. It was like 1″ longer than OEM. I was not pleased with it at all. I remember someone here used a 240sx test pipe and it was the same exact size as OEM. So sure enough, I looked it up and its 12 3/8th”. I ordered it that same day off eBay and got it yesterday. IT fit Like a glove.
Here are some pics for comparison to help anyone out. Left is 240sx 3″ Pipe……..middle is Cattman Fastcat……..Right is the Dreaded oversized Megan Test Pipe.
Notice how the 240 pipe is the same exact size as the Cattman fast cat. This is the test pipe on eBay. The pricing will vary from time to time. We’ve seen them anywhere between $40 and $60 bucks.
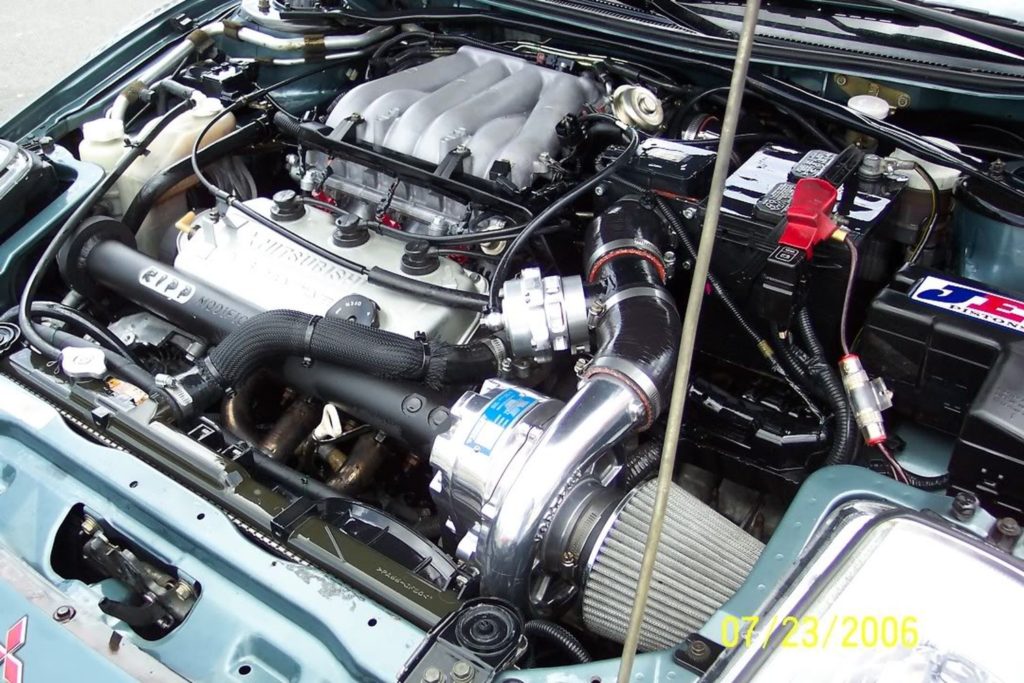
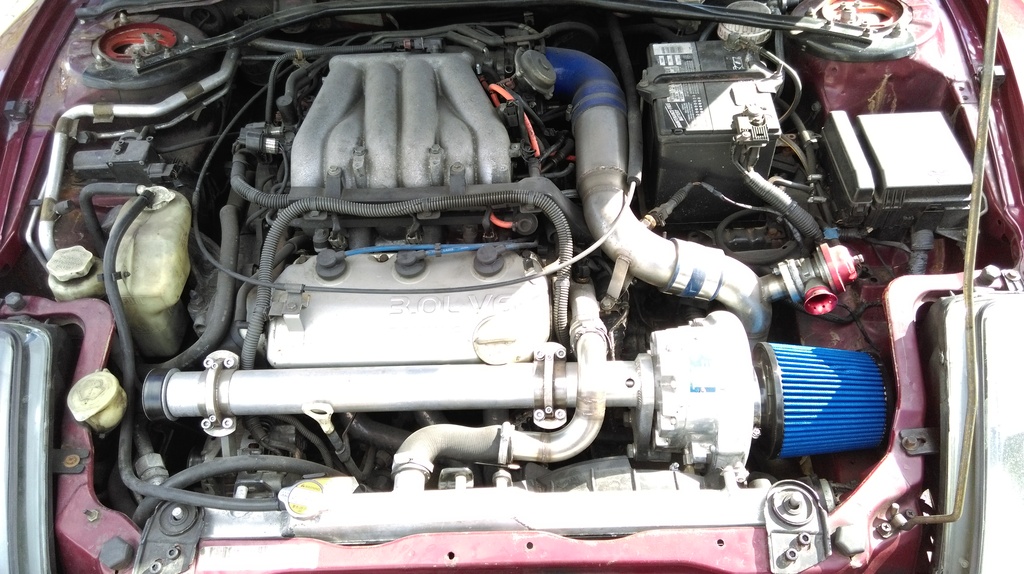
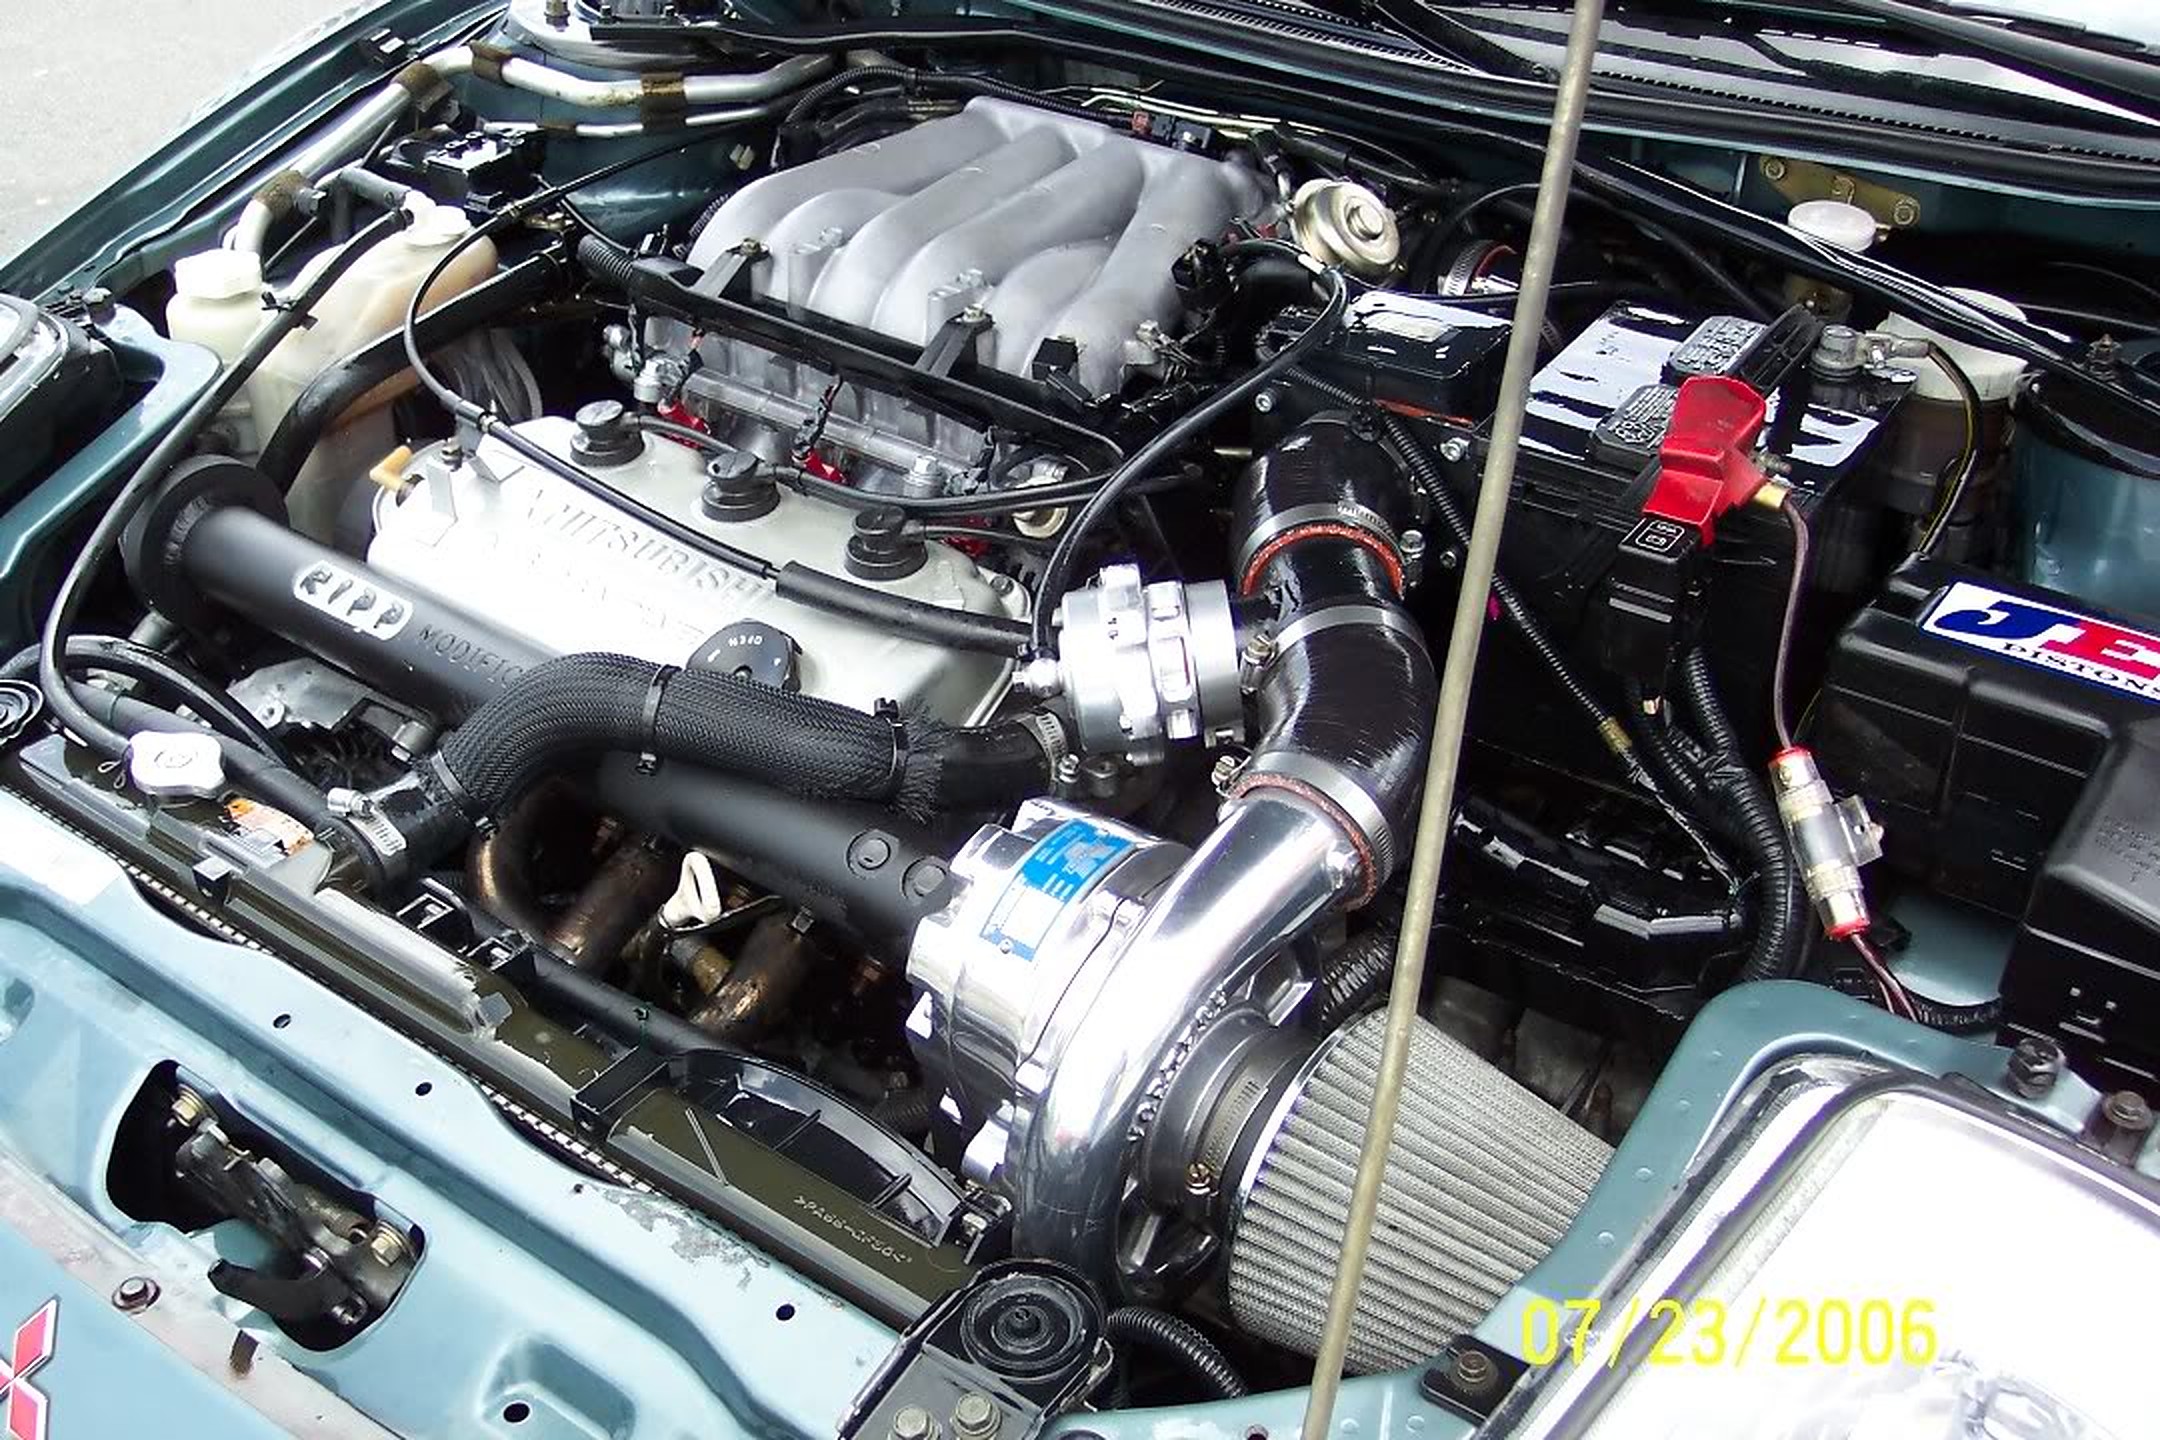
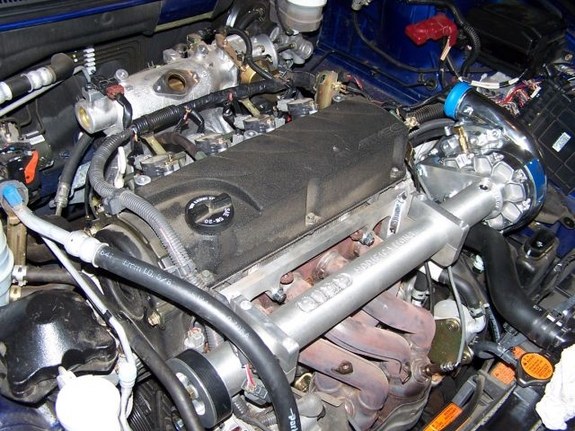
RippMods Vortech Supercharger Gallery – Eclipse 3G/4G. These are the superchargers commonly used on the VQ35DE Nissan Maxima’s. Creating a gallery to showcase how they look.
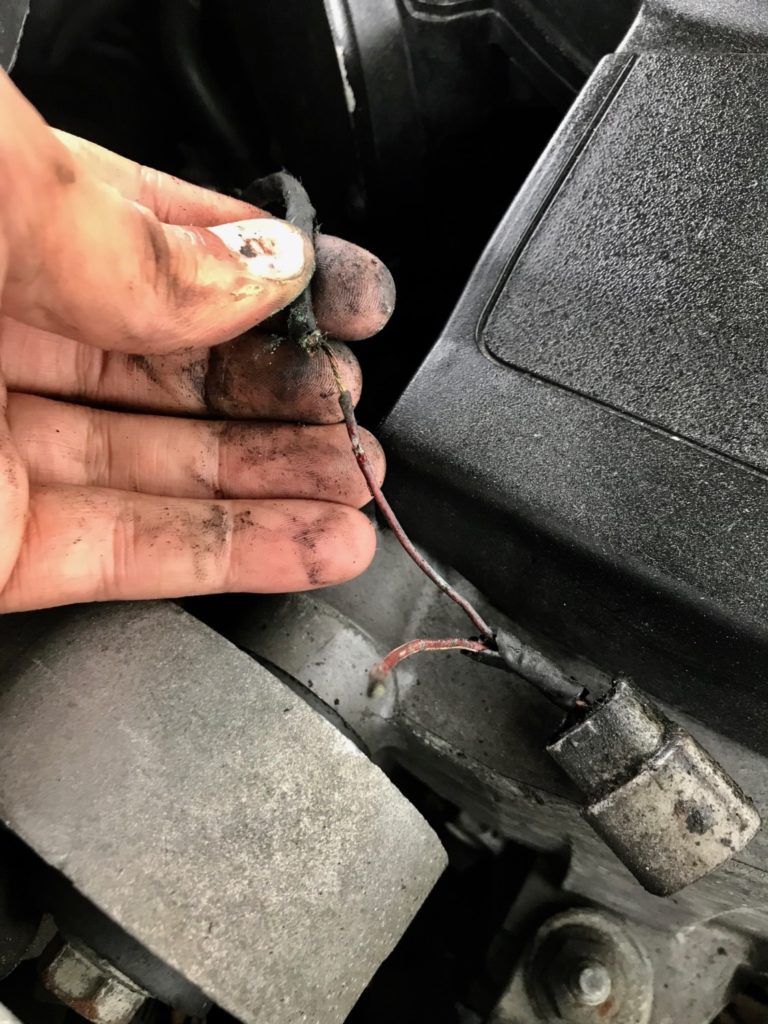
Our 2009 7thgen Nissan Maxima threw code P0075 – Intake Valve Control Solenoid Circuit (Bank 1). Bank 1 is the location closest to the Firewall. The first thing to always do is to check the connectors and harness to see if it’s broken or has any exposed wiring. Upon inspection, I discovered one of the wires to the plug was broken. This likely happened when our belt shredded one day during the winter.
The good news is that it was an easy fix. We jacked up the car, removed passenger side wheel and unclipped the connector. We brought the connector to the top of the engine where we re-wired and unified the connections. Very simple!
Below is how the harness looked.
This is where it plugs into:
Yay, CEL free again! Just in time for annual NYC car inspection.
From Nissan FSM:
Intake valve timing control solenoid valve is activated by ON/OFF pulse duty (ratio) signals from the ECM.
The intake valve timing control solenoid valve changes the oil amount and direction of flow via the intake valve timing control unit or stops the oil flow. The longer pulse width advances valve angle. The shorter pulse width retards valve angle. When ON and OFF pulse widths become equal, the solenoid valve stops oil pressure flow to fix the intake valve angle at the control position.
Adding some helpful information regarding this code P1706. The sensor was broken and I almost couldn’t find it. Replacing the sensor resolved the code. I ran into this issue and decided to document my findings for anyone needing to troubleshoot this.
P1706 Nissan DTC: Park Neutral Position Switch Circuit Malfunction
The Nissan park neutral position sensor / PNP switch is designed to detect when the shift lever is in neutral or park. If the shift lever is in another gear, the park neutral position switch will not allow electricity to pass from the battery to the starter. A P1706 OBDII code indicates that there is a malfunction with either the switch itself or the wiring connected to it.
Symptoms
Inability to start the engine
Engine will start with the shift lever is in neutral but not Park
Engine will start in any gear
Causes
Damaged wiring or connectors
Failed park neutral position switch
How to Diagnose the Code?
The best way to diagnose a P1706 OBD2 trouble code is to carefully inspect the wiring and connectors leading from the switch itself to the main wiring harness. If no issues are found, the switch itself will have to be tested and possibly replaced.
Automatic Transmission Switch
Part Desc: Neutral Position Switch Part Number: 31918-3AX01 OEM Price: Around $20-25 Bucks
6-Speed Manual Transmission (2003 Nissan Maxima)
Part Desc: Neutral Position Switch Part Number: 32006-6J00A OEM Price: Around $15 Bucks
The wires are Green/White and Black for the Switch.
Don’t confuse the above sensor with the blue one which is your reverse lights sensor. It has a Green/White and Orange Wire. But if you need to replace it, below is the info and photos:
Part Desc: Switch Assy-Reverse Lamp Part Number: 32005-6J00A OEM Price: Around $20-25 Bucks
Factory Service Manual Sections (Engine Control EC Section)
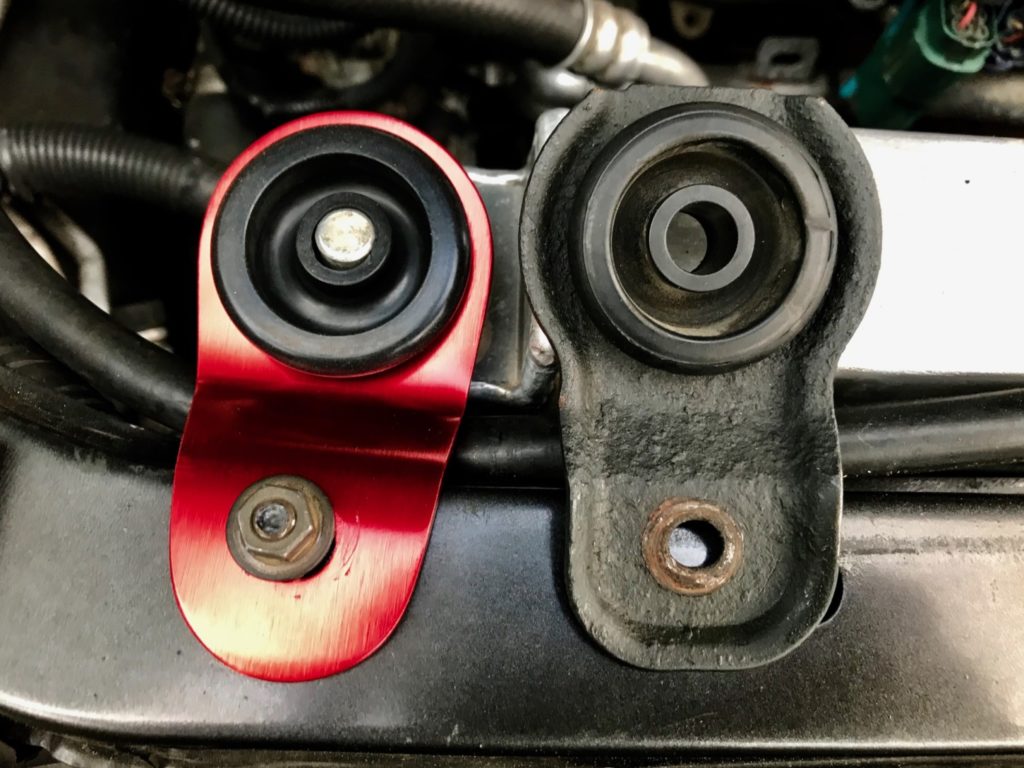
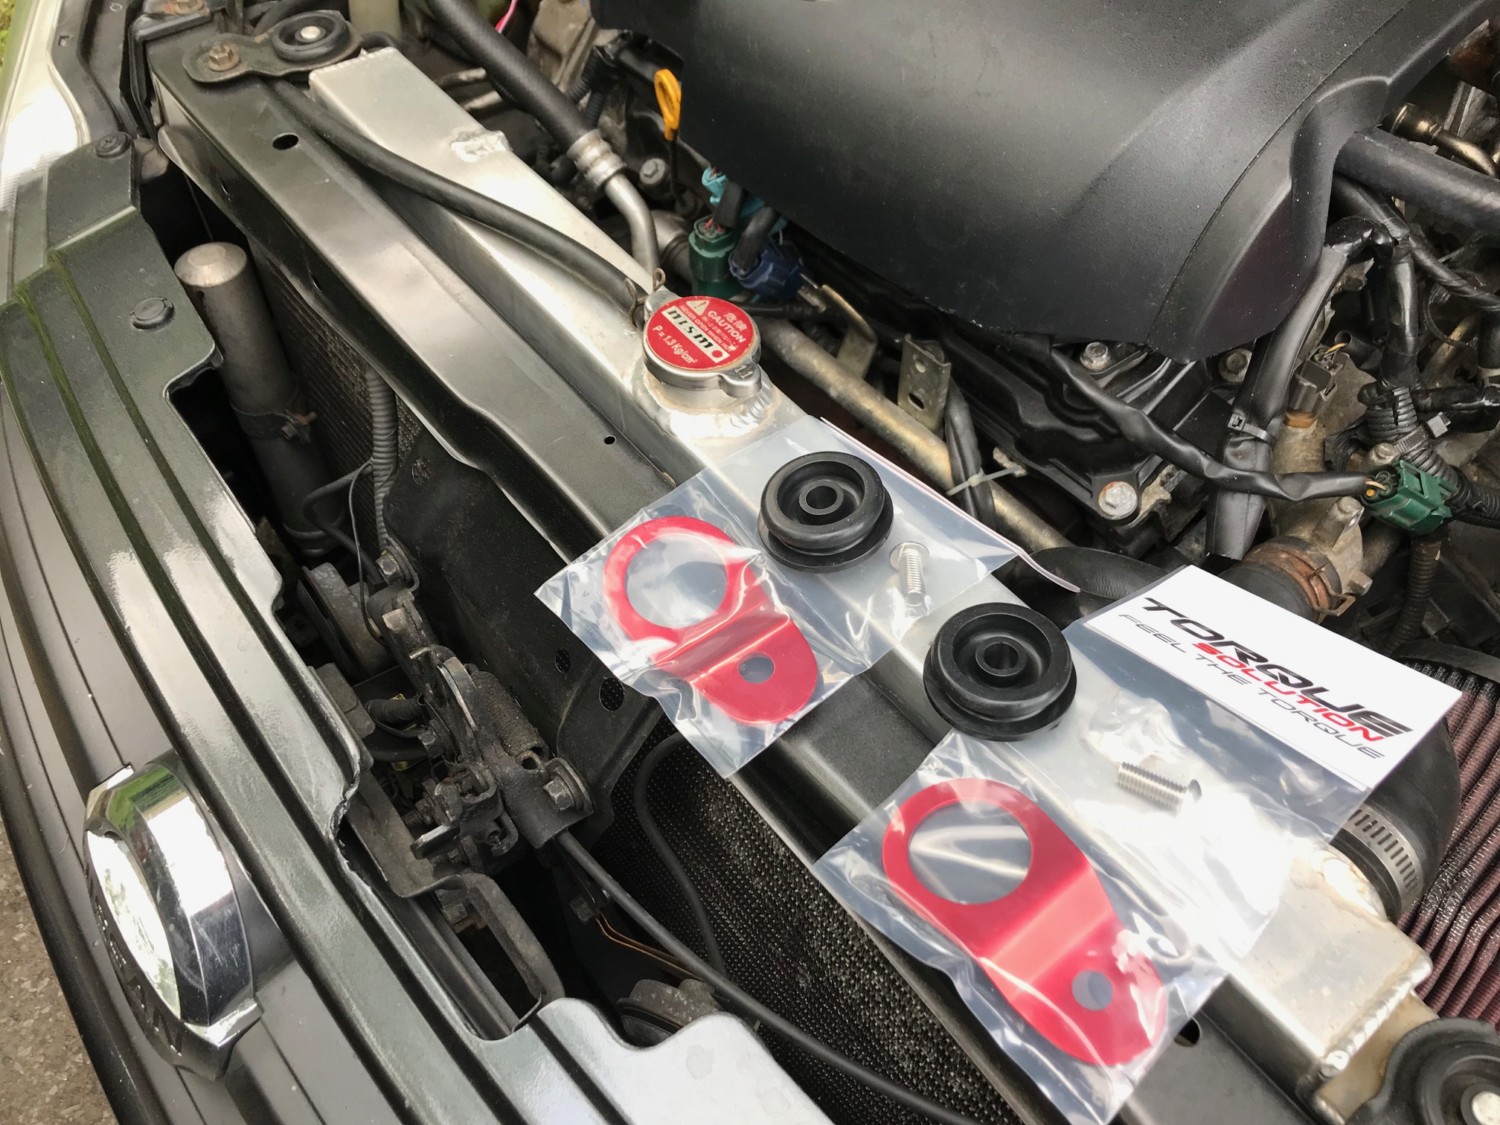
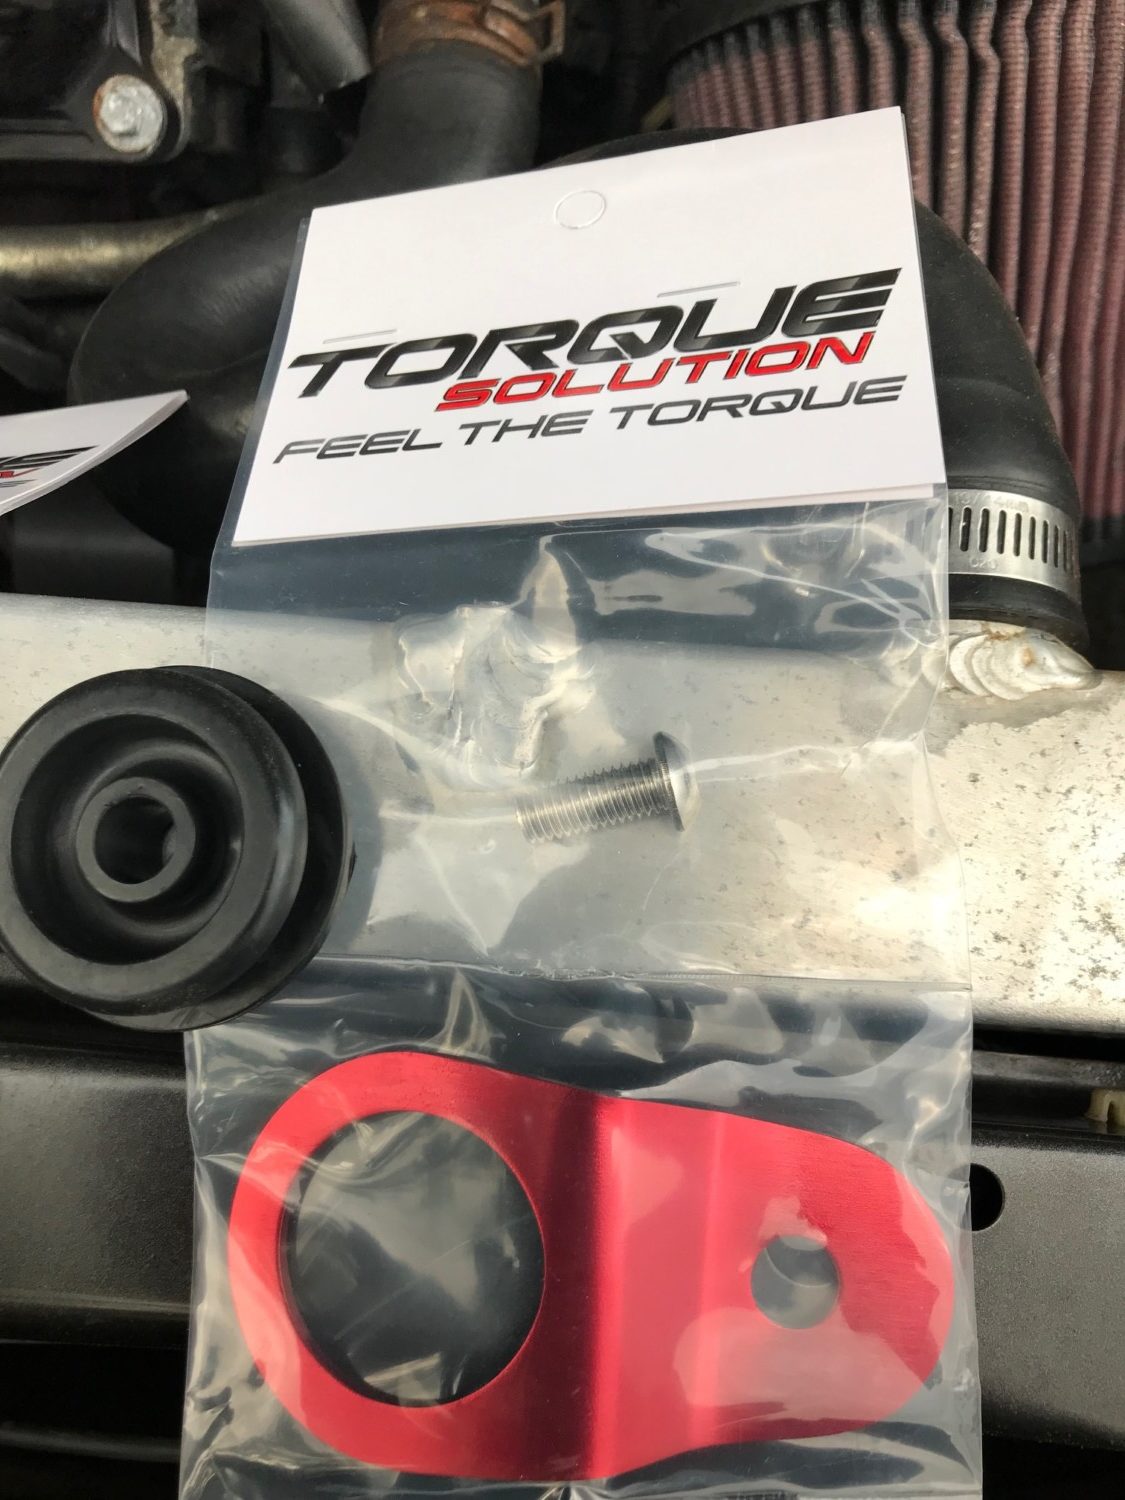
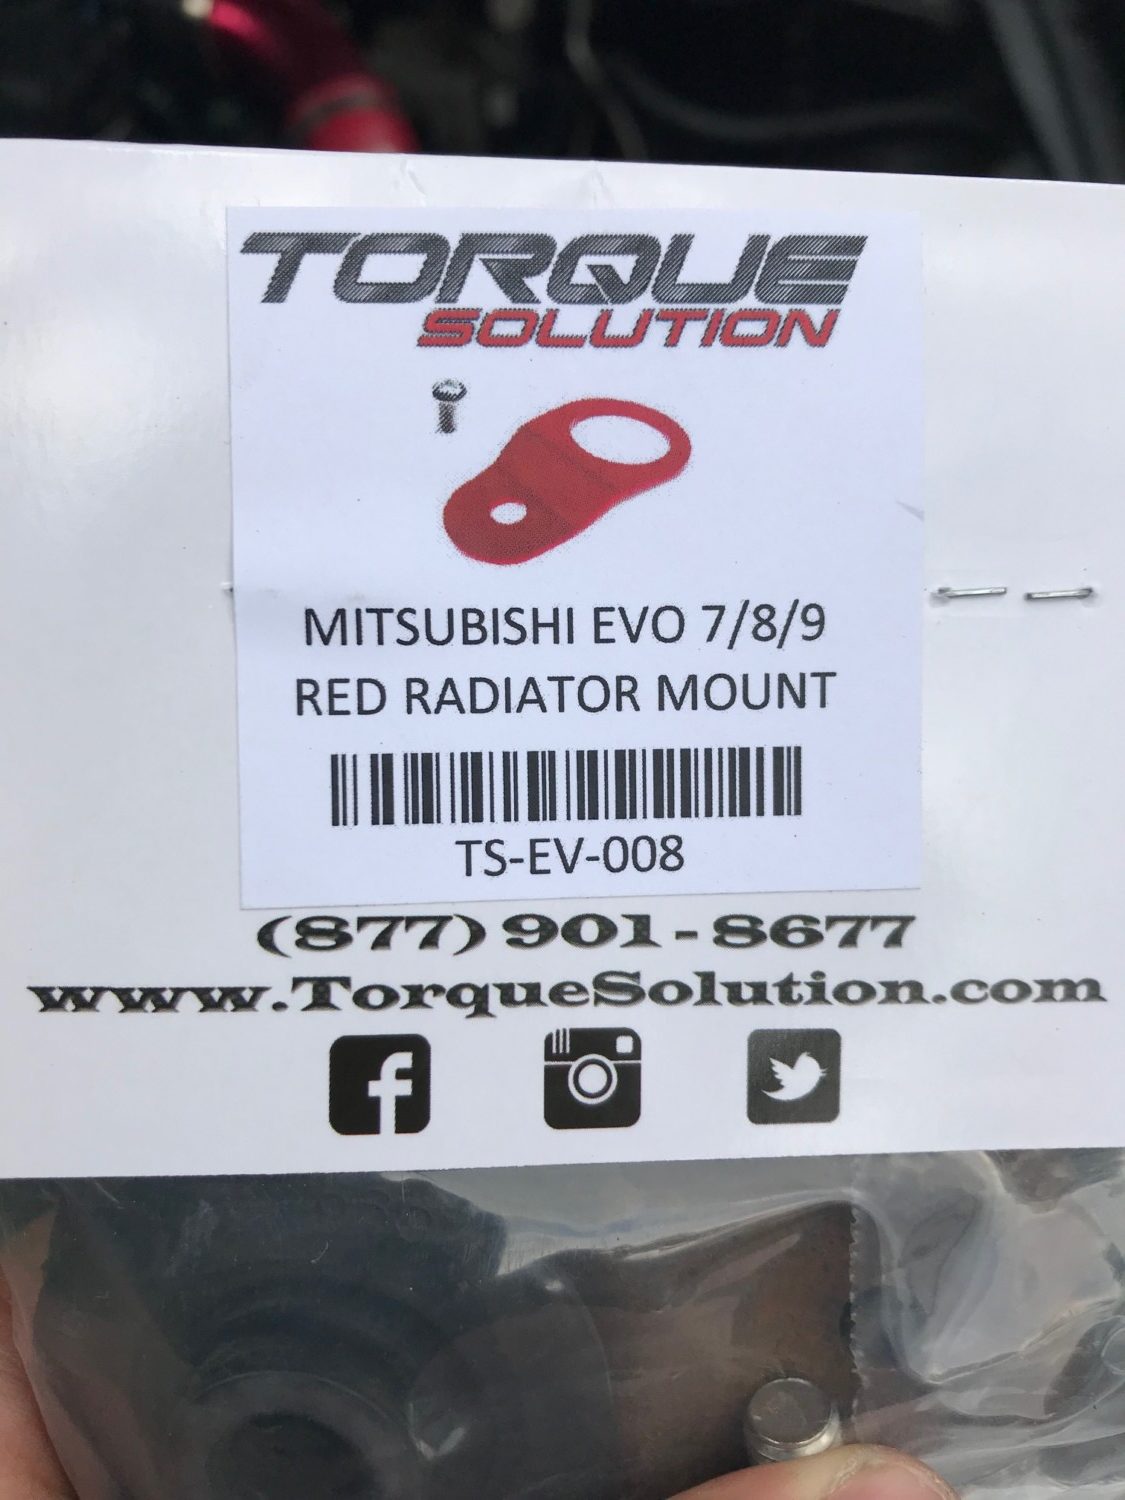
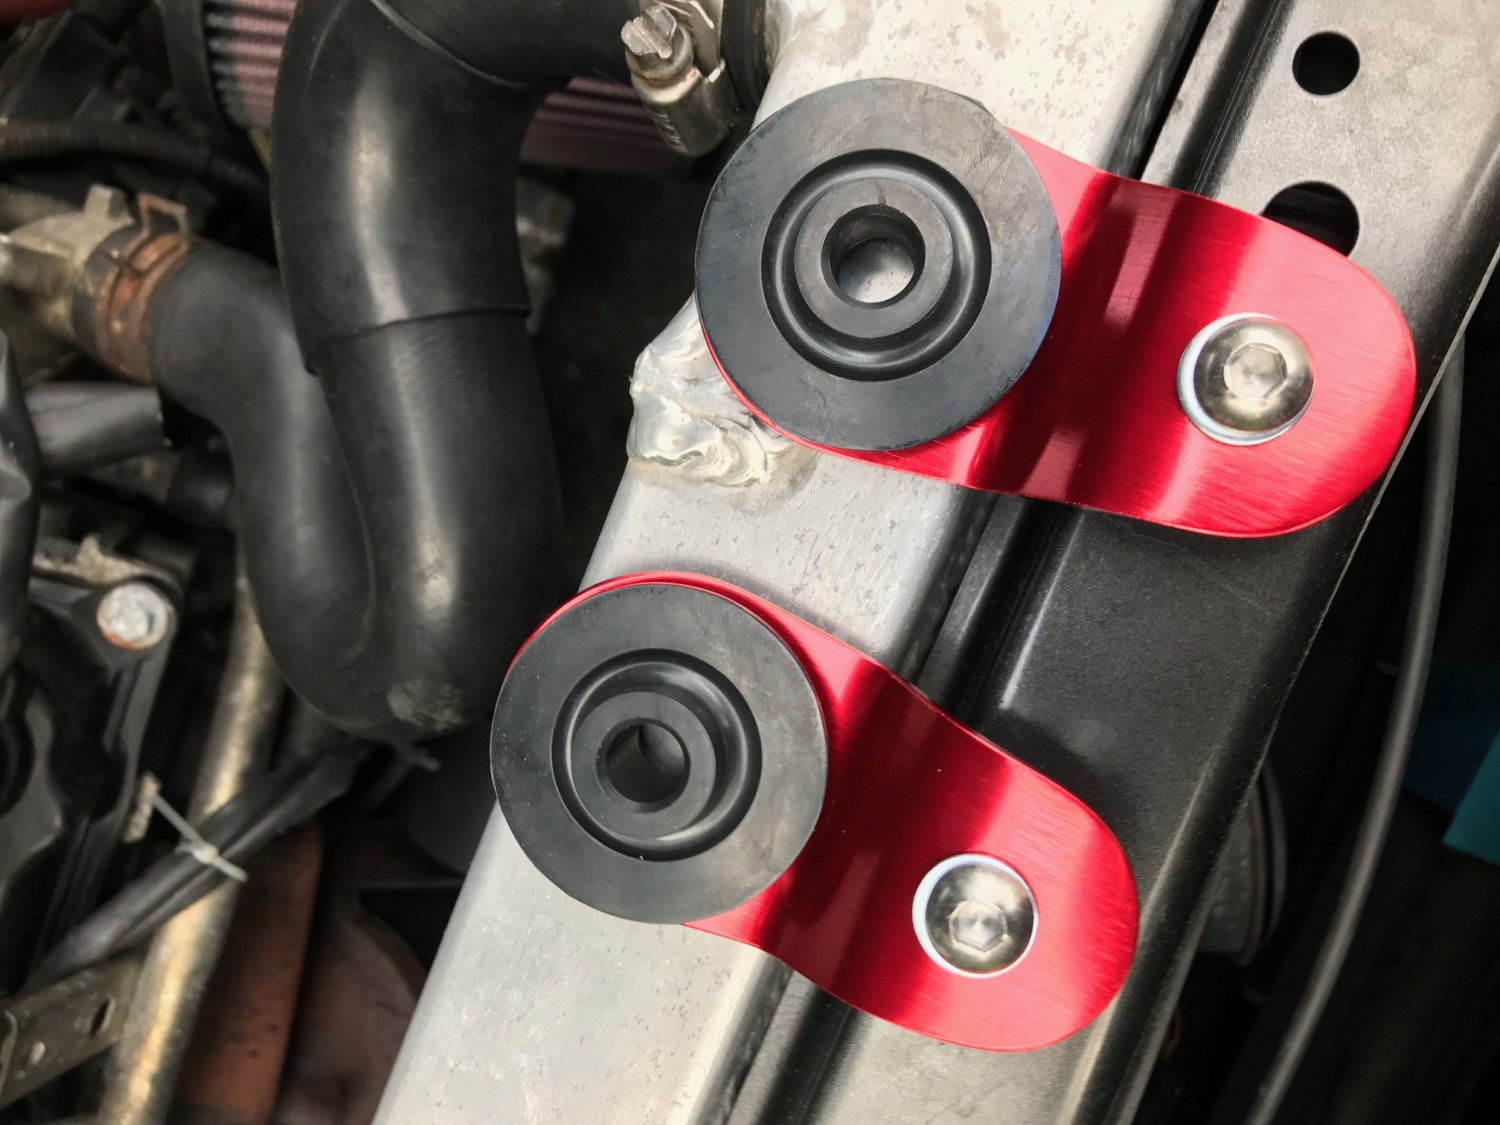
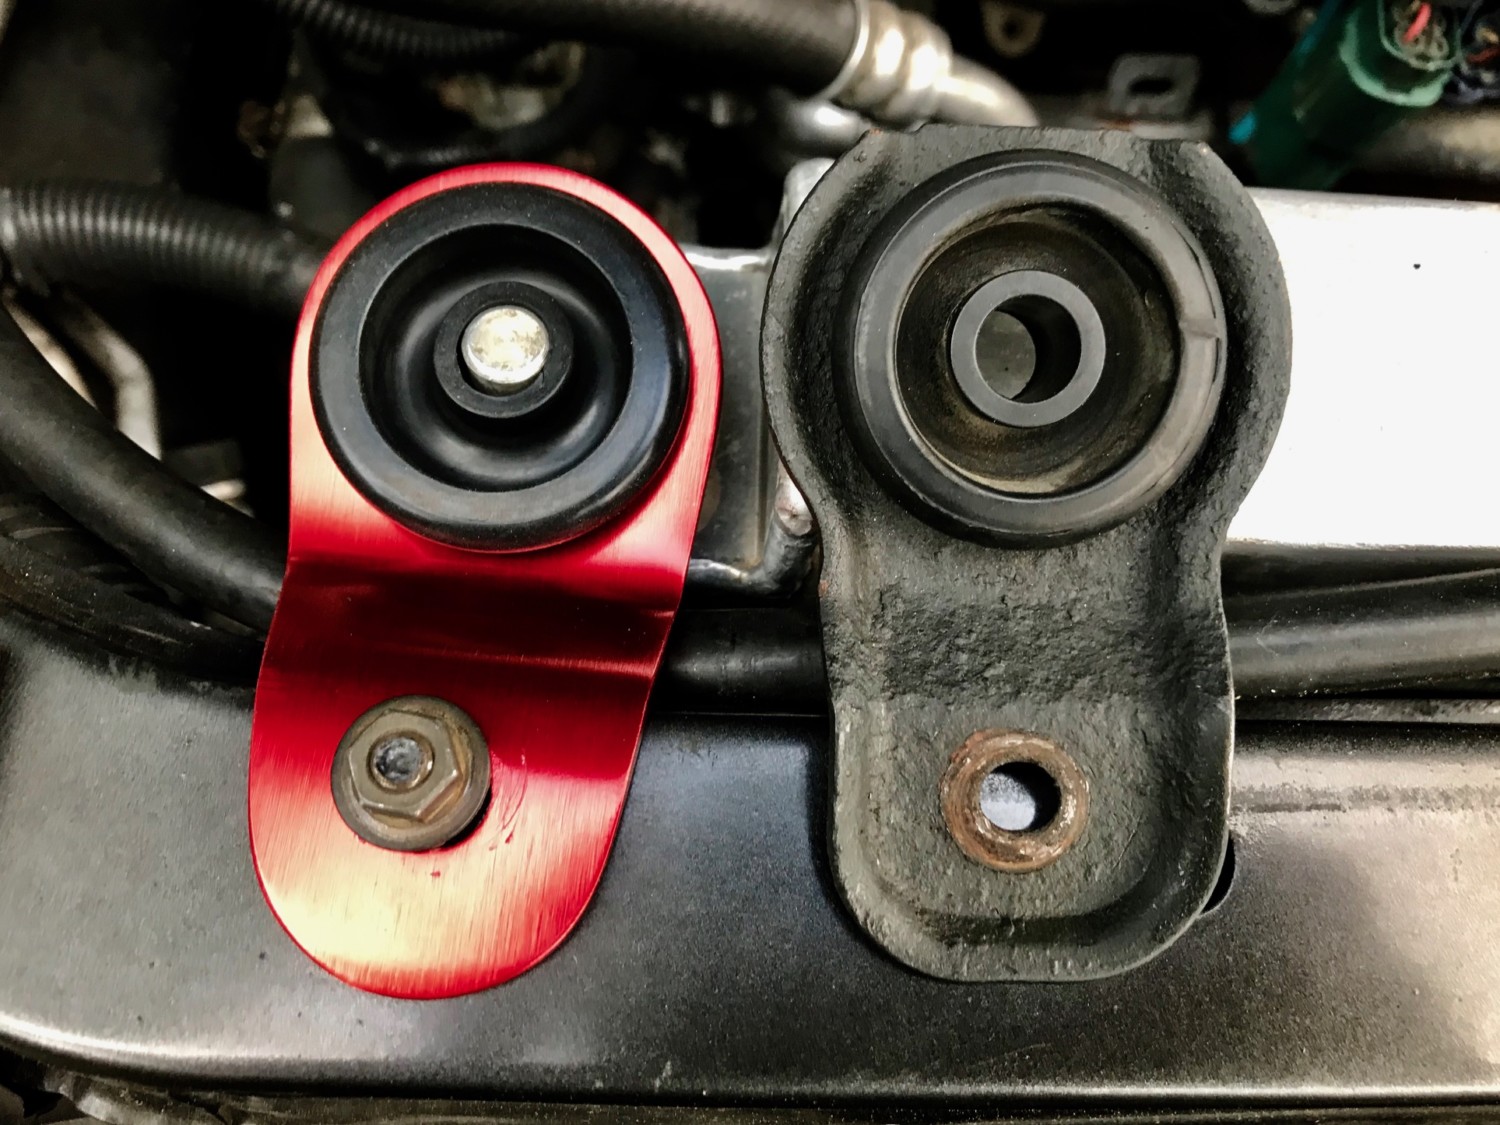
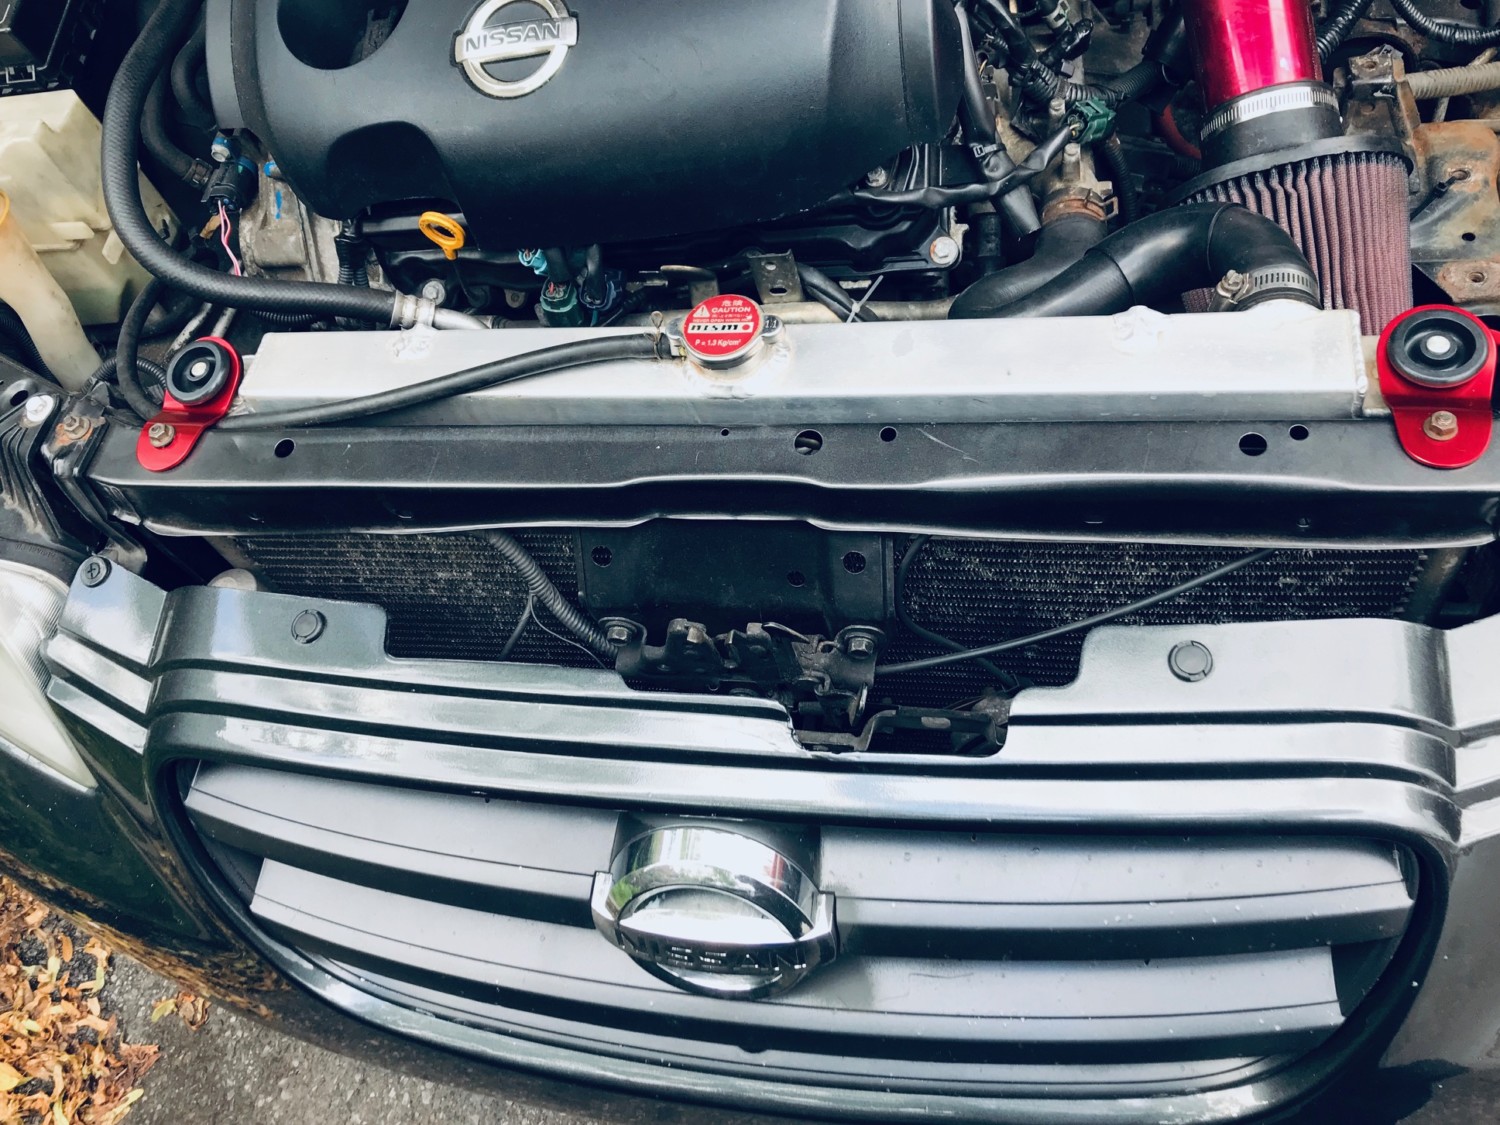
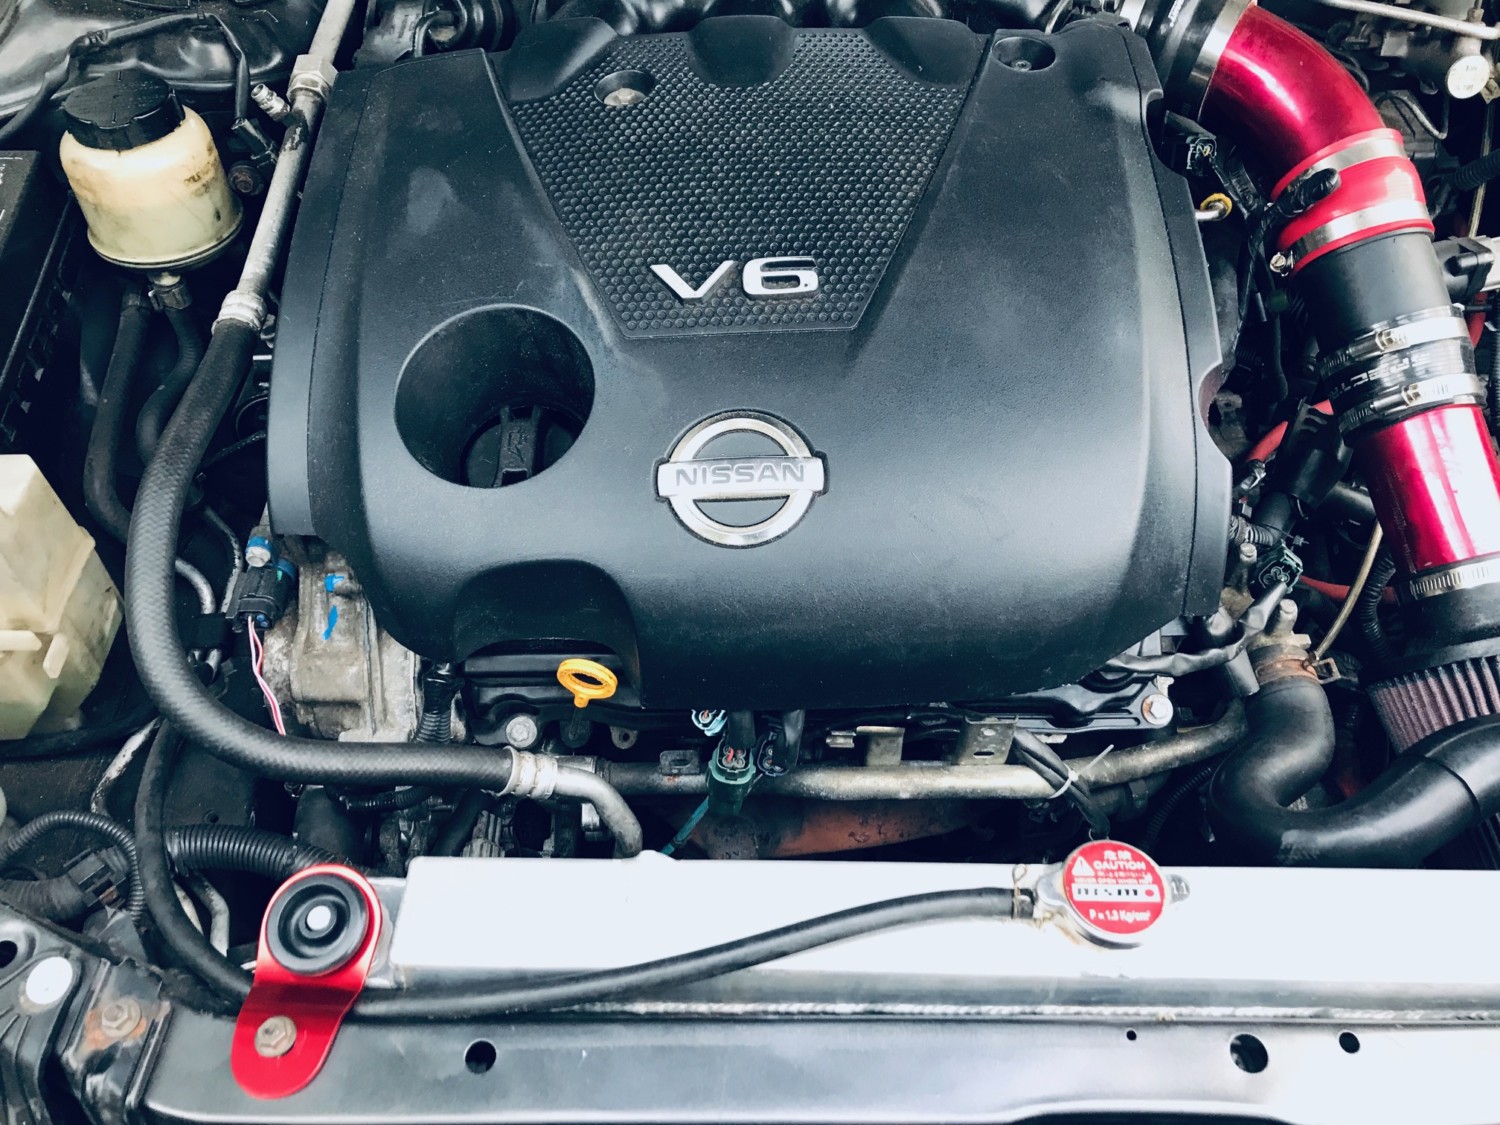
A while back I noticed a fellow member (Jose Vargas) with some EVO brackets on his 5thgen Maxima. I decided to do the same to my car. These are lightweight aluminum mounts that fit great and are great OEM replacements. They also come with OEM rubber inserts and will not rust. They have them in other colors too. I personally chose RED.
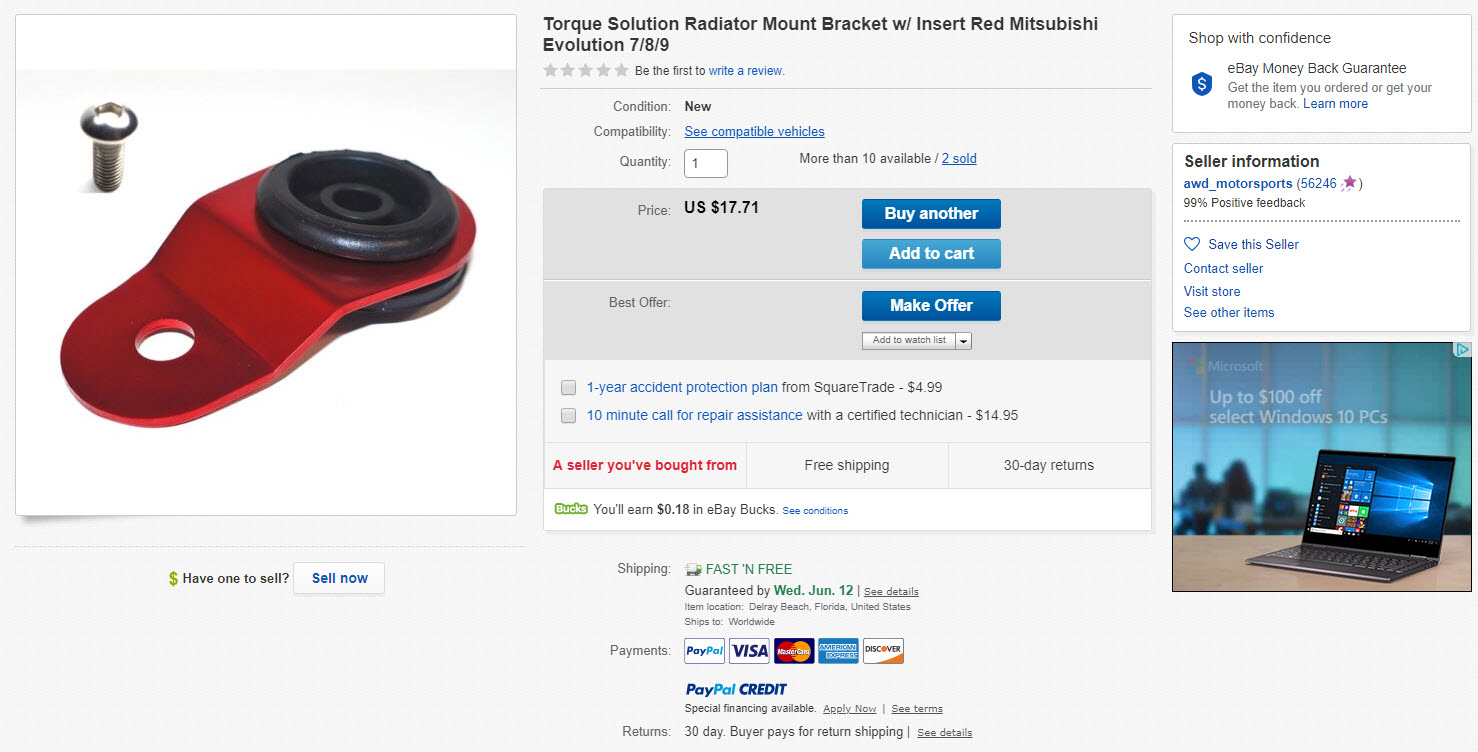
Product Name (search eBay): Torque Solution Radiator Mount Bracket w/ Insert Red Mitsubishi Evolution 7/8/9
Part #: TS-EV-008i Price: $17.71 (you need two of them so it will be $35.42)











 IACV:




 This is the test pipe on eBay. The pricing will vary from time to time. We’ve seen them anywhere between $40 and $60 bucks.