Credit: Samuel Stevens




Credit: Finkle
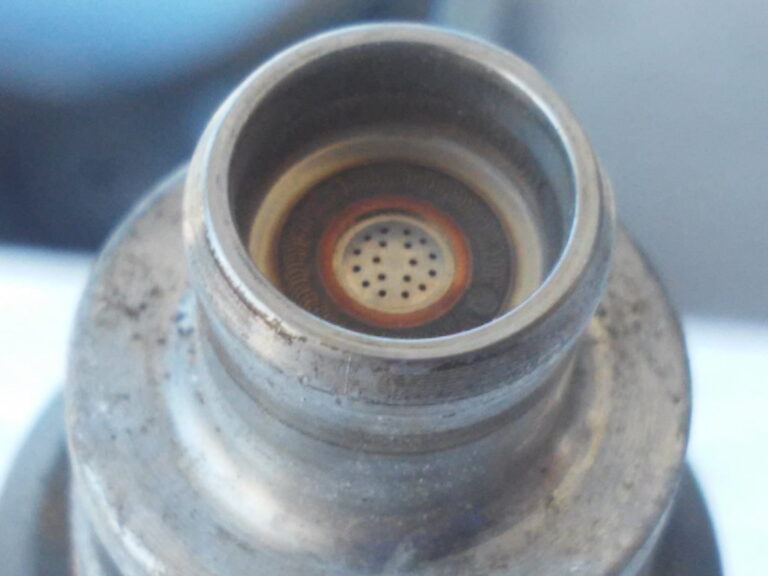
I noticed the 5th gen injectors are 4 hole, and the 5.5 gen are 18 hole. The flow rates are slightly different 306cm/min – 5th gen 294cm/min – 5.5 gen. Besides that, they looked identical.
The article talks about how more holes help atomization. So my thought was, why not try some 18 hole injectors in my 5th gen LIM and see if it helps.
Here is a pic of the 5.5 gen injectors (missing the pintle cap. Many of the caps were stuck in the LIM. I had to pry them out and pop them back on.

First a little back story on my 00VI swap:
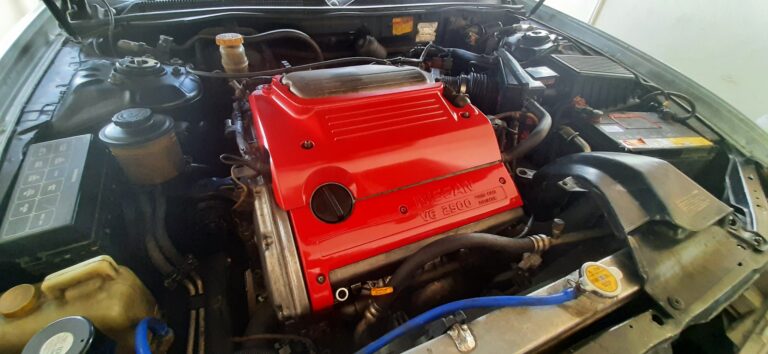
August of last year I completed the 00VI swap with the 4th gen LIM and IACV. 5th gen TB, UIM (obviously), and EGR delete.
June of this year I swapped the the 4th gen LIM with the 5th gen LIM. (I had no way to tune at the time of my initial 00VI. I added a Emanage Blue in the spring) I felt a little bit of improvement over the 4th gen LIM. Not a big boost, but every little bit helps. Tuning is not my strong spot, so I’m running on a basic street tune. I’ll work on getting the map fine tuned when I get around to it. WOT runs 10-12 AFR.
I took a quick trip to the junkyard and picked up 6 5.5 gen injectors. They fit right in, no issues at all with the install, even the plugs are the same. It was more of a pain to take the UIM off for the third time in a year. I cleaned them first, just as I did with the 5th gen 4 hole injectors.
I didn’t touch the tune, I figured the difference was small enough I could take on the task of tuning later.
My first impression is WOW. These new injectors are great!!! I can’t believe I haven’t heard about this on the .org
Mid throttle low RPM made the most improvement. Not a lot of gain at high RPM, but no losses. The best gains are below 3500 rpm at mid throttle. Idle seems a little smoother to boot. This is a great mod, especially if you are doing an 00VI with the 5th gen LIM. I can’t get over how much more power I have below 3000rpms. Without touching the tune from the 5th gen injectors, I’m running 12-12.7 at WOT. SO that problem seemed to take care of itself.
It’s too early to tell, but I’m hoping my gas mileage might go up slightly also. You know the spot your used to resting your foot to keep a certain speed (25mph, 55mph, etc.) I had to re-learn my position, I found myself slowly accelerating with my current foot position.
Community Member Credit: Unklejoe
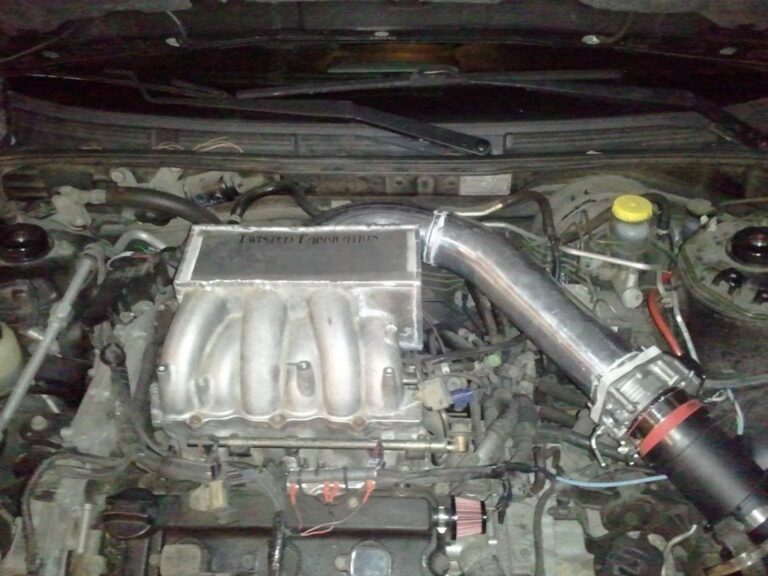
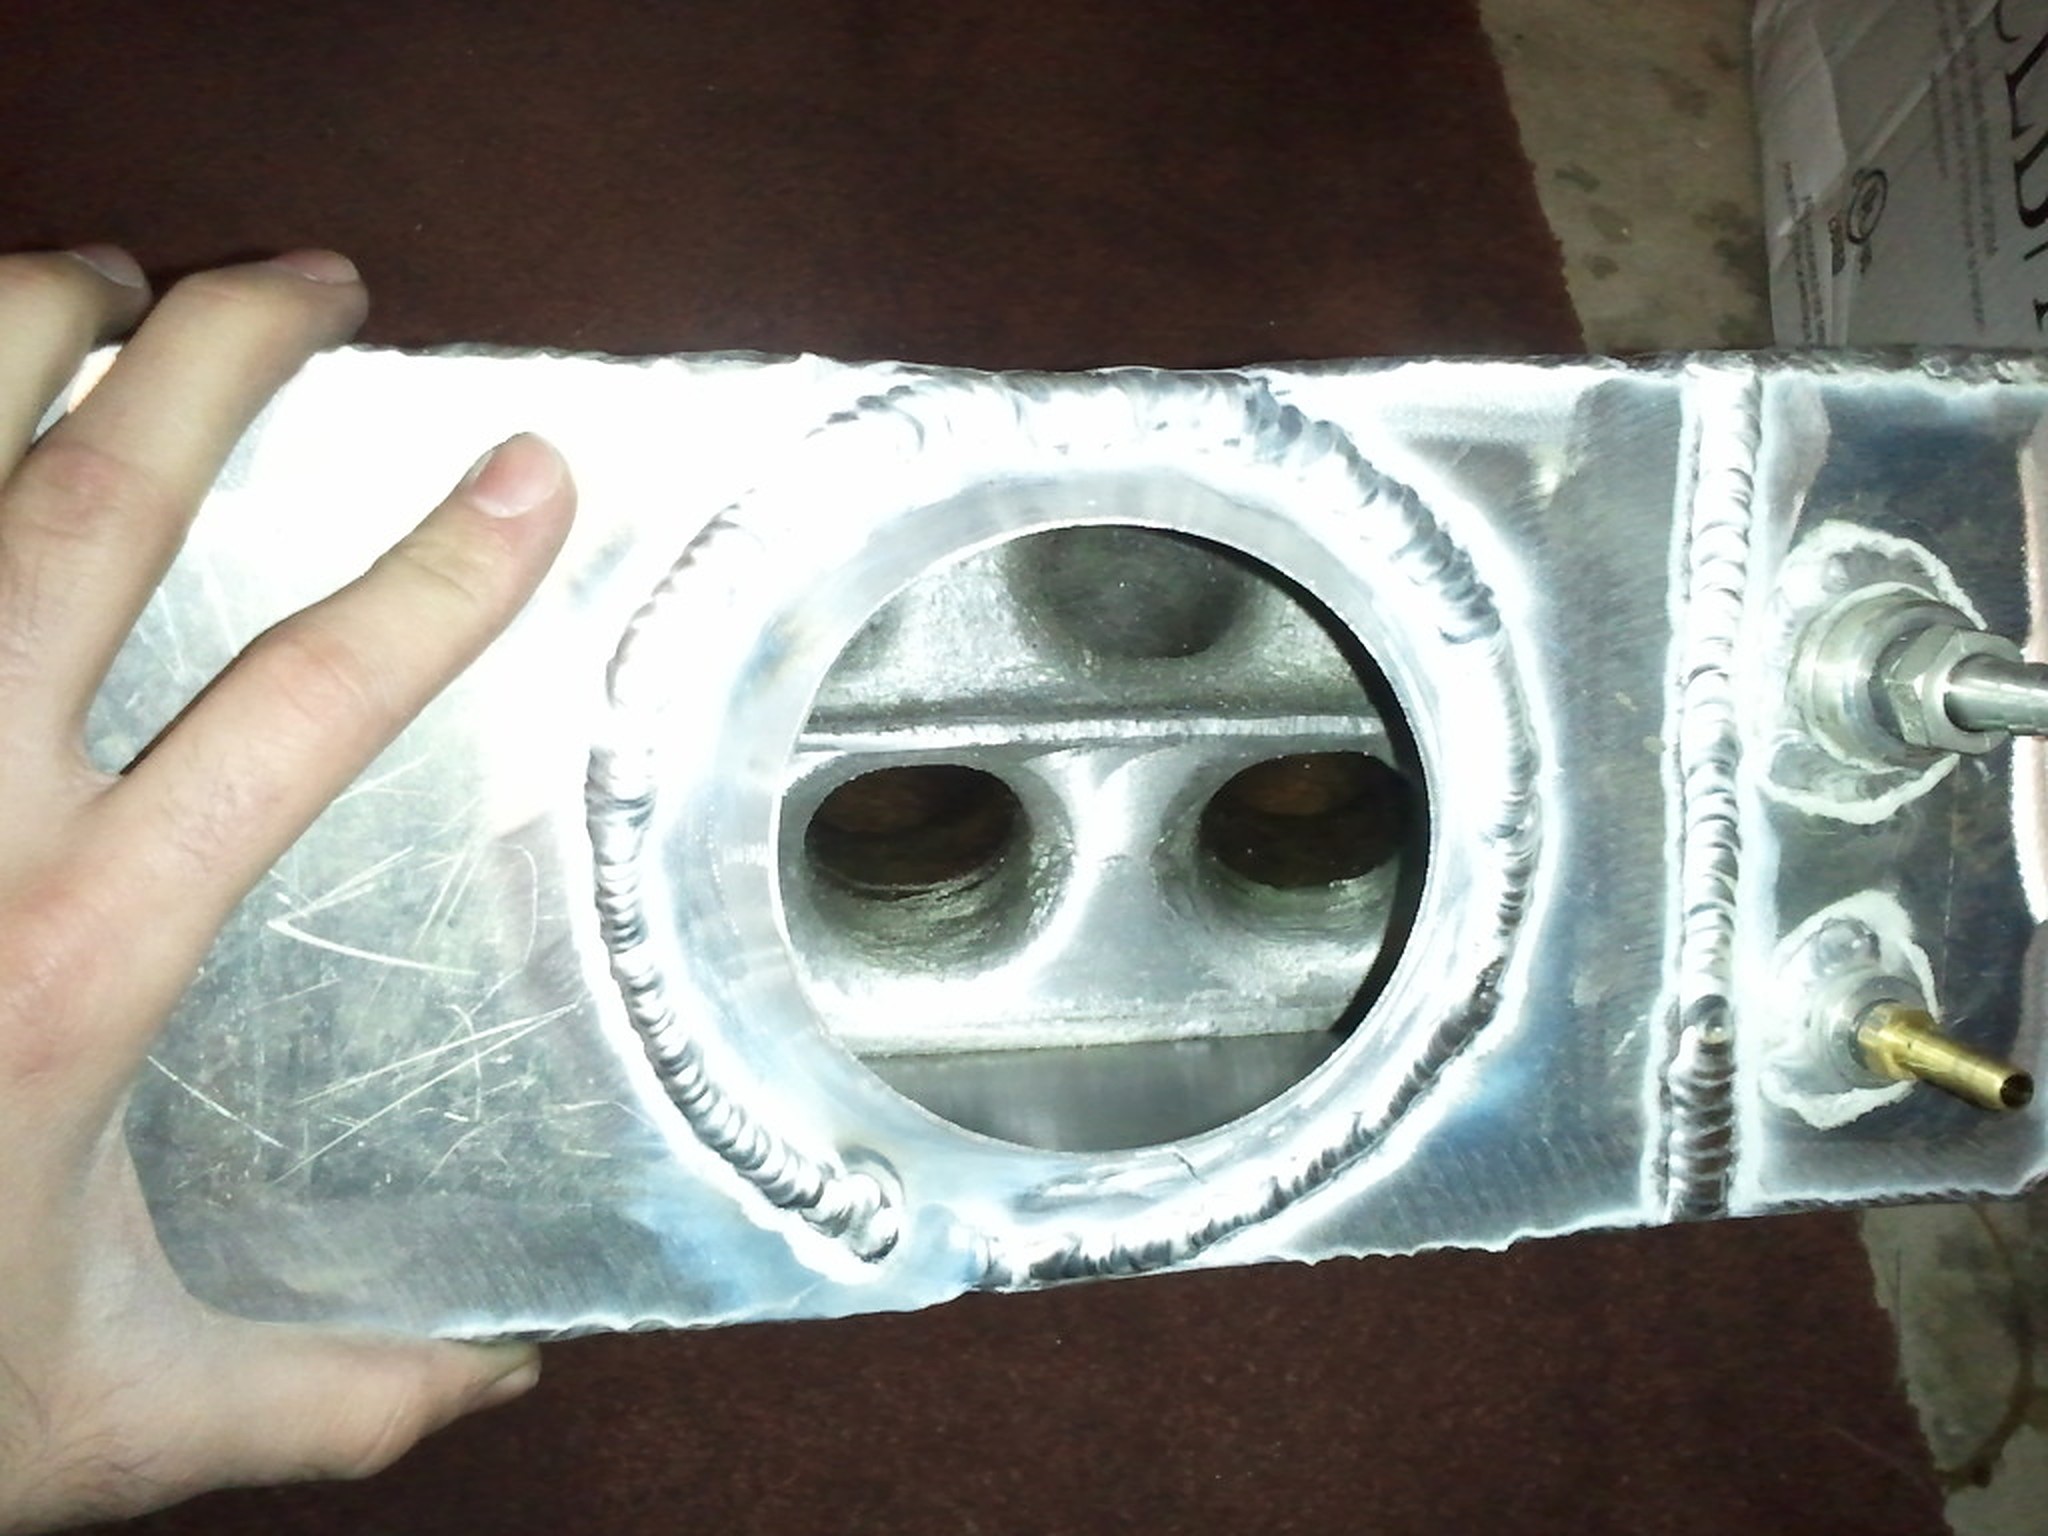
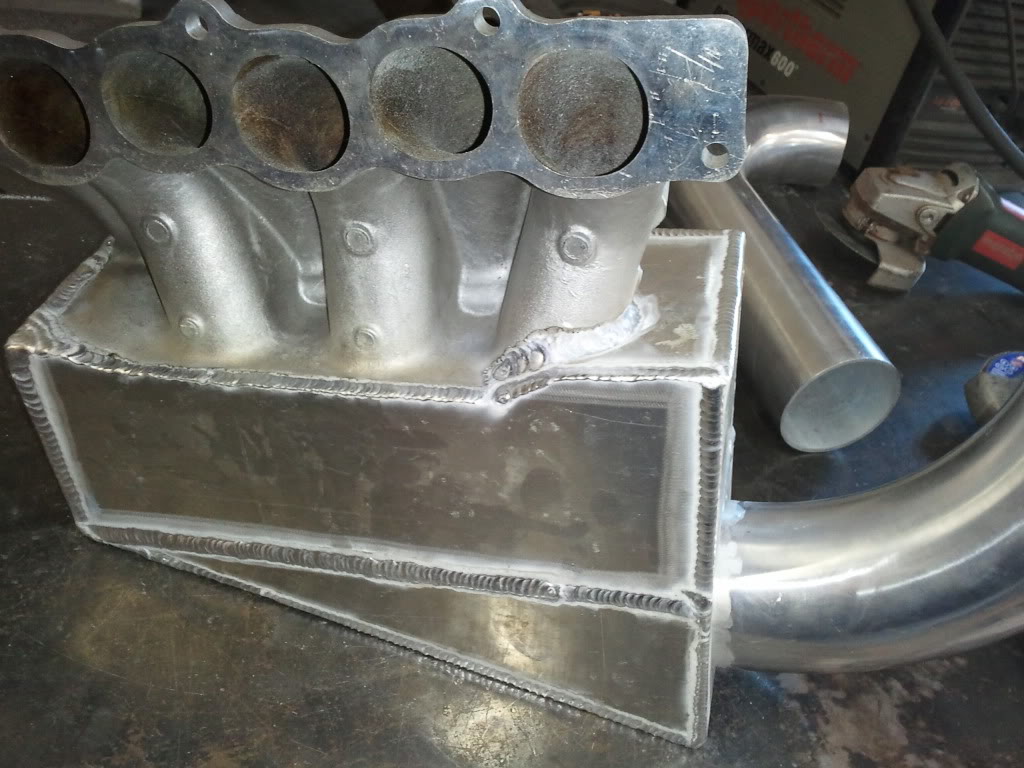
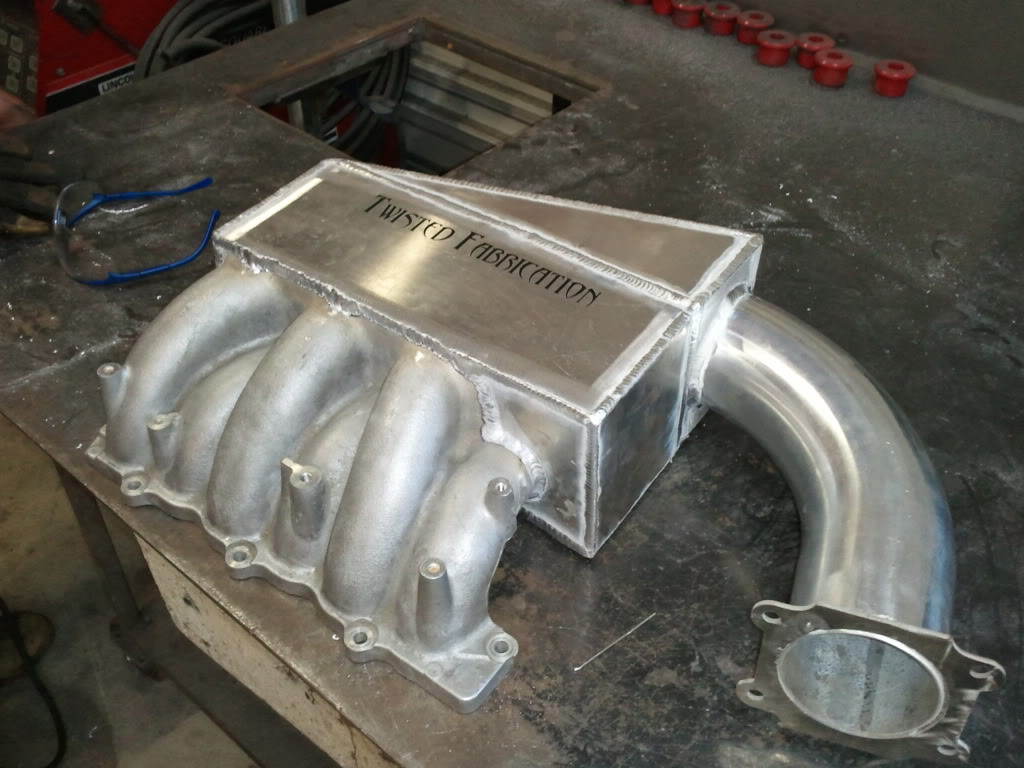
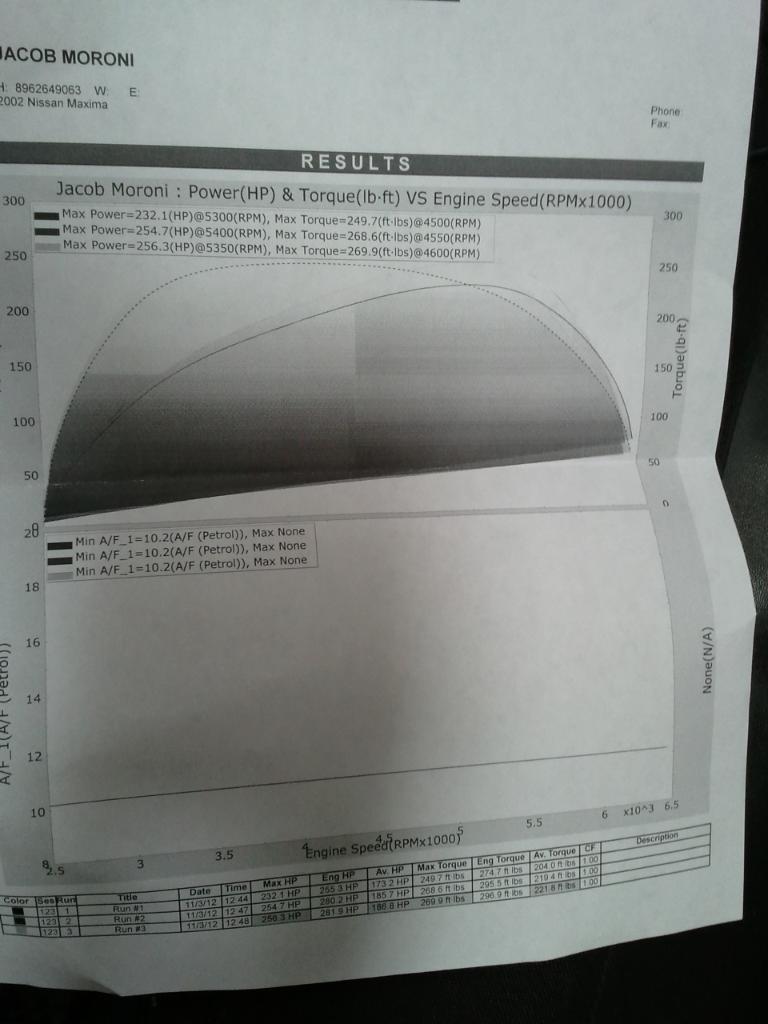
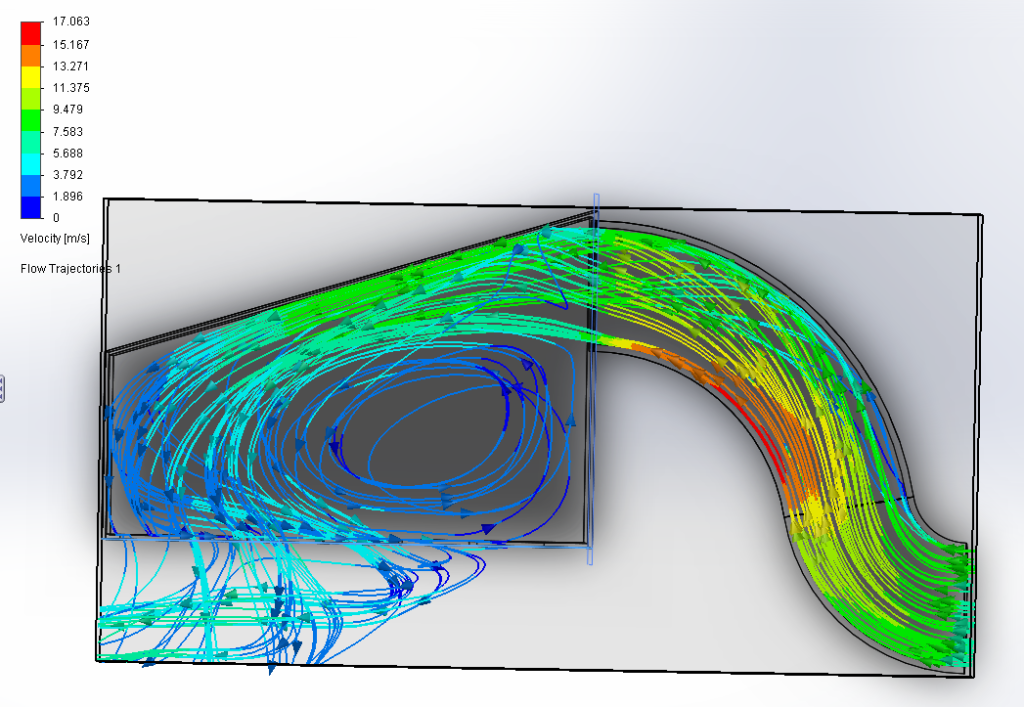
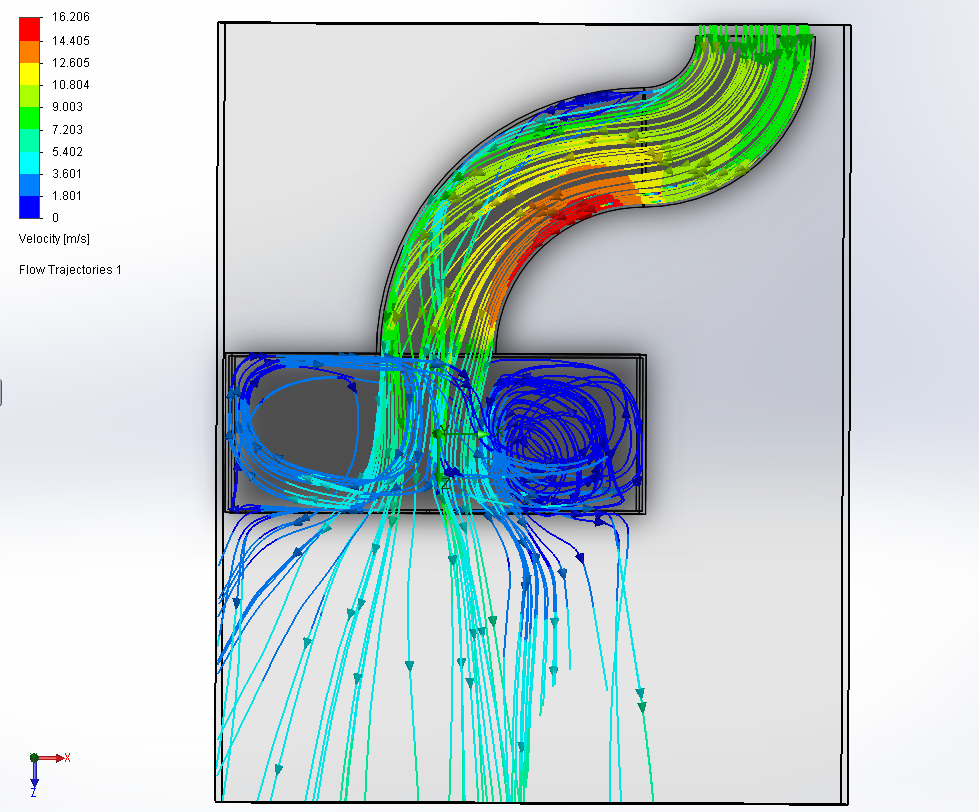
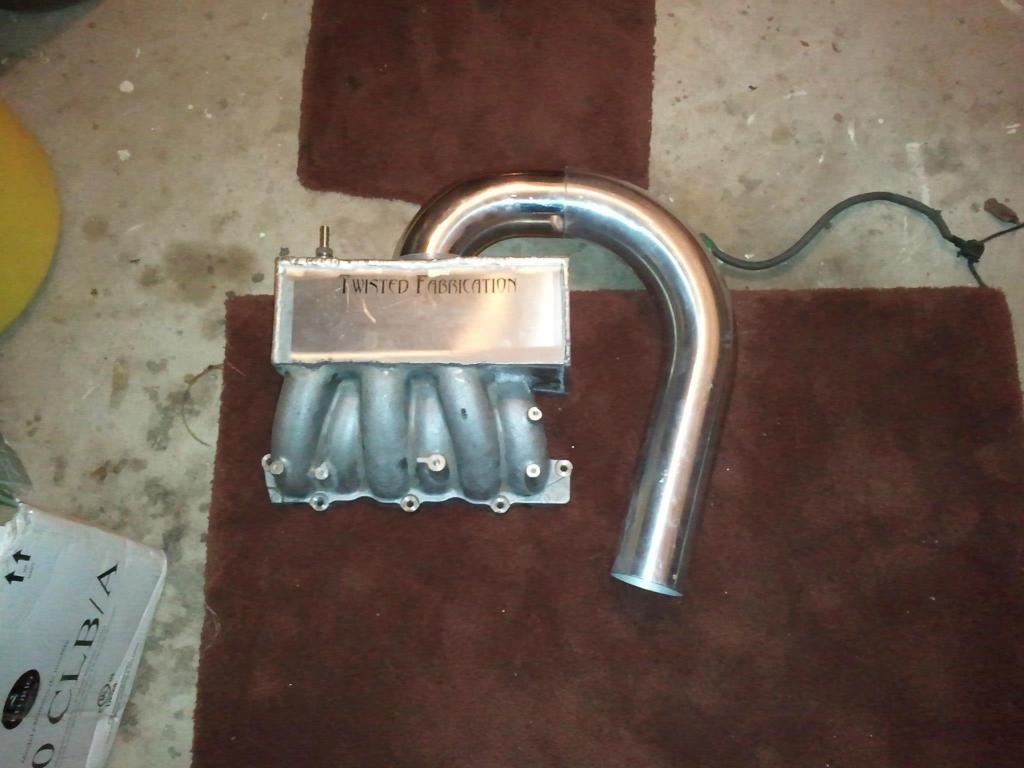
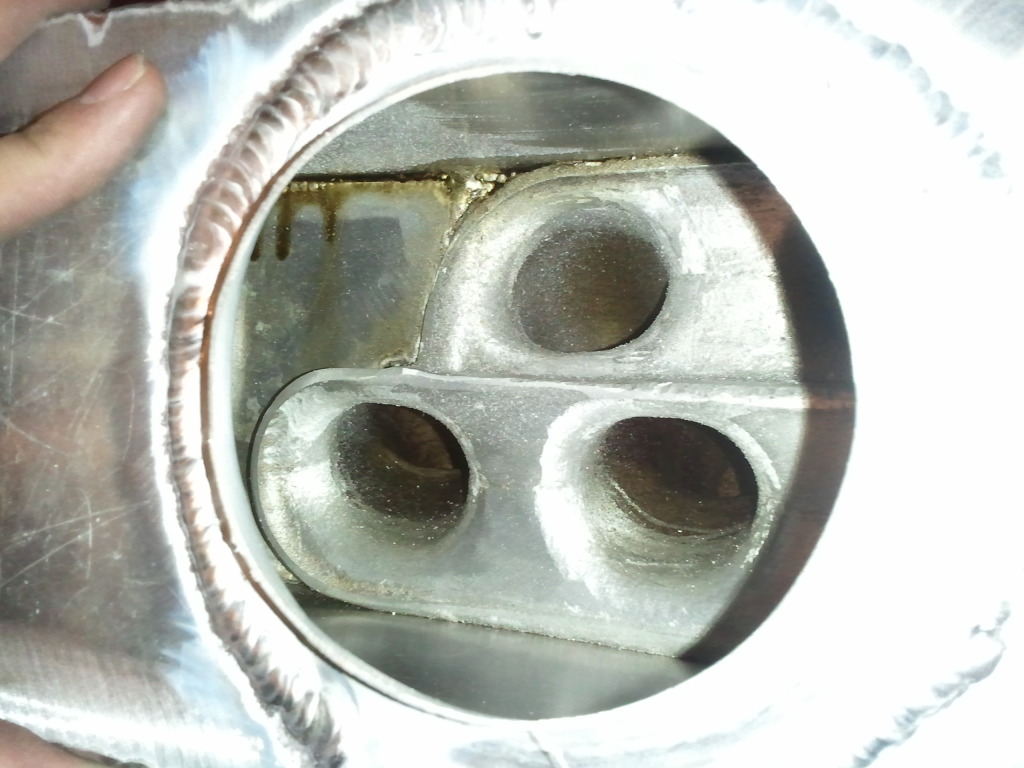
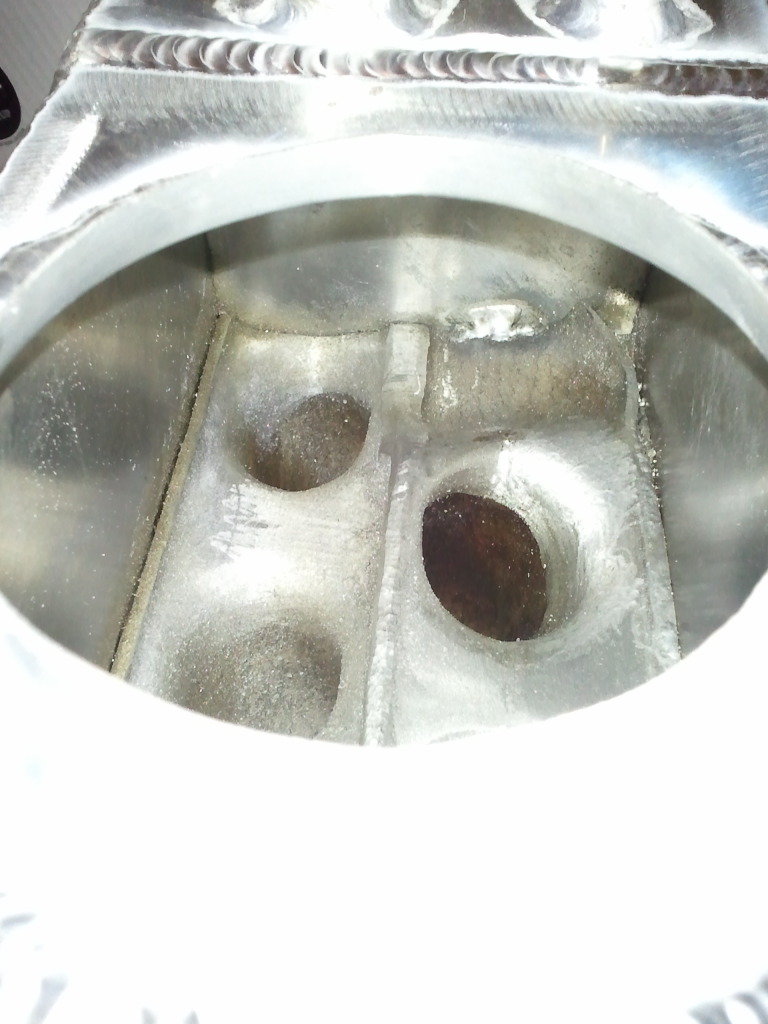
This is “version 2″ of my manifold. The previous design had the inlet coming in from the side and my car made 260whp with that setup. I re-designed it to have the inlet come in from the rear for better flow. I haven’t dyno’d the car on the second version of the manifold but the MAF voltage is slightly higher in the upper RPM’s indicating better flow.
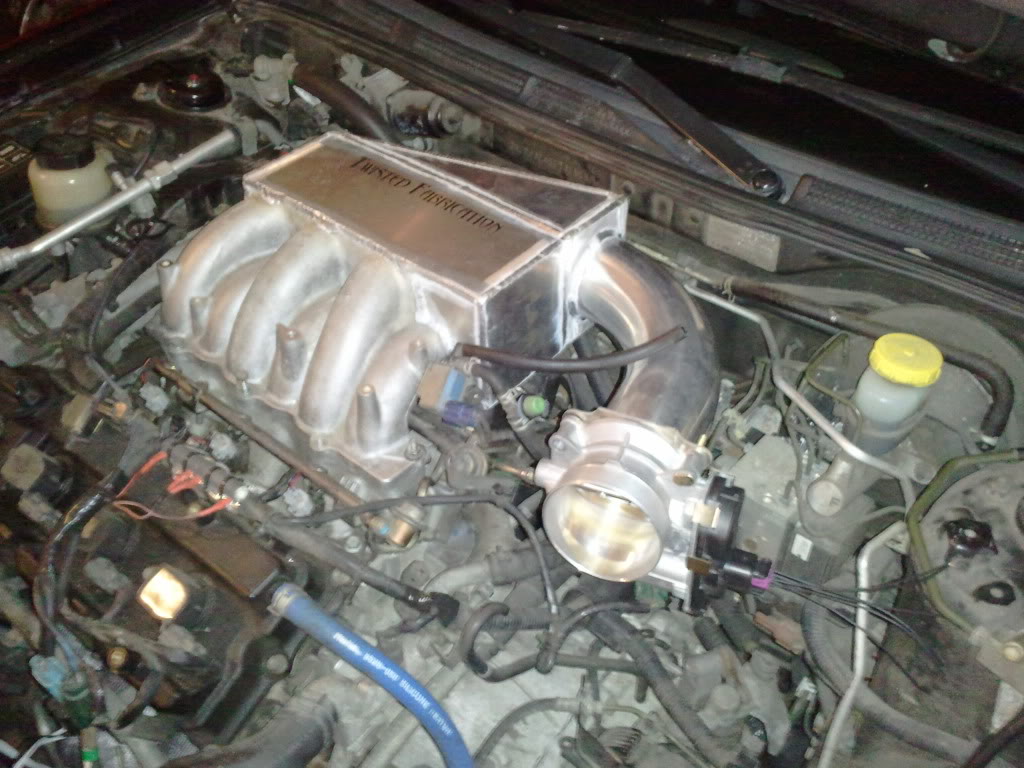
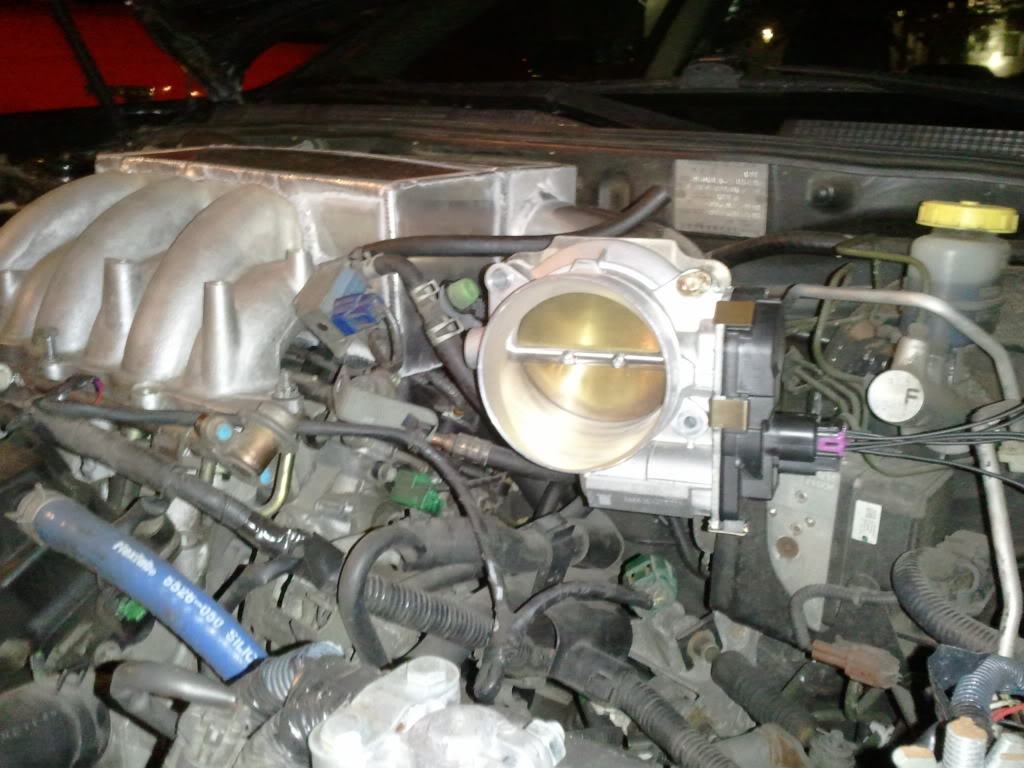
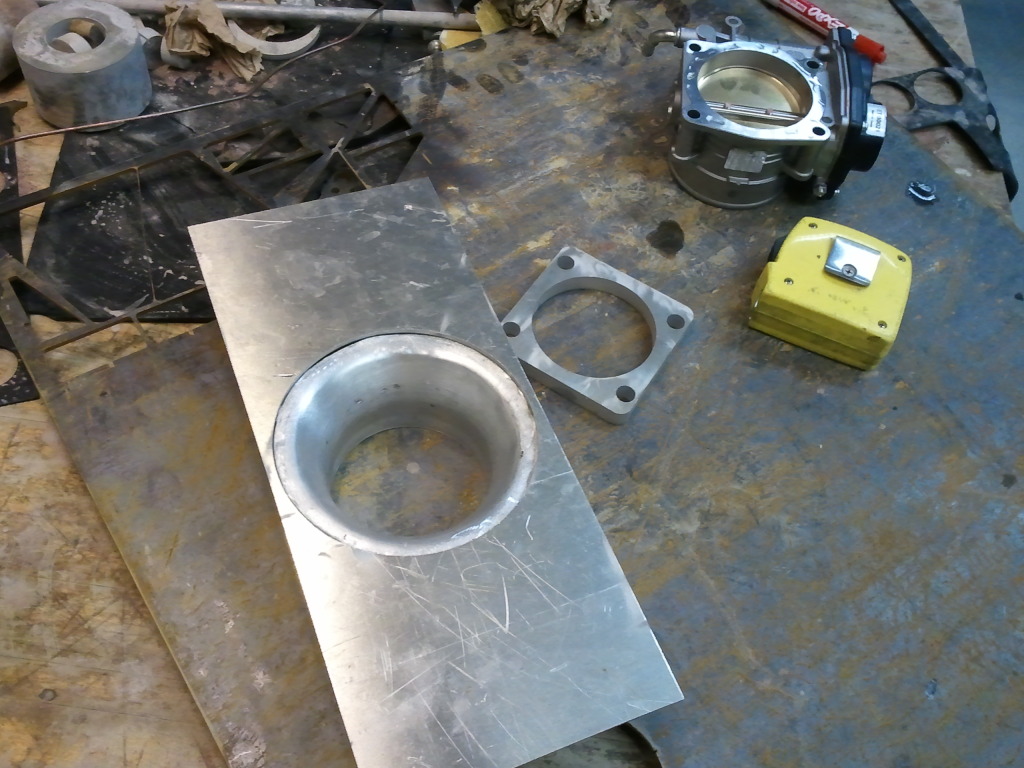
The manifold is made from 1/8″ aluminum, all tig welded by a friend. The piping is 3.5” all the way. The throttle body flange is for a 2009 throttle body. This throttle body will work on the 02-08 as well, you’ll just need the harness. The 09 throttle body is better because it is 75mm as opposed to 70.
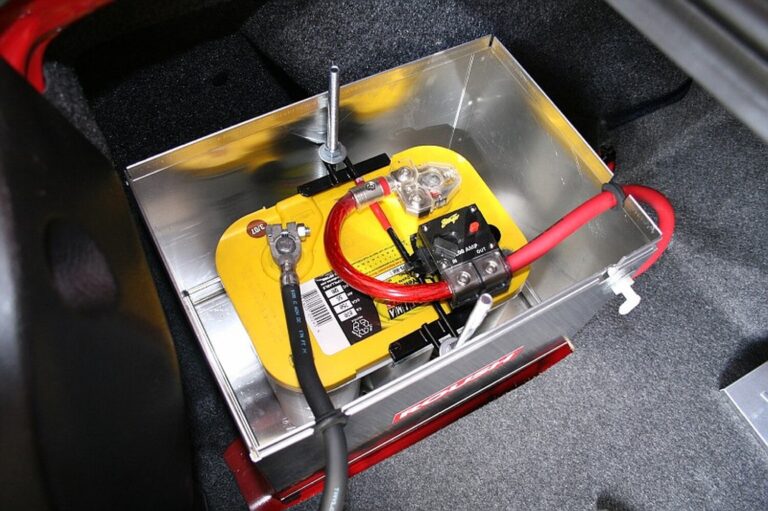
This fits on my 2002 perfectly and clears everything. I had to re-route some vacuum lines (obviously) because of where I made the vacuum ports. As far as throttle body placement, it works in my car, but PLEASE COMPARE PICTURES TO MAKE SURE IT WILL CLEAR EVERYTHING IN YOUR CAR. I had to move my battery to the trunk for the filter to fit. You could probably get away with a silicone bend right before the battery though.
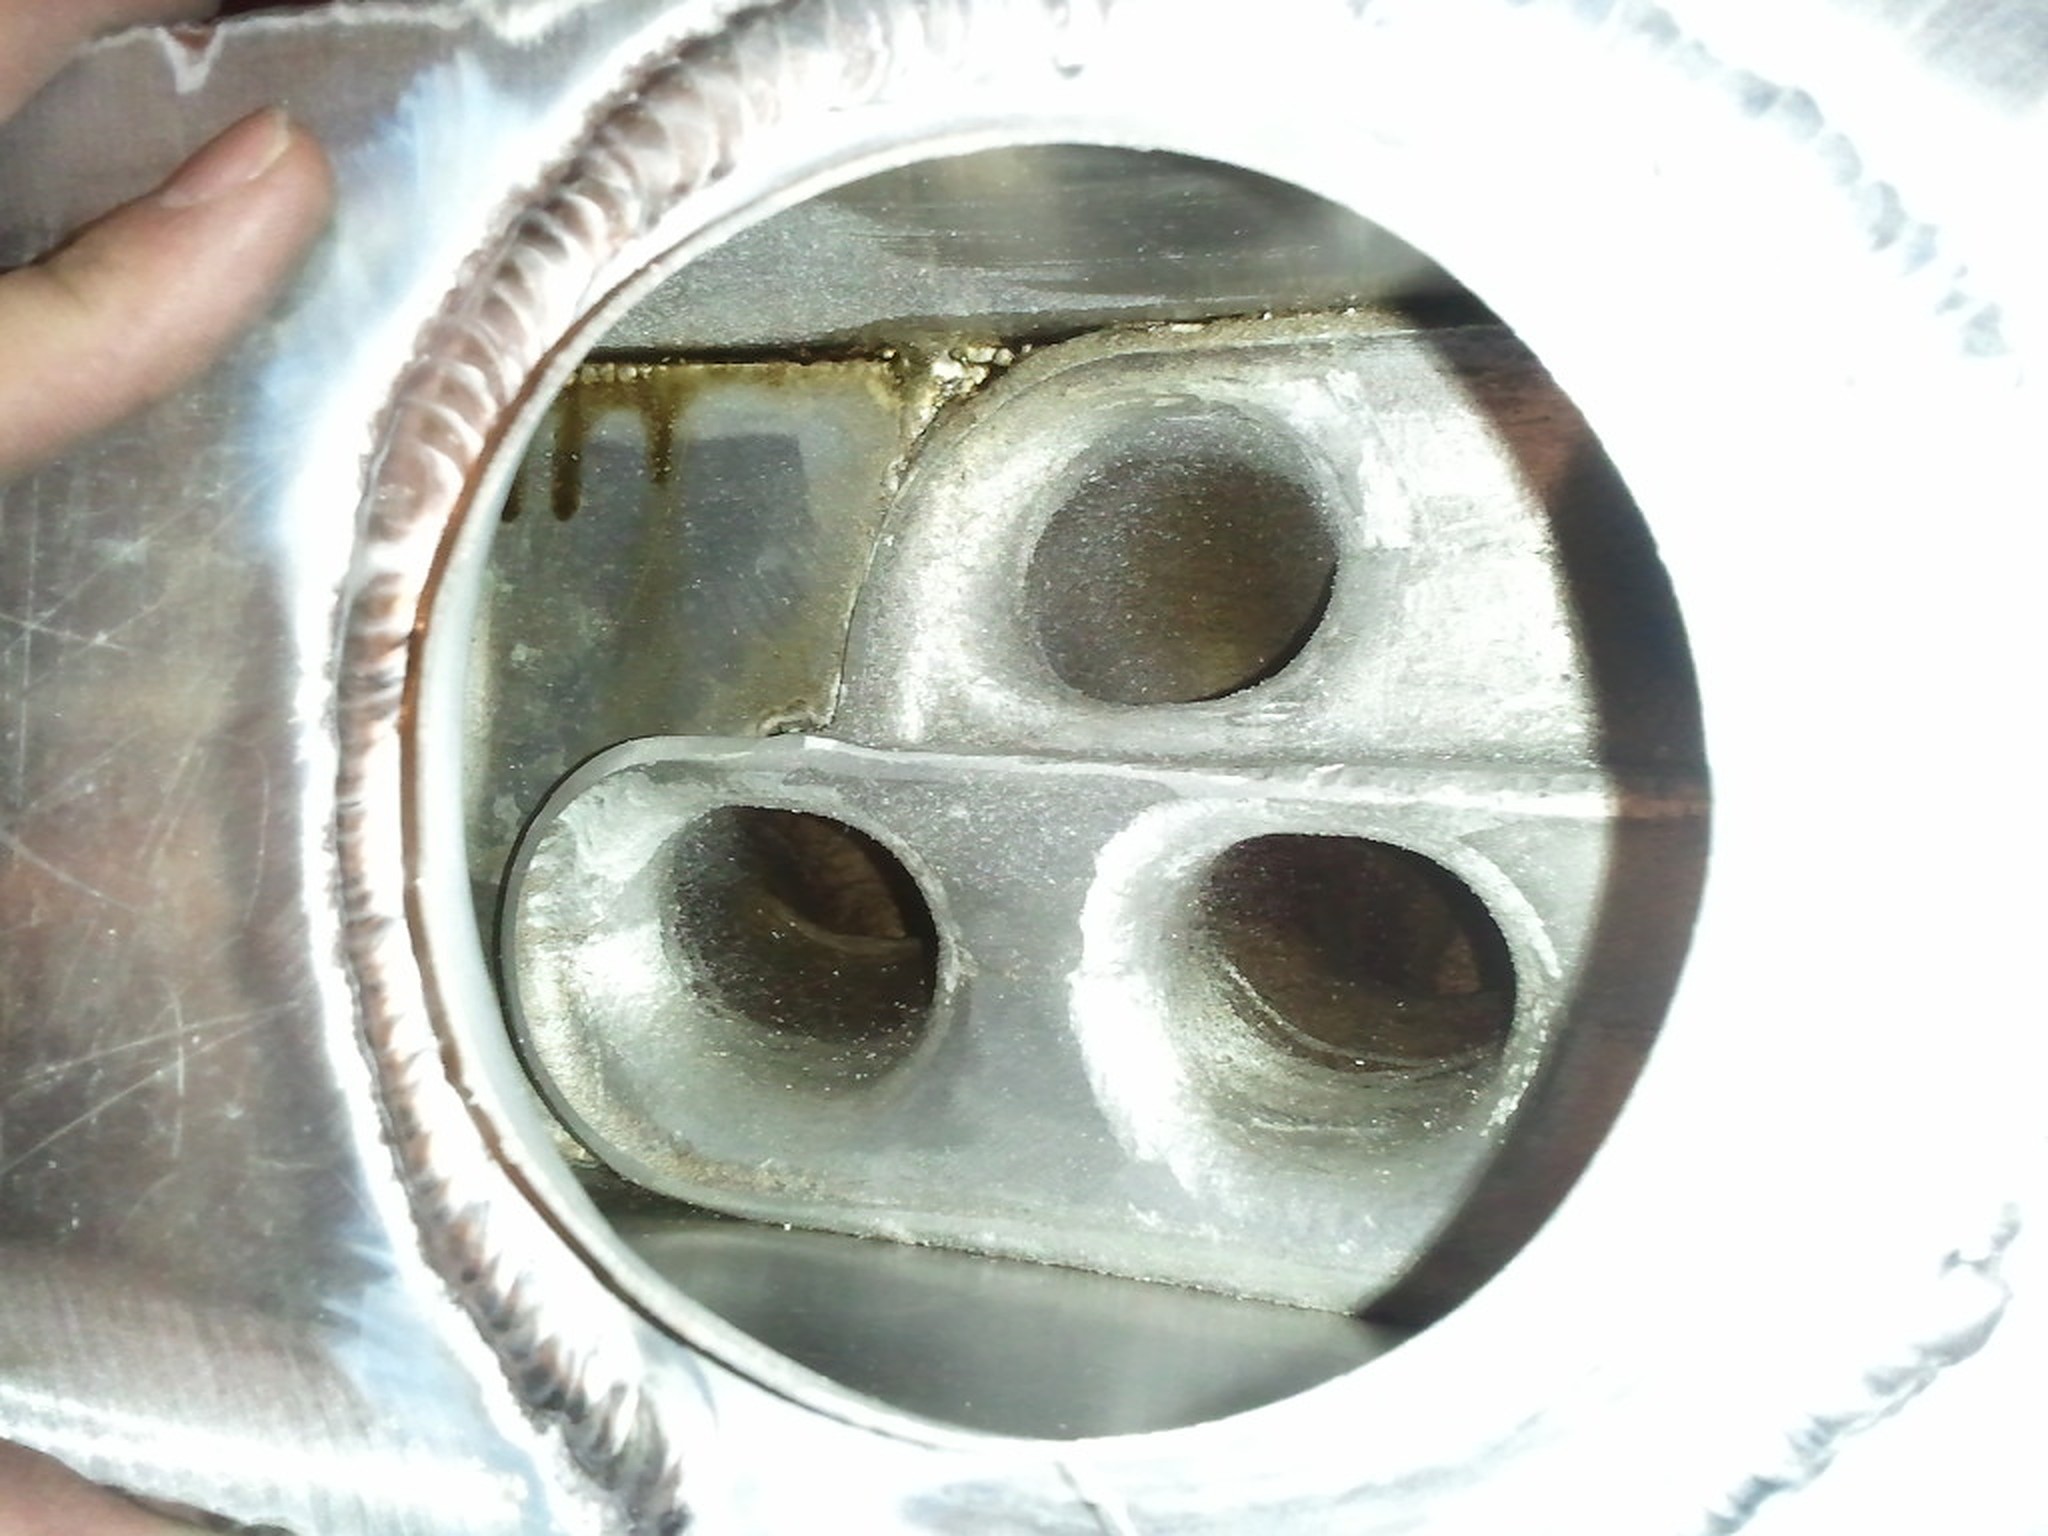

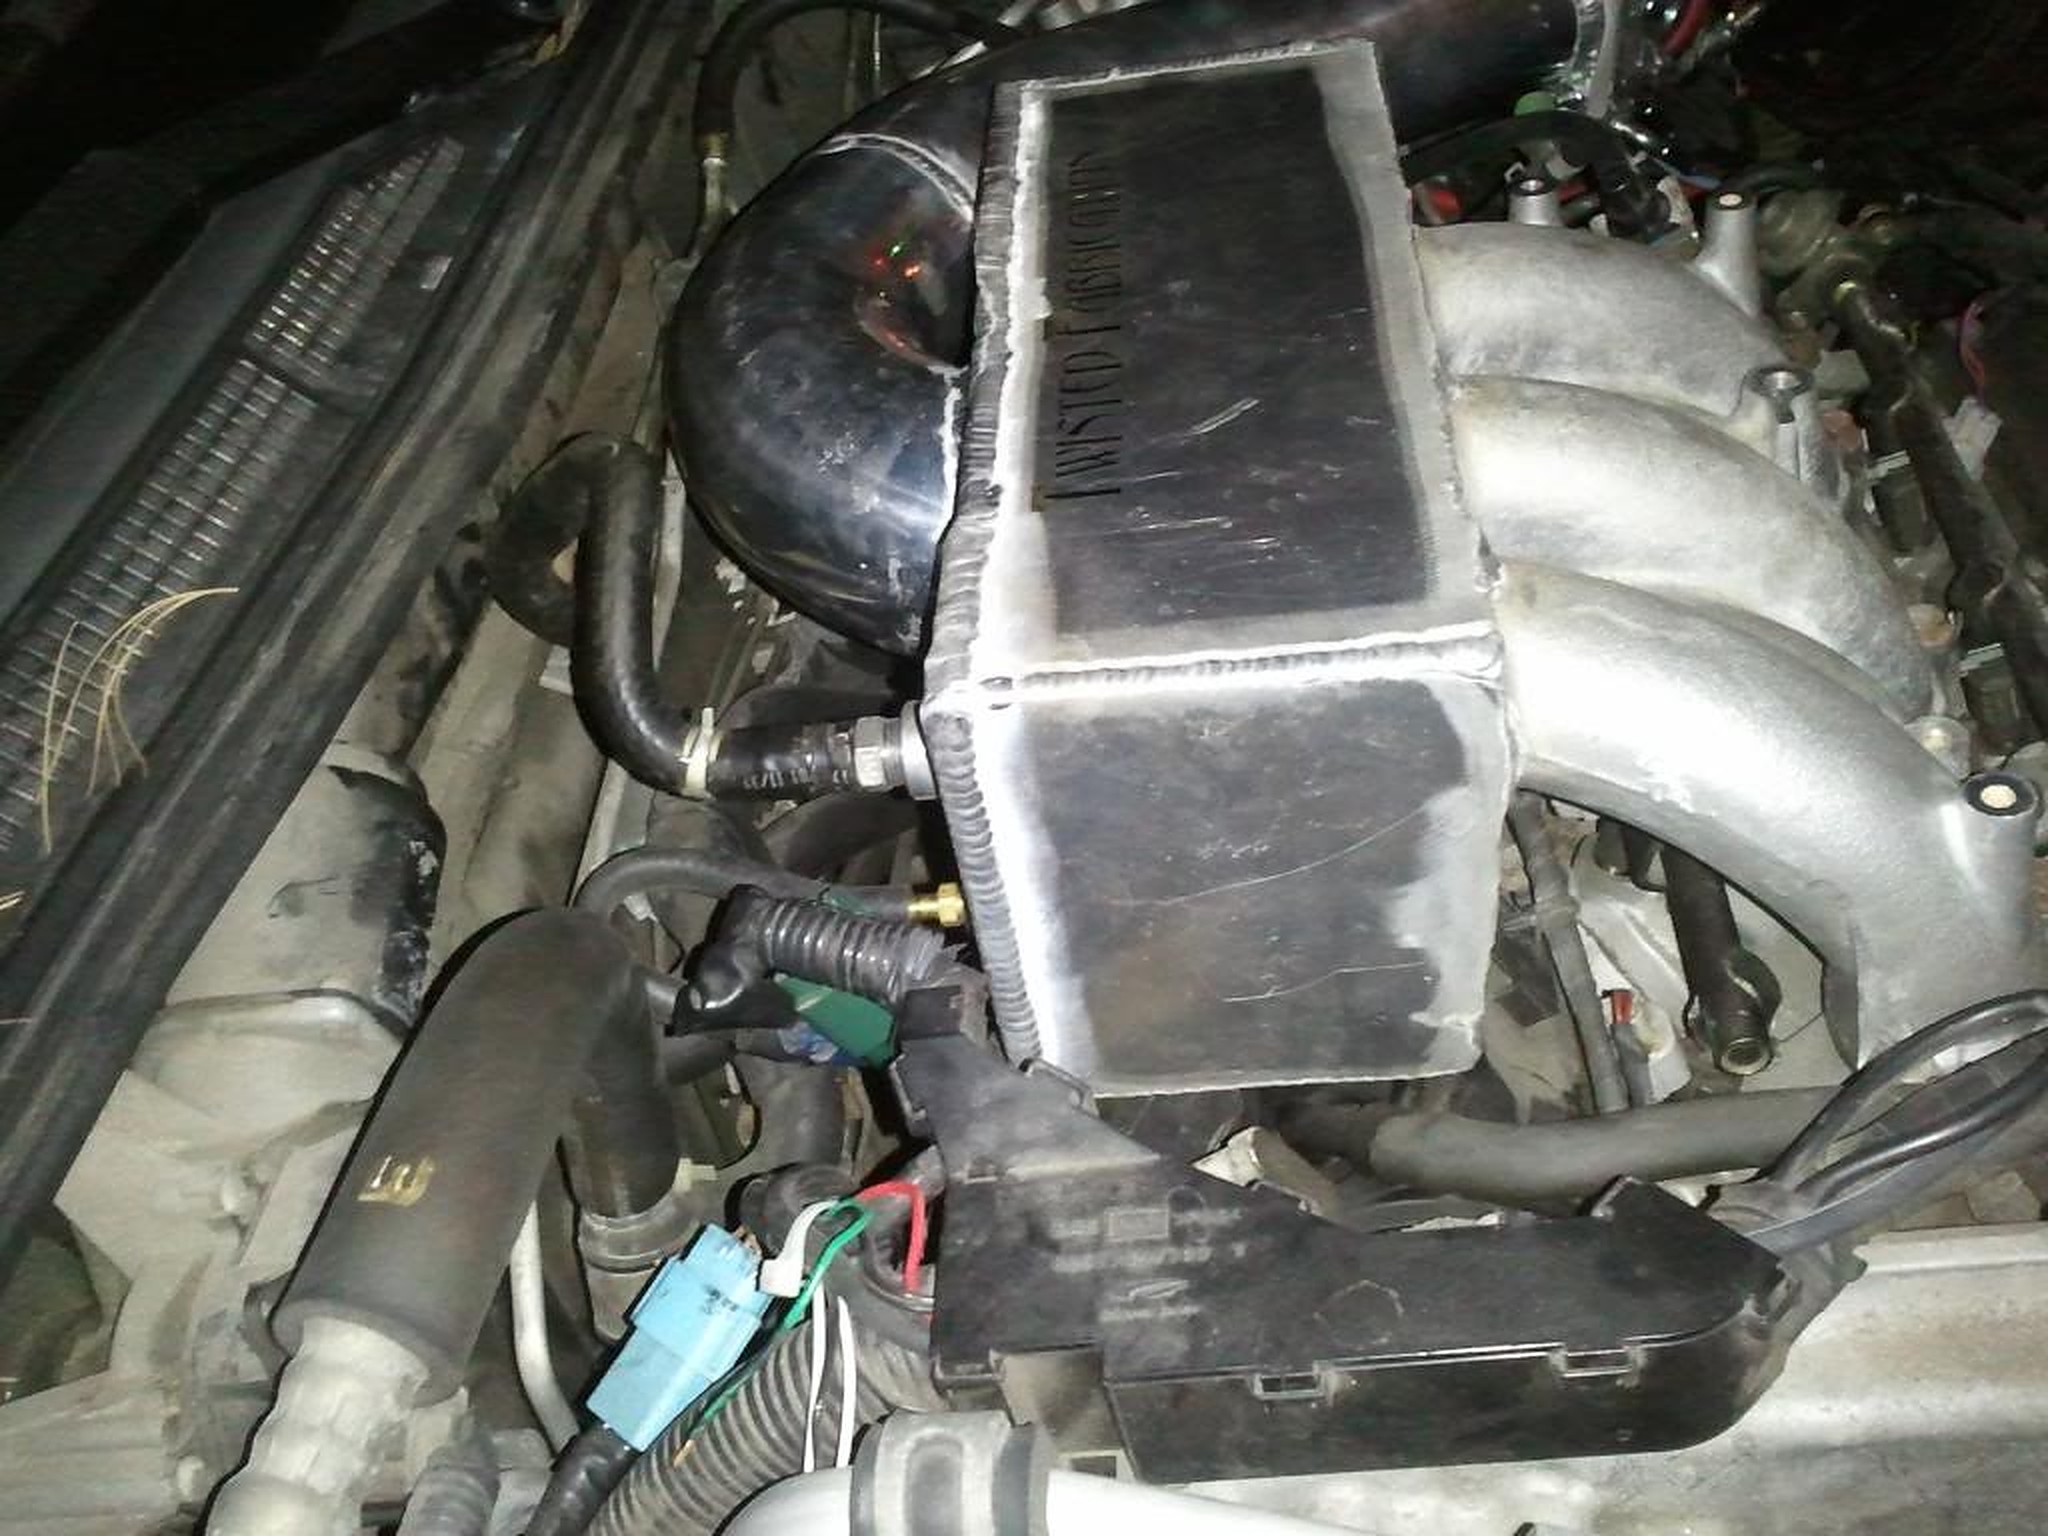

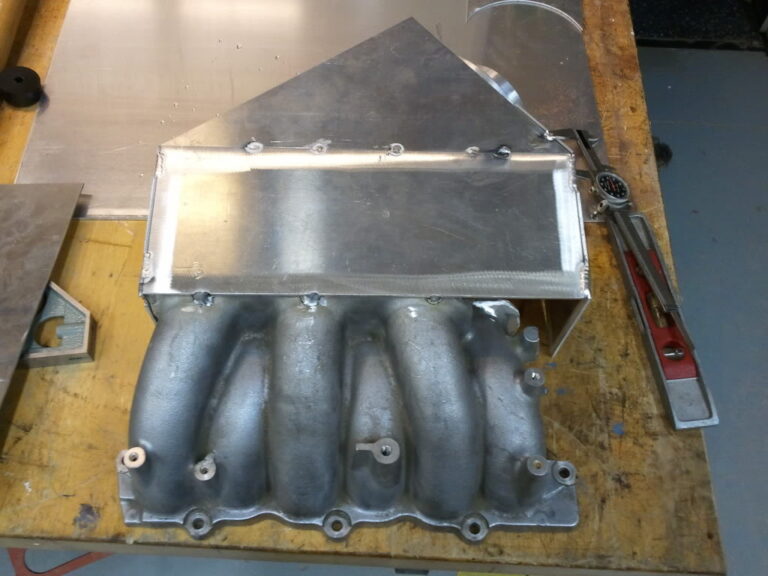
Community Member Credit: Unklejoe

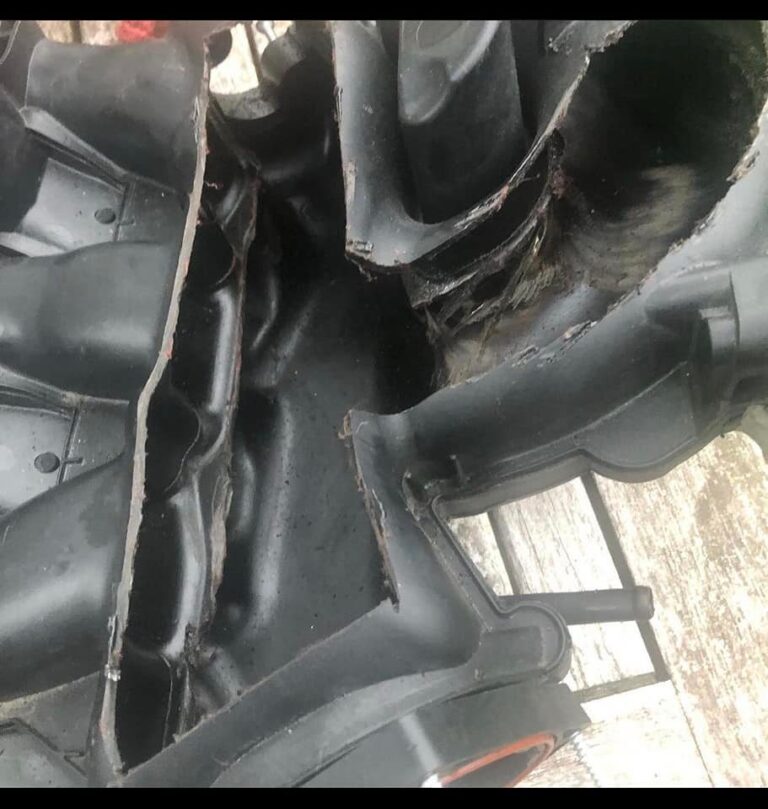
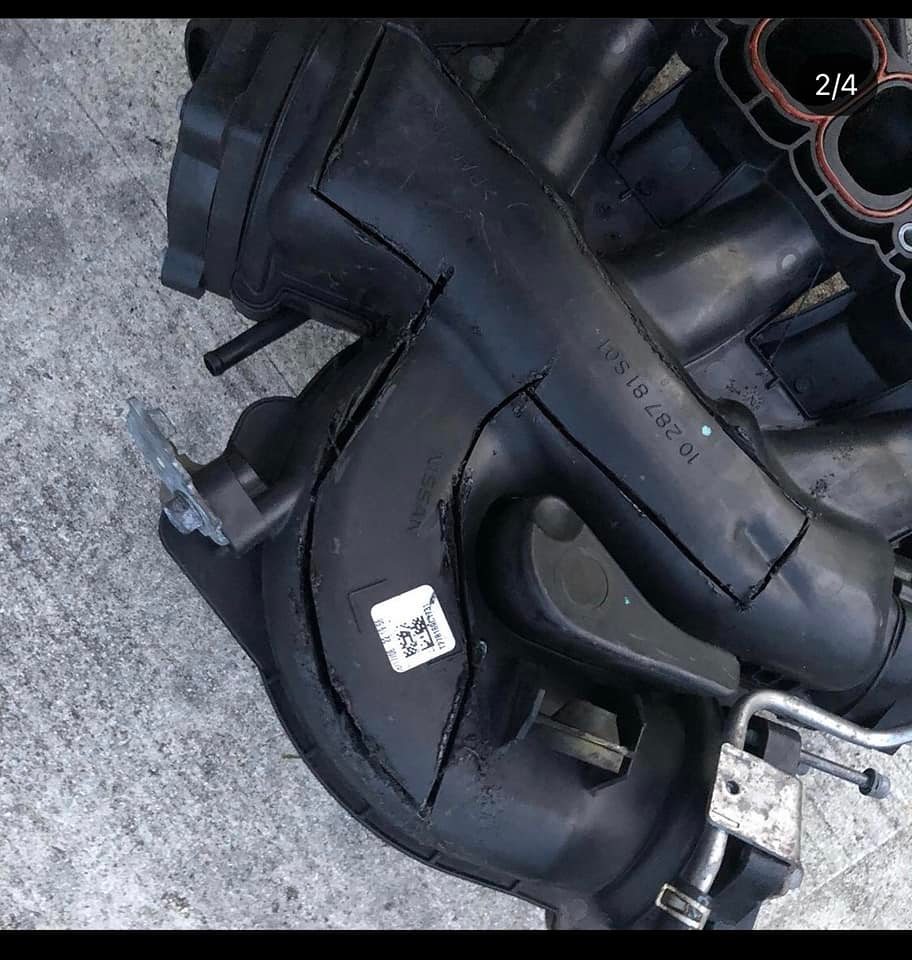
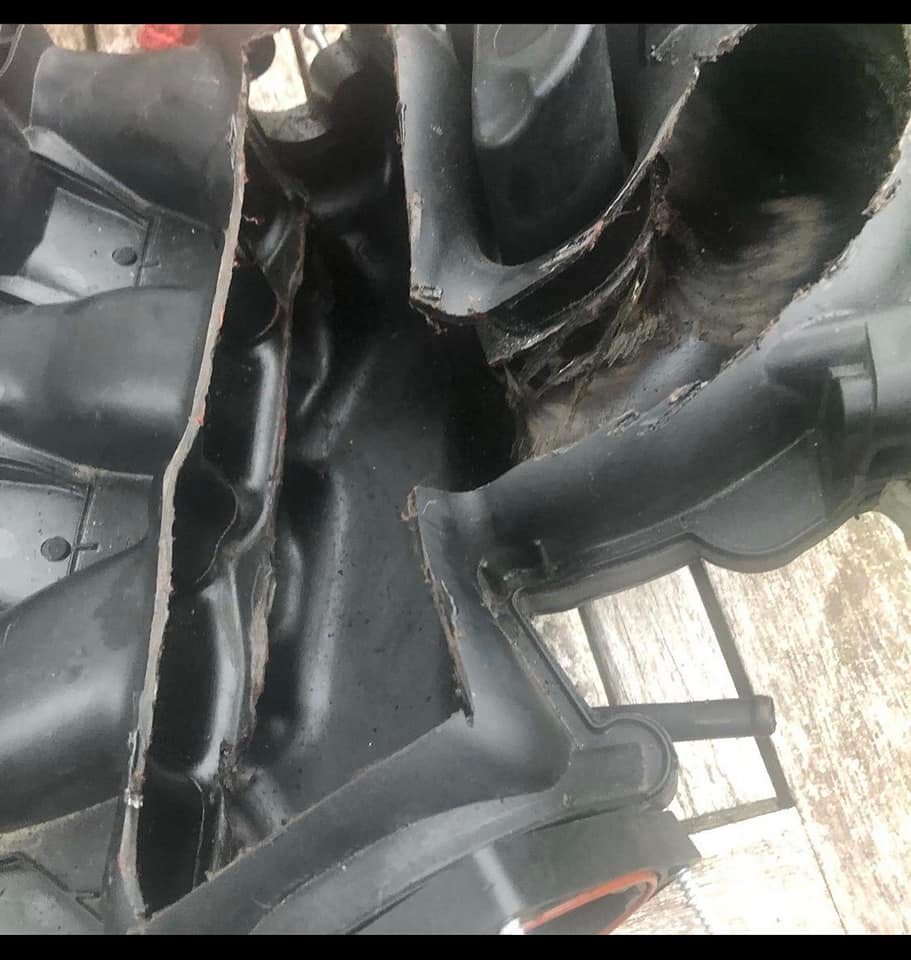
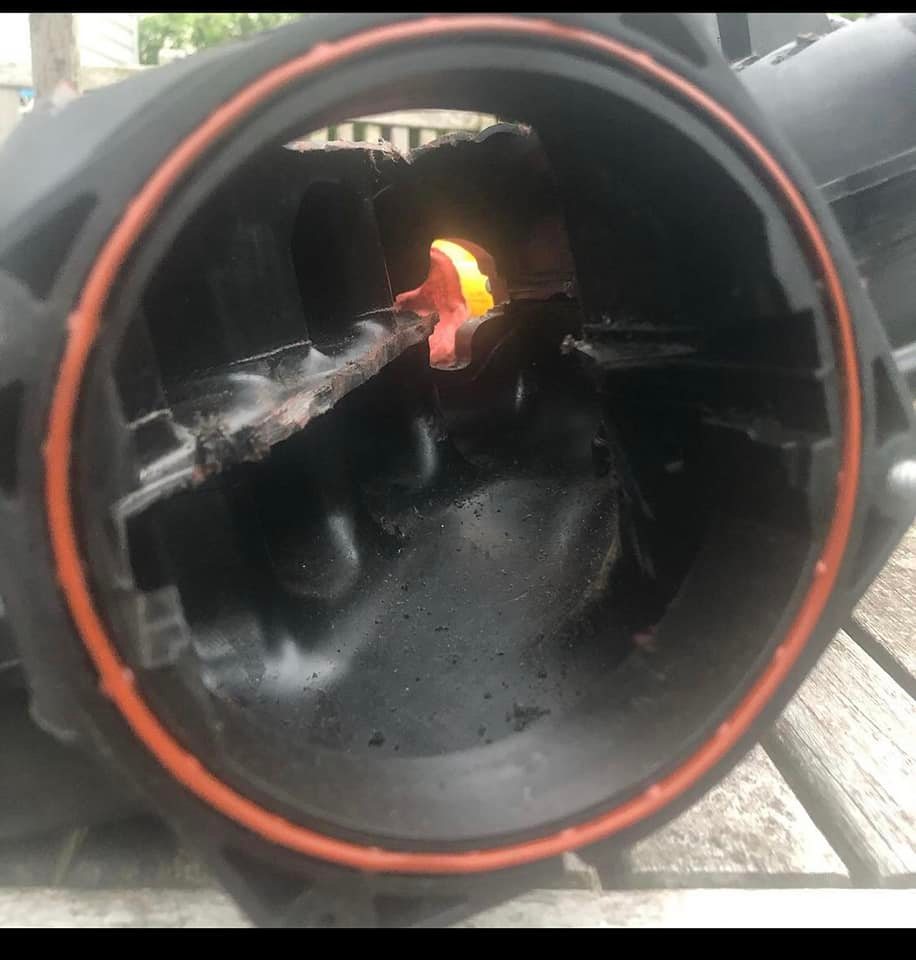
Cutting the stock manifold
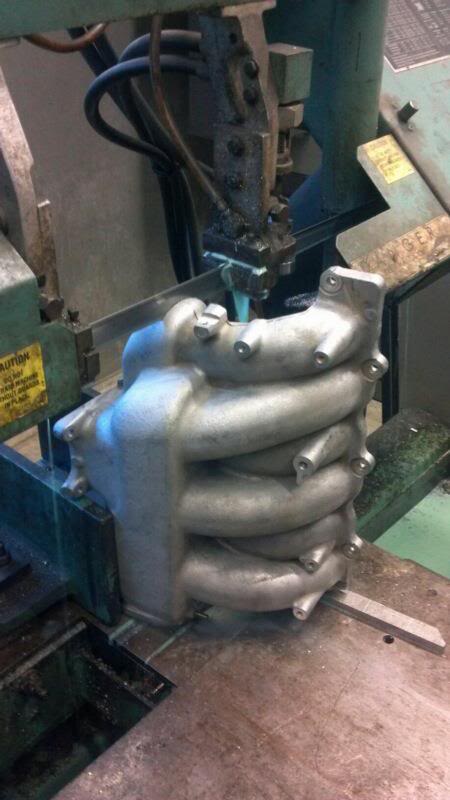
Cutting the stock manifold (again)

Final Product (I have a lot of work to do )
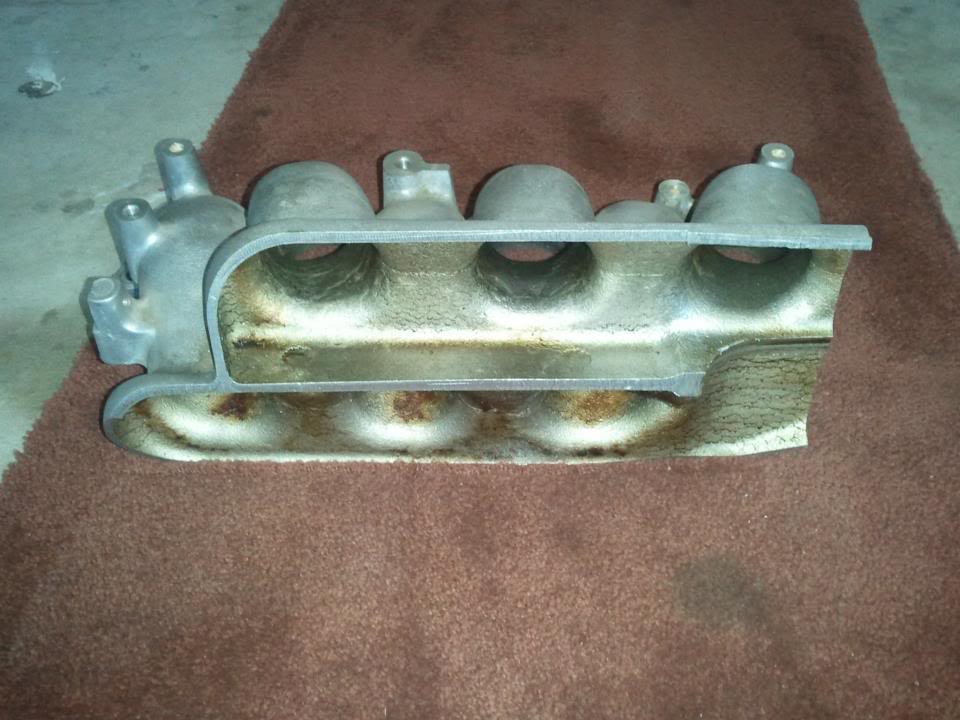
From NiZMo1o1


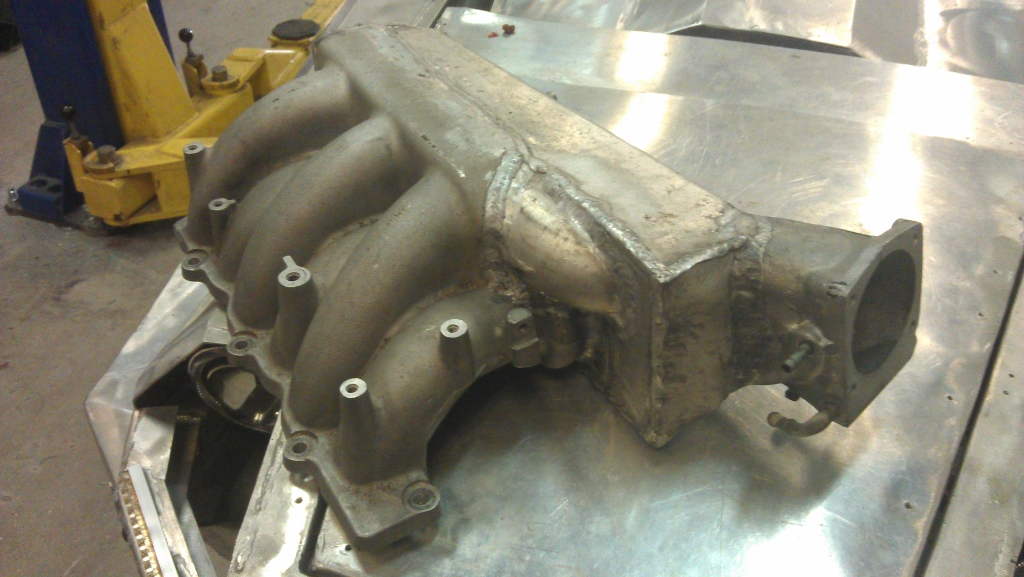
Small Update Started polishing the ports on the stock manifold and removing some excess material…

Also, here’s a pic of the parts (minus the sheet metal which was in the other room)


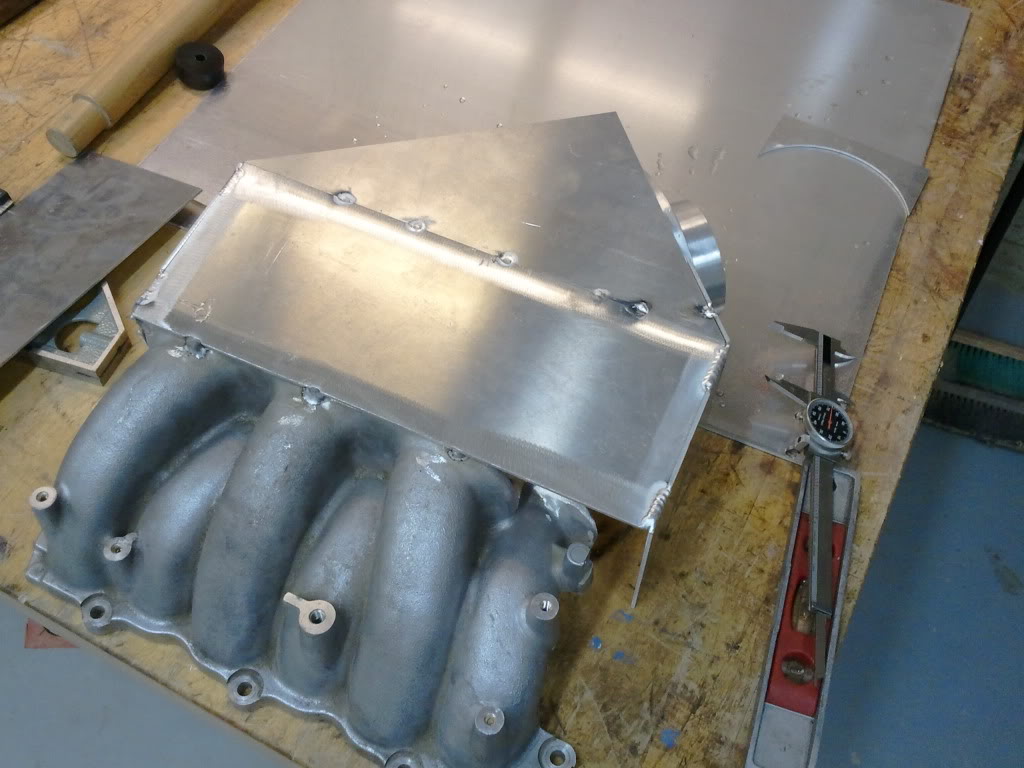

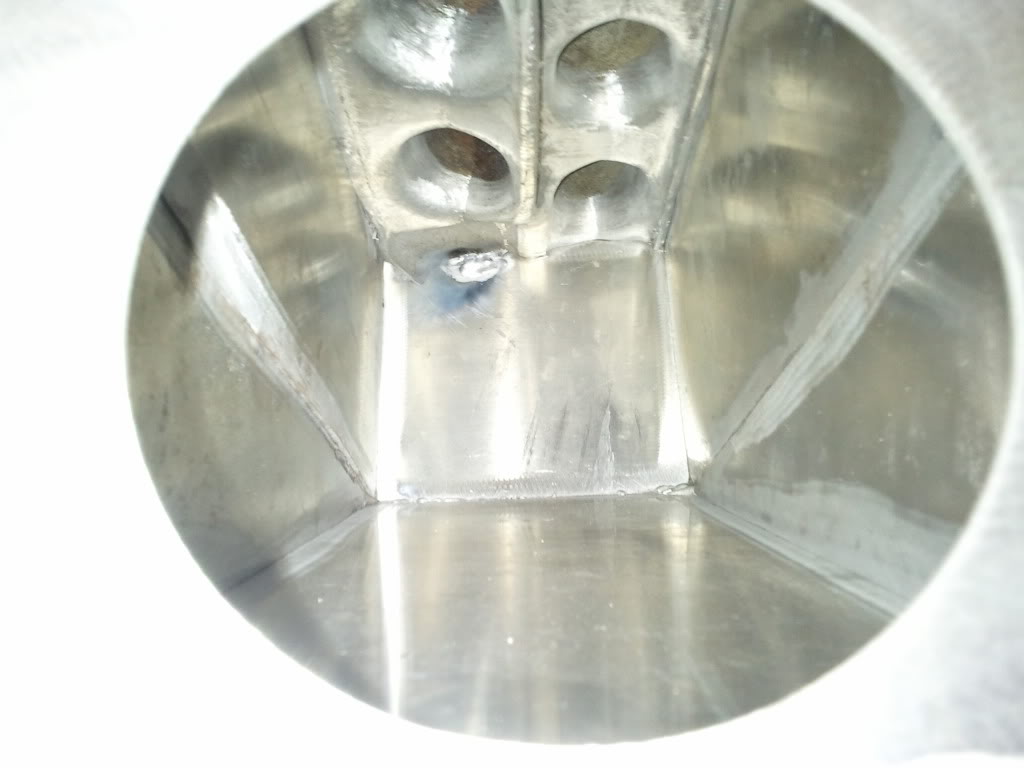



Community Member Credit: Roger McDonald
Benefits:
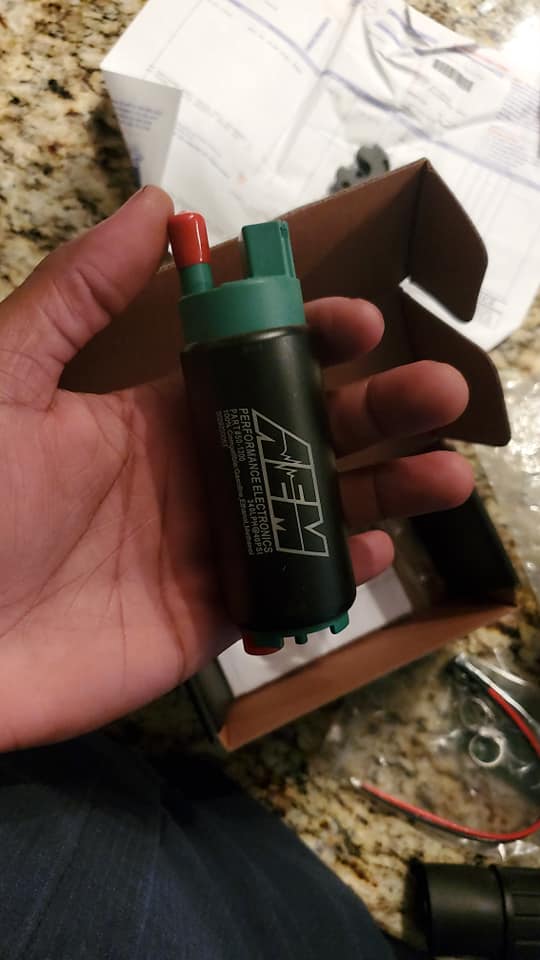
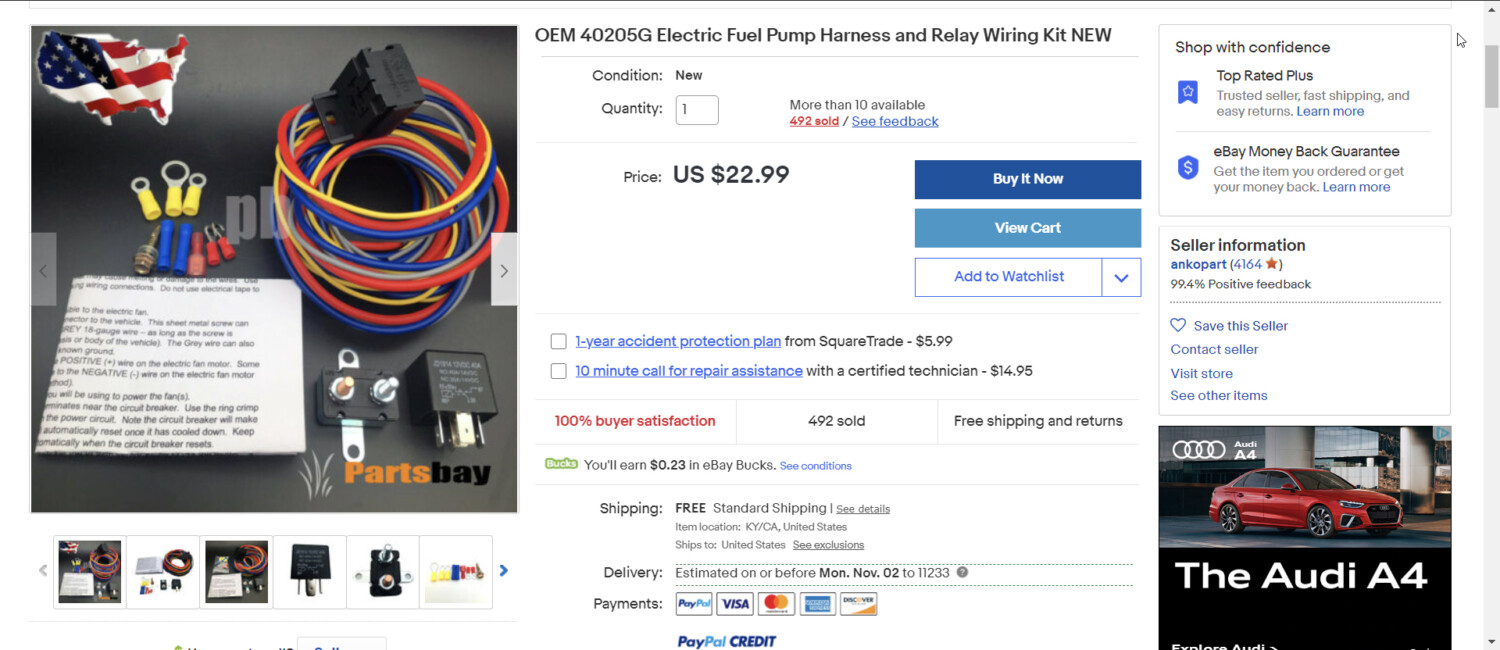
Part Description: OEM 40205G Electric Fuel Pump Harness and Relay Wiring Kit NEW
Price: $22.99
Order Link: https://www.ebay.com/itm/362526377653

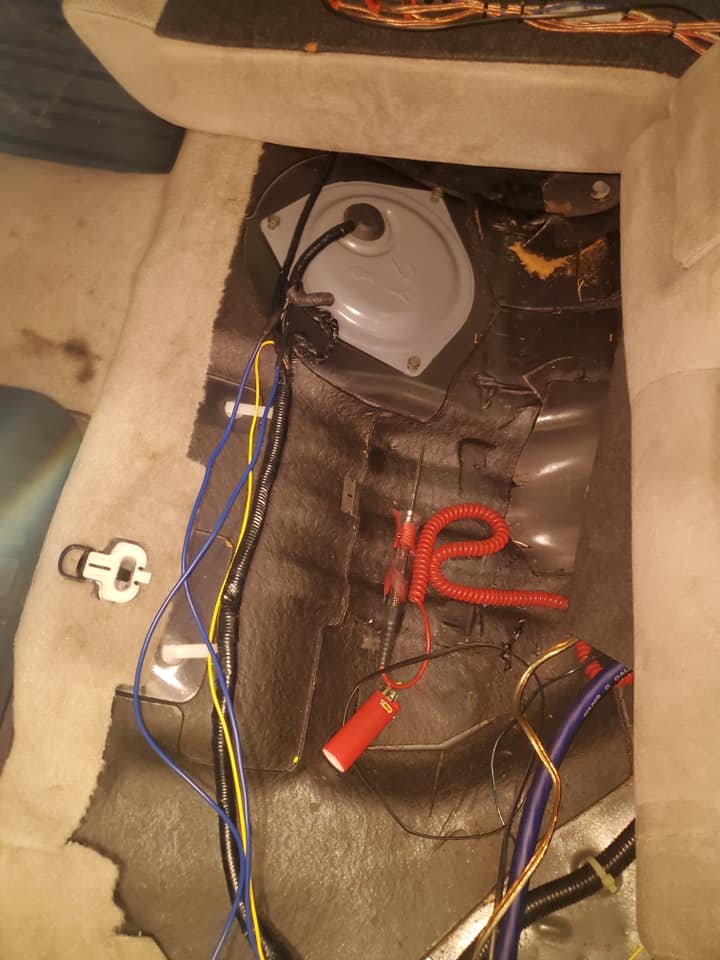
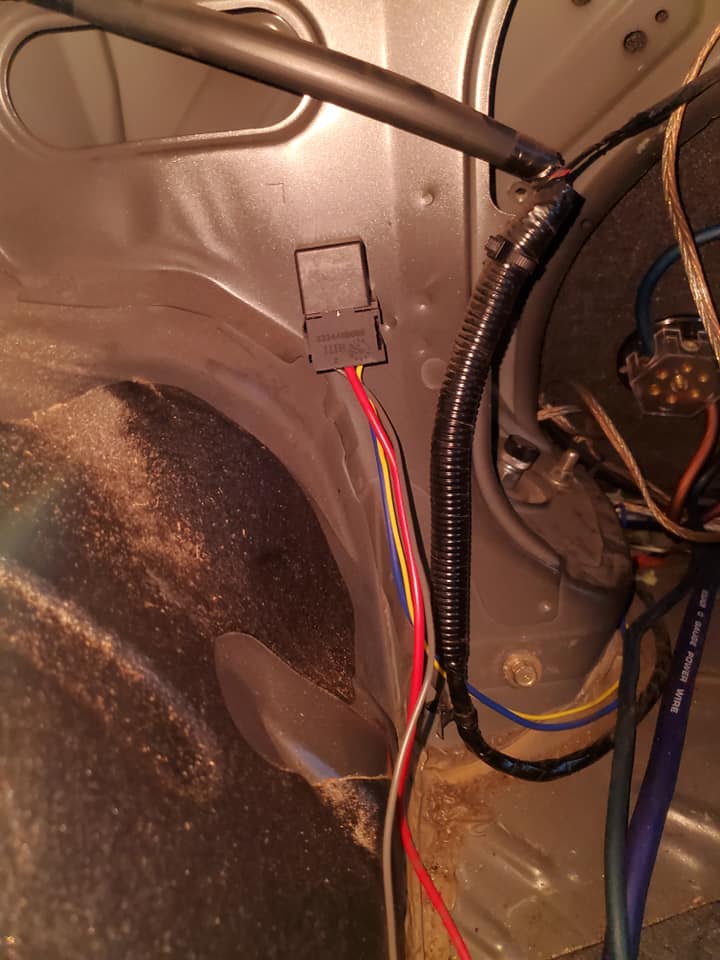
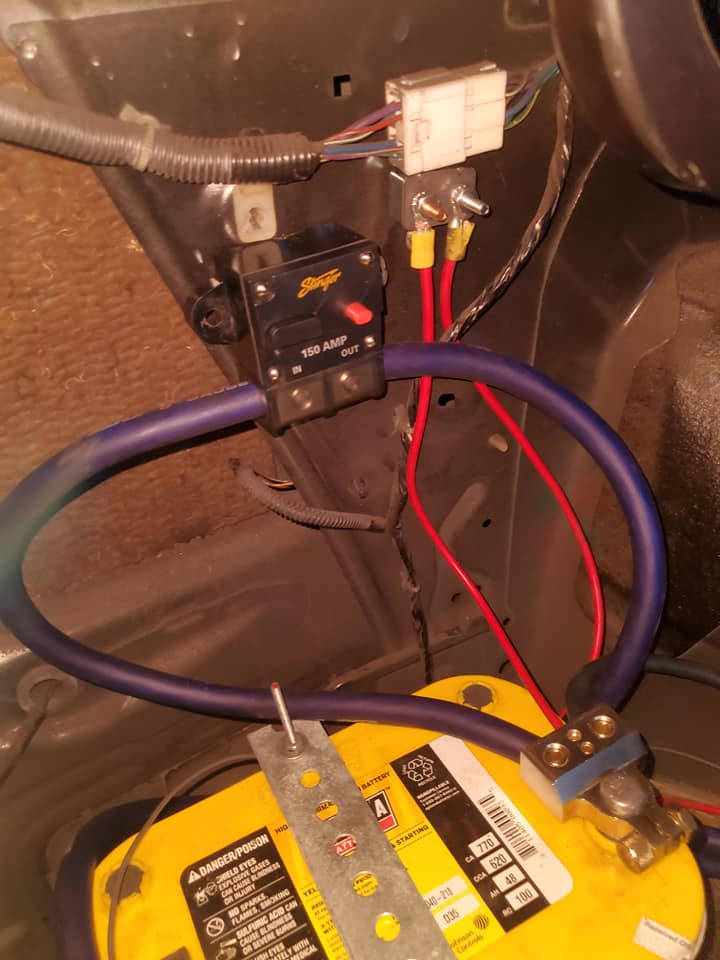

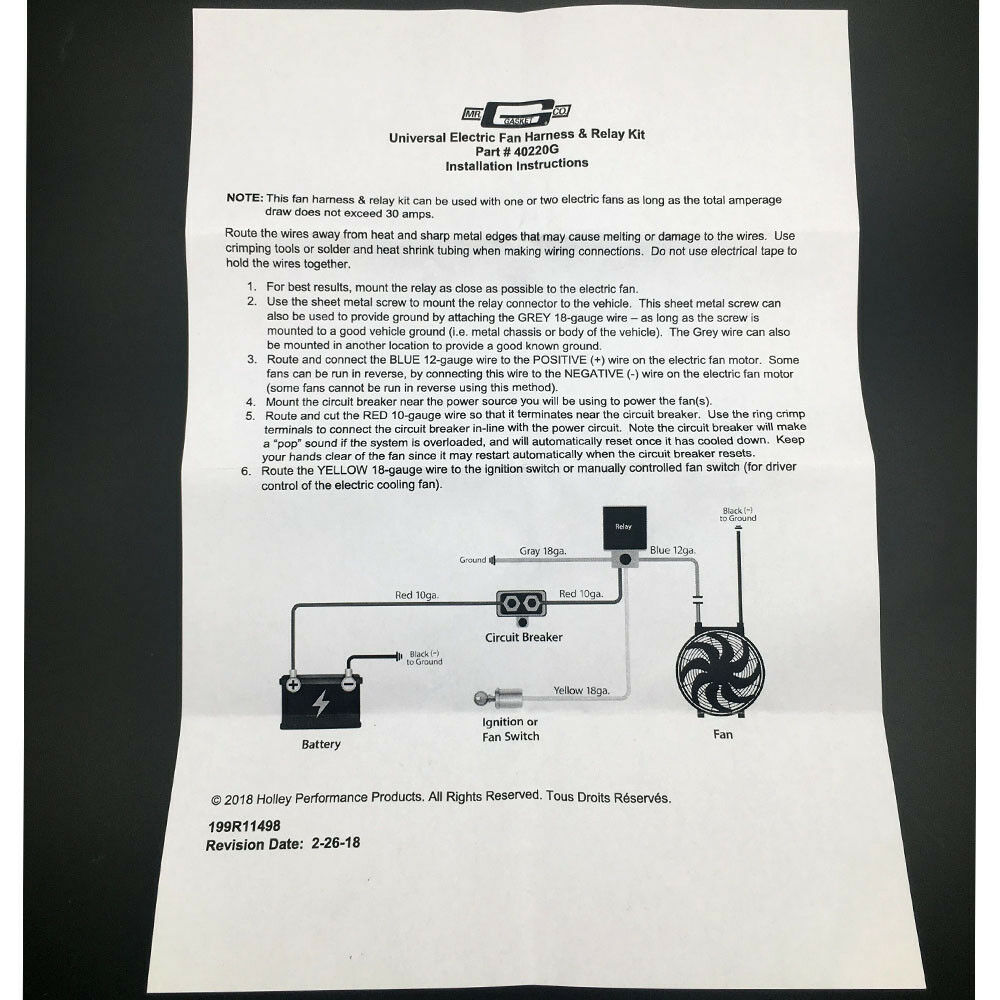

Community Member Credit: swatspyder
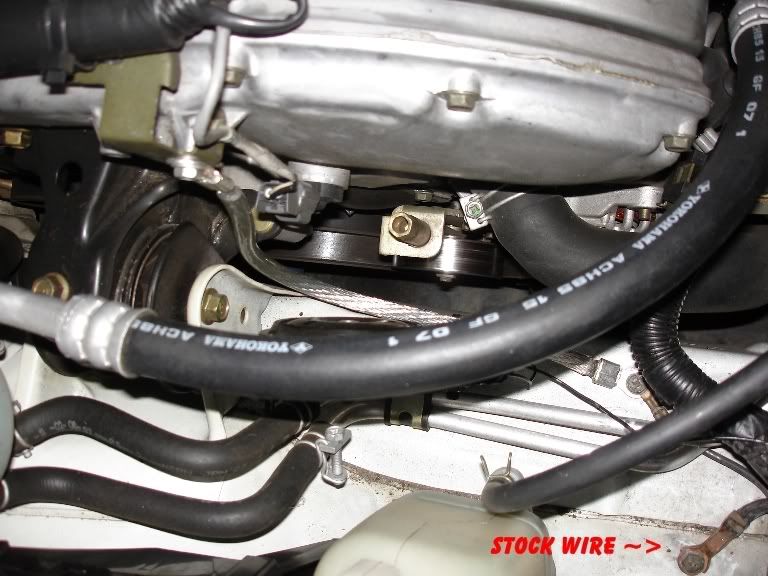
For anyone that may dispute the “gains” from doing this mod. gains will only be seen/felt if your stock/current ground wiring is shot, corroded and/or outdated. Long story short. I went out and bought some Streetwires UFX4 Clear power wire from Magnolia Hi-Fi, 9ft of it to be exact. So I cut it to the lengths provided in the installation tutorial (photos included).
Bought some generic stainless steel terminals (4AWG) and crimped them myself. Cost, $19.00 for wire, about $9.00 for terminals, already had necessary tools for the job. $28.00 compared to $50.00, definitely better, but it does take time. About 1.5 hours for preparing and installing the wires if you custom make them.
Benefits that I can tell right away. Stock speakers KICK now haha, but really, they sound a lot better, much clearer lows and better mid/high range. Headlights and all other lights are MUCH brighter! Windows roll up/down faster.
These are the wire lengths for the 98 maxima according to activetuning:
As for the other stuff…

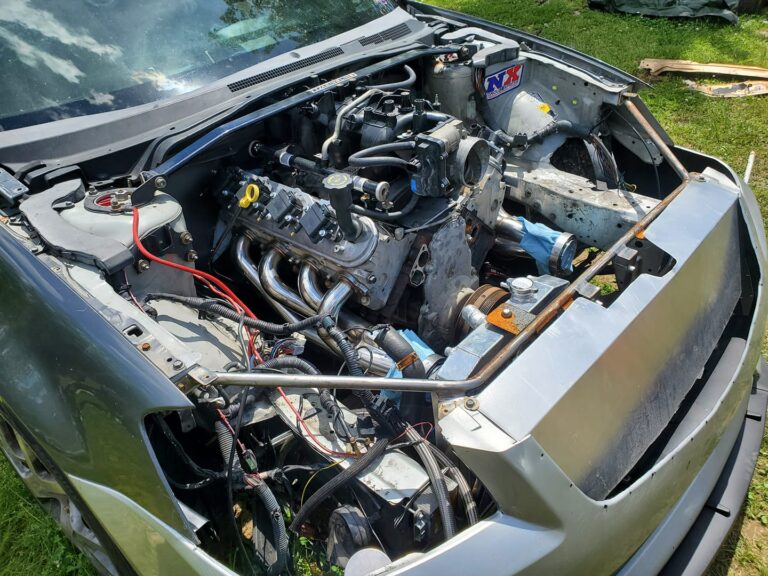
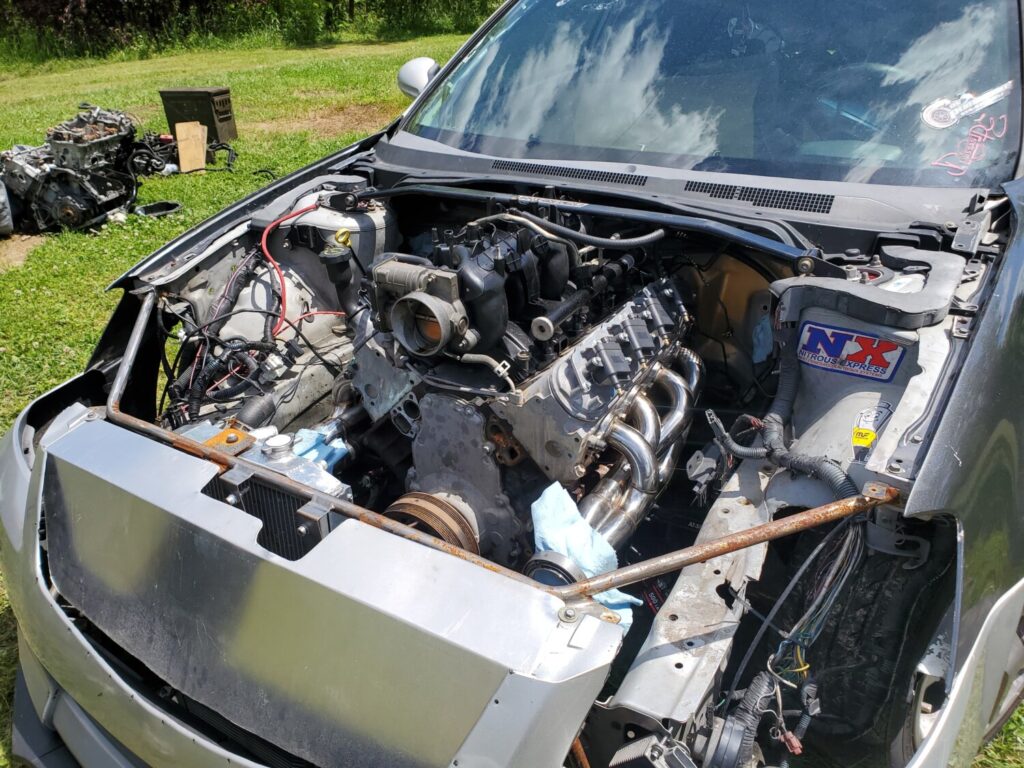
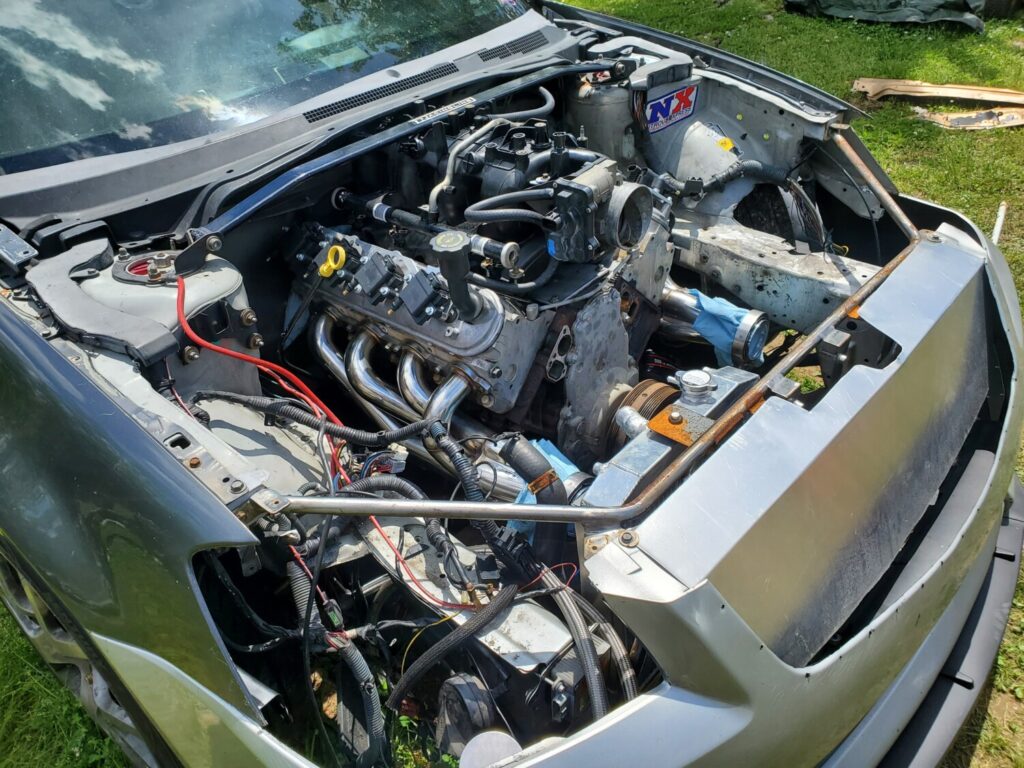
Owner: Caleb Anderson
Year: 2005
Model: Altima
Color: Silver
Engine: LM7 5.3L LS1
Transmission: GM TH400 Automatic Transmission
Trim: SE-R
YouTube Channel: https://www.youtube.com/user/calebanderson132

Order Link: https://www.courtesyparts.com/oem-parts/nissan-positive-cable-2411044u00
Part Number: Positive Cable – Nissan (24110-44U00)