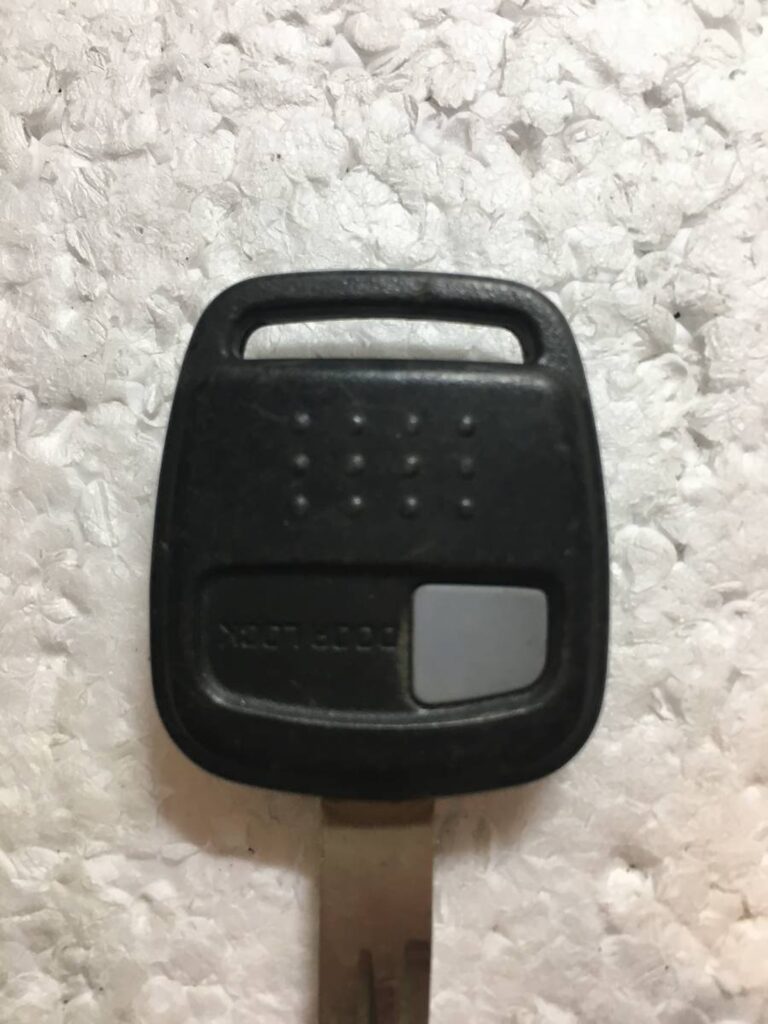
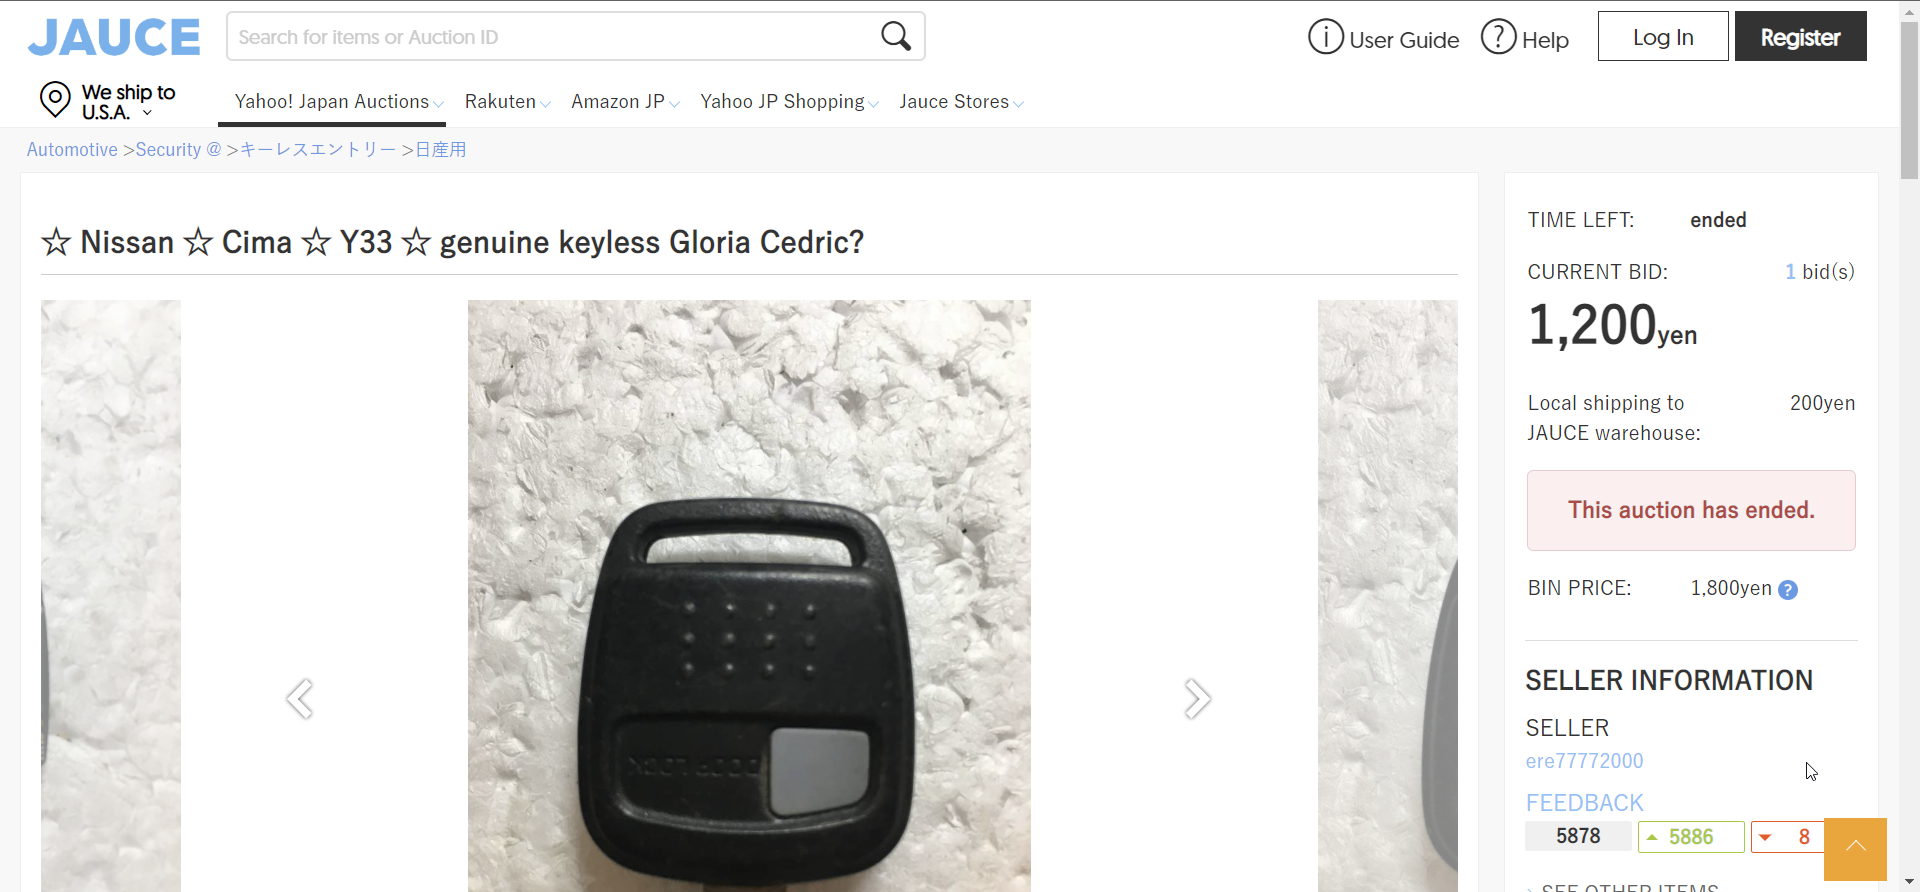
For those that have a y33 Cima and your key is the keyless remote as well, I finally got mine to work. My car came with a bad transmitter key. I ordered a used key from Jauce auctions and then swapped the transmitter over to my key. I tried and tried to program the keyless portion like owners of most Nissans in the USA but I could never get into the programming mode.
On the JDM version, the programming mode begins when the doors unlock, the hazards never flash like the US models. I have attached a screen shot of the programming instructions I followed and it worked first time. Unfortunately, the separate fob did not work.
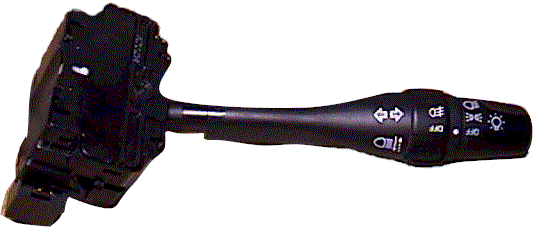
About one year ago (2000), I was driving back from work, and I saw a single streamer of smoke coming up from my steering column. I immediately tried all the switches on the steering column, thinking that I will find out which switch has gone bad, and maybe I will make it stop.
Well, everything worked just fine, and the smoke did stop. A month later the same thing happened, a single streamer of smoke.
After the first time I parked my car in the garage thinking “I hope that I don’t set my garage on fire if she lights up.” It never happened again.
In August 2000, when I signaled to turn left, after the turn was completed the signal would cancel, but the turn signal relay would click about twice the usual speed, “click-click-click-click-click” Luckily for me the turn signal light did not flash, it was just the relay.
I removed the relay, and opened it up. It is not your typical relay. It is a relay with printed circuit board on the side. I noticed that the circuit board was cracked, and it looked like a few traces may not be in full contact. I added a little bit of solder, thinking that it was now fixed. I was wrong.
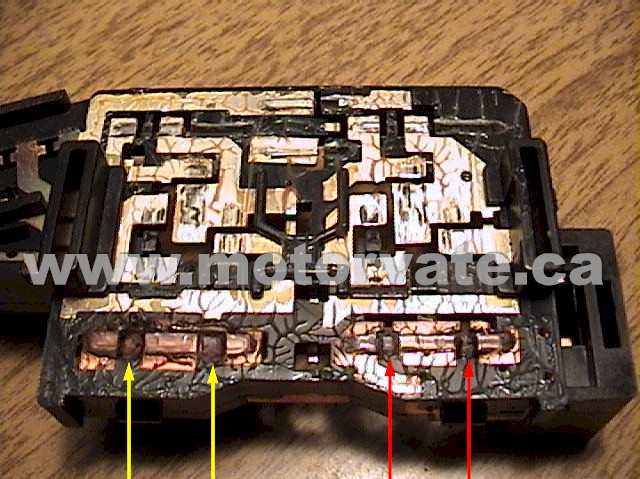
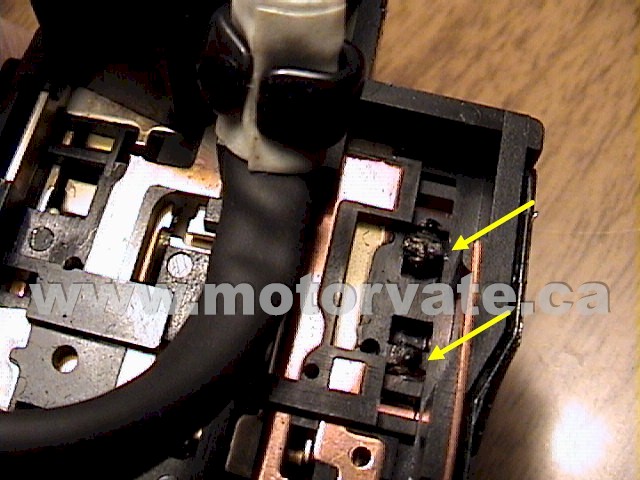
Now it is March 2001, and I noticed that my turn signal was not “smooth” like I remembered it. It was very notchy. I removed it from the steering column, and saw this:
The YELLOW ARROWS point to some melted plastic. The RED ARROWS point to what the contacts should look like. The yellow arrows in the right picture above, show little plastic “parking” islands are melted. This made the contacts sit lower, and they were only touching a little, causing a little current to flow through the relay. The relay senses current, via the built in IC, and makes the relay pulse, but because the current is very small, it flashes faster. (just like when you have a burned out turn signal bulb, the flasher goes faster)
Anyways, this is where the smoke came from. YEA! I found it. My car is not going to burn down!
I tried to “file & fix” the contacts, but it did not work.
I called up North End Nissan, and 1 day and $71 later I had my turn signal back to where it was, nice and smooth, with no harsh clicks.
Problem solved in 10 minutes, but it took over a year to figure it out.
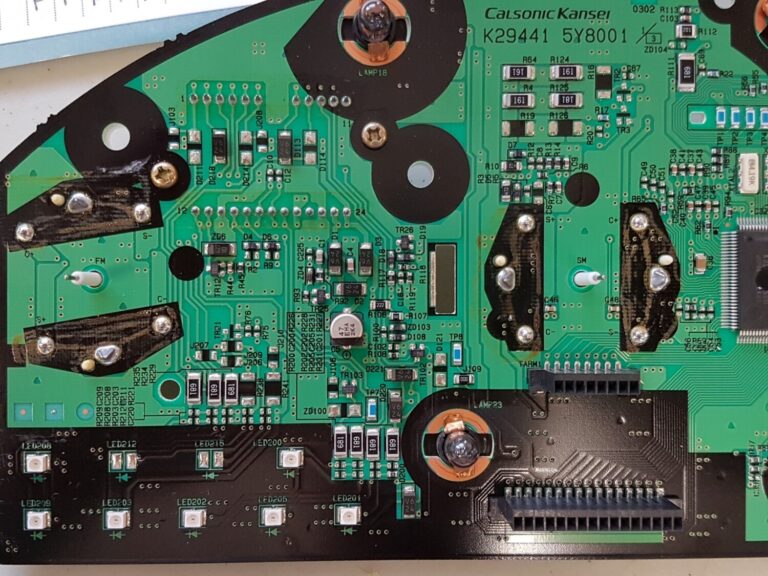
I dug into the cluster to try and figure out why the gauge was off. All the resistors to the fuel level sensor checked out OK but apparently the joints to the board can crack causing intermittent or permanent problems. Re-soldering the joints on the 4 resistors should solve the problem of the fuel gauge reading too high.
The resistors are R4, R64, R124, and R125. They are directly below the cluster part number in the attached picture.
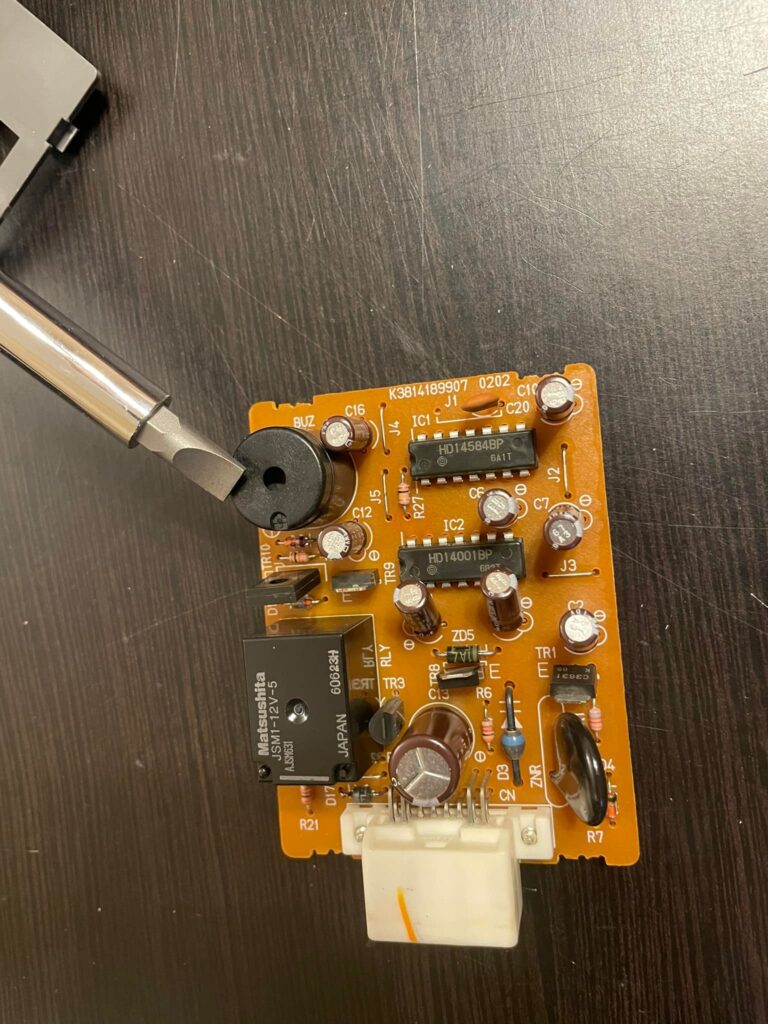
Picture 1 shows where the buzzer is, but this box is the shift lock assembly. You can remove it by sliding it off of the metal tab. If you are unsuccessful then you can remove the lower dash piece and remove the bolt in picture 2 that is to the right of the park brake release.
Once removed you can see the part number. The US Q45 appears to have a shift lock assembly that uses a different plug so this would not help. However you can tape over the speaker on the grey box and greatly quiten it up. You could go farther by removing the circuit board and glueing over the buzzer hole. It appears like you could unsolder this buzzer or break it open and cut the wire to the buzzer. However I haven’t tried this and couldn’t promise it wouldn’t affect something else, and it’s possible the buzzer is used in some other warning capacity. I don’t have a wiring diagram and just pulled my dash apart looking.
If anyone is wondering, the solution I chose is leave it alone. I don’t mind the back up alarm and it’s what it came with from the factory. I would be tempted to add a toggle switch, but I don’t have a wiring diagram for the car. I am hoping to obtain one
Warning: This procedure is very dangerous, you can very easily screw up your wiring. The key to doing this is taking your time and looking everything over twice before doing it.
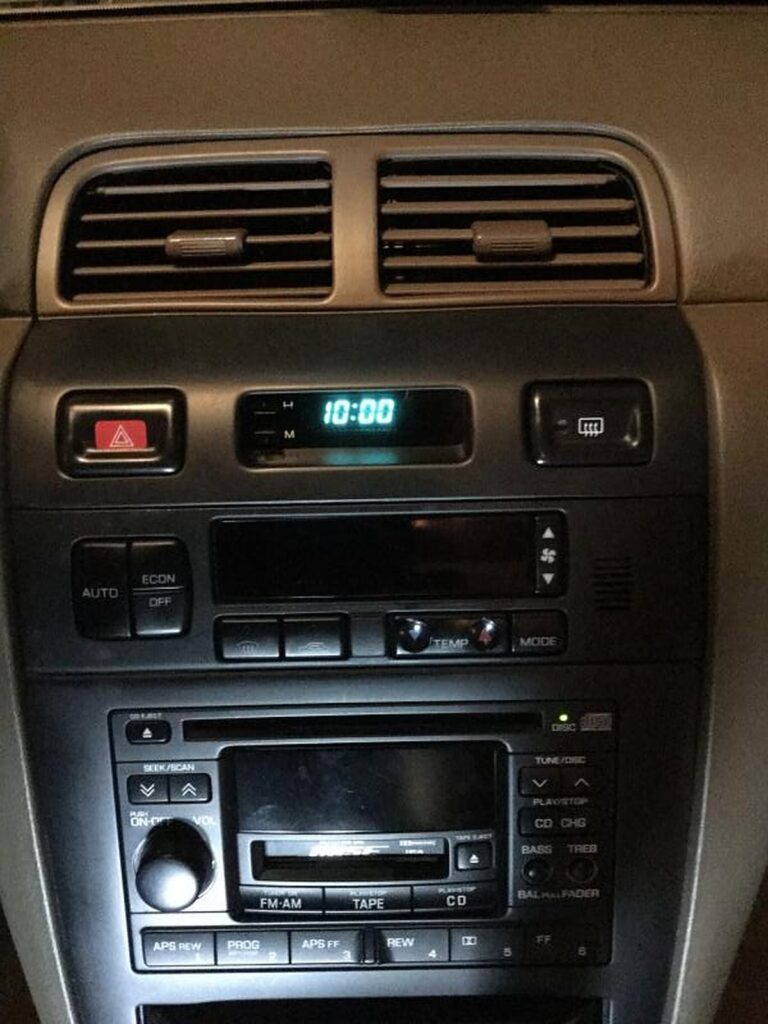
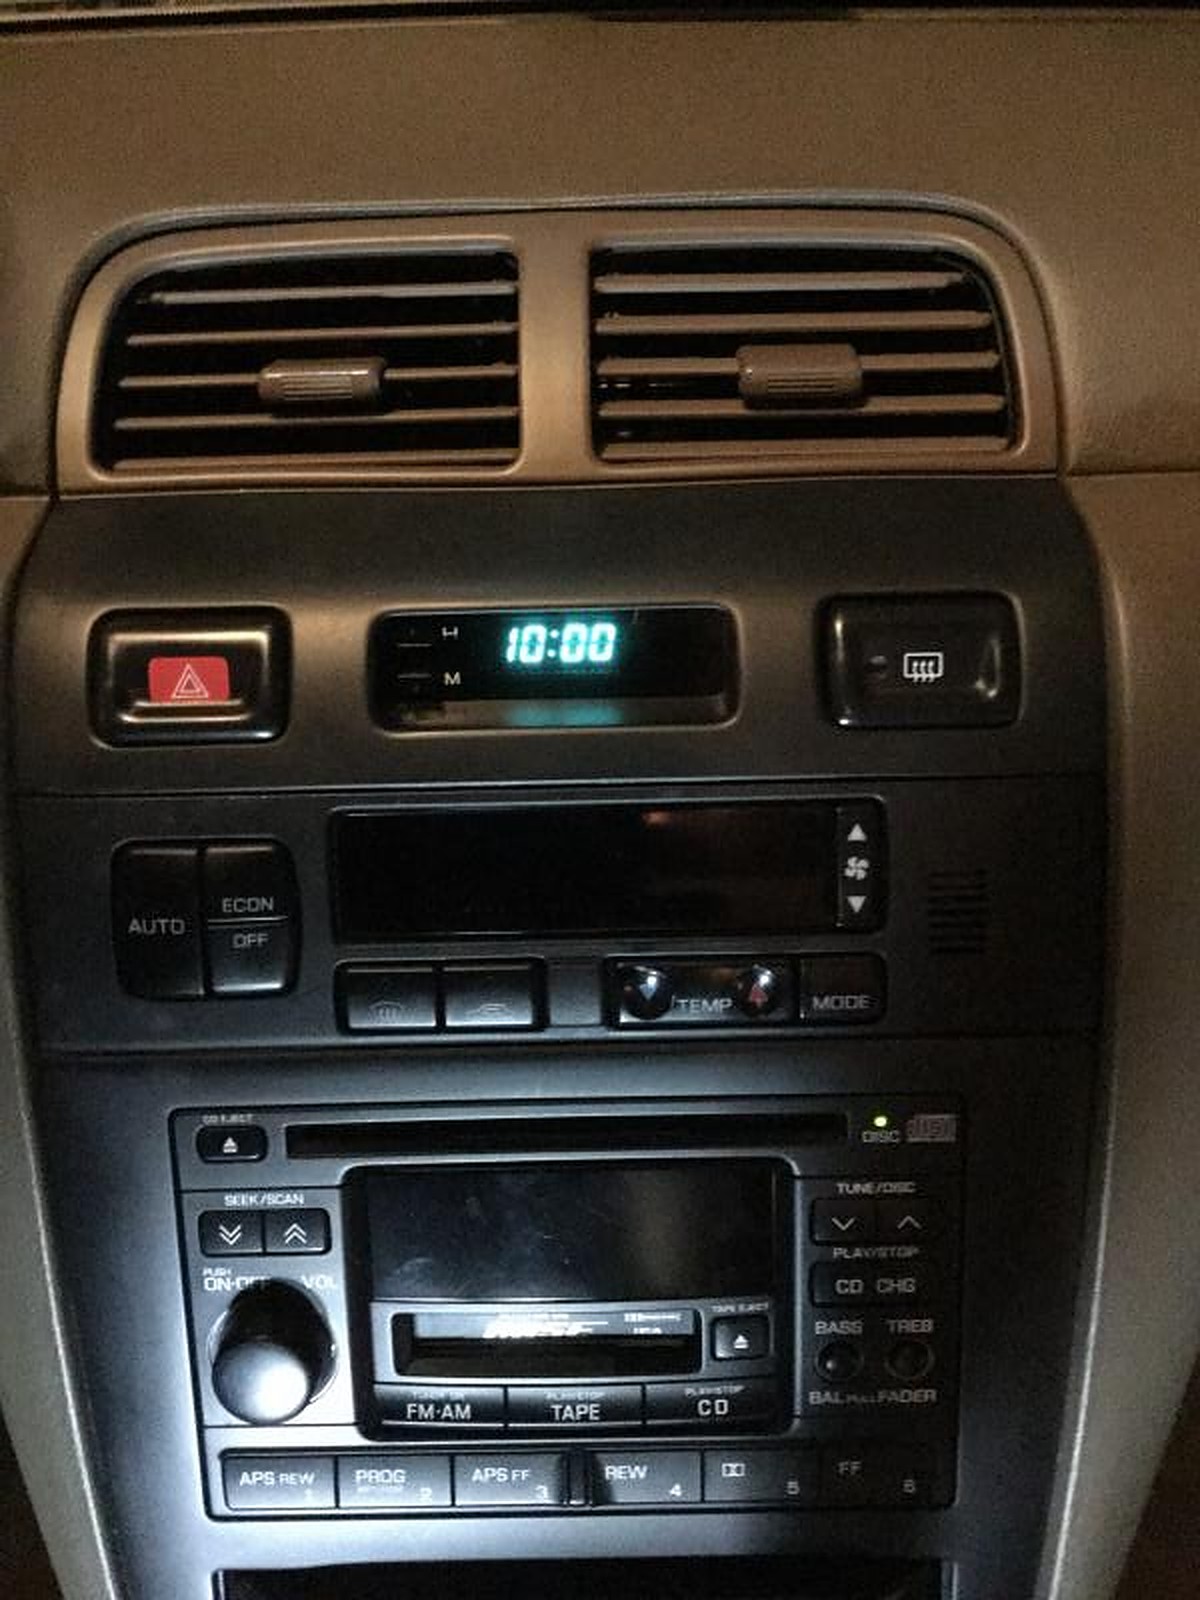
If you want the clock display to remain at high intensity when the lights are on…
1) Remove the clock. This may be done with a small flat-blade screwdriver. Insert the screwdriver blade between the lower right hand corner of the plastic dashboard clock panel and the adjacent softer dash board. Slowly pry the panel up. Continue this at all four corners of the contoured panel until the metal snaps which anchor the panel are loose. Remove the panel by pulling outward and downward.
2) Note that the clock’s electrical connector has four wires. Cut the wire which is red with a blue tracer.
3) Install the clock panel. It just snaps into place.
I hope it is of use to some of you thinking about swapping out your “standard” wiper switch for a variable intermittent wiper switch (standard on GLEs; included in GXE’s and SE’s S&C package).
My 97 SE 5sp is a stripper. It does not have the variable intermittent wiper which is available only in the SE Security and Convenience package. I did it for several reasons:
The “standard” wiper looks like something from a Kia parts bin, whereas the variable intermittent wiper switch matches the shape of the “combo” switch and is more aesthetically pleasing.
I truly miss not having the feature of a variable intermittent wiper.
Its a simple and relatively cheap “mod”
I did the swap in about 10 minutes. It is a direct swap. You don’t have to mess with any relays, fuses, etc.
Here are the simple steps to swap out the standard wiper switch with a variable intermittent wiper switch:
Remove lower dash cover (held by 2 screws on each bottom corner, and snap-in clips across the top edge of the cover)
Remove metal knee bolster (held by 2 10mm screws)
Remove steering column cover (Held by 6 philips screws; 4 in front and 2 in the back)
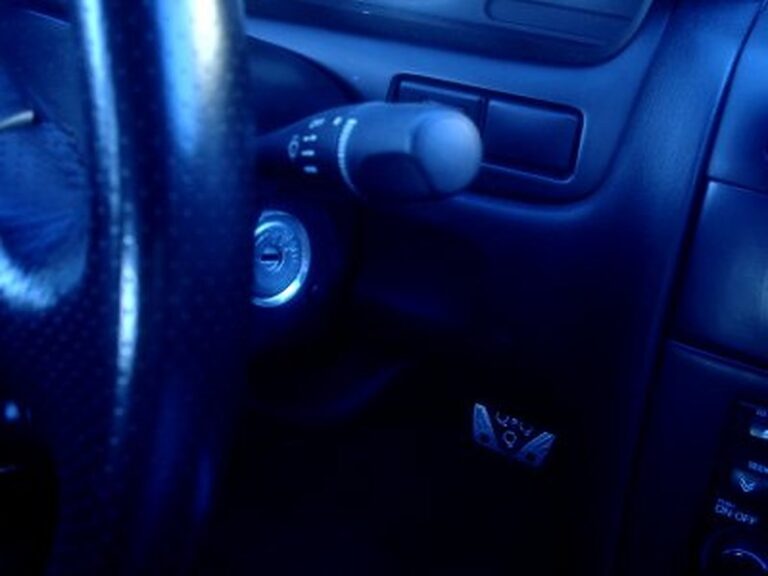
You will expose the column switches. The wiper switch is held by two gold-colored screws. Remove the screws and slide out the wiper switch (direction indicated by the blue arrow).
Unclip wiring harness.
Install wiring harness onto new wiper switch
Install is reverse of removal.
Finish Product:
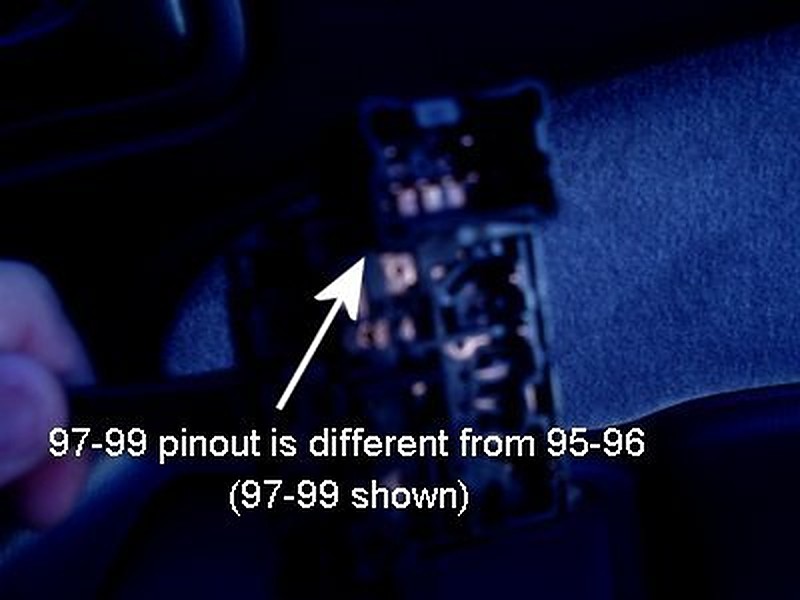
Note that if your Max is a 97-99 you MUST source a wiper switch from a 97-99. The pin outs are different. (Same goes for 95-96 Maximas).
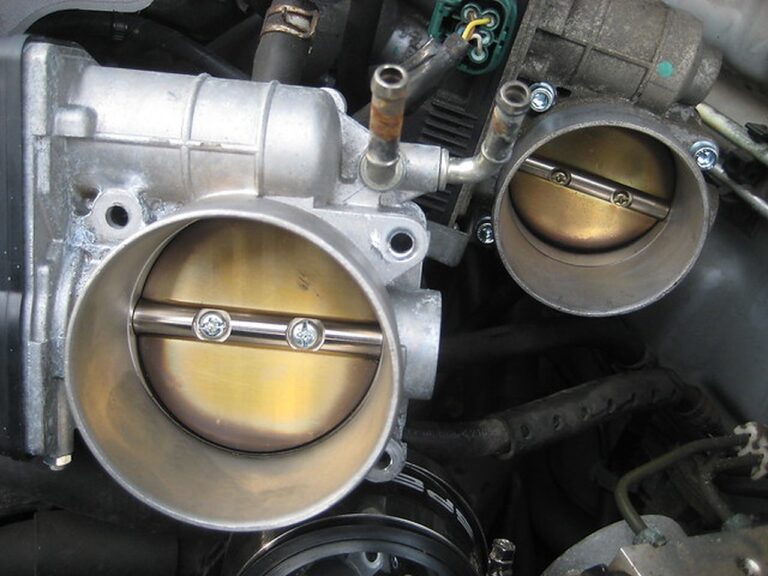
Manuals don’t have a electronic mount. In an automatic, at idle there is additional vibrations where a manual Maxima (which would be in neutral) would otherwise not experience. Therefore, as mentioned, the electric mounts soften at idle and the actuator will then add pressure to the inner rubber once the throttle increases.
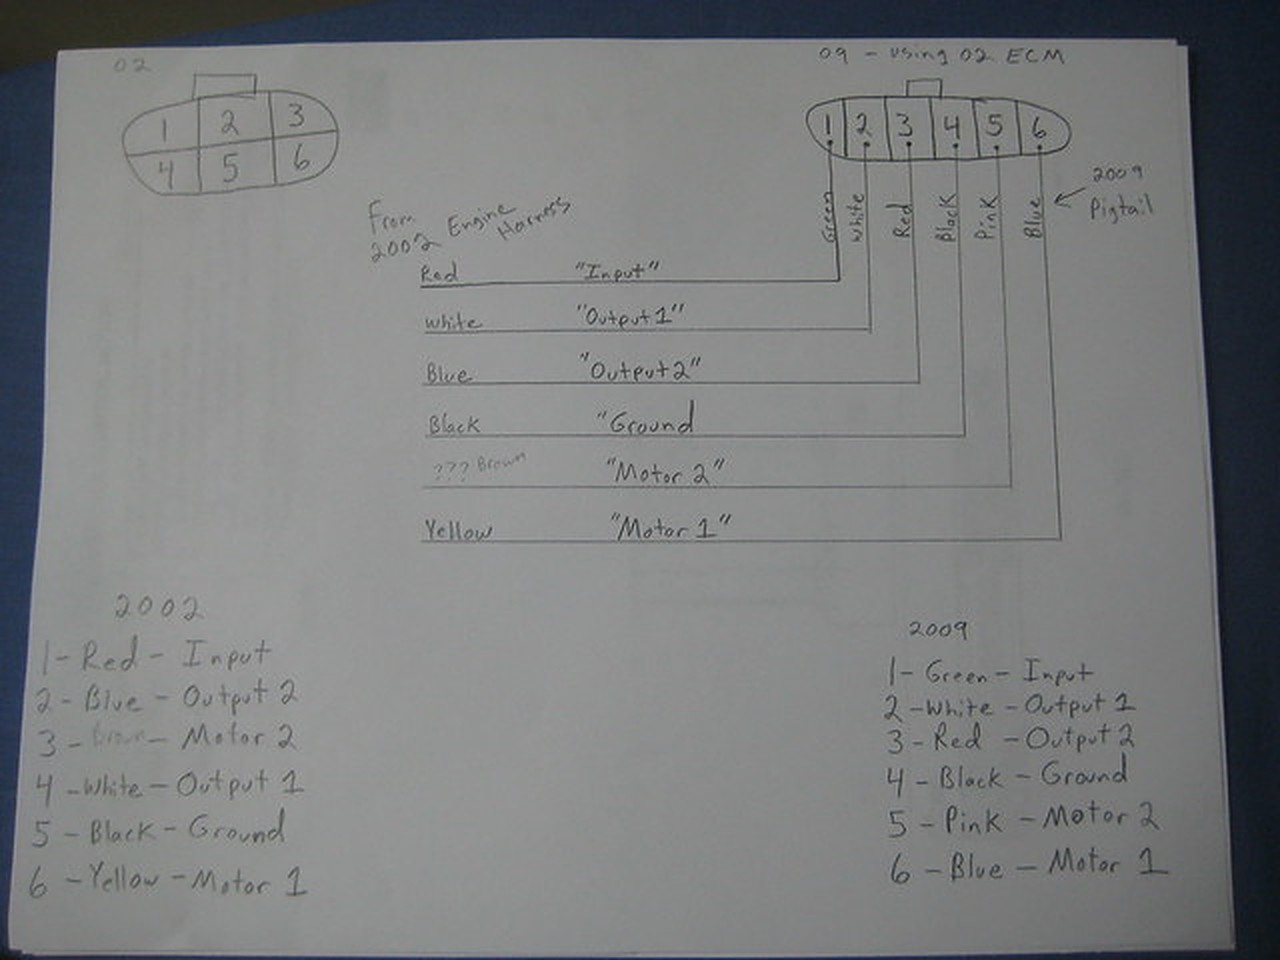
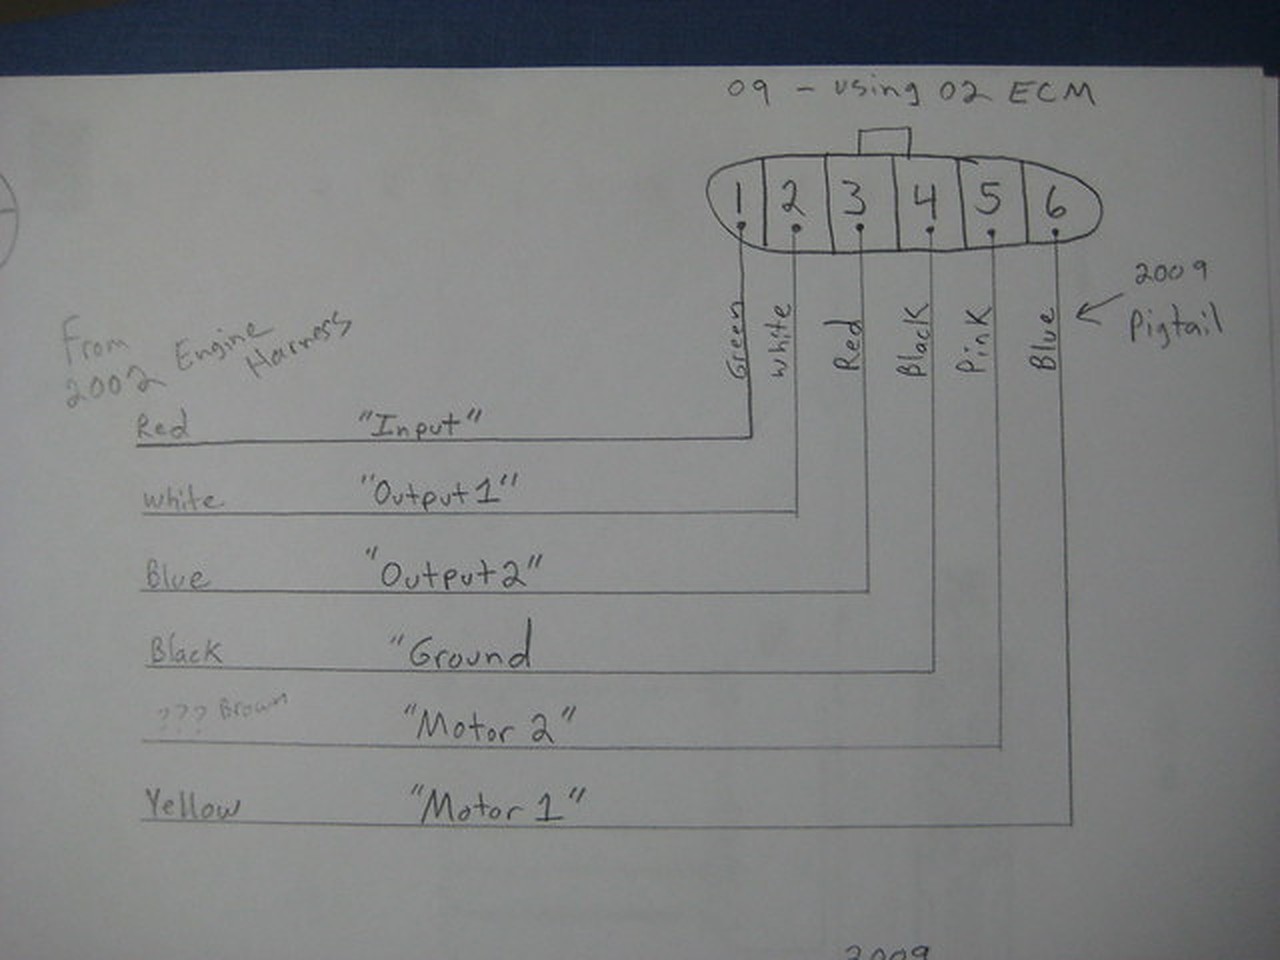
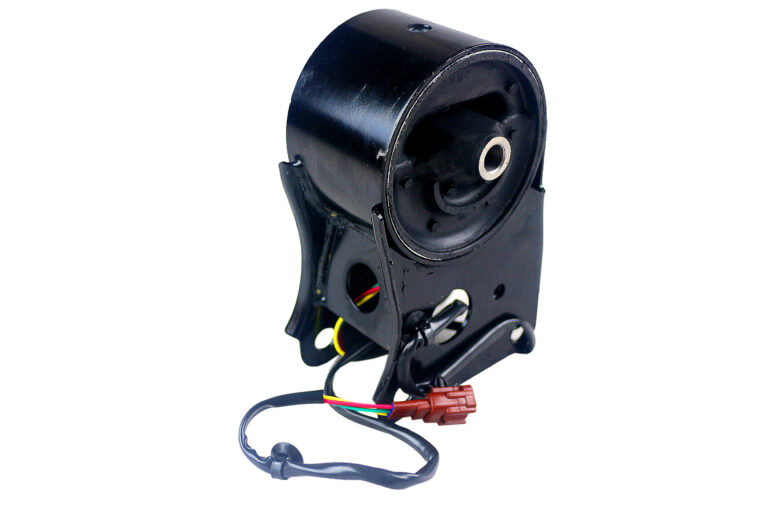
The engine mount (electronic one) is controlled by the ECM. The ECM controls the engine mount operation corresponding to the engine speed and the vehicle speed. The control system has a 2-step control (hard/soft). The motor mounts are supposed to harden up when the RPM’s of the motor goes over about 1000 RPM. When it drops below that, they loosen up. At idle with vehicle stopped the mount is soft and when driving the mount is hard.
Most people disconnect them and cut the wire to avoid ECU shortage. It’s been common in some 5thgens and 6thgens. It will not cause a Check Engine Light (CEL) by disconnecting.
Additional Notes:
The vibration is not even noticeable. I have had mine unplugged for ~6 months and there is no discernable difference at idle or speed.
There is no reason to disconnect them before they fail. It is pretty easy to tell when they do go bad (buzzing/whirring sound after you turn off the car) and even if you don’t fix it right away nothing bad happens. Mine buzzed for ~2 months before I decided to unplug them.
As it turns out, the mount is not really an electric mount, it is a hydraulic device. It uses electricity to run a small electric motor that pumps oil in and out of a rubber bladder. Built into the little motor are contacts that are supposed to shut off the motor after it has rotated some certain number of times. As too many members have found out, this design fails and “poof” goes your ECU.
I ran my 99 i30 with the electric mount unplugged. I read where 5th gens can short out and knock out the ECU. Though I don’t think 4th gens have the problem. Anyway, replacing an ECU on a 99 model can be an expensive ordeal, so I didn’t want to take any chances with the mount’s electric motor causing a short.
Mine have been unplugged and replaced with ES motor mounts for well over 3 years…..
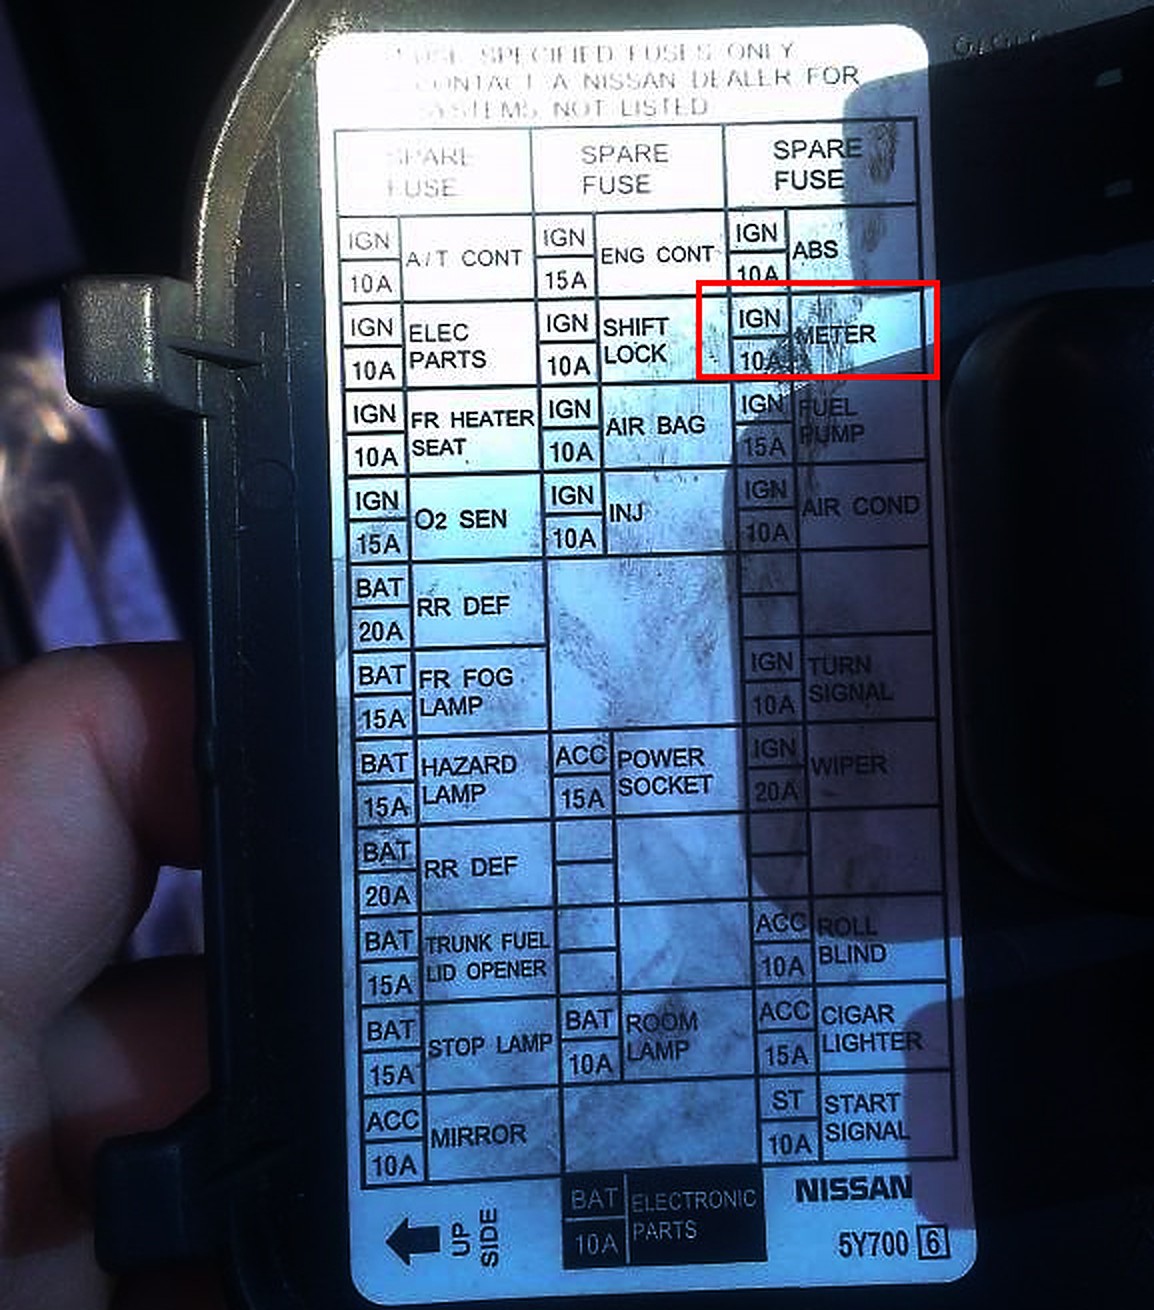
I went to move my car and noticed the cluster was not working. It was lit but it didn’t show any of the numbers and gauges were at zero. I also noted my reverse camera and reverse lights were not working. I used this article on our site to resolve the issue: https://www.my4dsc.com/5thgen-nissan-maxima-10amp-meter-fuse-reference-info-why-it-keeps-blowing/. However, I wanted to make my own version of it.
Symptoms:
Limp Mode
No Reverse Lights
No Dash lights or mileage displayed
Kept blowing 10 AMP Meter Fuse Consistently
Tried:
Swapped ECU to confirm not ECU
Tried New Bulb, Didn’t work
Actual Solution:
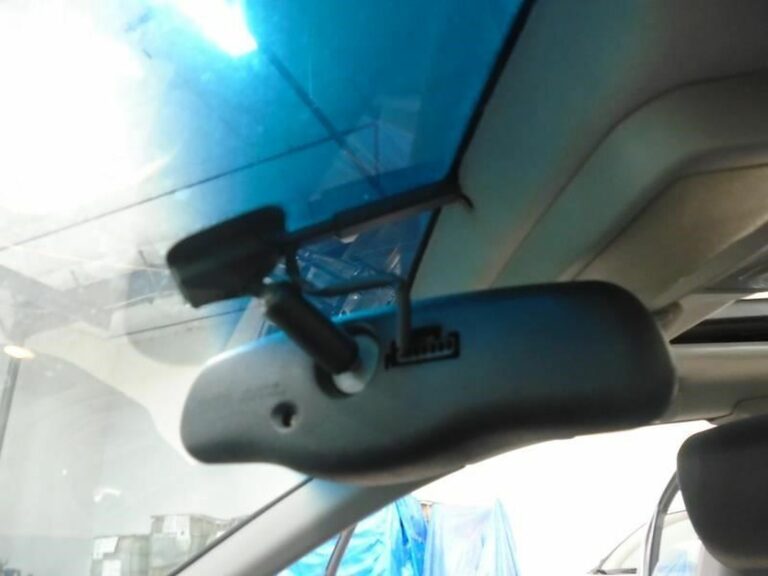
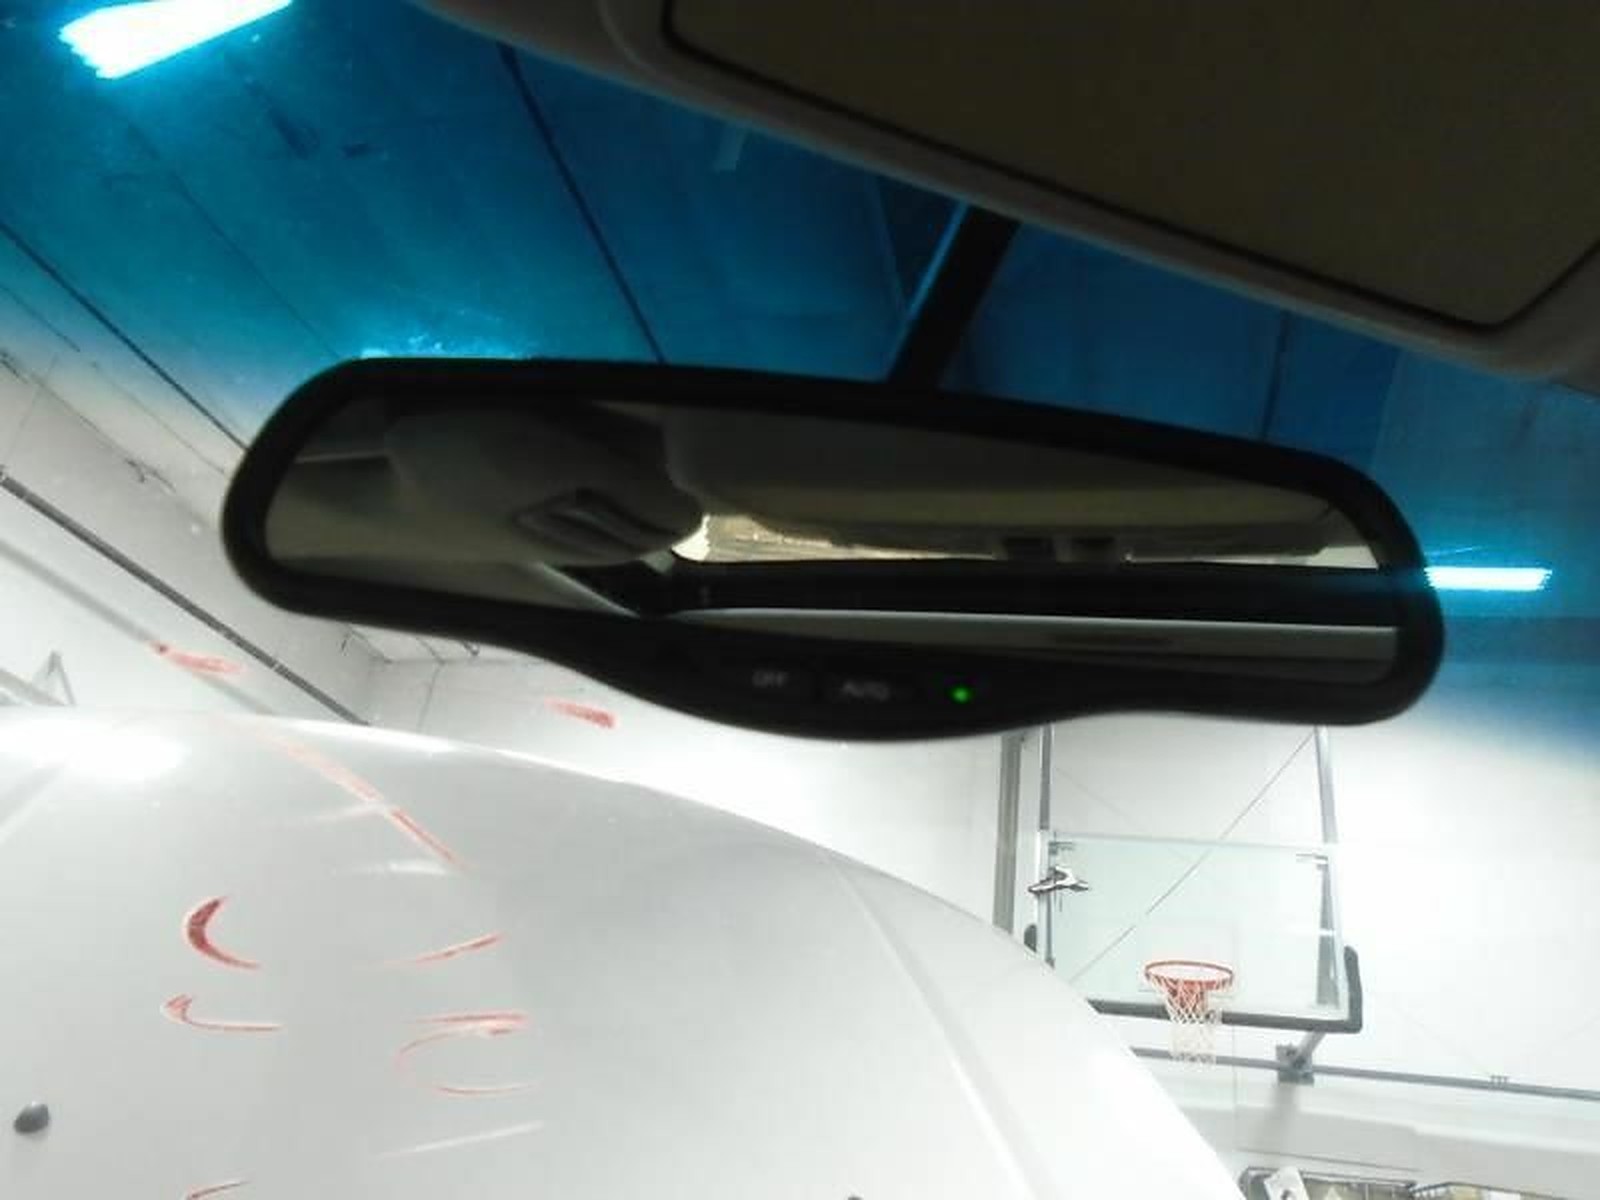
First unplugged the mirror to see if the fuse would blow and it didn’t. I put on a new mirror and all was good.
You can see the burnt mark on the mirror connectors. I just replaced it with a spare that I had. You can find them on eBay for around $20-$30 bucks shipped.
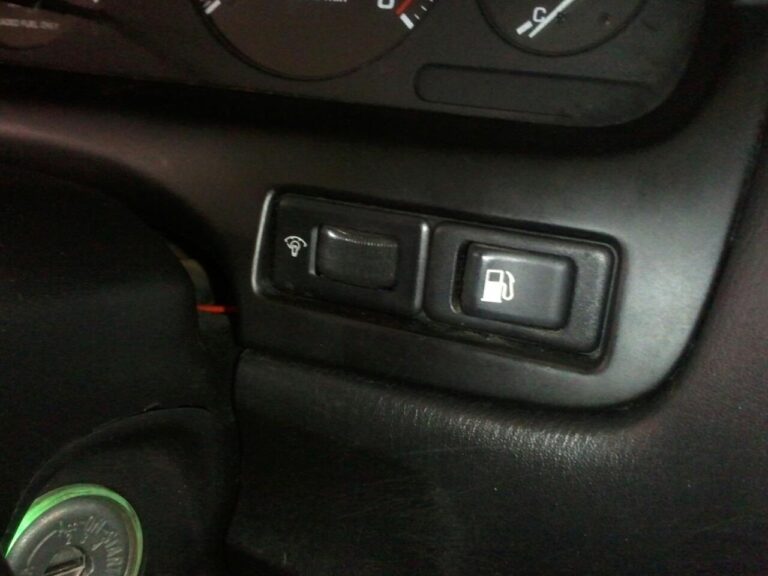
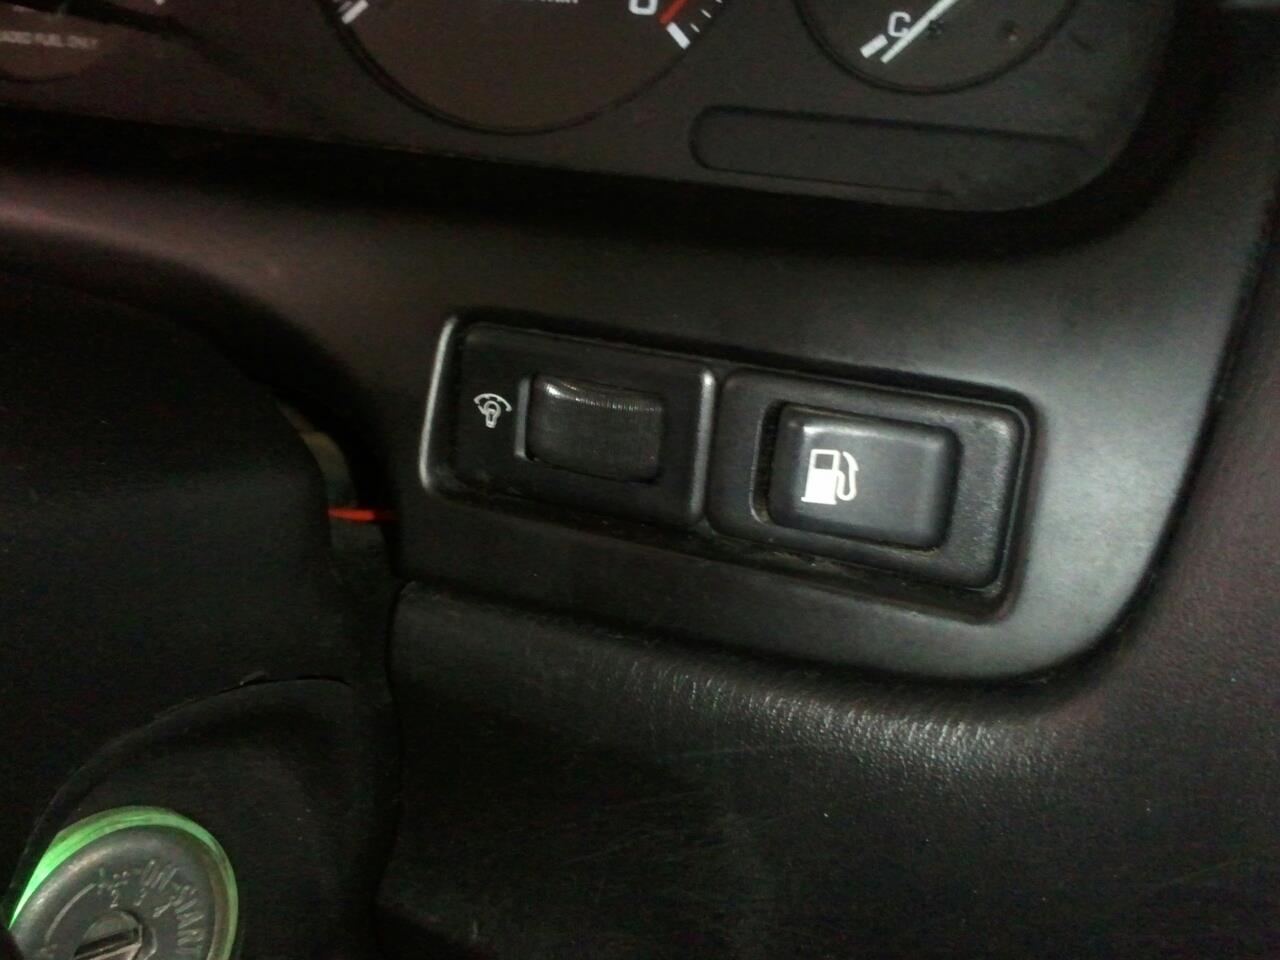
Instead of having a gas lever at the driver’s side seat, it’s a switch on the dash.
Also, you gotta have the power going into 1 specific wire. The actuator and switch are only 2 wires but you can have the actuator push against the latch instead of pulling it like I did a first. I just swapped the terminals in the connector. Extremely simple and very quick to install.
I spent less than $10 on everything.
Wire it from the trunk latch release fuse, then it should work without the key.