Credit: Chris Duke / Nelson Regalado
Notes:
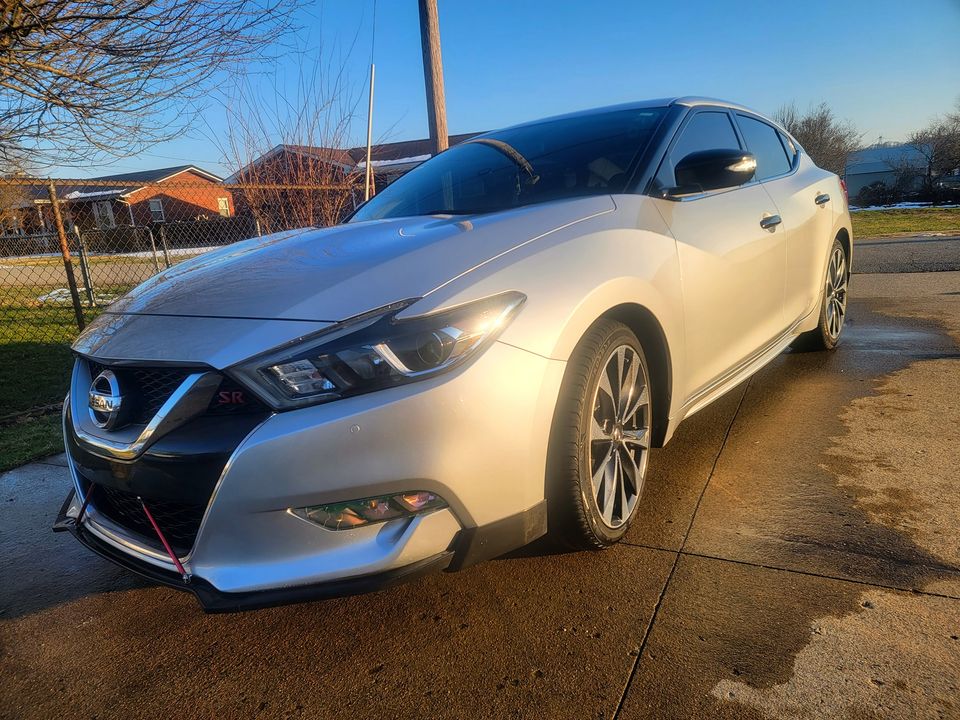
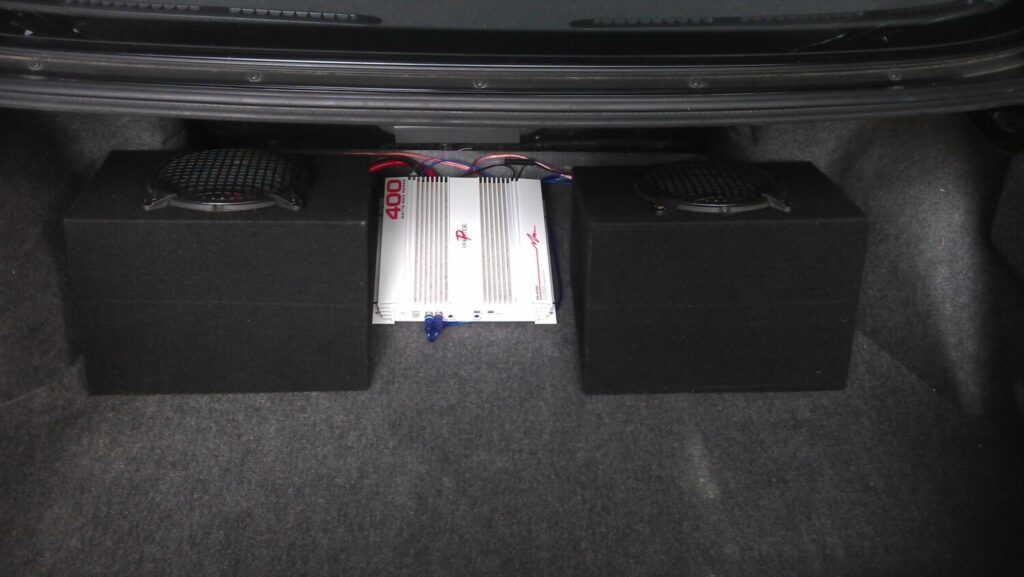
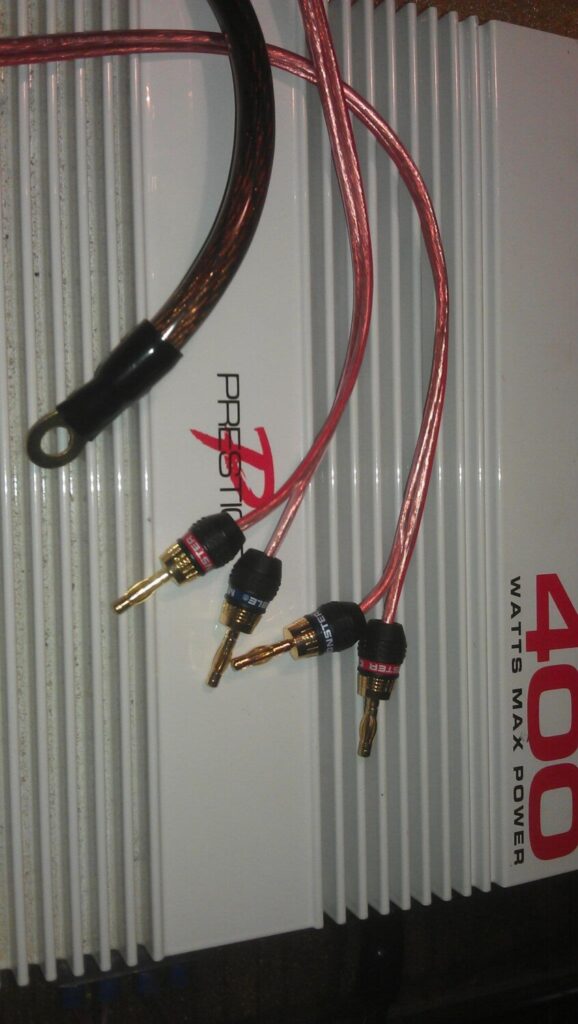
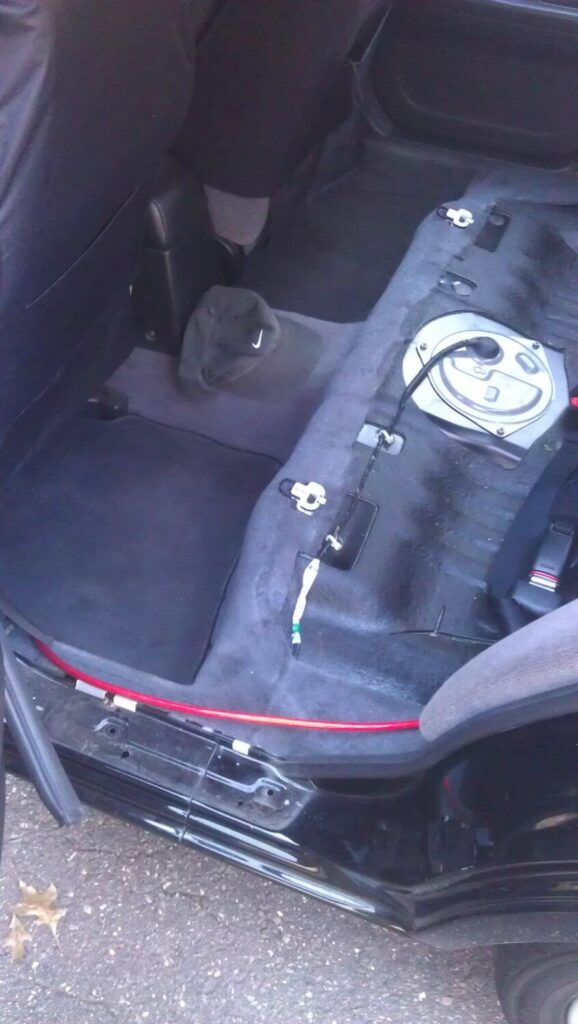
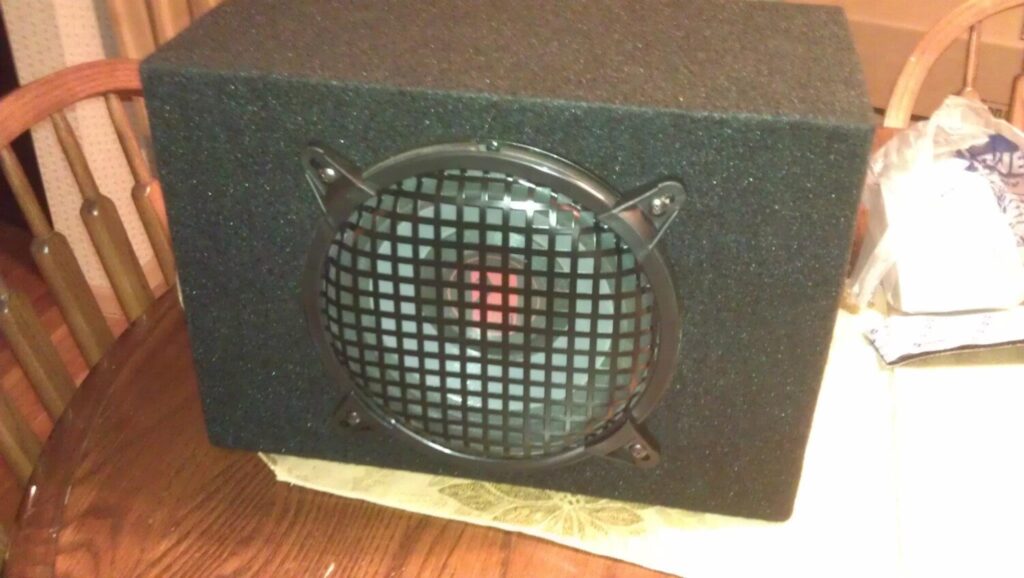
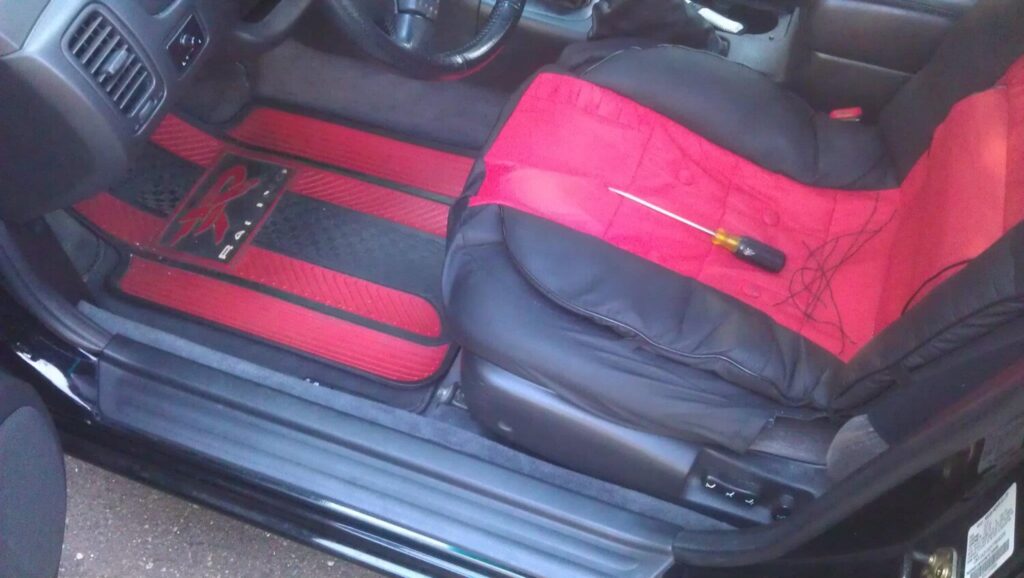
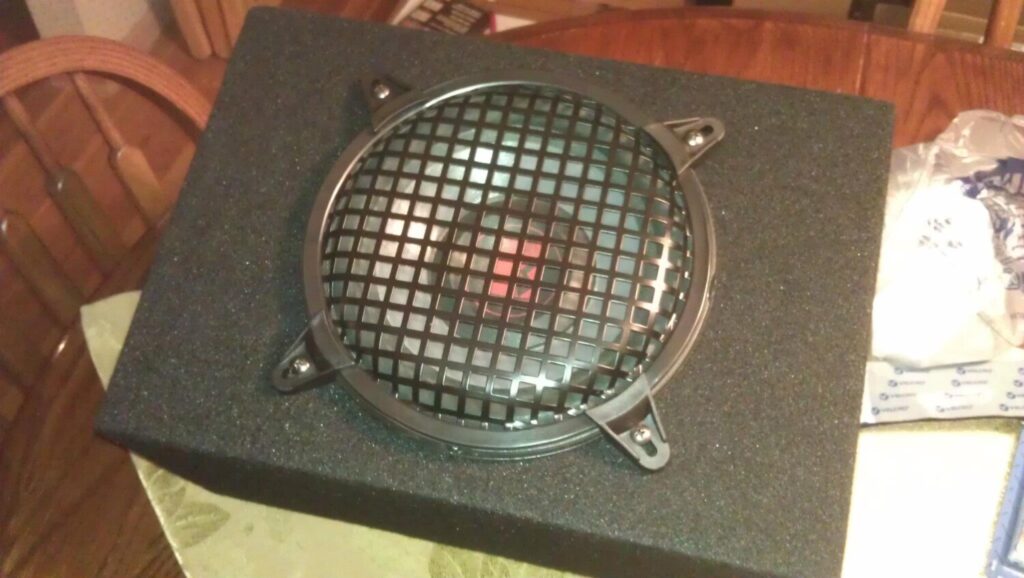
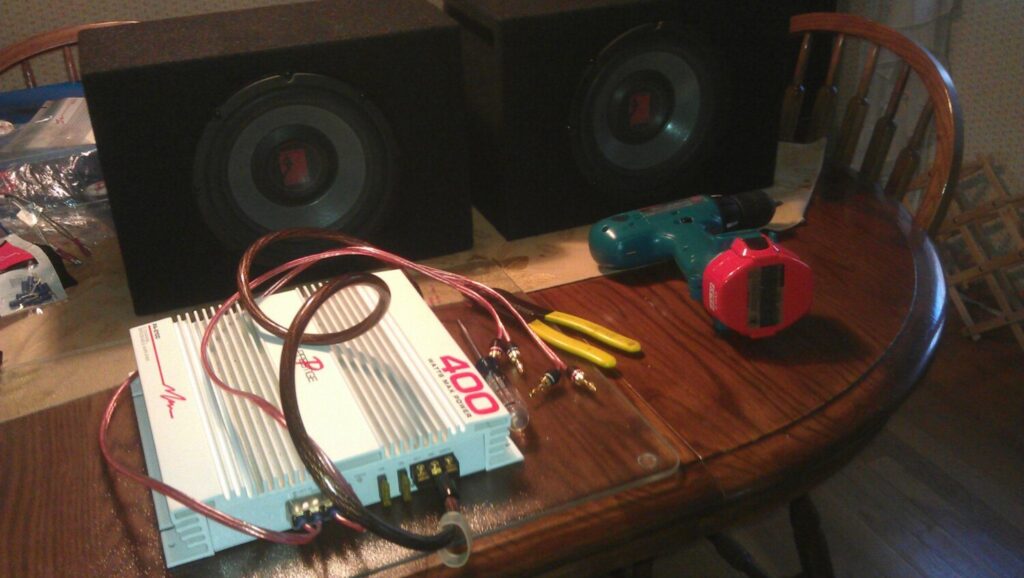
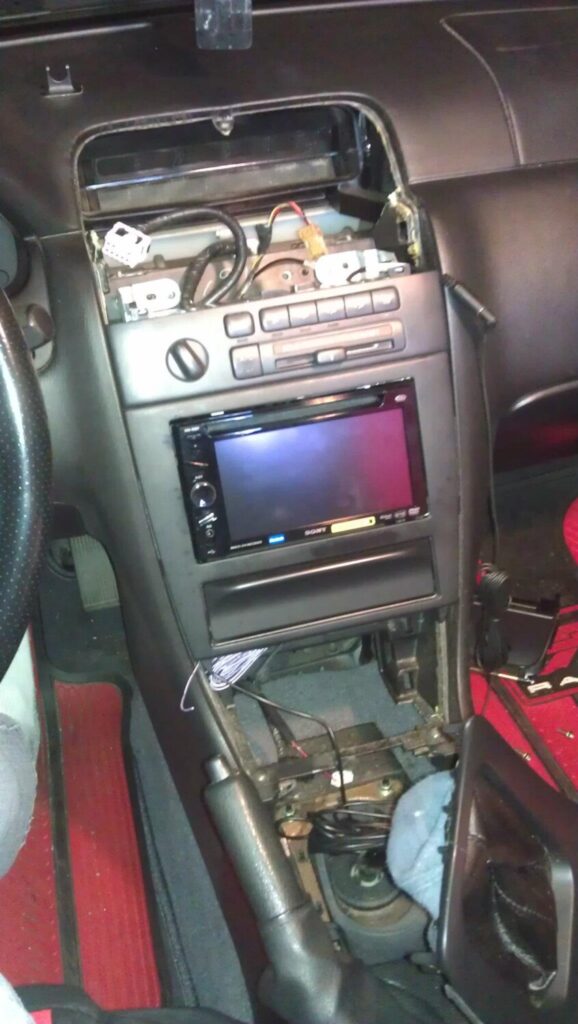
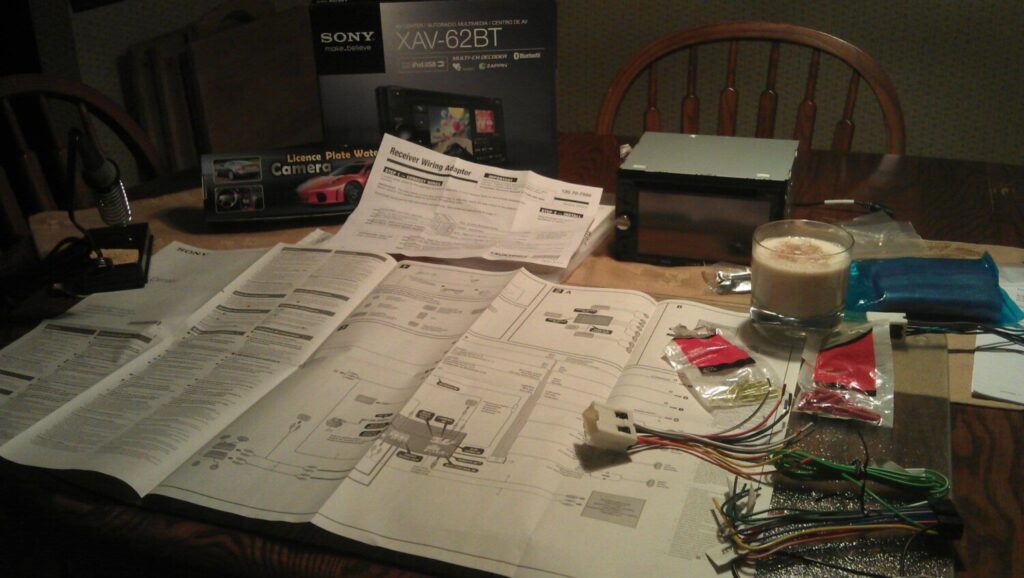
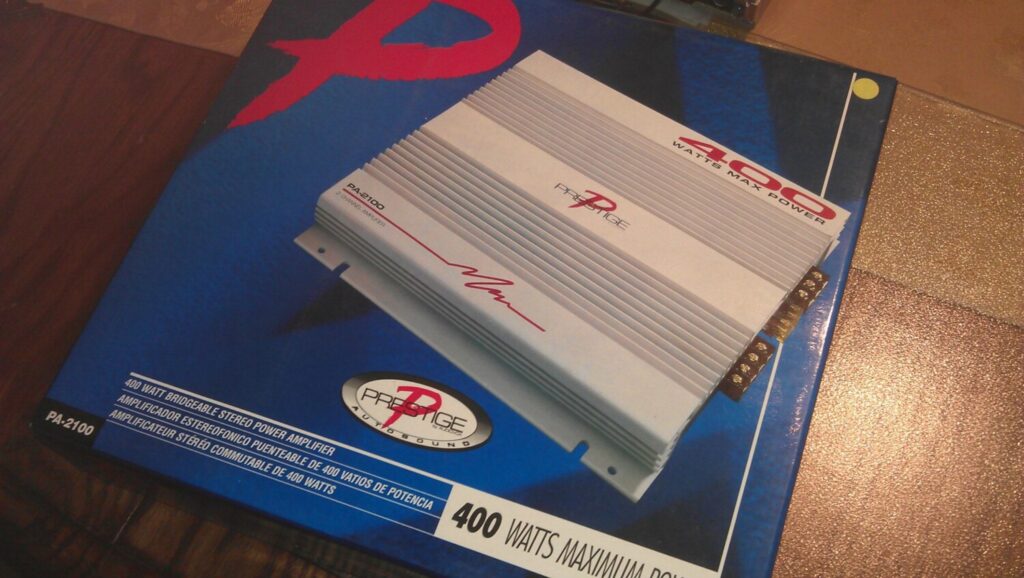
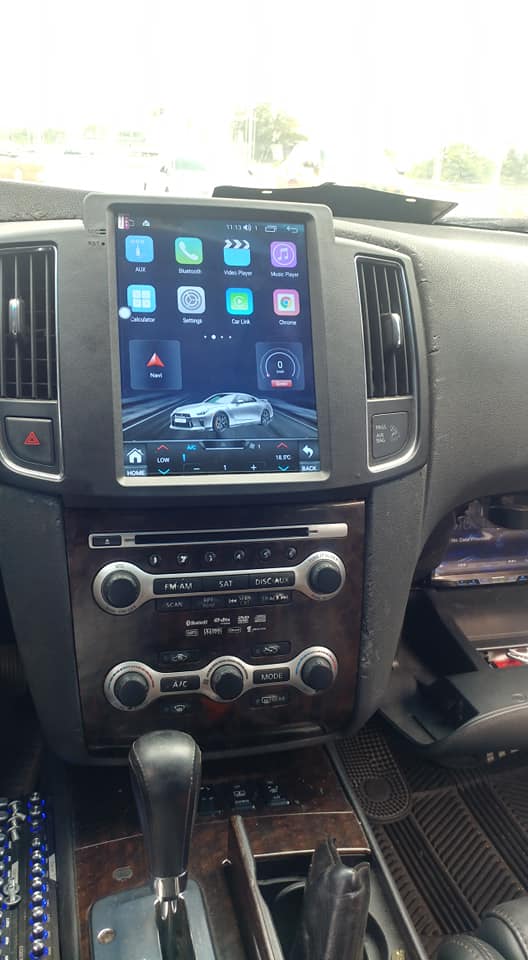
- 8″ JL Audio Subwoofer
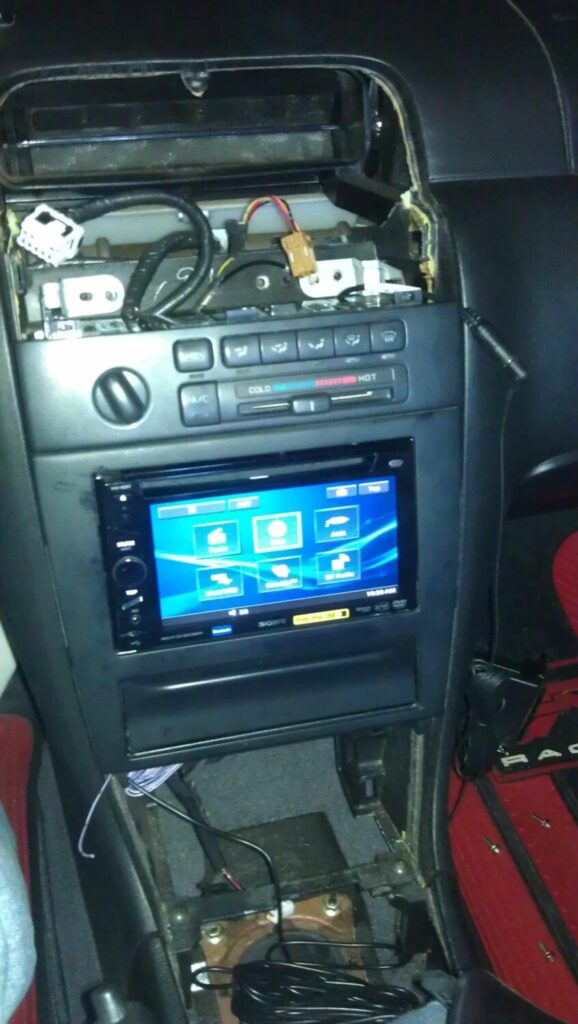
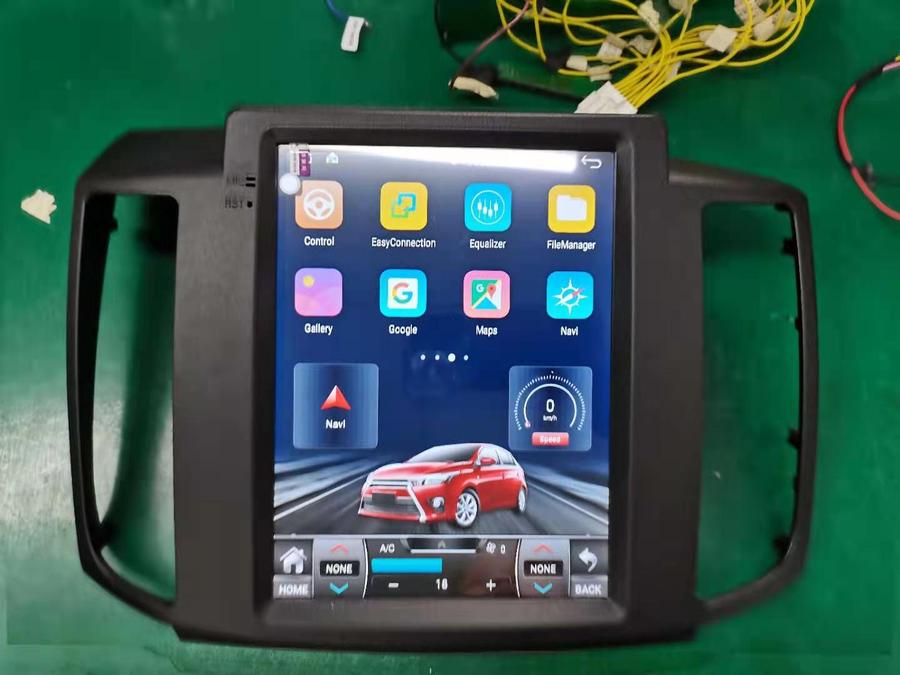
- 7″ Android Double Din
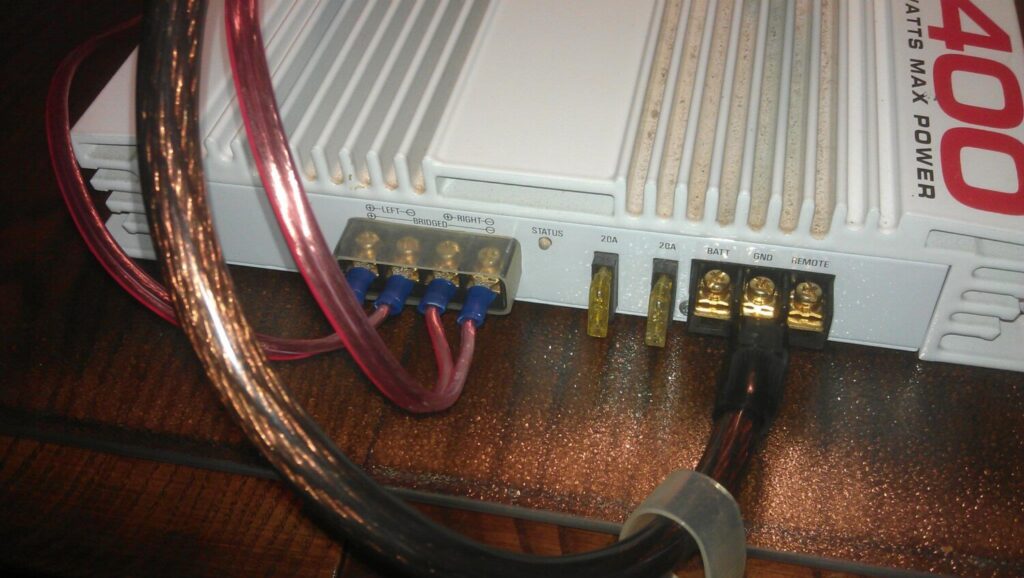
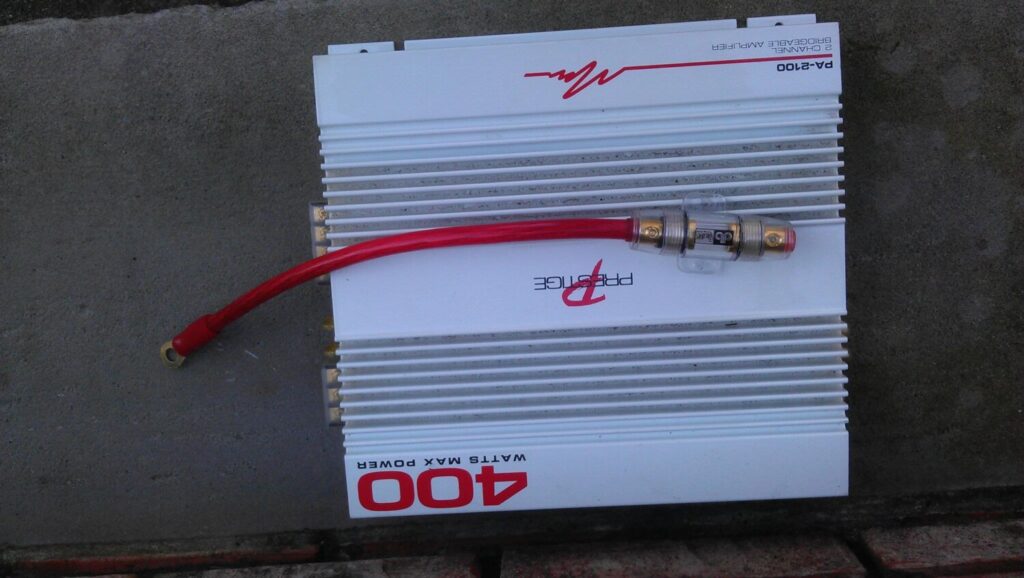
- Planet Audio AC1800.5 5 Channel Car Amplifier


![]()


")
Credit: Chris Duke / Nelson Regalado
Notes:
![]()

")
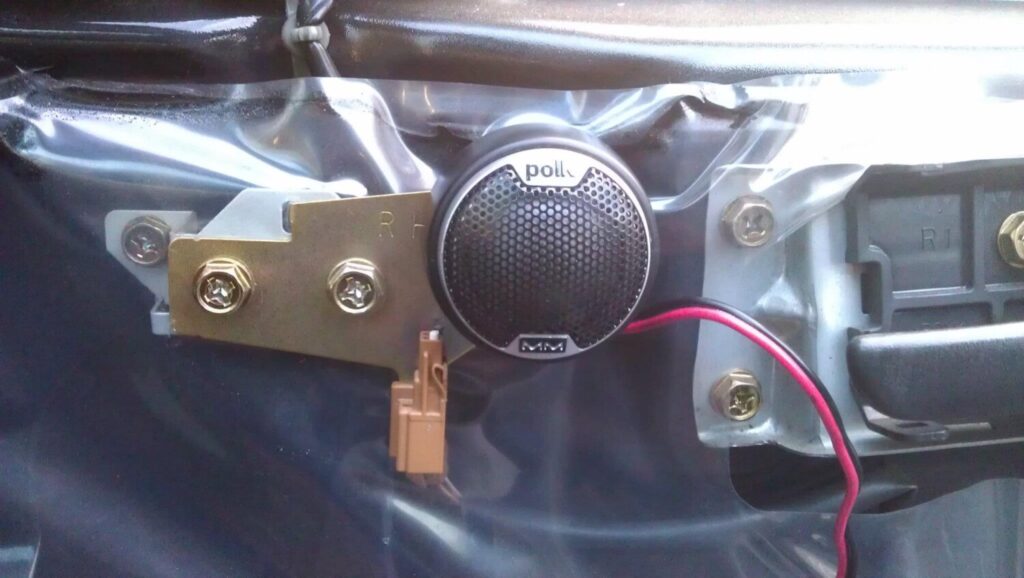
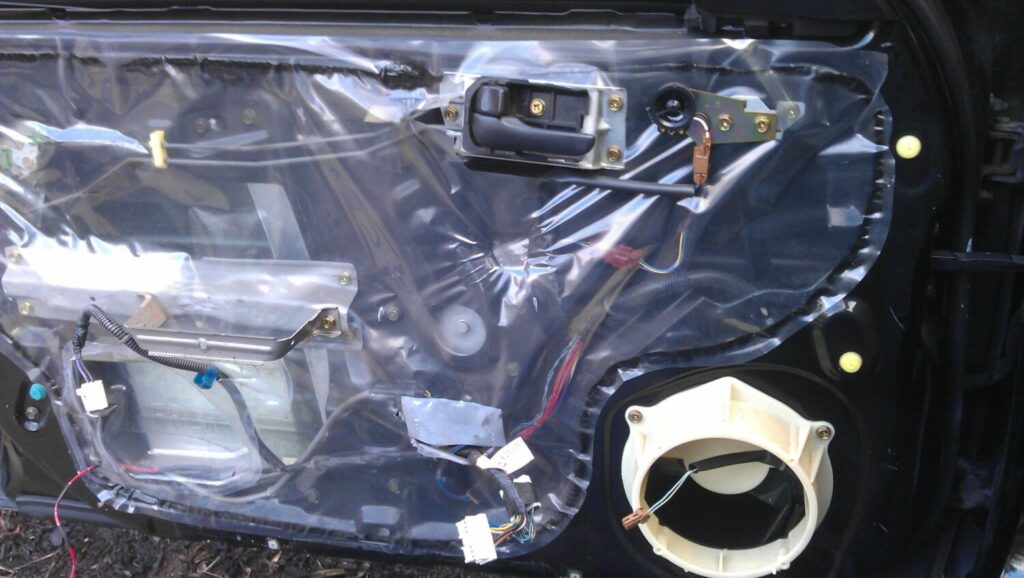
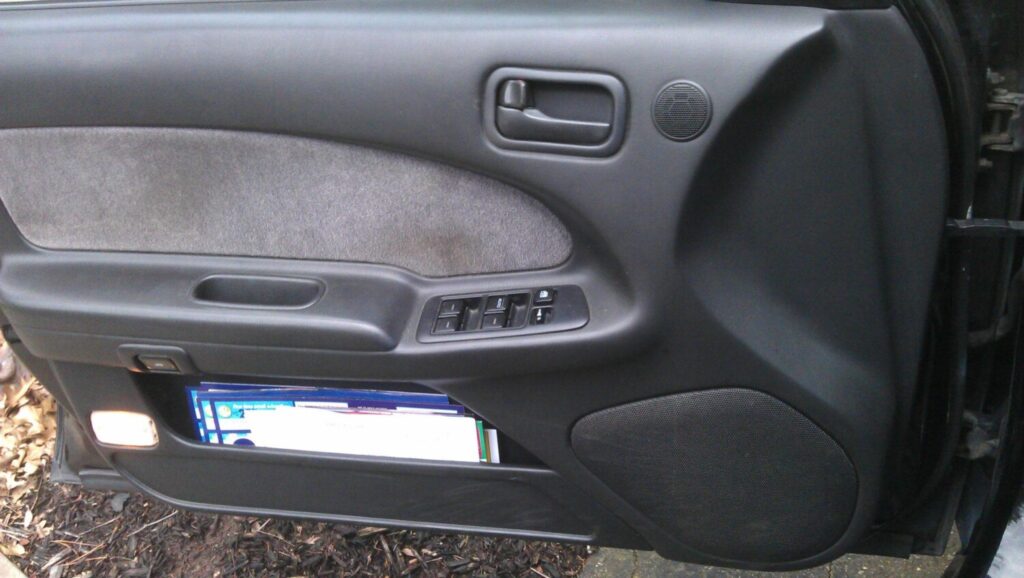
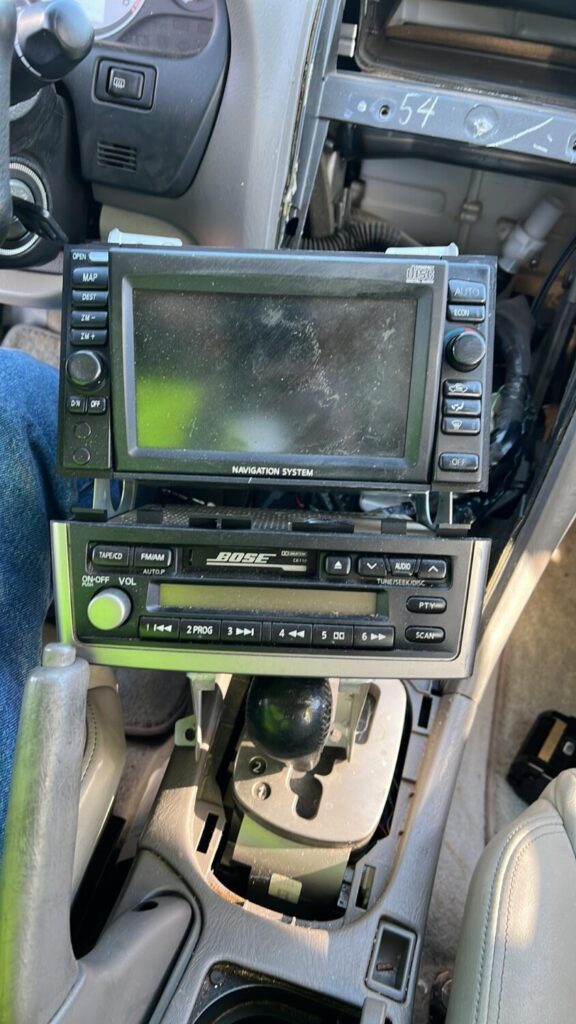
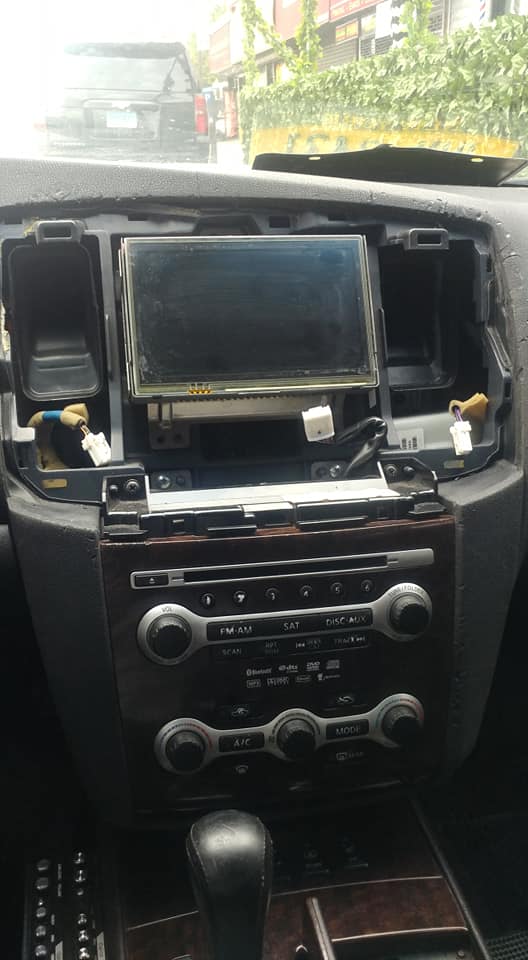
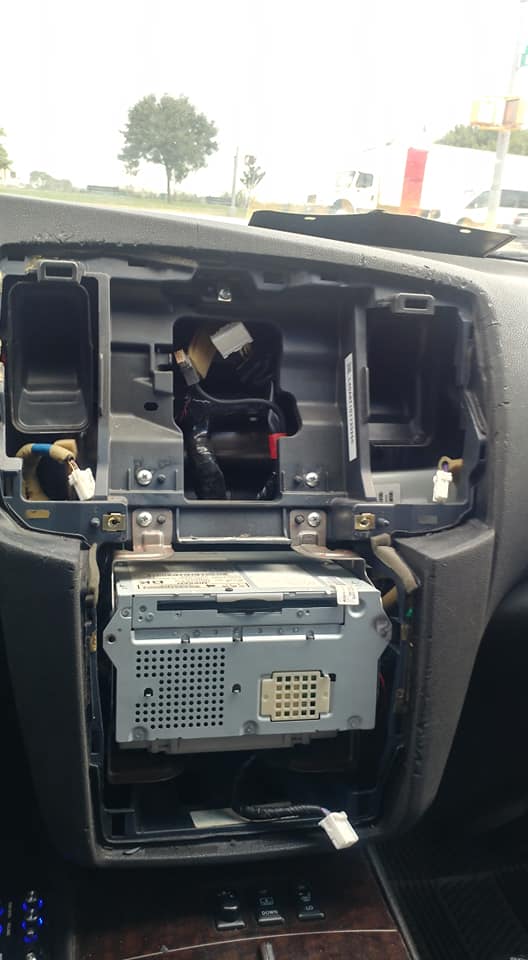
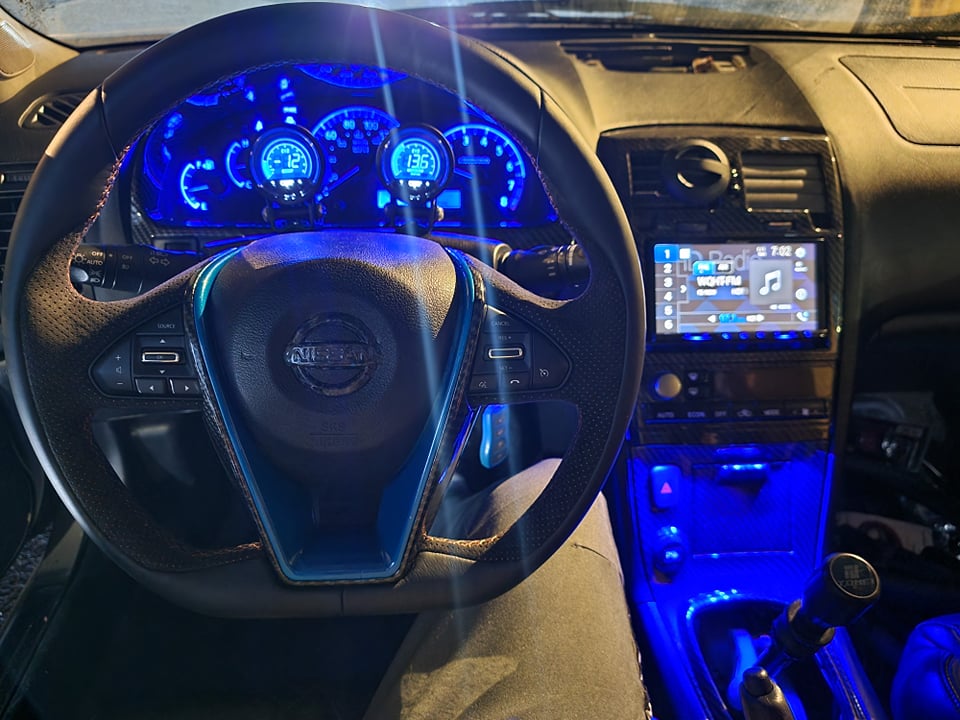
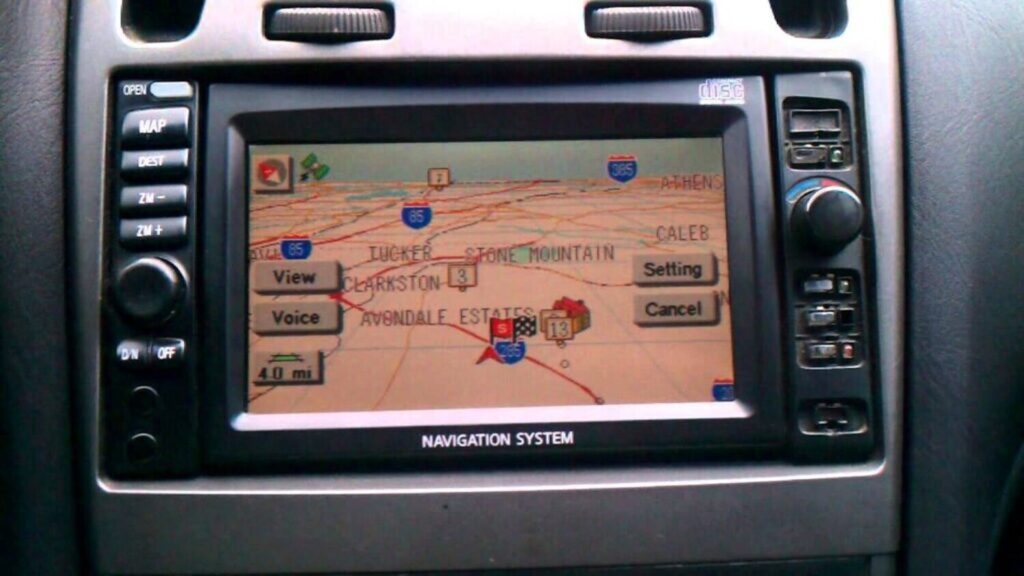
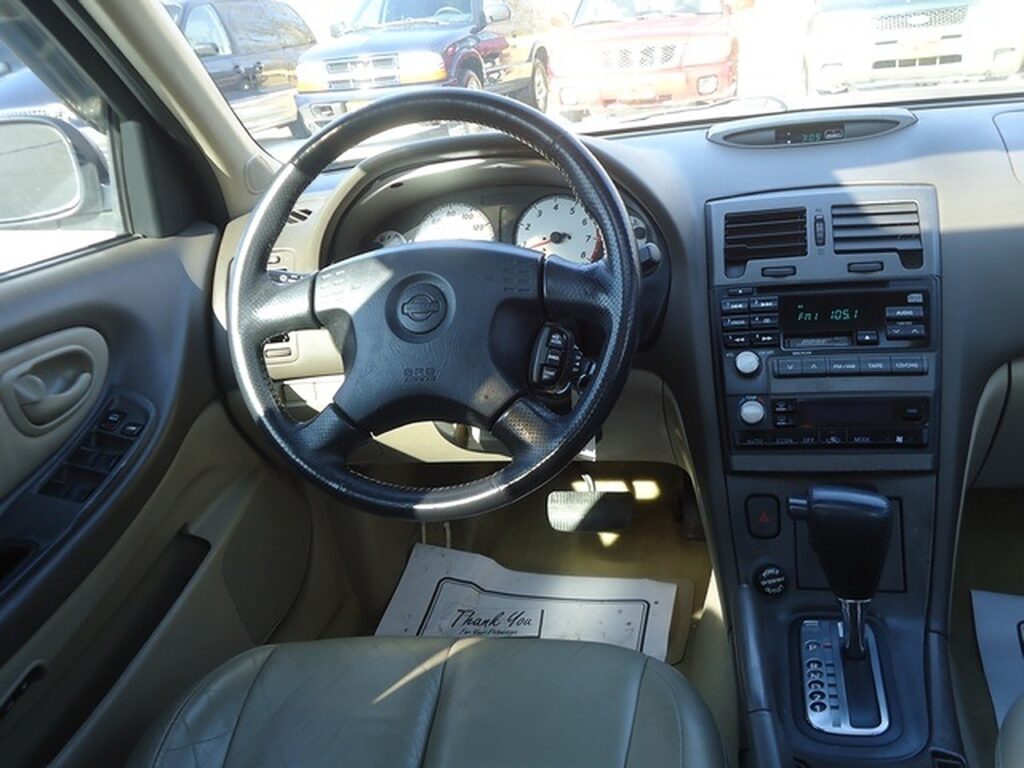
Reference photos of 5thgens that come with a factory navigation system.


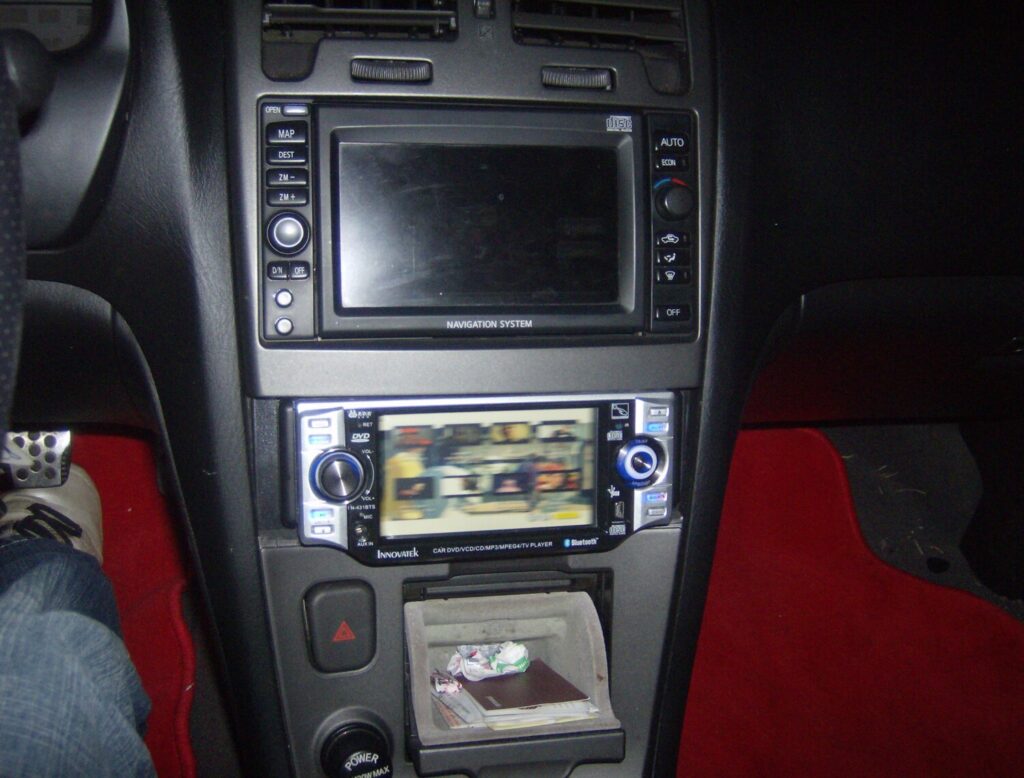

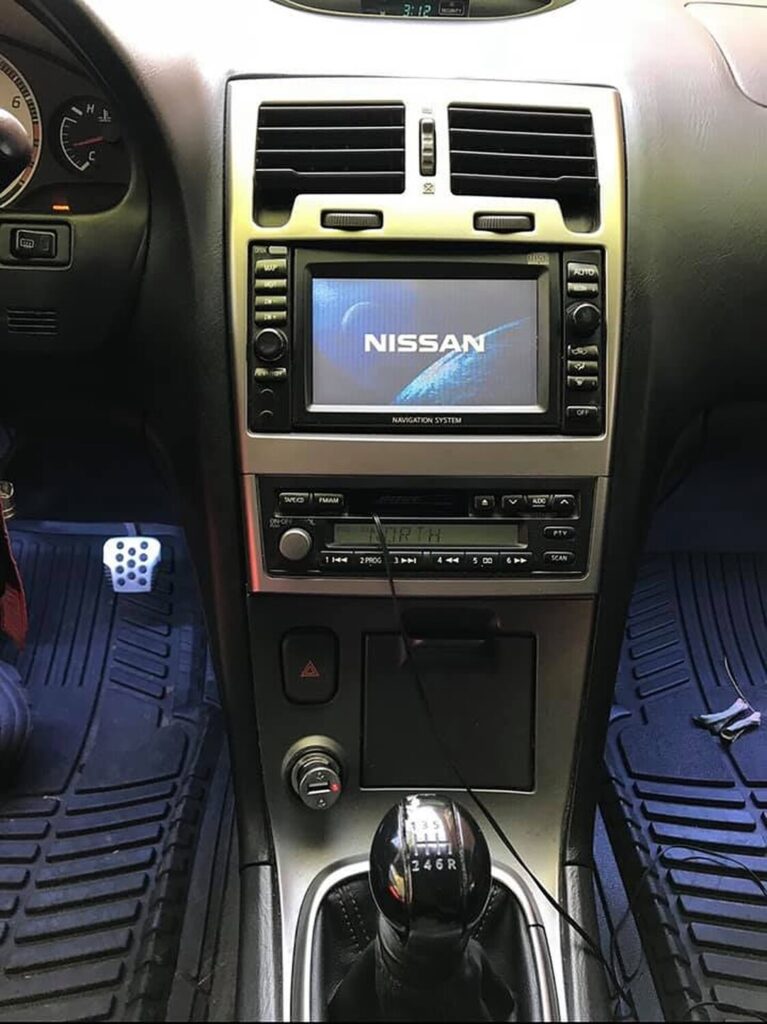
It is very common to see the buttons below missing. Here is what they are for reference.


![]()
")
Community Member Credit: Jesse S Williams
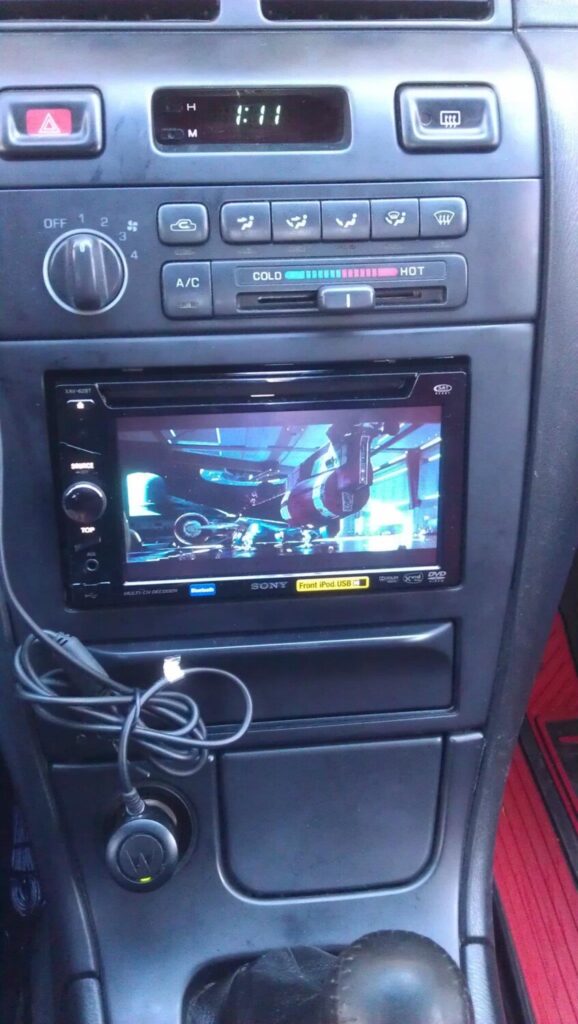
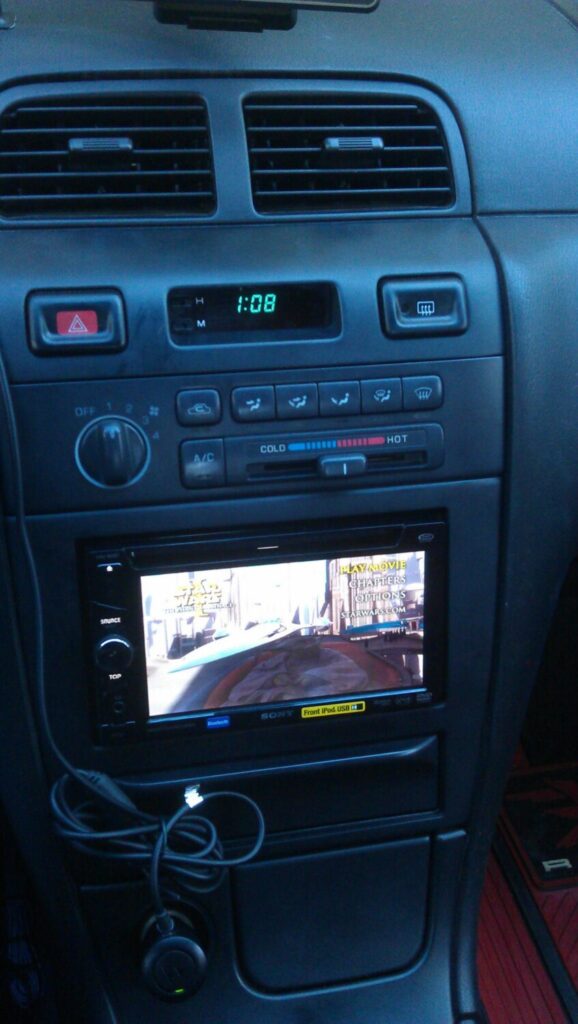
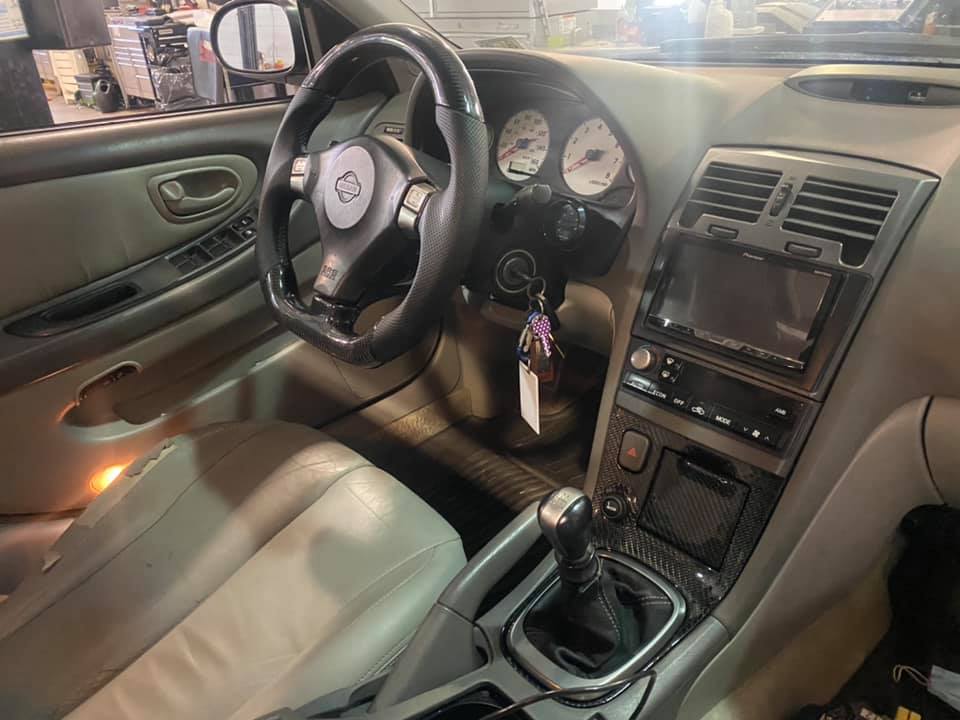
Model: ATOTO F7
Description: ATOTO F7 Double-DIN Car Stereo, CarPlay & Android Auto, 7in Touchscreen in-Dash Navigation GPS, Mirrorlink, Phone Charge, Bluetooth, HD LRV Input with Backup Camera, Mic, Max 2TB SSD&512G SD


![]()
")
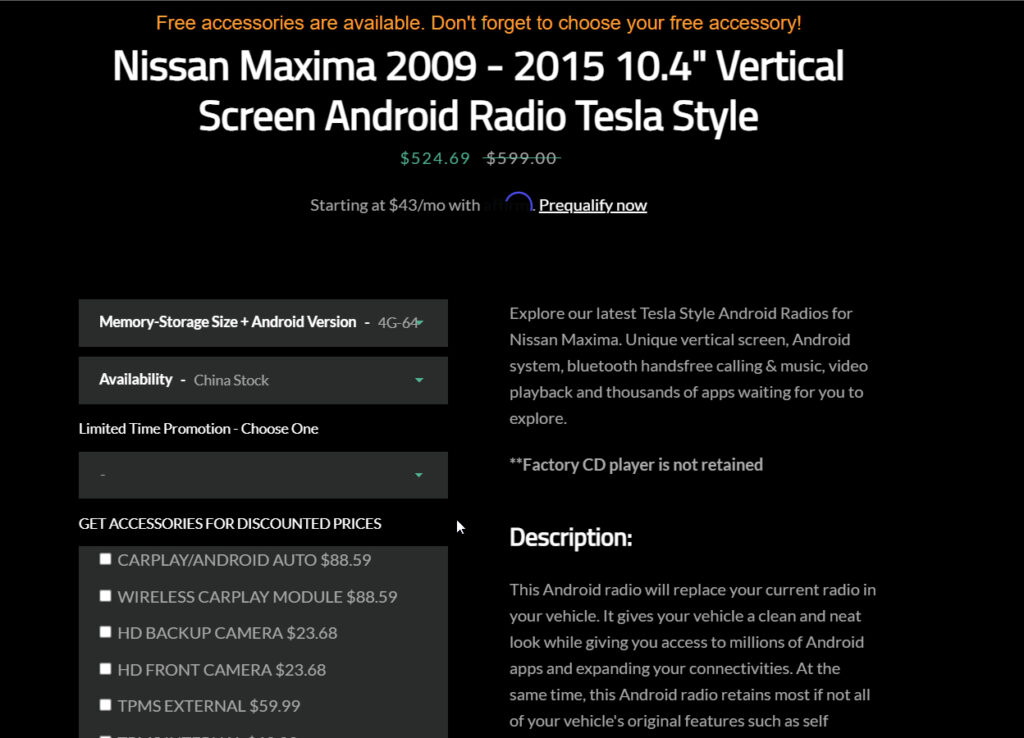
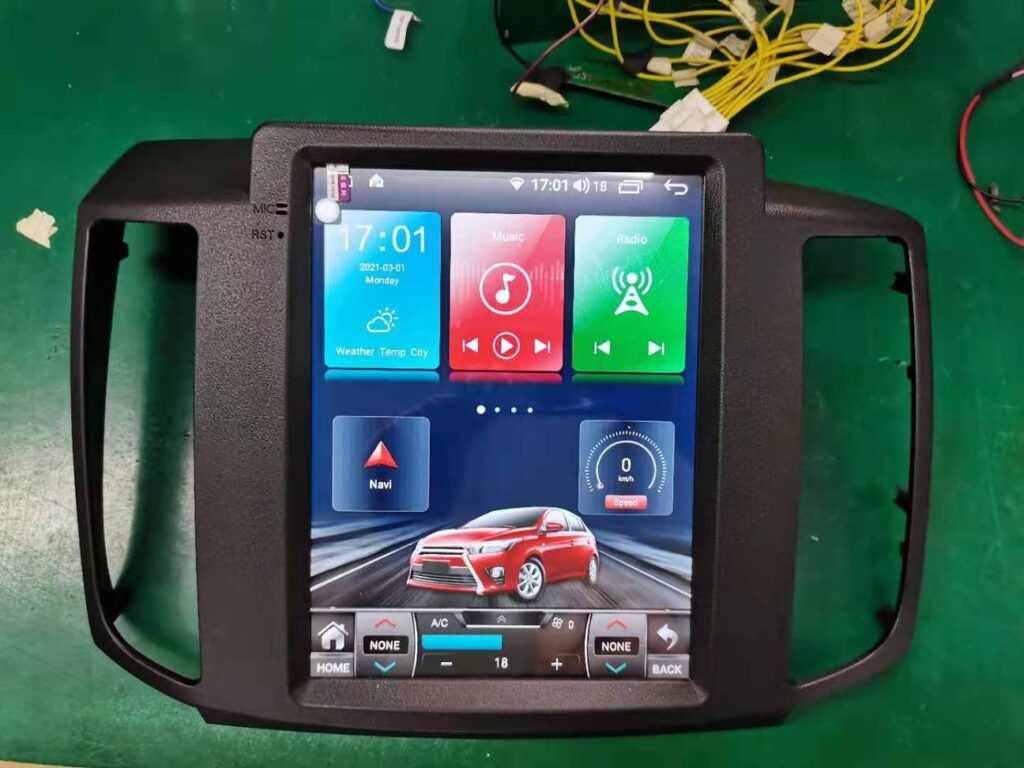
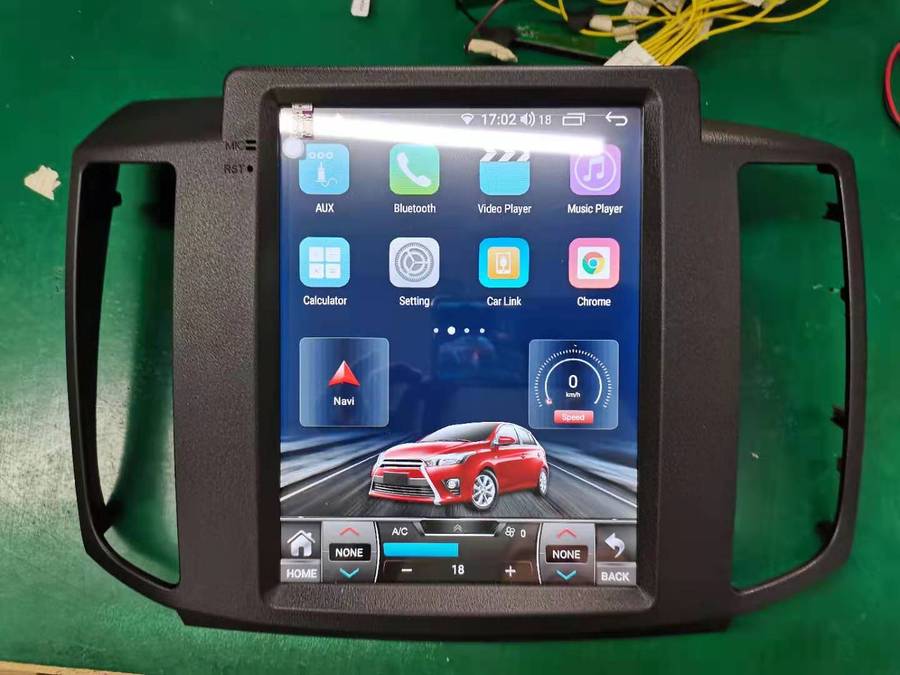
Community Member Credit: Richie Grazette
This Android radio will replace your current radio in your vehicle. It gives your vehicle a clean and neat look while giving you access to millions of Android apps and expanding your connectivities. At the same time, this Android radio retains most if not all of your vehicle’s original features such as self-parking and remote start. This Tesla style Android radio also serves as a platform for you to put on many add-ons to further expand your capability on the road. Some examples are HDTV, CarPlay & Android Auto module, portable DVD player, TPMS and more.
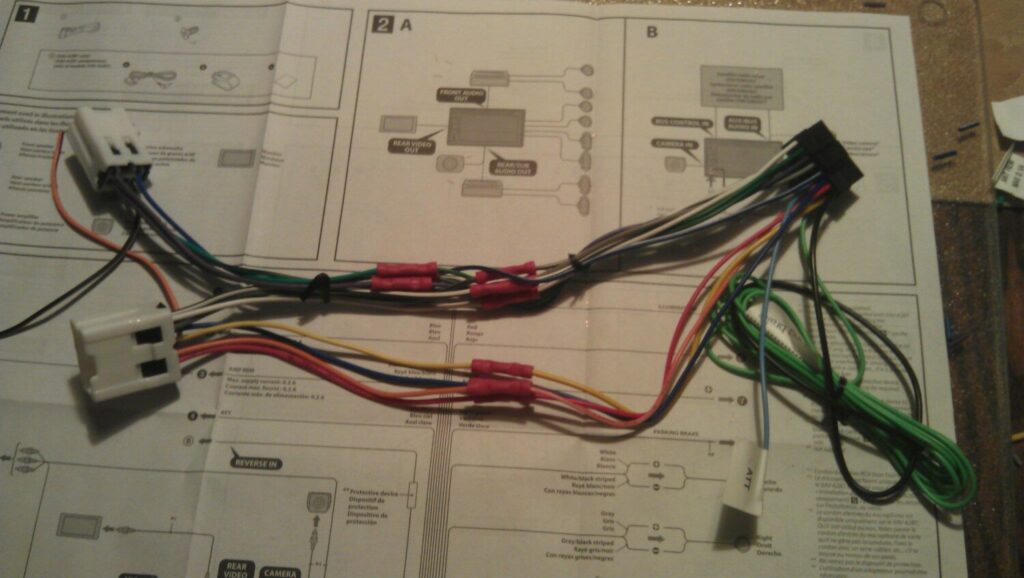
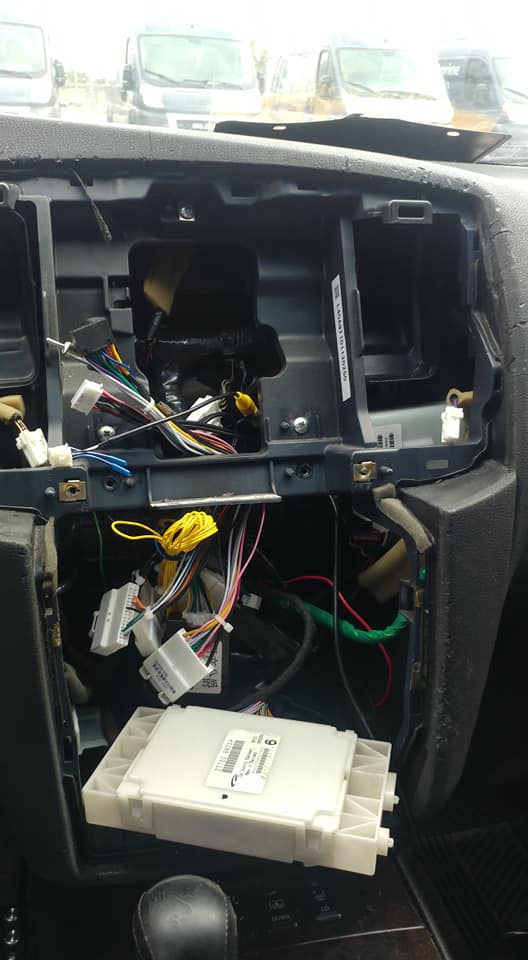
This Android radio is fully plug and play. It does not require any wiring or soldering. A set of complimentary Dash Removal Kit will be provided in the package.
Vehicle Information
AC and Heat


![]()


")
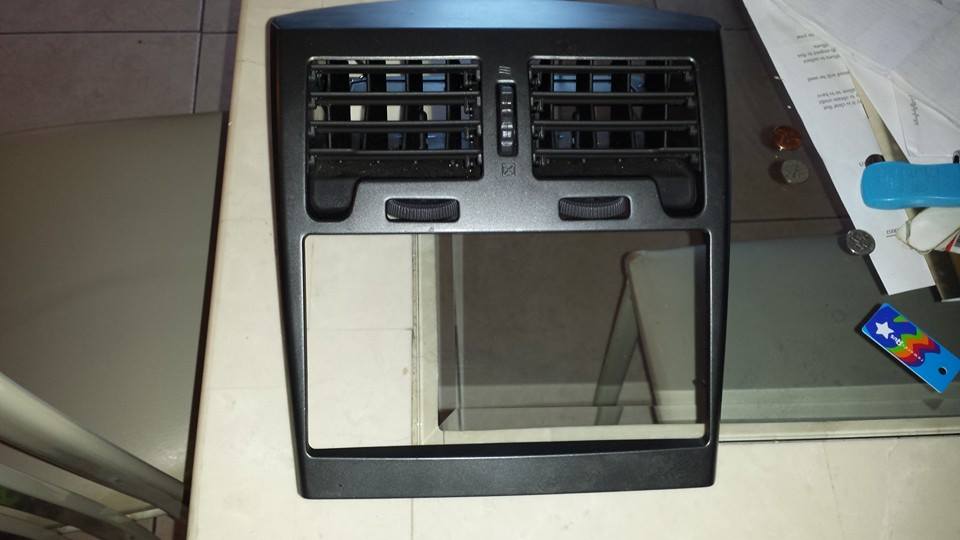
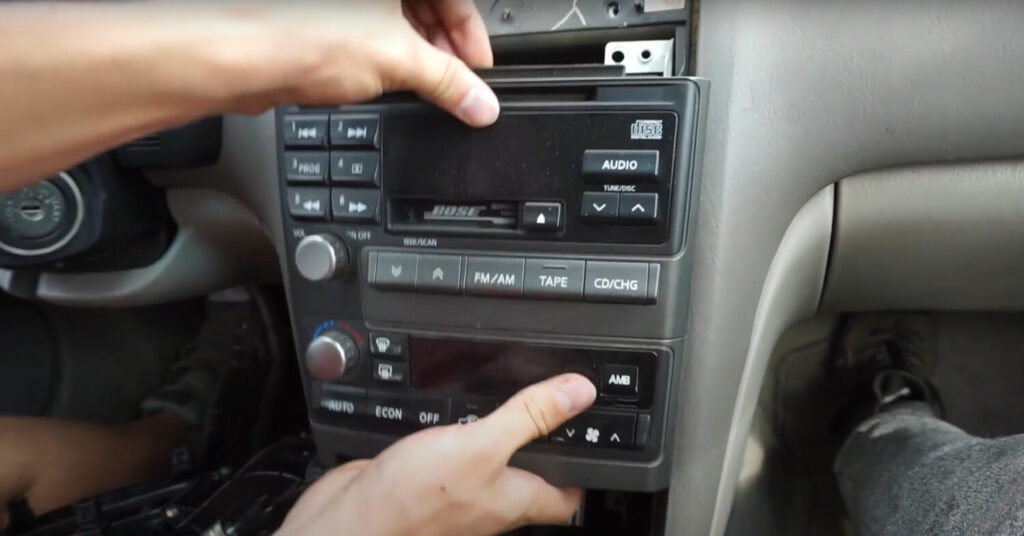
Community Member Credit: Jose Vargas
Top: 2000-2001 GXE Trim
Bottom: 2002-2003 Titanium Edition (TE) Trim


![]()

Community Member Credit: saig
If the fuse burnt, there is likely a short in your antenna component.

![]()

Community Member Credit: CS_AR
If your power antenna still works, consider yourself lucky. I have two Nissans with working antennas and two that have been destroyed by a clogged roof drain Y-pipe. The two that were destroyed by water damage happened before I bought the cars. So this is one of those maintenance items that will come back to bite if neglected for too long.
Each fall I like to clean and check roof drains along with coolant maintenance get ready for winter maintenance activities.
Over the years, I’ve replaced the roof drain Y-Pipes with OEM replacements to avoid problems with the roof drain backing up and causing other damage. The problem is the original metal roof drain Y-pipes will rust and clog causing water from the roof drain to back up into the power antenna motor.
Replacing the power antenna motor can be an expensive and/or time consuming task. So I with this thread I want to share a low cost alternative to the metal roof drain Y-Pipe.
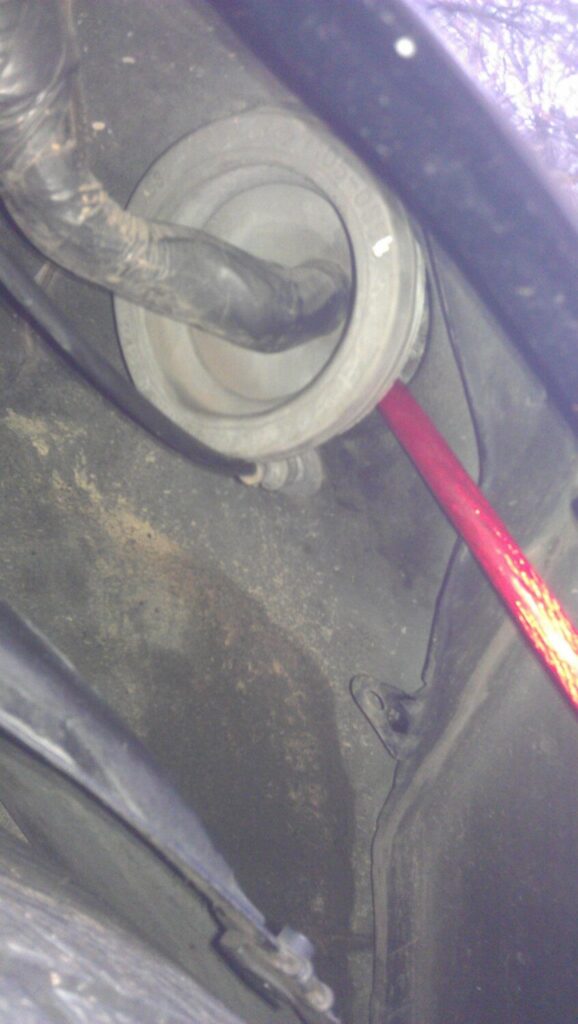
Located below the jack mount in right hand side of the trunk is a roof drain Y-Pipe that is intended to vent water from the sunroof and power antenna out behind the right side rear wheel.
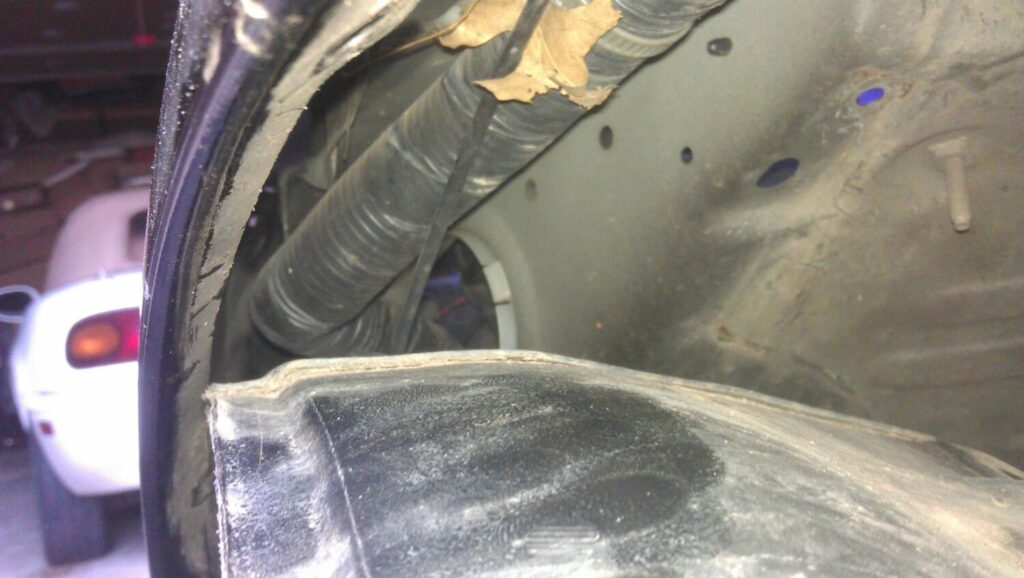
Here’s a picture of a clogged and corroded Y-pipe below. This Y-Pipe was so corroded and rusted on the inside that I could not clear the clog using coat hanger wire. Really when the Y-pipe is this bad, there is no point in trying to save it. Just replace it.

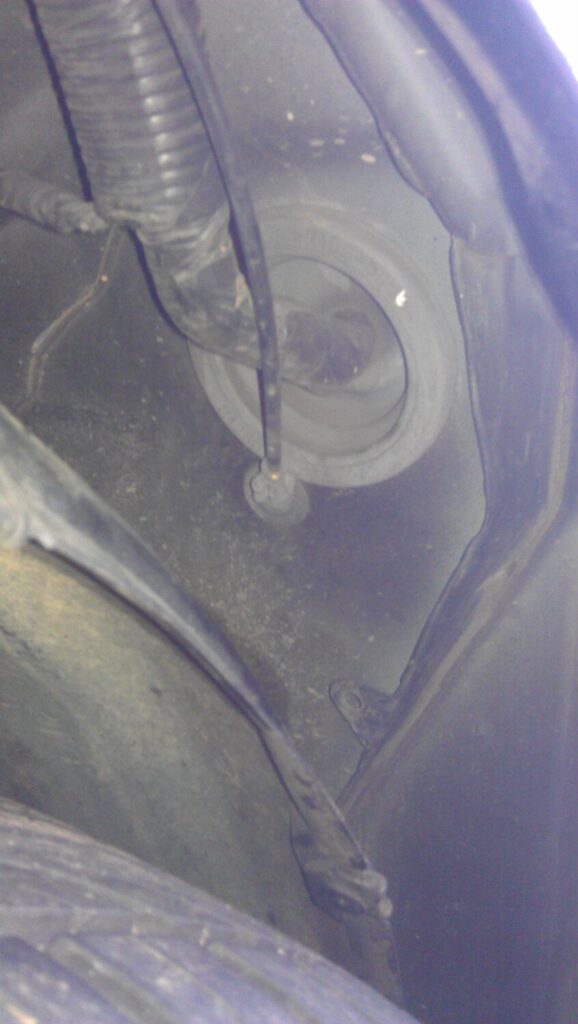
Here’s a picture of the Y-pipe and the boot that you will see behind the right rear wheel. The Y-pipe was designed to merge water from the right rear roof vent with the antenna drain and allow it to exit the body cavity just below the jack mount.

This afternoon I went to my local Ace Hardware and purchased a Watts Nylon barbed end splicer and connector.
The Splicer (reducer) is a 1/2 in ID x 3/8 in ID – Part Number PL-427. This works for connecting the roof drain hose to a 3/8 in ID connector – Part Number PL-310
I connected the roof drain hose to the splicer in this picture.

Then I connected the splicer from the roof drain and the antenna drain to the connector T. The connector T will drain out out of the fender cavity through the regular boot that is shown in the 2nd picture. The short tube in the picture connects to the drain on the bottom of the power antenna motor.

Here’s a picture of the new connector T that replaced the original metal Y-Pipe.

I made a final revision to remove the extra hose between the connector T and the splicer in the picture below. I wanted the two barbed ends to touch inside the hose.

Here’s a picture of the hose clamp that I added to the antenna drain nipple. I had problems with the hose coming loose from the antenna after installation. It won’t come loose now.

I hope this post saves a club member’s 4th gen the damage that a corroded metal Y-pipe can cause.
Cheers!
![]()