Original Music Credit: TrixXx (Brian B.)
I was finally able to get a hold of Brian who made this song back in 2009 for the Maxus09 event. I couldn’t find it for years. But here it is. This deserved its own official post.
Thanks Again Brian.



Original Music Credit: TrixXx (Brian B.)
I was finally able to get a hold of Brian who made this song back in 2009 for the Maxus09 event. I couldn’t find it for years. But here it is. This deserved its own official post.
Thanks Again Brian.
Member Credit: 415Max96
So I installed Polk DB6500’s and DB650’s (rear) today, managed to snap a few pics:
INSTALLING REARS
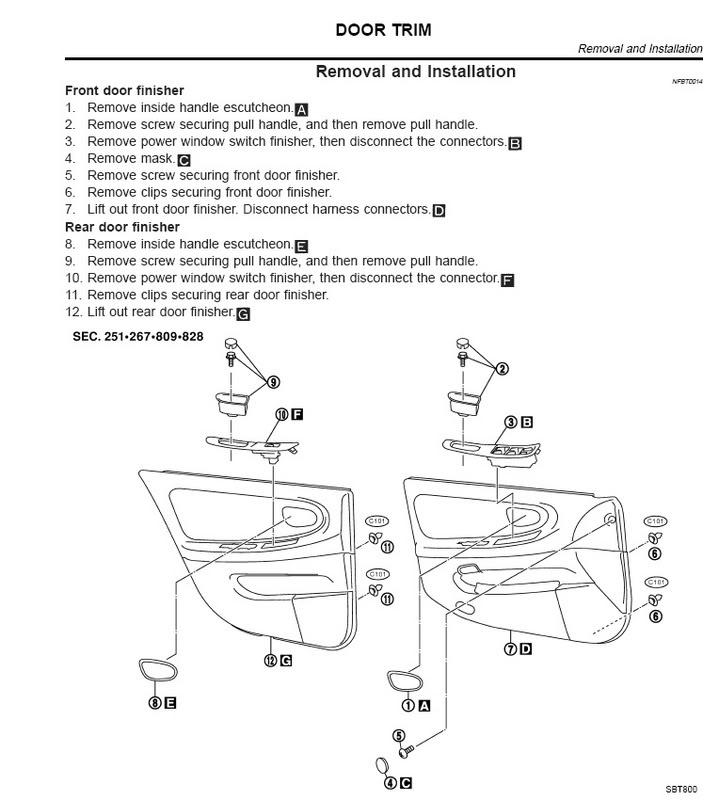
1. Start by taking off the doors.

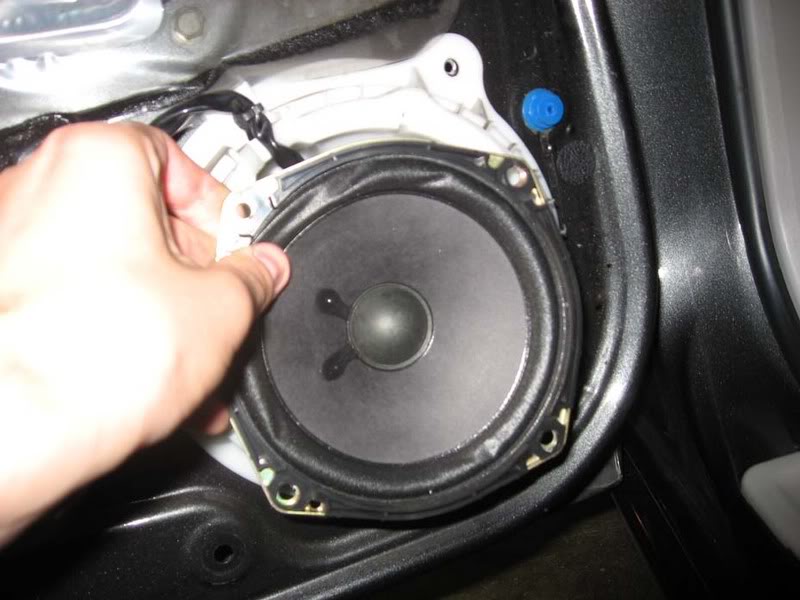
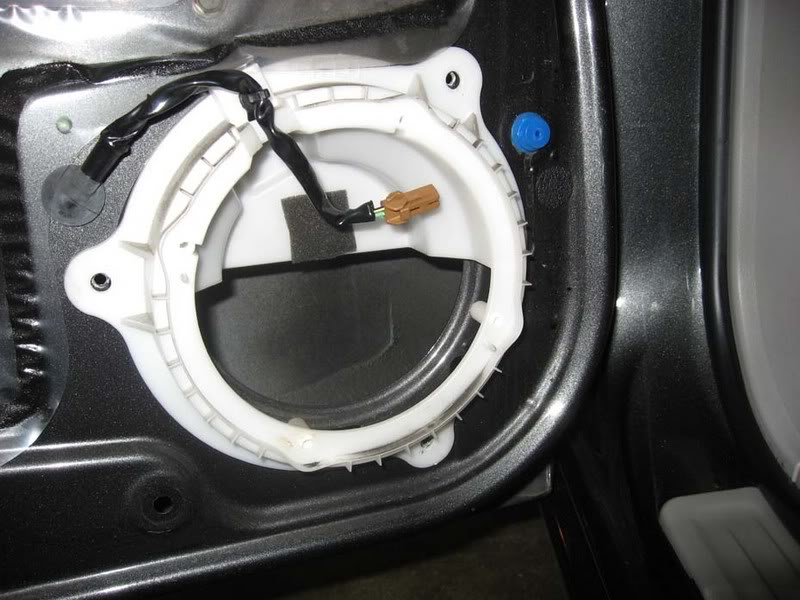
2. Rear bose speaker is a 5.25 attached to a protective plastic piece. unscrew speaker and disconnect

— you will have this left, now remove the white piece, its held by three screws
3. The new 6.5″ polk met some resitance from white piece, the trim on top did not alow the speaker to fully submerge so a trimming had to be made
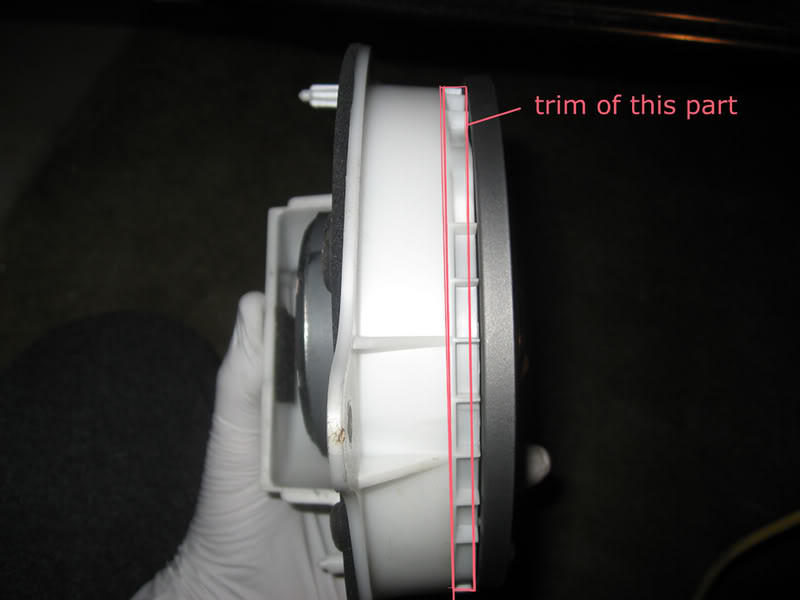
—————->
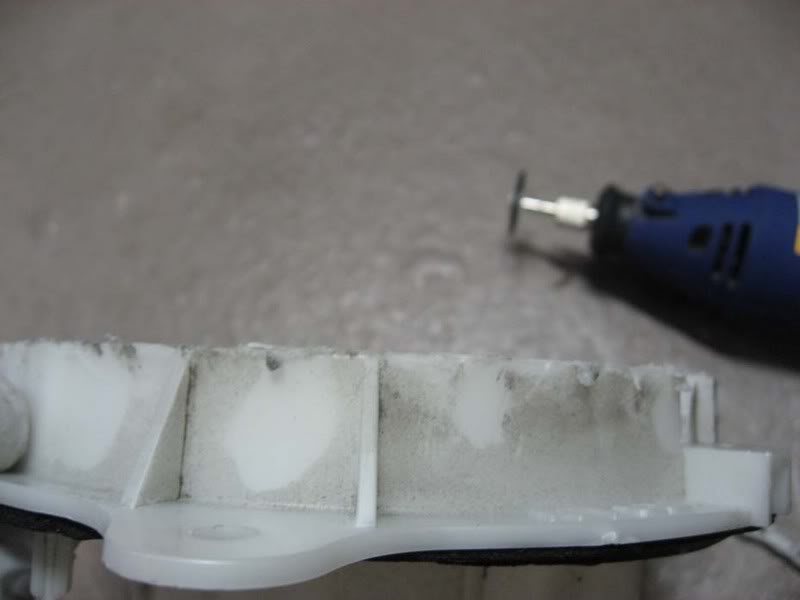
4. Attach the new speaker, if it comes with the foam padding, place it between speaker and the white piece
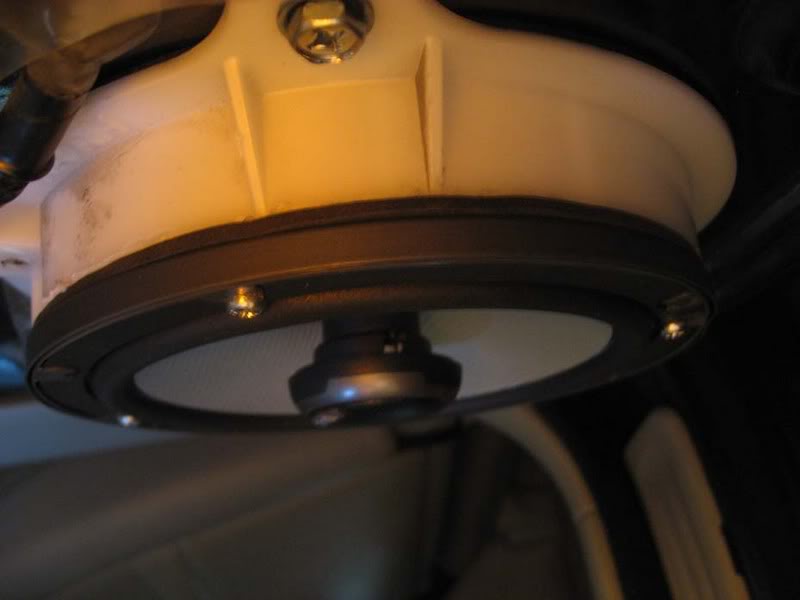
5. Easy as cake, make sure evrything works and remember to put all plugs back in their respective places, put door back on and your ready to get crackin with the fronts 
THE FRONTS
1. Refer to step 1 in rear doors and remove front door panel.
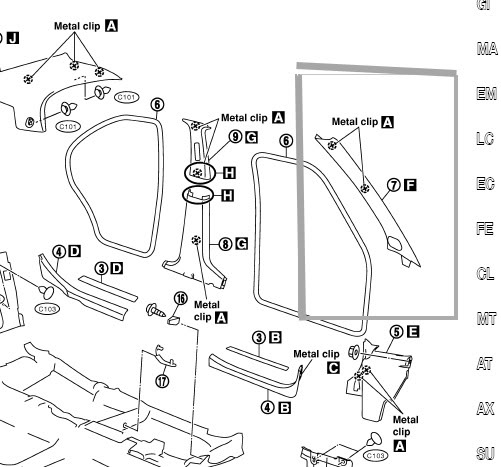
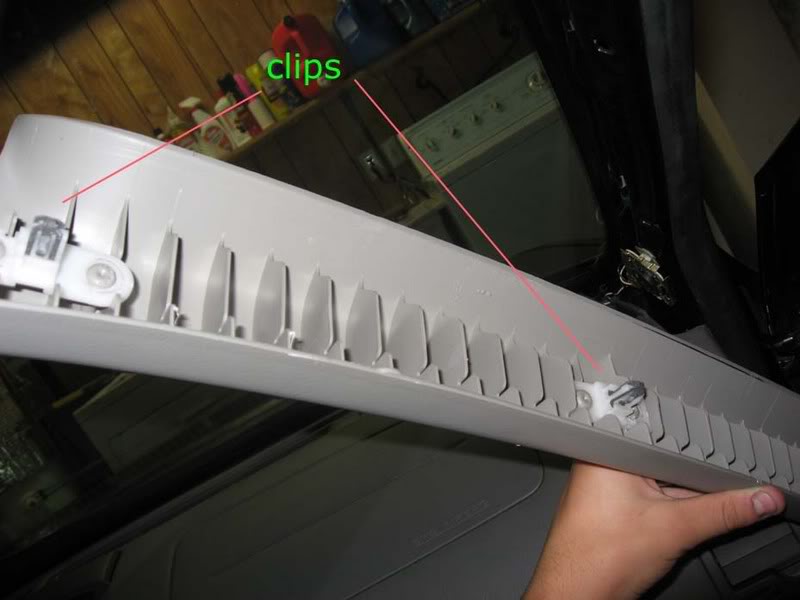
2. Remove the A-Pillar, its help by to clips
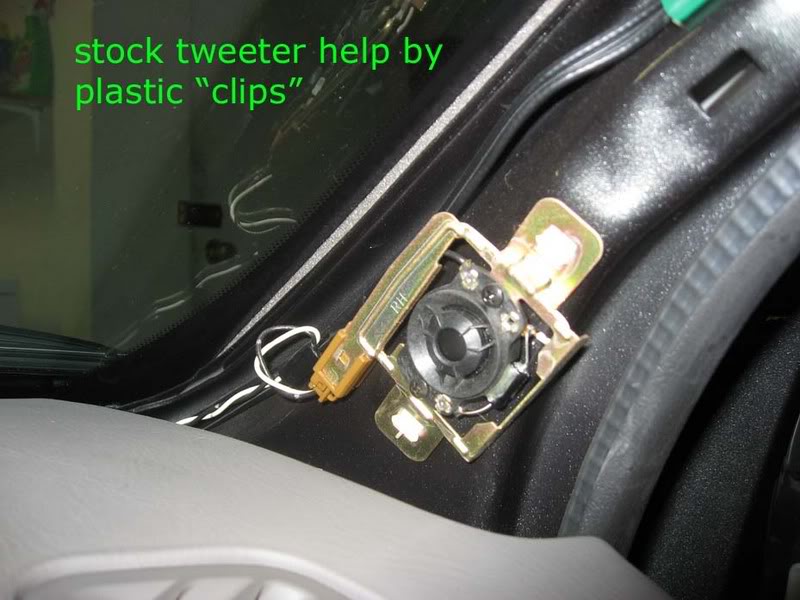
Here we see the pathetic stock tweeter…i had to put on my grandmothers glasses to see that it was a tweeter and not a glued on dime
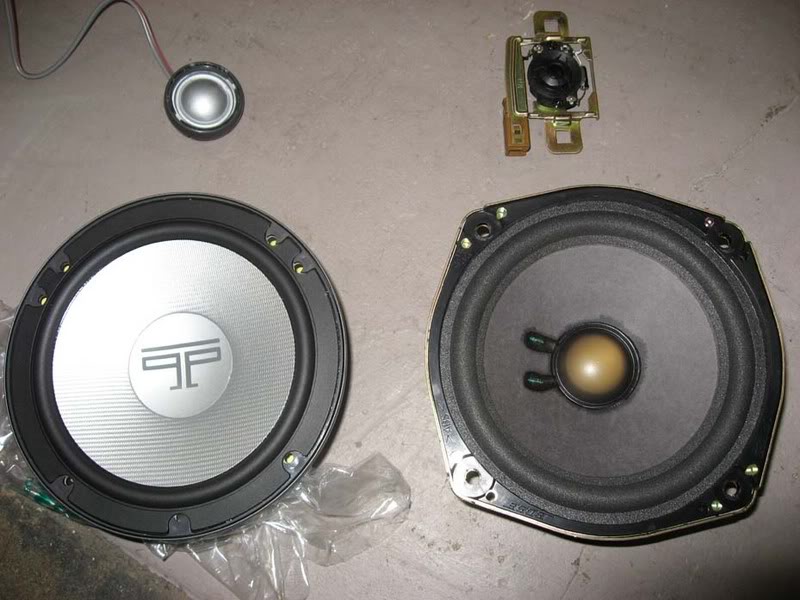
Comparrison of OLD and NEW Polks
and the Tweeters
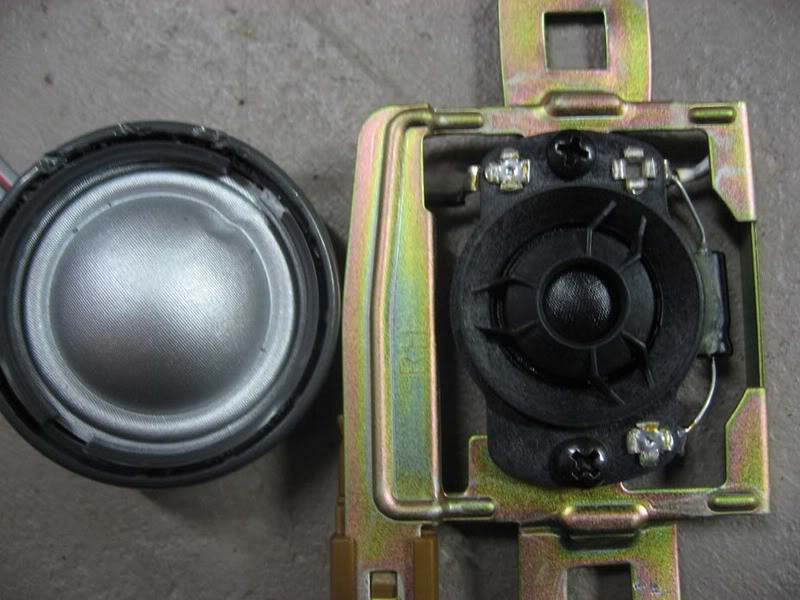
NOTE; be carefull not to damage the tweeter in removing the grill, i got into a liitle rush and ended up poking the tweeter, thank godness no performance damage
3. Installing new tweeters; since their is no way to use the stock mount for the new tweeter i had to improvise with some industrial velcro. Yes, its ghetto; how well it will hold up i will have to wait and see. After install i took it out for a drive and did not notice any rattles coming from either side.
The cable I ran the new cable throught the weather stripping. peel it back, insert new wire, put it back.
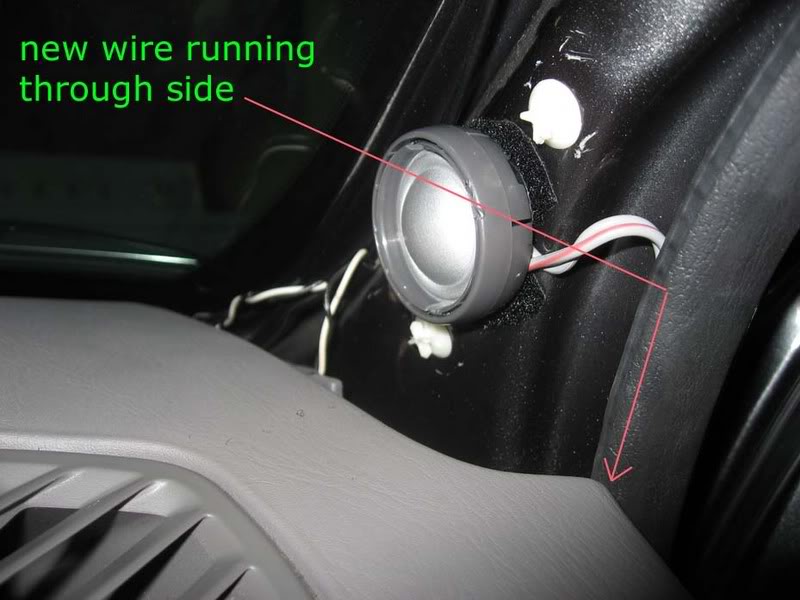
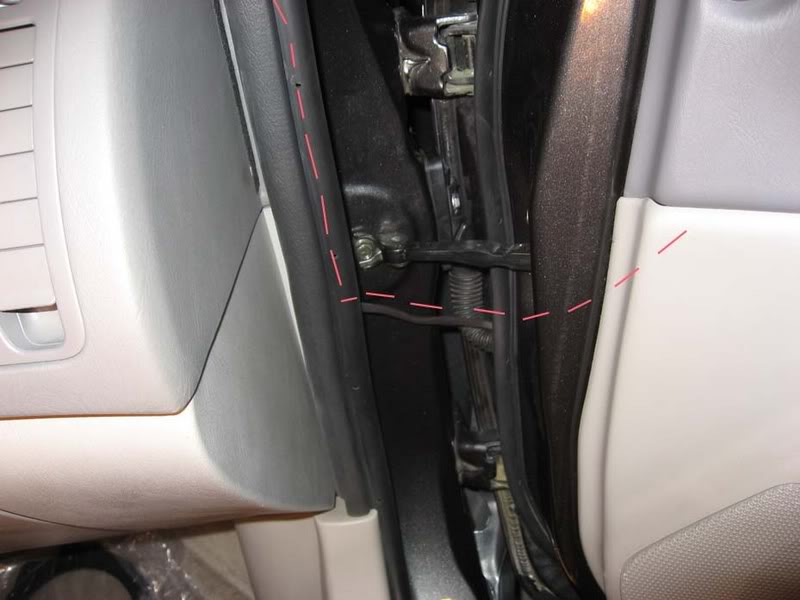
I tried to see if i could run the wire through the rubber protector that runs all the stock wire from cabin to door, however i found that their is not 1 cm of space for the new wire. I ended up using rubber heat shrink to cover the exposed wire between the weather stripping and the part were it enters the door
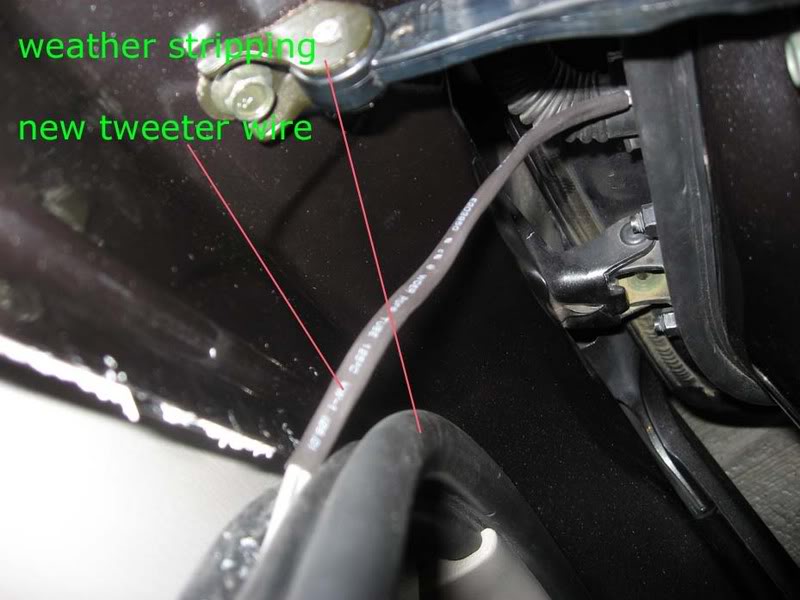
4. You CAN however, feed the tweeter wire through the door side of the rubber protector and fish it out of the other side
NOTE: carefull not to allow the wire to interfere with teh operartion of the window rail.
I forgot to take some pics but you can get the idea of were the wire should run to. Also note the location of the Crossover. It is securely ziptied and did nt seem to make any noise during install or during the test drive, hopefully it will hold up and wont need to be relocated. Their were no fitment problems during re-installation of the door panel
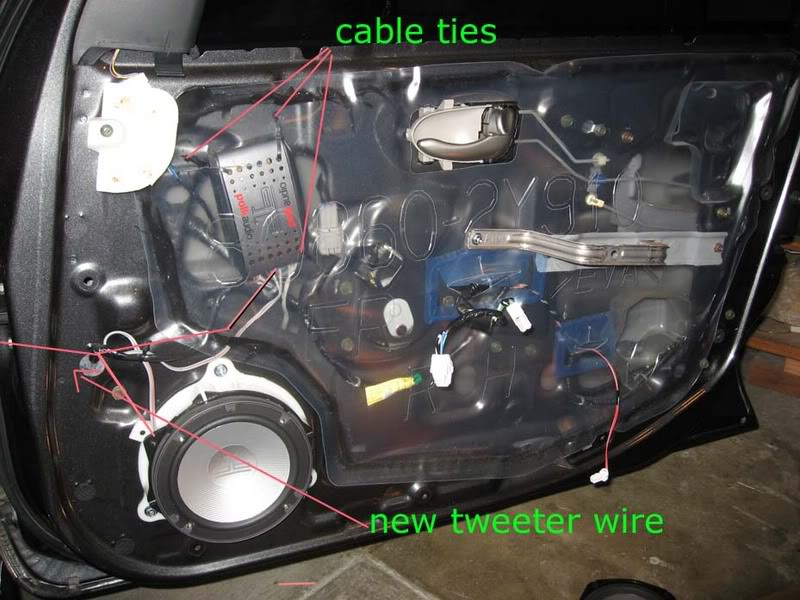
5. Here is another view of were the new wires go through.

6. Woofer install
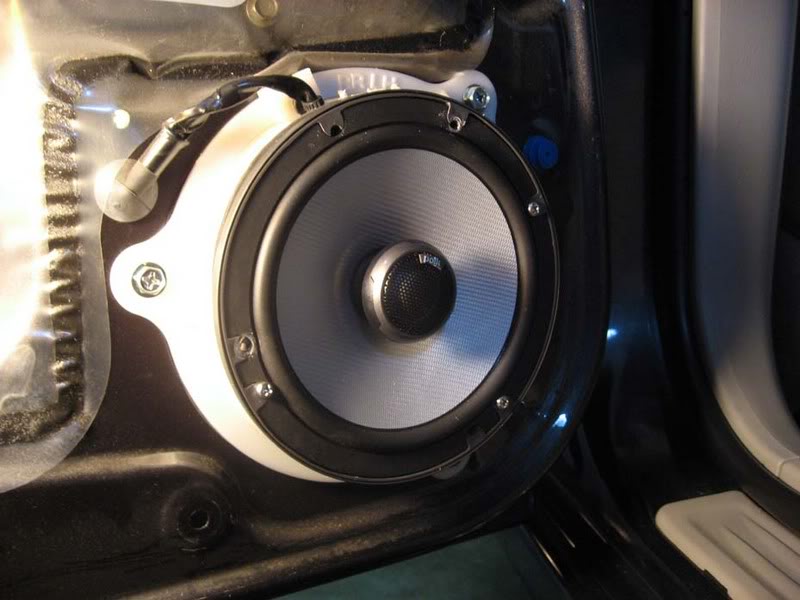
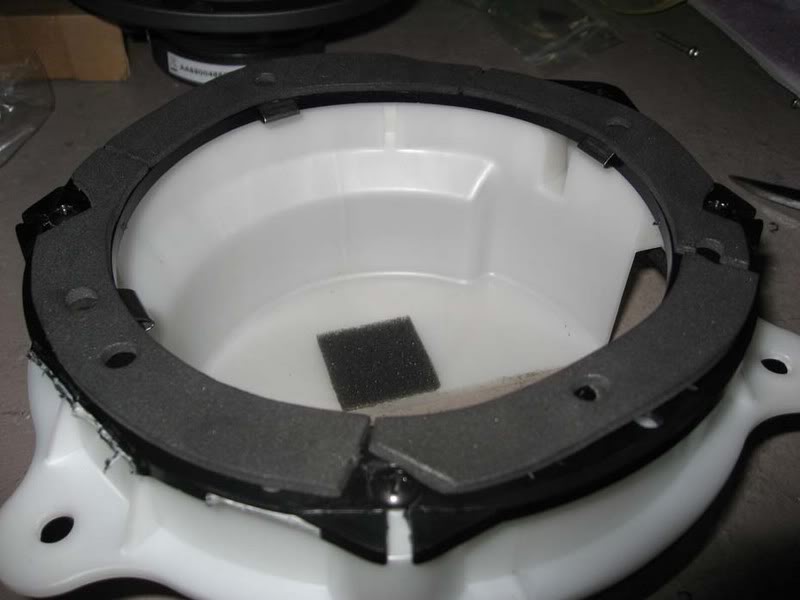
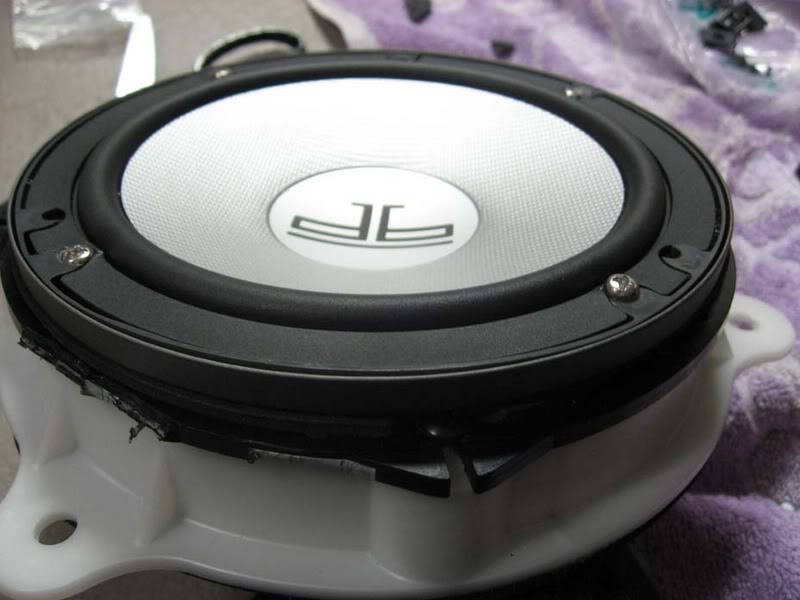
The stock fronts seem to be 6.75″ because i had to use the brackets supplied from crutchfield. Attaching brackets to the white bezel is straight froward. I used the foam spacer between the bracket and the speaker
7. Again make sure everything works before re- instaling everything.
Additional Notes;
I. The stock signal goinng to the woofers was used for the cross-over.
II. Time to complete both front and rears was about 5 hours, includes taking pictures and figuring out best way to run all the wires. I had the most trouble finding a way to route the new tweeter wire. After figuring out one side, the other one was a piece of cake.
Member Credit: Jack Sulaiman & Geraldo Martin
Price: $699.99
Other Notes:
Other Reported Issued by Jack: