Member Credit: Leo Mondelo
Maxima
Altima




Member Credit: 05ALTIMASE-R & Earl Johnson
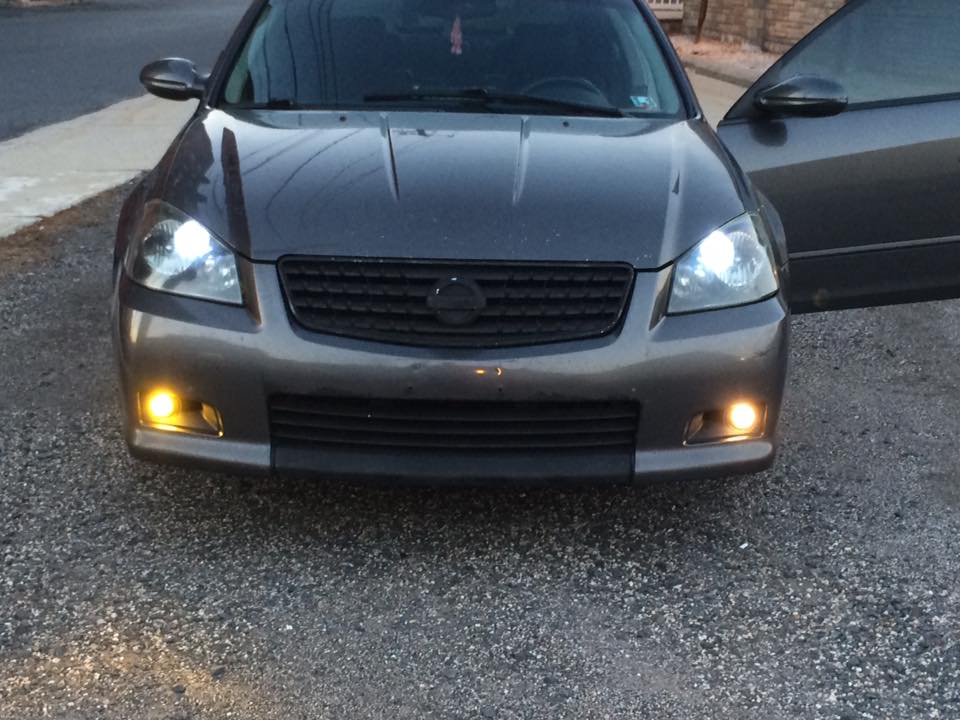
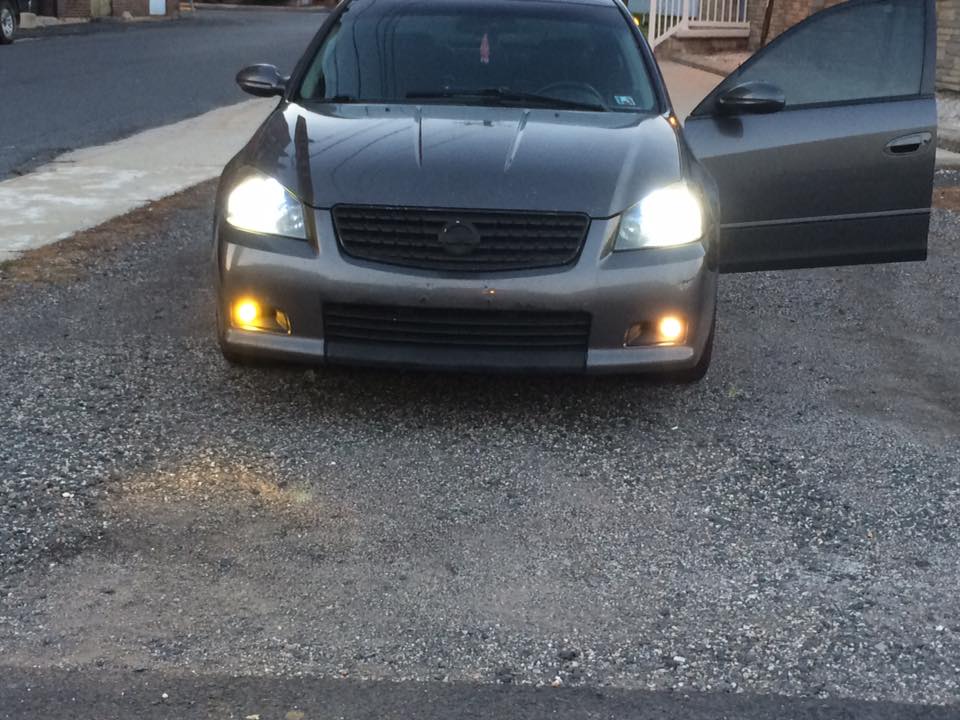
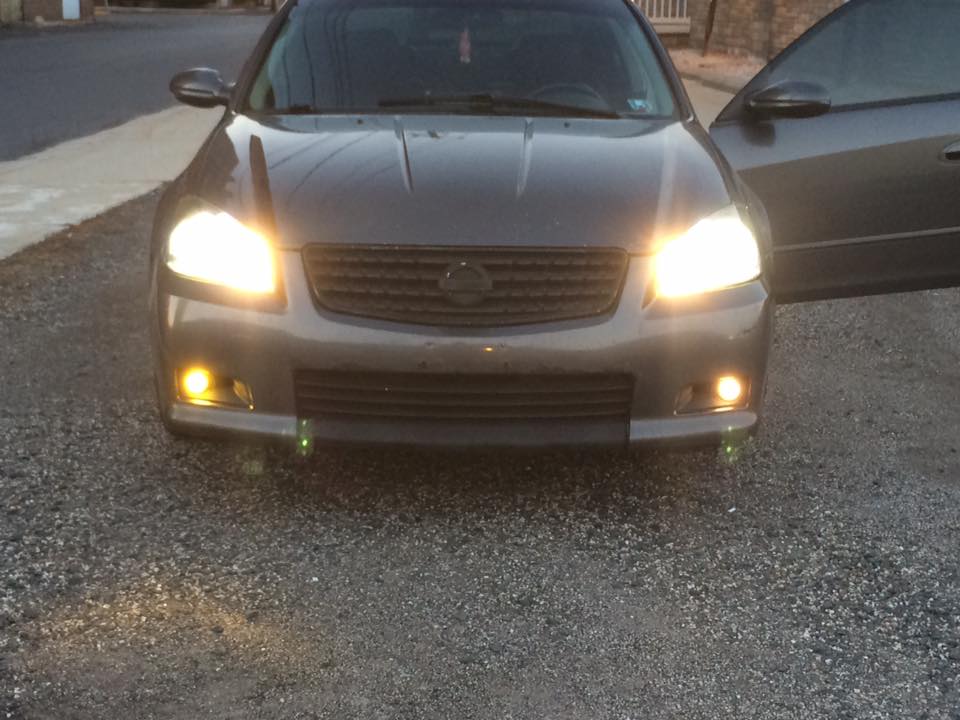
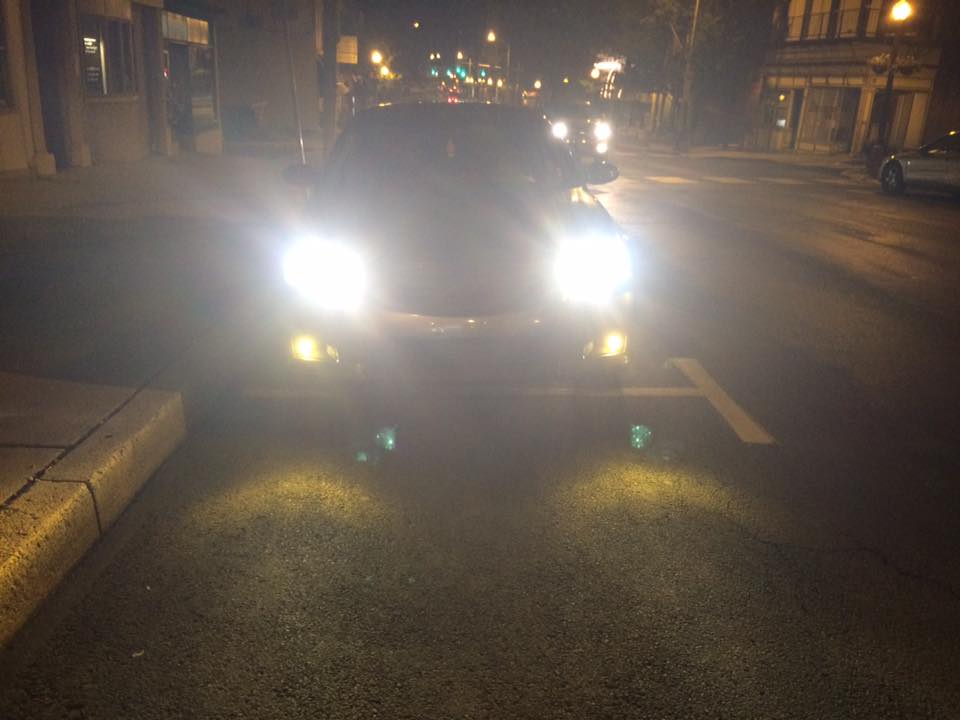
The key to this install is basically taking the 2 wires from the fog light switch on stalk and cutting them out of the OEM circuit. Then taking the two wires and putting one to a ground and running the other into the engine compartment to the IPDM (relay/fuse block). The last step is pulling the fog light relay out and inserting terminals with wires into IPDM for power and ground.
Total Time: 30-40 minutes
IPDM = Fuse/Relay Box under hood on passenger side near coolant overflow
Step 1: Remove the stalk from the steering column.
Step 2: Remove the cover and find the wires on the stalk that controls the fog lights (there are only 2 wires, and of course forgot the colors and had no camera).
Step 3: Cut both wires and lengthen. Take one of the wires and ground it (anywhere) and then take the other wire and run it to the IPDM in the engine compartment.
If you want to make sure its the right wires, use a OHM meter to test the leads. When the fog switch is on you should have .2 ohms and when off should be OL (open).
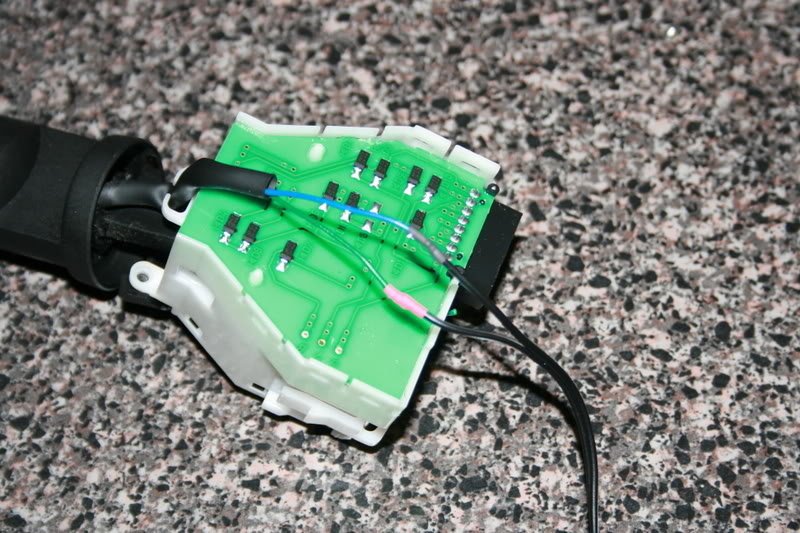
Step 4: Reinstall the stalk.
Step 5: Locate the relay on the IPDM. You are going to have to remove the coolant overflow tank to allow the IPDM cover and side cover to be removed. Pull out the IPDM out as far as you can to remove the relay.
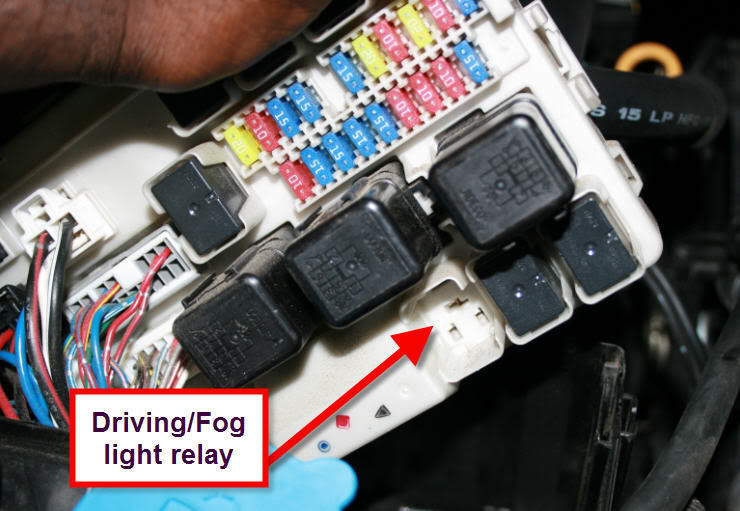
Step 5:Fab a 1/2 (Heat shrunk) wire extension from the relay to the original socket (with female connected to the relay and male that plugs into the original relay socket. The relay holder is soldered into the board so you cannot snip or tie a wire into the ground peg of the coil.
In the picture do not make wire for 3rd relay terminal, this will be a wire coming from parking light circuit.
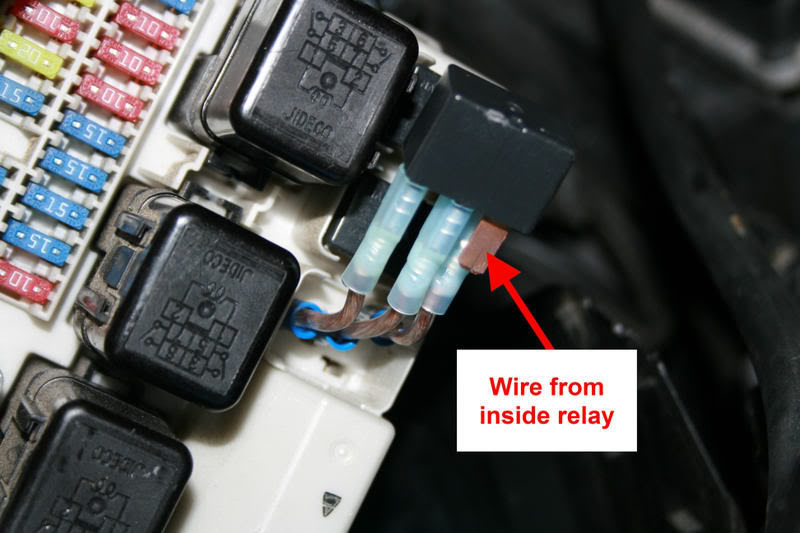
Step 6: OK, so by now you should have the relay removed and reconnected with the two leads you made in previous step.
1 being + load to fog lights and 2nd + line from battery. The relay should have two terminals not yet used.

Step 7: Locate the wire for parking light circuit (this is on my 05 Altima SER). I spliced the wire on connector E122 Terminal 22. If you want, you can just splice a wire from the actual parking light wire at bulb and run the wire into the IPDM.

Step 8: Connect the wire spliced from parking light circuit to the terminal labeled + from battery coil on relay.
Step 9: Next connect the wire previously run from the fog light switch to the terminal on relay labeled -ground from stalk.
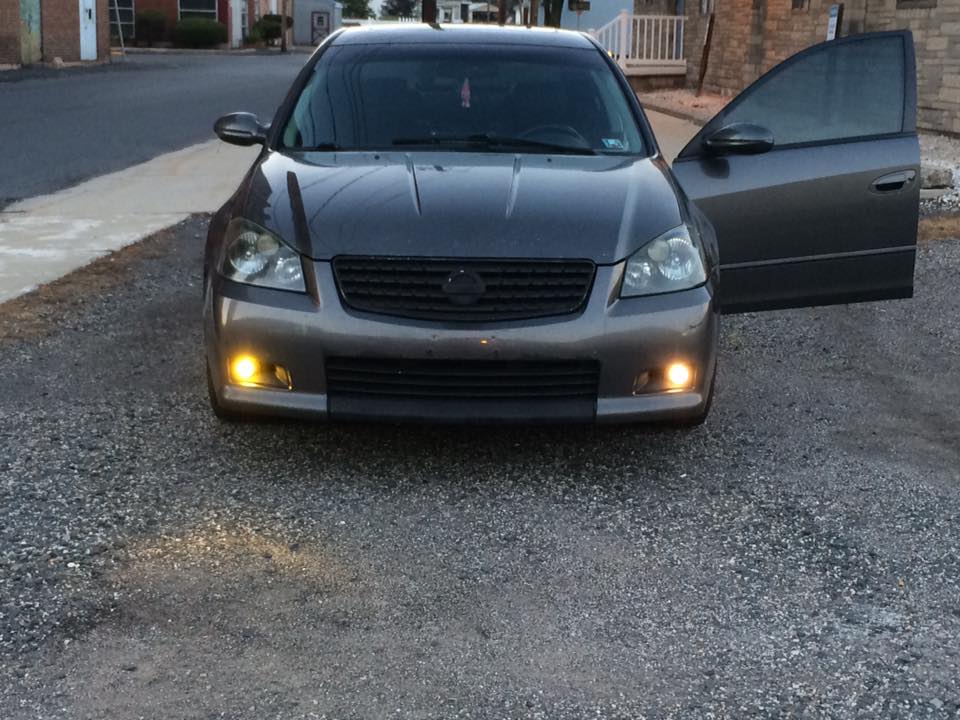
Step 10: Now test it out. Turn the parking lights on and fog light switch on and verify the fog lights are on with parking lights. Now the fog lights will work with parking lights, low beams and high beams!!! Good Luck.
Take the wire that you have going to the park lights off the (+ from battery(coil)) and run it from that relays terminal into the cabin by the fuse box. Then get a mini add-a-circuit add a fuse from an auto parts store. (It allows you to add an additional fuse so you can wire in something else onto one circuit. ) Tap the new wire into this, and add 2 20 amp fuses in it. Plug out your front or rear cigarette lighter fuse and plug this in.
I used the front cigarette fuse. The cigarette lighter is part of the ACC circuit. Therefore it only comes on when the ignition is in ACC. At the fuse box it’s only a positive wire so when you put the fog light wire there. The factory switch can still be used to turn on and turn off the fog lights whenever you want.
You can also wire it to a completely separate switch that allows you to turn them on independently whenever you want. The only downside to this is that if not wires to an ACC switch, you may forget and totally drain your battery.




Member Credit: NAMEL355
Decided to take pictures as I changed the ATF in my 2005 Nissan Altima SE-R (Should be similar for 6th gen Maximas) since I couldn’t really find any how to’s prior to attempting my first ATF change using the Drain and Refill method. Usually people do 3 drain and refills with a short drive inbetween each making sure to engage in every gear. Some signs that an ATF Drain and refill is needed: harsh shifts, black ATF on dipstick, ATF smells burnt, metal shavings on drain plug, 30k miles.
First off, Nissan recommends Matic K automatic transmission fluid from Nissan. Cost me $10.82 a quart. Ranged up to $20.xx around my area. Anyone worried about attempting this themselves, with little or no mechanical experience, if you can change your own engine oil, you’ll be fine. I actually think its easier then changing engine oil. I would rate it at a 2/10 with 10 being the hardest. Lets begin.
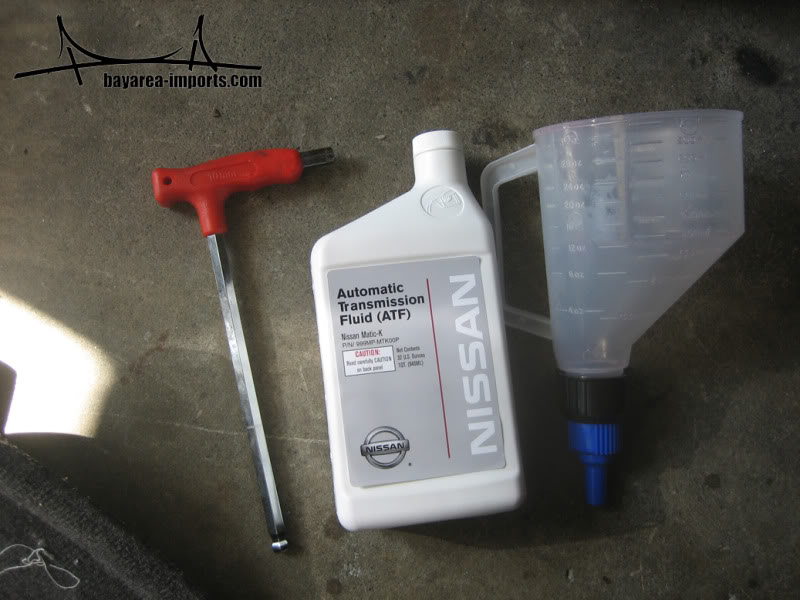
Tools I used: 10mm Hex, Funnel (the one I used has open/close option) and ATF Matic K for 5AT:
Drain plug is located right next to the front electric motor mount. Drivers side, facing the front of the car:

Jack up the car safely and locate the drain plug:

Take off the drain plug and let the fluid drain until it stops. Anything from 2-5 quarts can come out at one time. The rest stays in the torque converter (My old ATF wasn’t that black, it was actually still pretty red, I had left over engine oil in the tub):

Put the drain plug back on and locate the dipstick. Take dipstick out and put funnel in the opening. This is where the ATF will be poured in:


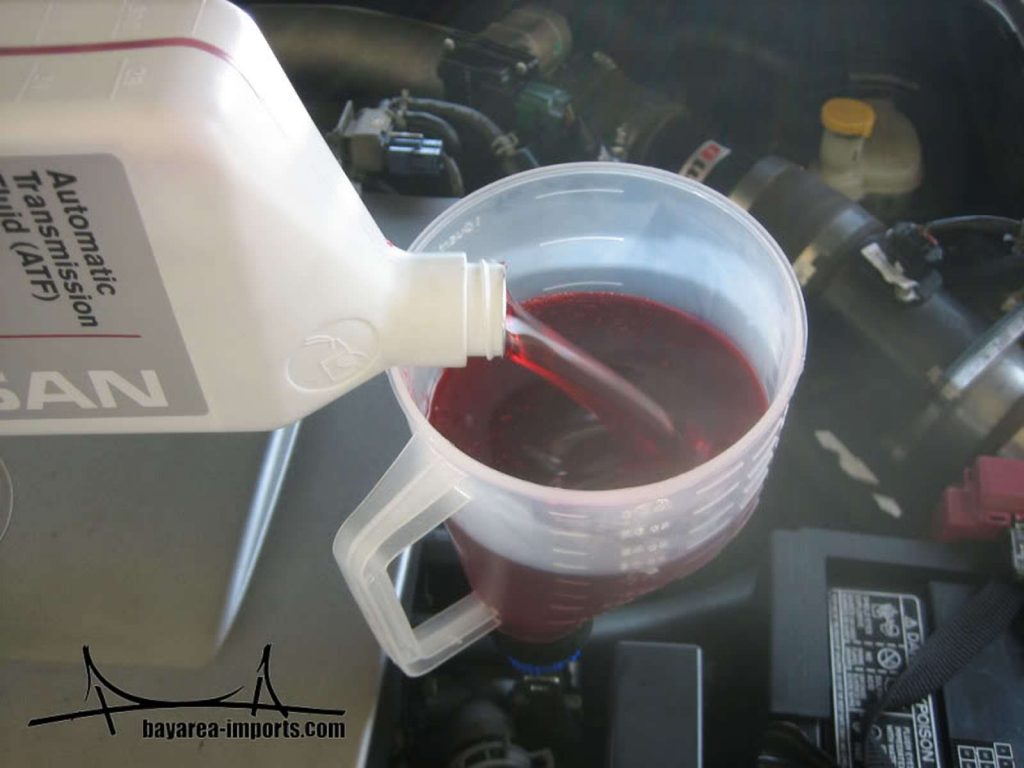
Pour new Matic K ATF fluid into funnel (Looks almost like syrup for Italian Icees but smells nothing like it ):


Pour the same amount of ATF in as you took out. I poured the old ATF into empty quart size bottles to make sure its correct.
Now you’re done with your first ATF Drain and Refill. Go for a short drive making sure to engage in every gear :shift:. I noticed smoother and crisp shifts. My brother said he couldn’t even feel 1st-2nd which was the worst before.
It is common practice to drain and refill 3 times to get majority of the old fluid out. I only did it 2 times as my old fluid didn’t seem that bad, and I didn’t find any metal shavings on the drain plug.
Enjoy smooth shifts from now on…
I want to add that this is my FIRST time doing ATF drain and refill. The above may not be the best or fastest way, but it was the way that I did it. If there are any tips or advance that can be added to this, please feel free.
Member Credit: NWP Engineering
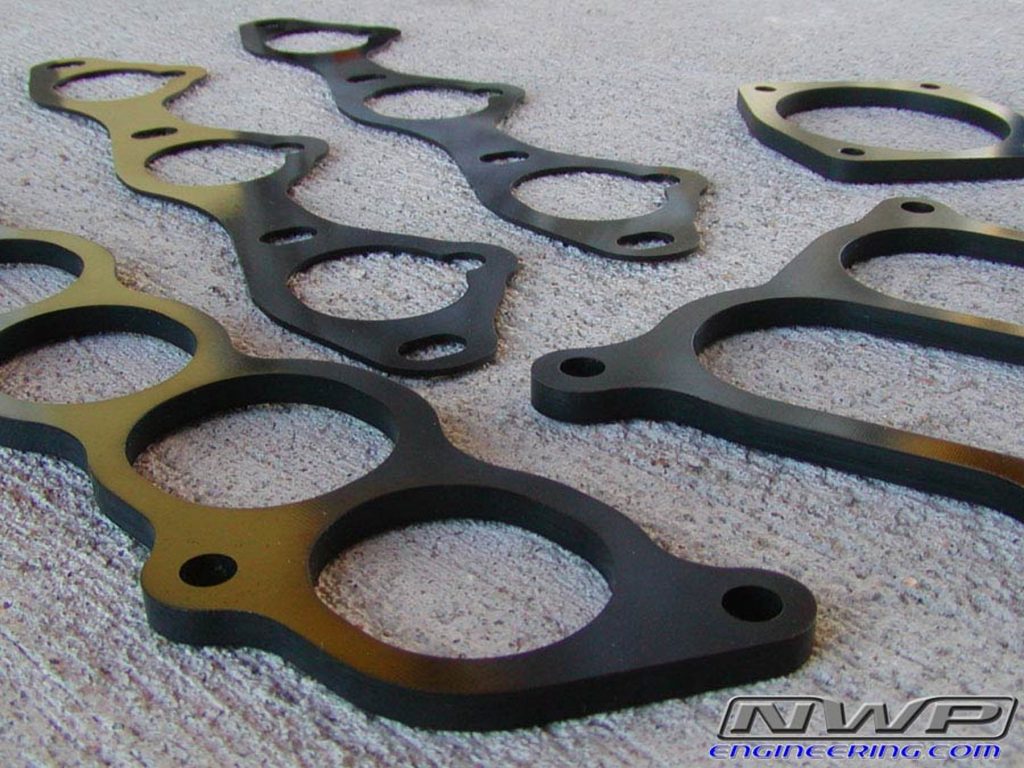
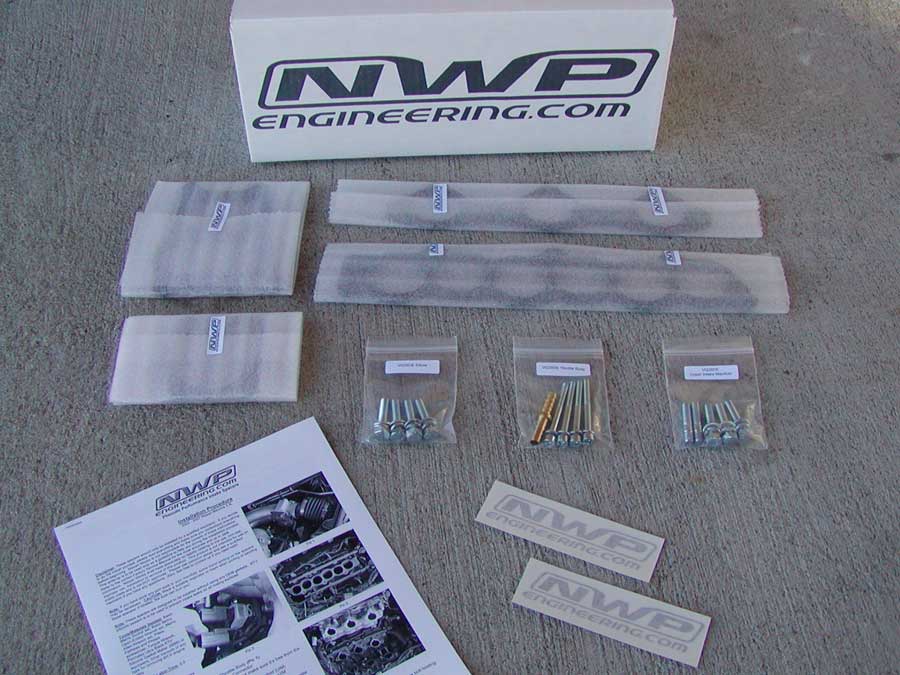
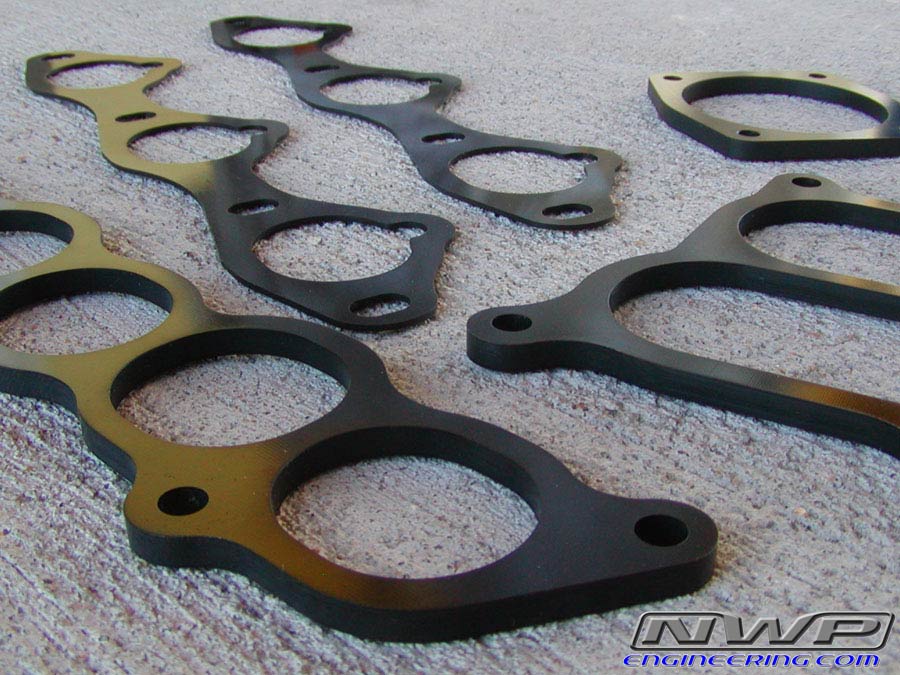
Prevent heat from transferring from your heads to intake manifold and throttle body! Improve Airflow by eliminating the need for intake gaskets. Each spacer is CNC Machined to the highest tolerances to ensure the best airflow possible. All NWP spacers are port matched to your stock intake ports. A smooth transition from one manifold to another is very important for optimal airflow.
Don’t be fooled by other spacers and thermal gaskets that aren’t properly matched to your intake ports! Never have to replace your intake gaskets again! These intake spacers will last for life and do not require improperly sized OEM intake gaskets! Experience an intake manifold that’s cool to the touch! Experience a better quality product with NWP!
All of our performance parts are made in the USA!
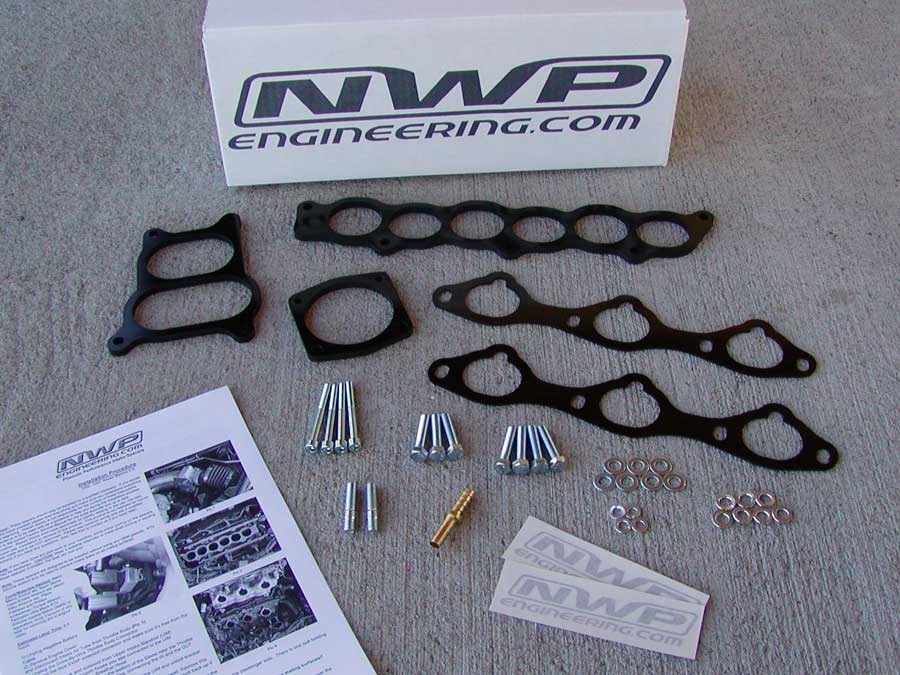
Includes:
– Two 1/16″ High Quality CNC Machined Phenolic Intake Manifold Spacers (Lower Intake Manifold)
– 1/4″ High Quality CNC Machined Phenolic Intake Manifold Lower Collector Spacer (Upper Intake Manifold)
– 1/4″ High Quality CNC Machined Phenolic Intake Manifold Upper Collector Spacer (Elbow)
– 1/4″ High Quality CNC Machined Phenolic Throttle Actuator Spacer (Throttle Body)
– Intake Manifold Upper Collector Coolant Bypass Fitting
– 4 Lengthened Zinc Plated Grade 8 Throttle Body bolts and washers
– 4 Lengthened Zinc Plated Grade 8 Elbow bolts and washers
– 3 Lengthened Zinc Plated Grade 8 Upper Intake Manifold bolts and washers
– 2 Lengthened Zinc Plated Grade 8 Upper Intake Manifold offset studs
– Printed Detailed Installation Instructions with Photos (Click link to download .PDF)
– Two Die Cut Silver Vinyl NWP Engineering Decals
Applications:
2002 – 2003 Nissan Maxima (5th generation 3.5L DOHC V6 VQ35DE w/o EGR)
2004 – 2008 Nissan Maxima (6th generation 3.5L DOHC V6 VQ35DE with EGR)
2002 – 2006 Nissan Altima (3.5L DOHC V6 VQ35DE)
2003 – 2007 Nissan Murano (3.5L DOHC V6 VQ35DE)
2004 – 2009 Nissan Quest (3.5L DOHC V6 VQ35DE)
2002 – 2004 Infiniti I35 (3.5L DOHC V6 VQ35DE)


Member Credit: De O
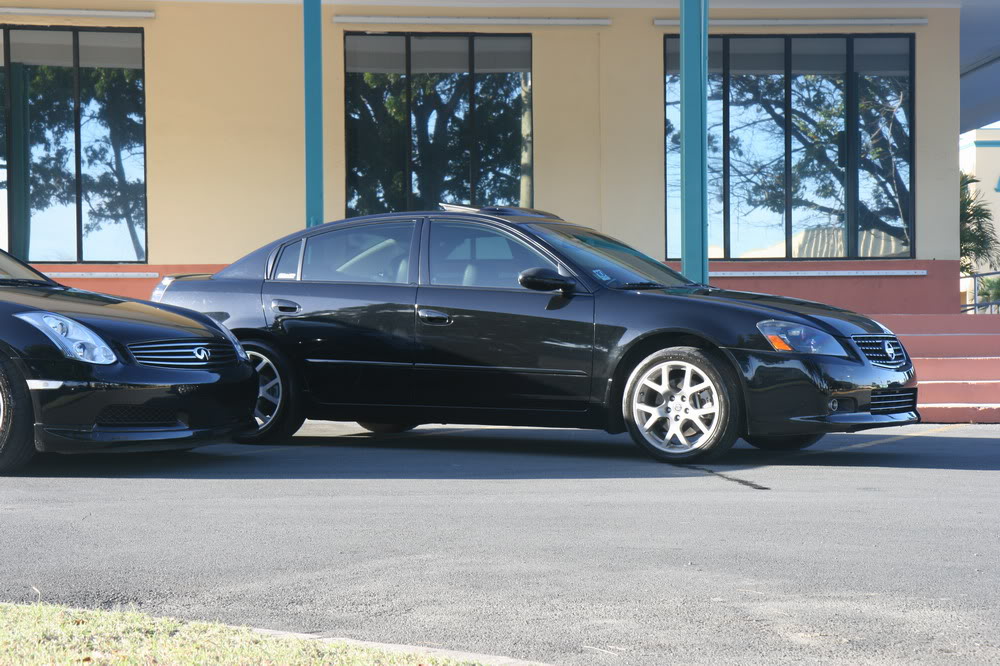
Year: 2006
Model: Altima
Color: Black Obsidian (KH3)
Transmission: Manual 6 Speed
Trim: SE-R
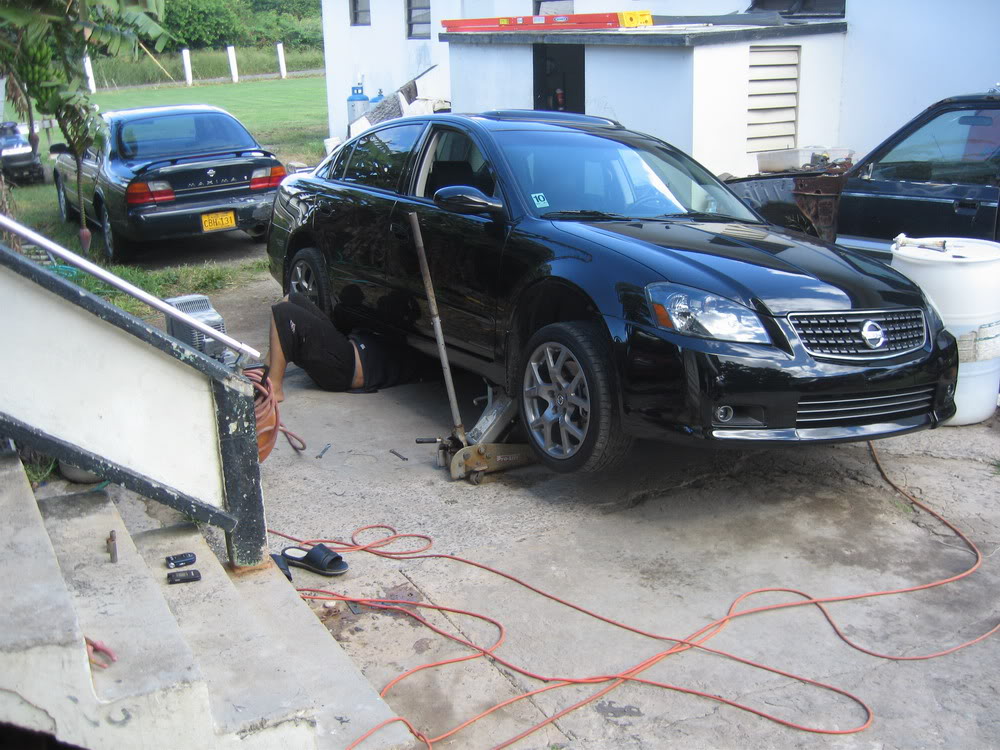
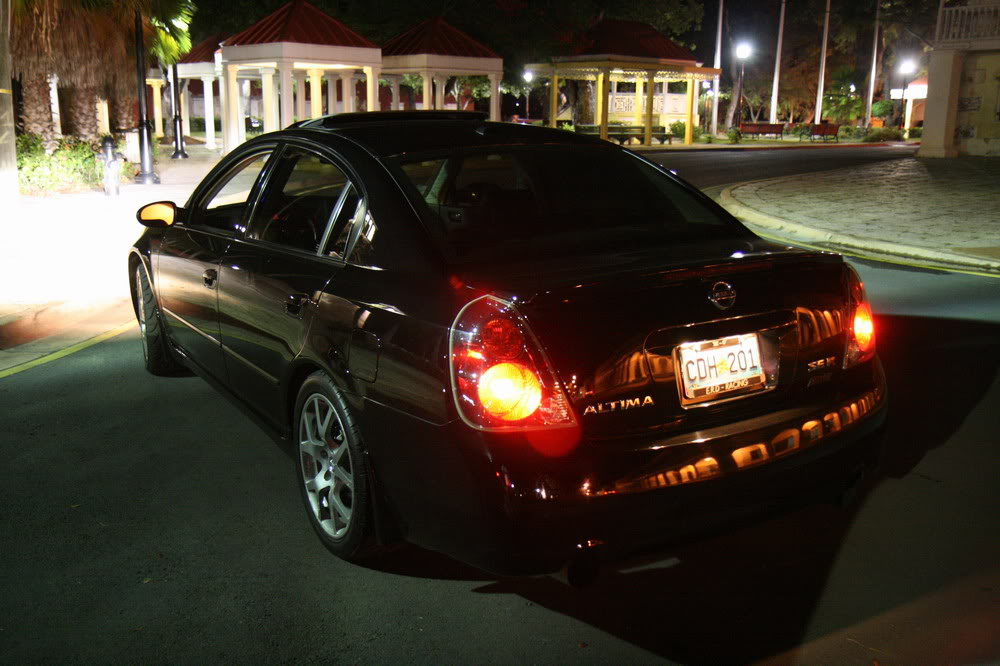
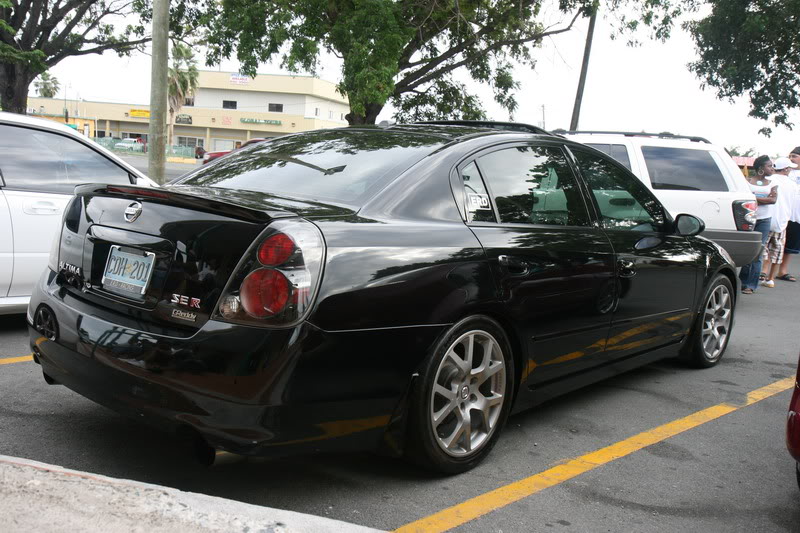
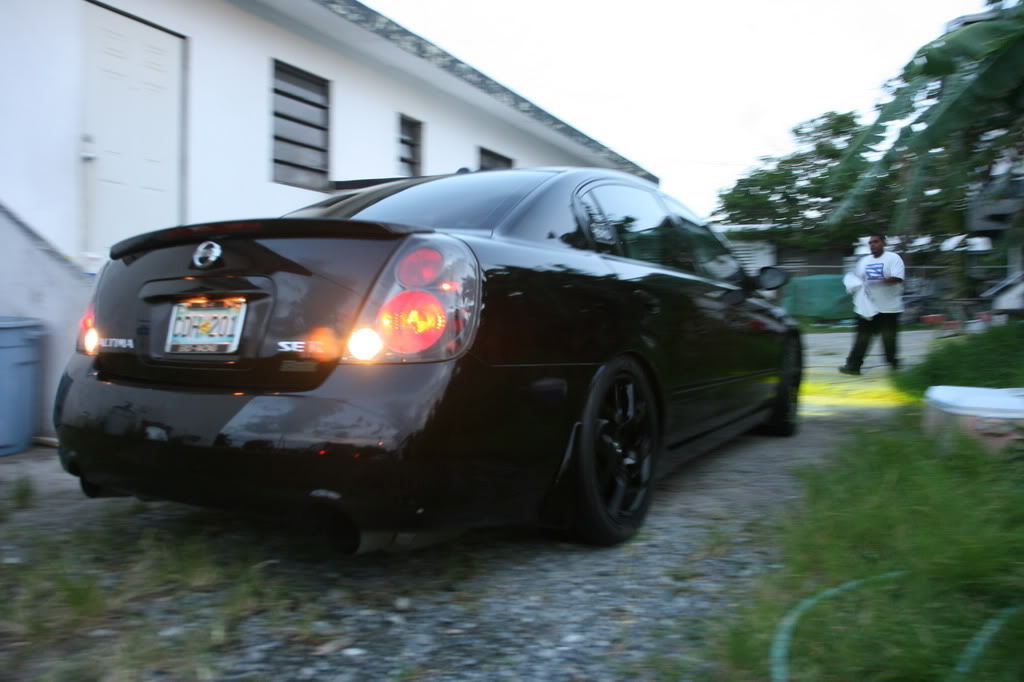
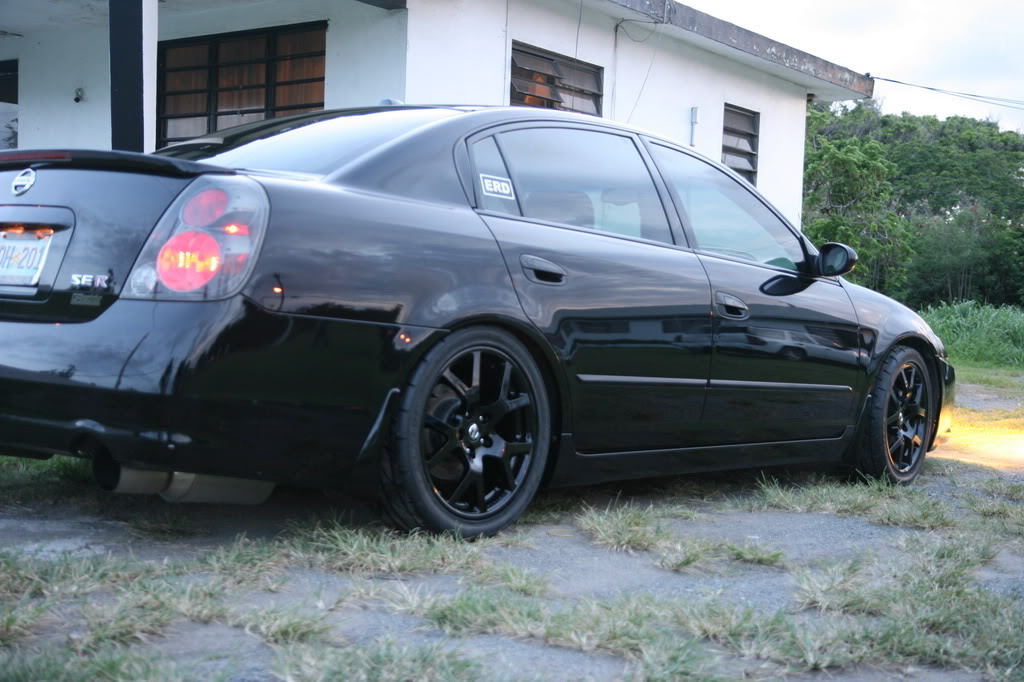
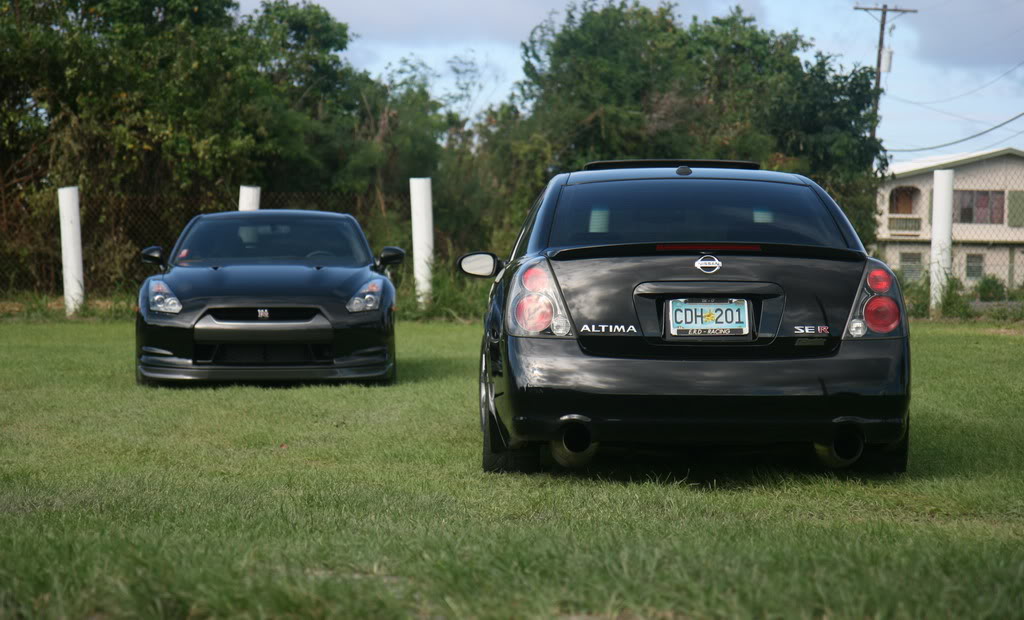
Well I had a 95′ Maxima But sold it and i have a 06 SE-R now. Had it for about three years now so here it is from stock to now.


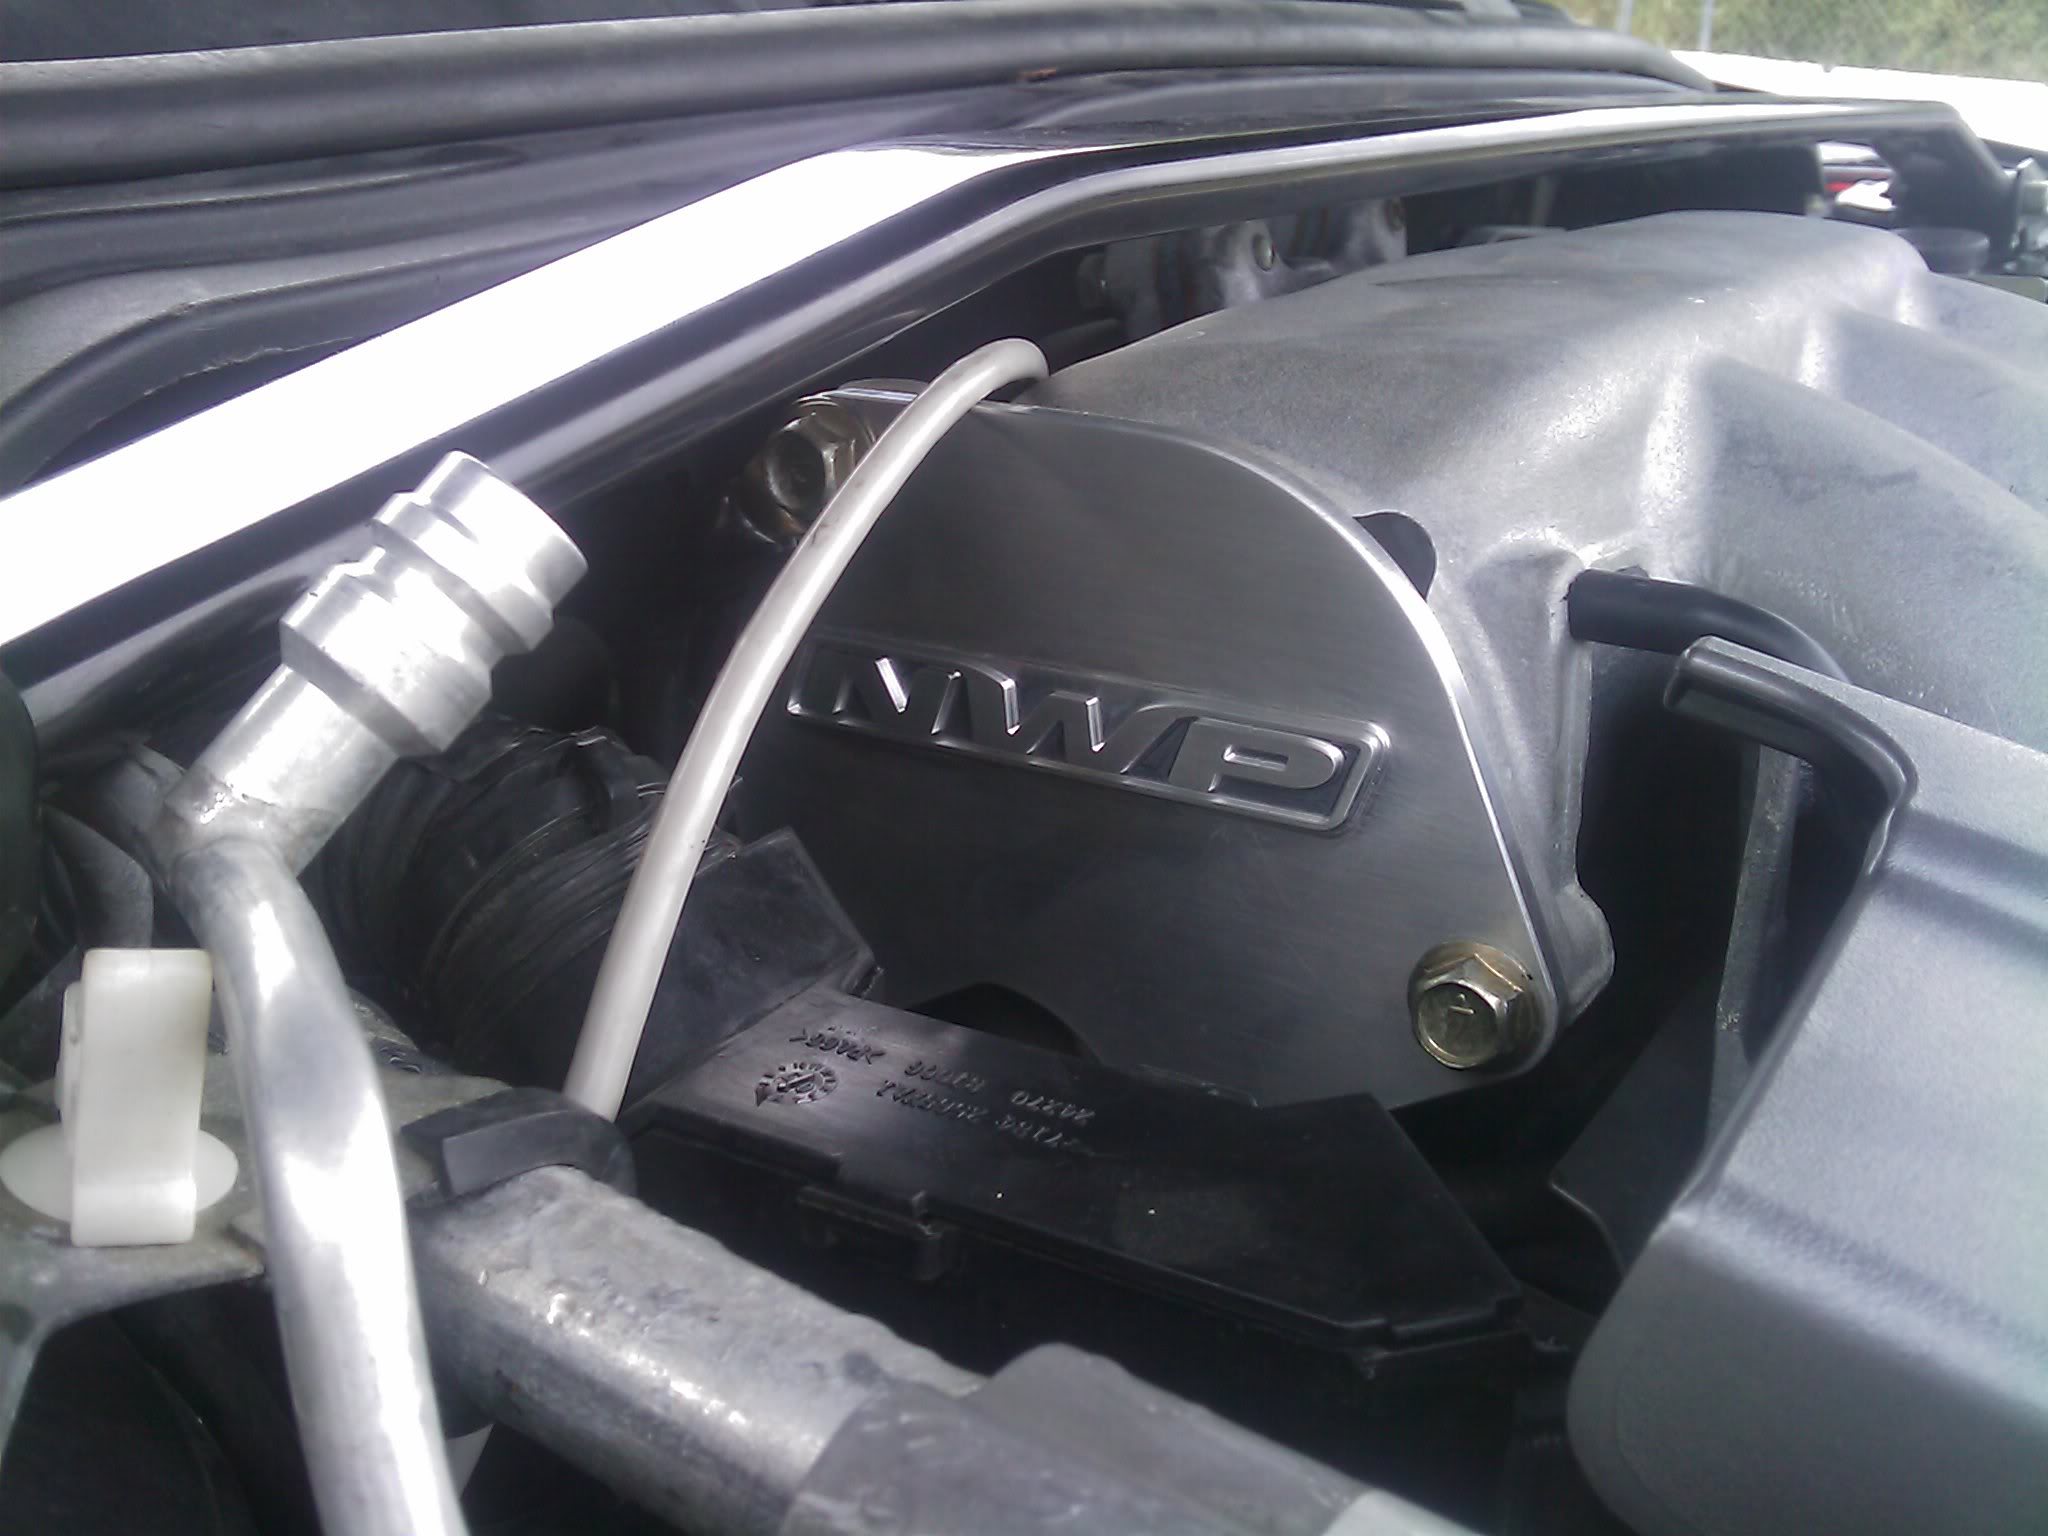
 NWP VIAS Block Plate
NWP Phenolic Thermal Intake Manifold Spacer Kit
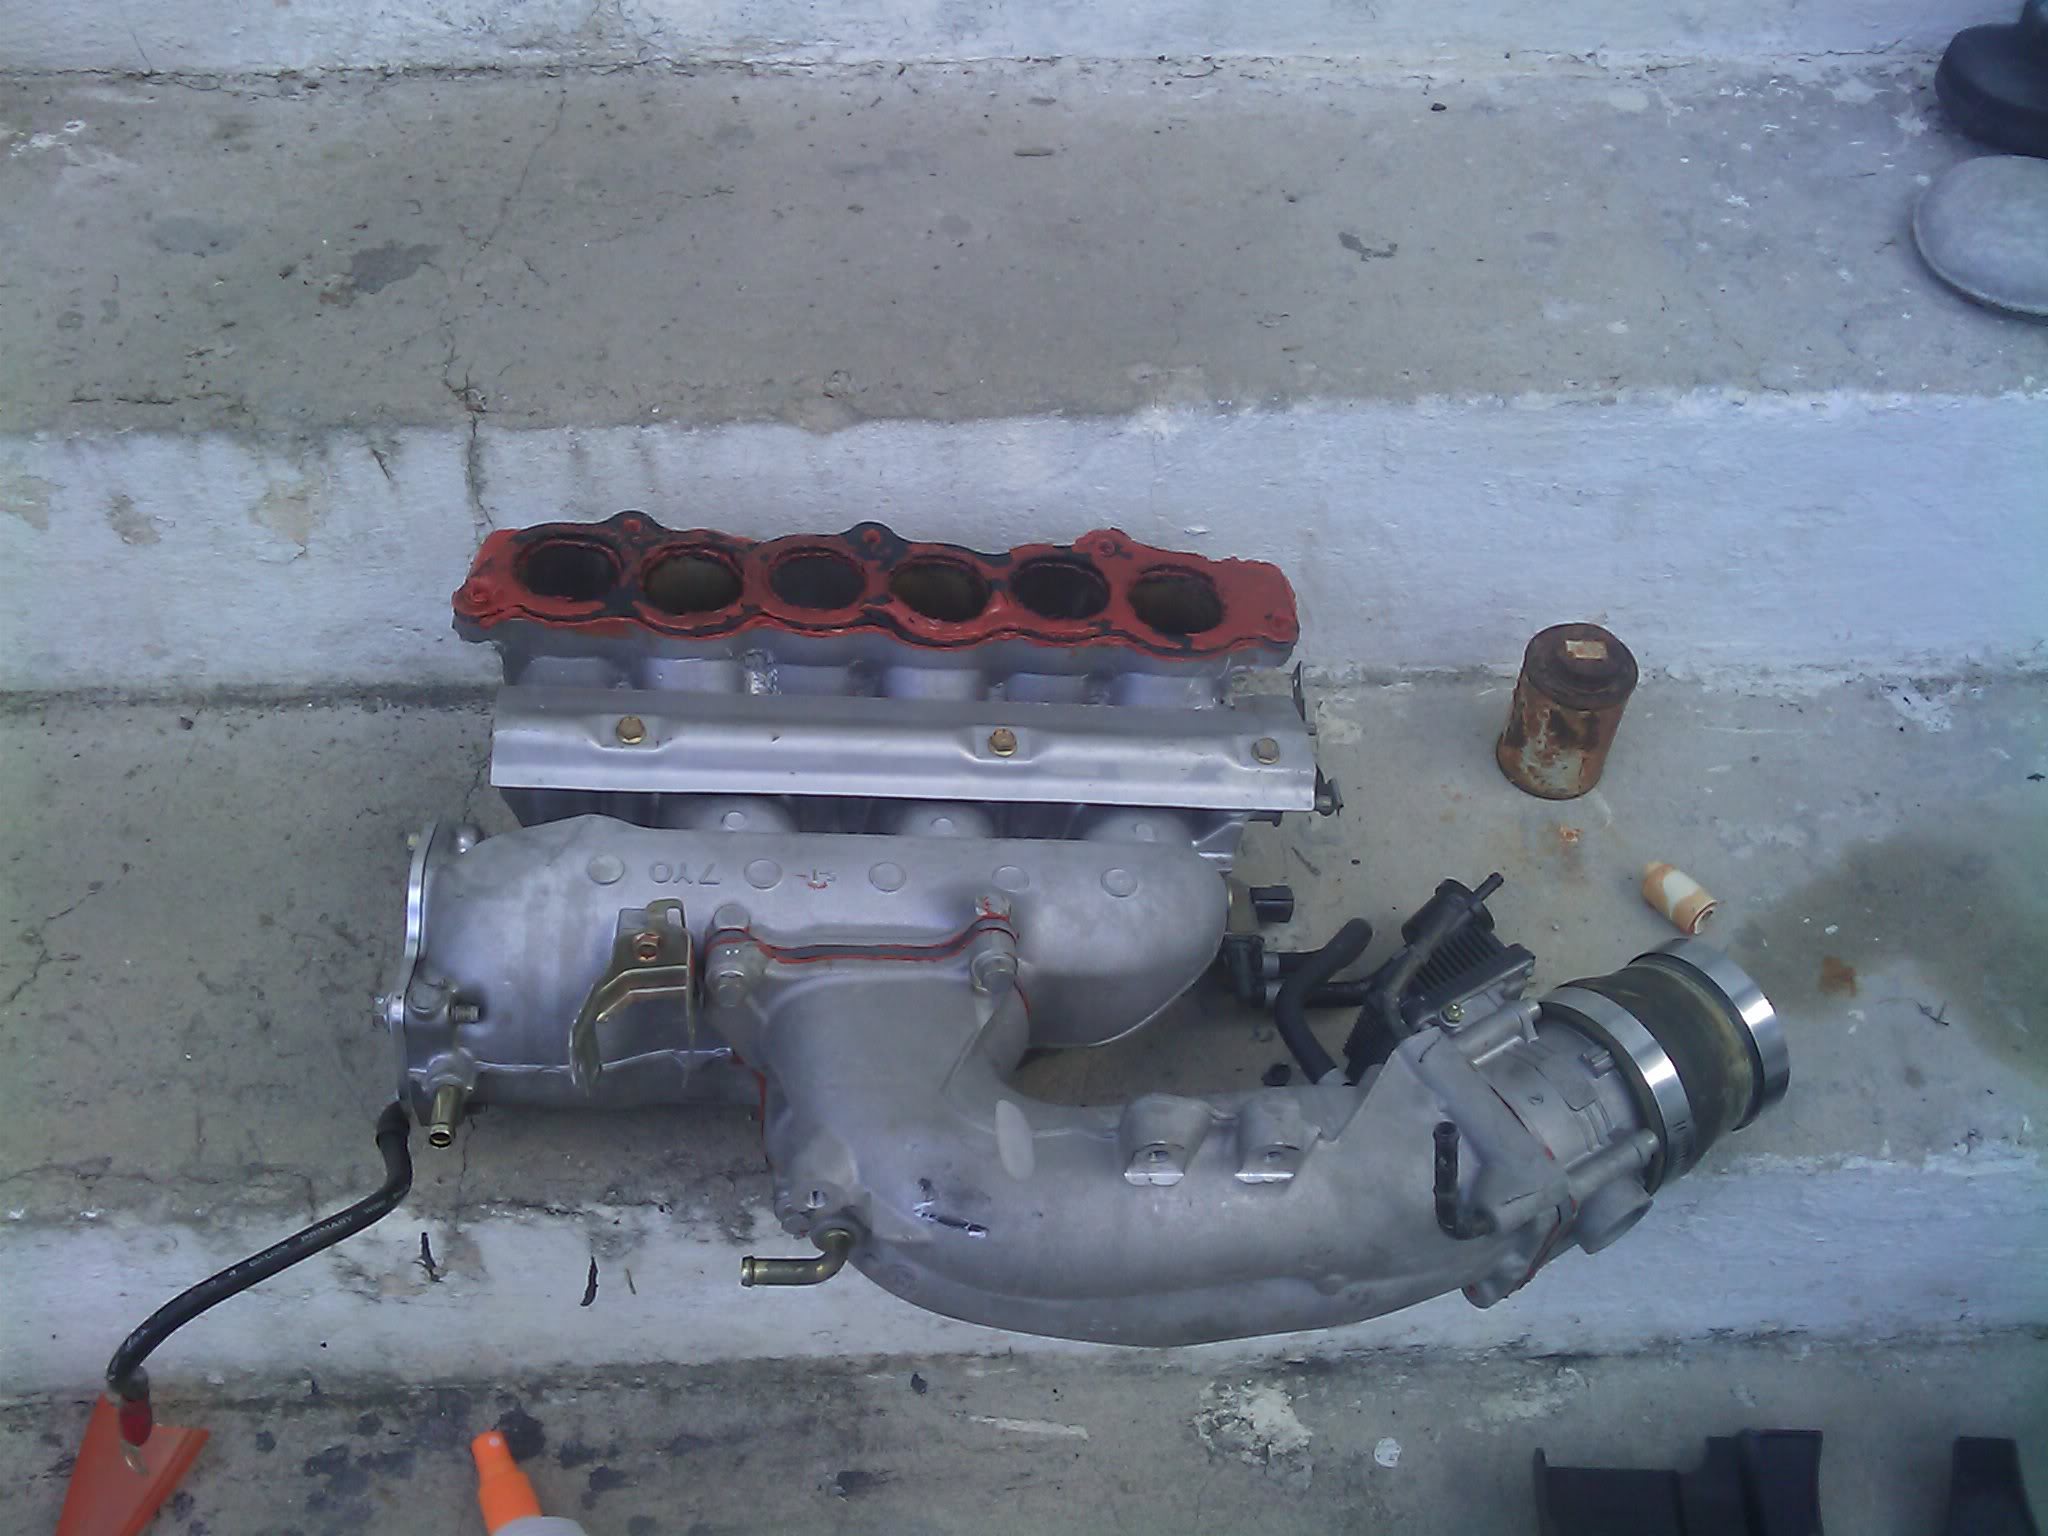
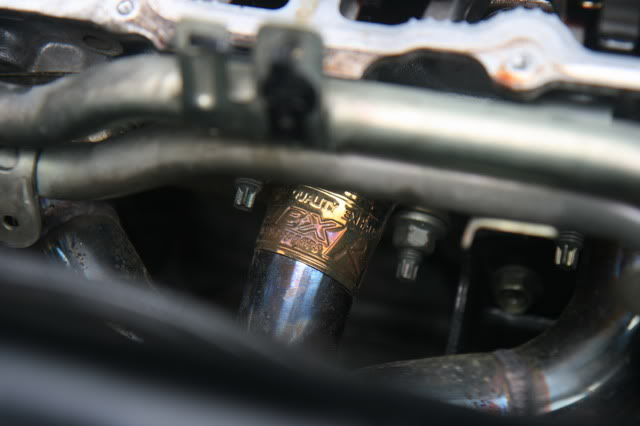
OBX Headers

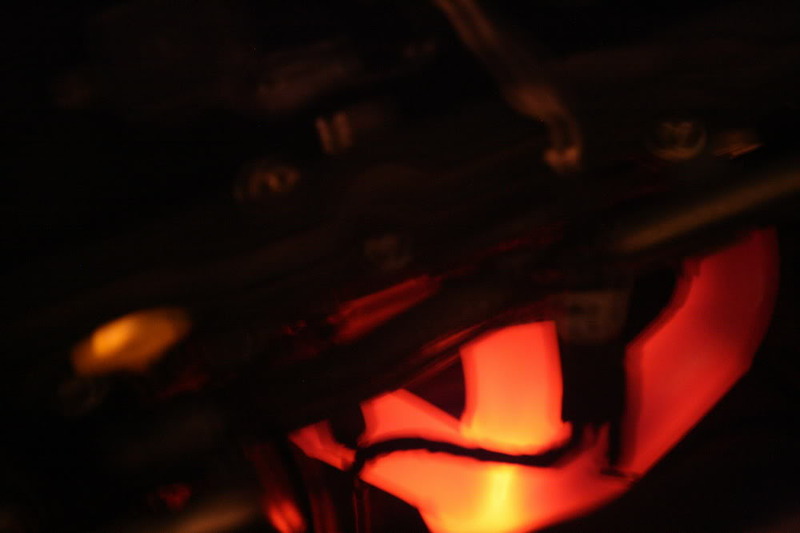
OBX Headers in the night
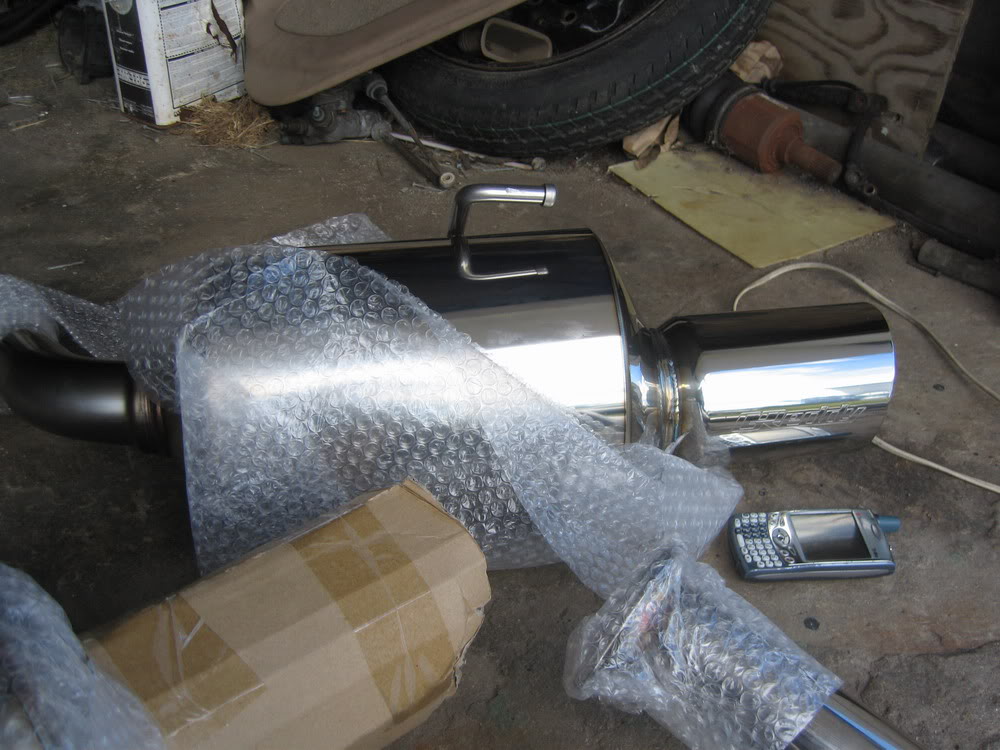
Greddy EVO2 Exhaust
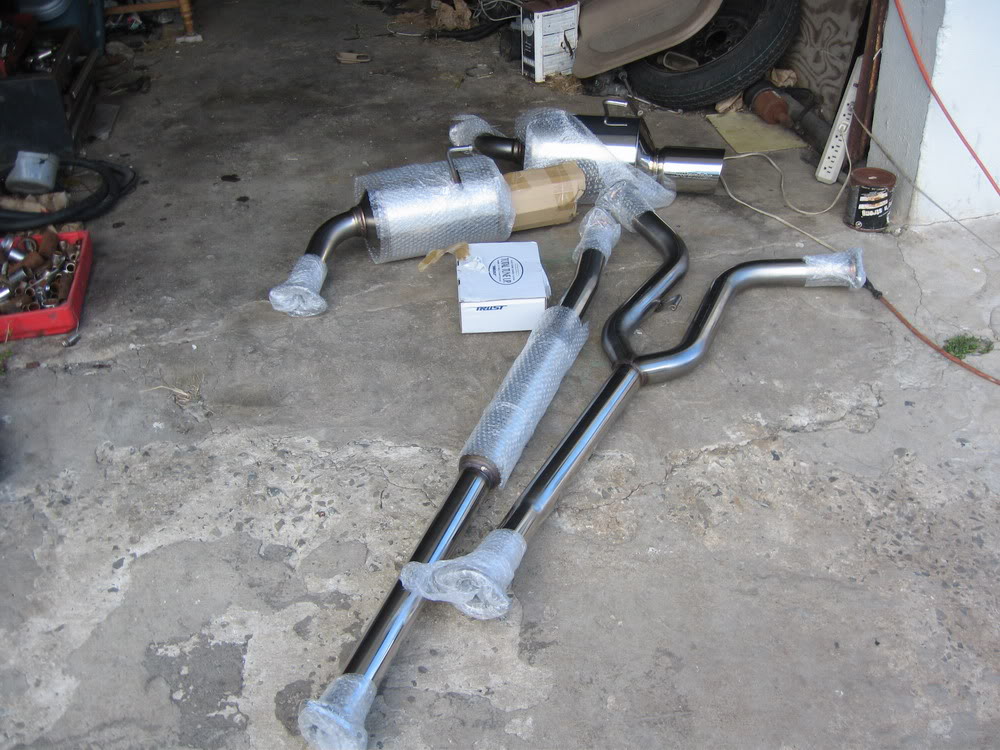
 Brian Crower Stage 2 Cams
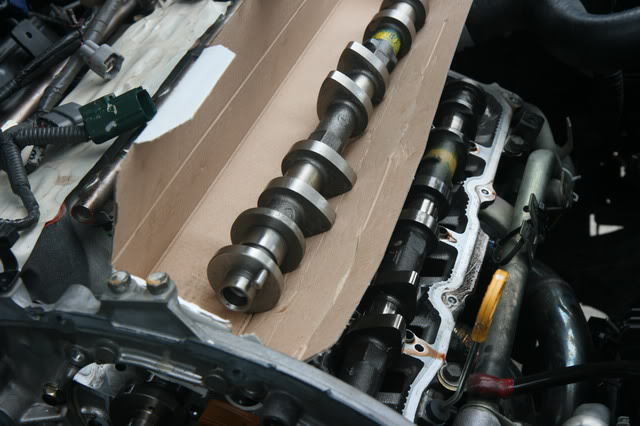


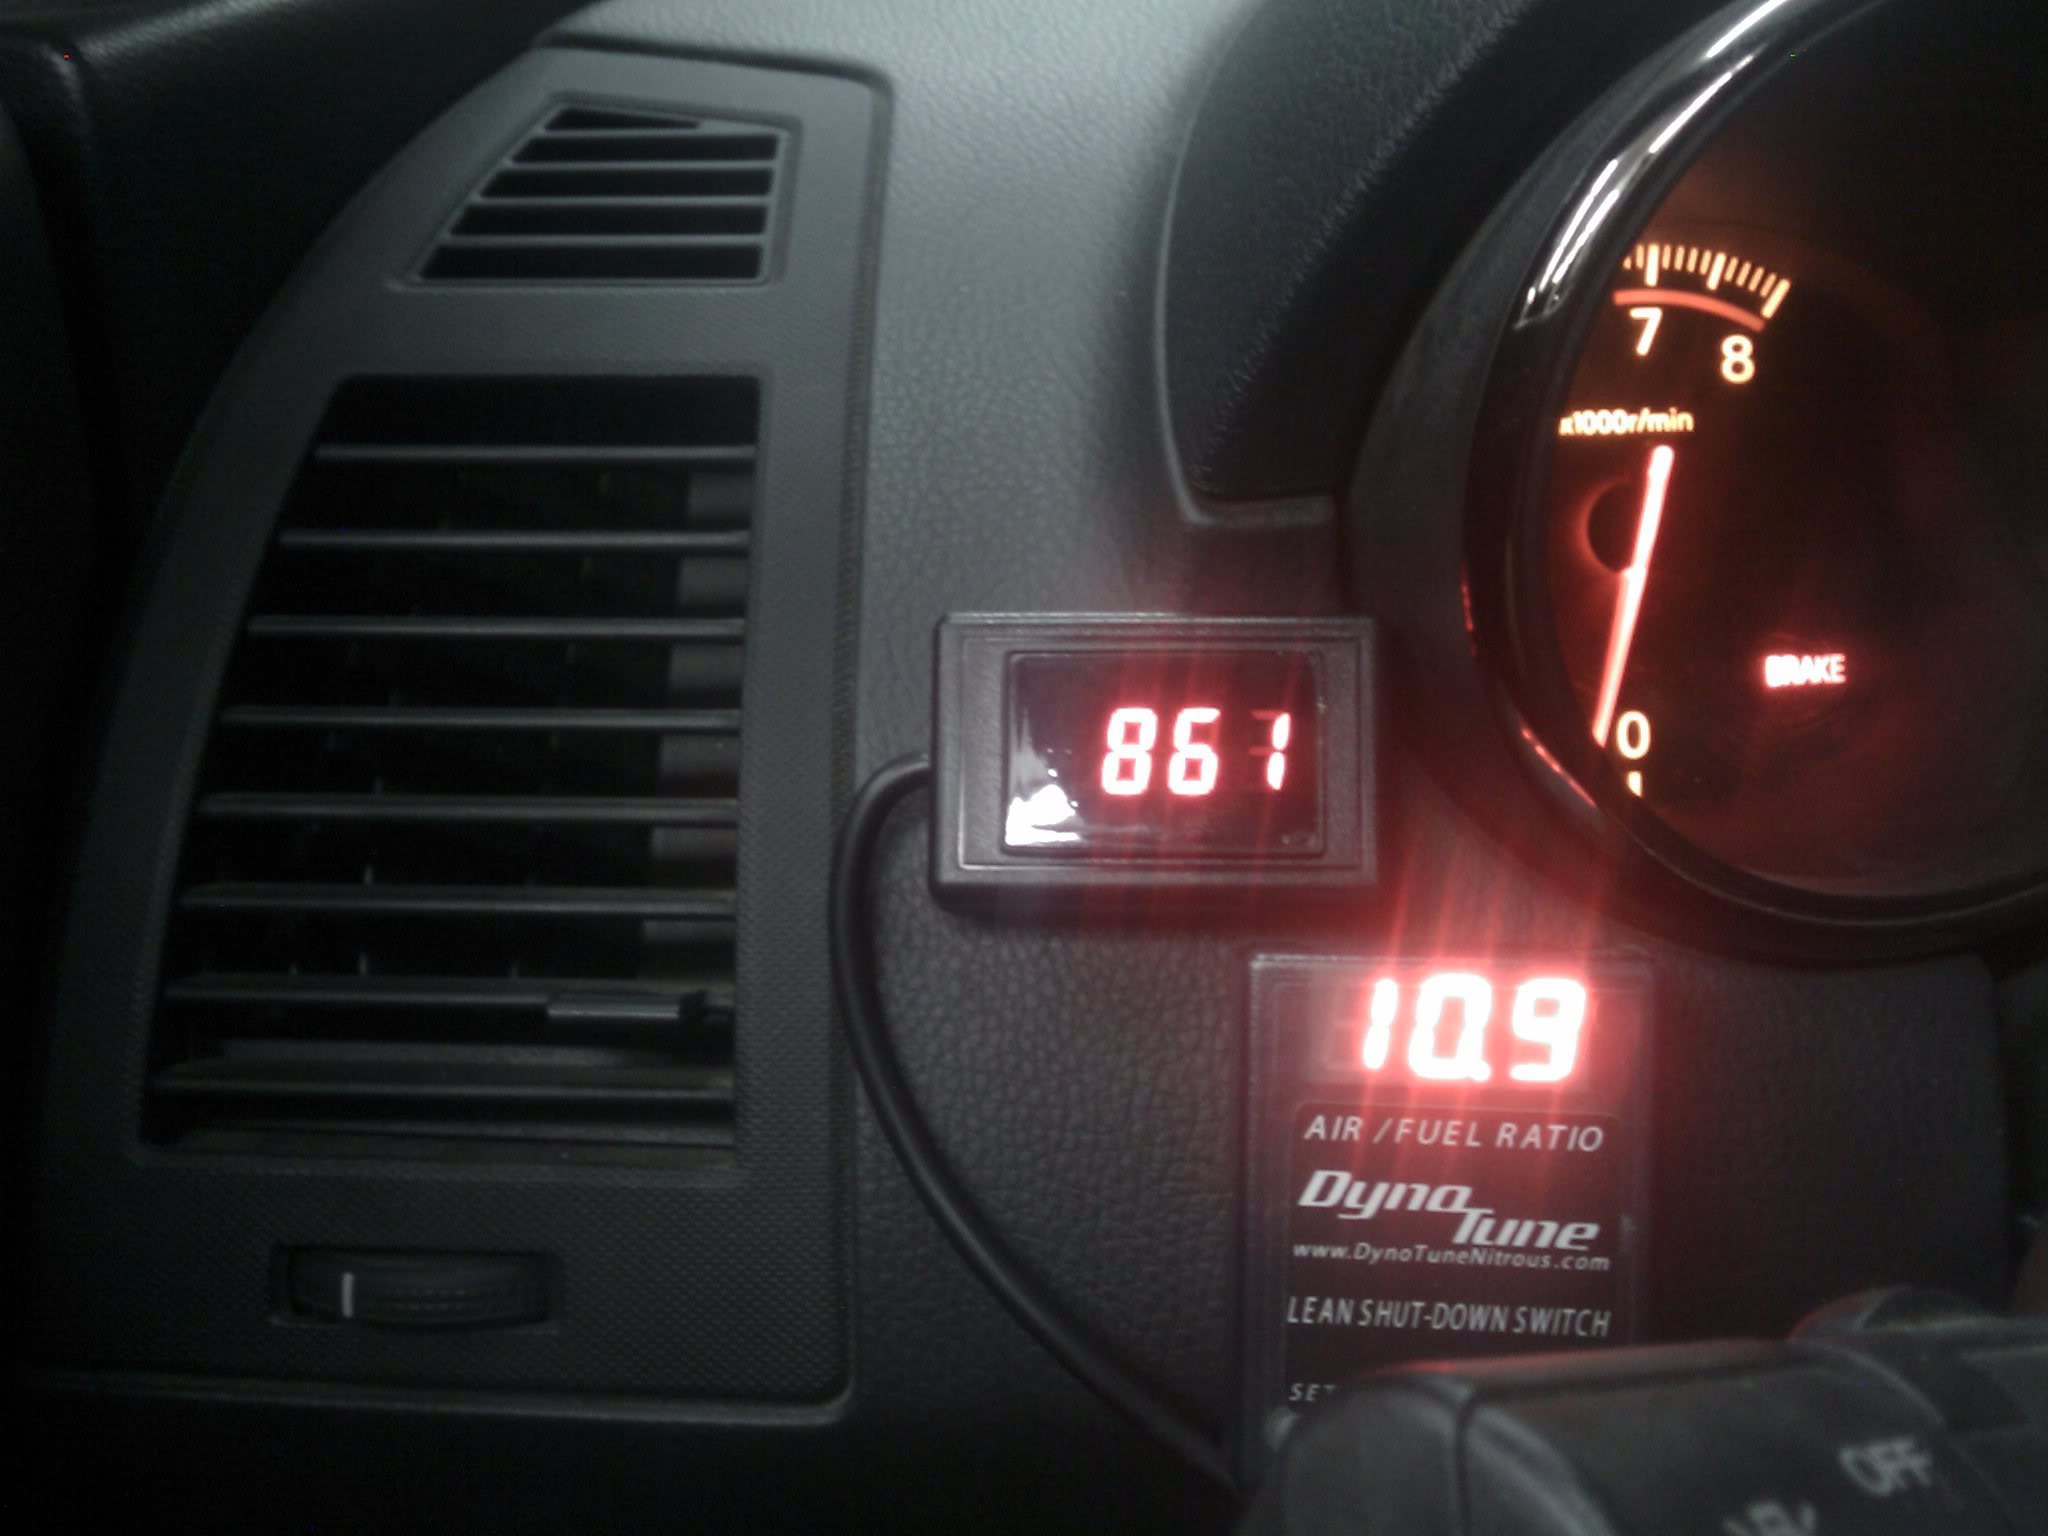
DynoTune Time Based Progressive Nitrous Controller
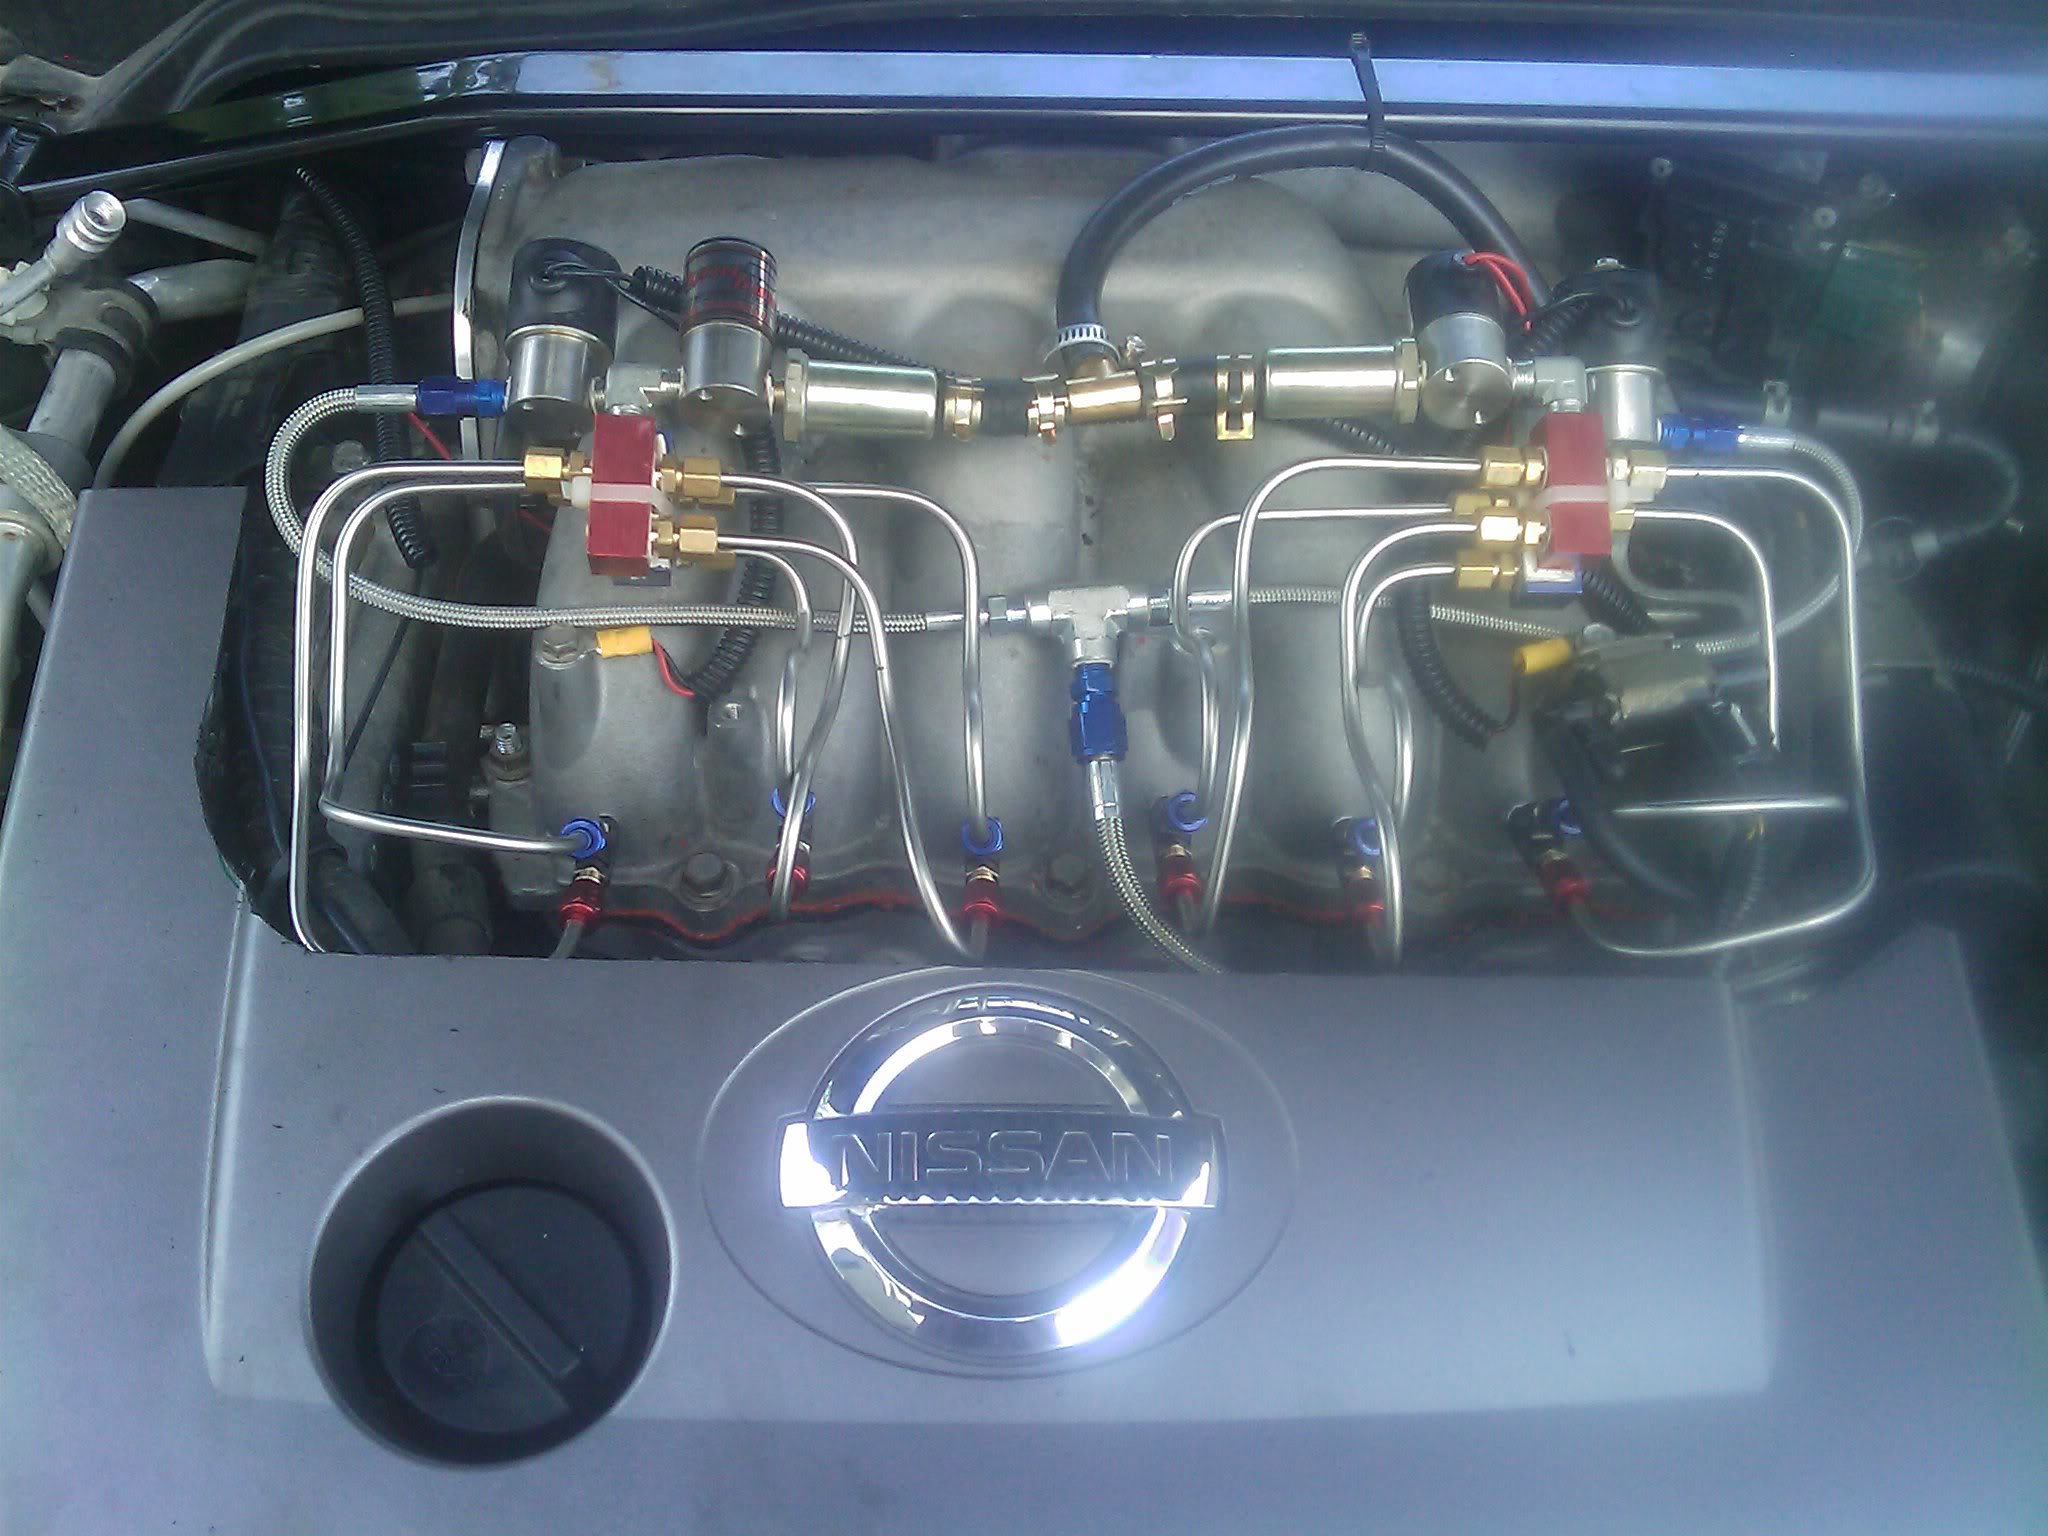
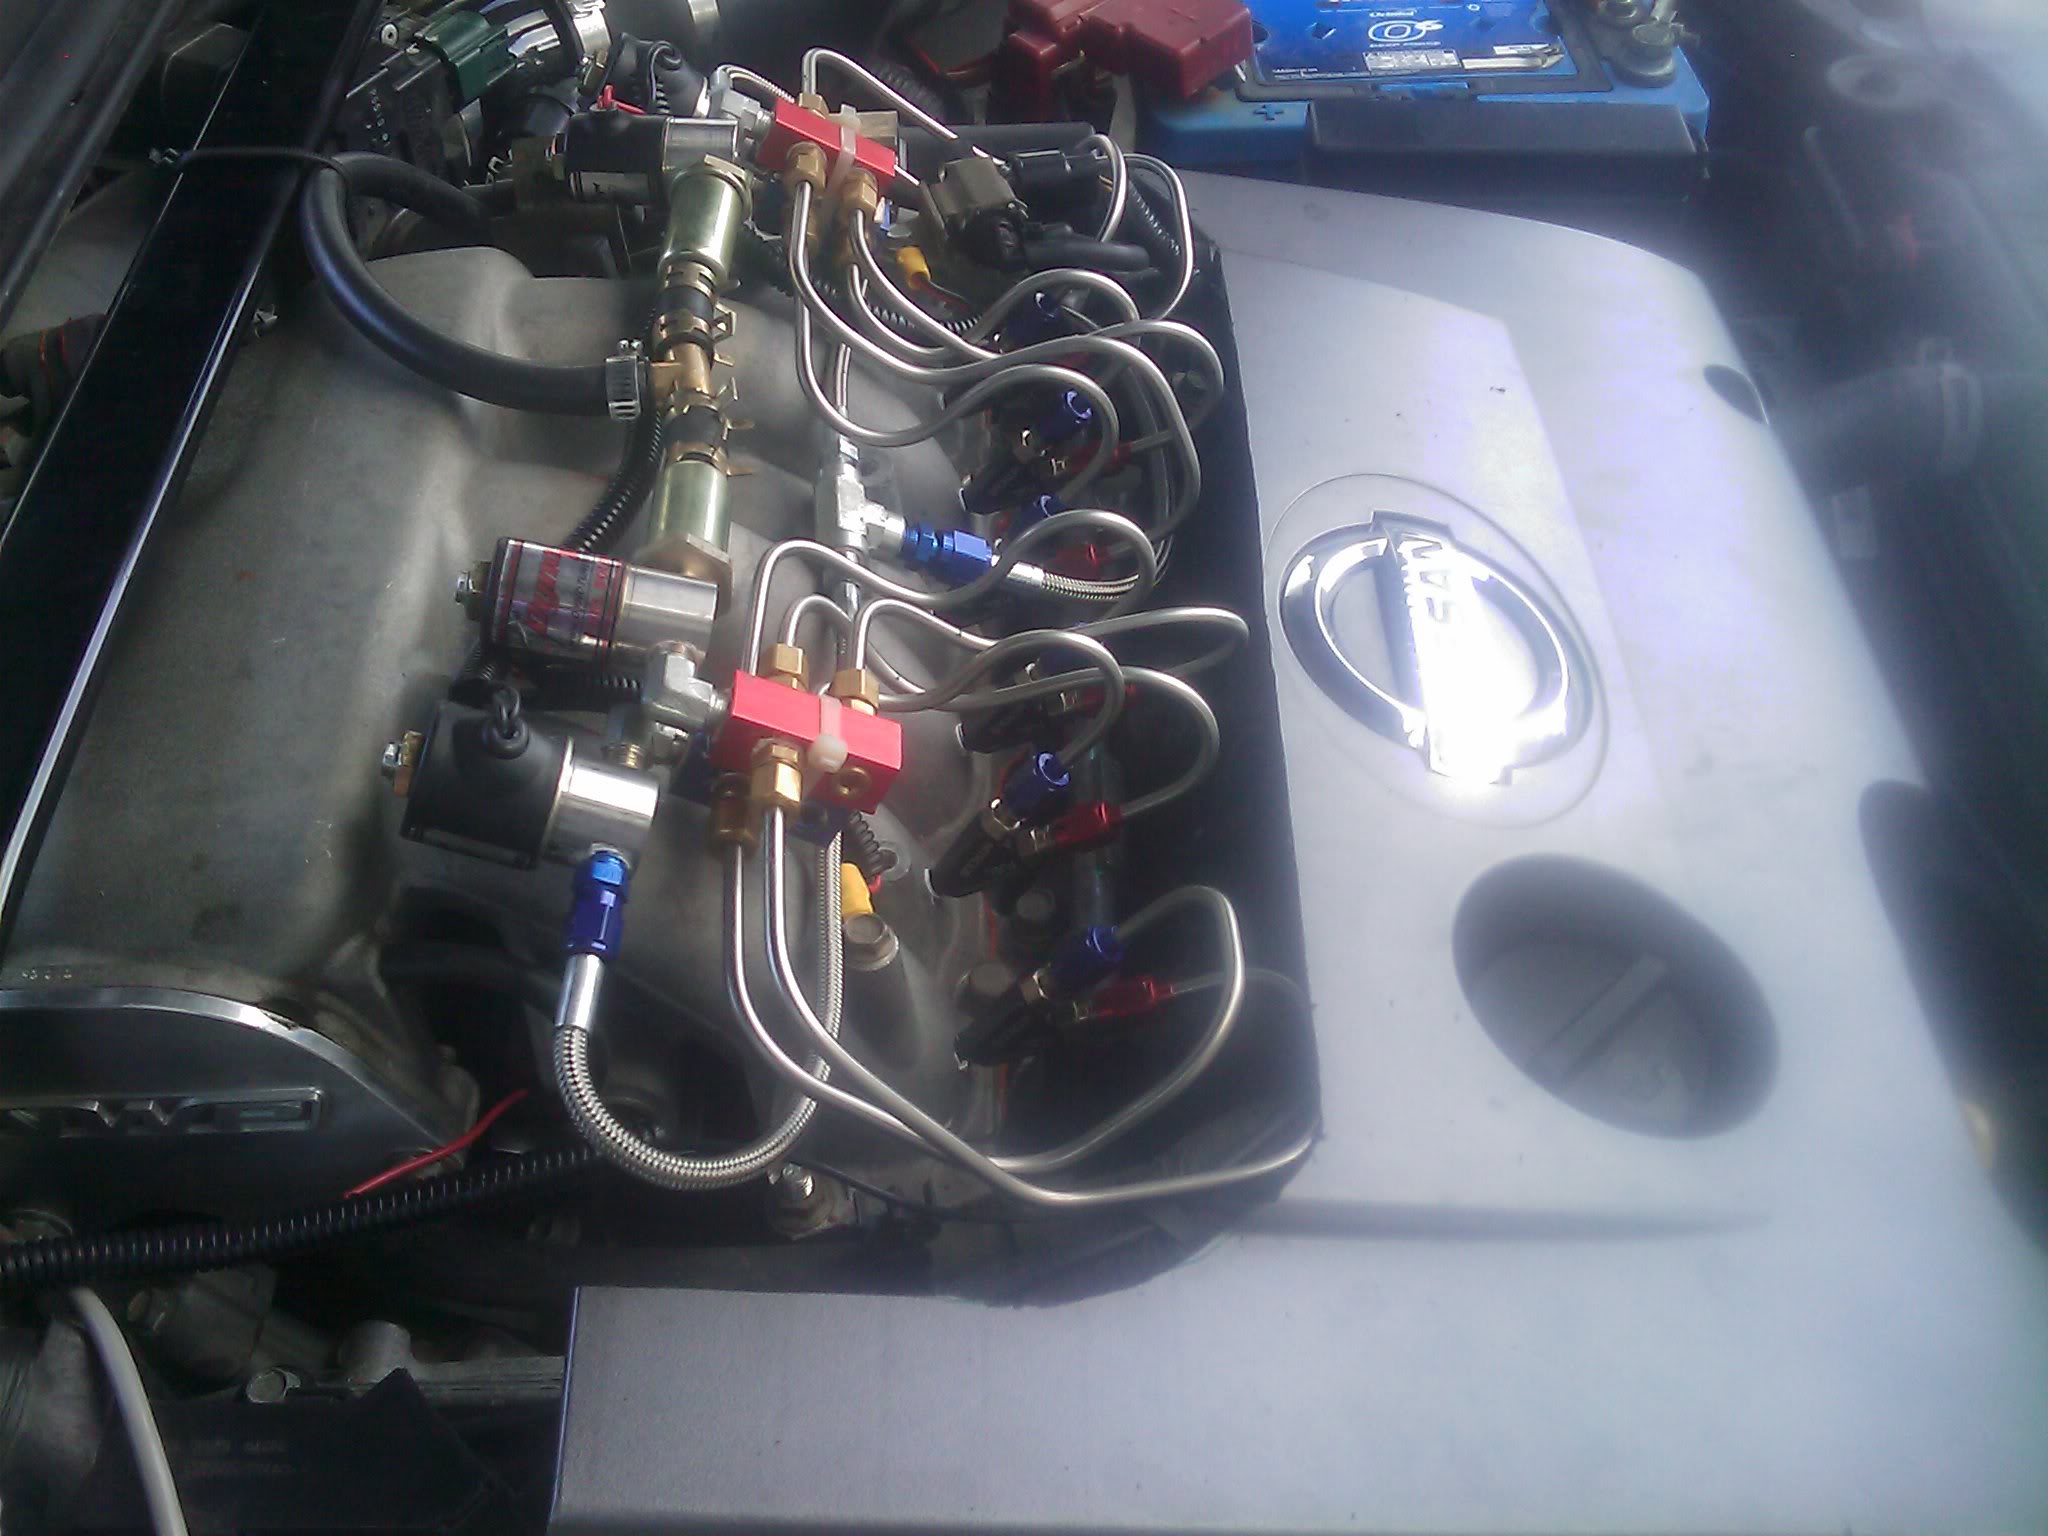
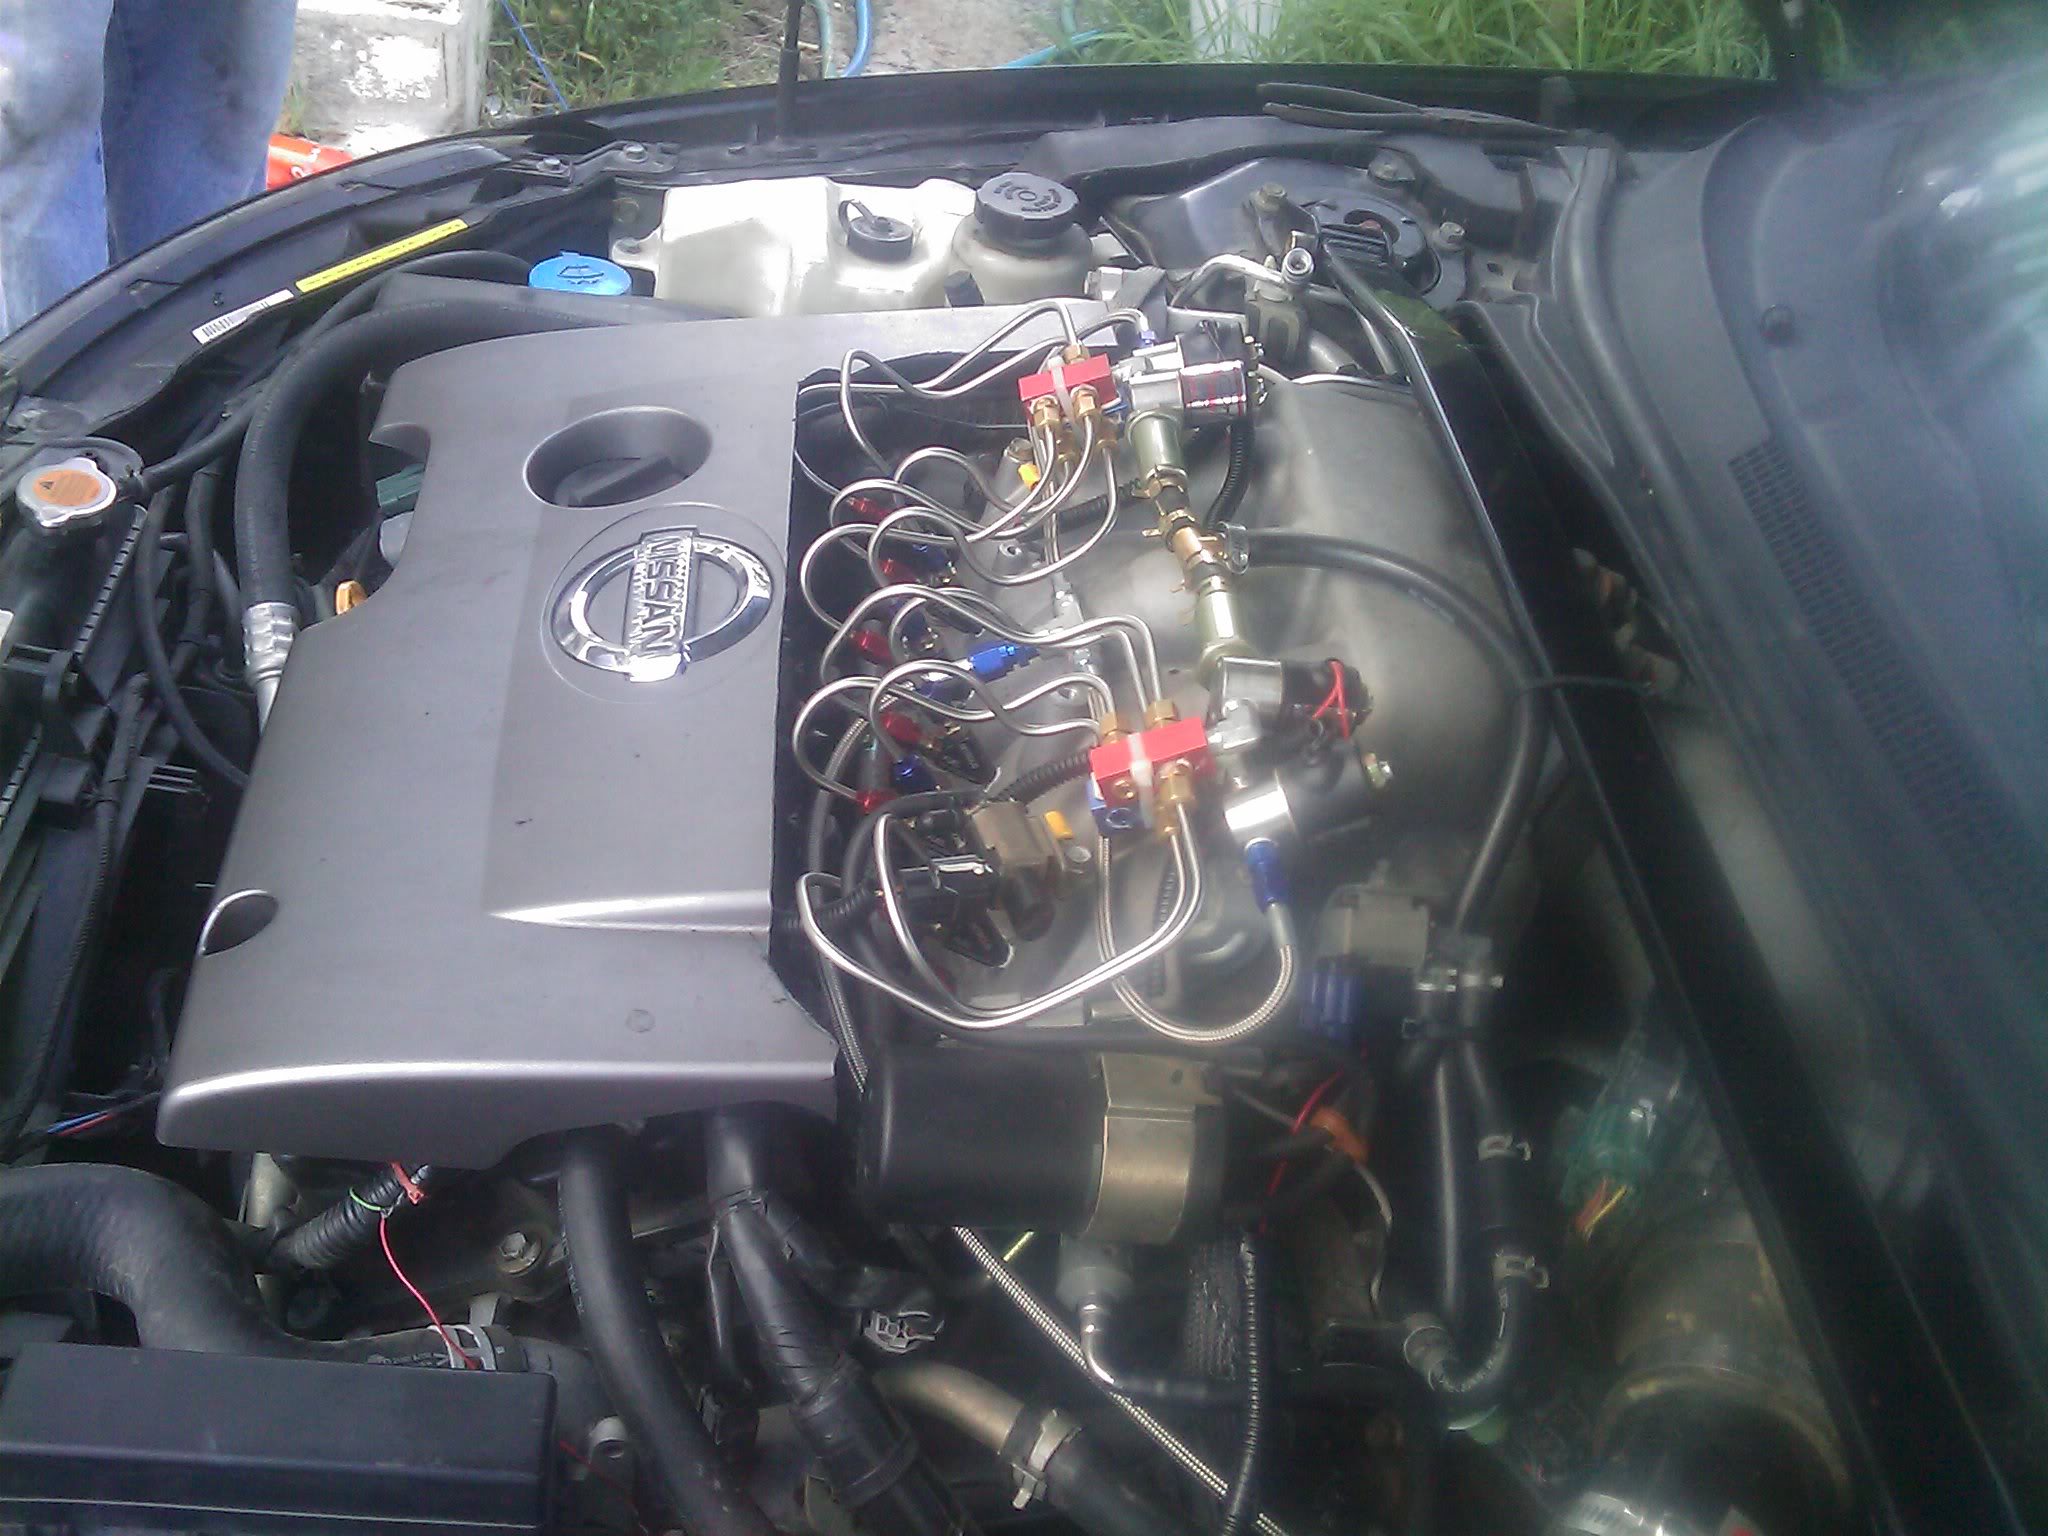
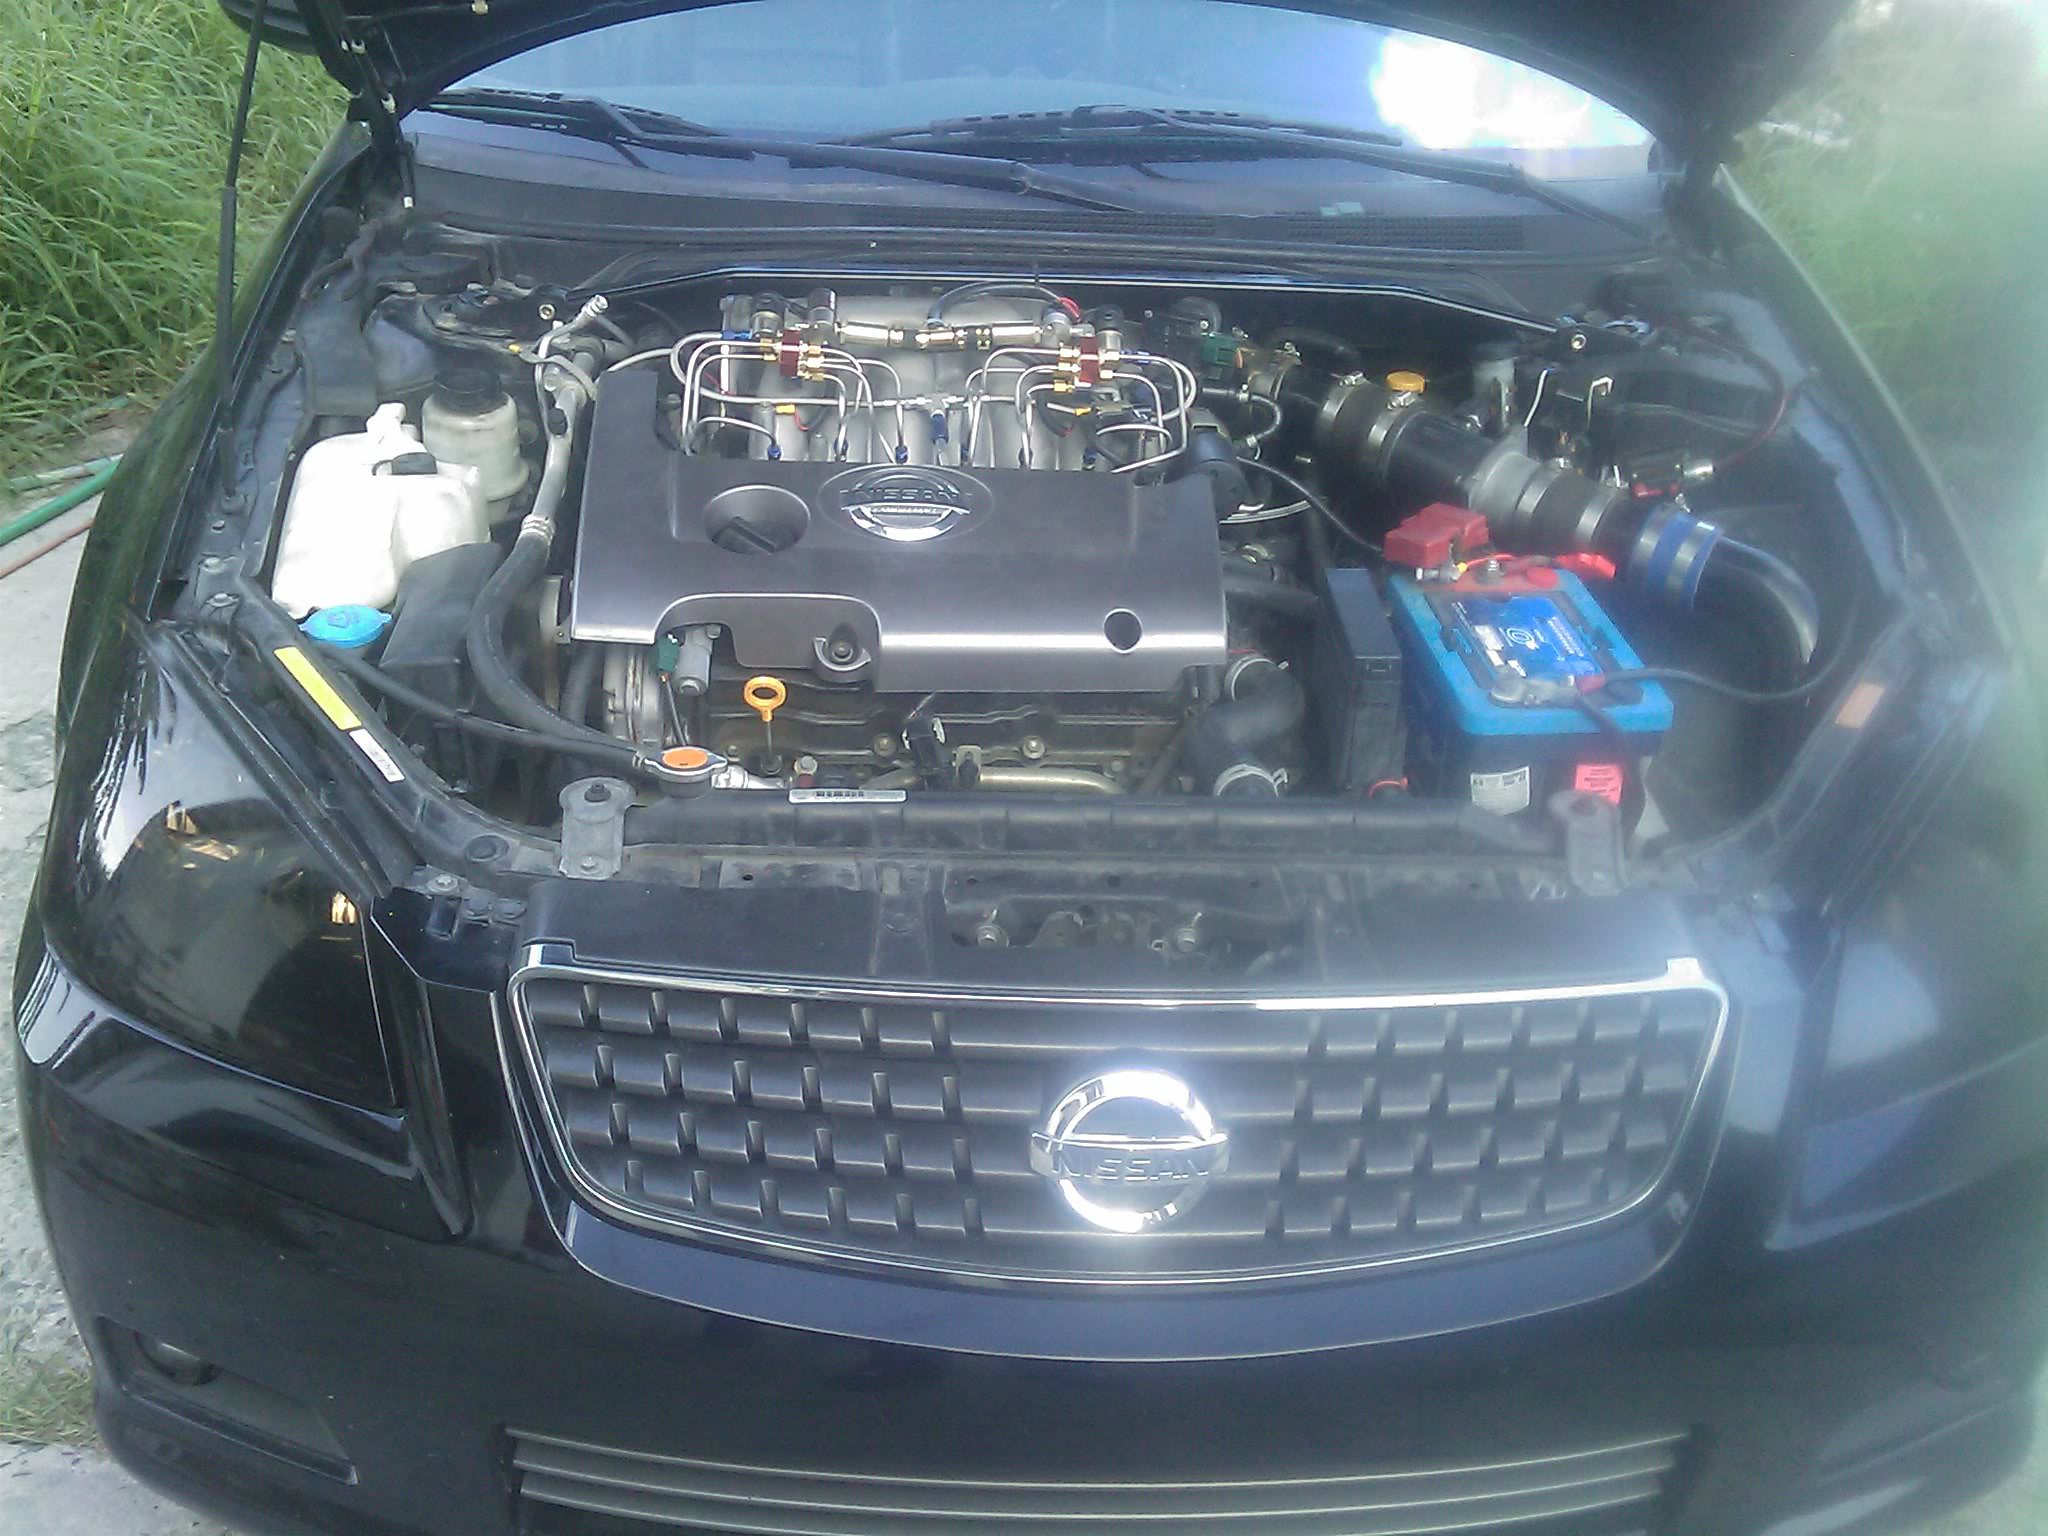
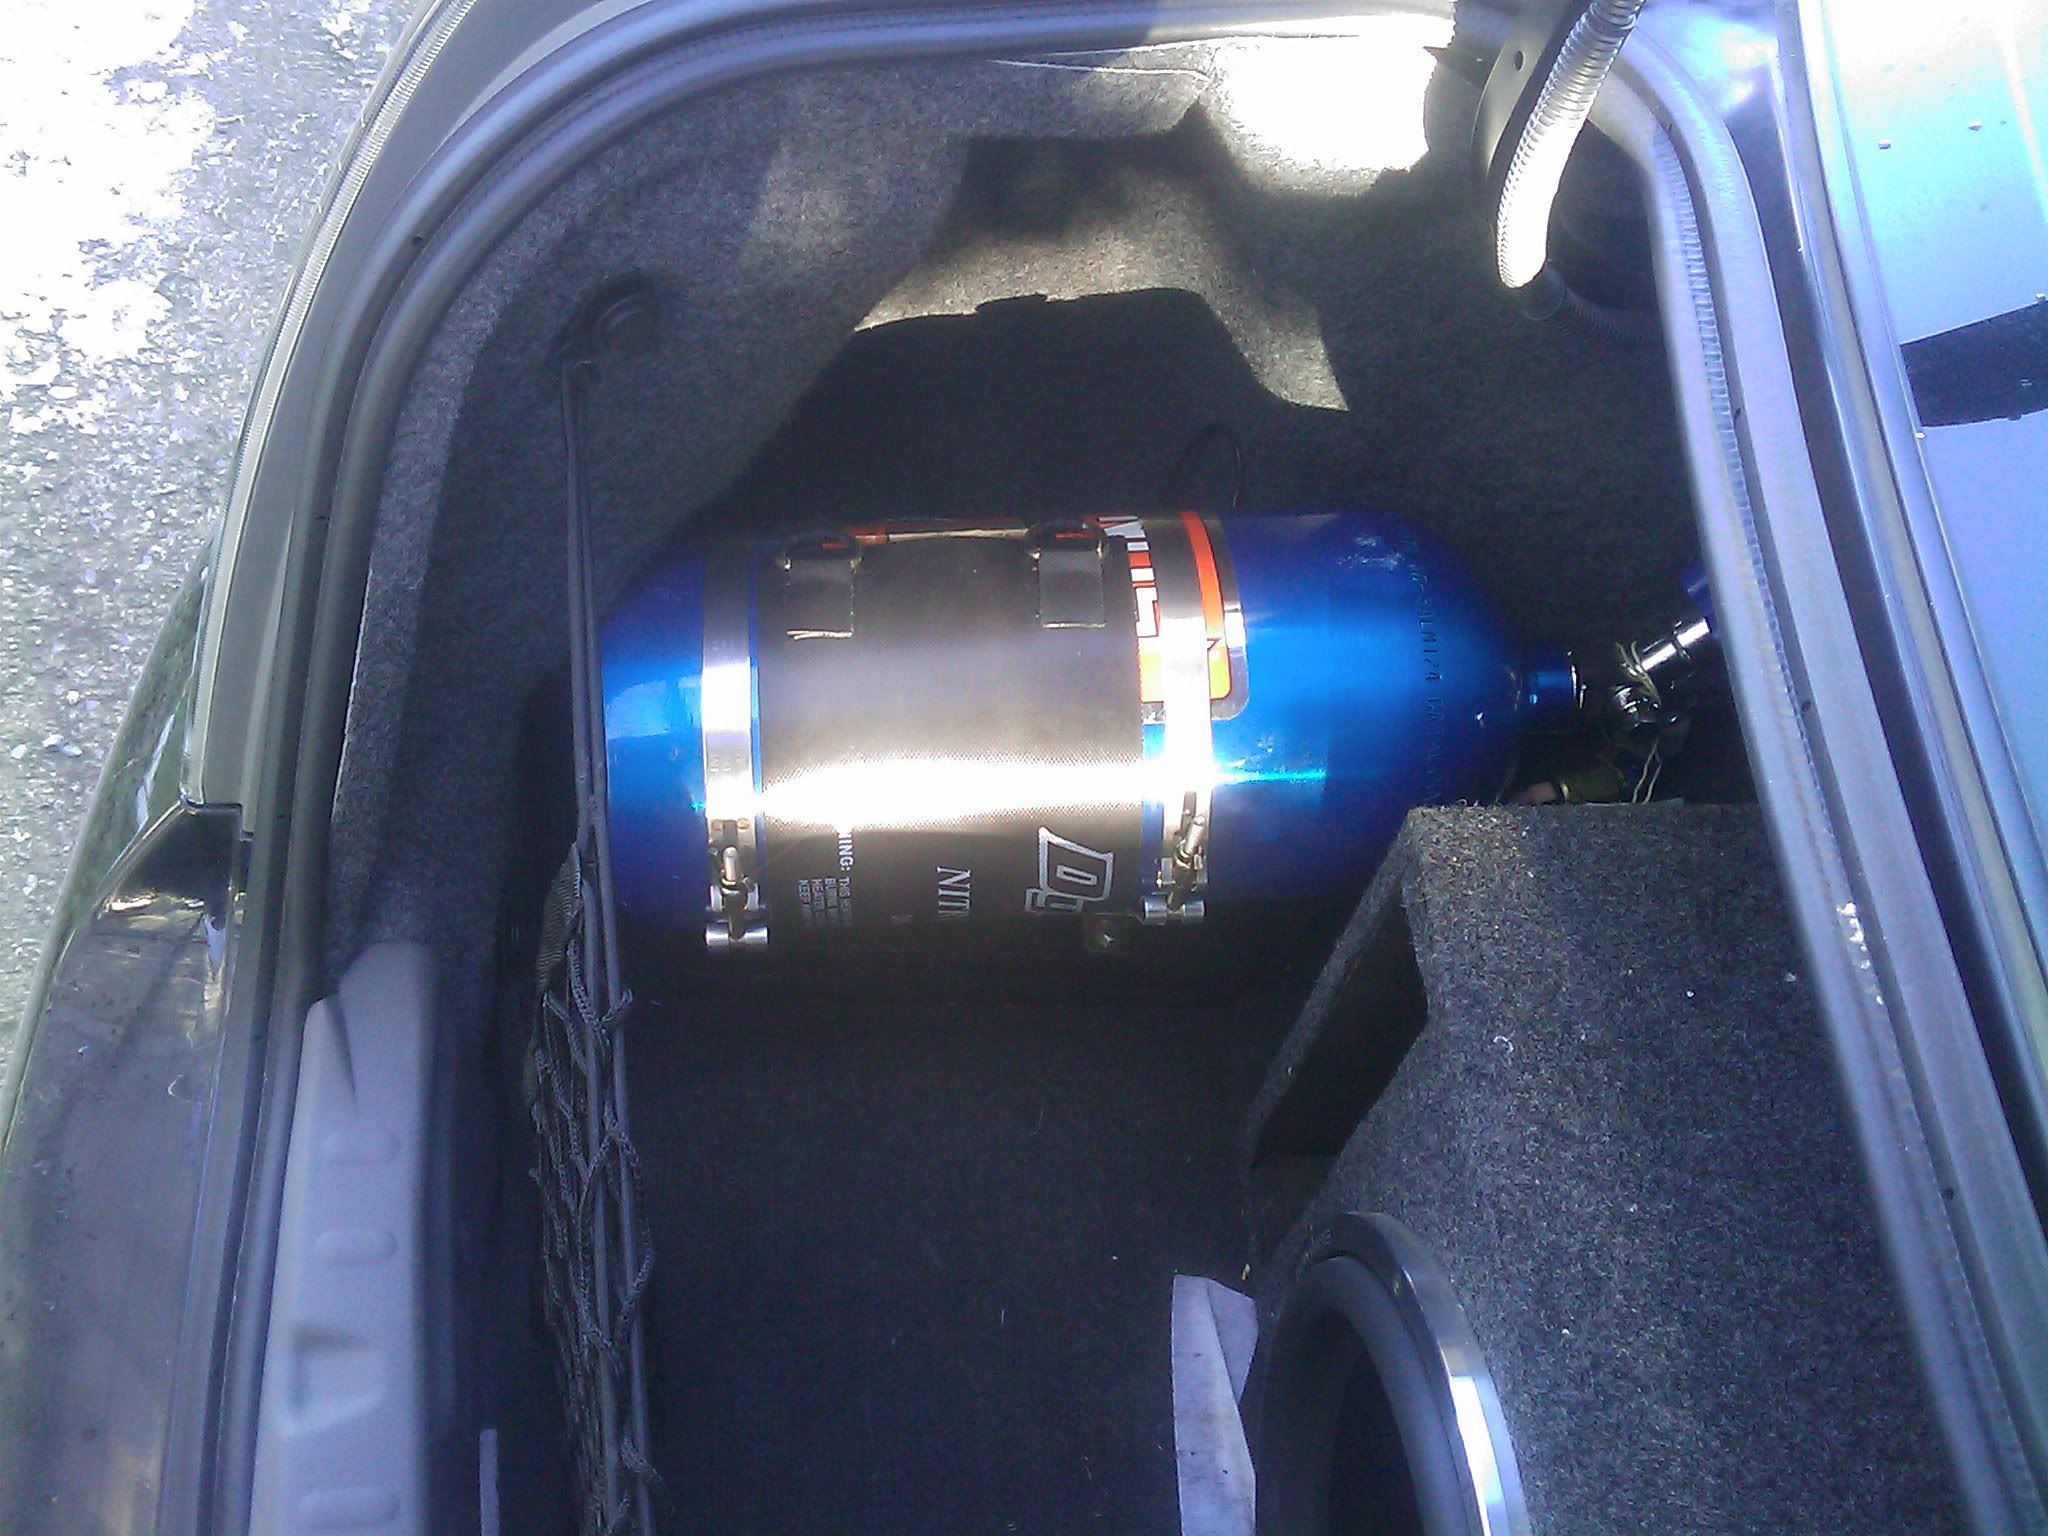
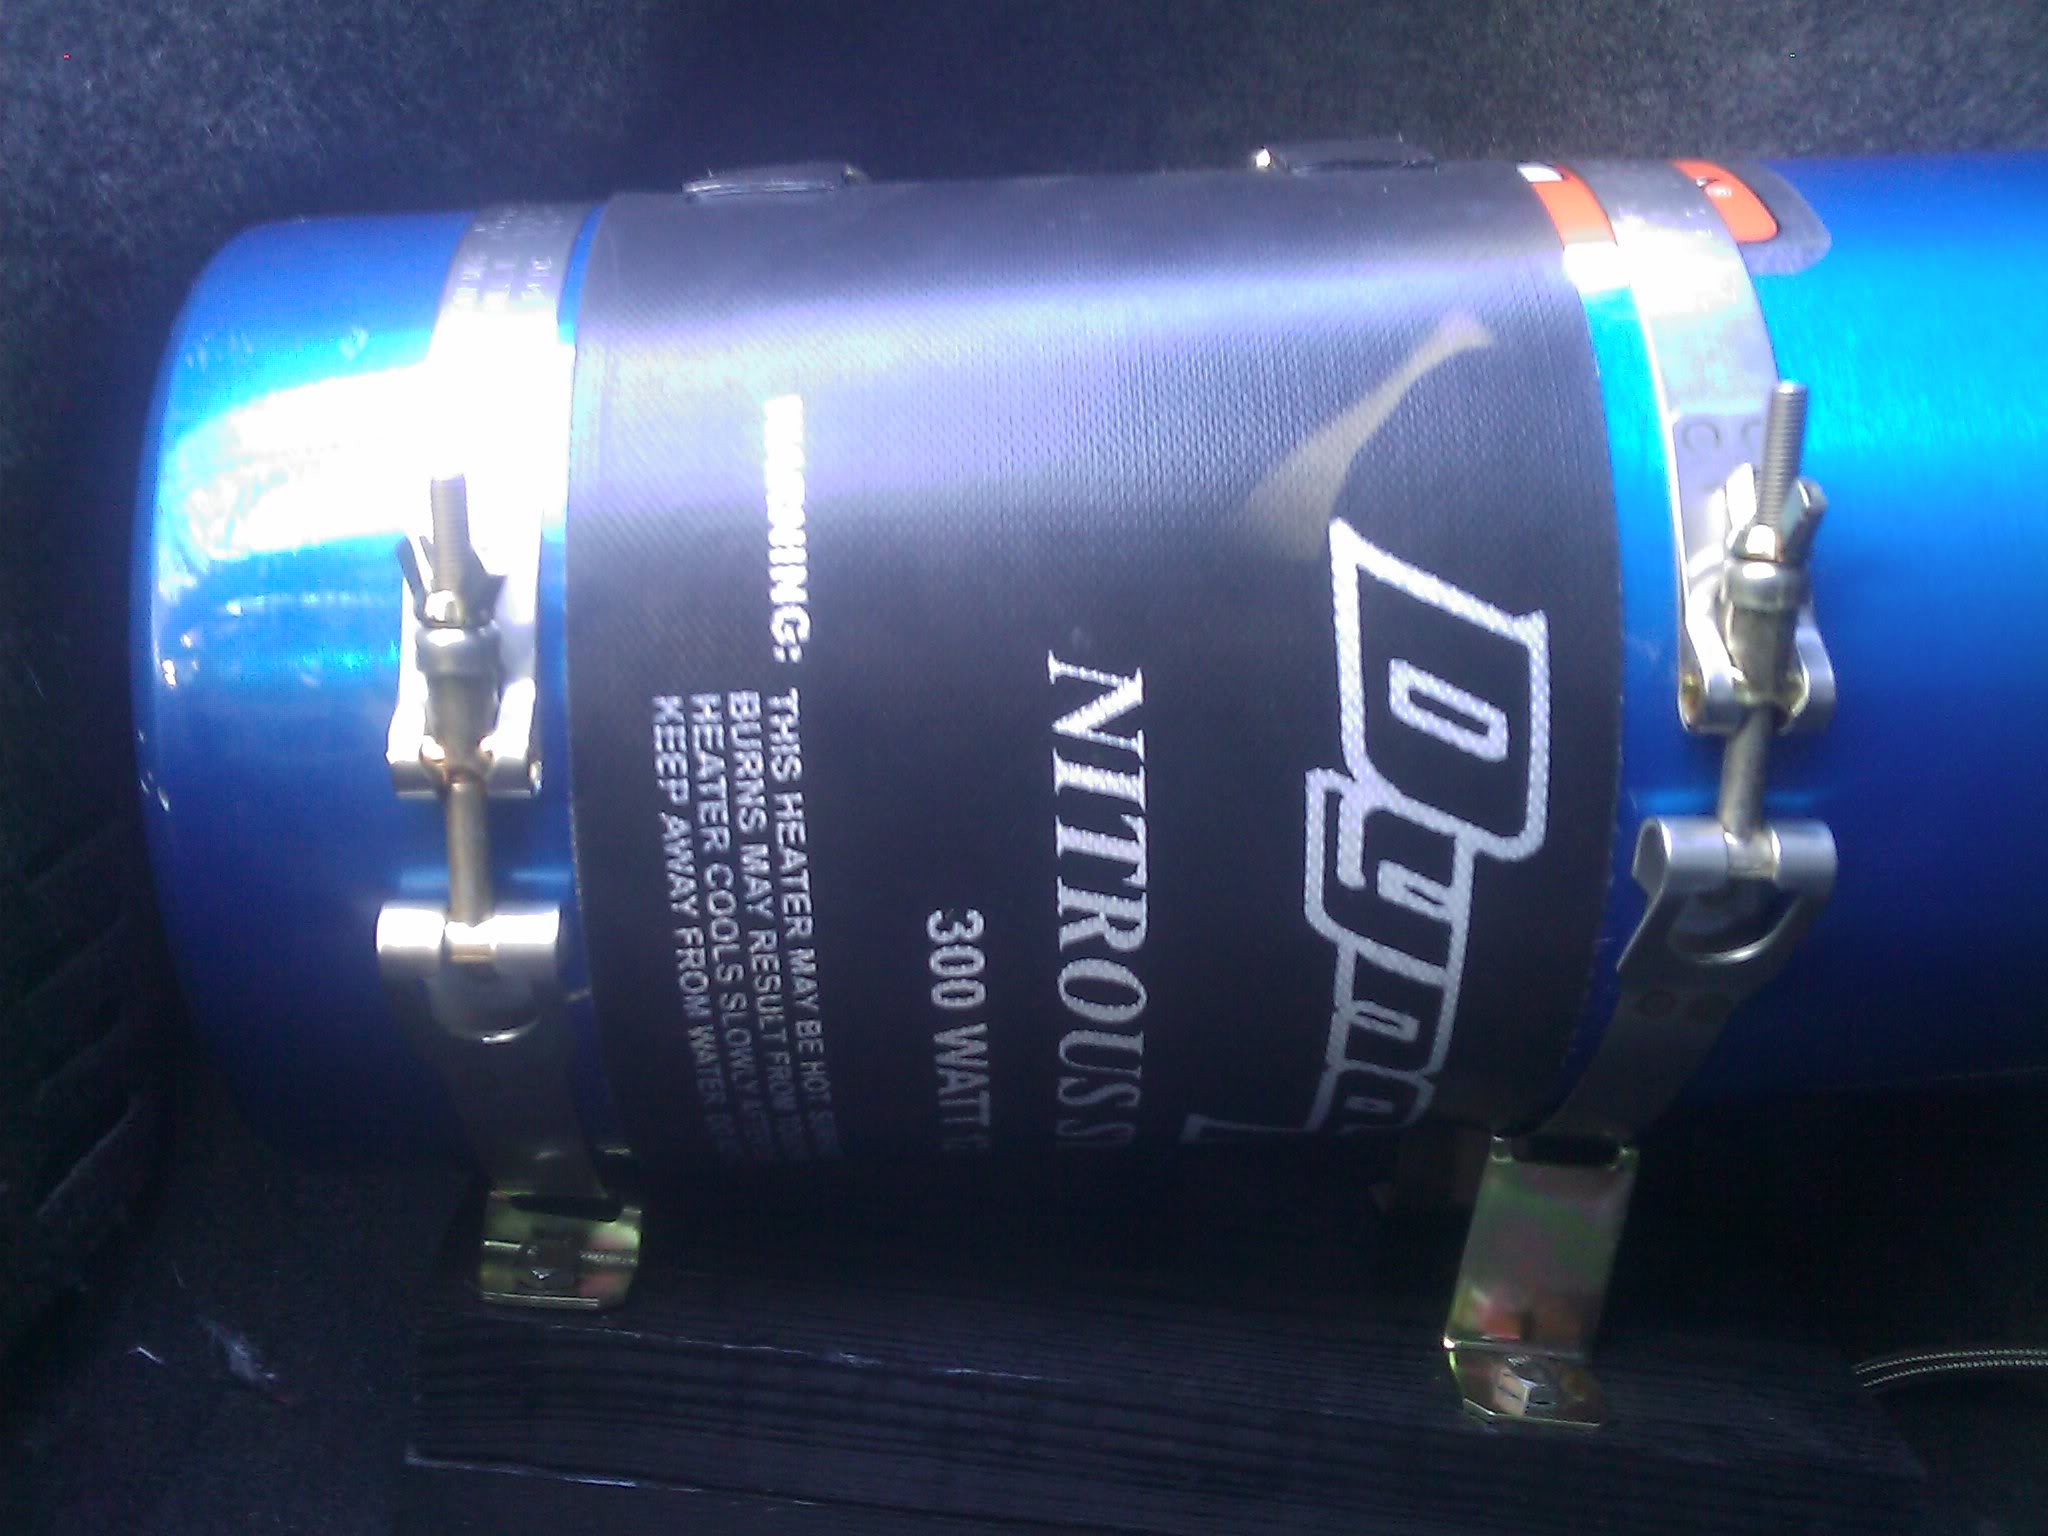
DynoTune Nitrous Oxide Bottle Warmer
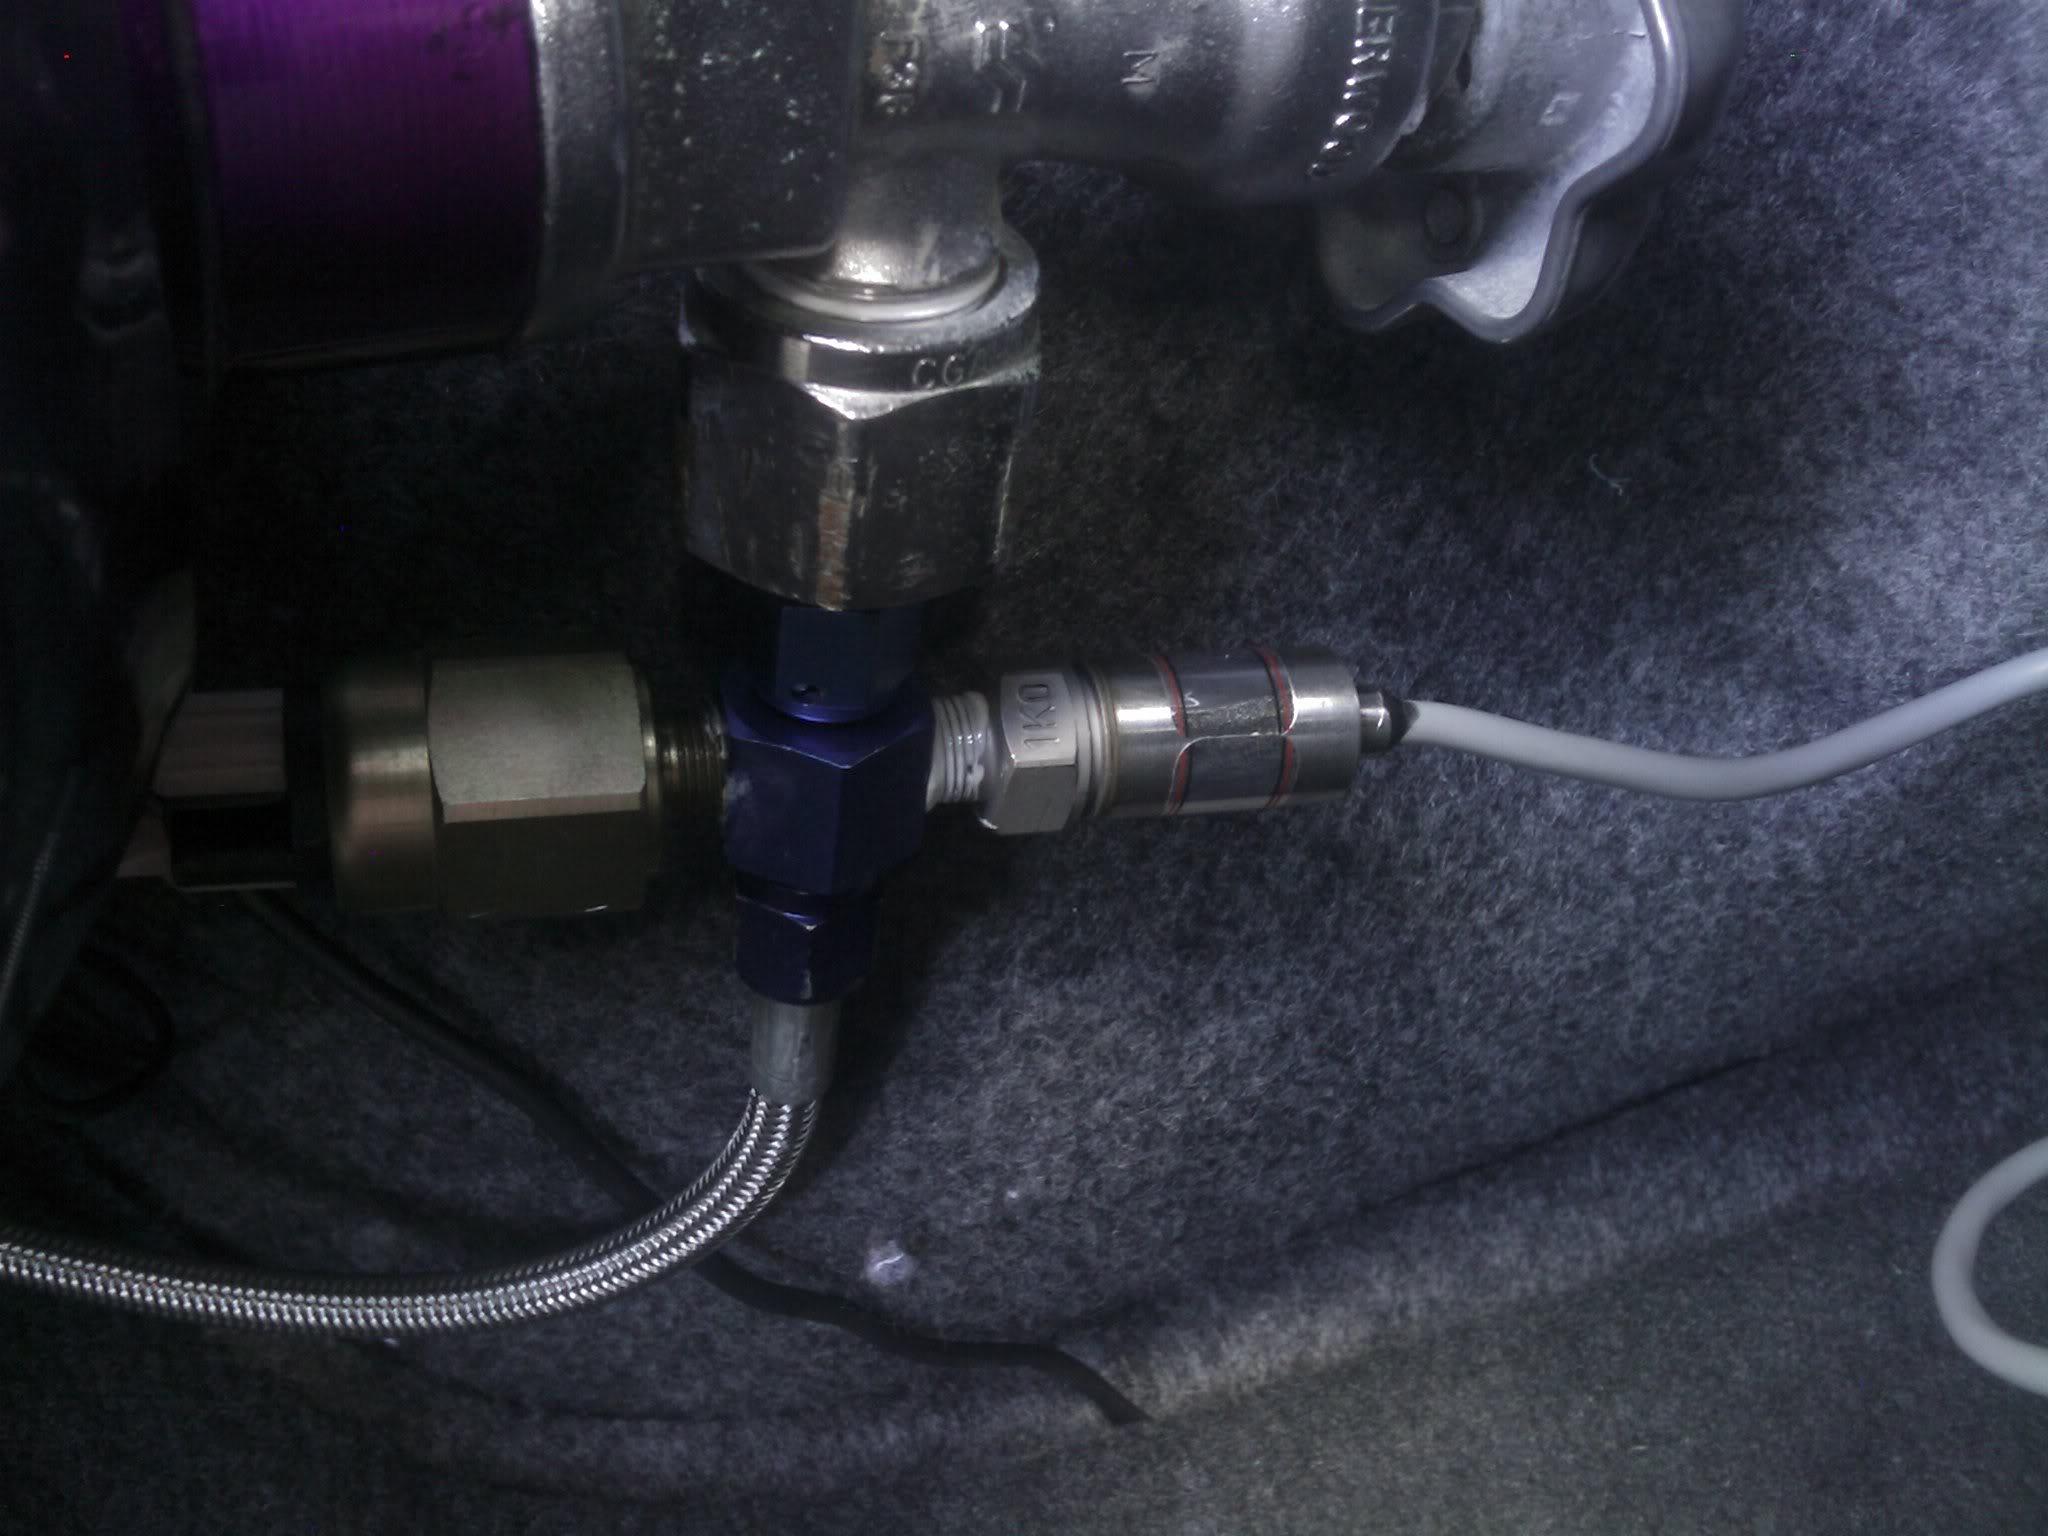
DynoTune Nitrous Oxide Purge Kit
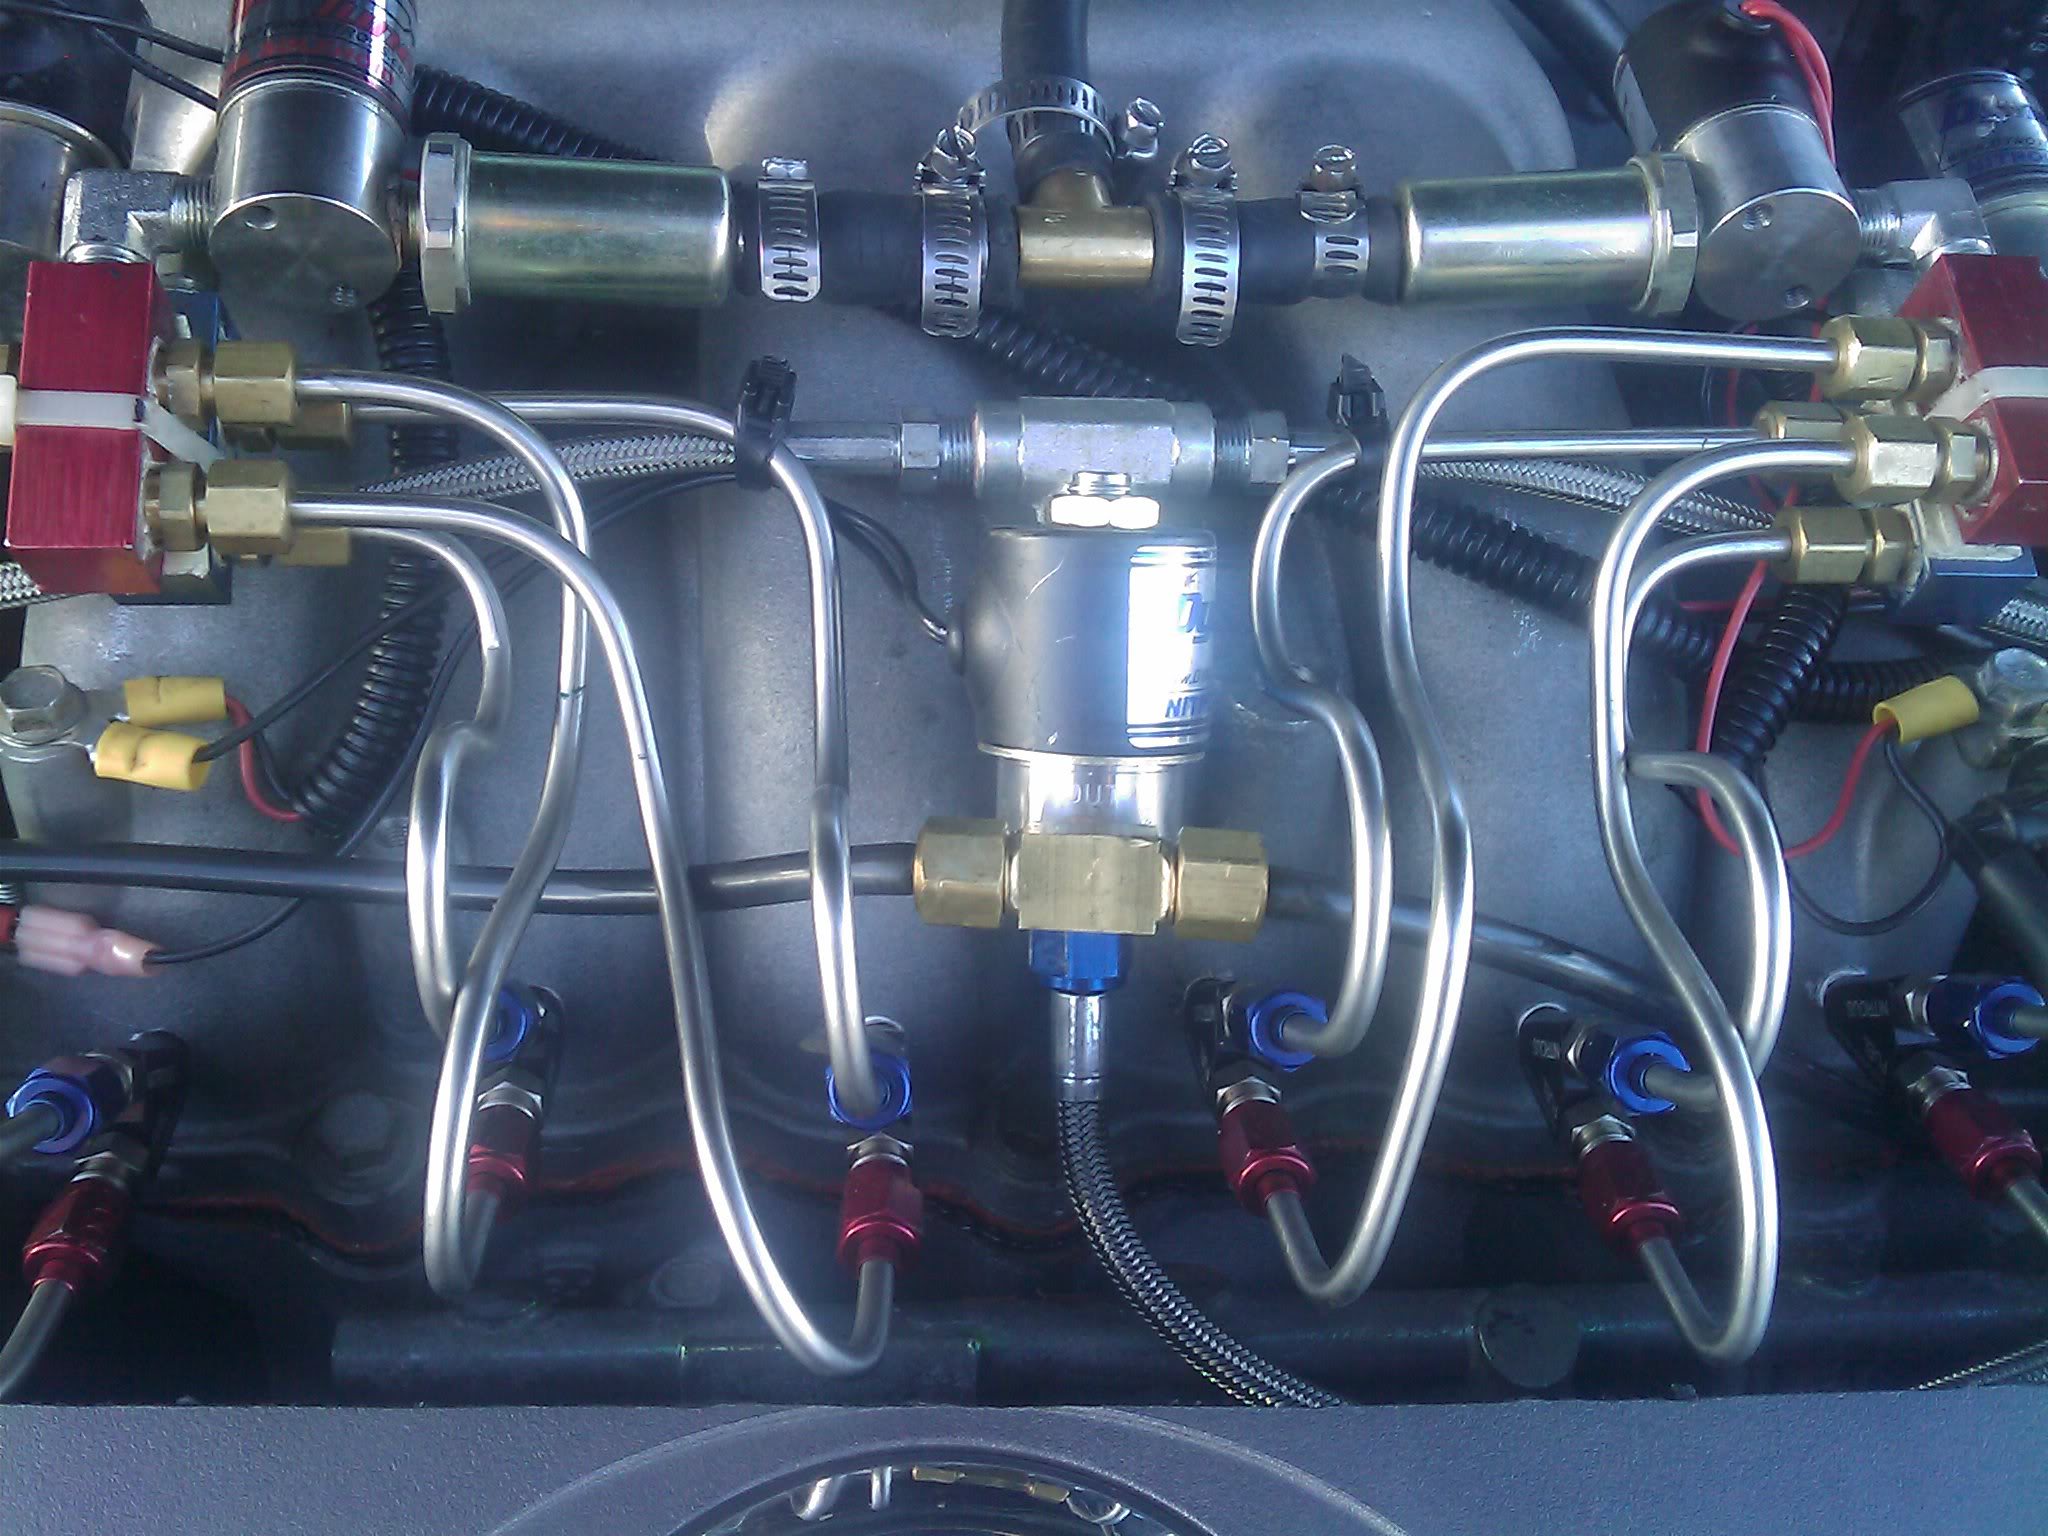
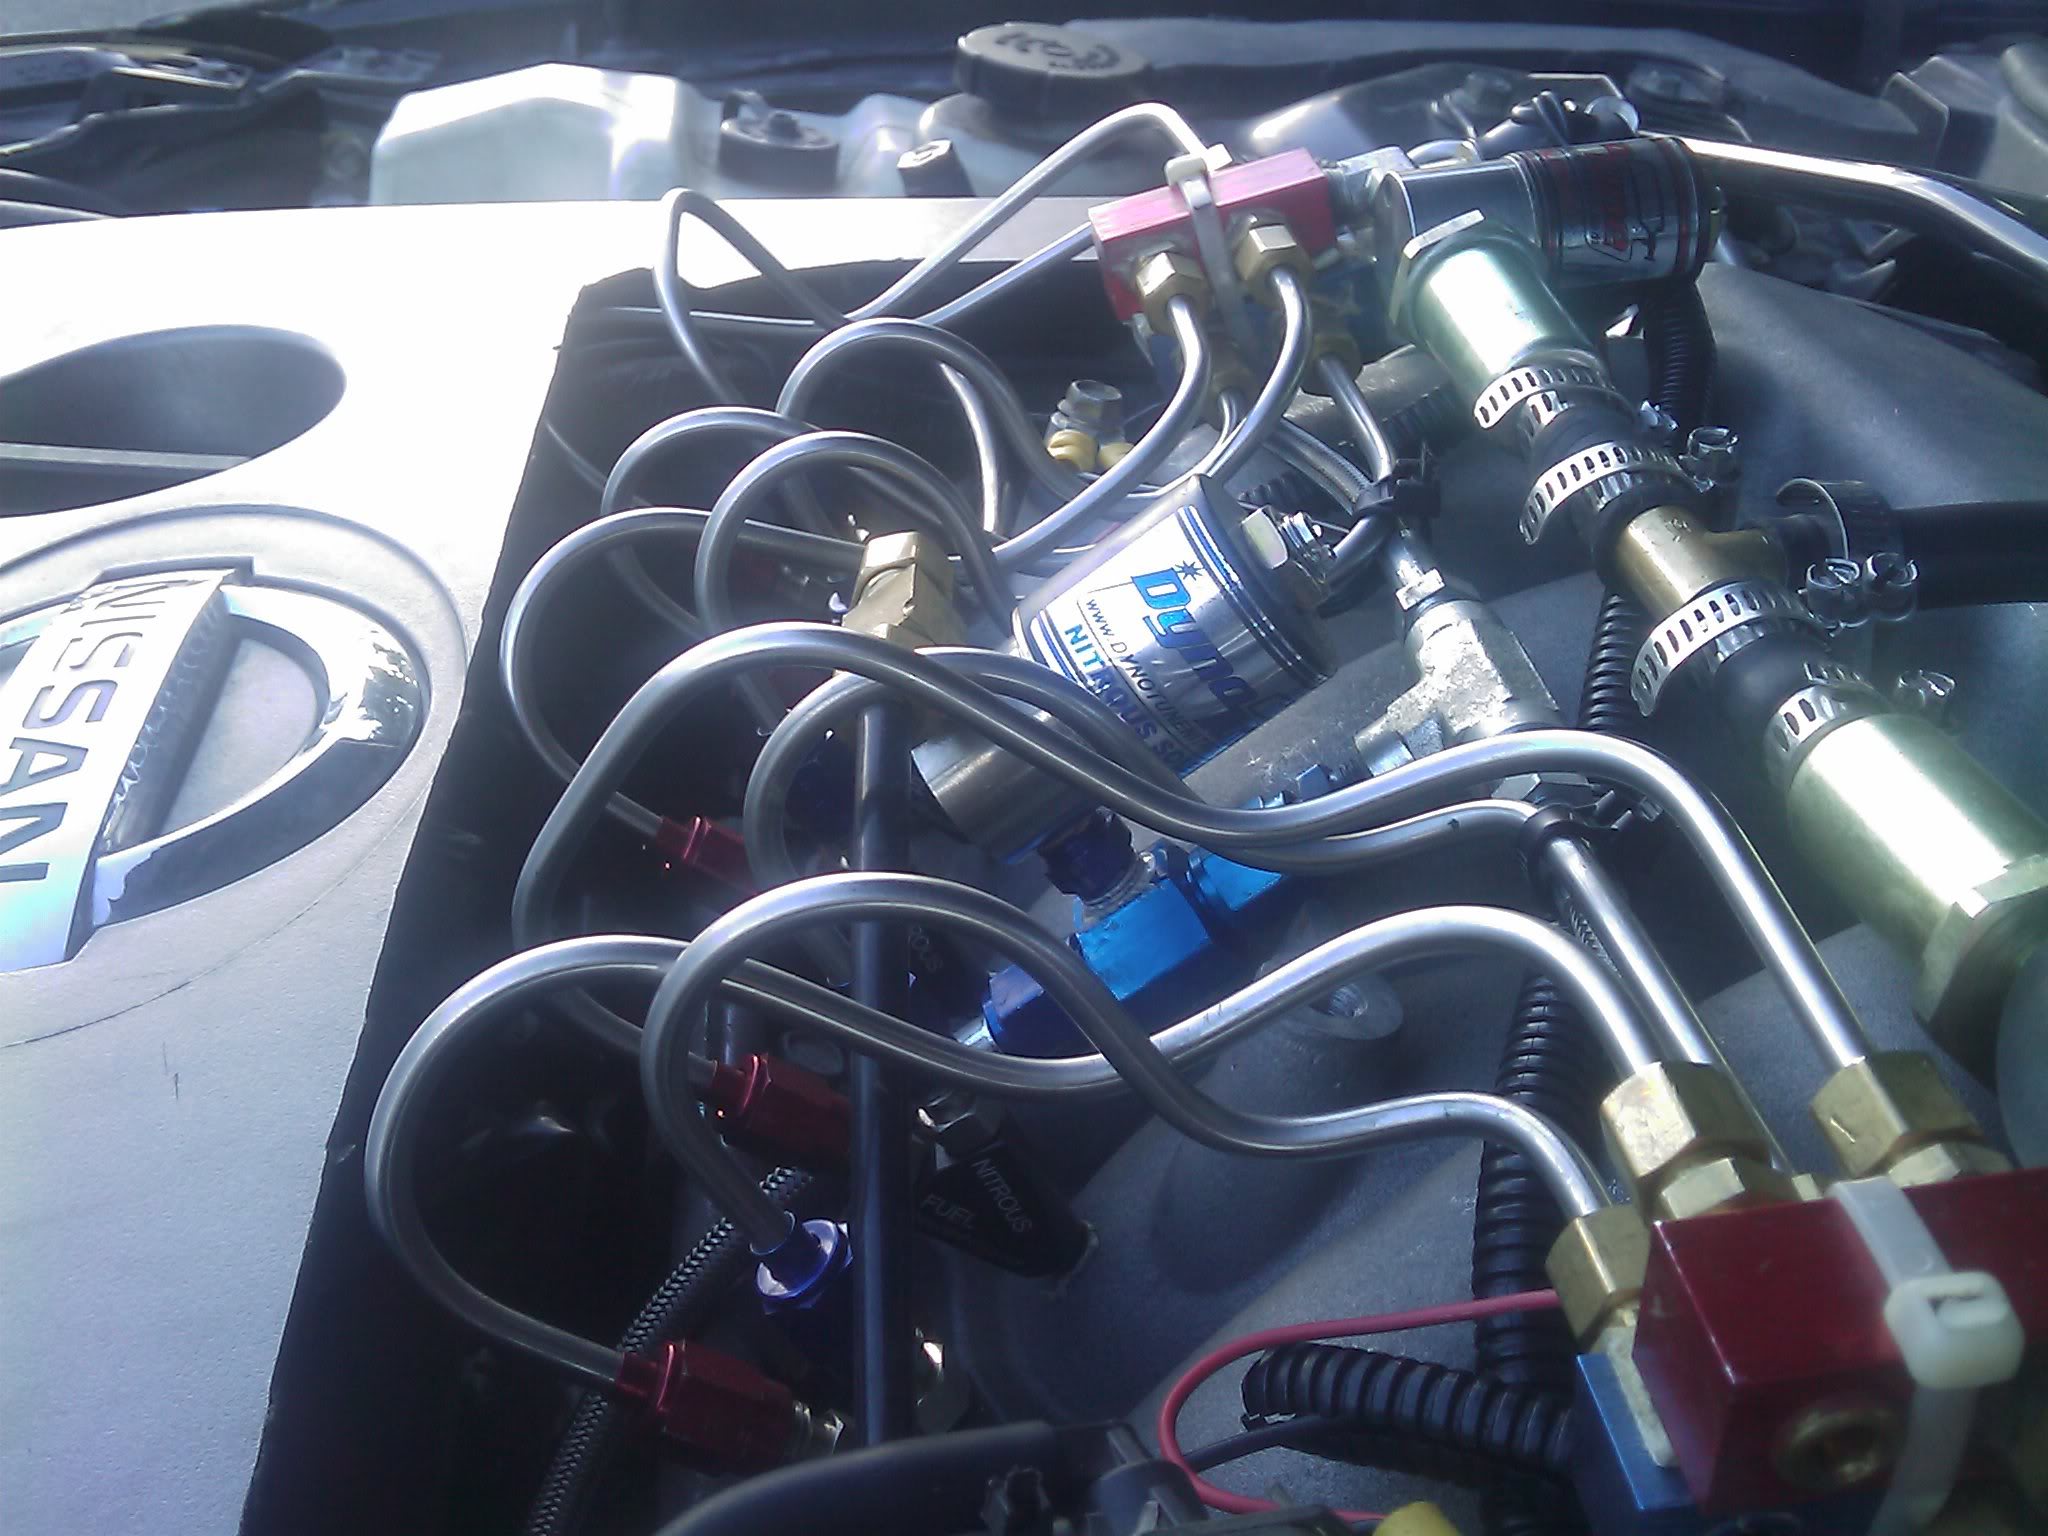
Exedy Clutch And Exedy Pressure Plate, 04 Maxima LSD Transmission
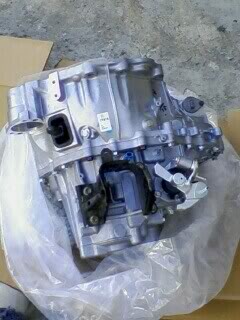
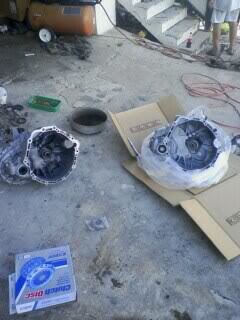
With lsd & Without lsd
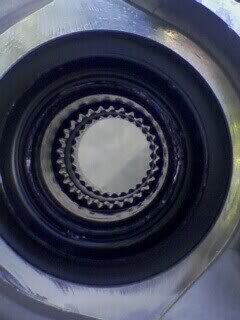
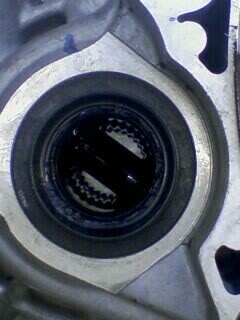
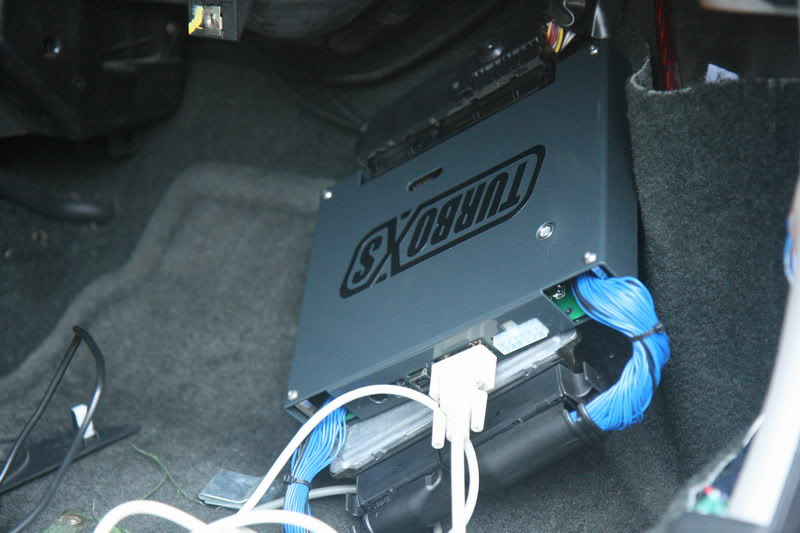
Turbo XS UTEC
Racingline MMI

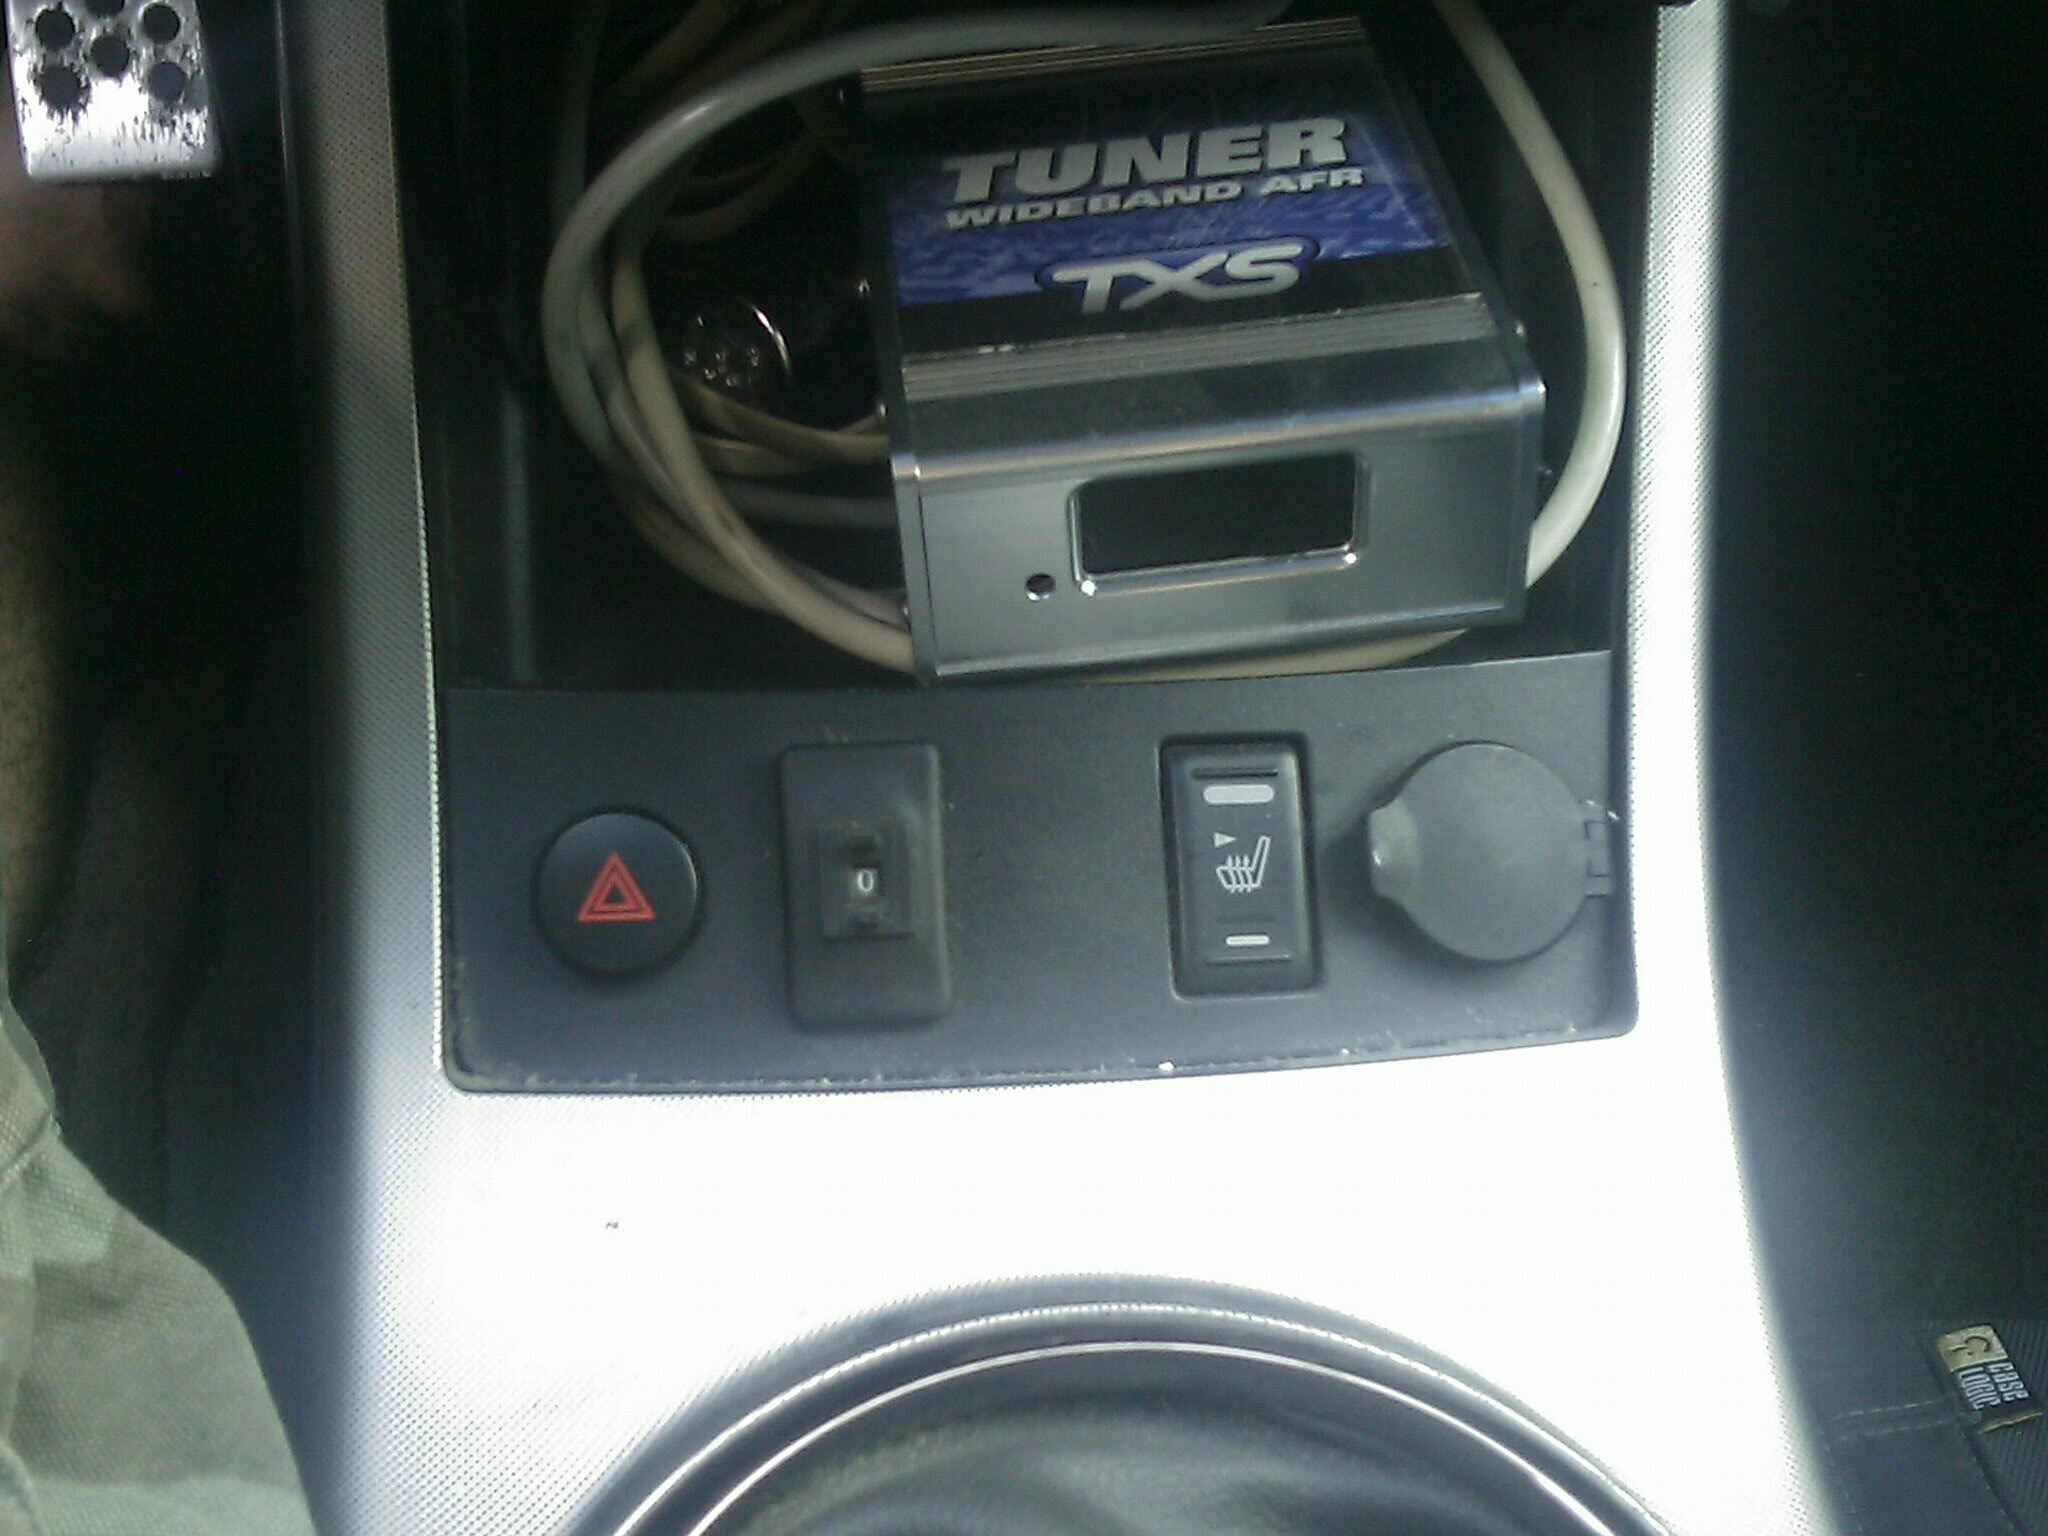
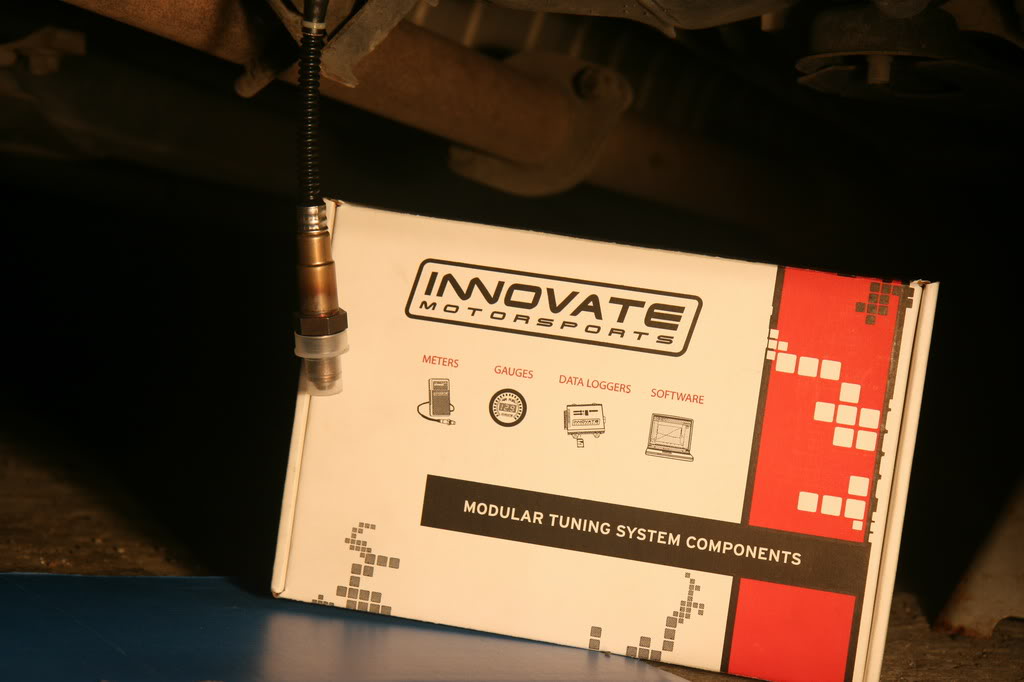
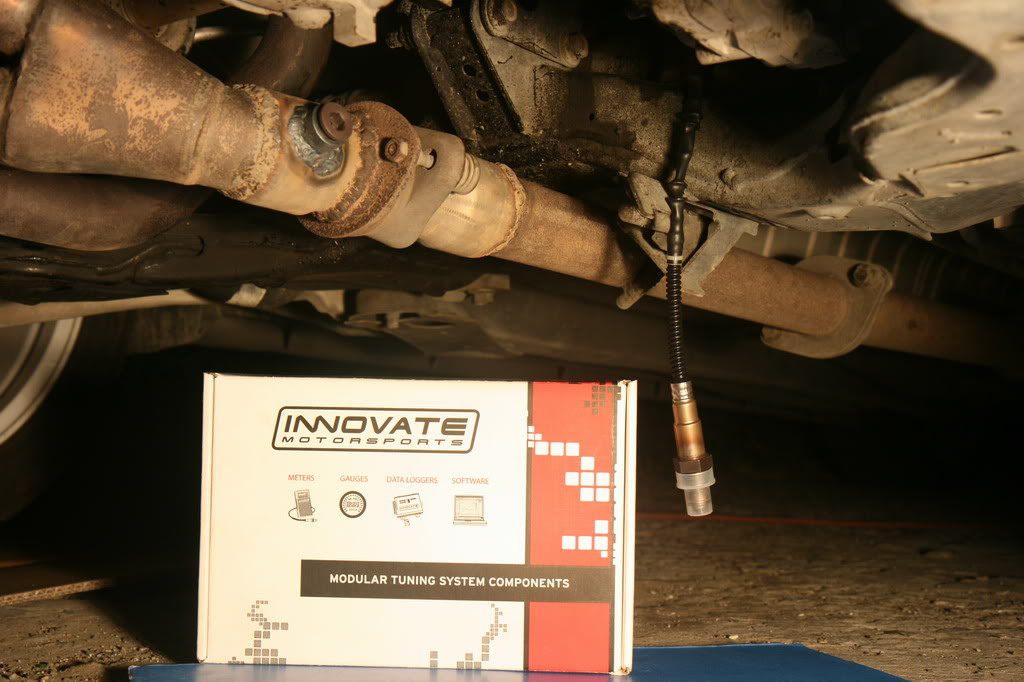
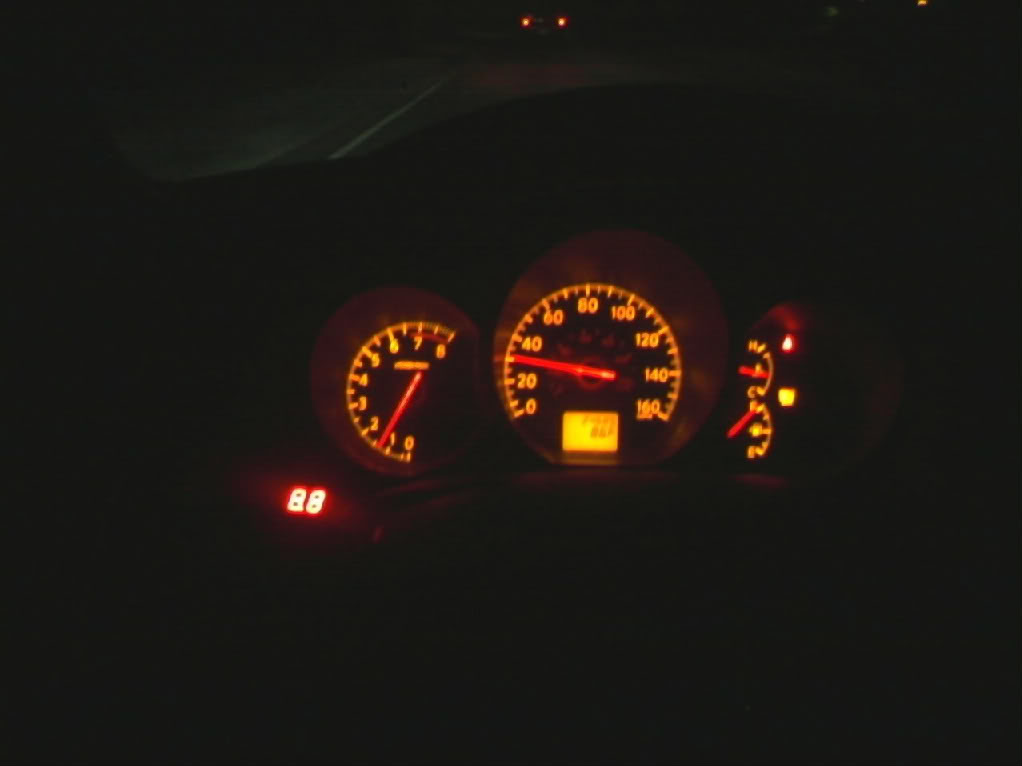
Innovate LC-1 Wideband Air/Fuel Ratio Controller







Full Mod List / Specs: