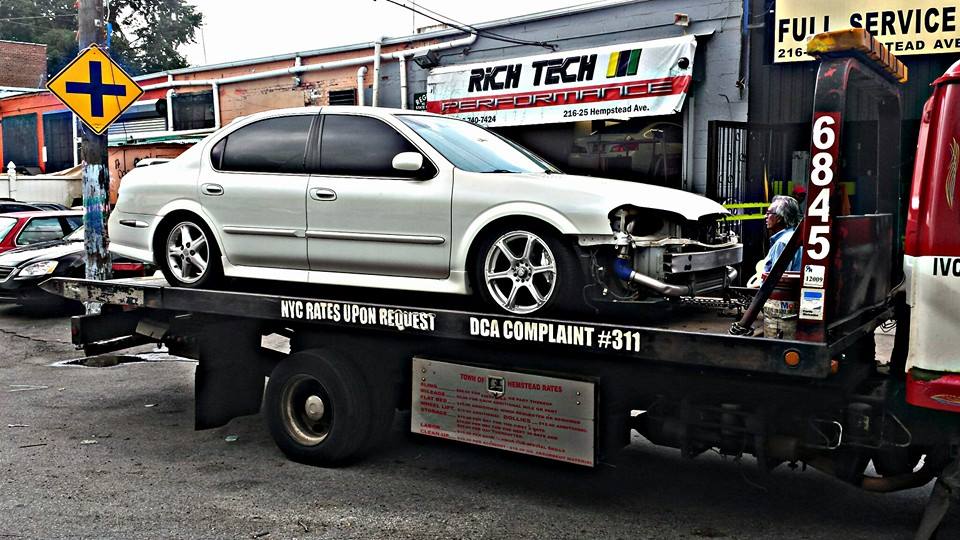
Credit: KRRZ350
After spending more time with the Turbo Specialties kit, I’ve got some real-world feedback to share — both good and bad. I’m not here to sugarcoat anything; this is what you can actually expect when wrenching one of these onto your car.
The Fitment Struggles: When “Bolt-On” Isn’t Really Bolt-On
Let’s start with the bad news. While this kit looks great on paper, installation was far from smooth sailing. I ran into a laundry list of issues that turned what should’ve been a weekend project into a deep dive in creative problem-solving.
1. Manifold Misalignment
The turbo manifold wouldn’t fit over the studs — every single hole needed slight enlargement to line up properly. It’s a small tweak, but frustrating when it’s the very first step of the install.
2. Hardware Headache
The kit includes no manifold nuts. I guess they expect you to reuse the stock ones, which don’t work on about 75% of the studs. Tracking down M10 x 1.25 nuts with no flange locally was a nightmare. A small bag of proper hardware would’ve saved hours of wasted time.
3. Wastegate Bracket Clearance
The wastegate actuator bracket absolutely will not clear the motor mount bracket. I had to extend the actuator arm outward and fabricate a custom bracket just to make it work. This should not be something the end-user has to figure out.
4. The “What Were They Thinking?” Moments
Someone, somewhere, decided that red Loctite and finger-tight torque was good enough for a compressor housing bolt. Spoiler: it wasn’t. It stripped right out.
Then, to make matters worse:
-
The compressor housing hits the motor mount bracket.
-
The motor mount hits the crossmember.
-
The motor mount also hits an oil or coolant line — though that one was easy to fix.
-
And the oil return line? Yep, it interferes with the motor mount bracket too.
As if that weren’t enough, the motor mount itself doesn’t line up properly, forcing me to use spacers behind the mount bracket. That just made the compressor housing and wastegate clearance problems even worse.
Dear Turbo Specialties: Please, Do Better
To whoever at Turbo Specialties is following these threads — seriously, take this as constructive criticism from someone who wants your product to succeed.
Here’s what would make this kit great instead of just okay:
-
Establish proper production tolerances and actually stick to them.
-
Improve your quality control — small issues compound fast when everything is tight under the hood.
-
Buy a 4th Gen Maxima mule car. It doesn’t have to run; it just needs to exist. Use it for every single test-fit before you ship a kit. Scratched parts are better than ones that don’t fit.
-
Charge $500 more if you need to. Most buyers would happily pay extra for a kit that truly bolts on cleanly instead of spending days fabricating fixes.
I’m not just venting — I make money from installs like this, and even I’m frustrated. Imagine how a regular weekend warrior would feel tackling these issues in their driveway.
To Be Fair: It’s Still an Impressive Kit
Now, credit where it’s due — I don’t want this to sound like a total takedown. Despite all the fitment headaches, I’m still impressed by how complete the kit is. It includes nearly everything you need, and once everything is sorted out, the performance potential is absolutely there.
But quality control and consistency matter just as much as horsepower numbers. The foundation is solid — it just needs refinement.
Current Setup and Upgrades
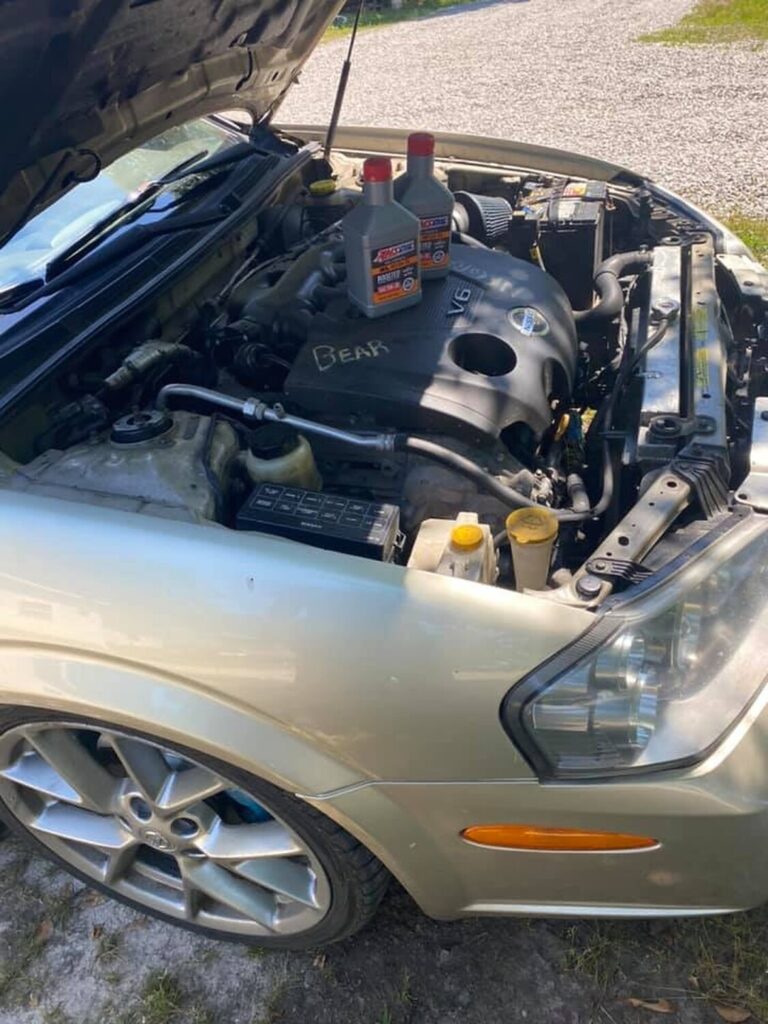
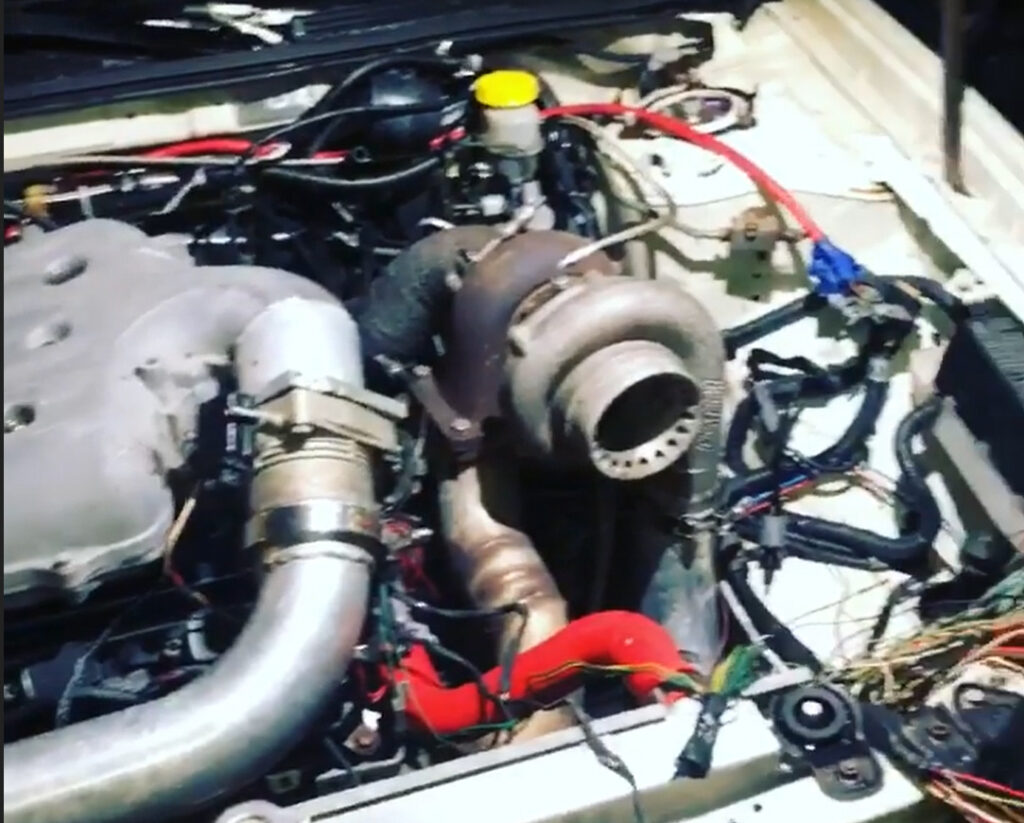
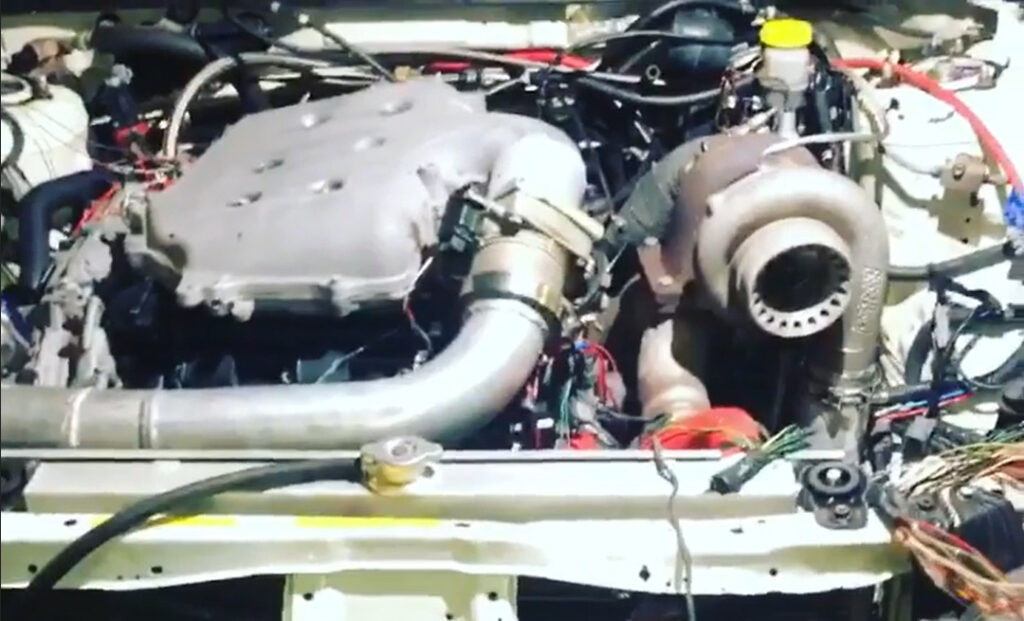
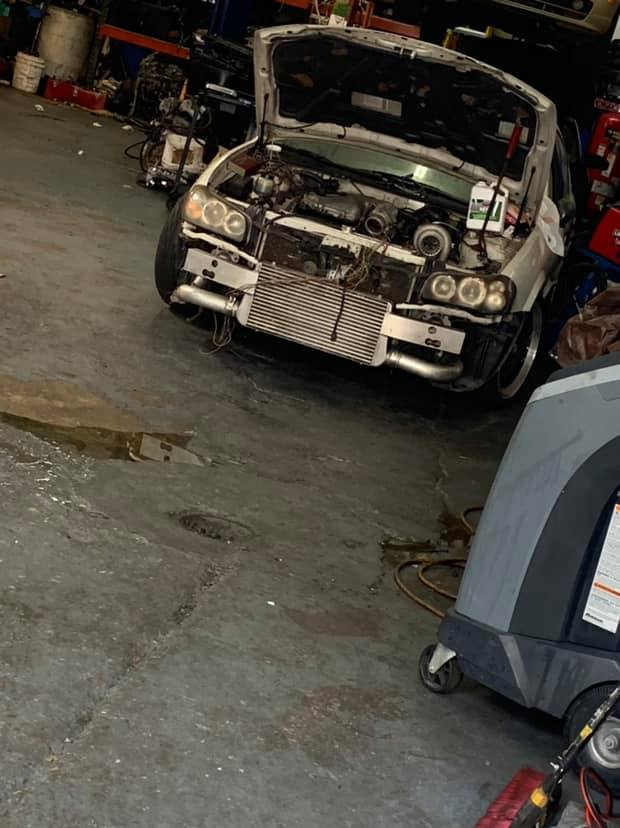
There have been quite a few changes made to the kit since my initial install. I’m now running a Garrett GT3071R with a custom 3″ downpipe — a huge improvement over the stock setup.
At the moment, I’m still tuning with an FMU, but I’ll be switching soon to GReddy E-Manage paired with 440cc injectors for finer control and reliability. The MAF sensor has also been relocated to the charged side, which has helped smooth out airflow readings under boost.
I don’t have dyno numbers just yet, but they’re coming next week. For now, the car is running 7 psi, and even with an open downpipe (which makes it insanely loud), it feels incredibly strong — easily more powerful than the previous dyno numbers posted by Doc when he installed the kit.
A big shoutout to Kevin (KRRZ350) from Goodwin Motorsports for handling the installation. He worked through every issue that came up, and the fabrication on the downpipe is absolutely top-notch. One note: if you go with a 3-inch downpipe, you’ll have to sacrifice your A/C system — there’s just no room to keep it.
Final Thoughts
The Turbo Specialties VQ30 Turbo Kit is a bold product for an under-supported platform. It delivers great results once it’s working, but getting there takes patience, fabrication skills, and a willingness to improvise.
If Turbo Specialties tightens up their manufacturing and test-fitting process, this could easily be the go-to kit for Maxima enthusiasts. Until then, consider it a solid project — not a plug-and-play solution.


![]()


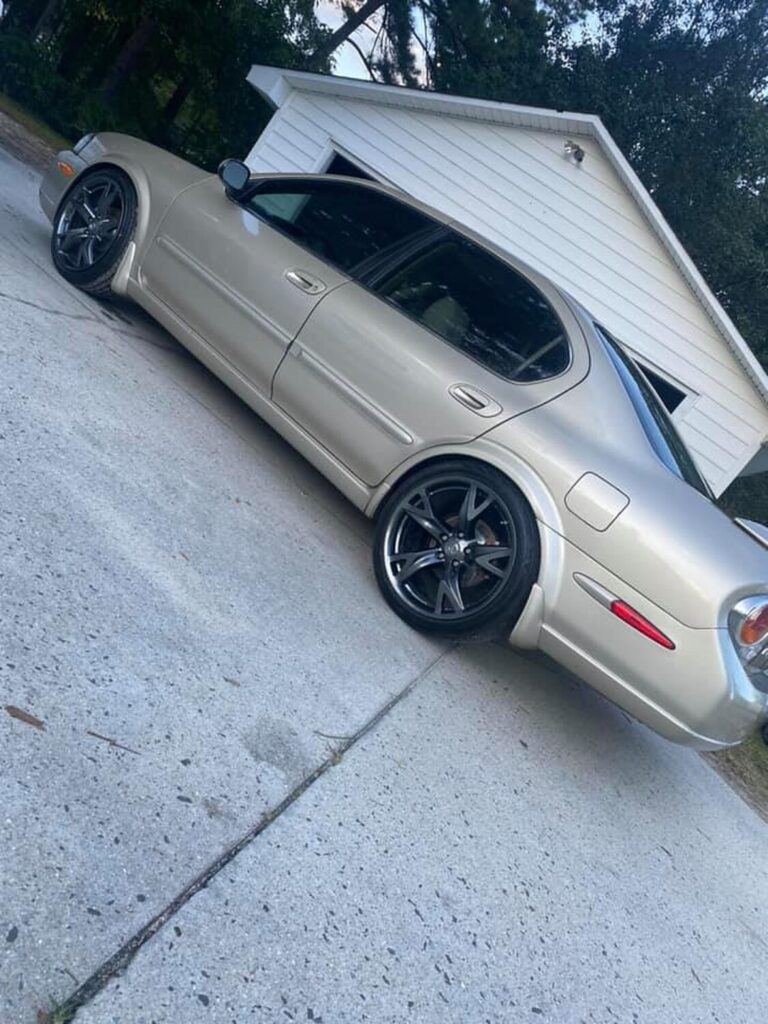
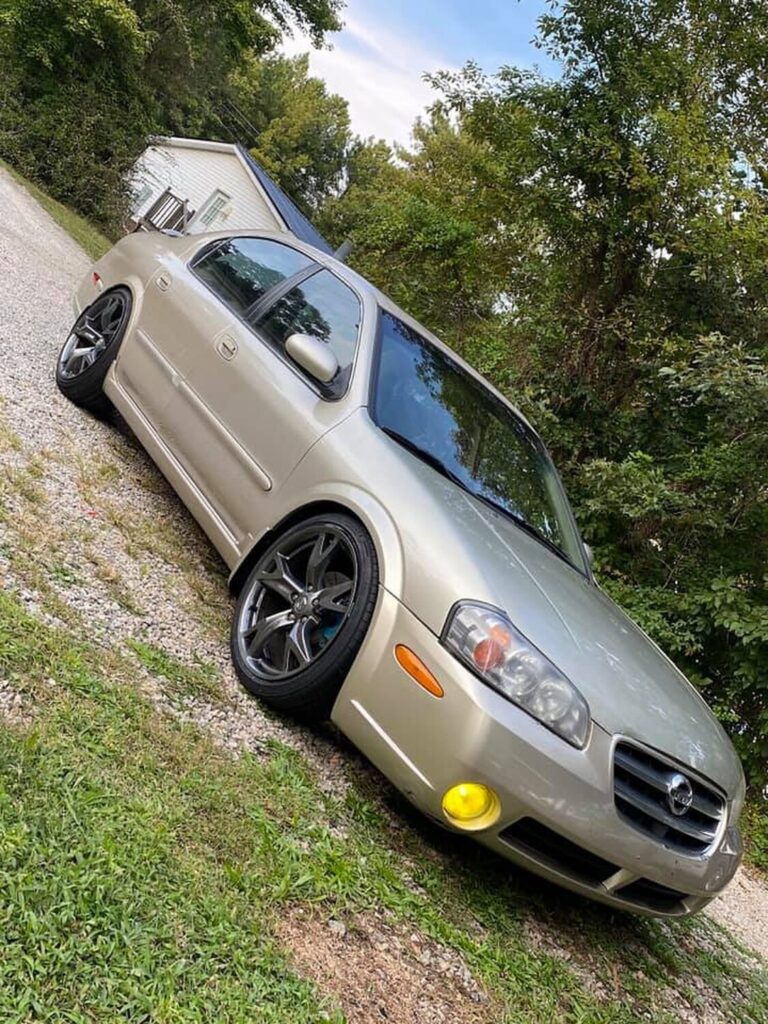
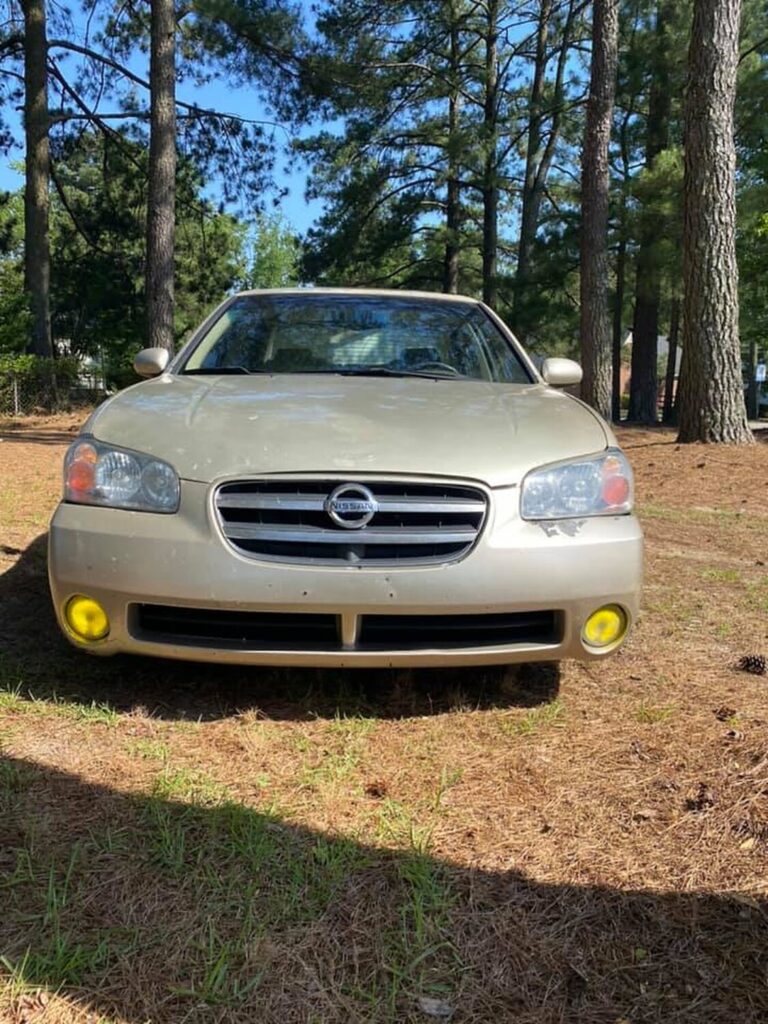
 Installed on Altima SE-R")