Community Member Credit: เอ๋ เสนา





Community Member Credit: CS_AR
I purchased NDSII with the VAG cable in hopes that it would work on the 99 model. The 99 model has unique connect string that I’ve not been able to make work with NDSII. However, I have been able to use NDSII on my neighbor’s 5th gen. It was a “by the book setup” on a 5th gen that worked without issue. NDSII does not show support for 4th gens that I’ve seen so there is nothing misleading as far as I’m concerned. Though I have a nice piece of diagnostic software for neighborhood use now.
I bought a Consult 3 clone from China (comes with software and PC interface cable). It did not work. Beware of ODBII tool selling web sites in China with the smiling call center girls. There is nobody there to help or answer your email when the product fails to work. Money down the drain.
I purchased an ELM327 wireless module to use with NDS for Android. ELM327 appears to work with a product named Torque Lite — but it was difficult to make a connection. It really has no diagnostics that I need. Money down the drain.
I bought software from the UK that was advertised to work and provide a NATS PIN code generator and older Consult 3 version. It was advertized to work with the cable that came with the Consult 3 package from China. Money down the drain.
NOTE: None of these products will reset NATS.
Products I own that WORK on a 4th gen:
1) ECUTalk with Cable. This product was developed to work with the ODB1 Consult port pin diagram in the picture below. I have tested the Cable and the free ECUTalk software on my 1991 ODB1 Nissan in addition to a 1995, 1997 and 1999 Maxima and I30. While 4th gens are ODBII cars, they the came equipped with a Consult OBD1 style port.
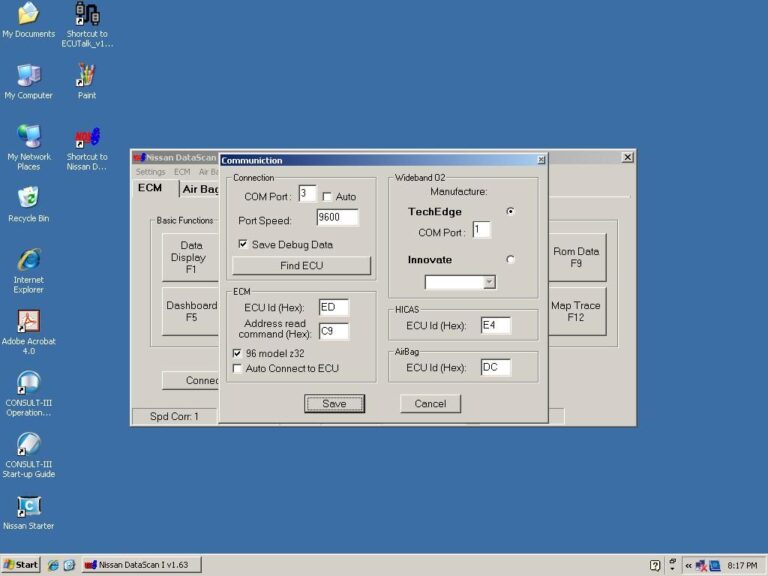
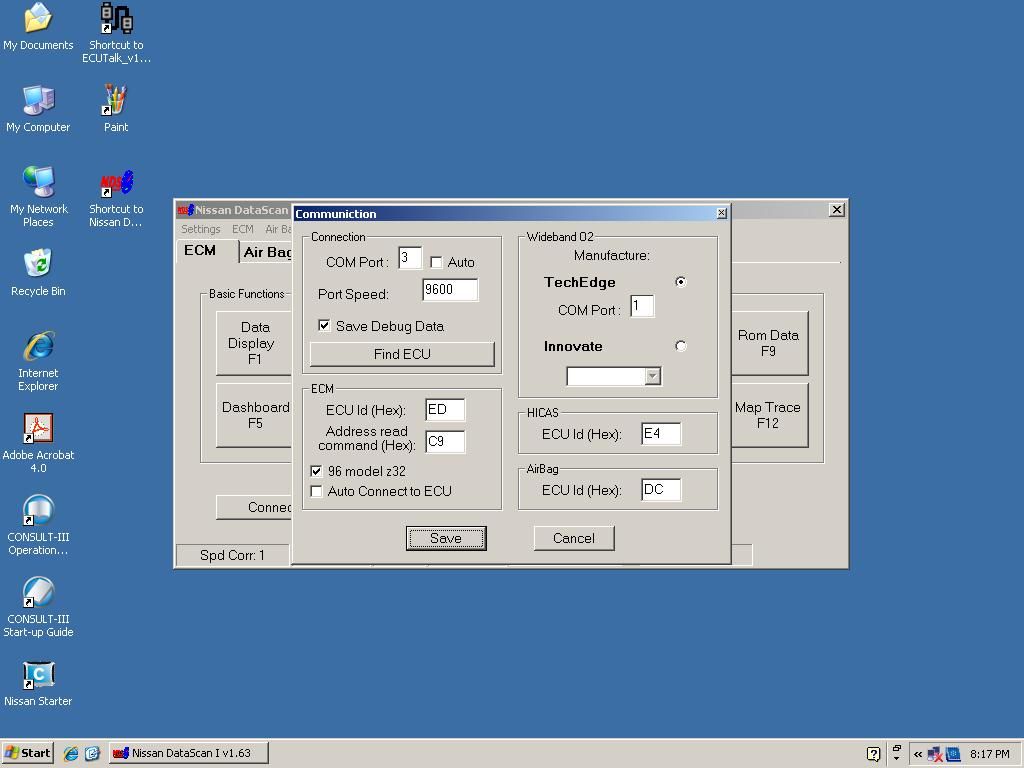
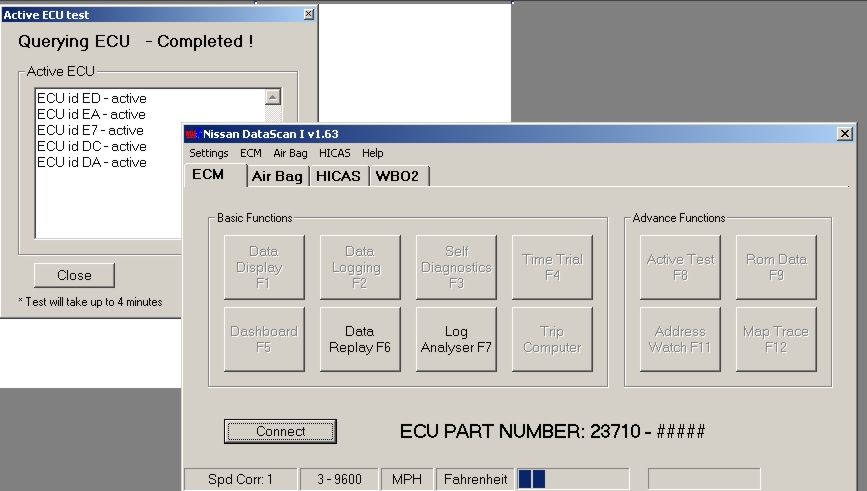
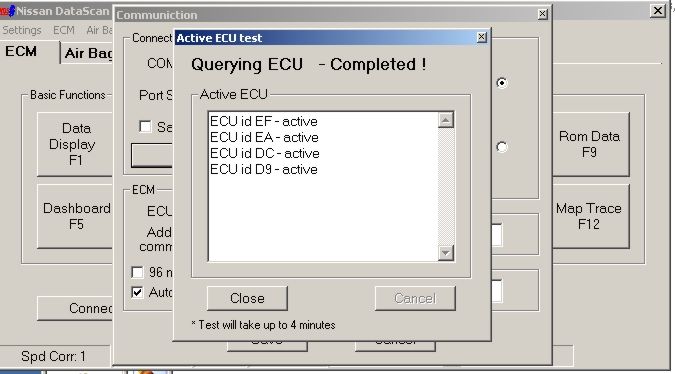
2) Nissan Data Scan I (The Original) with the ECUTalk Cable. After I learned how to use the ECUTalk product above, I wanted to conduct a power balance test. I purchased NDS1 realized it works with great with the ECUTalk cable. There is a help document to describe how to connect NDS1 for a 99 model and 4th gen. To use NDS1, you’ll need to find the Ecu ID (Find ECU button) to get the code to insert in the EcuID (Hex Code) data element. Also, I had to check the 96 z32 box and use the connection string for a 1996 300ZX. IIRC the 4th gen uses the same connect string as the 1996 300ZX.
3) El cheapo ($49) OBD2 code reader from Harbor Freight. I’ve reset more codes with that orange handheld unit than I can remember on cars from Chevy to Toyota. With a good working ODB2 code reset and reader device you can definitely win friends and influence people.

Owner: Mijo Too Wavy
Year: 1999
Model: Maxima
Color: Red
Transmission: 4-Speed Automatic
Trim: SE


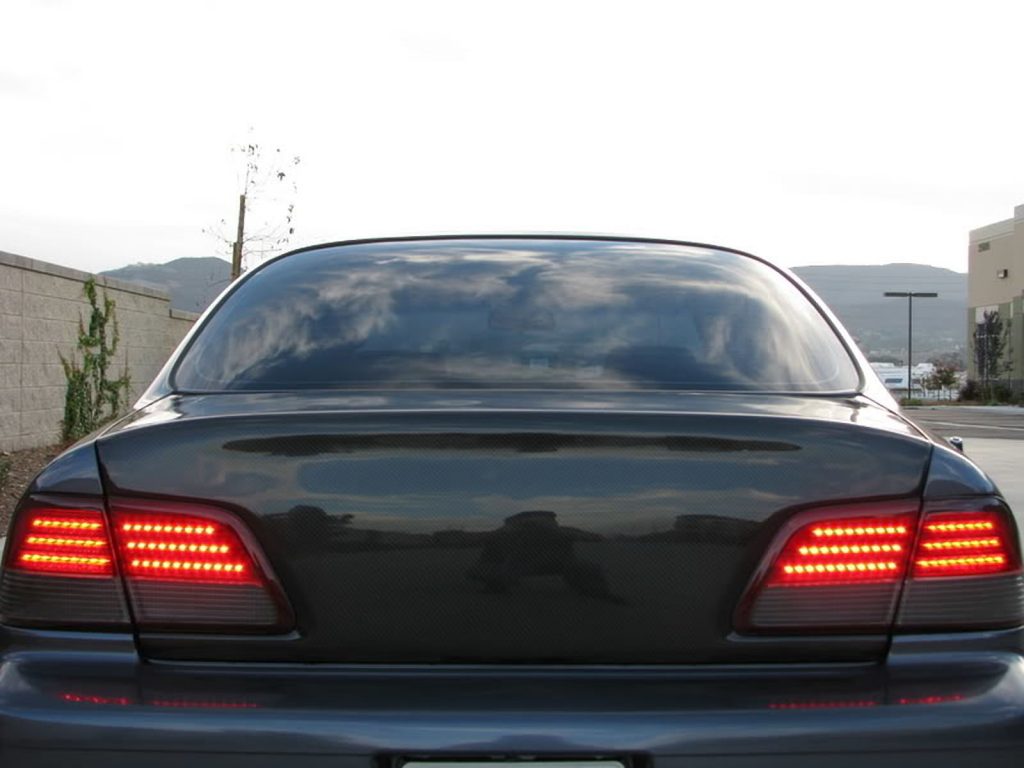
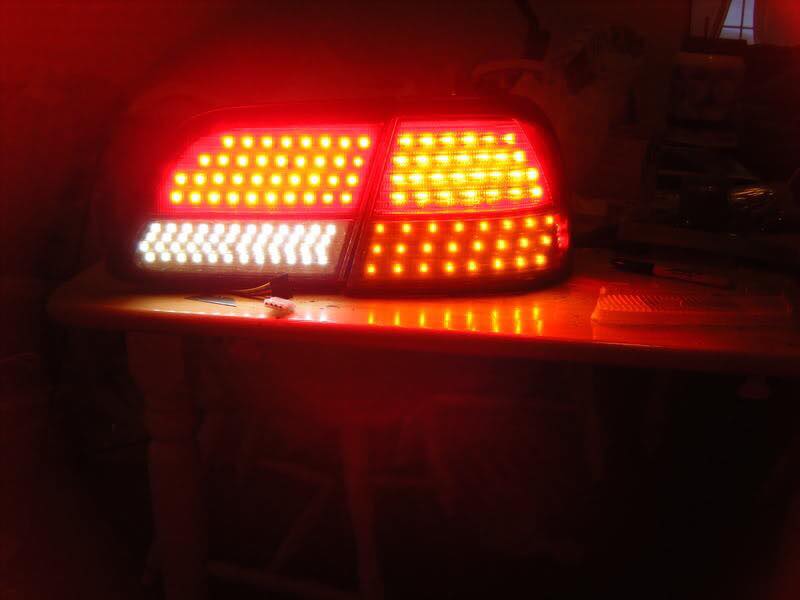
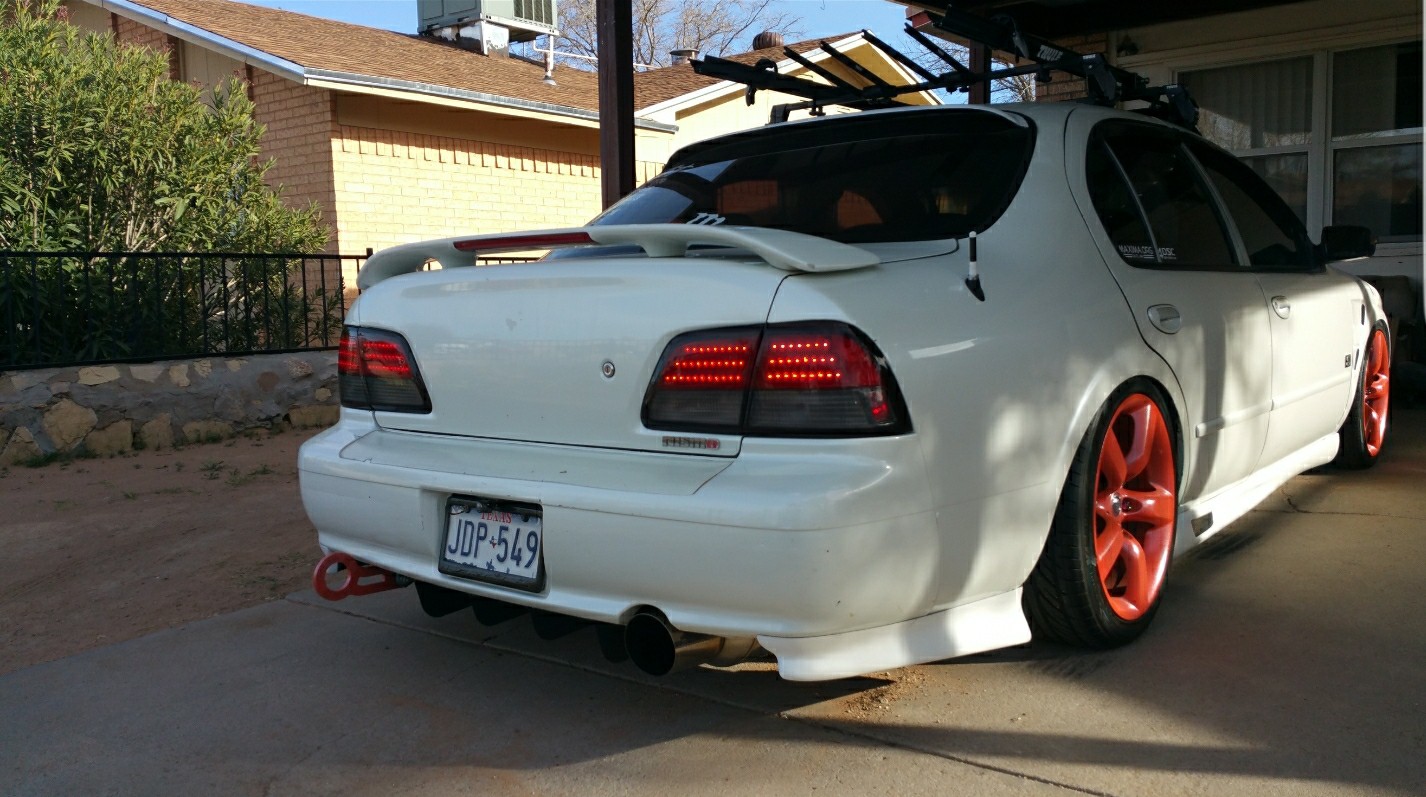
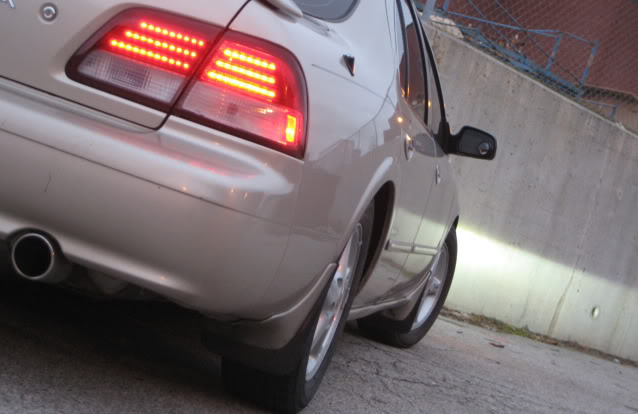
This is a gallery of 1995-1999 4thgen Maxima LED Tail Lights.


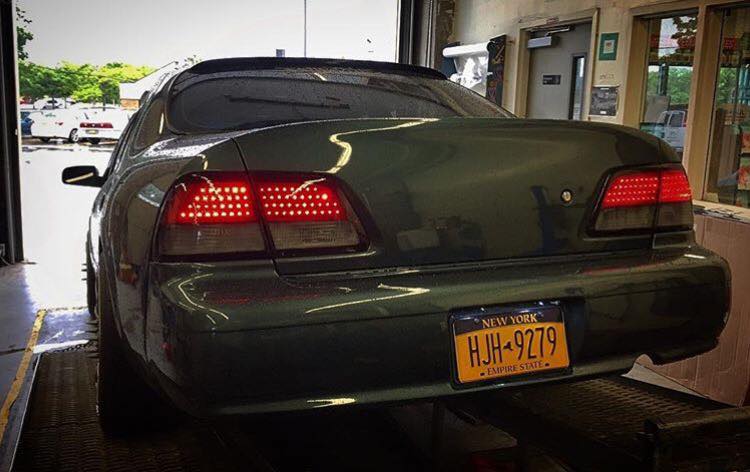


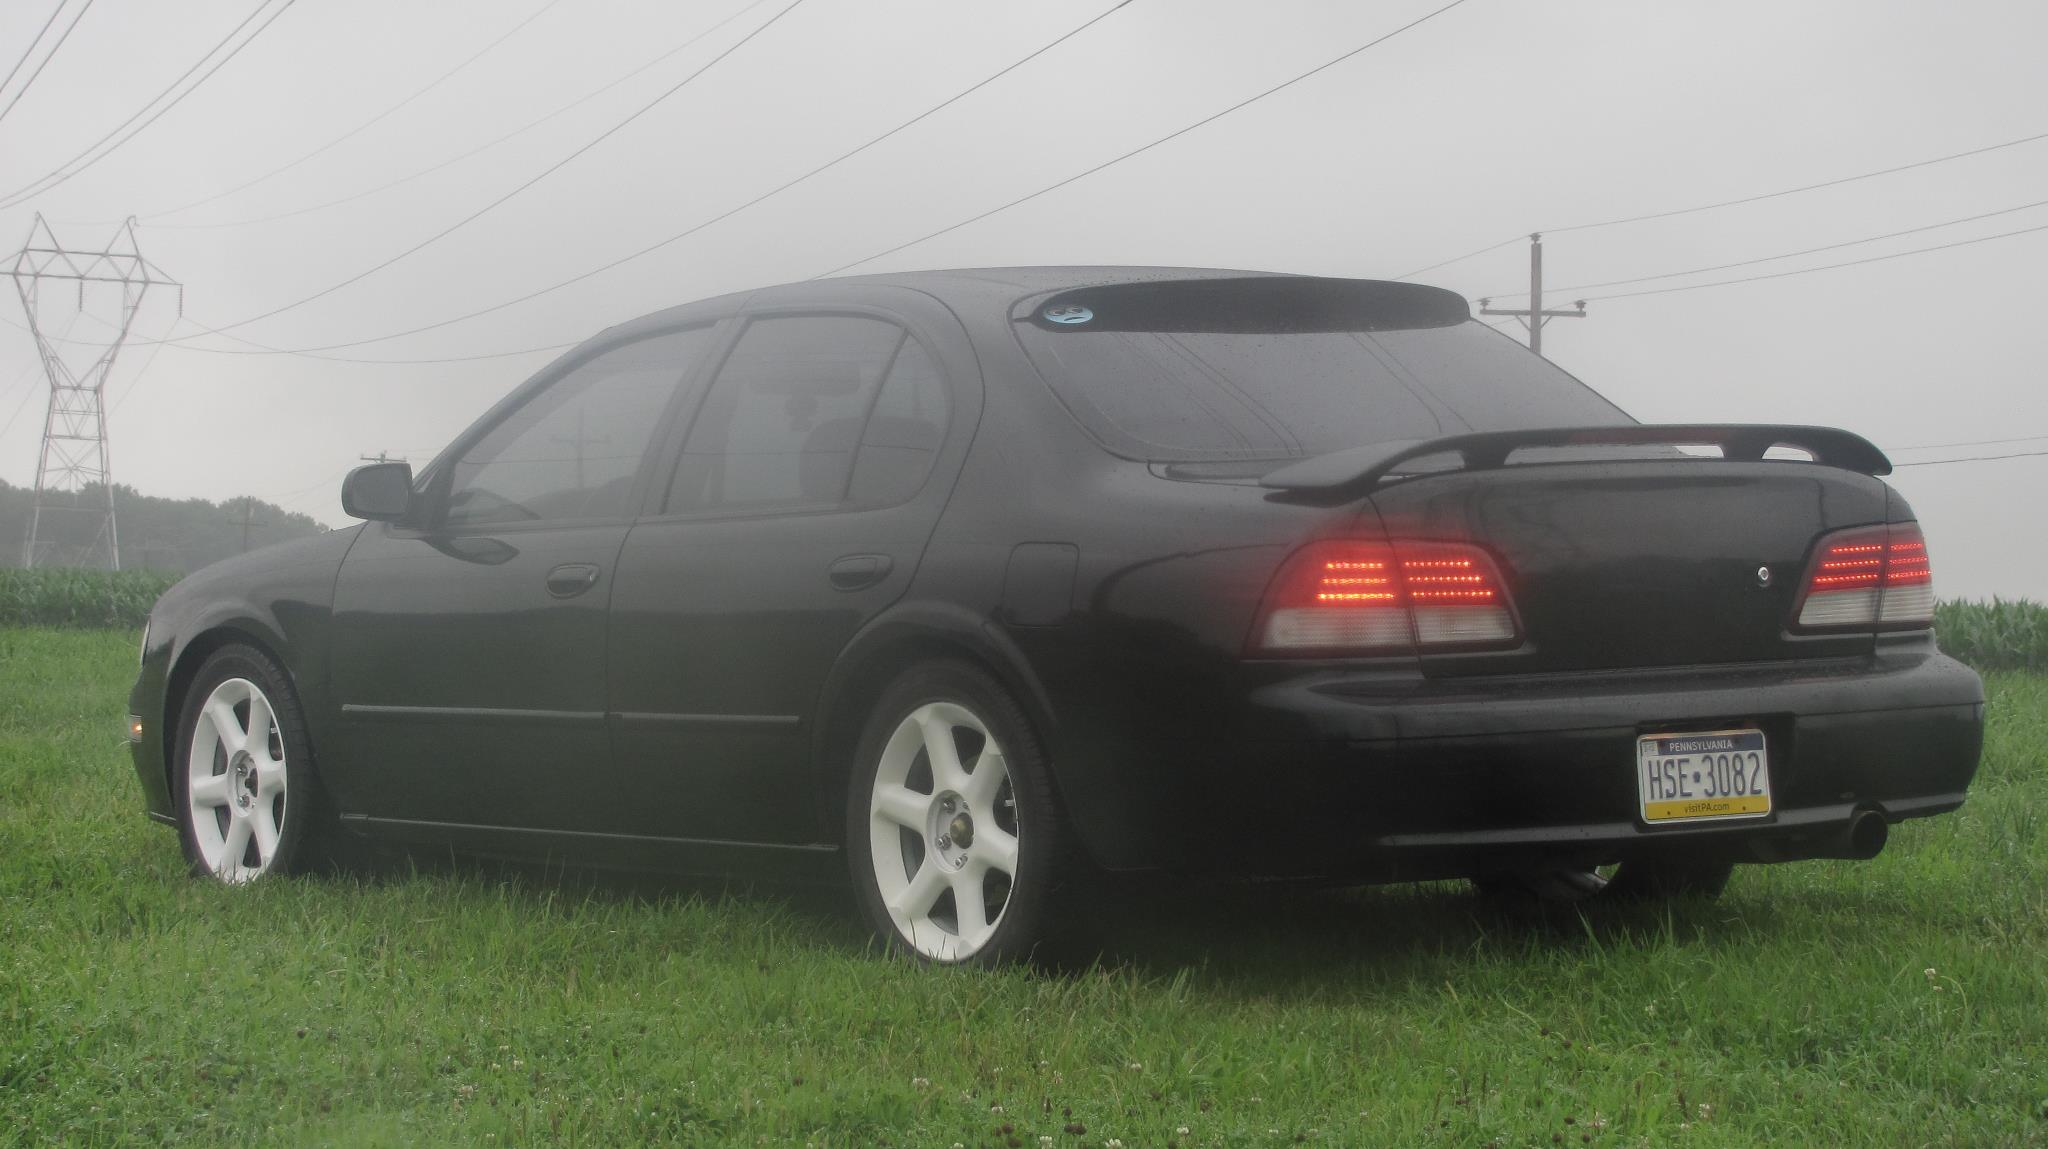


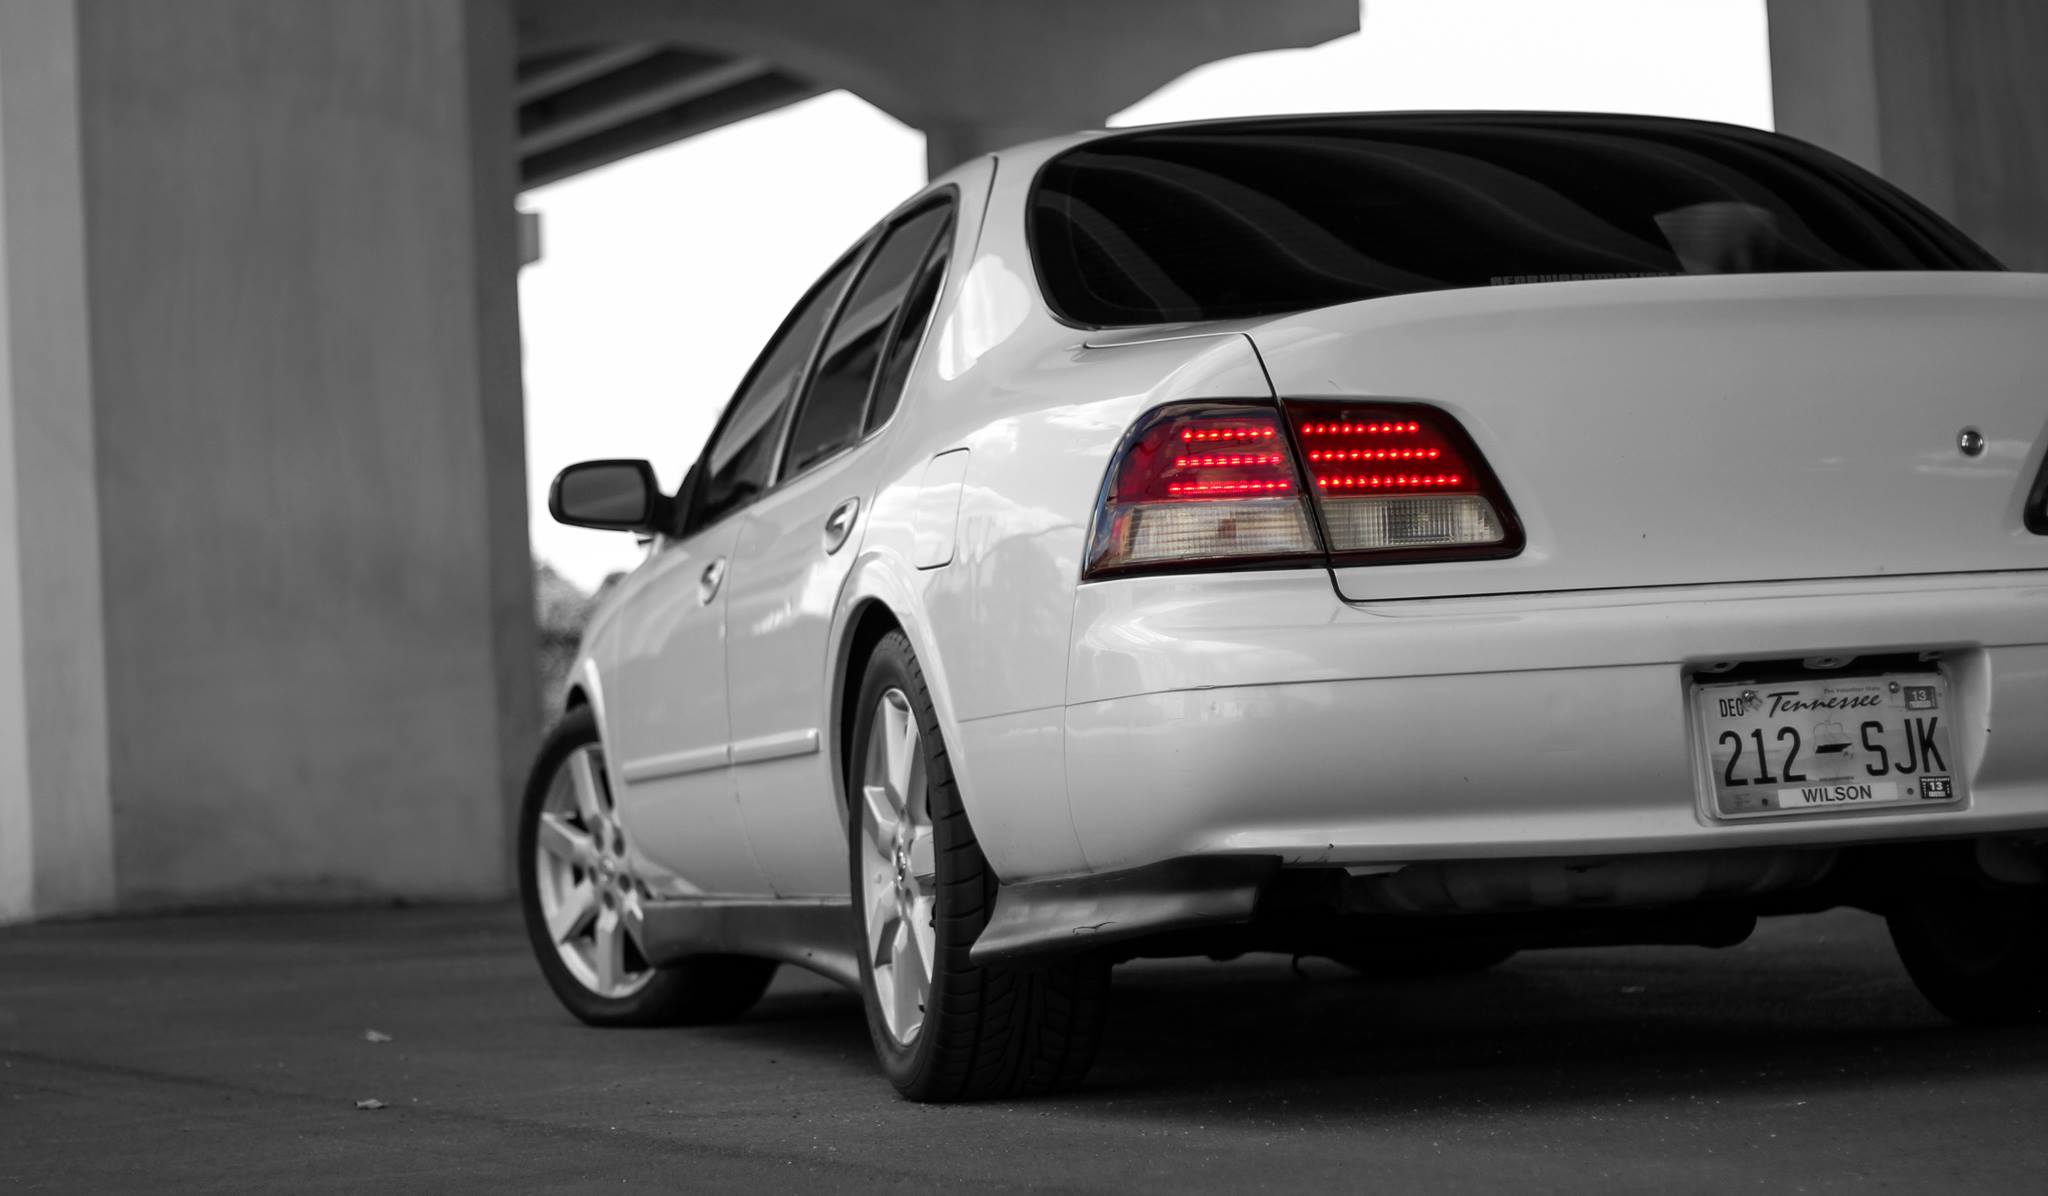







Community Member Credit: 9BlackMaxMS
I figured I would take everyone through a step-by-step process of how to do it. It is really an easy job and anyone can do it.
Parts Needed:
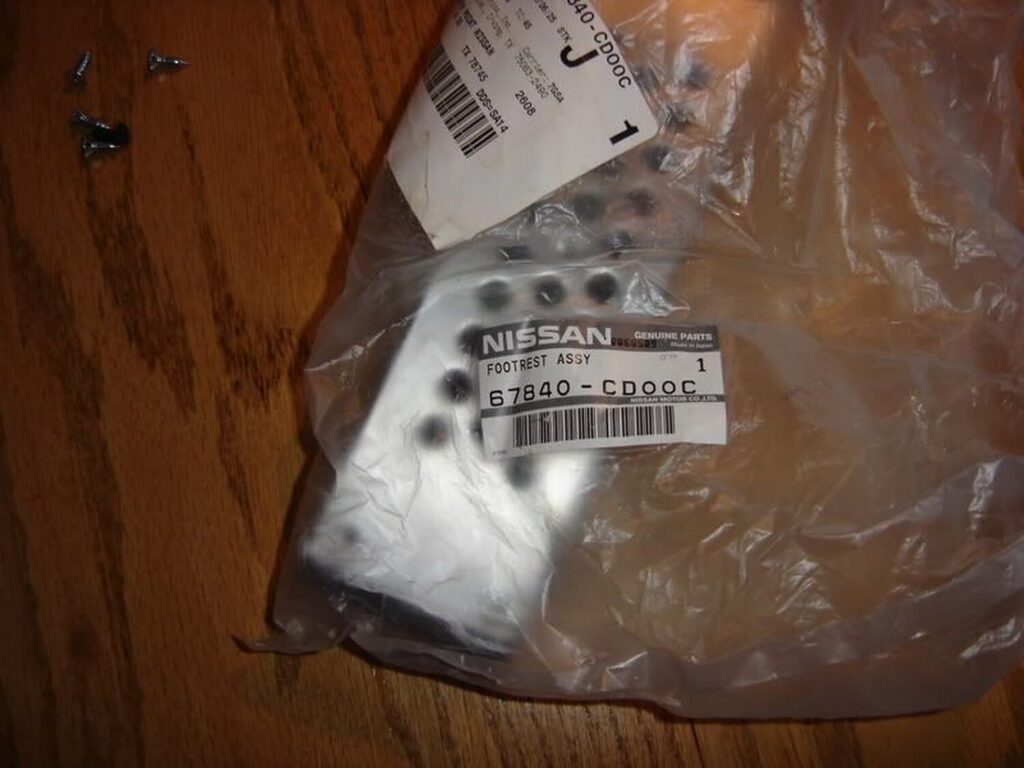
(1) Nissan 350Z Footrest Assembly: Part # – 67840-CD00C ($23.68)
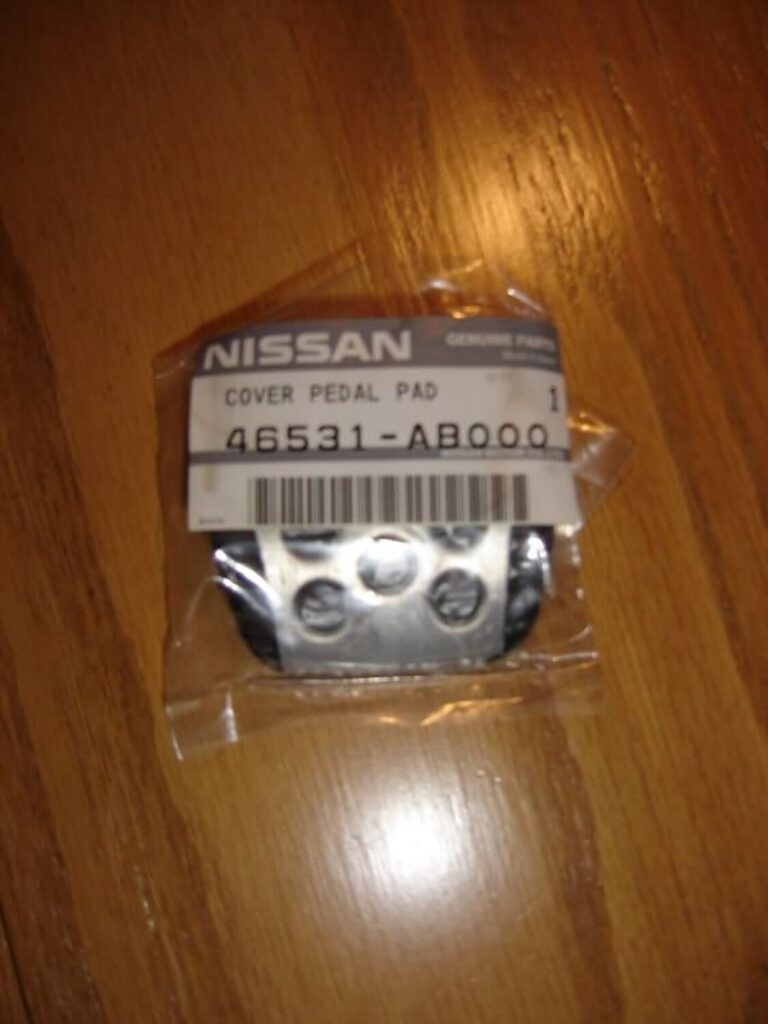
(2) Nissan AE Maxima Clutch/Brake Pedal Cover: Part # – 46531-AB000 ($19.14 ea.)
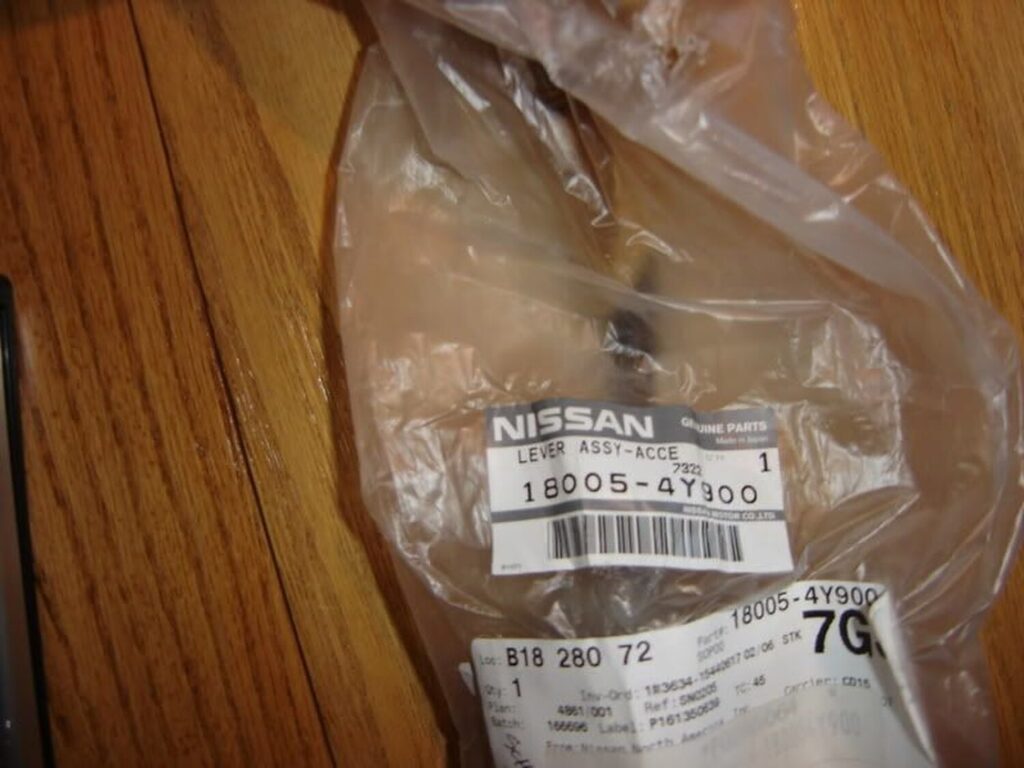
(1) Nissan AE Maxima Gas Lever Assembly: Part # – 18005-4Y900 ($27.76)
(1) 8×1-3/4 Flat Philip Head Zinc Finish Screws ($1.03)
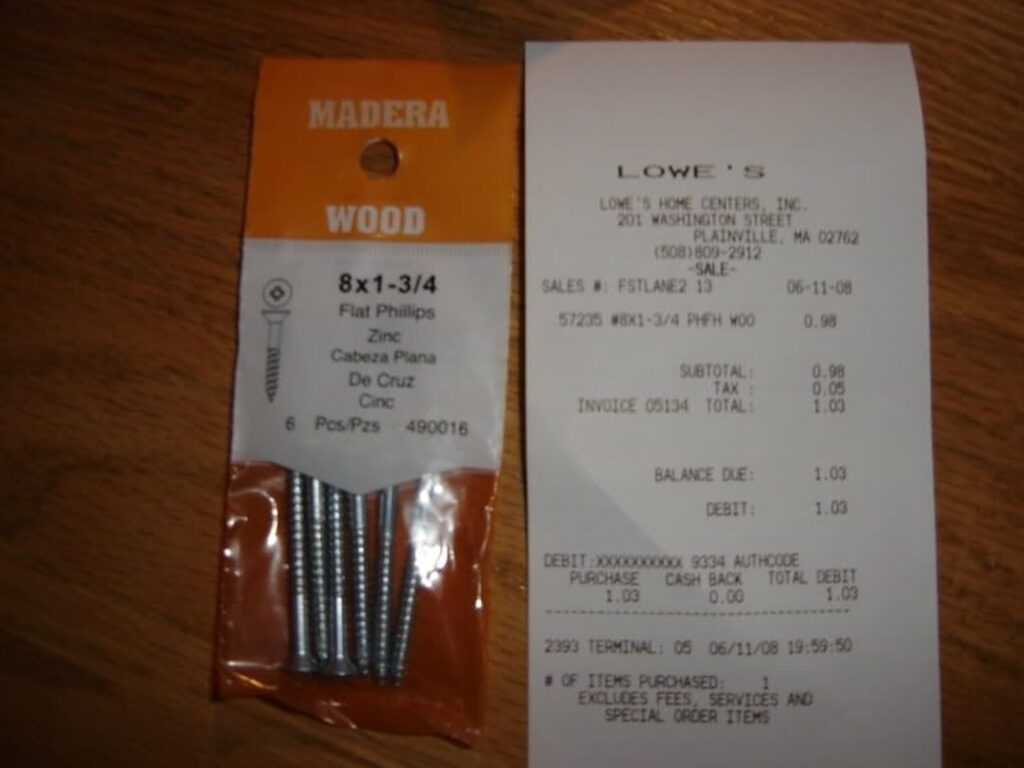
I got the OEM parts from Dave Burnette at Southpoint Nissan at cost, and after shipping my grand total of parts came to $99.50 with the screws added in.
Tools Needed:
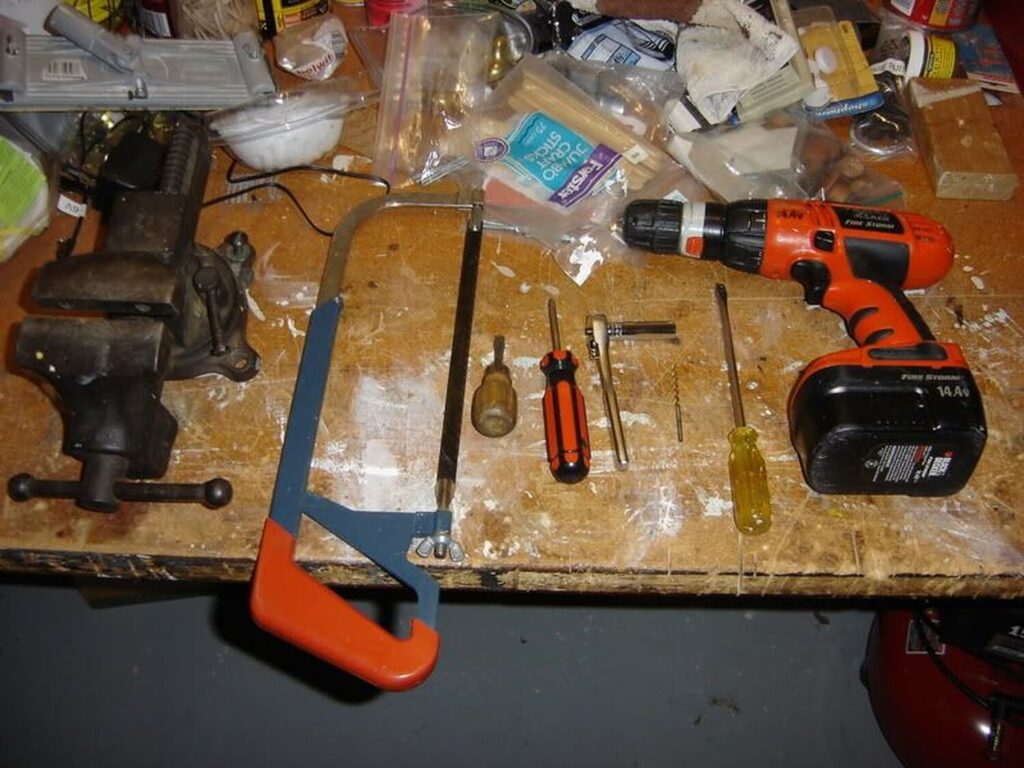
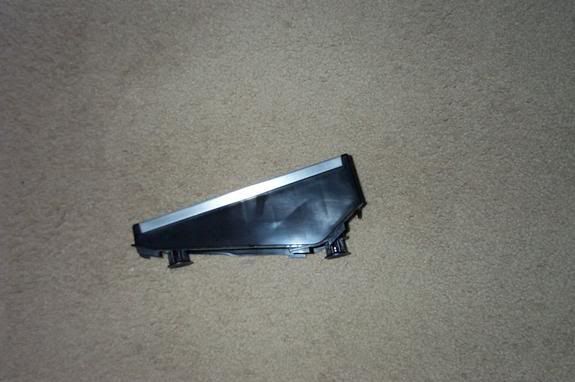
The 350Z does not come from the factory with an elevated spot for a dead pedal, therefore there is a lot of unnecessary plastic that needs to be cut away.
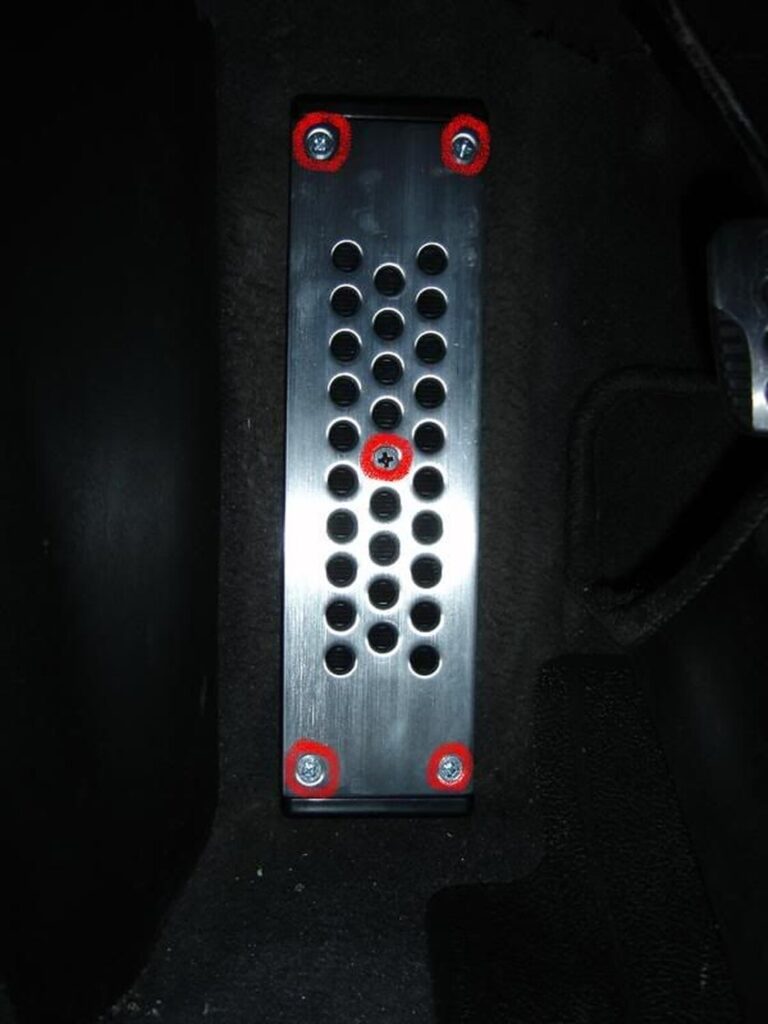
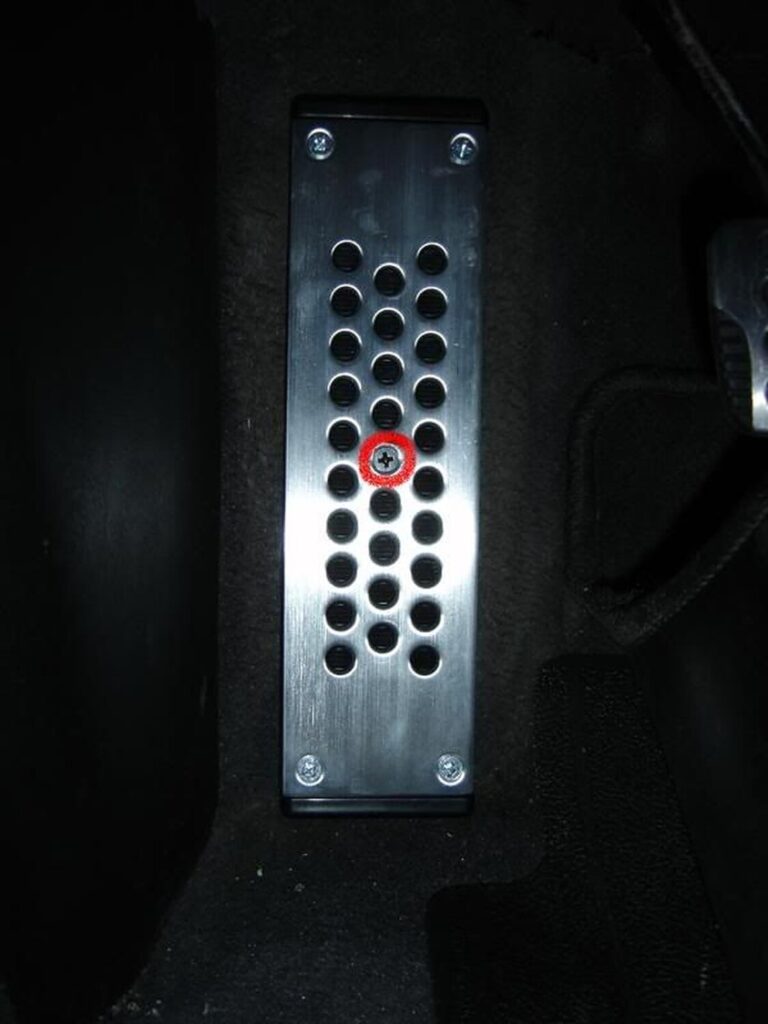
First, remove the five (5) screws (four silver metal ones at each corner, and one black one in the center). Put the aluminum cover in a safe spot as it is very bendable.
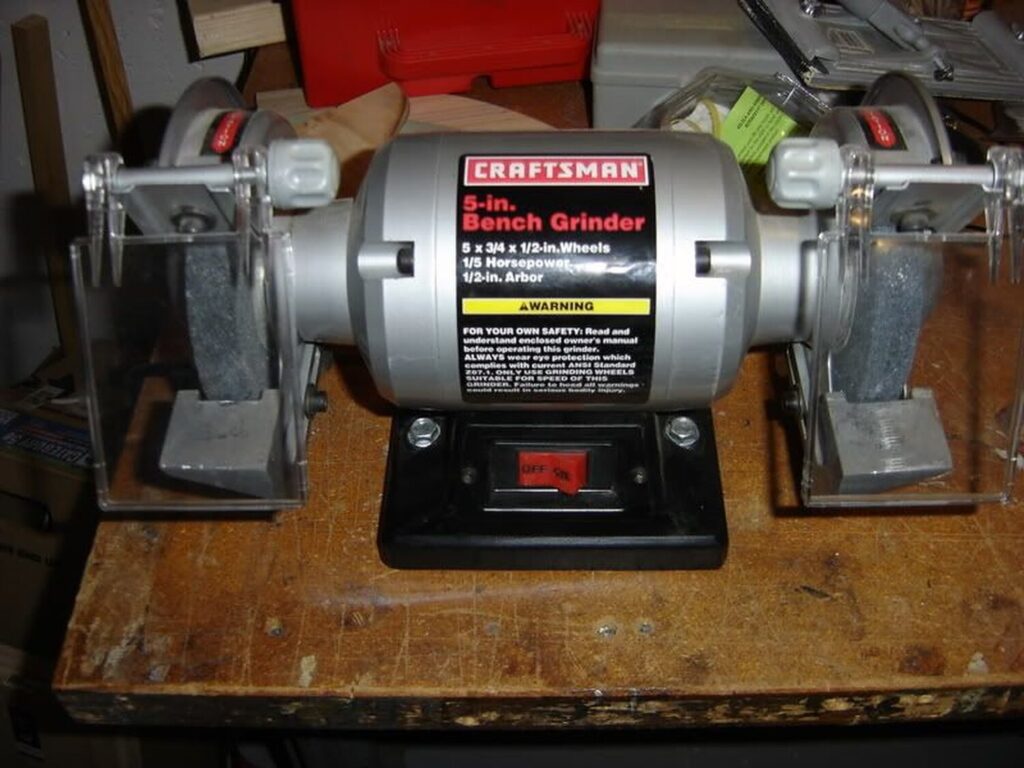
Once separated, clamp the black plastic base to the bench vise and start sawing away. Leave about 1/2-3/4″ of clearance between the top and the side of the pedal. Next, use the bench grinder or a sander/sandpaper to finish the edge of the pedal and to even out the base. It should look like this when finished:
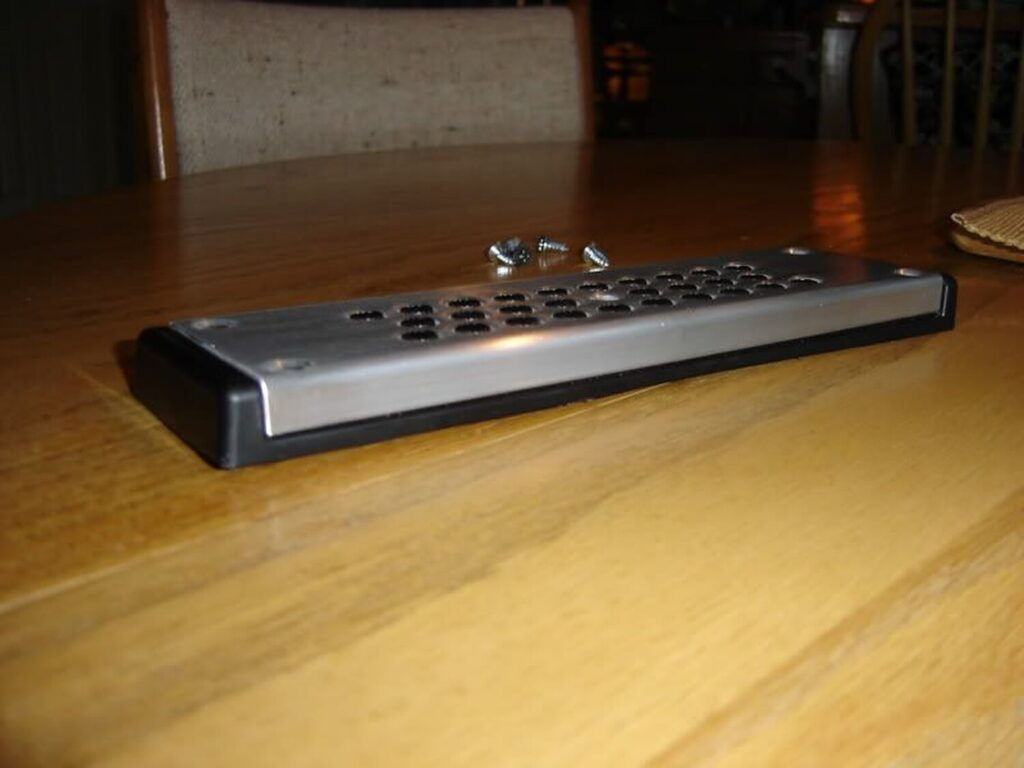
Now that your dead pedal is correctly cut and finished to your liking, use the small Philips head screwdriver and screw in the small black screw to secure the aluminum plate to the base.
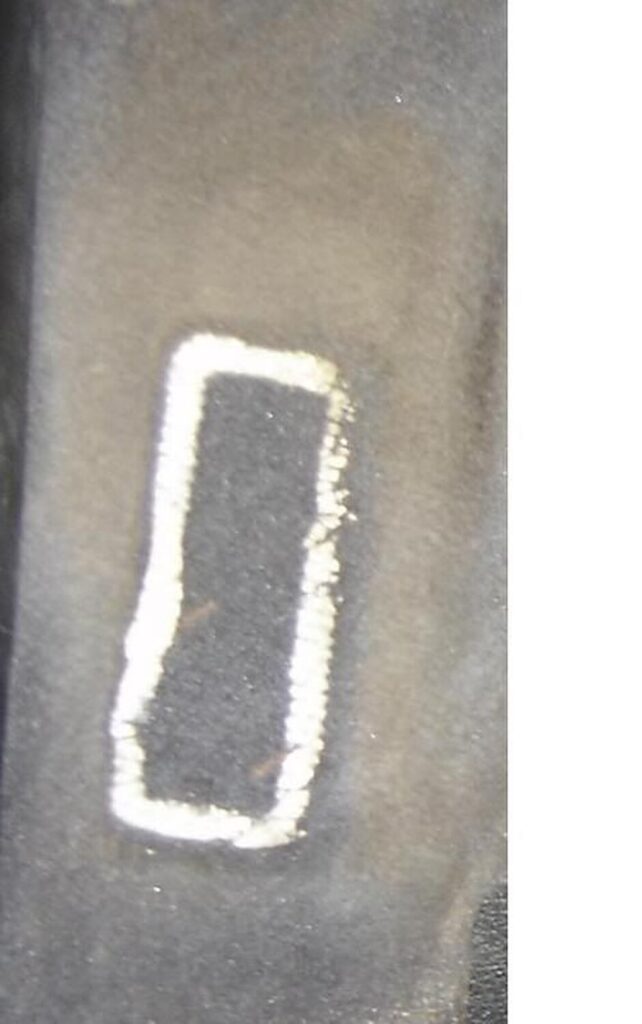
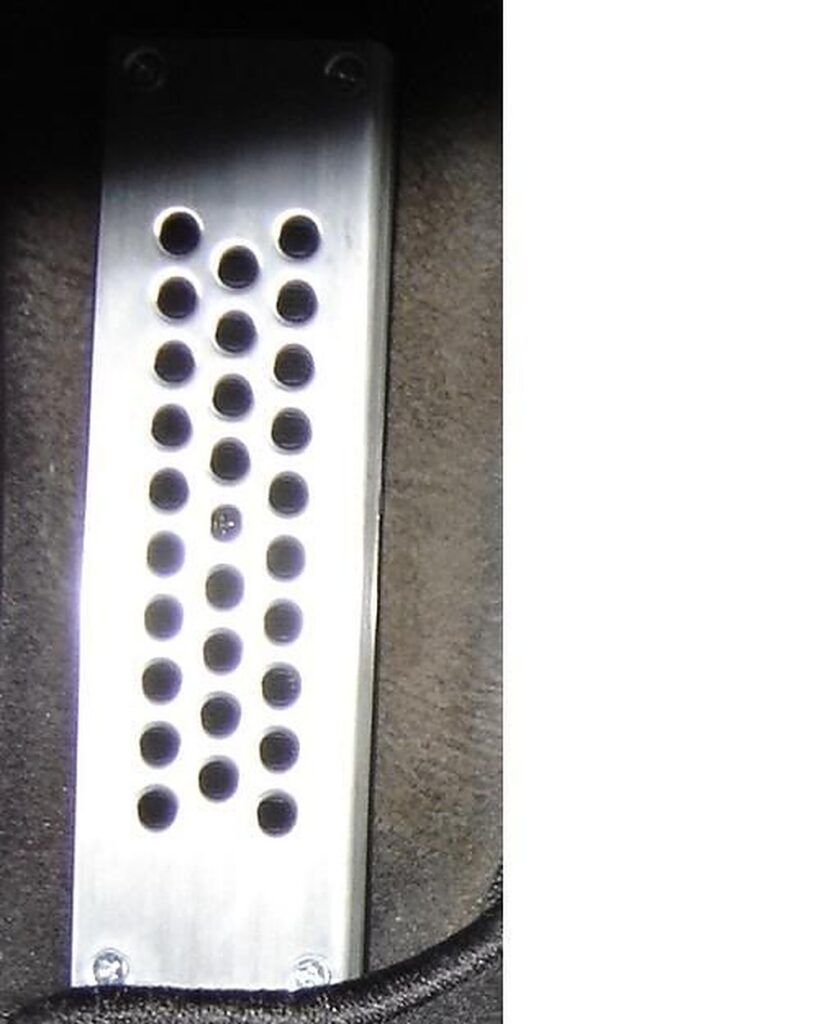
Go outside into your car and place the pedal where you would permanently like to place it. Rest it in place and begin drilling. You can drill directly through the carpeting. After drilling the four holes, take one 8×1-3/4 screw and fill in the four holes you just drilled. Voila, your dead pedal is installed and secured safely.
Before:
After:
First off, if you have an automatic, you complete this task with only one pedal (clearly) but can use the same method as I did.
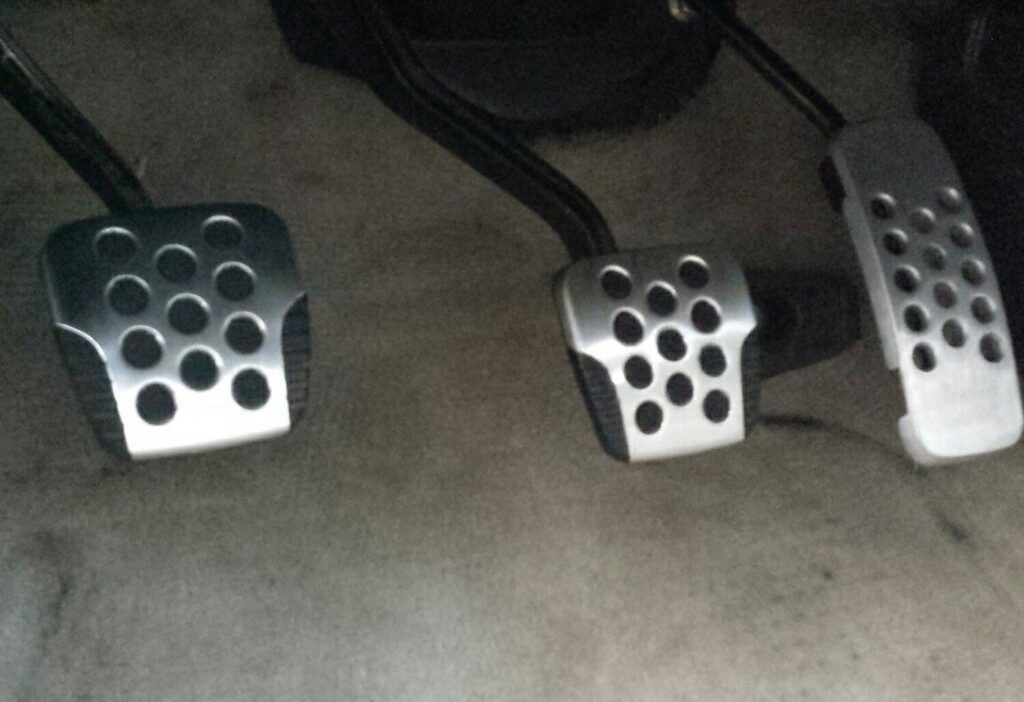
Begin by peeling back the old clutch and brake pedals. They should come off with little effort. I found it best to reinstall the new pedal cover in a specific order, making each corner/side easier to slip on. Using the stubby flathead screwdriver, slide the top right corner and right side on. Next, use the flathead to flip the backing away while you set the top left part of the cover in place. Continue this process until you get the entire cover on.
I found it best to install the cover in the following order:

Continue on and do the same for the brake pedal.
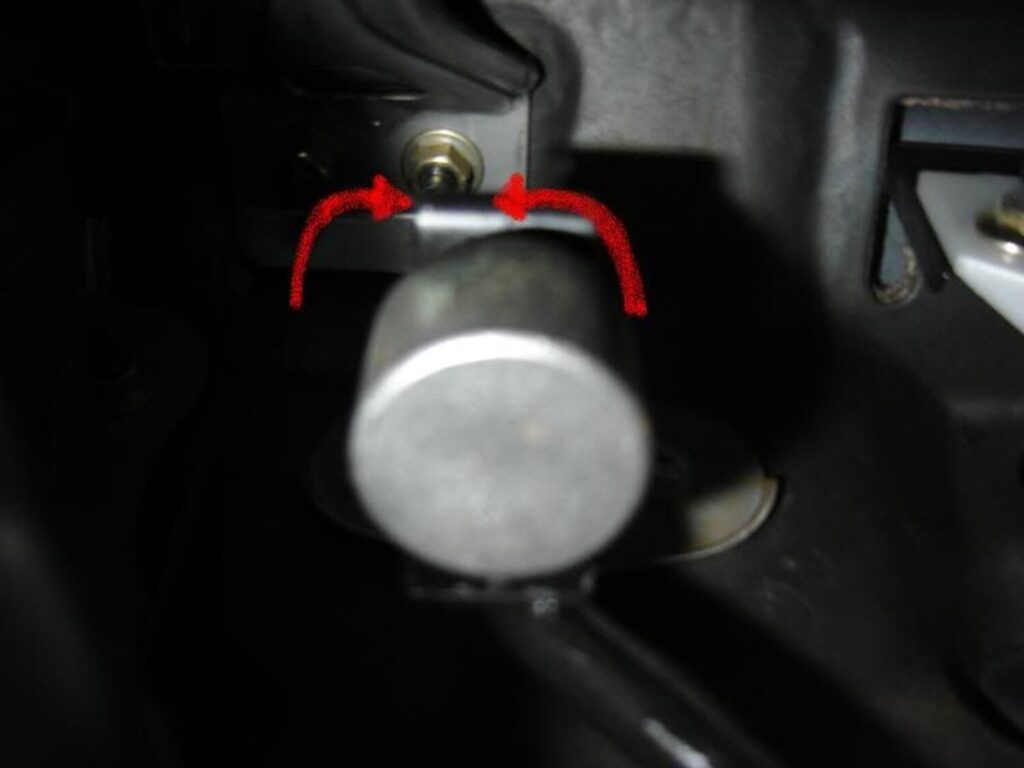
Begin by removing the throttle cable from the very top of the pedal assembly. It is kind of tricky, but if you wedge your long flathead screwdriver between the plastic clip and the metal on the pedal arm, it will pop free. The cable is located where these two red arrows are pointing to:
Next, unbolt the two 10mm nuts holding the pedal bracket in place (located on the firewall). Once these are taken off, the whole gas pedal assembly (pedal and arm) will fall out.
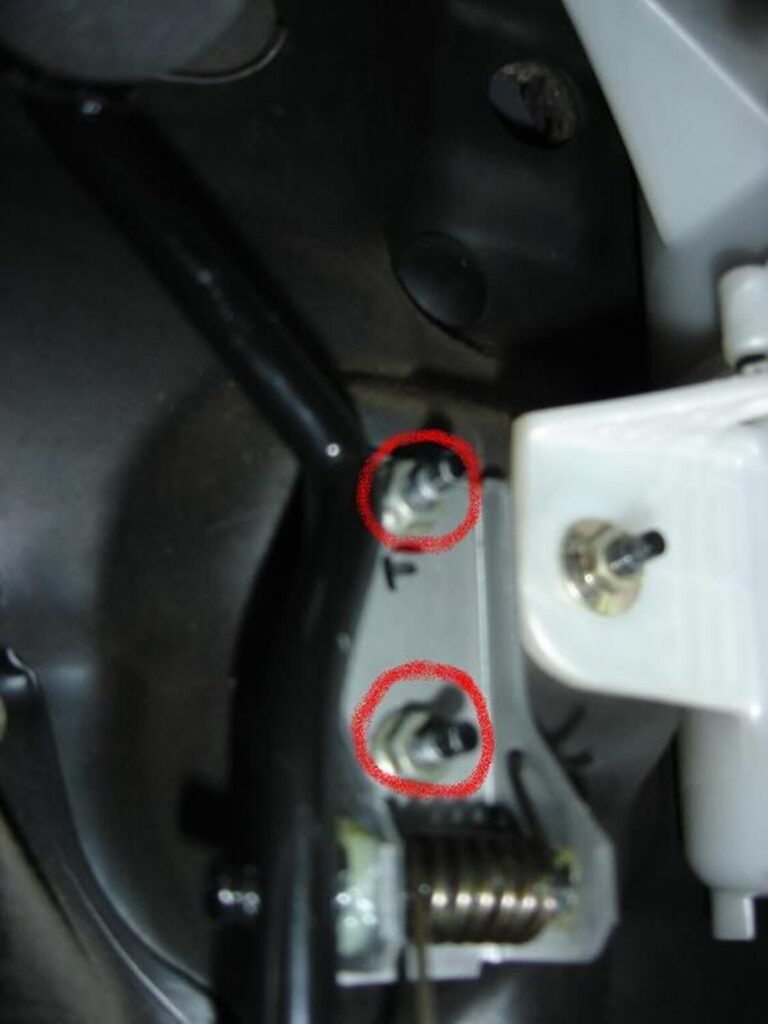
Continue the re-installation of the new pedal in reverse order of taking out the old one (first bolt in the two 10mm nuts that hold the pedal to the mounting bracket, then clip in the throttle cable).
You are finished. Put back your floormat and enjoy.
Before:
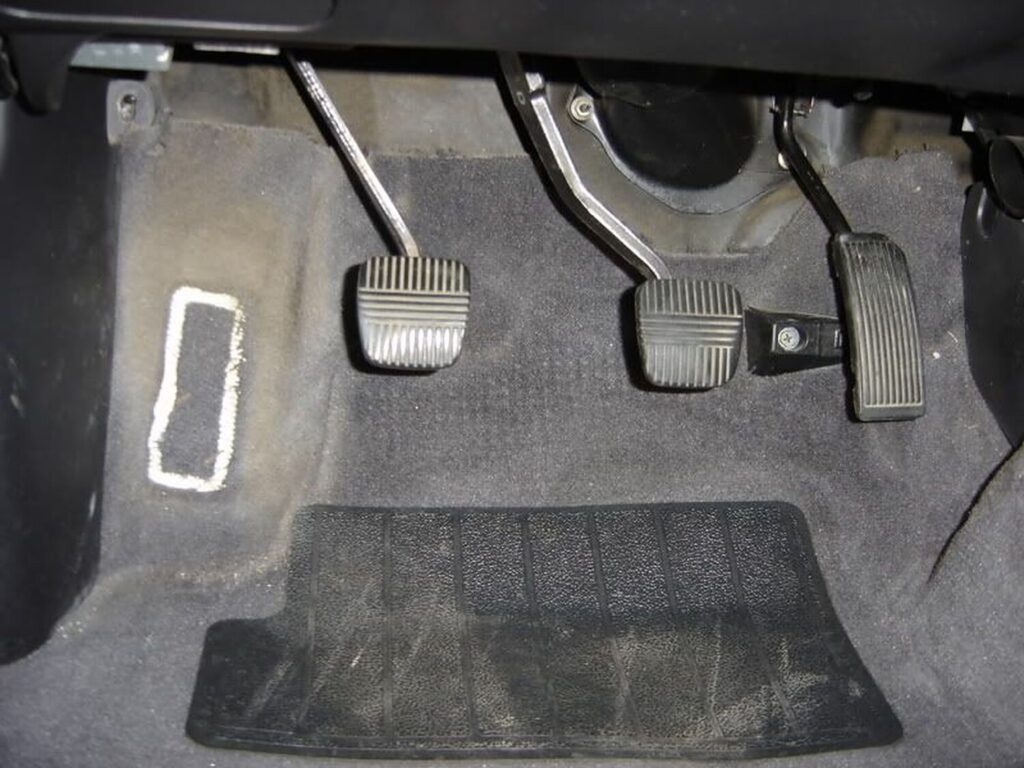
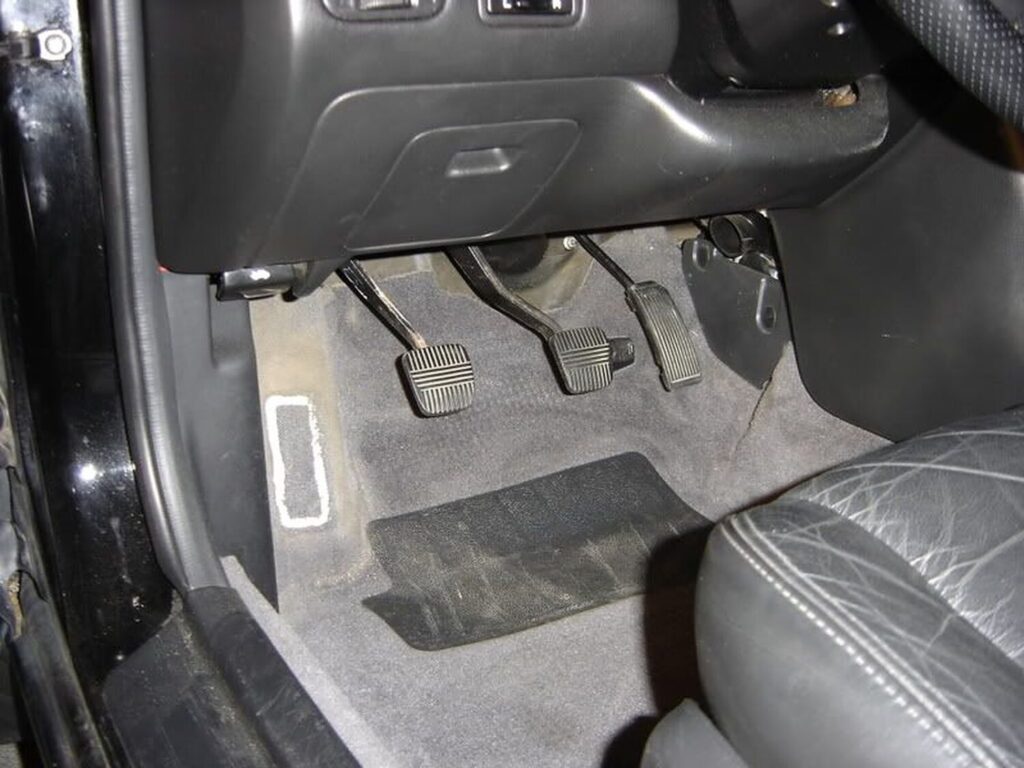
After:
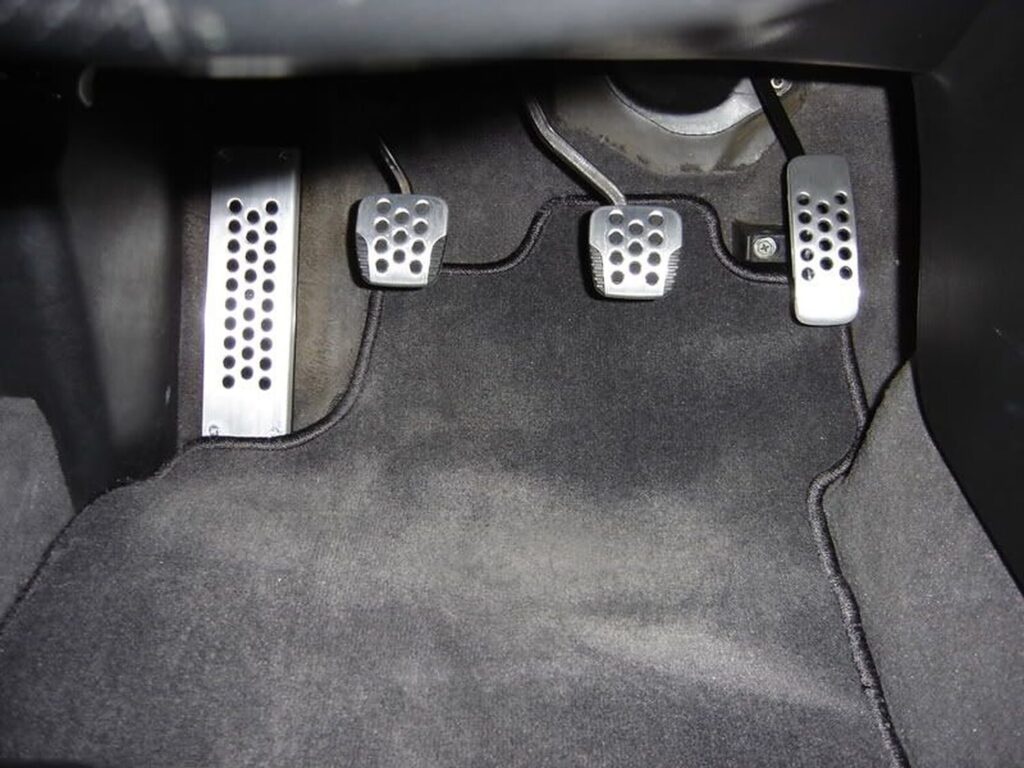
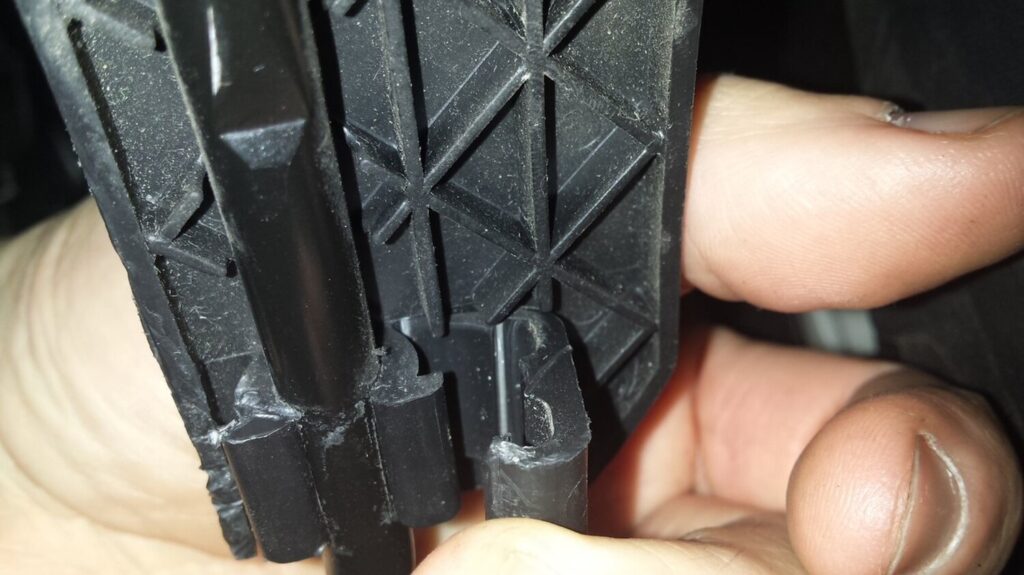
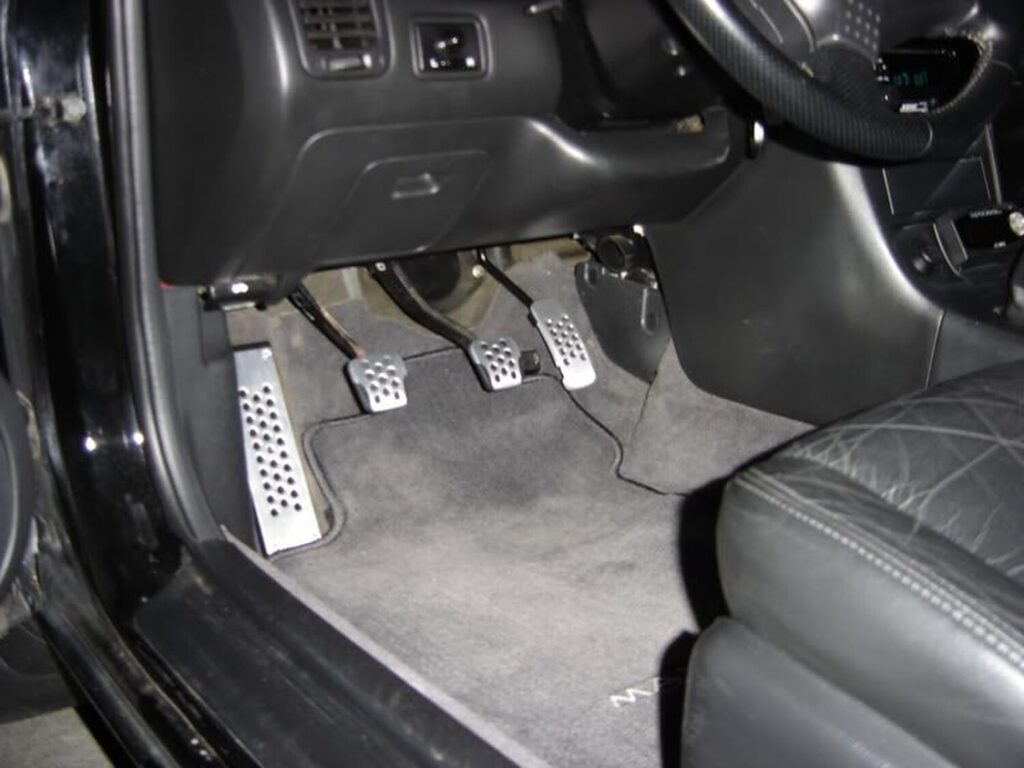 Additional Photos (2002 Maxima)
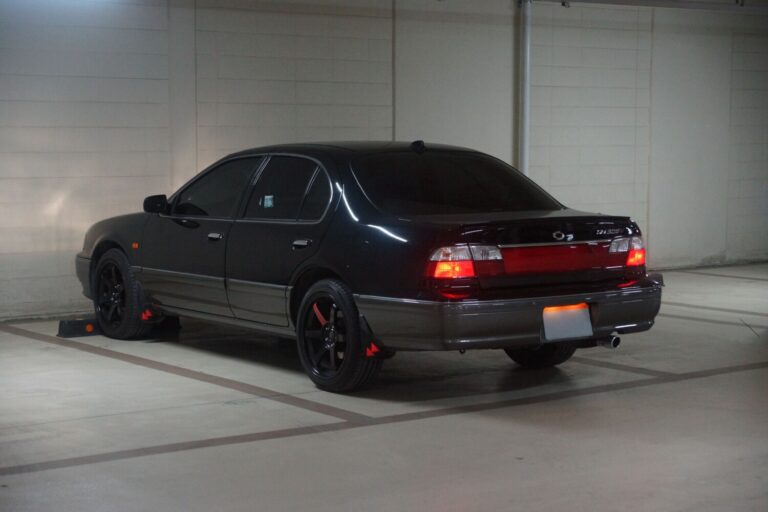
Owner: Jungmin Lee
Year: 1998
Make: Samsung
Model: SM525V
Color: Black
Transmission: 4-Speed Automatic
Trim: N/A


Car Notes / History:
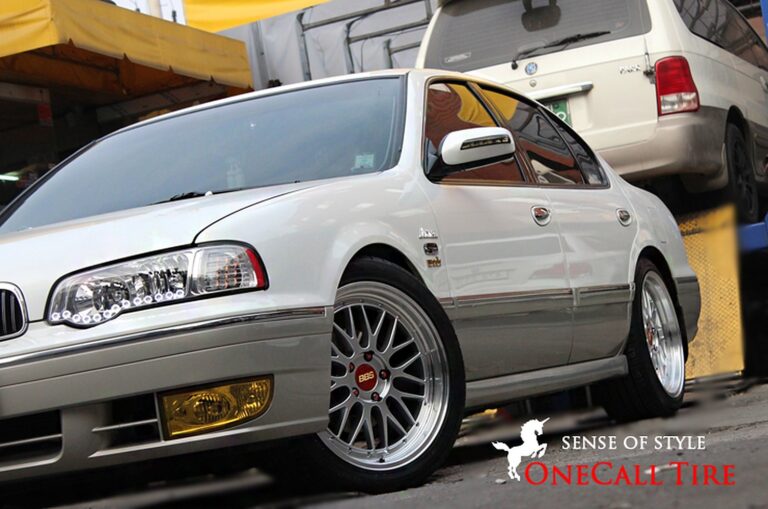
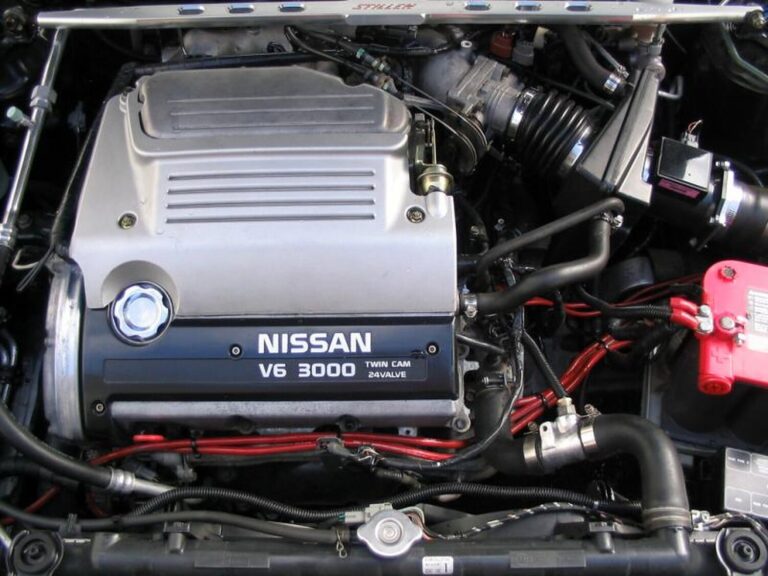
Community Member Credit: tatanko

(vs. USDM 4th Gen)
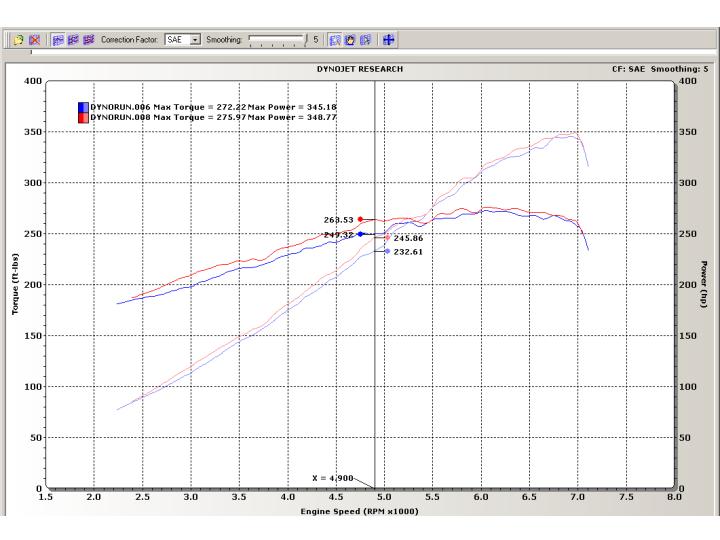
Although not many have completed this swap thus far, it has proven itself to be a far more potent solution than the MEVI. The MEVI, however, has it’s own advantages.
Advantages
00VI…
MEVI…
Disadvantages
00VI…
MEVI…
On the Dyno
Boosted…
(Stephen Max’s car: 14.3 tq, 13.2 hp over MEVI and gains from 2500 rpm to 7000 rpm)
 All Motor…
(BSwithTF’s car: 11.45 tq, 8.61 hp over MEVI, and gains at every rpm)

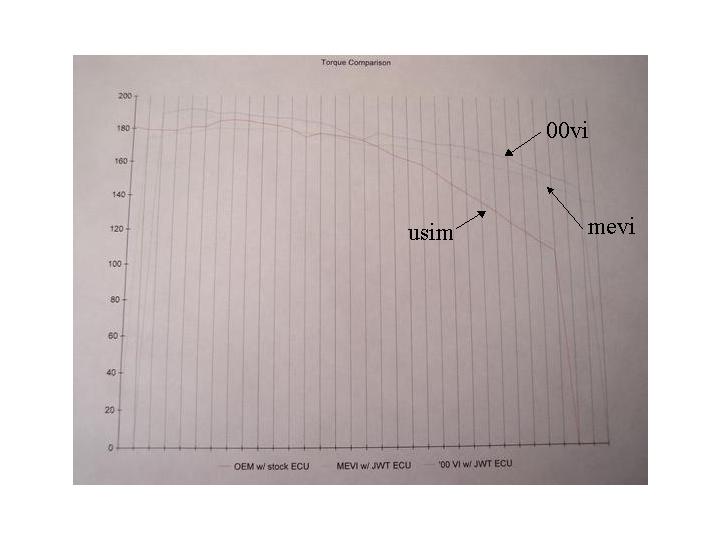
200 WHP vs. 200 WHP
(jenk01SE’s car [00VI] vs. Zack342’s car [MEVI])

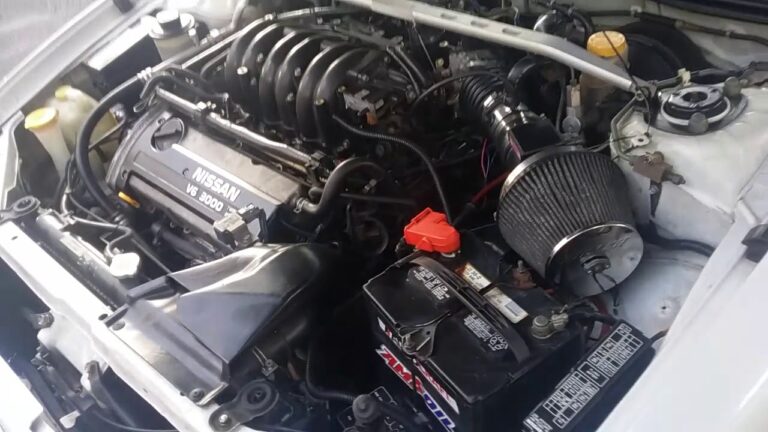
Community Member Credit: Sdot82 / tatanko
As of right now, there are primarily eight different ways to do this swap. Each has its own advantages and disadvantages, which will be discussed. They are as follows:
1) -00 upper manifold
-00 lower manifold
-00 fuel rail*
-00 injectors*
-00 throttlebody
-00 IACV
-00 EGR guide tube**
-00 rear valve cover***
-00 rear coil packs***
»Pros: Probably the least amount of work/customizing (and if you can find it all on one car, the easiest to compile parts for/possibly cheapest), throttlebody doesn’t require block-off.
»Cons: Requires tuning due to larger injectors, requires work to adapt the fuel rail to the old lines, the 00 IACV is iffy at best on the 4th gen ECU.
2) -00 upper manifold
-00 lower manifold
-00 fuel rail*
-00 injectors*
-00 throttlebody (requires block-off plate in this setup)
-4th gen IACV (needs adaptor plate)
-00 EGR guide tube**
-00 rear valve cover***
-00 rear coil packs***
»Pros: Second least amount of work/customizing (and if you can find most of it on one car, easier to compile parts for/cheaper), possibly superior IACV setup (not proven), throttlebody needs block-off plate.
»Cons: Requires tuning due to larger injectors, requires work to adapt the fuel rail to the old lines, IACV needs adapter plate, throttlebody needs a block-off plate.
3) -00 upper manifold
-00 lower manifold
-00 fuel rail*
-00 injectors*
-Pathfinder throttlebody (needs adaptor plate)
-4th gen IACV (needs adaptor plate)
-00 EGR guide tube**
-00 rear valve cover***
-00 rear coil packs***
»Pros: Lesser amount of work/customizing (and if you can find most of it on one car, easier to compile parts for/cheaper), possibly superior IACV setup (not proven), larger throttlebody, throttlebody doesn’t require block-off.
»Cons: Requires tuning due to larger injectors, requires work to adapt the fuel rail to the old lines, IACV needs adapter plate, throttlebody needs adapter plate.
4) -00 upper manifold
-00 lower manifold
-00 fuel rail*
-00 injectors*
-4th gen throttlebody (needs adaptor plate)
-4th gen IACV (needs adaptor plate)
-00 EGR guide tube**
-00 rear valve cover***
-00 rear coil packs***
»Pros: Lesser amount of work/customizing (and if you can find most of it on one car, easier to compile parts for/cheaper), possibly superior IACV setup (not proven), throttlebody doesn’t require block-off.
»Cons: Requires tuning due to larger injectors, requires work to adapt the fuel rail to the old lines, IACV needs adapter plate, throttlebody needs adapter plate.
5) -00 upper manifold
-4th gen lower manifold****
-4th gen fuel rail
-4th gen injectors
-00 throttlebody
-00 IACV
-00 EGR guide tube**
-00 rear valve cover***
-00 rear coil packs***
»Pros: Doesn’t require tuning, throttlebody doesn’t require block-off.
»Cons: IACV needs adapter plate, IACV is iffy at best on 4th gen ECU, lower manifold must be drilled.
6) -00 upper manifold
-4th gen lower manifold****
-4th gen fuel rail
-4th gen injectors
-4th gen throttlebody (needs adaptor plate)
-4th gen IACV (needs adaptor plate)
-00 EGR guide tube**
-00 rear valve cover***
-00 rear coil packs***
»Pros: Doesn’t require tuning, possibly superior IACV setup (not proven), throttlebody doesn’t require block-off.
»Cons: IACV needs adapter plate, lower manifold must be drilled, throttlebody needs adapter plate.
7) -00 upper manifold
-4th gen lower manifold****
-4th gen fuel rail
-4th gen injectors
-00 throttlebody (requires block-off plate in this setup)
-4th gen IACV (needs adaptor plate)
-00 EGR guide tube**
-00 rear valve cover***
-00 rear coil packs***
»Pros: Doesn’t require tuning, possibly superior IACV setup (not proven).
»Cons: IACV needs adapter plate, lower manifold must be drilled, throttlebody must have a block-off plate.
8) -00 upper manifold
-4th gen lower manifold****
-4th gen fuel rail
-4th gen injectors
-Pathfinder throttlebody (needs adaptor plate)
-4th gen IACV (needs adaptor plate)
-00 EGR guide tube**
-00 rear valve cover***
-00 rear coil packs***
»Pros: Doesn’t require tuning, possibly superior IACV setup (not proven), larger throttlebody.
»Cons: IACV needs adapter plate, lower manifold must be drilled, throttlebody needs adapter plate.
* = can be substituted for 01 QX4 parts, ** = can be removed and replaced with block-off plate, *** = you can grind down the rear coil packs and coil pack bosses instead of using these parts, **** = use of 4th gen lower manifold requires that you turn it 180º
Community Member Credit: allmazda
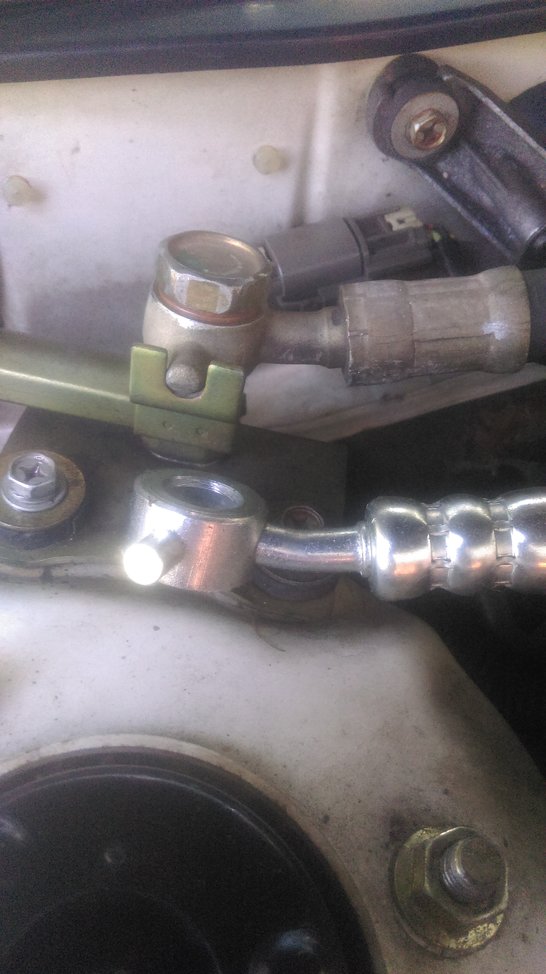
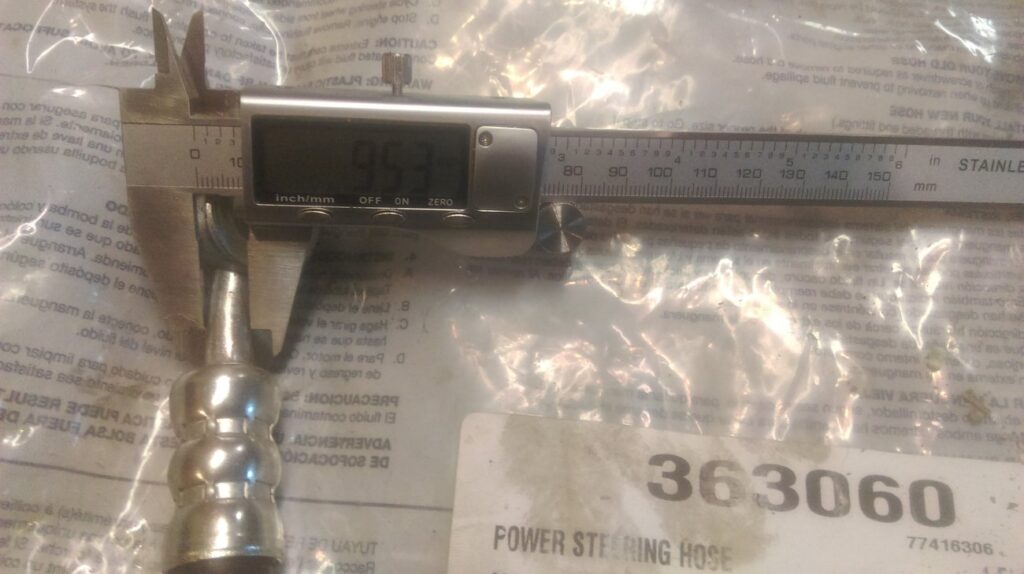
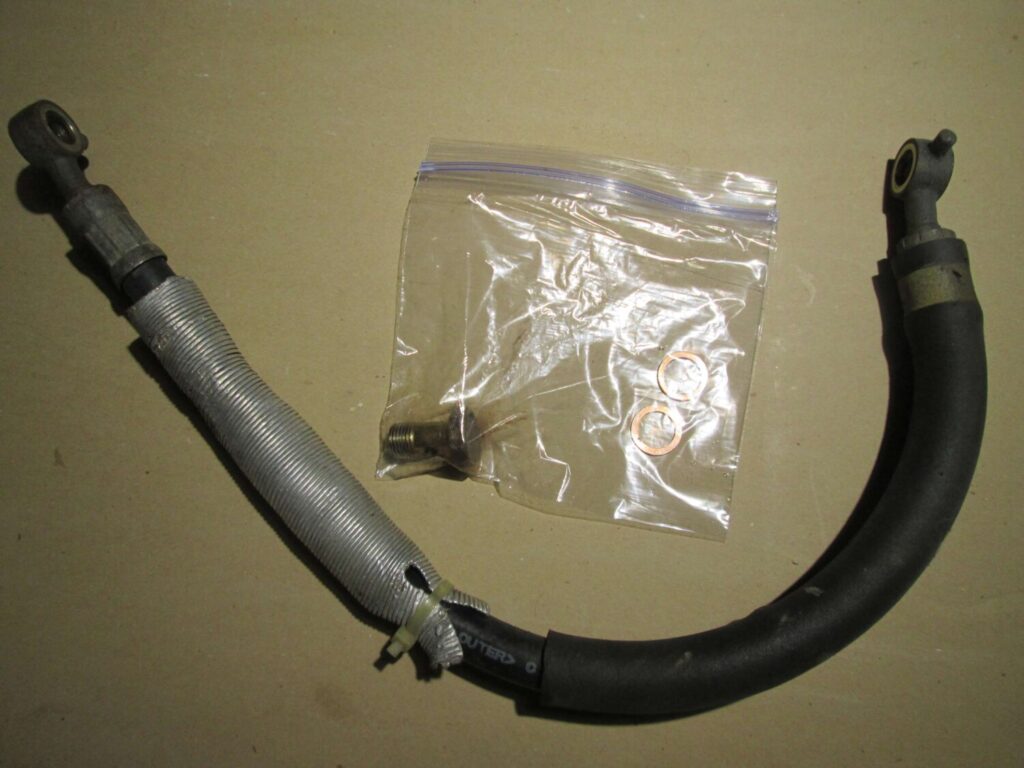
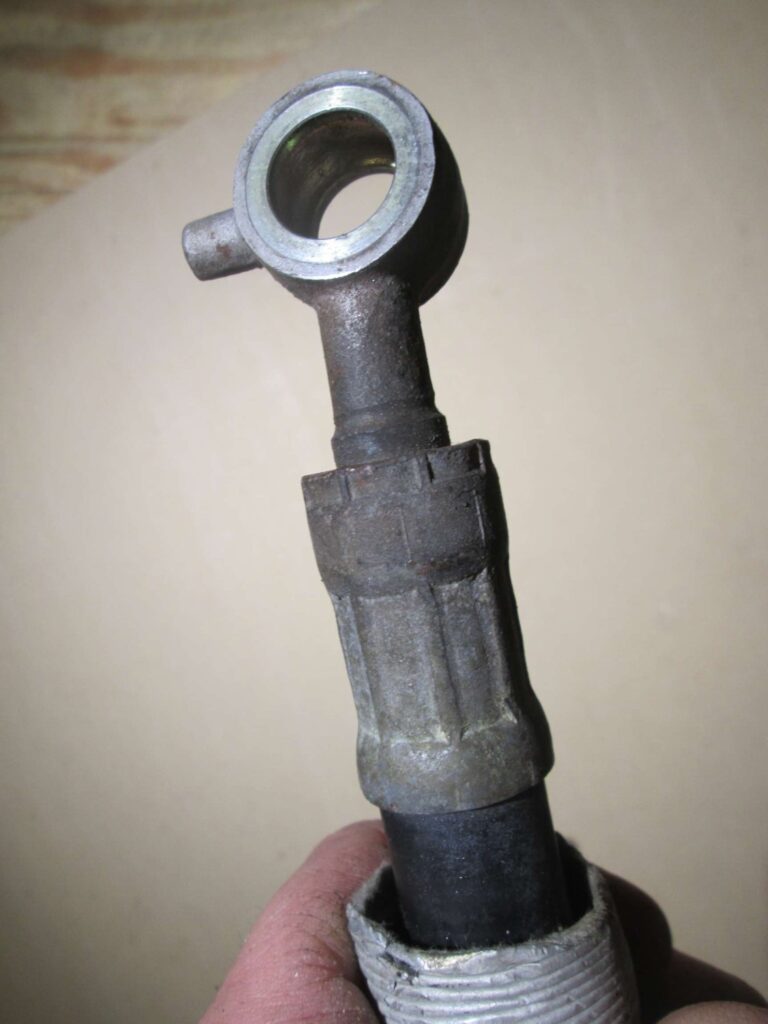
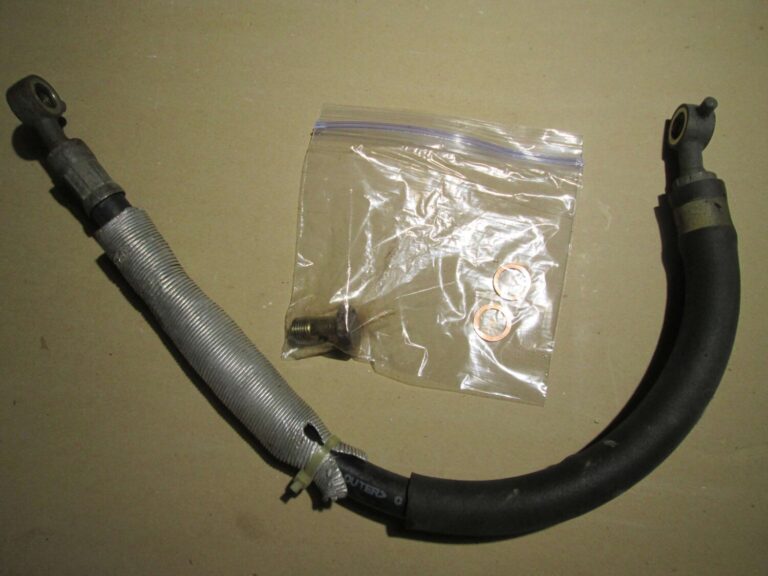
I ordered the GATES 363060 and if you noticed the picture is the same. The gates hose whined like crazy. The problem I believe is the aftermarket hose is smaller in diameter in the metal ends. I ended up putting my OEM hose back on and the whine went away. It was not leaking but I swapped motors and thought it would be wise to put a new hose on when the motor was out…
The other thing besides the noise was the PS hoses were very hot with the Gates hose. Cool to the touch with the OEM hose.