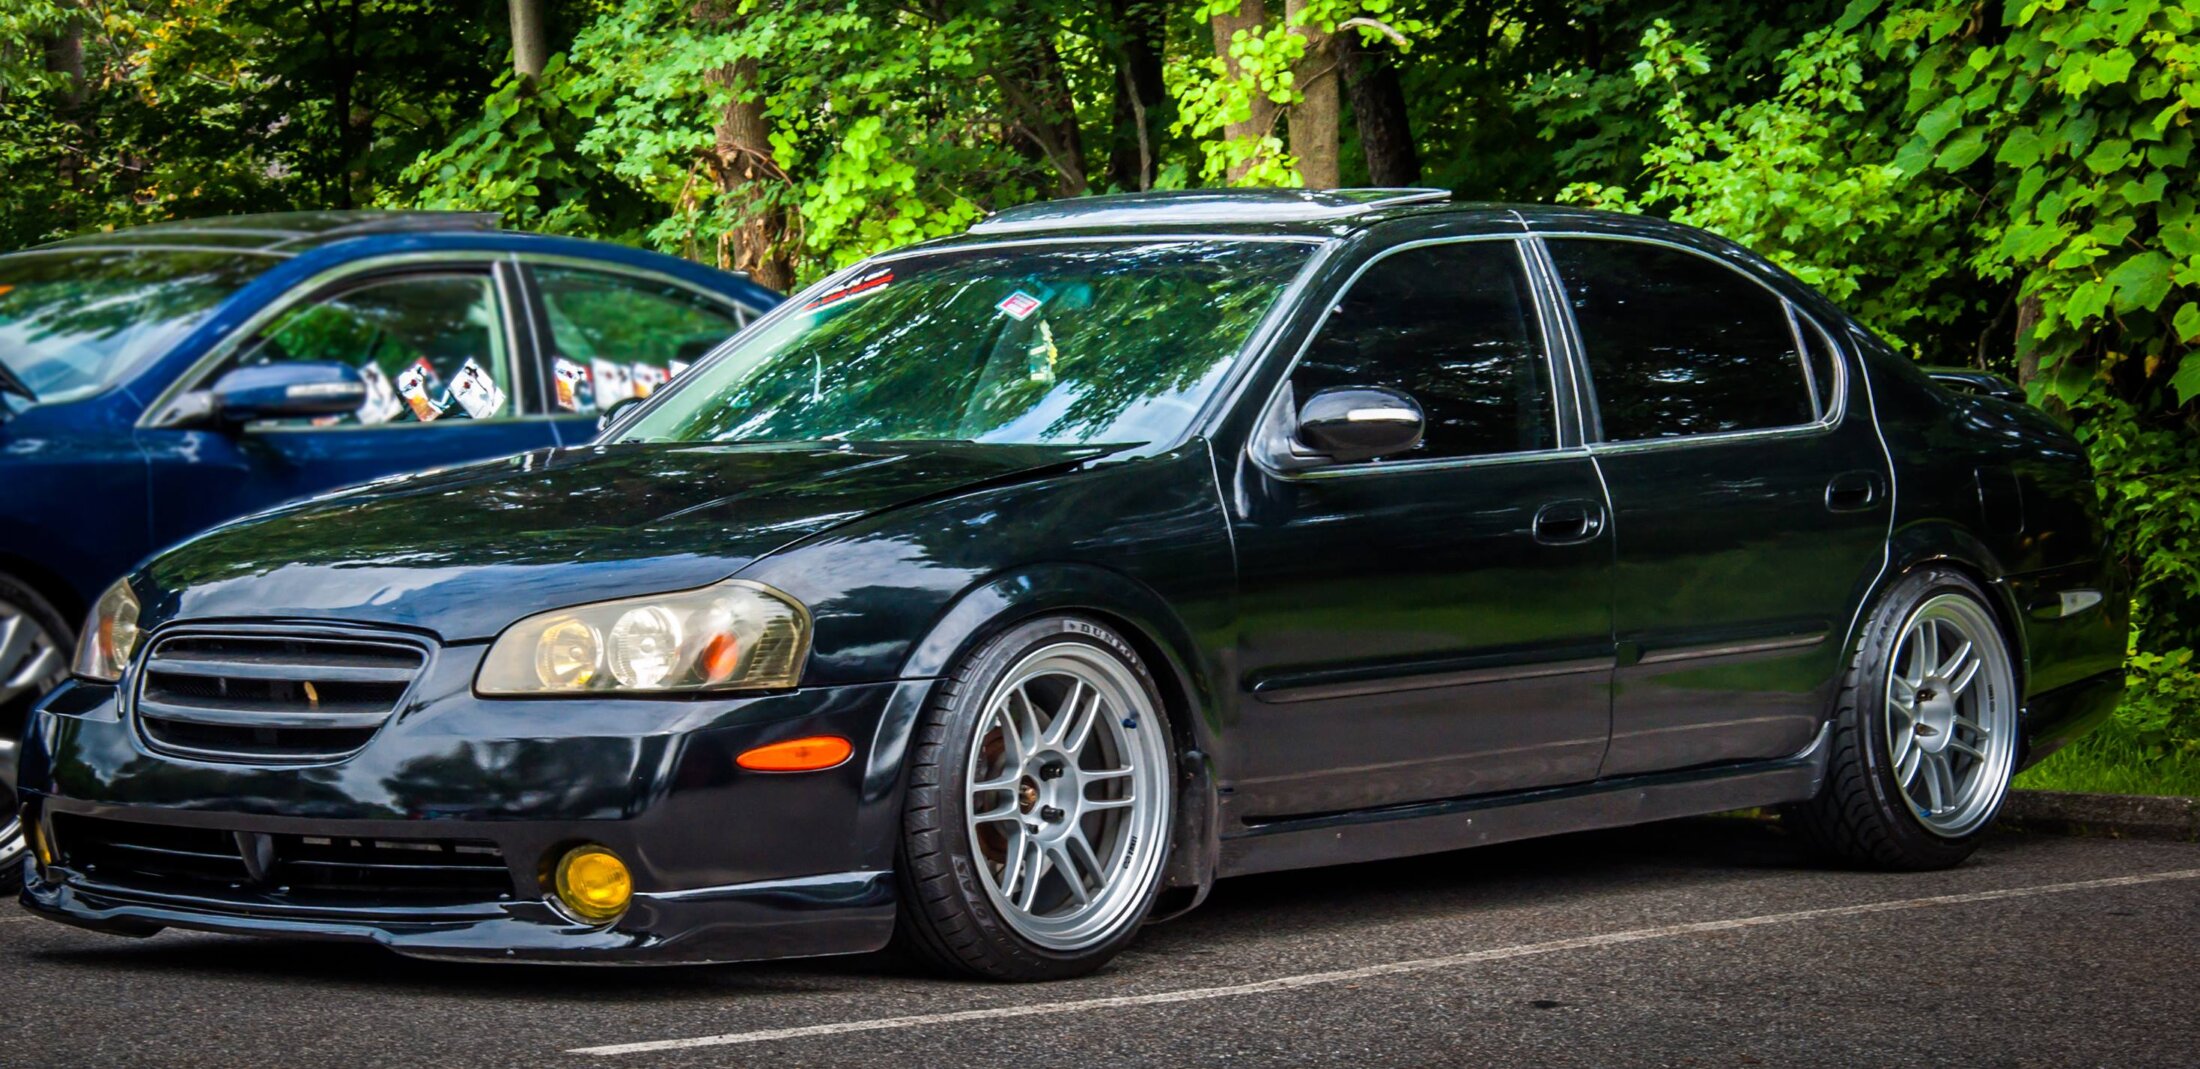
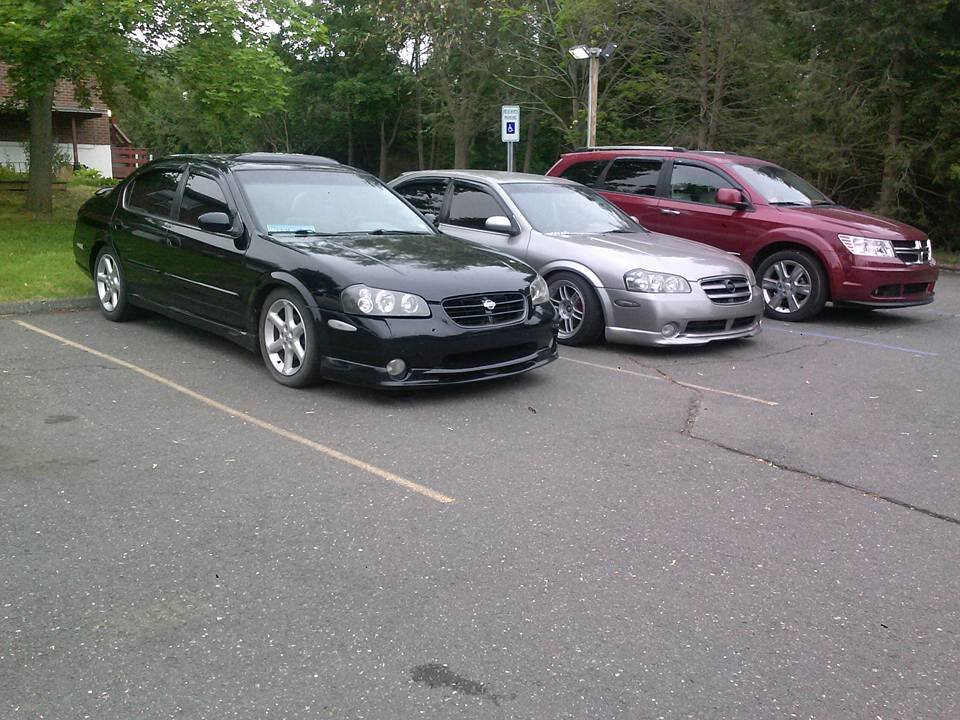
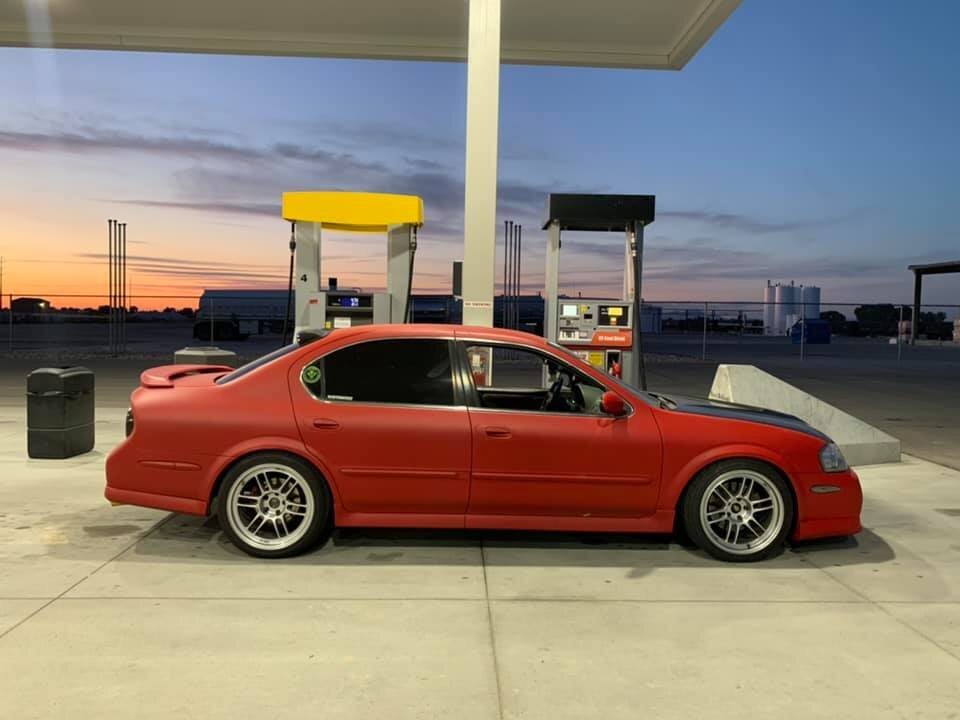
Part Description: CEFIRO A33 2.0 ’99 ULTRA RACING 4-PT REAR STRUT BAR FOR NISSAN
Part Number: UR-RE4-1169
Price: $188.00
Order Link: https://www.ebay.com/itm/172819799250
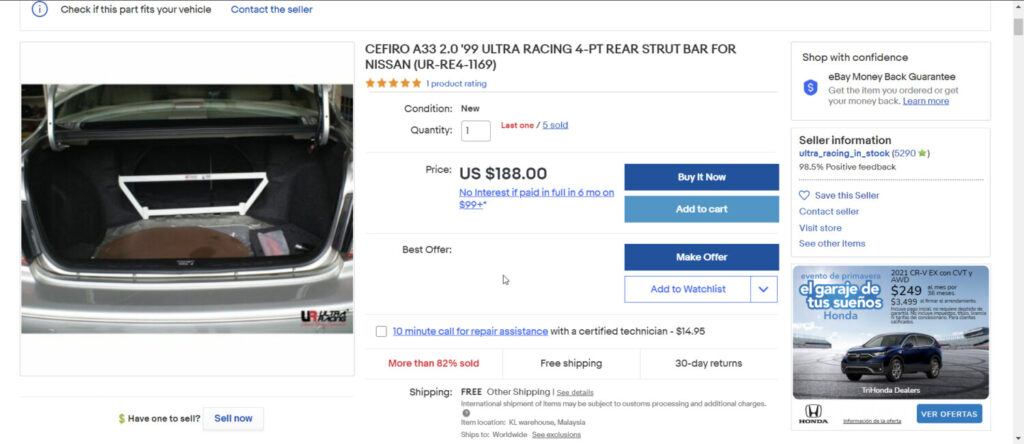
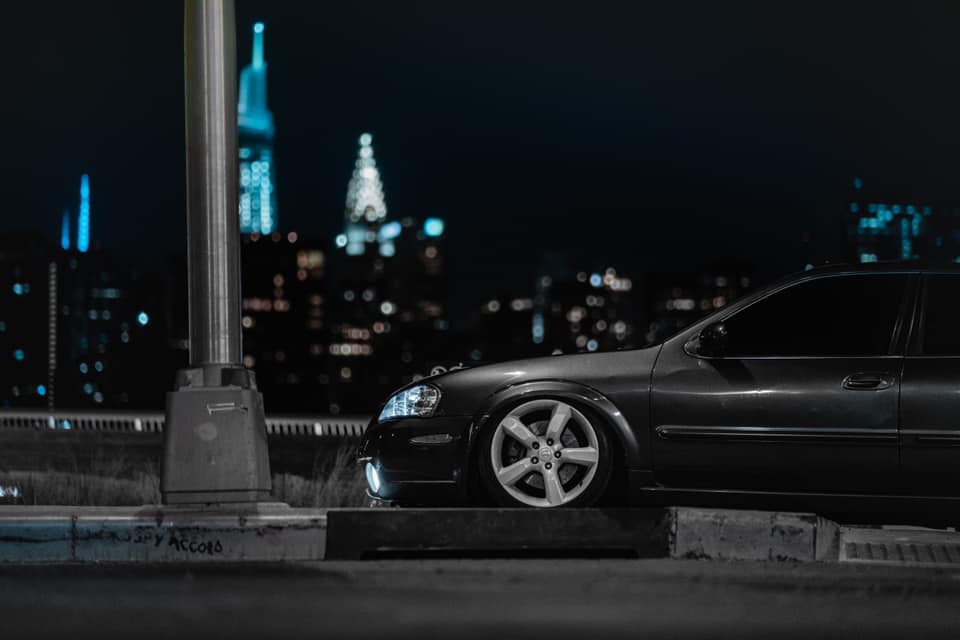
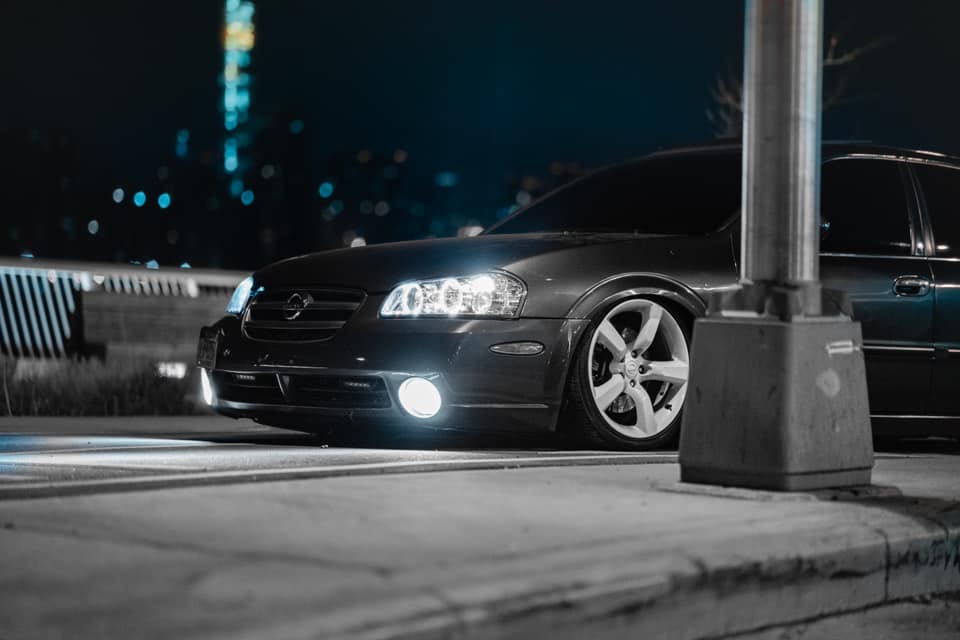
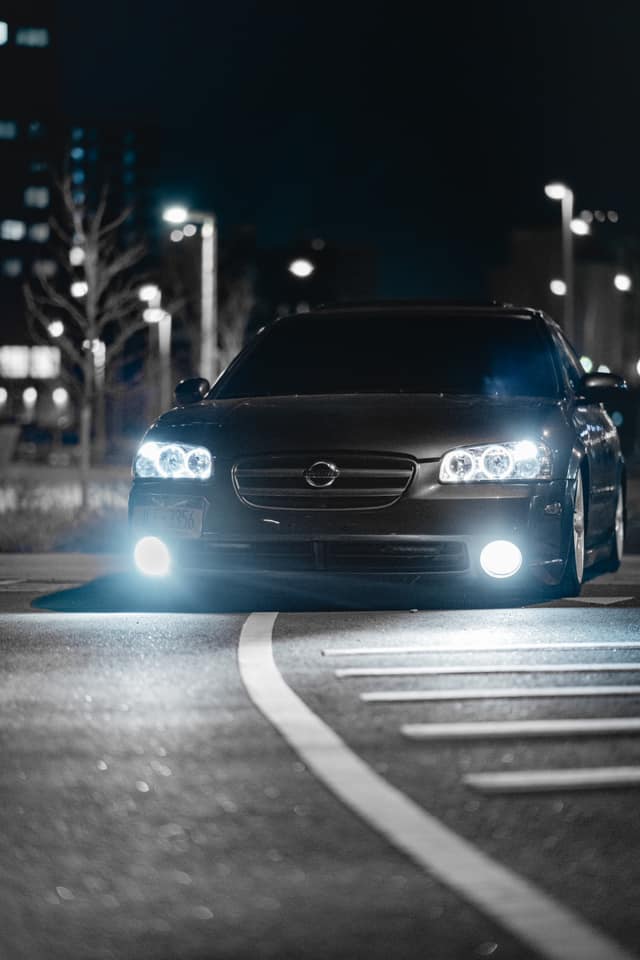
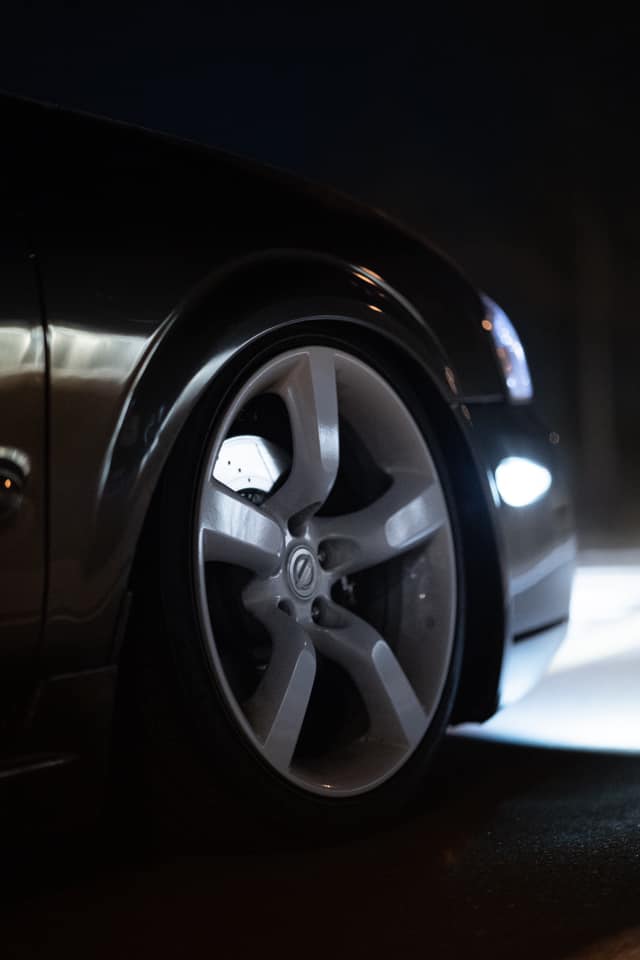
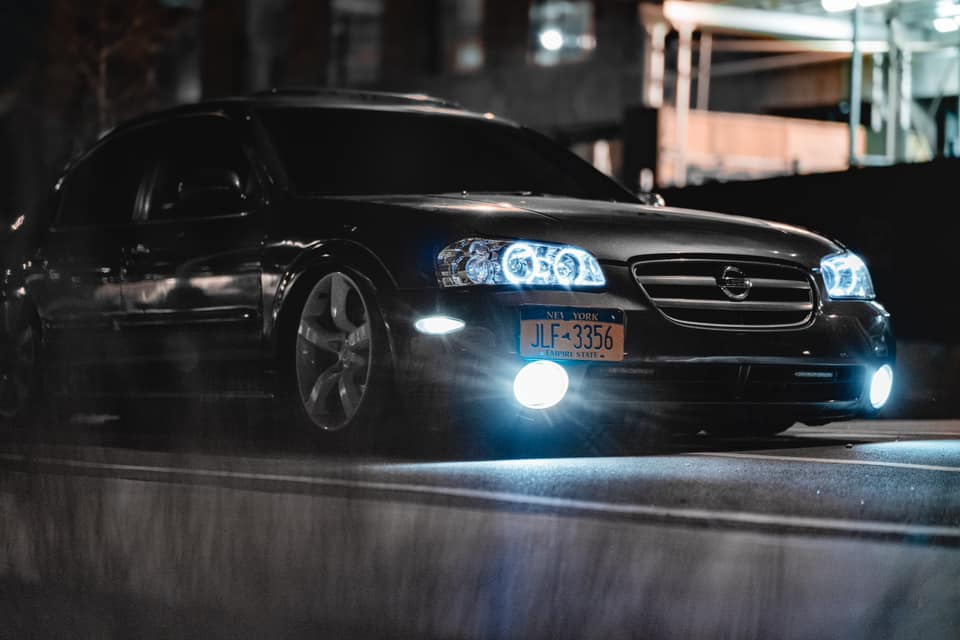
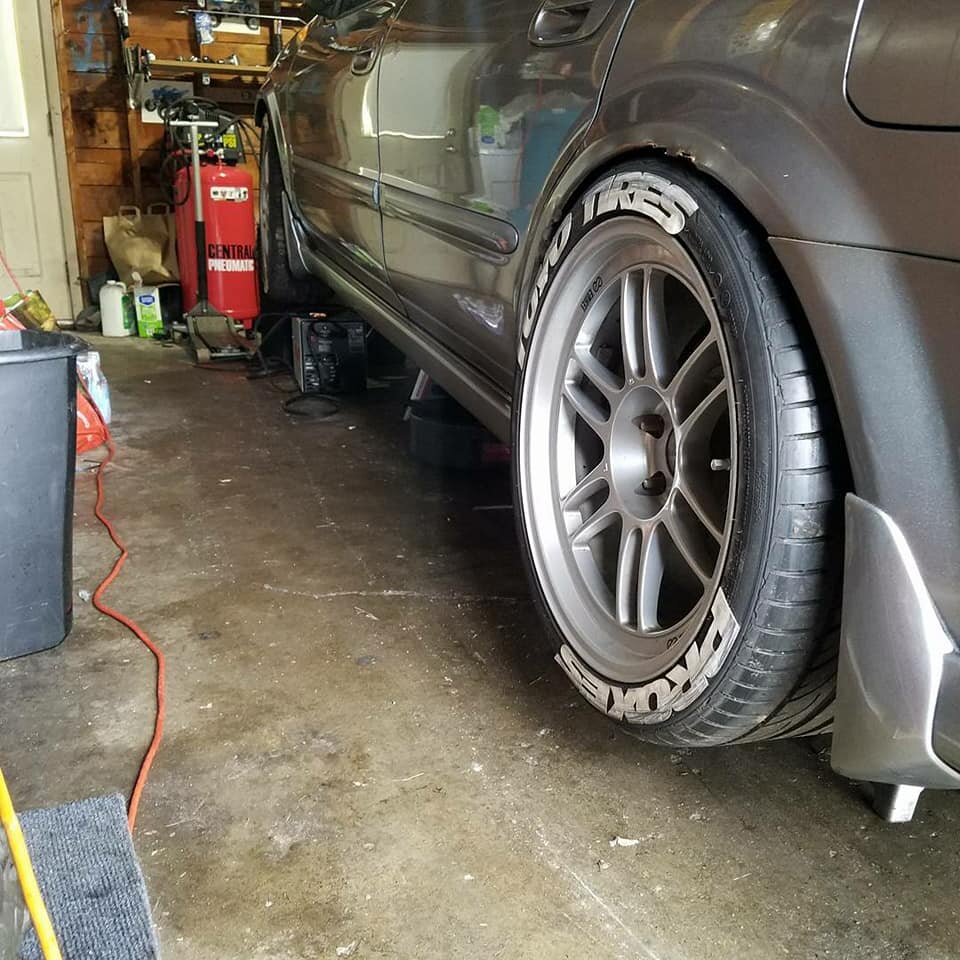
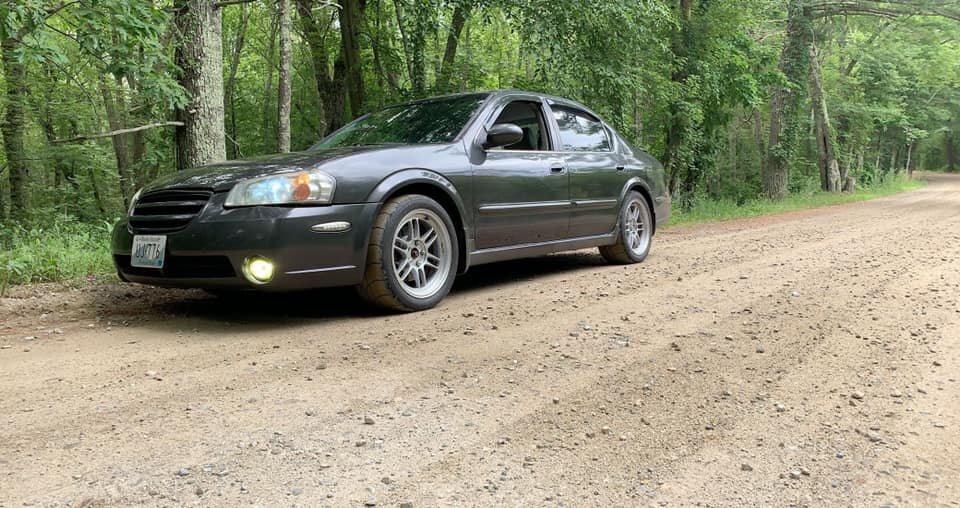
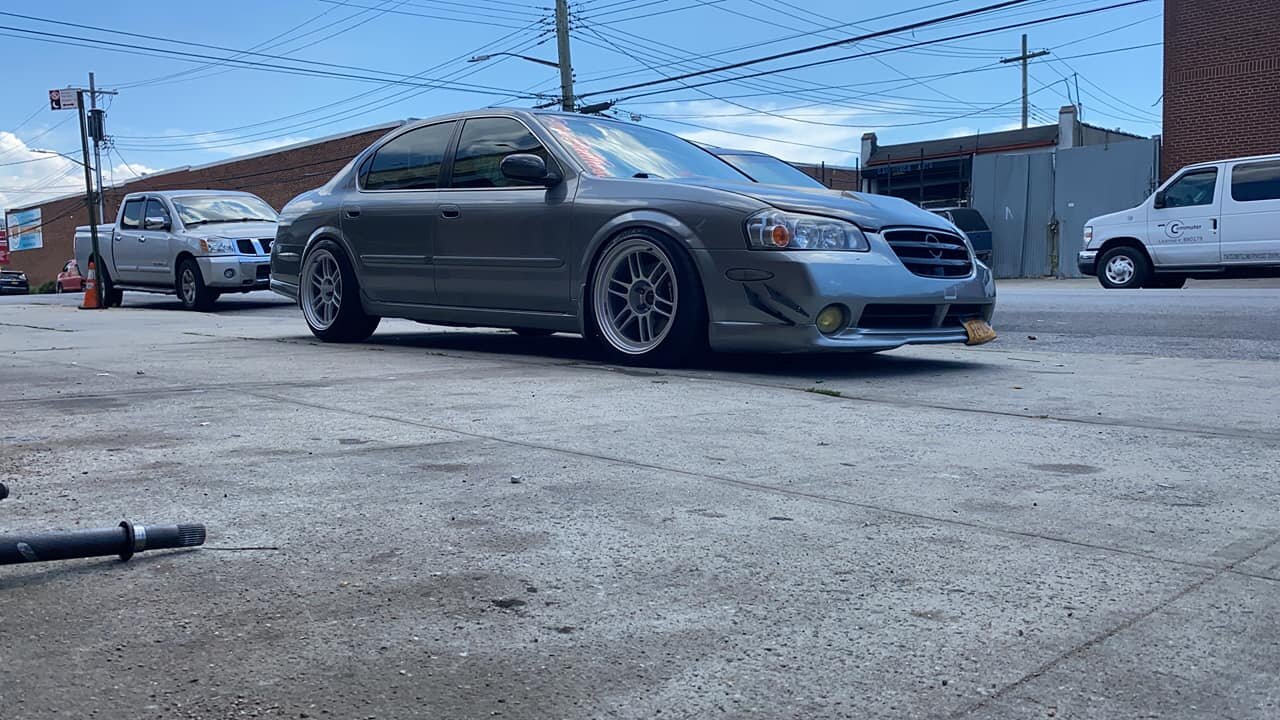
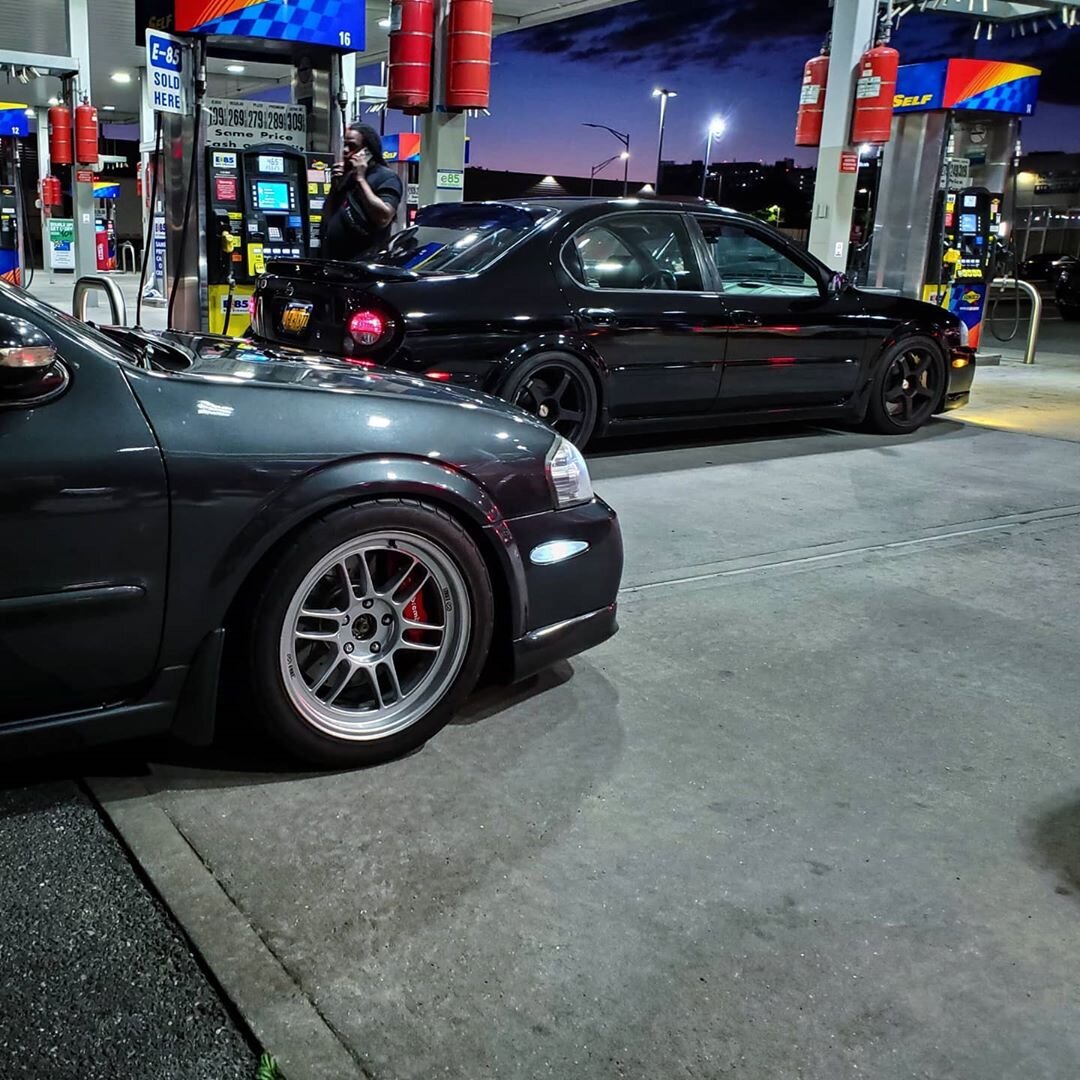
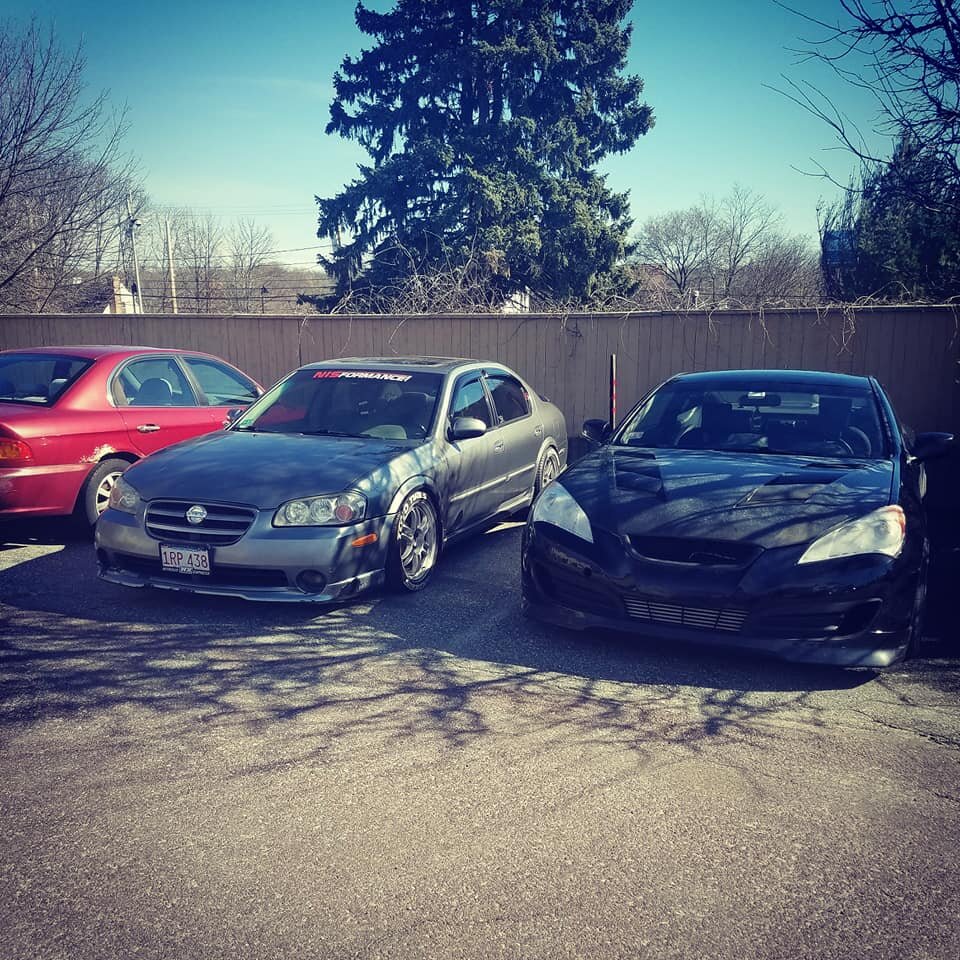
Installed on 5thgen Maxima



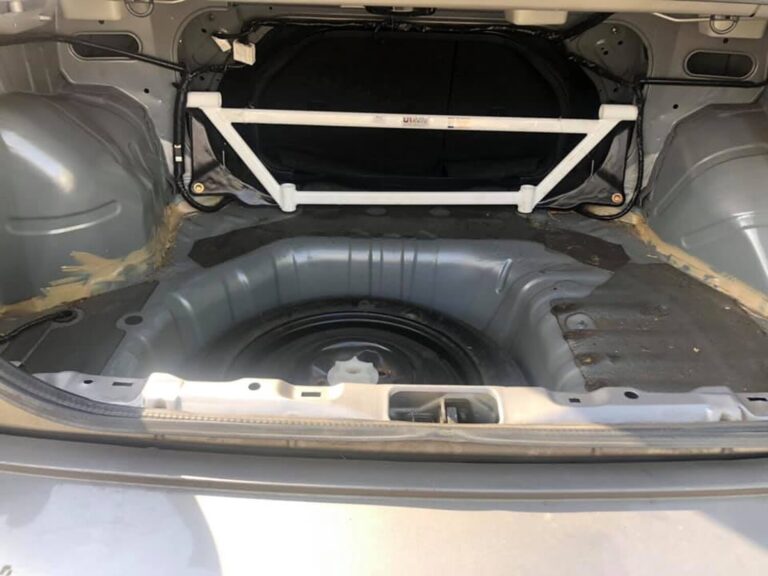
Part Description: CEFIRO A33 2.0 ’99 ULTRA RACING 4-PT REAR STRUT BAR FOR NISSAN
Part Number: UR-RE4-1169
Price: $188.00
Order Link: https://www.ebay.com/itm/172819799250
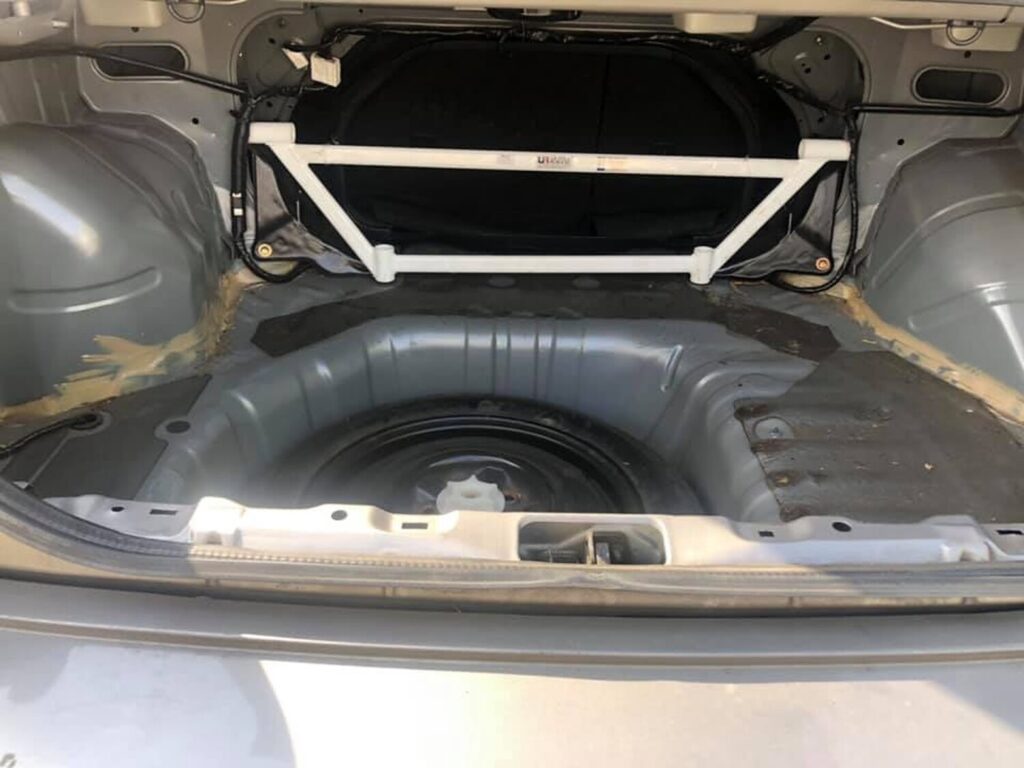

Community Member Credit: Robert Mandru
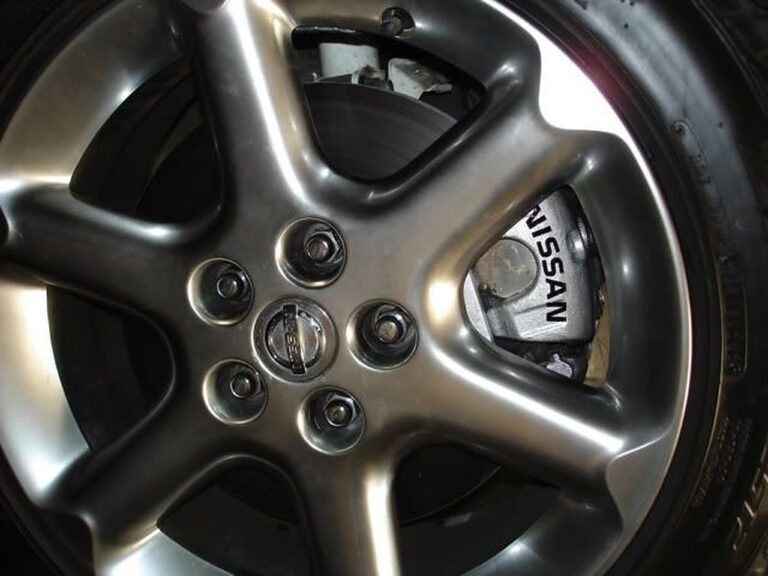
These brackets will guarantee the proper fitment of Akebono calipers on your Maxima or Altima. Say goodbye to pad overhang and knocking off wheel weights when running your 18s!
The kits will be made out of 6061 high-strength aluminum. I am currently in talks with the machinist to see if I can do a separate run of steel brackets though. I was quoted $45 USD more (subject to change).
The aluminum kits will cost $225 plus shipping and PayPal fees. ($50.00 Deposit Required)
Important Note: These brackets for only for the front calipers. The rear Akebono calipers are plug-n-play but only for the 04+ Maximas/ 05+ SE-R Altimas.


Community Member Credit: LA02MAX
Ok, so since this is something that’s becoming ever more popular, I decided to compile all of the information you need to upgrade the front brakes on your 5th gen to the 6th gen brakes with 12.6″ rotors…
First check your wheel clearance to make sure you have enough room for the brakes to fit. Measure from the center of your wheel to the inside of it, and if you don’t have at LEAST 7 5/8″ these brakes will not fit on your car…they do fit the 5.5 gen 17″ SE wheels like a glove, but they don’t fit with the 5.0 gen SE 17s…

f you do have enough clearance, the next step is to purchase what you need for the upgrade. Here are the things you need to get your hands on:
These are DIRECT BOLT-ON for ALL 5th gens (5.0 and 5.5 alike) but you can also opt to get Matt Blehm’s relocation bracket on the 5.0 gen (but not the 5.5 gen) and use your stock calipers.
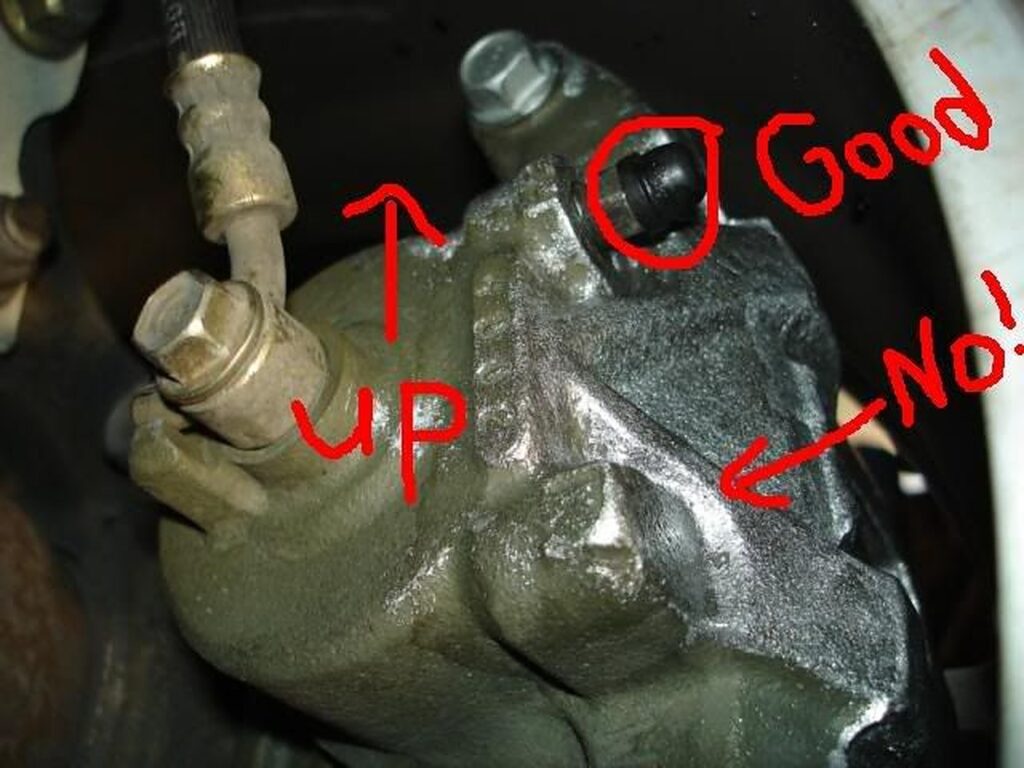
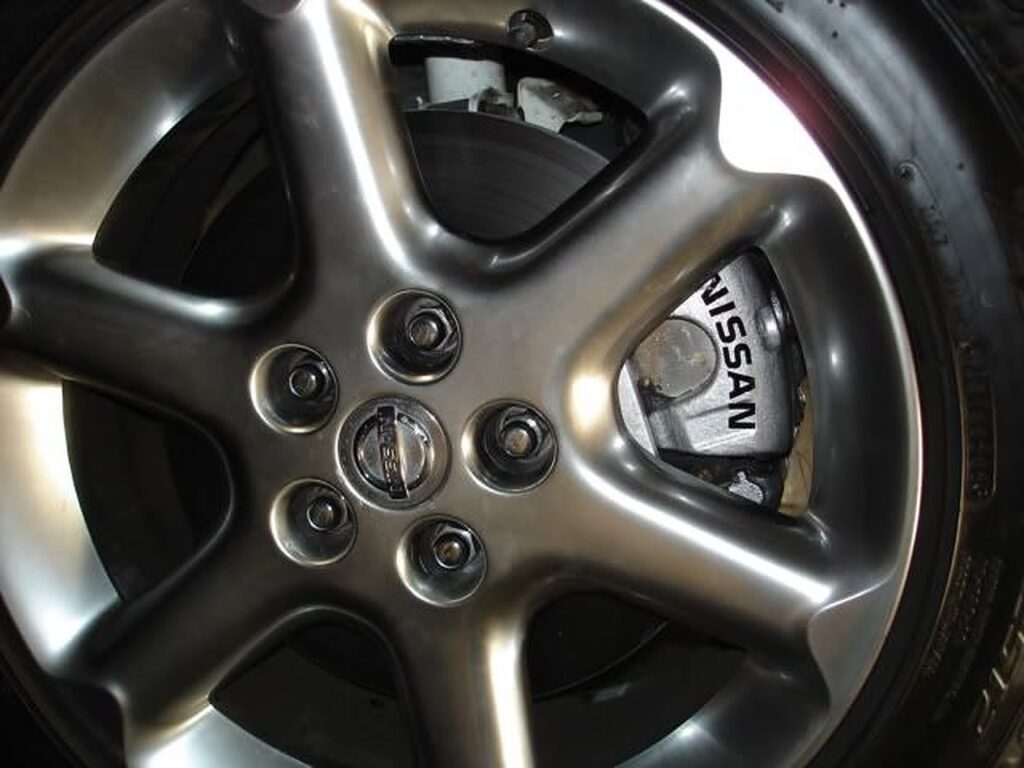
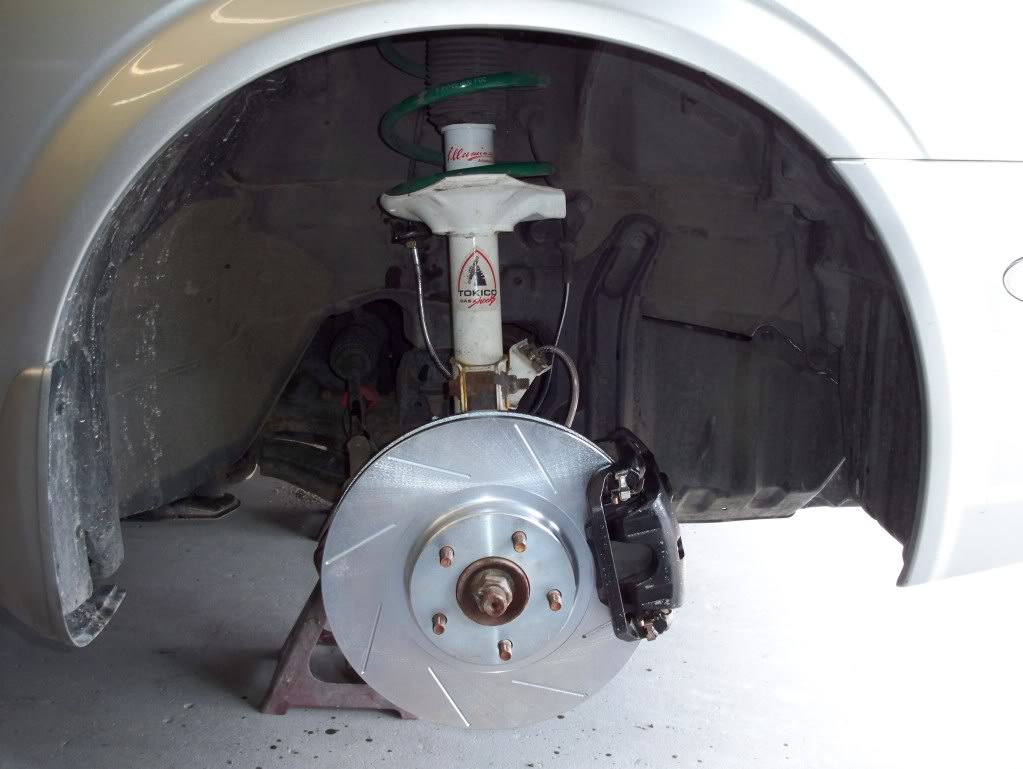
Installation for me would have gone smooth if I had a right and a left caliper, but I accidentally got 2 left ones! DOH! Make sure when installing the calipers that the bleed screw is on TOP. (shown in the picture below.)
For me, the pedal feel was GREATLY improved (although this may be because I was running on my stock brakes at 50k). The pedal feels firm, and even after beating the sh!t out of my car at MSR during Maxus, I didn’t get an ounce of brake fade with my ATE Super Blue Dot 4 fluid.
I bed the brakes in just after installation and so far no abnormal noises or vibrations. There is great feedback from the brakes and they don’t seem to lock up under extreme braking as they did before.
From a performance point of view, I could not tell any difference in acceleration. These rotors did feel really heavy, but IIRC they are only 5 or 6 lbs. heavier than stock, which also felt really heavy, so it would be pretty hard to feel any adverse effects on acceleration.
As for the paint on my calipers, I used the G2 silver paint kit. I applied the paint only where you could see the caliper from the outside, and I applied 3 coats with much more paint to spare. The decals are just stick on (I put a couple of coats of clear over it just to make sure they would stay).
Any other useful information is welcome, as I believe this is all I have. Good luck to anyone that attempts it, and in my eyes, it was a very worthwhile mod.
Member Credit: godlyone
The first step is to really clean the calipers.. they were filthy!
Before:
 After:

Then sand the hell out of it and mask everything off for paint:


I used enamel based spray paint (high heat as it is really meant for BBQ grills)

Rotors and pads get delivered:
 Look at the size difference with my OEM ones!

So jack up your car, USE JACKSTANDS, take off your wheel
At this point you want to place a drip pan under the caliper and loosen the brake line bolt (12mm)
Then remove 2 bolts (14mm) that hold the caliper on, hang the caliper to the spring using rope or something similar:

Then remove 2 more bolts (19mm) holding the torque member (these are on hella tight):
 Use a C-clamp and an old brake pad to push the new caliper’s piston back to allow for the new pads to sit.
Now, connect the brake line to the new caliper and hang that one by the spring.
Place the rotor on. NOTE: some rotors are directional and have curved vanes, follow the instructions!

Put on the new torque member (with those two 19mm bolts). I applied some loctite here for a secure hold.
Put in the new brake pads, apply the special anti-squeal stuff.
Put the caliper on using the two 14mm bolts.

Now you need to bleed the brakes, so pick up some Dot 3 brake fluid, and have a friend help. If you don’t know how to bleed, the person outside of the car opens the bleeder to allow fluid to escape while the person in the car pumps and holds the brake to provide pressure. Keep bleeding until you don’t see any air in the line. It helps to use a tube into a water bottle filled w. some brake fluid so you can see the air bubbles come up. Remember to keep topping off the fluid so you don’t start drawing air in. It’s also a good idea to bleed a whole bunch of that nasty old fluid out..

So here are some size comparisons (remember my car is 2000 so the rotors were smaller than 5.5gens’)
Caliper (04 on left, 00 on right):

(04 on right, 00 on left)
 Pad size (newer ones on bottom obviously):
 And the best before and after lol:

 Also notice my old rotor on the ground there, on the backside there is a very THIN strip where the pad was making actual contact.. I couldn’t believe how crappily the stock setup was working.
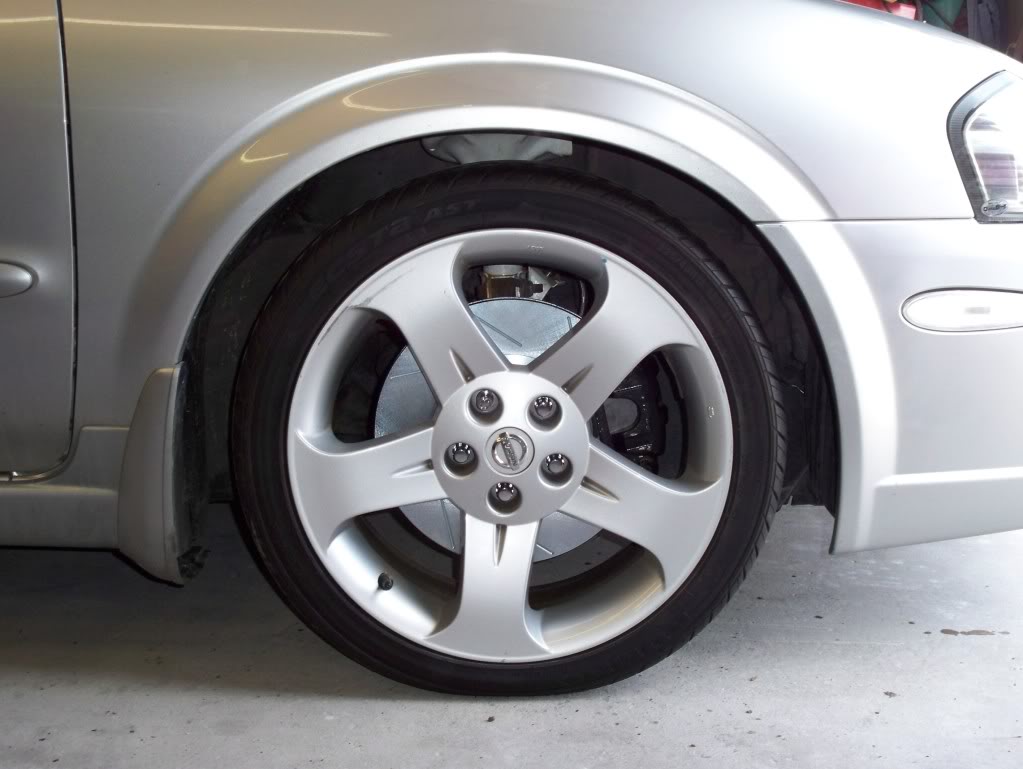
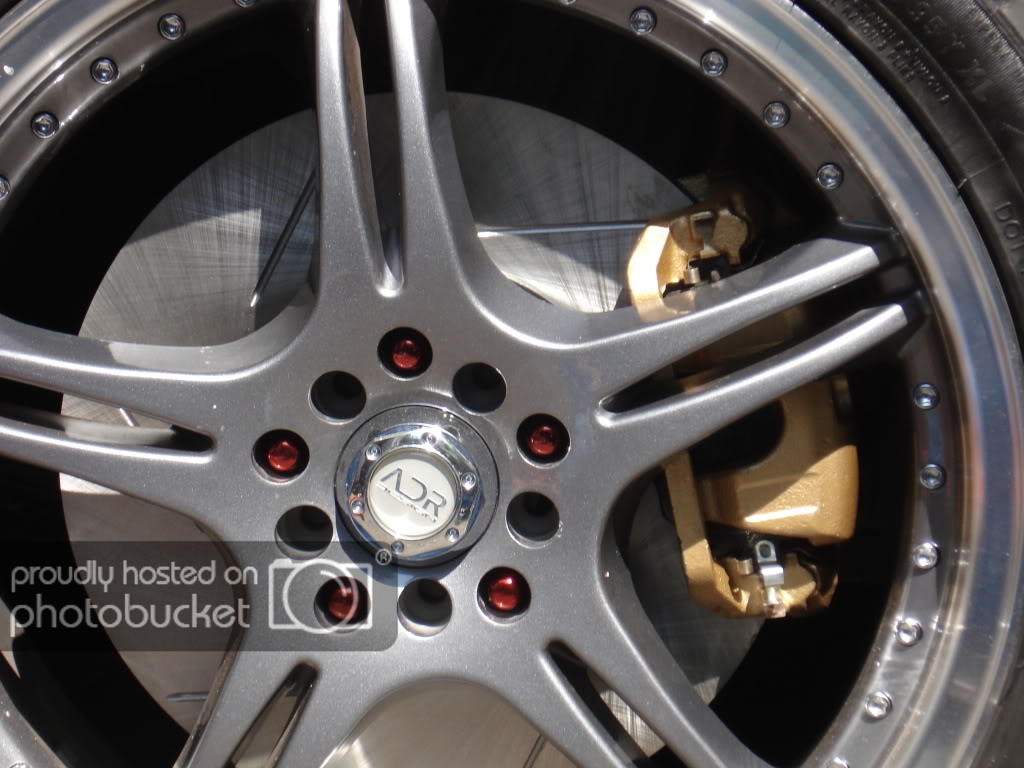
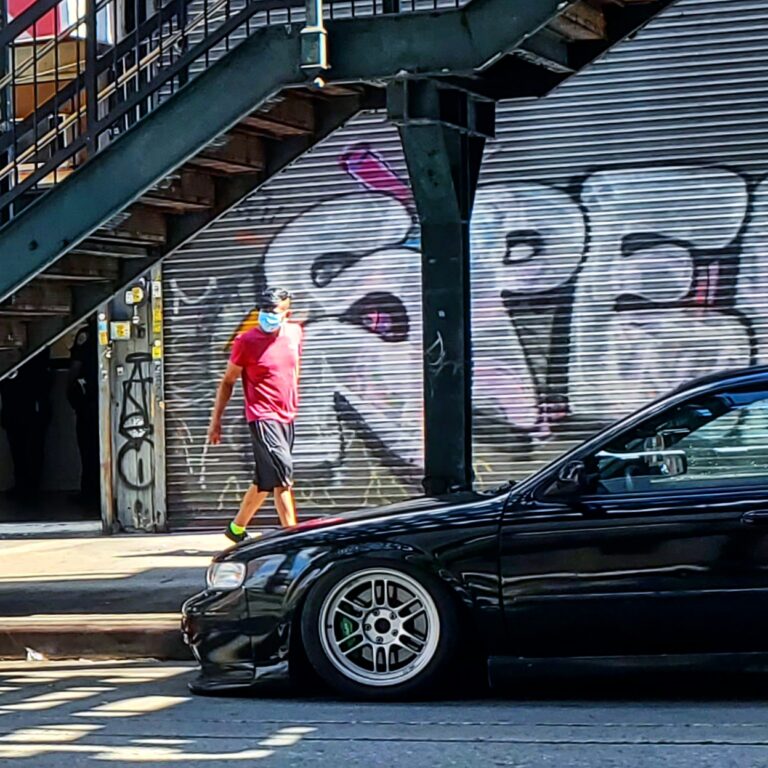
Additional Install Pics:

Credit: EddyMaxx
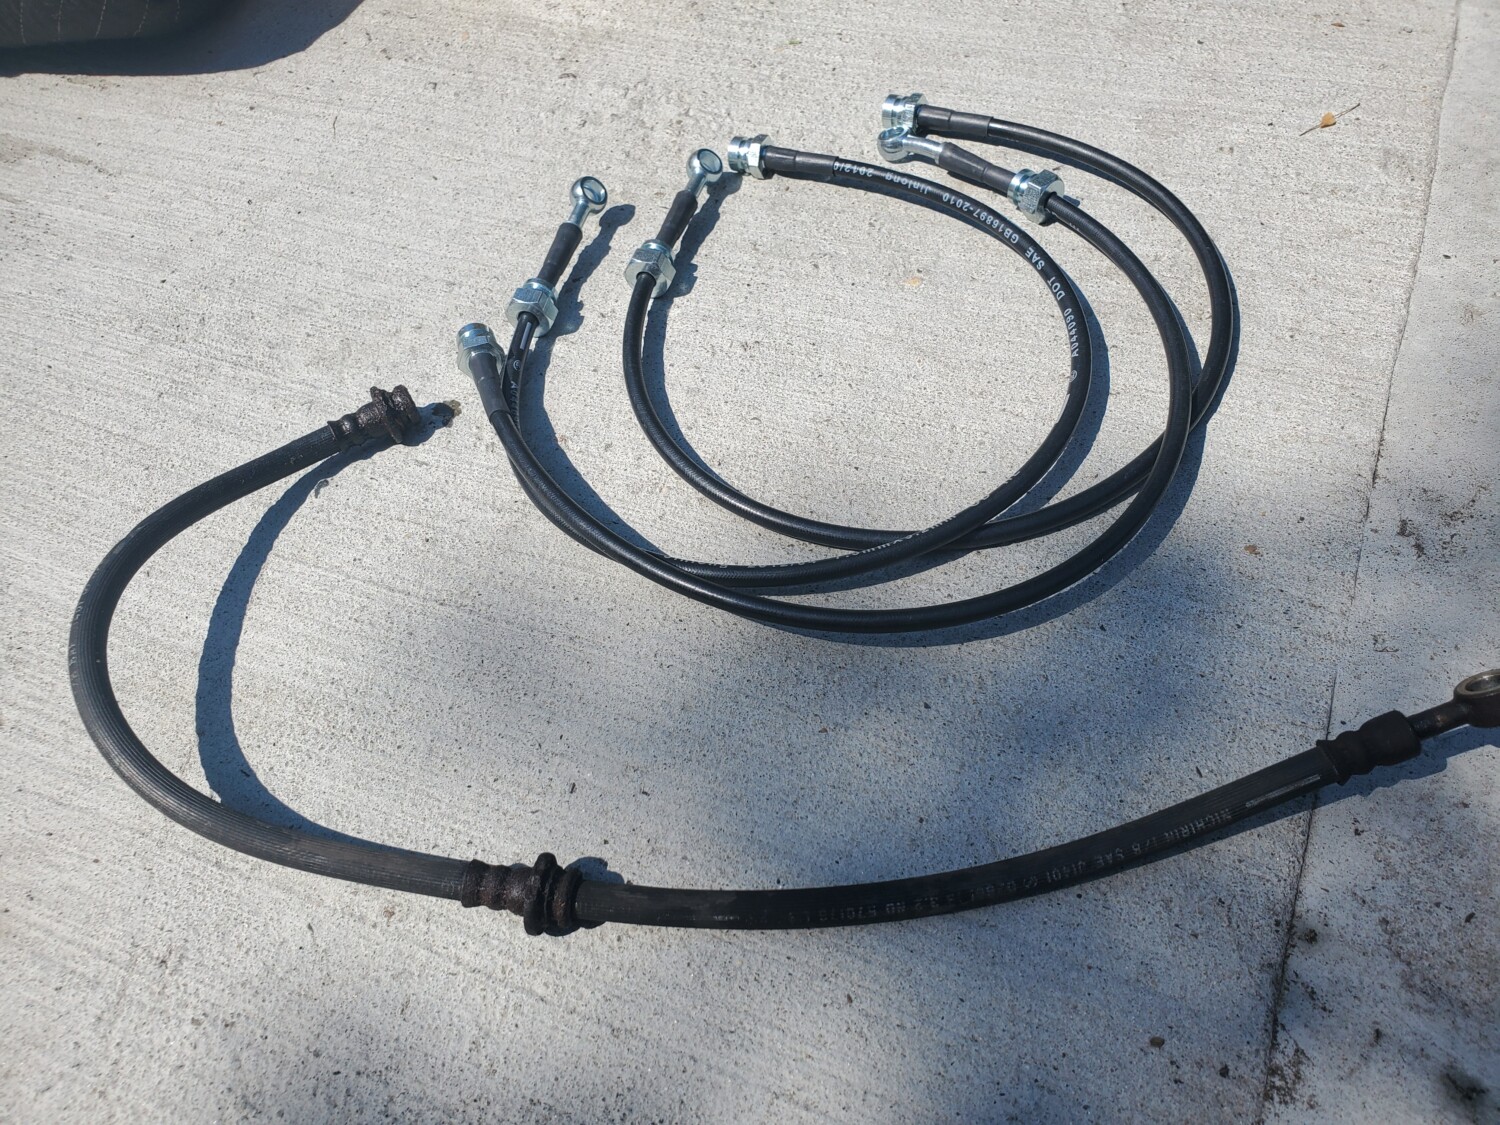
My rear brake line on 4thgen Nissan Maxima had a pinch in it and caused a brake fluid leak. I was going to replace it with another stock line but ended up ordering stainless steel brake lines from eBay. You get all 4 brake lines shipped for $67 bucks which is a great deal. The quality is great and serves its purpose well. Shipping took about a week since it came from Canada. After installing, I performed the brake bleeding procedure. Took a quick drive I can feel better braking overall with these lines.
Price: $70.86
Order Link: https://www.ebay.com/itm/312074758928
Description: You get 4 brake lines. 2 front and 2 rear.
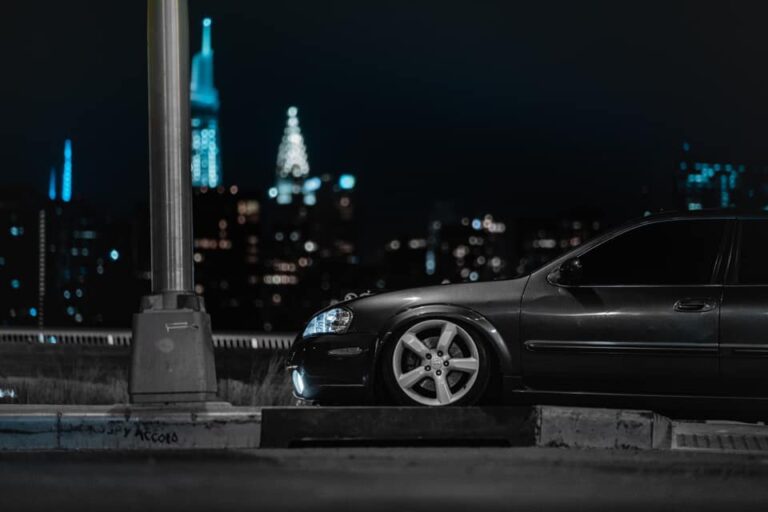
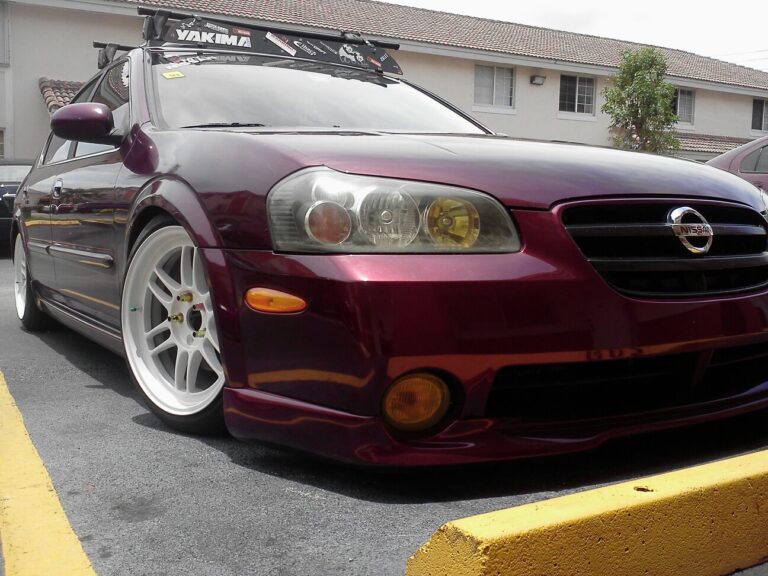
Fits these cars:





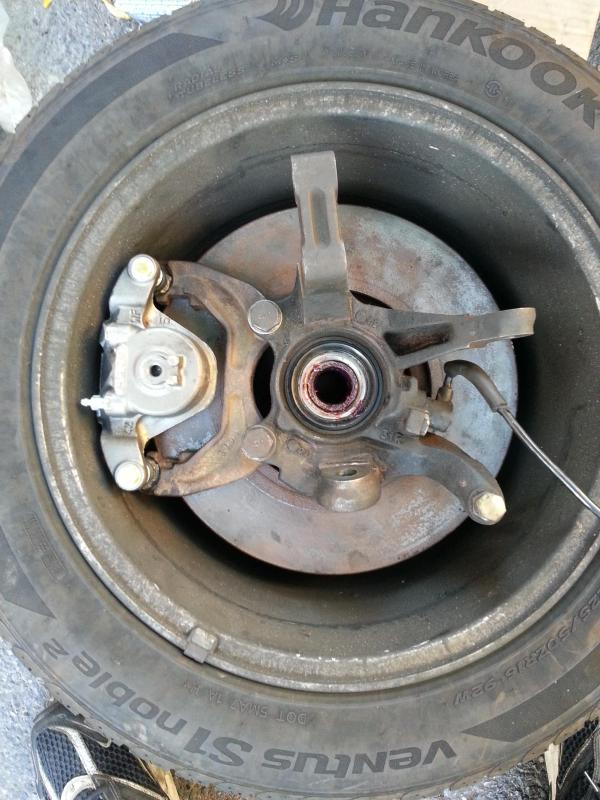
Community Member Credit: vipervadim
Another Project from 2014
6gen brakes swap into 4th gen Maxima that clear 16in rims
I’ve seen plenty of 6th gen brake swaps into 4th/5th gens but I’ve never seen them modified to clear 16in rims.
I have 16s, spring and stuts, I plow through potholes in NYC, I’m never going to drive low and SLOW and avoid all potholes like some others with huge rims and lowered cars. With that being said, I needed bigger brakes to help me SLOW down better.
I already had 11″ 2000 Max rotors and 4 piston wilwood dynalite calipers. Good for 60-0mph stops, but doesn’t fare too well with repeated high speed braking (100mph+). So back to the drawing board I went – The result is this thread
Old brake setup: 2000 Maxima(thicker than 95-99) 11″ rotor with Dynalite 4-piston Wilwoods
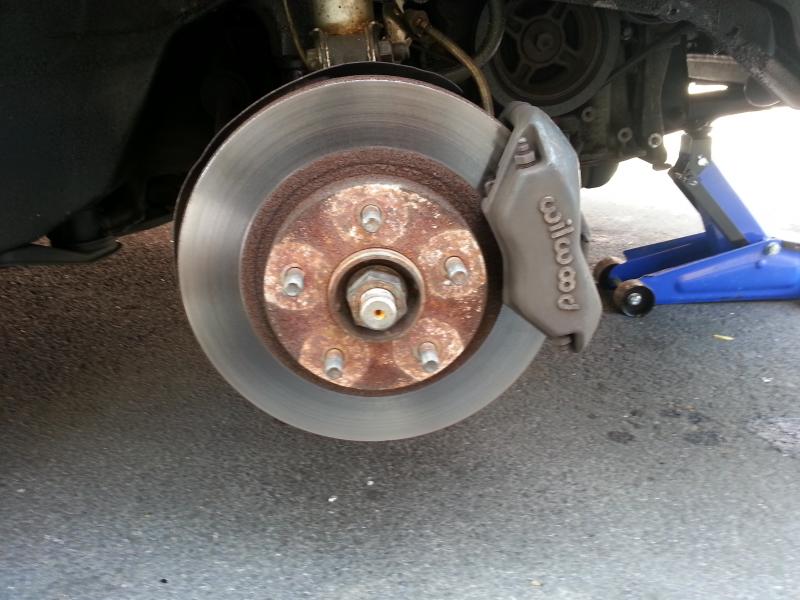
they clear 15s with no problem!
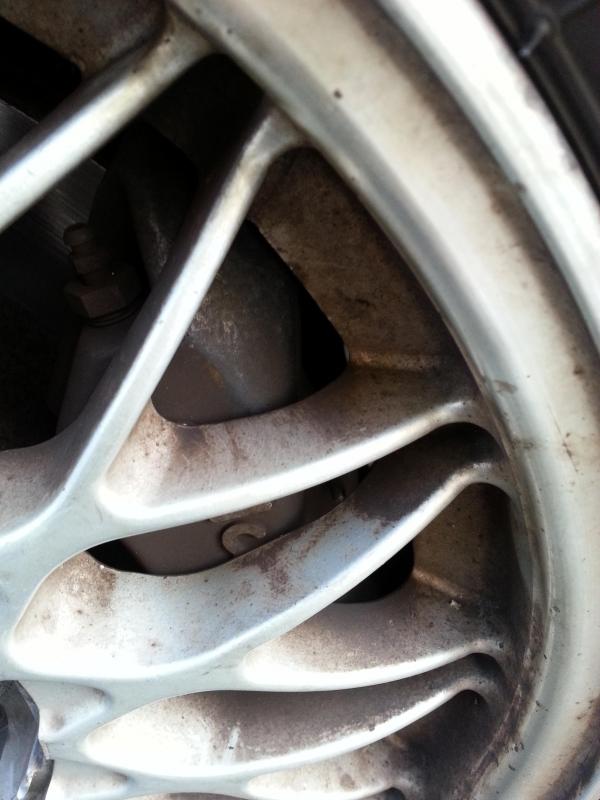
OLD setup vs New (11″ rotor vs 12.6″ rotor)

Here’s where the fun begins:
To put 6th gen brakes into a 4th gen you need to enlarge the caliper mounting holes on the spindles.
So I got spare spindles, drilled them out, replaced wheel bearings, and cut off the heat/splash shields to clear bigger rotor. I mounted the 6gen rotor and caliper to spindle with a wheel spacer to hold it in and test the fitment on 16s.
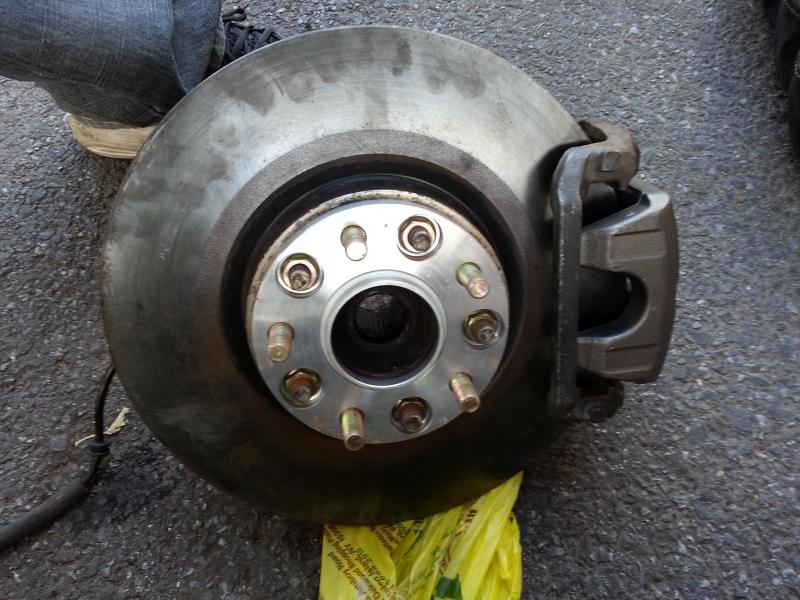
It didn’t fit so time to bring out the grinder! I grinded off the following parts of the caliper:
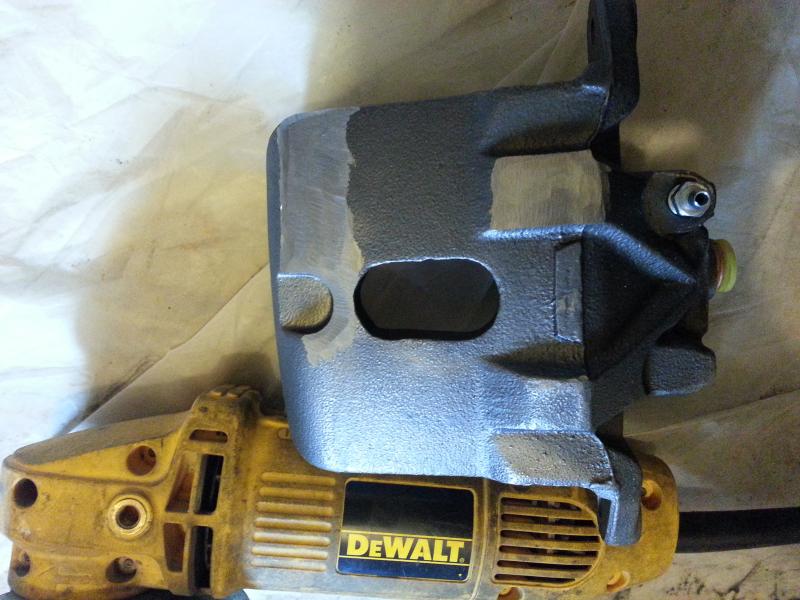
And then grinded some more and some more…

And then test fit it…
And got it down to this…

Once it cleared without issues I painted them
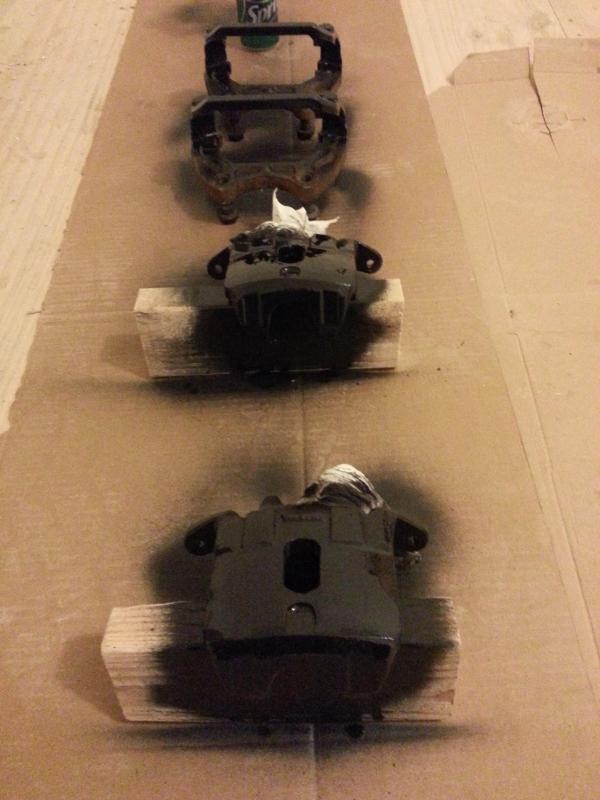
Old SS brake lines were all nasty and weathered so: New Goodridge SS brake lines

I did not need to use wheel spacers – they fit under the rims SO TIIIIIIIIIGHT!!! I love it!!!

Braking is greatly improved. Had this setup since the end of summer and no rubbing, no issues just good brakes.
How do they compare to the wilwoods?
The wilwoods did have a better initial bite (4 piston clamp vs 1 piston) but when you step on the 6gens they just hold and hold like no tomorrow. Wilwoods would hold until a certain point and then start slipping (rotors gets hot)
For a typical drive around there’s no difference in braking 50-0, but when you push the car hard repeatedly, or braking from high speeds – they perform very well.