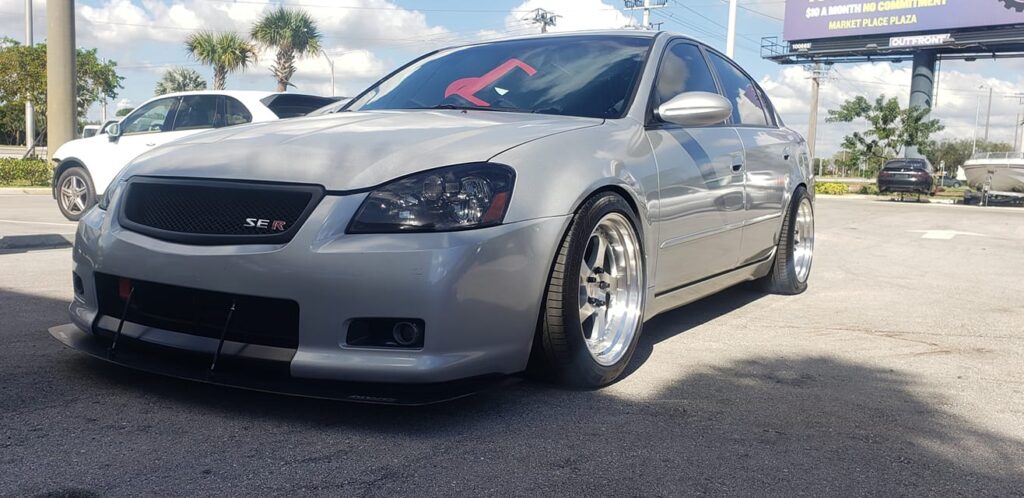
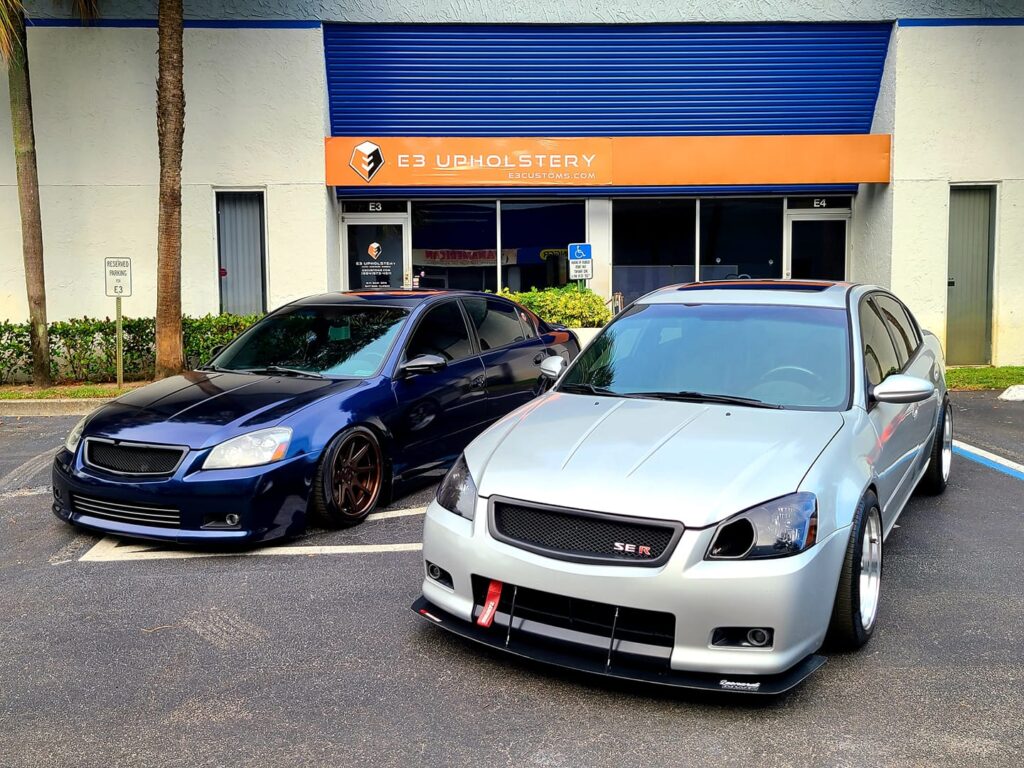
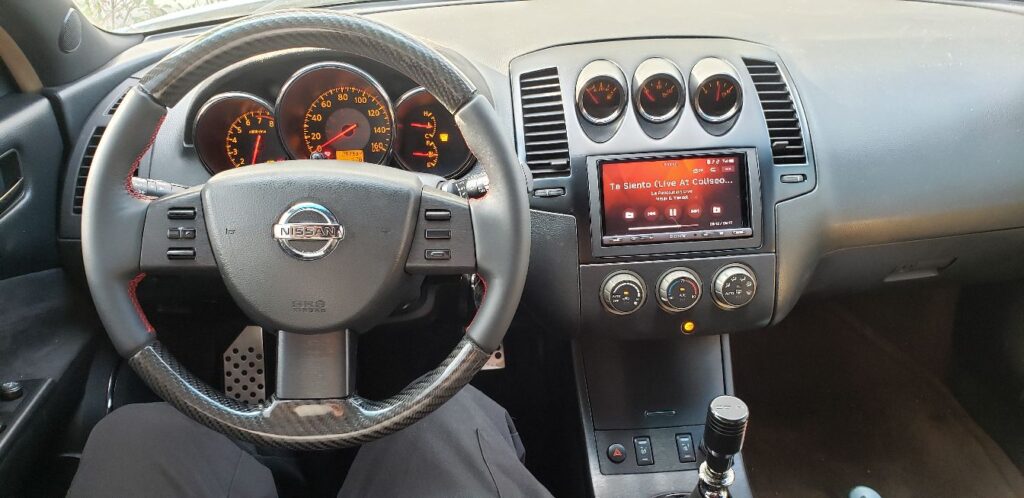
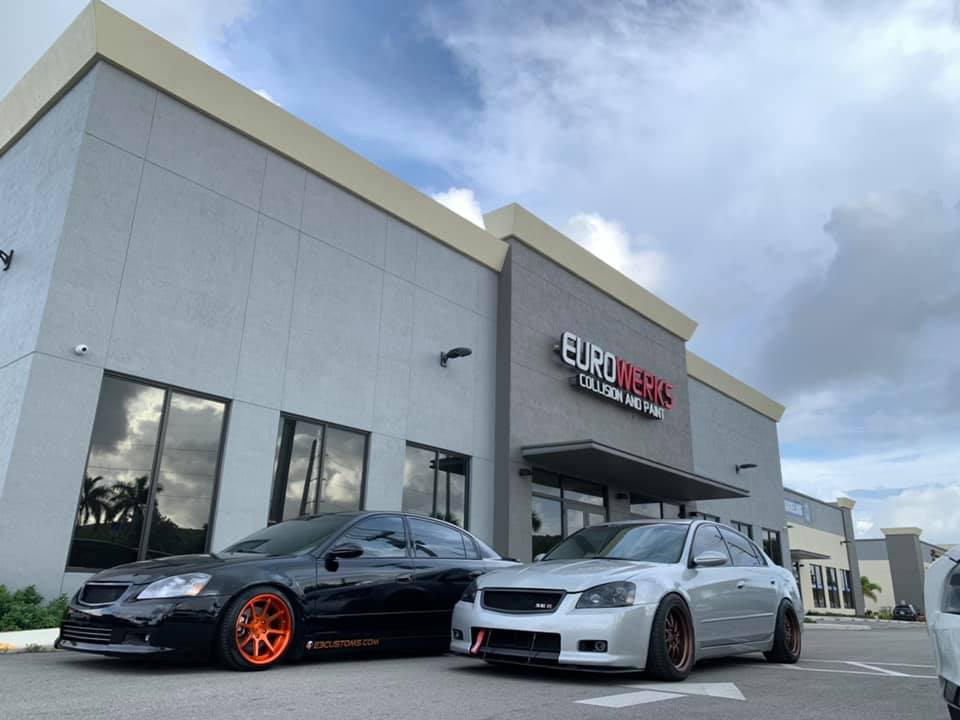
Owner: Kristian A.
Year: 2005
Model: Altima
Color: Silver
Transmission: 6-Speed Manual
Trim: SE-R


![]()


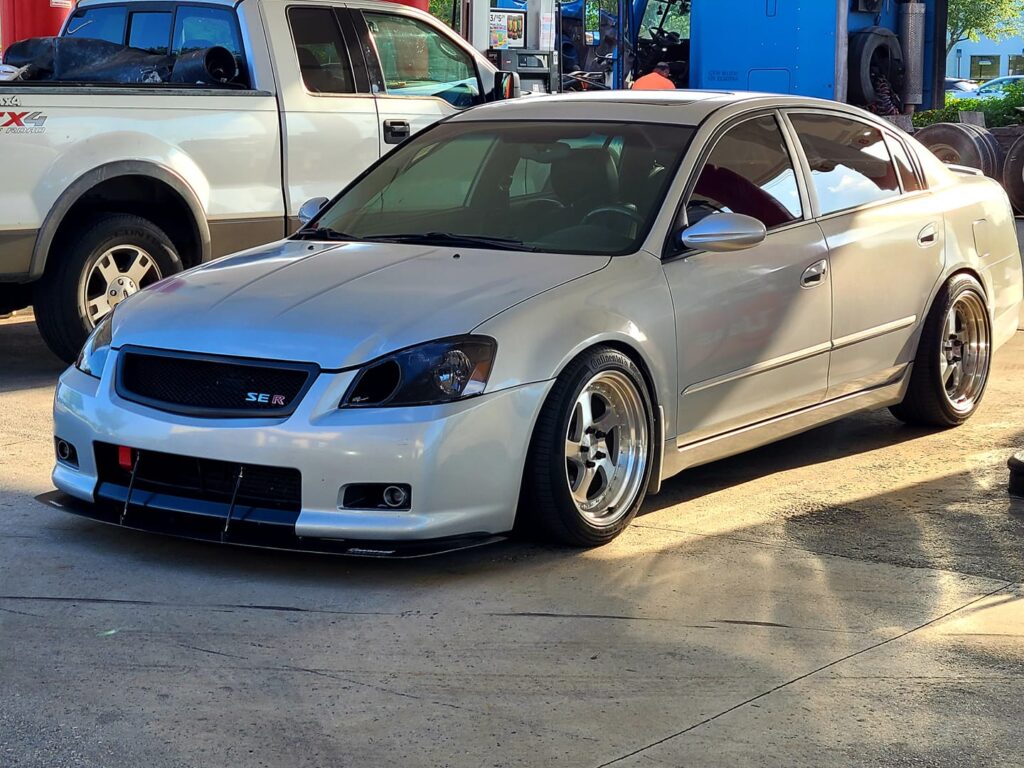
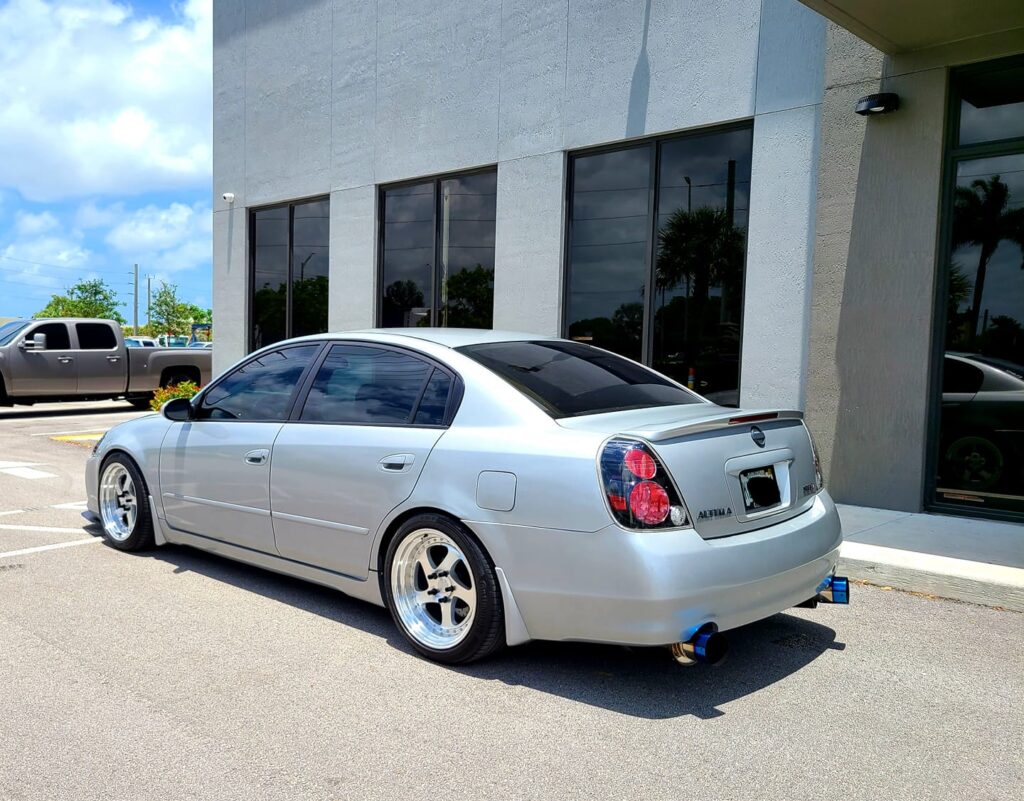
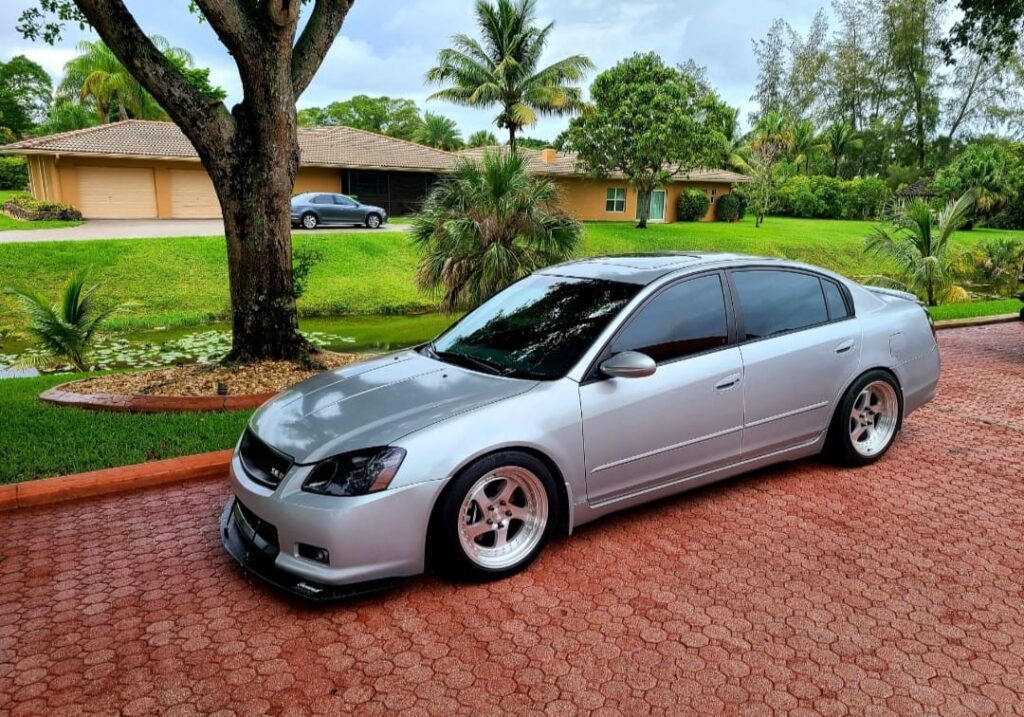
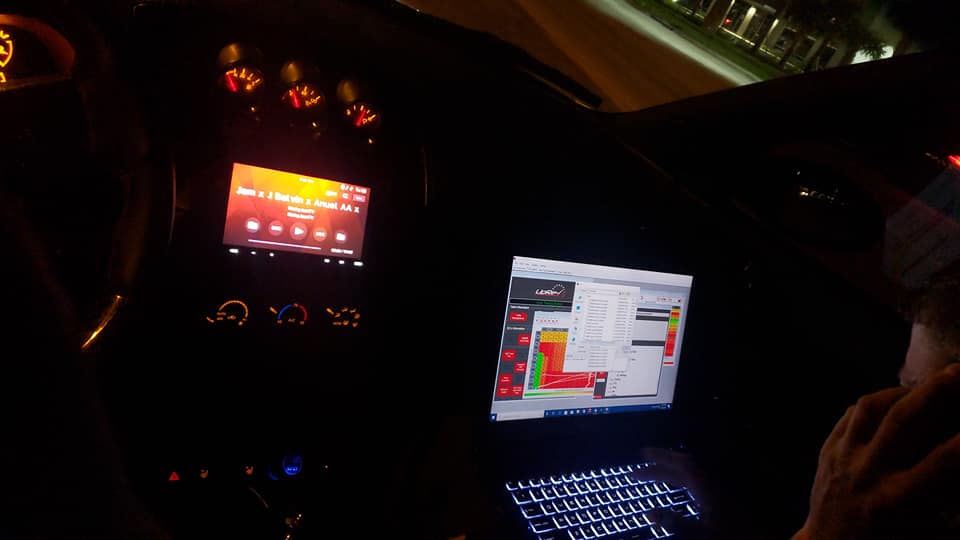
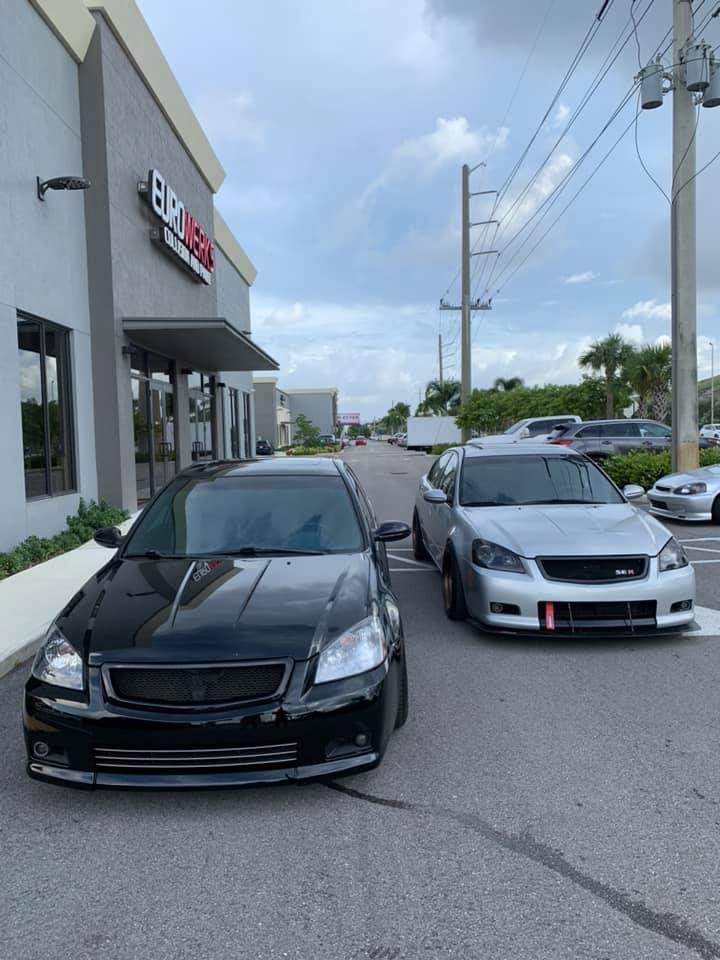
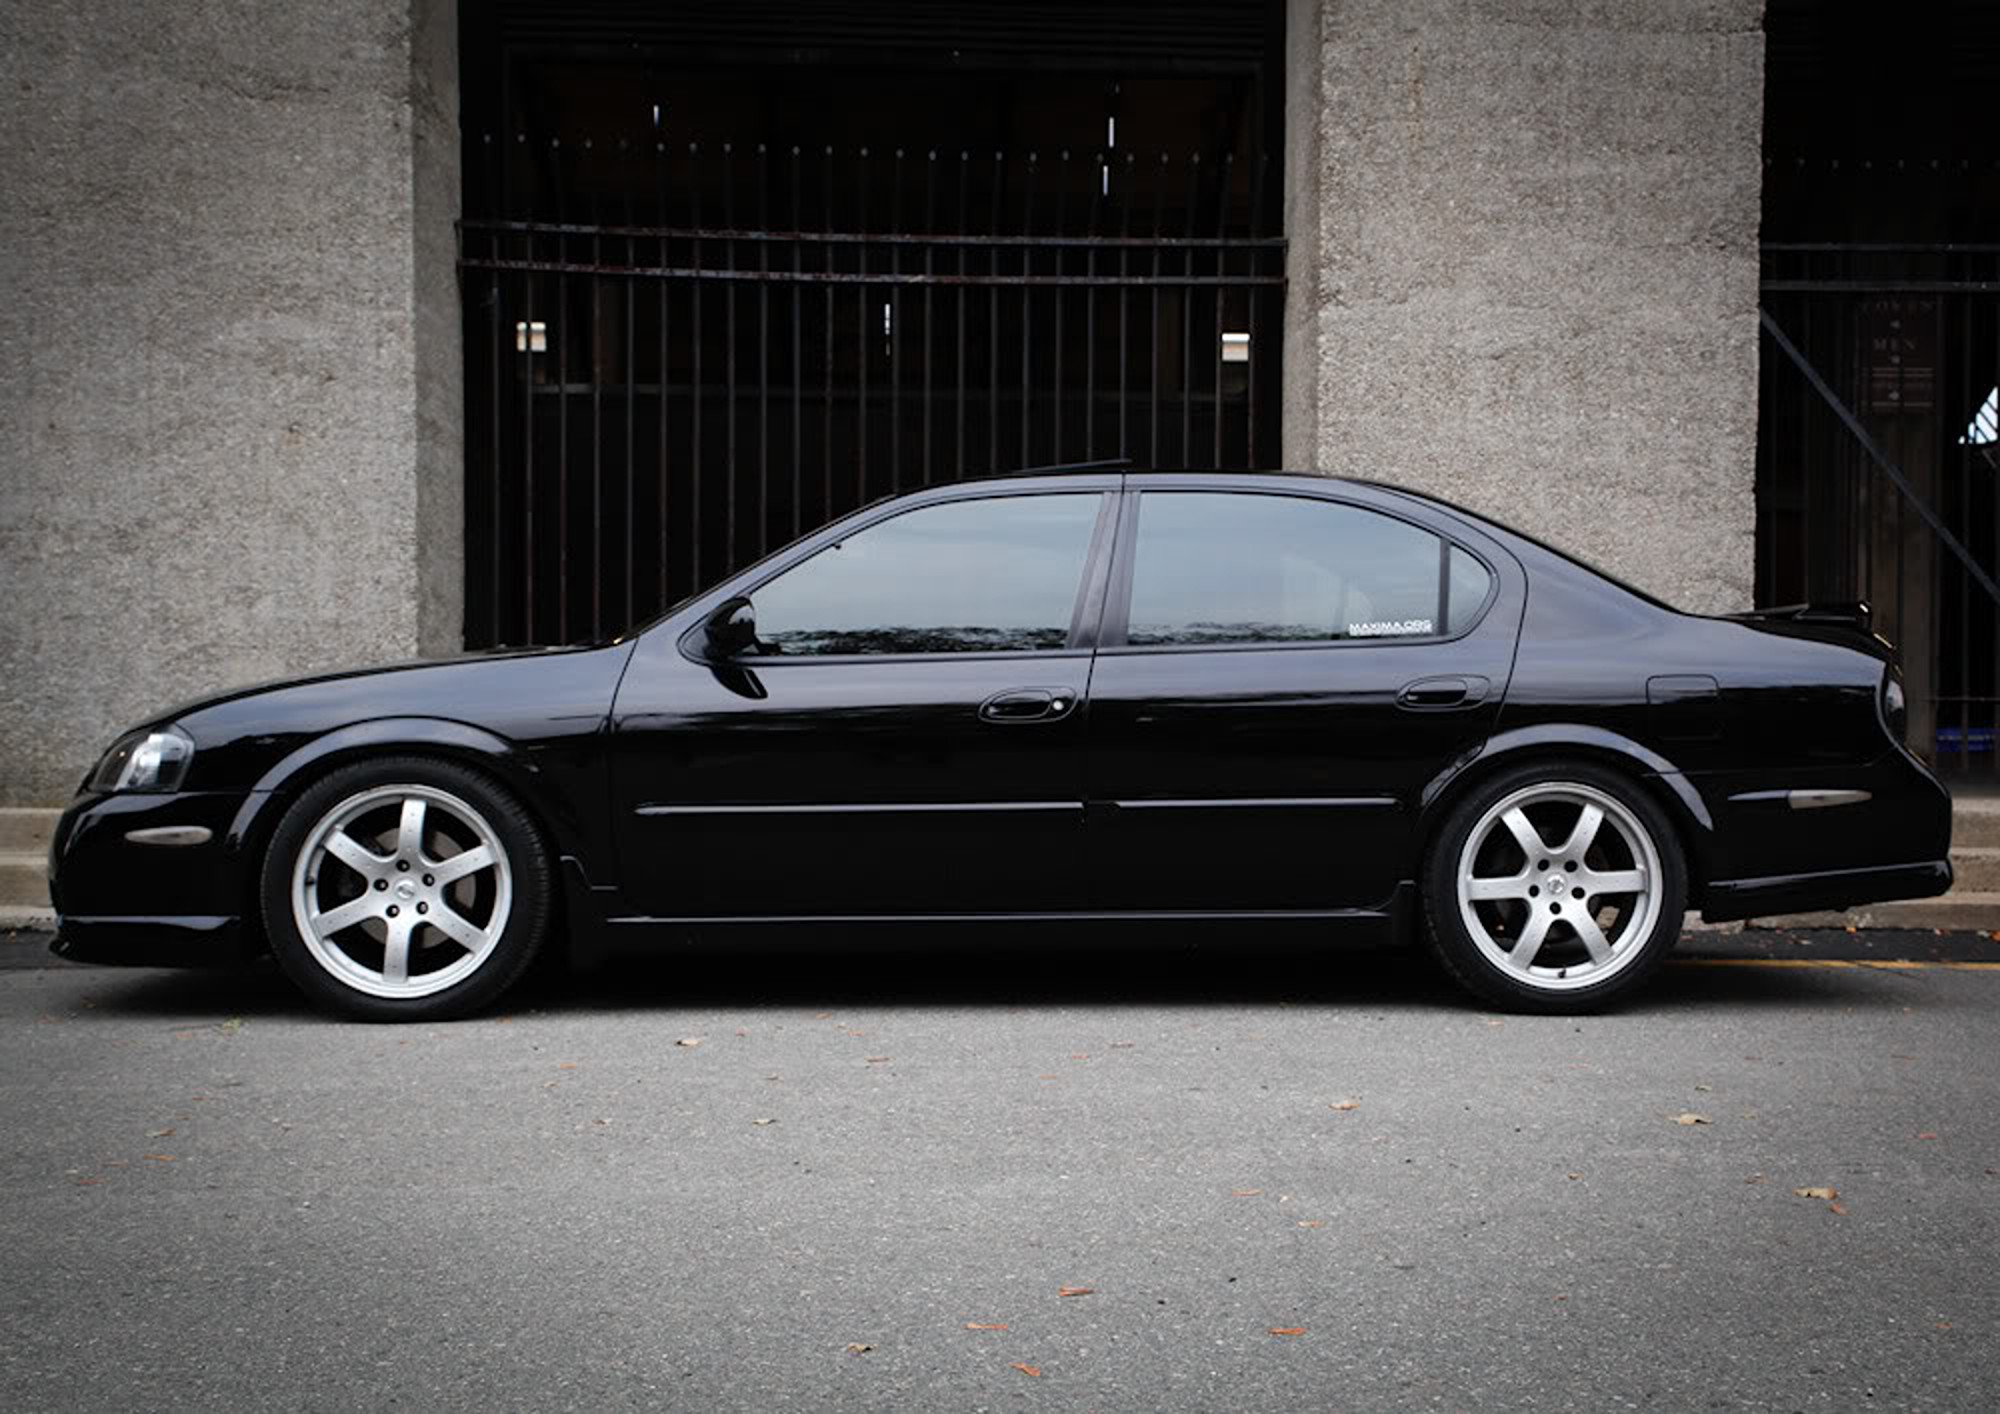
Owner: Kristian A.
Year: 2005
Model: Altima
Color: Silver
Transmission: 6-Speed Manual
Trim: SE-R
![]()

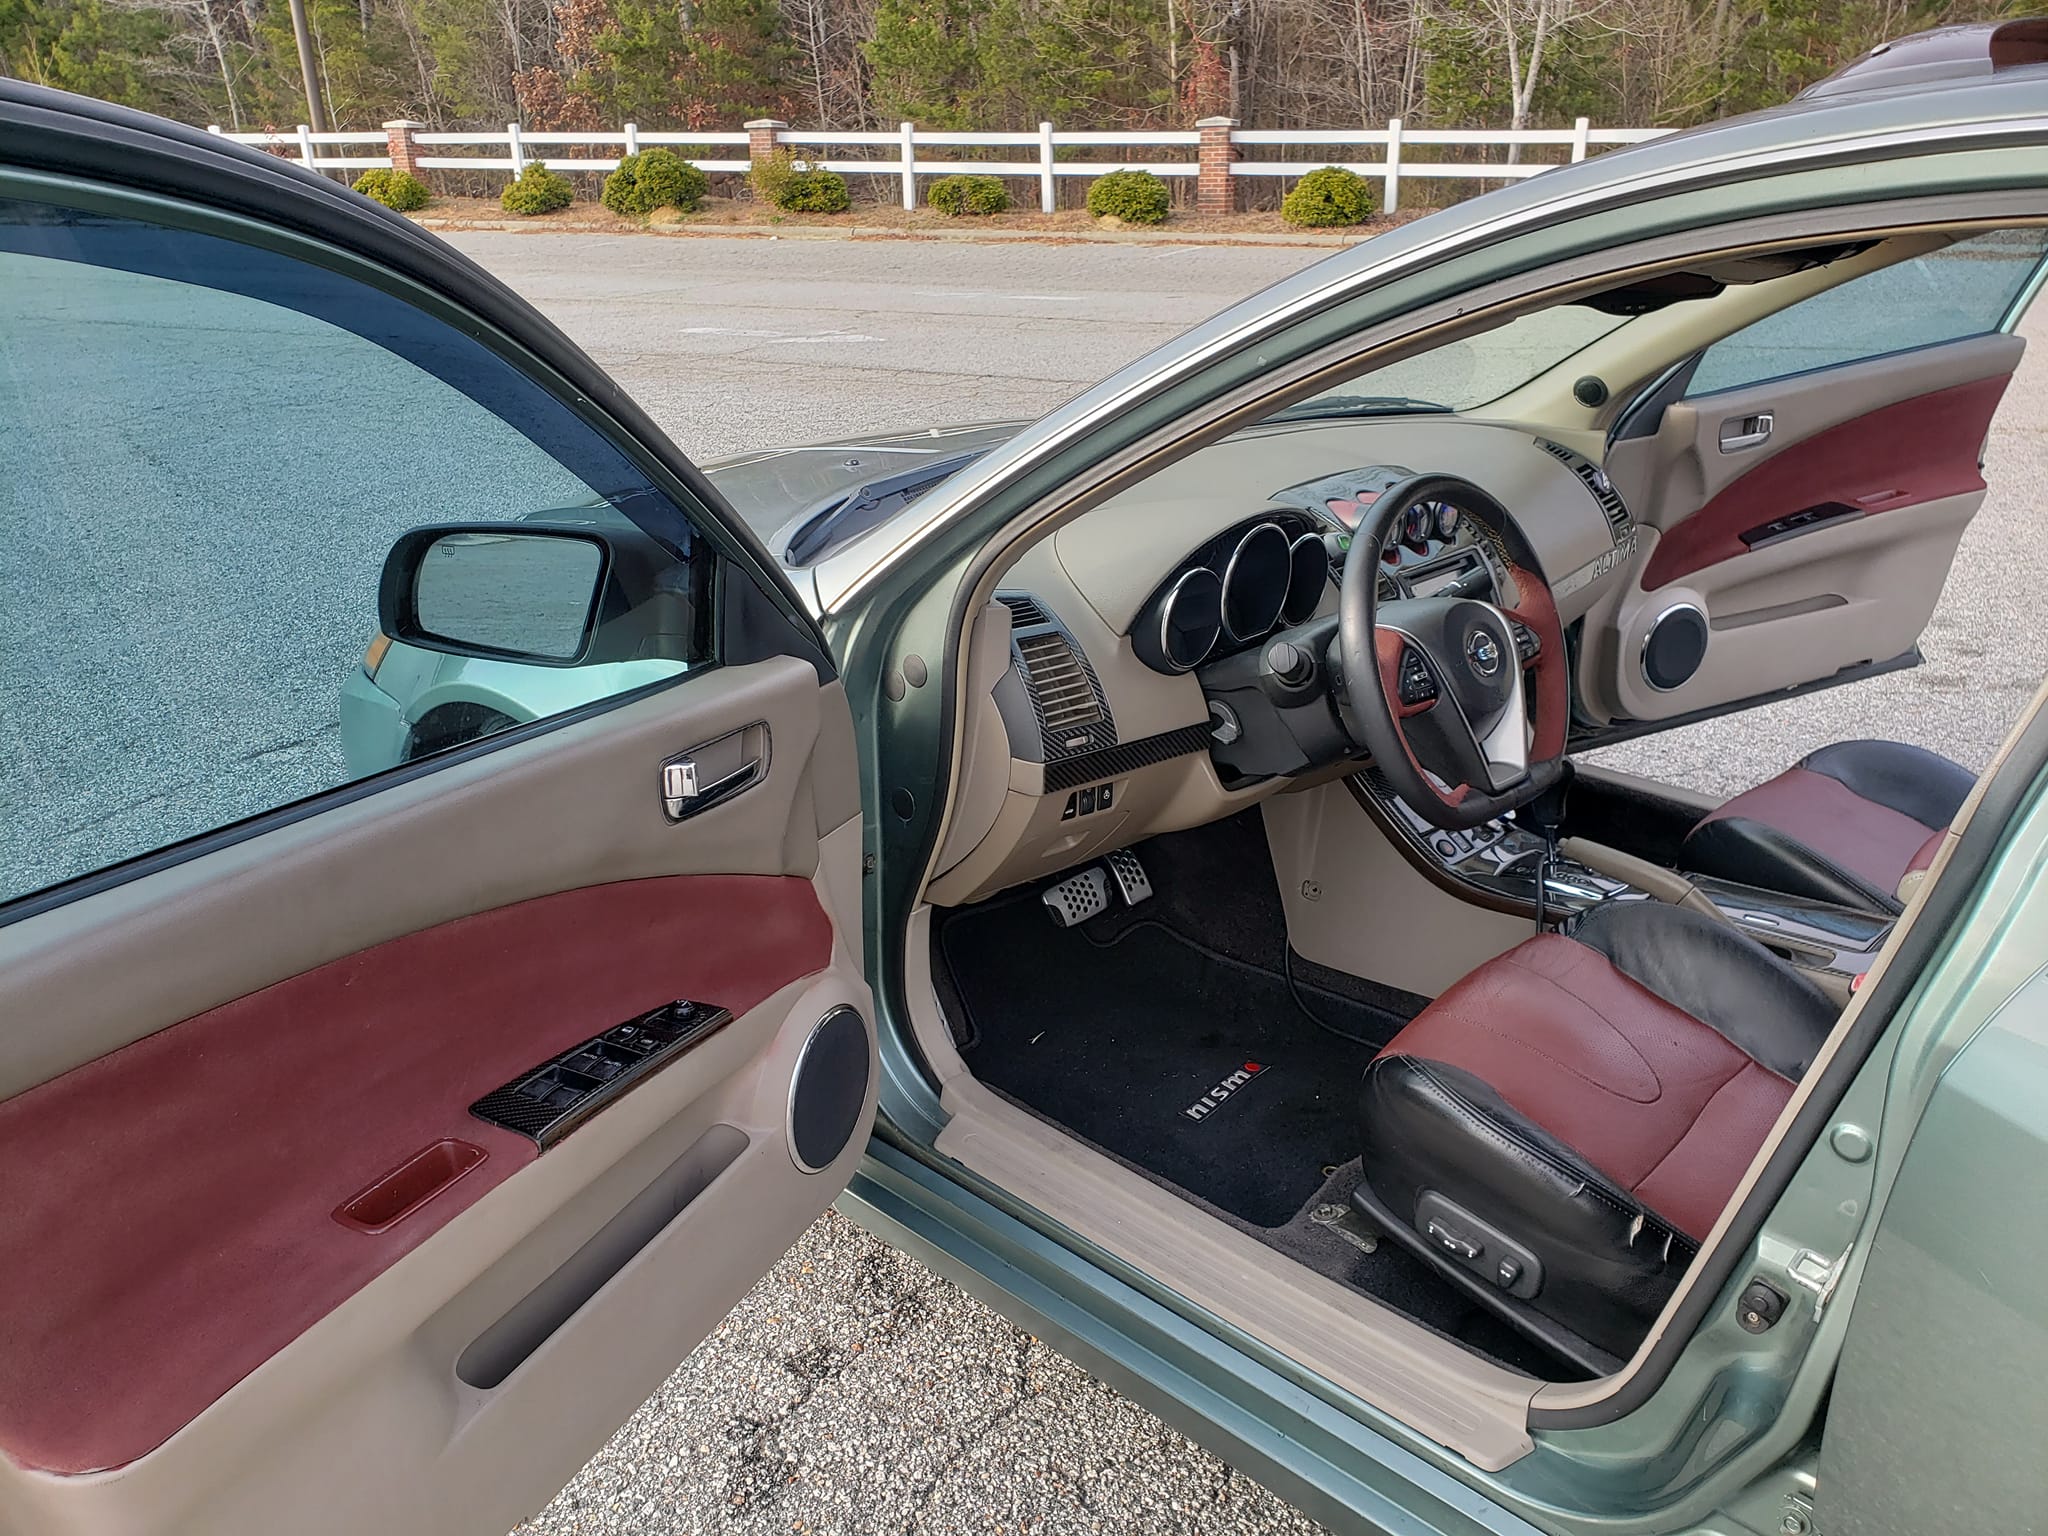
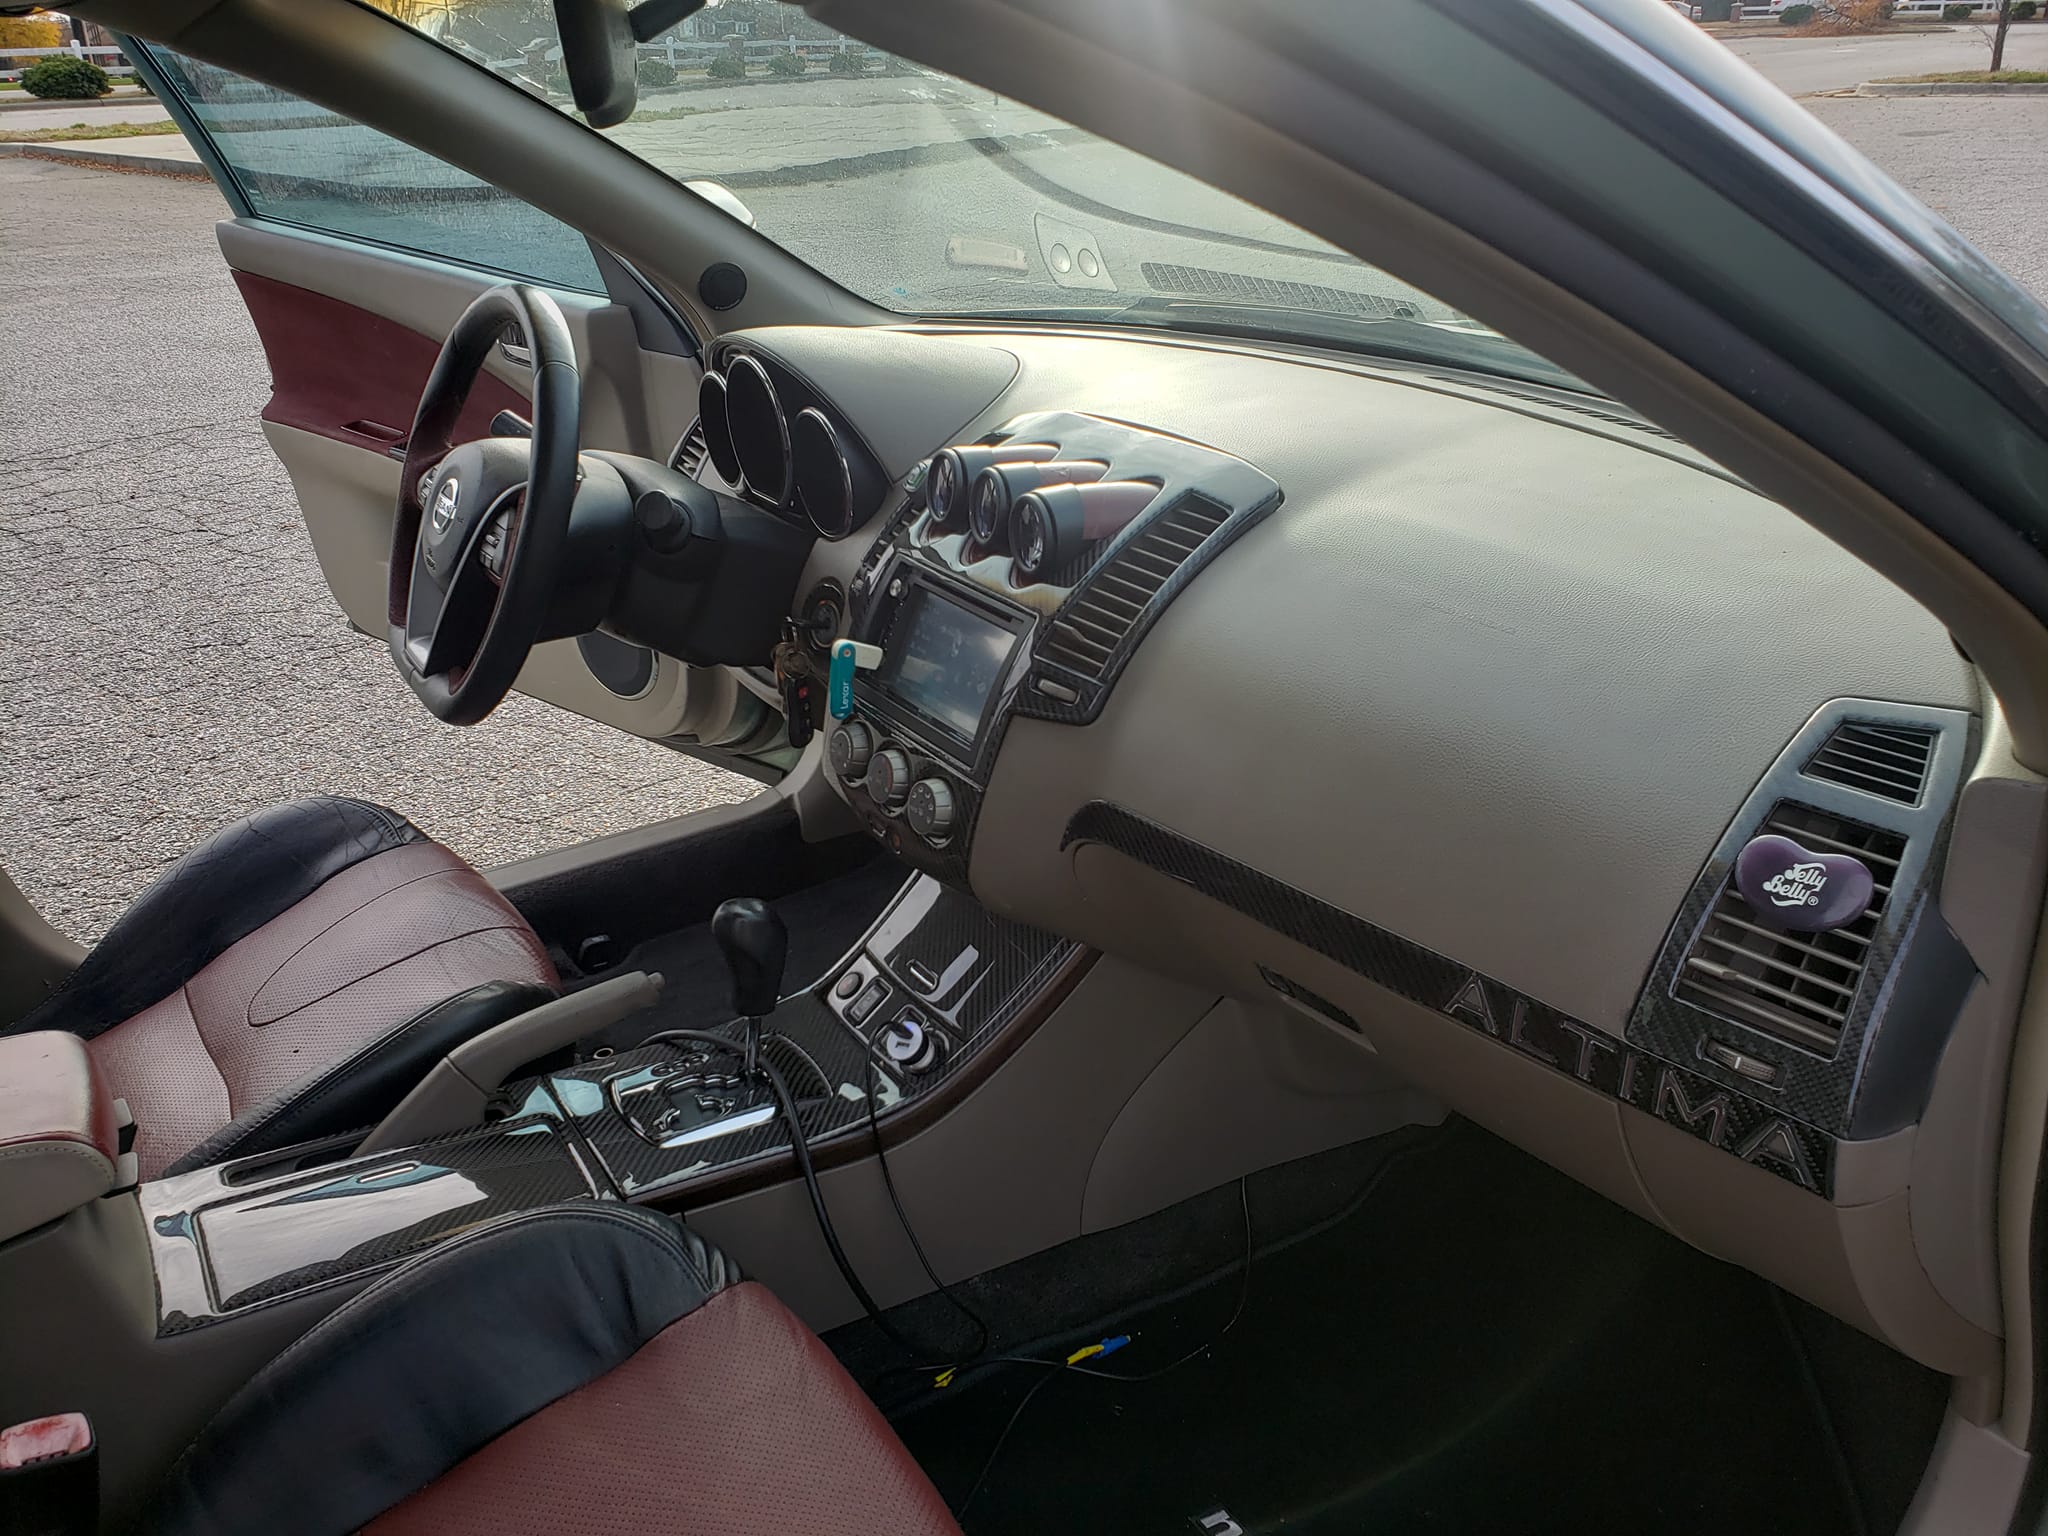
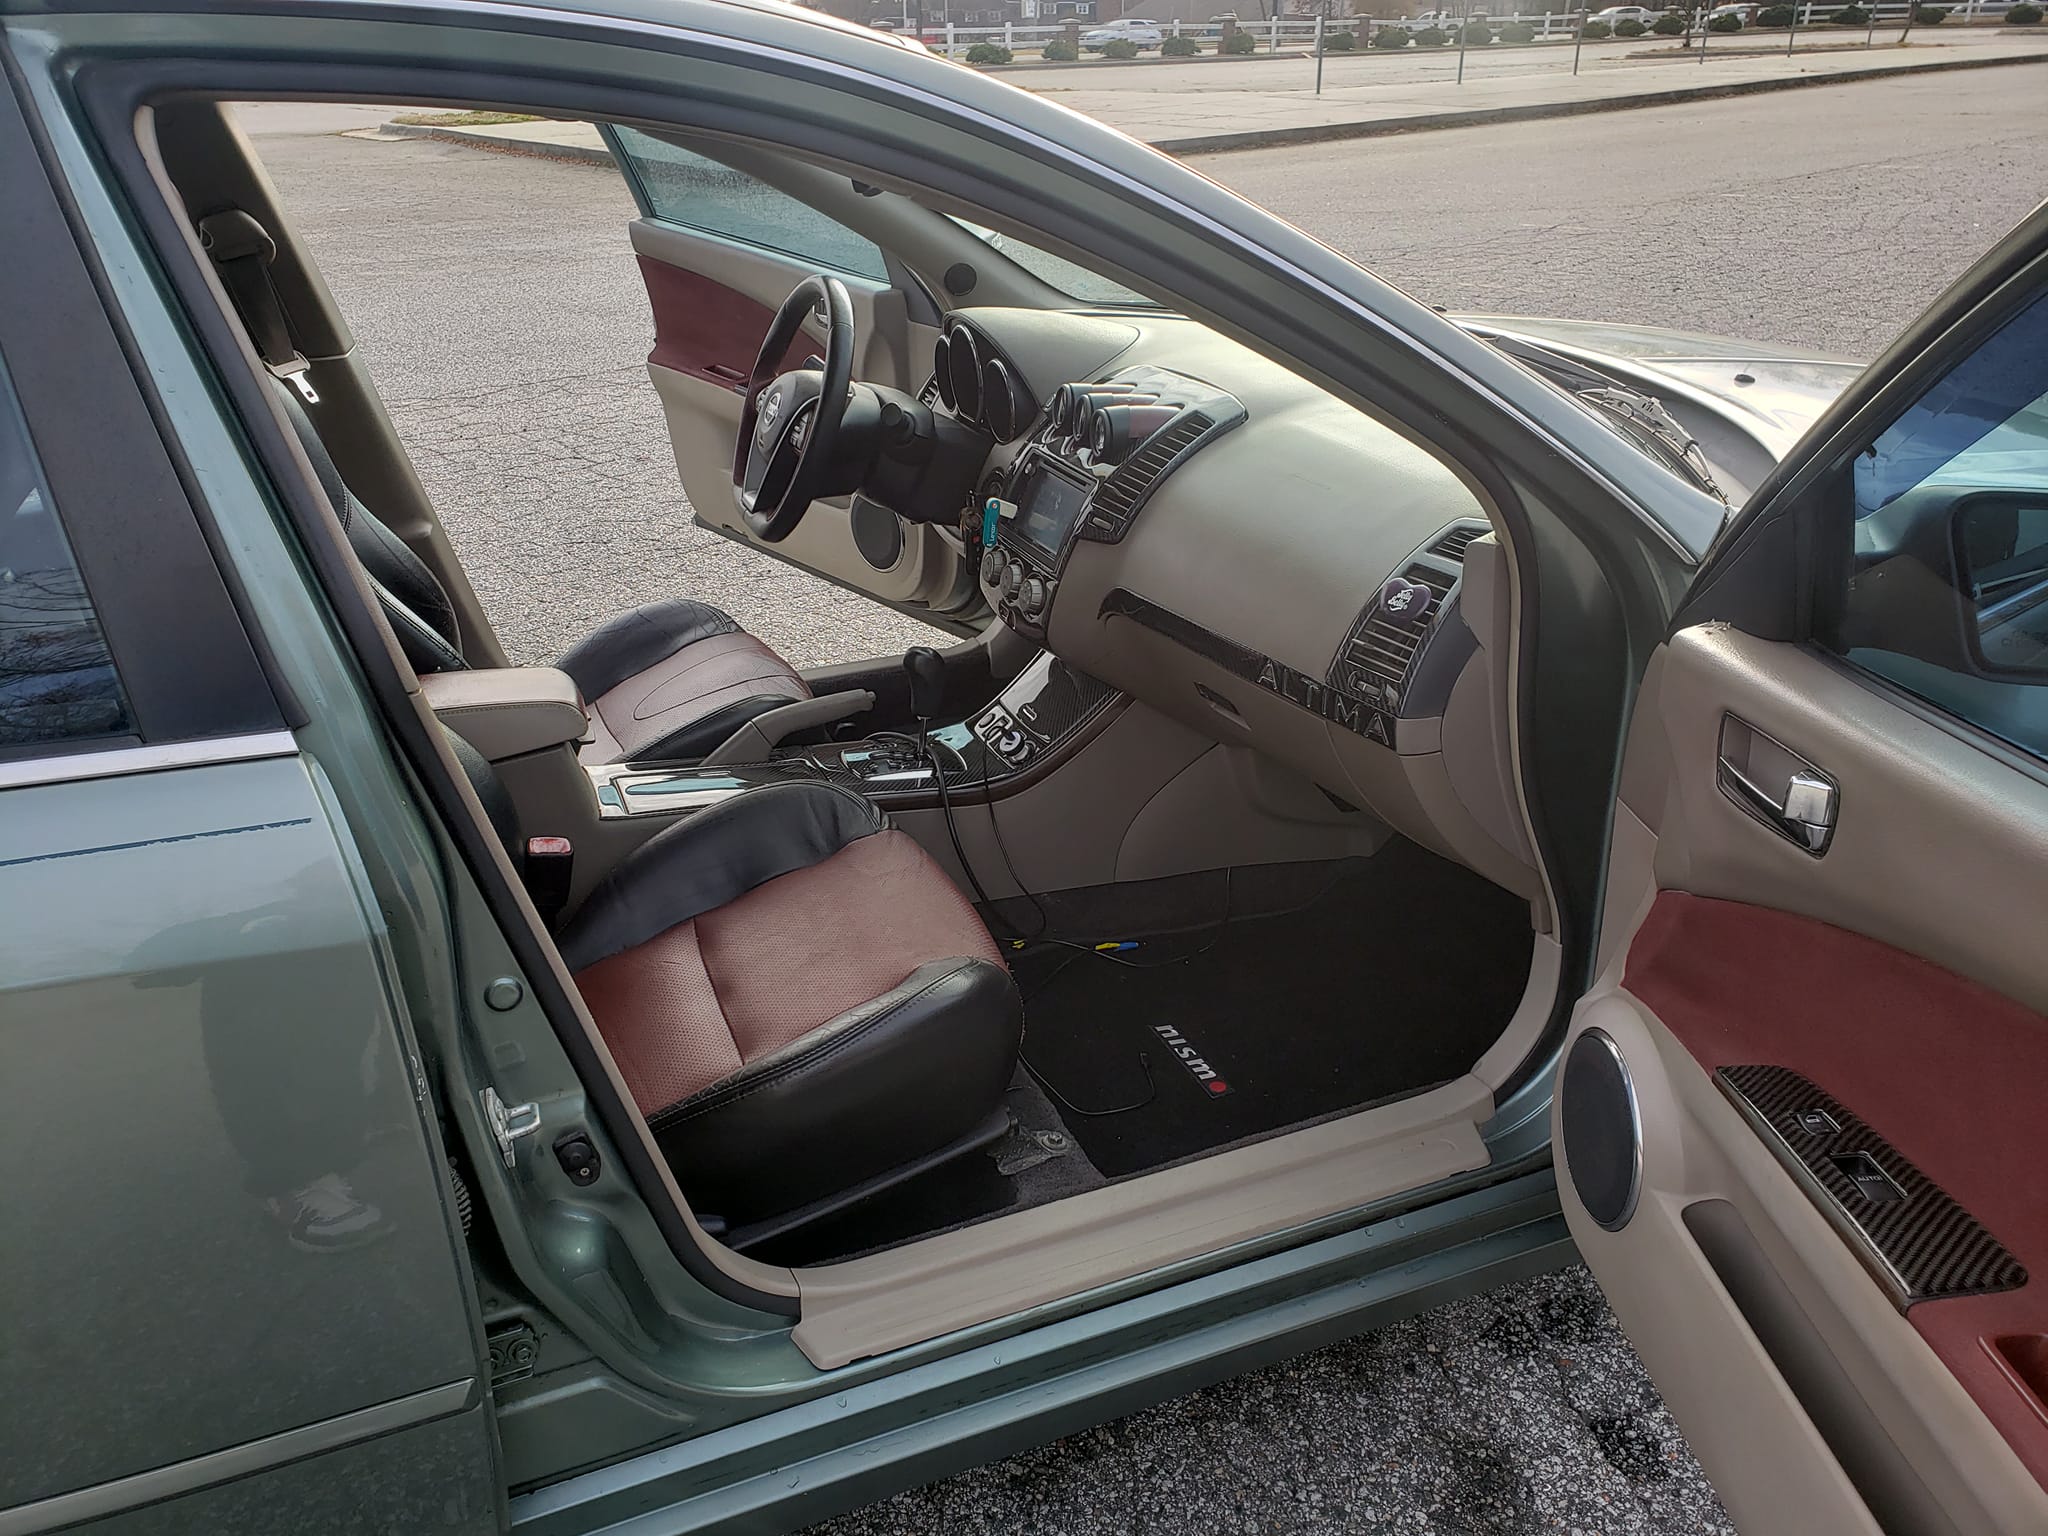
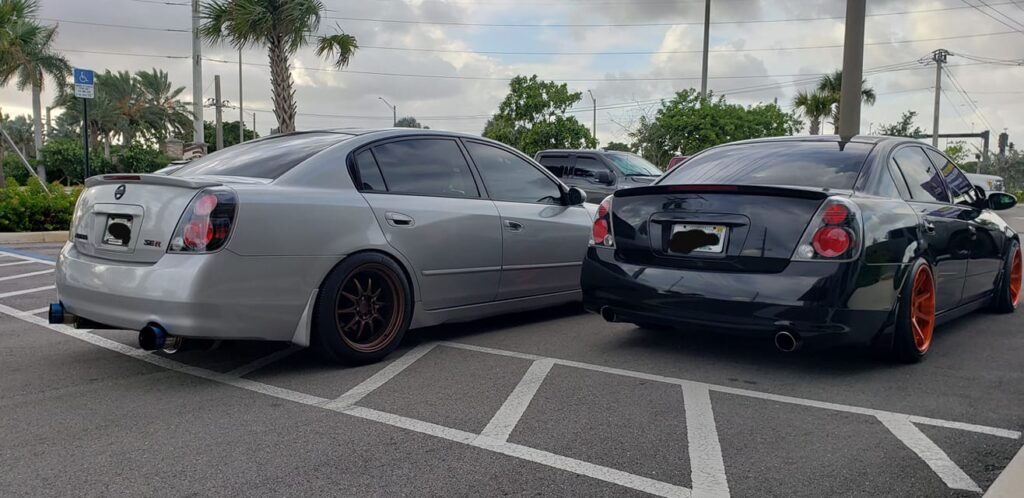
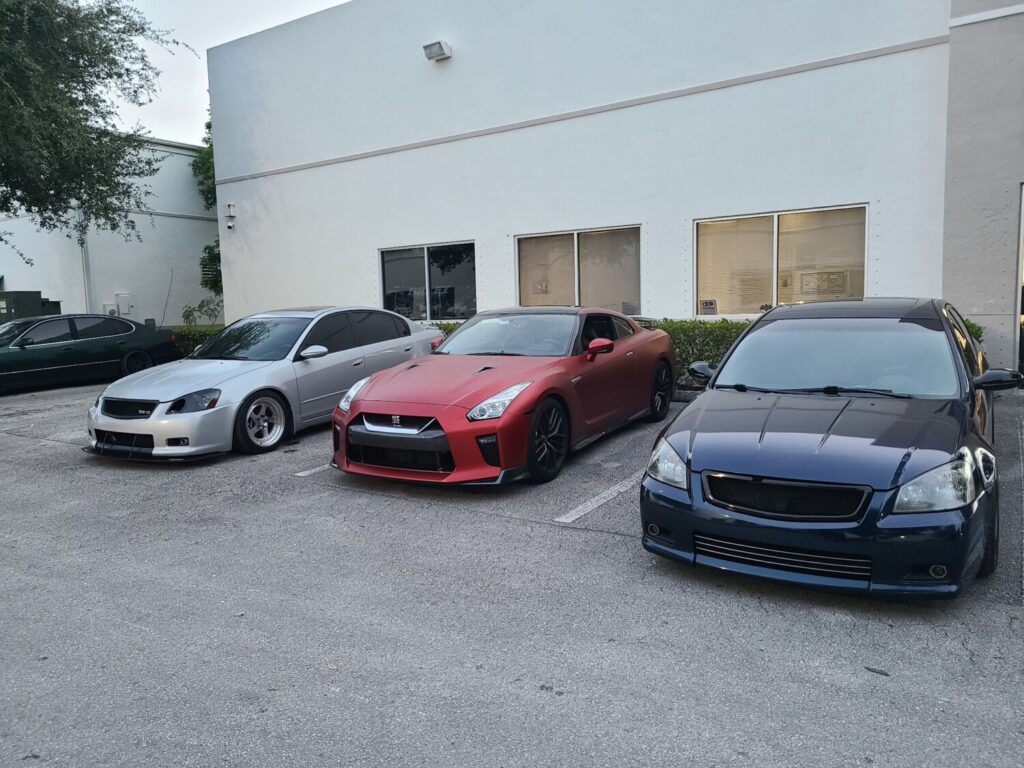
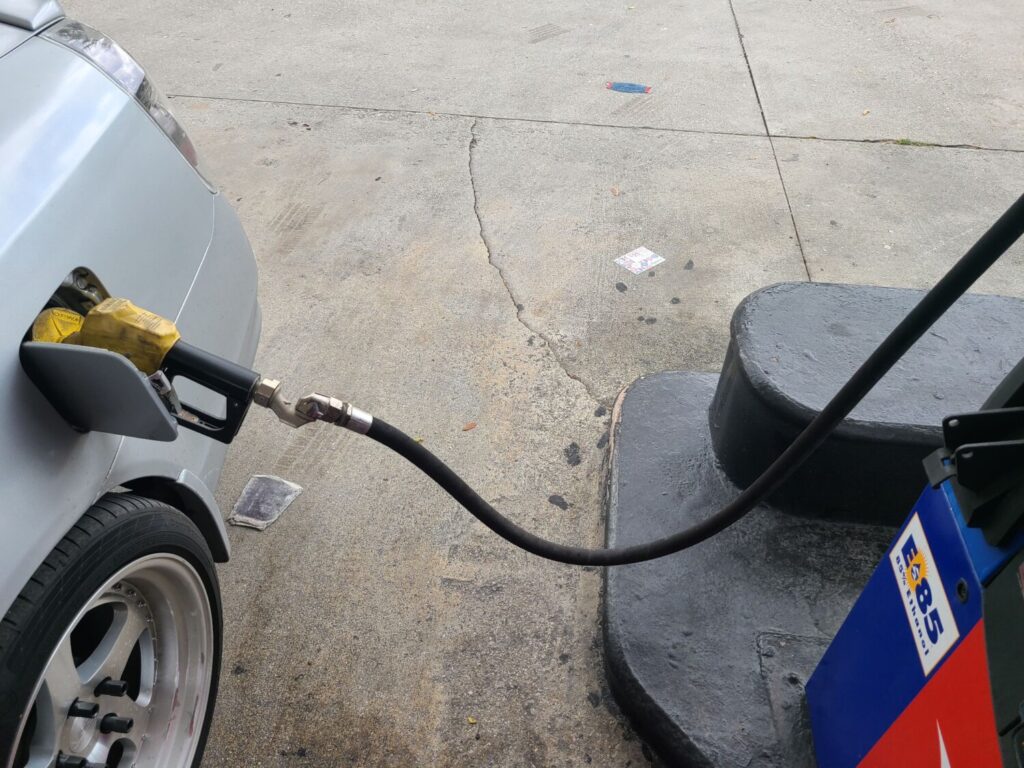
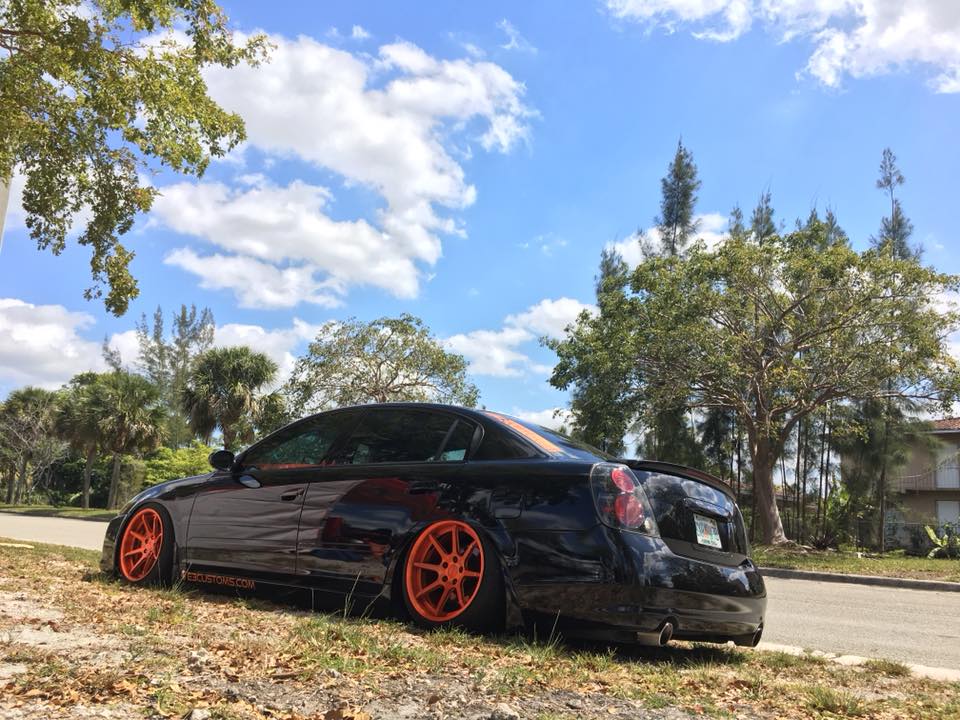
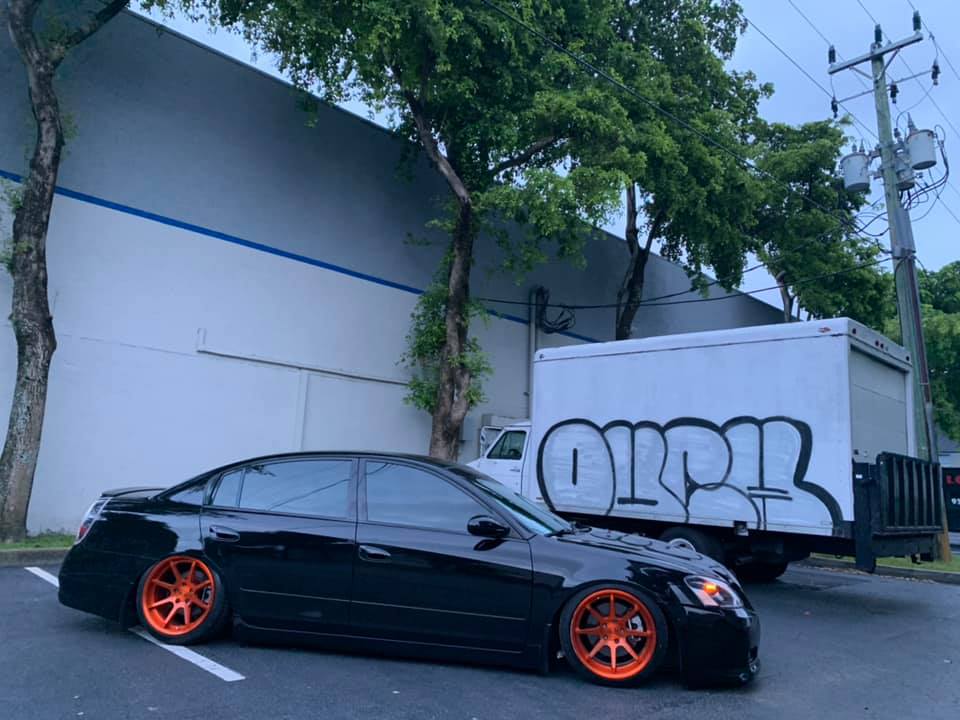
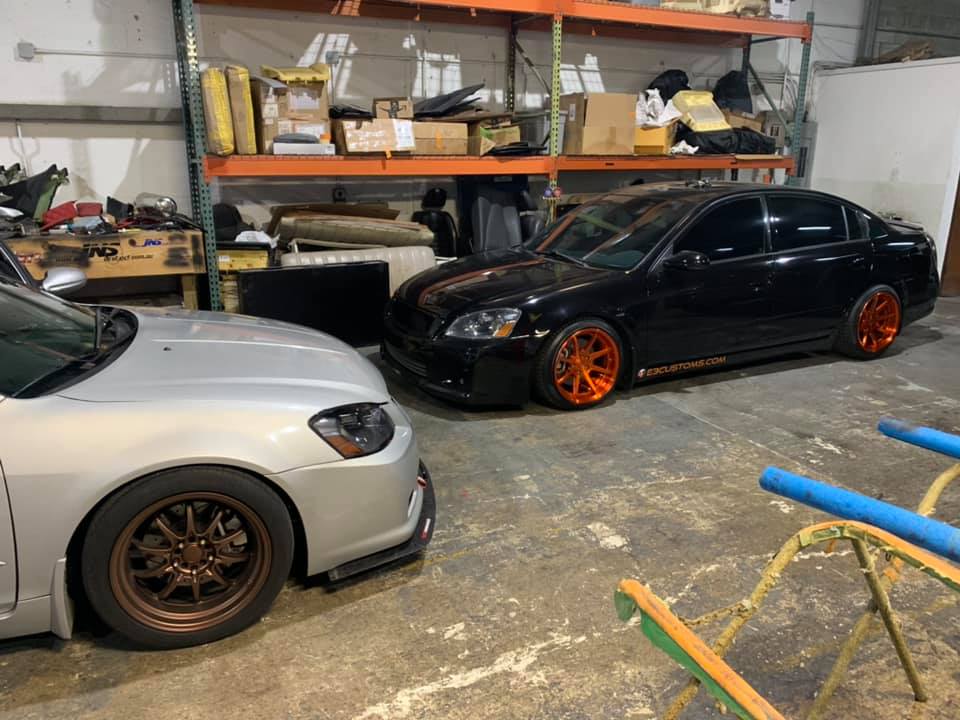
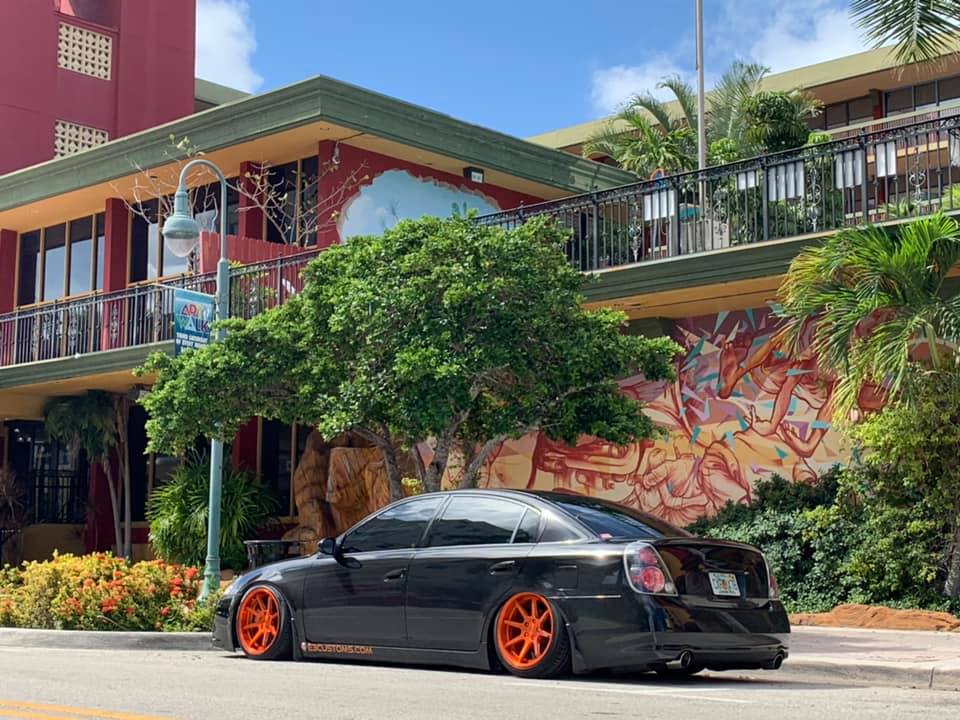
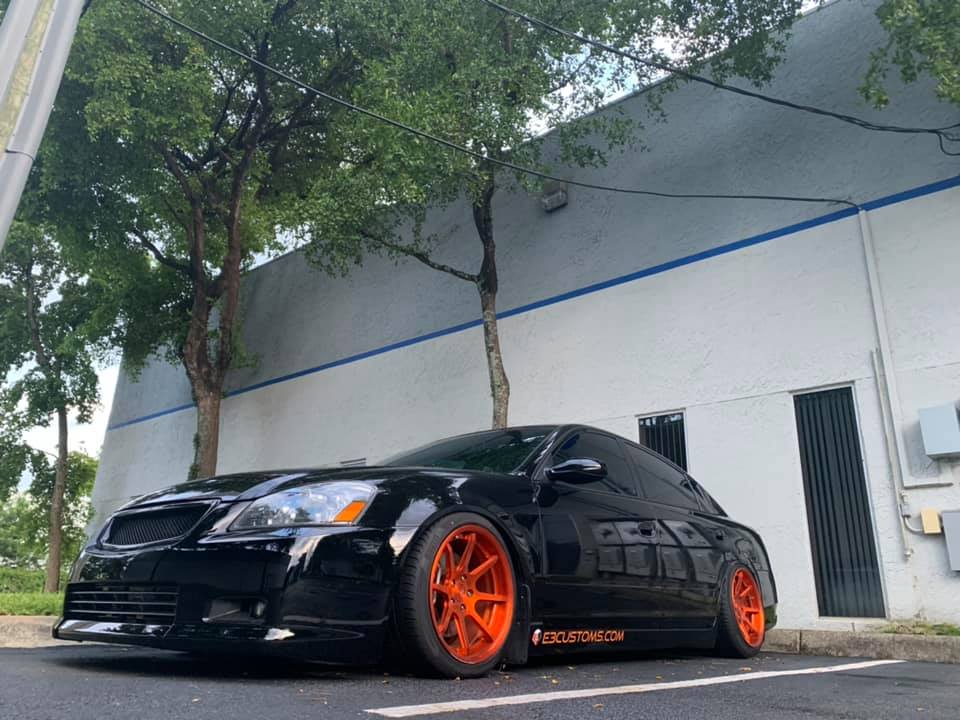
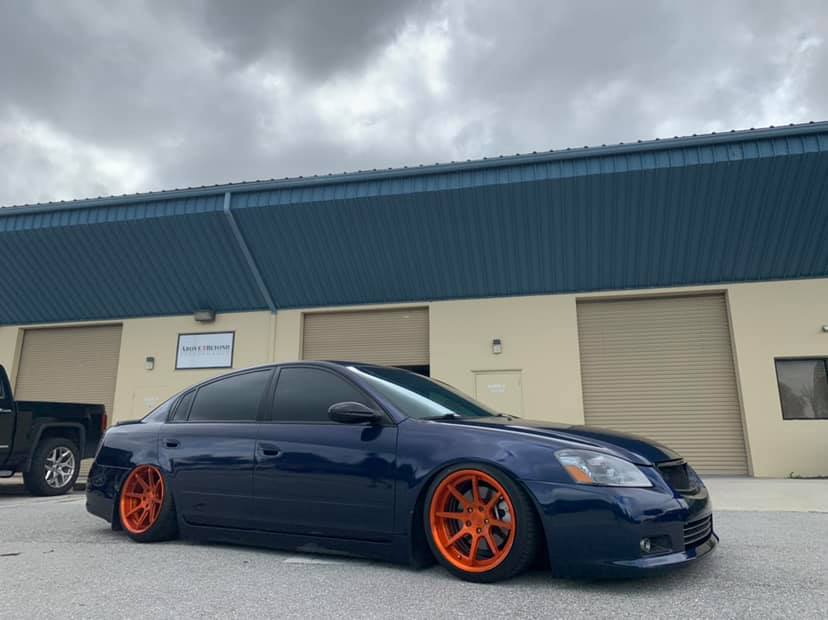
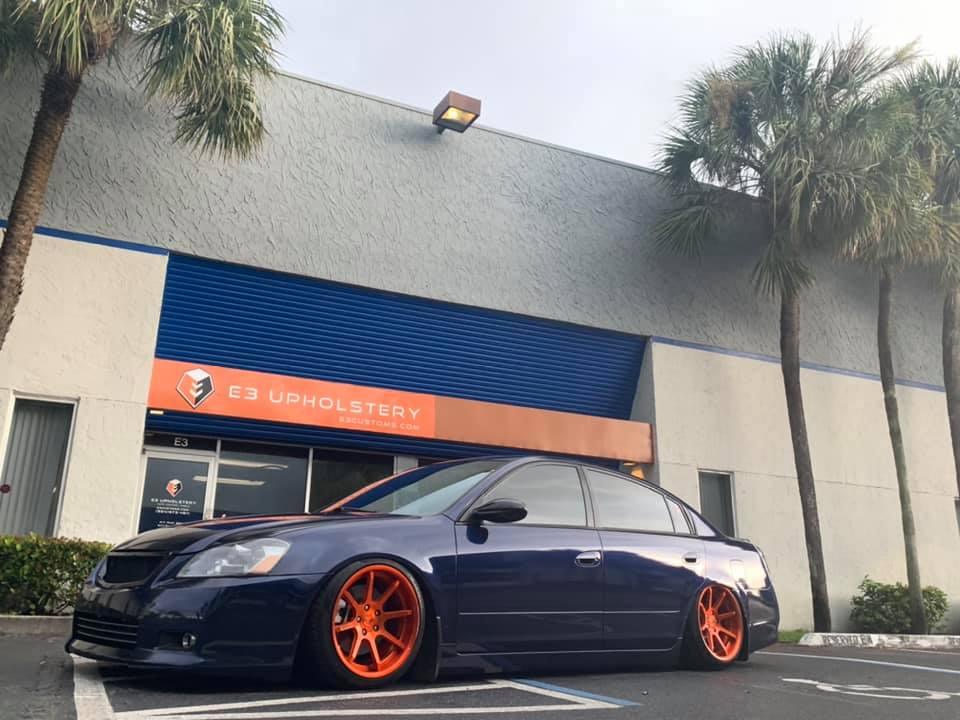
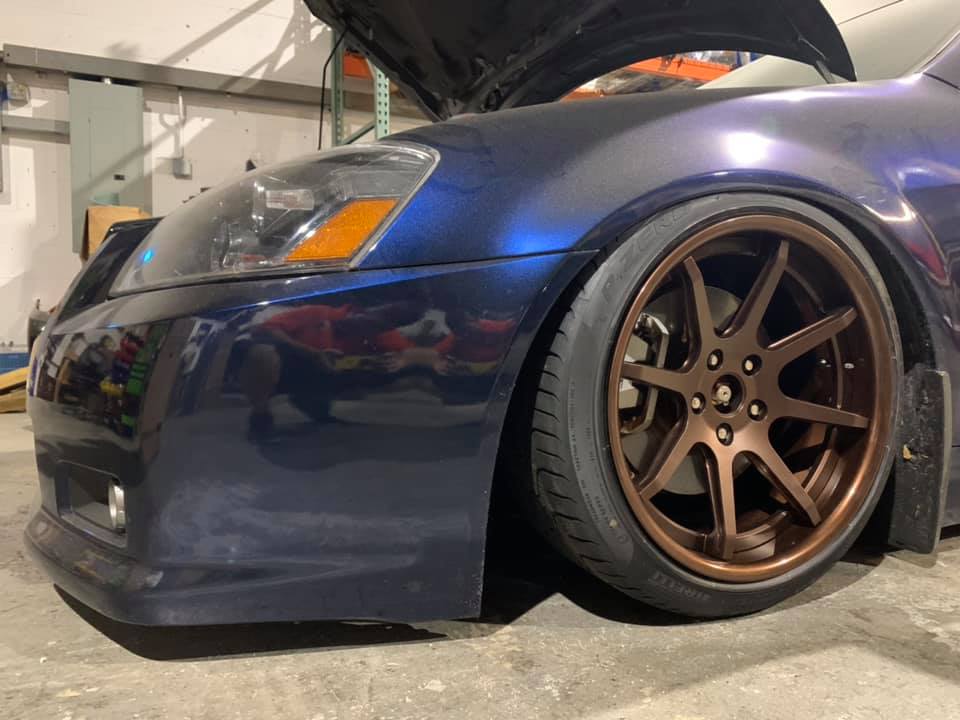
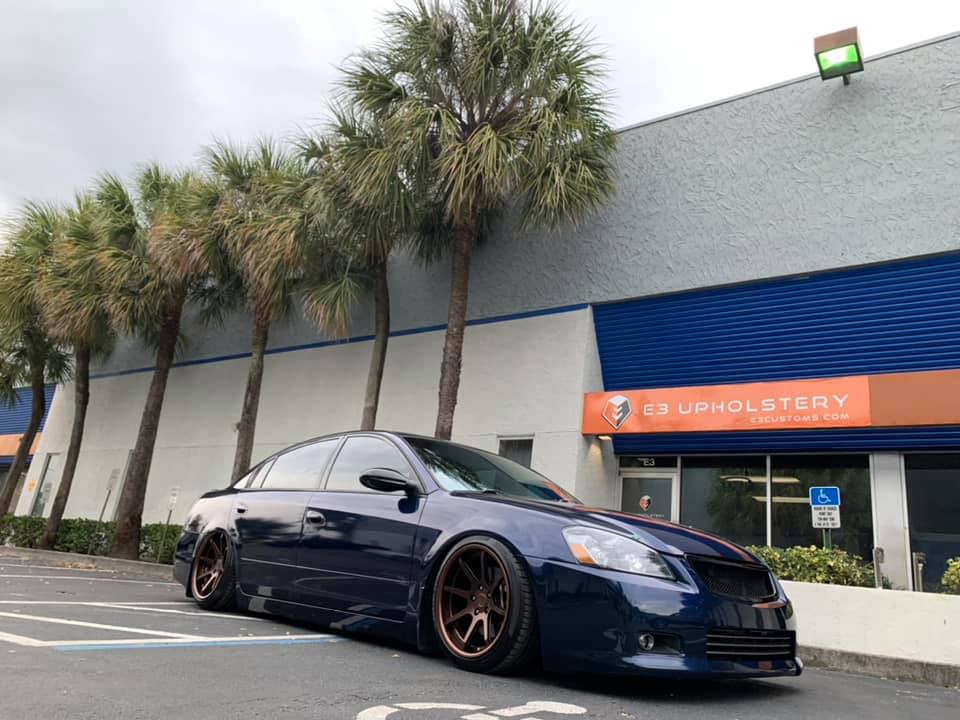
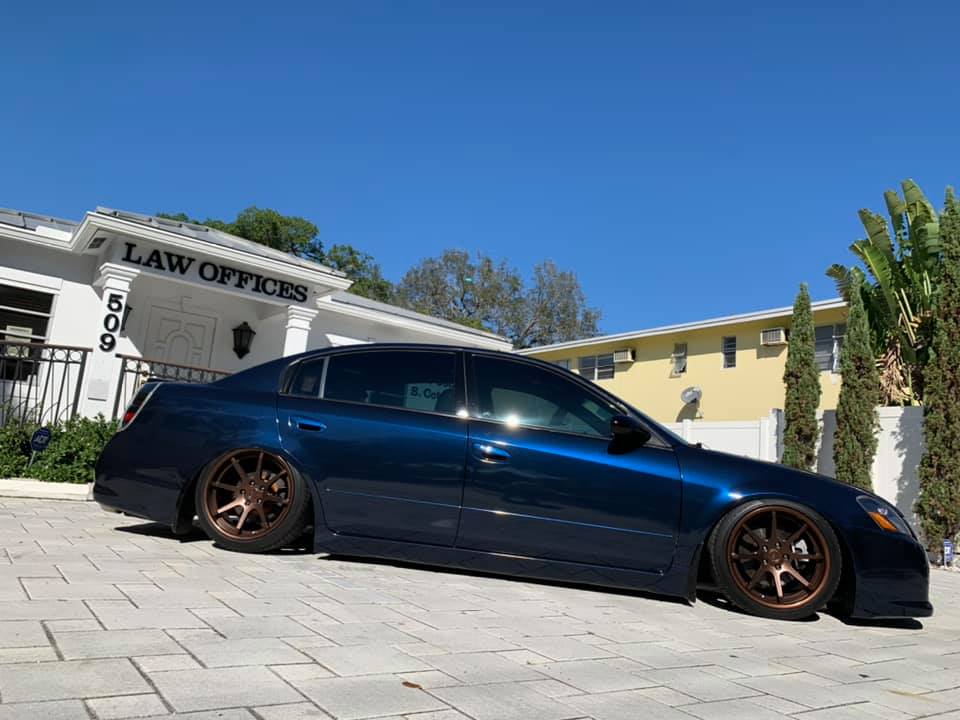
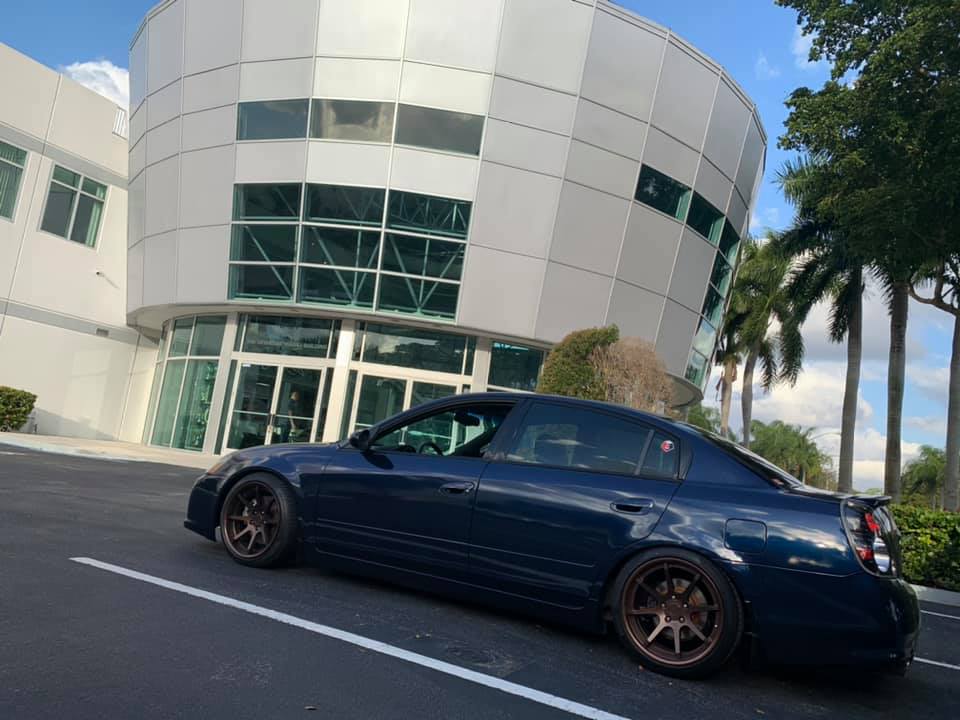
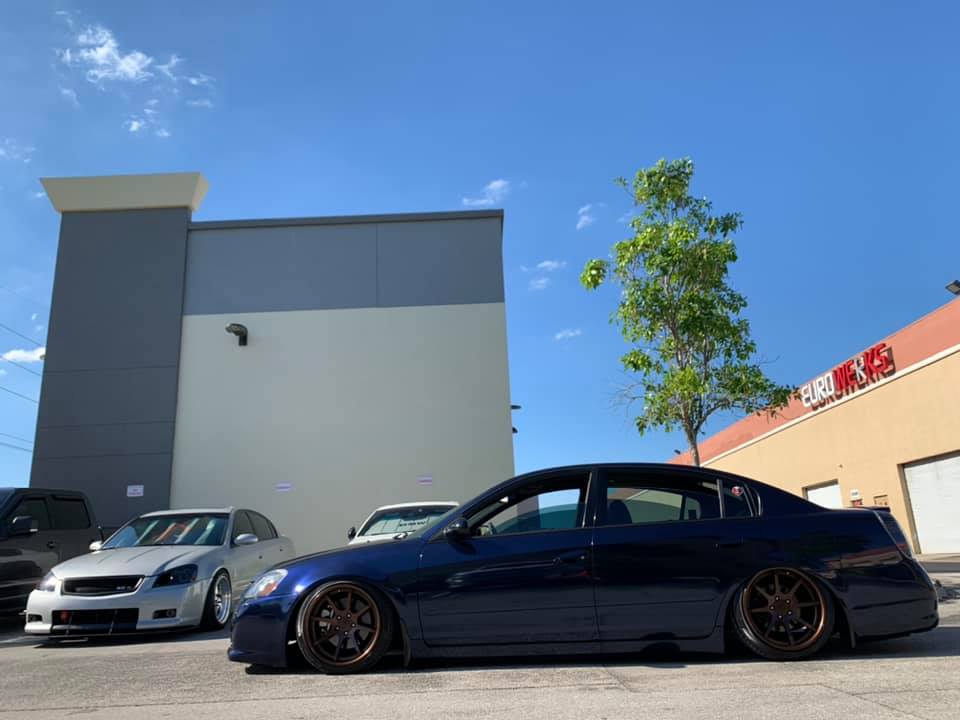
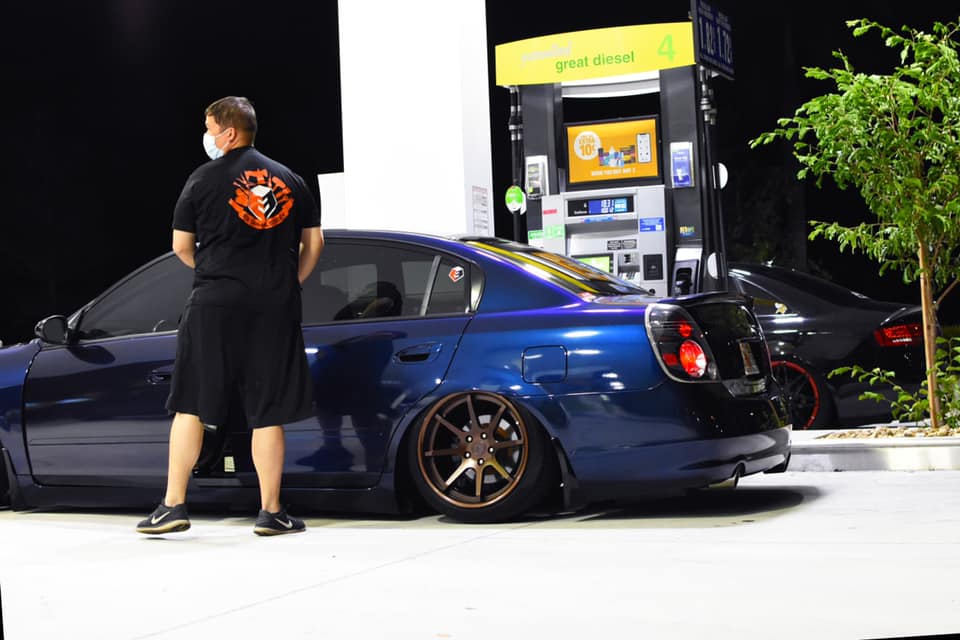
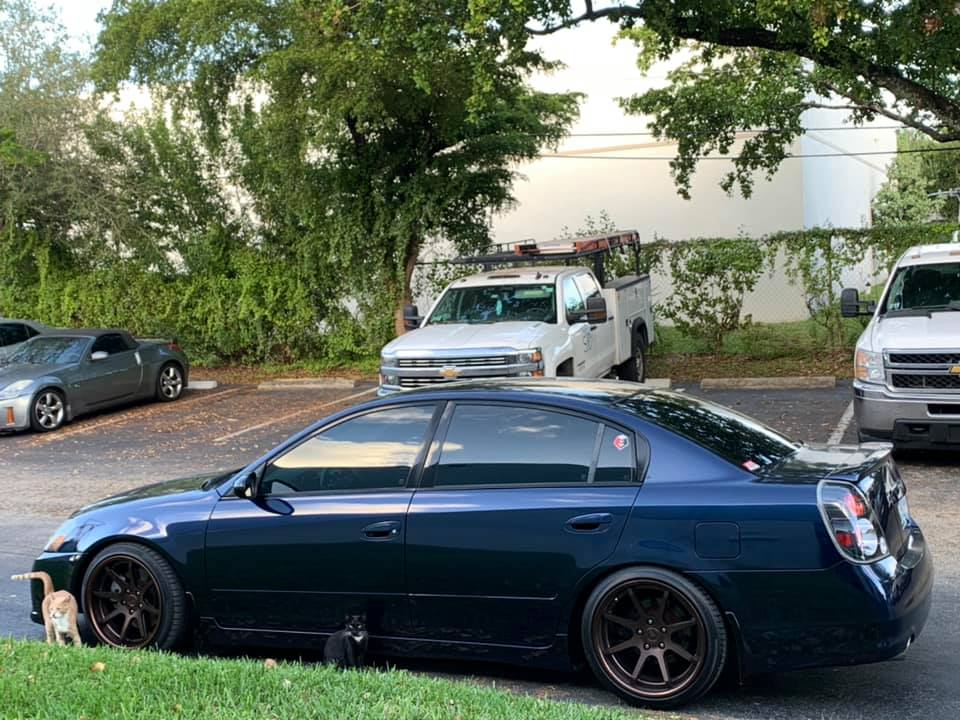
Owner: Eric G’s
Year: 2005
Model: Altima
Color: Black –> Custom Blue
Transmission: Automatic
Trim: SE-R


![]()


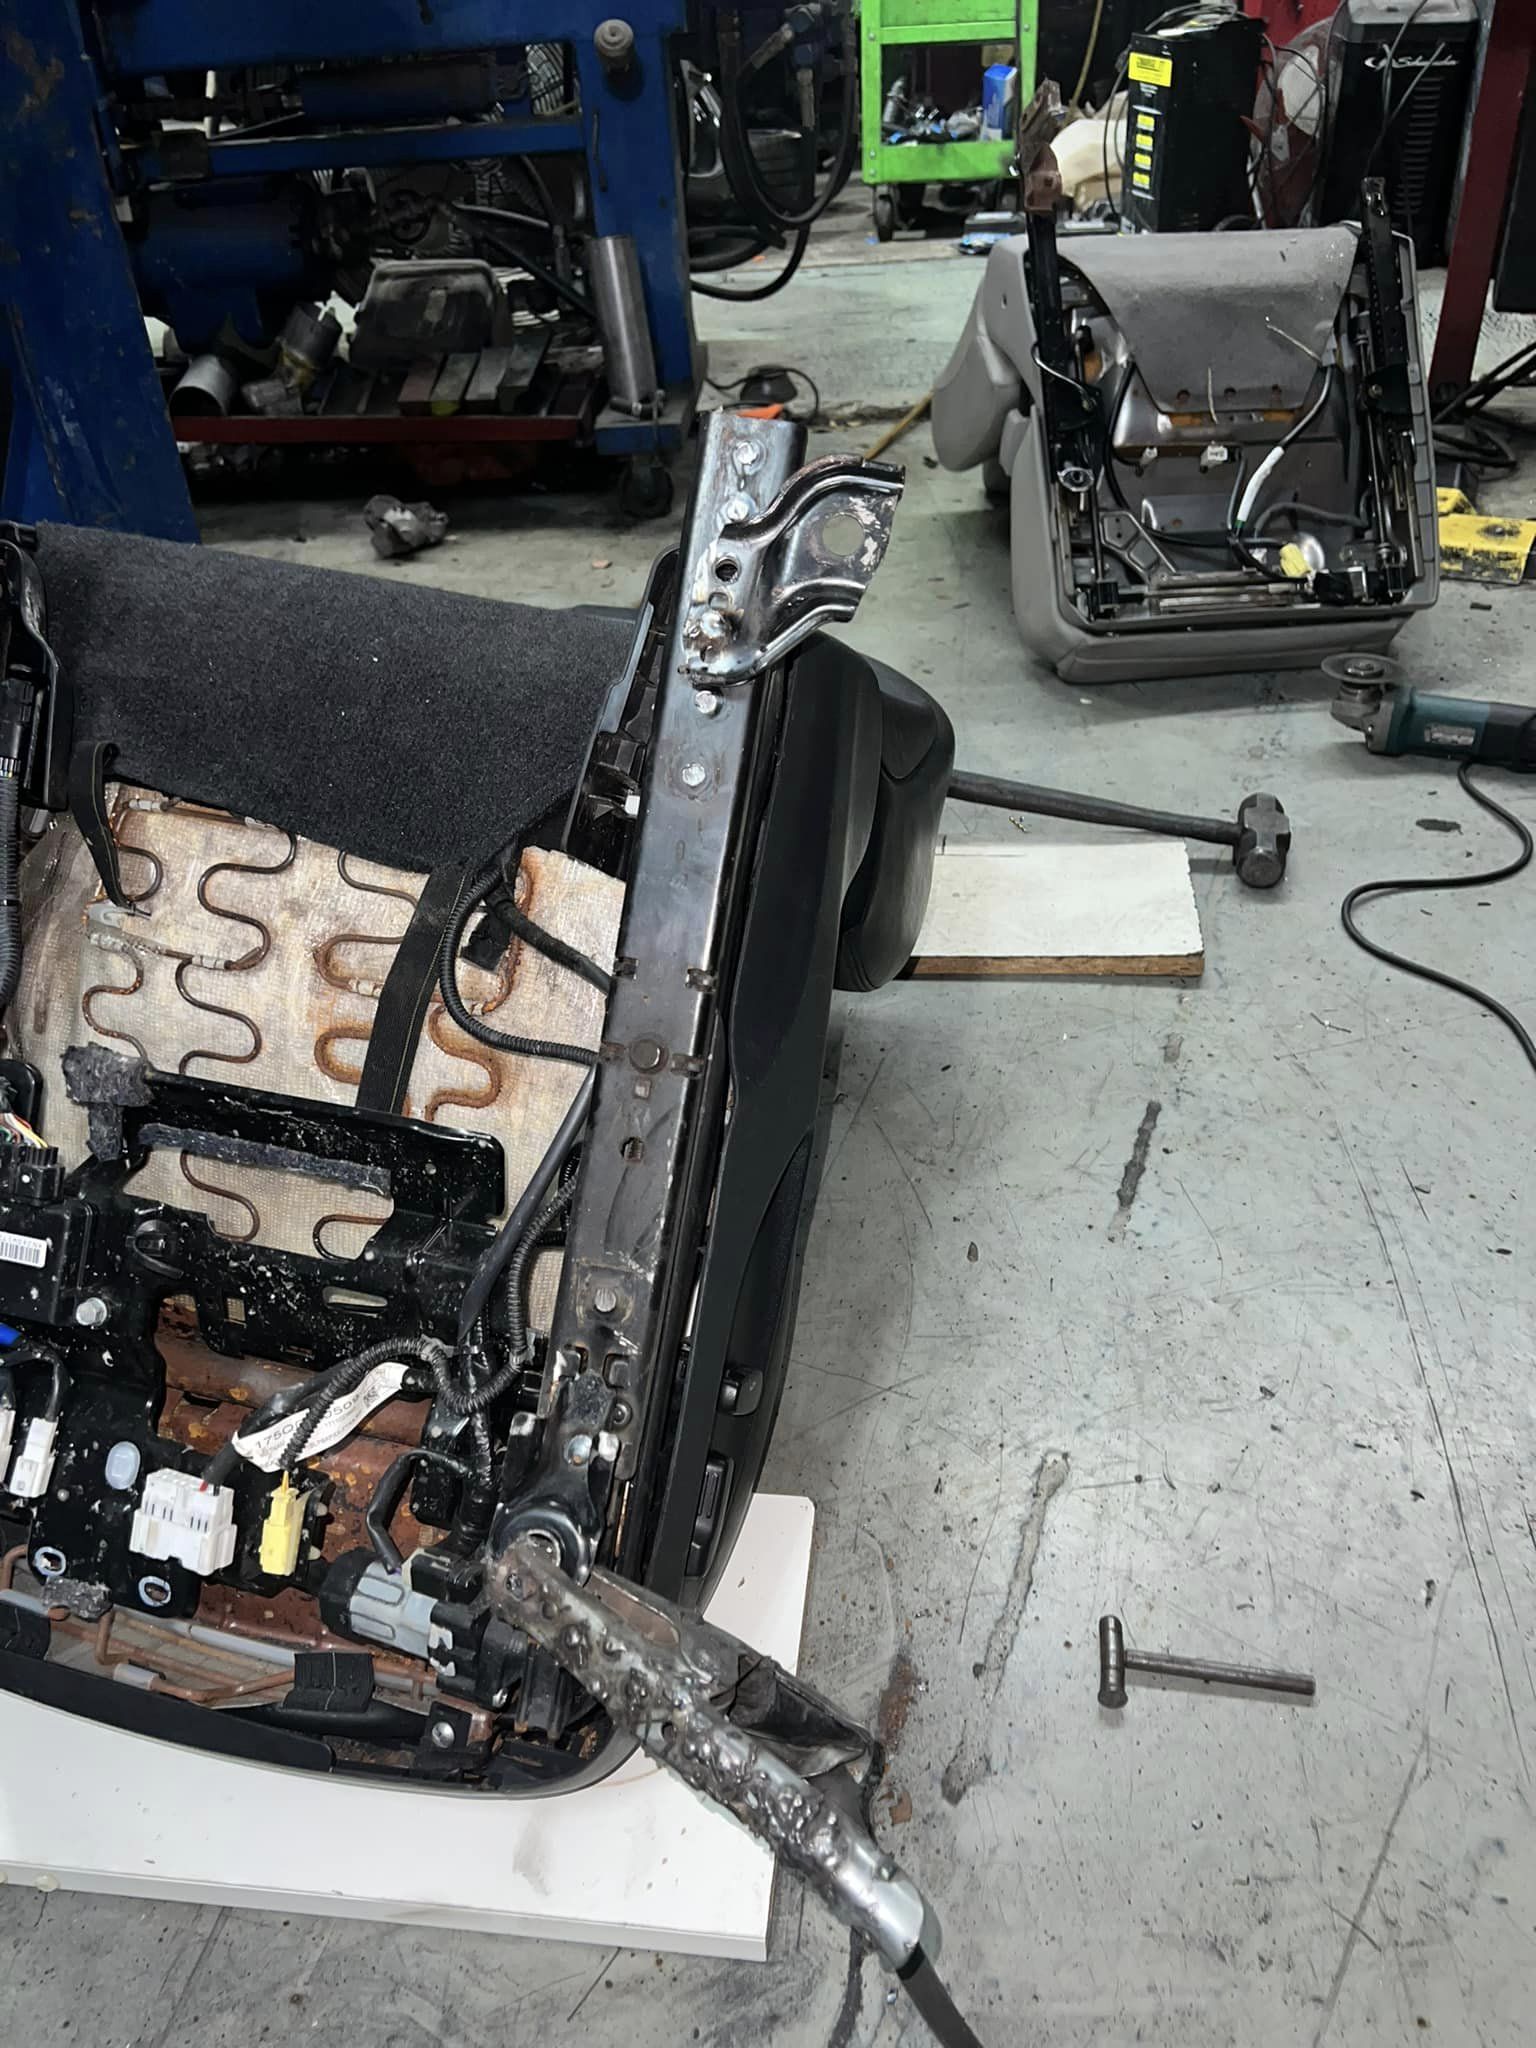
Credit: zero2sixtyZ

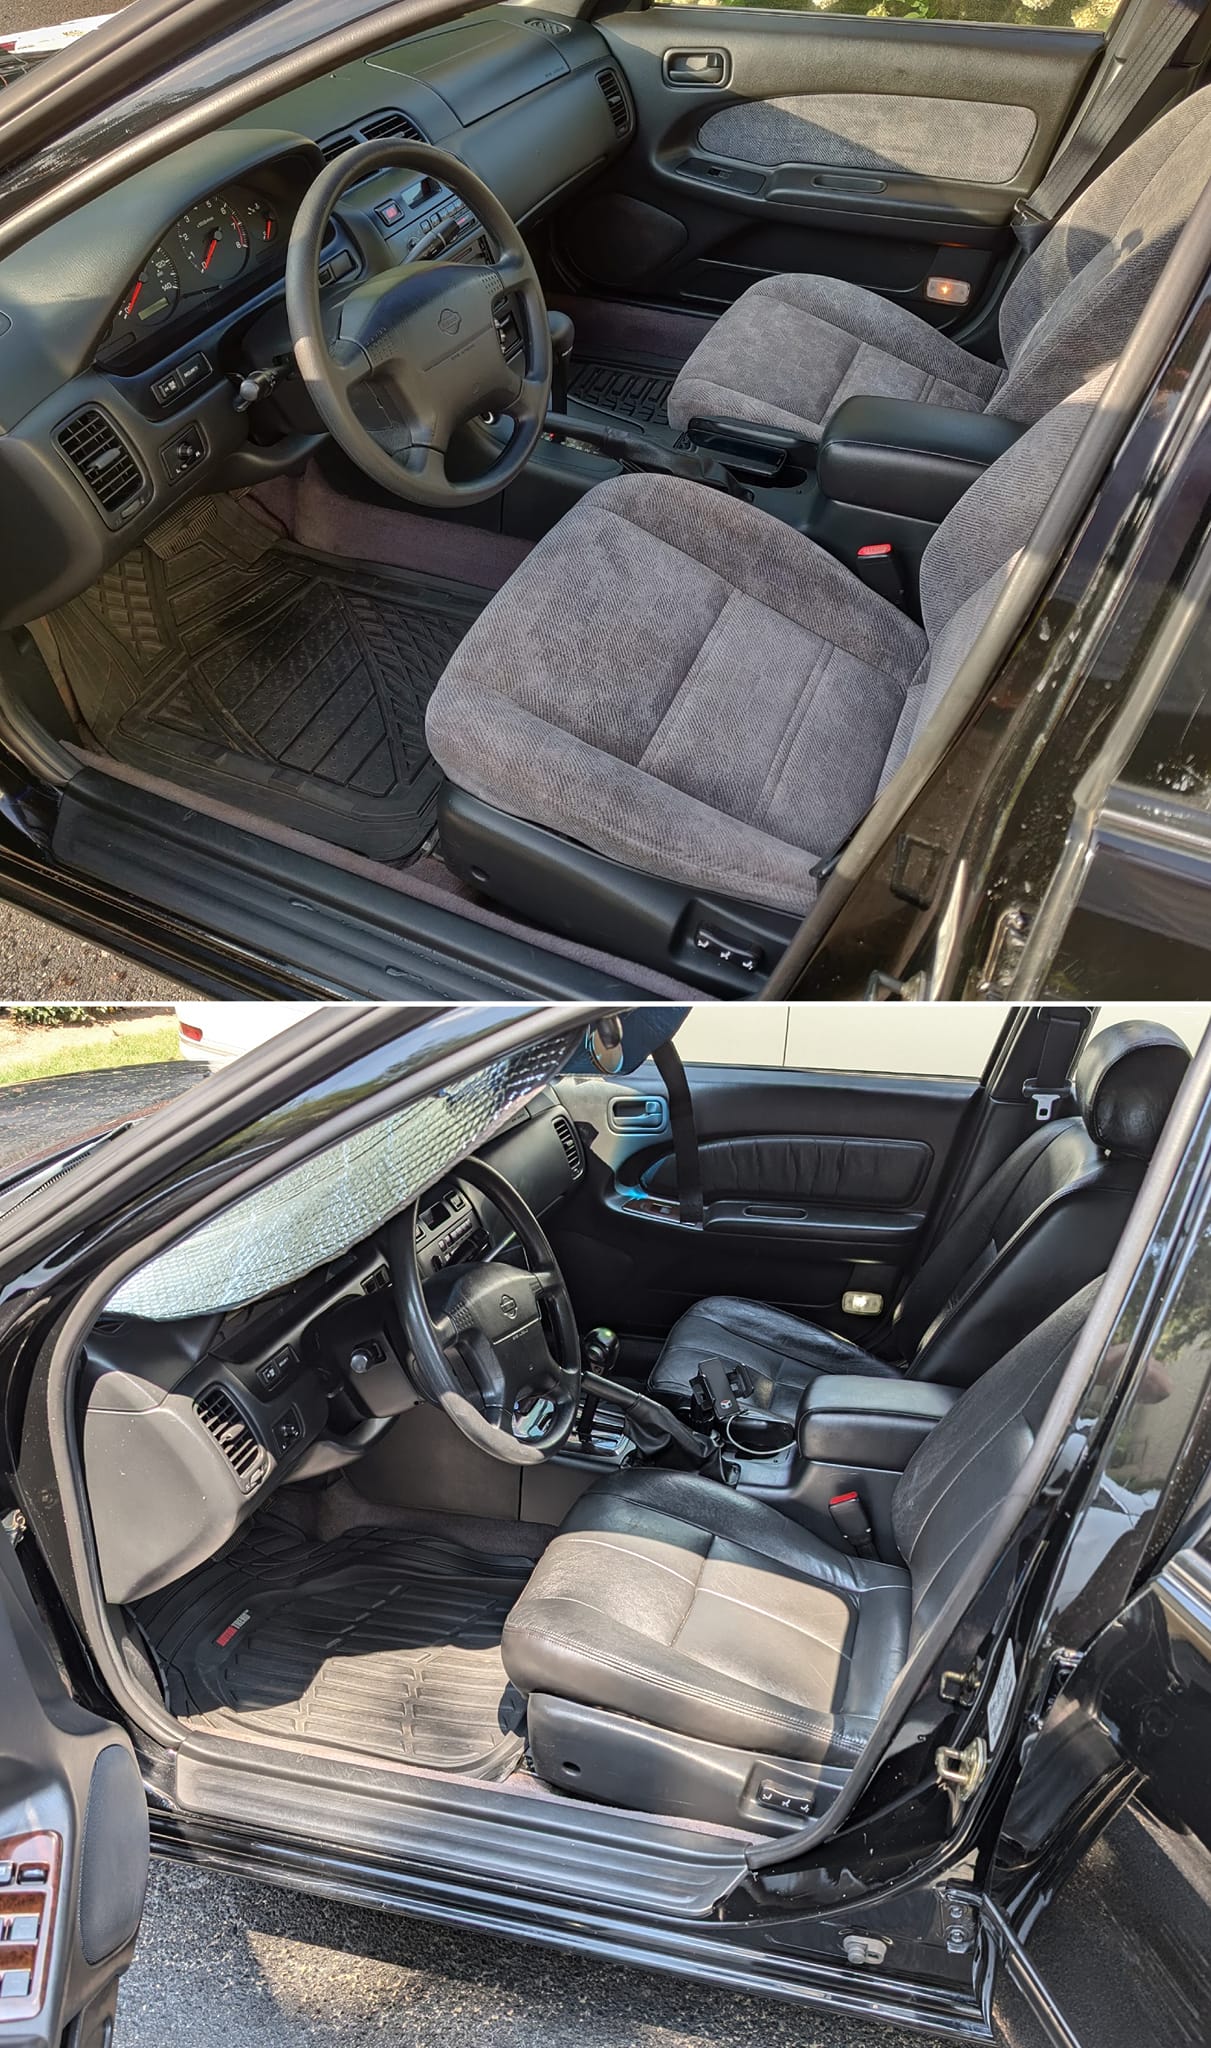
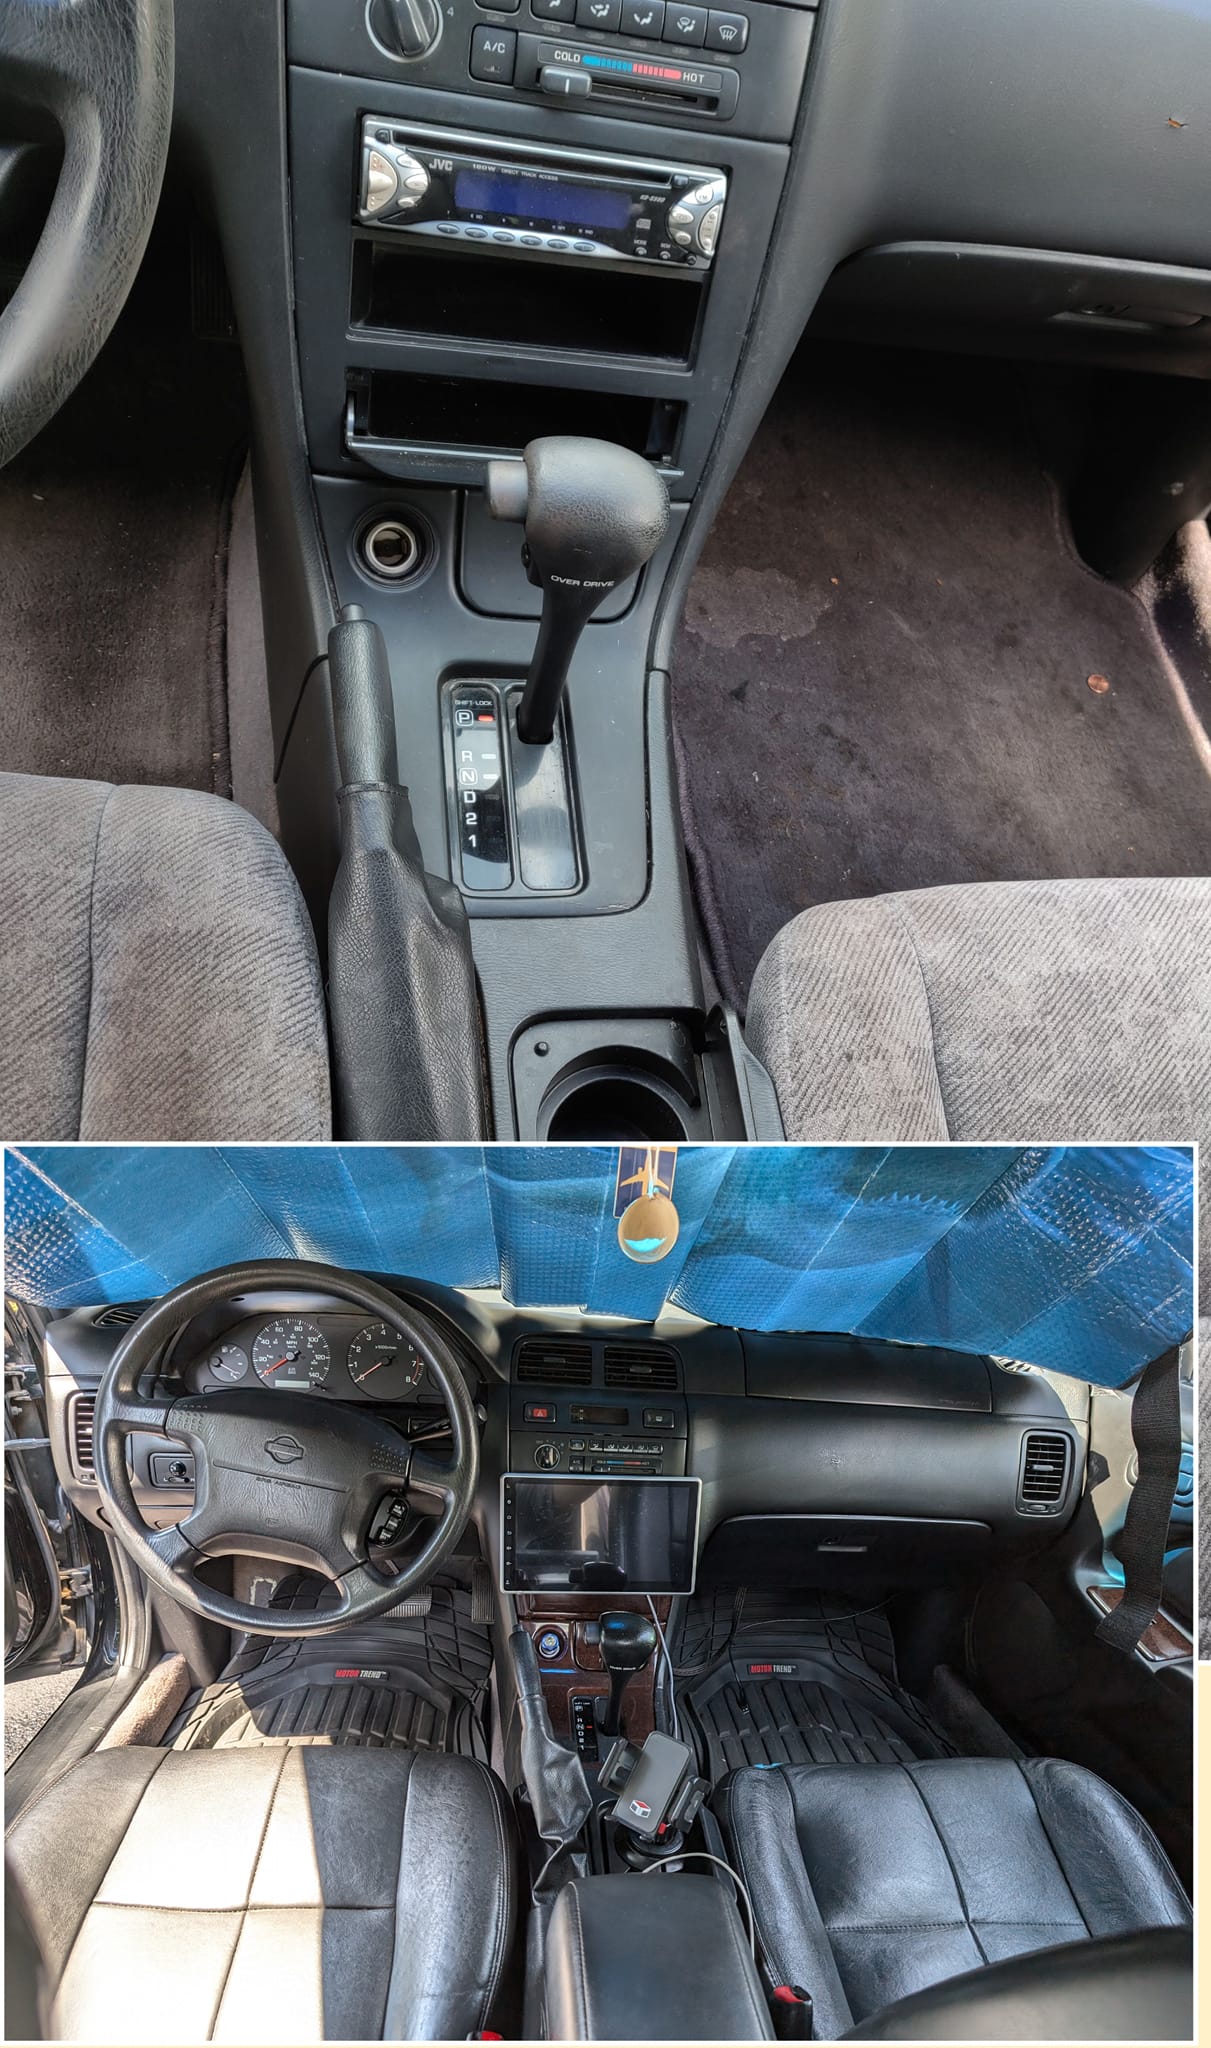
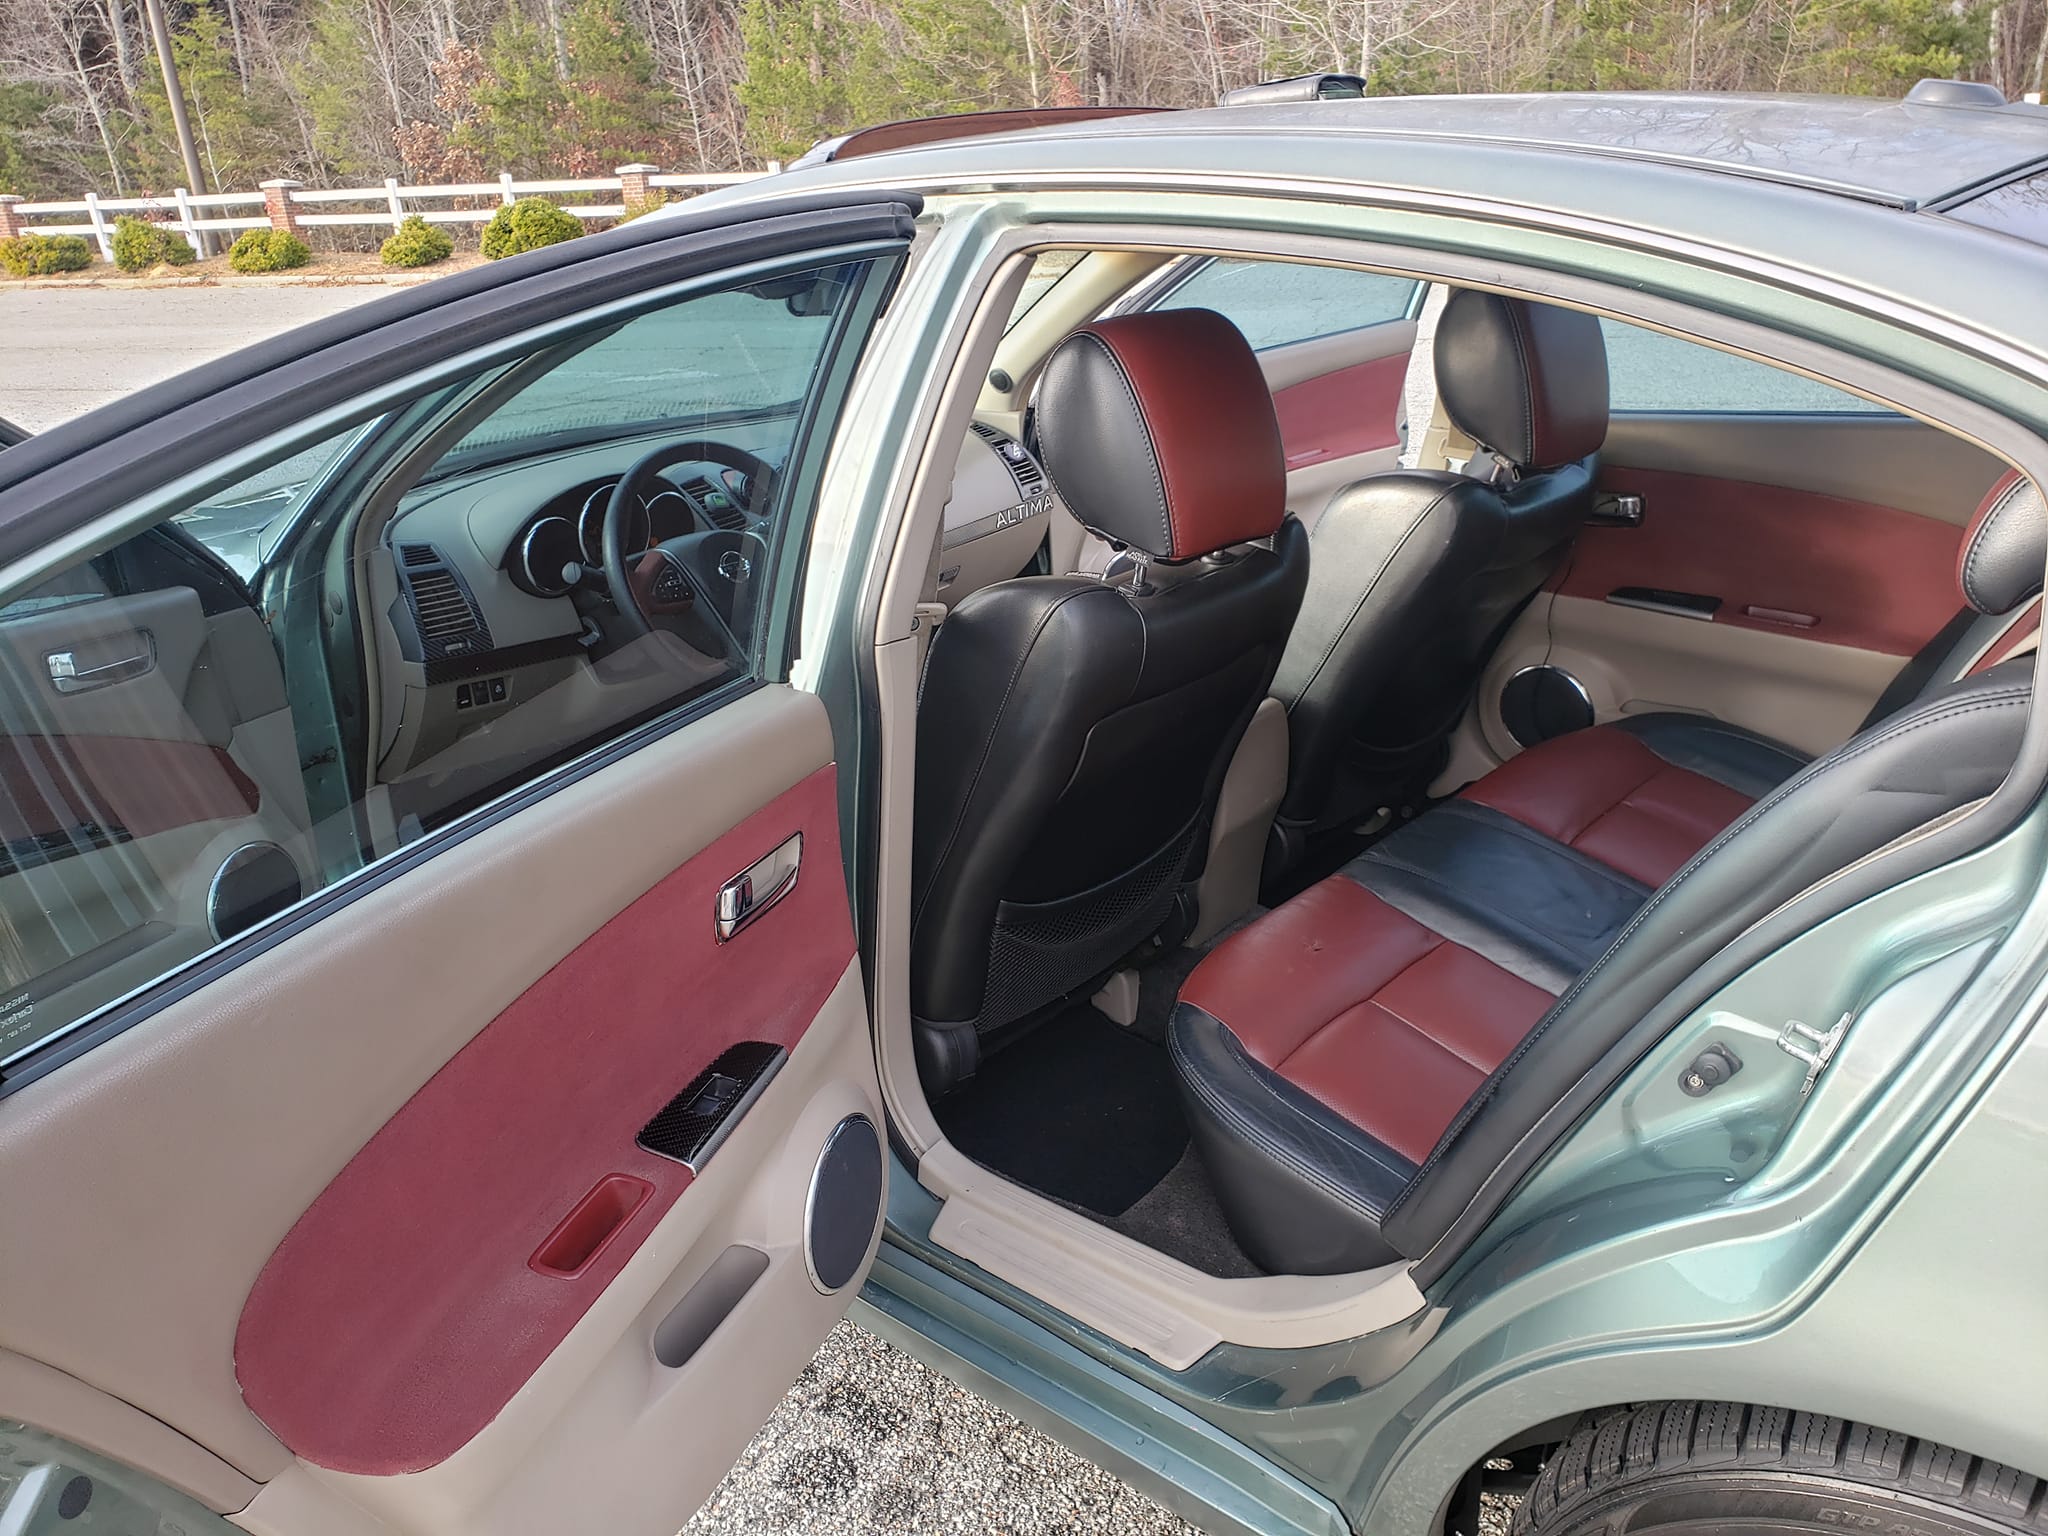
Just finished disassembling the G35 passenger seat.

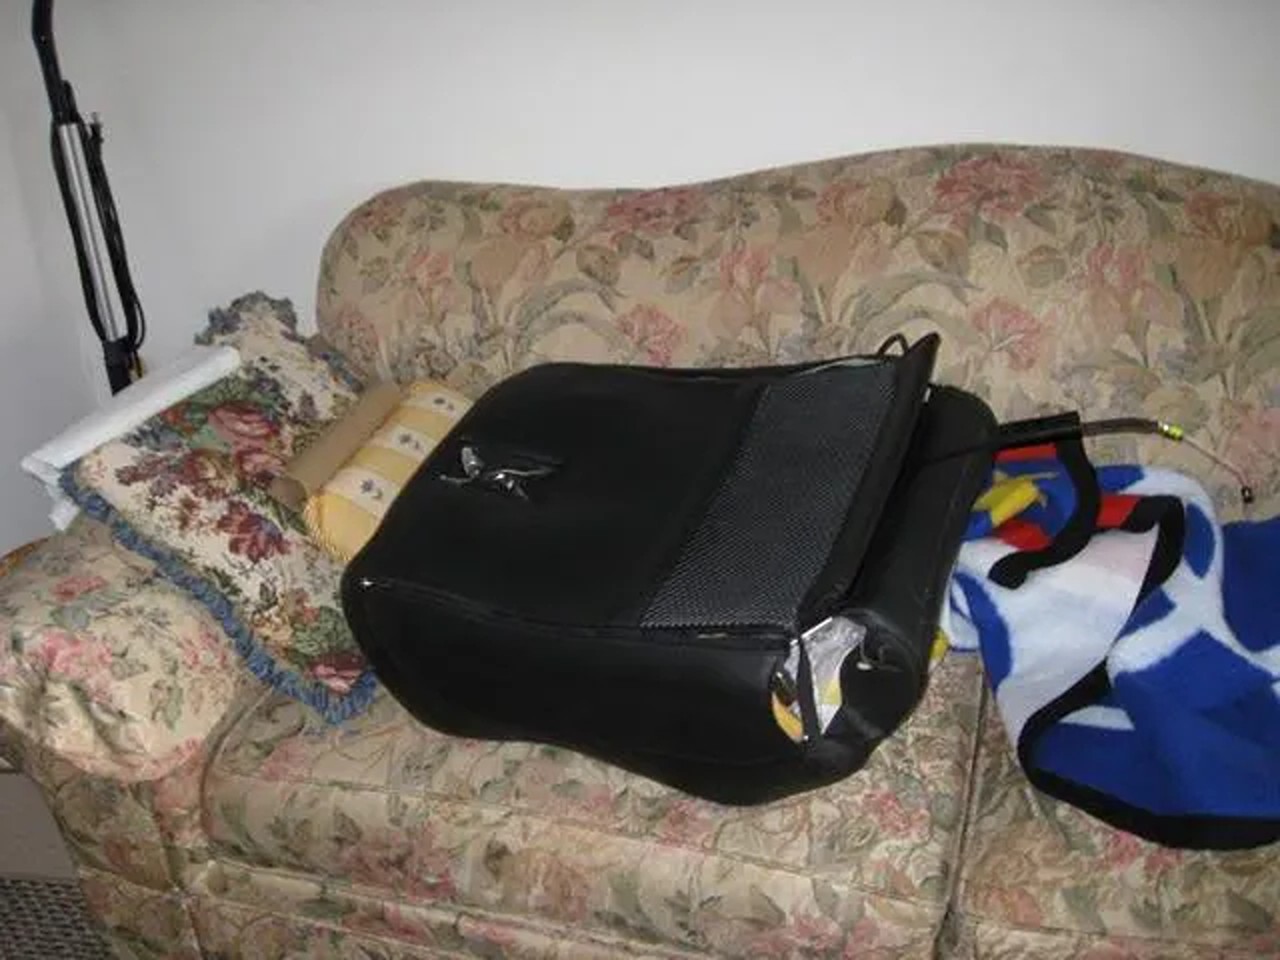
Update – 2/8/2008: Successfully installed the passenger seat and modified the G35 cushions to fit on the 5.5 gen pan. Currently working on integrating the rails and controls. More details and pictures to come. The driver’s seat swap will have to wait until next week, as it needs to be completed in one session.
Here’s the latest update, folks:
Still on my to-do list:
When I tackle the driver’s side, I’ll document each step with pictures. Most of the time spent on the passenger’s side was figuring out our next moves, so I’ll make sure to streamline the process and provide a clear guide. Stay tuned for updates!
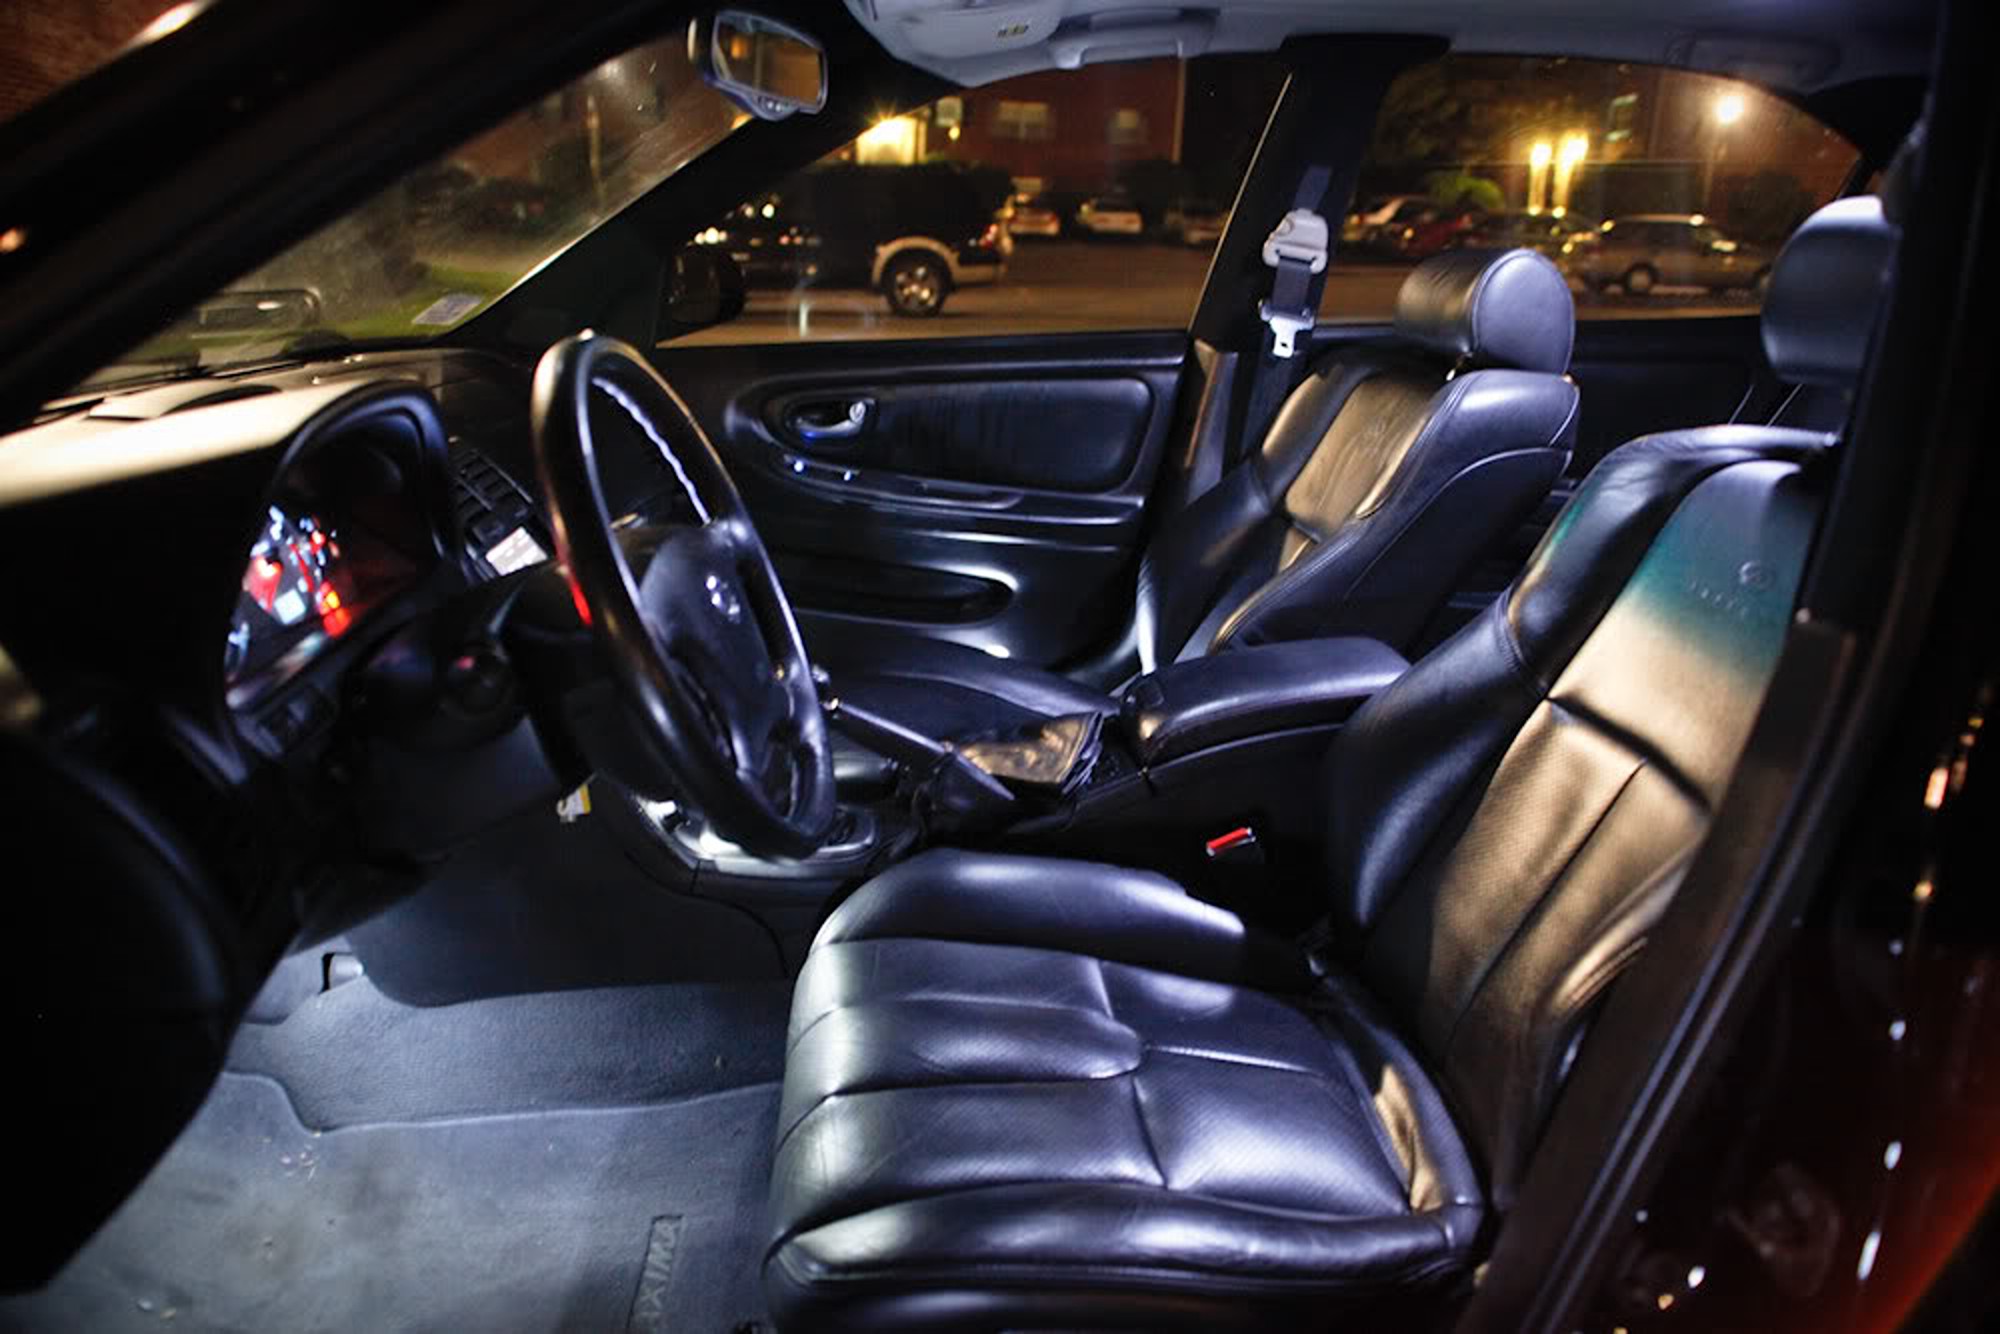
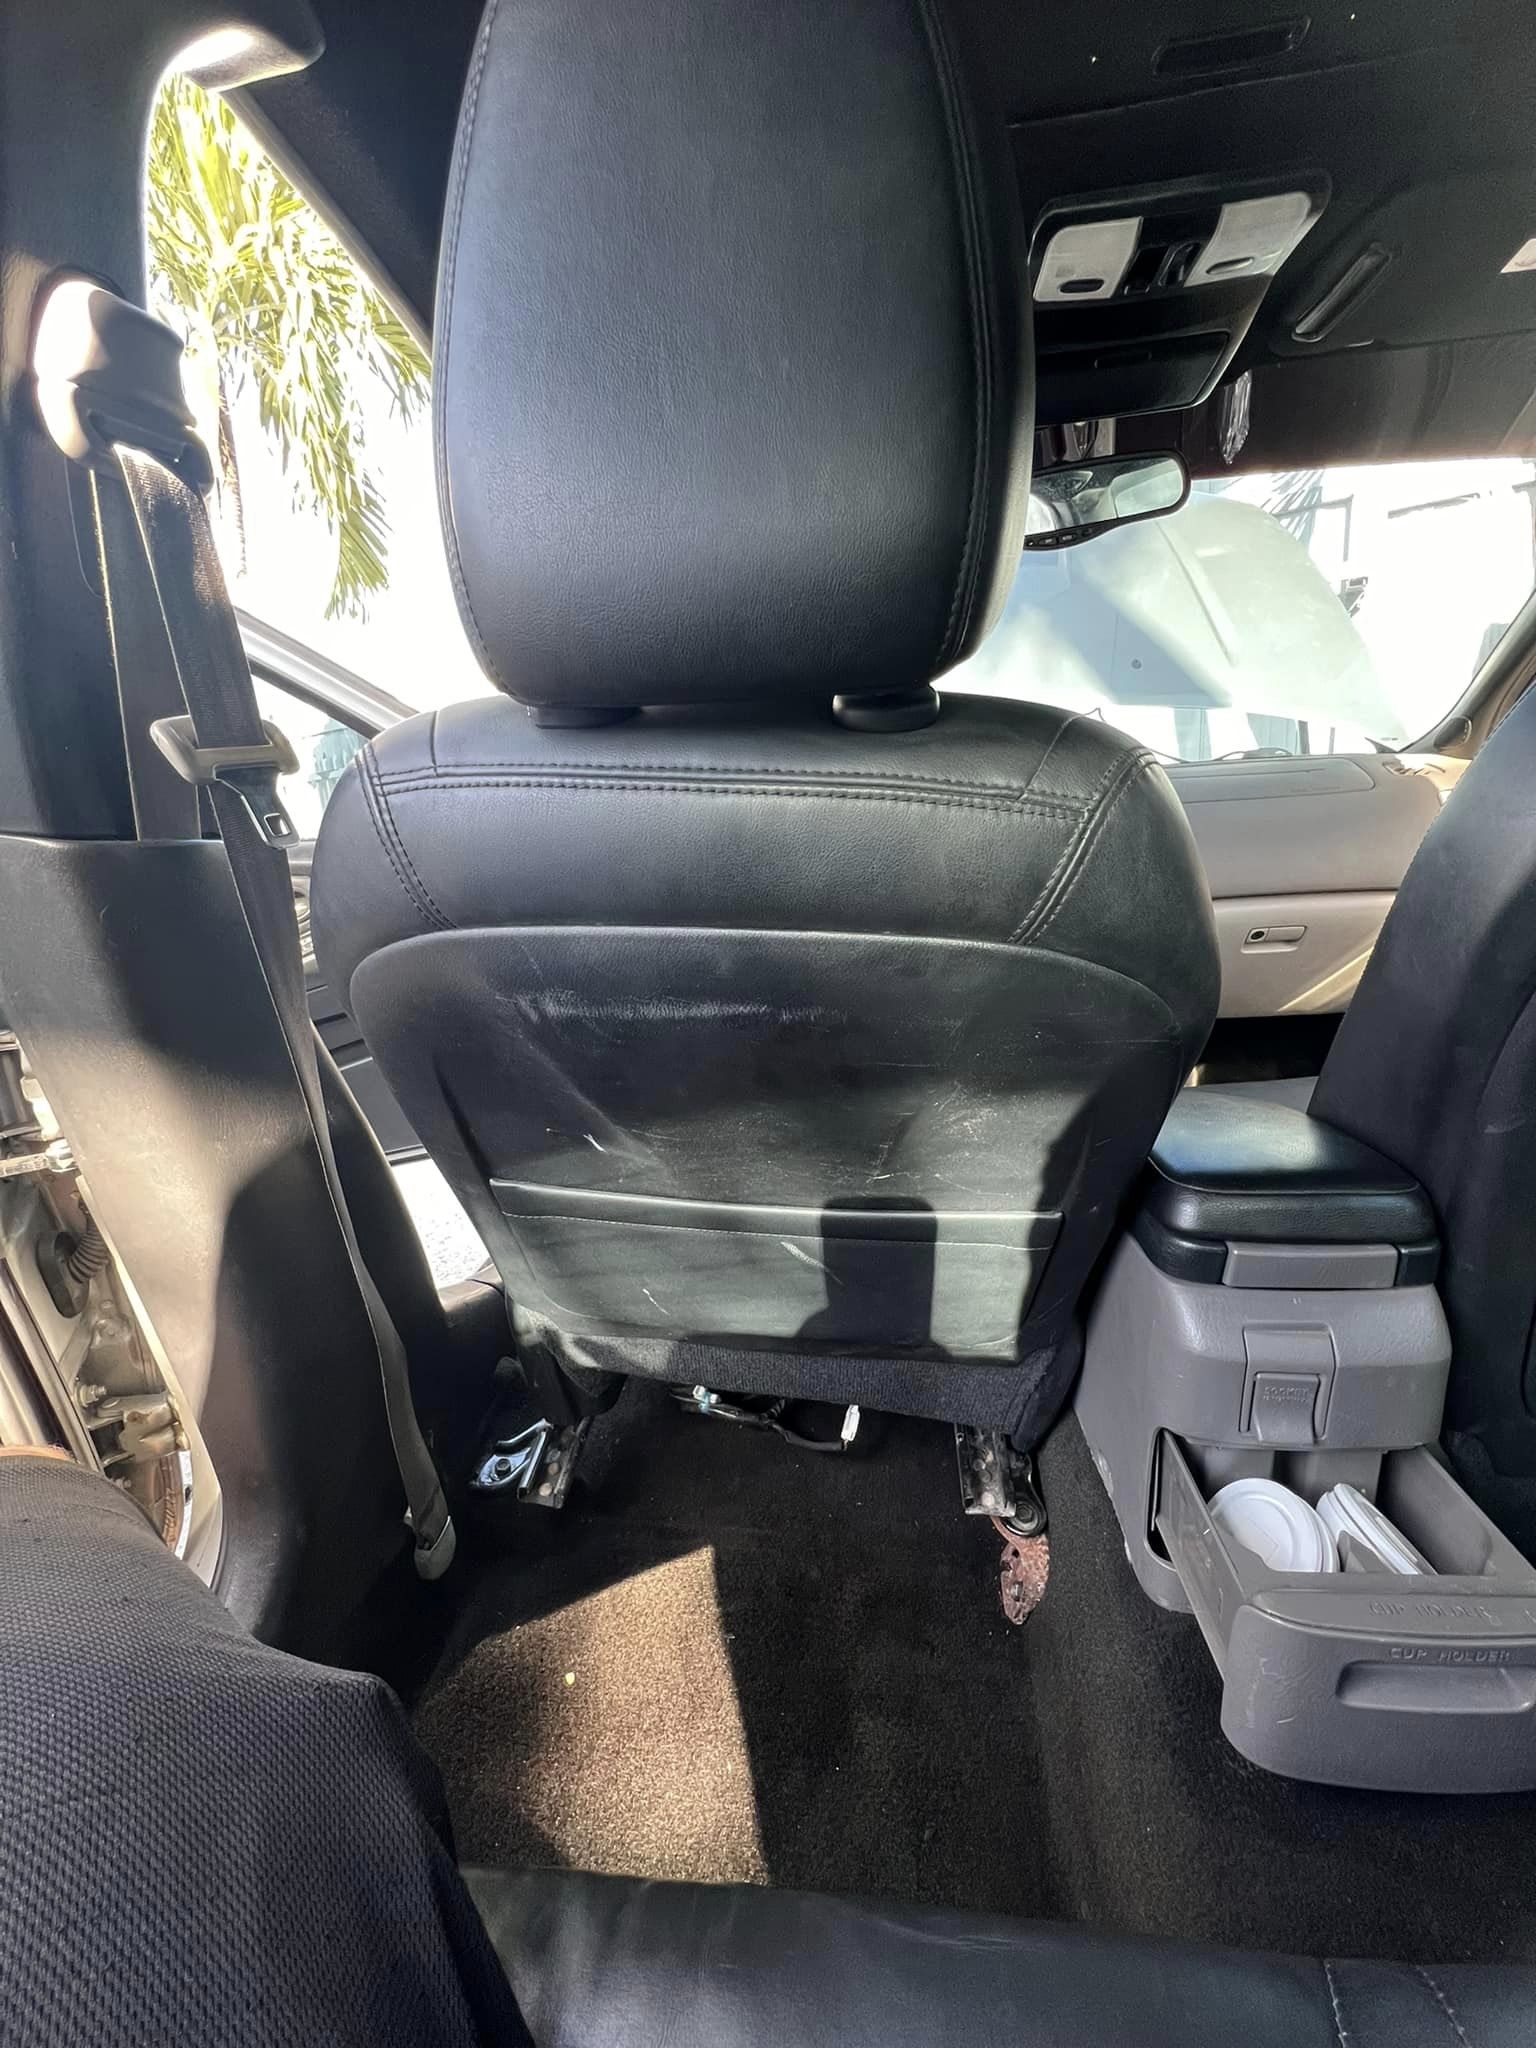
Update: Exciting news — both seats are now officially installed in the car! I dedicated most of the morning to fixing the suspension and installing the driver’s side seat. I made sure to capture important steps with photos, and I’m planning to create a detailed DIY guide for installing the cushions into the Maxima hardware. Unfortunately, the heated seats and fixing the switch holes will have to wait for now.
A big shoutout to Dark-V and StealthMax for their invaluable help with these seats over the past week. Here’s a picture of the passenger seat fully installed for your reference. Stay tuned for the DIY guide and more updates!

Latest Status Update:
![]()

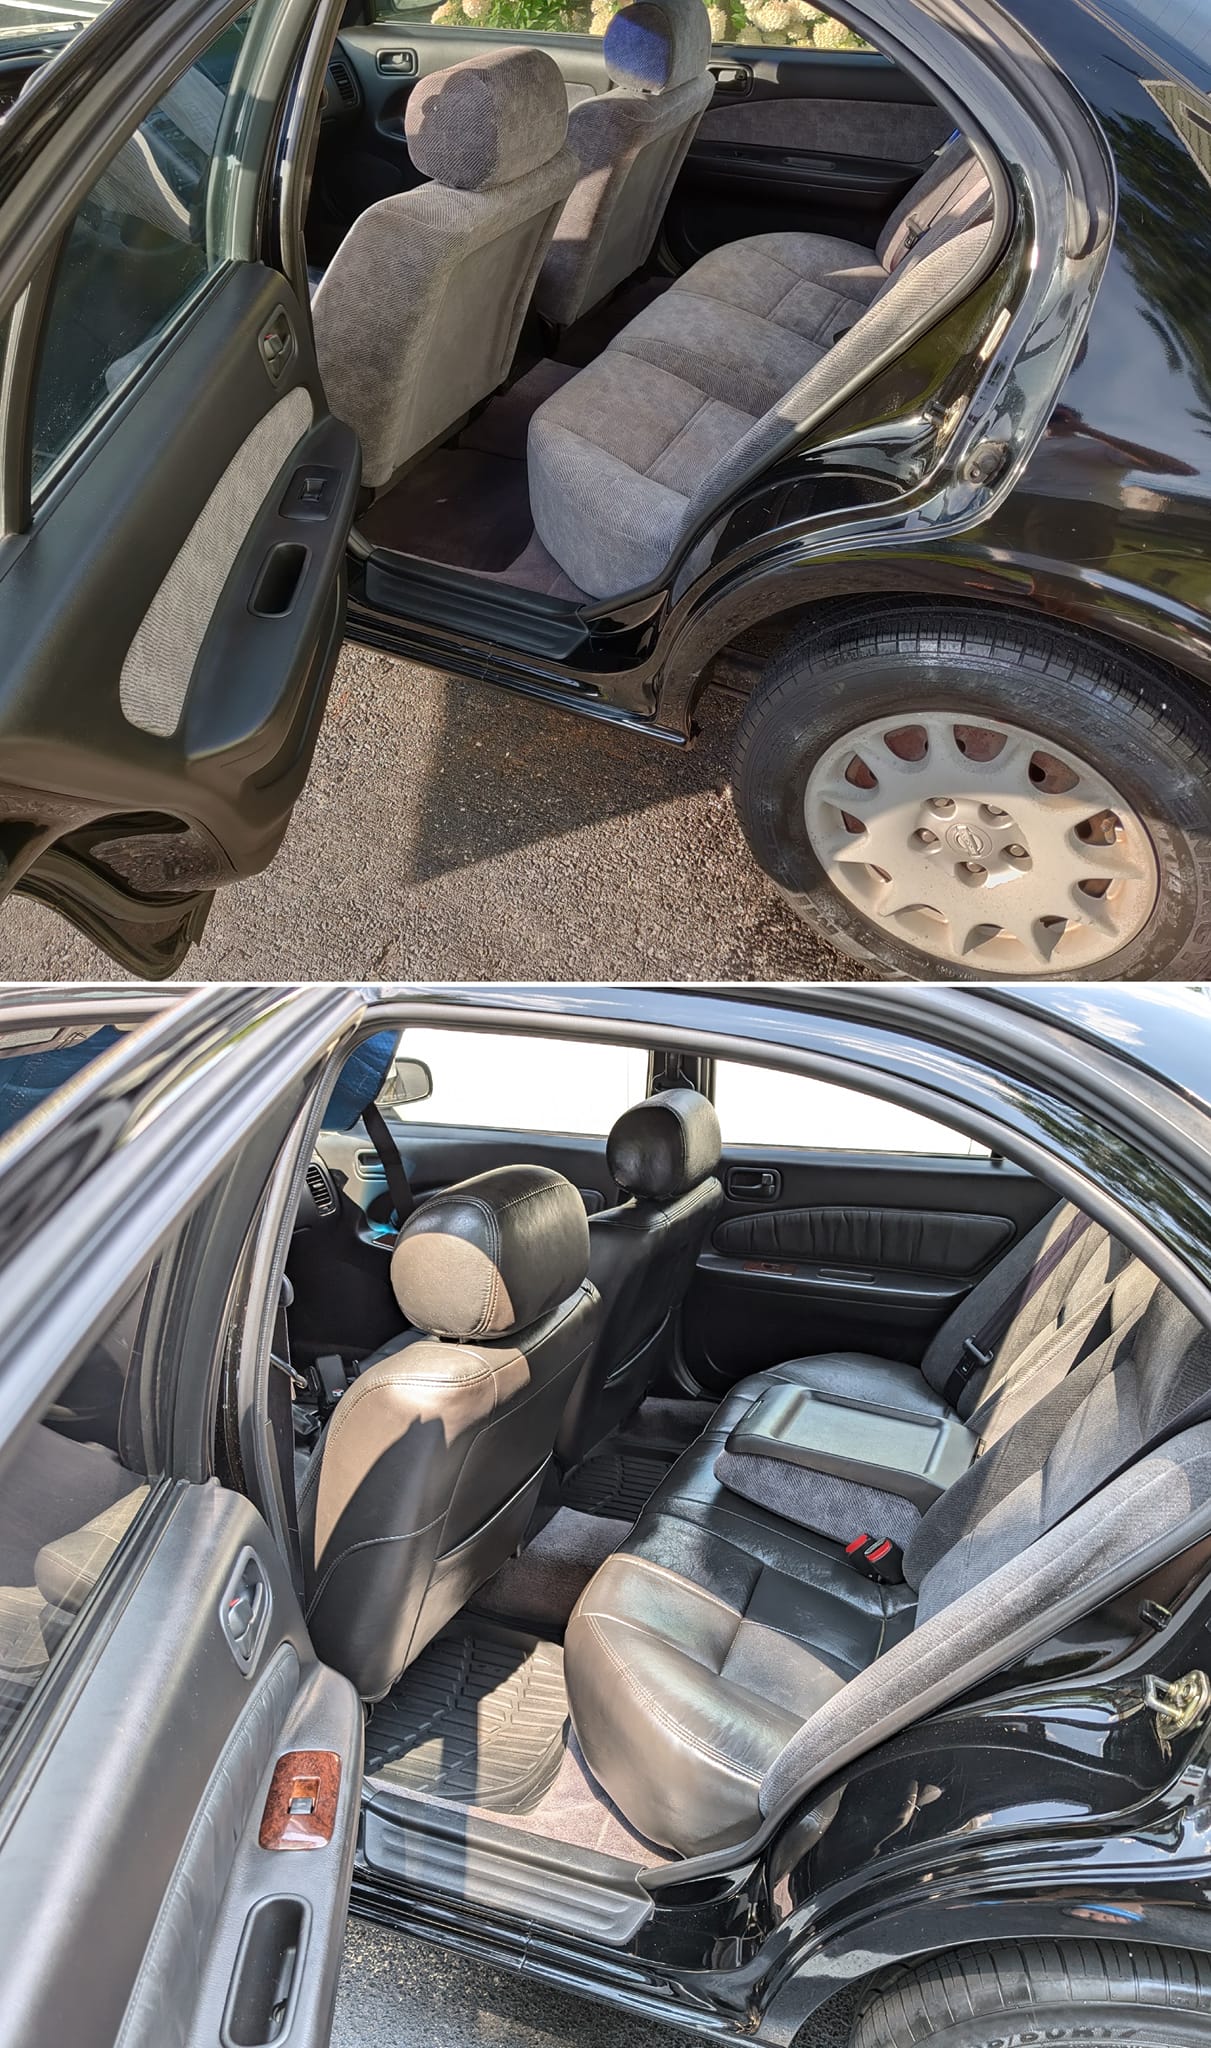
Credit: Robert Garcia
Notes:


![]()
")


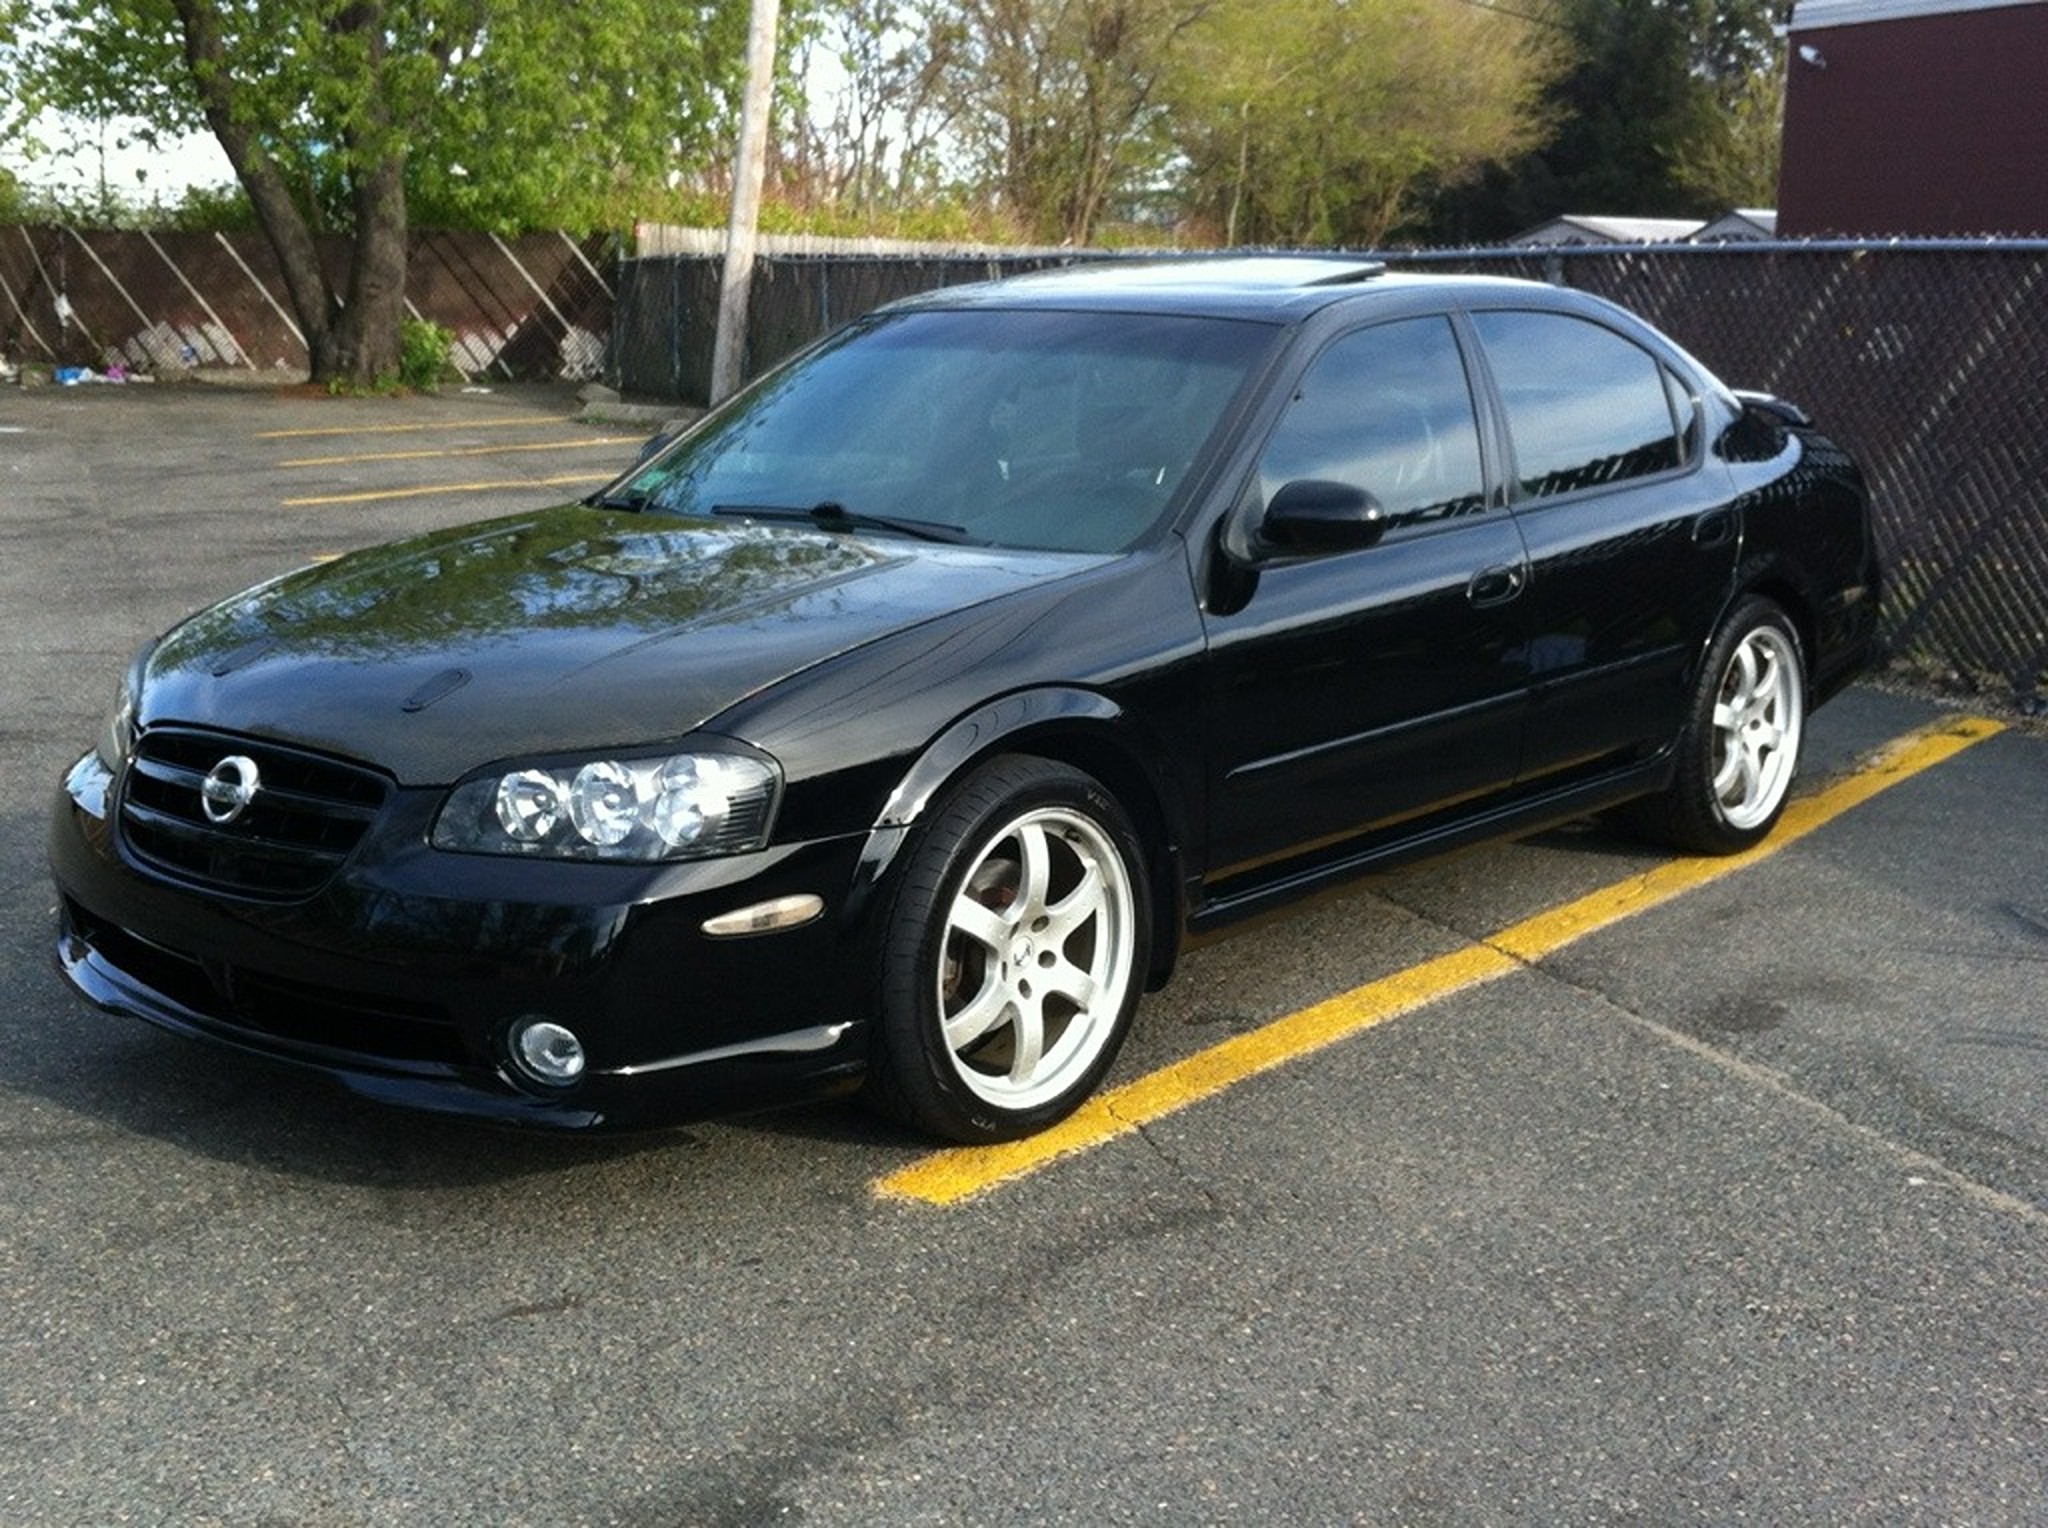
Community Member Credit: Kristian Abrams
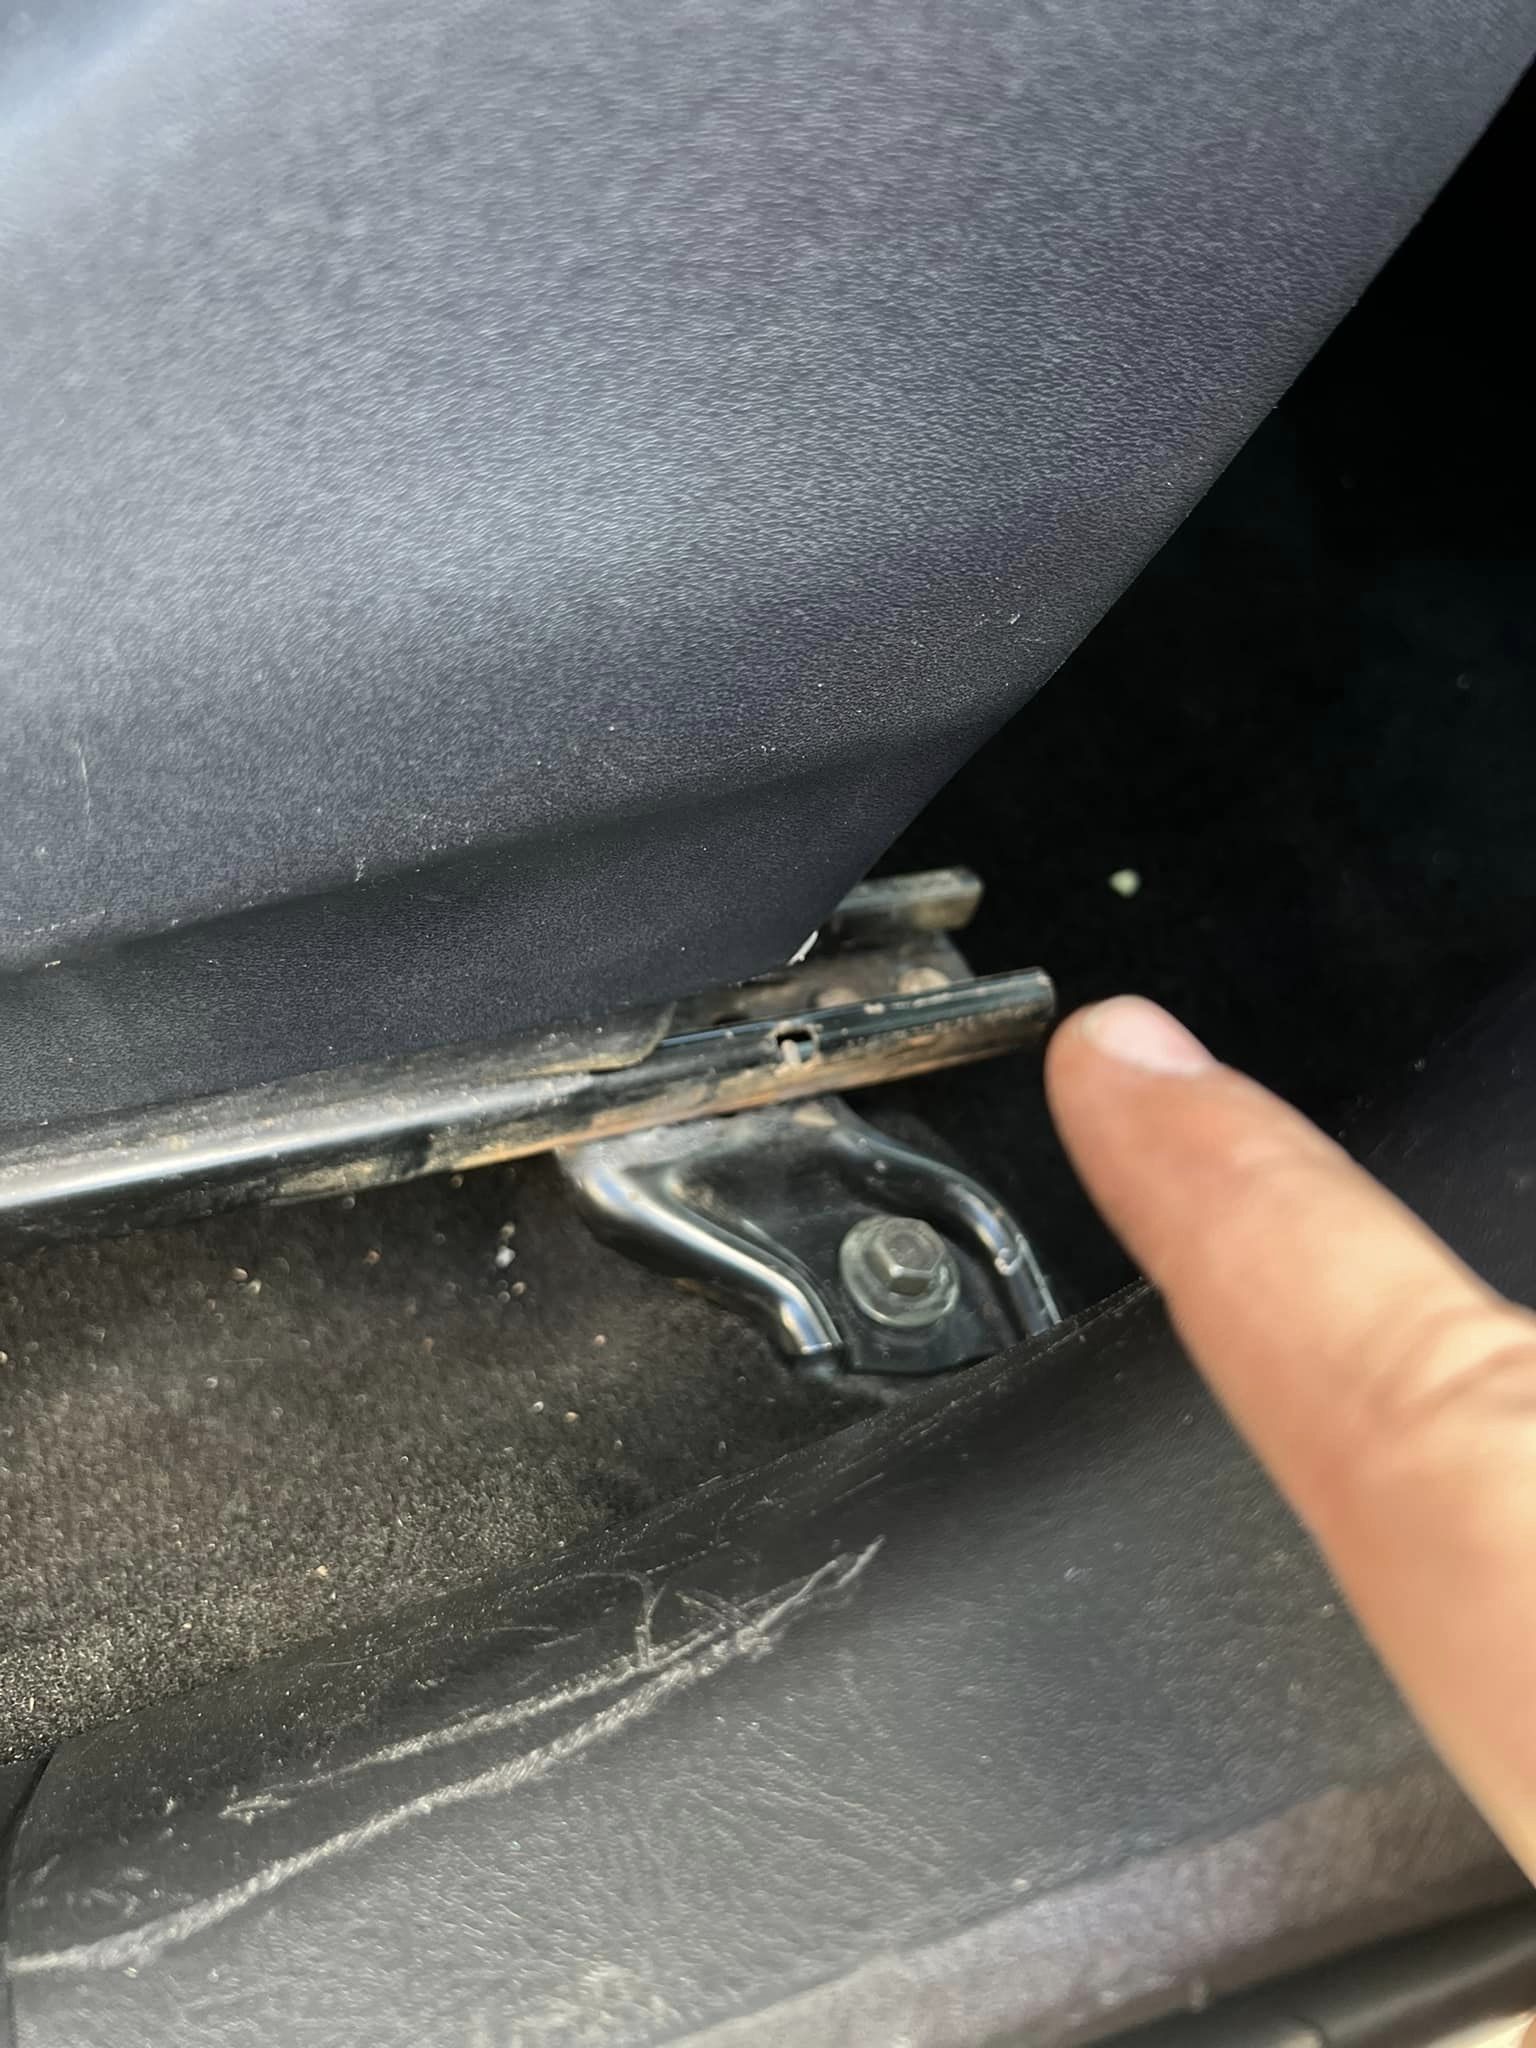
The installation was very simple. Just take off the rail brackets that attach the seat to the floor of the car and weld those on the rails of the Recaro.
![]()

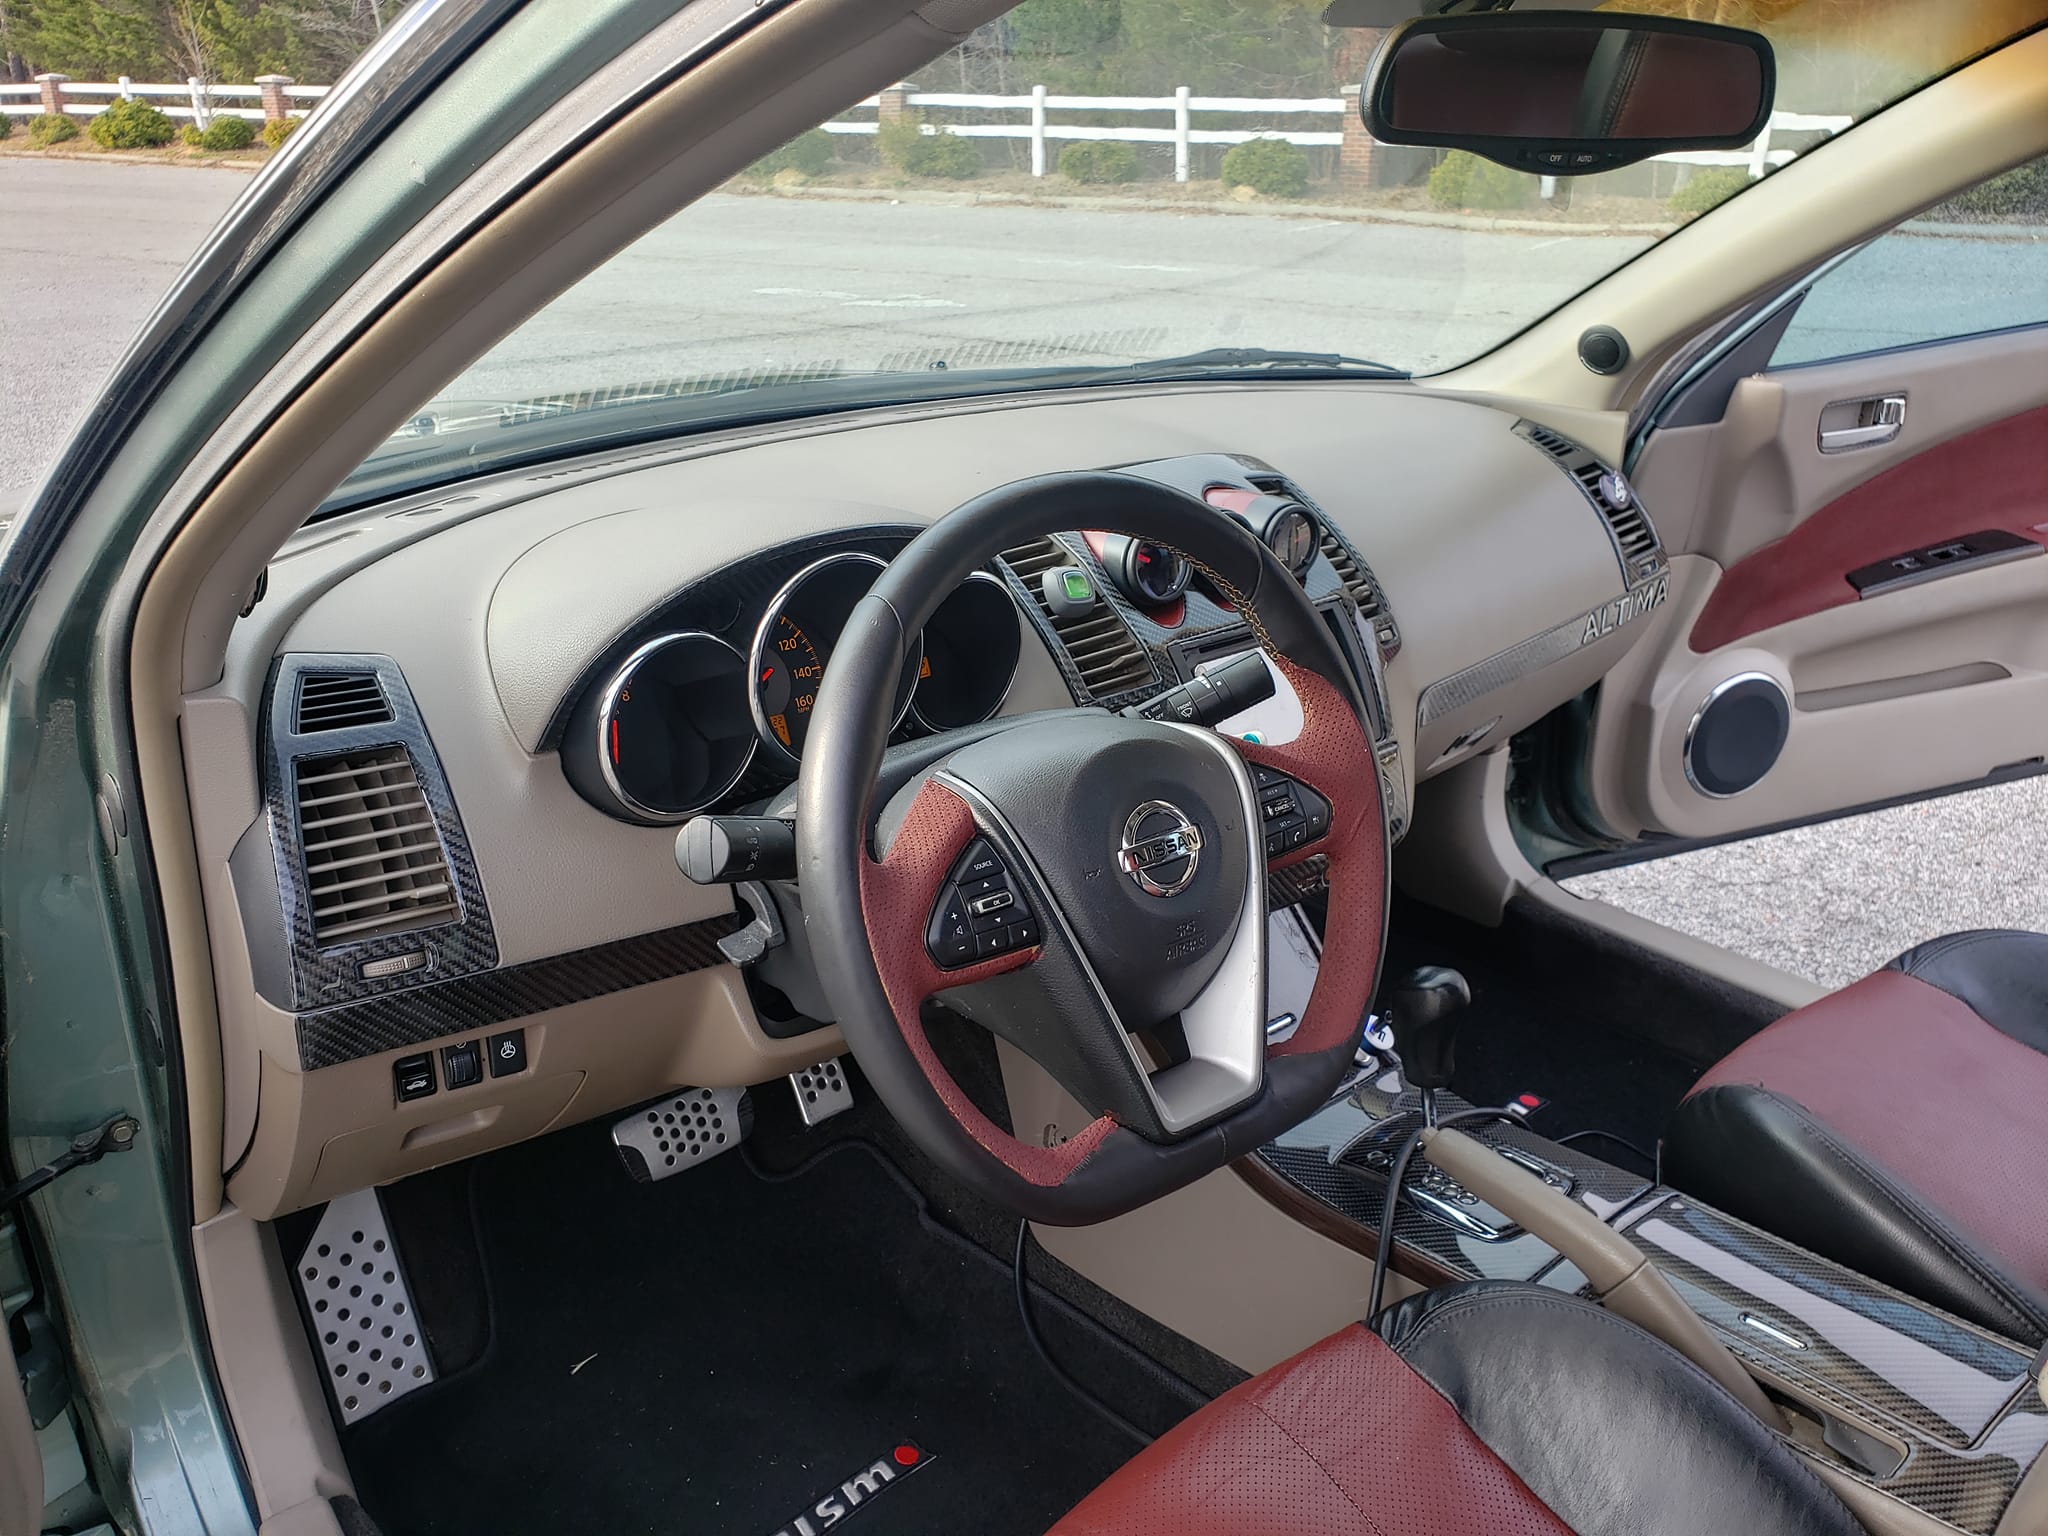
Community Member Credit: Justin Funck
Notes:


![]()