Tag

Interior, Audio & Video Mods

Browsing

Member Credit: pmohr

This howto is for the quick and easy task of disabling/removing the stock buzzer underneath the dash. Personally I disabled it because I tend to use the headlights to light things up at night, and the beeping with the door open drives me crazy.

This whole process shouldn’t take but 5 minutes, if that. You can probably get to the connector without removing the lower dash panel at all, but this way you can actually see what you’re doing.

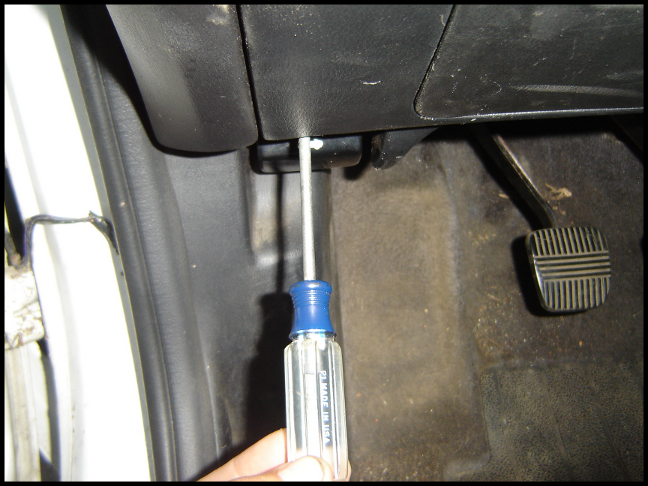
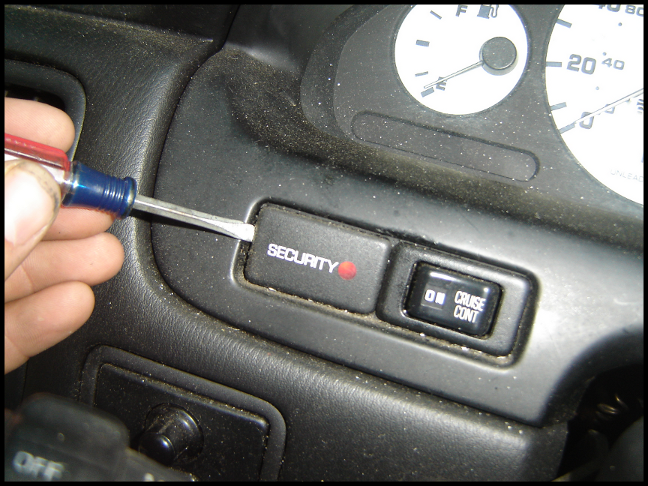
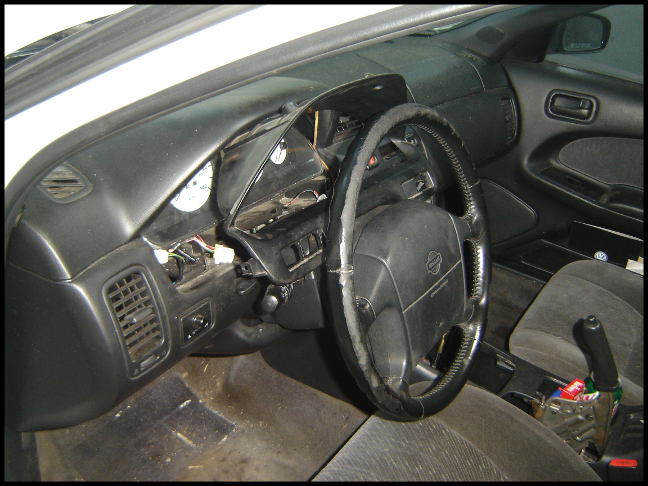
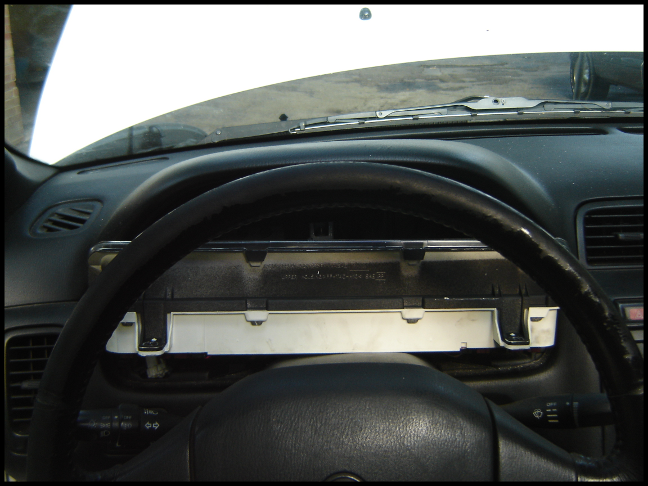
First up, grab a phillips head screwdriver, and acquaint yourself with the kneeling position outside your driver’s side door. You should (kinda) see this:

Yes, that’s an automatic brake pedal. Deal with it.

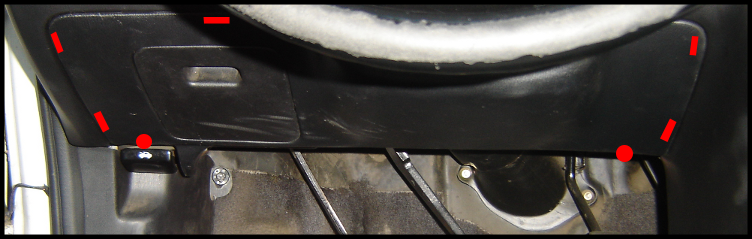
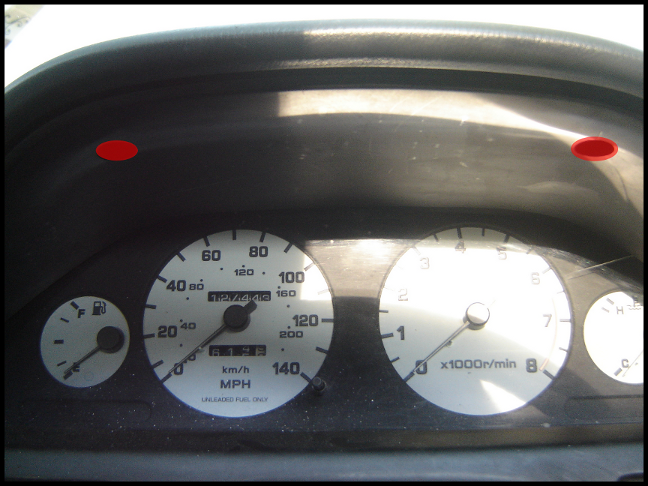
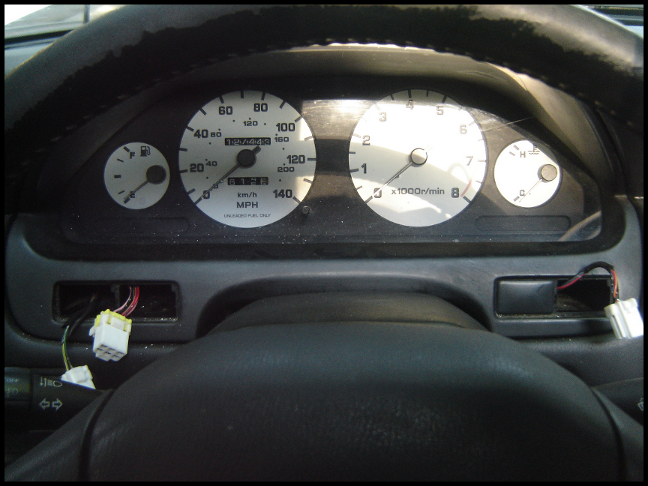
You’ll need to locate the two screws, one at either end of the bottom of the panel.
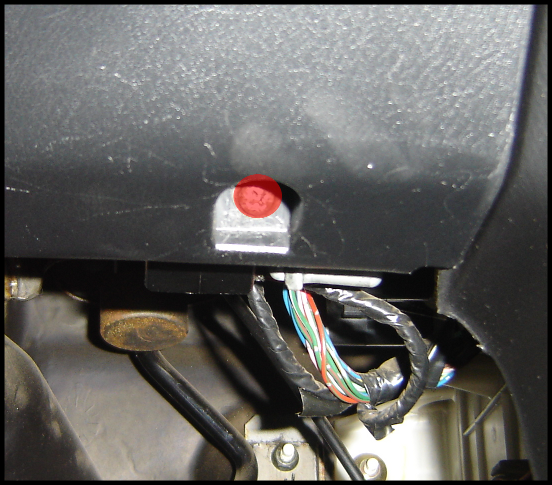
They’re indicated by circles in the photo below (the rectangular highlights are the clips that hold the panel on):

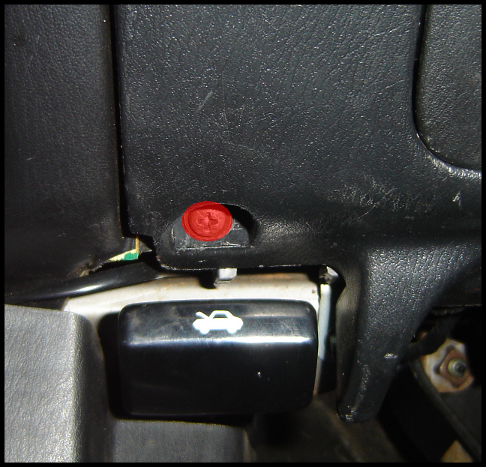
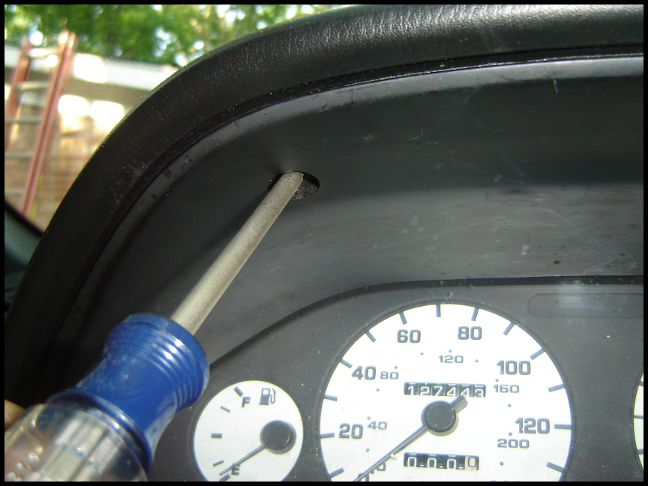
Left side screw, above the hood release:
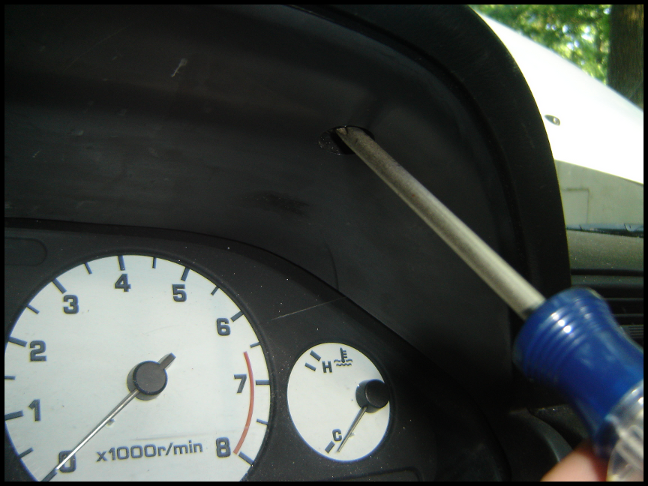
Right side screw:

Now to remove the screws. If you can’t figure this out, you’re just…lost.

Removing left side screw:

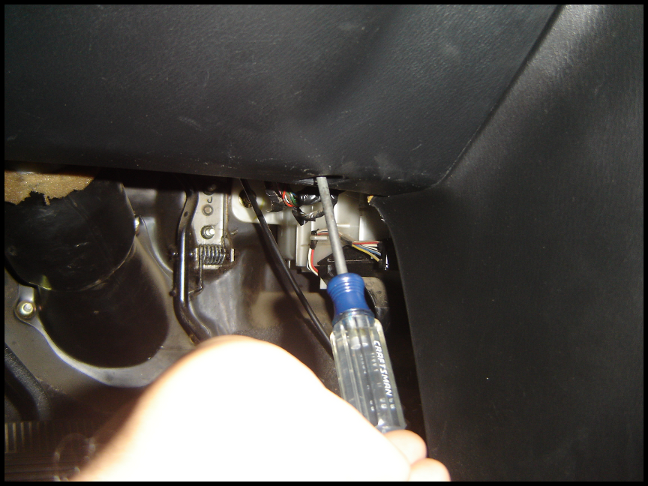
Removing right side screw:

Grab along the bottom of the panel and pull it off. There are several clips that hold it in place (see above picture), so it may be a little resistant. Don’t be afraid of breaking it, be a man.

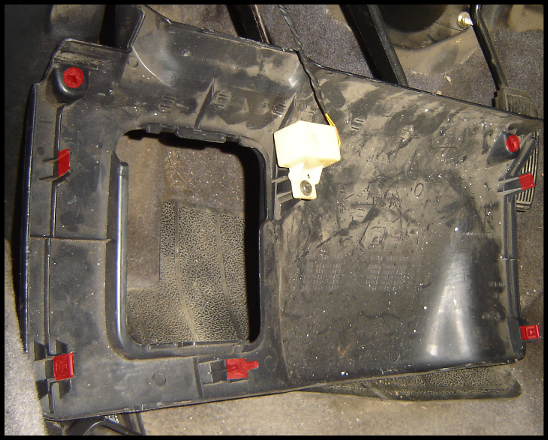
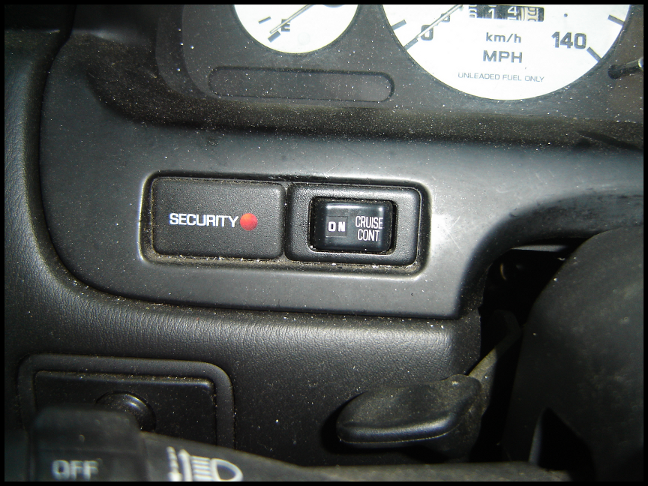
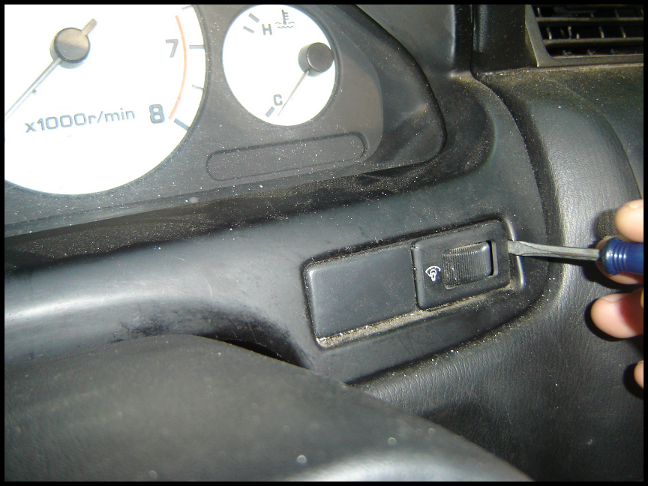
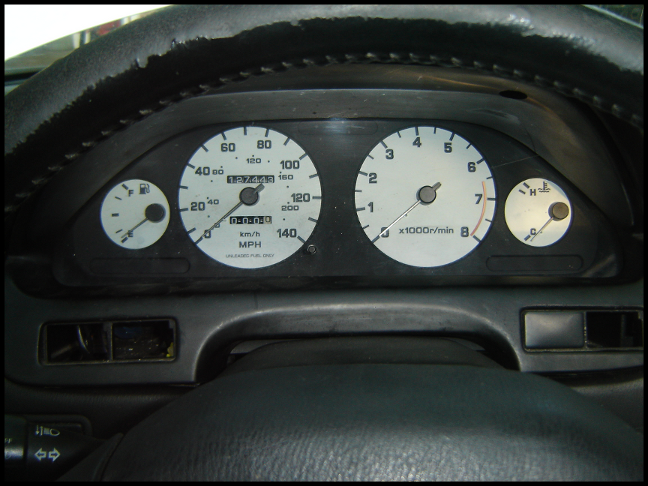
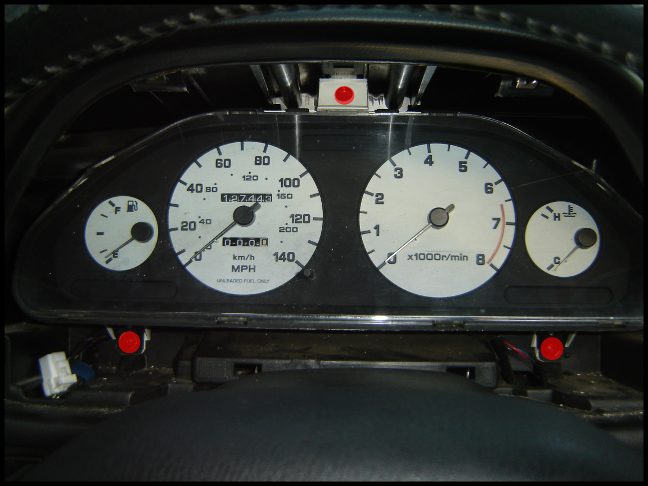
When it comes off, you’ll basically be left with this (and probably just as dirty):

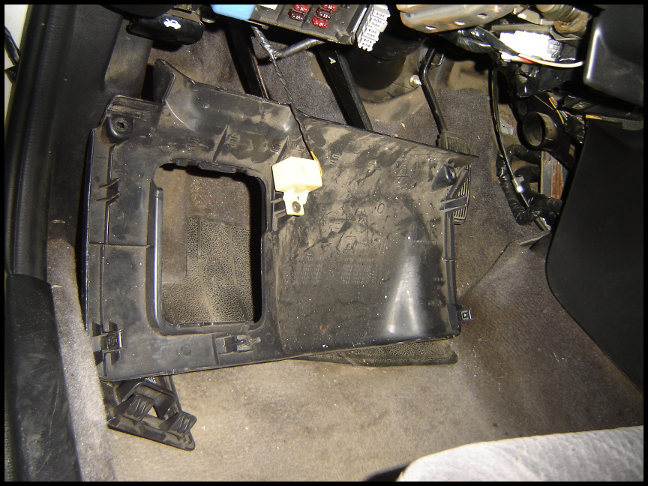
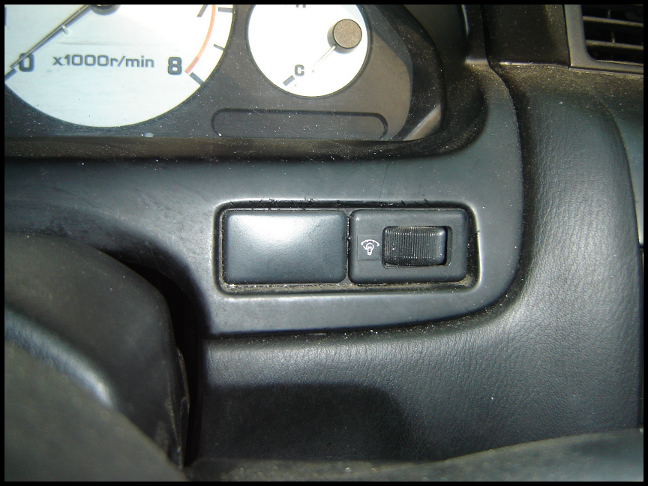
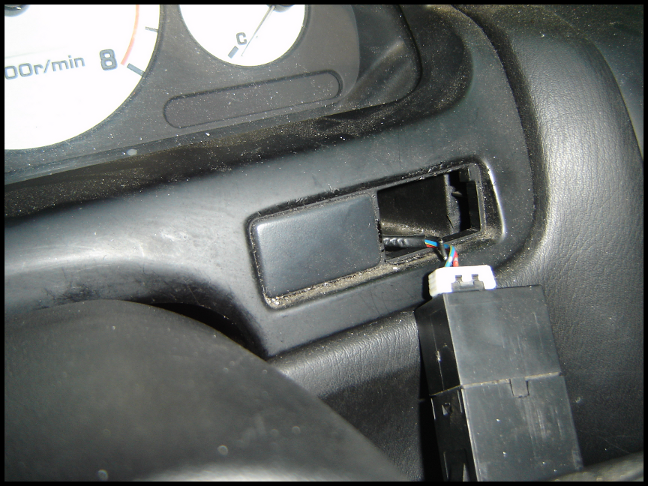
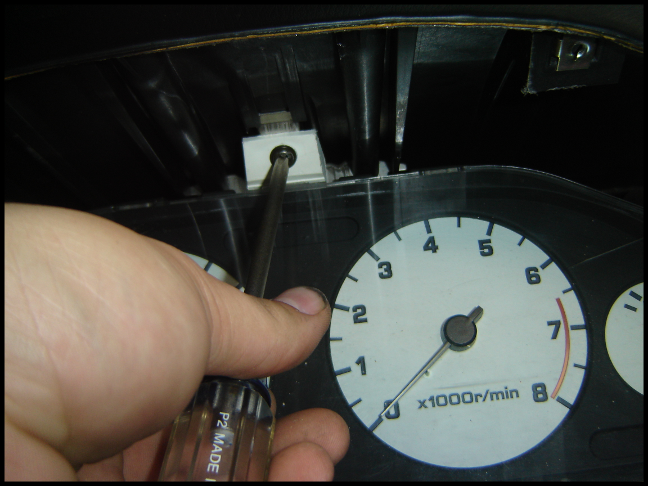
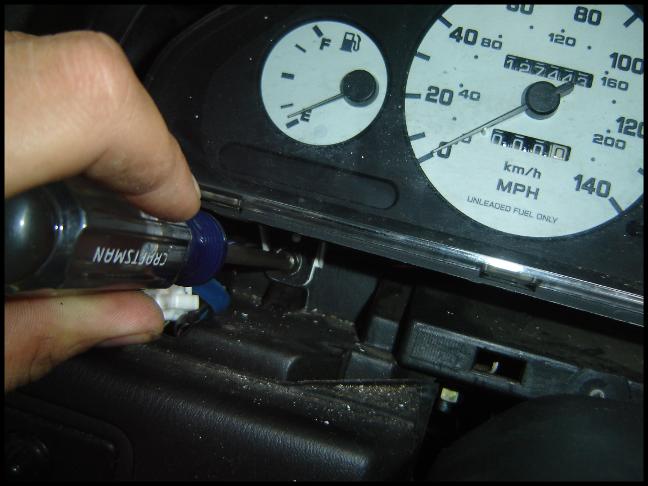
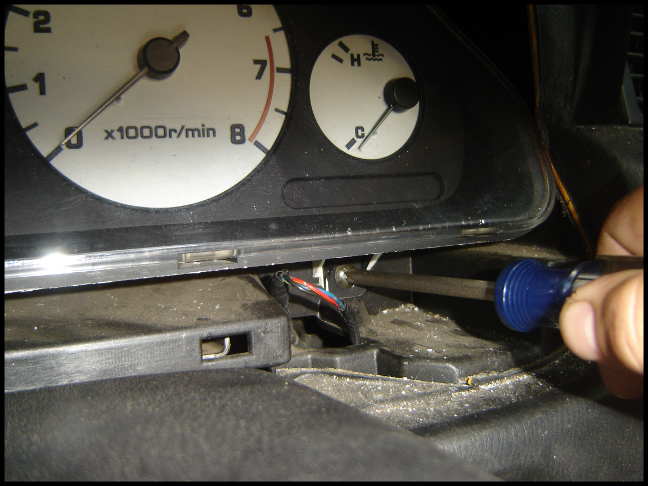
Here’s the little bastard we’re here about:

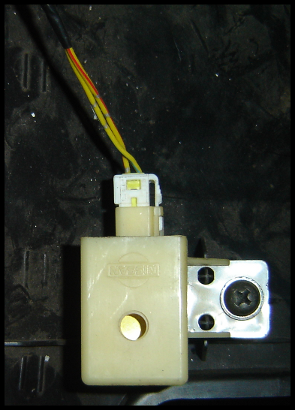
So what to do about it? Simple.

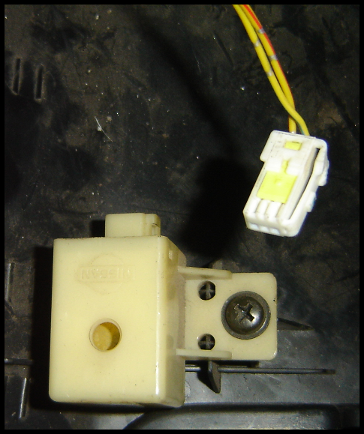
At this point you could go ahead and remove it, but it’s not like there’s a point; no weight savings, doesn’t make anything else easier to do, etc. If you ever need/want to put it back in, good luck finding it unless you just leave it screwed on to the dash panel.

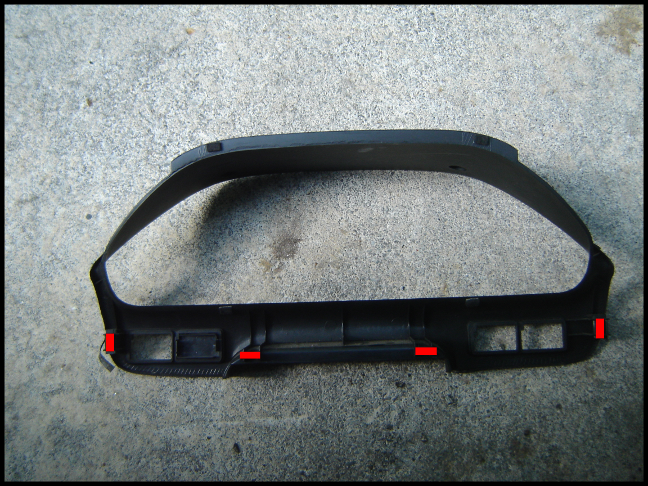
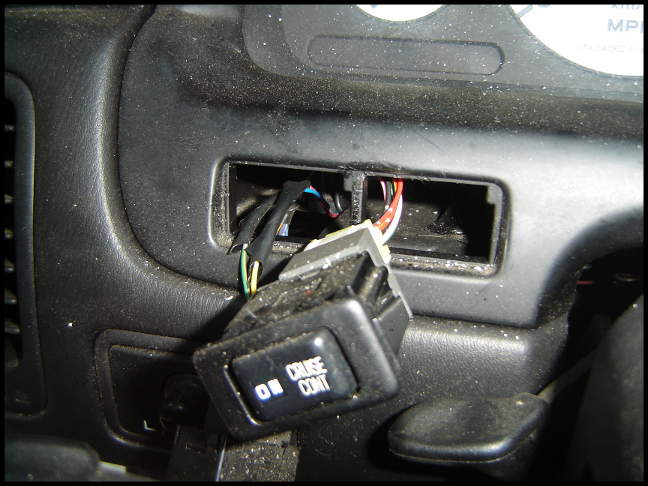
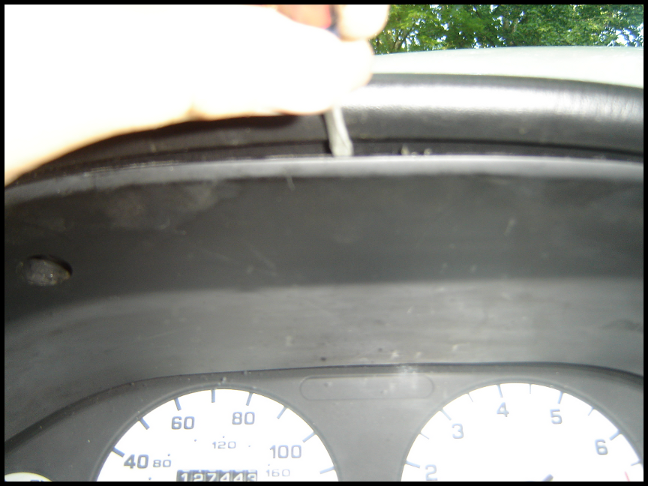
Take a look at the back of the dash panel, make sure all of your clips are still there (or in the dash proper), and aren’t laying all over the carpet. They like to disappear.

Where all of the clips should be (IIRC all of these spots have clips, but who knows):

Now just put the panel back in place, throw the two screws in, problem solved. The harness for the buzzer can just be left dangling, it’s not really long enough to hang anywhere. Just tuck it up underneath the panel.

Loading

Member Credit: pmohr

This howto is for the quick and easy task of removing the gauge cluster. Replacing bulbs, tightening up the tach or speedo screws, tapping into an easily accessible tach signal, swapping clusters, whatever.

Most seem to remove the steering column trim when doing this. It does make it a bit easier, but it also takes a lot longer, so I don’t bother. The bezel will flex a fair amount, so as long as you don’t bend the damn thing in half, it’ll be fine.

This whole process shouldn’t take but 10 minutes, if that.

As if you didn’t know already, here’s the area we’re going to be working in:

You’ll need to locate the two screws, located at the top of the gauge cluster bezel.
They’re indicated by circles in the photo below:

Removing the left side screw:

Removing the right side screw:

Now the bezel will have 4 clips holding it in place along the bottom, shown here (reverse side shown):

You’ll need to pull sharply on the bottom of the bezel to release all of these clips. Some may remain in the dash, or fall off and disappear.

Here are the various switches, dials, and lights you’ll have to remove:

They’re easily removed with a small flathead screwdriver, just insert at one of the sides, and pry it out:

You then pull them all away from the cluster (shown), then disconnect them (not shown):

You’ll then be left with this:

You then want to lift up the bottom portion of the bezel, and rest it on the steering column trim:

While holding the bottom portion there, insert a screwdriver at the top and pry out the top of the bezel:

The top of the bezel will now be hanging on the gauge cluster ‘hood’:

You then need to start walking it out until it resembles this:

At this point, push down on the top of the bezel, and you should be able to pull it right out.

Now, the gauge cluster is held in place by 3 screws:

Removing the top screw:

Removing the left screw:

Removing the right screw:

The cluster now pulls right out of the hole:

Obviously installation is the reverse of removal.

Loading

Member Credit: Eddy

The owner of this 6thgen (MLeo) had something that caught my eye on his car. When I asked him… he said its a Honda Accord lip. At first I didn’t believe him, but its 100% confirmed and 100% perfect fit.

For those looking for a new OEM style looking rear trunk spoiler…. here’s another option from the Honda Accord (08-09). I really like it and its super clean.

Part #: ABS186
Price: $139.99
2008-2009 Accord
Click the image to open in full size.Click the image to open in full size.Click the image to open in full size.Click the image to open in full size.

Loading

Featuring Custom Headlights and Retrofits made by fellow members.

Loading