


Low Beam Headlight Bulb Size: HID-D2R or HID-D2R HID Upgrade Kit
High Beam Headlamp Bulb Size: 9005 or 9005 HID Upgrade Kit or 9005 LED Upgrade Kit
Parking Light Bulb Size: 168
Front Turn Signal Light Bulb Size: 7440
Rear Turn Signal Light Bulb Size: 7440
Tail Light Bulb Size: 7443
Stop Light Bulb Size: 7443
High Mount Stop Light Bulb Size: 7440
License Plate Light Bulb Size: 168
Back Up Light Bulb Size: 921
Front Side Marker Light Bulb Size: 194
Rear Side Marker Light Bulb Size: 194
Dome Light Bulb Size: DE3175
Step/Courtesy Light Bulb Size: 161
Trunk/Cargo Area Light Bulb Size: 158
![]()


")
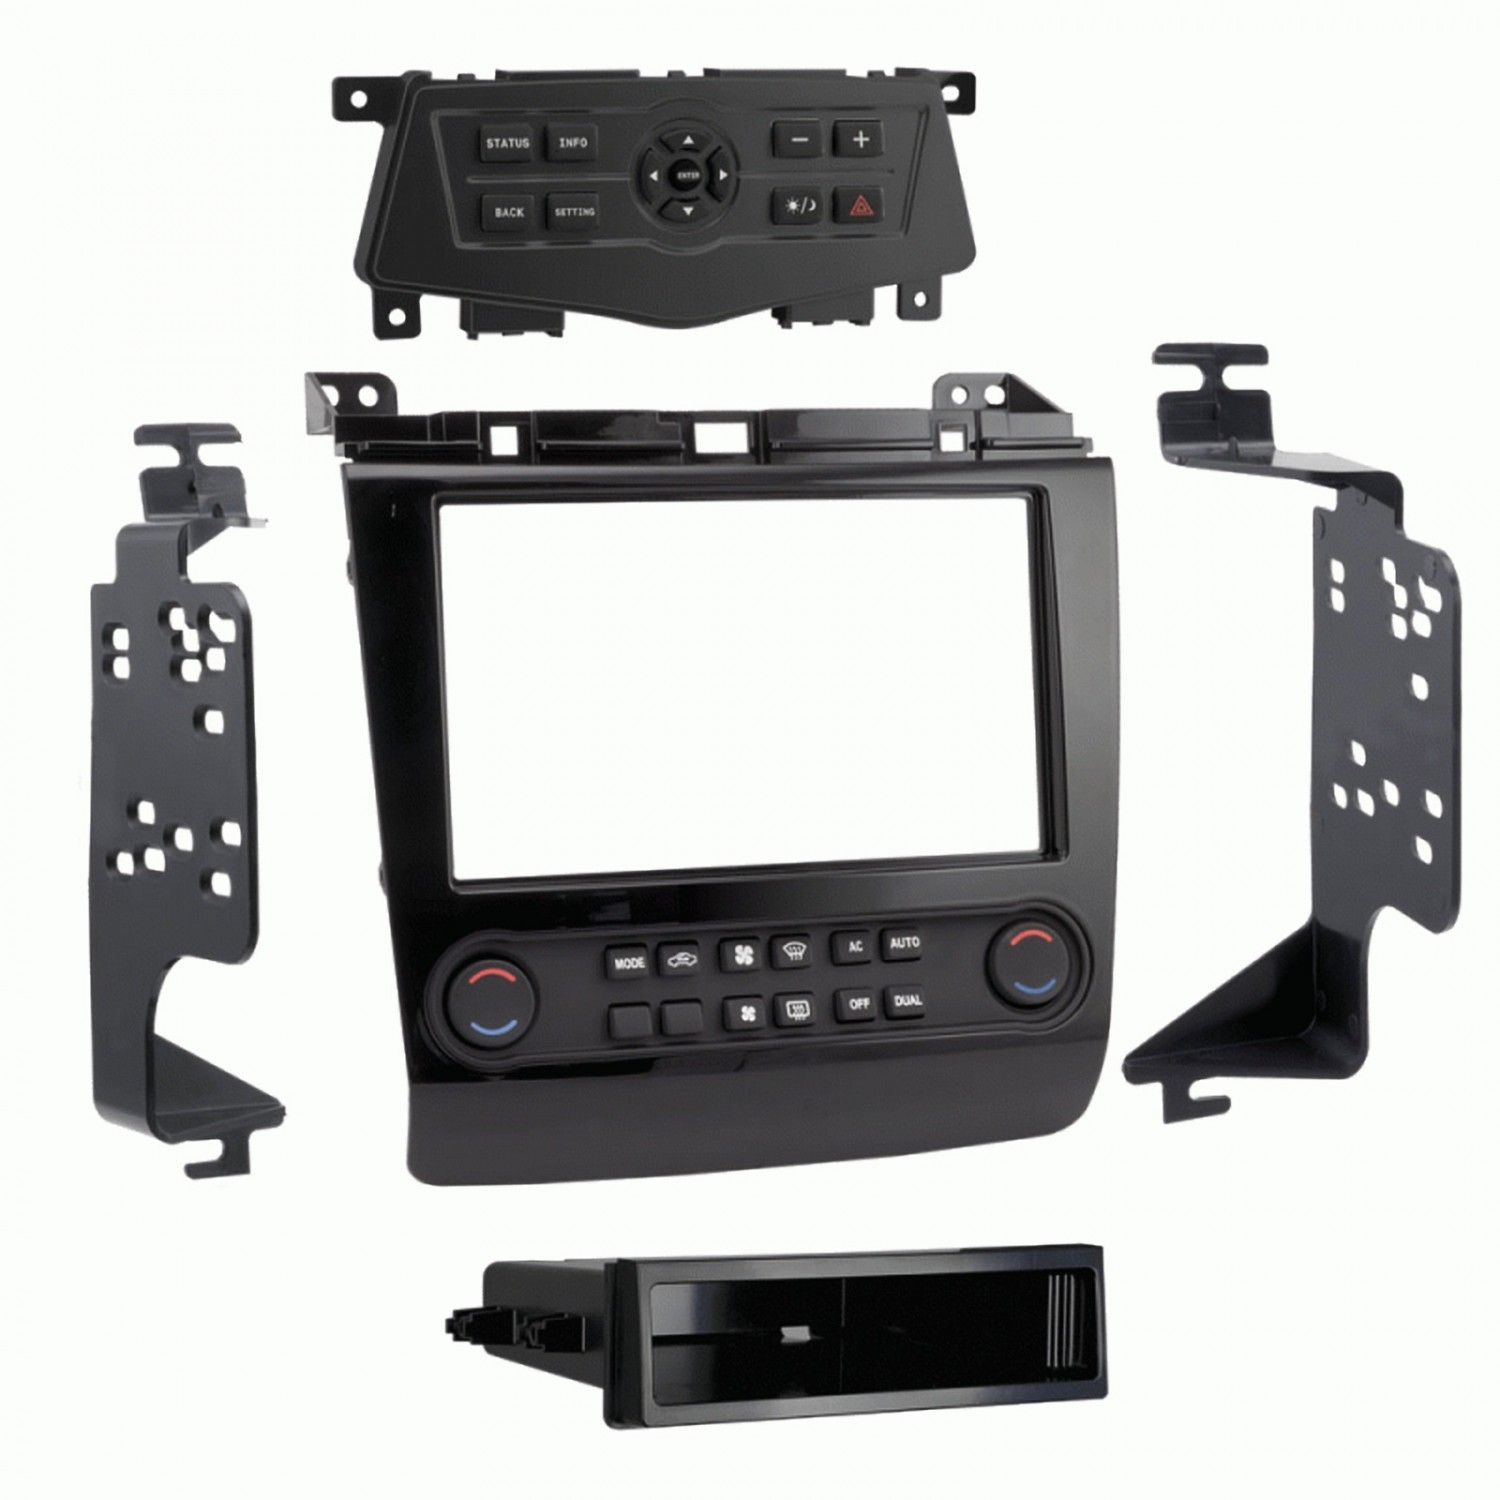


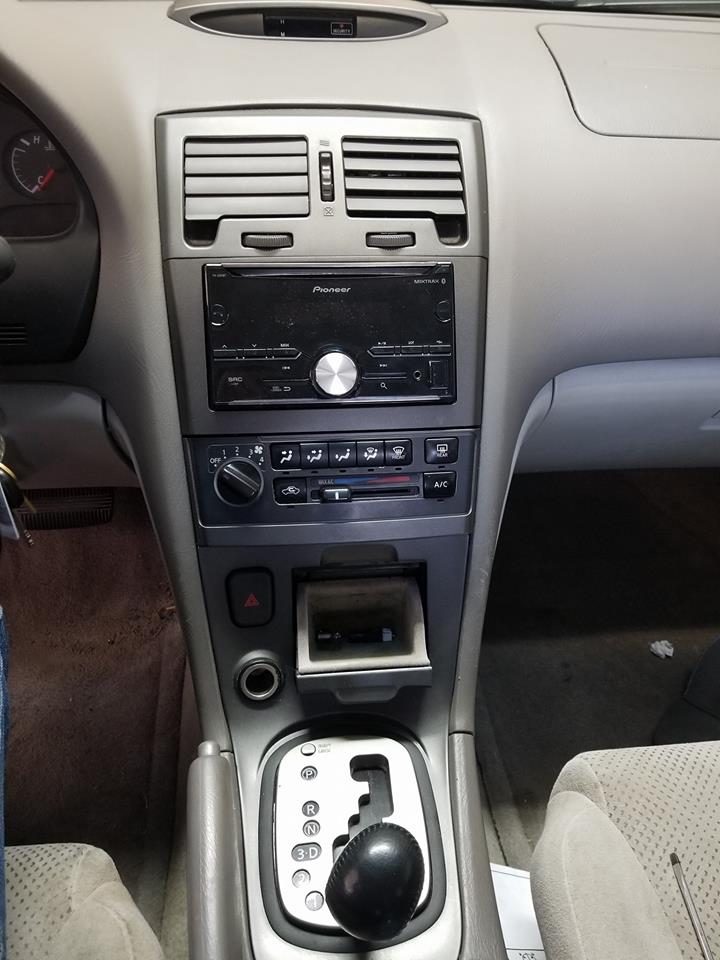

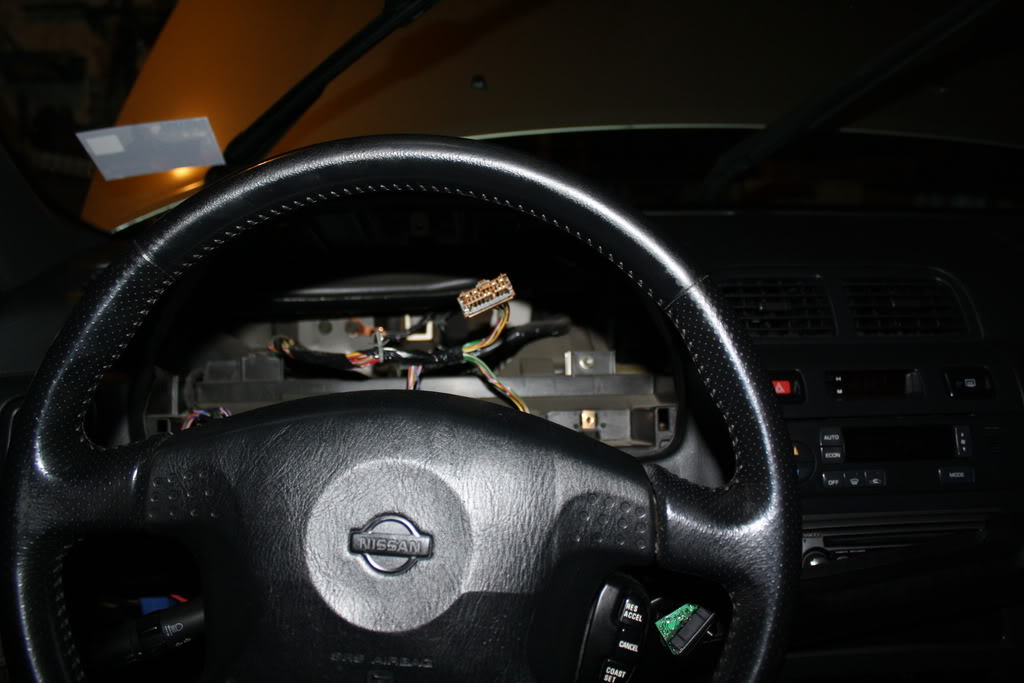

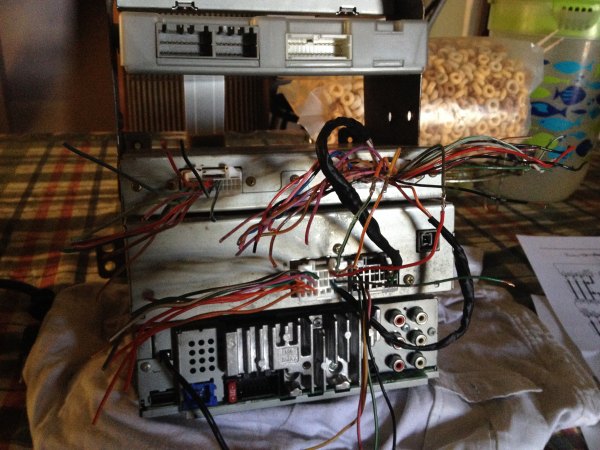
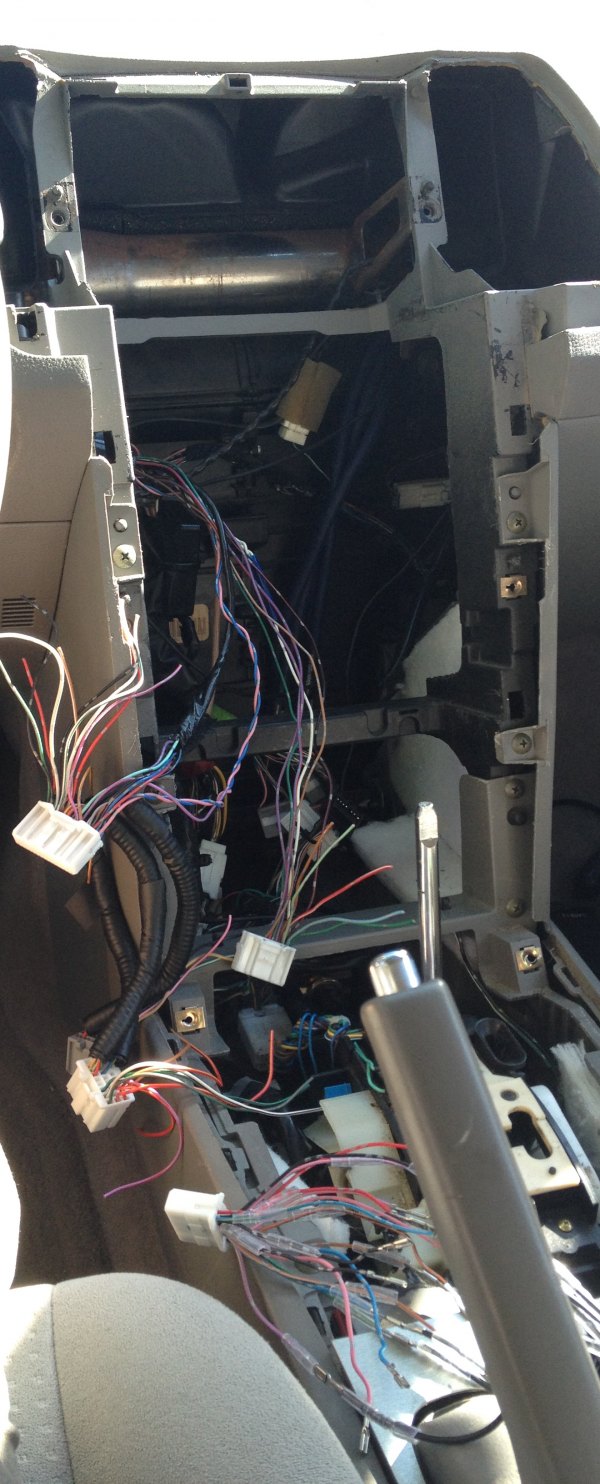
 Wire Located for Radio Installation?")


